Sunday, December 29, 2013

Christmas Journal - CHECK!


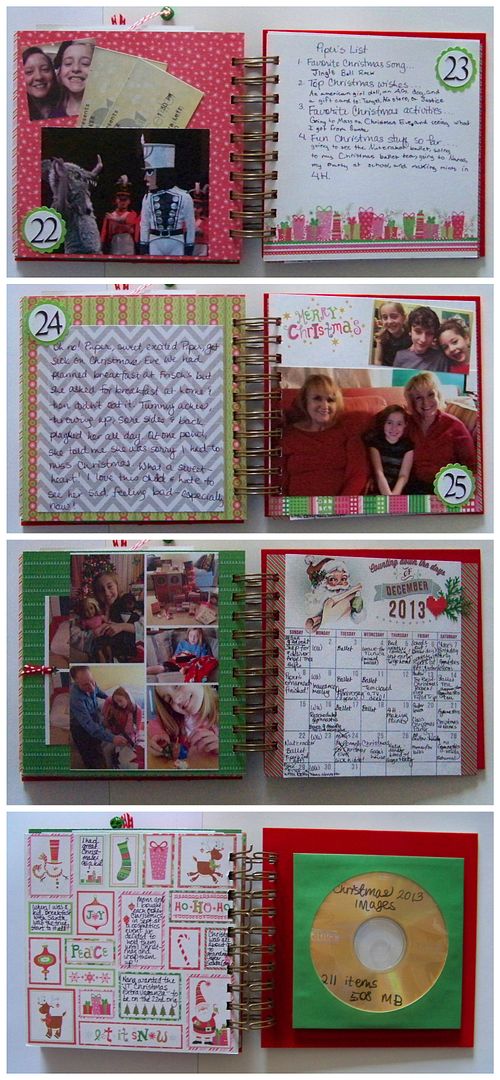
 My gift to myself this year was my completed Christmas Journal.  I finished it today!  I combined Shimelle's Journal Your Christmas with lists (I saw lots of ideas from people I follow on Instagram who were doing 30 Days of Lists), daily diary photos, and whatever struck me each day.  I wasn't as true to Shimelle's process as I was last year, but I still enjoyed reading her prompts and getting the emails (even when I didn't open them)!

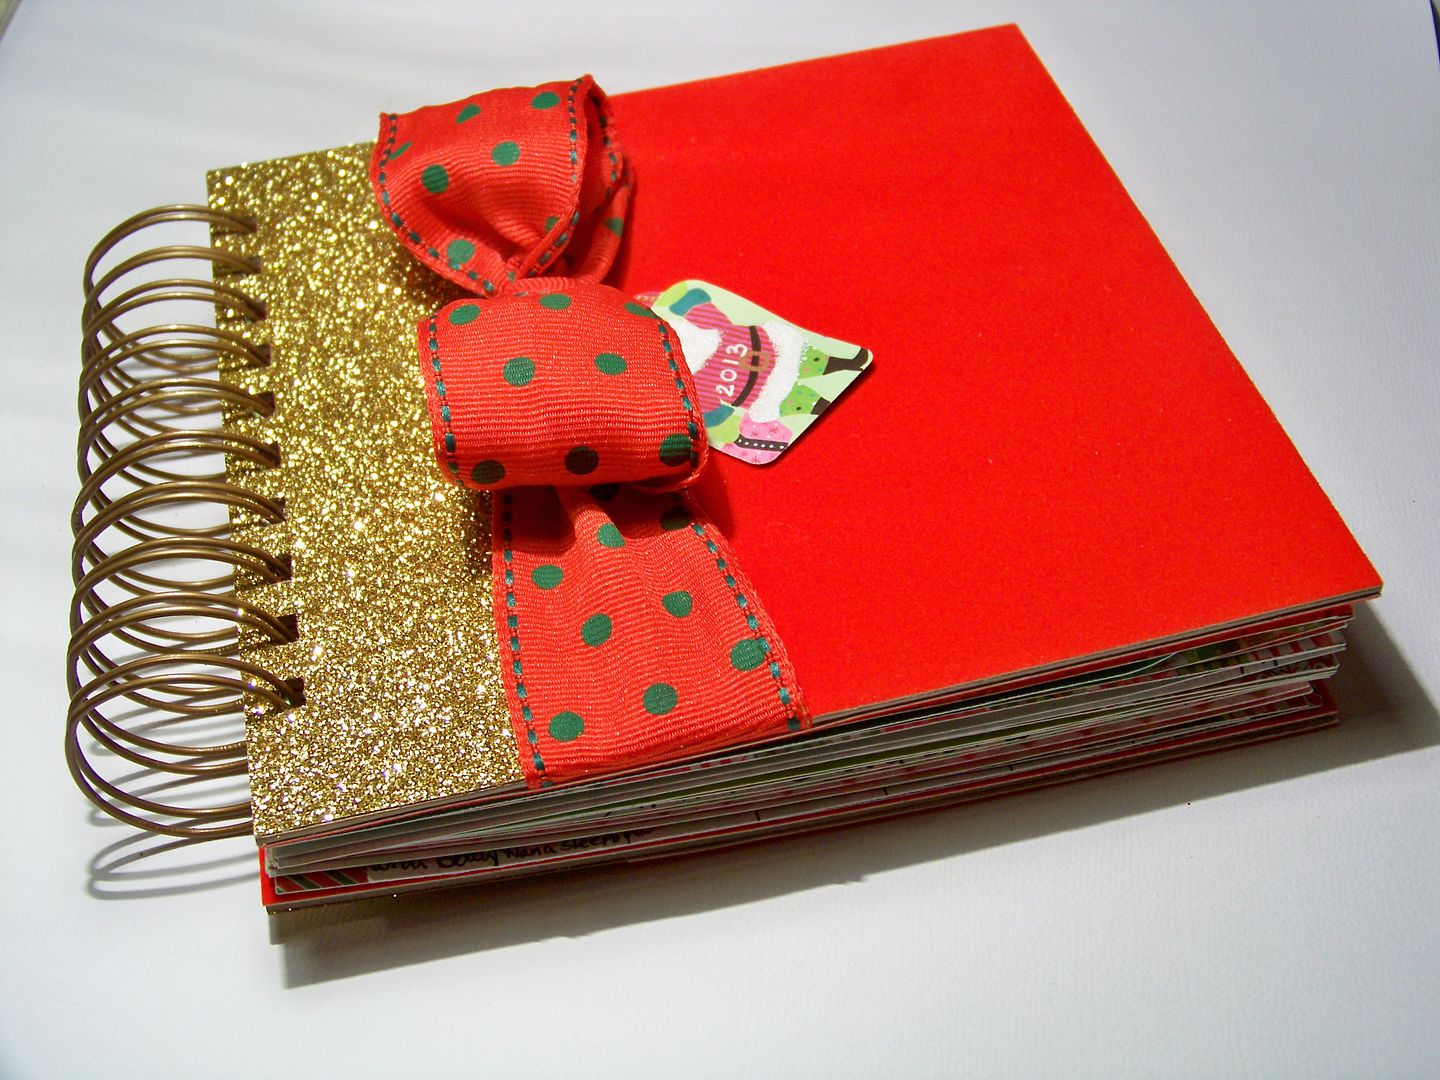
Last year, I learned a lot from the first one I made!  (Click here to see it.)  Primarily, I learned to watch the thickness!  I took that lesson to heart this year and was able to use my Bind-It-All with 1-1/4" o-wires to bind my book. 


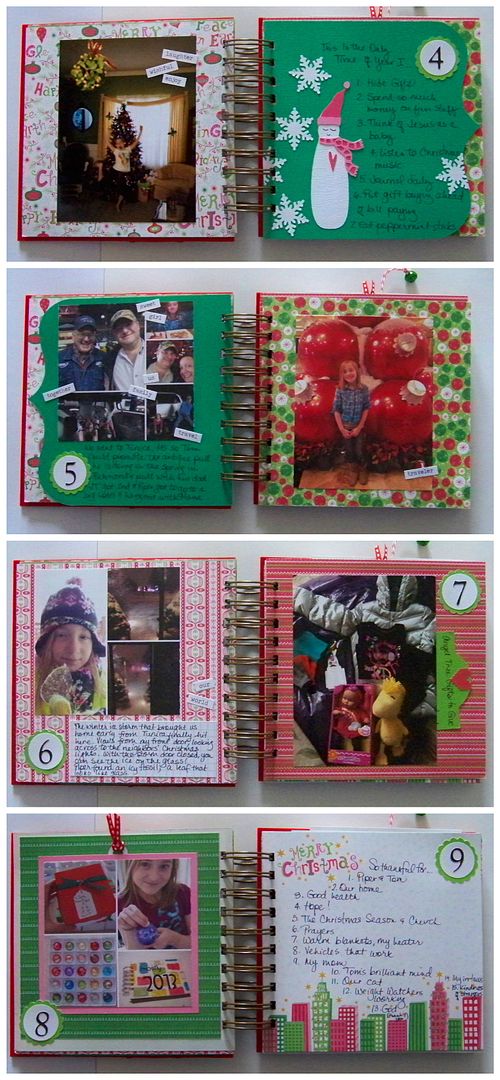
I accomplished that by using PicMonkey (free collage maker) to combine photos on one 4x6 paper (so I would need fewer photos), using thinner cover boards, and using fewer layers and fewer layered images.  

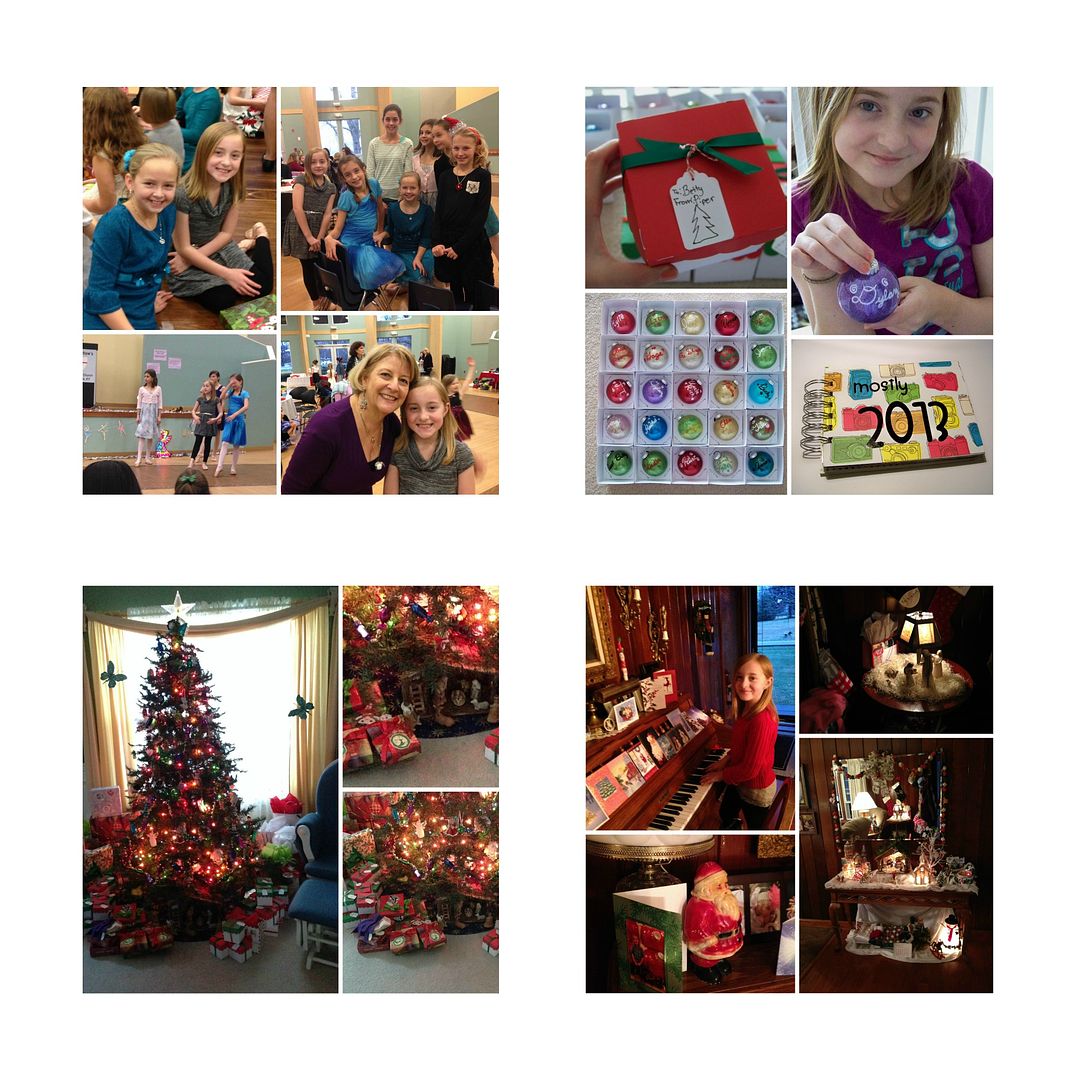
I used these as full pages but also love that collages allowed me to have tiny pics for journaling tags!
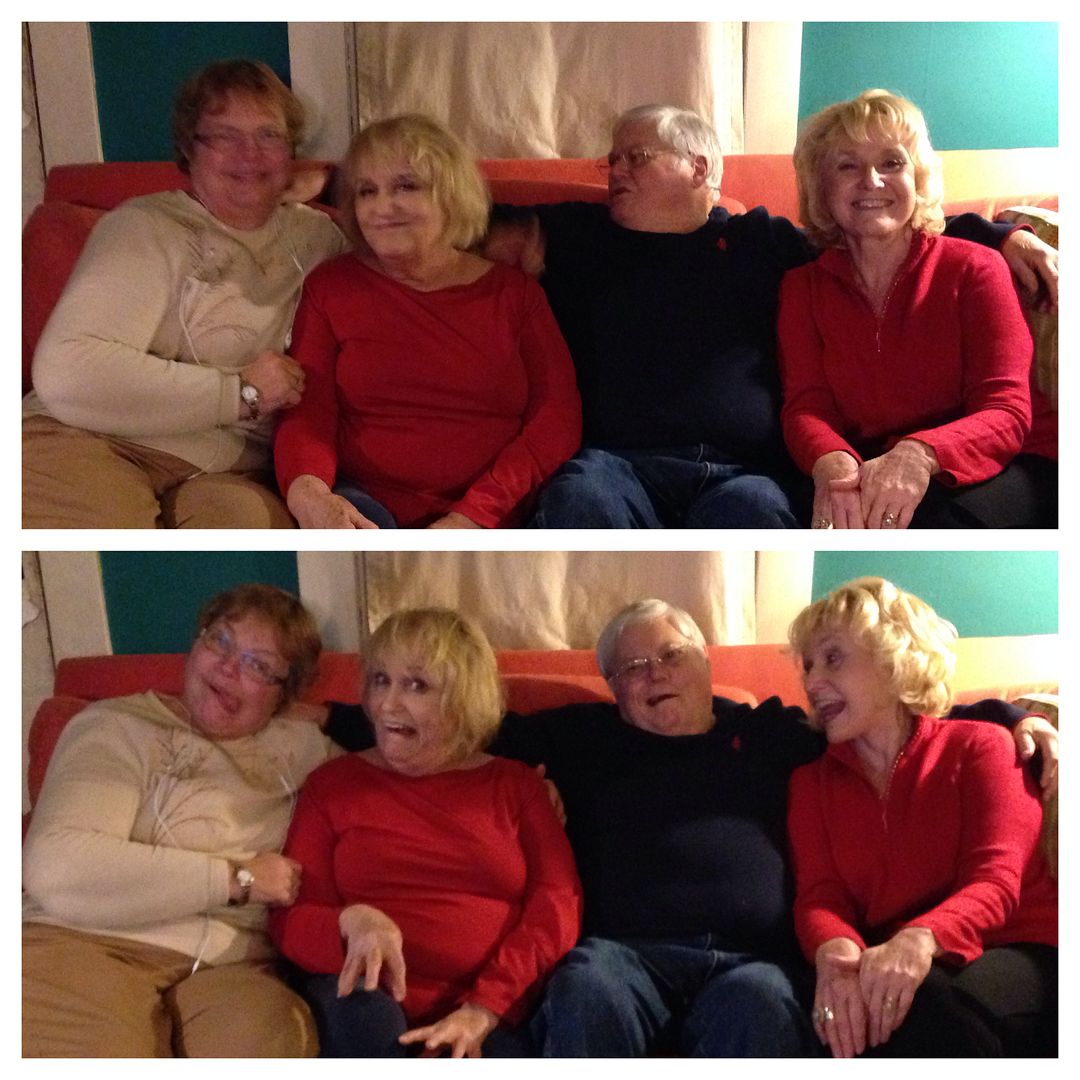
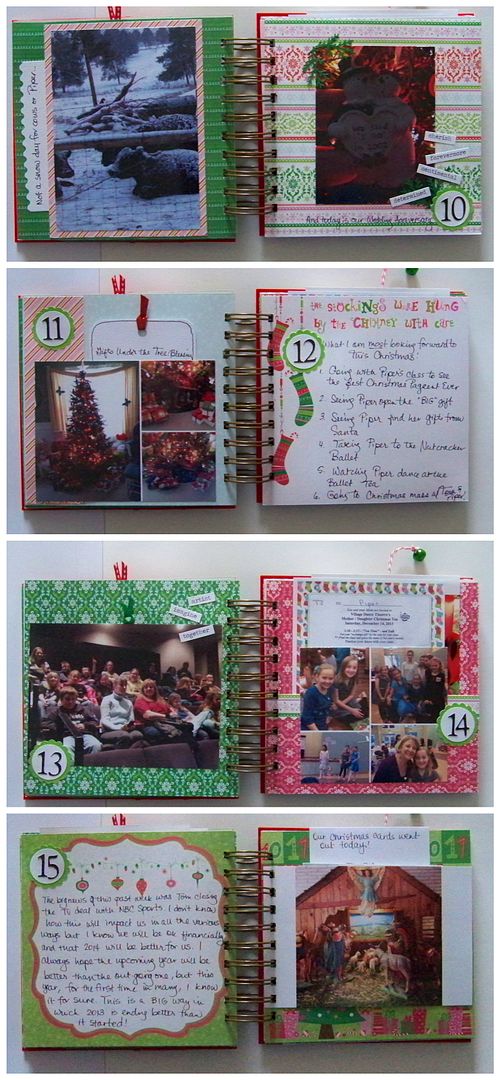
I used this crazy one as a hidden tag, allowing for journaling on one side.

I started by thinking I would send my photos to Walgreen's using my Printicular app (which I love) but remembered how easy and convenient it was to print at home.  I typically took all the photos on my phone, transferred them to my computer (where I store them on a USB drive and online), then edit or collage them before printing.  I had a few where I used phone apps like PicFrame and Fuzel to collage them before saving on my computer then printing.  It just depended on when I thought about it!


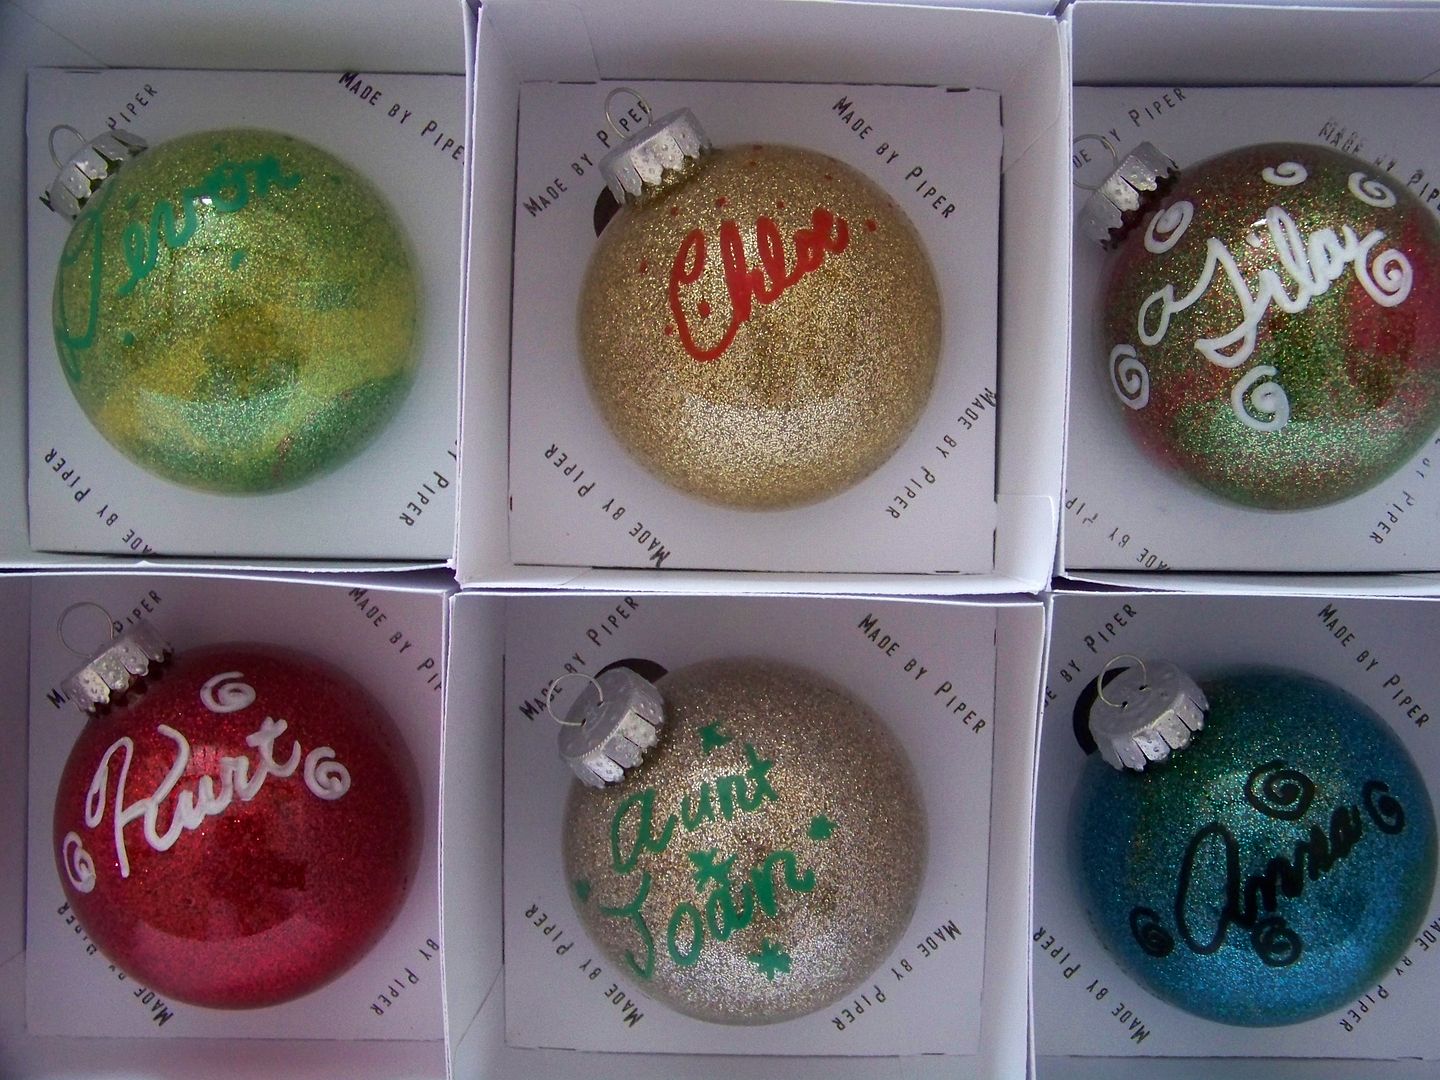
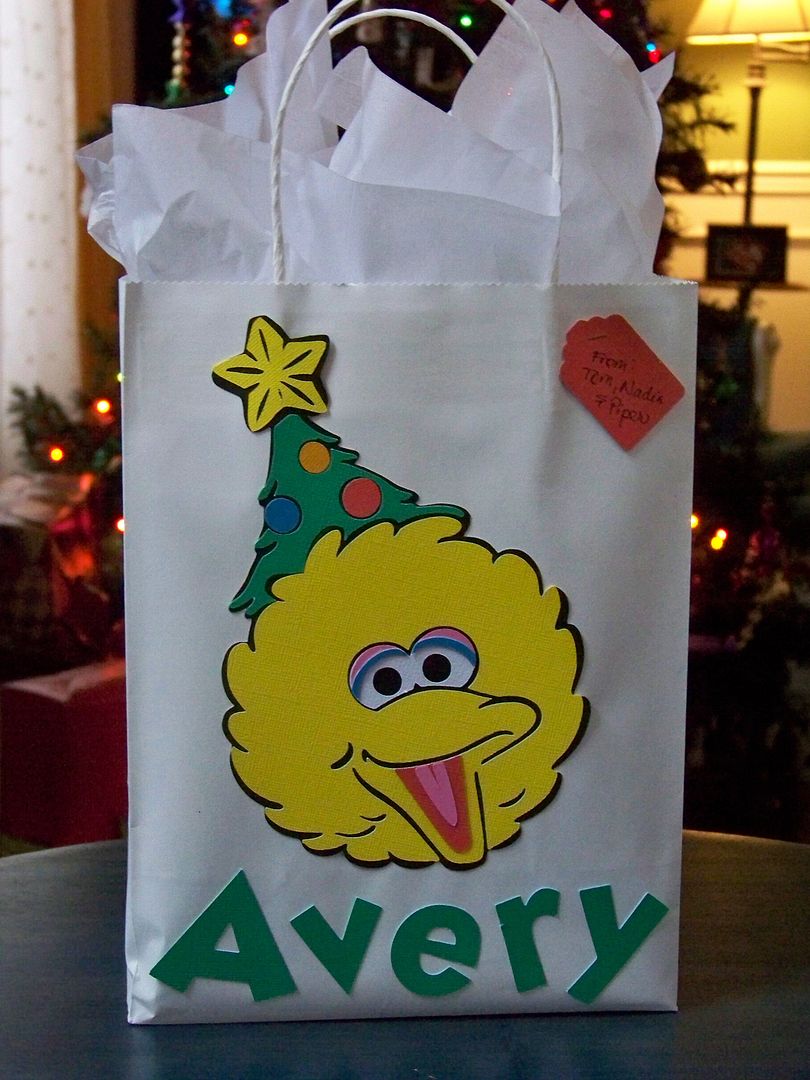
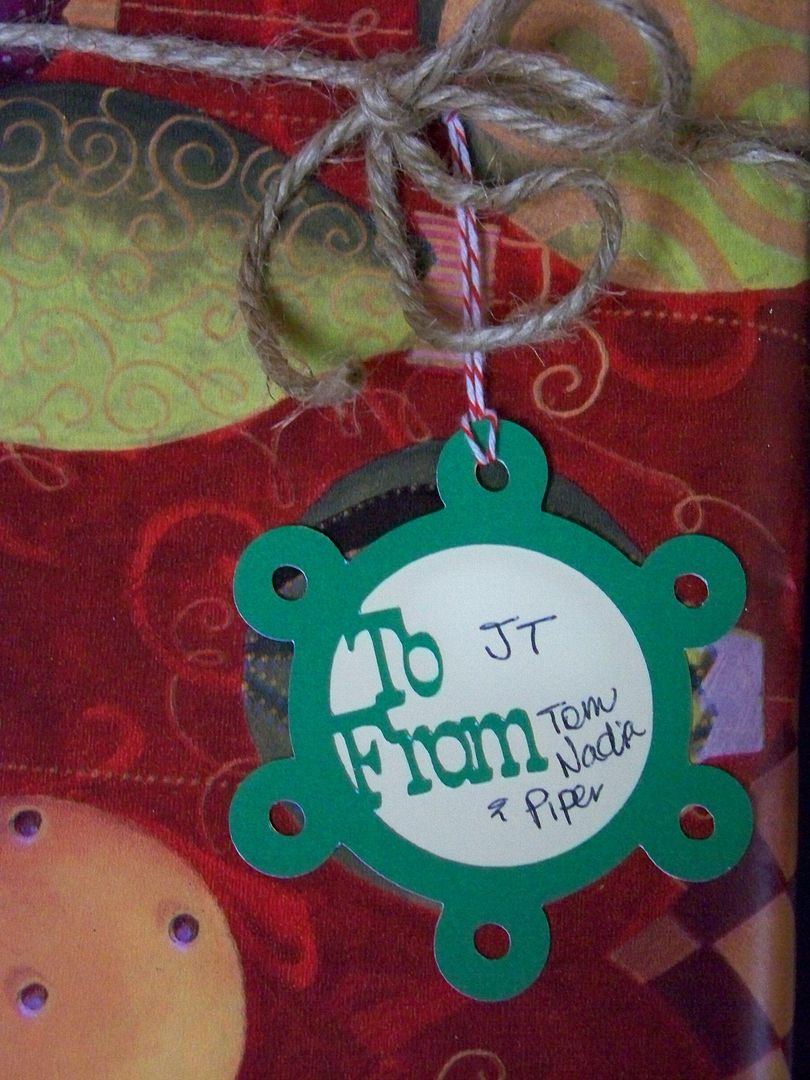
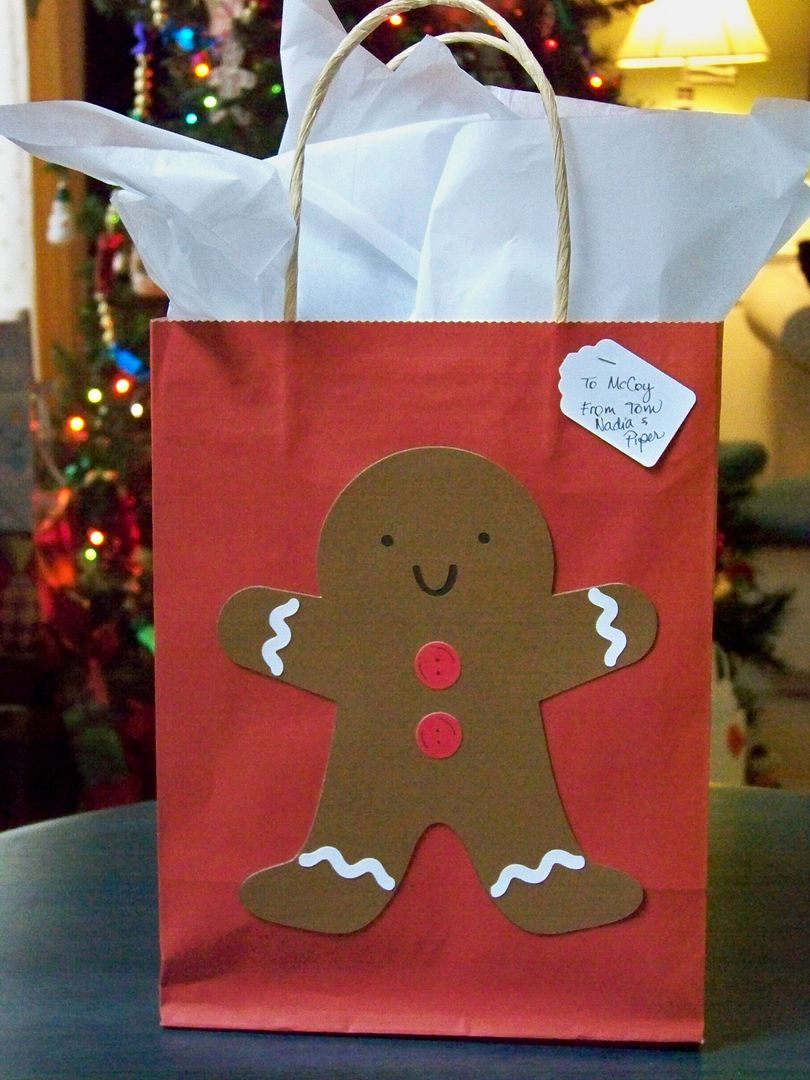
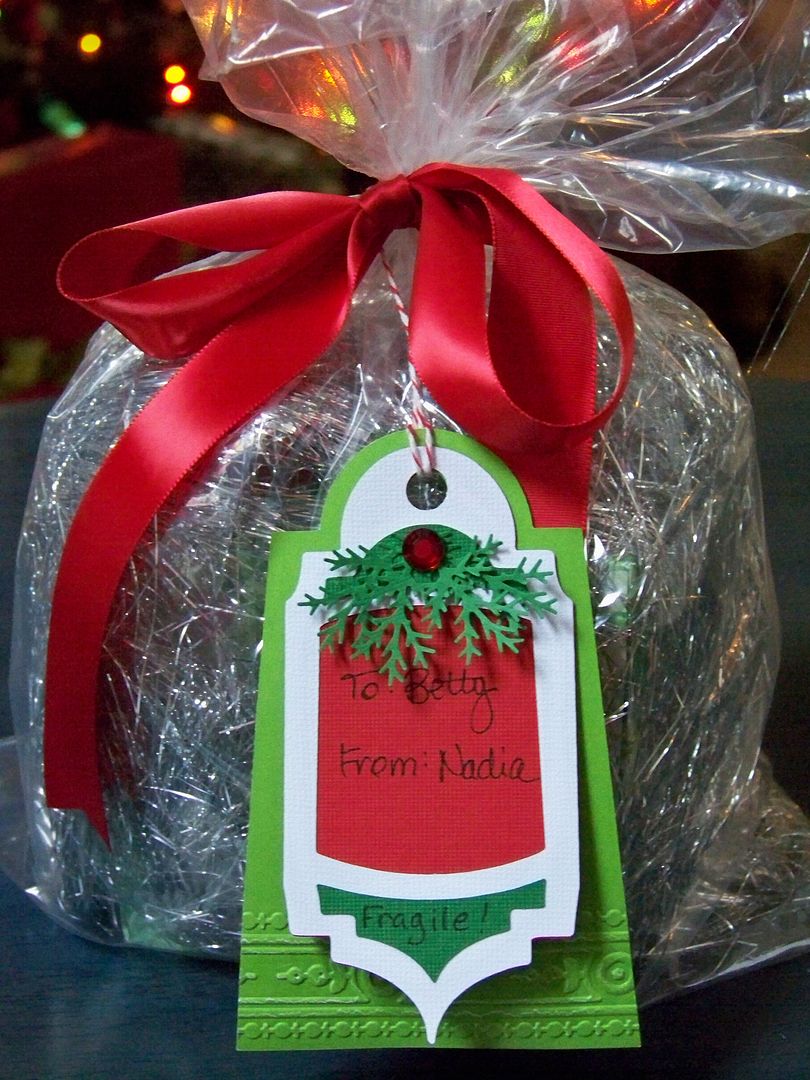
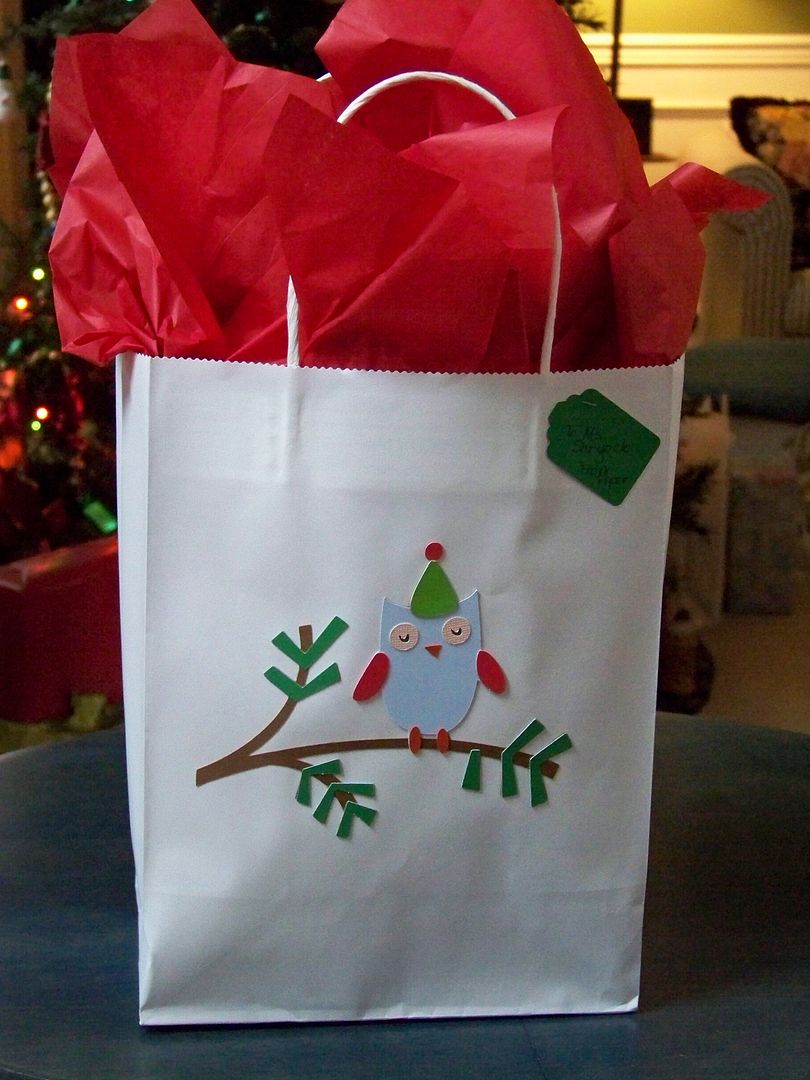
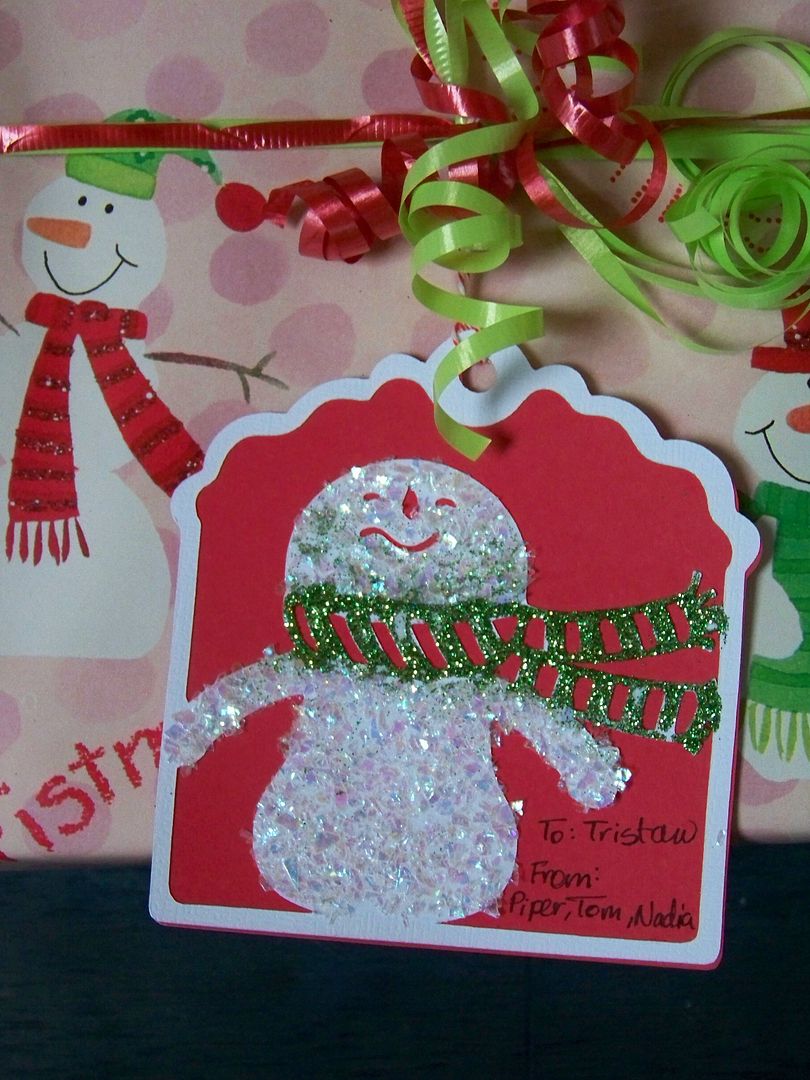
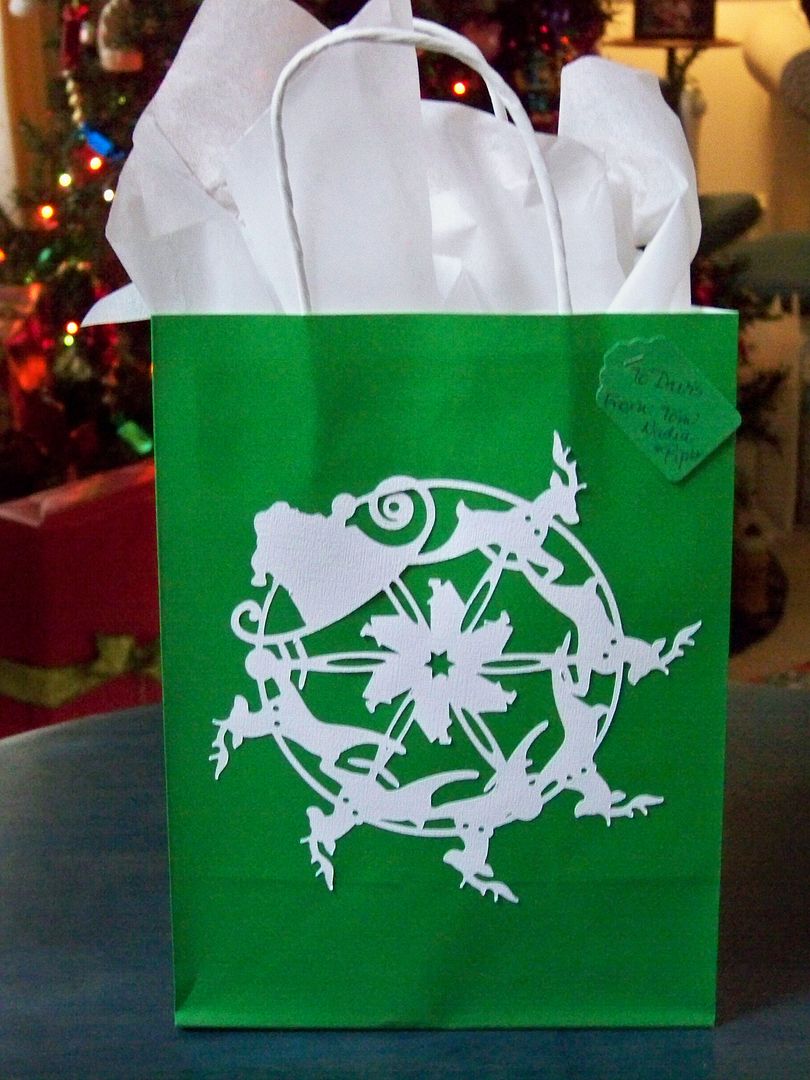
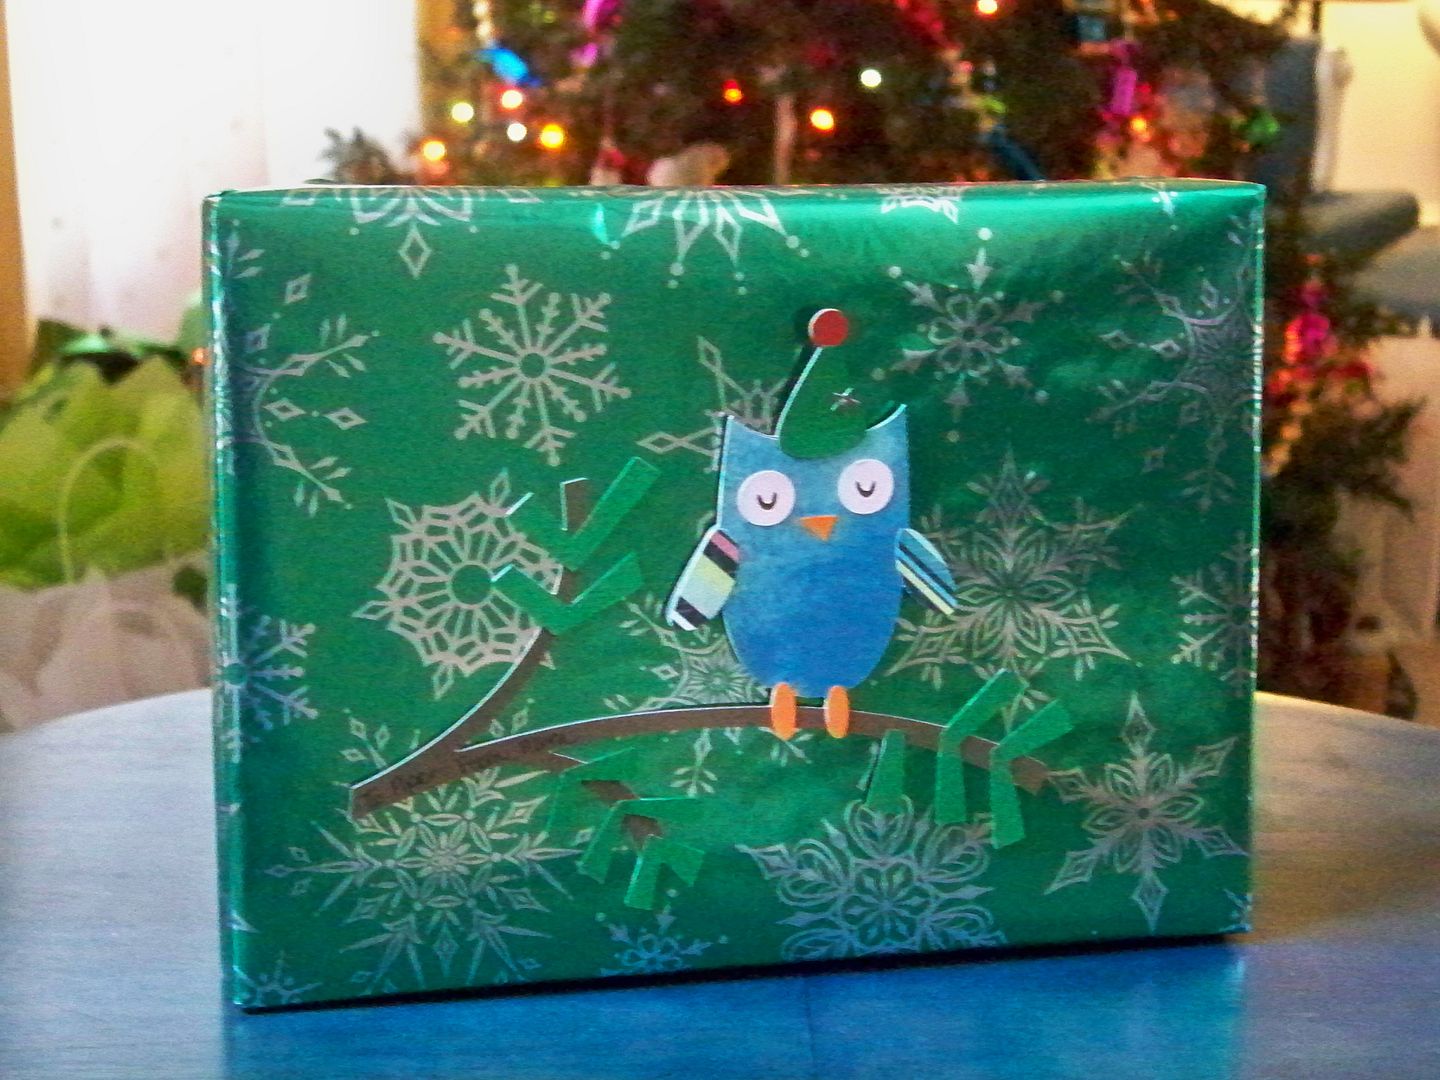
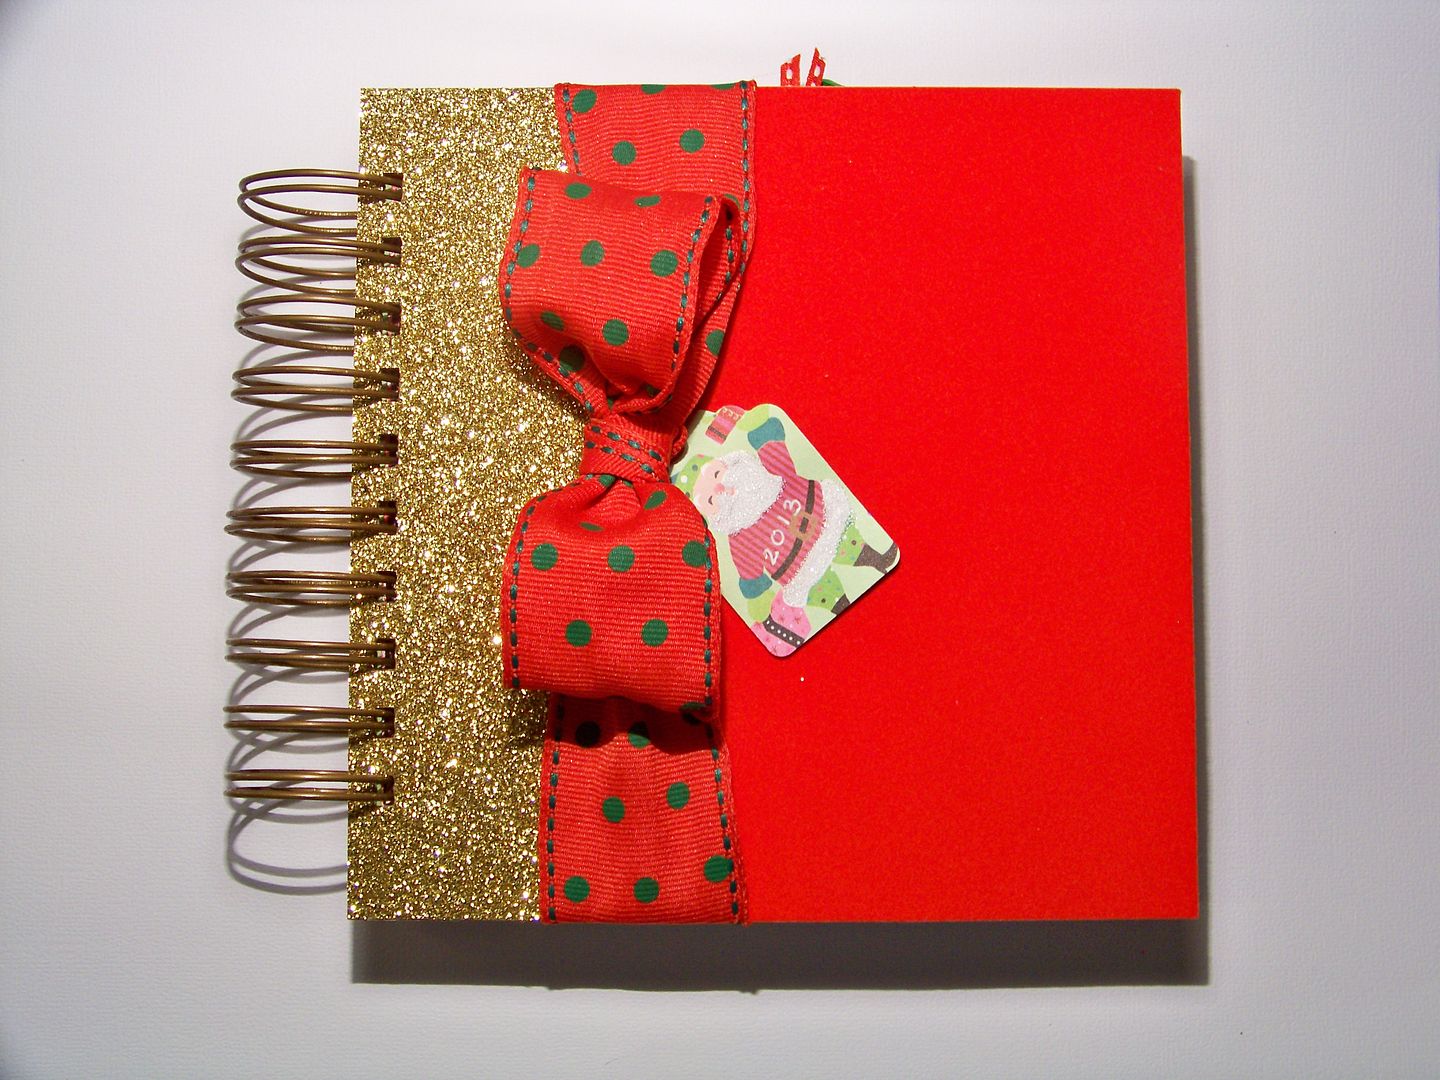
The cover was made using artist board I get at Hobby Lobby and cut with an Xacto Knife to 6-1/4" x 6-1/4".  I covered it with velvet paper and glitter paper that I adhered to the artist board using Provo Craft's orange double-sided tape.  I made sure to get it on the very edges and I like it better than any adhesive or tape I have used so far on covers.  The ribbon is one that was on an early gift I got.  I made the tag for the title.  I used my Zutter Bind-It-All and Antique brass o-wires to put it all together.  I special-ordered those late in the month once I realized the silver o-wires wouldn't work and got them in less than a week from Zutter!  (How I wish they had the 1-1/4" in red!!!)  My papers were cut from the same 6" paper pad (I bought two of the same to make sure I had enough papers)-- how easy to make sure they coordinated-- except for one that I cut using Cricut Cartridge Elegant Edges.


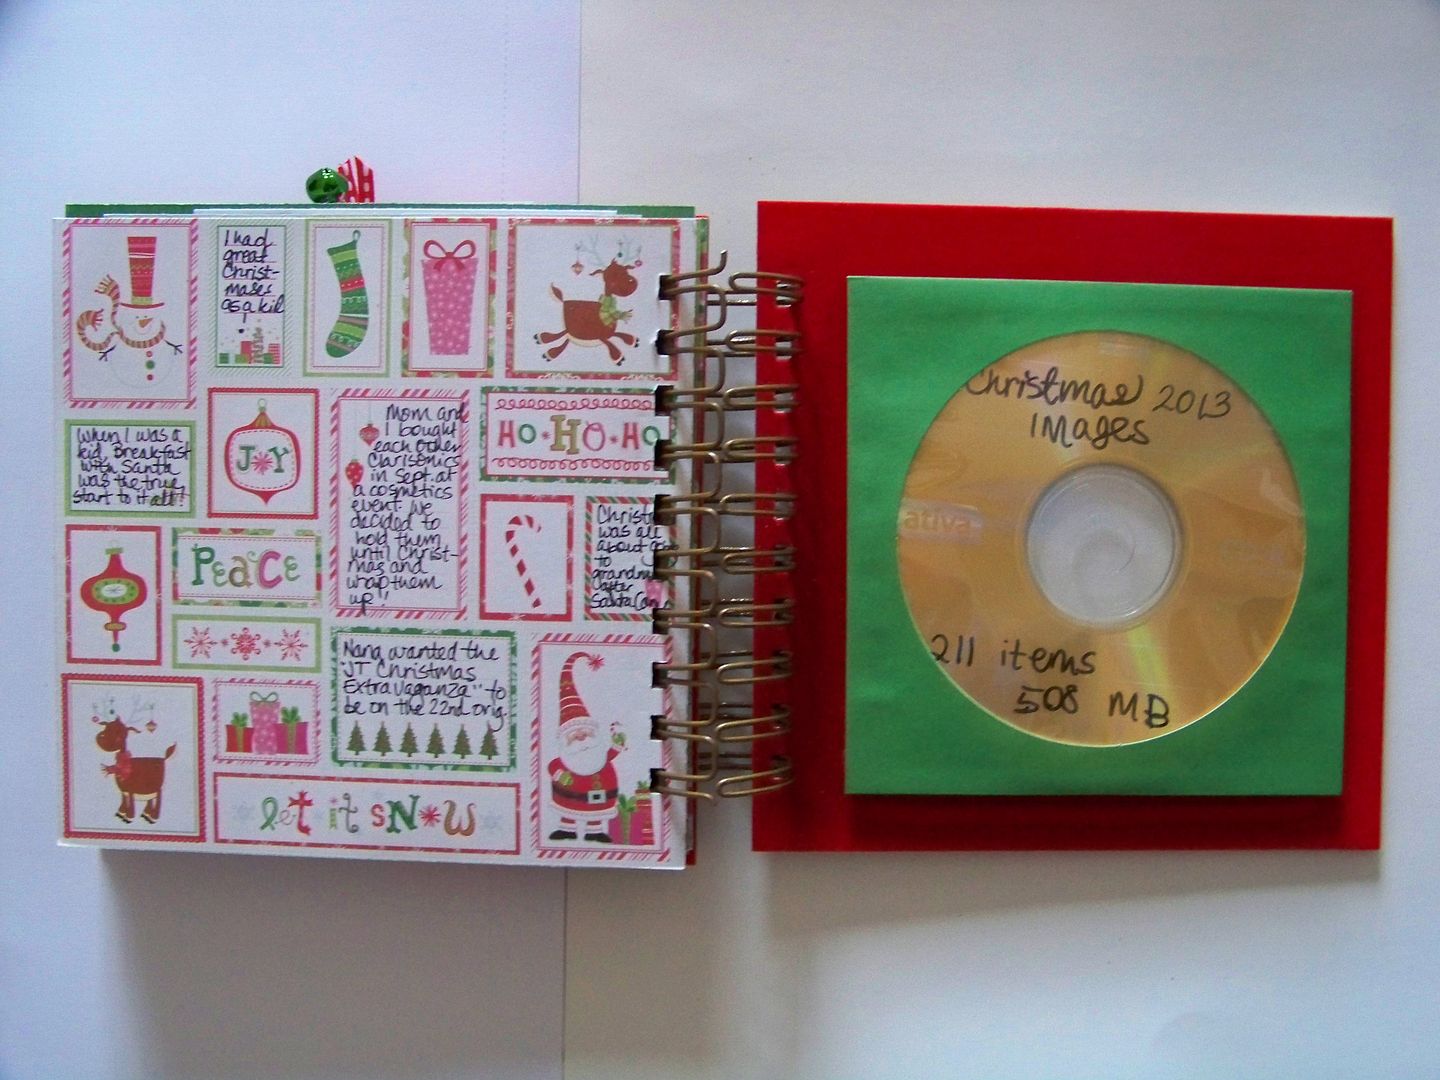
This year, I have started including photo CDs, not just of the images used in the albums I have made, but also all the hundreds of photos I didn't use, in my albums!  I included a photo CD in my Christmas journal too.  I think it will make it much easier to find a photo if someone wants a copy than searching through my laptop, USB drives, and CDs, and I think it's fun to see all the added photos.  In ten years, photos that might seem like nothing now, could be priceless to us.  At least, that is my thinking.  I placed the CD into a CD envelope and attached the envelope using adhesive Velcro dots.  It adds thickness, but makes it easy to remove without hurting the book.  Next year, I will work to incorporate that into the design better!  I couldn't decide if I should make a decorative label, but decided against it since it wasn't a photo slide show or DVD.  It really is just a copy of all the 'raw' images from the whole season-- even the crummy shots.

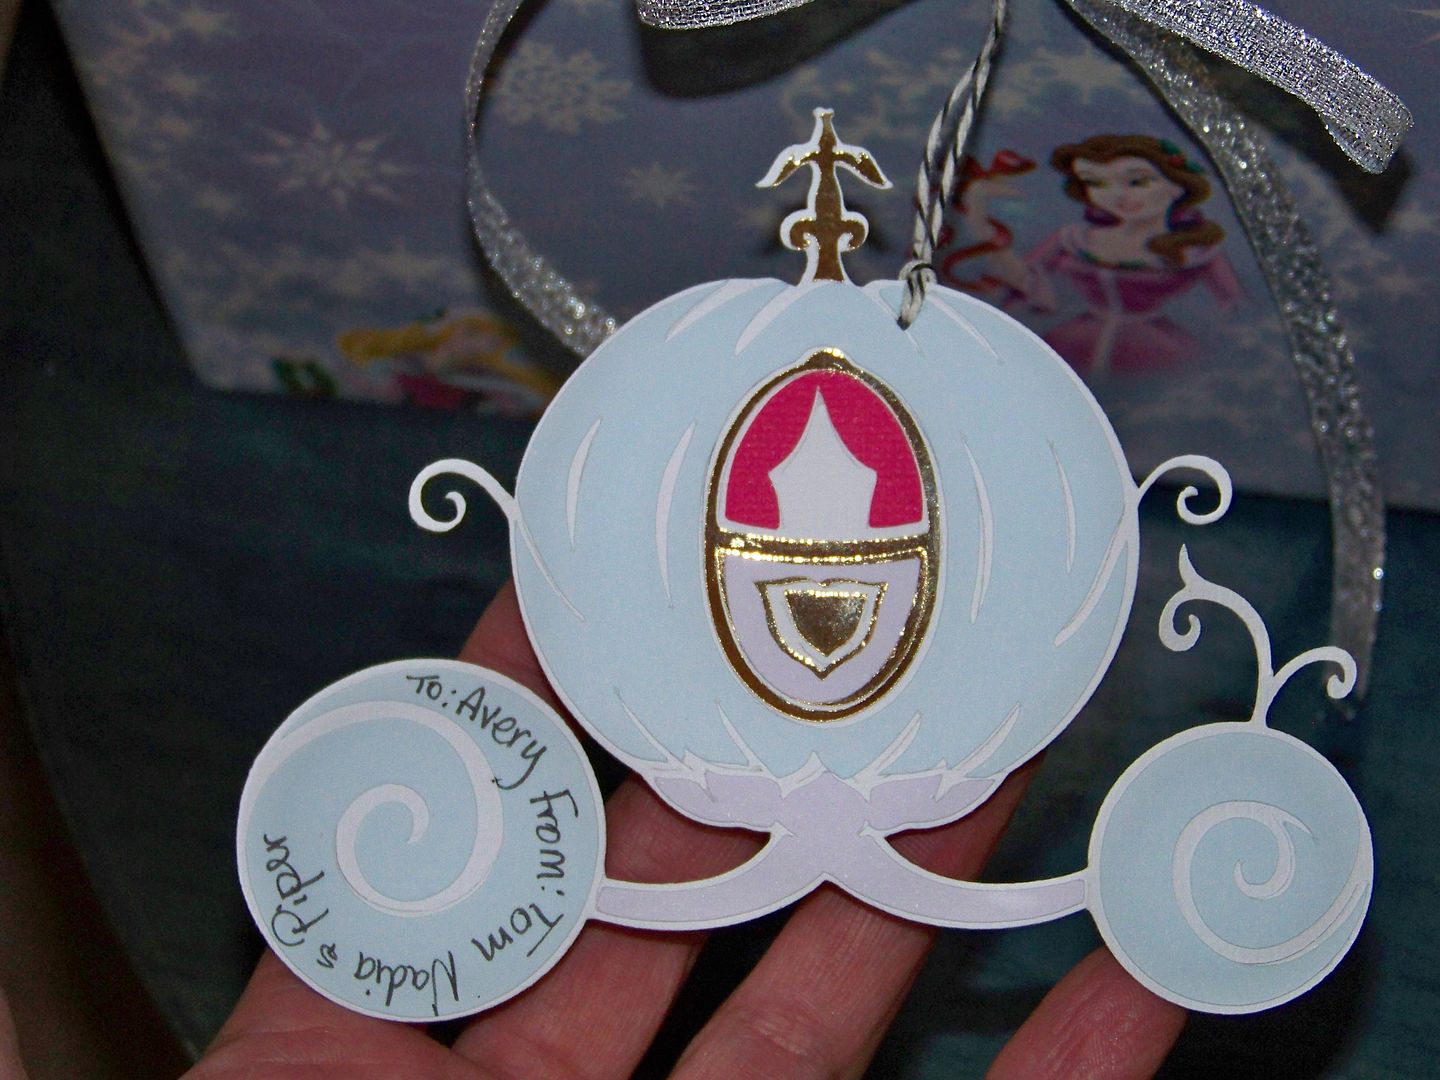
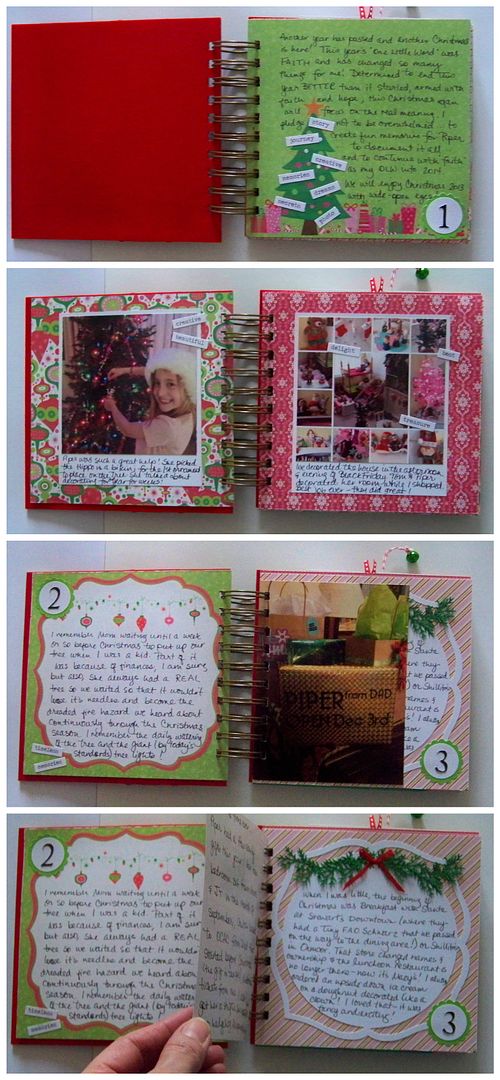
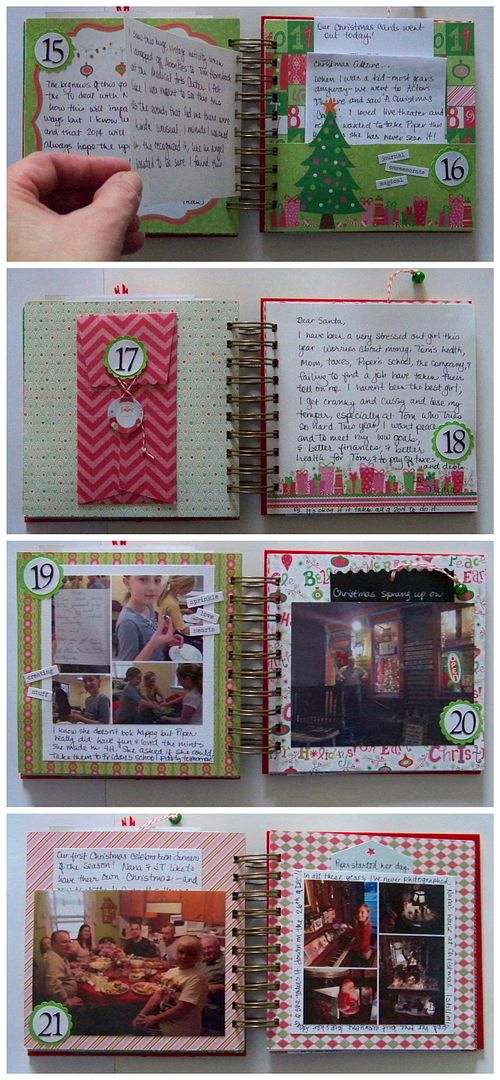
I used tags to journal briefly on each day and an envelope for one day's entry that I had hoped would not be read immediately, but rather discovered later at a future Christmas.  This is a glimpse of the inside pages:


I love the finished book and I love how much less time it took to put into this each day!!  My daughter and I both like it better than last year's book so it really seems like a success.  

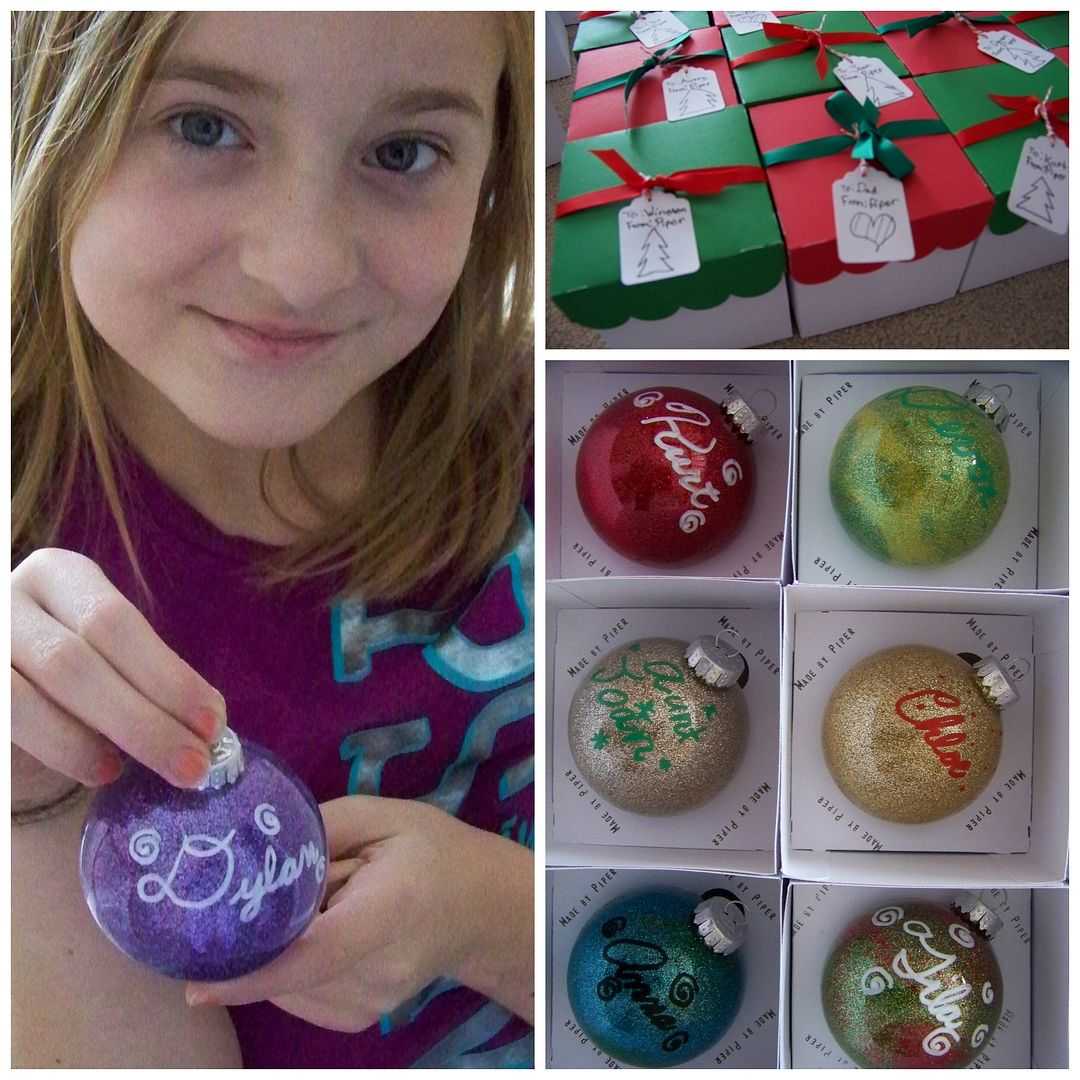
We did have a great Christmas, aside from a day of sickness experienced by my little girl on Christmas Eve.  It broke her heart but she was better by Christmas Day!  I will say that this was the least stressful holiday season I have had in years.  I didn't do a lot of crafting and baking projects for Christmas so I had so much more time.  I shopped earlier, I decorated with less 'stuff' than usual, and I spent more time being with my little family!  I learned a lot this year that I plan on using for future Christmases!

I hope that you had a very Merry Christmas, that you find yourself in a better place at the end of 2013 than you found yourself at the beginning of the year, and that you are filled with hope for 2014!  

Sunday, December 8, 2013

My Kiddo and Her Ornament Gifts... and a Tutorial from Piper to You!


My daughter, Piper, is nine this Christmas and, for the first time really, she expressed concern that she wanted to give everyone something nice for Christmas but couldn't afford to do so.  When she was little, she was known to draw pictures to give away to her grandparents and cousins, but this year, she was a little upset that she had spent her summer earnings and didn't know how to come up with real gifts that were special and just from her.

The obvious solution to any crafter is to make gifts, so I showed her how to make glitter globe ornaments.  Heck, I have been storing tons of clear, glass ornaments since I bought them 70% off at Michael's a couple of years ago.  I welcomed a way to move those out of my crafty space!  If you have never made these with your kids, I will tell you it is a great project.  No drying time for the glitter since the mess is inside and, if you have a Cricut and Sweet Tooth Boxes, you also have the perfect way to protect and wrap them!


The funny thing is that last year, her teacher tried to do this craft with the class but missed the detail about the glitter going INSIDE the glass globe.  It was a dangerous mess with elementary school students trying to apply Elmer's glue, glitter, and stickers to the outside of fragile glass. Bloody, cut hands, broken ornaments, and not one successful ornament in a class of 12.  (There were several crafty moms available last year; still not sure why none of us was called to help!)  Piper was thrilled to learn the correct way to do this project and we both thought they really looked special!  She personalized them with paint pens and (with a little mom-help) made boxes to present them in.

She was pretty proud of herself!  She just finished the last of them today. She told me, after the experience with her class last year, that she should present a tutorial on the correct way to do this... (Honestly, that cracked me up and really emphasized what a disaster it was with her poor teacher last year!)

Piper's Ornament Tutorial


You will need:

  • Clear, glass ornaments.  You don't want the plastic kind that pull apart in halves; you need continuous glass globes with metal tops that pull off.
  • Floor wax (I found Holloway House Quick Shine Floor Finish at Walmart).
  • Funnel (we made a paper one) to help the glitter neatly get inside the globes.
  • Glitter (I keep Martha Stewart glitter on hand, but any kind of fine or super-fine glitter will work.  We also found that darker colors and highly reflective or metallics work best for complete coverage.)
  • Isopropyl Alcohol (rubbing alcohol) and paper towels.
  • Damp rag for sticky fingers and floor wax drips.
  • Painters Opaque Paint Markers (I found these at Walmart.  They are made for writing on glass and were about $10 for a pack that included white, black, blue, red, and green.  These made it possible for Piper to personalize the ornaments super fast and mistakes can be wiped off easily when wet or rubbed off with alcohol if dry).
  • Sweet Tooth Boxes, card stock and ribbon for wrapping.  We used a punch to make the tags.
Pull the tops off your glass ornaments.  


Pour in a little floor wax and swish it inside gently (to prevent bubbles from forming), covering the hole with your hand.


Pour the excess floor wax back in the bottle.


If you created bubbles, you can stick a skinny piece of paper in the hole to pop them.


Using a funnel, pour glitter in the ornaments.


Use your hand to cover the hole.  Turn the glitter in the globe to coat the entire inside.


If you mix multiple colors of glitter, dump excess in the trash, otherwise you can reclaim any excess glitter back in the bottles.  Resist the urge to keep the glitter in the globes.  If you do, Piper says you will get the nickname Glitter Bomber.  Just so you know!


Put the tops on the ornaments.  Clean the outside of the ornaments with rubbing alcohol and paper towels to remove oils from your fingers and any glitter or wax.  This step will ensure that your paint from the paint markers will adhere.  If you miss a spot and the paint seems to act like it is over a resist, simply wipe it off and clean the glass with the alcohol again.  (Piper says, you know, do a better job of it this time... not that we had that problem or anything.)


Use Painters Markers to personalize the ornaments.  I considered letting her personalize them with vinyl and the Cricut, but applying vinyl on a round form can be tricky and this was so much easier for her!  I wanted her to be able to do as much of this project herself since these were her gifts.

Piper loved the way that cursive looked on these and also started asking me which font she should write in. She was getting pretty fancy with it.  I made a snowman with the white one-- white doesn't really do well but if you cover it up with paint, it looks okay.  Ha!


Allow the paint to dry.  To make boxes for them, I found a great box with an insert to hold the ornaments safely in the centers of the boxes using Cricut's Sweet Tooth Boxes.  The box and lid are on page 21 and we cut them at 10-1/2".  The inserts are on page 64 and were cut at 6".  They were glued together using Scotch Quick Dry Adhesive.

I had one of those stamps that you can customize with movable letters to make the "Made by Piper" that she stamped on the inserts while they were flat.  It is important to her that her recipients know that she made them!


Piper made her tags using a punch and drew on them to make them special.


Not making bows, but rather simple knots, made it easy!


Piper's gifts are under the tree and ready for school parties, playdates, and family Christmas gift exchanges! So proud of her and so happy that she appreciates the joy of giving!

Thank you for visiting my blog.  My shopping and wrapping are complete as well so I am getting to journal and craft this month!  I have a felt-mouse-making factory going on here right now!  Hoping to share some of those soon!  What are you working on this week?

Tuesday, December 3, 2013

Happy December!


What a crazy year this has been!  Am I alone on that?  For our family, it has been.  And I have been determined to end 2013 better than it began.  I coupled that determination with my OLW:  faith.  So... less time on the computer, more time getting things done and believing that it will all work out!  You might have noticed that my little blog has been neglected!  But it's time again for projects and fun in the craft room....and I love to share what I am up to so here goes!

One thing I started early this year was a little project I saw on Pinterest.  It was a savings program -- an easy one!  Each week, you simply save the amount that the week is.  So, for example, week one, you save $1.  Week 2, you save $2... and so on until week 52 when you save $52.  At the end of the year, you have over $1300 saved.  Our year works out that there's more money coming in during the summer, so I actually saved the higher weeks' amounts then.  Actually, I finished it in November and as of yesterday, finished all my Christmas shopping using my little saving fund!

If you want to see the pin for this, check it out:  click here!  I originally posted this on the Cricut Fanatics site in January.  You can see it by clicking here!  My 2014 resolution will be to continue this as it now is a habit!  I am also extending it to my tithing so that next year I will increase my giving at church by around $1300 by increasing my weekly offerings in the same way.  I think it is very do-able and worthwhile!


Speaking of being finished with Christmas shopping, you know that means Christmas wrapping is the next challenge.  And I finished that too!  Yippee!

Not all of my wrappings were special, but I had fun with quite a few and I wanted to share them here.  I haven't been buying cartridges this year so that I could re-prioritize my spending so these don't use the latest cartridges, but I find that I have plenty of older ones and I can see them with new eyes so that is a blessing!

Poinsettias cut with Cuttlebug Poinsettia Die.

Stocking Replacement!  Sweater Weather for all elements.  Boarder 1-3/4".  GAGA'S 2-1/4".  STOCKING 1-1/2".

Big Bird Bag: Elmo and Friends Holiday page 57, 7".
Letters are from Mickey Font.

Simple tag:  Very Merry Tags 3".

Gingerbread Man:  Jolly Holidays 7".

Base tag:  Holiday Frames and Tags page 63, 3"
Smaller tag on top:  Art Philosophy page 50, 2-1/2"
Punch-cut greenery.

Owl on a Branch Bag:  Winter Frolic page 37, cut at 4-1/2".

Snowman Tag:  Very Merry Tag 4".

Santa Snowflake Bag:  When It's Cold Outside, cut at 6-1/2".

Raccoon Tag:  Jolly Holidays, cut at 5".

Owl on a Branch Package:  Winter Frolic, page 37, cut at 6".

Owl with Santa Hat Tag:  Straight From the Nest page 30, 4".

Ballet Tea Exchange Gift Tag:  Dancer- Twinkle Toes, cut at 6"
Teapot-Love You a Latte, cut at 1-3/4".

Deer Tags:  Winter Woodland 2-3/4"
Toe Shoe Tags:  Base- Artiste page 37, Accent 3 shift at 4".
Toe shoe design- Twinkle Toes 4"
Tiny name tag: Artiste page 37, Accent4 shift at 2".

Tractor with Christmas Lights:  Beep Beep 4-1/2"
Greenery is punch-cut.

Beaver tag:  Winter Frolic page 35, cut at 5"
Holly on scarf is same cart, page 58, cut at 3-1/2".

Flapper Girl Tag:  Art Deco page 45, cut at 5"
Base:  Holiday Tags and Frames, page 36, cut at 5" and flipped.

Santa on a Tractor:  Beep Beep 6" (hand-cut hat and Liquid Applique for beard)
Greenery for wreath is punch-cut.

Box for Cash:  Bridal Shower, cut at 9-3/4".

Cinderella's Carriage: Happily Ever After page 37, cut at 4".
Hoping that having my gifts bought and wrapped early will mean that I will have time to make cards, candy-grams, and to work on my Christmas Journal and photo-a-day Instagram projects!  Last year, I paid for Shimelle's Journal Your Christmas.  I loved that class (my finished journal is something I really love) and the fantastic benefit is that you are forever signed up so I got this year's prompts at no additional charge.  It really helped me focus on the things that really matter!  It was such an unexpected blessing and even my daughter treasures it!  If you are interested, it's not too late to sign up! Here's a link:  click here!


These are the phonephotography projects I am doing.  I just pick whichever daily prompt speaks to me and if not all days get done, well, so be it!  If this is your cup of tea, here are the prompts.  Find me on Instagram -- I'd love to see what you are doing there!

This one is from the United Methodist Church and their rethink church campaign.  Hashtags are below:


This one is from Fat Mum Slim.  Hashtag for this is #FMSphotoaday.  Here's a link:  http://instagram.com/p/hX4CbEzRMx/

In case you are new to this, the hashtags just allow you to see other photos from other people who are also doing these projects!  Not required but unless your Instagram is set to 'private' it allows people to see how you interpret the prompts and it makes it more fun!

So my final 'project' is health-based.  Yep, I got back on program at Weight Watchers.  You are reading the blog of someone who lost 70 pounds!....ten eleven years ago.  I have spent the last eleven years gaining it back (plus some) so.... I am back at the drawing board and 12 pounds lighter than I was at the beginning of November.  Yay for that but much more to go and hoping to meet goal sometime next summer but on-program whenever it actually happens.

Piper is making personalized ornaments for gifts this Christmas.  Hoping to post those in a week or so!  She is taking so much pride in having so many gifts for others this year!  Yay!!
It is a happy December.  Full of challenges but lots of hope and some fun too!  Wishing you a happy December!  What are your December special projects?  Are you doing a December Daily or Journal Your Christmas kind of project?  Best wishes for making great memories!

But wait! There's more! Click 'older posts' above!

But wait!  There's more!  Click 'older posts' above!