Showing posts with label Altered cuts - animals. Show all posts

Friday, September 28, 2012

Fun Cards for My Kiddo!


Yay!  It is Circle Mania Weekend and I am crafting in-person with my message board friends... but my daughter is home and I wanted to make some some cards for her to open while I am gone.  She was a little teary about my trip away, so I wrote little messages inside of each, reminders that I am thinking of her.  I put them in envelopes with instructions on which to open each day.  

For my cards, I used animals that I morphed together with Teddy Bear Parade to create new and different critters that wear the little outfits from the teddy bear cartridge!  You can see my initial post on that by clicking here to see a whole menagerie of characters!  Some of the critters from that post were used on these cards today!  These cards each finish 5" wide by 6" tall and are created by simply scoring a 6" x 10" rectangle of card stock in the middle.

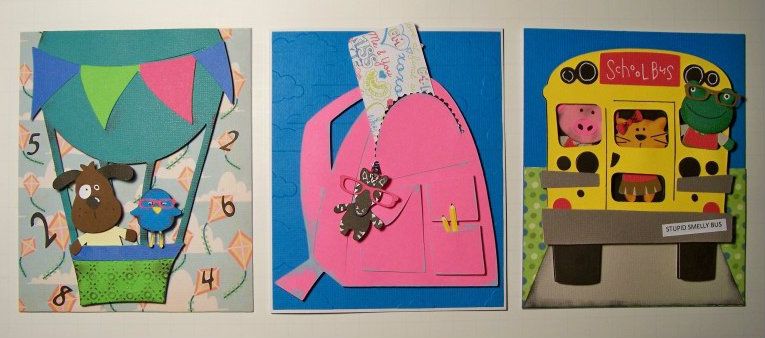
Don't Daydream During Math card...


Crafty details for Don't Daydream During Math card:
  • Base mat - trimmer-cut to 5" x 6" from a 6-1/2" flood-filled square created on the Imagine, printed from Best Friends (page 36).
  • Balloon - cut at 7" on the Expression from Children Around the World (key #8).  Shape was manually cropped down to 6".  I snipped the inside balloon strings so the dog could be placed inside.  The basket was embossed.
  • Dog -  body cut at 2" on the Expression from Teddy Bear Parade; head cut at 1-1/2" from Doodlecharms.  School uniform cut from Teddy Bear Parade at 2".  
  • Bird - cut at 1-1/4" on the Expression from 3 Birds on Parade.  Glasses were cut from Teddy Bear Parade (key #29) at 1-1/4".
  • Numbers - Printing 101.

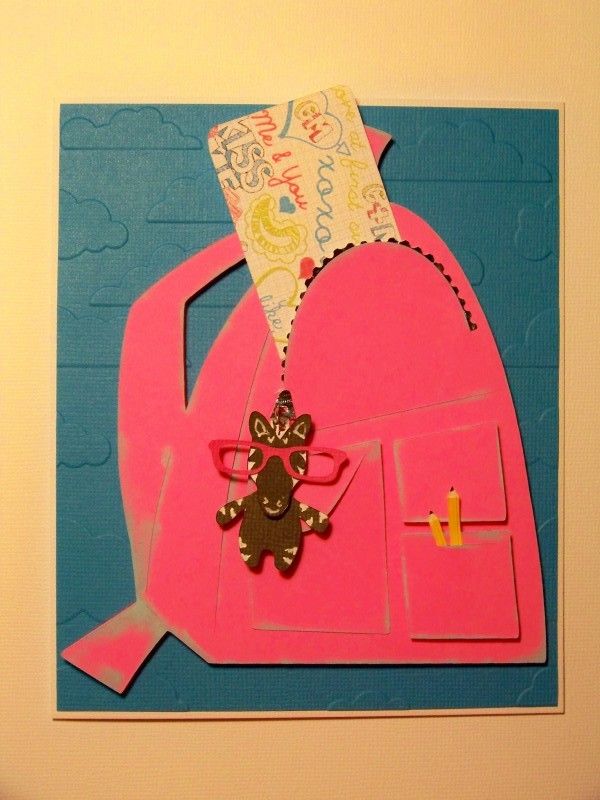
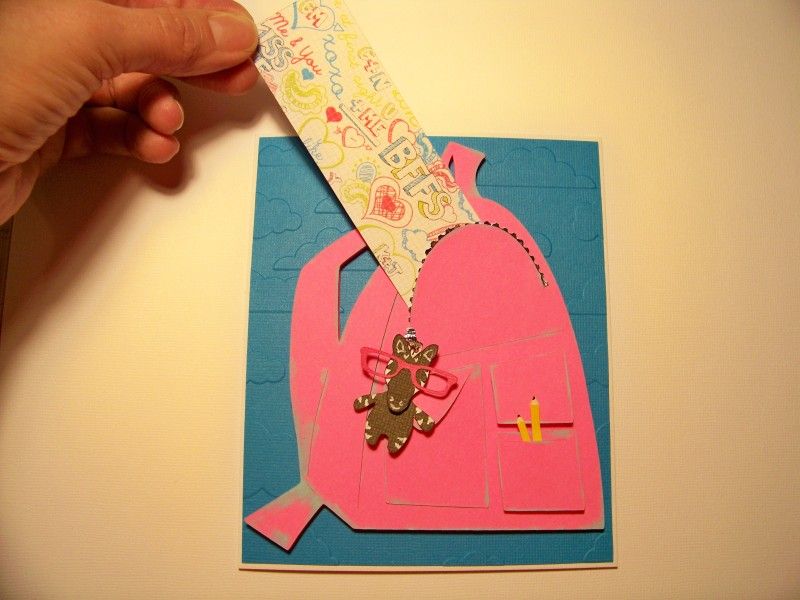
Backpack Bookmark card....


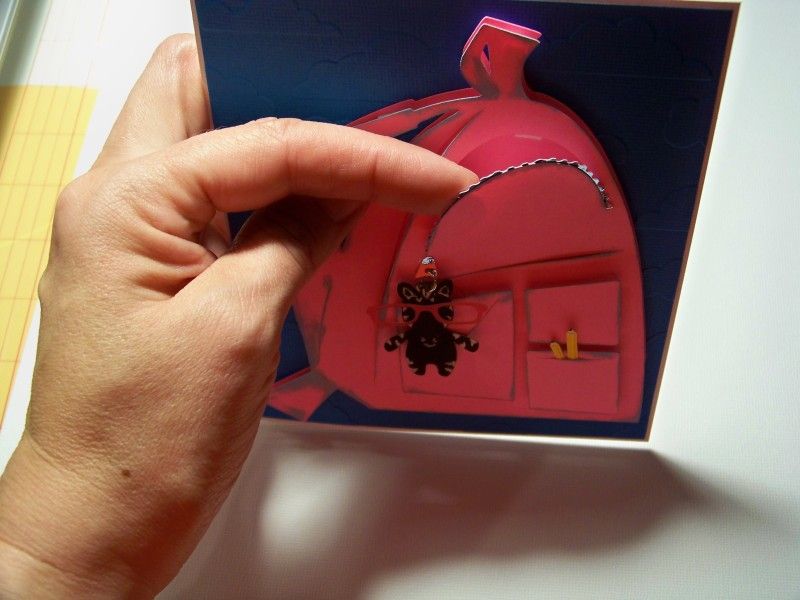
This silly card just kind of pays homage to crazy, clip-on, zipper pulls my daughter puts on her backpacks.  This card features a pocket to hold money, a note, or (as I have done here) a bookmark! 

Crafty details for Backpack Bookmark card:
  • Mat - trimmer-cut at 5" x 6" and embossed with Cuttlebug Skyward Set.
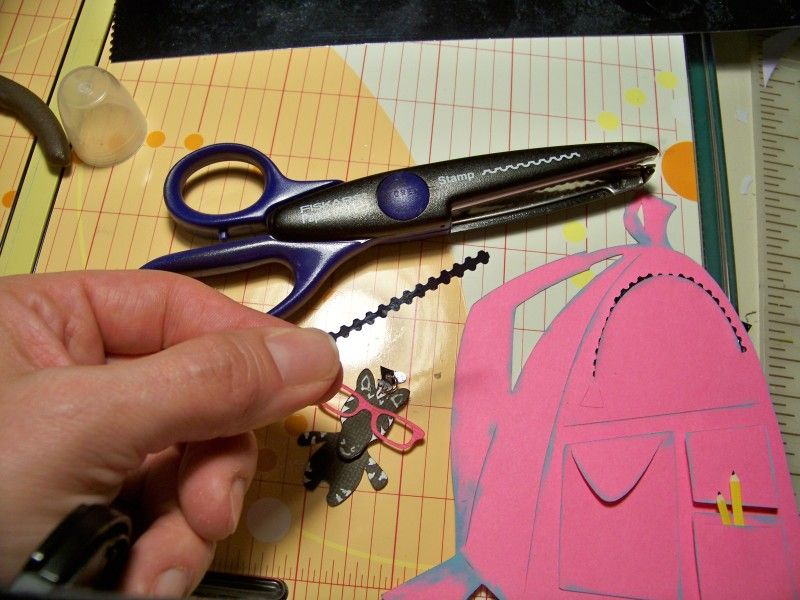
  • Backpack - cut on the Expression at 5-1/2" from Locker Talk (page 41).  Pockets were popped up with 1/8" pop dots.  I created a zipper by cutting a strip of metallic paper with decorative scissors.  I also cut a 'blackout' version of this cut.  The two layers were attached with 1/8" pop dots to create a space for the bookmark.

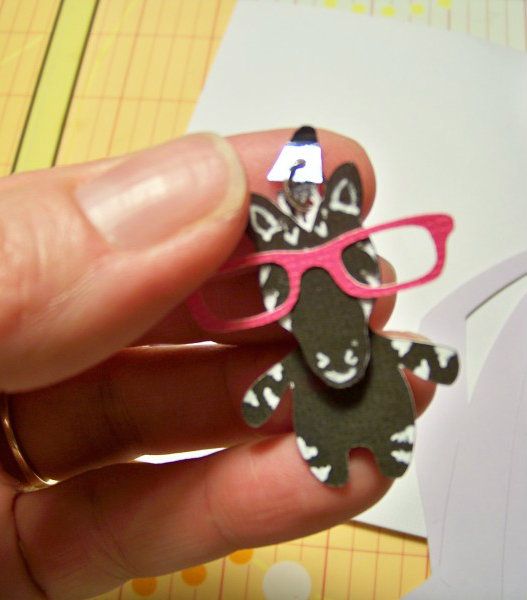
  • Zebra zipper pull -  body cut at 1" on the Expression from Teddy Bear Parade; head cut at 1" from Animal Kingdom (page 107, head feature).  I used while gel pen to add stripes to the body.  Glasses were cut at 2" on Teddy Bear Parade (key #29).  I used a jump ring to attach the zebra to a hand-cut metallic paper zipper pull shape.


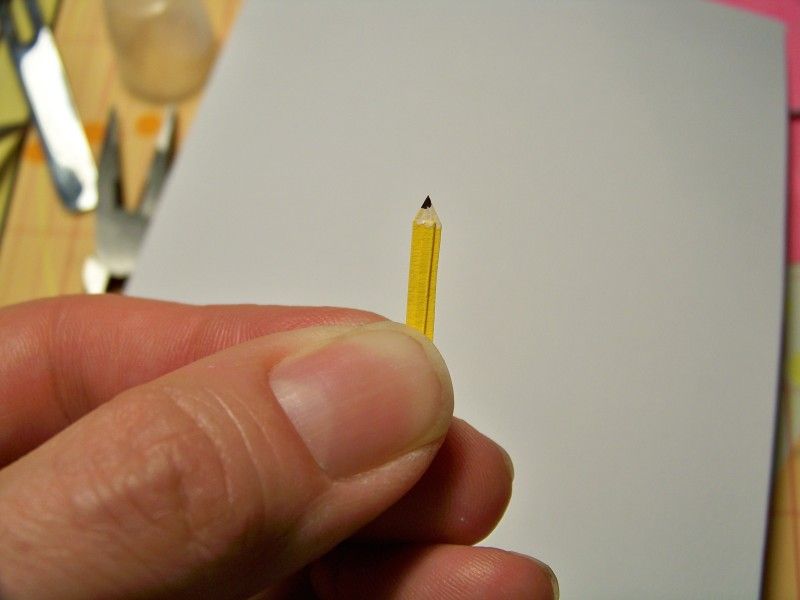
  • Pencils - hand-cut yellow paper strips were "painted" with gel pen and marker to look like a pencil.
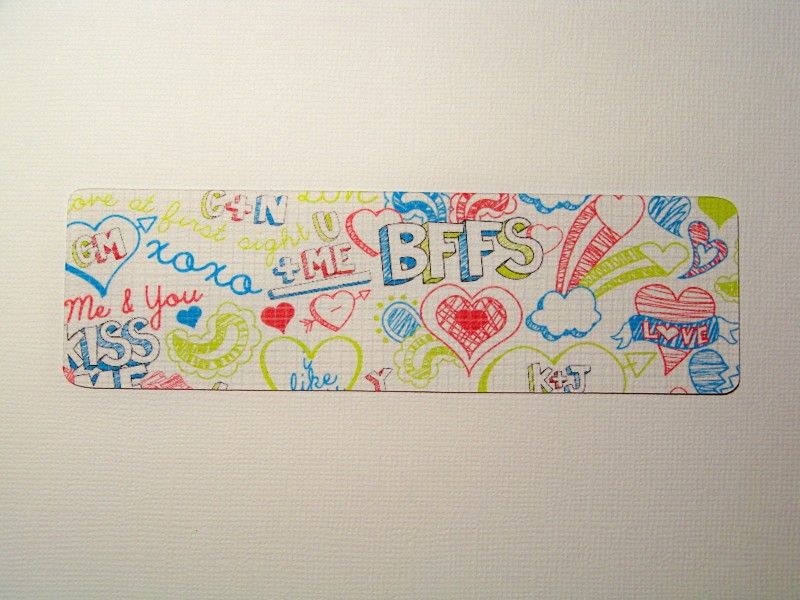
  • Bookmark - Cut on the Imagine using Animal Kingdom (page 131, shift feature) at 5" floodfilled with a print from Doodlecharms (page 10).  I tucked the bookmark into the backpack.


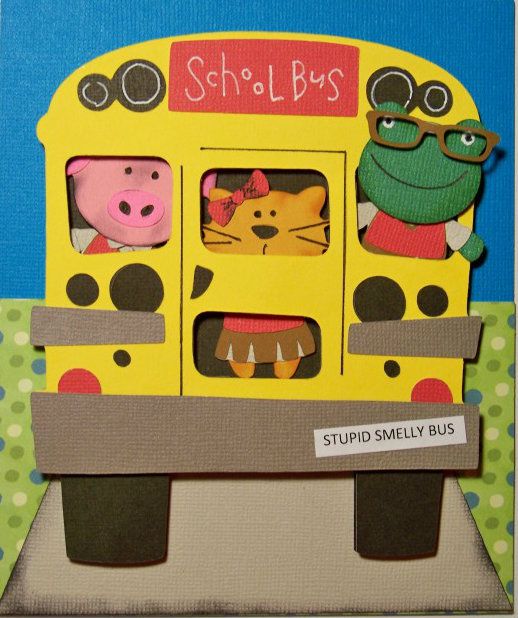
Stupid Smelly Bus card...


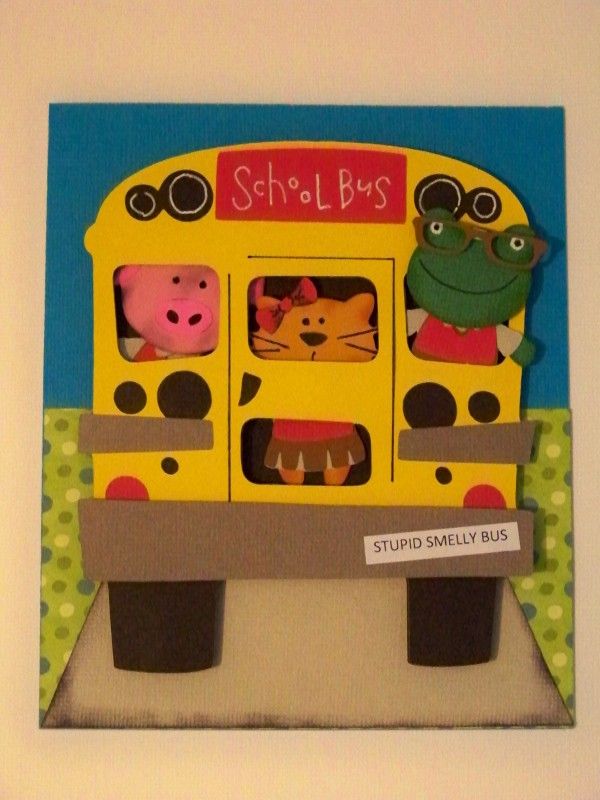
Here's a little background bit...There are no buses at my daughter's school but we always get behind at least one on the way to school!  In Kindergarten and First Grade, she used to enjoy reading Junie B. Jones stories.  Once she read the Stupid Smelly Bus, we started referring to all school buses that way, in honor of Junie!  My daughter is always intrigued by what goes on in a school bus... always making up scenarios as we pass them or follow them.

I used three critters from my previous post on my blog, adding school uniforms.  I stuffed 'em in my favorite bus cut and added a little scenery to plant the bus on the road!

Crafty Details for Stupid Smelly Bus:

School bus - cut at 5" on the Expression from Locker Talk (page 34).  Two black bases were cut and  1/8" pop dots were used between the two bases to create a little depth for the critters to exist in.

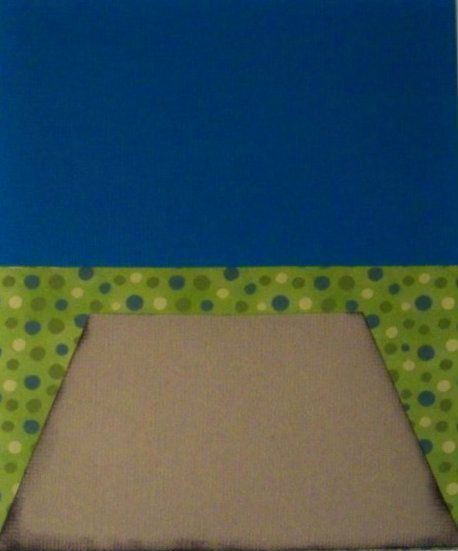
Blue base - trimmer-cut at 5" x 6"

Green mat - trimmer-cut at 5" x 3"

Gray mat - trimmer-cut at 2-1/2" high with top cut at 2-7/8" and bottom cut at 5"


Pig - body cut at 2" on the Expression from Teddy Bear Parade; head cut at 2" from County Fair. (Head was manually separated from the body).  School uniform cut from Teddy Bear Parade at 2".

Cat -  body cut at 2" on the Expression from Teddy Bear Parade; head cut at 1" from Doodlecharms.  School uniform cut from Teddy Bear Parade at 2".  

Frog -  body cut at 2" on the Expression from Teddy Bear Parade; head cut at 1-1/2" (real dial size) from New Arrival.  School uniform cut from Teddy Bear Parade at 2".


Bumper sticker - trimmer-cut after printing with Microsoft font.


Thank you for checking my blog post today!  You can see many of my previous projects by visiting My Project Gallery, or click here.  I am off to Circle Mania. Hope you get to do a little crafting with friends wherever you are!


Friday, September 14, 2012

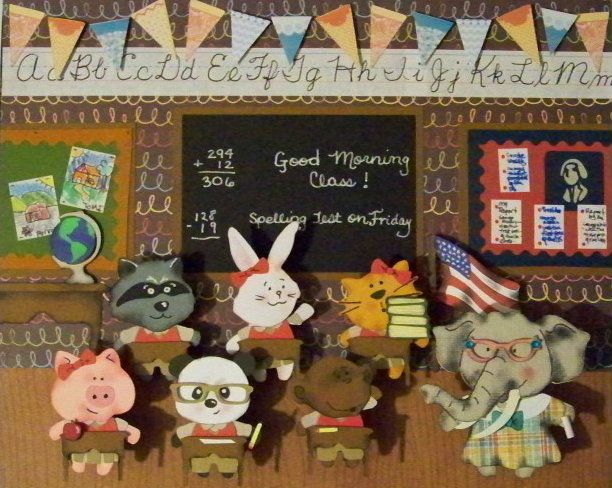
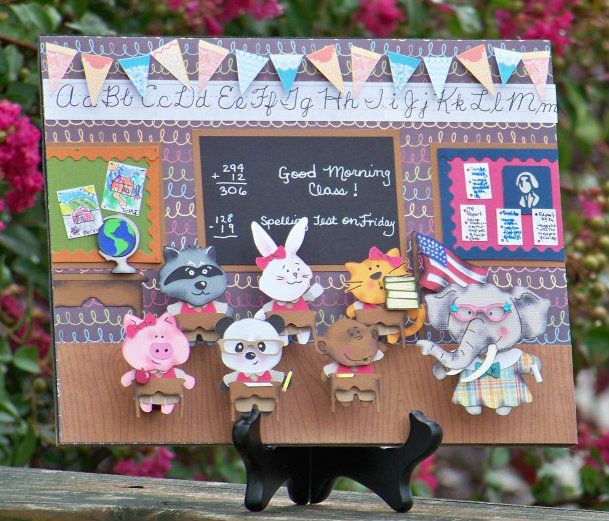
Ms. Elephant's Third Grade


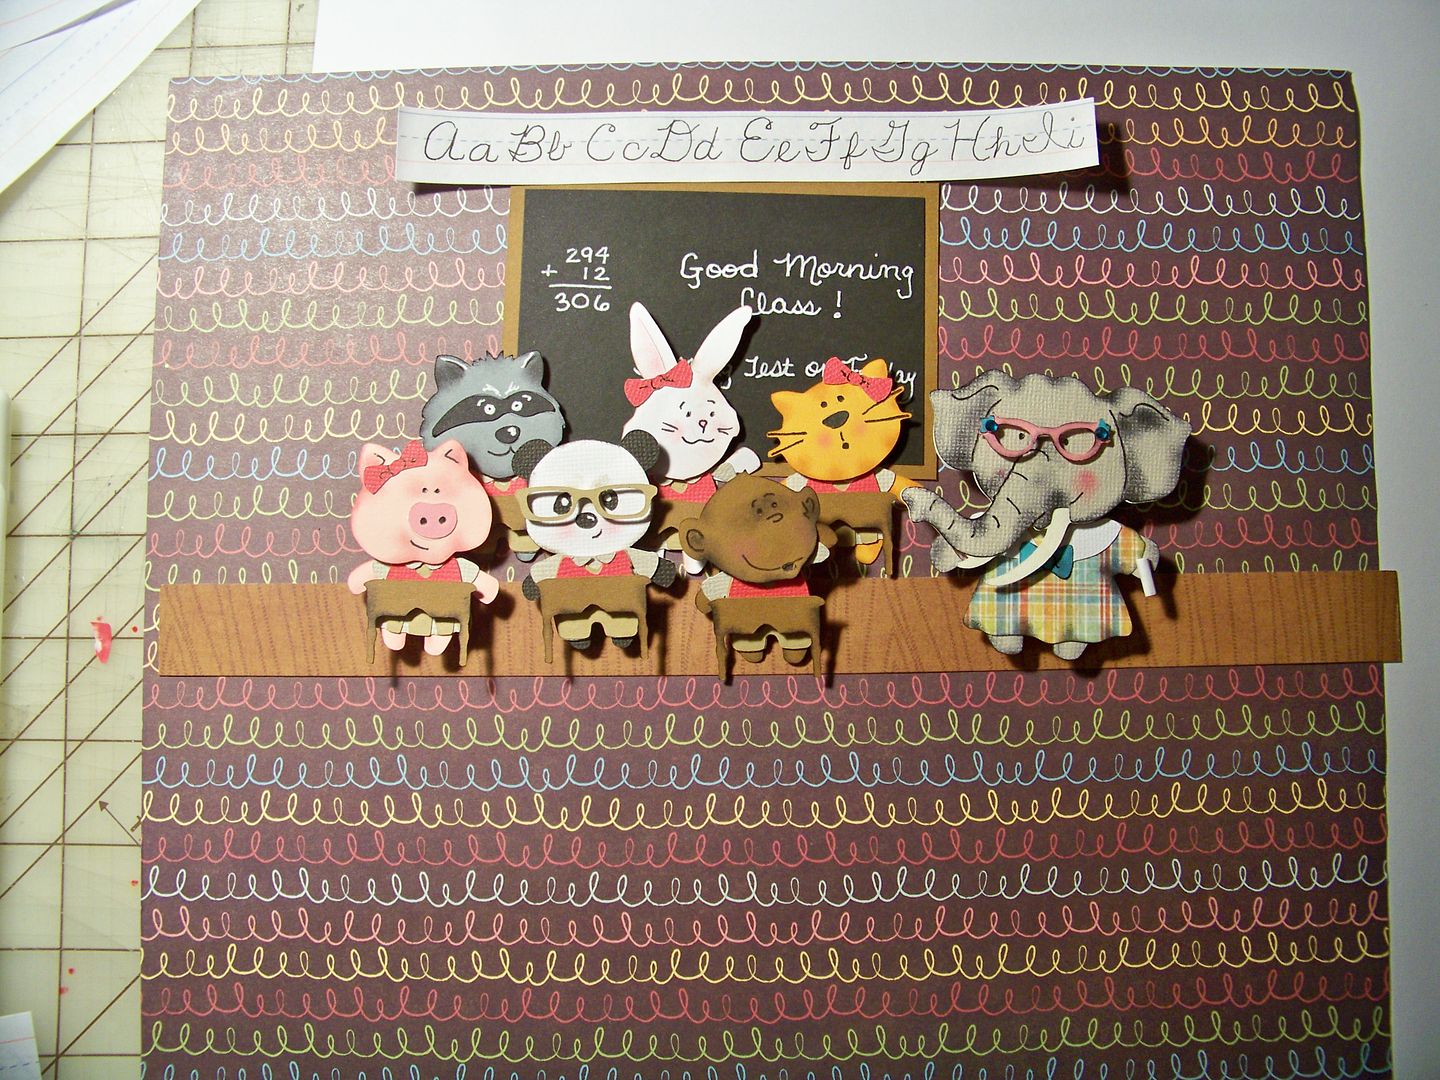
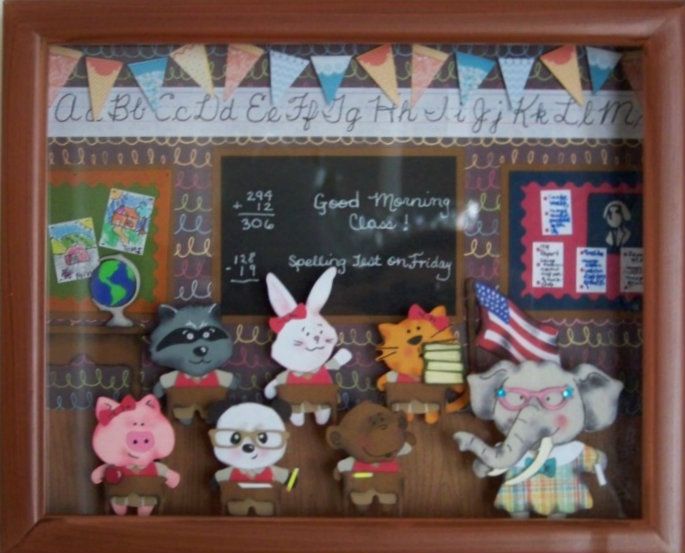
 So, do you remember those Teddy Bear Parade morphs from a previous post?  There, I learned how to put bodies and clothes from Teddy Bear Parade with heads of different critters from different carts-- sometimes even the super oldies-- to make a whole menagerie of fun characters.  Well, I found that Everyday Paper Dolls and Animal Kingdom also have some fantastic 'head only' animal cuts!  I used them on this project:  Ms. Elephant's Third Grade!

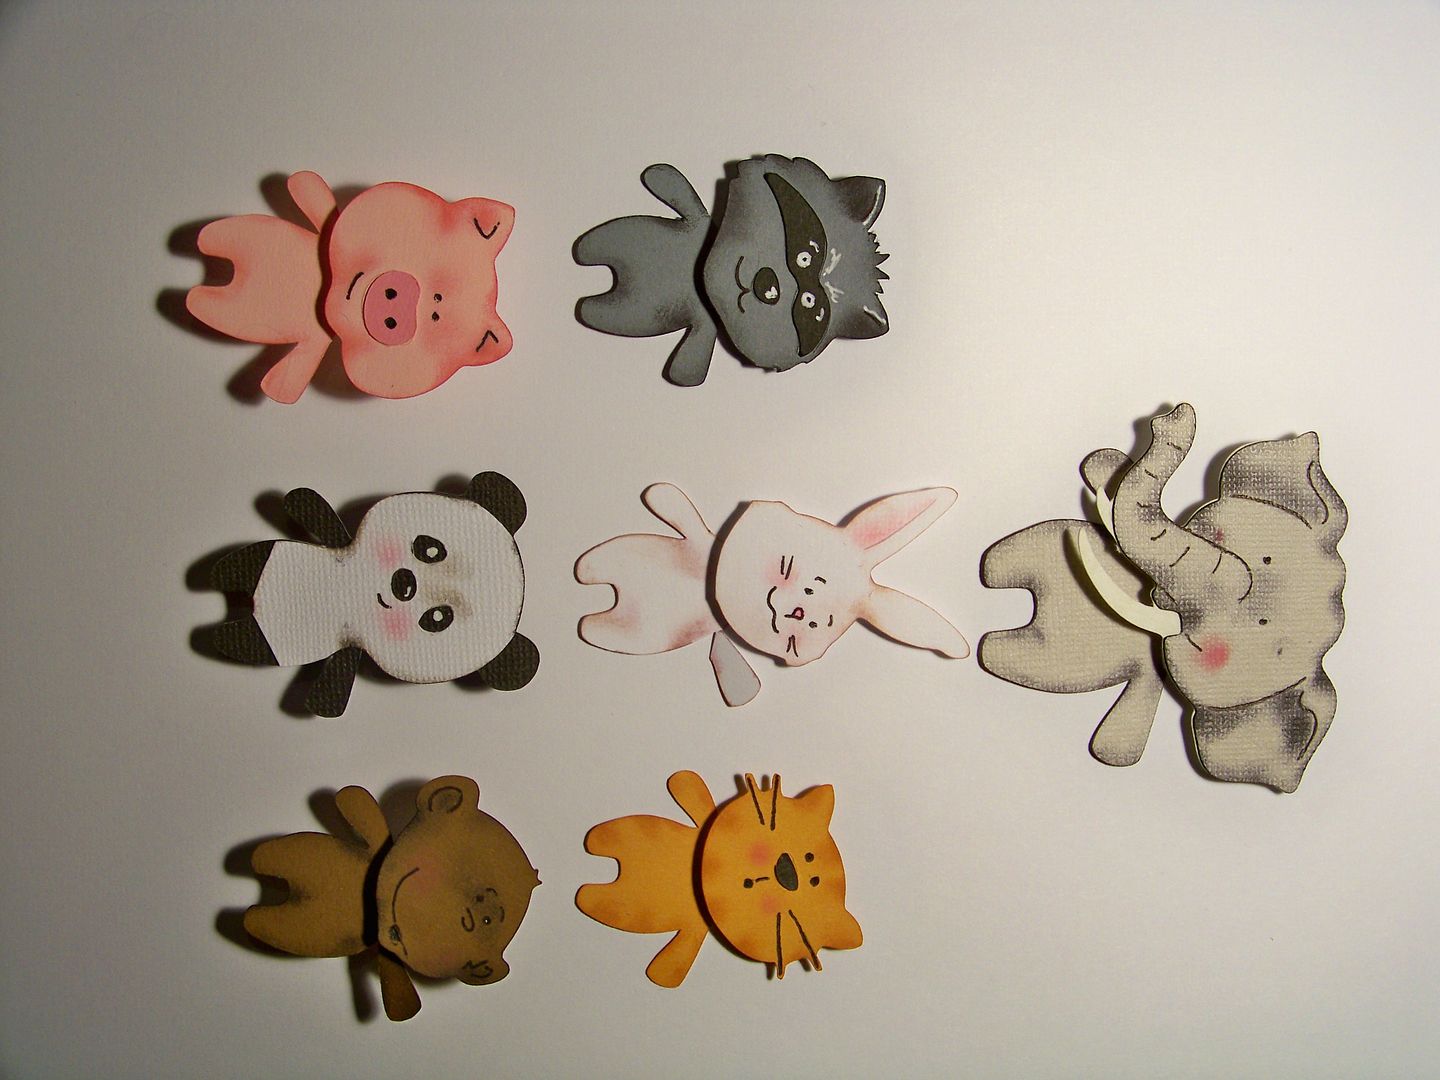
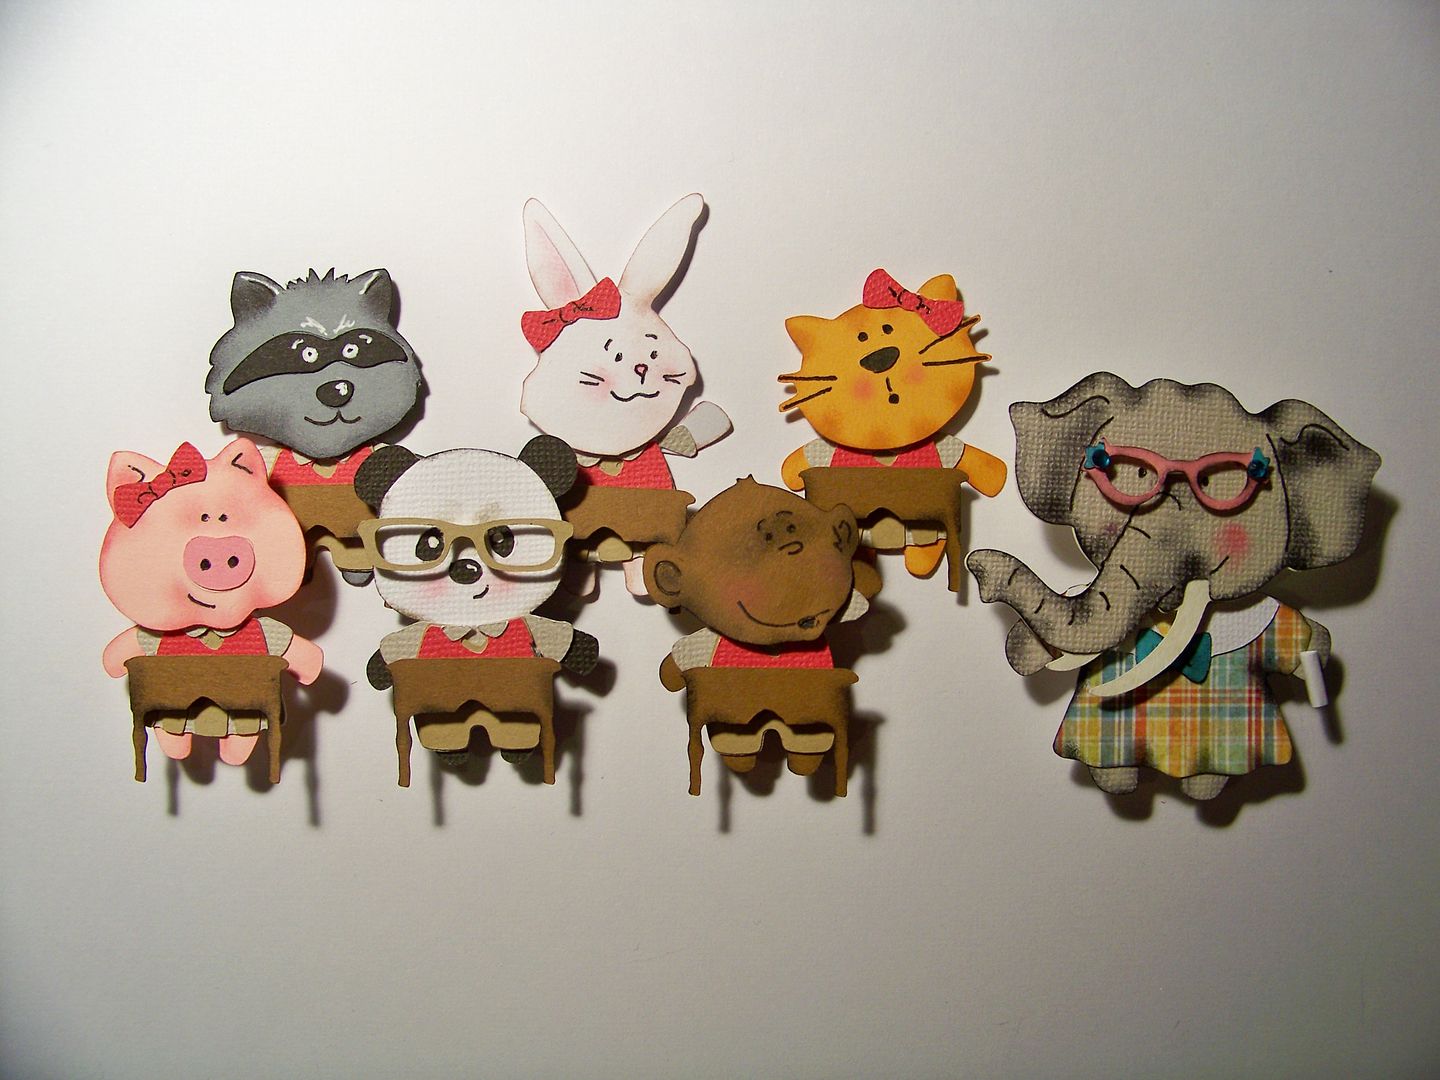
I started this project by making characters!  I stayed with the 2" bear body for the students (3" for the teacher).


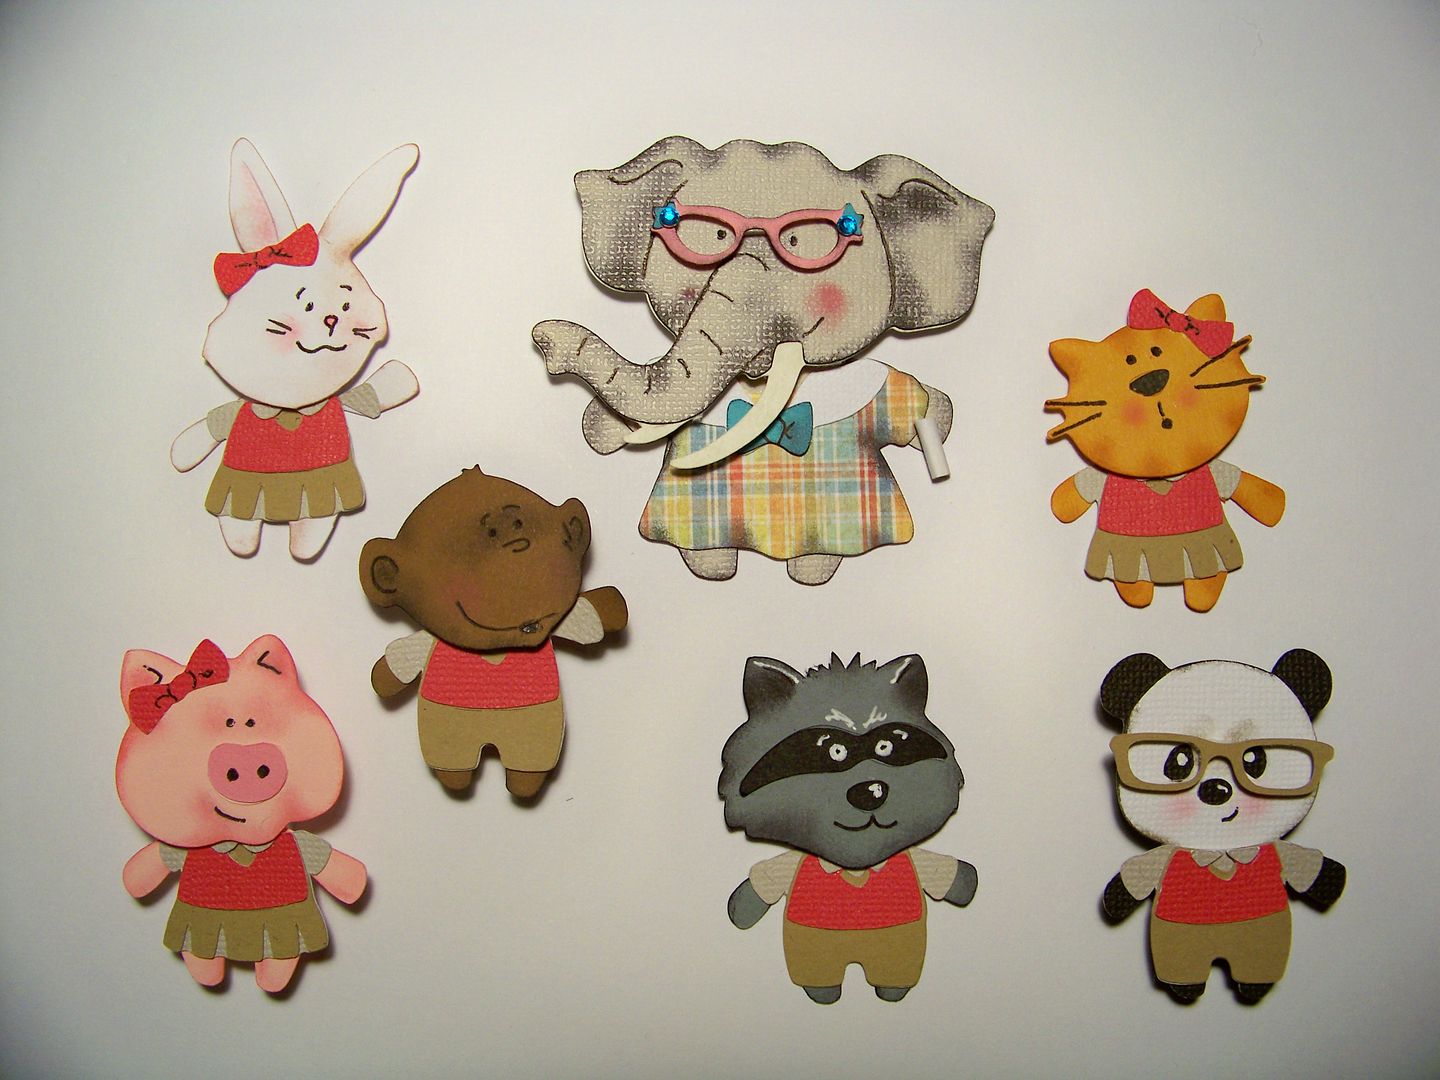
Animals were created as follows.  Uniforms for all the students were a combination of the school girl and school boy on Teddy Bear Parade (keys 28 and 29)!  All clothing was cut (of course) the same size as the bodies.

  • Elephant - 3" body from Teddy Bear Parade with a 2" head from Animal Kingdom (head feature, flipped, page 102).  Dress was the sailor dress  (key # 22) on Teddy Bear Parade.  Glasses were cut from Paisley (page 56) at 1/2".  The head was popped up 1/8".  Glasses were popped up 1/8".  The chalk in her hand is just a tiny rolled up piece of paper.

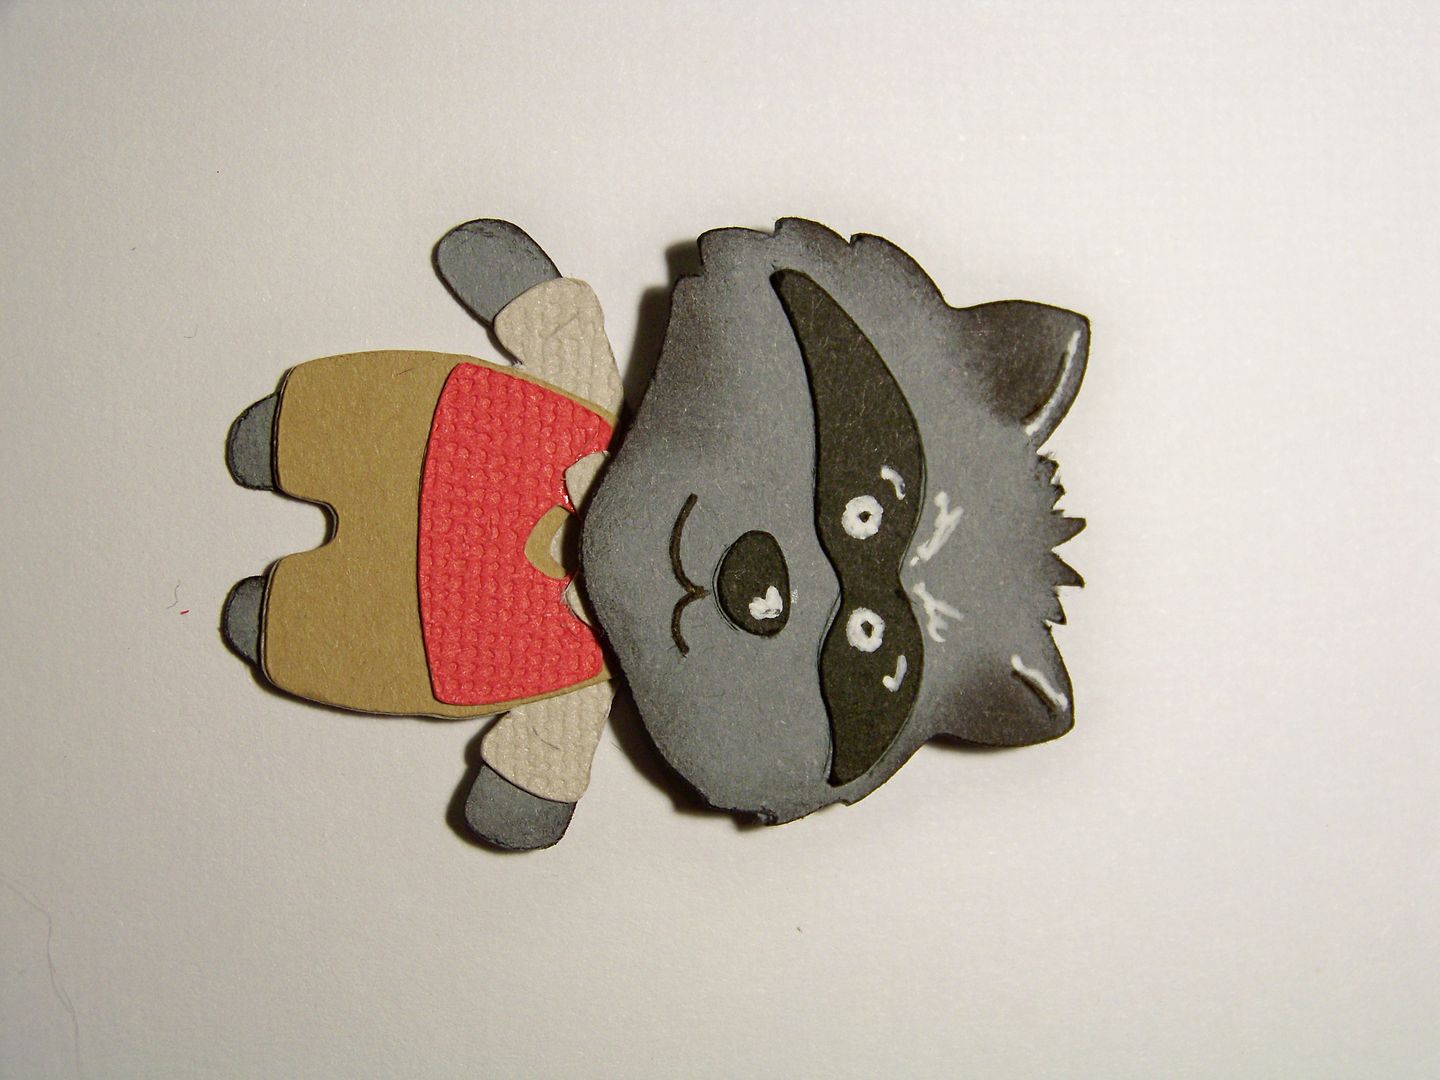
  • Raccoon - 2" body  from Teddy Bear Parade with a 1-1/4" head from Animal Kingdom (flipped, head feature).  

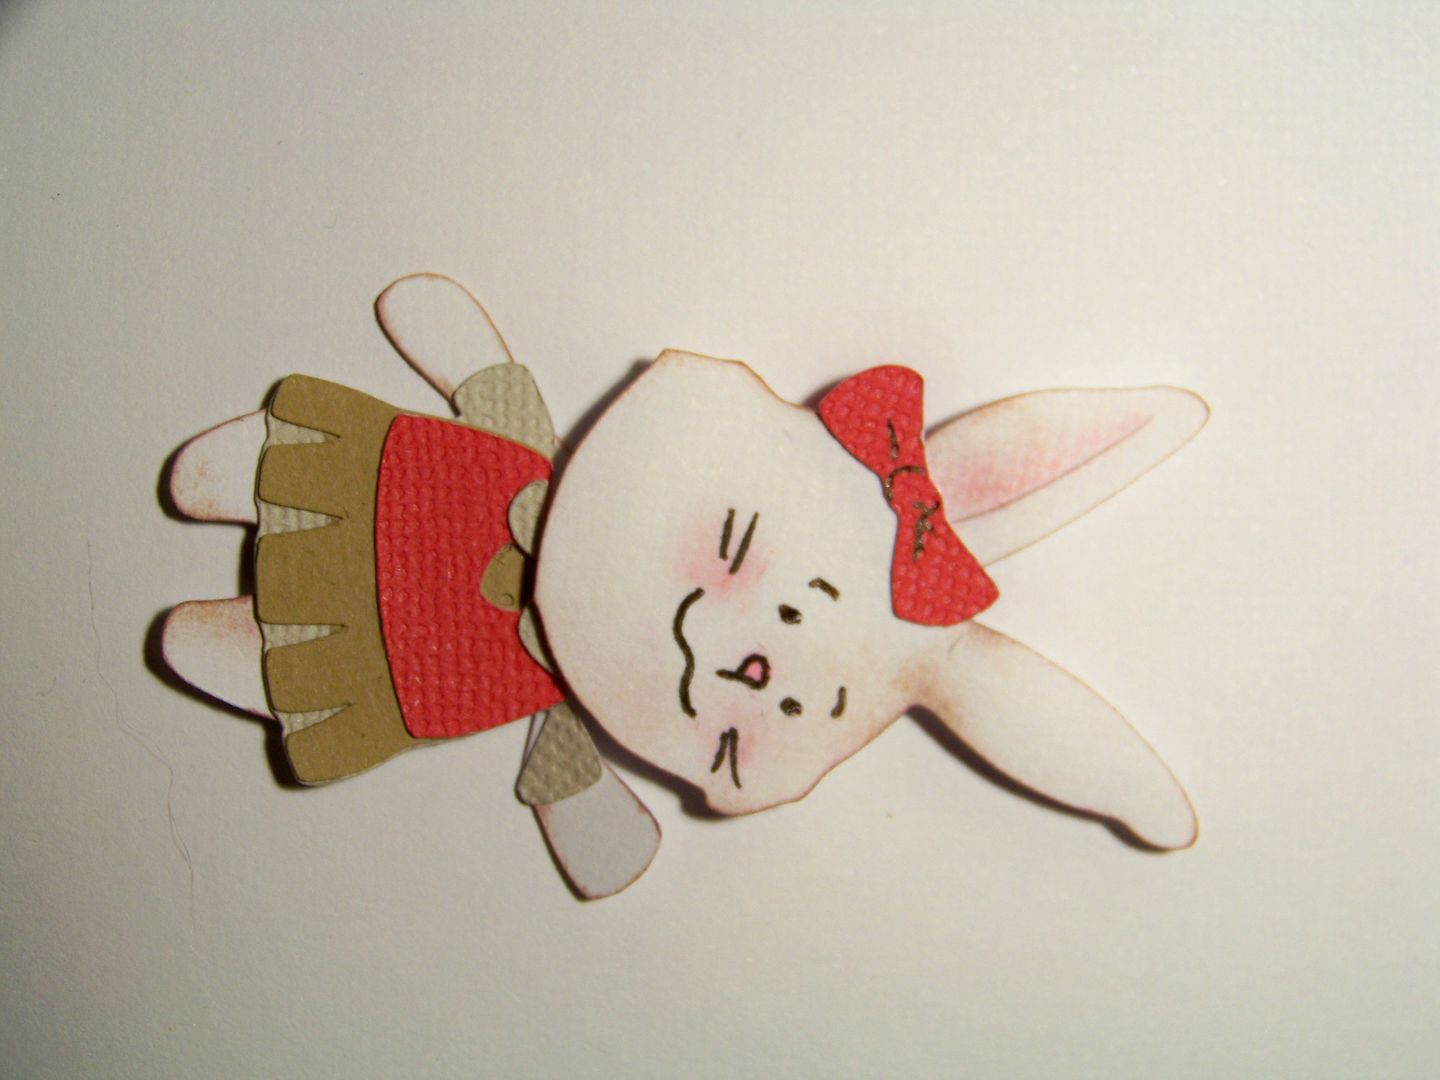
  • Rabbit -  2" body  from Teddy Bear Parade with a 2-3/4" head from Everyday Paper Dolls (page 74, 'head only' cut).  I cut one arm and sleeve so she could 'raise her hand'.  (I just snipped in at her underarm and moved the arm up as if it were on a hinge.)

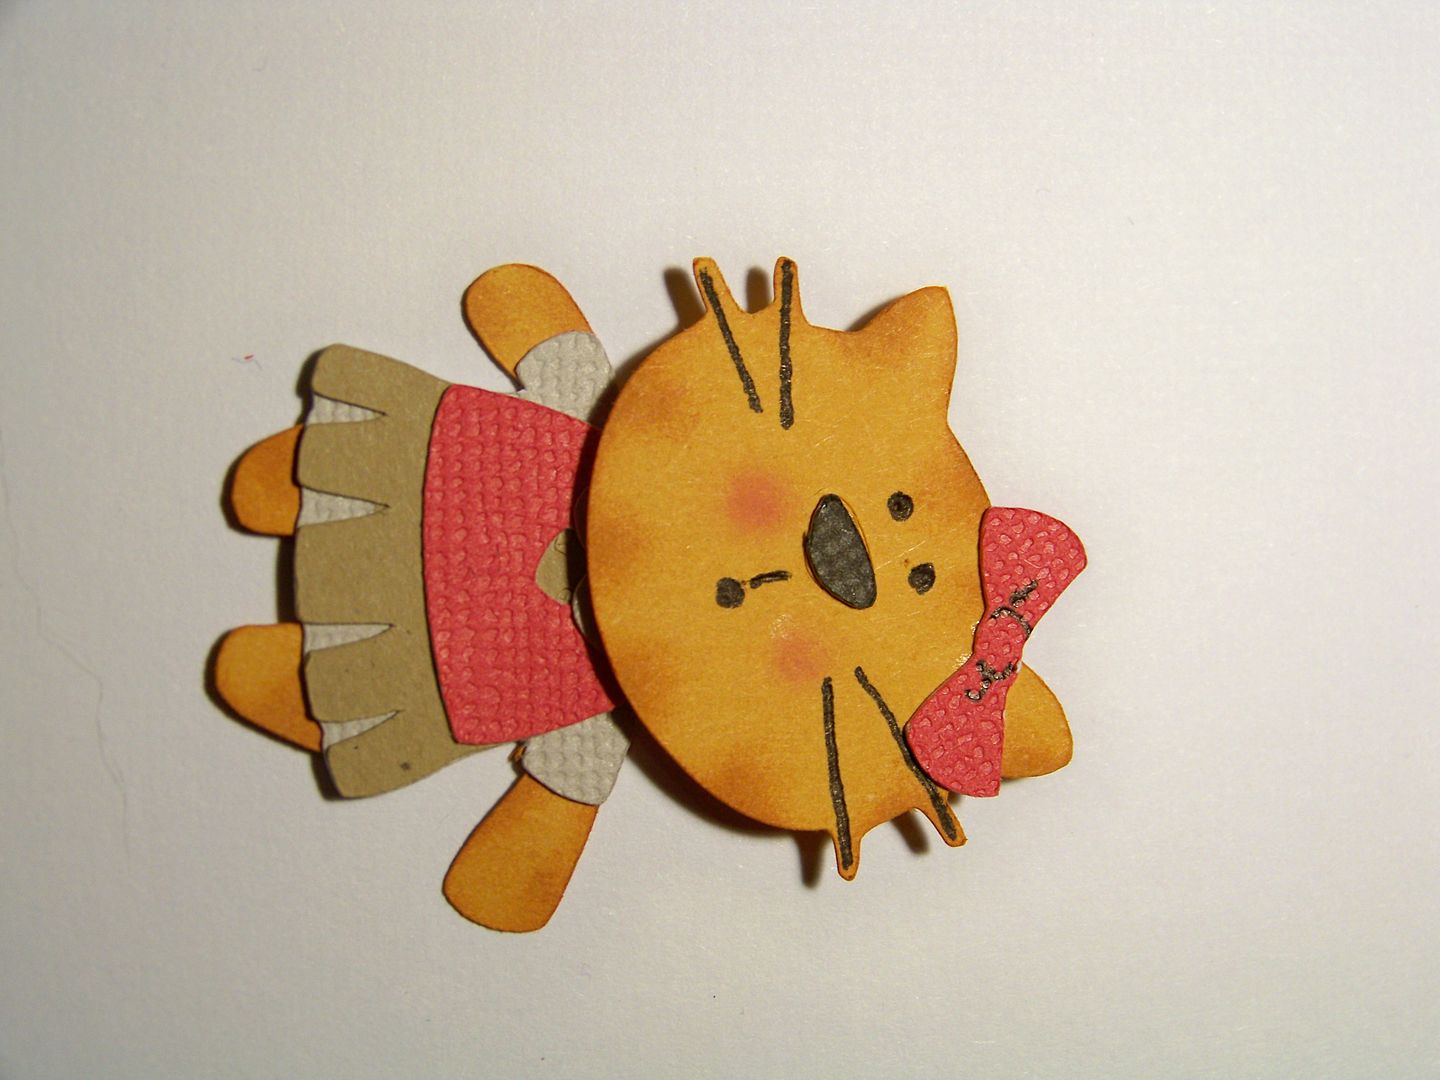
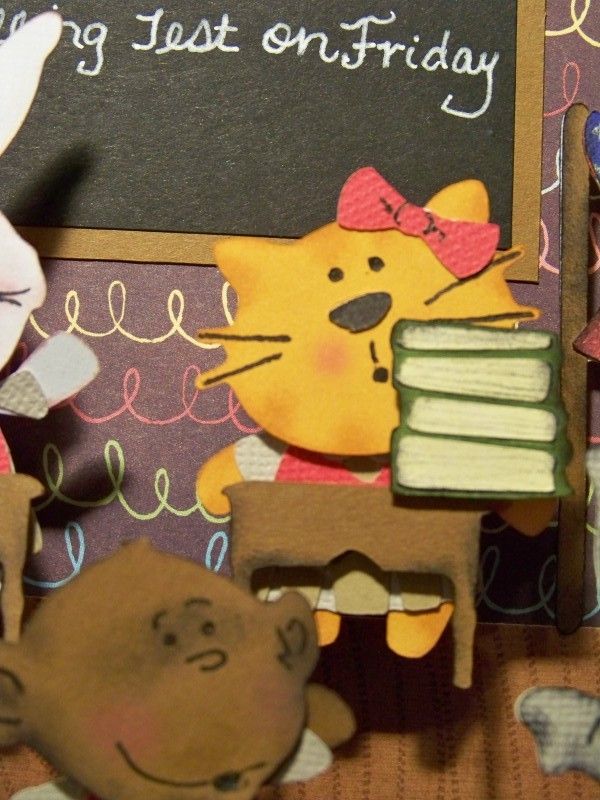
  • Cat - This is the very same cat that I made on my previous post.  Click here for info on making this critter!  

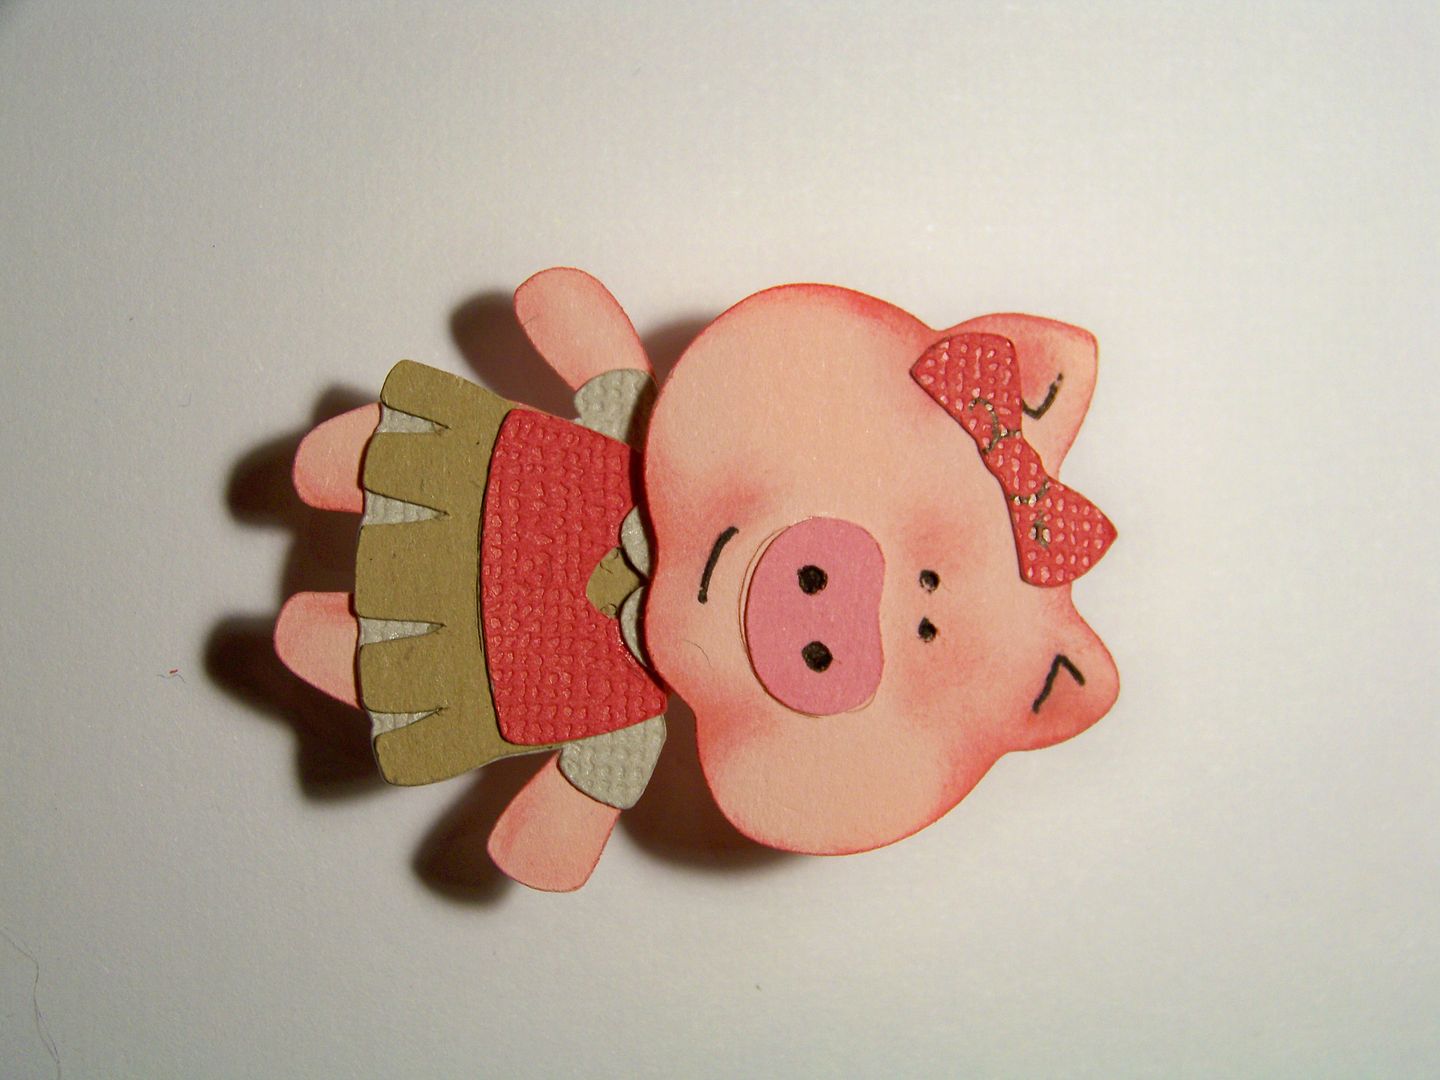
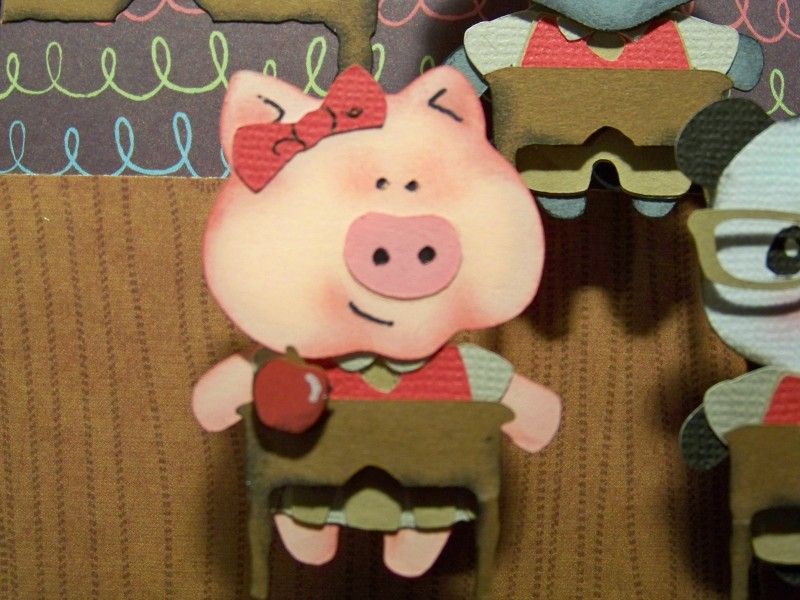
  • Pig -  2" body  from Teddy Bear Parade with a 1-1/4" head from Animal Kingdom (flipped, head feature page 84)  This is a different pig from my last post!  I like this cut because, unlike the one I used  previously, this one is a 'head only' cut!

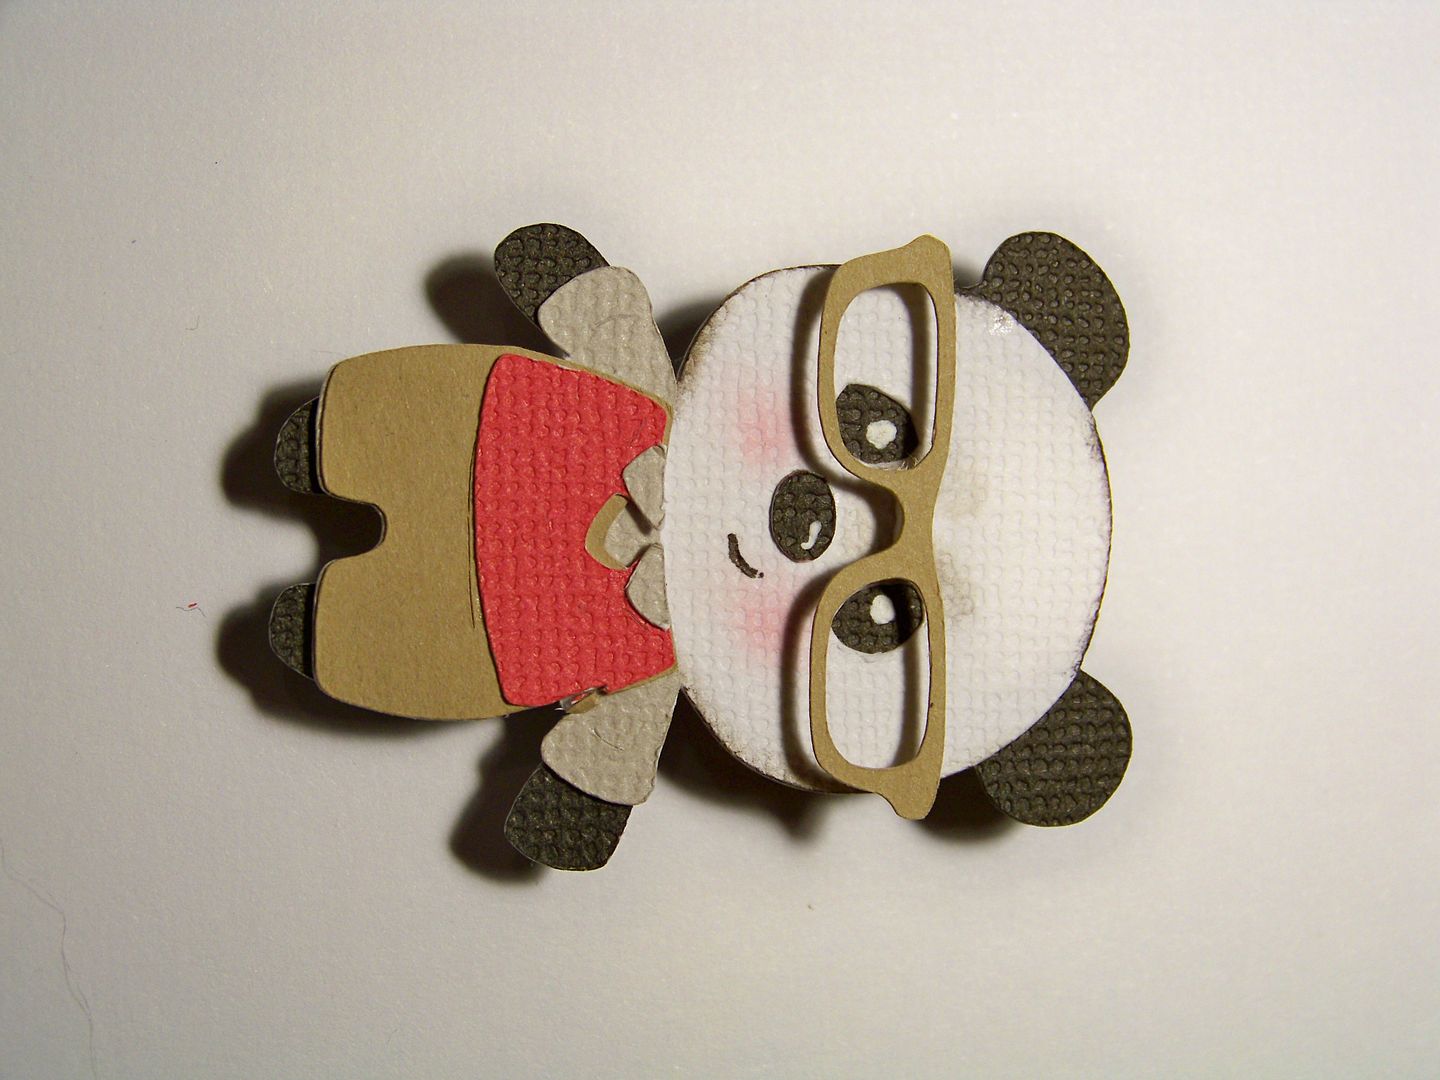
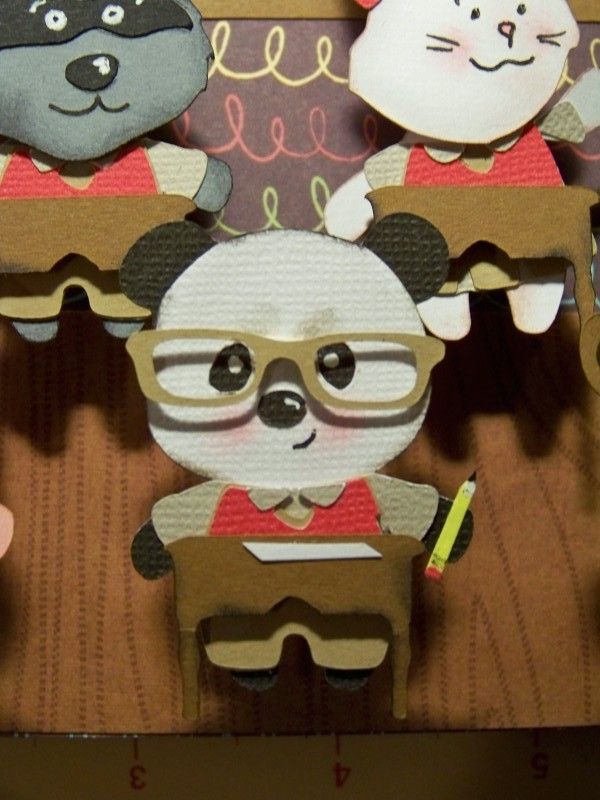
  • Panda -  This is the very same panda that I made on my previous post.  Click here for info on making this critter!  This time, I used the glasses from the school boy costume!

  • Monkey -  2" body  from Teddy Bear Parade with a 2-3/4" head from Everyday Paper Dolls (page 75, 'head only' cut).  I cut one arm and sleeve so he could 'raise his hand'.  This is a different monkey than I used before on my last post.  I like this one because he is looking to the side!


I gave all the students desks from Sentimentals, cut at 3/4" (shadow feature, page 42).  I trimmed off the inside points to make them less decorative.  The desks are popped up 1/8" off of the animals.


I decided on walls and added a floor to anchor them and to give them an environment that I could start to decorate.  The final floor was 2" wide (a change from this version).


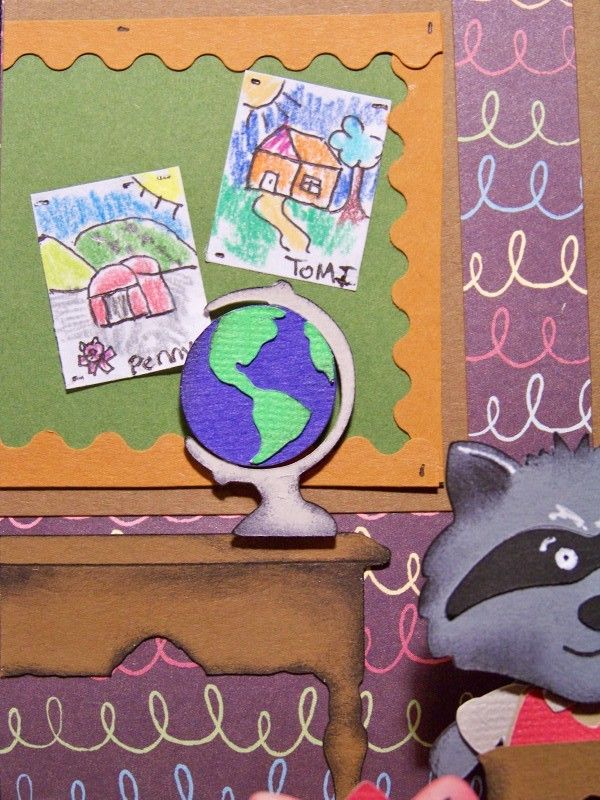
I hand-cut a chalk board (4-1/4" x 2-7/8") and bulletin boards (3-1/2" x 2-5/8", trimmed to 2-1/4").  I made a penmanship border by cutting up a page from my daughter's tablet leftover from the last school year.  (My little girl was shocked that I knew how to do proper letters like she learned to make last year in the 2nd grade.  I guess my regular penmanship leaves something to be desired.  She actually offered to do it for me because she didn't think I could do it!)  The flag was cut at 2" from Stand and Salute (page 22).  It was popped up 1/8".

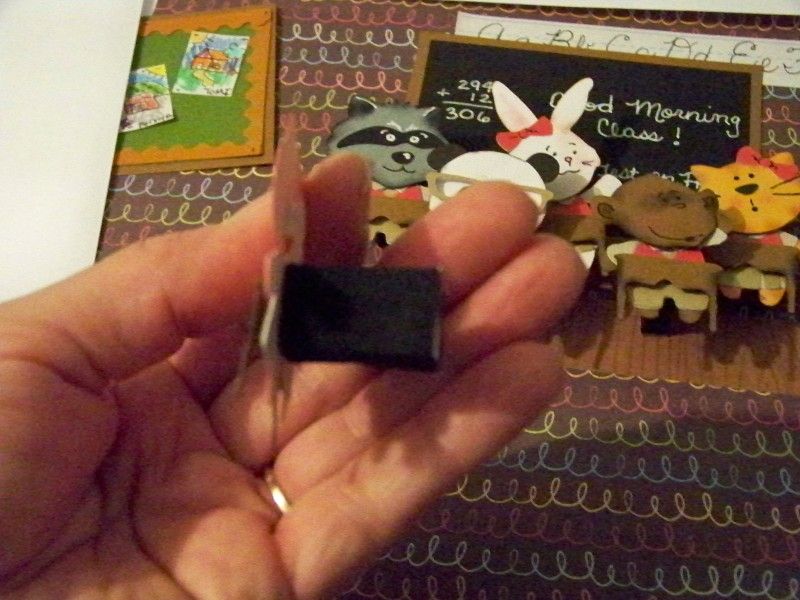
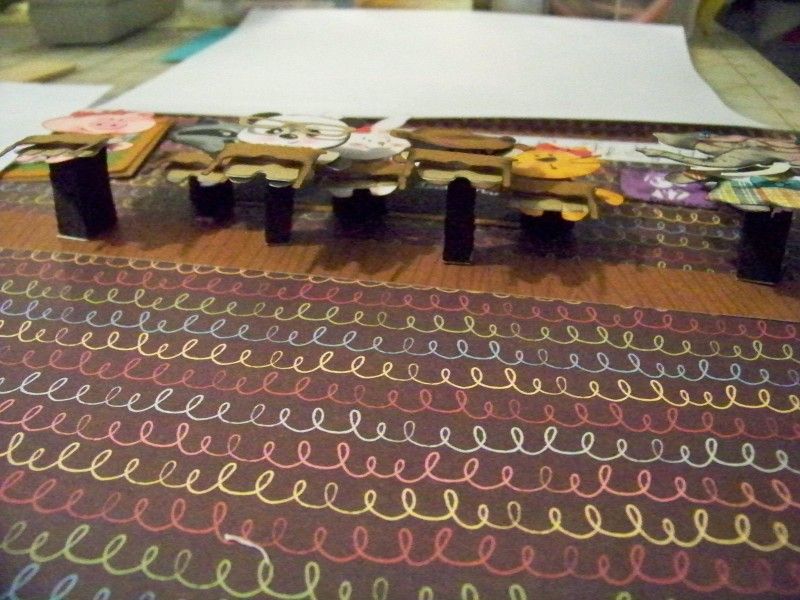
At this point, I added foam to the characters so that they would be at proper distance from the surface of the page.  1" foam for the teacher and front row; 1/2" for the back row.


I hand-cut their drawings (1" x 3/4") and reports (3/4" x 1/2").  The reports were punched with a tiny Martha Stewart hole punch to make those tiny holes.  The bulletin board edging was made with decorative scissors.  The picture of George Washington was cut at 1" from My World (page 28).


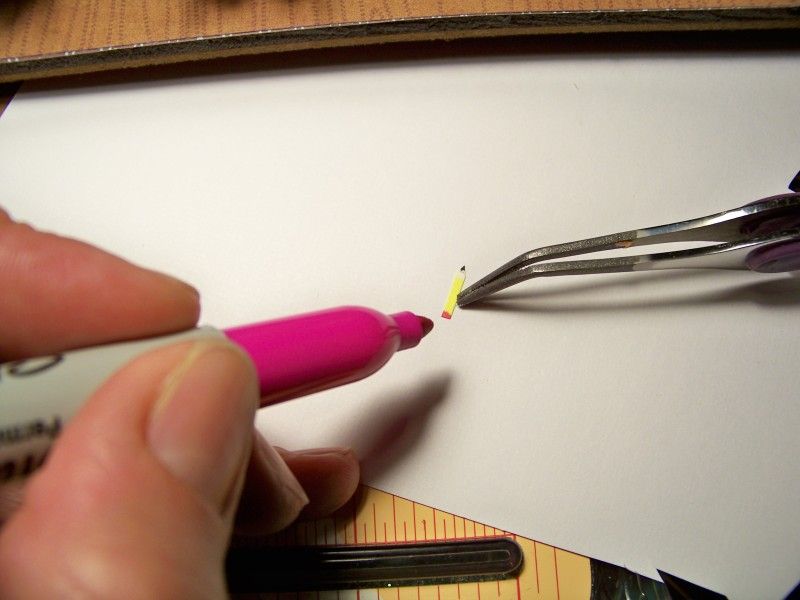
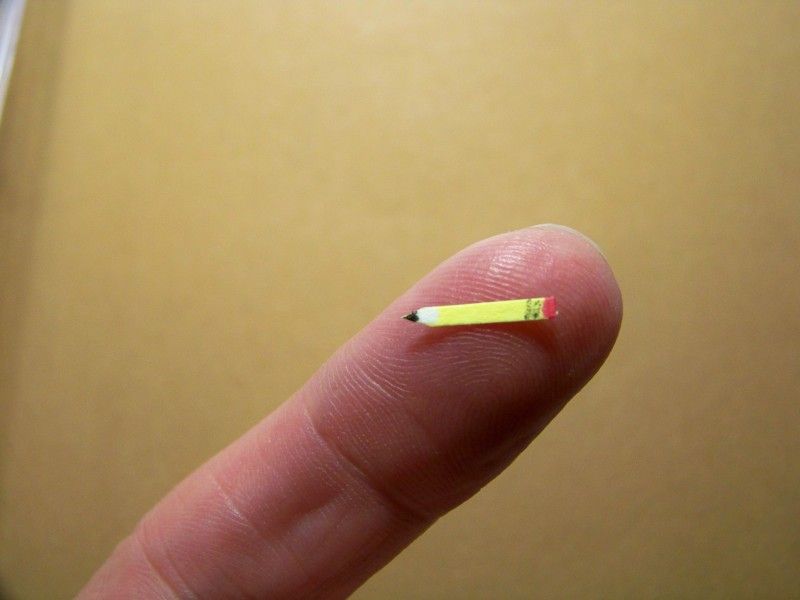
I hand-cut tiny pencils, using markers and pencil to give details.


The globe was cut at 1-1/4" from Locker Talk (page 47).  It is popped up 1/8".  The table it sets on is from Sentimentals at 1-1/2" (shadow feature).  Like the student desks, I also trimmed off the inside points here too.


The books on the cat's desk were cut from Locker Talk at 1" (page 47).  I trimmed off the bottom book.  The books are popped up 1/8".


The pennant banner at the top of the page was printed and cut from Spring Chic.  (1.3" for the red/yellow ones; 2" for the blue.)  I hand-cut to change the shape of the blue ones.  Some are glued flush to the paper; others are popped up 1/8".


The apple on the pig's desk is from the Teddy Bear Parade cartridge (key #28) at 2".  It was popped up 1/8".


After looking at the project in natural light....


...I placed it in a shadow box that allowed for my 1-1/4" projections.


I learned a lot from this project!  And what a joy to get to review older cartridges, like My World, to find treasures!  Did you know there are busts of Lewis and Clark on that one? -- and maps, and so, so much more!  I loved finding the 'head feature' on Animal Kingdom!  Lots of 'head only' cuts for more morphed animals!!  I loved making some hand-cut elements and really enjoyed adding in lots of fun details for the classroom.

I am the guest designer on the Cricut Fanatics blog today!  I have another small Teddy Bear Parade morph over there-- a back-to-school card!  Check it out:  click here!  

This card is on the Cricut Fanatics blog (see above for link).  I will be featuring a whole set of these cards with different designs later this month here on my blog!


To see many of my previous paper projects, check out My Project Gallery (or click here)!

Thursday, August 30, 2012

Expanding Teddy Bear Parade for Even More Options!


What do these Cricut die cuts all have in common?

They are ALL made using Teddy Bear Parade!  

Yes, really!  The heads are from different cartridges, but the bodies are actually bear bodies which means they can wear all of those cute outfits on the Cricut Teddy Bear Parade cartridge!

That means that you get a little extra bang for your buck if you have cartridges like New Arrival or Doodlecharms!  Yippeeeee!  You may know that I like to mix up the carts a bit, but this is so, so, so easy-- much easier than my normal process.  ...And, it gives new life to older carts...and to have a full wardrobe and a full ark is just awesome in my opinion!!  

So, I started with a 2" bear, cut on my Expression, from Teddy Bear Parade (using the shift function cut).  Then, I looked through my carts to find those with heads that were separate from bodies.  Those are the easiest to use since there is nothing to cut away!  I immediately thought of Doodlecharms.  That cart has a dog, cat, and several others that are just perfect to 'morph' with a bear body!

In no time at all, I had these critters!


Cricut bugs, cats, dogs, frogs, koalas, monkeys, and babies!  Oh, my!!

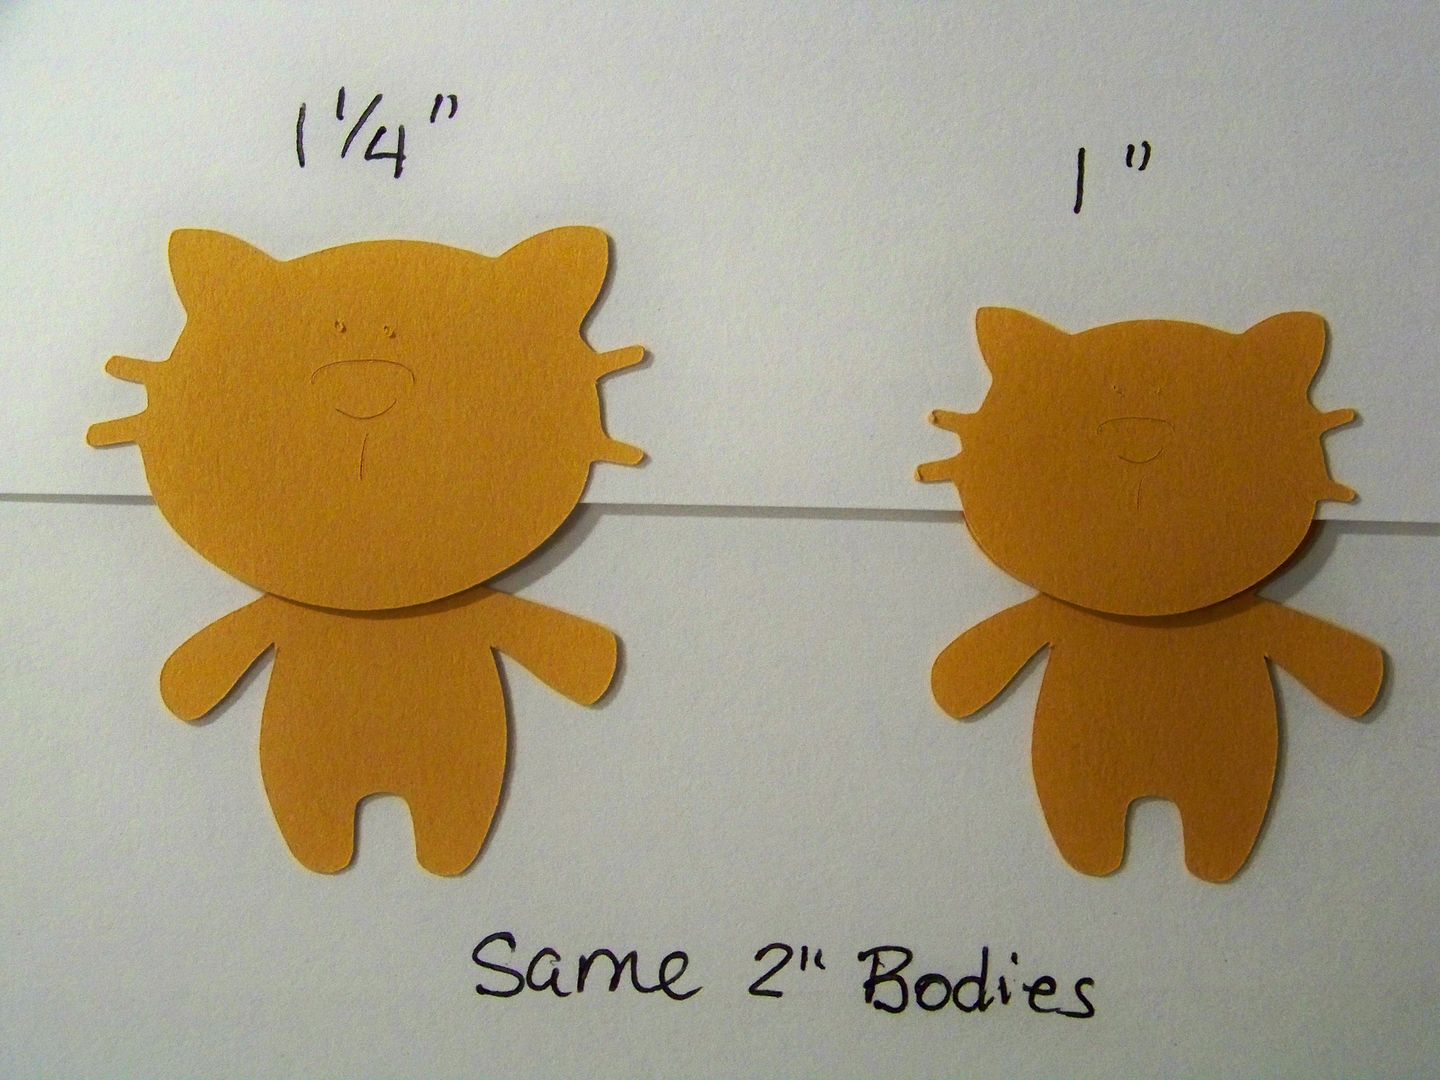
I did a little trial and error on the first few, then I started getting the hang of how big to guess on the size of the head.  (But of course I list all of my sizes here so you don't have to guess when using this size.  For other sizes, just try to keep the ratio!)  It doesn't really matter-- sometimes a giant head is fun on a tiny body, but if you want to use a Teddy Bear Parade costume that includes a hat, the head size will matter depending on the design.  Other than matching up the new head with the teddy bear head, I also simply covered up the bear head and compared sizes to see which I liked best:


So, one at a time....


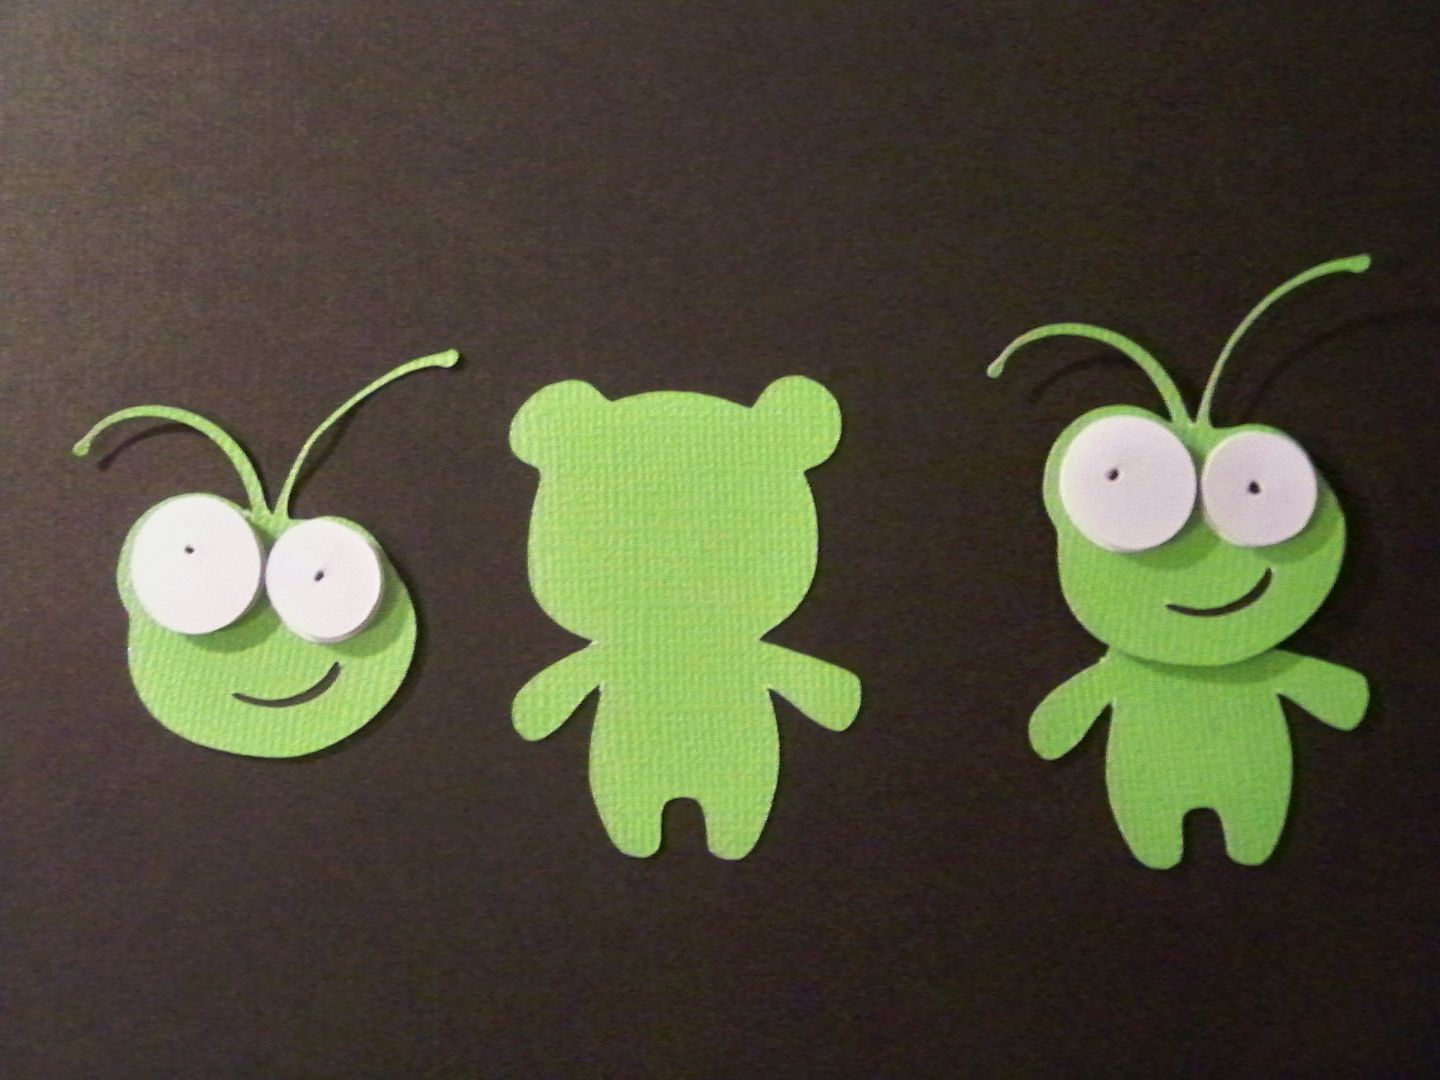
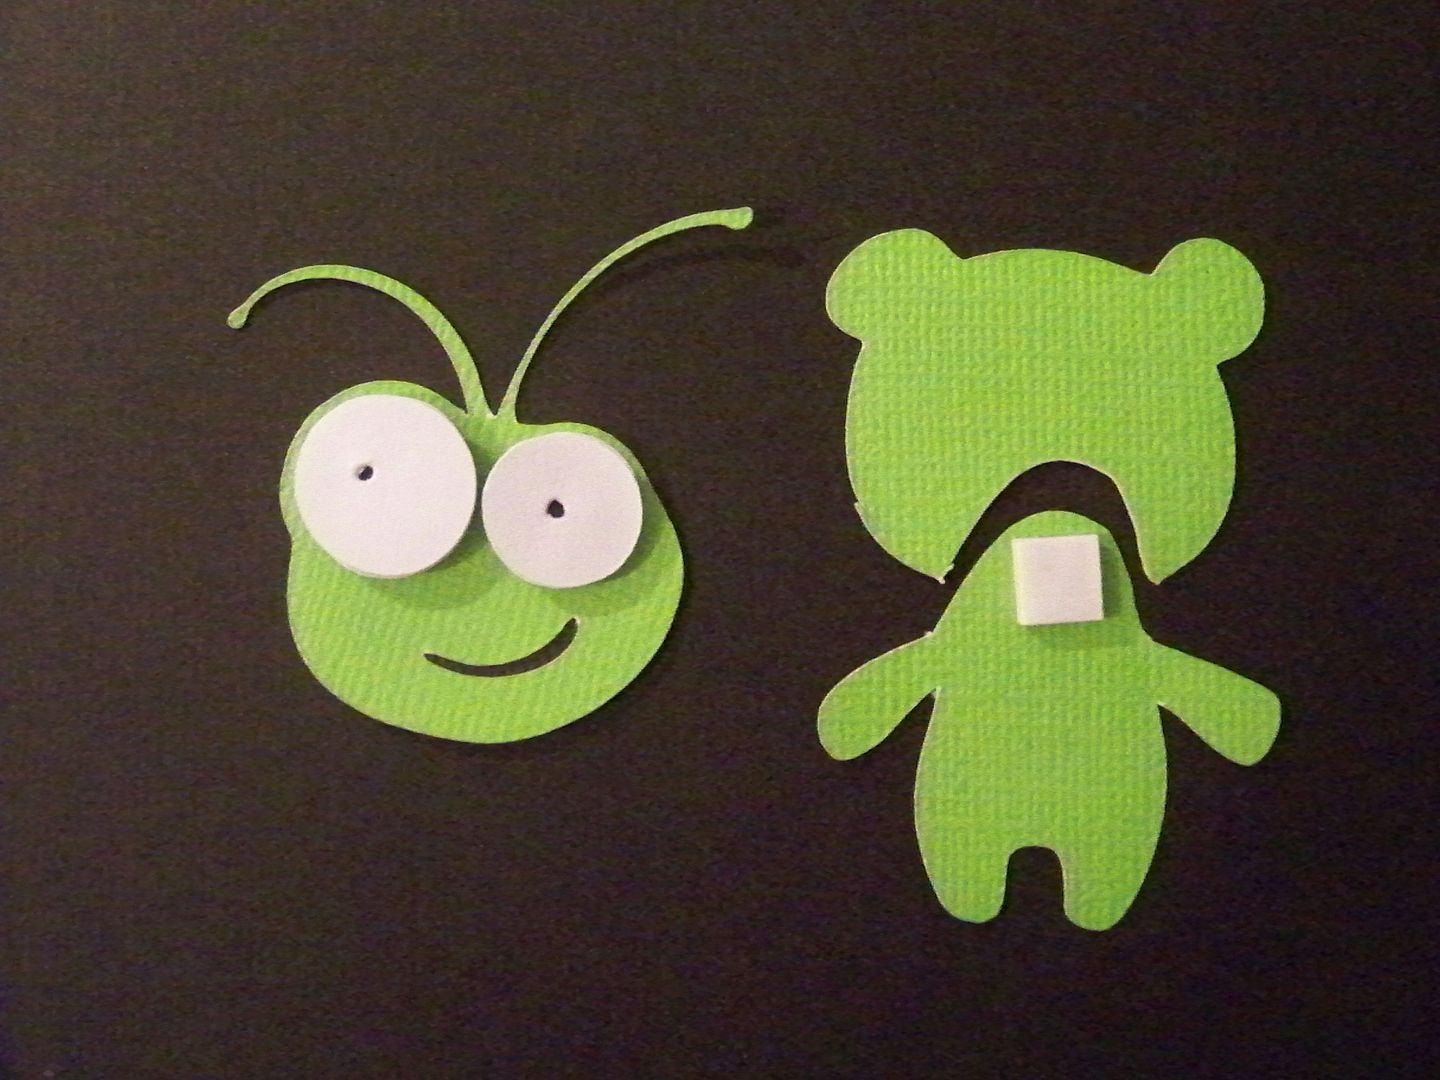
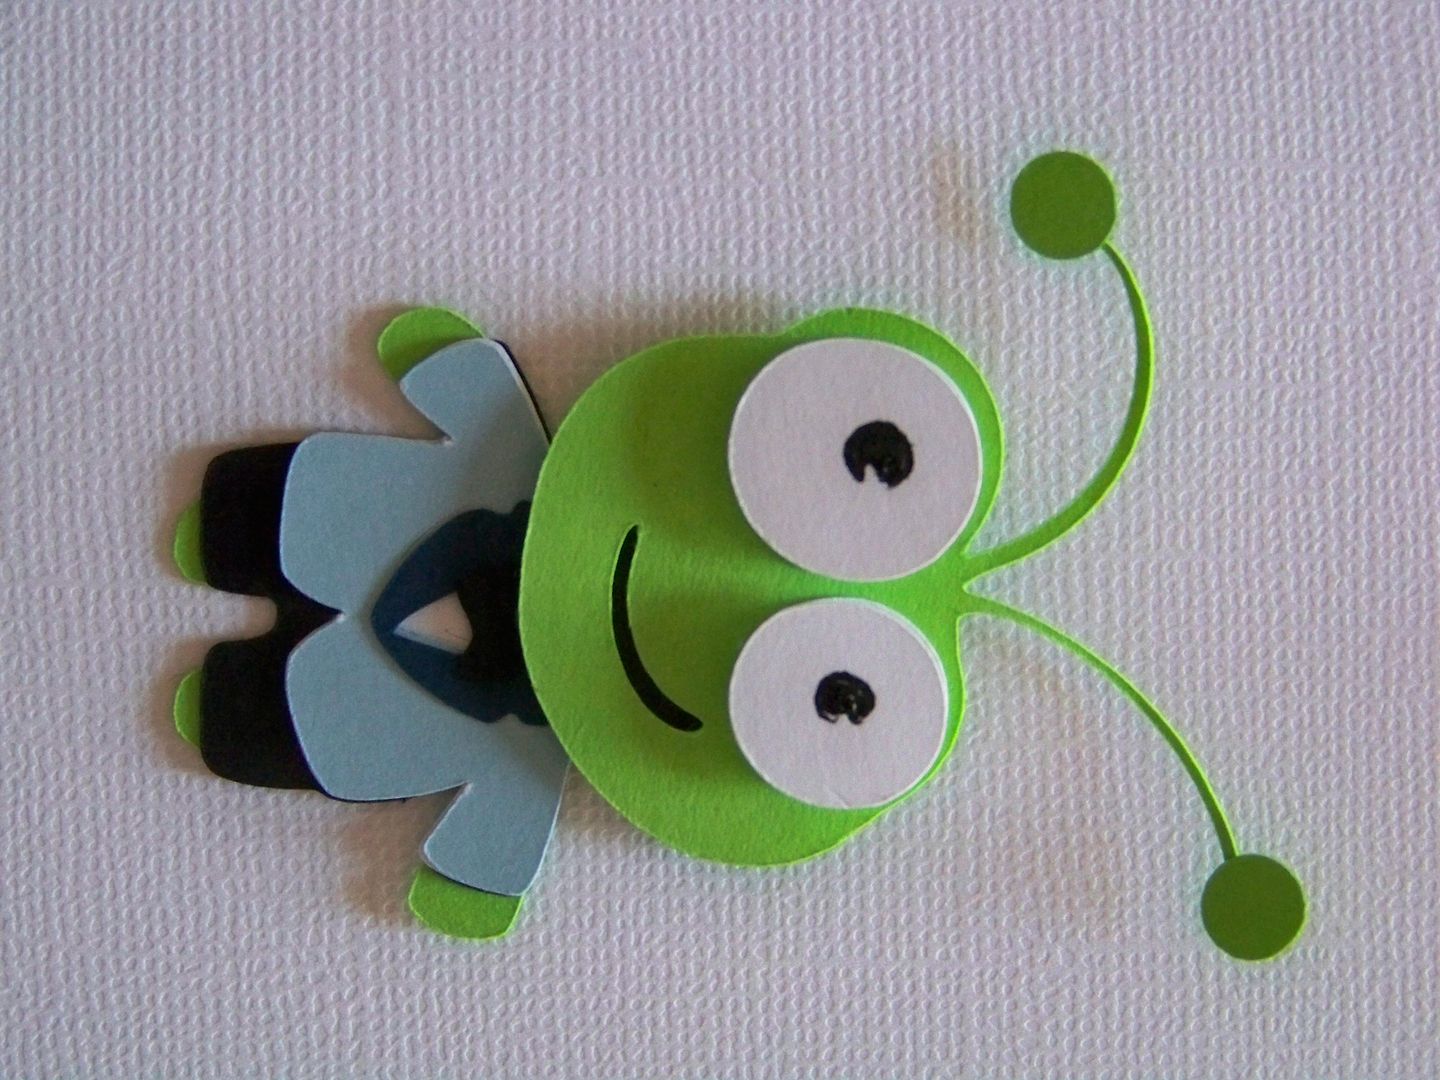
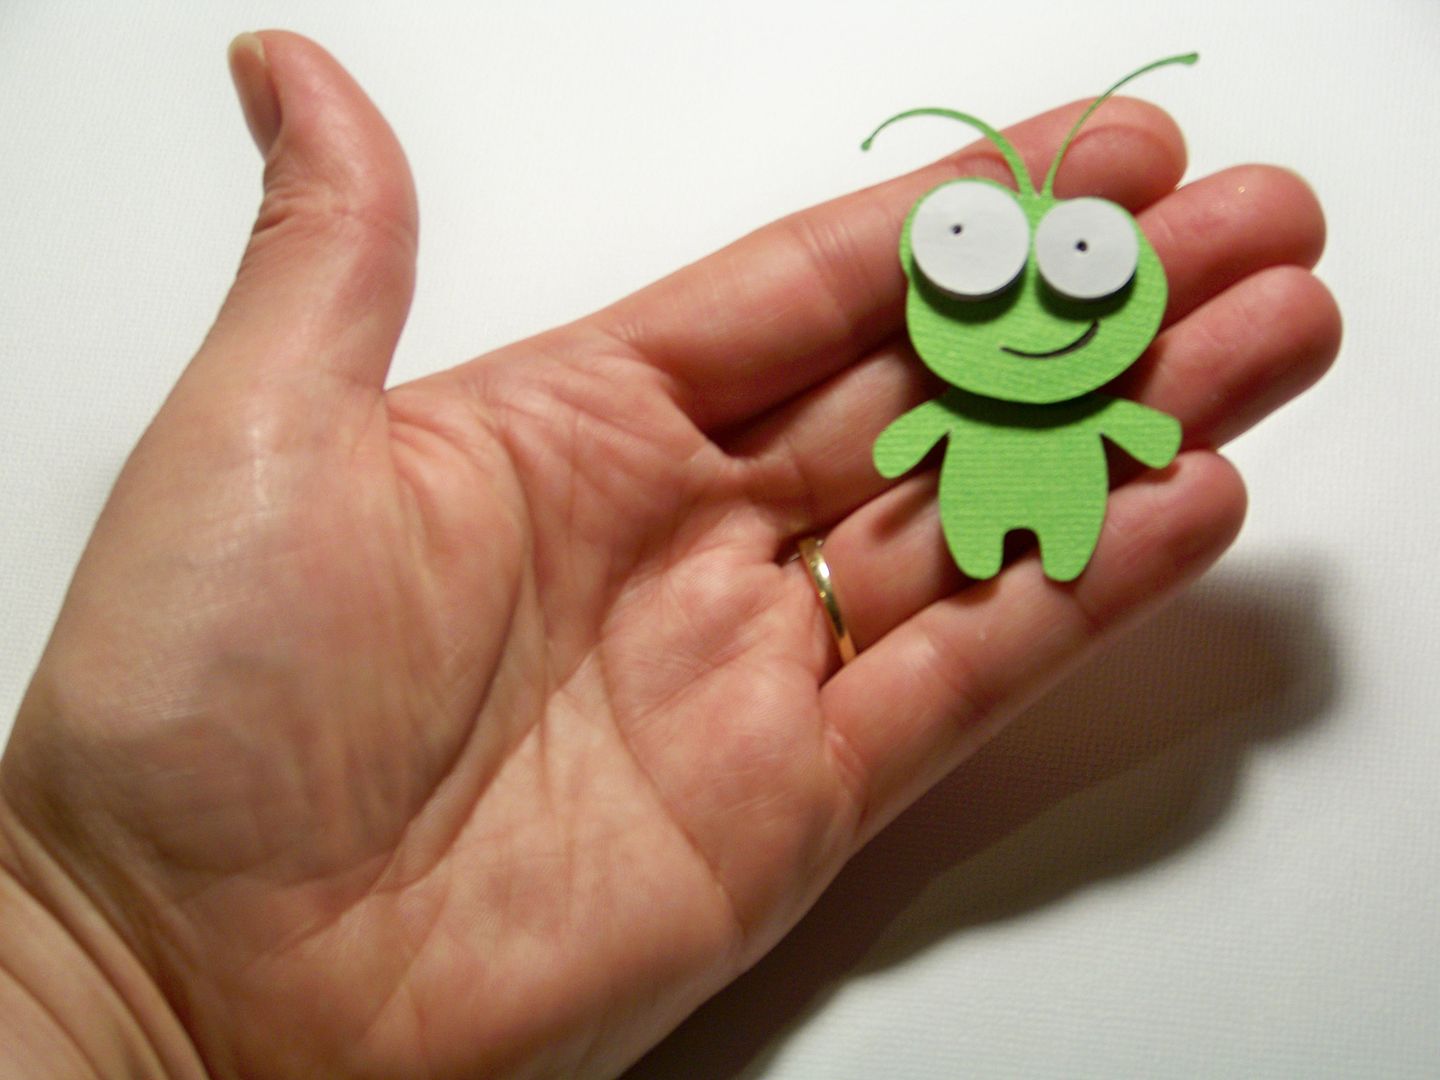
I paired the 2" bear body with a bug head I cut from Cricut Everyday at 1-3/4".  I cut double eyes so they would pop up!  The easiest way to attach the head is the keep a tab on when cutting off the bear head.  Then, you can use a pop dot to attach the new head or just glue it in place!


Then, you can dress him using any of the outfits on the Teddy Bear Parade cartridge, also cutting them at 2"!


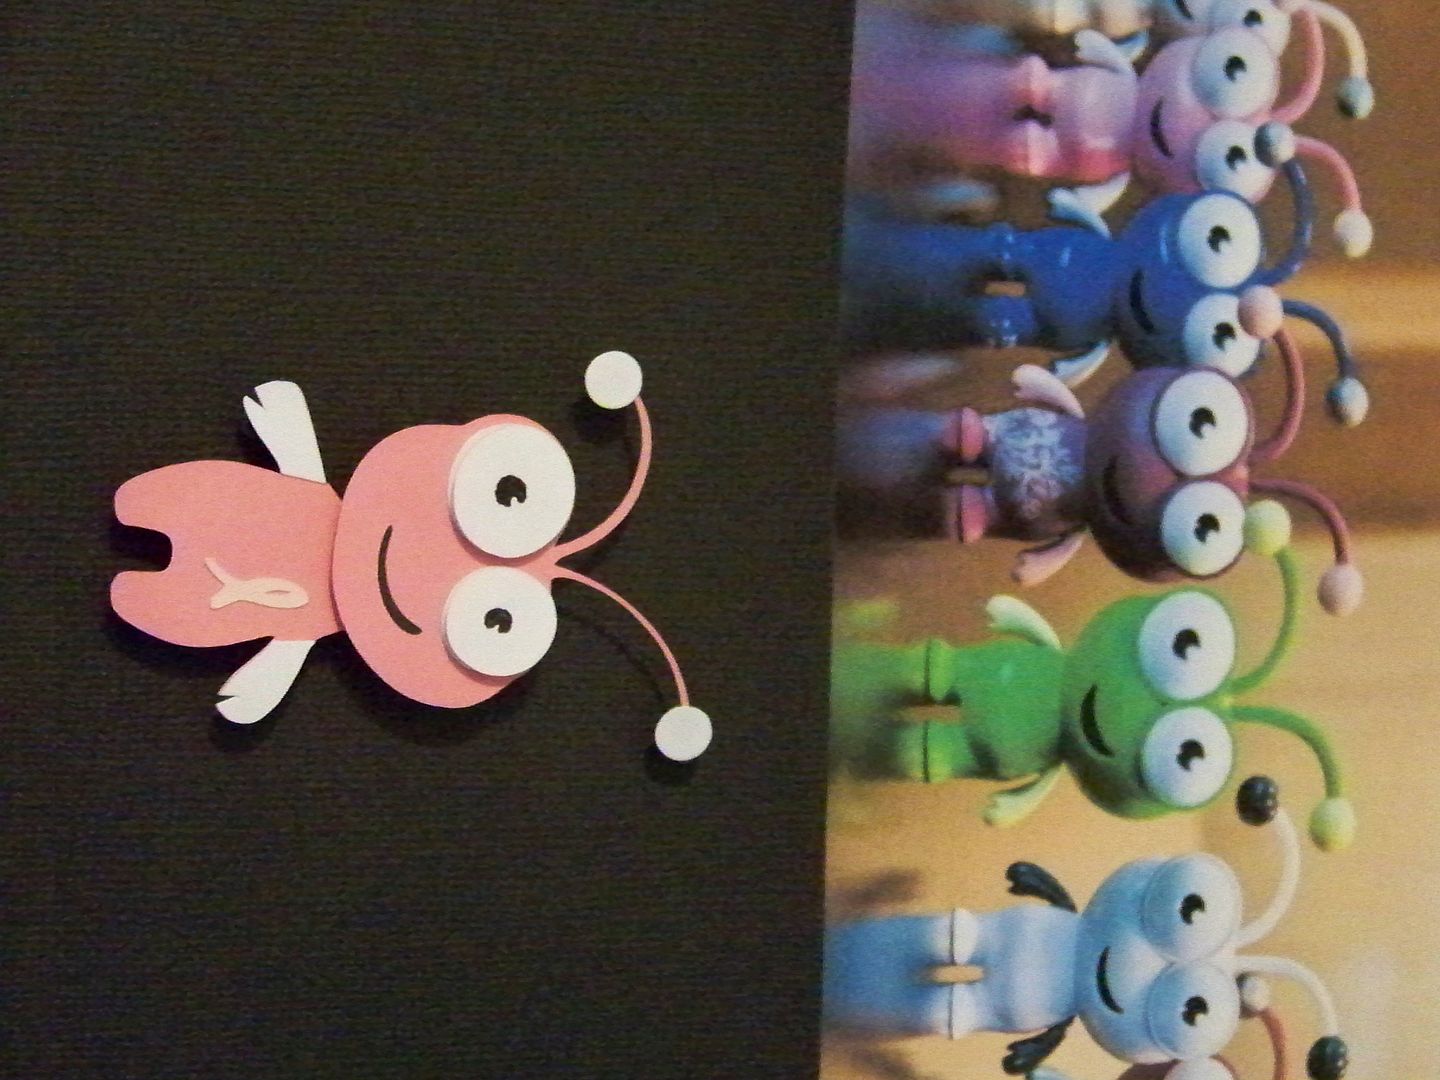
You can even make him look like your favorite Cricut Collectible!  (Did you know that the illustrator who created the Teddy Bear Parade cartridge also created the Cricut Collectibles?  Check out Curt Jensen's blog by clicking here!  (For the Pink Journey guy below, I cut the pink ribbon from Pink Journey at 1/2".  I hand-cut the notch in the hands and added dots on the antennae made with an office hole punch.)


Next, the cat!


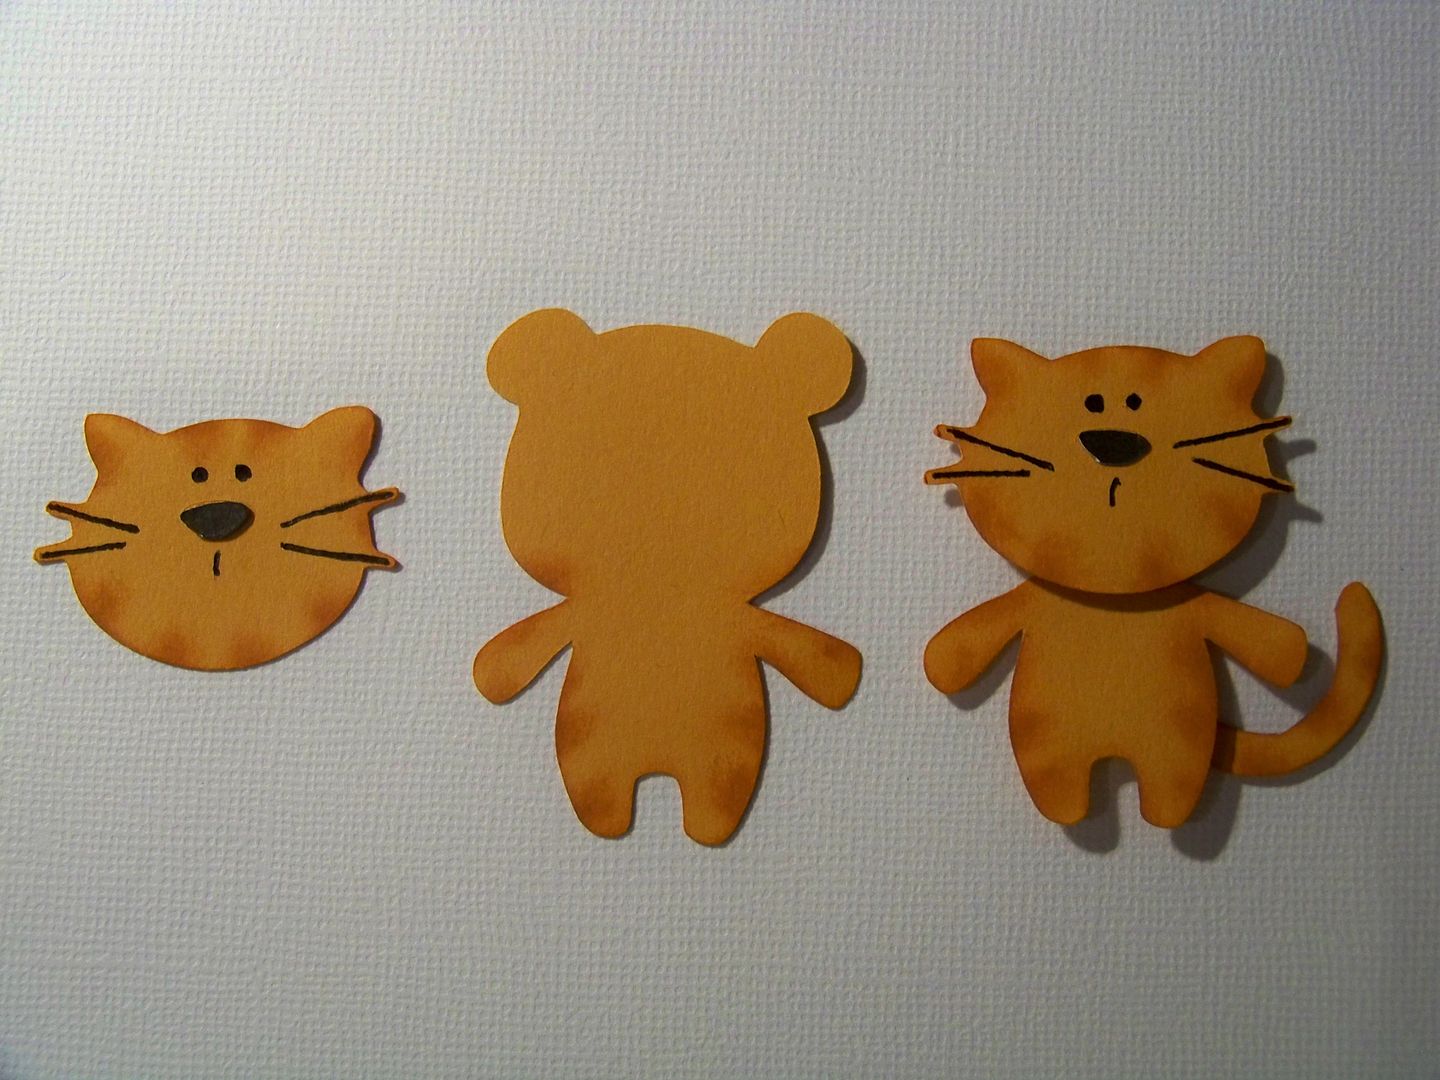
For the cat, I paired the 2" bear body with a head I cut from Doodlecharms at 1".  I hand-cut the tail and used ink and a sponge eyeshadow applicator to make his stripes.  How cool that the 'charm' animals on Doodlecharms can finally get bodies!!


For the dog, I paired the 2" bear body with a head from Doodlecharms at 1-1/2".  I cut the ears twice and popped up the ends but glued flush the part of the ear next to the head.  I used a regular gel black pen to add details and a white gel pen for the shine on the nose.


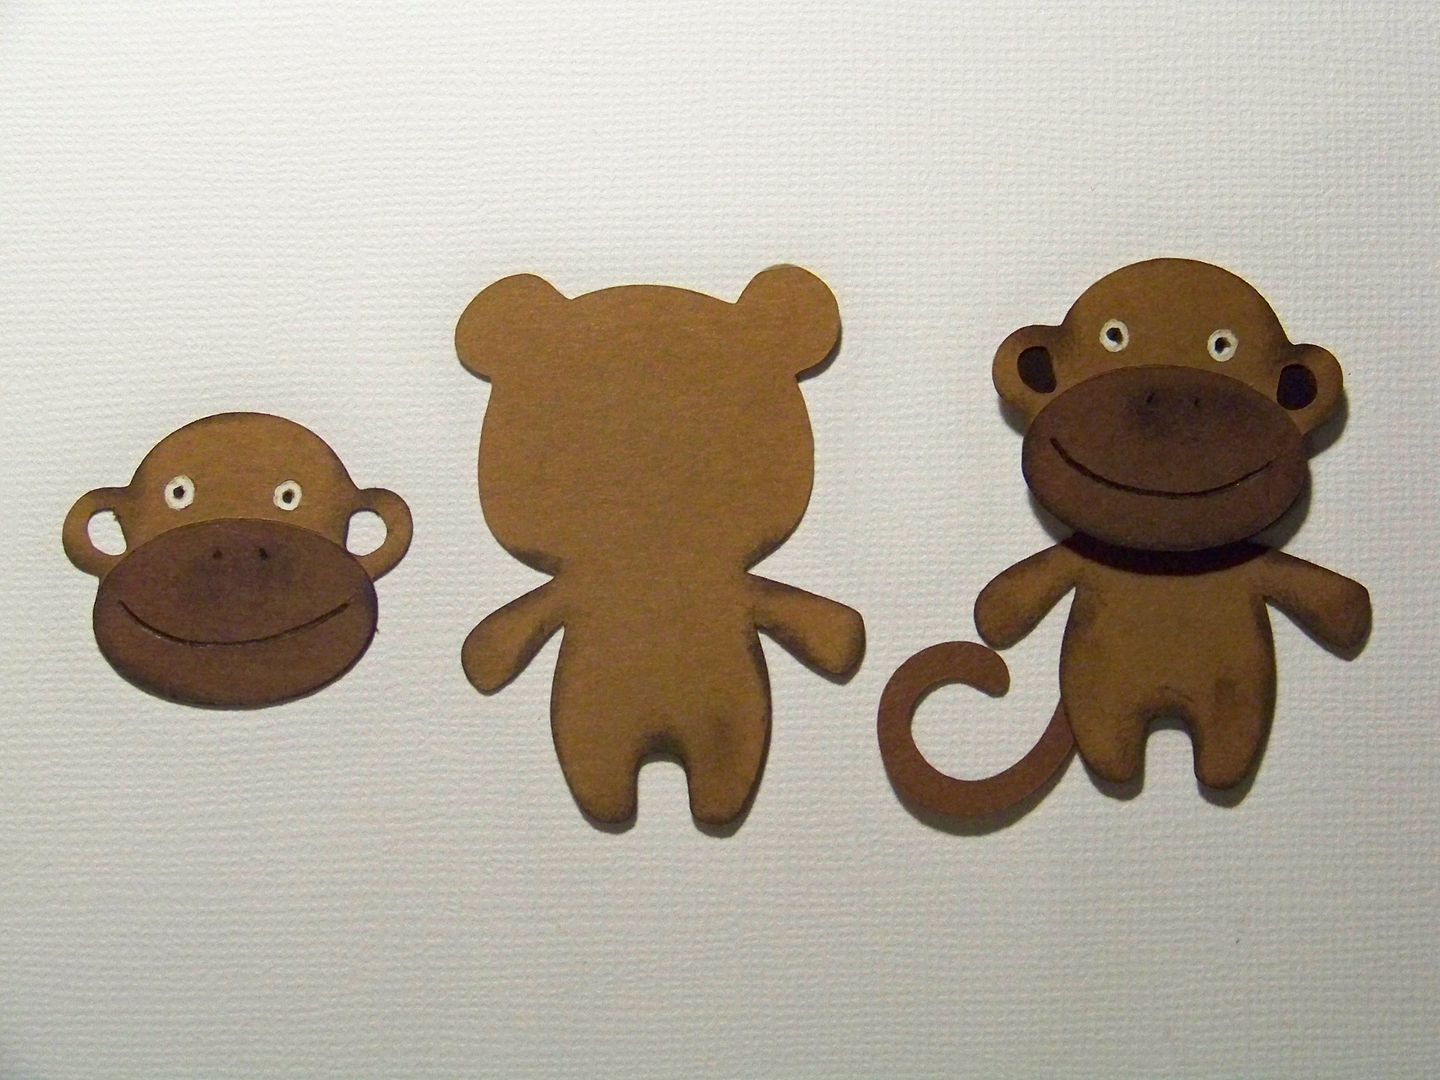
For the monkey, the 2" bear body was paired with a head from New Arrival at 2-1/4".  I cut the full body this time so I could 'steal' the tail!  

Here he is in a little costume from Teddy Bear Parade cut at the same 2" as the body.  That just cracked me up.  You can see that this hat would work on almost any head so the size and shape just didn't matter in this case.  


How about a frog?  


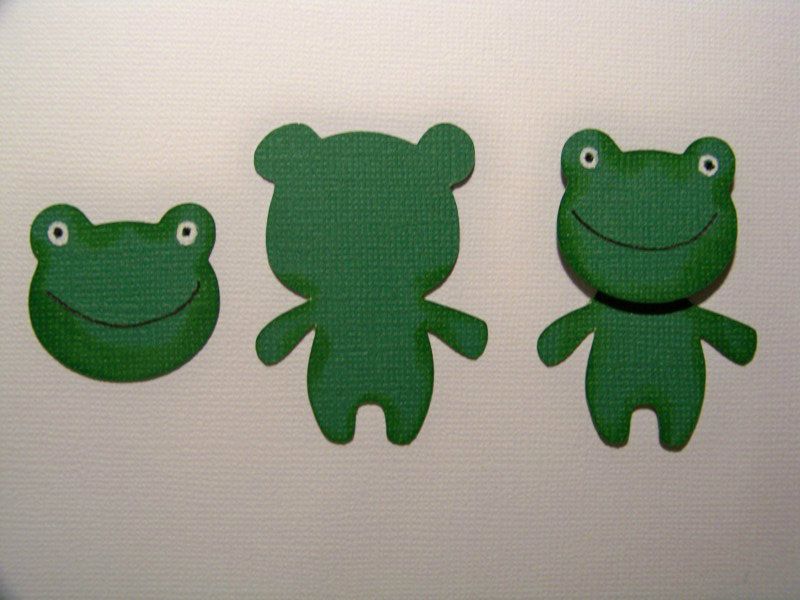
For the frog, I paired the 2" bear body with a head from New Arrival at 1-1/4" real dial size.  I was experimenting with Real Dial size, but this is the only one I used that on.  I found it just as easy to guess a bit by now!

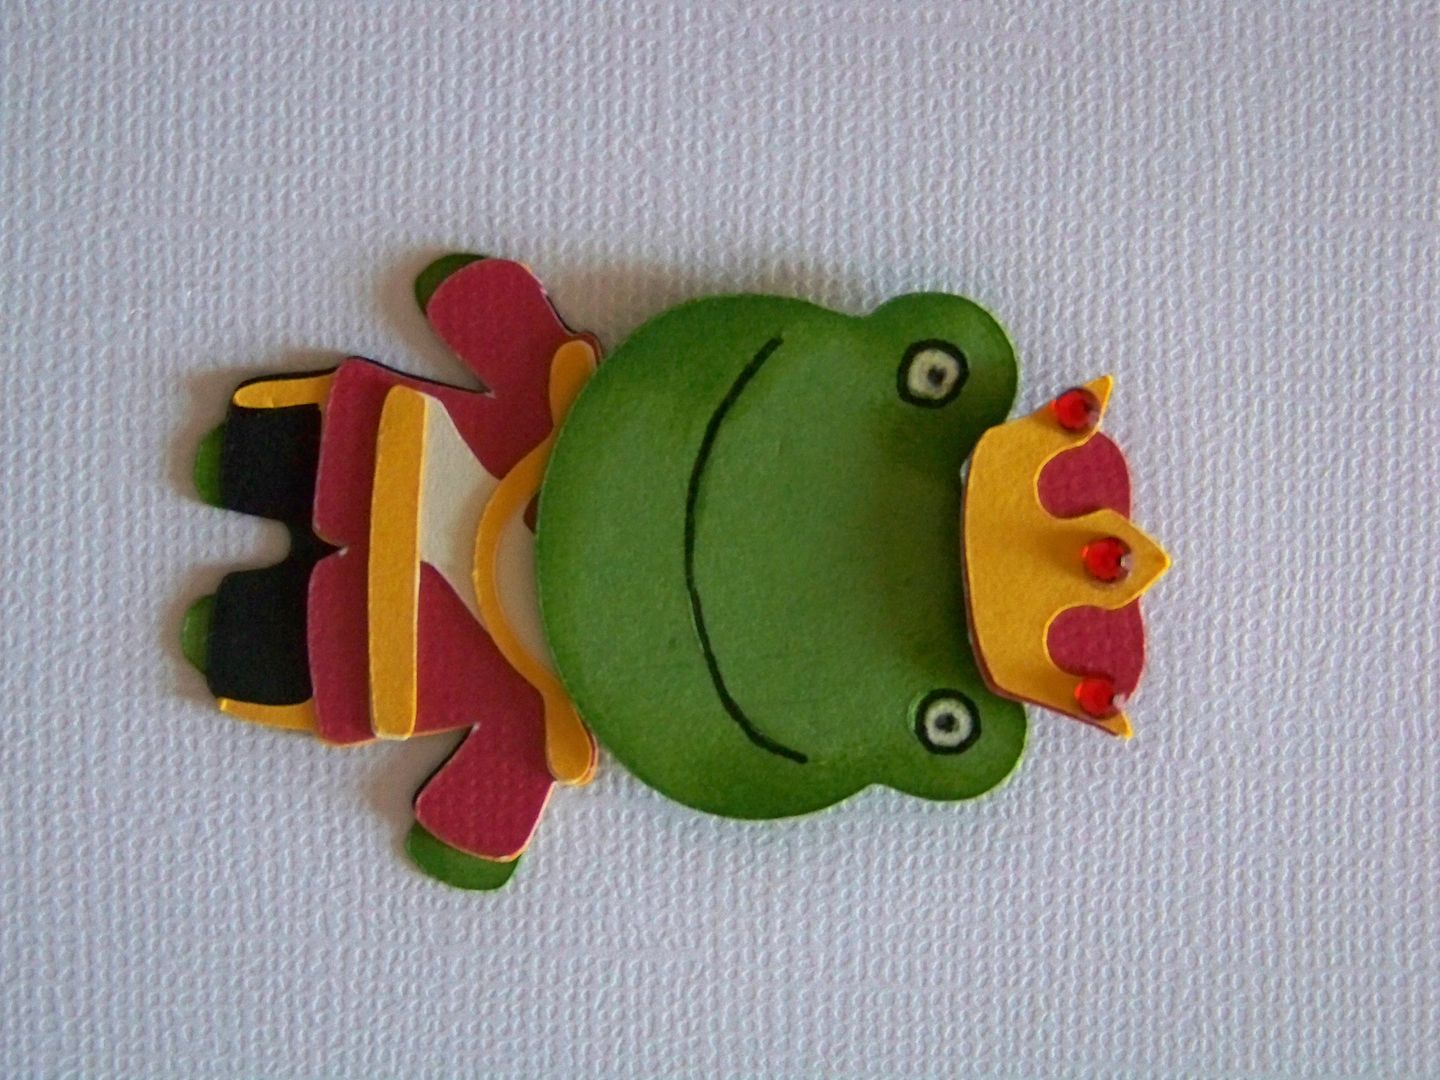
I need to tell you that I have a little thing for the idea of a frog prince.  It started when my daughter was a baby and I did her bathroom in that theme.  She is eight now and she is going to have to keep that theme until she moves out for the simple reason that I love it!  So... here is my frog prince:


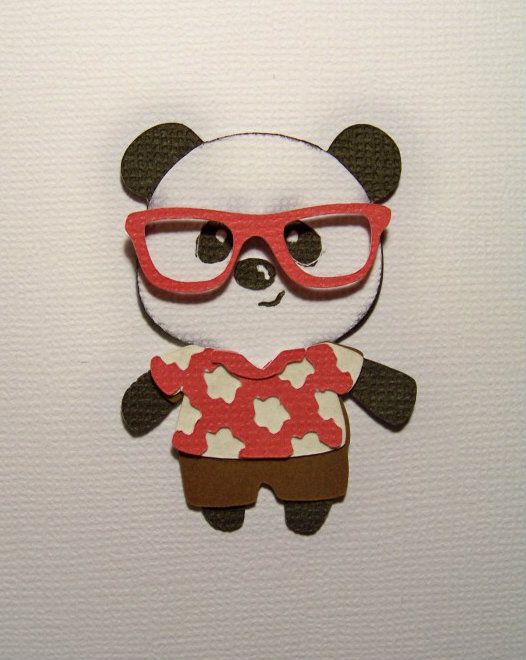
Previously, I created a set of note cards.  On that post, I mentioned how I created a panda from the Teddy Bear Parade cartridge.  (click here to see that project)  I made him again here, without the nose projection and I like him even more!


For the panda, I paired 2" bear bodies in black and white, hand-cutting to remove appendages on the white layer.  I also hand-cut out big ole panda eyes from the white layer (but you could just as effectively draw in those eyes).  I inked in black and used white gel pen for the eyes and shine on the nose.  I used black gel pen for the little sideways smile.  

Again, a little outfit was cut at 2" from the Teddy Bear Parade cart, since that was the cut size of the body.  I didn't use all the layers or all of the accessories.  And you know one of my favorite things about the way that this cart was done?  I love the colors used in the illustrations!  So easy to just do what is illustrated!

This guy was my daughter's favorite!  


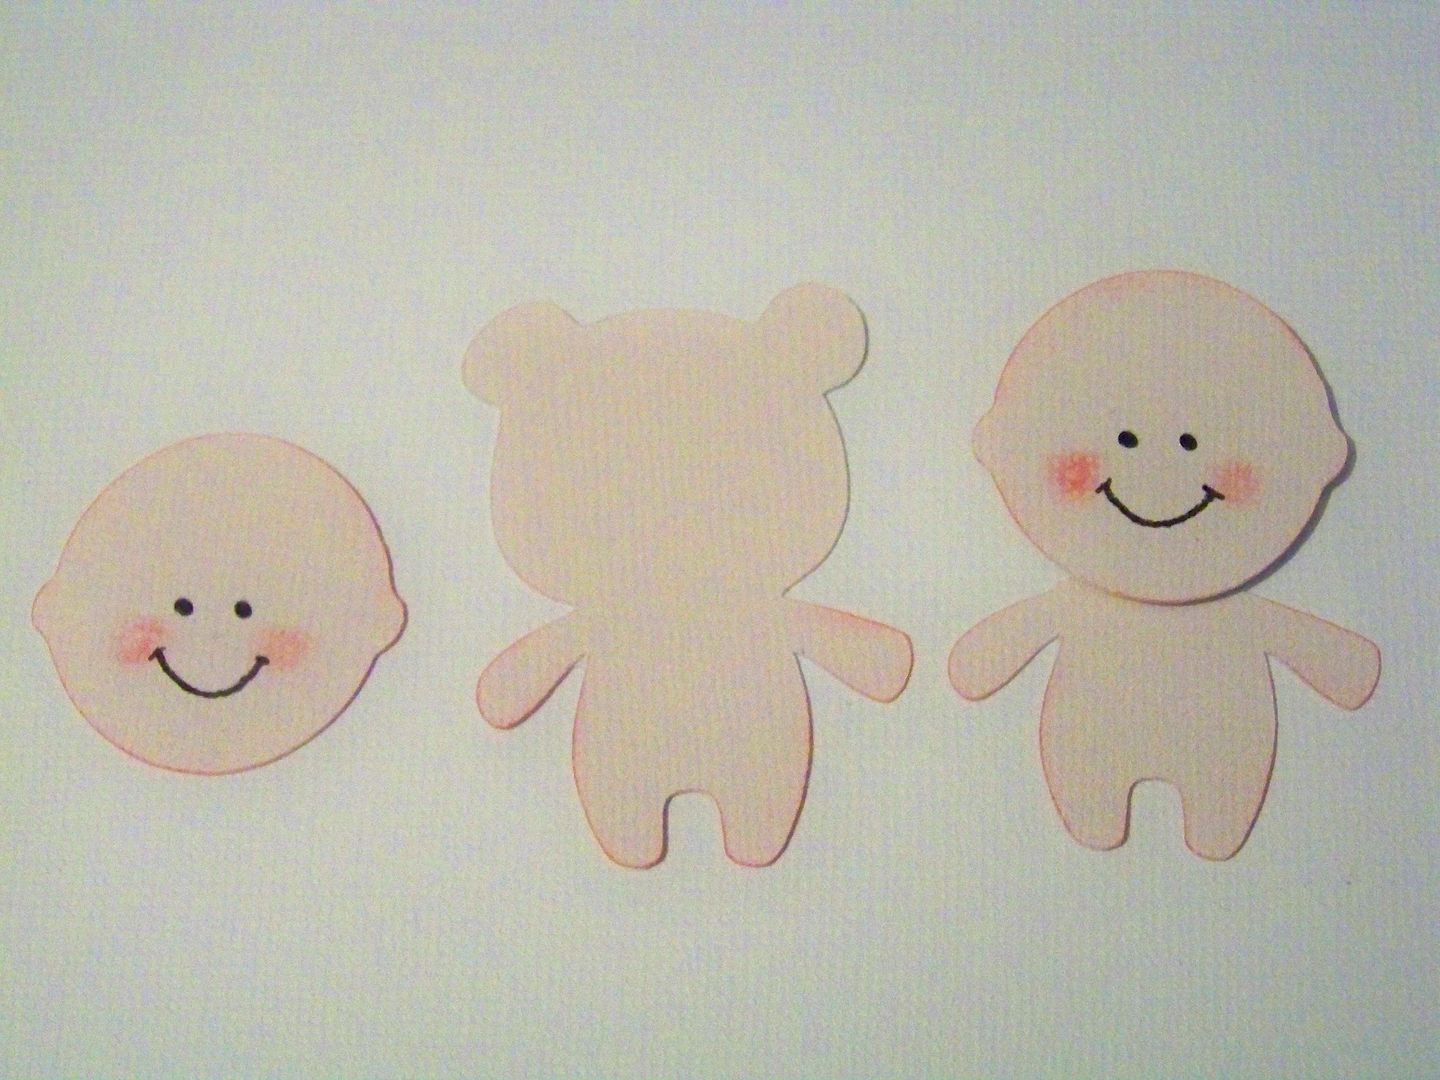
Have you ever noticed those heads on Everyday Paperdolls and Paper Doll Dress Up?  I thought of how fun a baby would be!


For the baby, I paired the 2" bear body with a head I cut from Paper Doll Dress Up at 3-1/4".  I inked in pink and used a regular black gel pen for tracing cut marks for the eyes and mouth. 

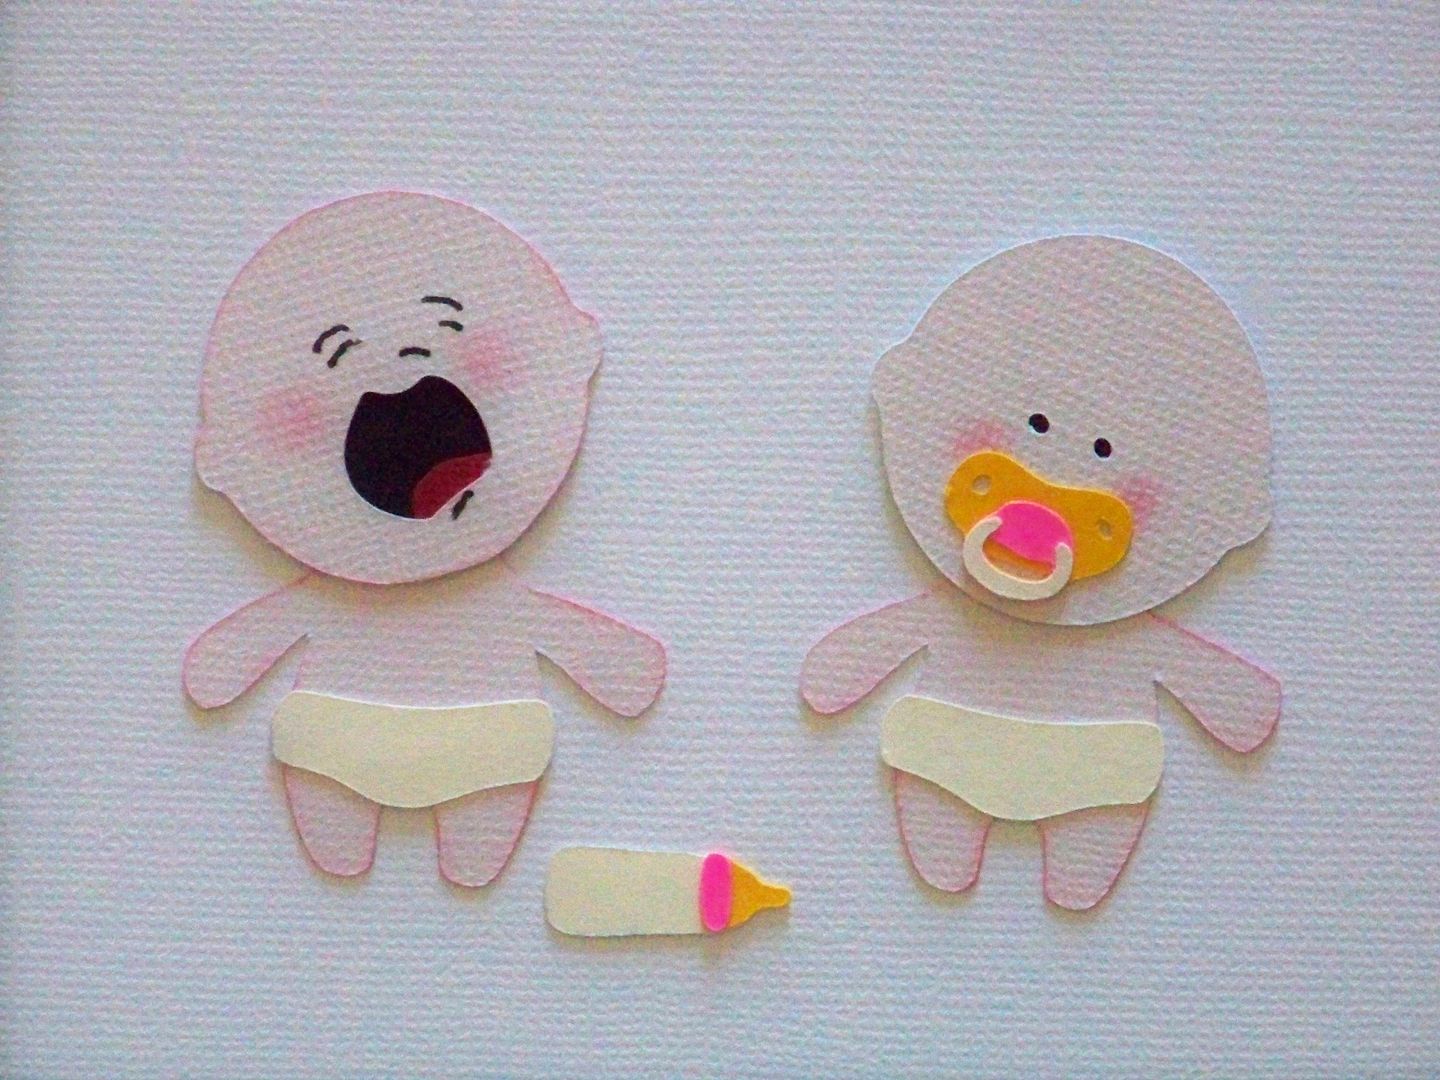
Below, I used two of the MANY heads on Everyday Paper Dolls at 3-1/4".  That cart has lots of 'head only' cuts with many different expressions!  (Paper Doll Dress Up, in comparison, has only one 'head only' cut; the rest are full bodies).  I used the baby accessories from the Teddy Bear Parade.  Aren't you in love with that pacifier!!??  The diaper is from the New Years bear on that cart!  All cut at 2" to match the body size!  (By now, I know you are clear on the 2" size; I only mention for it for those who have not had the prescribed amount of coffee today and need it repeated!)  I put a little black and red paper behind the crying baby's mouth that I glue in place behind the head.  


These babies illustrate an important bonus you get by having a separate head:  you can tilt the head for effect, body language, and added fun!  A tilted head is only possible with a separate head!  How fun is that baby who is eyeing the other baby's bottle!  Both heads are tilted here.

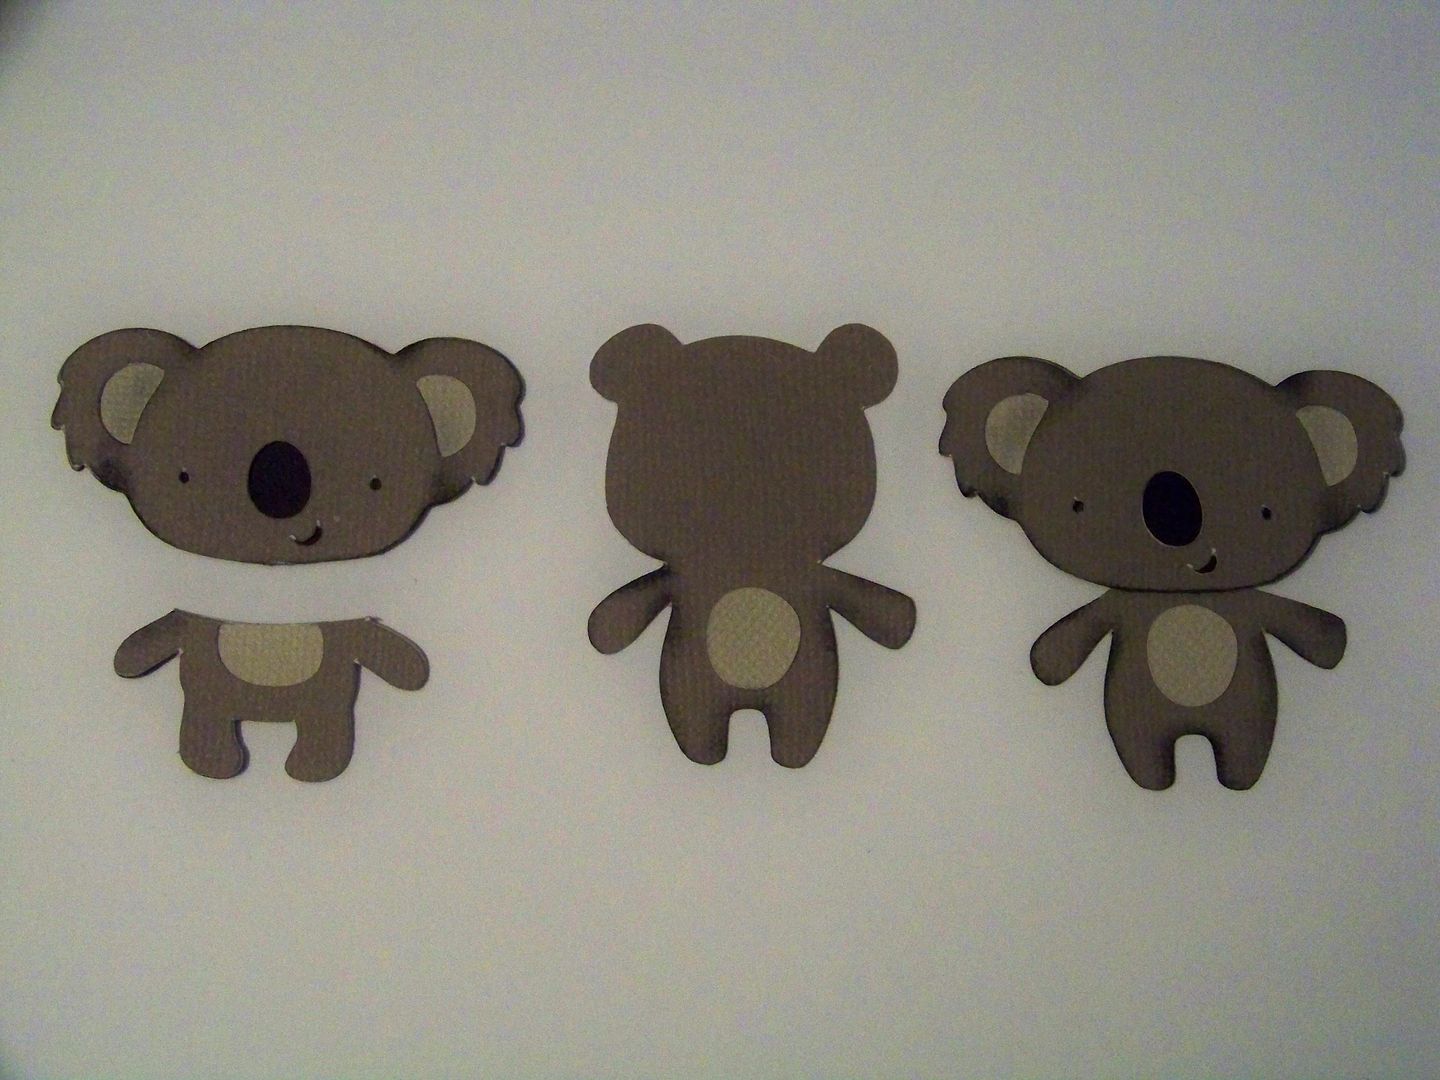
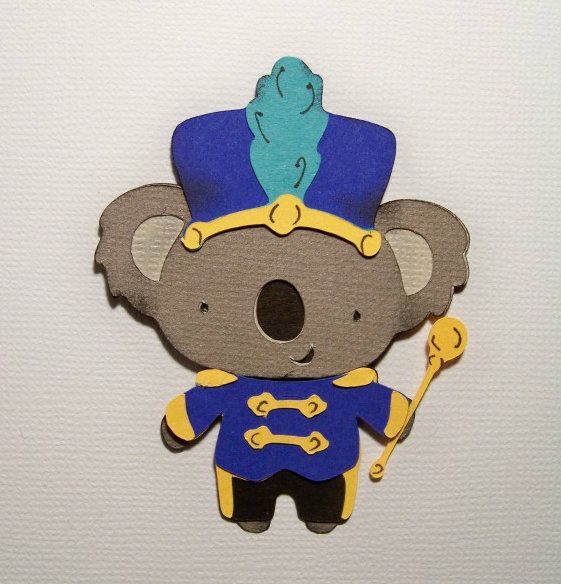
So, I know what you are thinking.... What about all those animals you want to dress up that aren't found on a cart as just a head?  Well, why not cut the whole body and trim away the head?!  It is not as direct as "head only" cuts, but look at my koala!  (Koala was cut from Create-A-Critter at 1-3/4".  The head was removed after all layers were glued in place.)


The bodies are similar, but by having the teddy bear body, you can use the clothes on Teddy Bear Parade perfectly.  


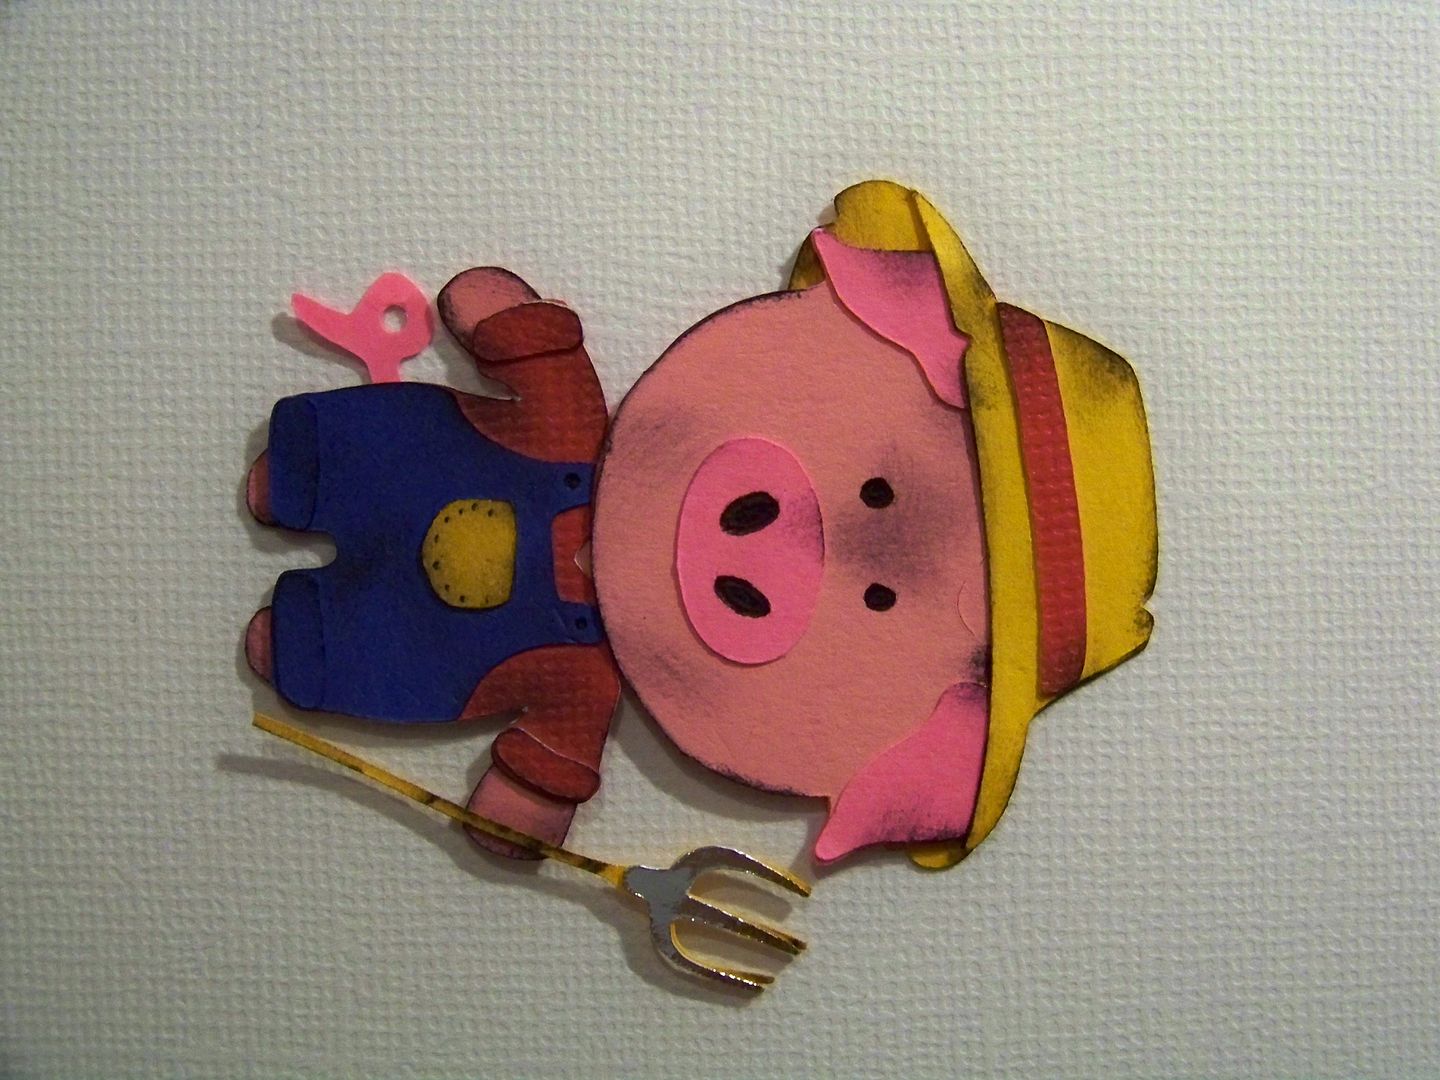
But, maybe this isn't the best example.  ....What I really, really wanted was a pig!  No pig heads in sight.  So, I used the pig from County Fair.  This body is totally different from the bear body but works just like all the others when the head is removed!


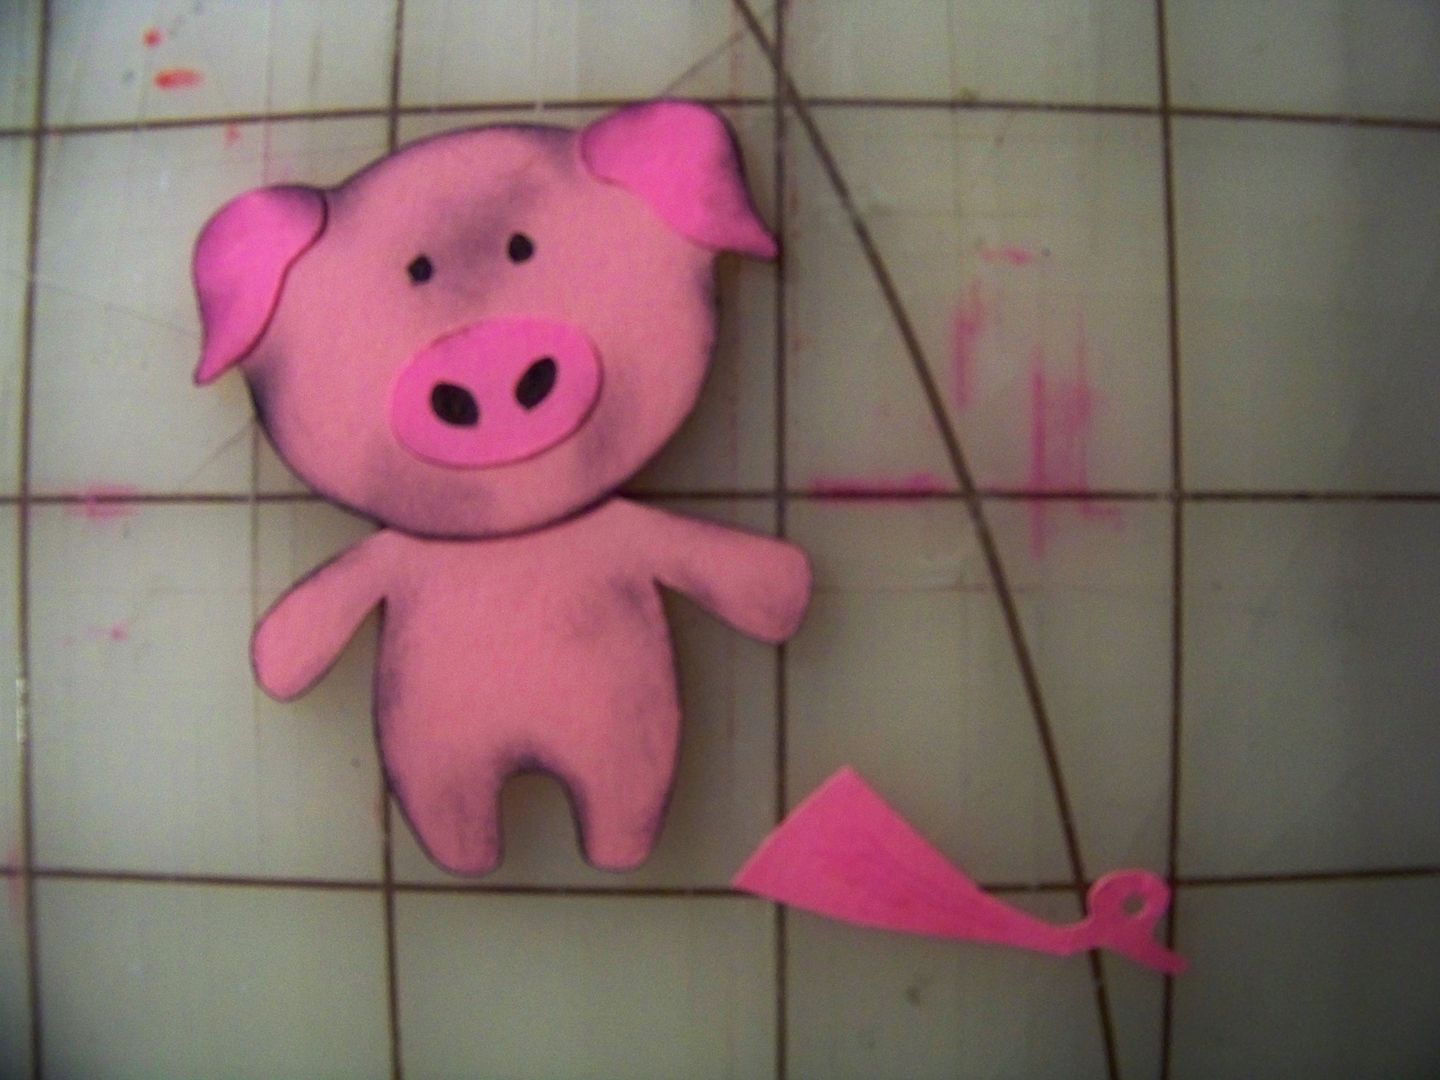
For the pig, I paired the 2" bear body with a pig body I cut from County Fair at 2".  I cut off the pig head, using the cut itself as a guide.  I inked in black to make him a hard-working (dirty) pig farmer.  I used a black gel pen to draw in the eyes and nostrils.  The clothes are straight off the Teddy Bear Parade cart-- colors just as illustrated, and yep, cut at 2" just like the body (of course).


Truth be told, I didn't just snip off the tail.  I actually cut in deep so I would have an easy tab to use to glue it to the back of my little altered piggie!  I used a tiny hole punch to punch that hole in his curled up tail-- much better than using the teeny tiny cut from the cart.

I am loving this guy!  That tail works on either side, by the way!  Don't you love how the cart illustrator added rolled up cuffs to the shirt and pants!  At this teeny size, it is just precious!


I had so much fun combining critters!  The easiest ones had separate head-only cuts.  

Doodlecharms has several 'head only' cuts:  
  • bunny (page 88)
  • lemon-head-shaped baby (page 102)
  • dog (page 112) - this is the one I used above!
  • cat (page 113) - this is the one I used above!
  • reindeer (page 126)
  • Santa (page 127)

New Arrival has 'head only' layers:
  • baby (page 102)
  • elephant (page 112)
  • monkey (page 113) - this is one I used above!
  • bunny (page 115)
  • frog (page 116) - this is one I used above!

Everyday Paper Dolls has several 'head only' cuts with great expressions.  Paper Doll Dress Up has one 'head only' cut.  They are sized exactly the same.  (Both were used above!)

Lots of different cartridges can be used if you are willing to cut out whole bodies and cut away the head to use.  I liked Create-A-Critter (for all kinds of critters) and County Fair (for cow, pig, and horse).  It is all in your hands!  (oh...what a segue!  Well, I did want to give an idea of scale when using this size bear...)


If you morph your own teddy bear body creations, please let me know!  I would love to see them!  I have a couple of fun projects coming up in mid-September using this concept -- can't wait to show you!

You can see many of my previous paper projects by checking out My Project Gallery, or click here.  


Edited Oct 18, 2012 to add:

I have more teddy bear morph posts on this blog!  Check these out:

And there are lots more head-only animals on Everyday Paper Dolls (really!!) and Animal Kingdom (it even has a "head" feature button).
But wait! There's more! Click 'older posts' above!

But wait!  There's more!  Click 'older posts' above!