Showing posts with label Imagine Printing. Show all posts

Monday, November 7, 2011

Right Here Having Fun

 
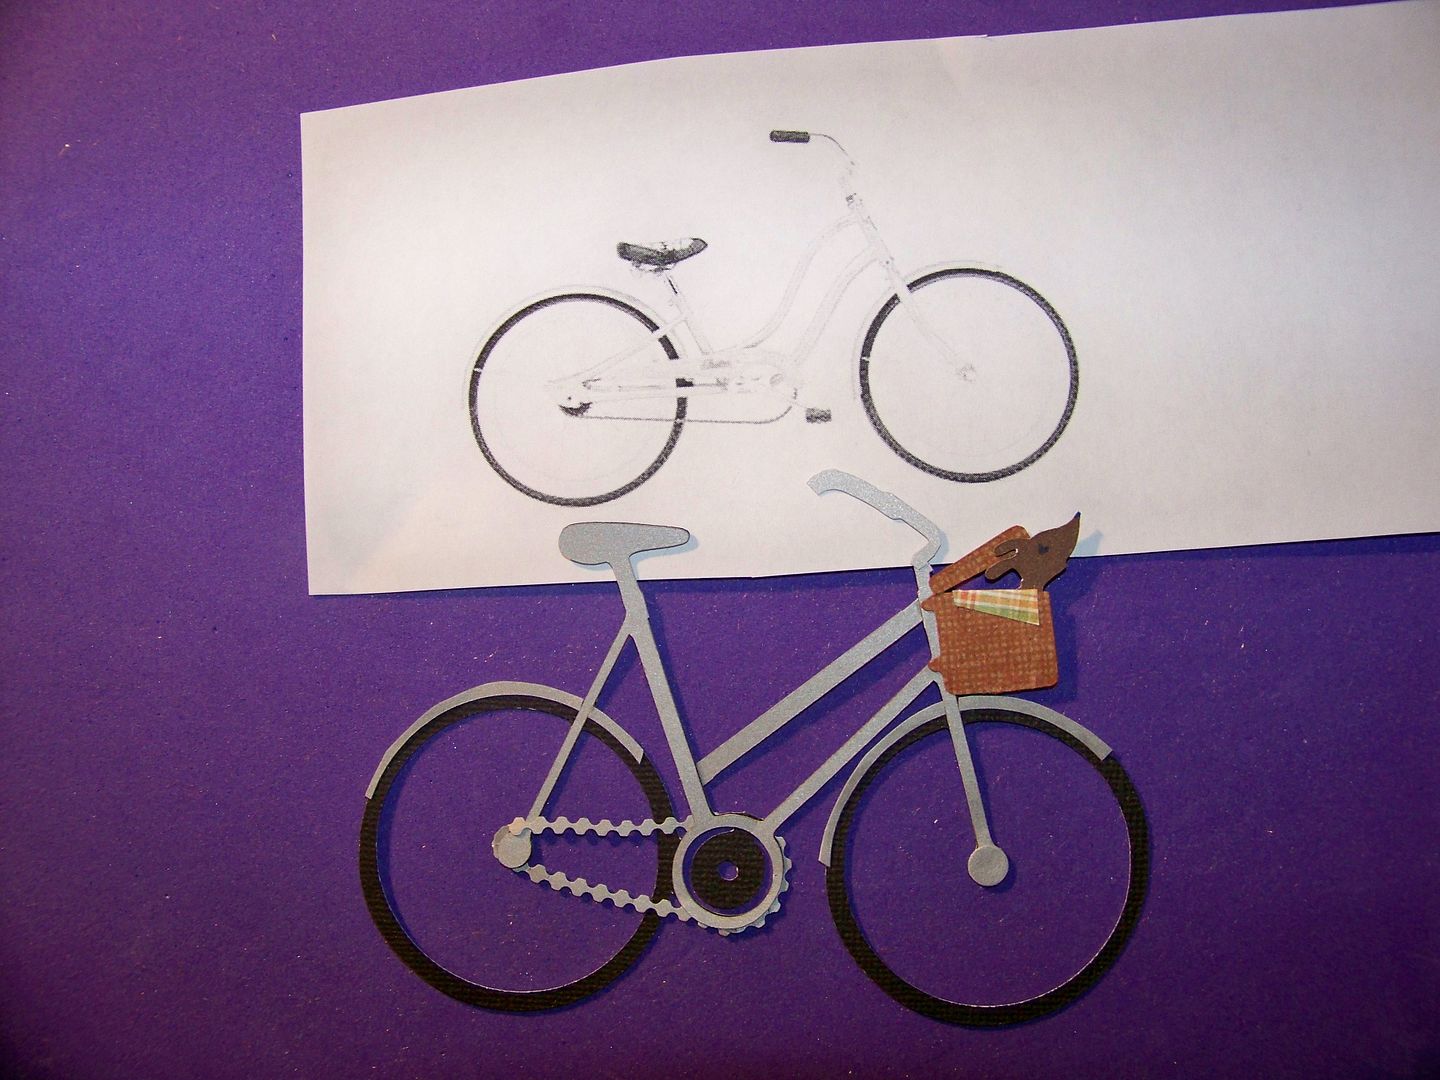
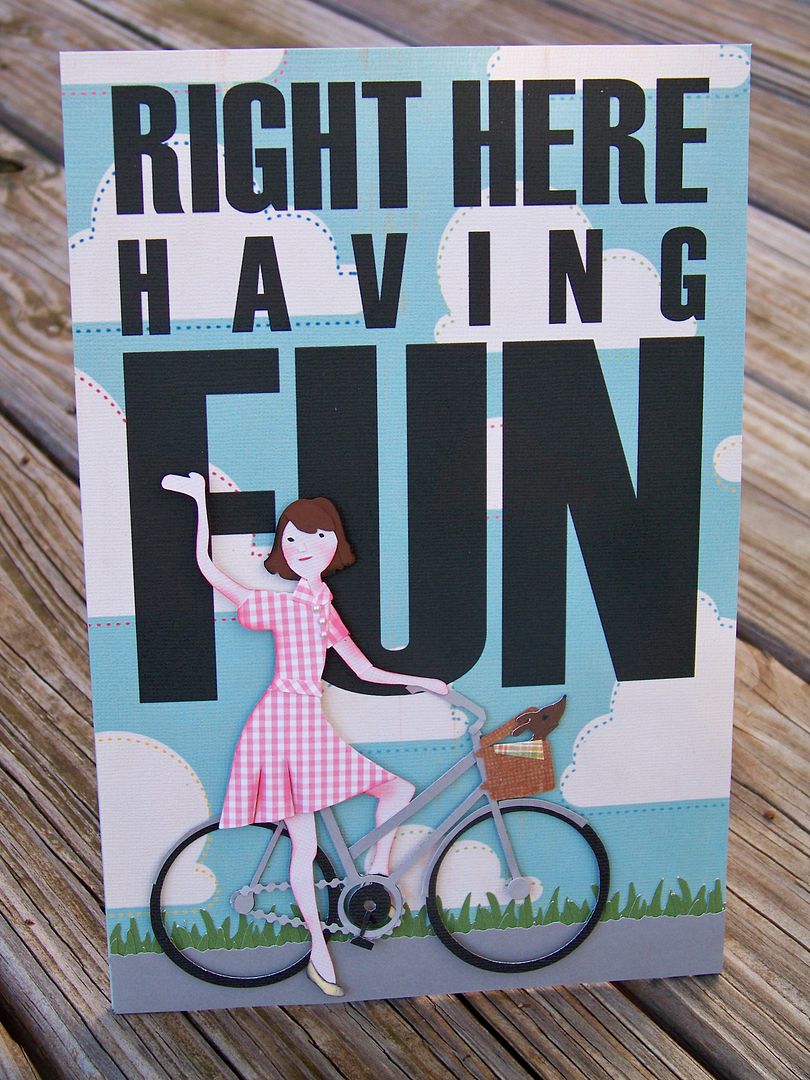
I recently had so much fun with the car cut from the Traveler cartridge that I wanted to try altering the bicycle.  I really liked the results when I added details.  I imagined the bike having a basket with something peeking out.    With business travel stealing from the time and planning of pleasure trips, the past couple of years have been all about finding fun right here at home!  Bicycles and blue skies were on my mind while I did my latest Obsessed with Scrapbooking Design Team project-- a plaque.
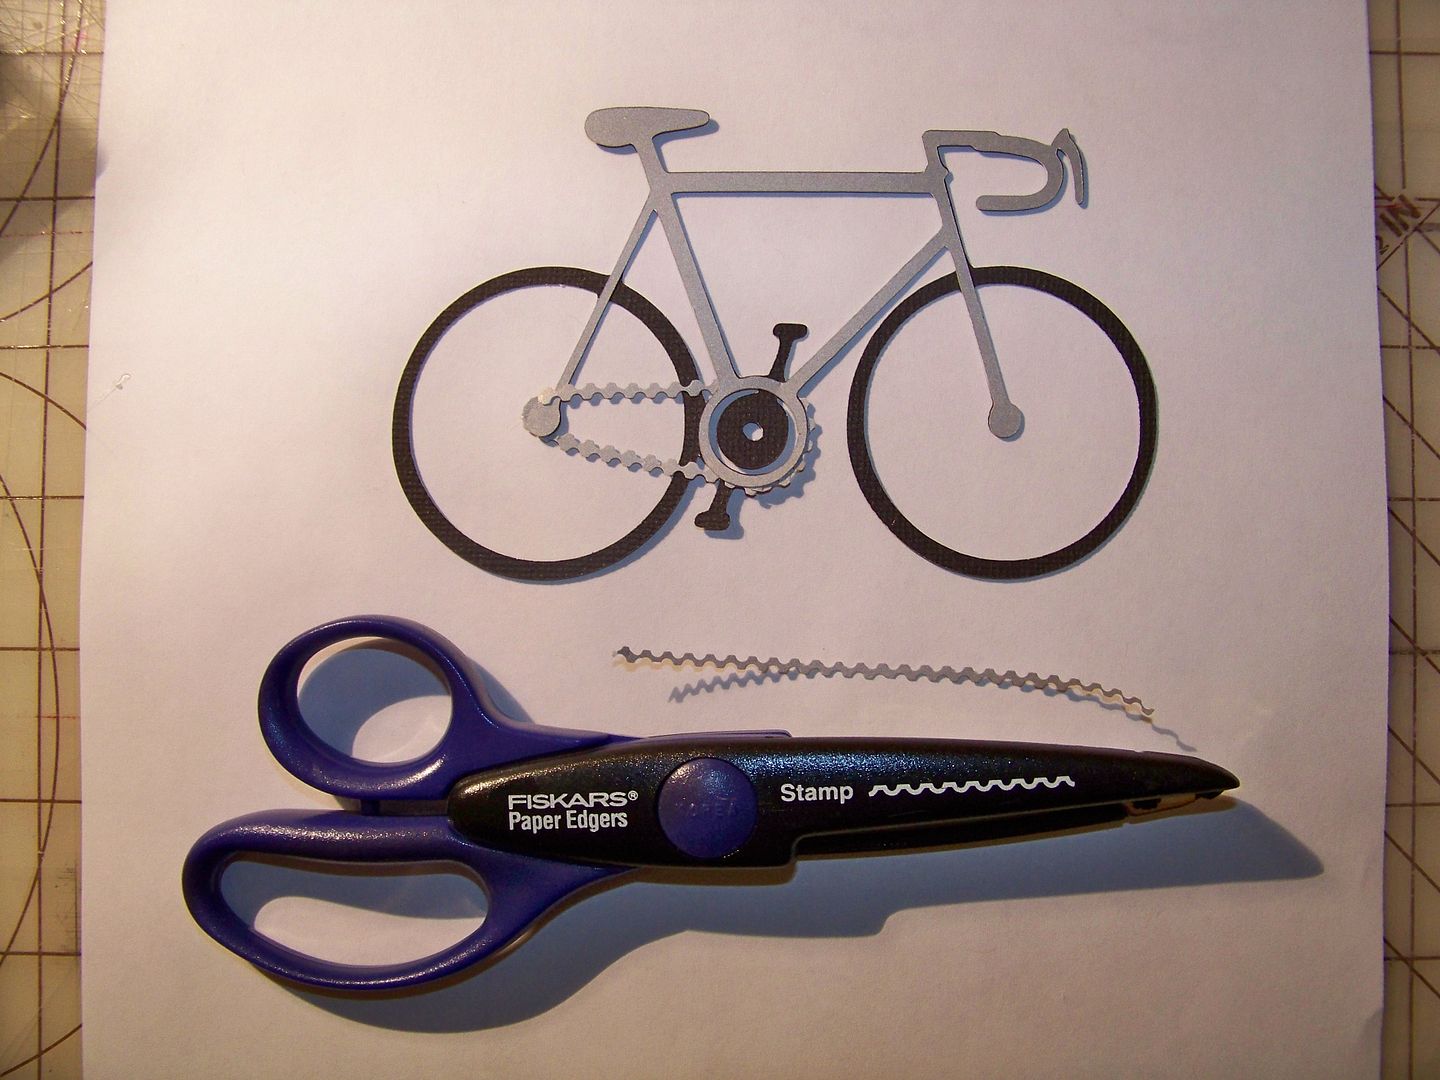
I started by cutting the bike on Traveler at 3" on the Expression.  I cut the full bike in both gray and black, and then the shift image of the frame only in gray.  For the details, I needed extra parts and these extra cuts allowed for that.  I looked up "girls bike" on Google Images to know what a bike really looked like so I could add my details properly.  I added a chain using decorative edge scissors.


I changed the angle of the top tube to look more like a touring bike than a racing bike, changed the handle bars (by cutting away the hand-brake and flipping the trimmed down handlebars), and added fenders. 

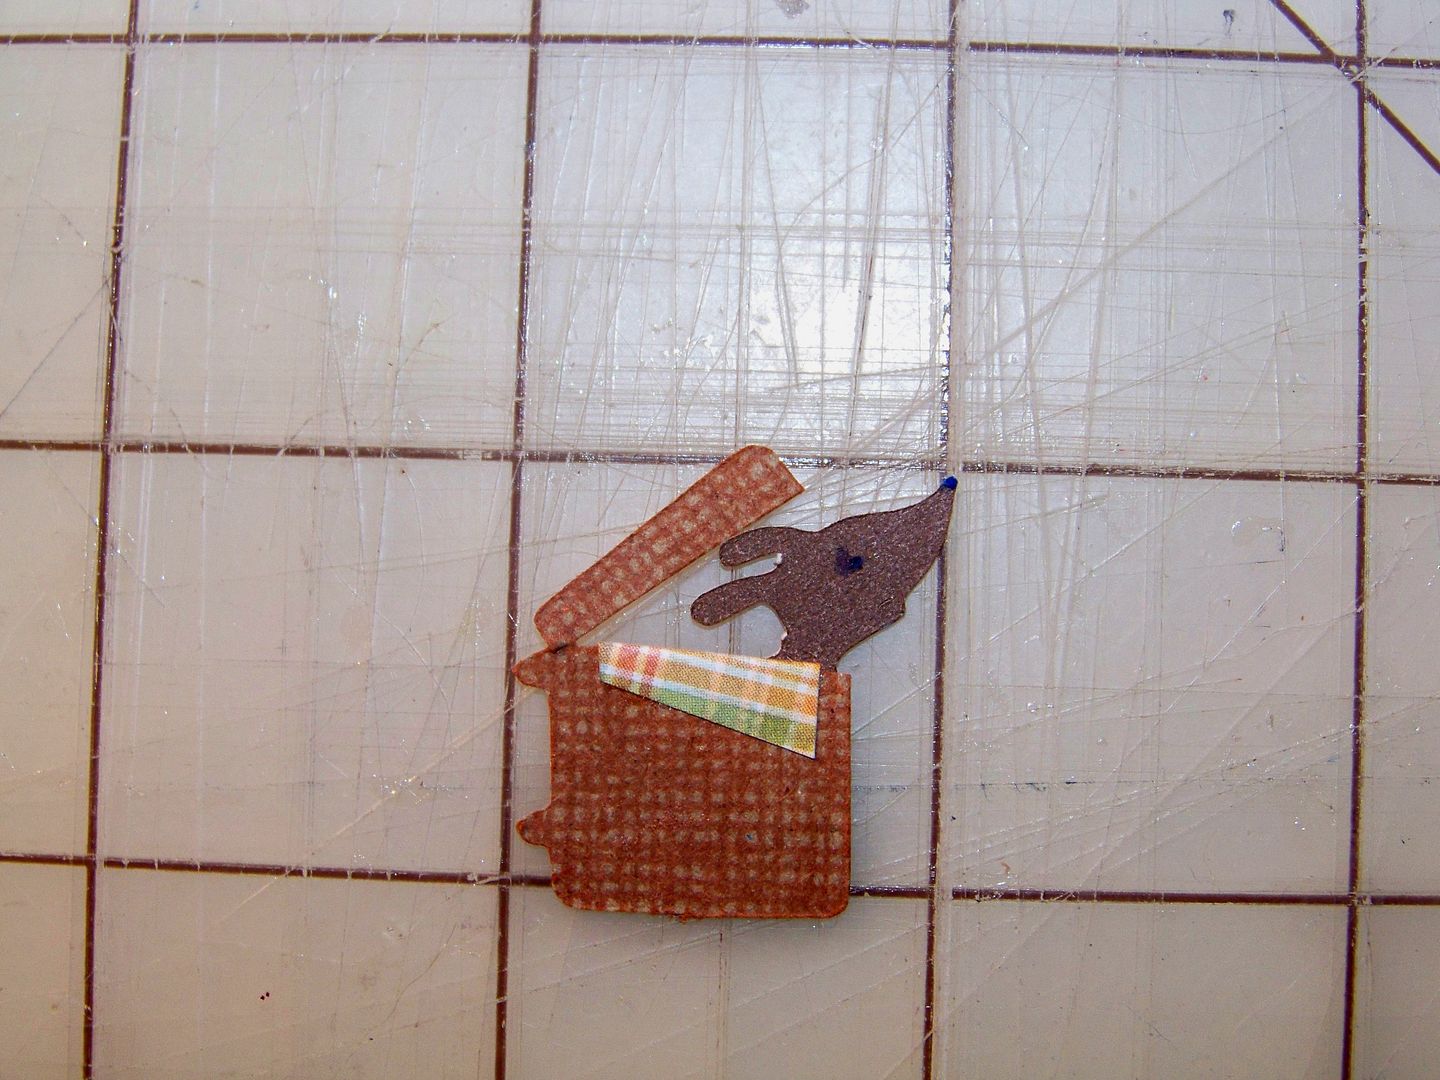
I created a basket by cutting the shape from Traveler (page 58 -icon shadow) at 3/4" on the Expression.  I stamped a woven design on it and made a cut near the top to create a lid. 


I added a "cloth" liner folded over the edge.  The puppy was cut from Paper Pups (page 87 solid) at 1/2" also on the Expression. 


I knew I wanted the background to be the text "Right here having fun" from Traveler (page 49).  I changed the settings on the Imagine to 'print only' and printed it on white paper so that the figure with bike could be completed while keeping the background in mind.


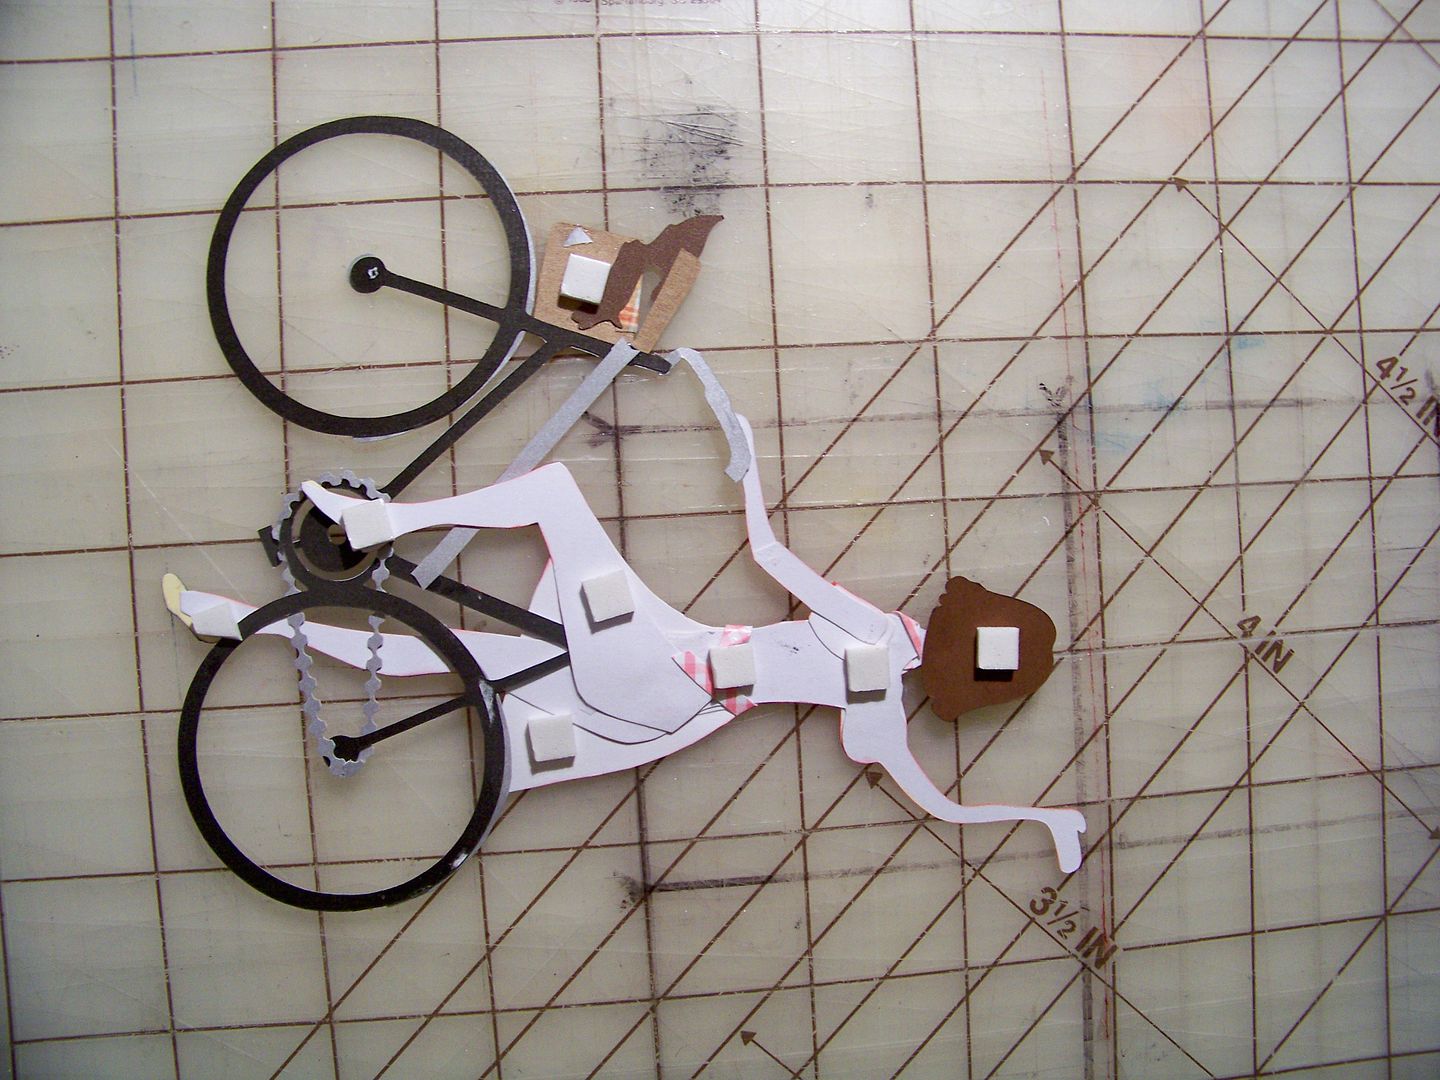
For the lady, I cut her upper body from Country Life (page 32) at 7-1/2", flipped.  (Funny, I bought Country Life just for this cut and as much as I use this cartridge, I have NEVER made that cut--until now!)  I used my Imagine to cut her and floodfill the shape with RGB 250, 229, 210 for flesh.  I also floodfilled a 6" square with the same flesh color so I could make her legs.  I hand-cut one leg to make her lower body.  I traced one leg straight and cut that.  I had to cut her arm at the elbow to change the angle in order for her to hold the handlebars.
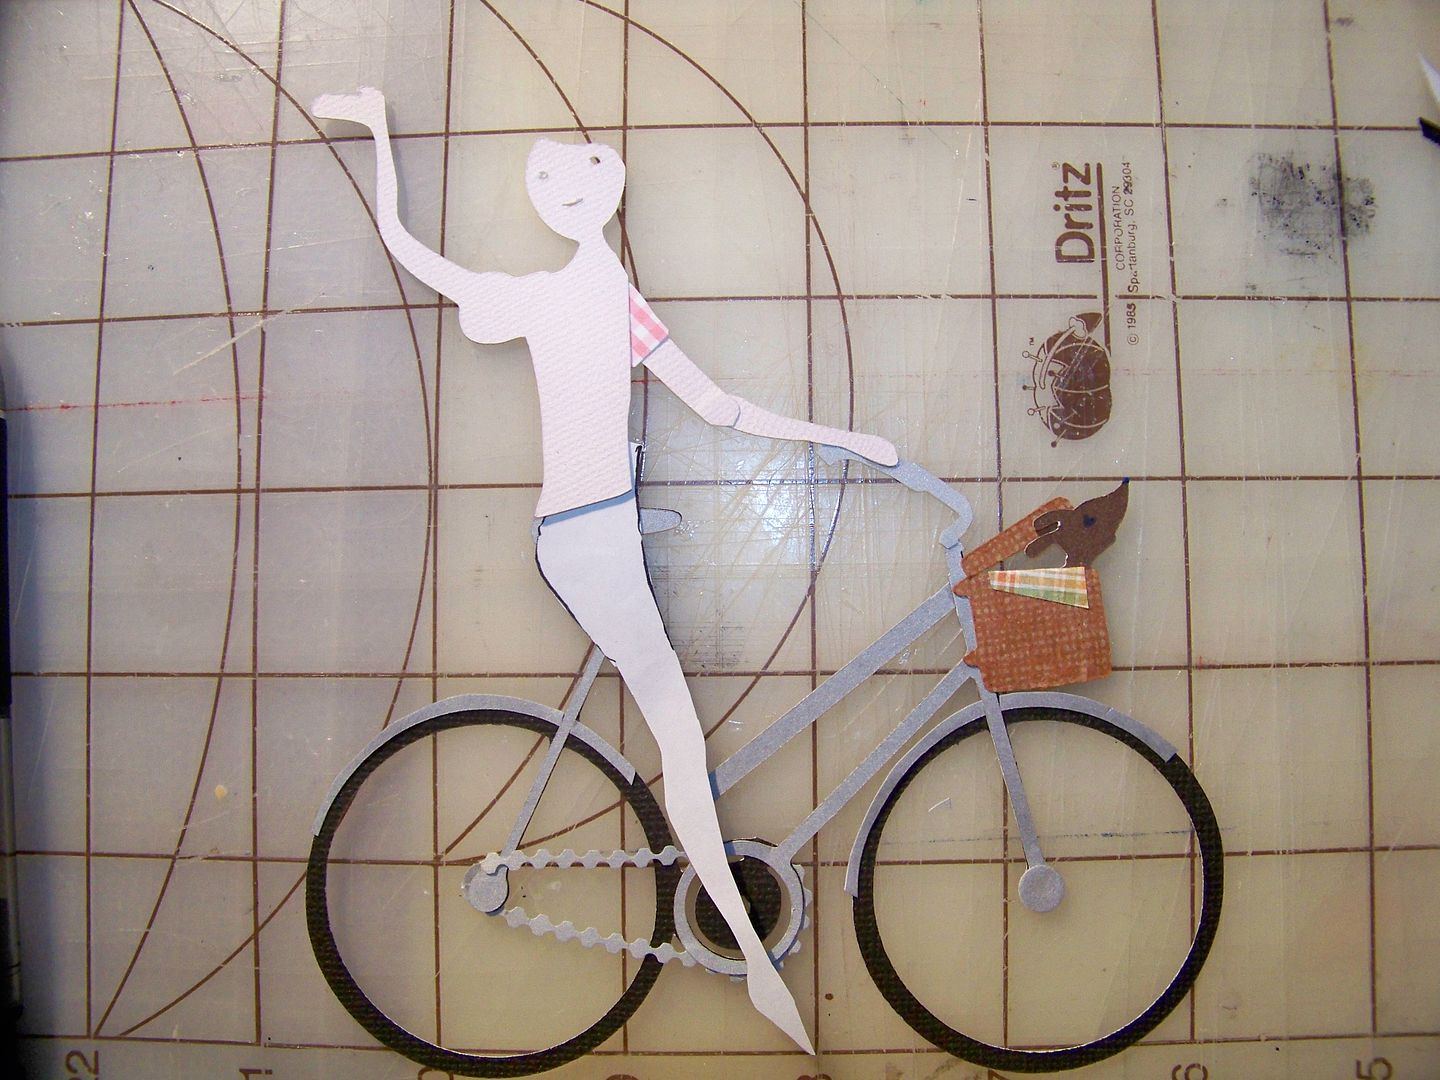

I used the same leg pattern to trace and cut to create a bent back leg.  I didn't know if I wanted her riding the bike or stopped and I wasn't sure of the angles of the legs so I just pivoted them until I liked the positions.  I started adding clothing by tracing and cutting... and cutting away parts of the girl's torso a bit.  I added a shirt collar and adhesive pearls to emphasize the twisting of her torso.
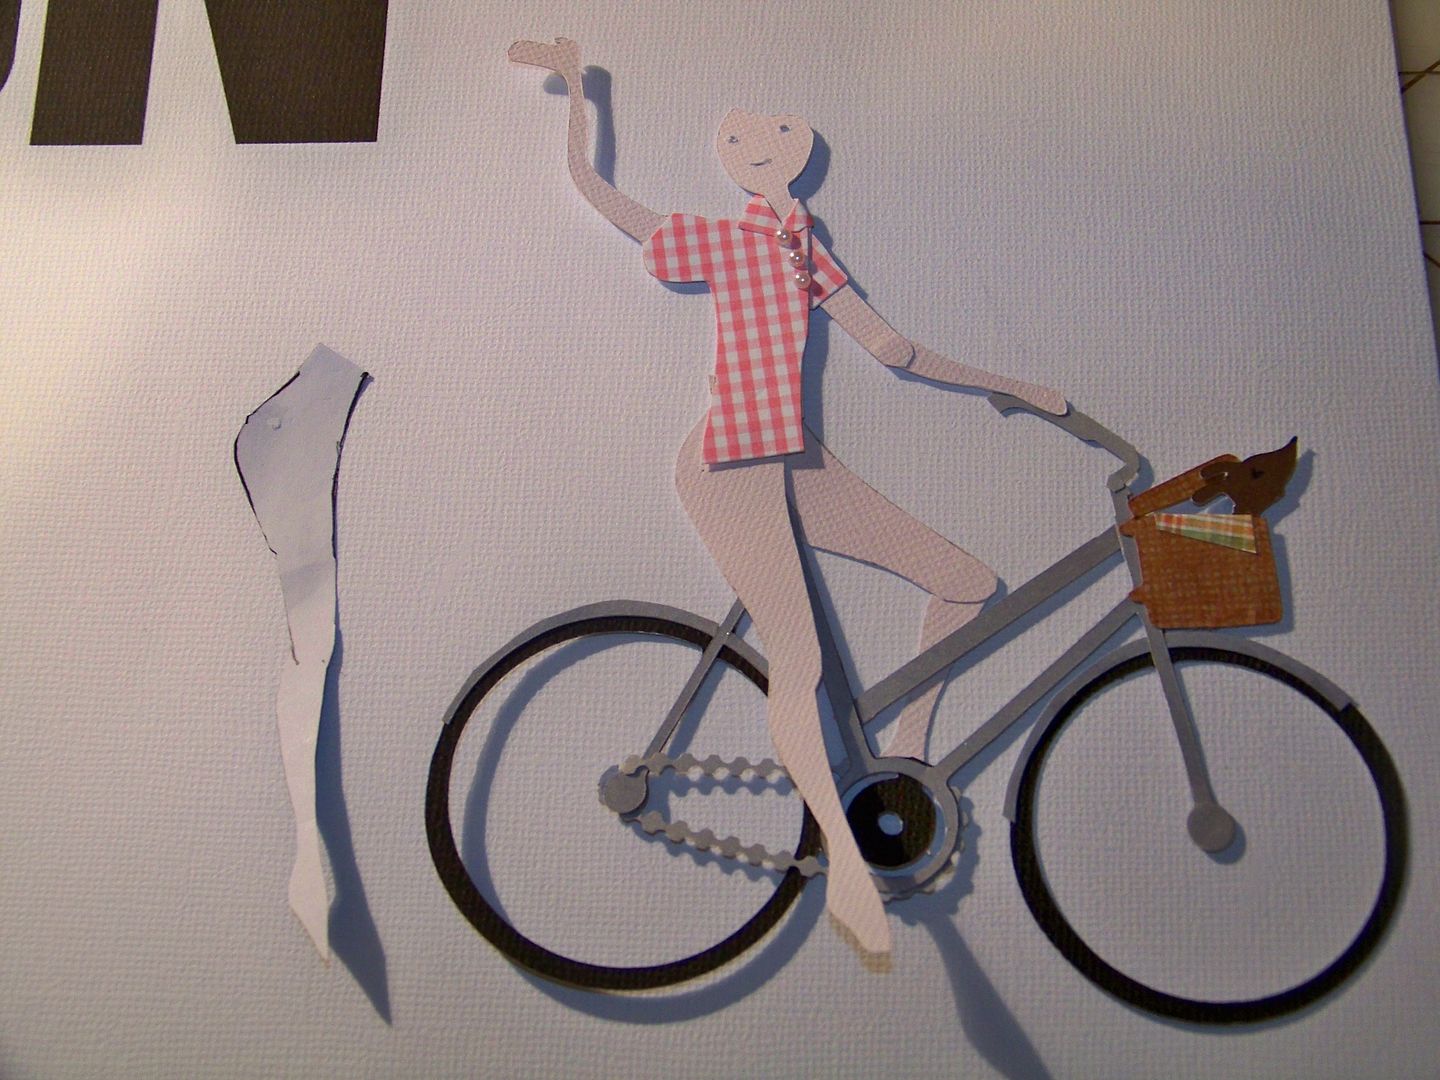

I had been troubled by the look of the cut joint of her knee so I traced the bent leg and hand-cut so that it would be solid.  I created a skirt but after it was adhered, I decided to add an extra layer so that I could cut in a couple of "fabric" folds.  I re-cut it by matching the pattern and simply tracing it again, then cutting it out.  I cut in a couple of slits and rolled them toward the back, then inked.
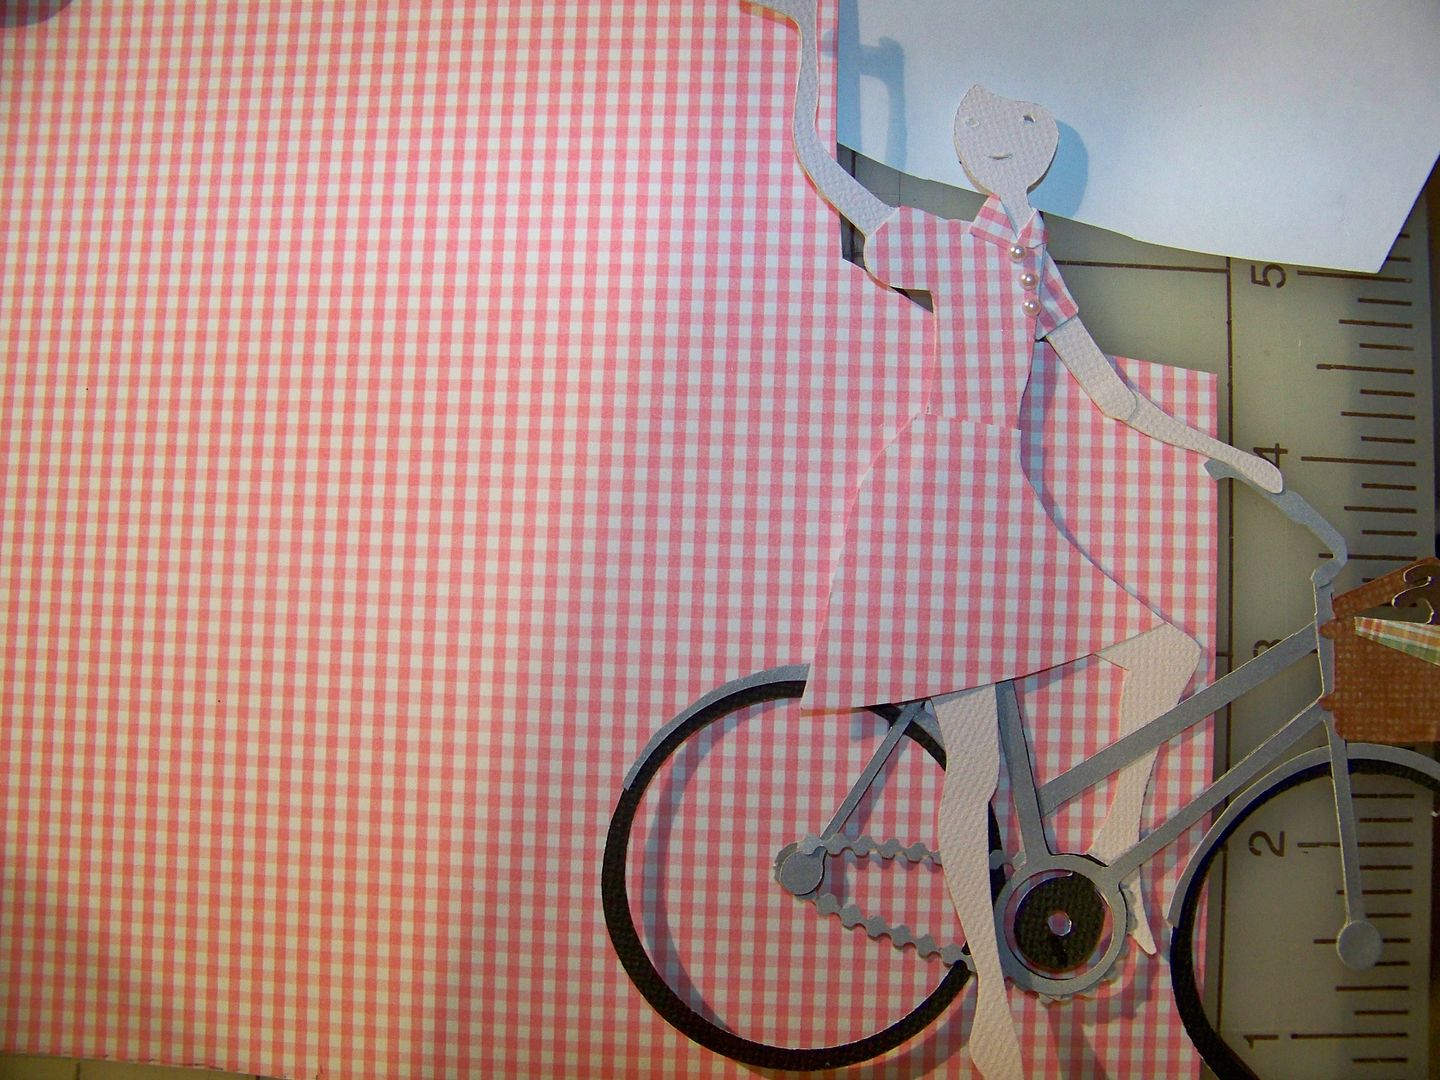

I added a layer of black behind the cut of the face to finish her eyes.  I inked her face and added a paper mouth and nose.  I added a bias cut waistband.  I also cut the elbow to change the bend to be right at the inside of the elbow.  I inked her body in pink. 
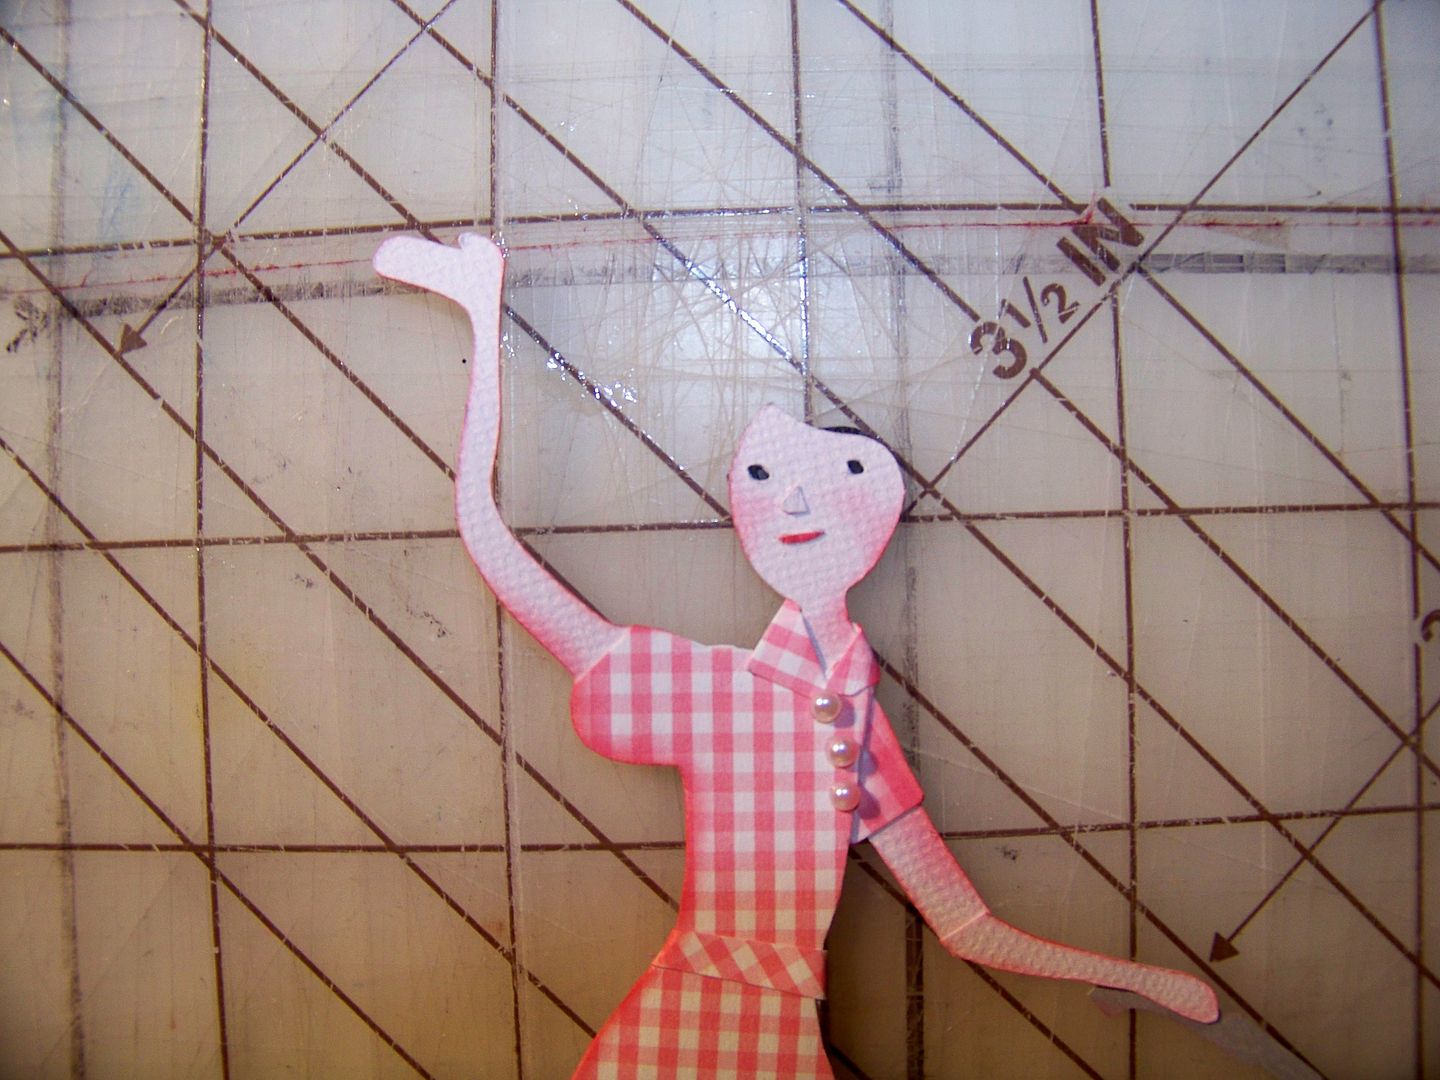
I traced her feet to cut out little shoes and inked those in black to be sure they visually looked separate from her feet. 

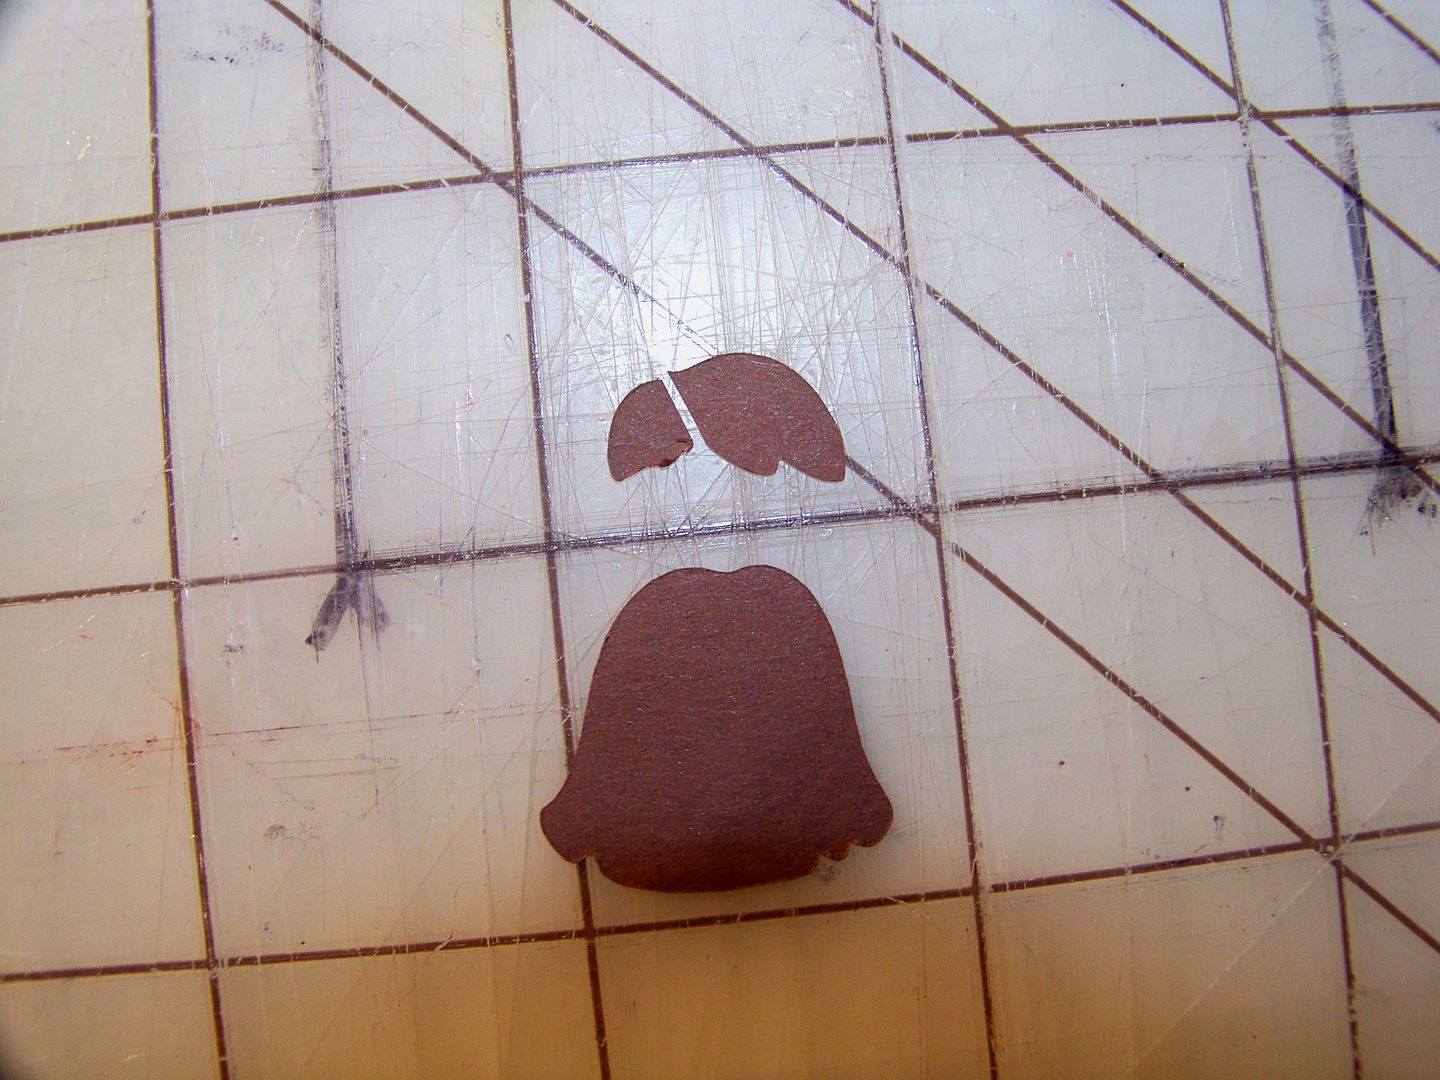
I created her hair by using two cuts at 1-1/2" from Paper Doll Dress Up:  page 44 and page 47.

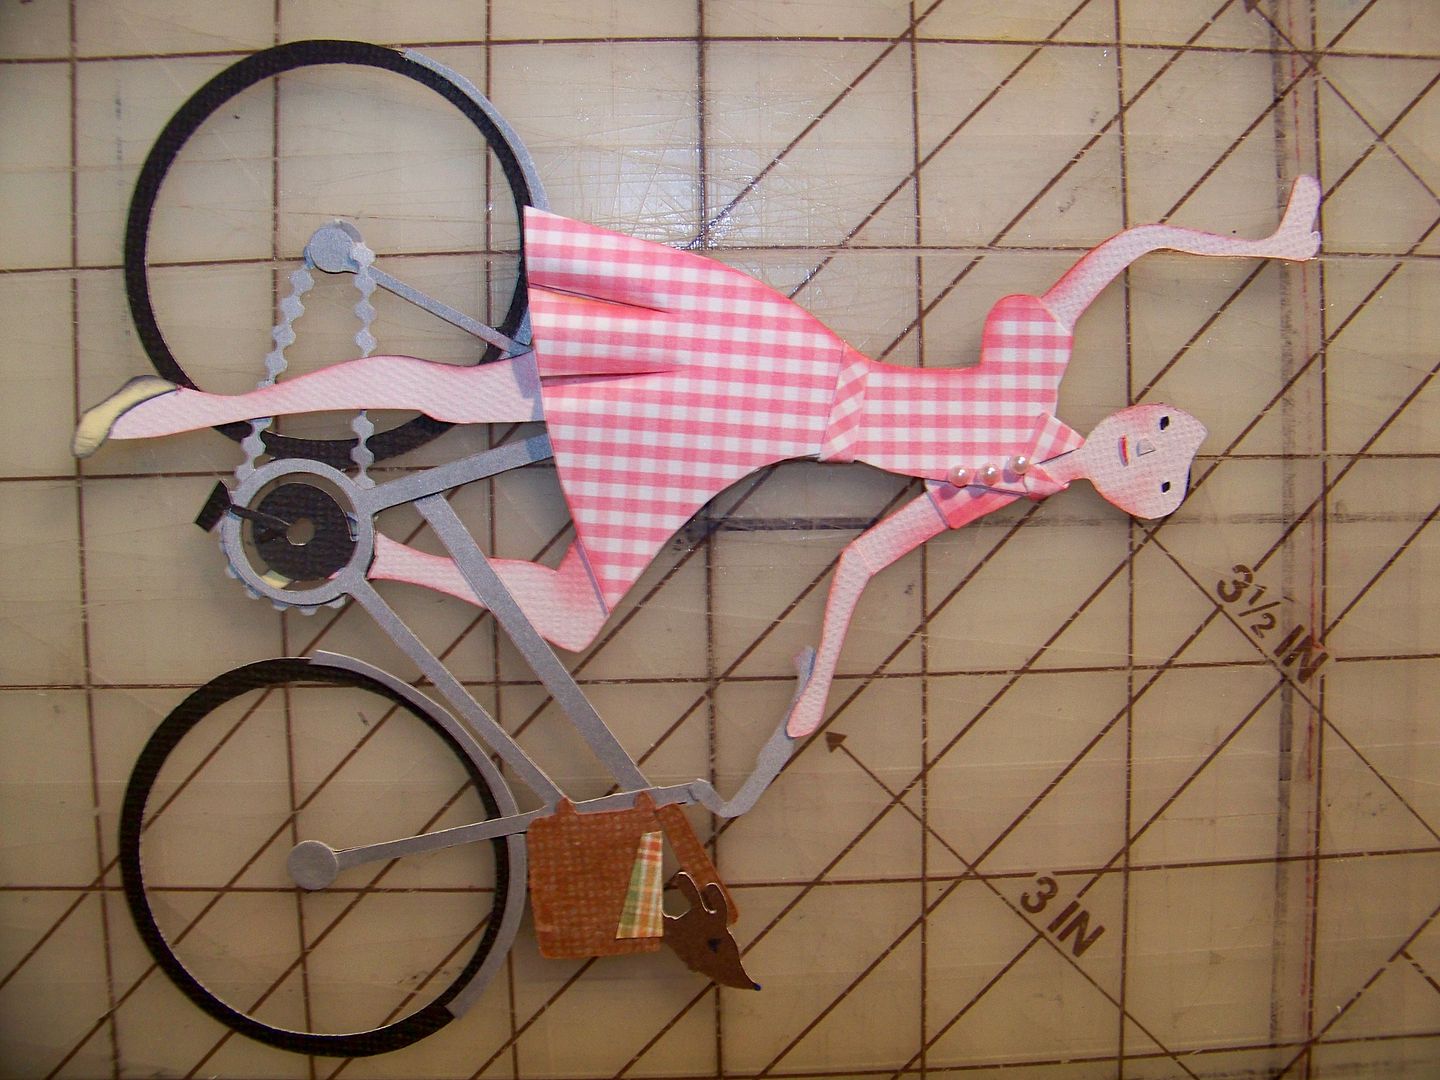
My figure was complete!


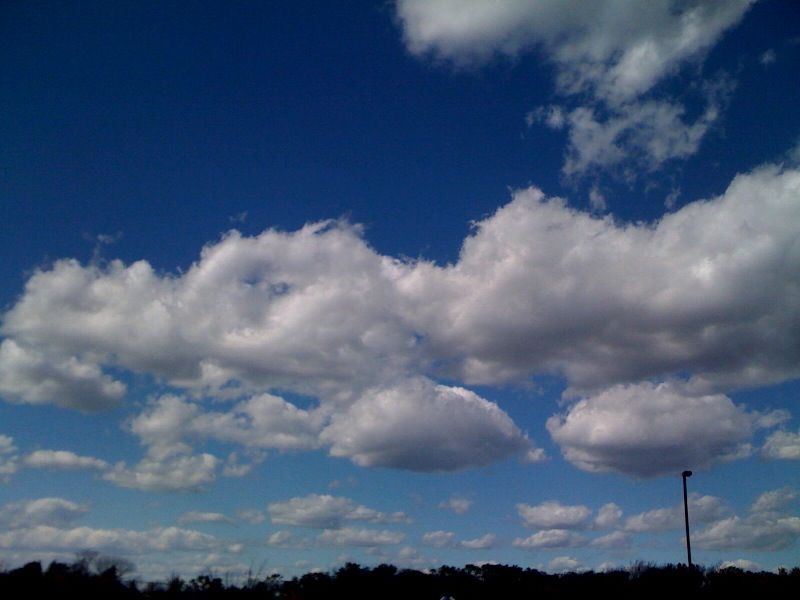
I had been thinking about the background...  I have been noticing the skies around my neighborhood the past few weeks-- puffy white clouds and beautiful blue skies.  I took this picture with my phone a couple of weeks ago while sitting in the pick-up line at my daughter's school.  What an unexpected gift that day! 

Clouds just had to be in the background!  I printed a page of clouds from Hopscotch on the Imagine.  I double checked the scale next to the paper printing I did earlier and to the figure.
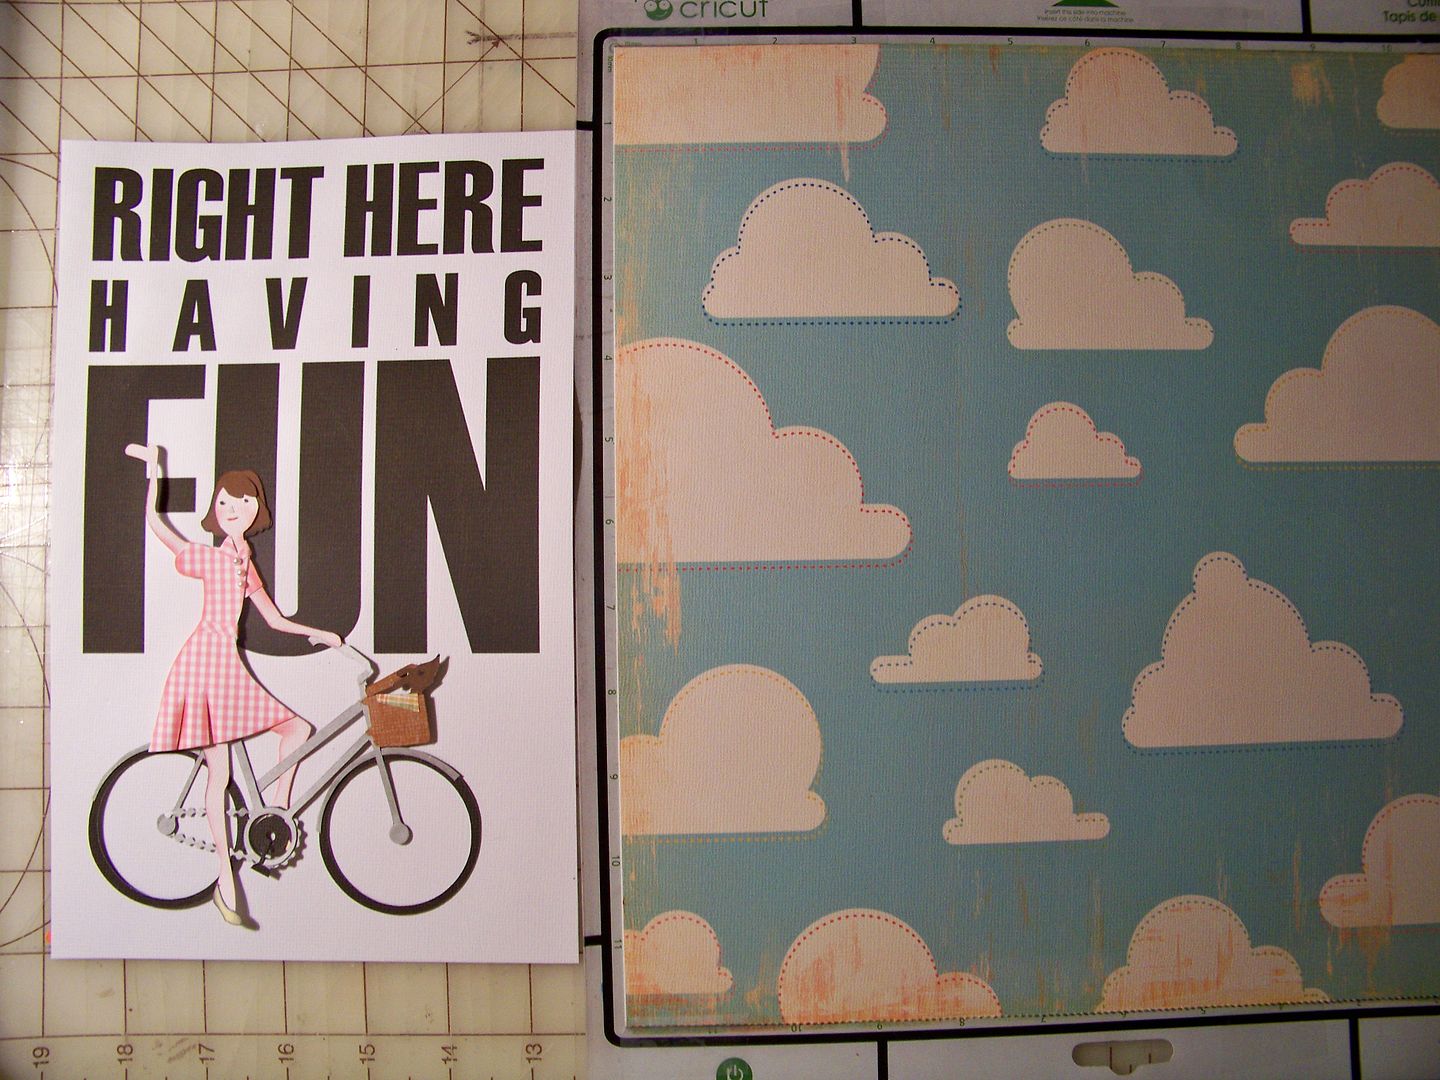

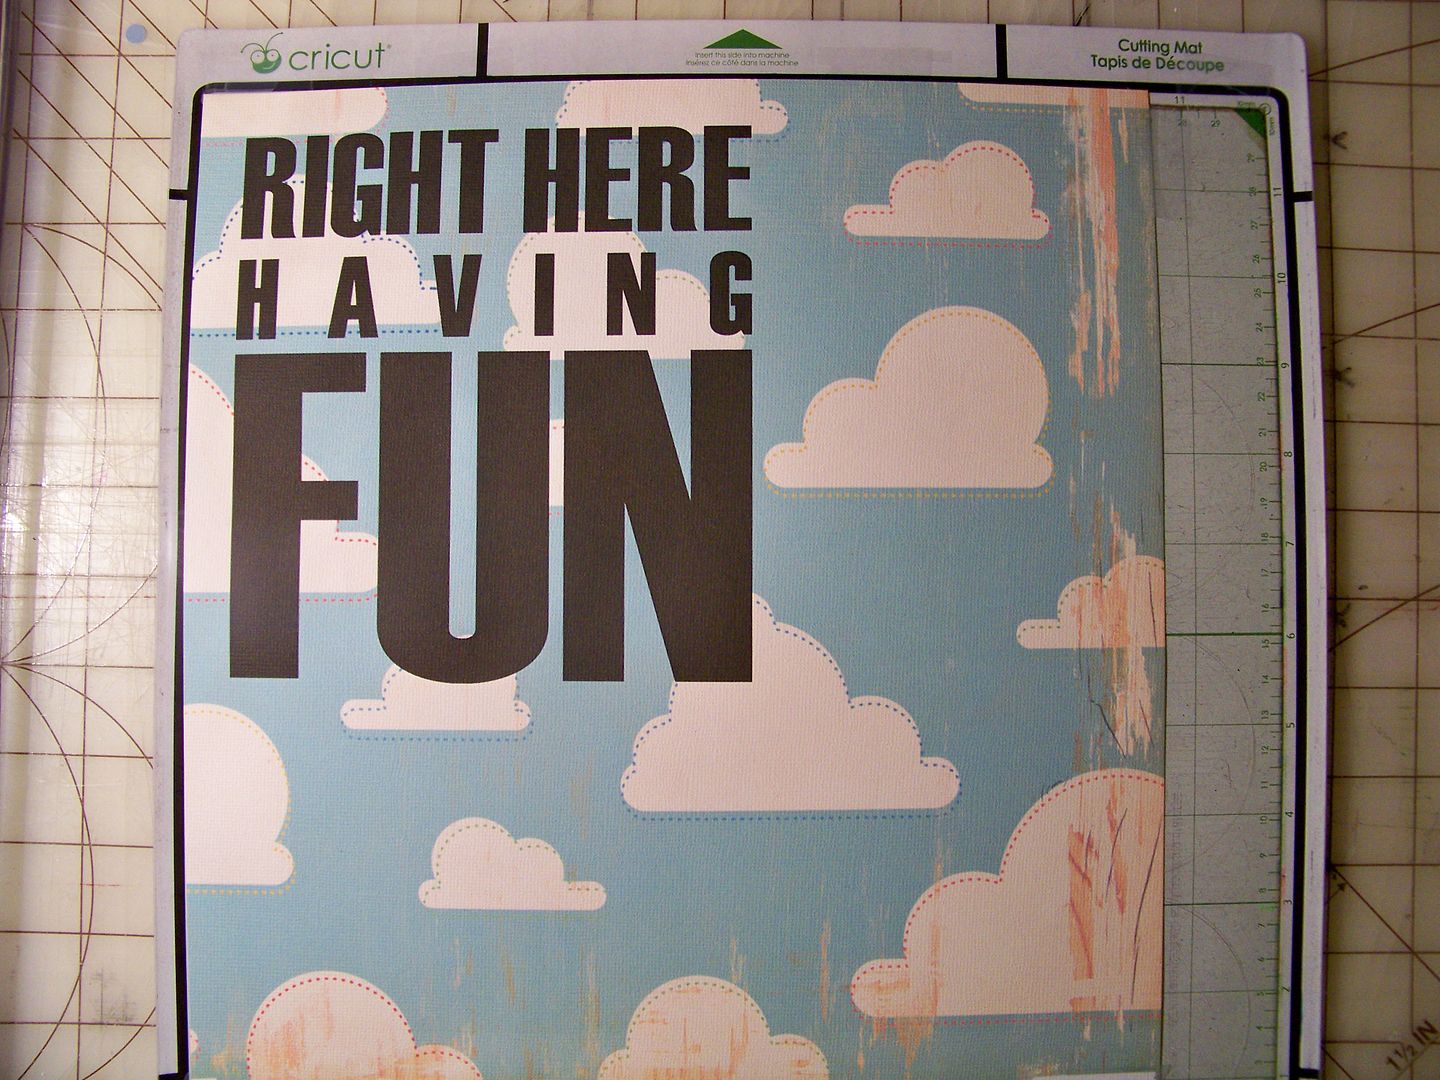
I trimmed off the top and sides a bit to remove the stylized scratches and scrapes from this printed paper so that my text would be on "cleaner" clouds.  I put the cloud paper back through the Imagine and used the Traveler cartridge again to print my text directly on the clouds-- with the machine set at 'print only.'  Again, I printed it at 7-1/2".

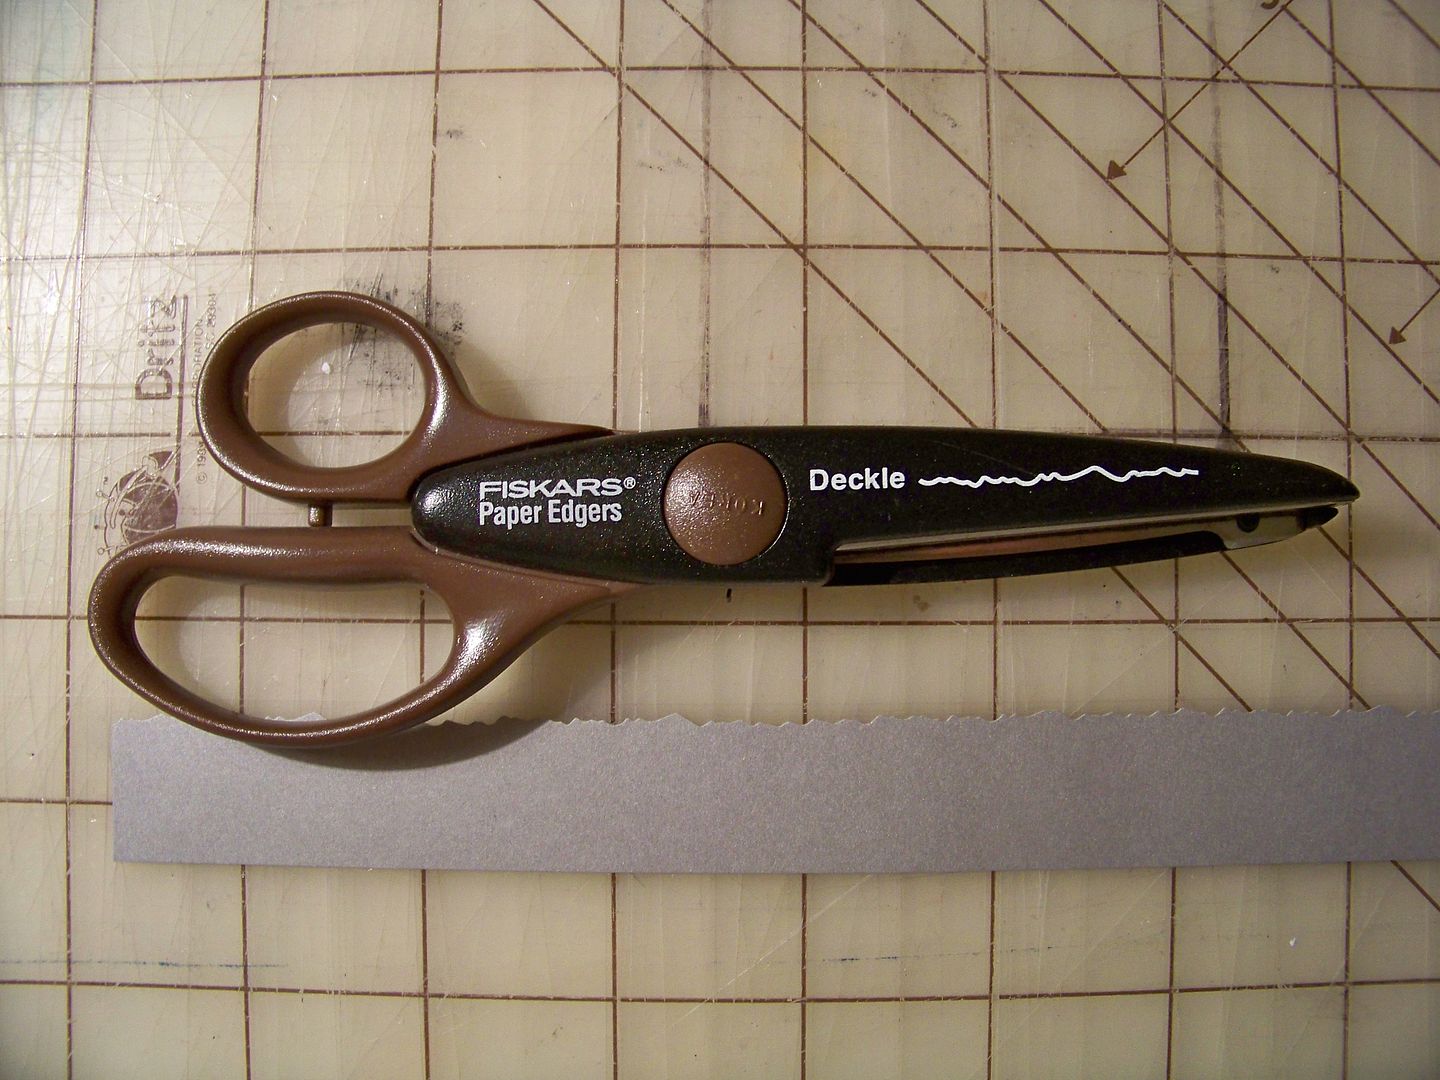
To ground the figure and bike, I cut a strip of gray paper and used decorative scissors to deckle the edge a bit. 

I used an edge punch to make two layers of grass and applied the grass behind the gray strip to look like the side of the road.  This was applied to the background paper.  I mounted the background paper on Crescent Illustration Board that I cut to size.

I used pop dots to apply the figure and bicycle to the plaque. 

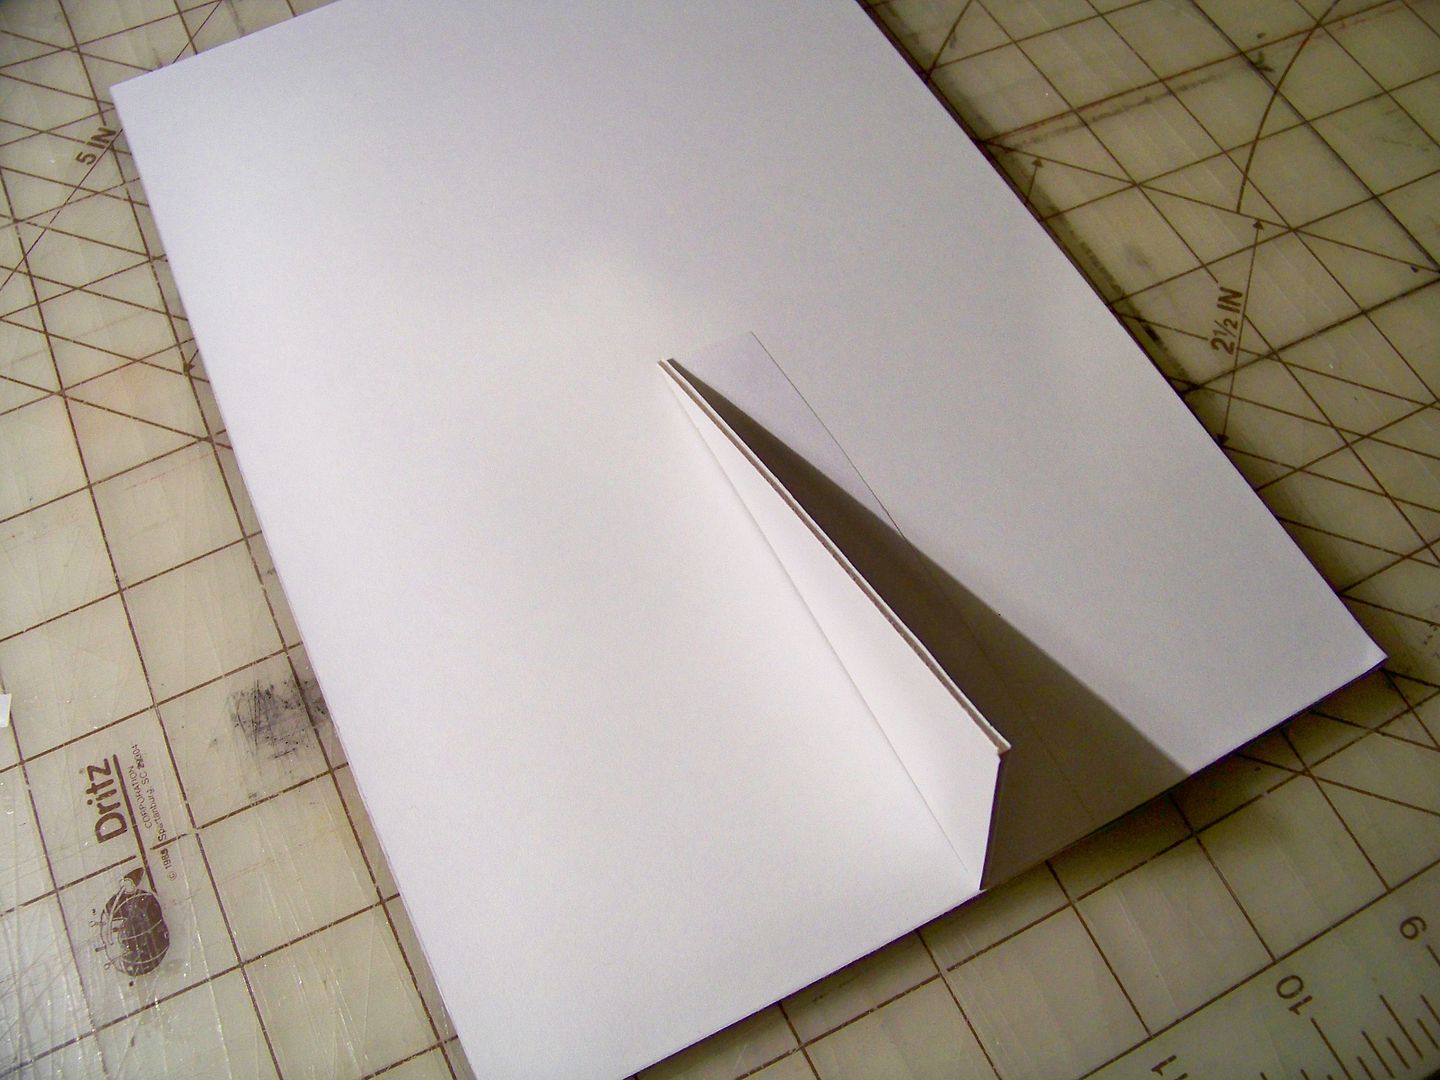
I cut a bit more illustration board to create a prop behind the plaque so it would stand up.

Finished!


This was so much fun to put together!  (I know, I always say that-- but it is always true!) 

If you missed my previous Design Team posts and want to check them out:
  • Click here to see my project featuring the orange cut on a gift set, which features printing the cut as a repeating motif to make custom paper, using printable vinyl, and customizing a face by turning the vertical axis. 
  • Click here to see my card featuring the car cut, which features adding details to look like a VW Super Beetle and adding a simple altered figure!  
Thank you for looking at my project!  You can find all of my Cricut and Yudu crafts by clicking here to go to My Project Gallery, or by clicking the tab at the top of my blog.  I hope you are having fun right there wherever you are!

Thursday, August 25, 2011

Cosmo Cricket Child's Gift Set

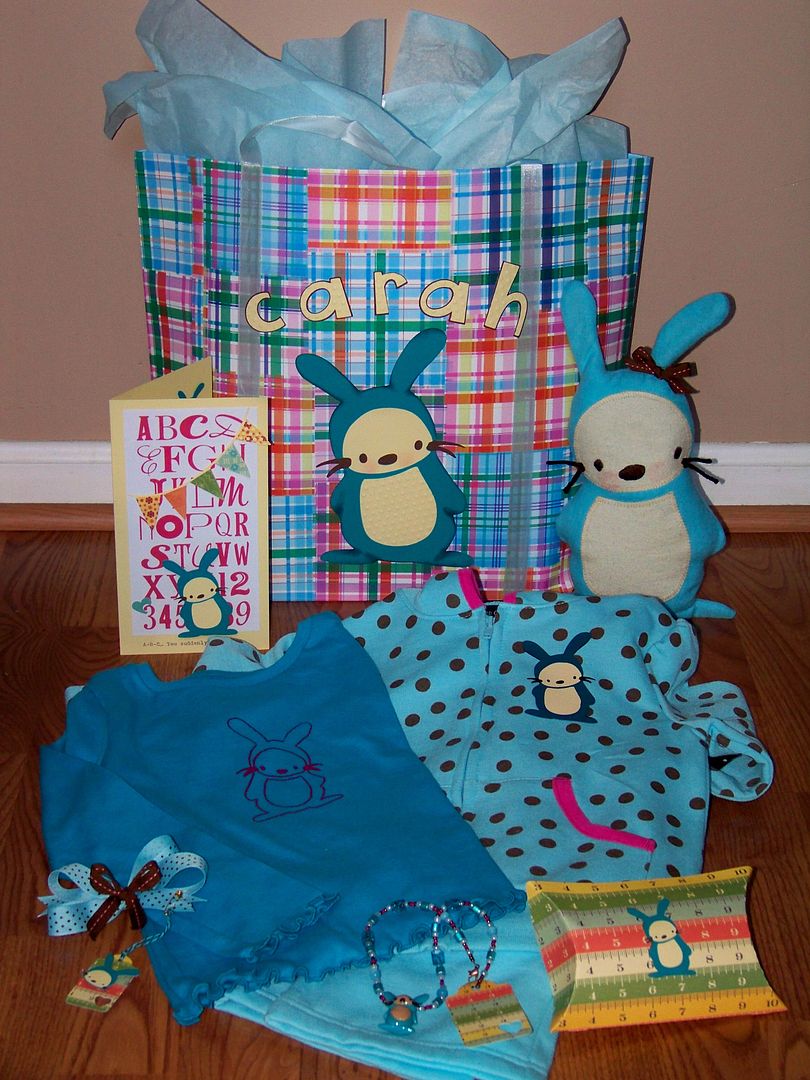
I wanted to share with you a gift set I have made for my niece, Carah.  This is my entry in the Cricut Circle Magazine Challenge:  August Cosmo Cricket Contest.


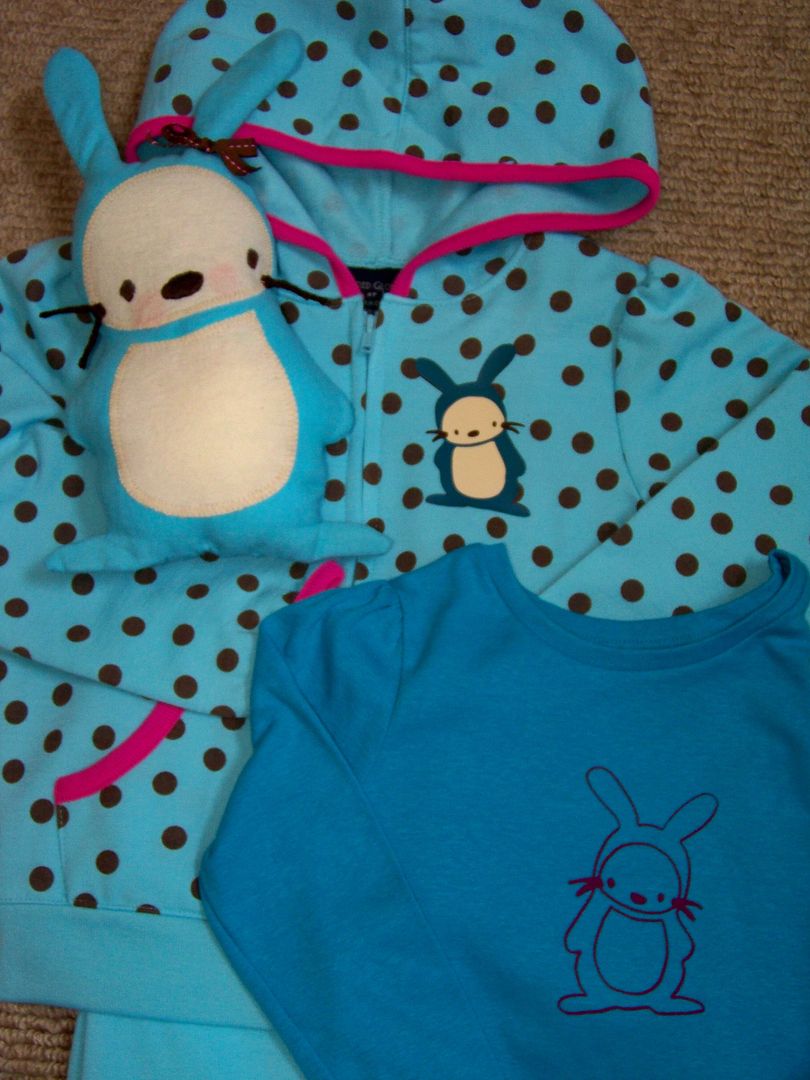
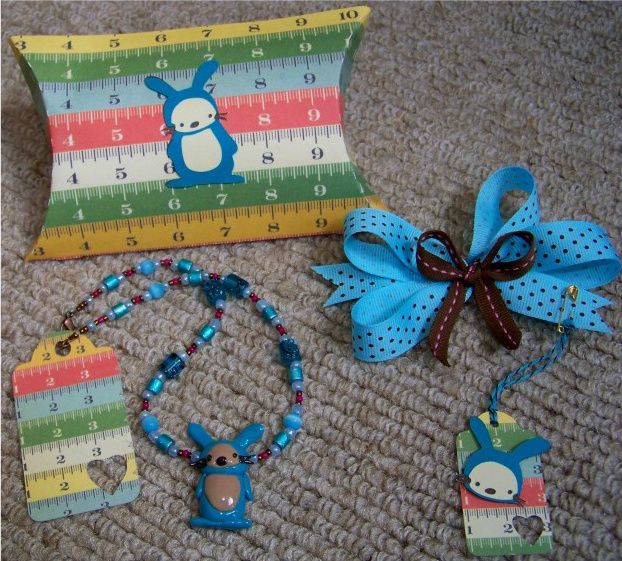
I love the little bunny from the Cosmo Cricket Just A Note cartridge.  Pop Surrealist Tim Buskup came to mind for my husband when he saw this little guy.  I have used it as my repeating icon for this gift set.  I wanted to move my Cricut machines and the icon in several different directions to create a special collection.  Baby Carah turns three in September, so this is my Carah Collection.  (This is definitely my way of being silly-- but I do love coordinated groups of things -- always have!) This set includes a birthday card, decorated gift bag, silk screened shirt, decorated playsuit, stuffed toy, necklace with pillow box packaging, and a hair bow.  All were made with the Cricut or using the Cosmo Cricket bunny icon in the handbook as a pattern or guide.


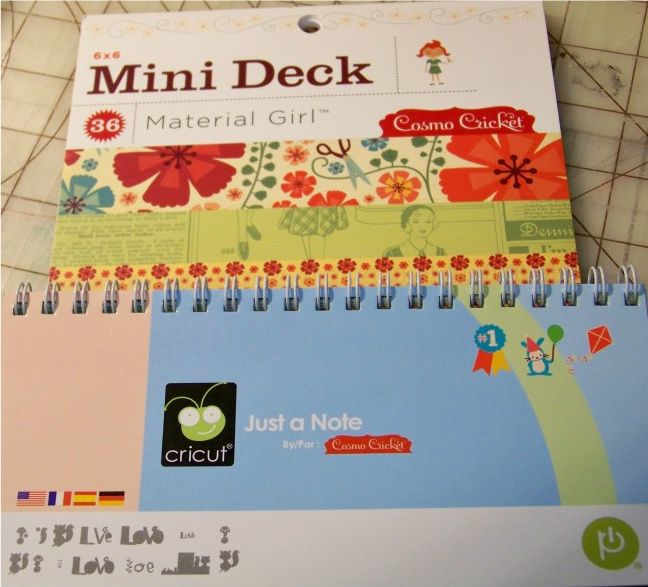
In addition to the Cosmo Cricket-designed Just A Note cartridge, I also used a mini deck from Cosmo Cricket on various elements on this gift.


Birthday Card: 


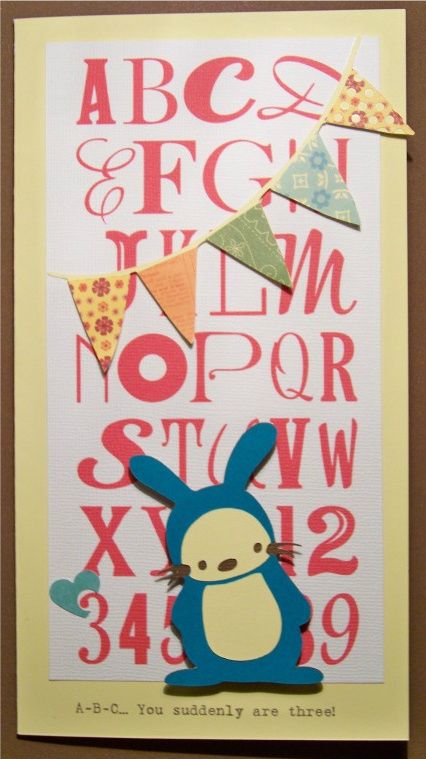
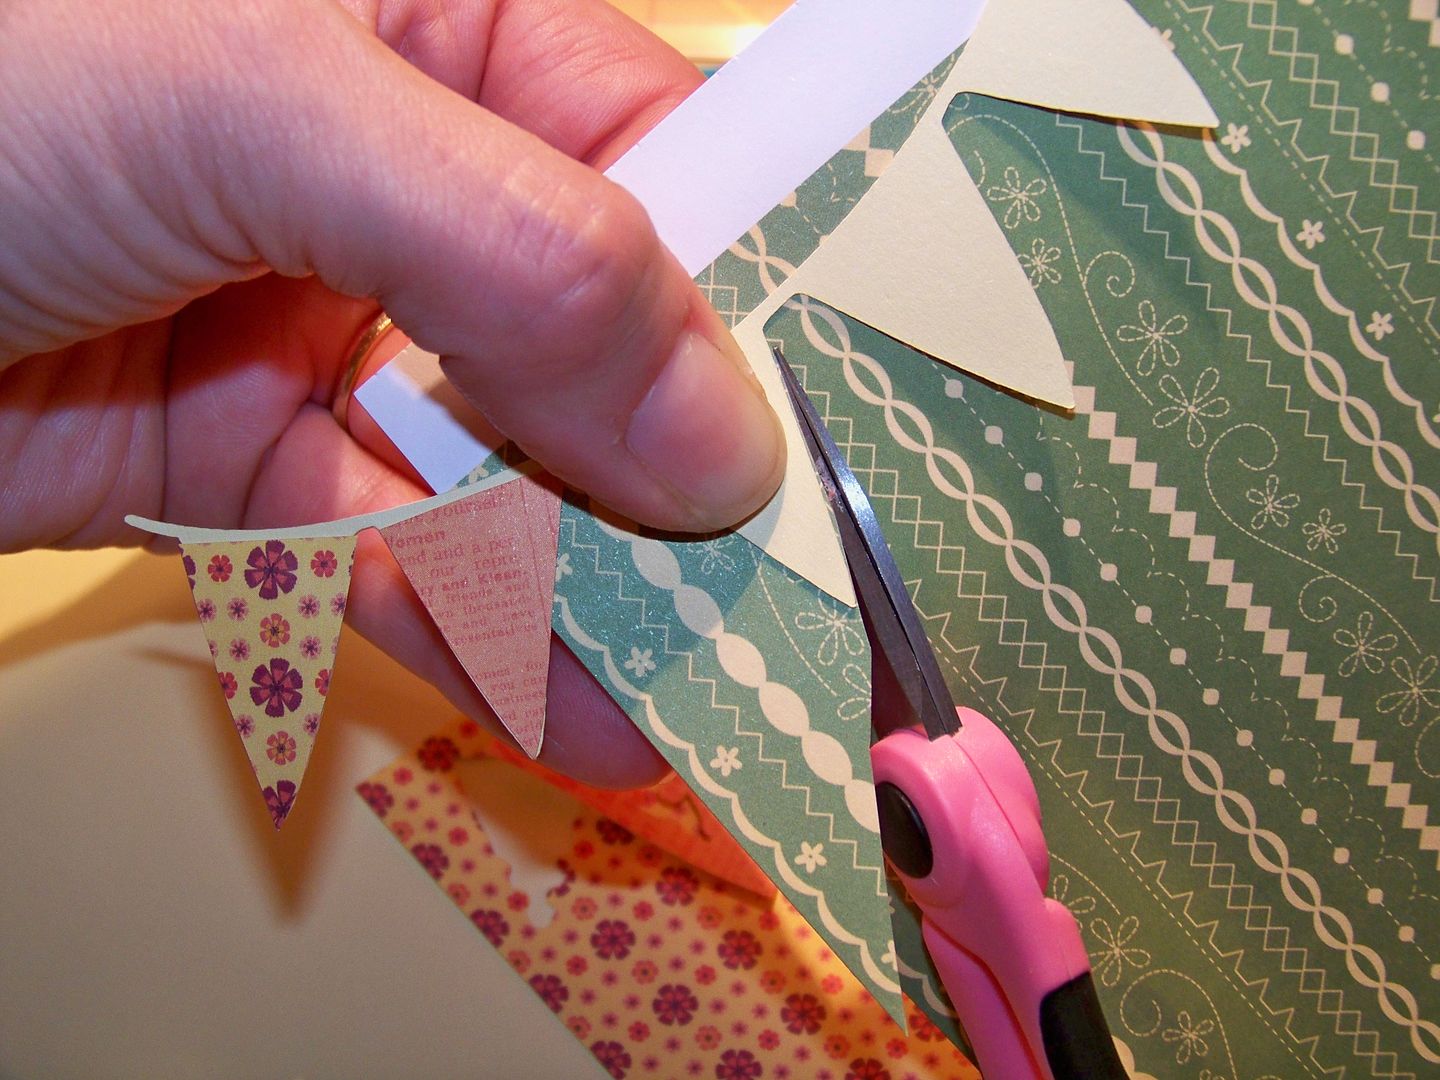
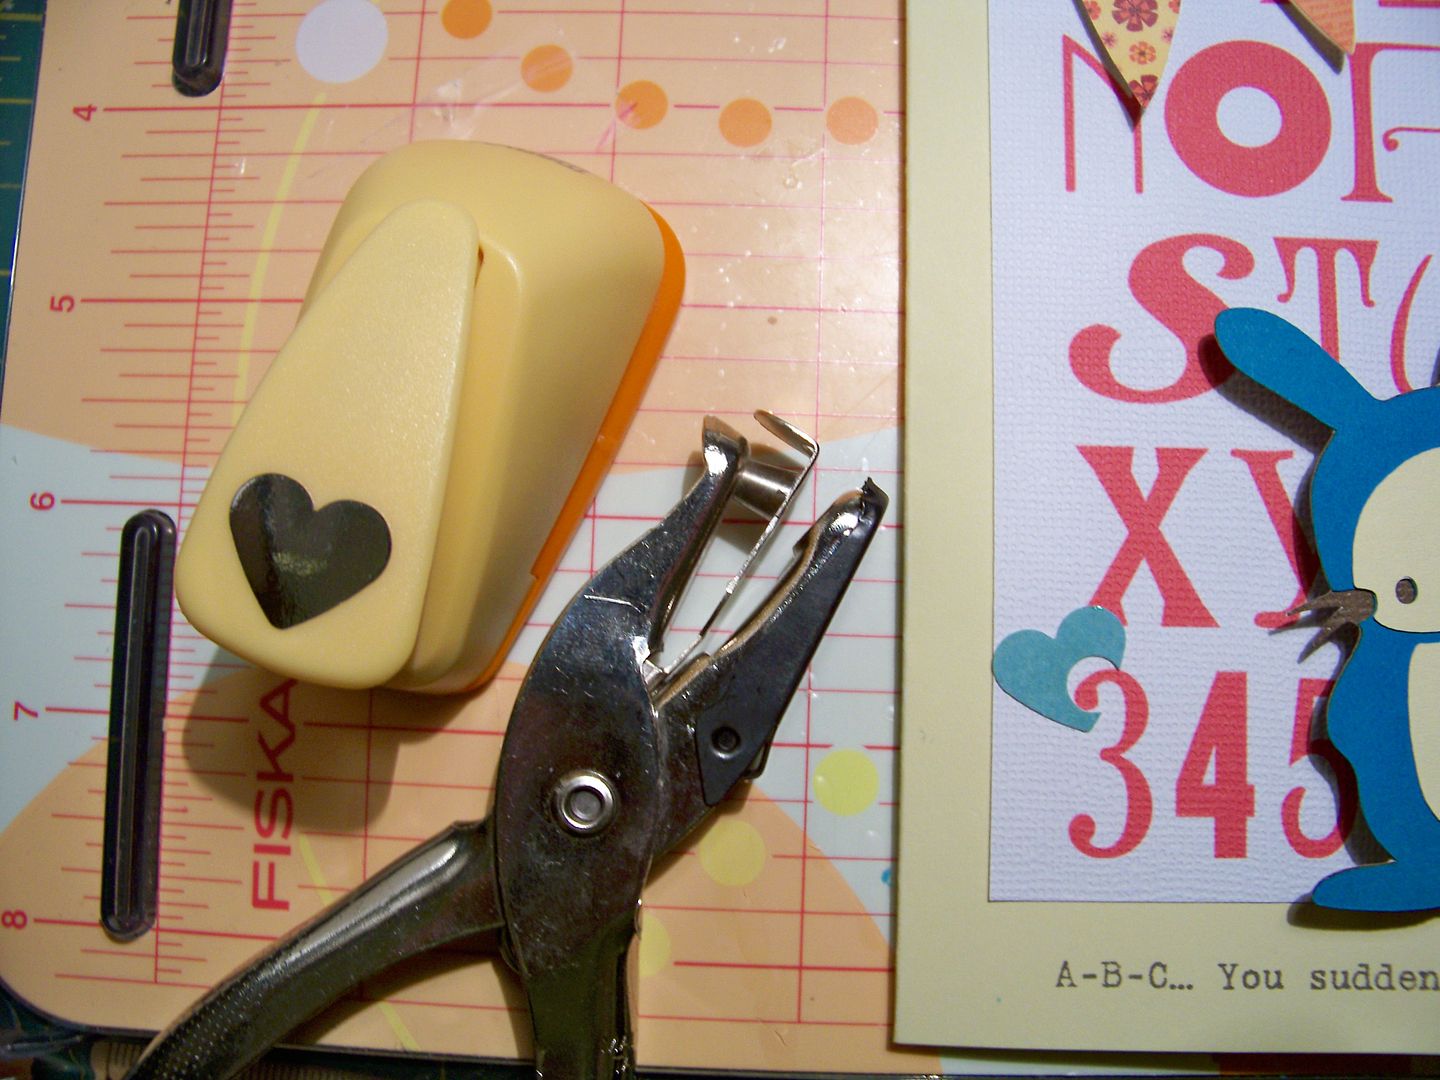
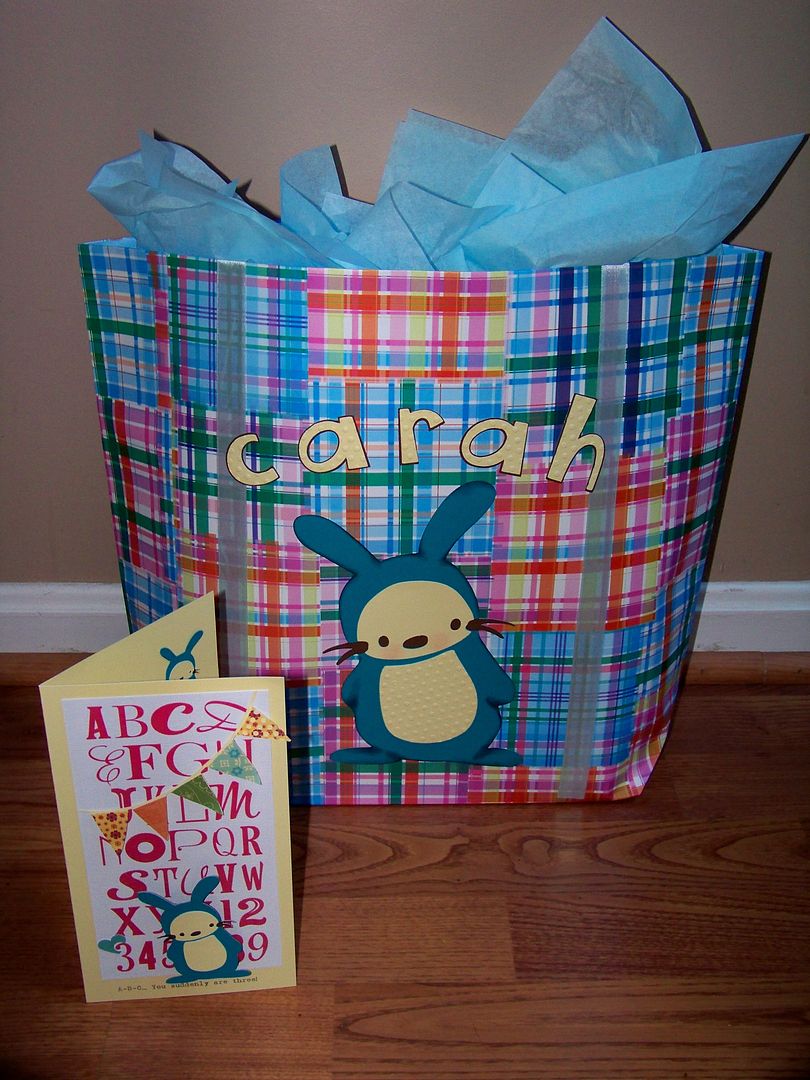
I used my Imagine to print (no cutting) the alphabet sign from the Word Collage cartridge at 7".  I selected a color from my queue for the text and trimmed the printed area to 3-7/8" x 7-3/8".  I cut the bunny from Just A Note at 3" and the banner base is from the same cart at 2".  The pennants are cut from the Material Girl Mini Deck. 


My open card finished at 9" x 8-1/4", which is too wide to put through my office printer to add a sentiment, so I taped down all sides with painters tape and ran it through folded.  The extra thickness and raised edges usually end with ink being dragged onto it so this was my solution to avoid that.  Unlike the result with wall paint, this tape will sometimes mar paper, so I used gentle tension when removing the tape from the edges after printing.  The text was printed on using Microsoft Batik Regular at 12 point.


Gift Bag Decoration:


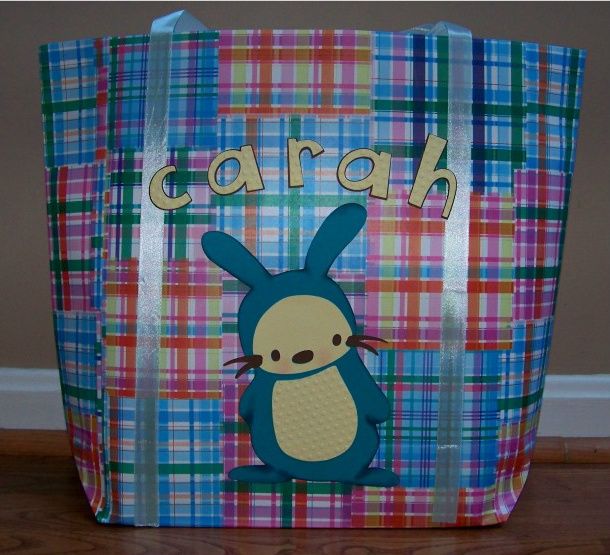
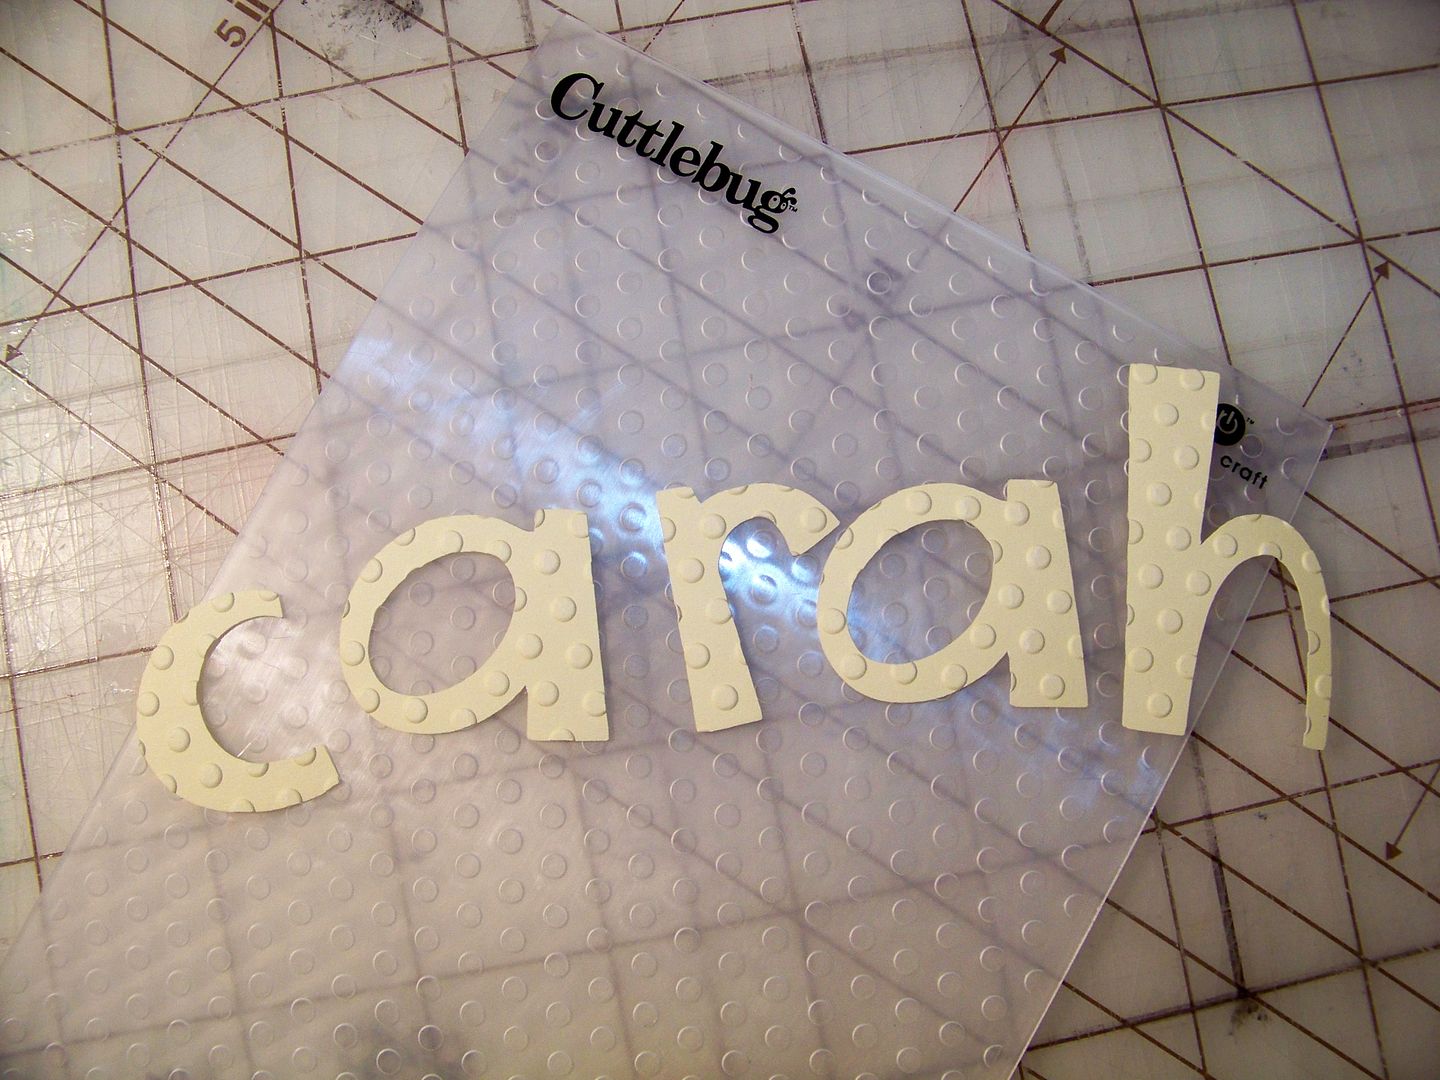
I decorated a gift bag I found at one of those 'everything for a dollar' kind of stores using the same bunny cut at 8"  from Just A Note.  I inked the cheeks and embossed the belly.  I used the same embossing folder to emboss the text, cut from Cuttin Up (cartoon with shadow) at 2". 


Happy with the paper part of my gift, I moved on to the fabric elements. 


Silk Screened Shirt:
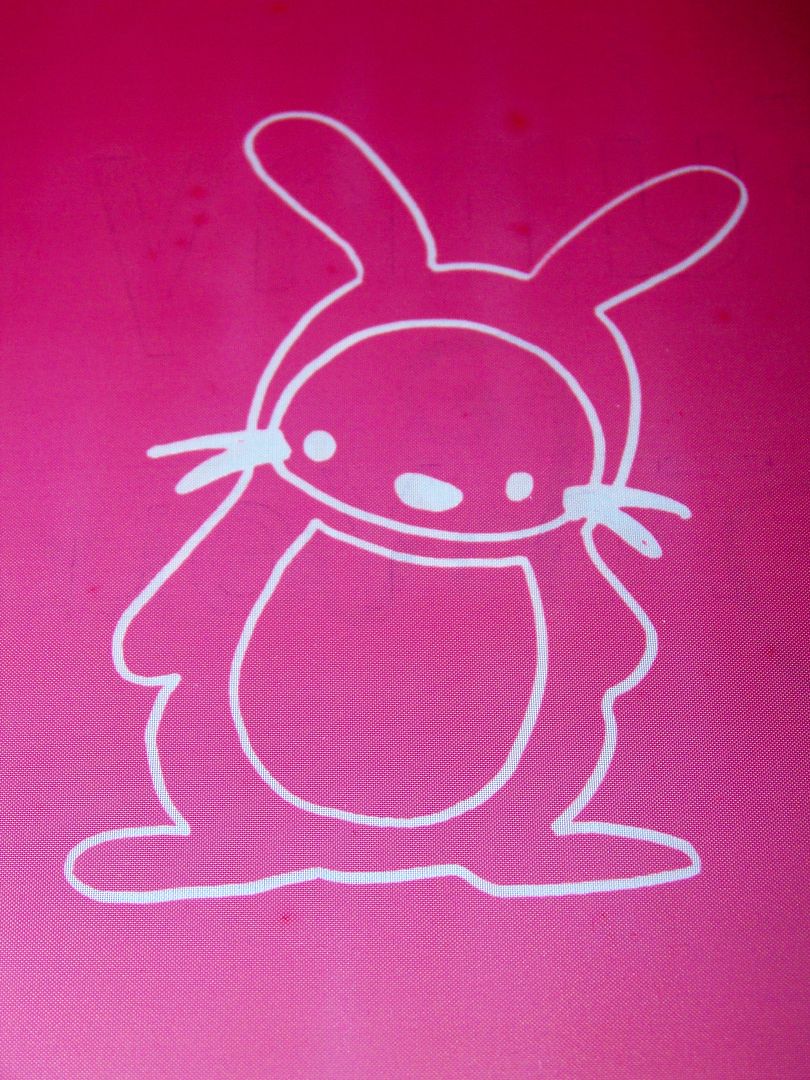
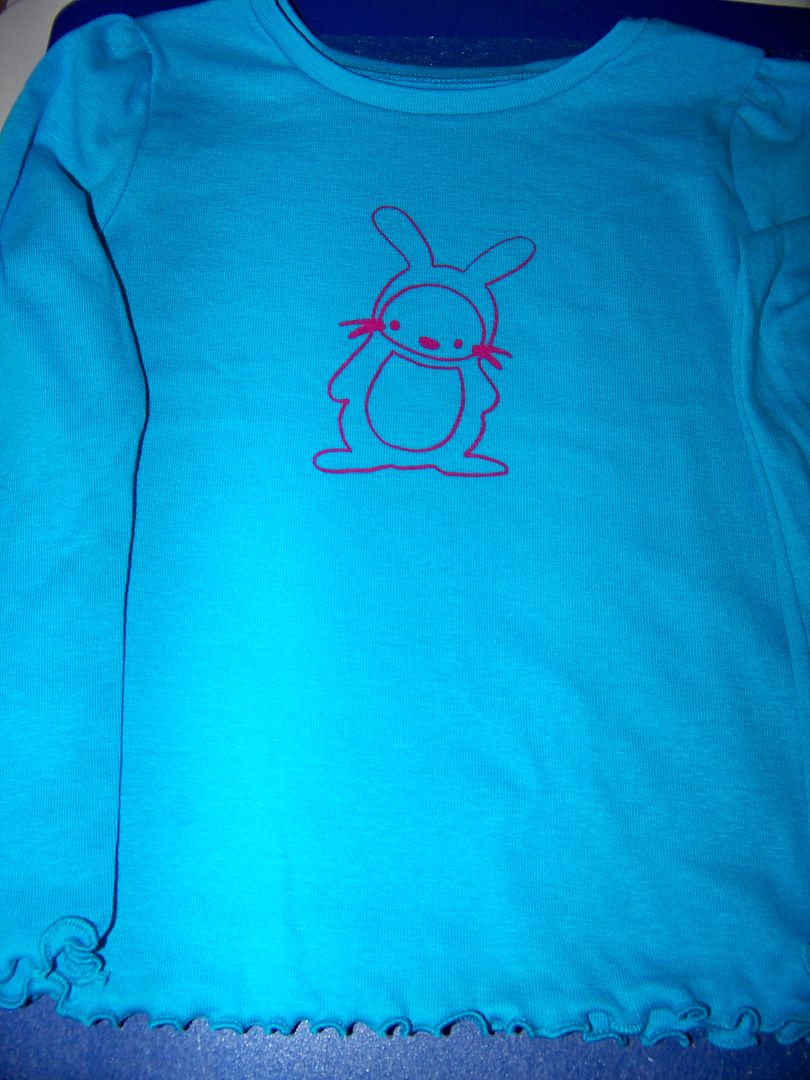
I enlarged the bunny picture in the handbook on my copier and traced it onto an injet transparency to create a Yudu design for a knit shirt.  I used a rolled up piece of cloth to rest my wrists so that the lines would be smooth and not jagged from pressure.


I am using a new direct emulsion, having just used up my first pint.  This one is red.  This is my design burned into the emulsion, rinsed, and dried.


I used Yudu-brand ink.


This is the finished shirt as the ink dries, still on the platen.

You can find detailed information about using a Yudu, my tips on applying liquid emulsion, my list of suppliers, and more by clicking the Yudu tab at the top of my blog or by clicking here.


Decorated Playsuit Using HTV:
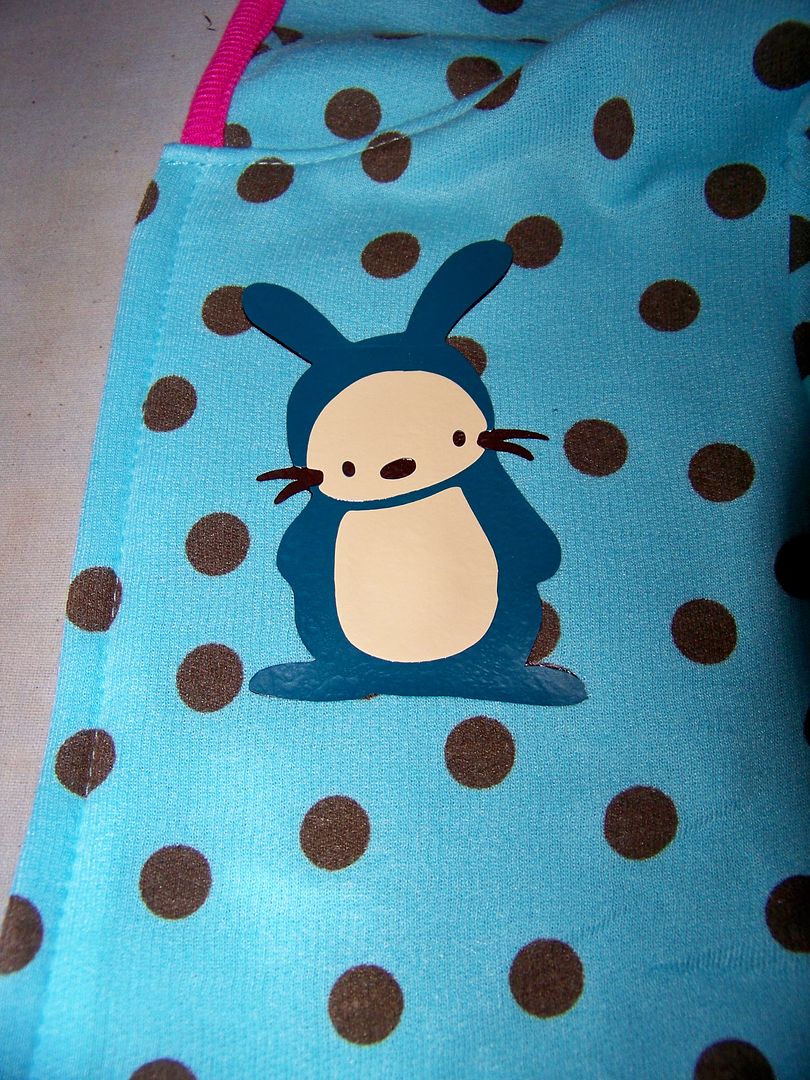
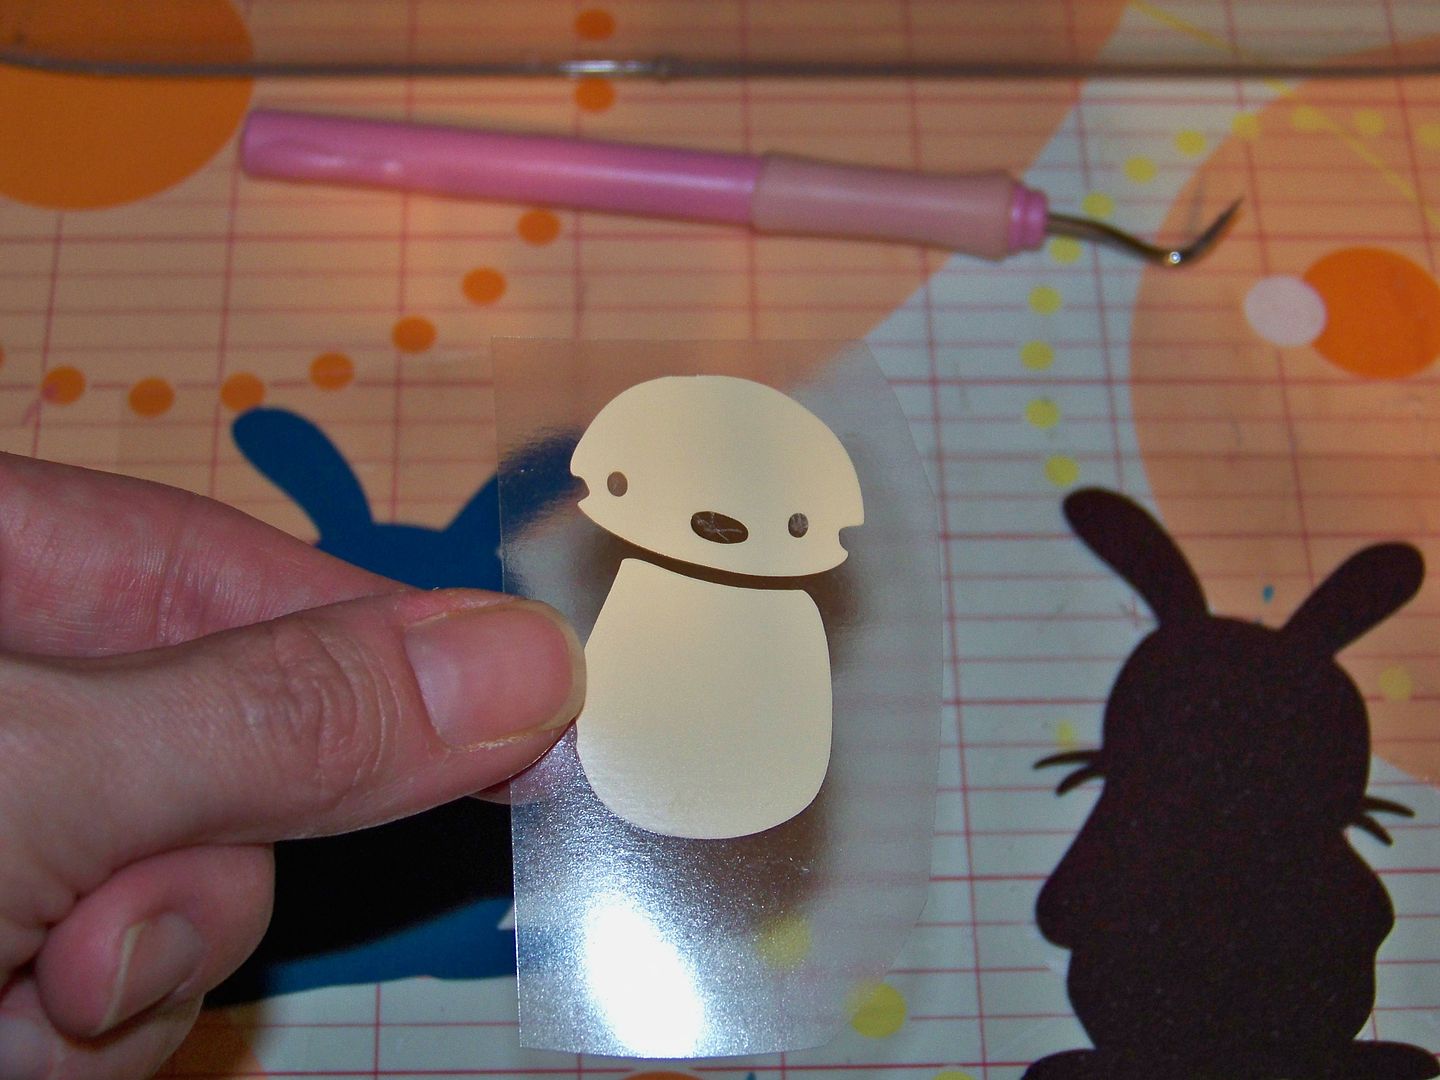
Next, I used heat transfer vinyl to create a layered bunny.  It was applied to a ready-made playsuit.


This is Siser Easy Weed vinyl.  To do this, I pressed the flip button to create a mirror image of the design.  I cut only the vinyl (not the shinier adhesive backing) by using these settings on my Cricut:

blade:  3
pressure:  3
speed:  3

I weeded off the vinyl that is not part of the design, leaving my layers on the backing...


... and applied them, one at a time, to the garment.  I pressed with my home iron, peeled off the backing, and applied the next layer.  I repeated this for all three layers.  (The bunny was cut at 3-1/2").


Stuffed Bunny:
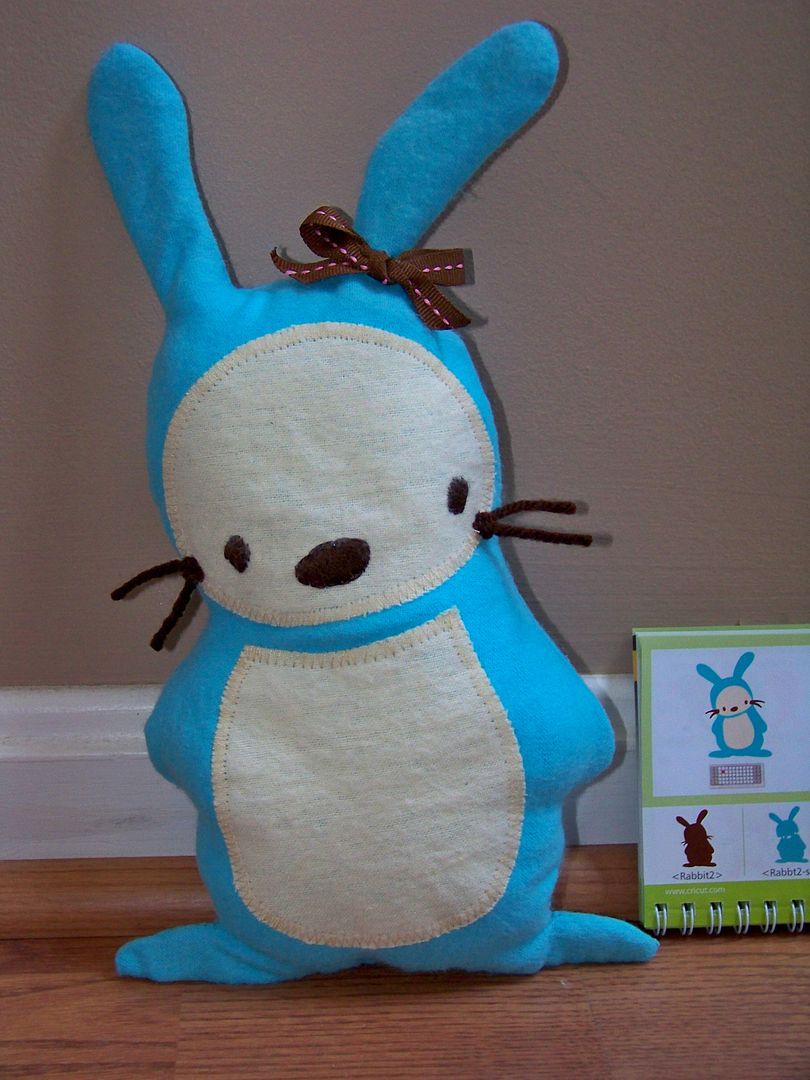
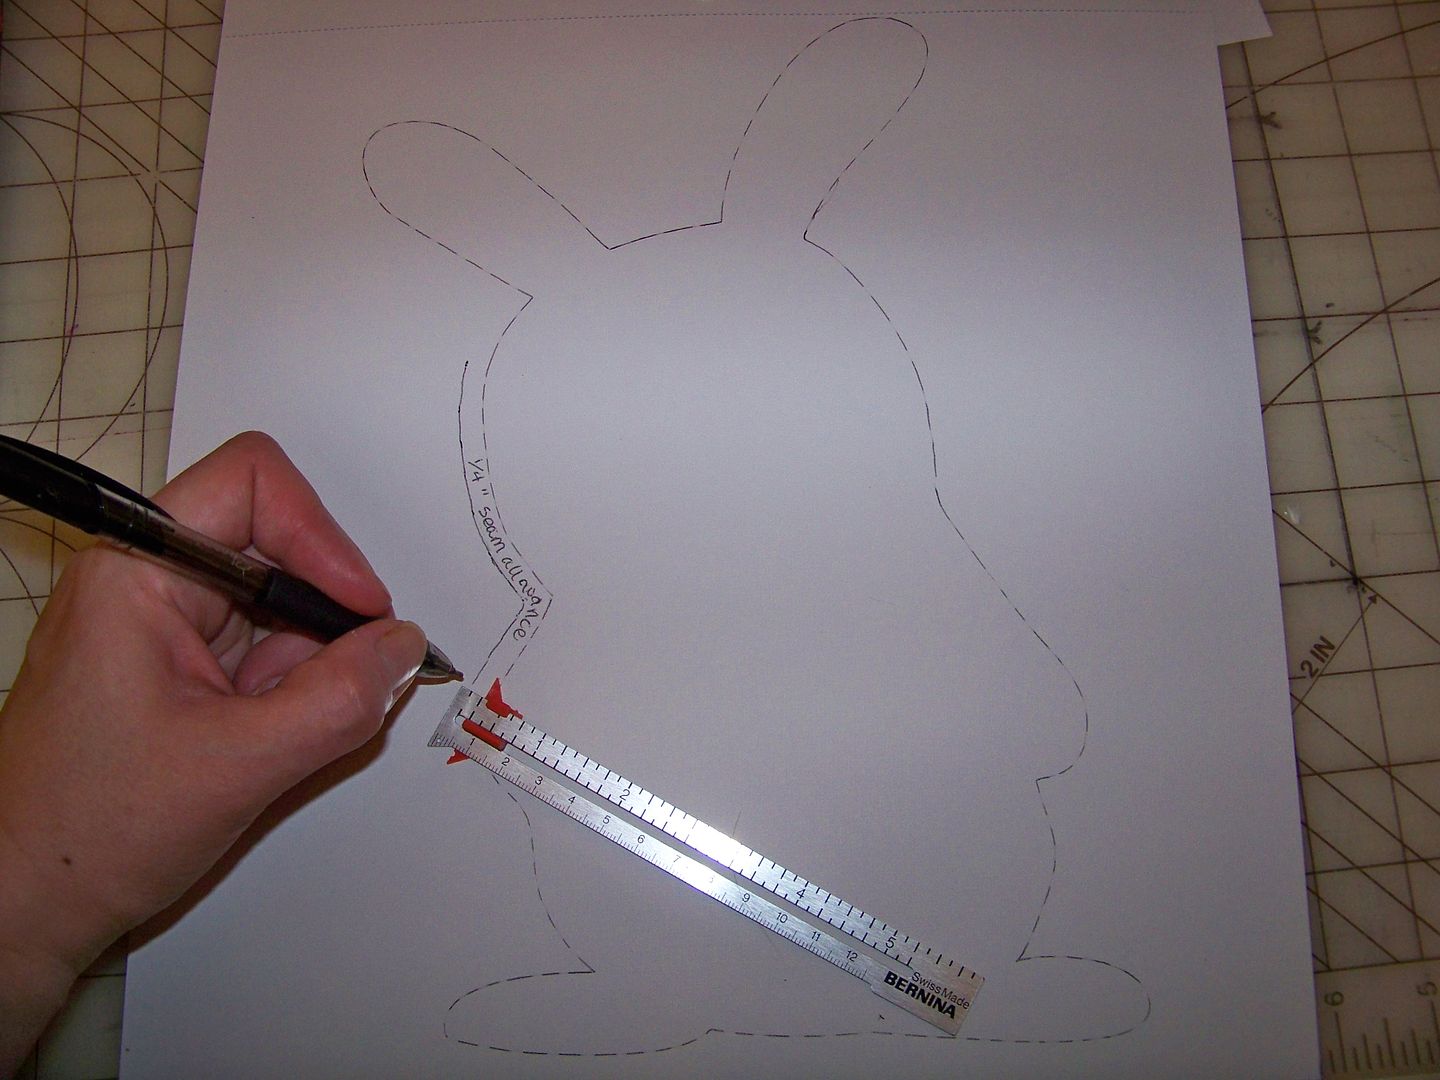
Next, I used my Cricut to cut a sewing pattern for a little stuffed toy.

To make a sewing pattern, I cut the base layer (brown in the handbook) and the face/belly layer at 11.54" (fit to page size).  I trimmed off the whiskers and traced the image of the body onto a sheet of plain paper.  Then I added 1/4" seam allowance. 


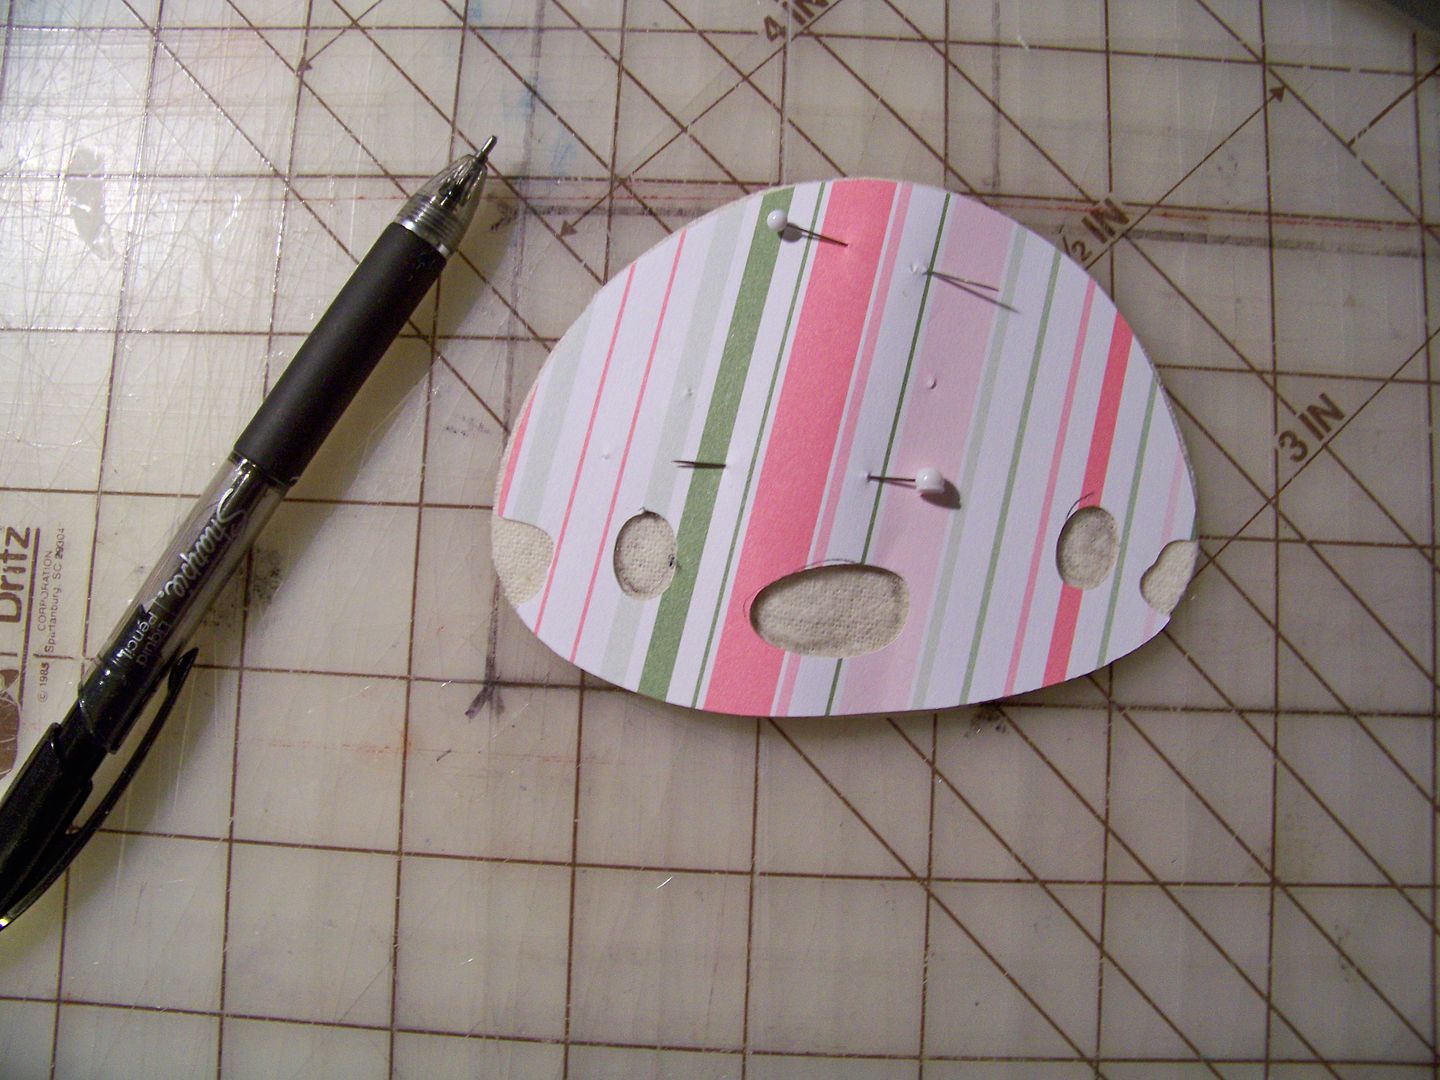
This is the pattern I used to cut the blue flannel.  I used the Cricut cuts of the face and belly and cut the beige flannel directly from them.  (I did not cut in the side notches on the face).  I used a pencil to draw in the eyes and nose for my embroidery guide.


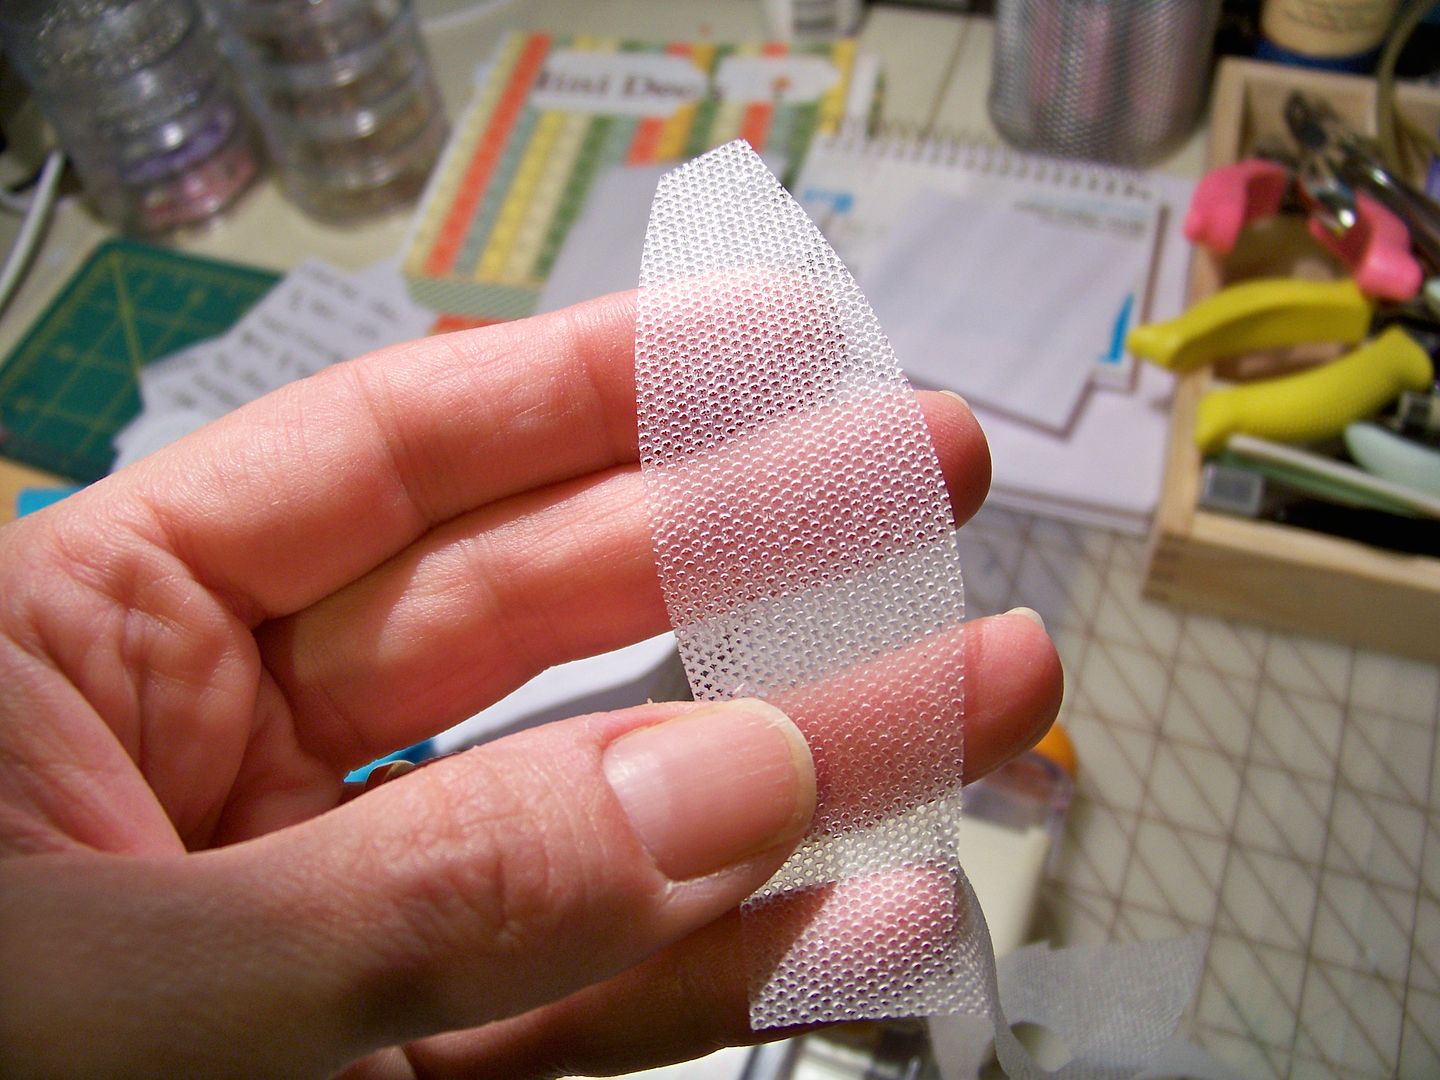
I also cut the belly and face from Steam-A-Seam.  This is the most effective heat-activated webbing I have found.  The small holes allow steam from the iron to really melt the product, resulting in a bond that is actually washable, although I have never tested that claim, opting always to sew the edges.


The other nice quality of Steam-A-Seam is that it is slightly tacky, allowing it to stick to your fabric after it is cut, holding it in place for ironing. 
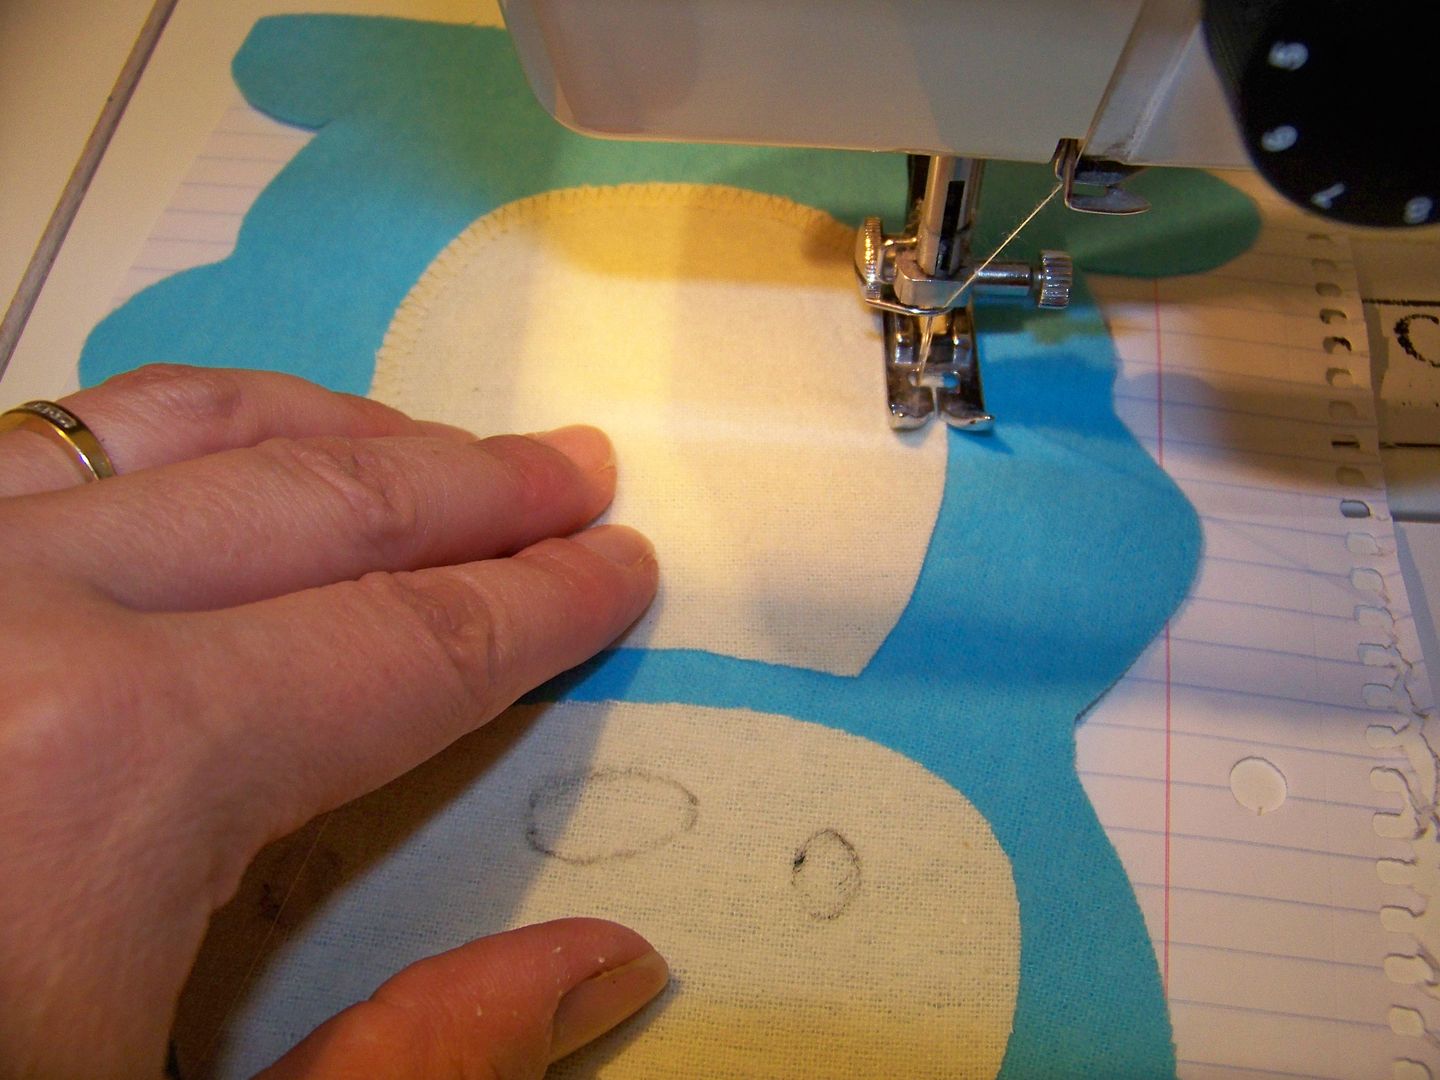
After ironing in place, I used a zigzag stitch instead of a satin stitch along the edges of the belly and face.  I used notebook paper as my stabilizer.


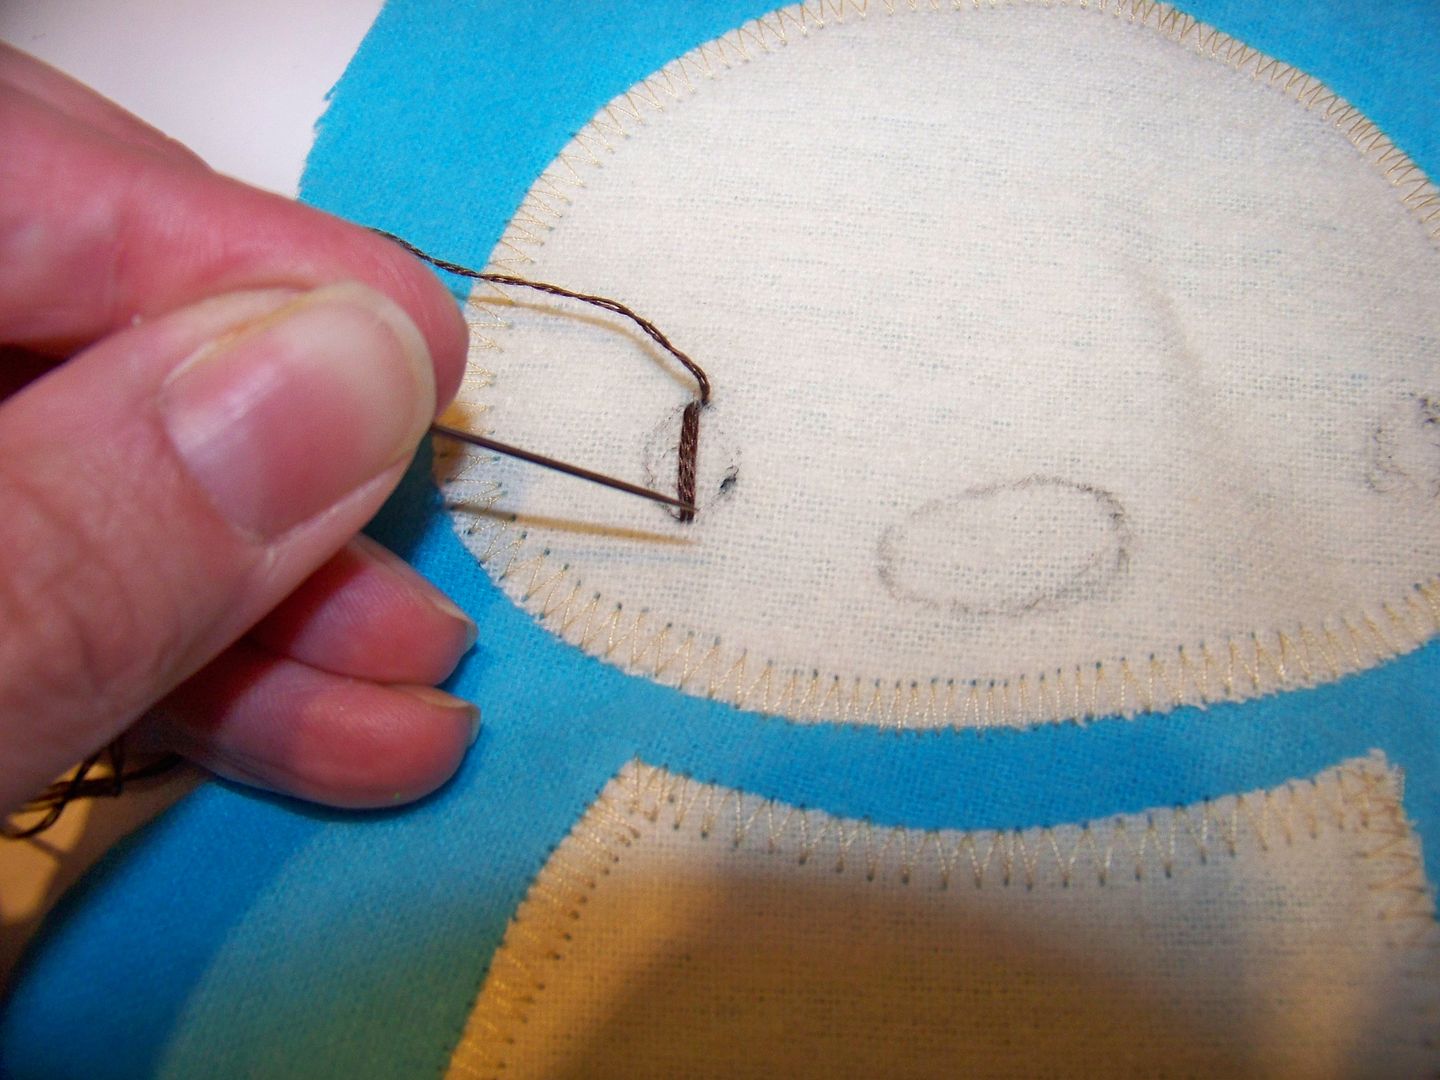
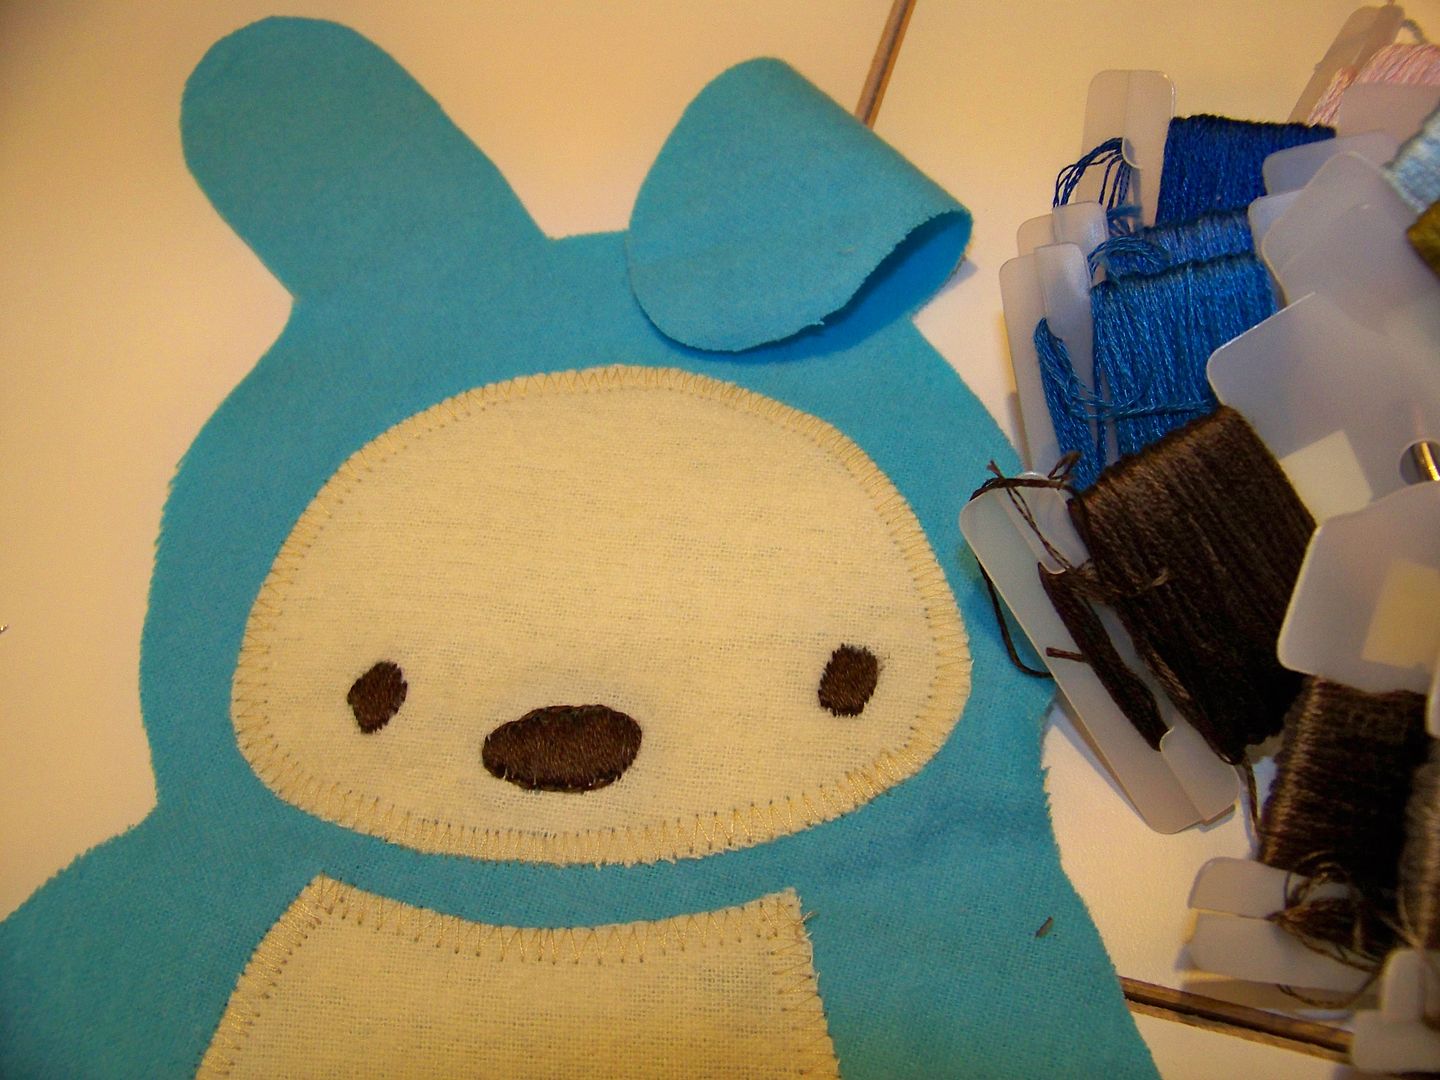
After tearing off the notebook paper, I hand-stitched on the face using embroidery floss and long stitches.


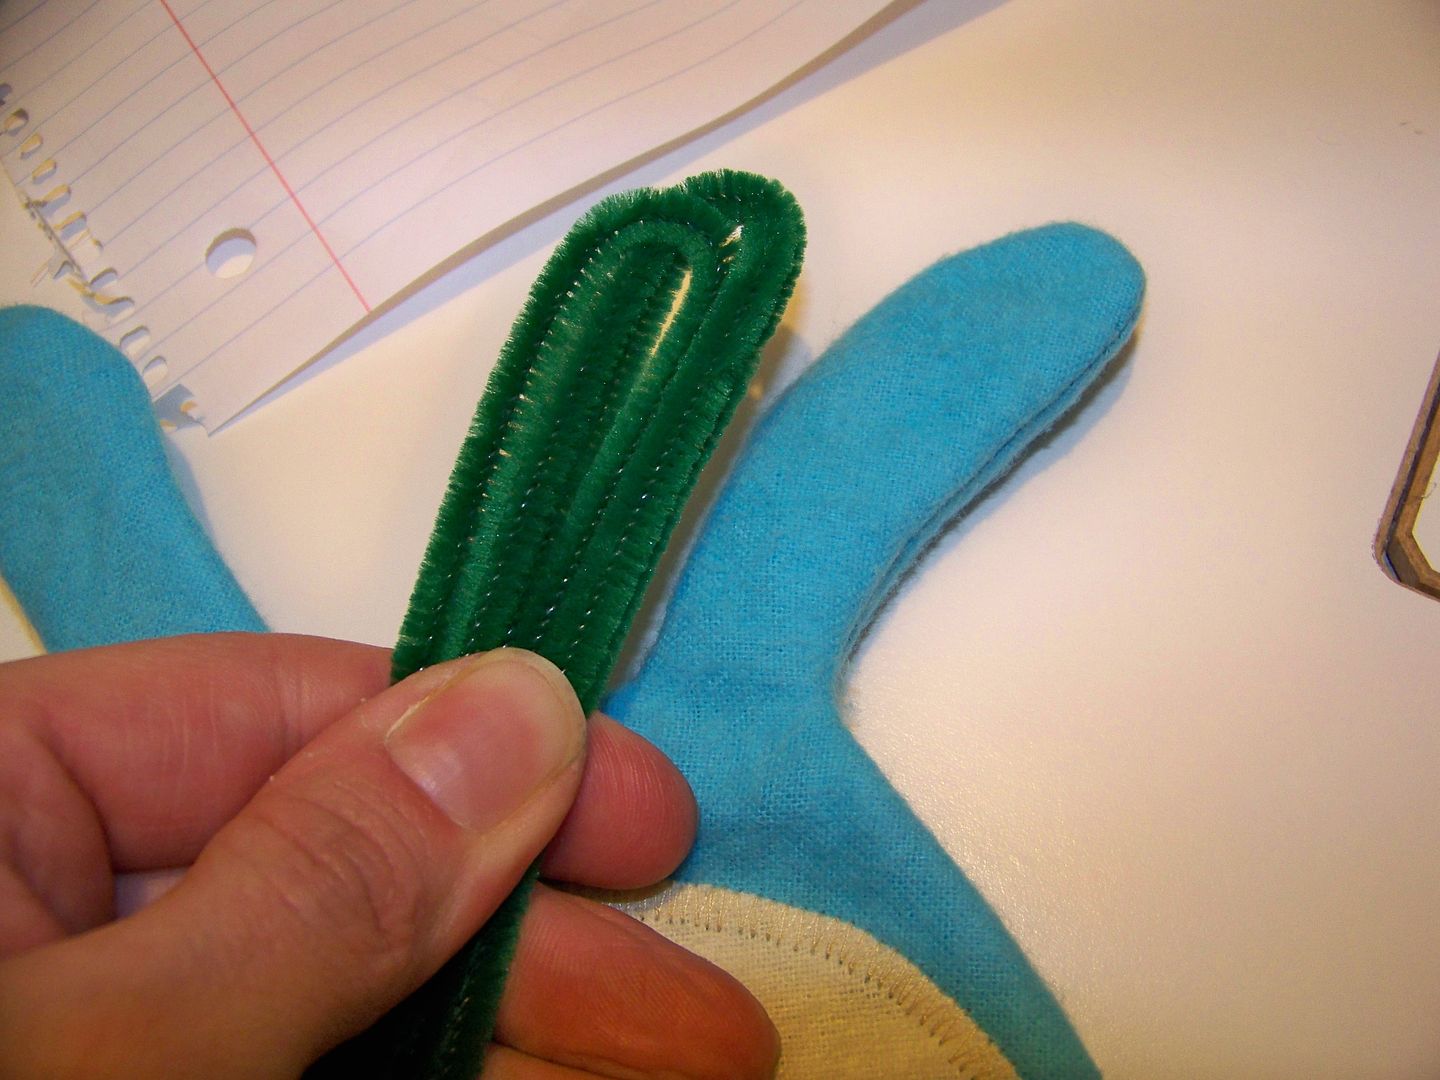
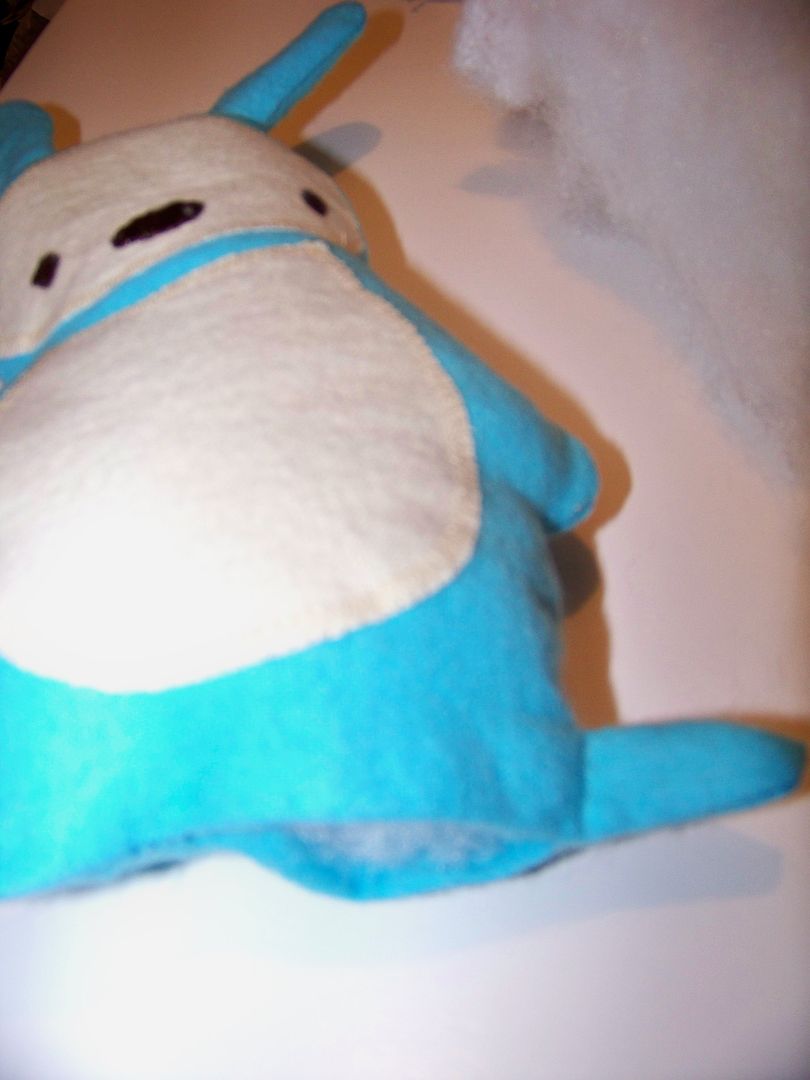
I sewed the front and back body pieces, right sides together on my sewing machine, using a 1/4" seam allowance, leaving the bottom open to turn it out.  I lightly stuffed it since I didn't make an allowance for volume.  I used pipe cleaners to stuff the ears and feet to fill them out and keep them flat. 


The rest was stuffed with polyfill and the bottom was slipstitched closed. 


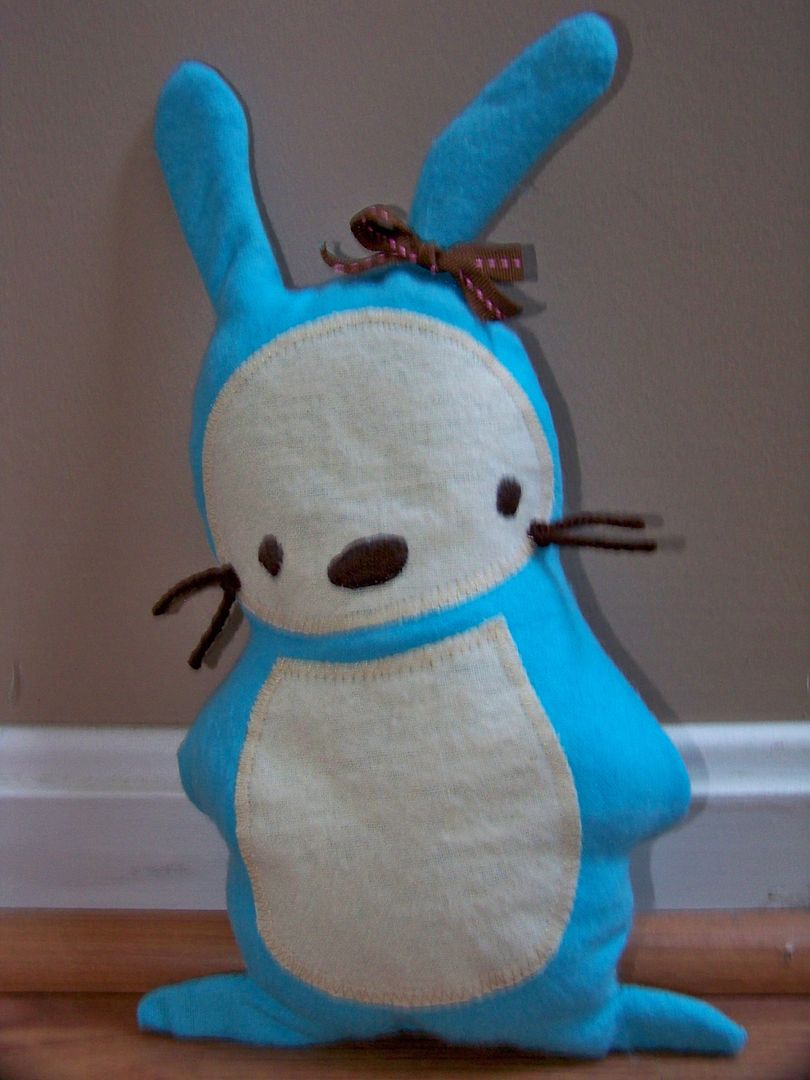
For whiskers, I knotted a piece of yarn and stitched it on by hand for each side of the face.  I hand-stitched on a little ribbon bow so this would be a girl bunny for sure!

Happy with the fabric part of my gift set, I moved on to the accessories!


Hair Bow:
The only Cricut-y part of the bow is the packaging:  a tag to be removed with the note "handmade" on the back.  The tag is from Art Philosophy, cut at 2".  The bunny is cut at 2" and the head is separated from the body.  The paper for the tag is also from Cosmo Cricket.


Necklace:
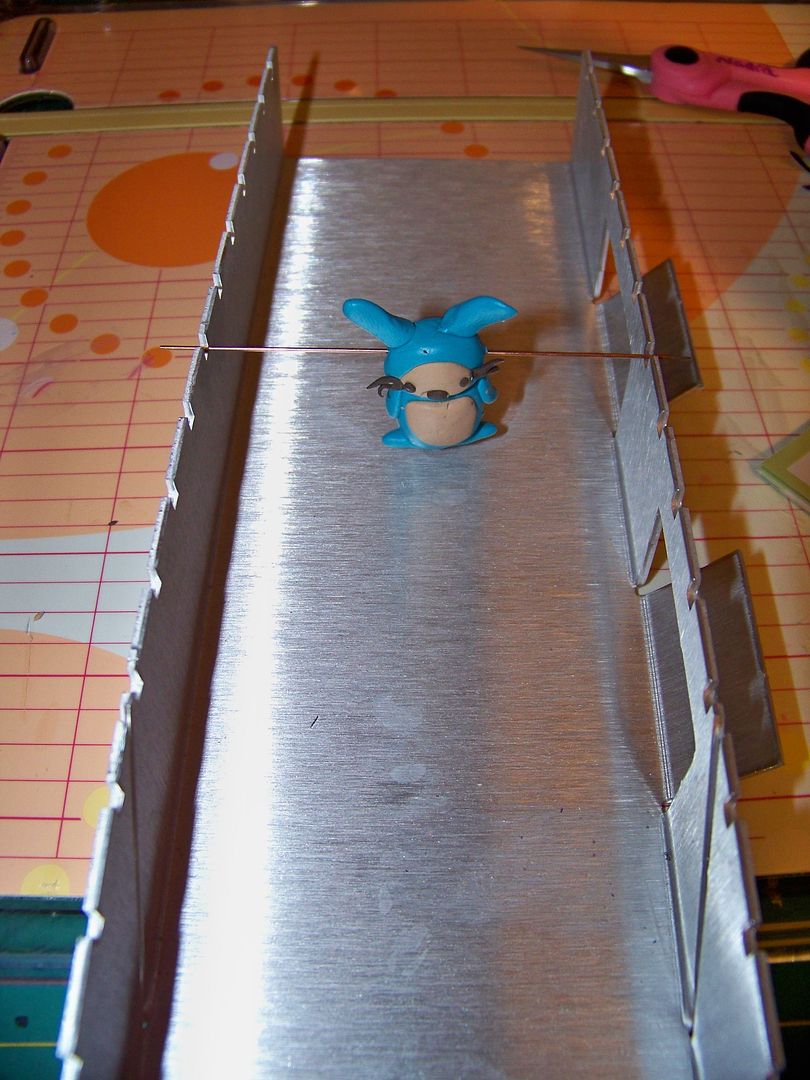
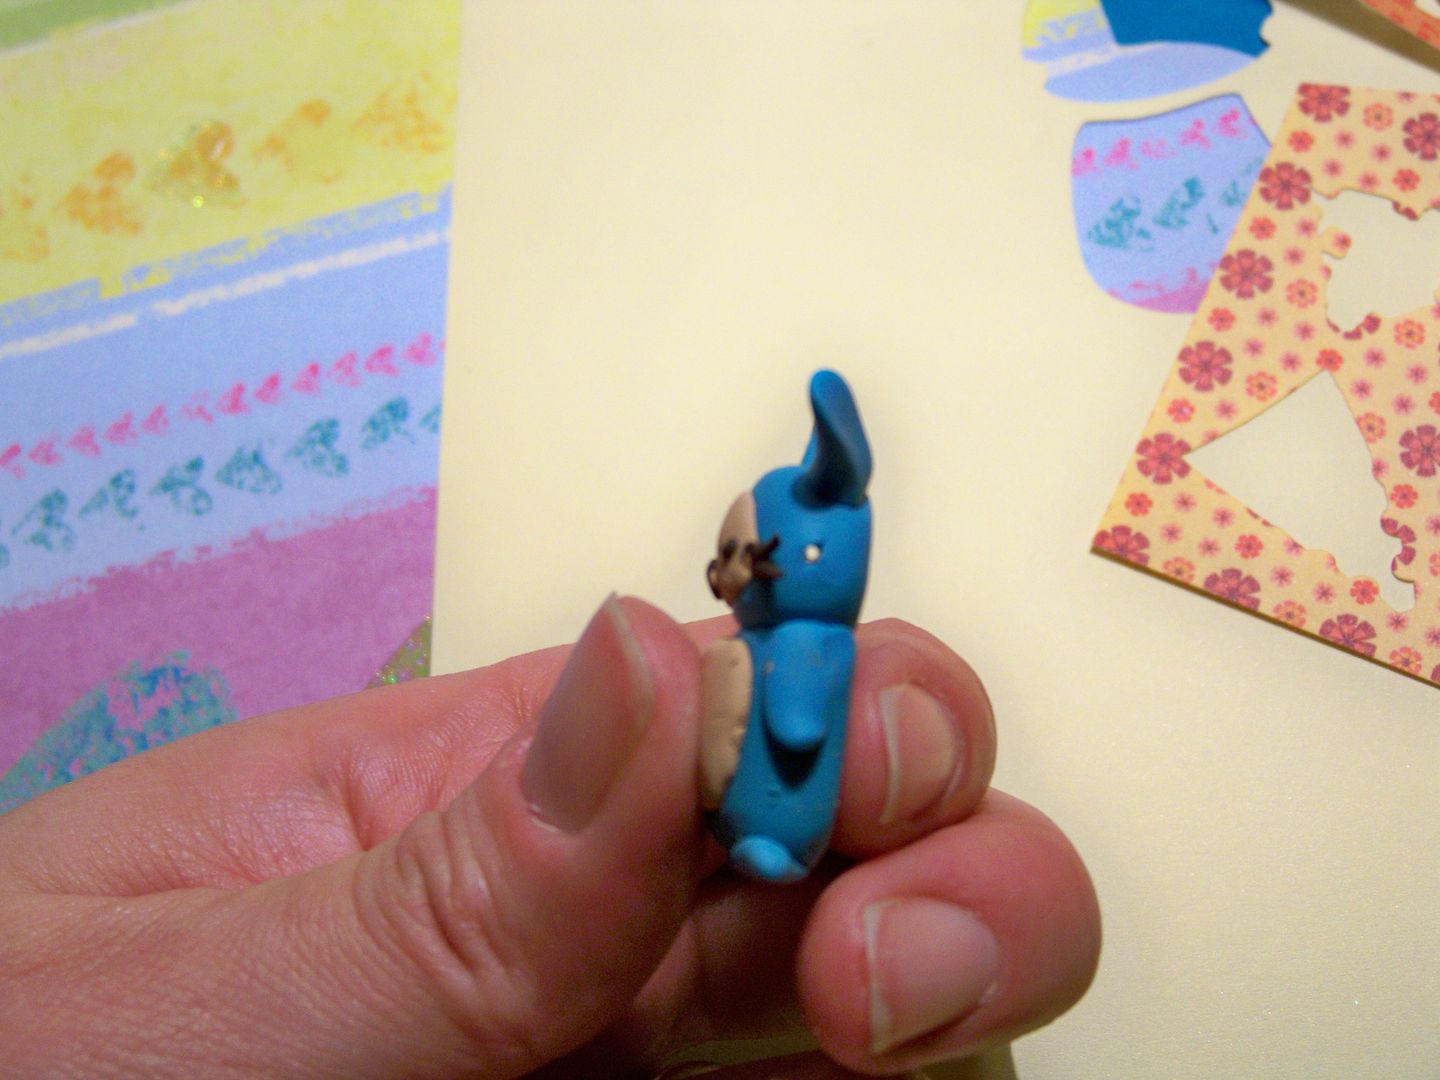
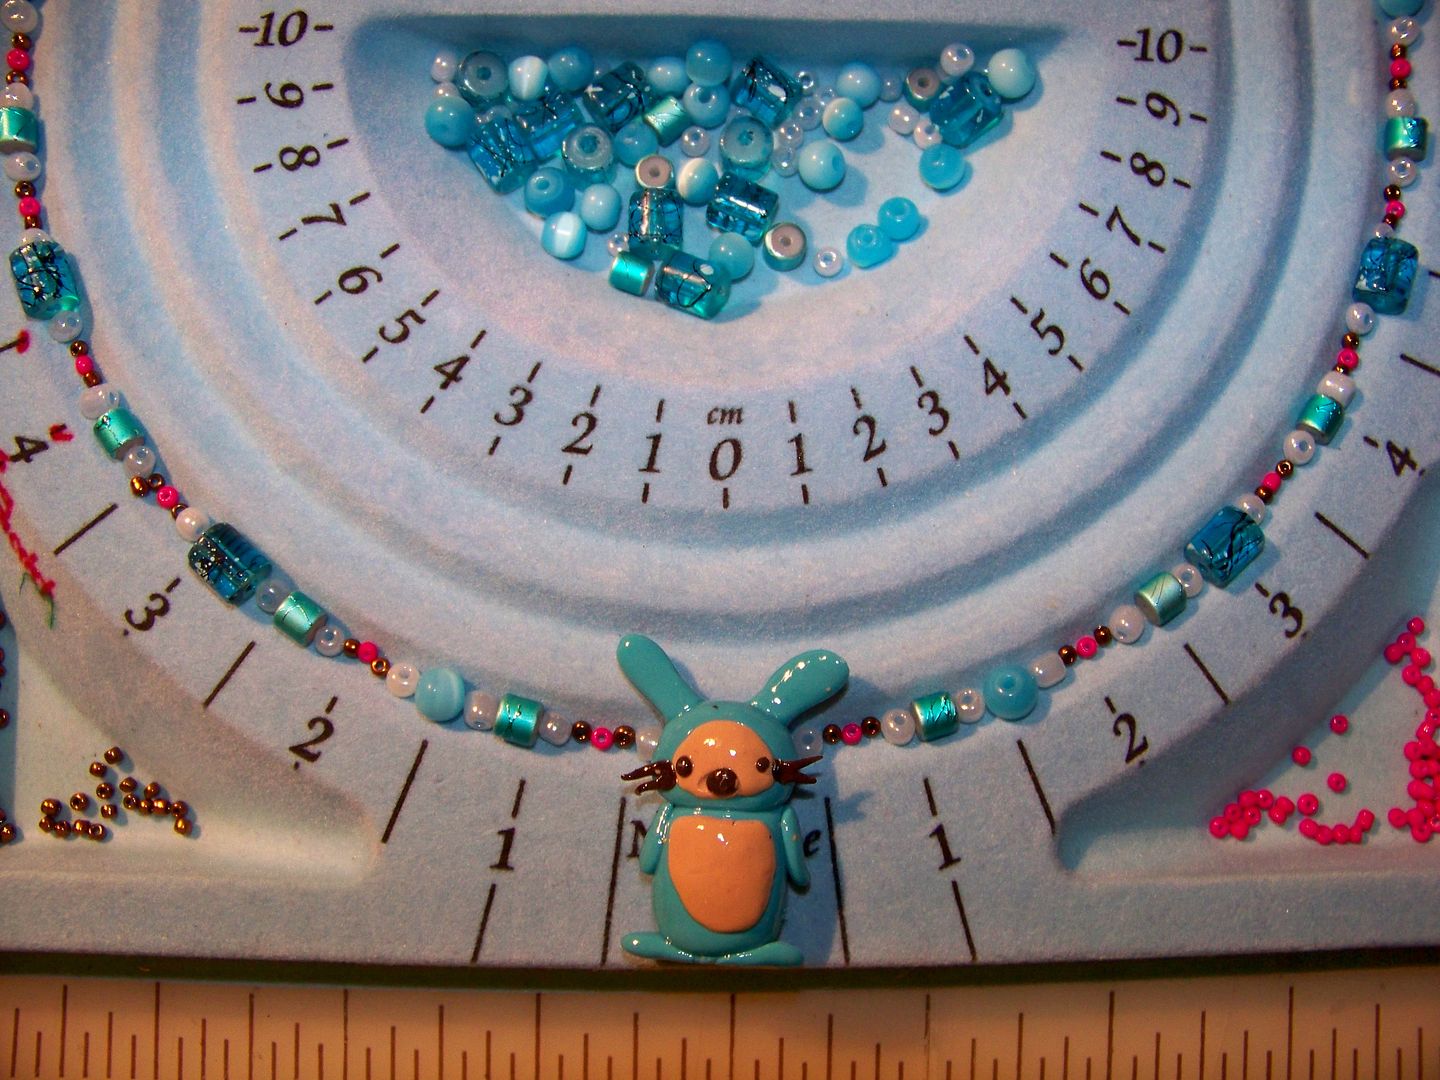
I used the picture in the handbook to create my own little bunny pendant, shaped by hand from Sculpey and Prema oven-dried clays. 


The key to these are to place the hole in the upper part.  Holes placed too far down will create a pendant bead that spins and flips when worn-- very frustrating to wear!  A drying box to bake it in is a must when doing these!  The pendant will hang suspended from the rod which formed its beading hole.

The bead I made took 45 minutes to dry in the oven. 


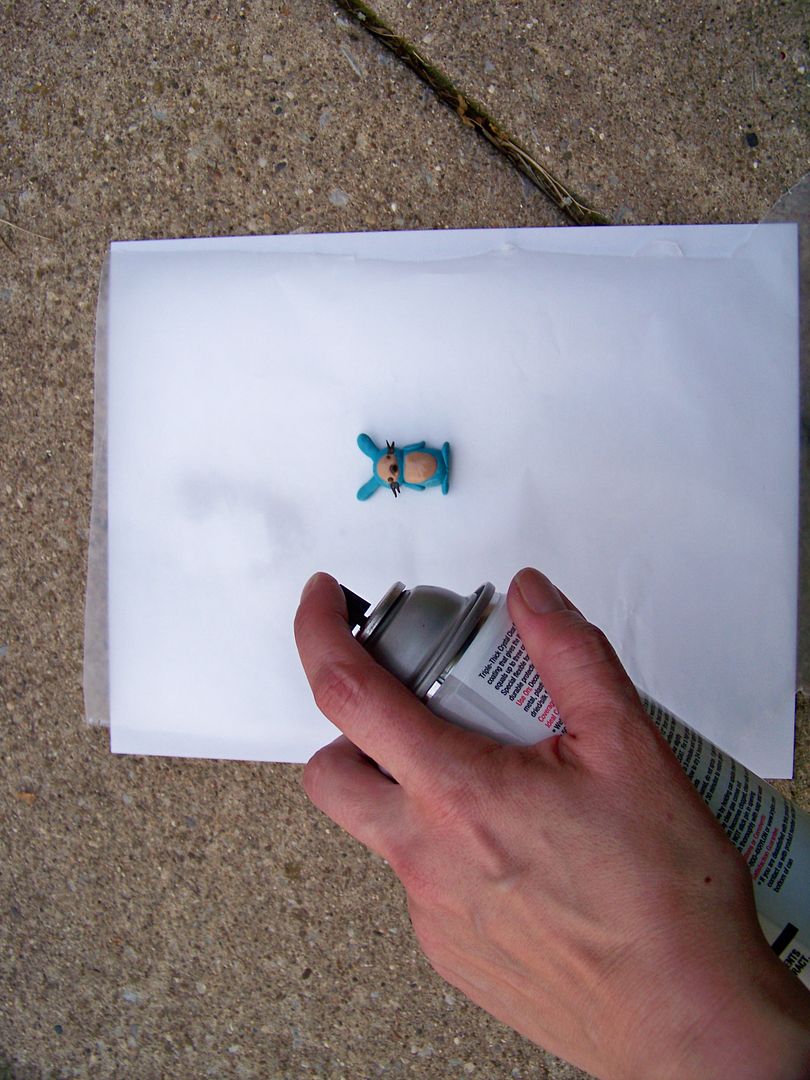
Once cool,  I took it outside and sprayed it heavily with Krylon Triple Thick Crystal Clear Glaze.

 My bead is on a layer of paper and wax paper to prevent the gooey glaze from sticking to the paper.  I sprayed back and front.  I sprayed it heavily and it took about a half hour to dry.

I placed it on my bead board and created a necklace to match the clothing.


I used coated wire, bronze-colored crimp beads, and bronze-colored findings to string and finish the necklace.  You can find my how-to on making this kind of jewelry by clicking here.


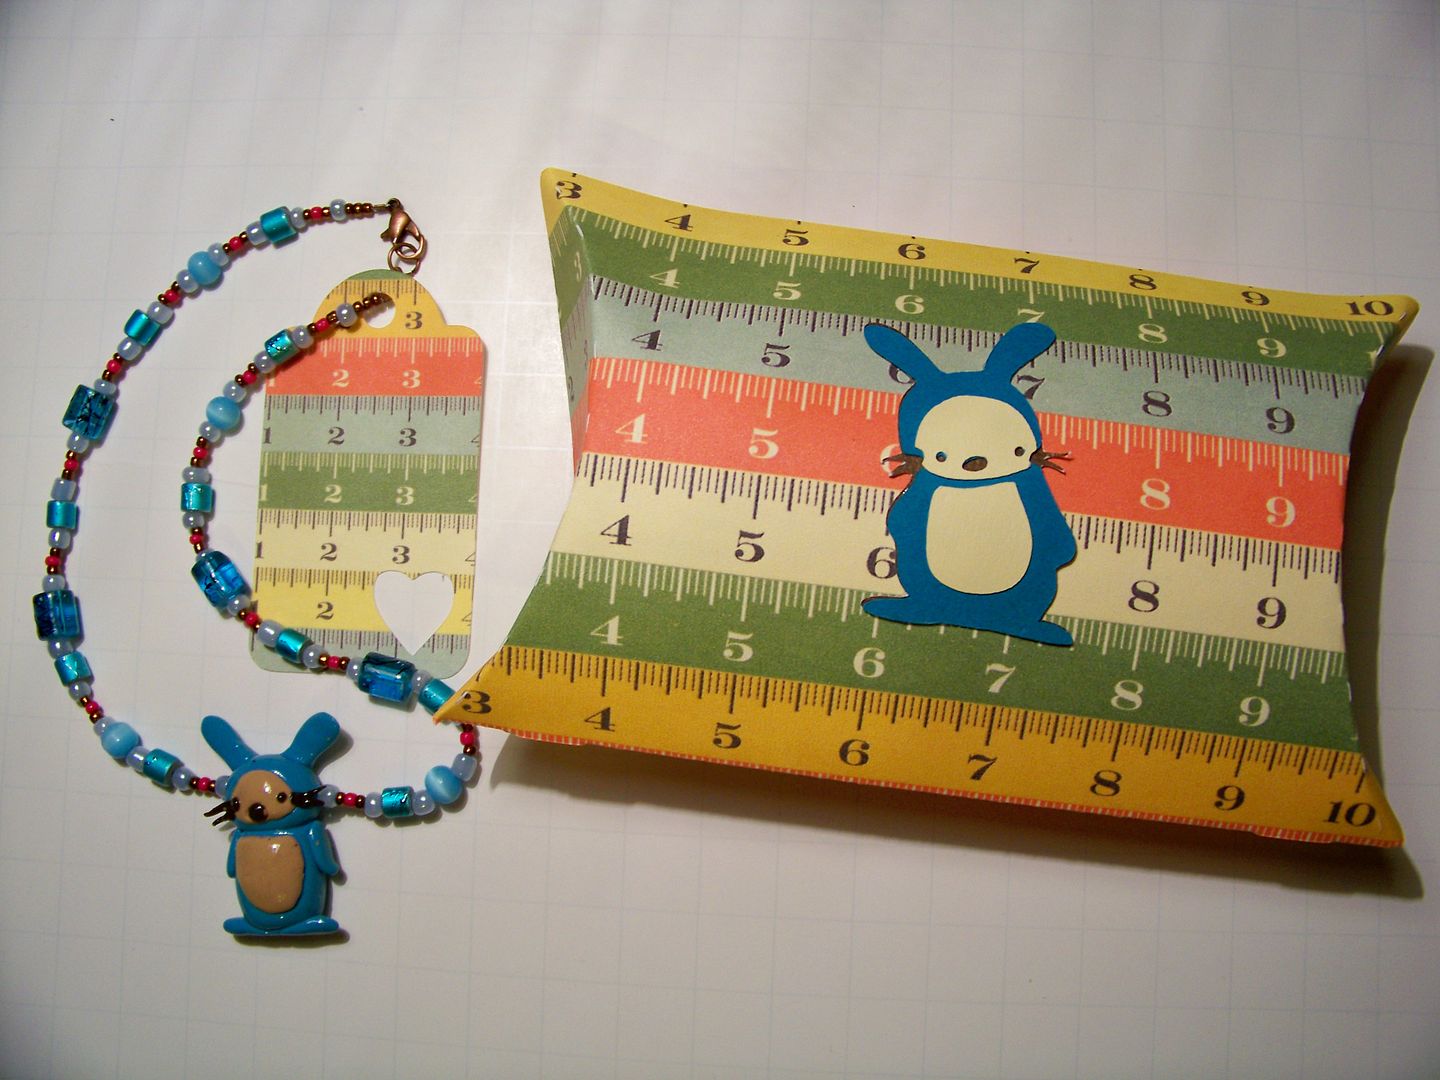
To make the necklace more gift-worthy, I created a tag for it (Art Philosophy 2-3/4") and a pillow box (Art Philosophy 7") for packaging it with a little tissue paper.  (I like to write a little bit about the materials used on the tag for the mommy's info when I make children's jewelry).  The bunny on the box is 2" from Just A Note.  The paper is from Cosmo Cricket.


Happy with the accessories part of the gift, all elements were done!!

Thank you for visiting my blog!  I had so much fun putting this gift together! 
You can see all of my projects by clicking My Project Gallery at the top of my blog, or by clicking here.

But wait! There's more! Click 'older posts' above!

But wait!  There's more!  Click 'older posts' above!