Showing posts with label Loom Knitting. Show all posts

Wednesday, January 16, 2013

Gettin' Kitschy with Granny Rounds!


I am a novice loom knitter, having learned last winter and picking it up again this winter.  (I can't seem to even touch yarn when its not cold!)  I am always thrilled to learn something new I can do with my looms, most of which are Knifty Knitters, so when I saw Kristen's Good Knit Kisses Granny Round Challenge on Facebook, I was sucked right in!

I had no idea that I could make a flat, filled-in circle on a round loom.  It was so fast and easy to learn with Kristen's fantastic video (click here).  (Don't you like how I call her by her first name?  Yeah, well, she is in my kitchen a lot -since that is where my laptop usually is when I watch her videos or read her Facebook posts- so you know we are pretty tight. hahaha)

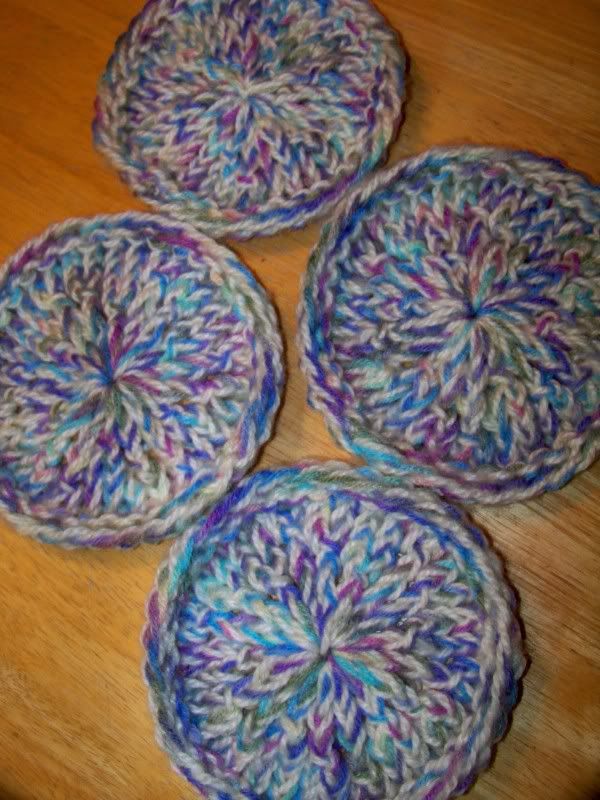
In a matter of minutes, I had granny rounds!  I used two strands together to make these.

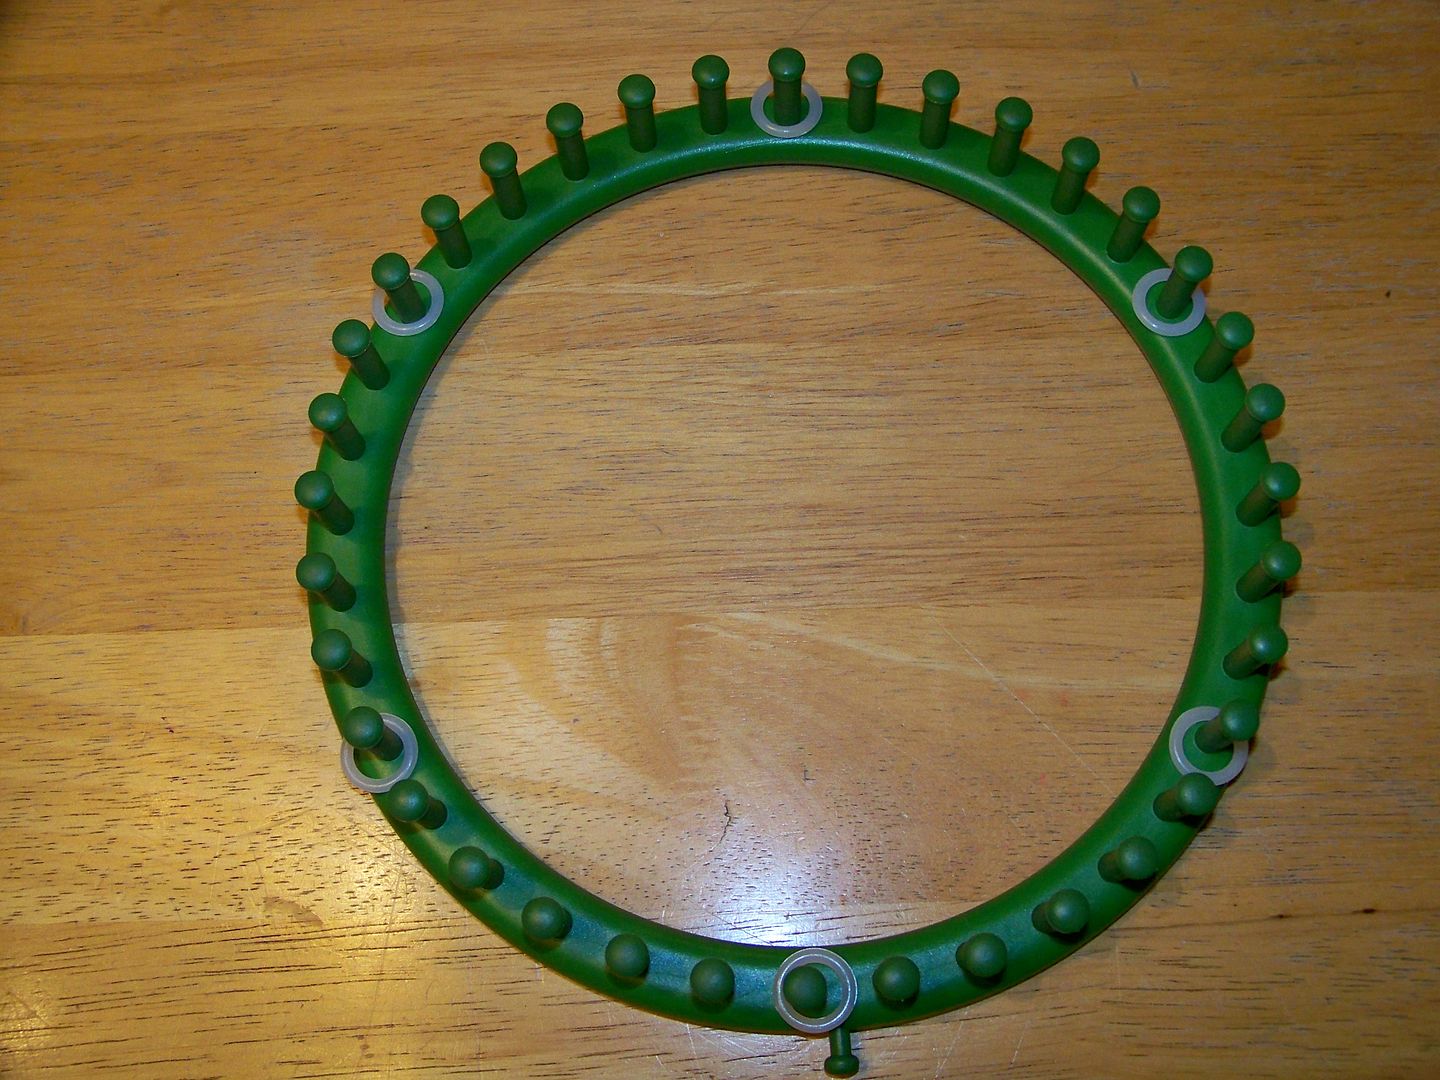
It helps to know how to e-wrap and how to purl on a loom, but she does show that on the video.  You will need a green (36 peg) Knifty Knitter loom and 6 spacer rings (although she used ponytail elastics).  I suggest watching it all the way through and then watching it when you have your loom and supplies in front of you and stopping to complete each step.  By the end, you will have a completed granny round!

Because the granny rounds are made mostly by e-wrapping, I used my stylus for this project.  Basically, I use a straw or other tube that I feed the yarns through.  It makes the tension happen correctly and automatically and makes it all go so much faster.

Basically, you just need a straw, pen casing, or anything hollow for the yarn to move through.
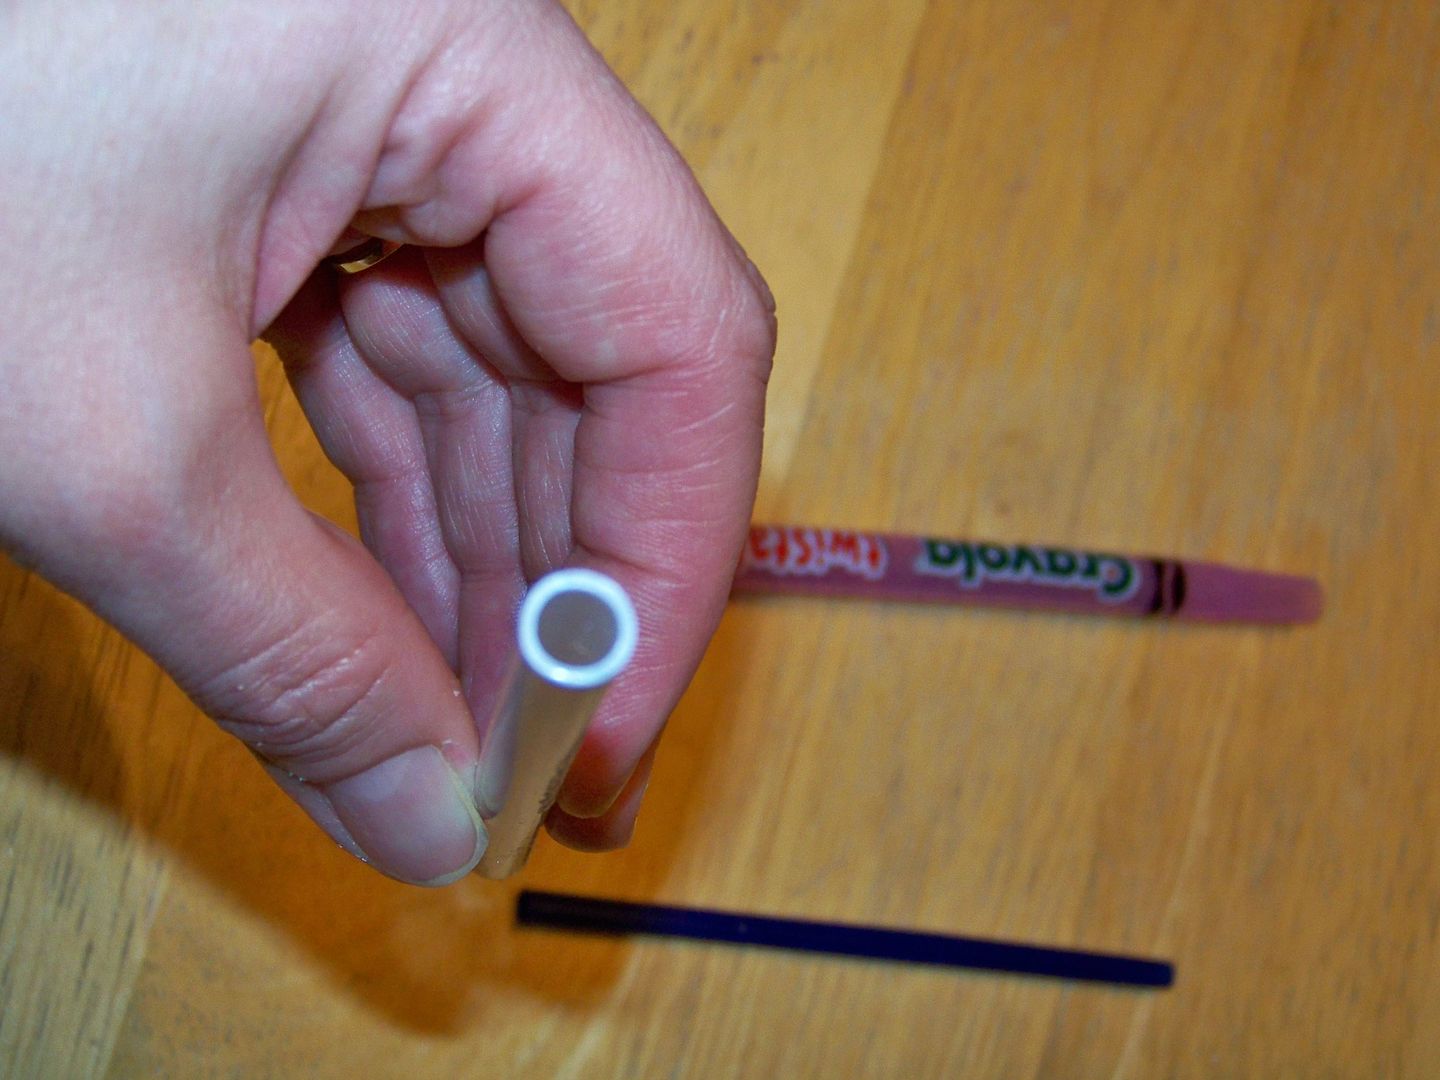

To thread your yarn through the tube, which is now magically a stylus, place your yarn on a folded pipe cleaner.
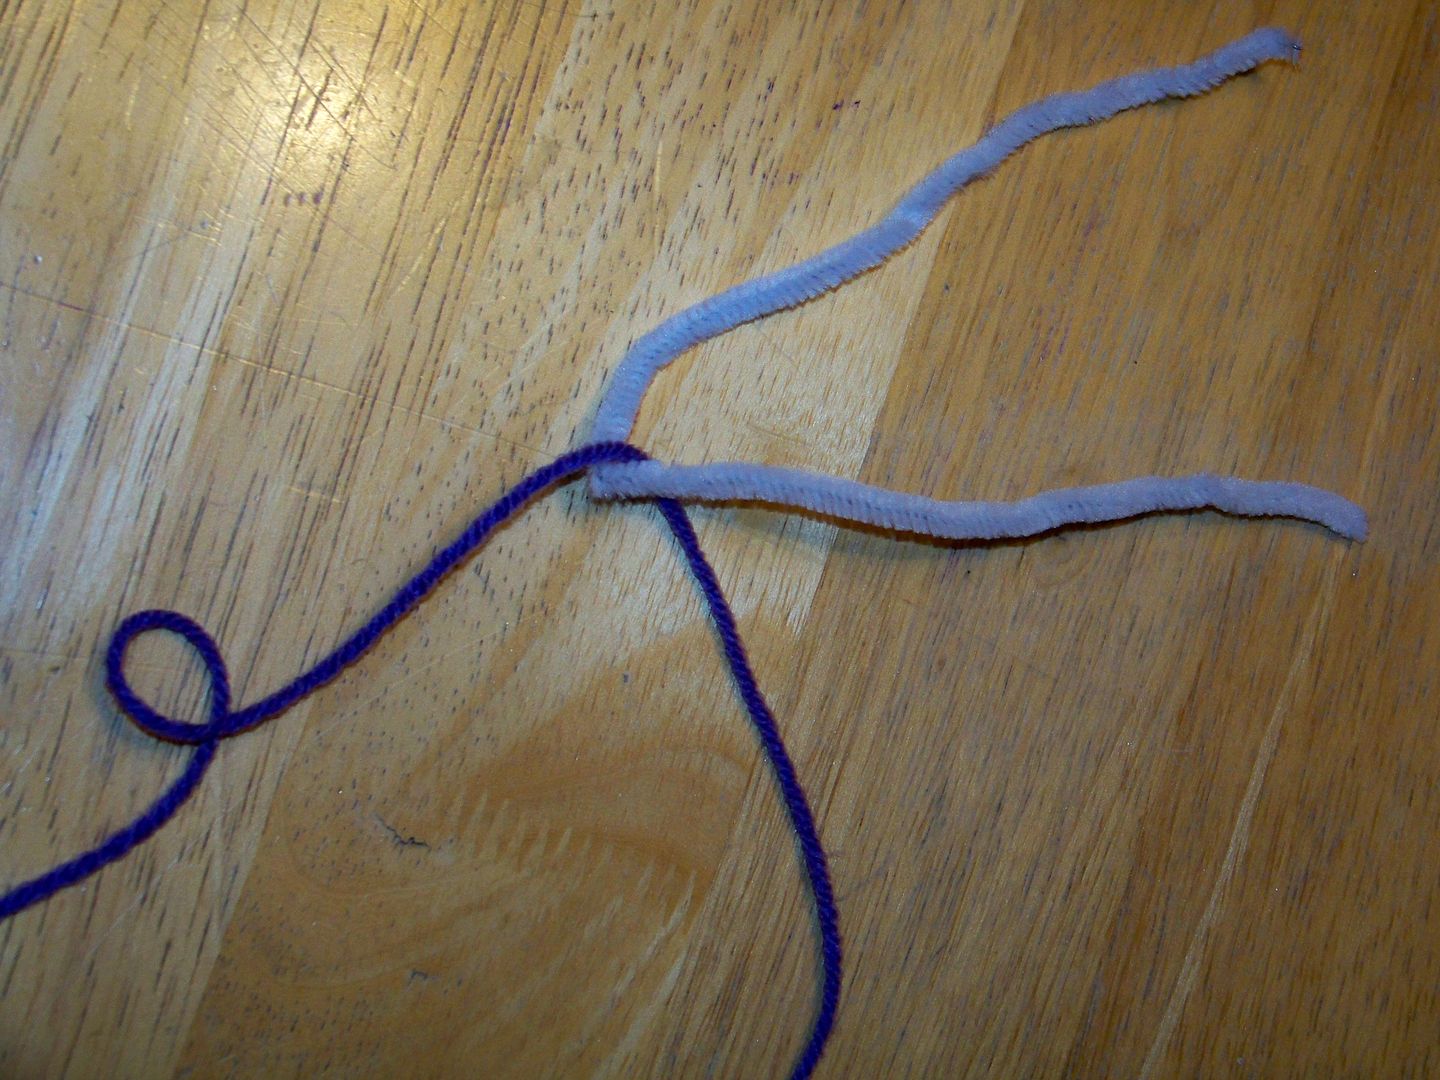

Push the pipe cleaner, folded end first, through the stylus.
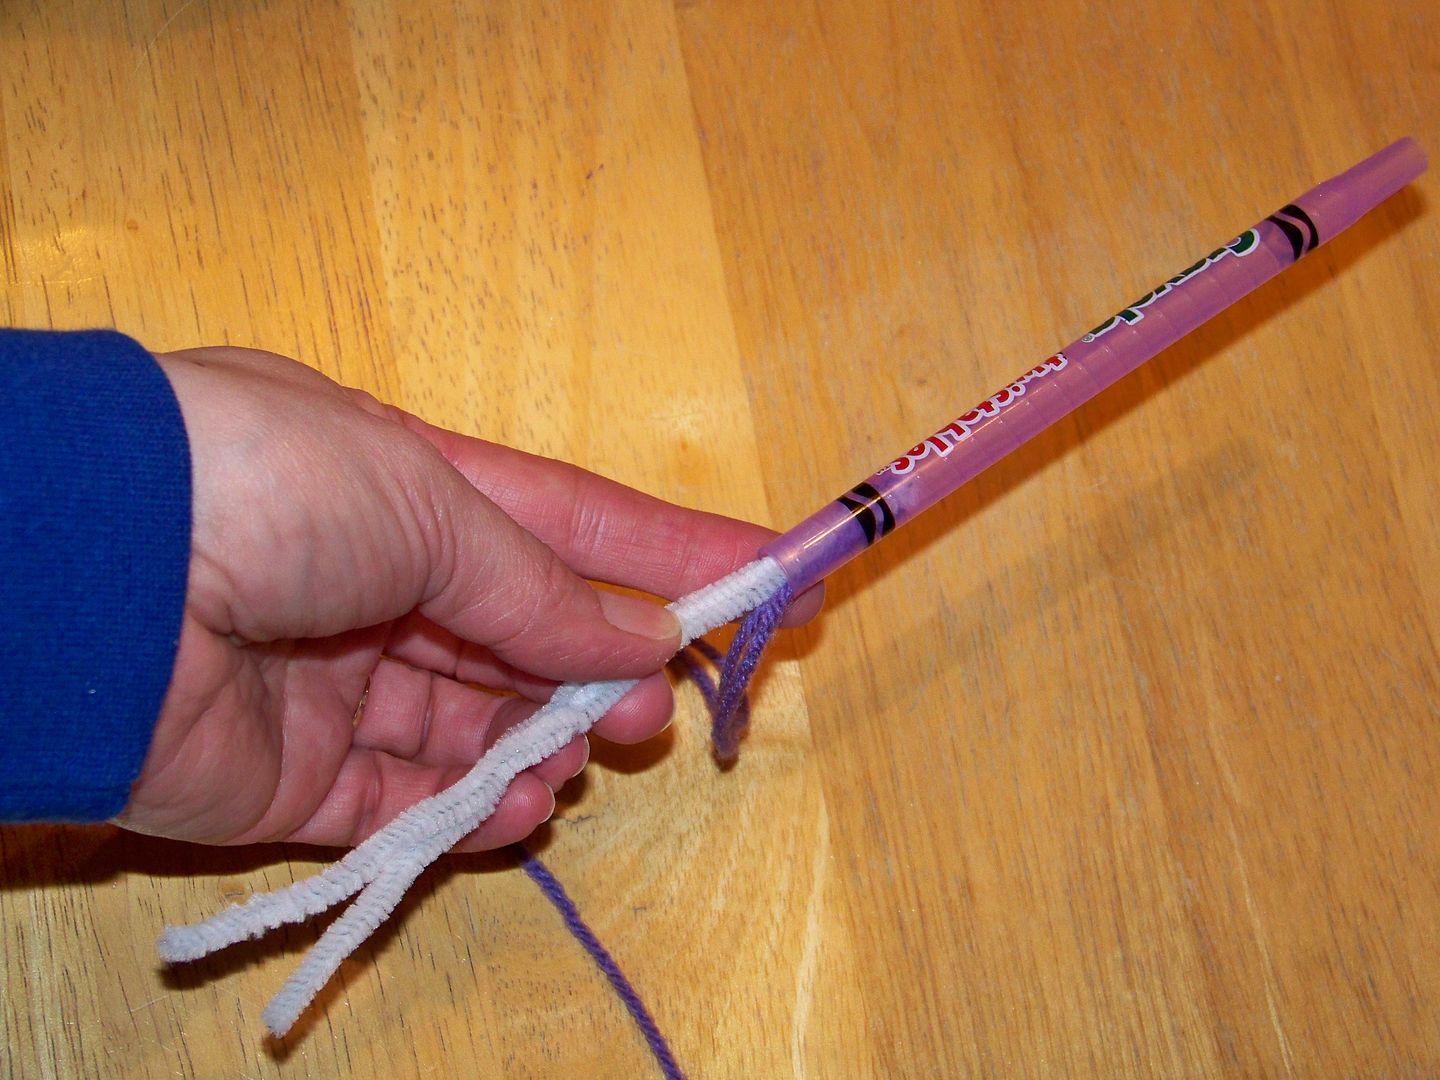

And pull it all the way through to remove the pipe cleaner, leaving the yarn threaded inside.
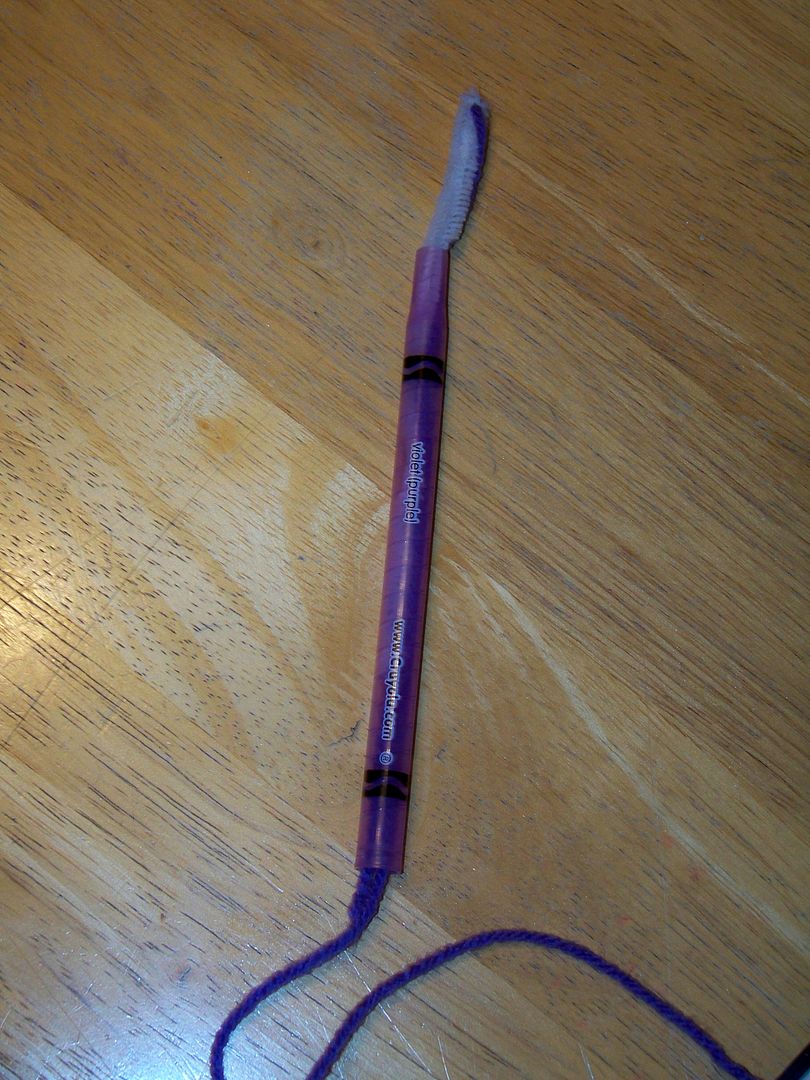

For this project, I used two and three yarns at once.  I threaded them at the same time.


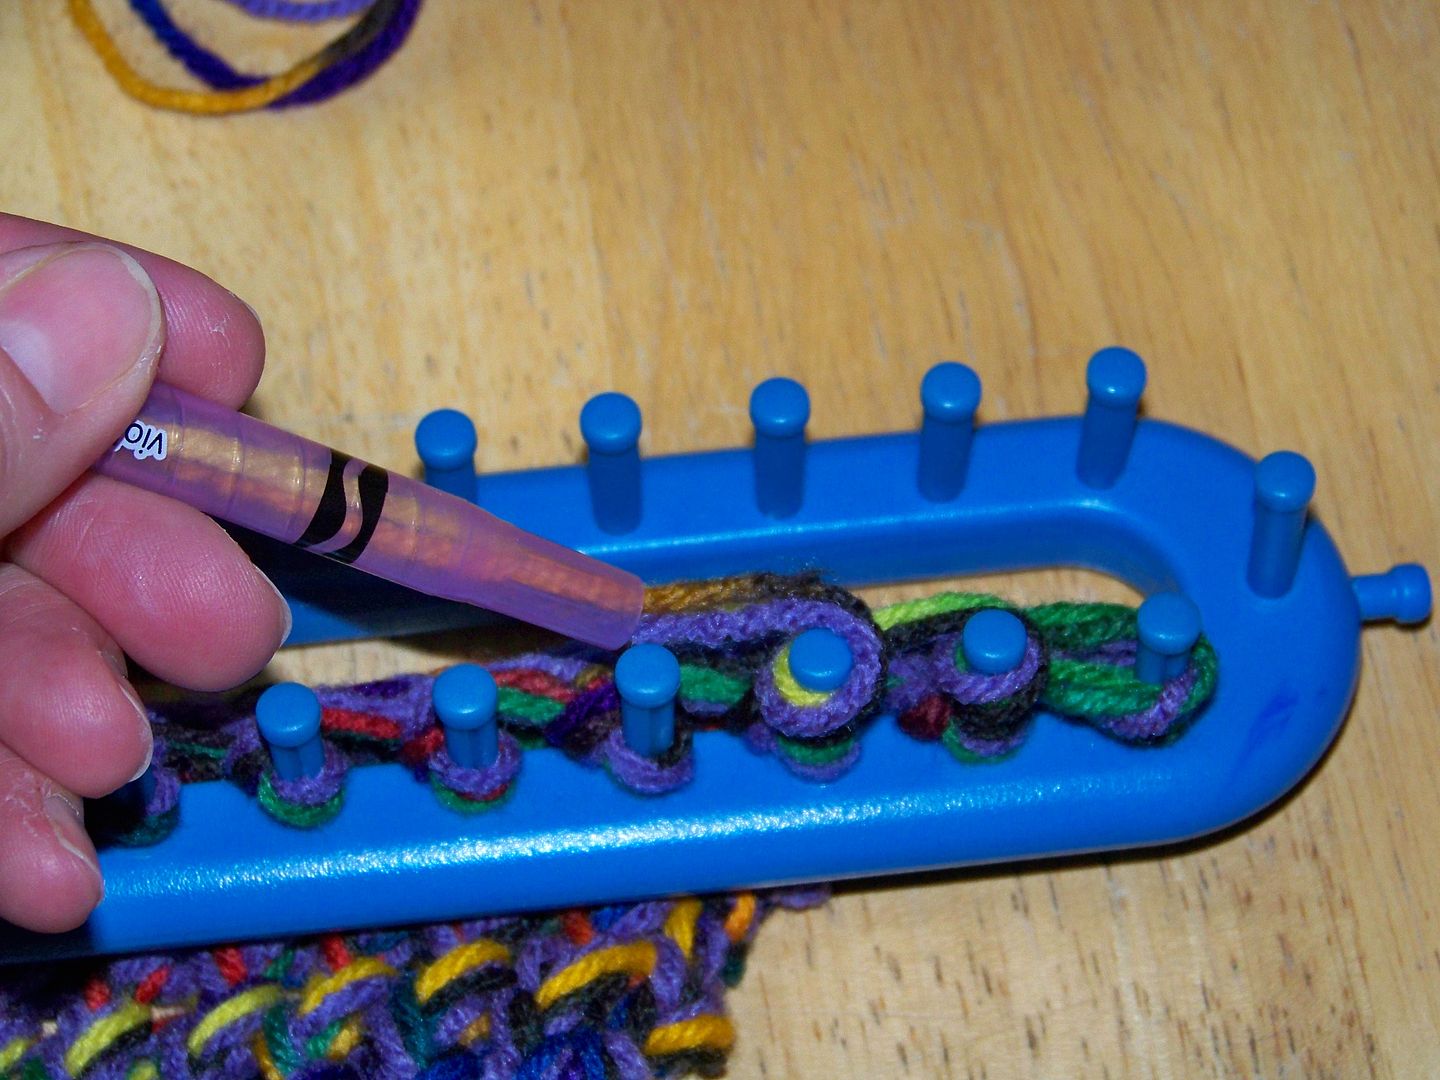
Instead of using my fingers to e-wrap, I hold the stylus to wrap around the pegs.  I use this with all my looms.  I push the stylus down and out of the way, toward the yarn, when I don't need it (such as for using a purl stitch) and back up when needed.

So then...I had these granny rounds.  Neat and all, but what to do with them?  
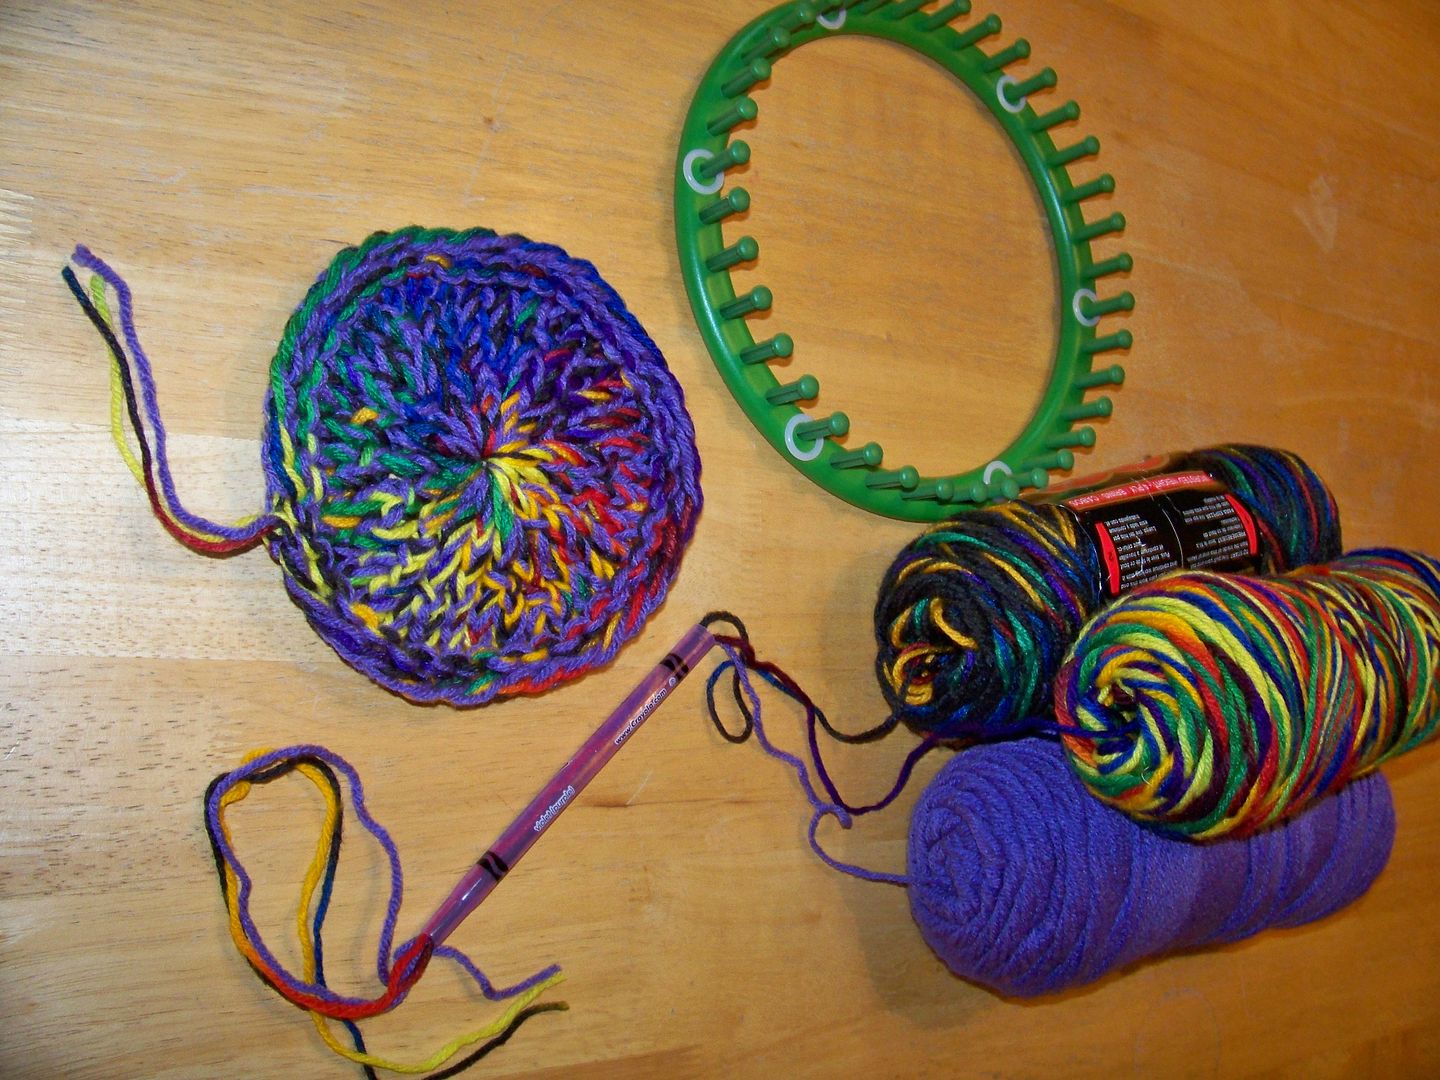

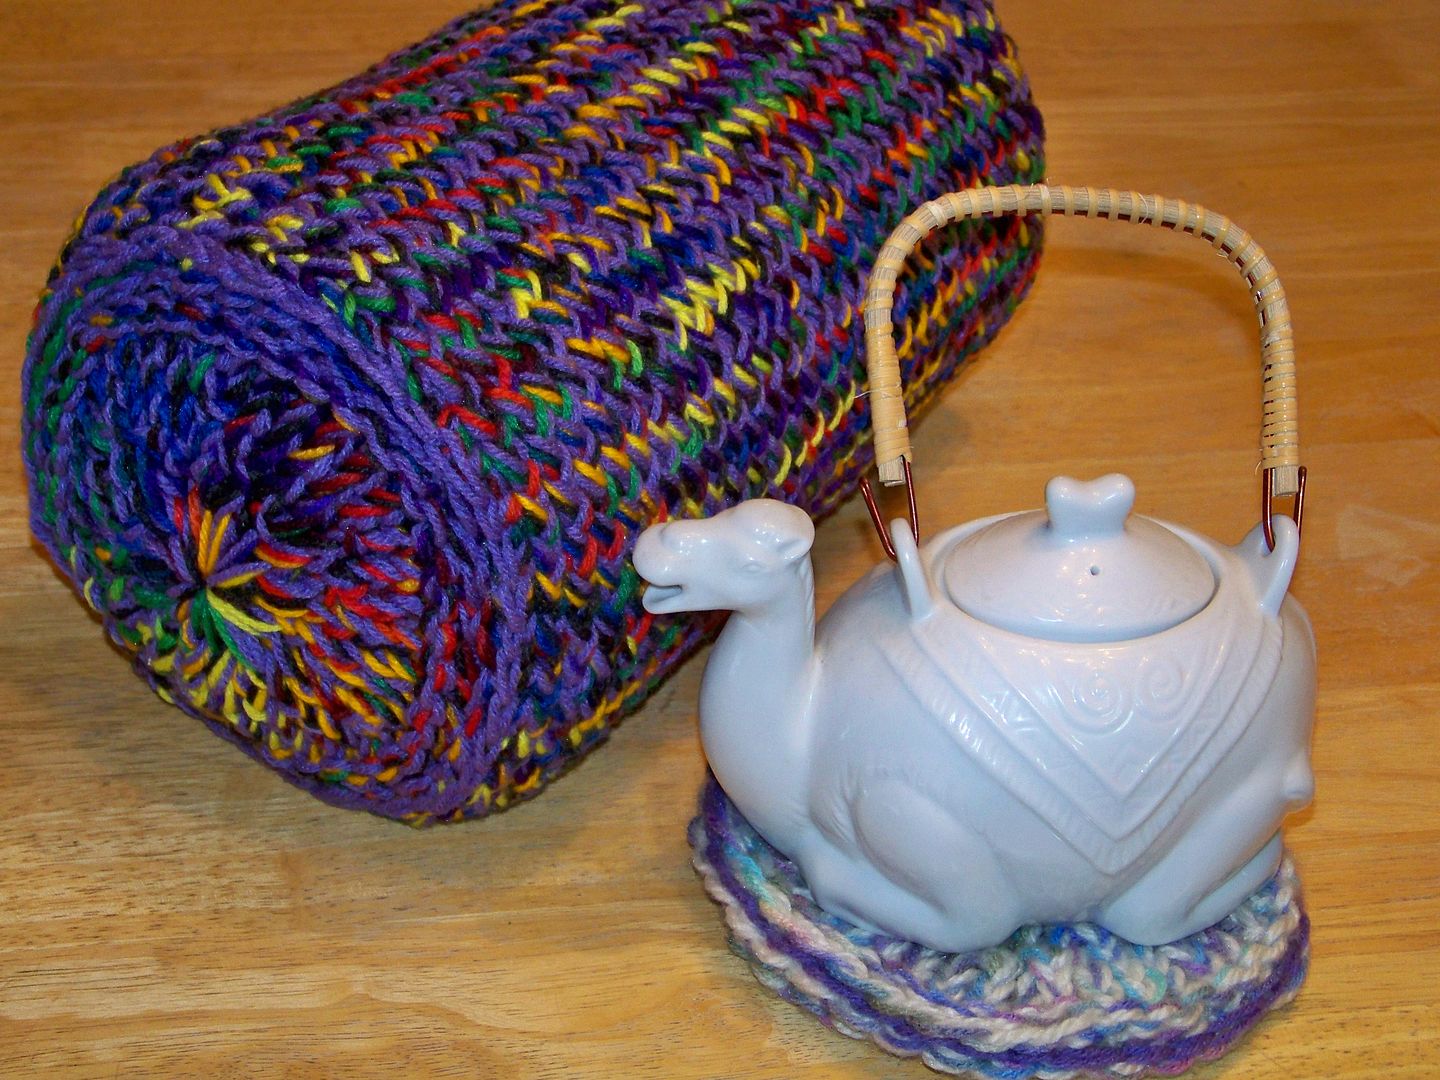
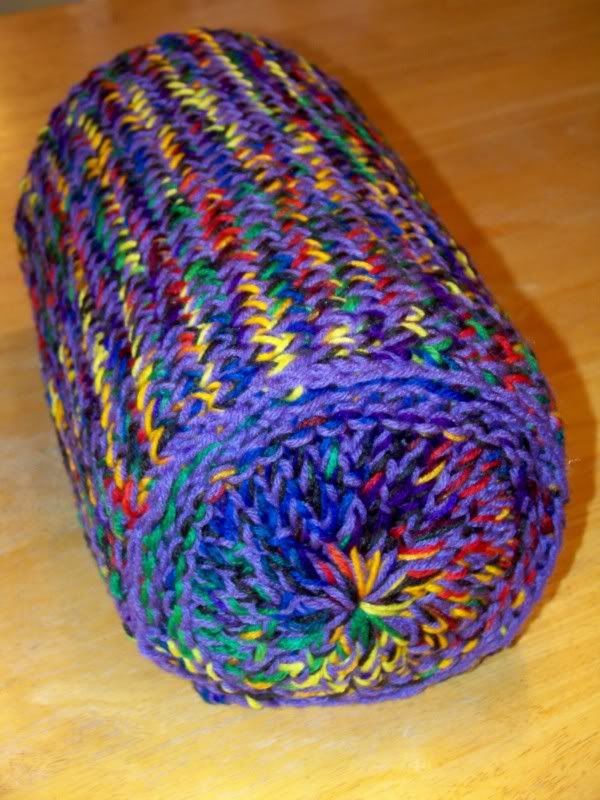
That is where the challenge really was for me.  I decided to make a bolster pillow using stuff in my stash, including the yarns and dacron batting.  These granny rounds reminded me of granny squares so variegated yarn just felt like the way to go and a funky, kitschy bolster would be the result.  I used three yarns for this.

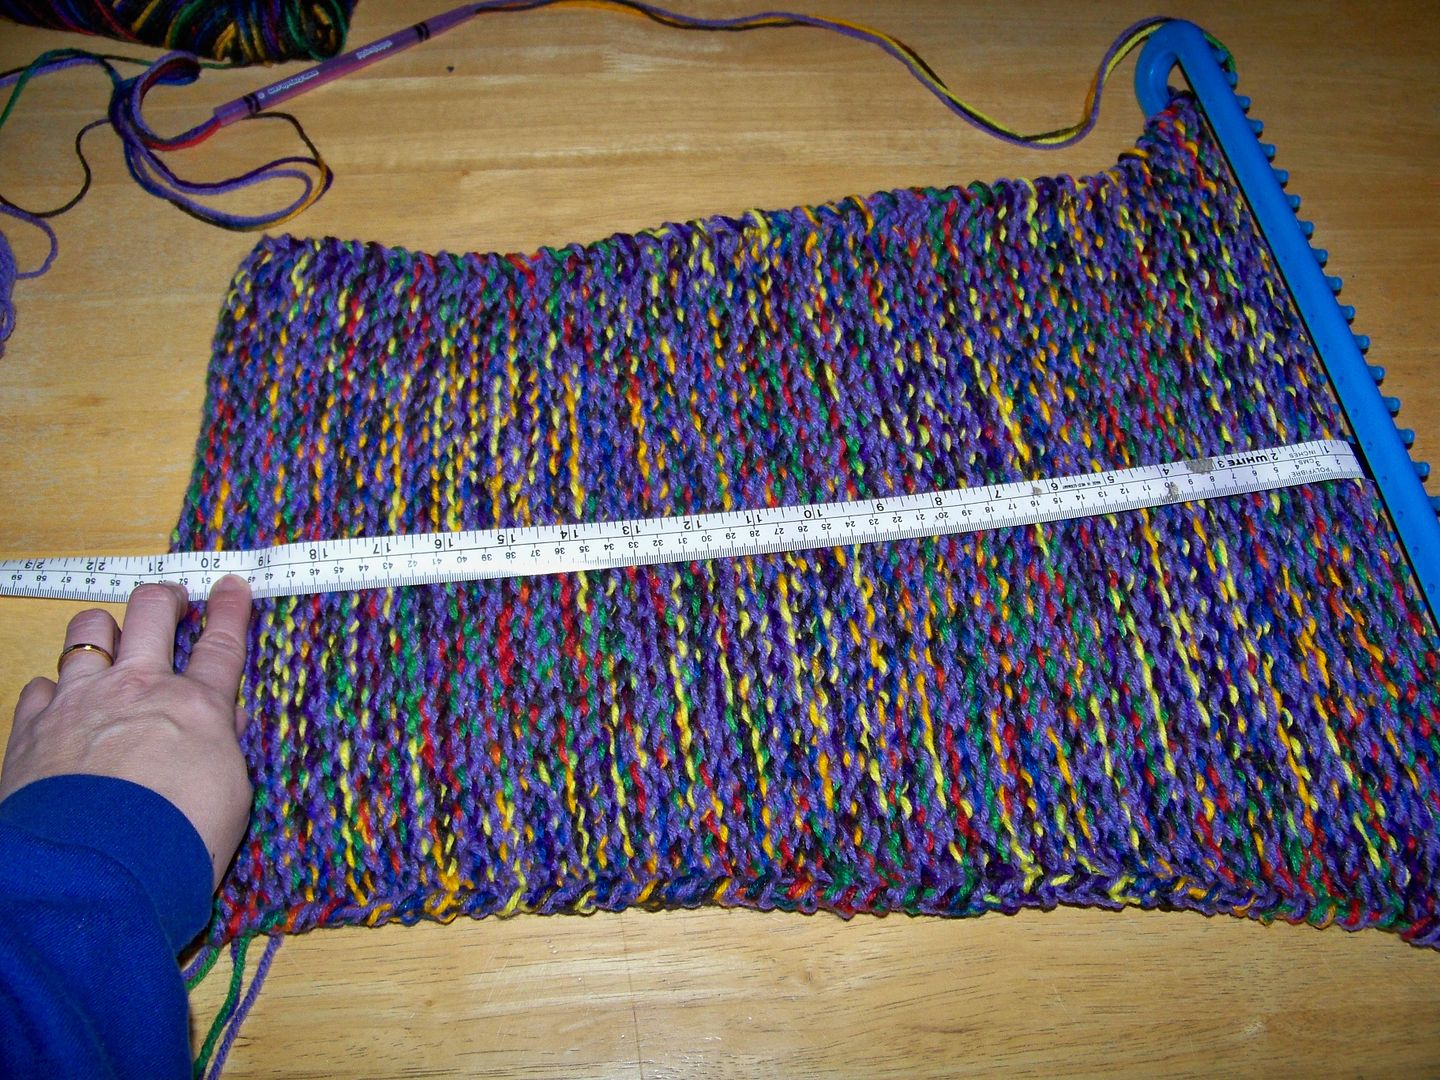
The ends of the bolster were granny rounds.  The body was made by e-wrapping three yarns on the blue long loom until I had 21" of knitting.
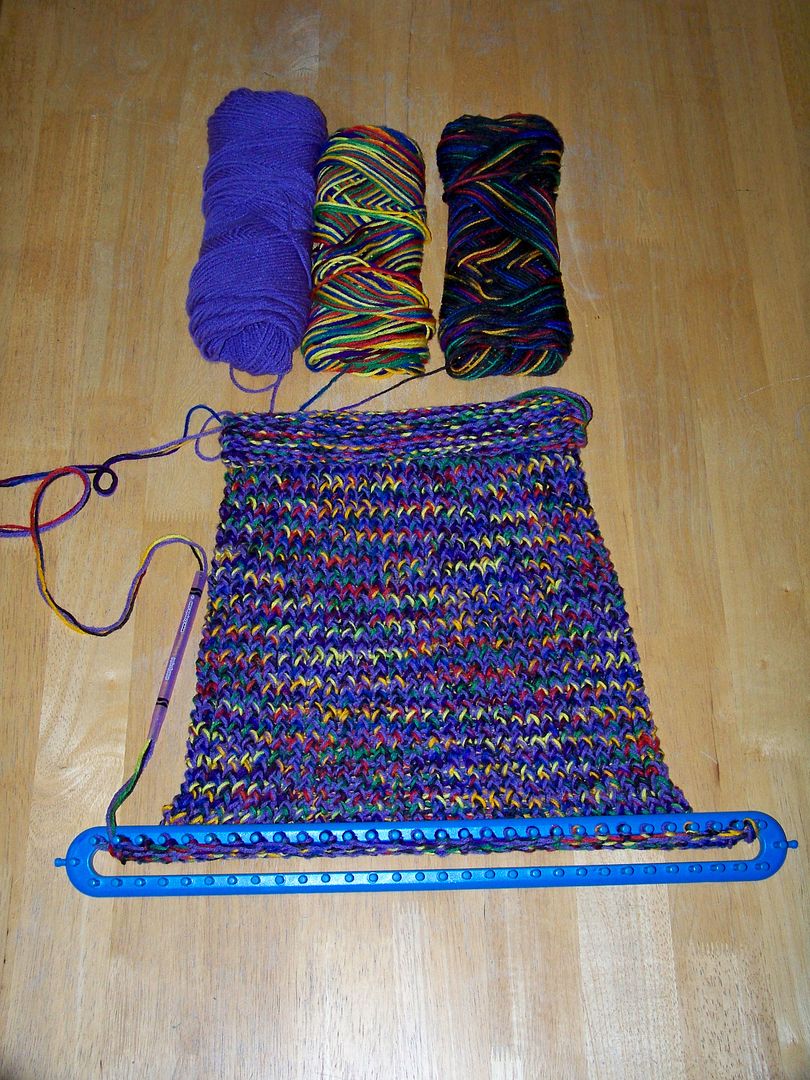


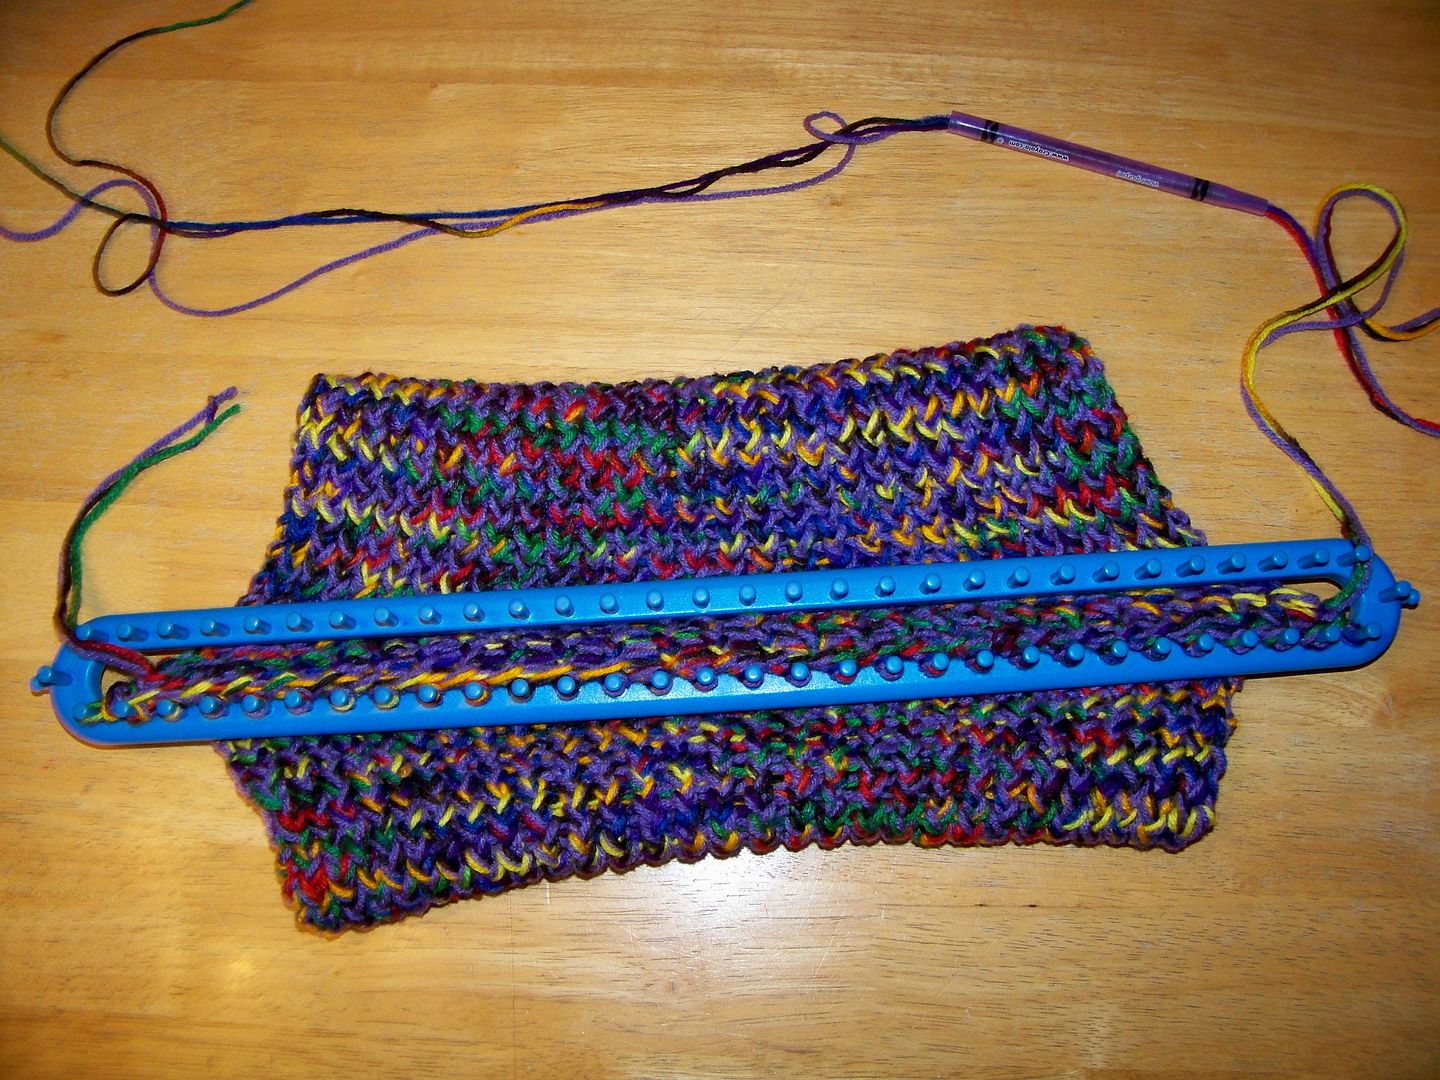
I pushed the bottom (the cast on end) up through the loom and placed the cast on loops on the opposite pegs so that I could make sure it was lined up straight with all pegs covered.  I started with the center pegs and worked each side to the final loops on the ends.


I moved each to the corresponding peg directly across and knitted off each peg.
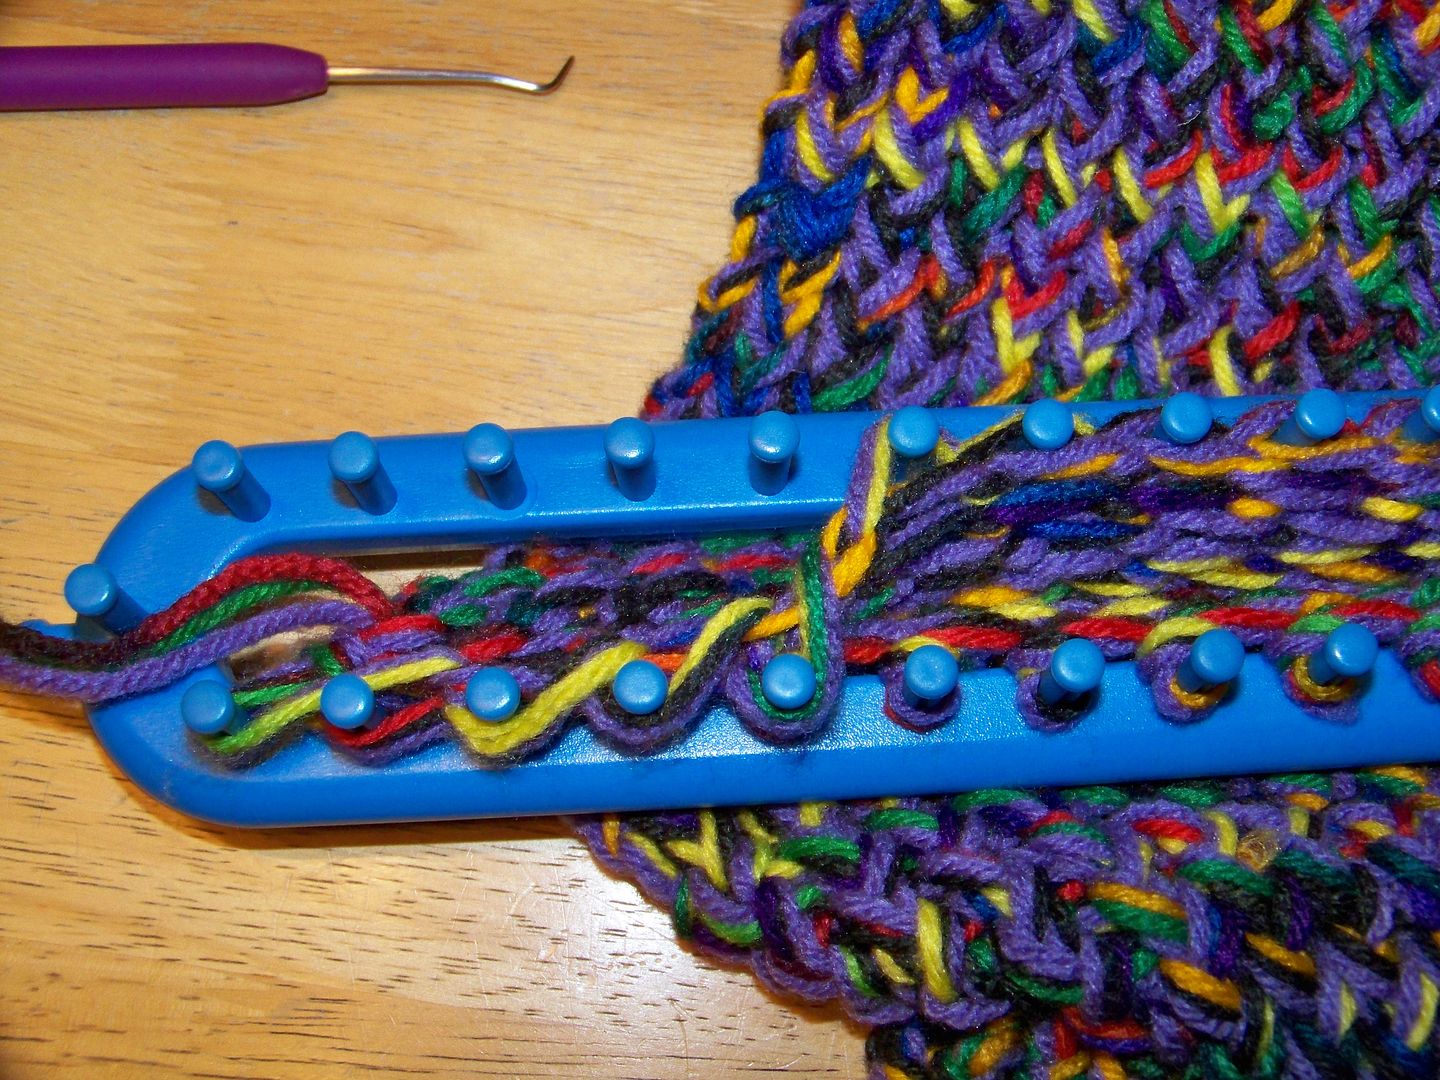


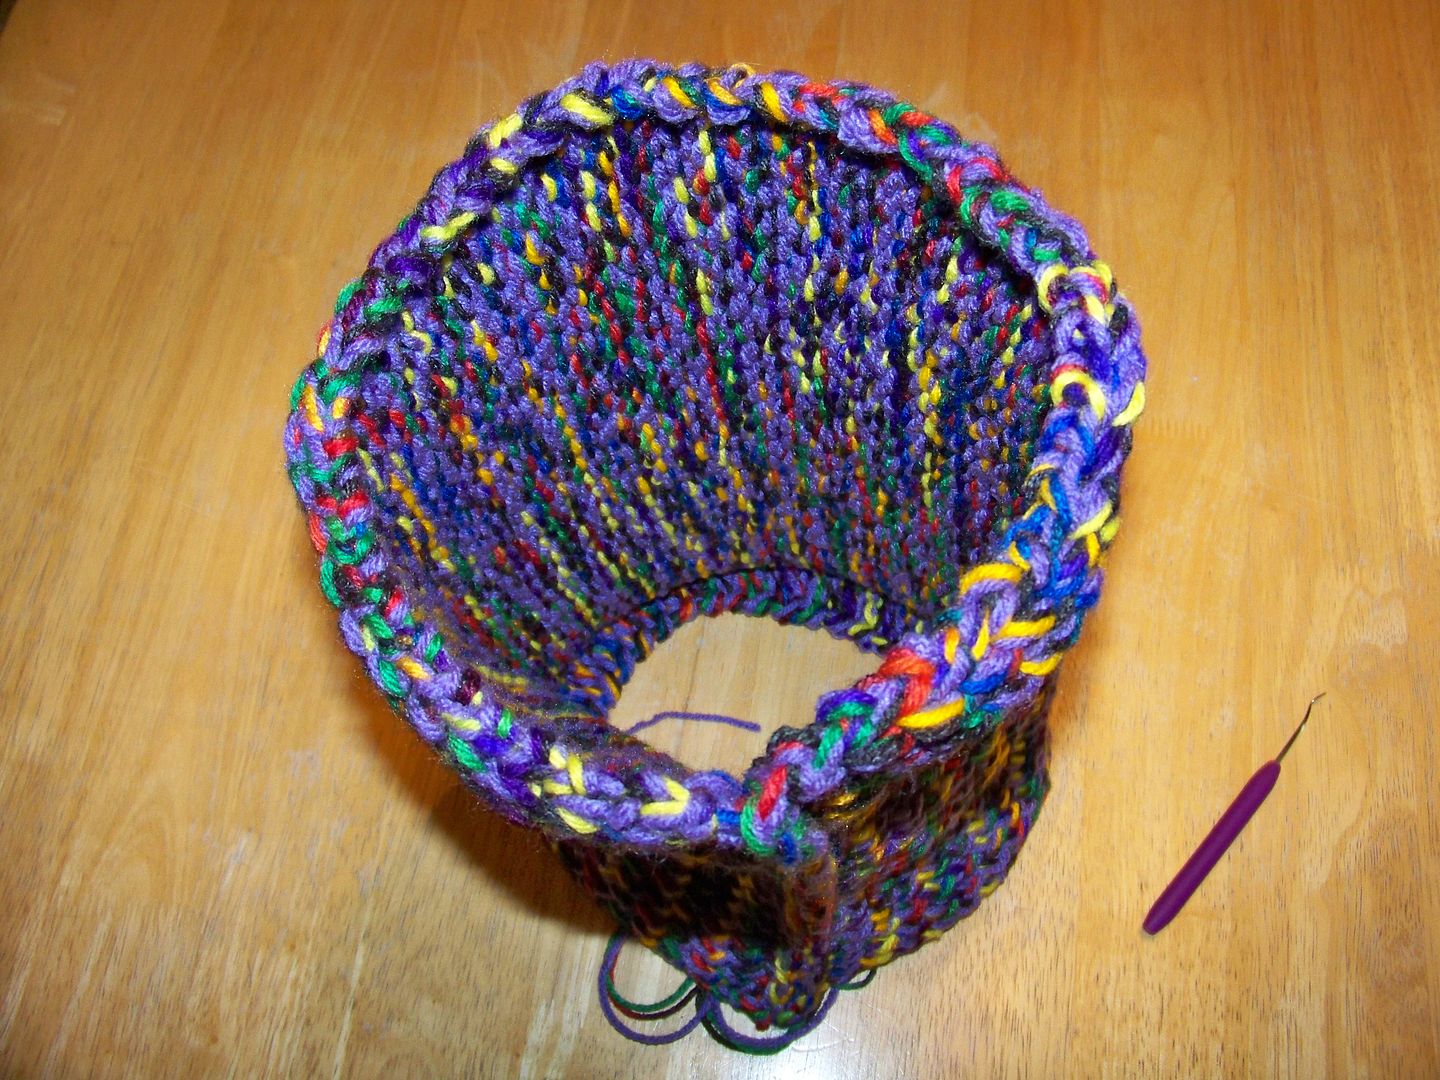
I used a flat panel bind off to remove it from the loom.  This created a tube with a seam.
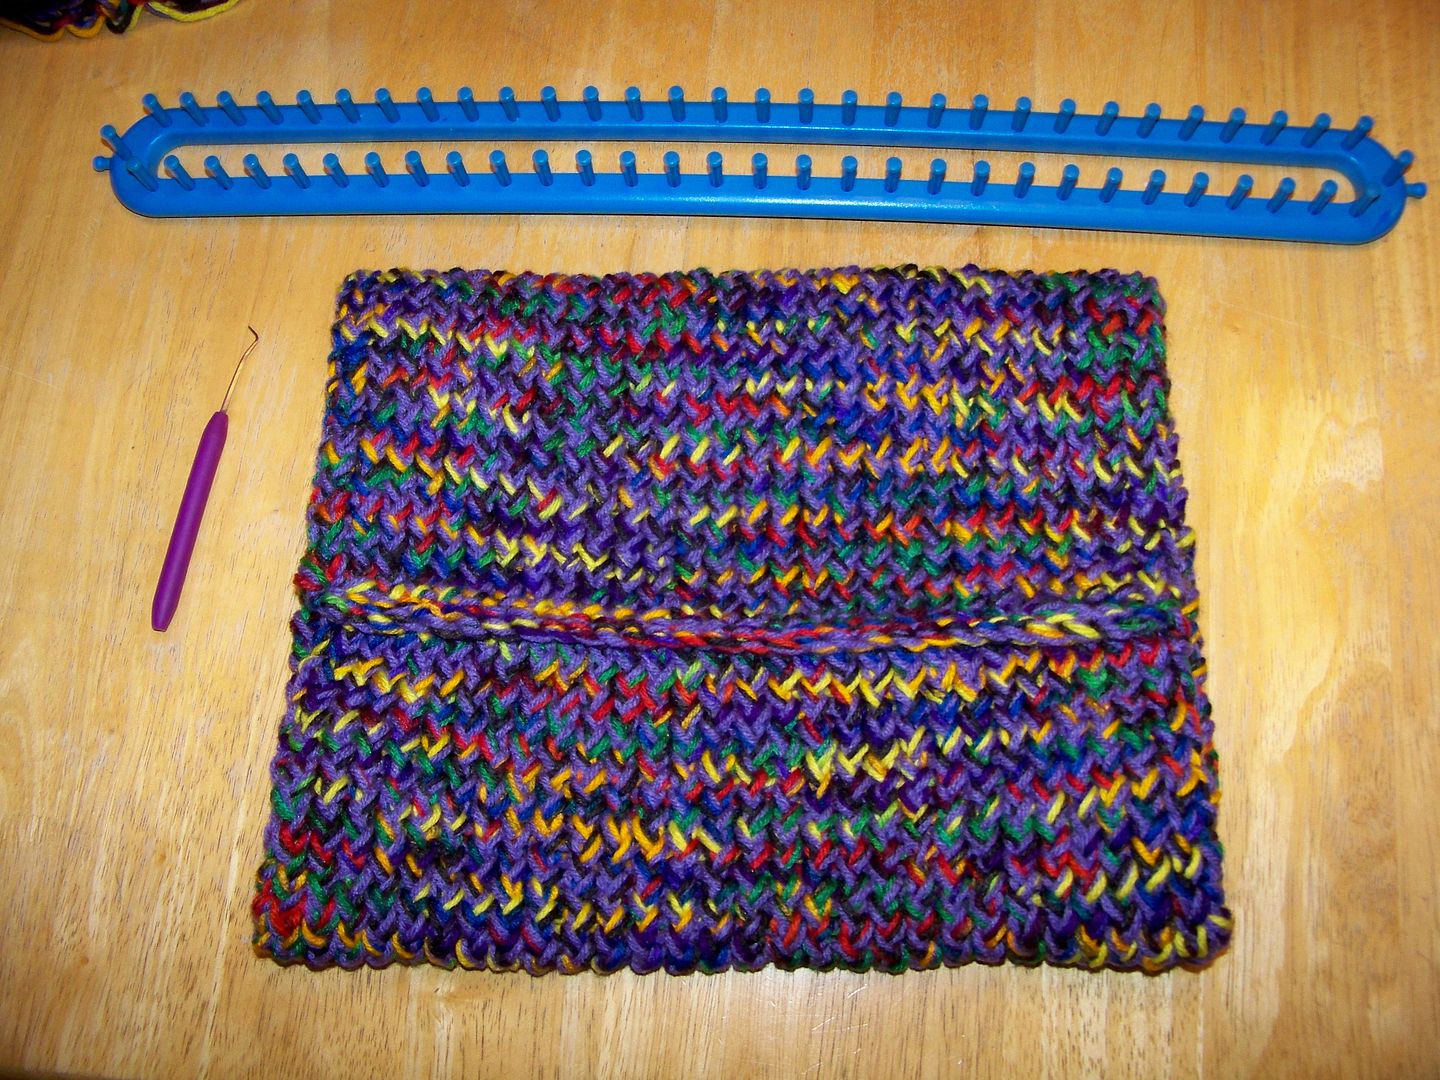


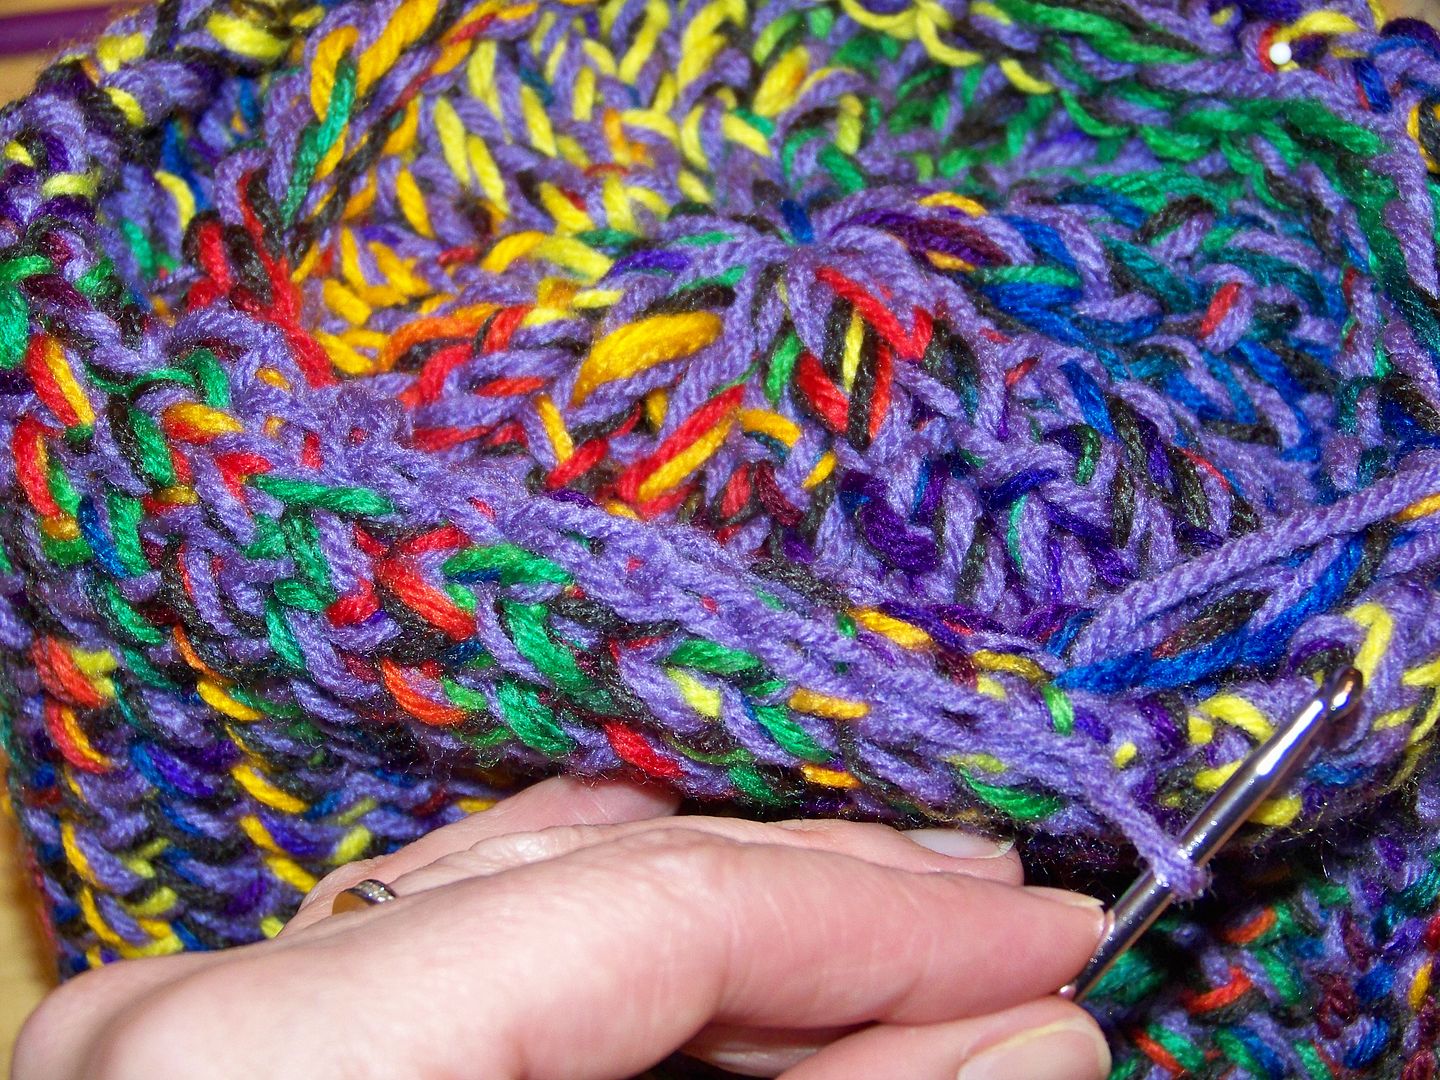
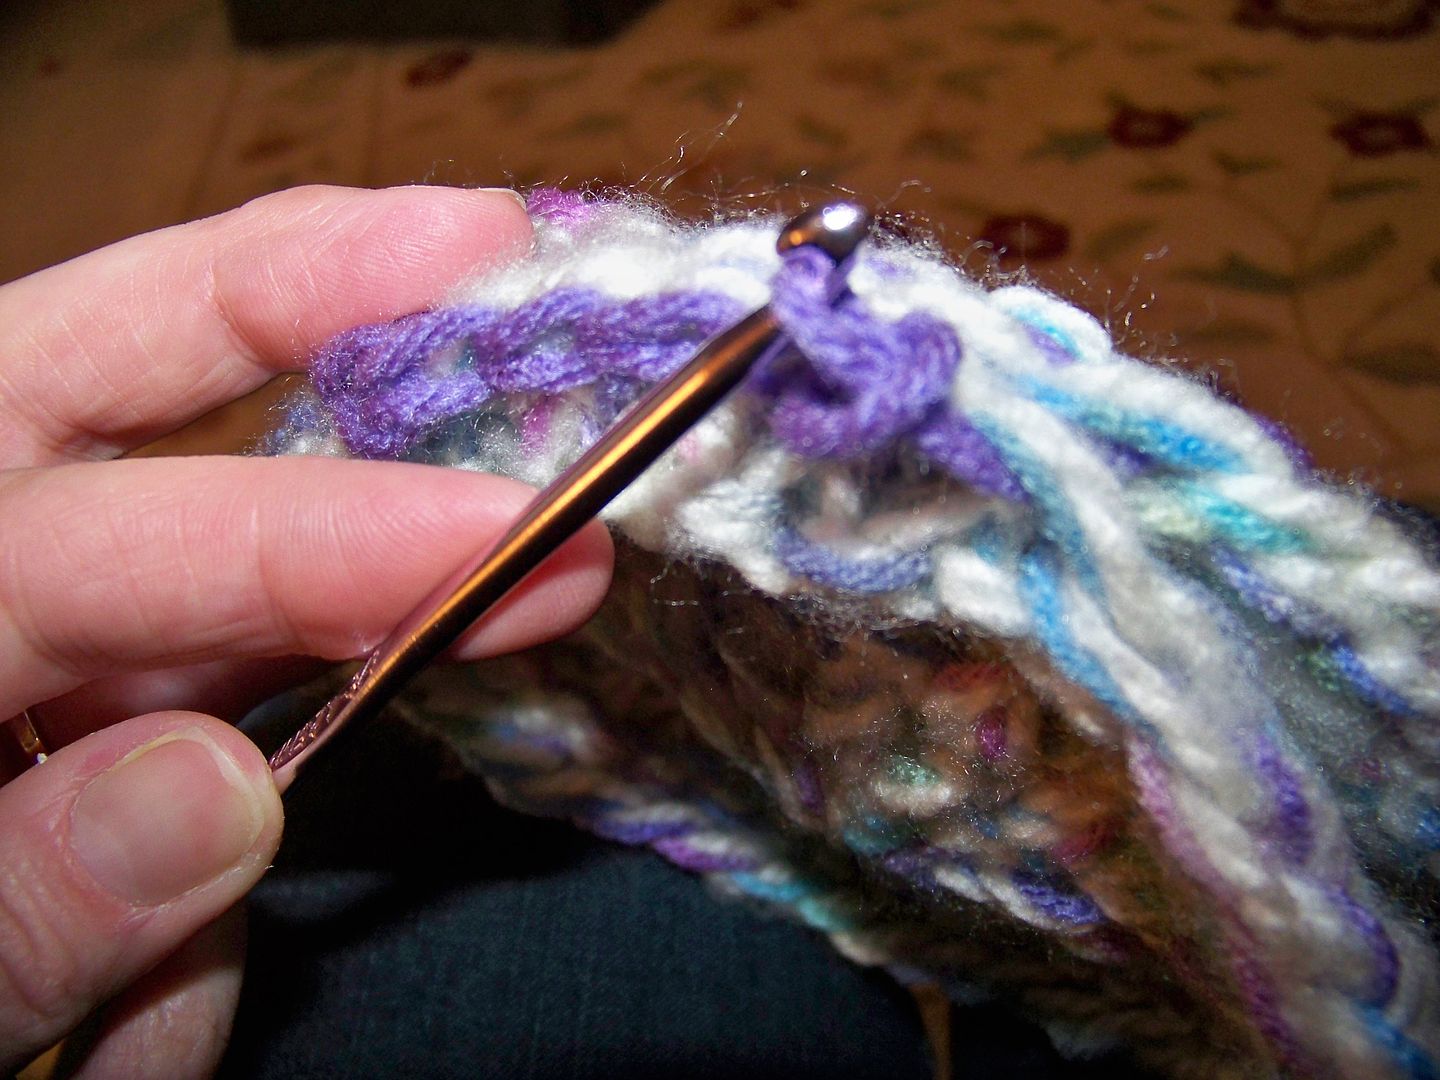
I used a crochet chain stitch to join one granny round to one tube end.

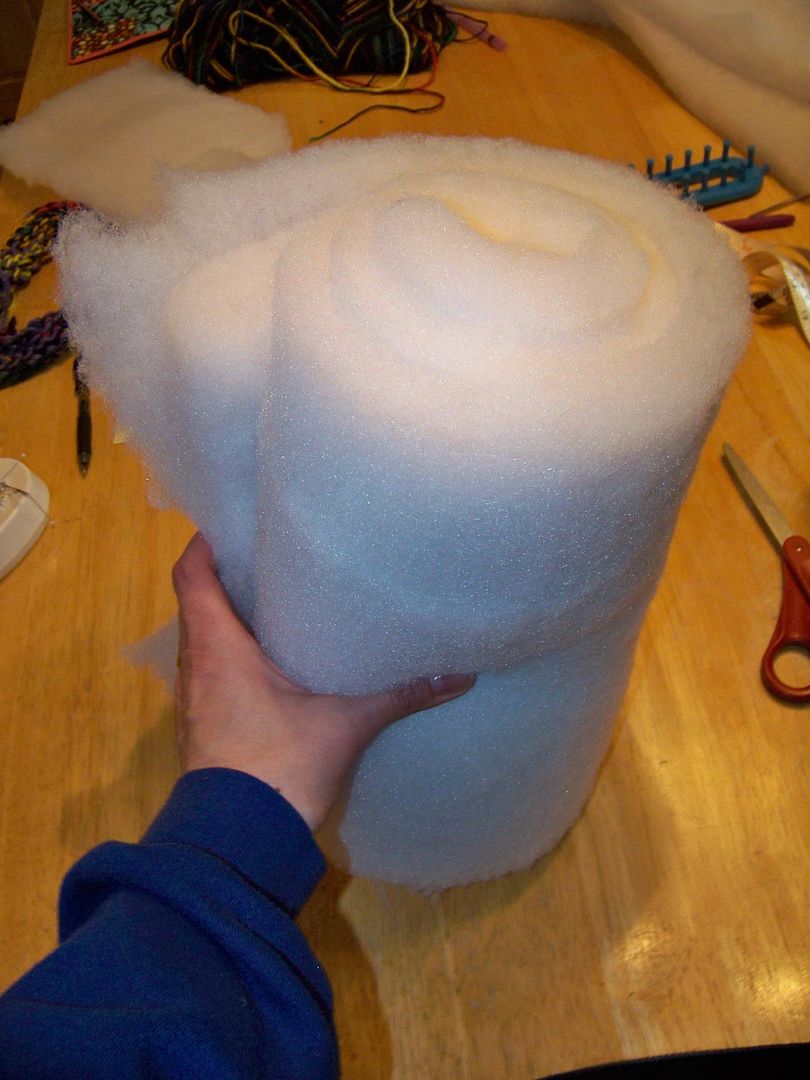
I cut off a yard of dacron batting and trimmed two widths of 12" and 10".  I placed the 10" piece on top of the 12" and rolled it to form the filling for the bolster.  (Dacron is upholstery batting and much stiffer, thicker, and sturdier than quilt batting.  It holds its shape better.  You could use a foam bolster instead or wrap dacron around a foam bolster as other options for the inside.)

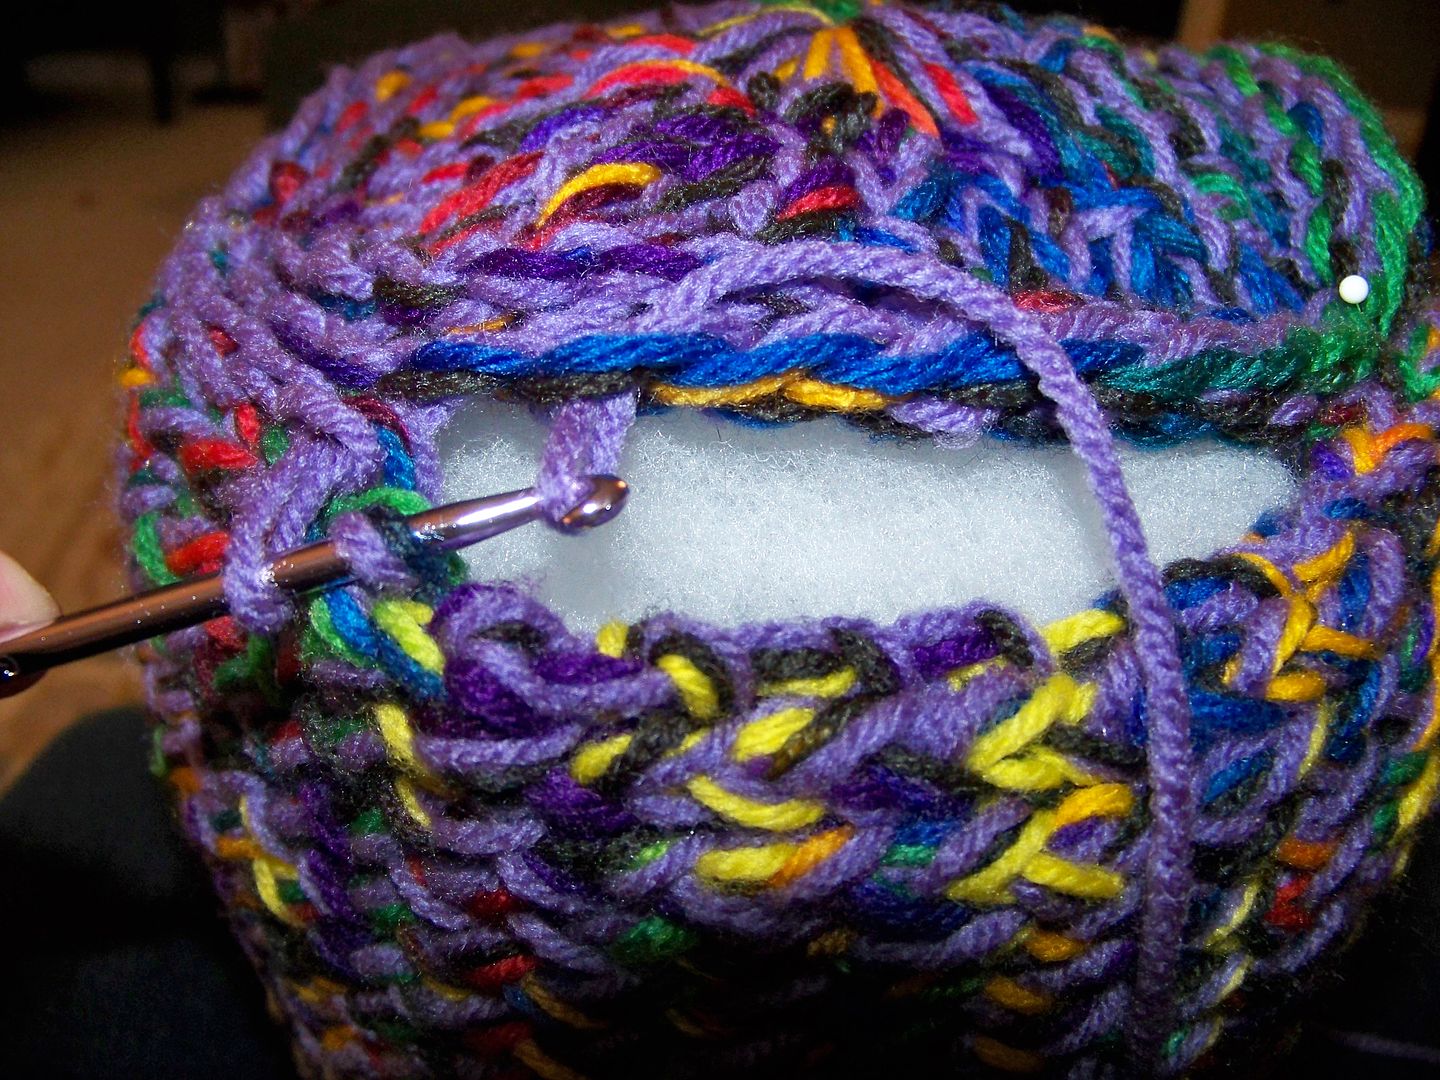
I slid it into the knitted cover and sewed the final end in place using the same crochet stitch.

That was my first entry for Kristen's challenge-- totally silly.  It has been claimed by my kiddo for her reading nook.

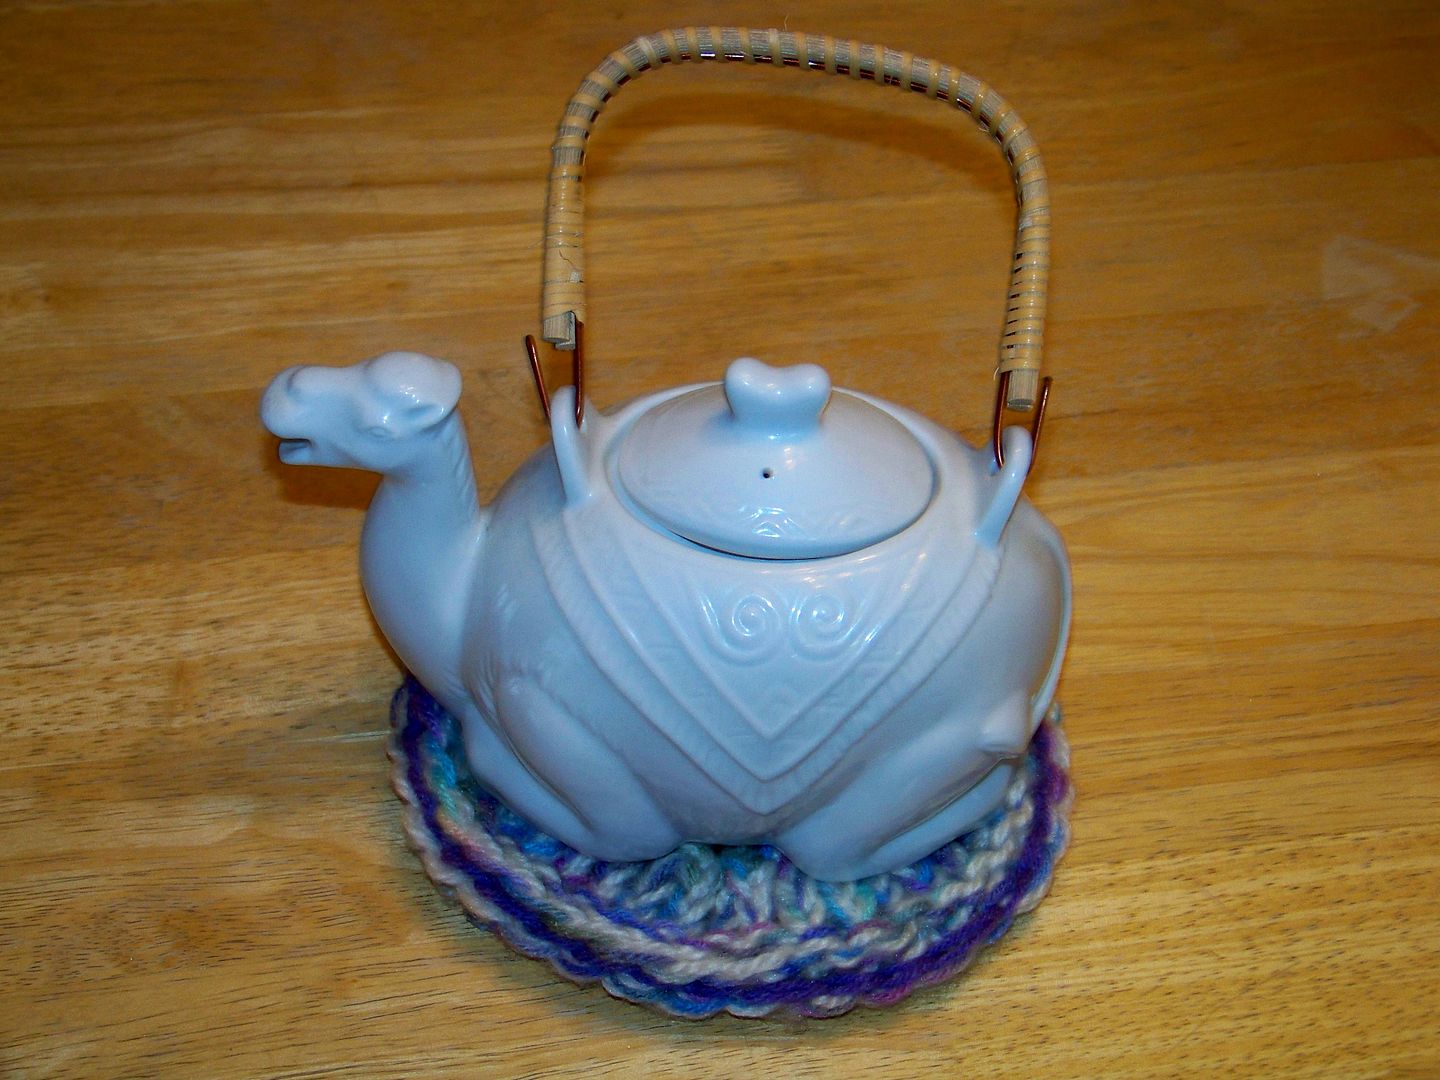
For my second entry, I used the crochet stitch to place two of my practice granny rounds back-to-back to make a hot pad for my tea pot.

That was my second entry!

OK- that was just fun!  I loved learning how to do the granny round and I had never used multiple yarns together on the pegs at the same time.

Quick Links:

Thank you for checking my blog post today.  Check out Kristen's challenge.  She is giving away 10,000 yards of yarn by randomly selecting entries so you can be silly and have fun with it!

To see many of my previous projects, check My Project Gallery and my Loom Knit pages.  

Sunday, January 22, 2012

Criss Cross Alpaca Scarf

I learned a new stitch, Criss Cross, recently and used it to create my final birthday gift to myself... a scarf to go with my new coat!


Pin It
I found this yarn at Michaels. It is Yarn Bee's Andes Alpaca in color Damson.  I picked it because it looked like a purple and brown, which I had been looking for. It is a longer varigation - or maybe a shorter skein. Whichever the case, look at all the other colors in this, even though only purple and brown showed at the store on the outer skein! I think I love it better with all the colors, but I was so surprised as I was knitting that it started looking like this! (A happy surprise!)  I really liked the "depth" I got by using a varigated yarn!  The finished size is 40"x7". This took two skeins of yarn, or roughly 200 yards.

Five inches on each end are double knit stockinette.  I knitted 30" using the Criss Cross stitch. 


I used the double knit stockinette because I found after doing a gray practice scarf that I did not like the Criss Cross stitch on the bottom edge.


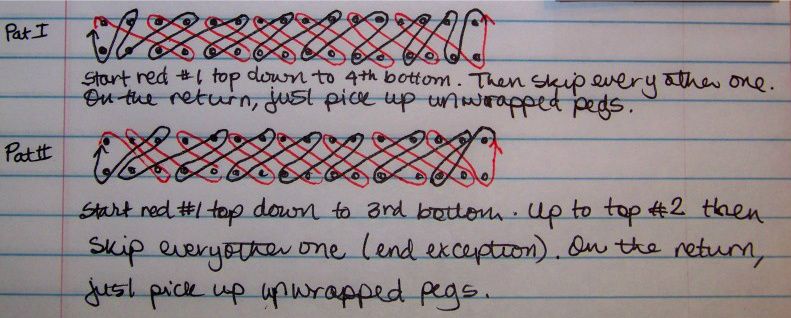
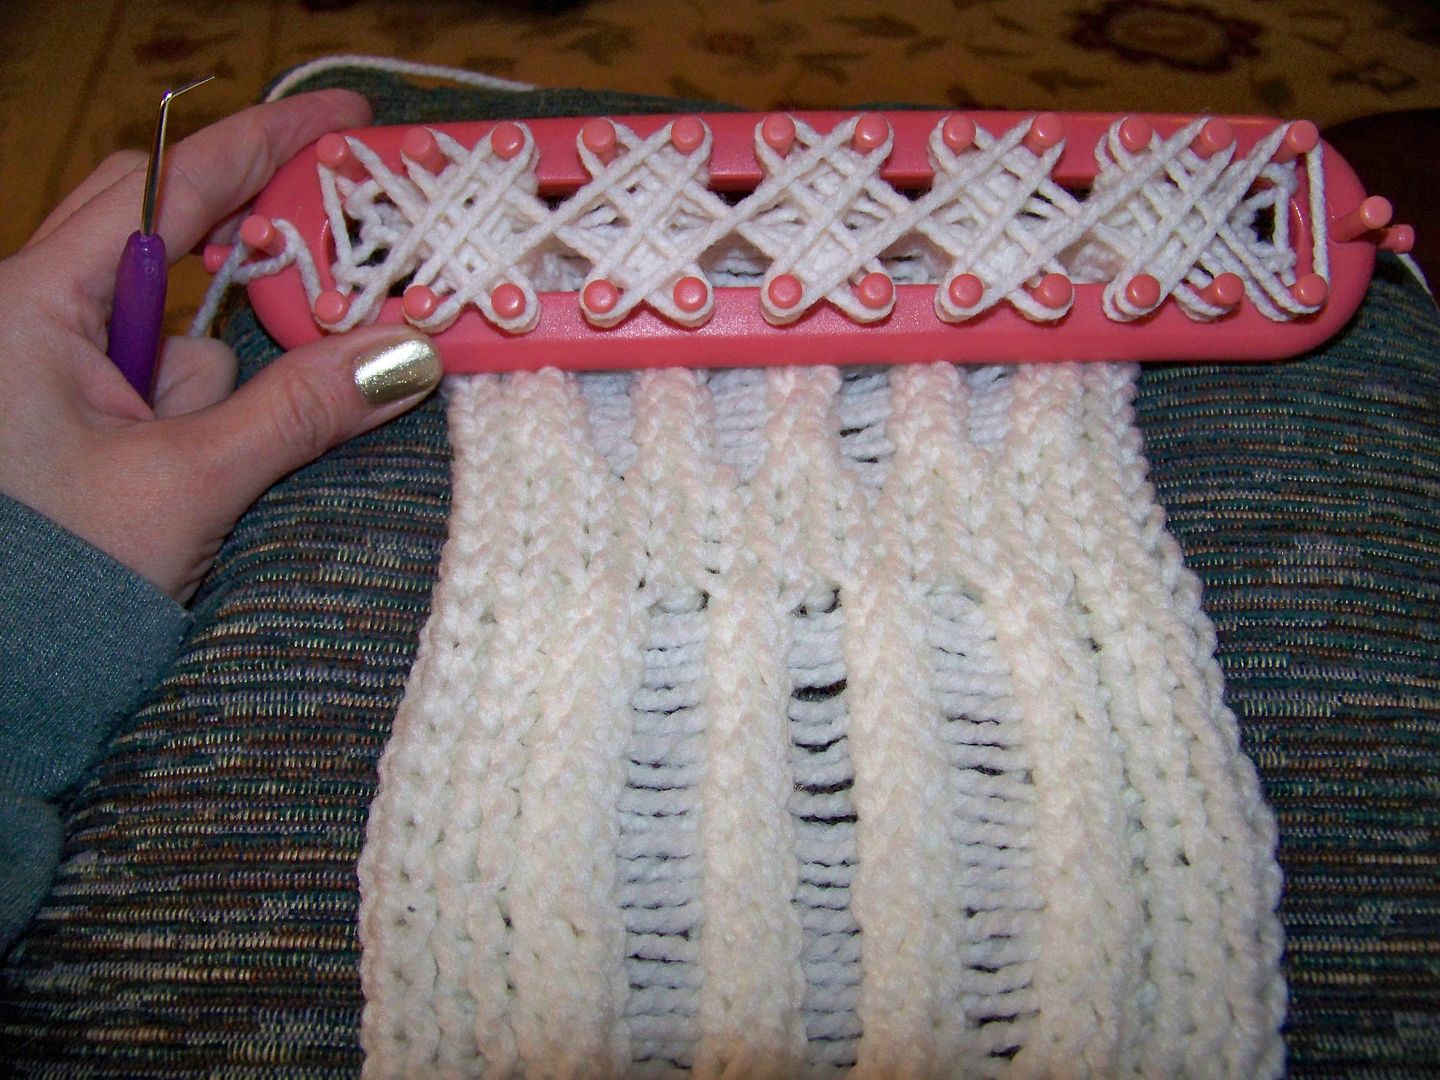
The Criss Cross stitch is one I learned after seeing a video on YouTube. Click here to see it. After watching it, I had to re-watch it to create a diagram so I could actually do it.


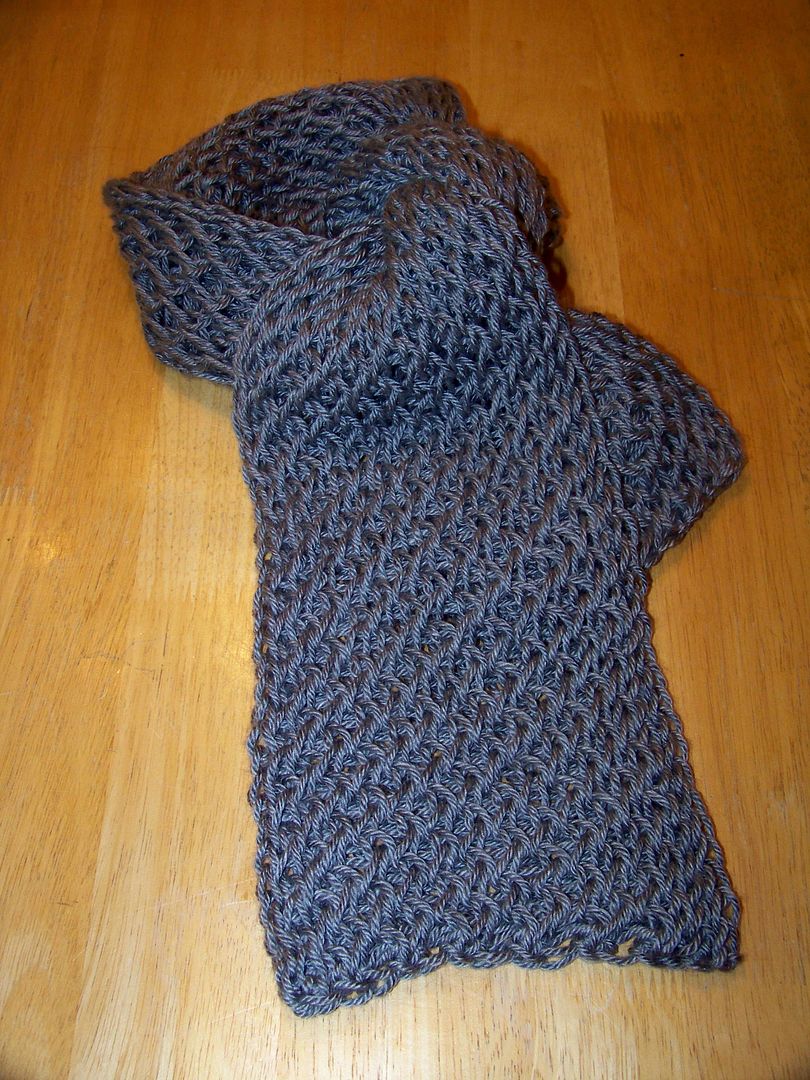
The Criss Cross stitch actually is a pattern of two different combinations, each creating a stripe. When combined, you get a whole new and interesting design.   After I finished my practice scarf and the final one, I did a little sample to figure out what I was really doing.  You can see how each pattern is a stripe.

Pattern II is at the top and Pattern I is at the bottom.


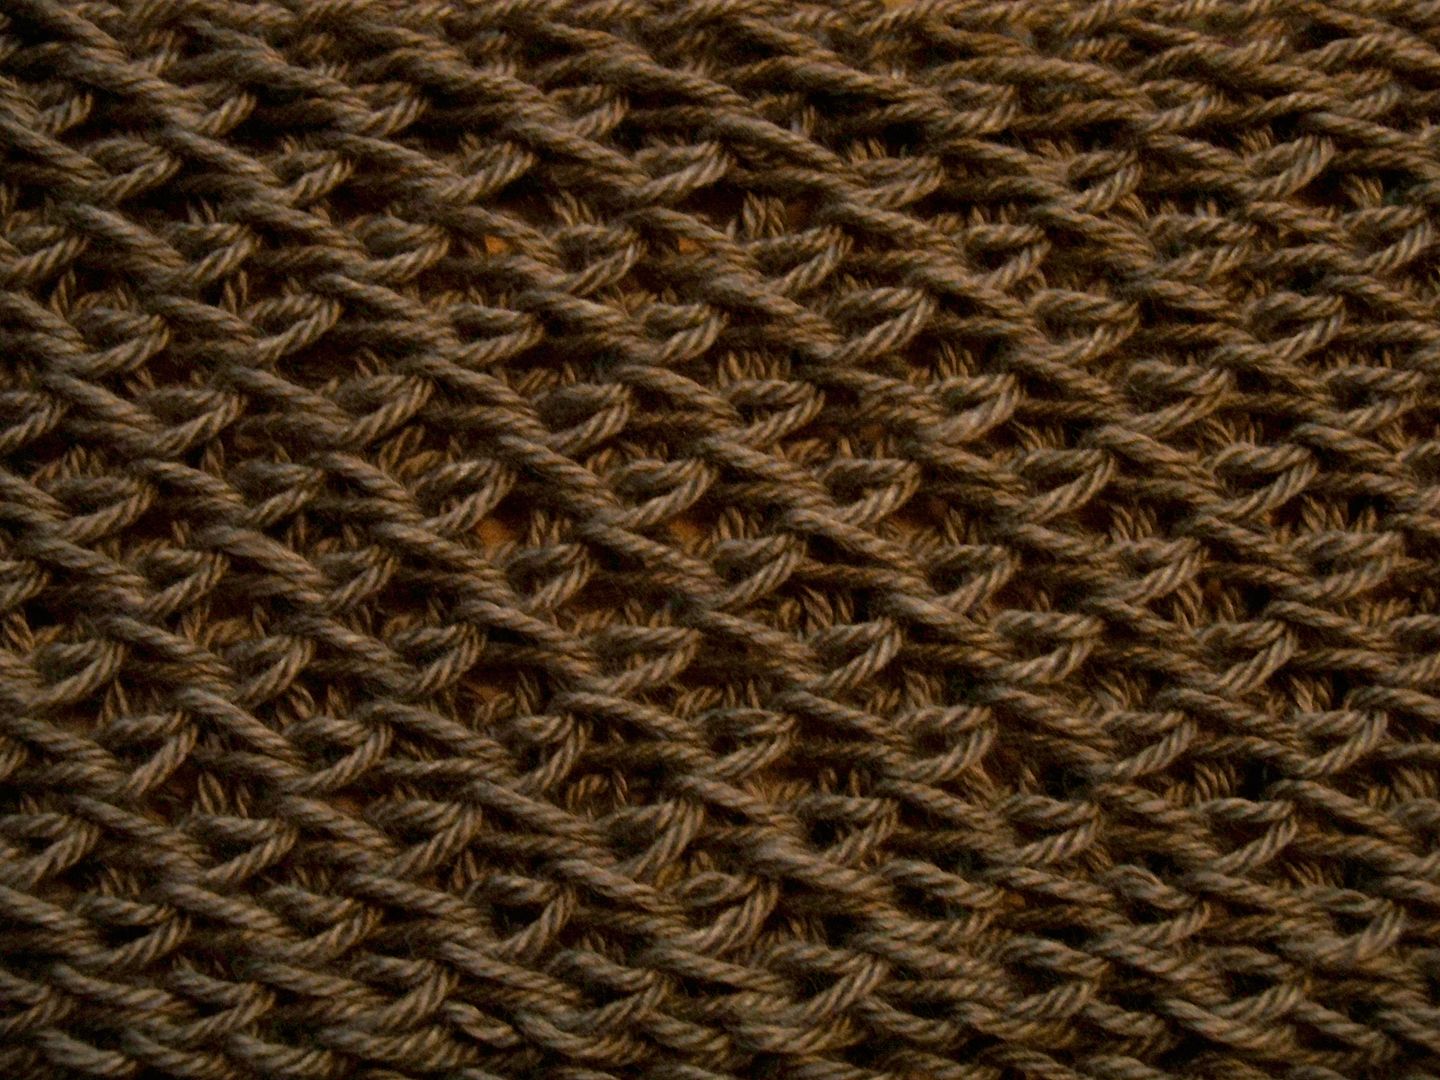
I did this on my Knifty Knitter looms and I will warn you that a #4 yarn is too thin unless it is "hairy". You can see the weave well here on the practice piece (I used Simply Soft yarn), but I liked the weave tighter on my birthday scarf.


Using alpaca for my final scarf made all the difference in not shifting. The final product is a nice, tight weave. I also liked it on my cream-colored sample that used a #5 chunky yarn!

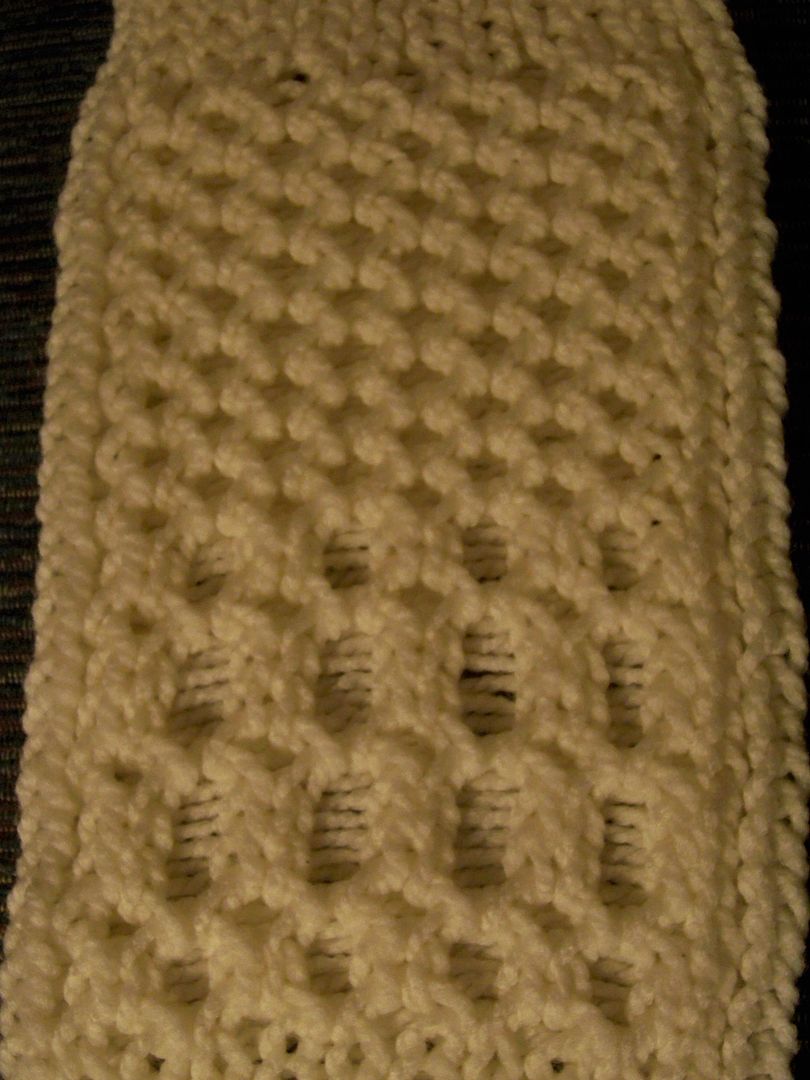
On my sample, I also played with alternating two and three of the same pattern at a time.  This is what I did on this sample to play with variation shown on the lower part of the sample below:
two rows pattern II
one row pattern I
three rows pattern II
one row pattern I
three rows pattern II
one row pattern I
two rows pattern II

I think it created a fun design and I really liked this stitch with a chunky yarn:
The upper part is pattern I and II alternating as designed.  The lower area shows variations of two and three rows of pattern II with single rows of pattern I.  This is a chunky #5 acrylic yarn.


So, this is my last birthday gift to myself! It has been a super-busy and stressful January in our office and at home. (My husband and I work from our home!) I am looking forward to an easier February for sure. For my friends who share a birthday with me today-- and there are four that I know of -- here's a little fun!


Sunday, January 15, 2012

Fabric Accessories for my Knitting Basket!

It's my birthday month and I am featuring gifts I am making for myself... how crazy is that?!  Well, my next gift is something I have wanted since I started using my knitting looms back in November:  fun holders for my tools!


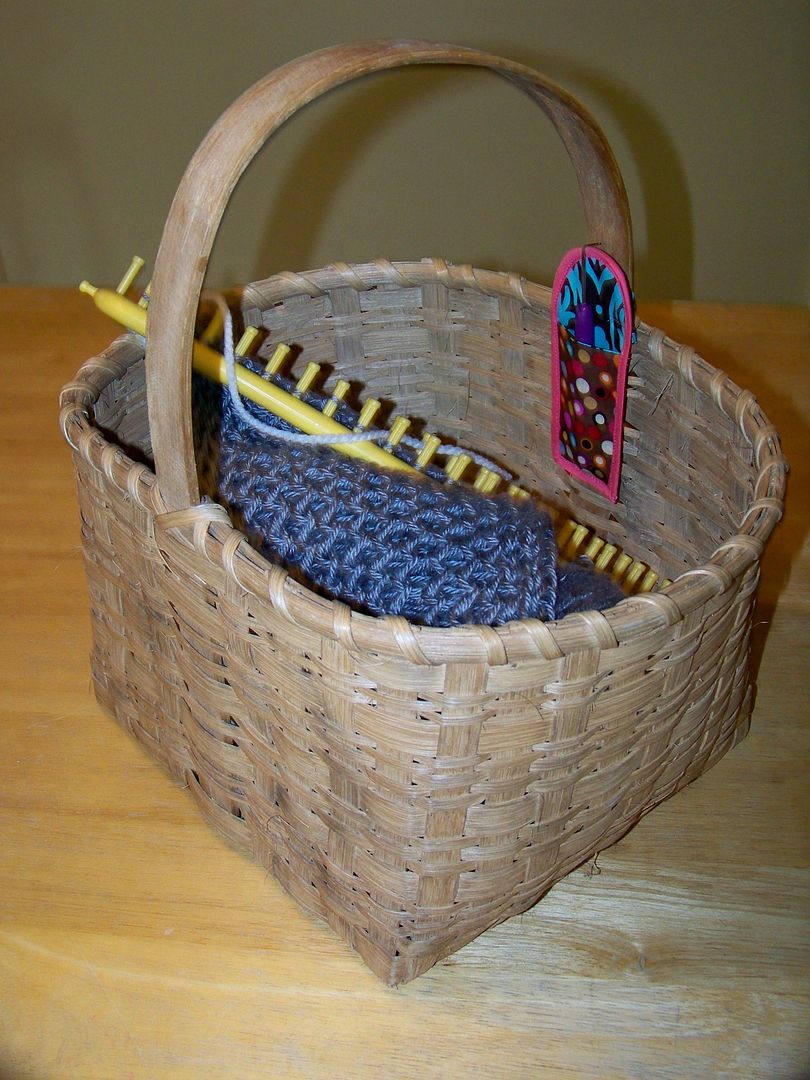
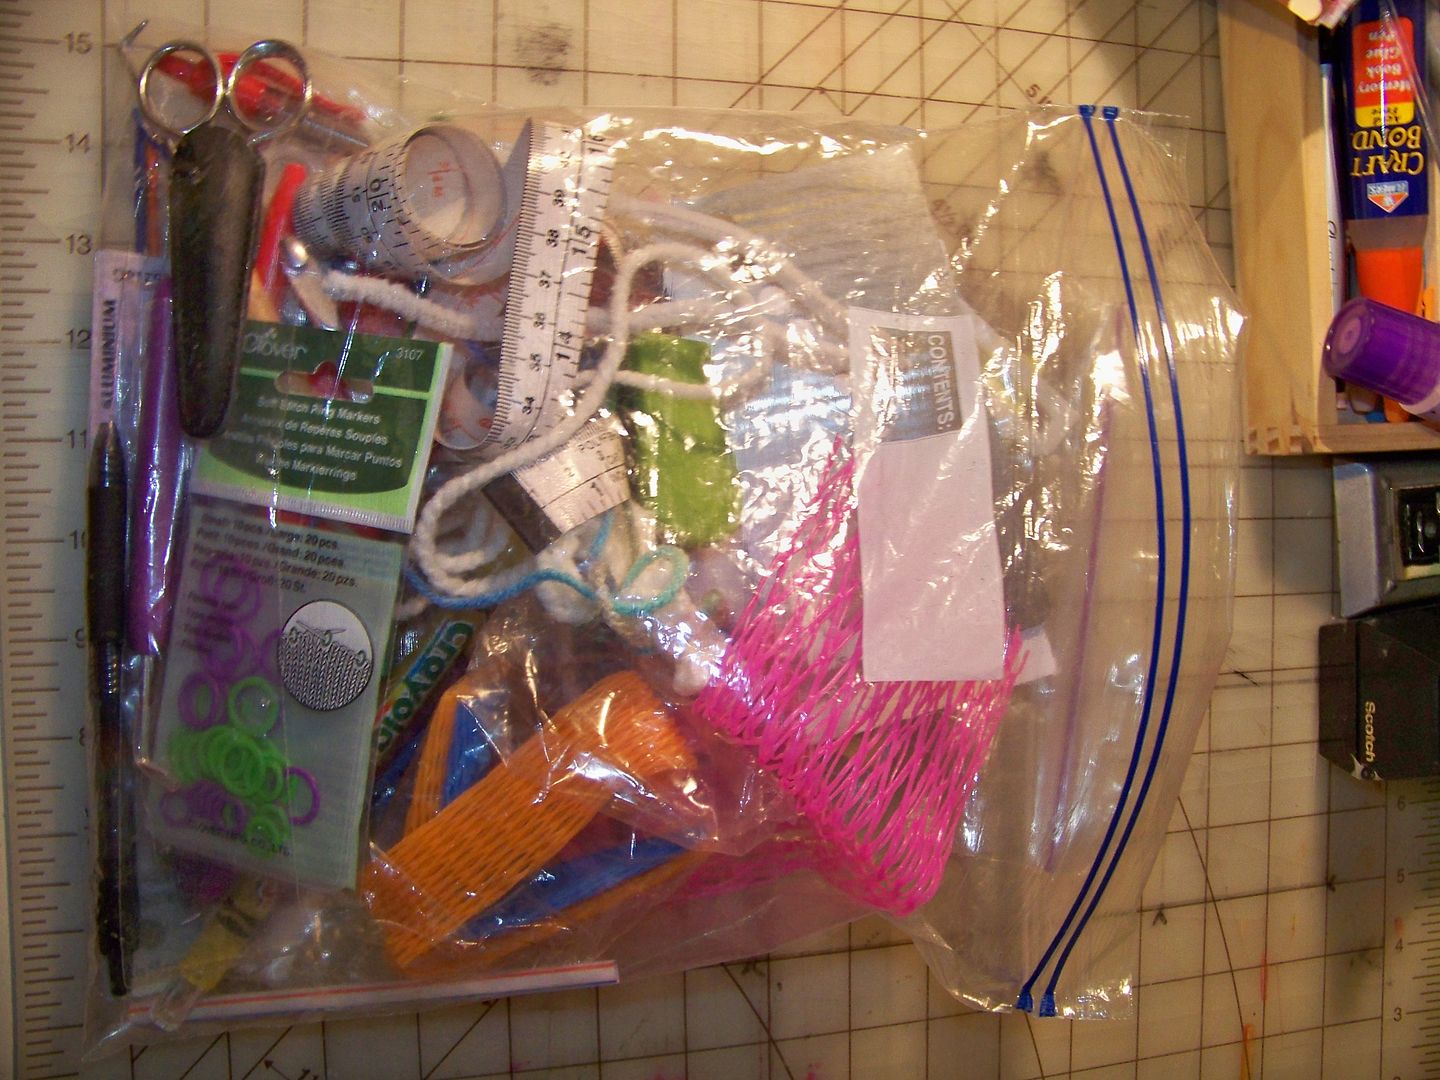
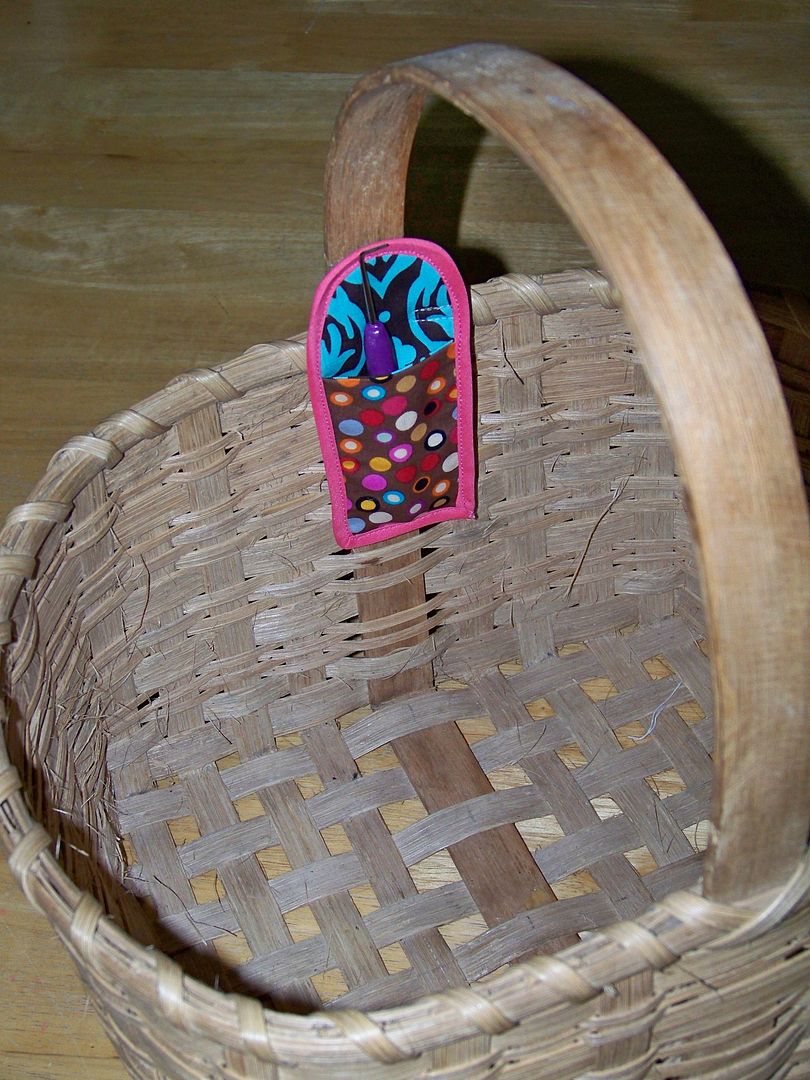
The basket I use for transporting my knitting projects (I take my knitting everywhere) is one I made in my 20s.  It has been well-loved, having used it in the past as a picnic basket, thread holder, kitchen decor item, mail holder, magazine holder, and pantry-space-taker-upper.  These days, I love it for my knitting!  The problem is always the tools I needed to travel with...  I needed something to replace the unsightly and disorganized Ziploc bag that had been my tool holder.


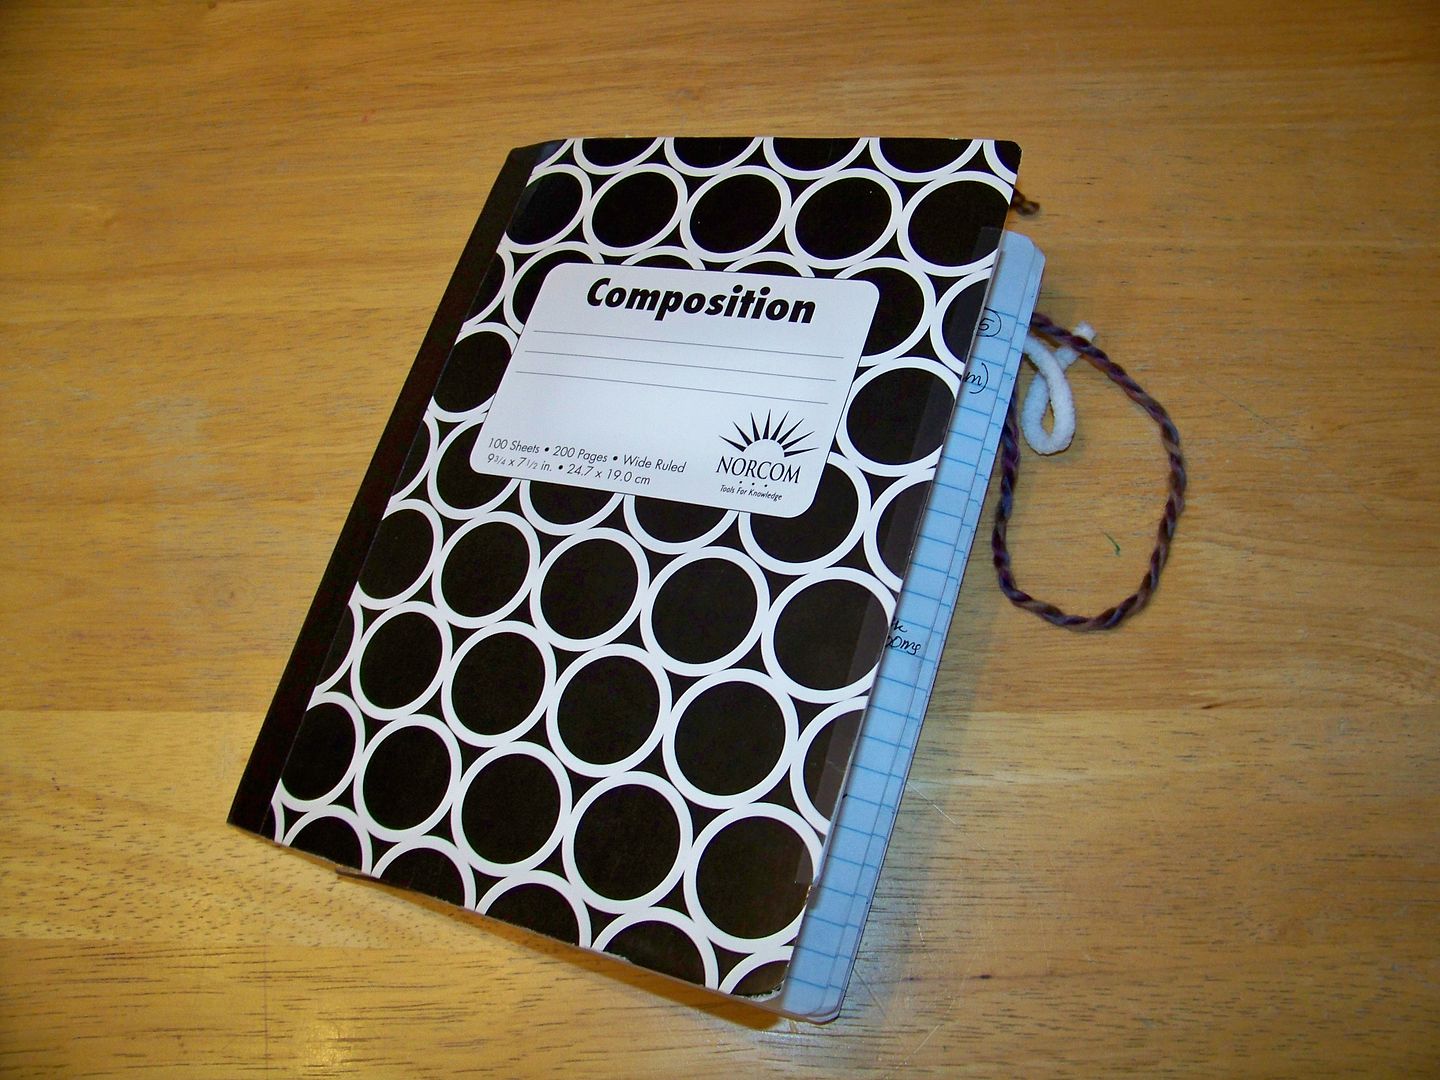
I decided I wanted a little pouch for the handle of my basket to make my knitting tool easily accessible and a portfolio for all the rest of my stuff (since everthing other than the knitting tool is used much less in the process) for the bottom of my basket.  I keep a journal in my basket too, to note stitch patterns, projects, yarns, and ideas.  I wanted my pens and stapler to have a spot in the portfolio too!


In the event that you have the same interest in making some little accessories for your knitting basket, these are my instructions:

Materials to make both projects
  • 1/2 yard decorative fabric (blue/brown print in the photos)
  • 1/3 yard of contrasting decorative fabric (brown dots in the photos)
  • package of doublefold bias tape
  • For the portfolio, you will need a pencil pouch, 5/8 yard of 1/2" wide ribbon, and a decorative button. 
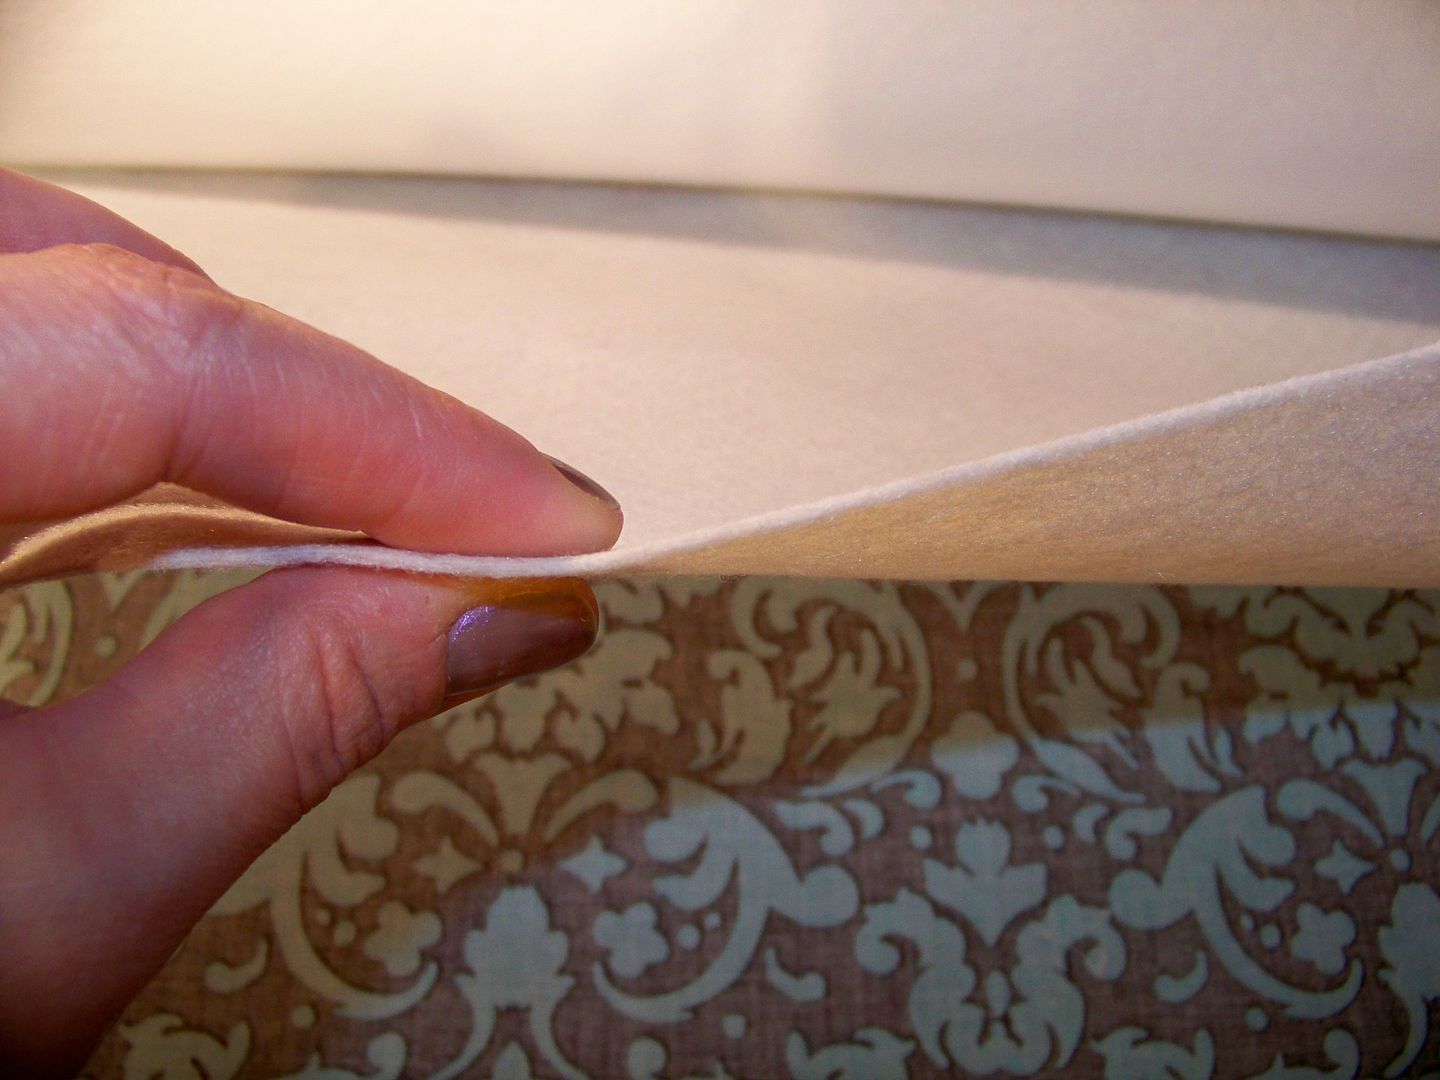
  • 1/3 yard boot pellon inside both projects.  Boot pellon is a stiff, heavy, non-woven interfacing.  It is about the thickness of the felt squares you see at craft stores but very stiff like heavy watercolor paper.  If you can't find boot pellon, you can use shade pellon or even fusible fleece to give body to the fabrics so that the finished projects will perform as pictured.

Boot pellon is stiff like watercolor paper and thick like felt.


Knitting Tool Pouch

  • Click here to download my pattern pieces. 
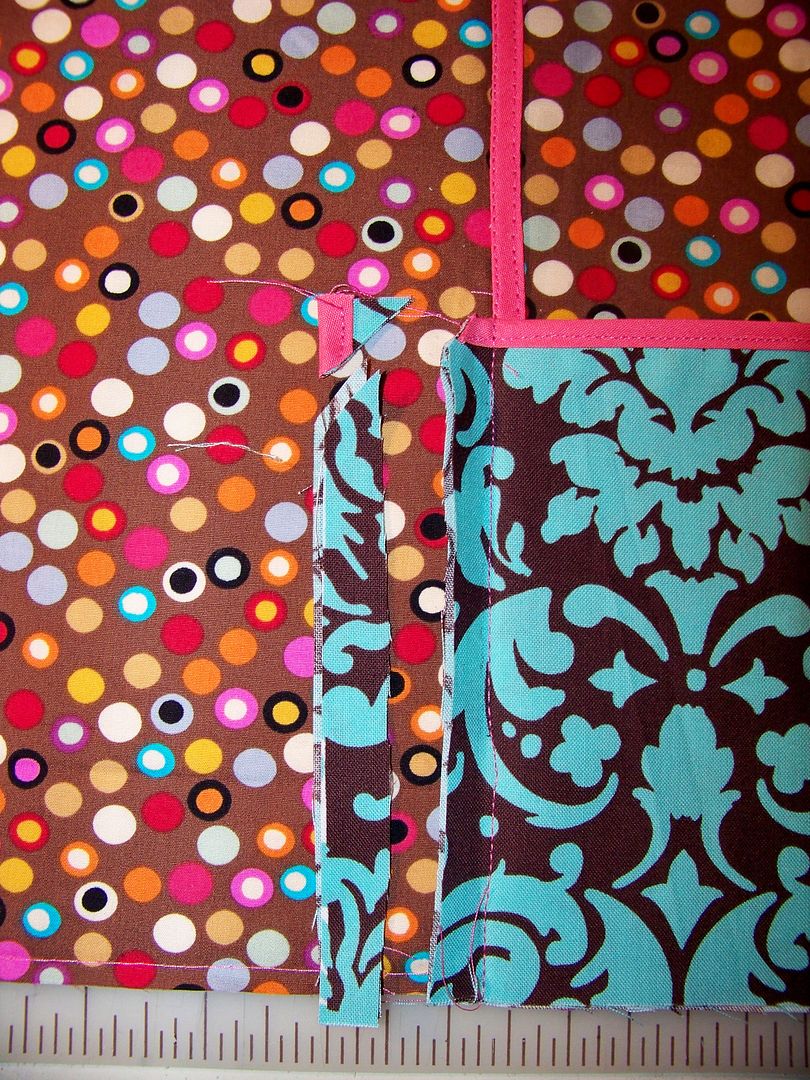
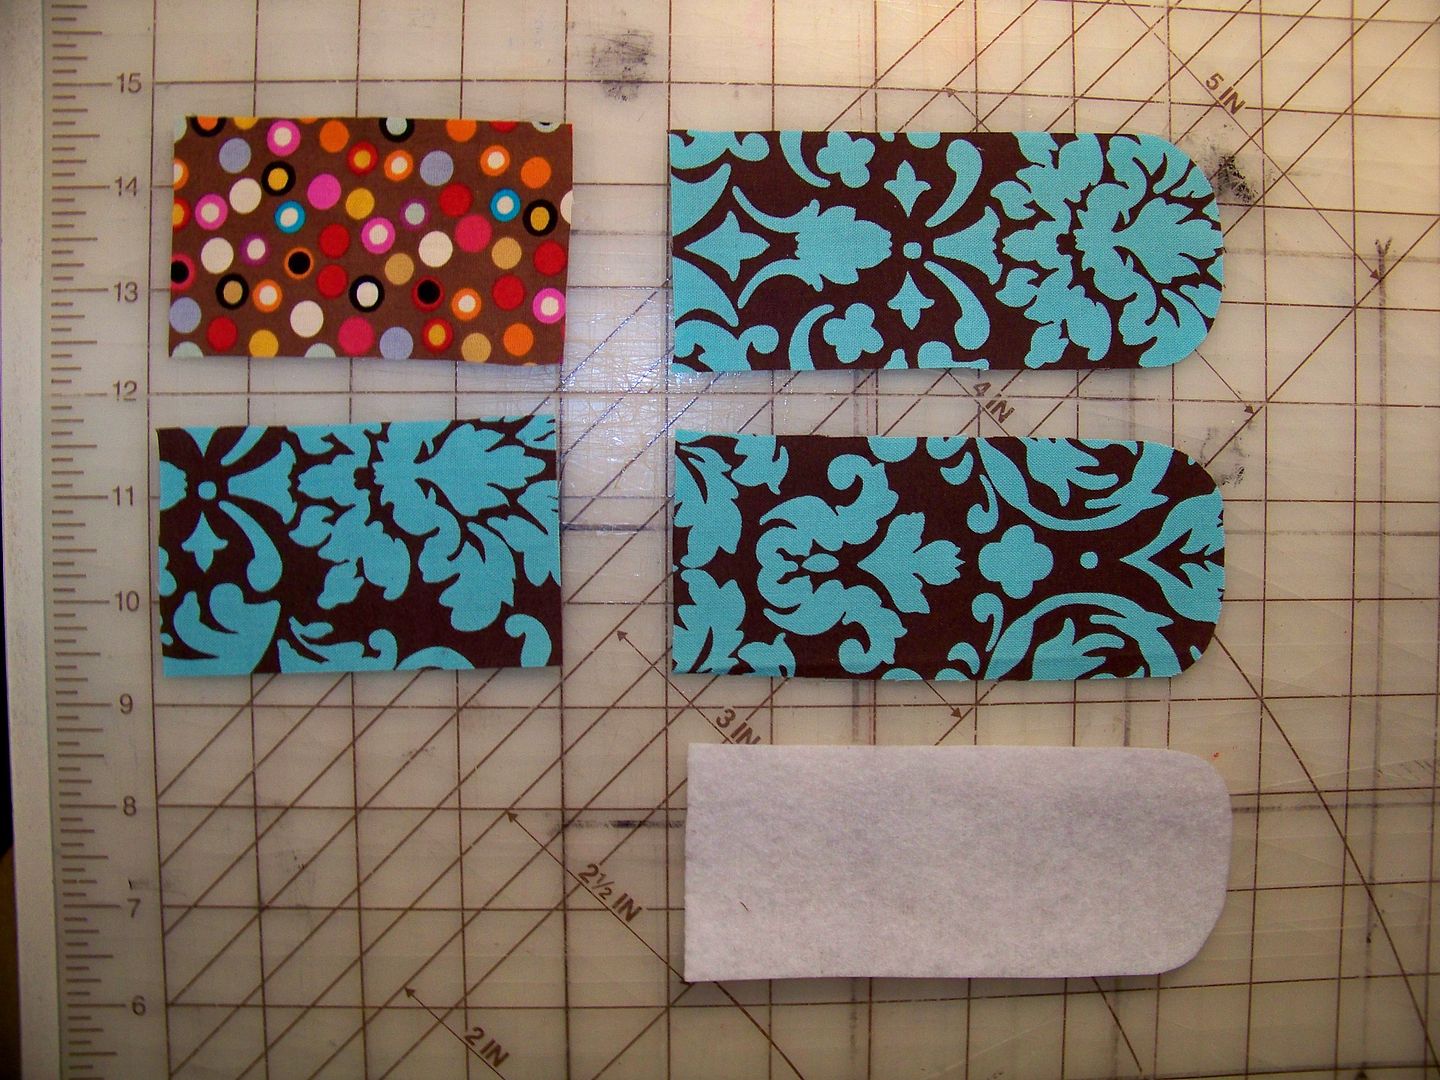
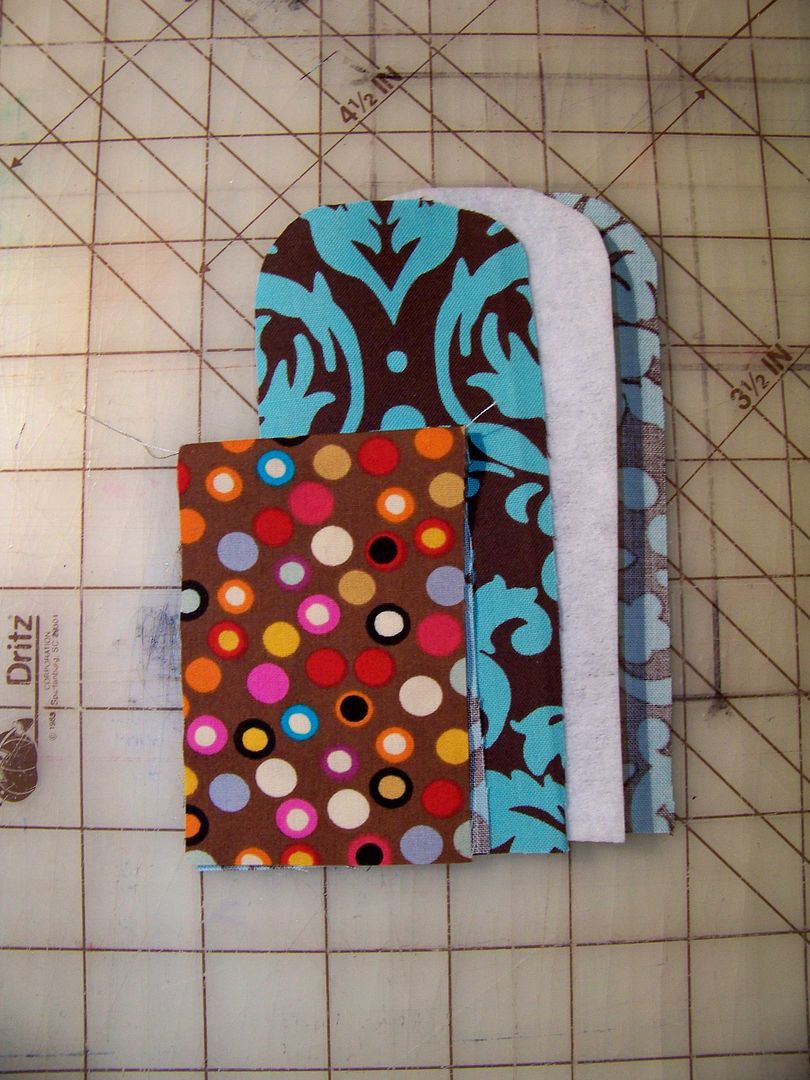
  • Cut out the pieces:
              Cut two bases from decorative fabric. 
              Cut one base from boot pellon. 
              Cut one of the pocket for lining (I used the same decorative fabric). 
              Cut one of the pocket from contrast.  (This is the one that will show).
              Cut one fabric tie (not pictured below).
 
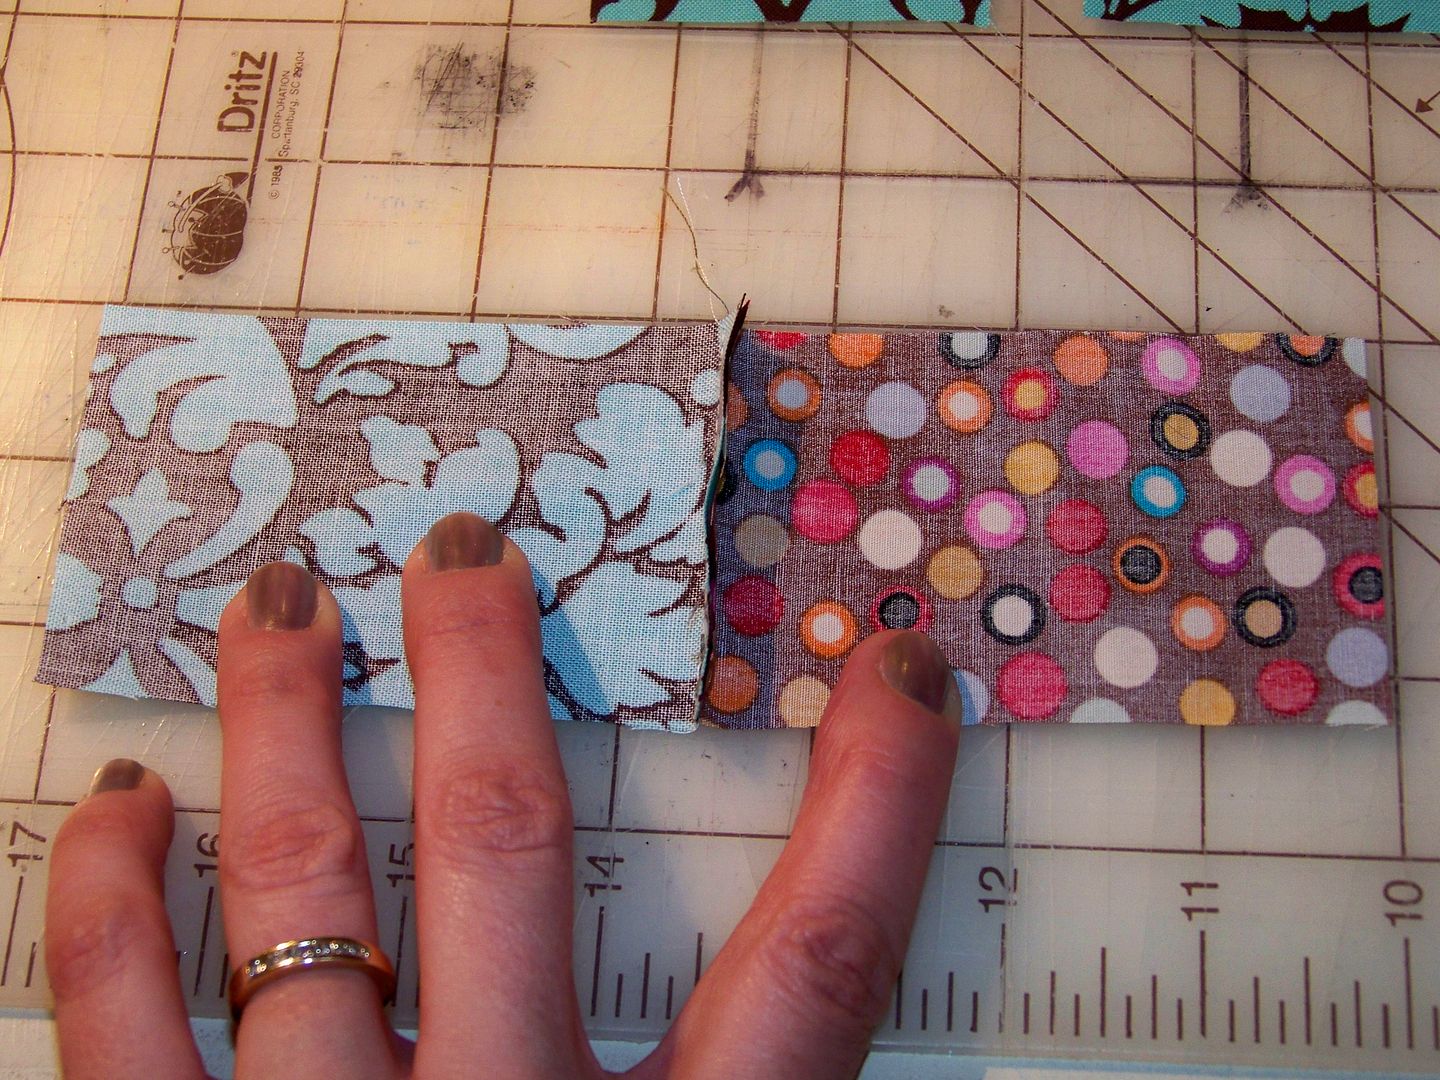
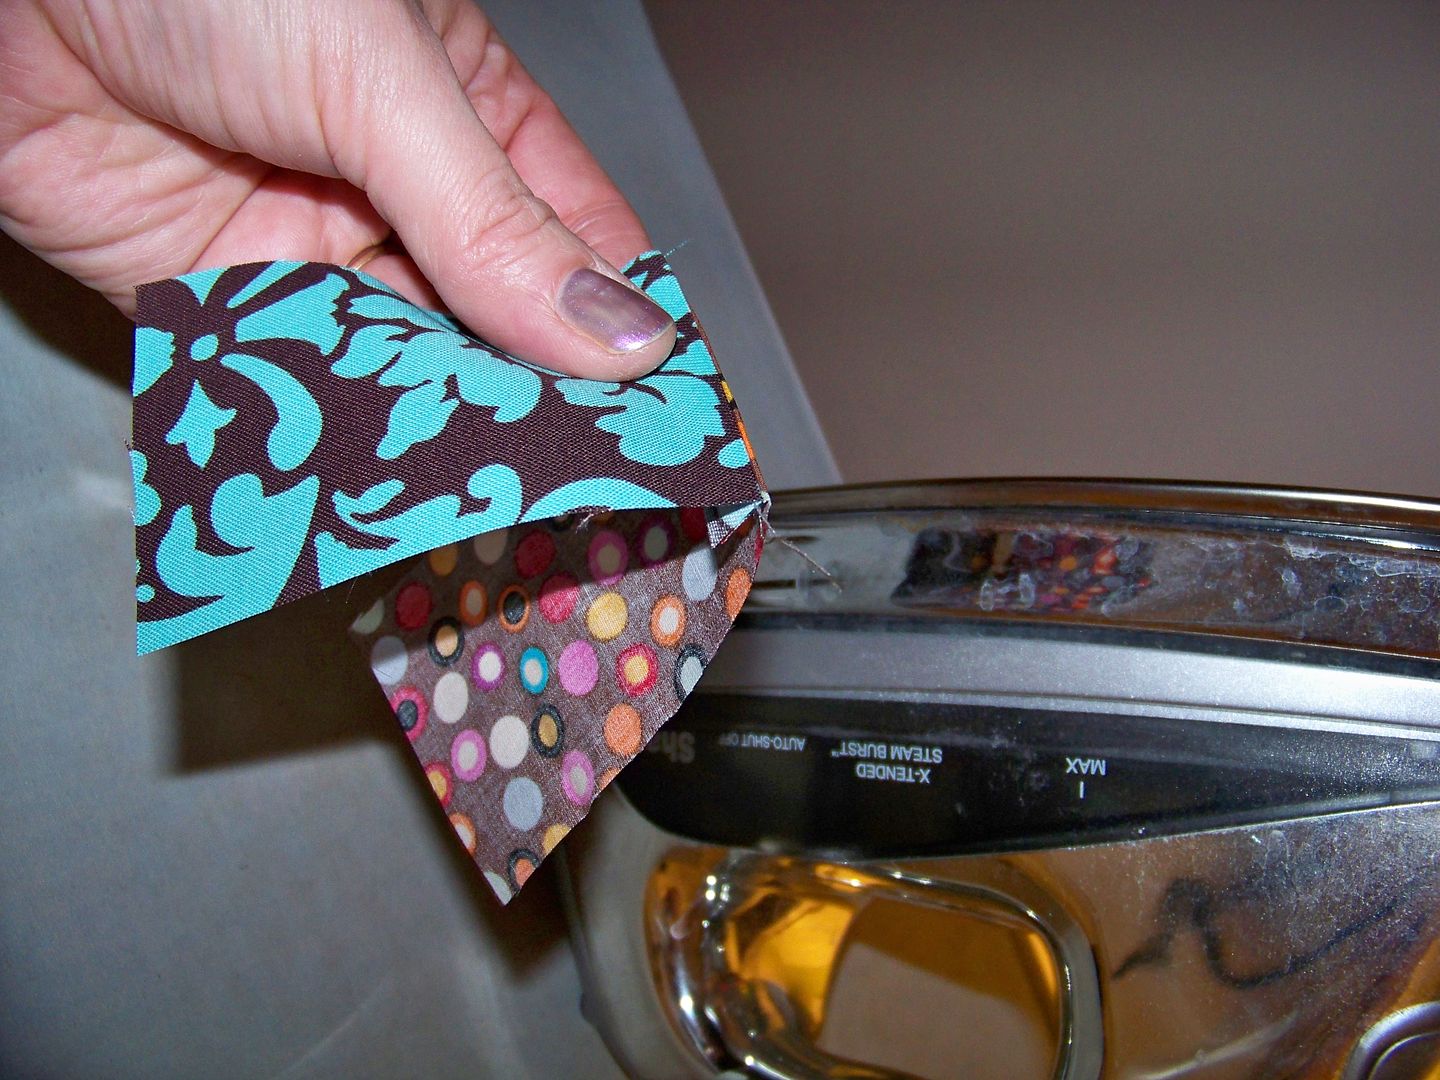
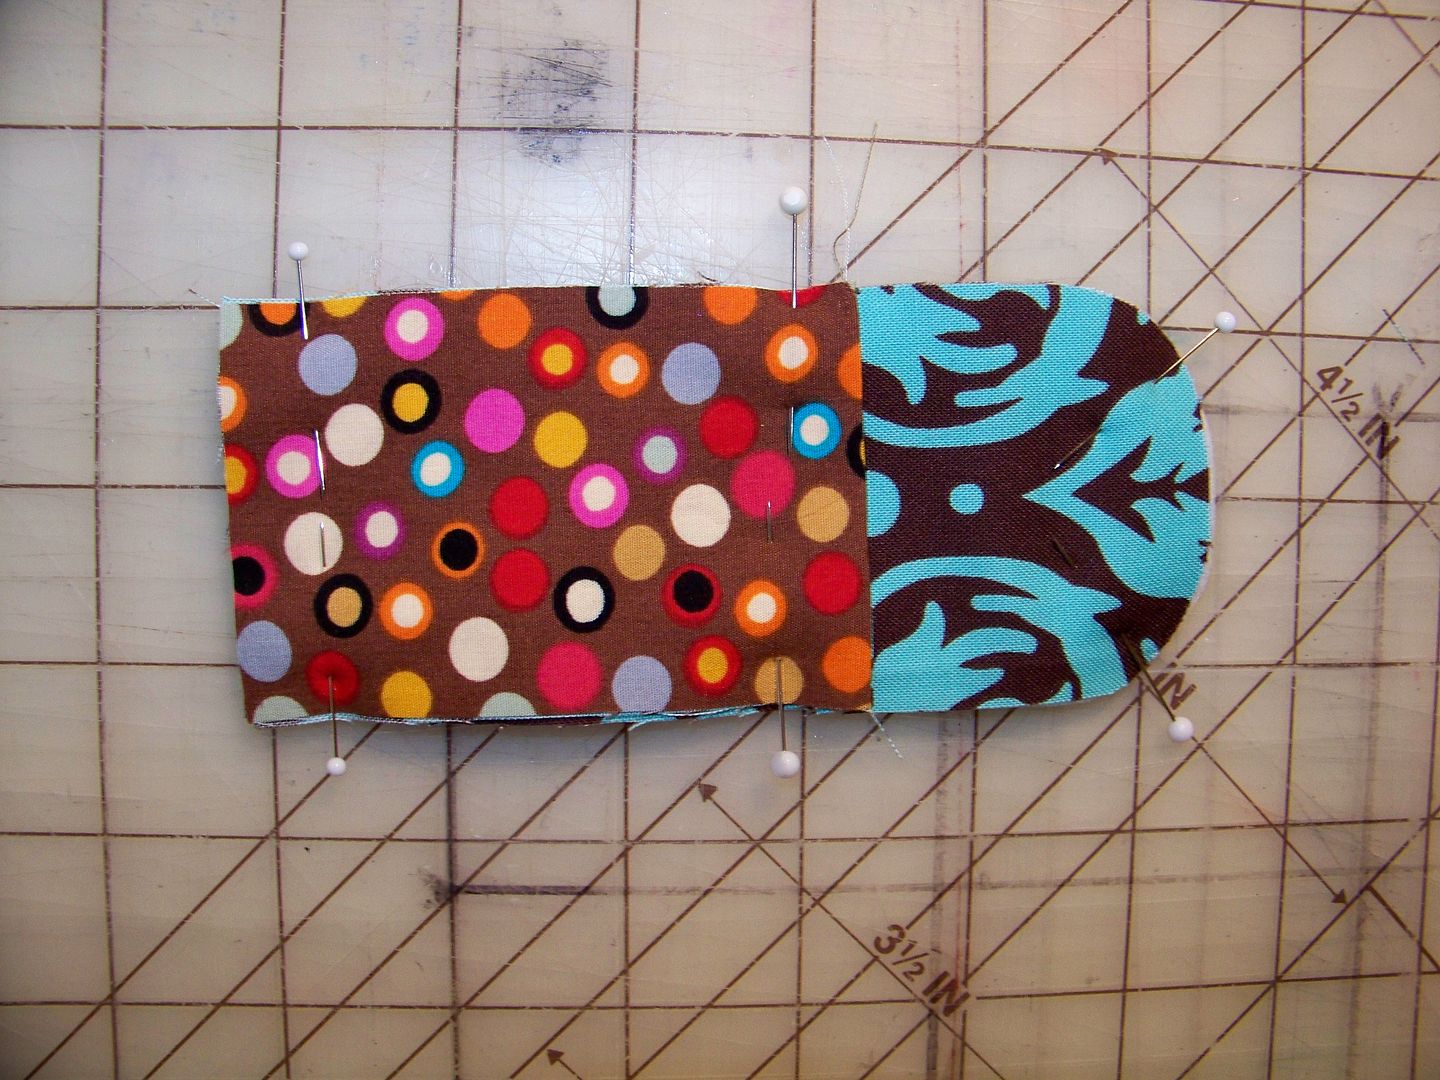
  • Place pocket pieces with right sides togeher (will be abbreviated as RST for remainder of this post).  Sew the upper edge of the pocket with 1/4" seam.  Open and fold the newly-sewn pieces with wrong sides together (WST) and press flat.
  • Layer the pieces (as you want them to finish with right sides out) in this way from the bottom: base, boot pellon, base, pocket (contrast on top!)  Baste in place 1/4" from edge.


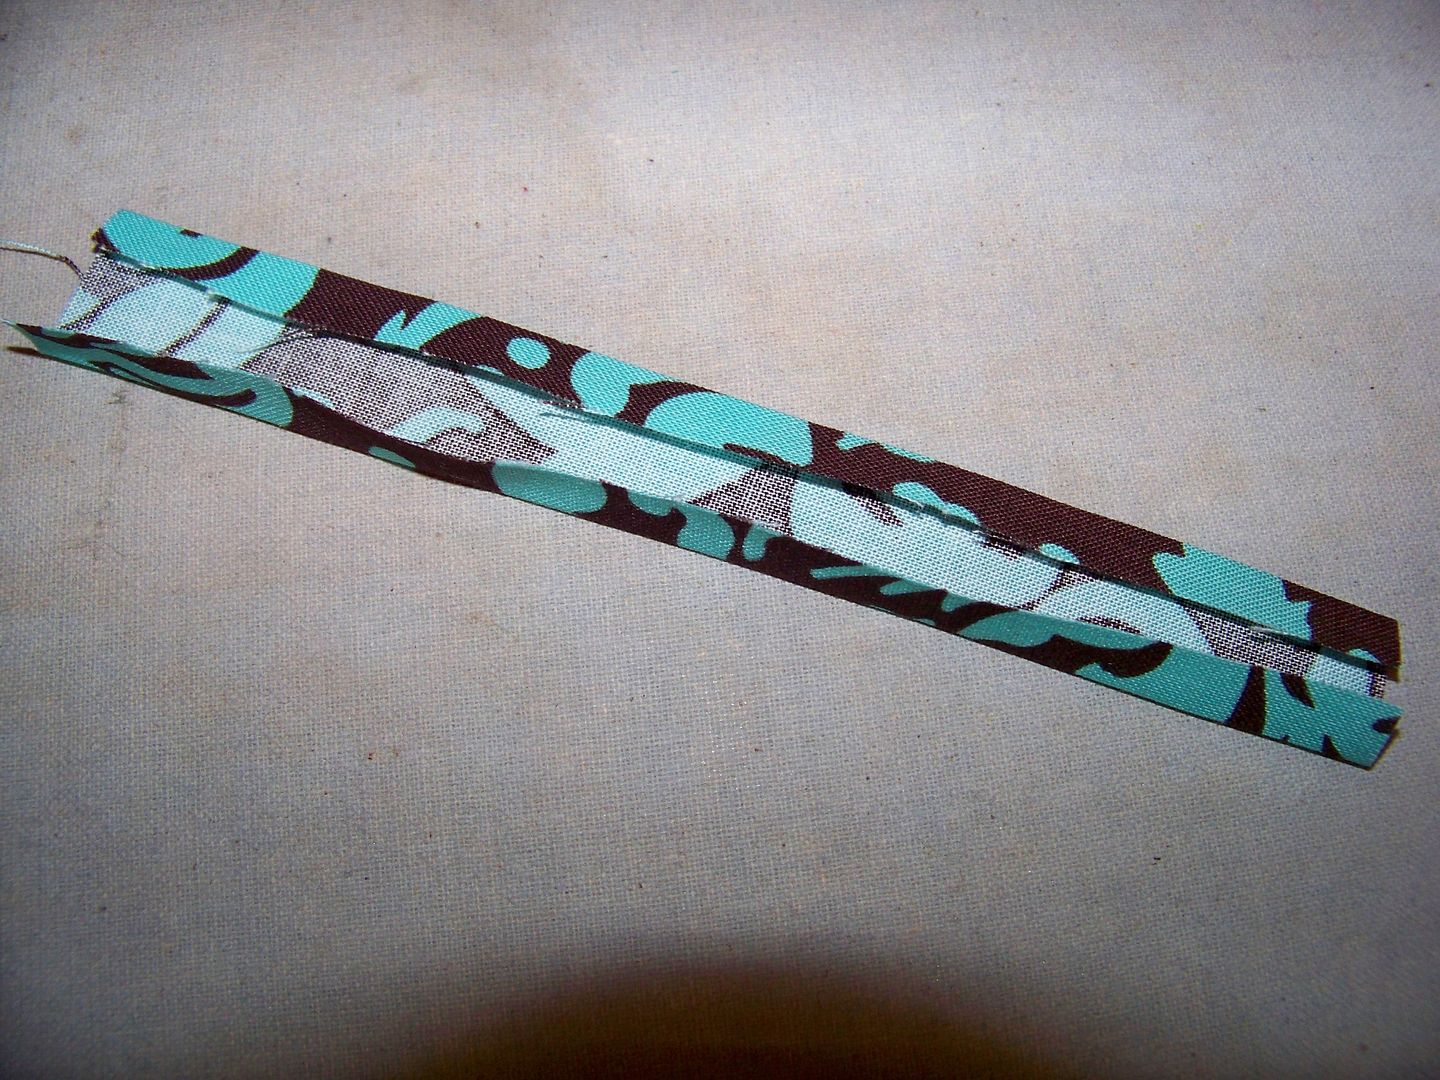
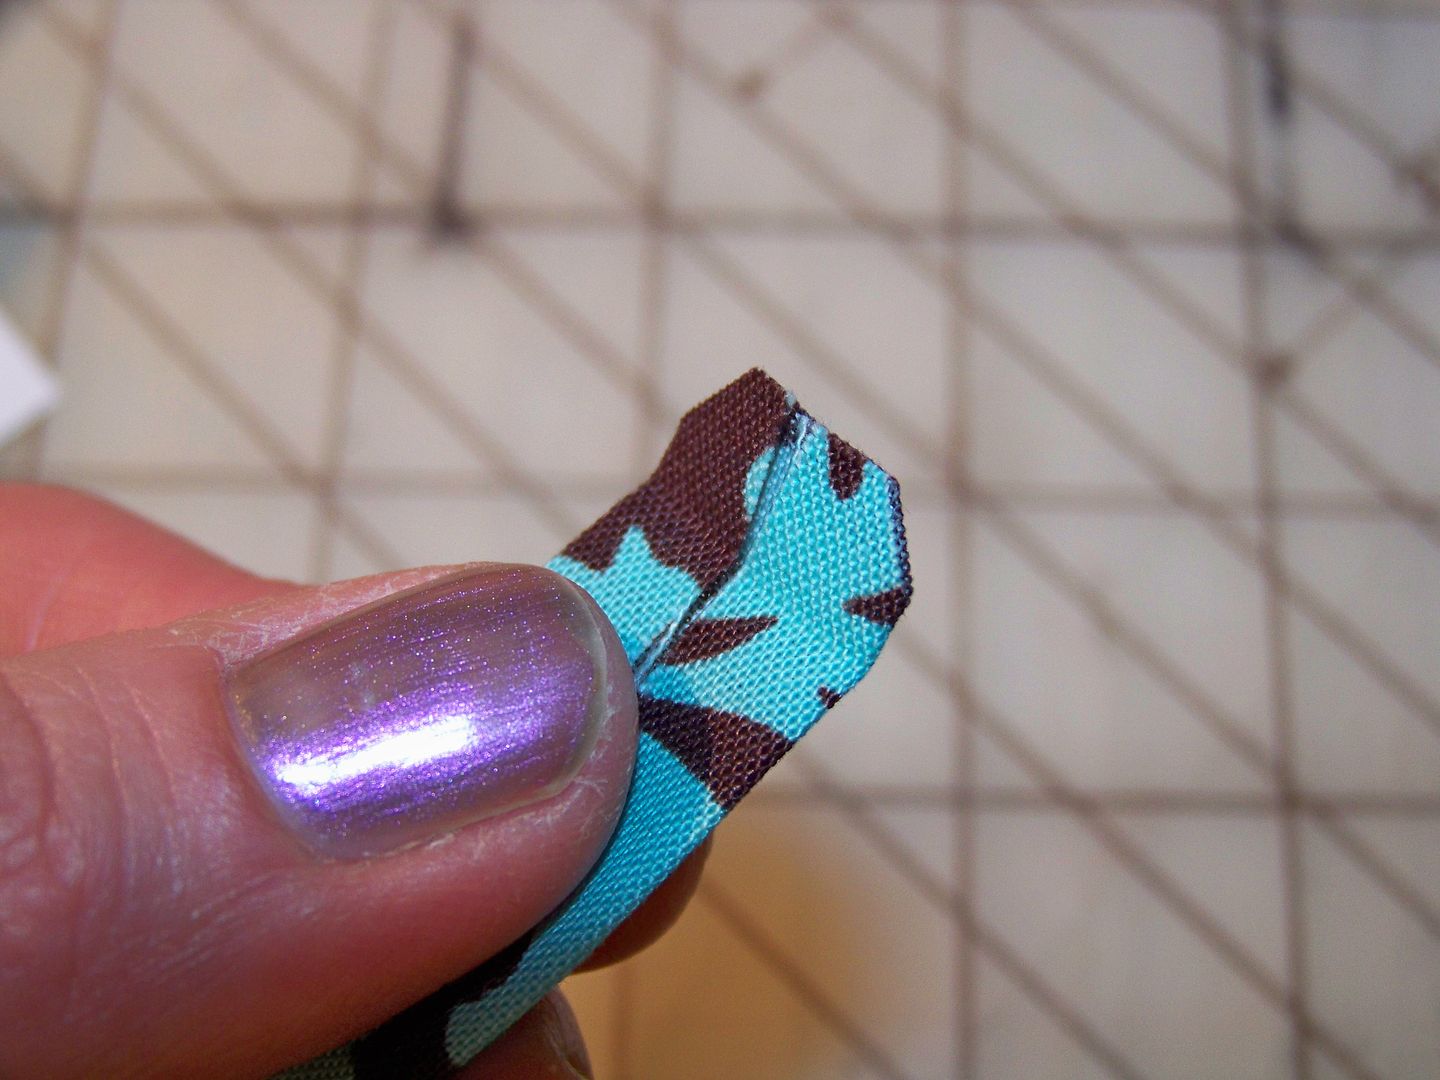
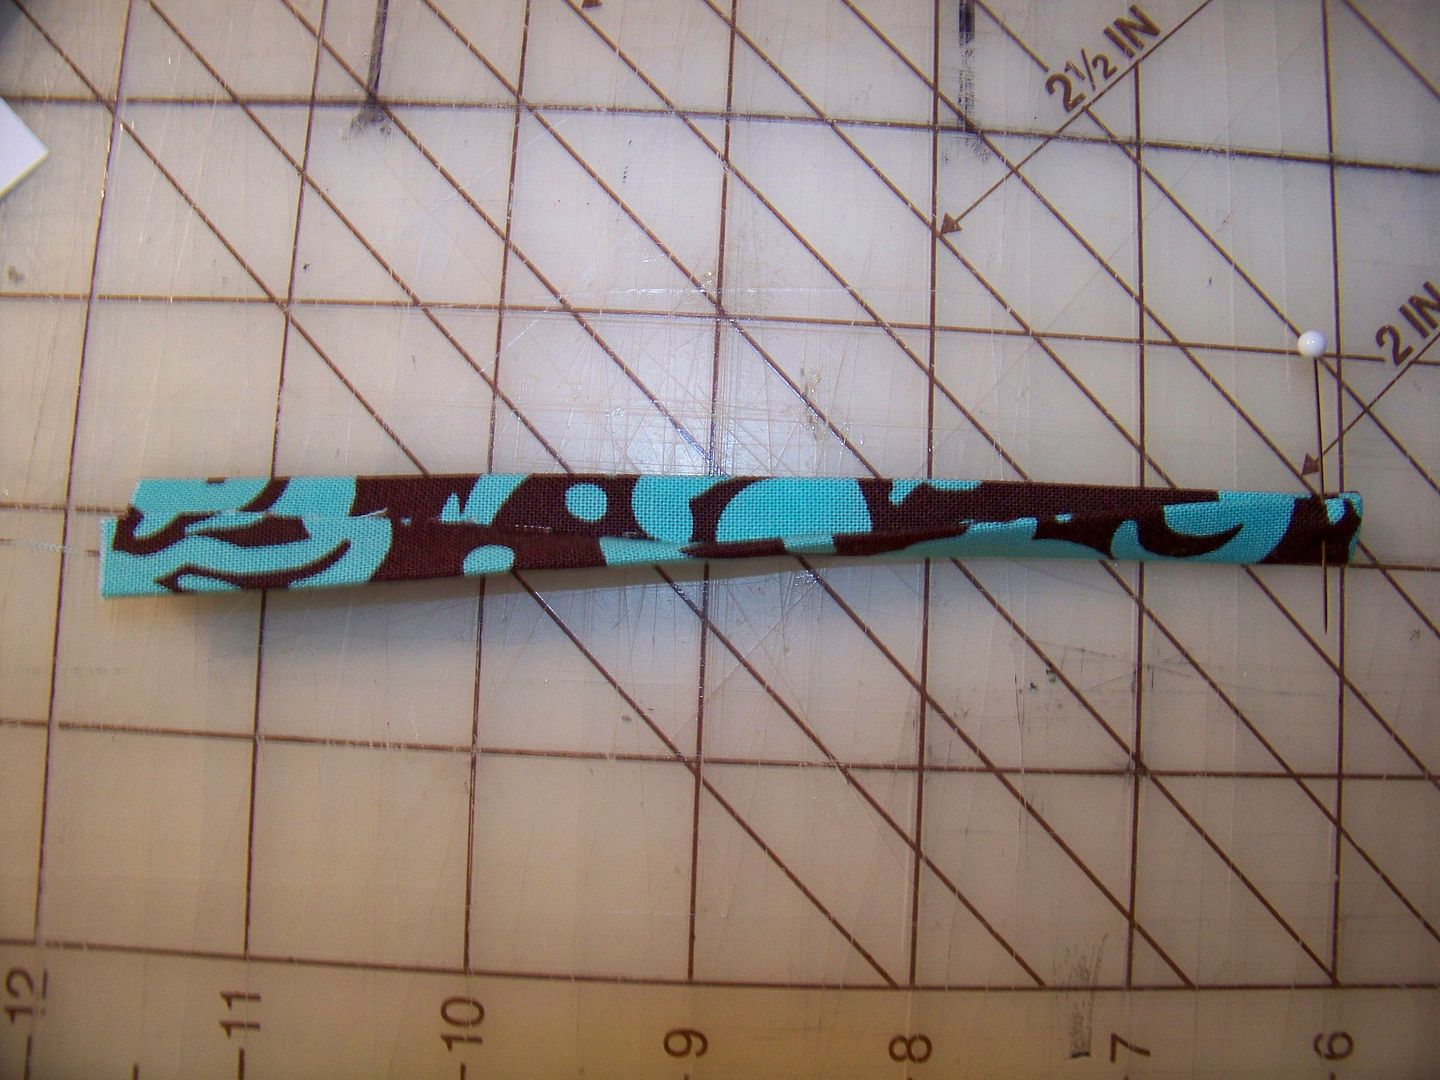
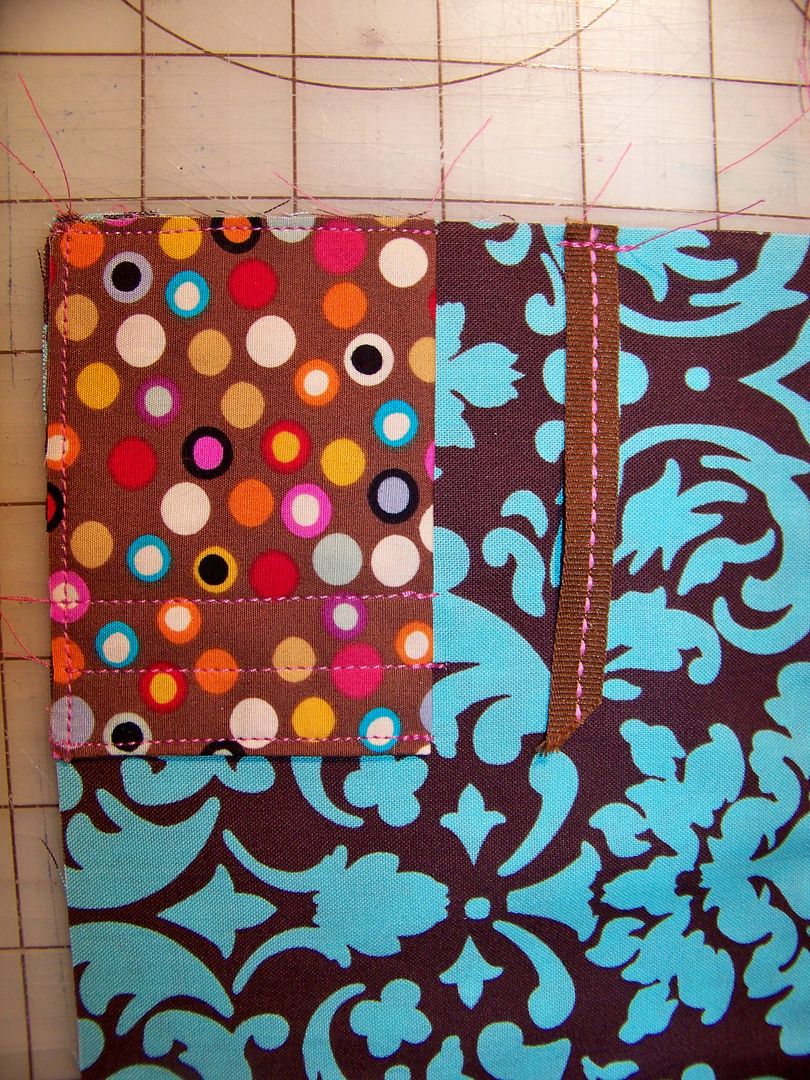
  •  For the tie:  fold in 1/4" on each long side of tie and fold in half.  Press.  On one end of tie, unfold, snip corners.  Tuck under 1/4" and re-fold.  Stitch near edge.
This is actually longer than the piece you will have.  I started here and cut it down.  The pattern piece on the PDF is the right size.


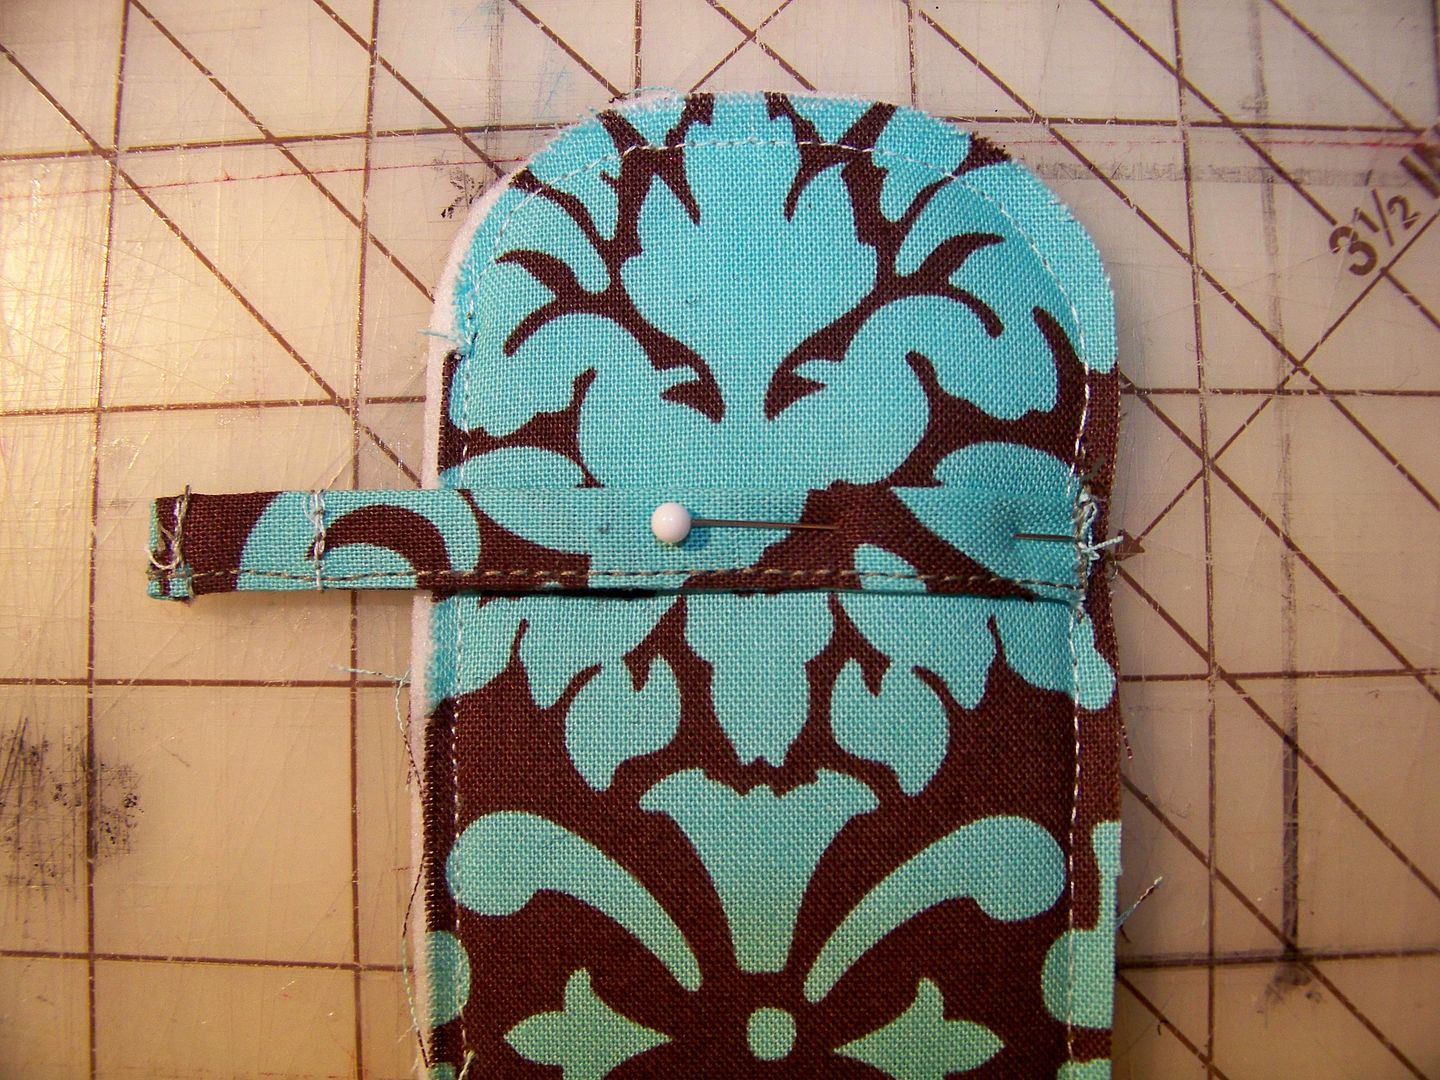
  • Stitch hook side of velcro to one side of finished end of tie.  Stitch loop side of velcro to the holder, clearing the stitching line.

  • Place the tie on the back of the holder, allowing the velcro NOT to hook, but rather to extend past.  Sew in place. 

  • Trim and finish edges with double fold bias tape.  Stitch bias tape so that the basting stitches are covered!

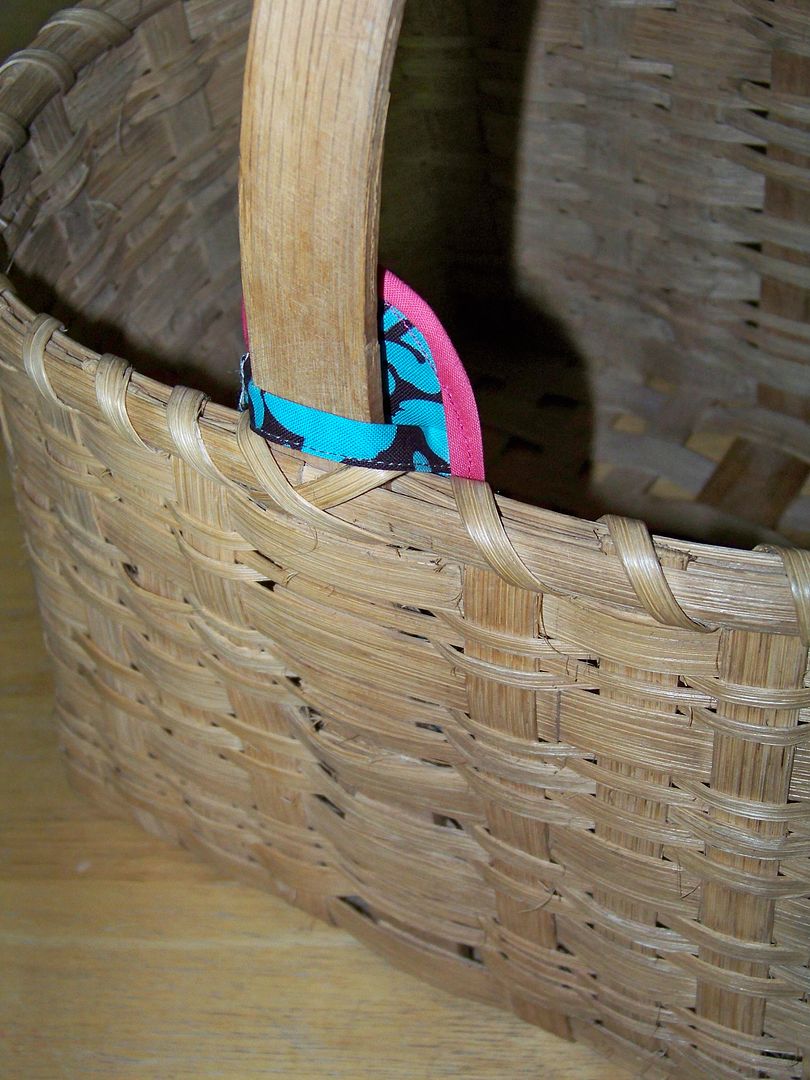
Your pouch is finished!  You can place it on your basket, pressing the velcro together after looping the tie around the handle.


Tool Portfolio


  • Cut pattern pieces (no download for this since they are all rectangles):  
Cut two 23"x11" pieces for the outside and inside cover (decorative fabric and contrast).
Cut one 23"x11" piece of boot pellon.
Cut two 16"x6" pieces for the pocket and pocket lining (lining will not show).
Cut one 3-3/4"x5" piece for the needle pocket  (I used a contrast).

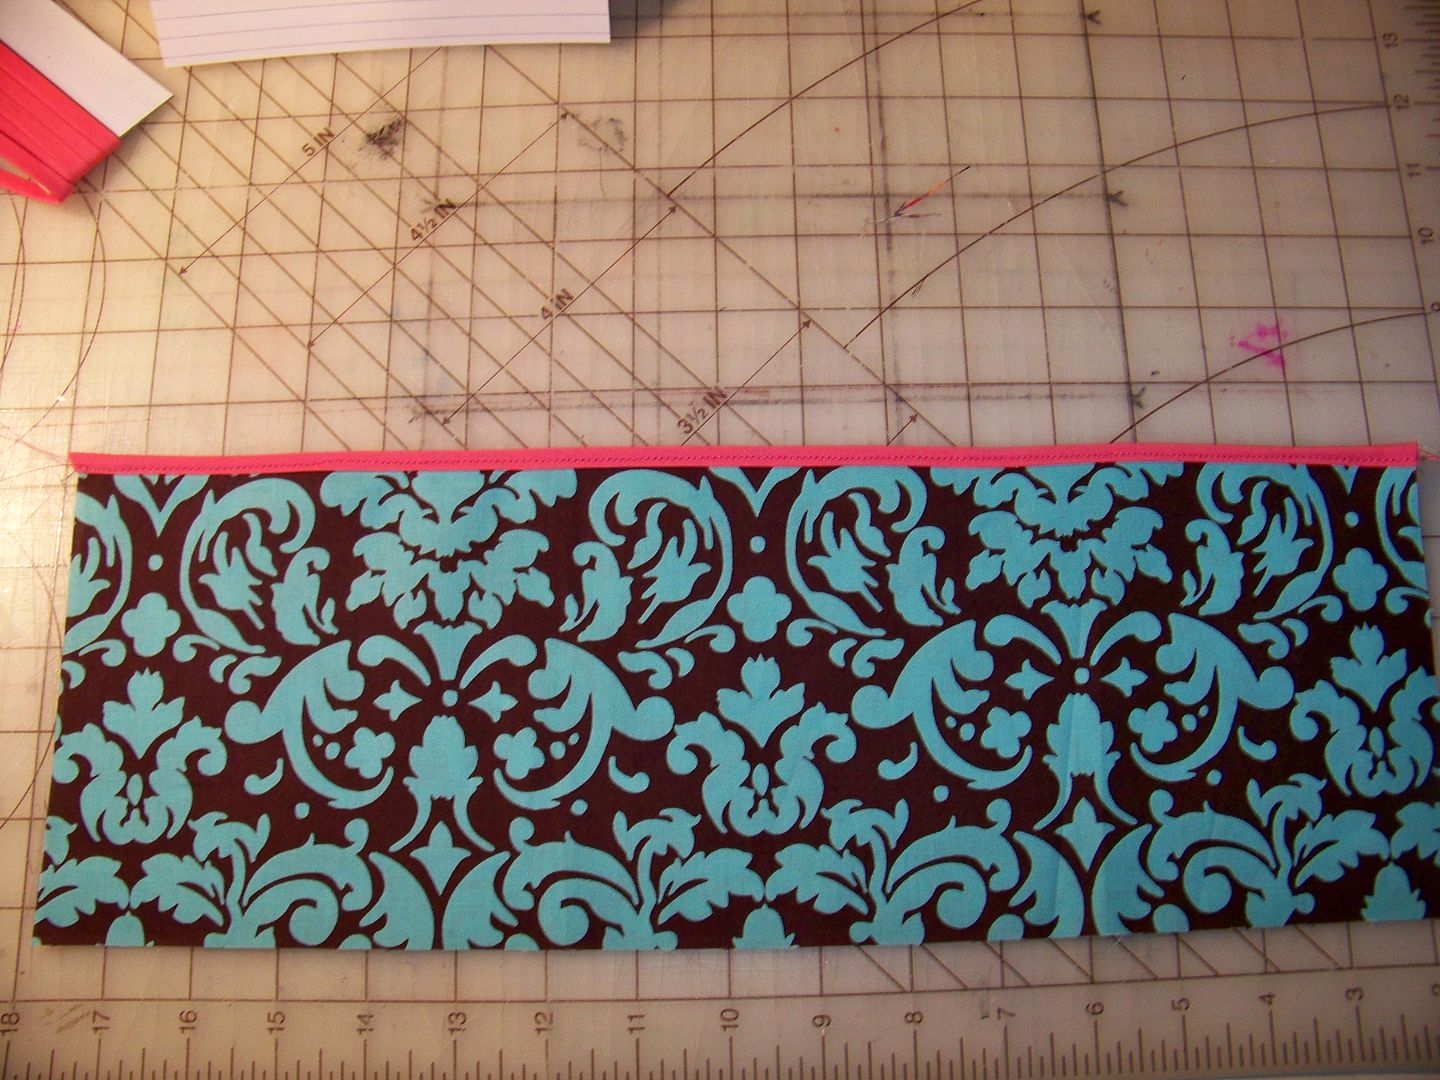
  •  Put pocket pieces RST.  Stitch upper edge with a 1/4" seam.  Turn WST and press flat.  I sewed a piece of double fold bias tape to the top edge for color, but you can omit that or even sew on a decorative trim!

  • Layer cover front and back WST.  Place boot pellon in the middle.  Baste 1/4" from the edge or less to hold it all in place.

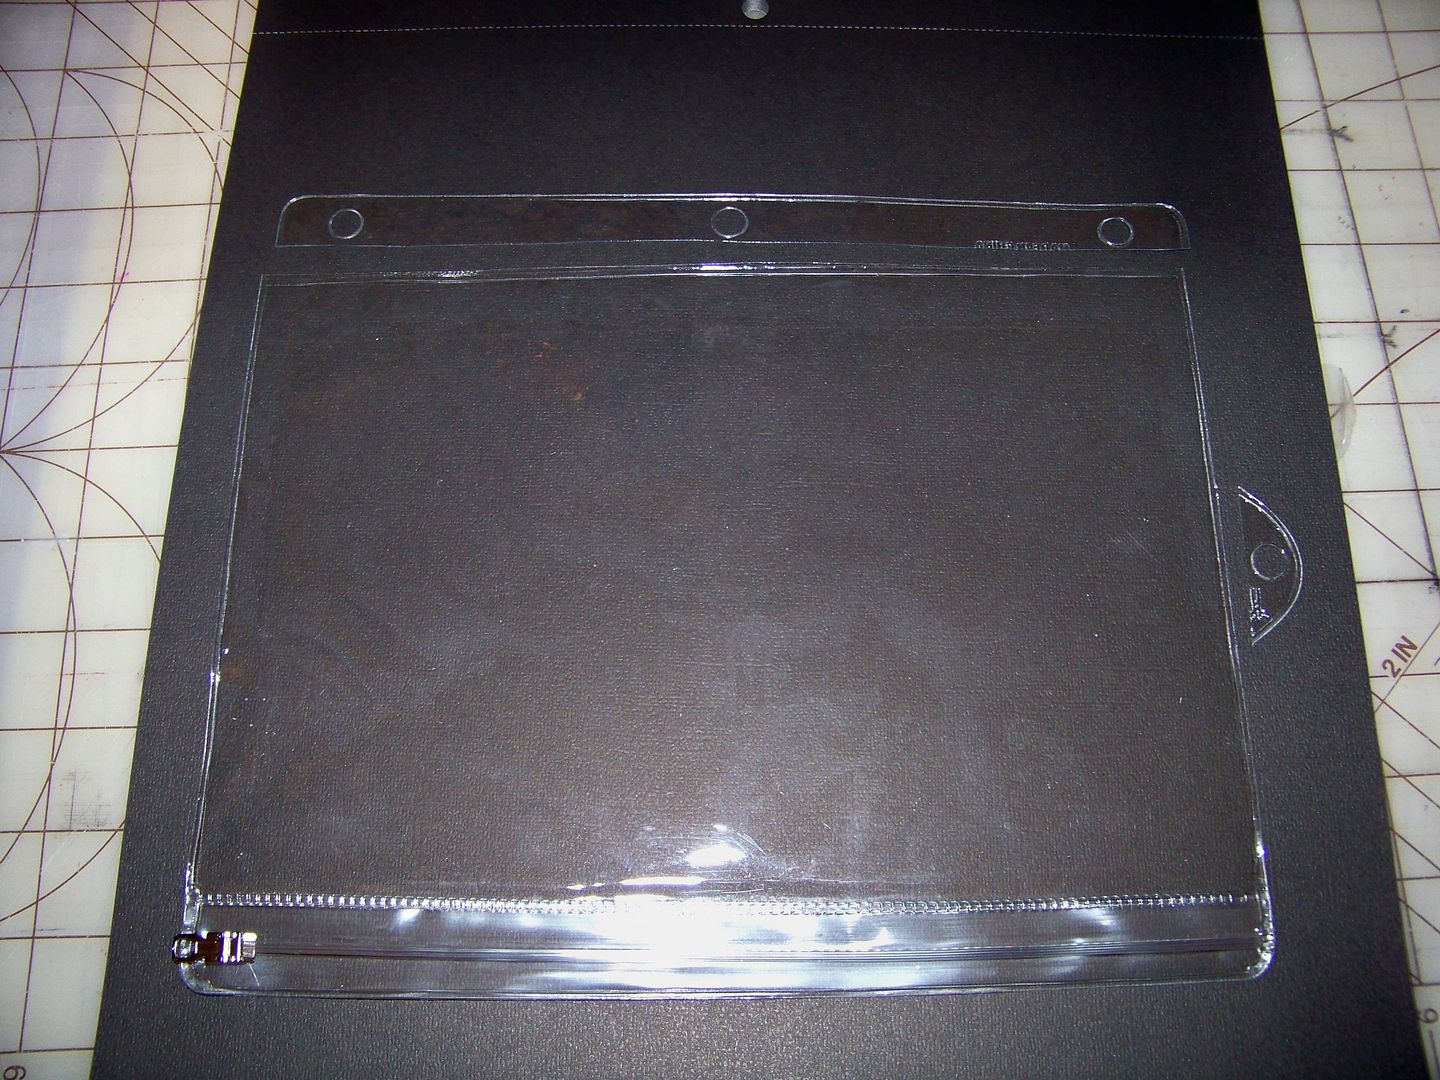
  • For the inside pouch, I found a great (which means cheap) pencil pouch at Meijer for under a dollar.  Trim holes and extra plastic so that you are left with just the pouch and nothing to accommodate a binder.  Set aside.


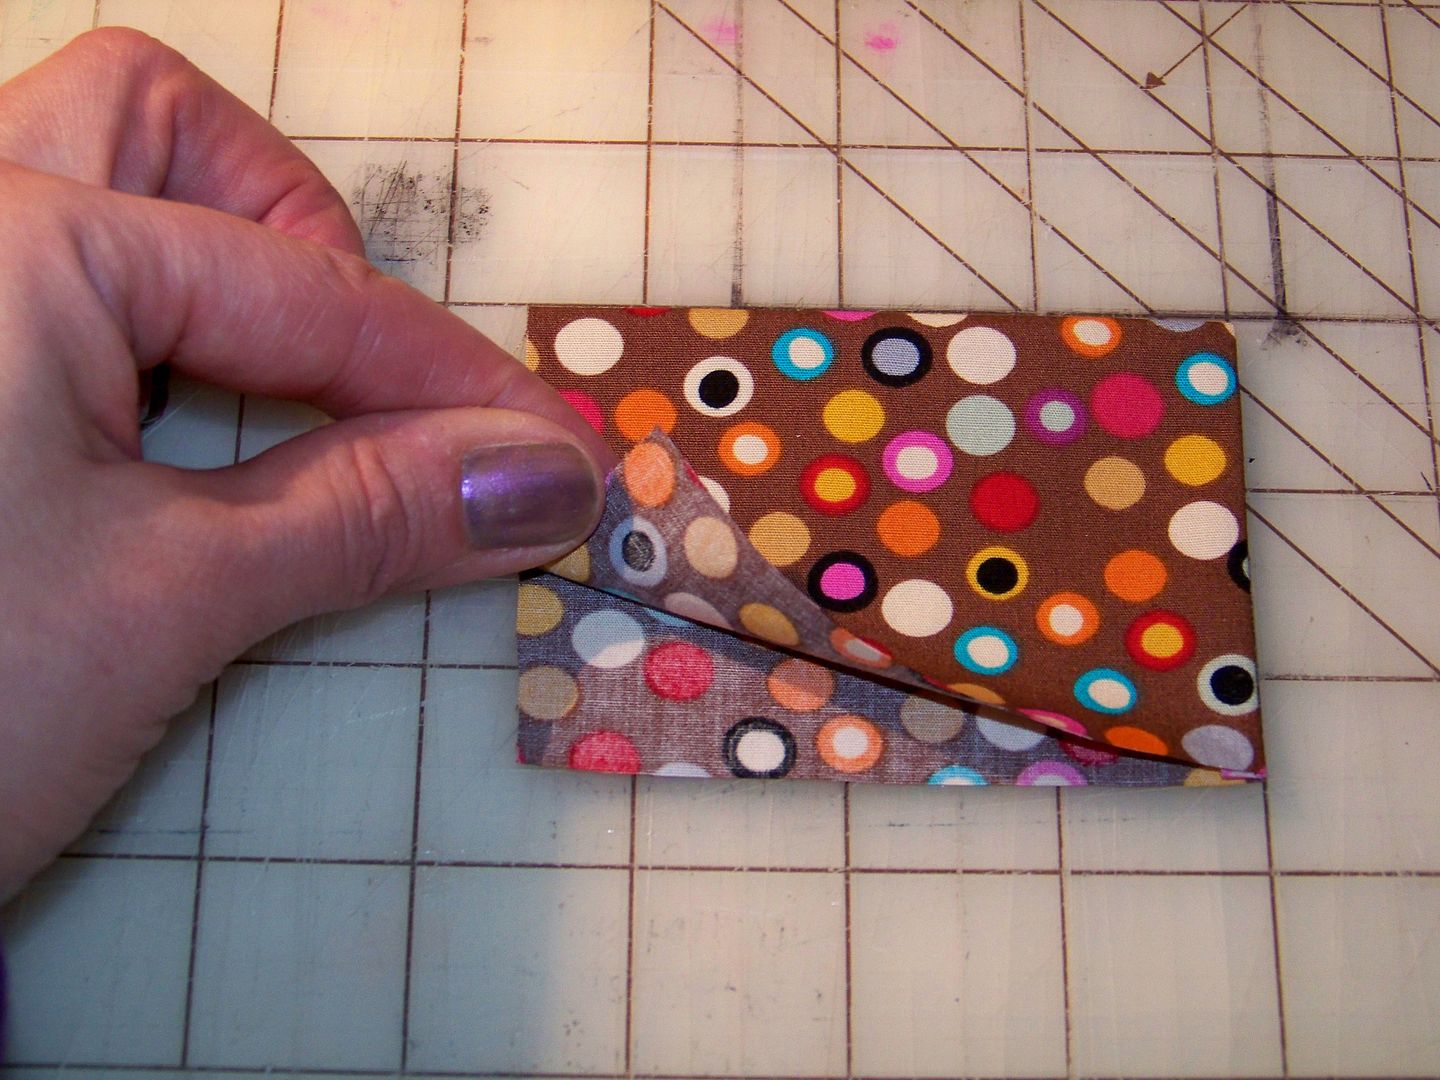
  • Fold needle pocket piece in half RST so that it measures 2-1/2"x3-3/4".  With fold on the top, sew only one side.  Turn WST and press flat. 

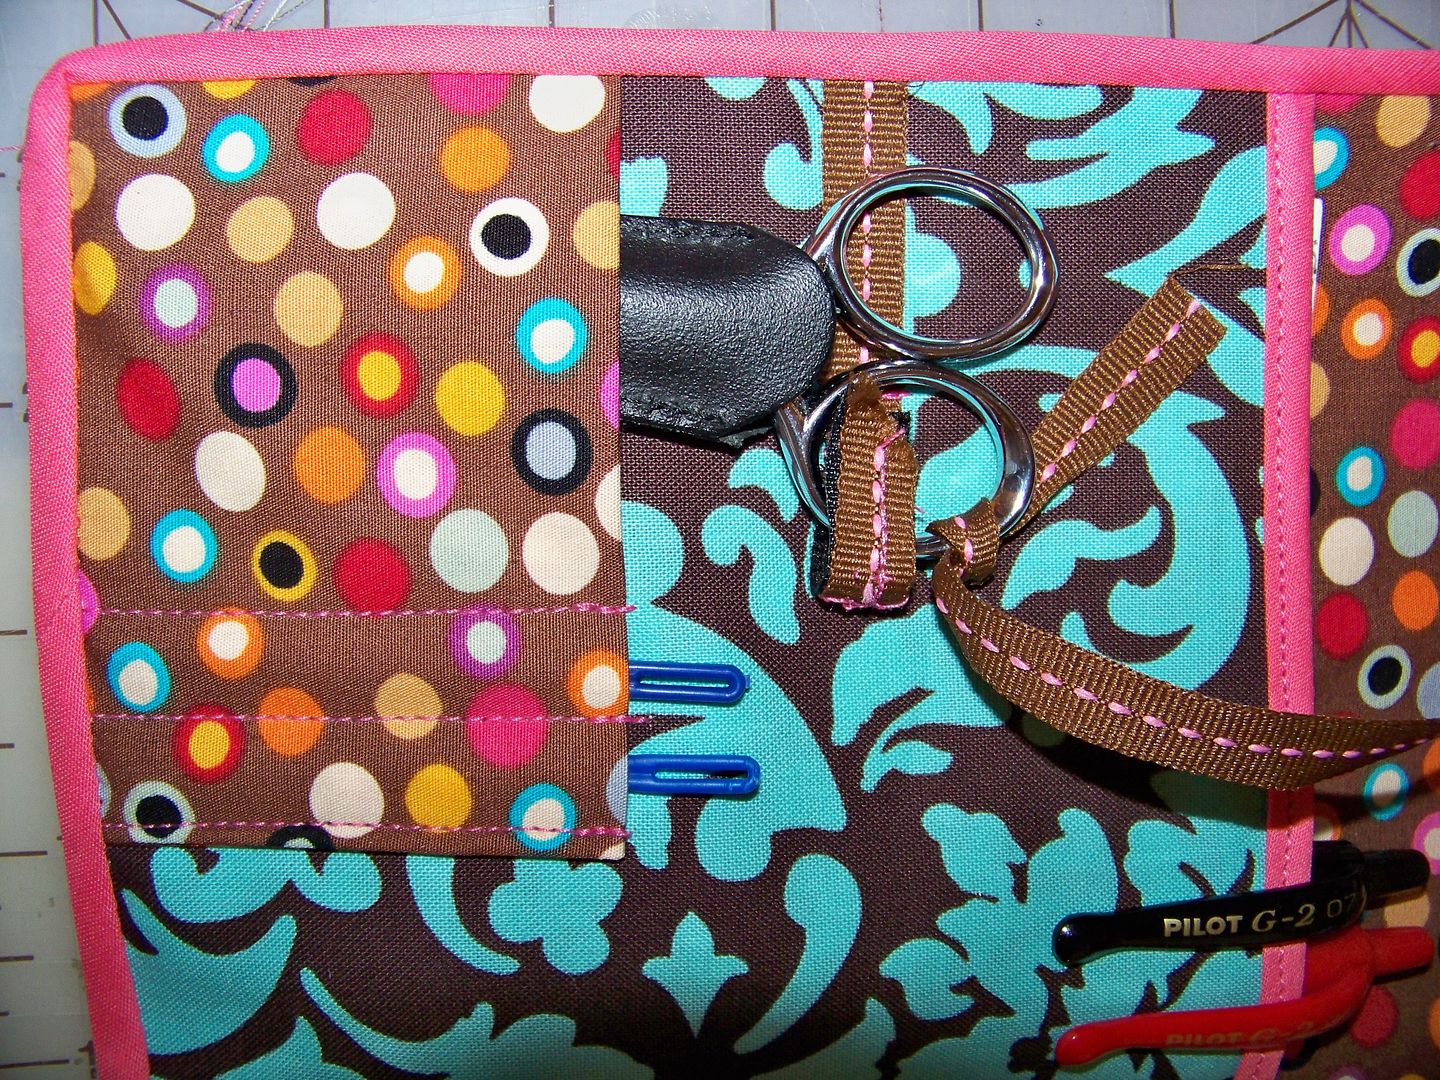
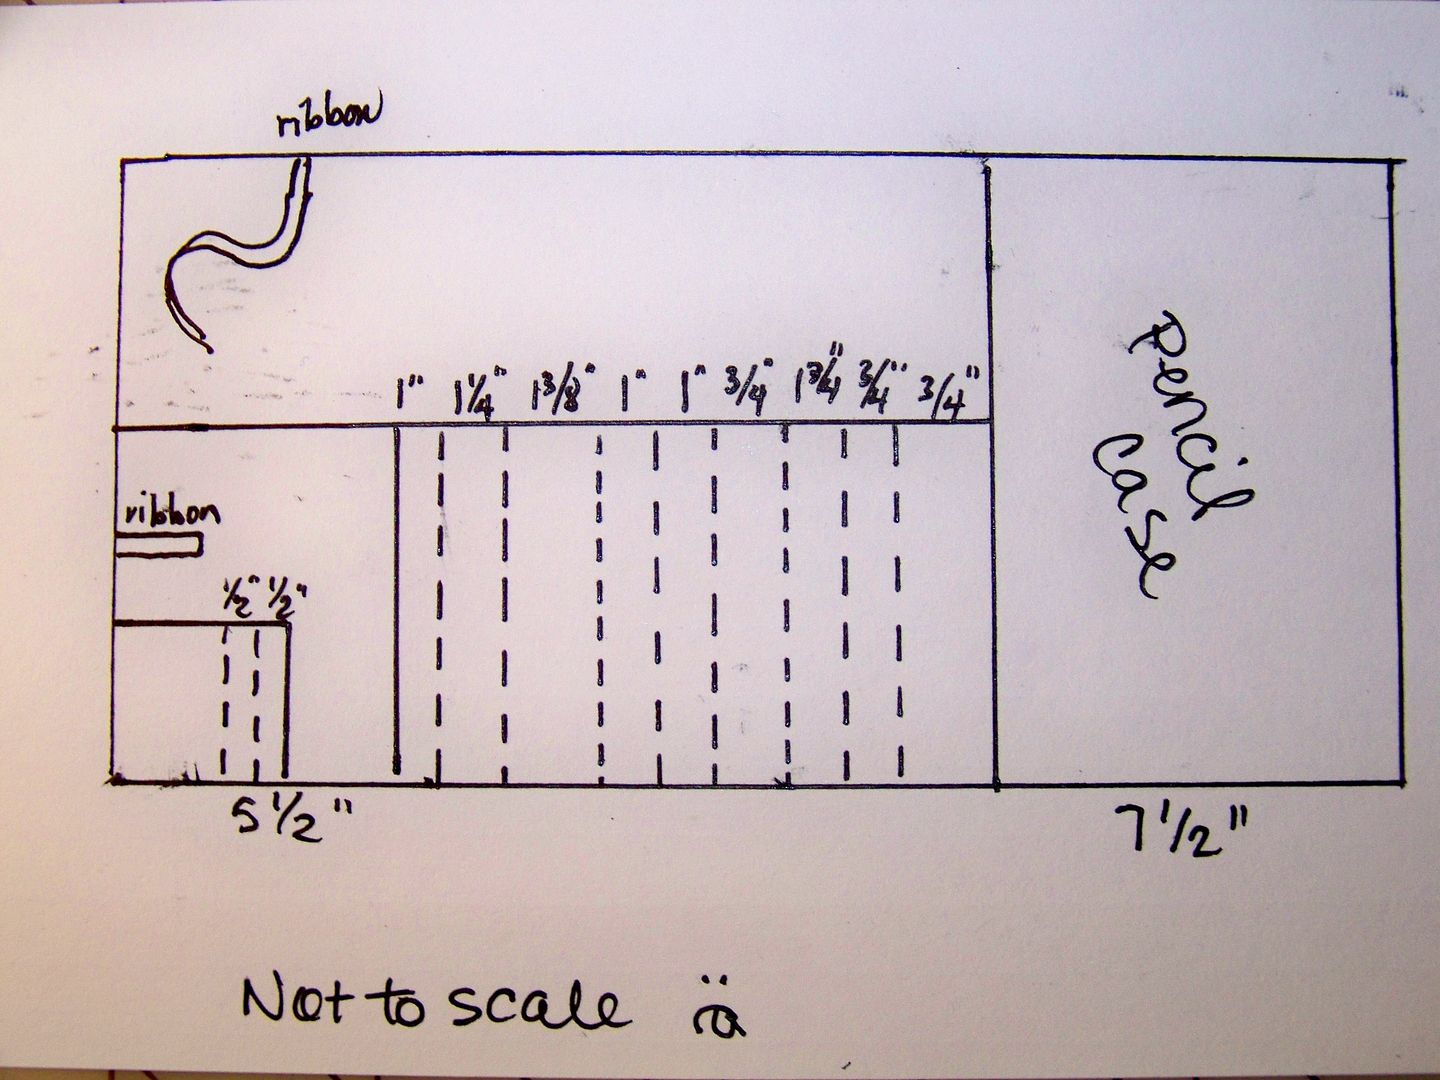
  • Align needle pocket to big pocket on lower left edge, matching up raw edges on the left side and bottom of needle pocket to raw edges on the big pocket.  Baste raw edges 1/4" from edge or less.  Sew lines of stitching down to create pockets for the needles.  (I sewed them so that there was 1/2" of space between lines of stitching).  Sew a 3" piece of ribbon 1" above the needle pocket.  Sew snaps or velcro to the ribbon.  (This will be used on your finished portfolio to hold your scissors in place.  It is optional.)

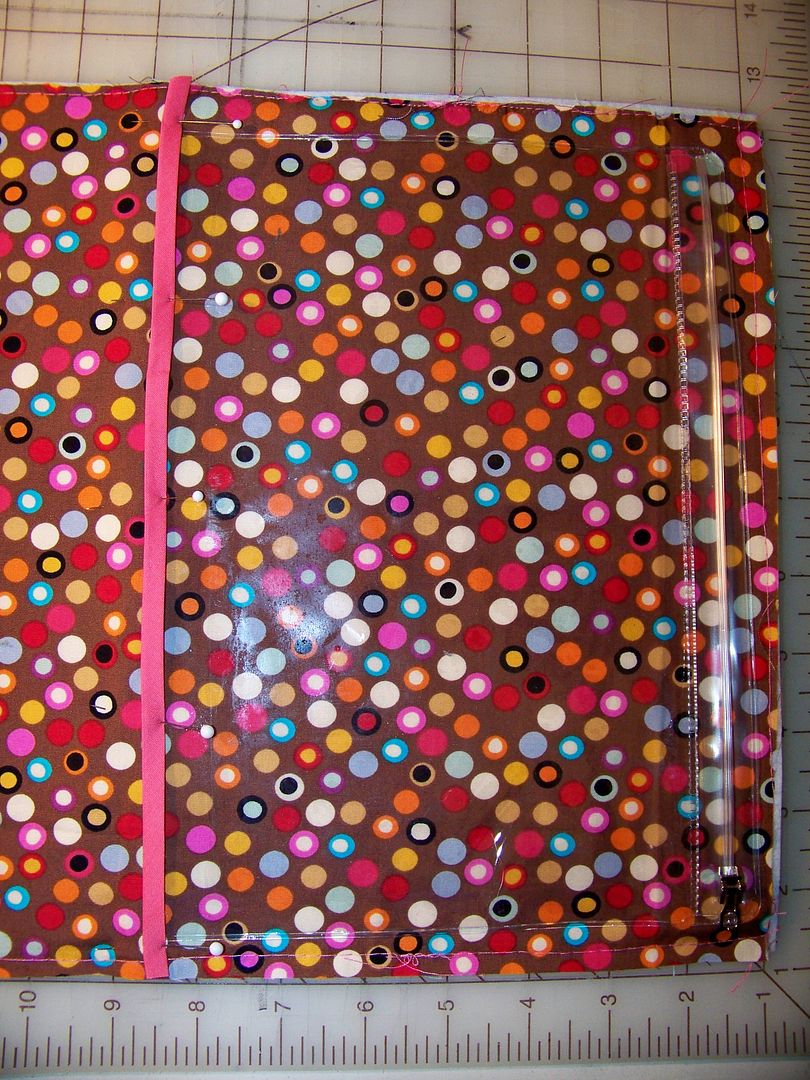
  • Place plastic pencil pouch on right side of project.  Cover left edge with doublefold bias tape and stitch in place, using long stitches so you won't perforate the plastic causing it to rip.

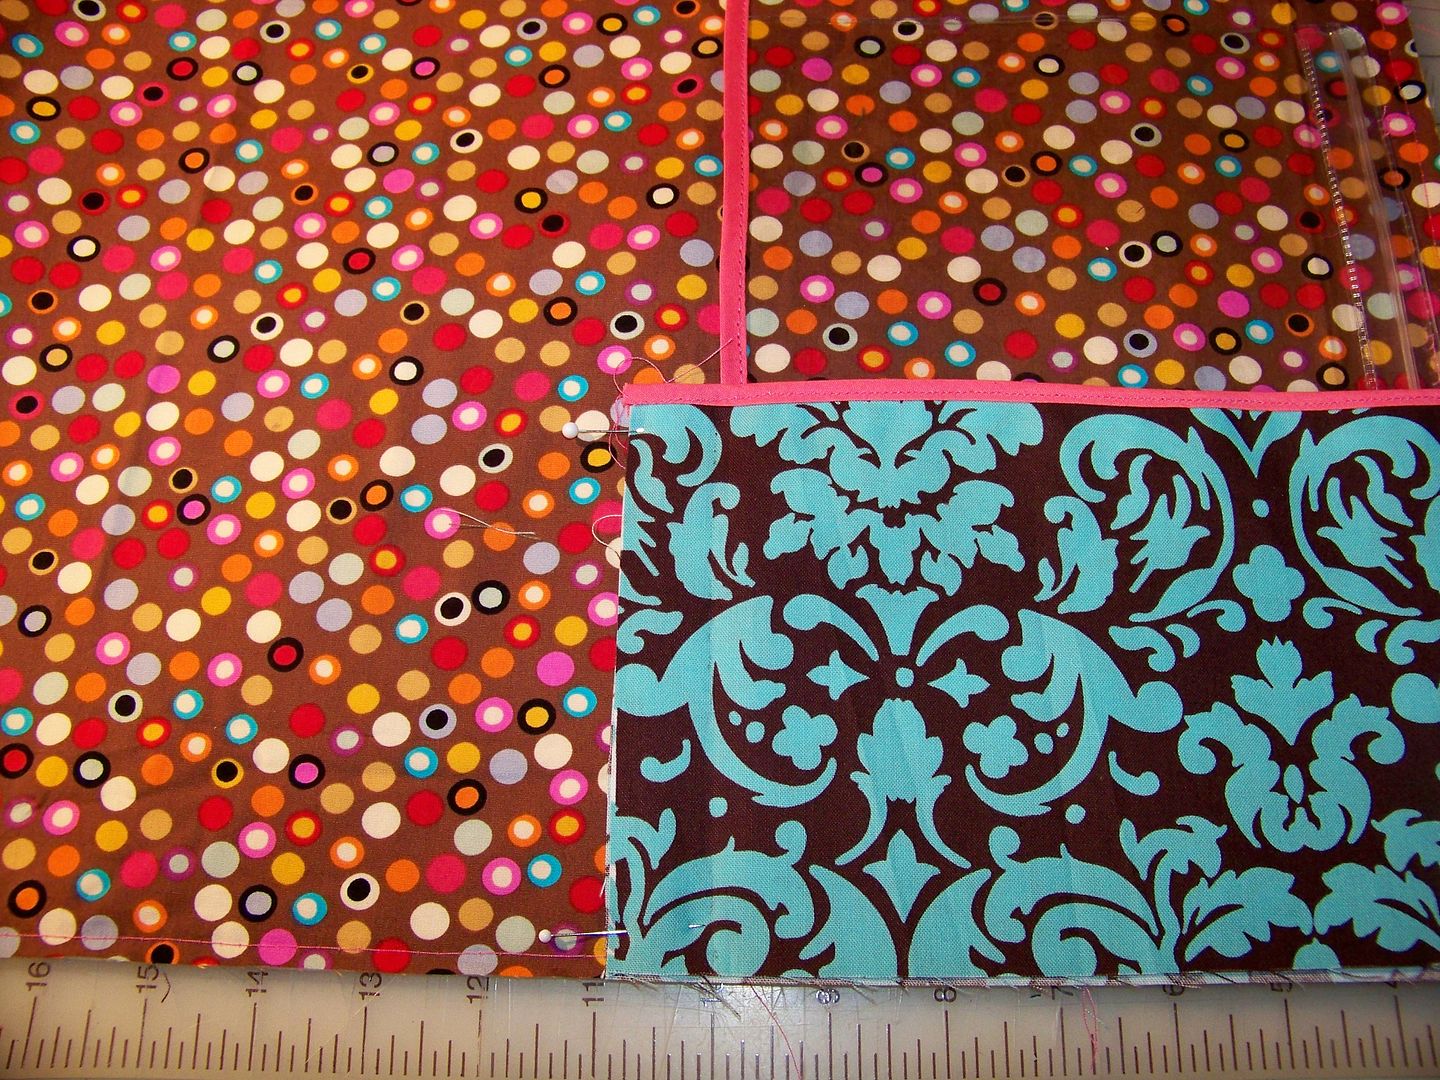
  • Place pocket, folding right edge (next to pencil pouch) under to fit space.  Mark the fold.  Flip pocket onto pencil pouch and stitch along fold line to attach the pocket to the cover.  Trim seam and snip excess fabric at the corner and fold pocket back over into place.  Baste all around the cover to hold the pocket in place 1/4" from the edge or less.


  • Add 16-1/2" piece of ribbon at the top edge aligned with needle pocket.  You will be able to tie this (or snap/velcro if preferred) to your scissors to keep them from walking away.  Baste in place. 

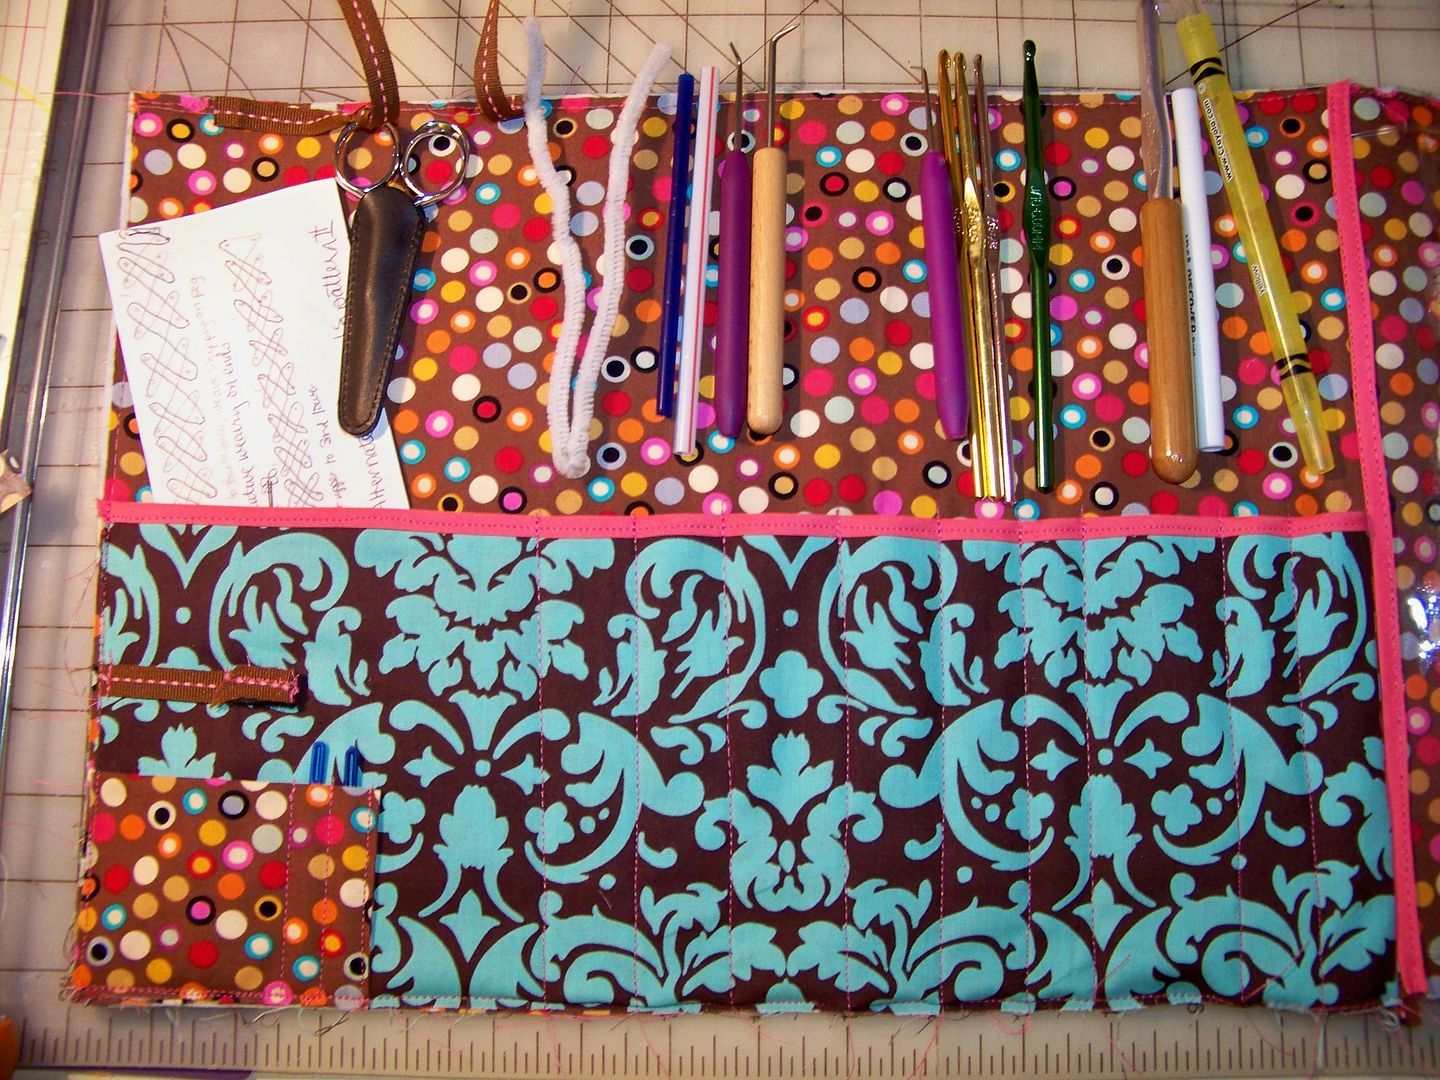
  • Stitch down through all layers to create pockets for crochet needles, extra knitting tools, pens, stylus casings, and pipe cleaner (threader for stylus) using the diagram below. 


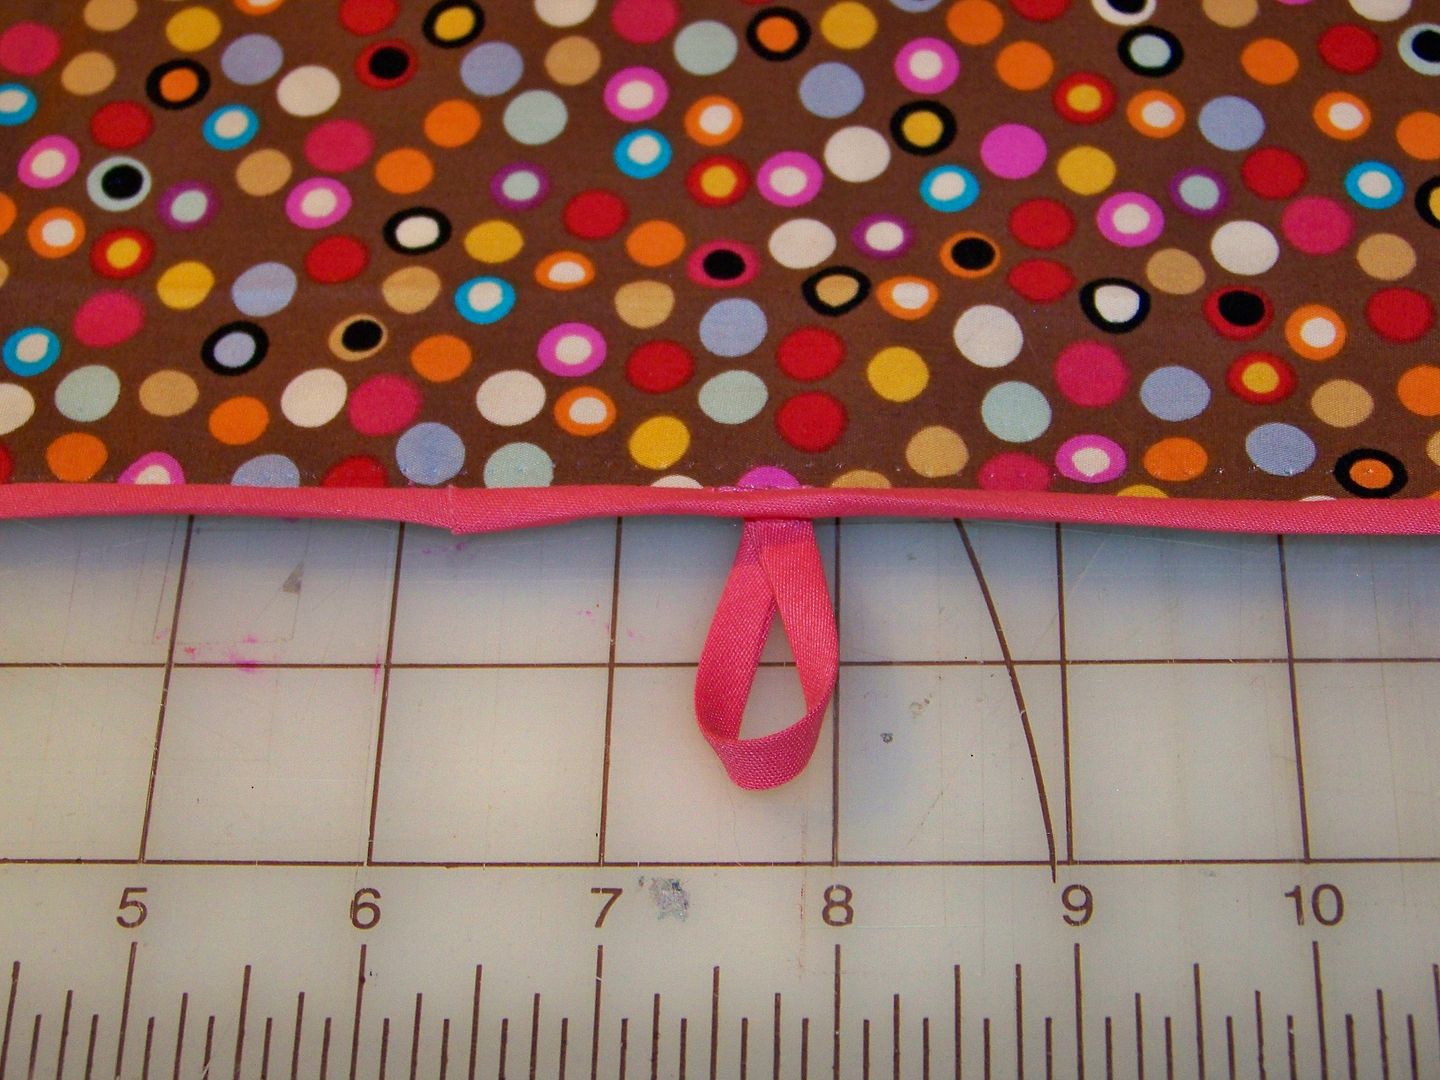
  • Trim edges all around the cover.  Make a loop for a button closure on one side.  Finish edges with doublefold bias tape.  Fold portfolio into thirds.  Hand-sew decorative button in place. 

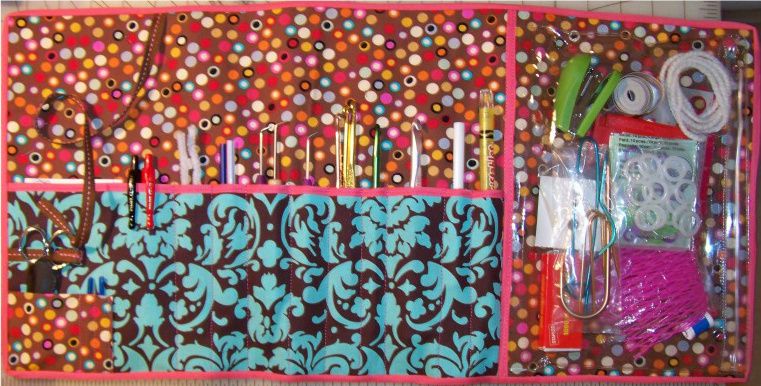
  • After placing all your tools in the portfolio, fold the portfolio in thirds and slip the loop over the button to close!  (The pencil case is loose on all sides except the left so that a composition-size notebook will fit under it, but I have since found that I like mine kept separate so that I can make notes without having to get everthing out).

In the big pocket on the left side, there is enough room for index cards.  I keep knitting stitch diagrams in there for doubleknitting designs.  The scissors are attached in two ways, but I now mostly only use the long ribbon so that they can hang outside of the portfolio but are safely attached.

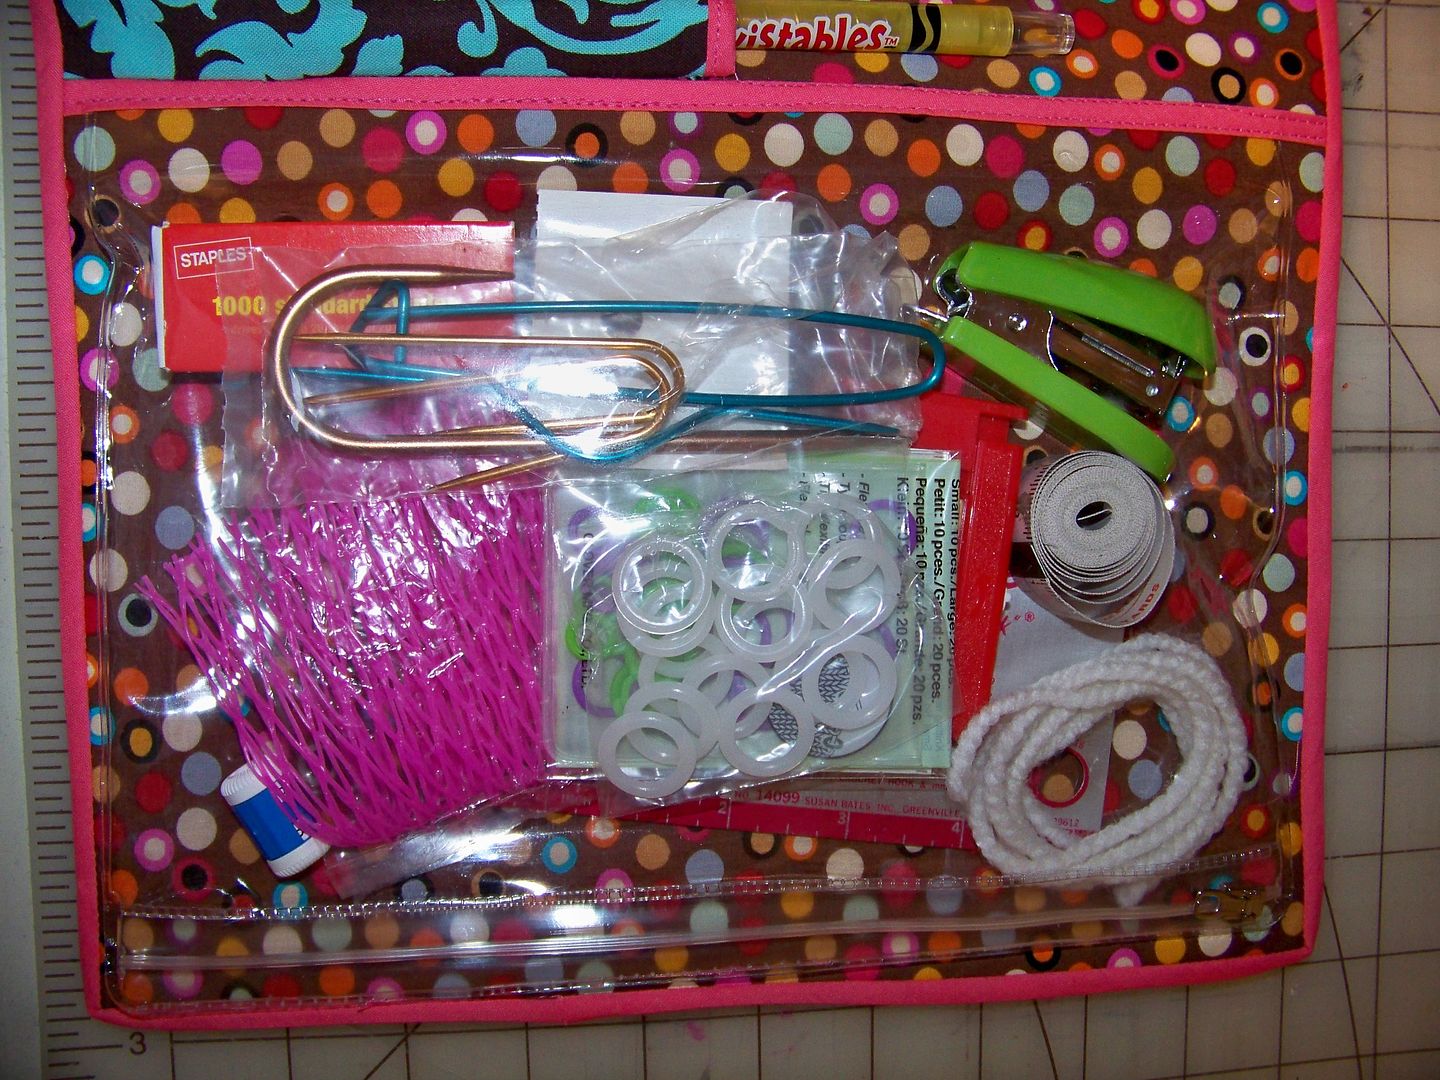
I keep everything else in the pencil pouch: yarn nets, spacer rings, cable hooks (learning cables is a loom knitting goal of mine!), counters, waste yarn, measuring tape, stapler/staples for my notebook (I like to staple on a sample of yarn with each project's notes), and knitting gauge.
My knitting basket looks so much craftier and fun with my new accessories! 
You can see all of my knitting projects on my loom knitting page (click here)
You can see all of my paper projects in My Project Gallery (click here).
Thank you for viewing my post today!  I will be showcasing more gifts from me to me in the next couple of posts! Thank you for letting me indulge!
Pin It

But wait! There's more! Click 'older posts' above!

But wait!  There's more!  Click 'older posts' above!