
When I was a kid, Kings Island in Ohio was the summer destination if your family wasn't going to make it to Orlando. It was nearby (just a few hours from home) and had that magical Eiffel Tower replica right in the center! Hanna Barbera Land was the place I remember most and the Flintstones TV ride was my favorite. I love that the Cricut Circle has made the Kings Island Resort one of its summer hosting spots this year! I knew I had to go!
For this event, I decided to re-do my calling cards.
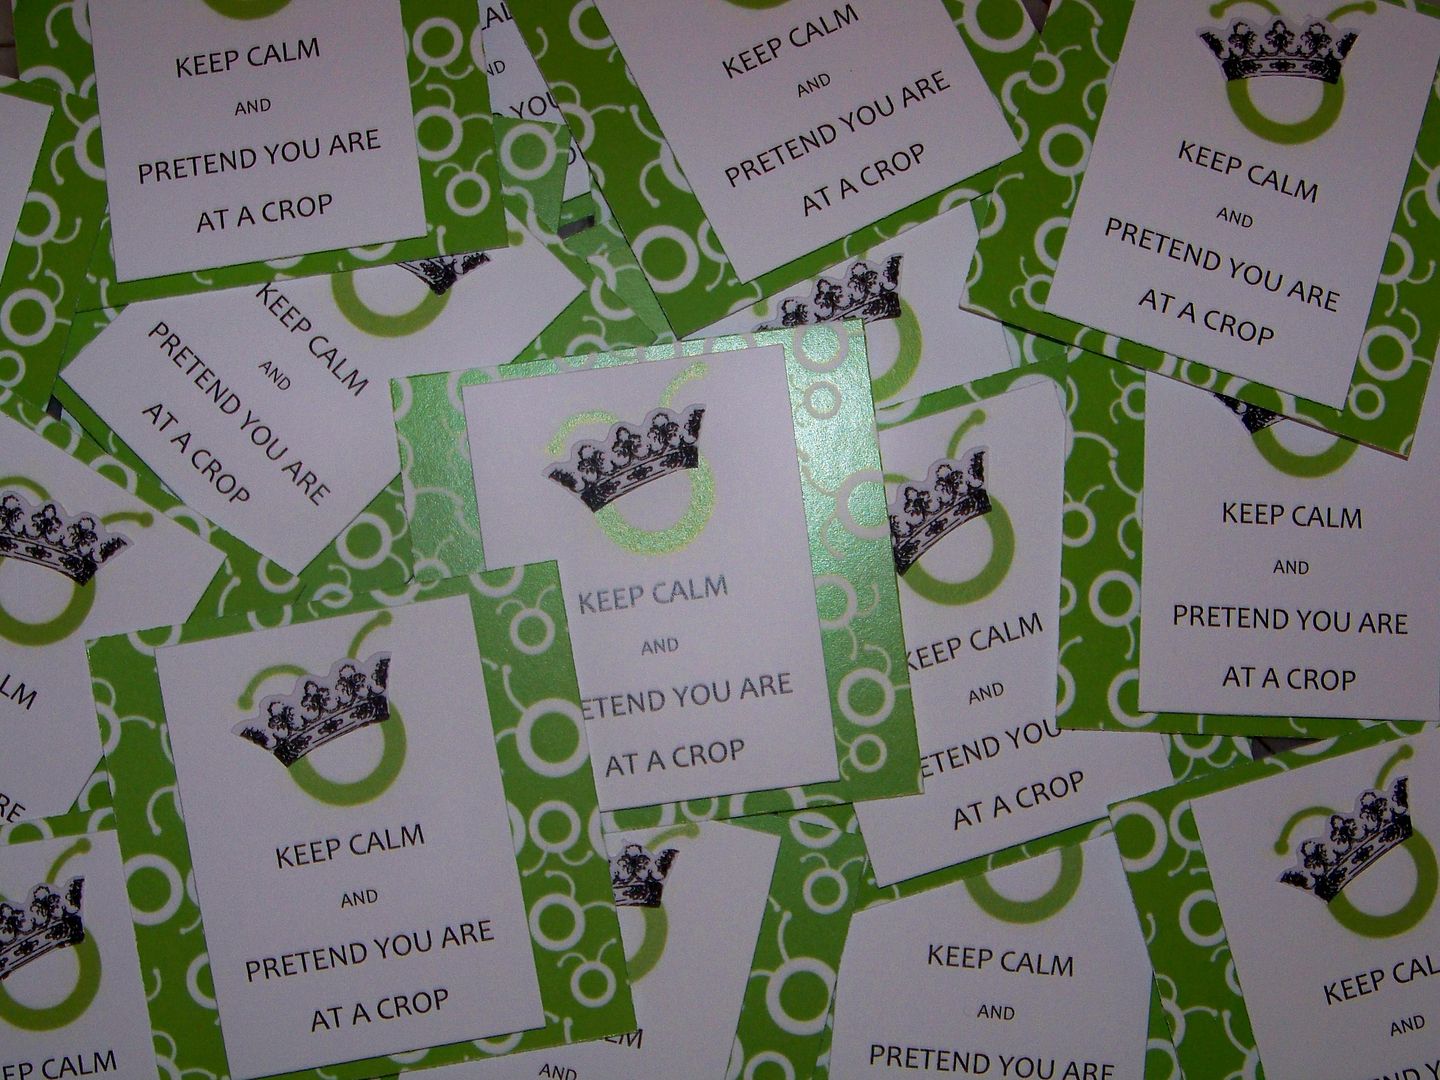
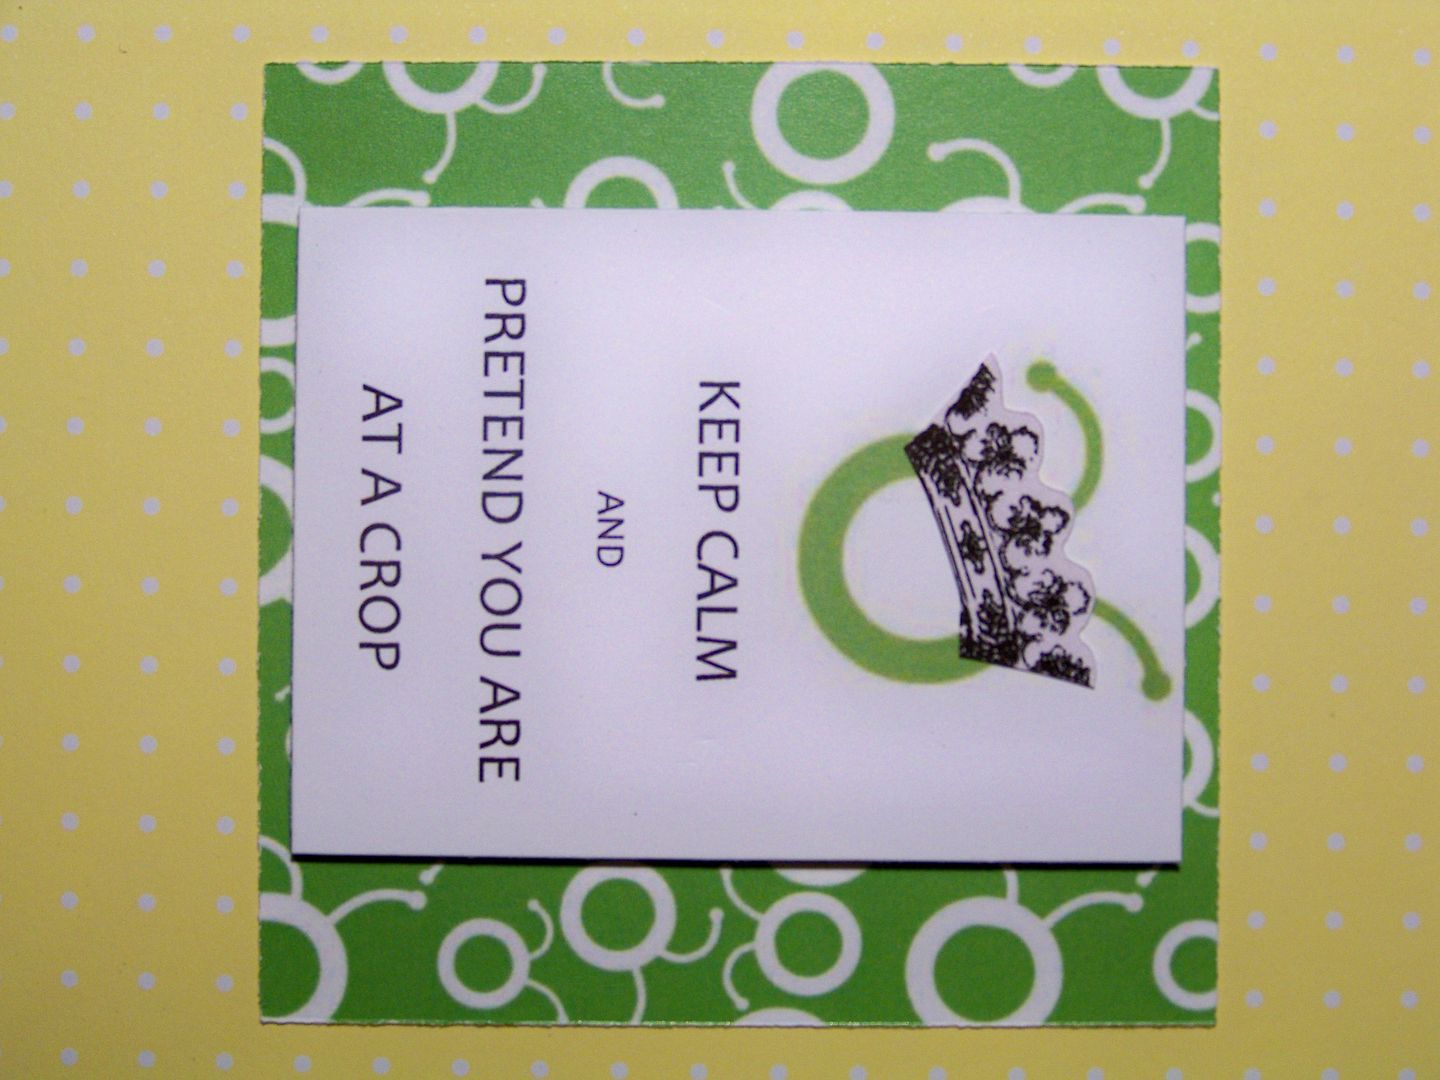
I had to make 110 and knew that I wanted to use the "Keep Calm and Pretend You Are At a Crop" design that I had figured out for my candy bars for the Louisville event. You can see those by clicking here. I worked out most of the design on the computer and sent the file to my favorite local print shop to help me out and print all on cardstock. All I had to do was trim everything down!!! I used the Cricut Circle logo paper from a file that Kay (Kut-n-Print on the messageboard) offered to us on the Circle. Her awesome gift has come in so handy! (You can check out her other projects and brilliant solutions on her blog, Clever Someday). I popped up the Keep Calm text card with foam tape and added a crown from the Baby Boutique Imagine cart, cut at 1.6 after separating it from the other layers.
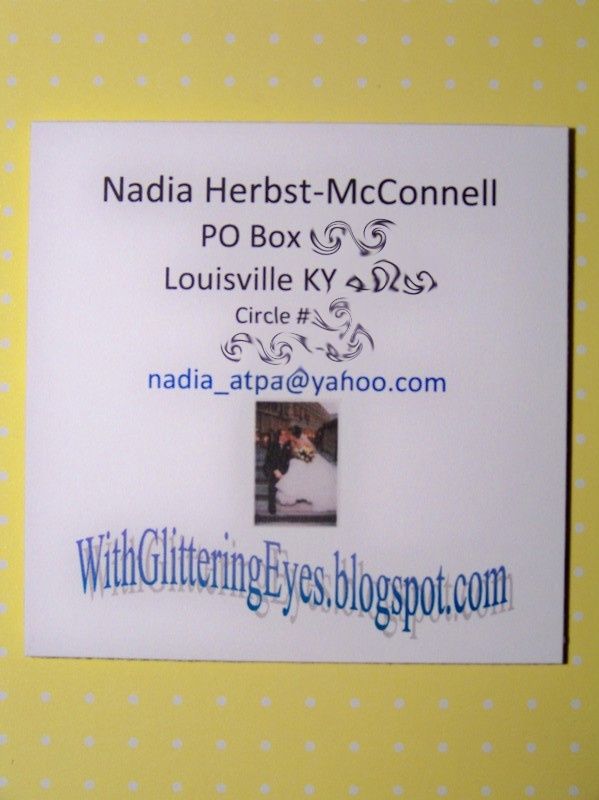
On the reverse side of the cardstock printed with the Circle paper, is printed my personal info and a mini avatar picture: one layer and no gluing it together. Then the text layer is applied with foam tape for a nice, sturdy, and clean finish.
My magnets were my next project. This was made for a magnet swap that hostess Kim Hamilton has organized for us. You can find details, cut sizes, and my notes on the original post by clicking here.

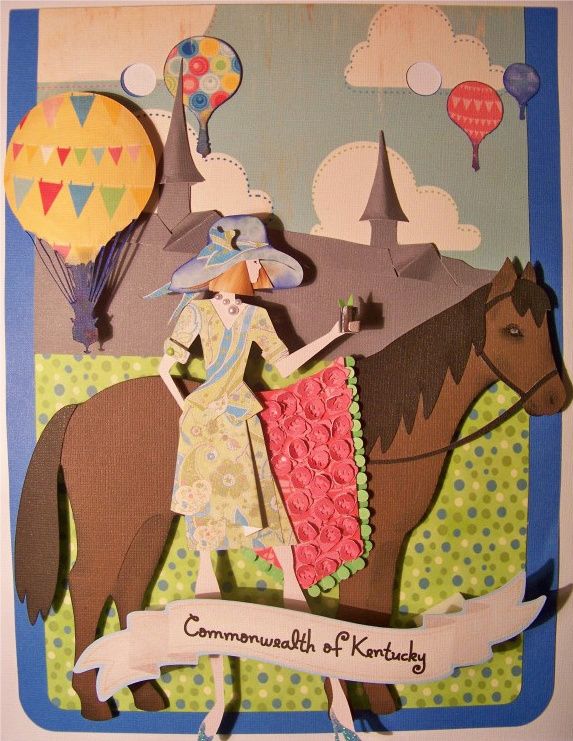
My state pennant for the contest was next! Provocraft opened the contest up to everyone in the Circle and thus required us to mail in our entries. How fun it will be to see all the pennants together, forming a banner of the states and countries of the Circle members!! I cannot wait to see it. You can see my original post for this project with the cut sizes, carts, and technique how-tos here.

Next, I worked on t-shirts! I learned how to use my Yudu at the Louisville Cricut Circle crop and knew I wanted to make a t-shirt for myself. A couple of other Circle members asked me to do shirts for them too. I love a challenge and thought this would be a great learning experience on the Yudu! I decided that the design I wanted to use was from Cindy, who attended the Northern California Cricut Circle event, so I contacted her. You can check out her awesome shirts made from heat transfer vinyl here. For all of my details for making the shirts with lots of pictures and a liquid emulsion tutorial, click here.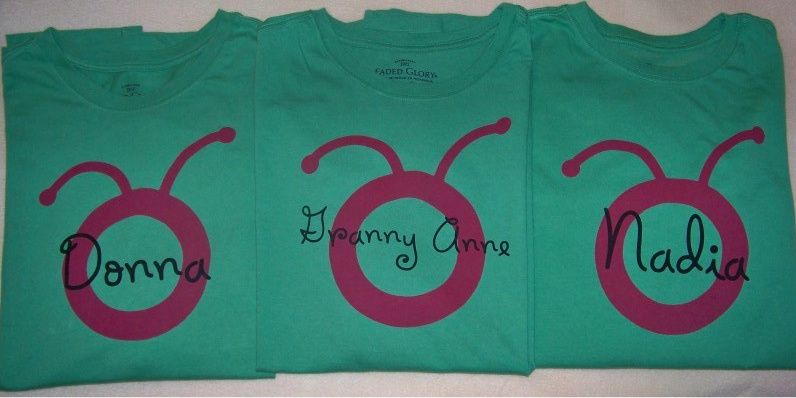
My next project was bakers' twine RAKs! I just ordered a couple of cones to decorate my baked goods for fund-raising donations to my daughter's school. With that, I can see that I will never bake and wrap enough cookies to use 6800 yards.
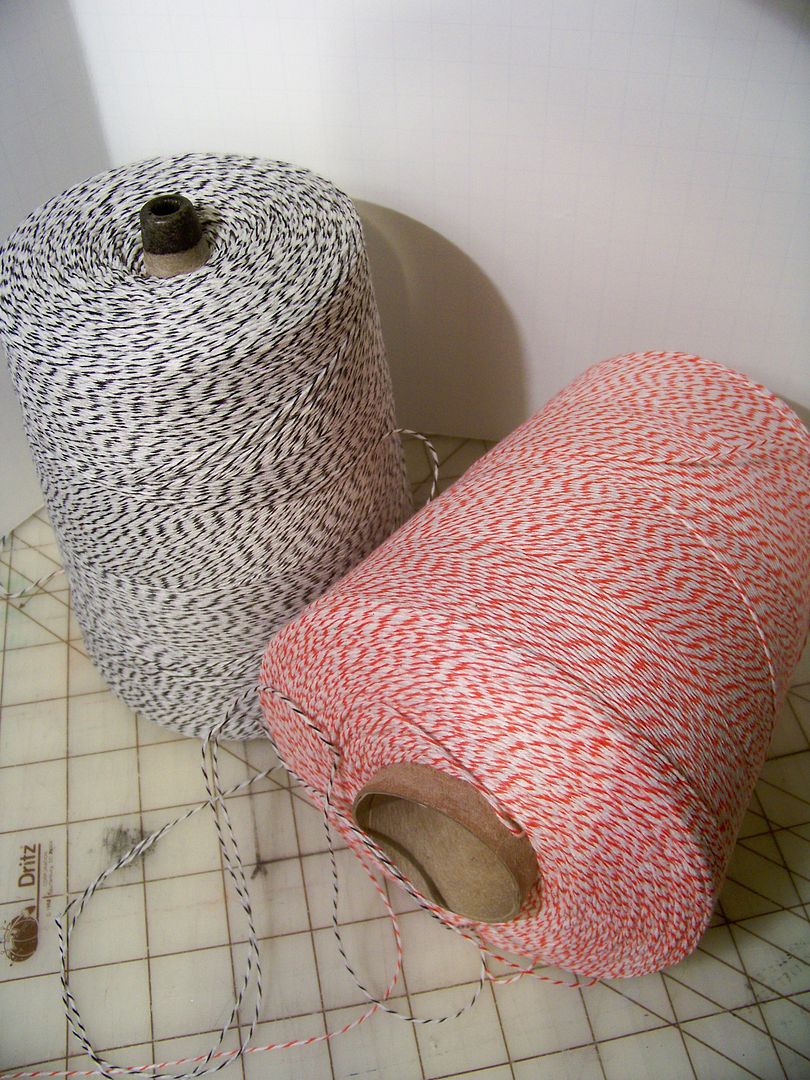 |
| With bakers' twine, you can pay $2 and get 15 yards, or pay $15 and get 3400 yards... so I now have two 3400-yard cones! I found a great source, thanks to Debbie (Scrappydoo on the messageboard), Country Clean Paper Supplies. |
 |
| Autofill on 12x12 on the Expression will cut 21. For posterboard, I used these settings: Multicut 1, pressure 4, speed 3, and blade 5. I like a sharp blade and an unsticky mat-- look how nicely that combination worked as the tickets pop right up! I used the ticket cut that is found on the Mickey Font to make these. I cut it at 1-1/2" for the 10-yard pieces. I also made a couple of 50-yard RAKs and cut those tickets at 4" for the 50-yard pieces. |
 |
Thank you for visiting my blog!
