Showing posts with label Decor. Show all posts

Saturday, January 7, 2012

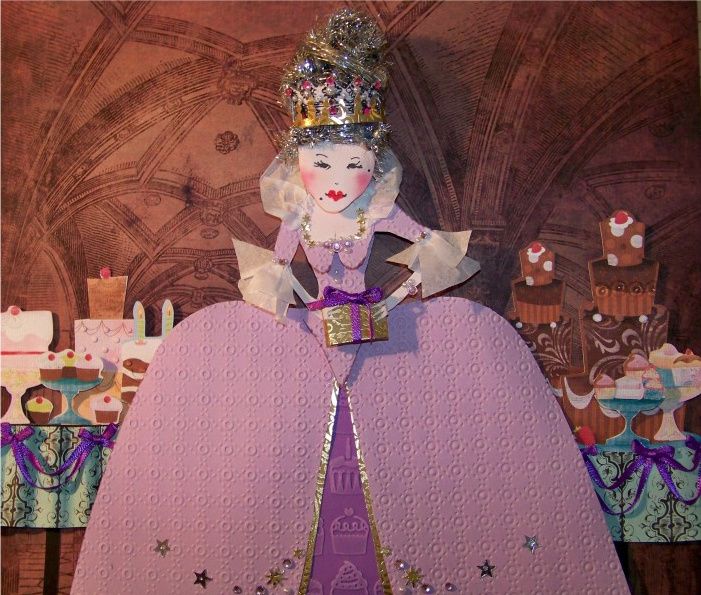
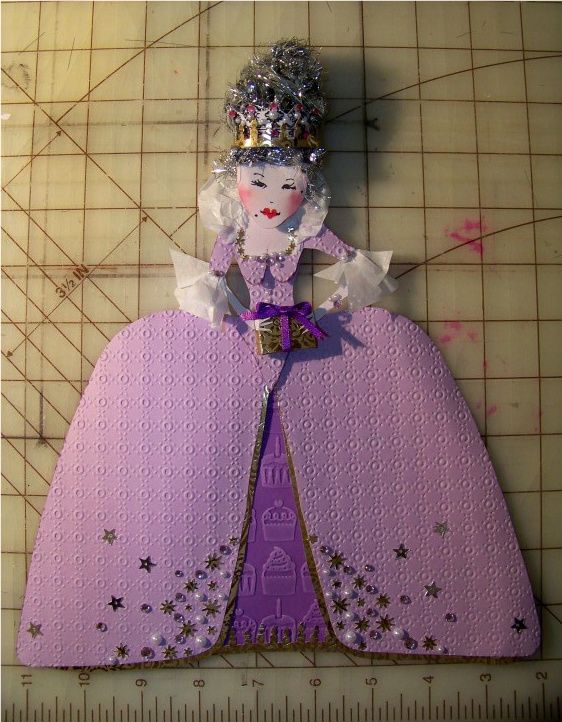
Elizabeth-Marie-Gertie-Jean, Birthday Queen

Decades ago, when I was in my 20s *ouch*, I created dimensional stuffed cloth dolls for local art galleries.  One of my favorite series was the Birthday Queens!  These were dolls for women, not girls, and though whimsical, had a little story to tell too.

I decided to resurrect a Birthday Queen in honor of my upcoming birthday-- this time in paper.  I wanted to get back to a little paper crafting after a fabulous time of loom knitting and sewing.  I thought you might enjoy...

Elizabeth-Marie-Gertie-Jean
 The Birthday Queen


My project was inspired by the jaw-dropping gorgeous figures by George Stewart at the Ventura Museum, photos of which I caught on a blog from MJ Ornaments.  Click here to see them!  You can see all of George Stewart's Historical Figures by clicking here.  They are incredibly fun to look at.

For the crafty how-tos:  Well, I really have to admit that Elizabeth-Marie-Gertie-Jean is pretty much a hand-cut gal.  I did start with a figure from Country Life at 9" on my Imagine, floodfilling her with RGB 250, 229, 210, but my scissors really re-cut everything on her from her head to her chest and arms.  (I know what you are thinking and, no, none of the women-folk on Country Life have bosoms.  Those were hand-cut too with 'droop' and all.)  Her lower body was completely cut off, since it was not needed with the dress.  I did appreciate having the upper body as a guide, but I changed her proportion when I gave her that lean, long torso in the form of a fitted bodice.


In the past, my Birthday Queens were matronly, more than a little thick through the middle, and a little too prophetic for my ease.  I decided that I wanted a lean and long Queen who obviously worked on her core muscles and did a little yoga.  Maybe that would come to fruition too....fingers crossed, yoga mat placed.

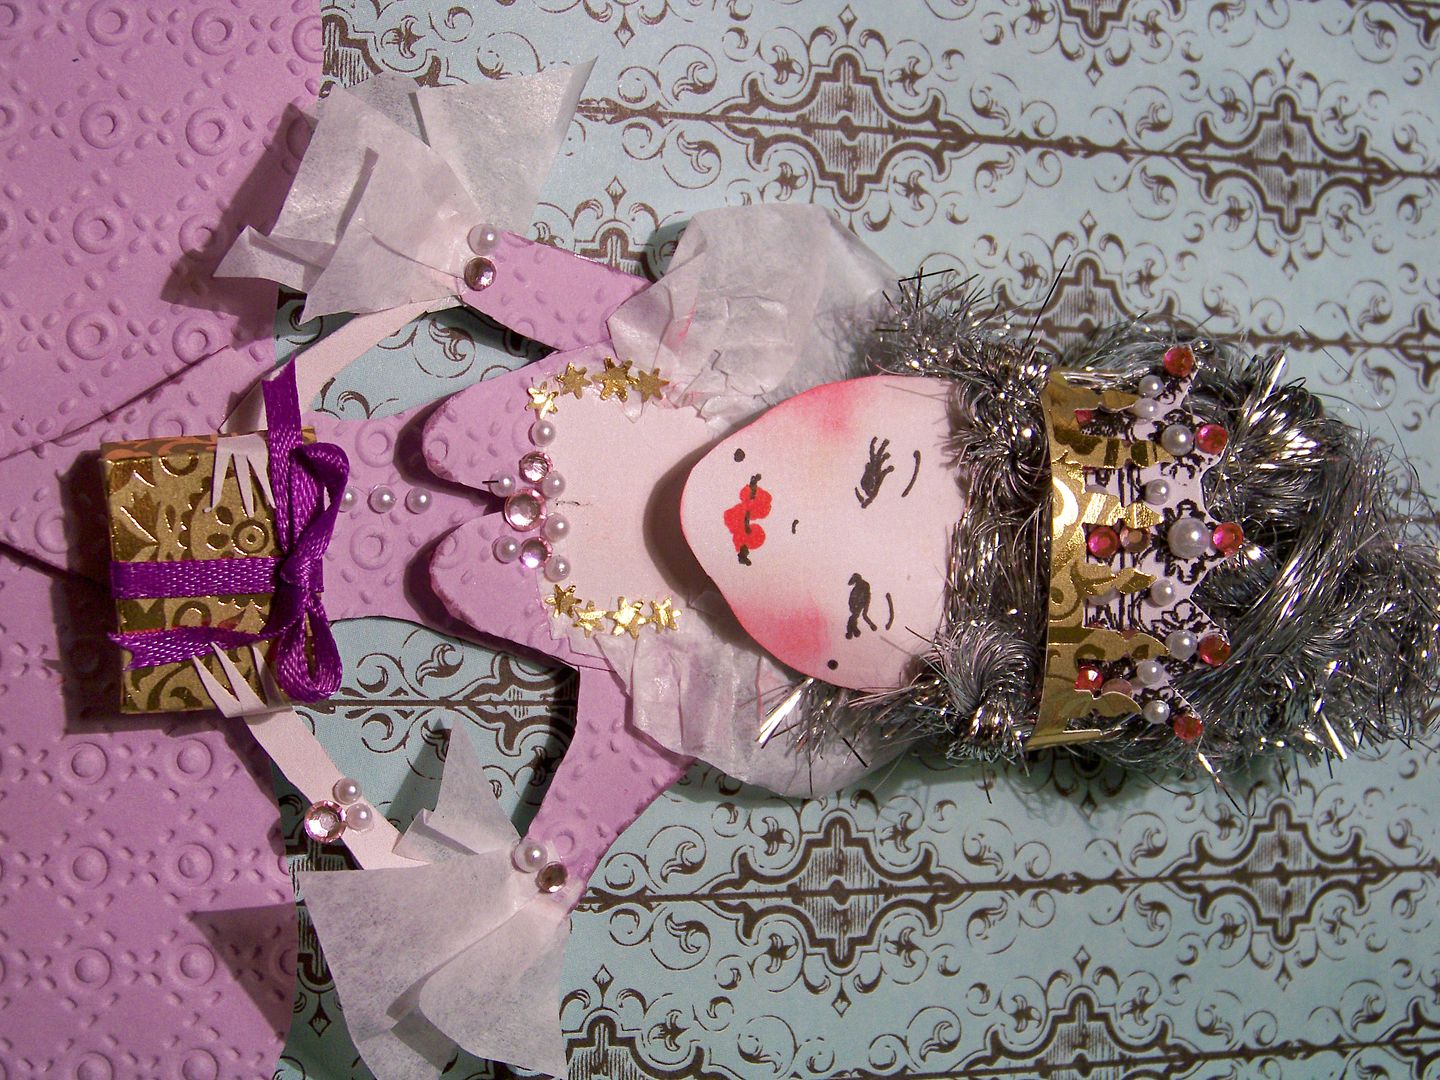
Her dress was embossed with two Cuttlebug folders.  The birthday candle trim on the bottom of the underskirt was made from an EK Success edge punch.  The gold paper is part of a paper pack my Santa-Mom gave to me this Christmas.  Tissue paper was used for the collar and cuff flounces.  The gold stars are the waste from a Martha Stewart edge punch; the silver stars were in with the metallic shred I used for her hair... more about that in a moment.  The jewels are self-adhesive rhinestones and pearls from Kaisercraft.  (I absolutely love those but can only find them at Meijer.  What's up with that?  So much easier than hot-fix jewels or using glue.  Each pack has a great variety of sizes coiled together and they have a great hold.)

Her hair is made from twisting Metallic Shred basket fill from Hallmark.  Her head is incredibly heavy.  I twisted the fibers until they curled onto themselves and hot-glued them in place, suffering one of the worst burns ever. (Whininess is ageless don't you think?).


Her crown is a Cricut cut combined with edge-punched gold paper.  I started the crown with a 3" layer from Baby Boutique, printed and cut on the Imagine.  I trimmed it, jeweled it, and manipulated it to curve out.  Then I placed it behind the birthday candle edge cut, that I wrapped around her head.

Her face is hand-drawn and inked.

I hand-cut her gift... and her fingers that hold it.  You know, historically, royalty has given the absolute best gifts, right?  Just a needless reminder:  Birthday Queens bring wrinkles with wisdom so use care (and eye cream) when accepting their mandatory presents. 

So... as I was saying, the background paper was from a paper pack that has been setting, ignored, for too long.  The birthday cakes are from Yummy, printed and cut in various sizes.  The tables are from Serenade at 4" and 3" with hand-cut and trimmed tablecloths.


It's a new year and we are all a little older.  Happy Birthday to all the January babies (you will always be a baby to someone somewhere).

More gifts to me from me in the next few posts!  Can't wait to show you!

Pin It

Wednesday, November 9, 2011

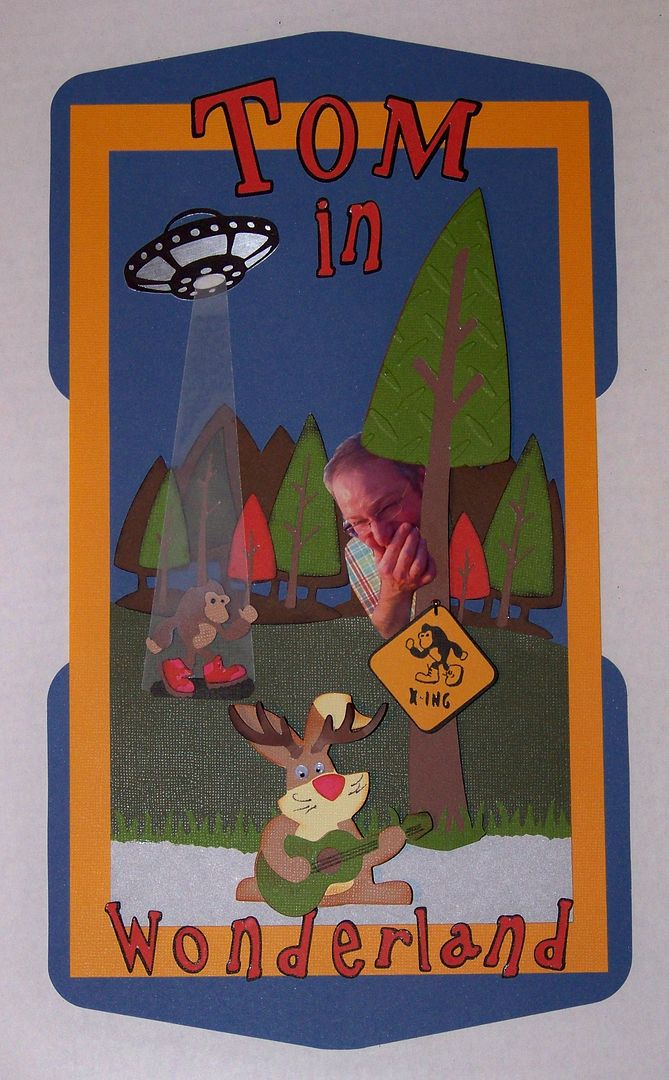
Tom in Wonderland


As soon as Campin Critters was released, I grabbed it for my husband... no, he isn't interested in Cricut or papercrafting or camping.  He does however, have an interest in Big Foot.  I often purchase a cartridge for one image, finding other treasures once it is in my collection.  On this one, I fell in love with the animals and the old fashioned trailer-style camper!  I used the marshmallow-roasting porcupine for some last-day-of-school s'mores kits for my daughter's class last year.  If you missed it, you can click here to see that project.
When I saw the Campin Critters challenge on Curt Jensen's Typecast Creative blog, I was thrilled to have another excuse to use it.  As you may have read on a previous post on my blog, Curt Jensen is an illustrator for Provocraft.  This challenge was my opportunity to also make something for my husband, who lately has complained that I never make anything for him...so this Cricut project is ALL ABOUT TOM!

I started thinking that Tom would be in a Big Foot costume (as in my Keith in a Pickle project--click here to see that) but decided it would be more fun if he had stumbled upon his favorite silly things as himself.

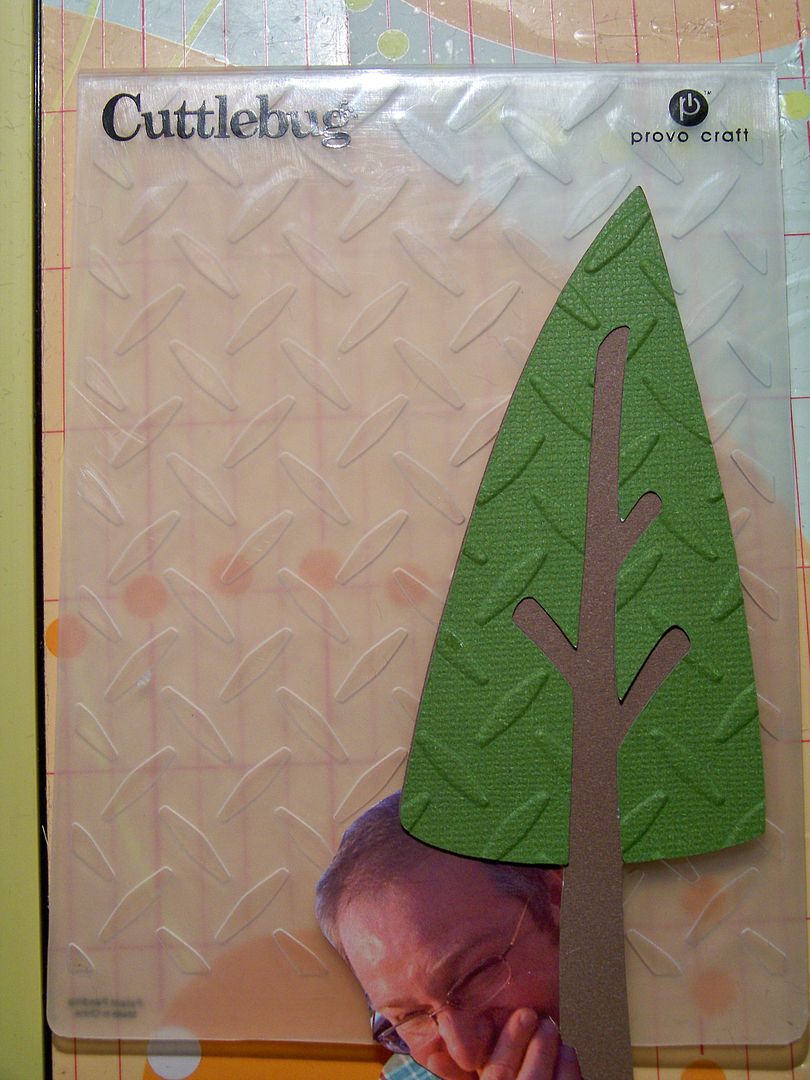
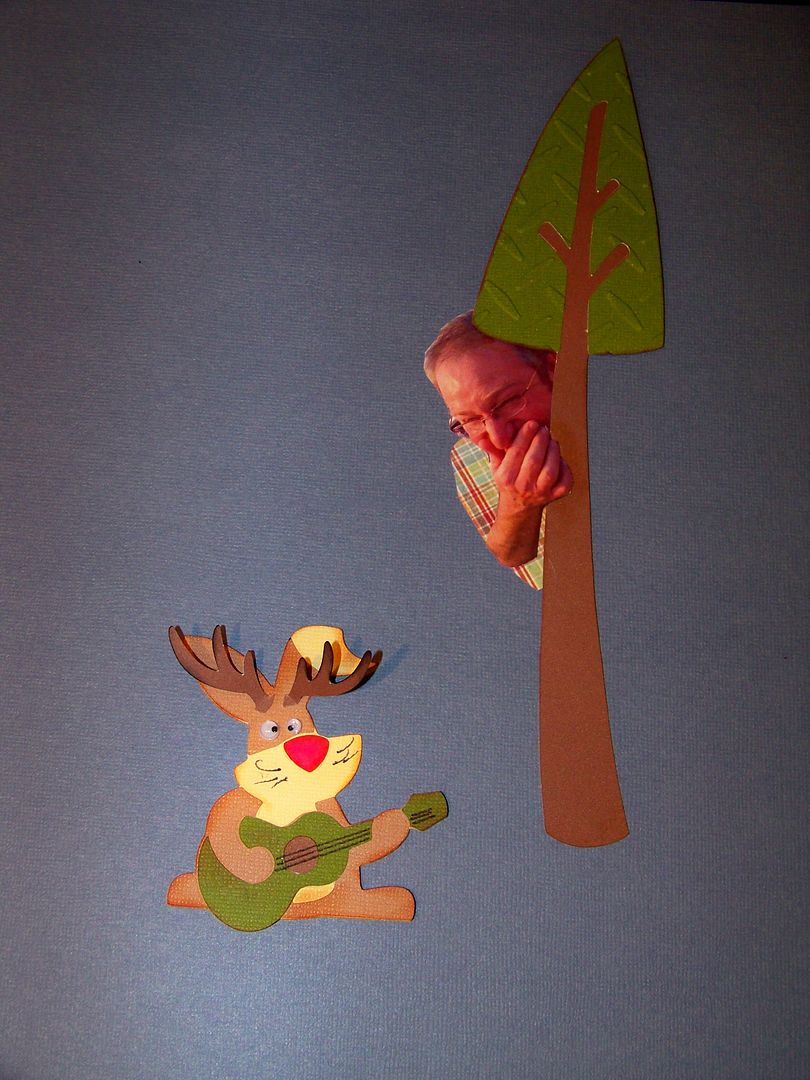
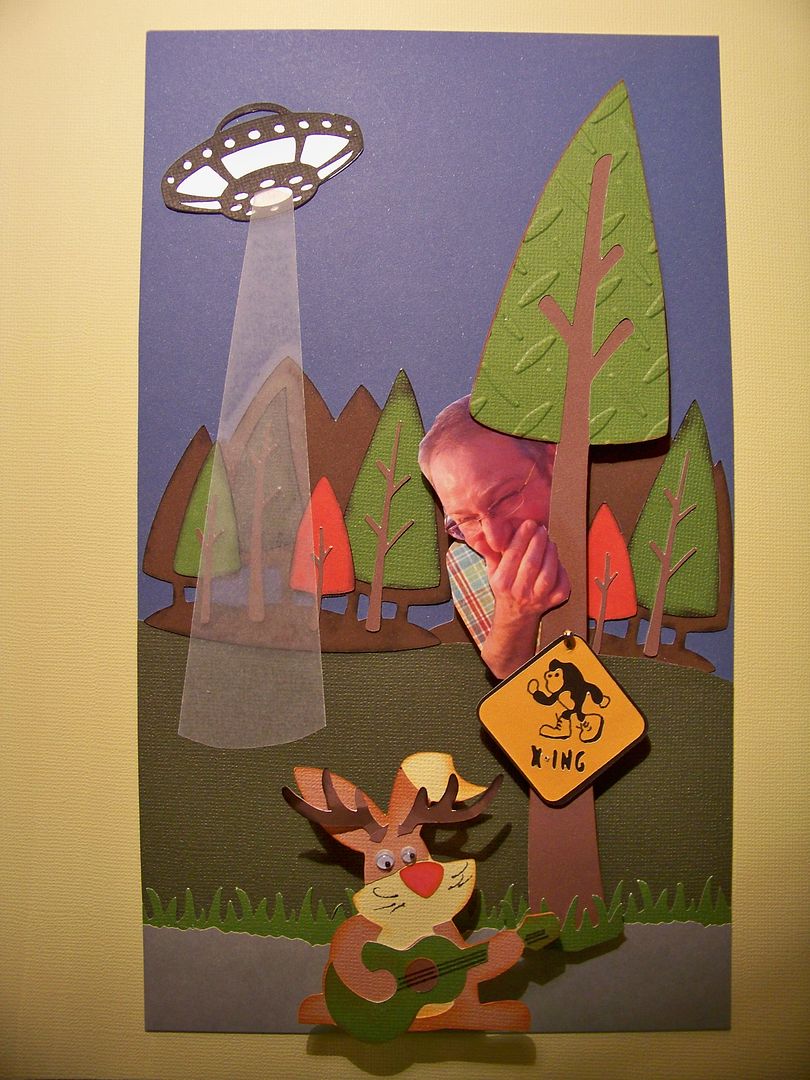
I started with one of the trees with the animals poking from behind it.  This cut is from Campin Critters (page 60), flipped and cut at 9".  (All cuts for this project were made on my Expression).  I found a photo I took of Tom at a drag race.. I don't know what he is doing... looks like an impersonation of Dr. Smith from Lost In Space to me.   (He tries to entertain me and our daughter when we give up our Saturday afternoons for those kinds of venues).  After I printed it, I checked it against the cut to be sure of the scale.  It is supposed to look like those old cartoons where the large-scale critter hides behind the too-skinny tree and I didn't want to lose that with Tom's picture!


I trimmed off the bear's silhouette and replaced him with the picture of Tom.  I added a hand-cut shape to give him a shoulder.  I embossed this tree with a Cuttlebug Diamond embossing folder to give it texture and help it pull away from the trees that will be in the background.  (I thought this was a fun choice since you see this pattern stamped in metal on truck toolboxes.  I bet he notices that.)


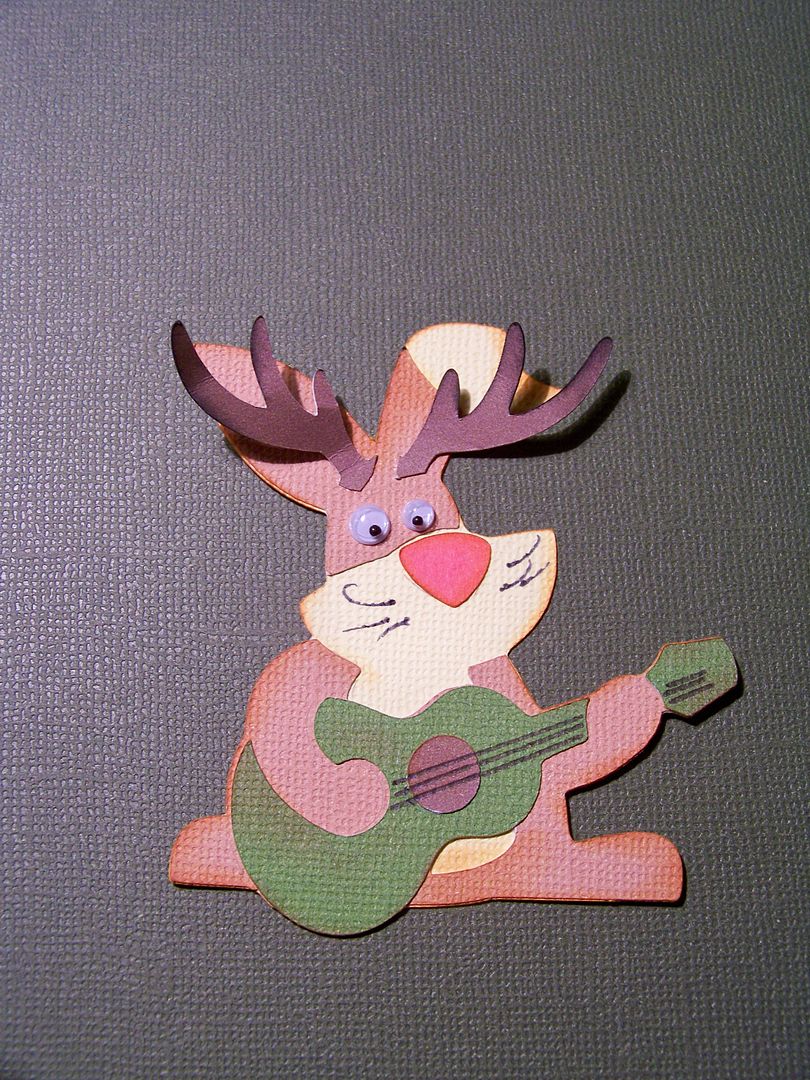
My husband loves Big Foot sightings... has seen lots of UFOs... and adores jackalopes.  Where do I start to explain this to you?  Well, let's start with jackalopes.  This is a big topic in our home and even the word is common here as an alternative to swearing, as in That guy was a real jackalope today.  I pointed out a stuffed jackalope on the wall of the music store where our daughter takes piano lessons and sure enough, Tom had to take a picture of it with his phone and started convincing the drummer behind the counter that jackalopes were real and, in fact, vicious.  The true fun in this is Tom's amazing talent of persuasion.  The guy believed it just as readily as Tom's cousin who was convinced that Elvis really did have 11 toes ...but that's another story.


I knew that guitar-playing bunny could easily be turned into a fabulous jacklope.  (The guitar is a "Tom thing" too as my husband loves to play so I knew he would like that!)  For my jackalope, I cut the rabbit from page 32 at 3".  I added google eyes at 4mm and 5mm in lieu of die cut eyes.  The antlers are from the moose on page 29, cut at 5".  (I stopped the Cricut once the antlers were cut since that is all I needed from that image).  You can see I tape my papers onto my mat-- I like a barely sticky mat and adore the way that works to help my die cuts pop right off-even intricate ones!  (Scotch Magic Tape works even when using the Imagine and taping over the back lines!)


Once I had the jackalope and Tom, I had to start thinking about the composition...


Big Foot has been a fun diversion for Tom since he was a kid.  I first made a sign for the tree from the image on page 30, cut at 1-3/4".  To make it look like it was nailed to the tree, I bent a small brad and inserted it only to the bend.  Then the sign was applied with an 1/8" pop dot.  A bit of grass cut with an edge punch finished the tree element.


Next, UFOs... well, have you ever listened to Coast-to-Coast in the middle of the night?  This is a ritual for us as we often travel in the wee hours of the morning after working weekends out of town.  Coast-to-Coast, if you don't know, is talk radio where intelligent-seeming adult persons actually call in to discuss things like UFOs, Big Foot sightings, aliens, elves, and other things that most of us quit thinking seriously about after age 9.  If you are half-asleep, as I was the first time I heard it, you may mistake it for a regular show with impassioned callers... that is until you hear something like, "So how many elves tall was he?"  (That was an actual line that I heard.)  One night, I am sure I will be awakened by the sound of Tom's voice calling in to the show.  (Tom put himself through college as a radio DJ and by doing singing telegrams so you can imagine that he would be a perfect animated caller to that show!)  Tom sees UFOs all the time from our back deck.  I have never seen them, but then again, I don't drink... but I digress...


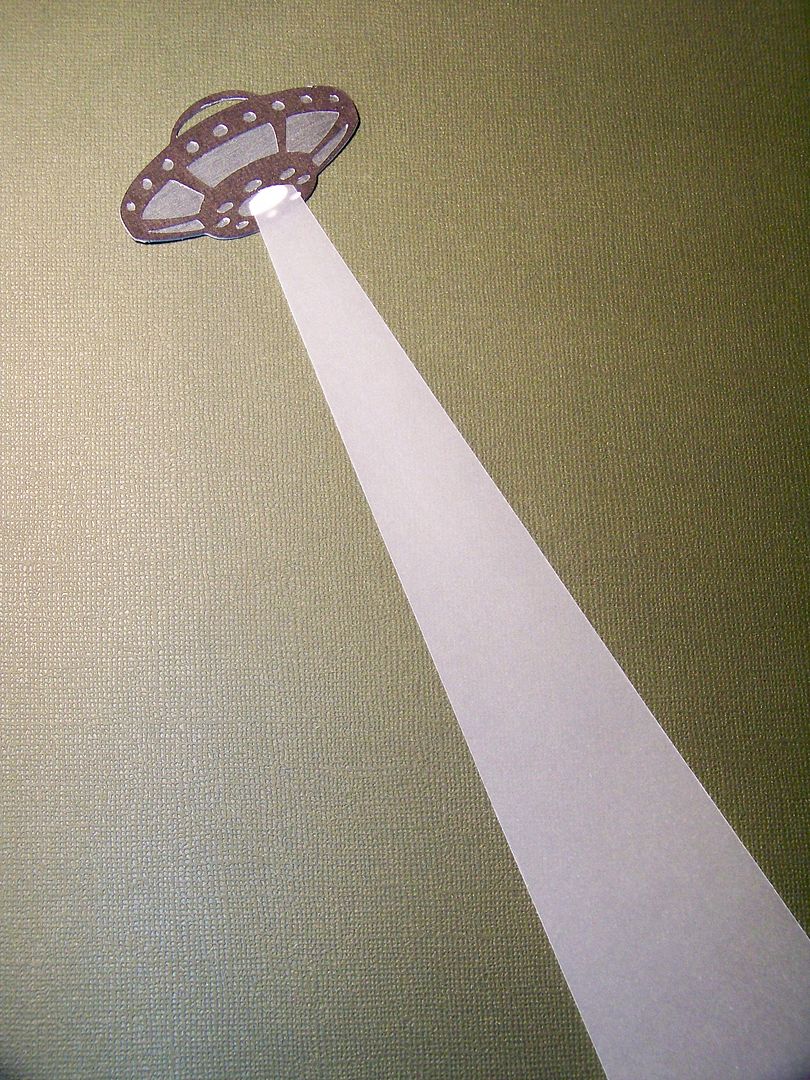
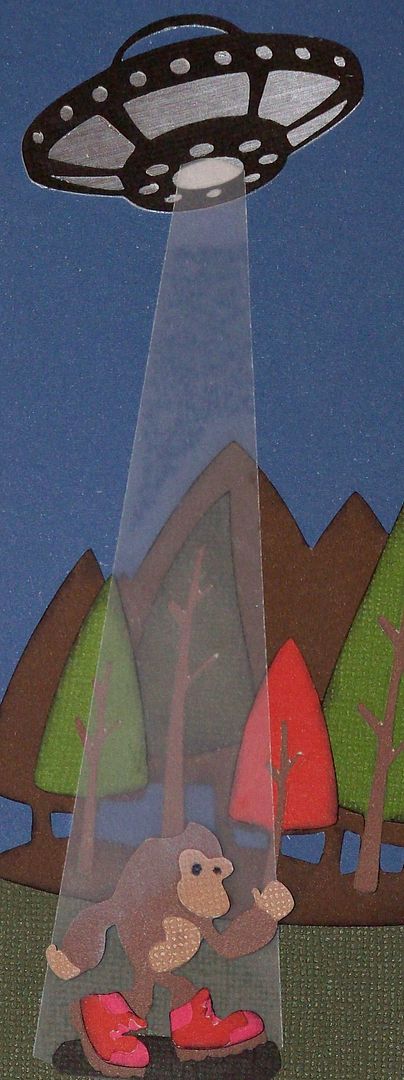
My flying saucer was cut out of metallic cardstock from Space Party at 1-1/4"... it is another of Curt Jensen's cartridges that I bought for Tom.  I hand-cut the beam of light from vellum.

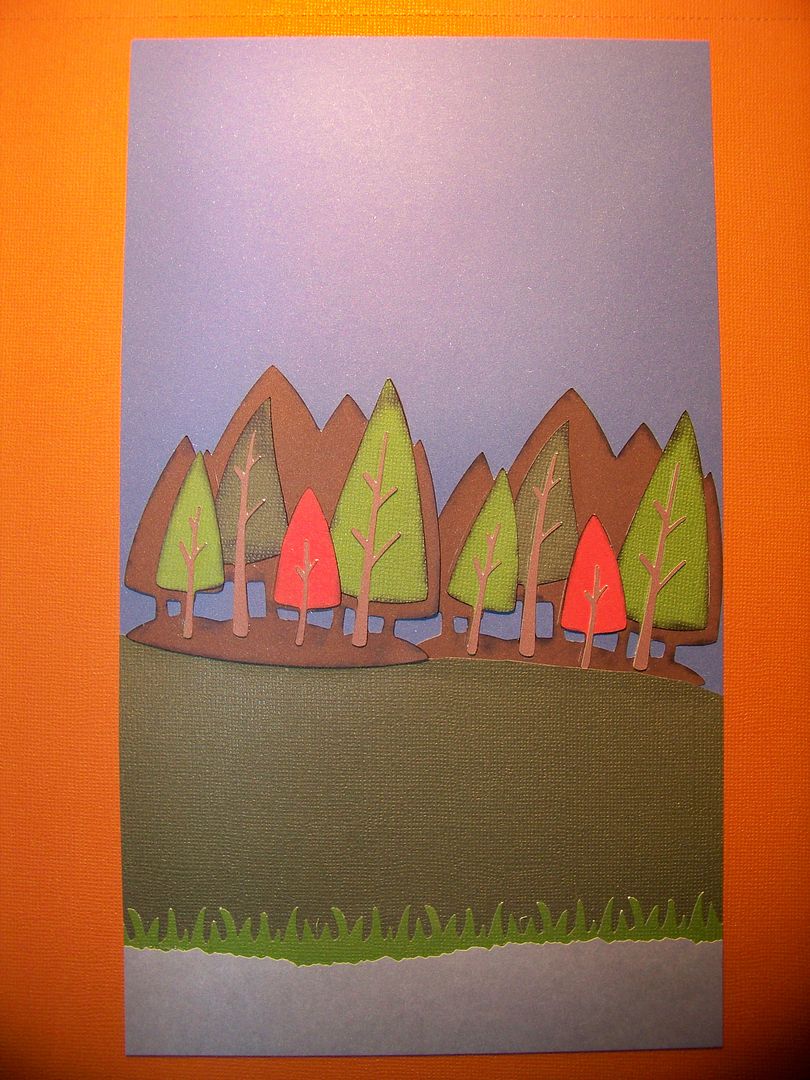
Next, I worked on the background.  The gravel walkway was deckled with decorative scissors and the grass was cut with the same edge punch as before for the base of the tree.   I cut two wooded areas with the image on Campin Critters from page 62 at 3" and adhered them for the horizon.


I adhered the jackalope with 1/2" popdots; the tree and Tom were adhered with 1/4" popdots.  The flying saucer was adhered flat.  I adhered the vellum that formed the beam of light by running it through the Xyron so that it would be somewhat transparent, totally fixed in place, and not curl.


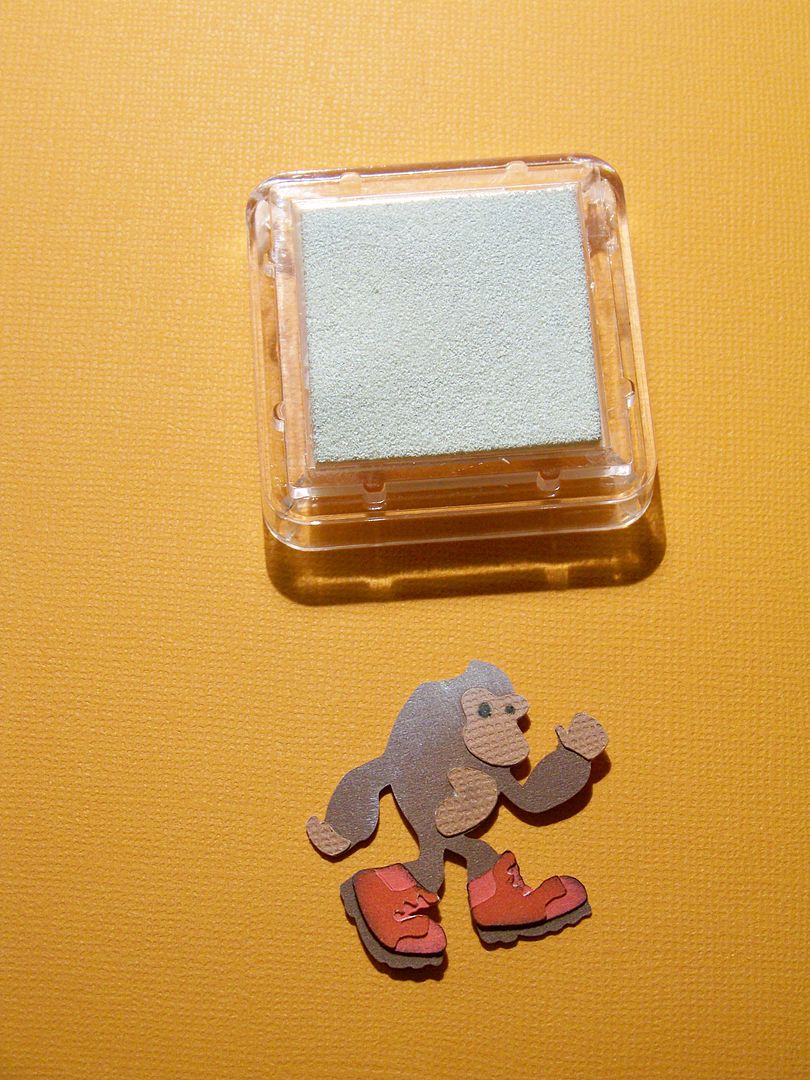
I originally thought the 'hint' of Big Foot with the sign would be enough, but I decided that I wanted the flying saucer to pursue Big Foot in the background so I cut him at 1-1/2", flipped, so he would fit inside the beam of light.  I used a white ink pad to lighten his head and shoulders to look like he was being showered with light. 


I hand-cut a small shadow for him to stand on. His feet were adhered flat; his head and shoulders were lifted with an 1/8" pop dot.


To finish, I hand-cut a mat and then two plain sign shapes from Campin Critters (page 66) at 5-3/4" to form a frame.  The lettering was cut from Feeling Groovy with shadow.  "TOM" was 2"; "in" was 1-1/2"; "Wonderland" was 1-1/4". 


It was so much fun to do this project for Tom.  It is one of the goofiest projects I have ever made, but I think he will get a kick out of it.  Just so you know (and because I couldn't let you leave without knowing), Tom is a creative and brilliant entrepreneur.  His fixation on this silly stuff makes him a super fun dad and a pretty cool travel companion on all those late-night weekend work trips.  He has some not-so-much-fun interests in things like history, geology, and politics, but gee, they just aren't as much fun to cut out of paper!  As a serious art lover (read: edgy), he tends to stay clear of my whimsical craft blog, so I am sure my project will remain a secret to him until I present it. 

Be sure to check the Typecast Creative Blog November 14 to see all the entries and links to the projects using Campin Critters.  It should be fun to see everyone's take on this challenge!  The two I have seen so far on blogs have been so creative and fun!

To see all of my projects in My Project Gallery, click here.

Monday, November 7, 2011

Right Here Having Fun

 
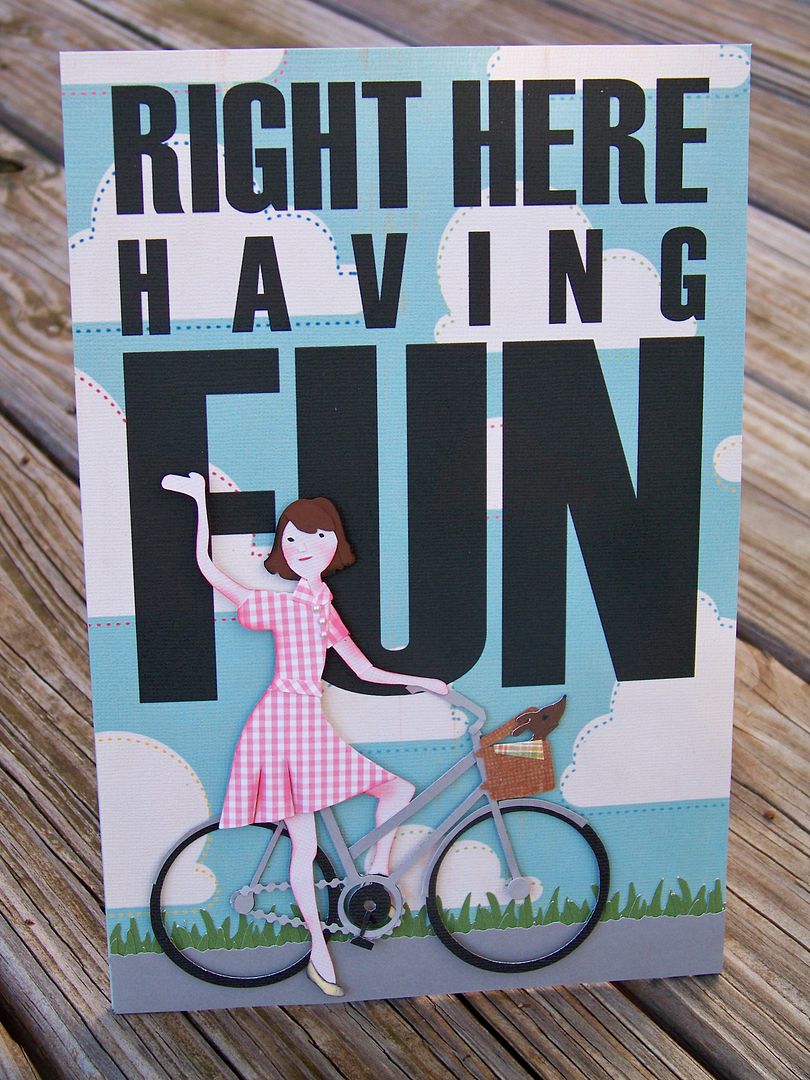
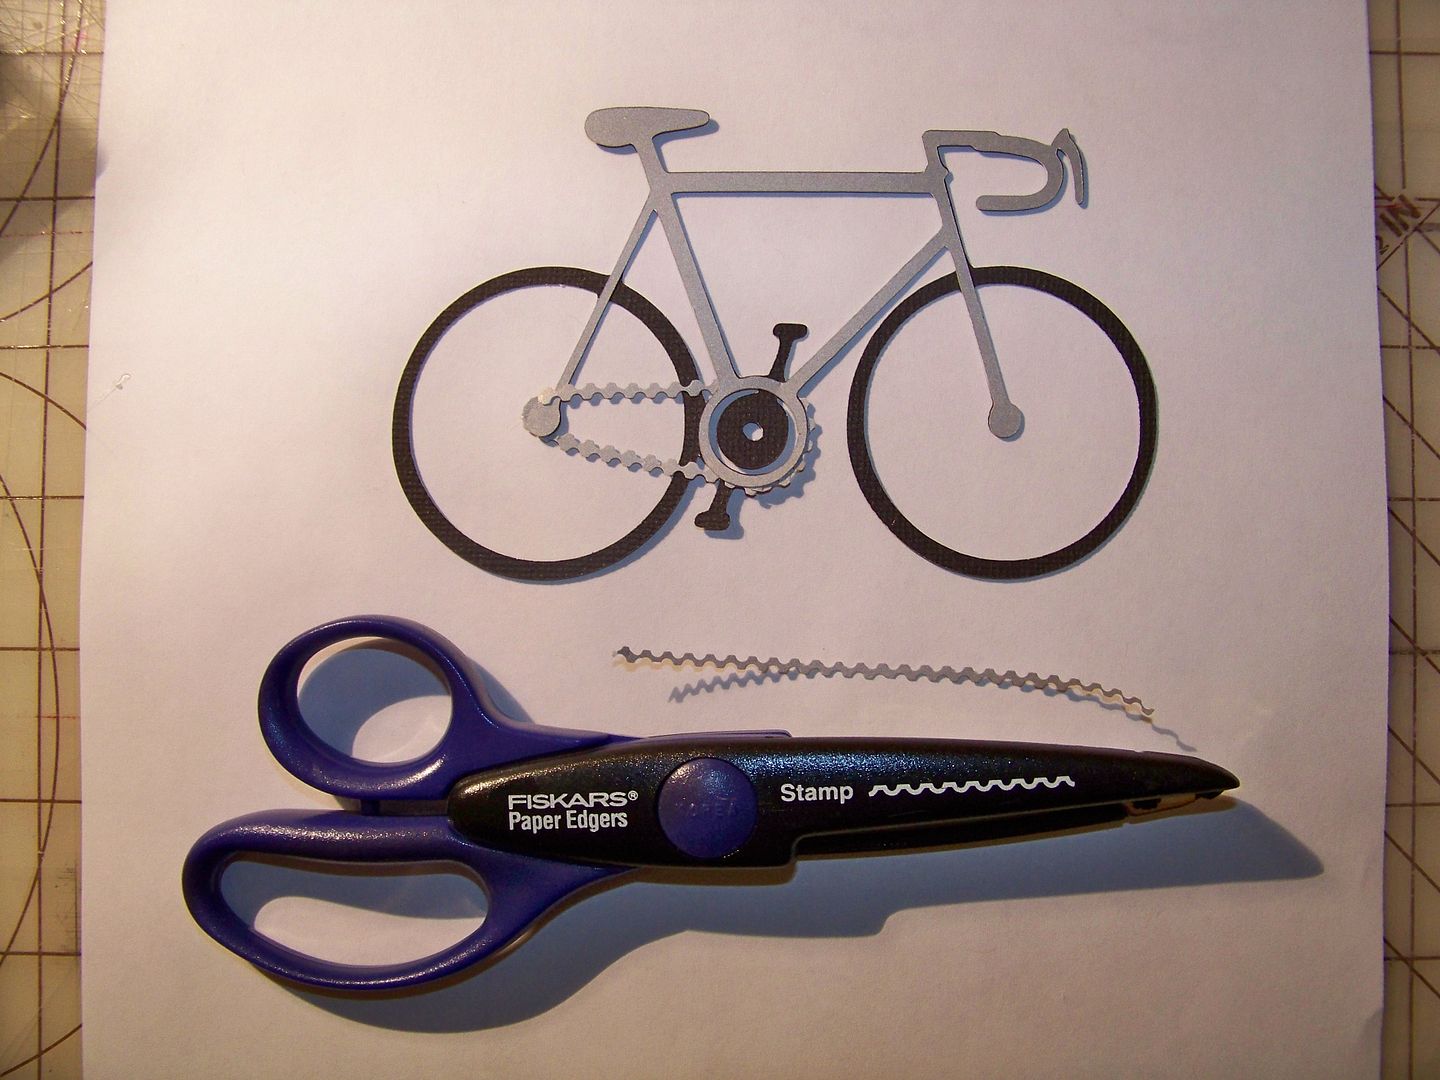
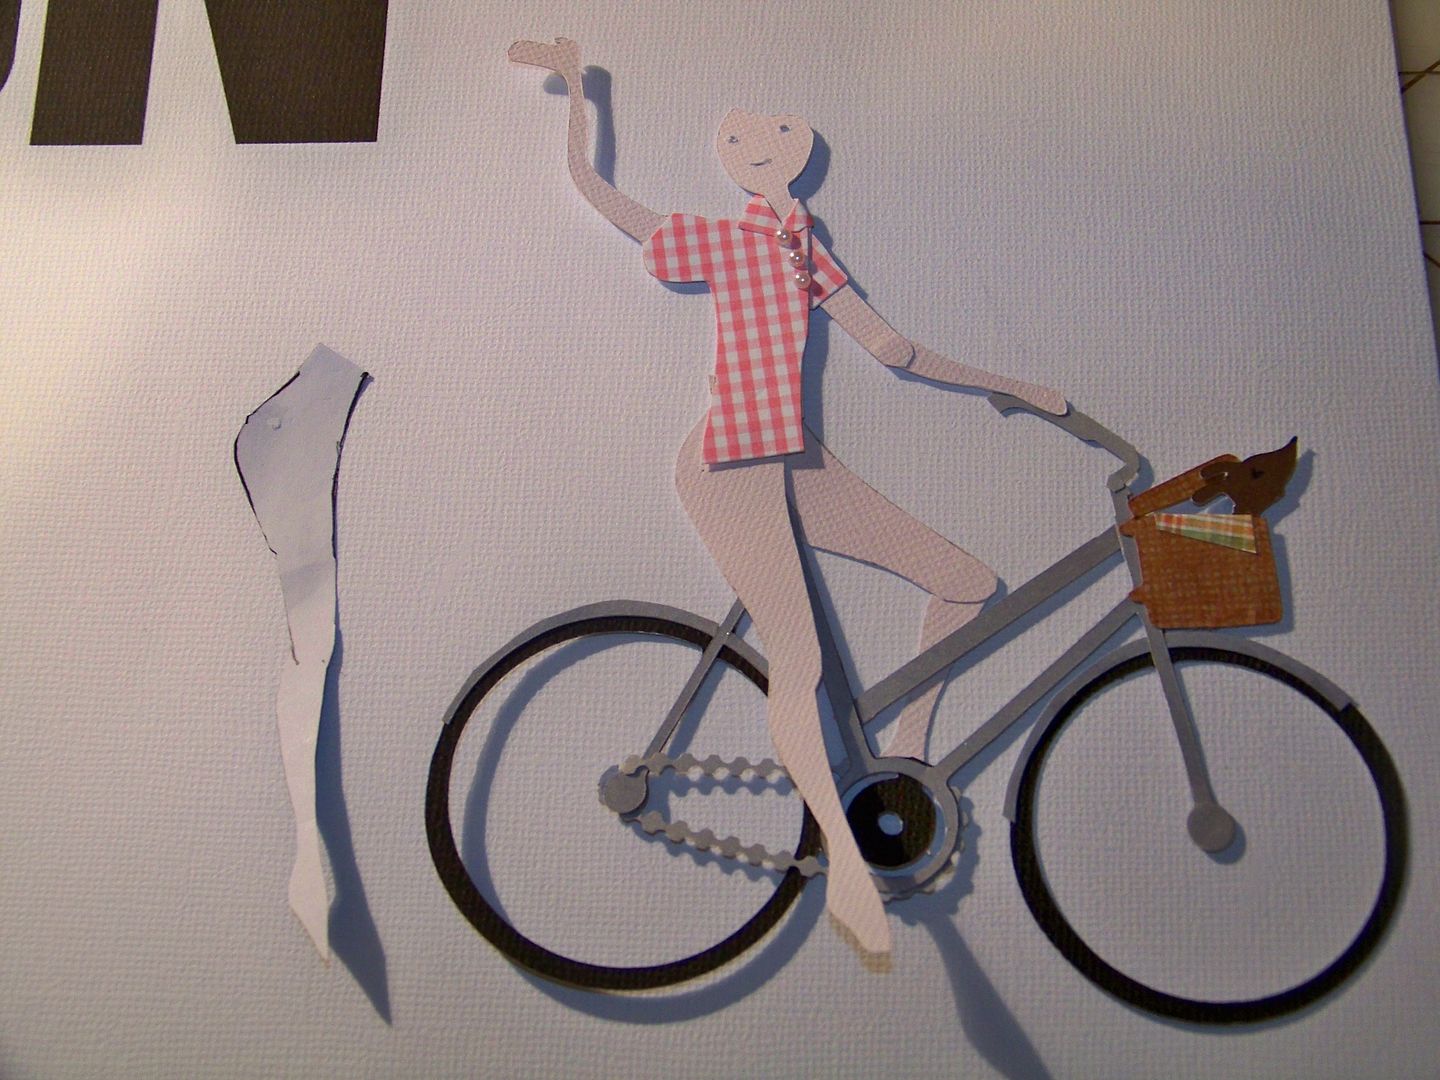
I recently had so much fun with the car cut from the Traveler cartridge that I wanted to try altering the bicycle.  I really liked the results when I added details.  I imagined the bike having a basket with something peeking out.    With business travel stealing from the time and planning of pleasure trips, the past couple of years have been all about finding fun right here at home!  Bicycles and blue skies were on my mind while I did my latest Obsessed with Scrapbooking Design Team project-- a plaque.

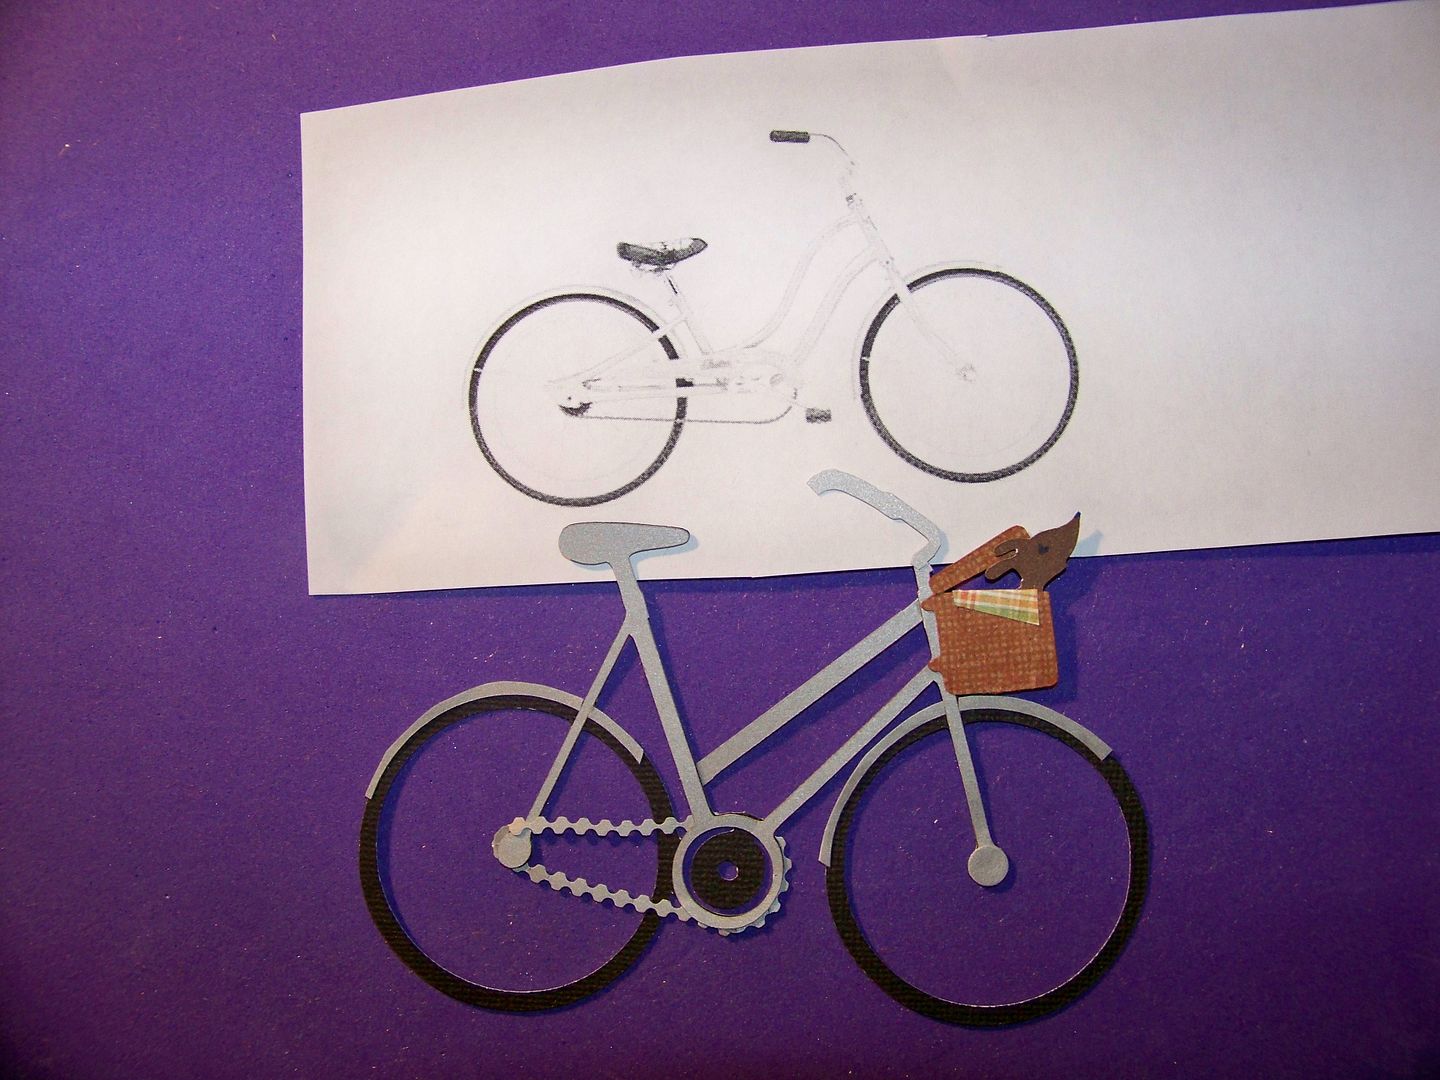
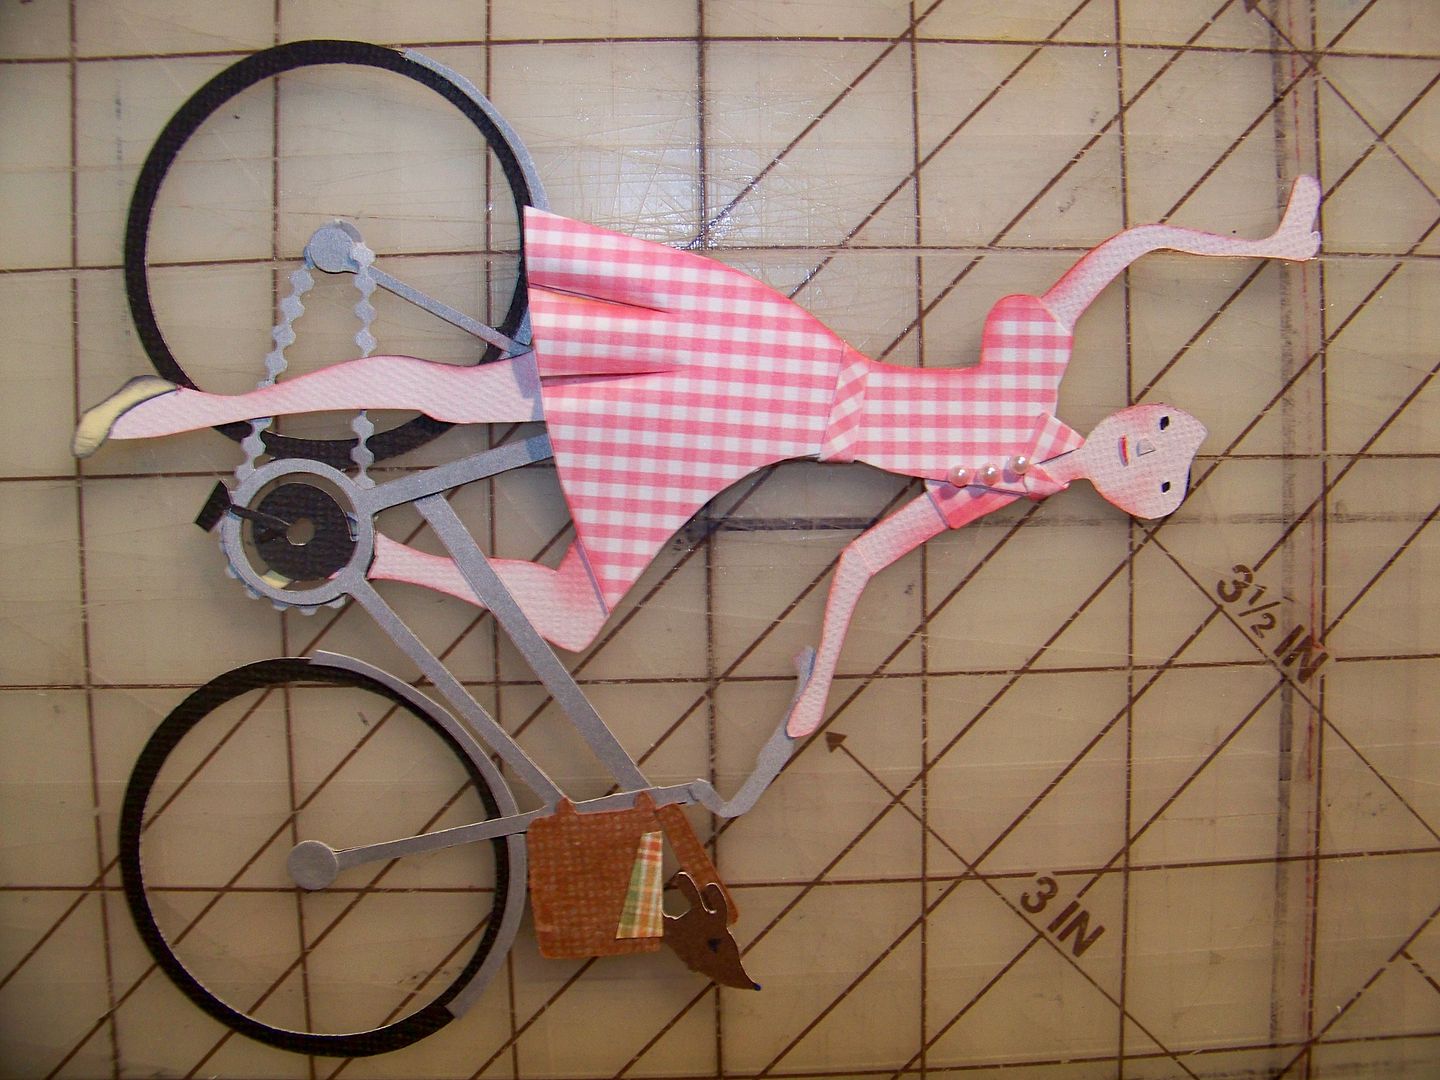
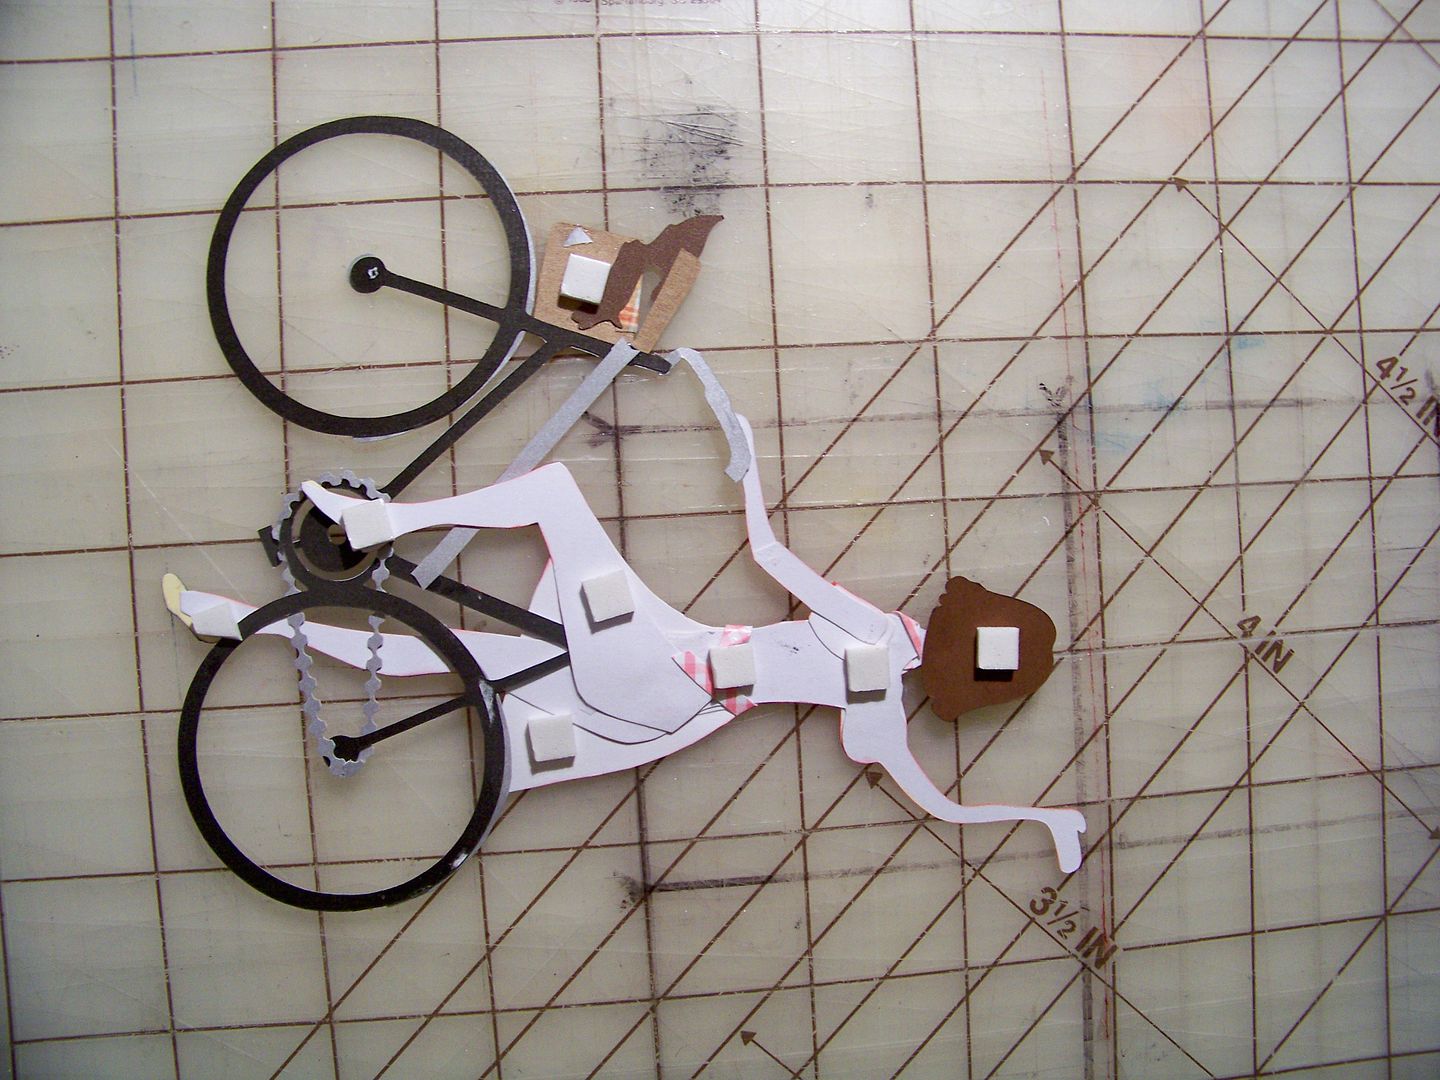
I started by cutting the bike on Traveler at 3" on the Expression.  I cut the full bike in both gray and black, and then the shift image of the frame only in gray.  For the details, I needed extra parts and these extra cuts allowed for that.  I looked up "girls bike" on Google Images to know what a bike really looked like so I could add my details properly.  I added a chain using decorative edge scissors.


I changed the angle of the top tube to look more like a touring bike than a racing bike, changed the handle bars (by cutting away the hand-brake and flipping the trimmed down handlebars), and added fenders. 

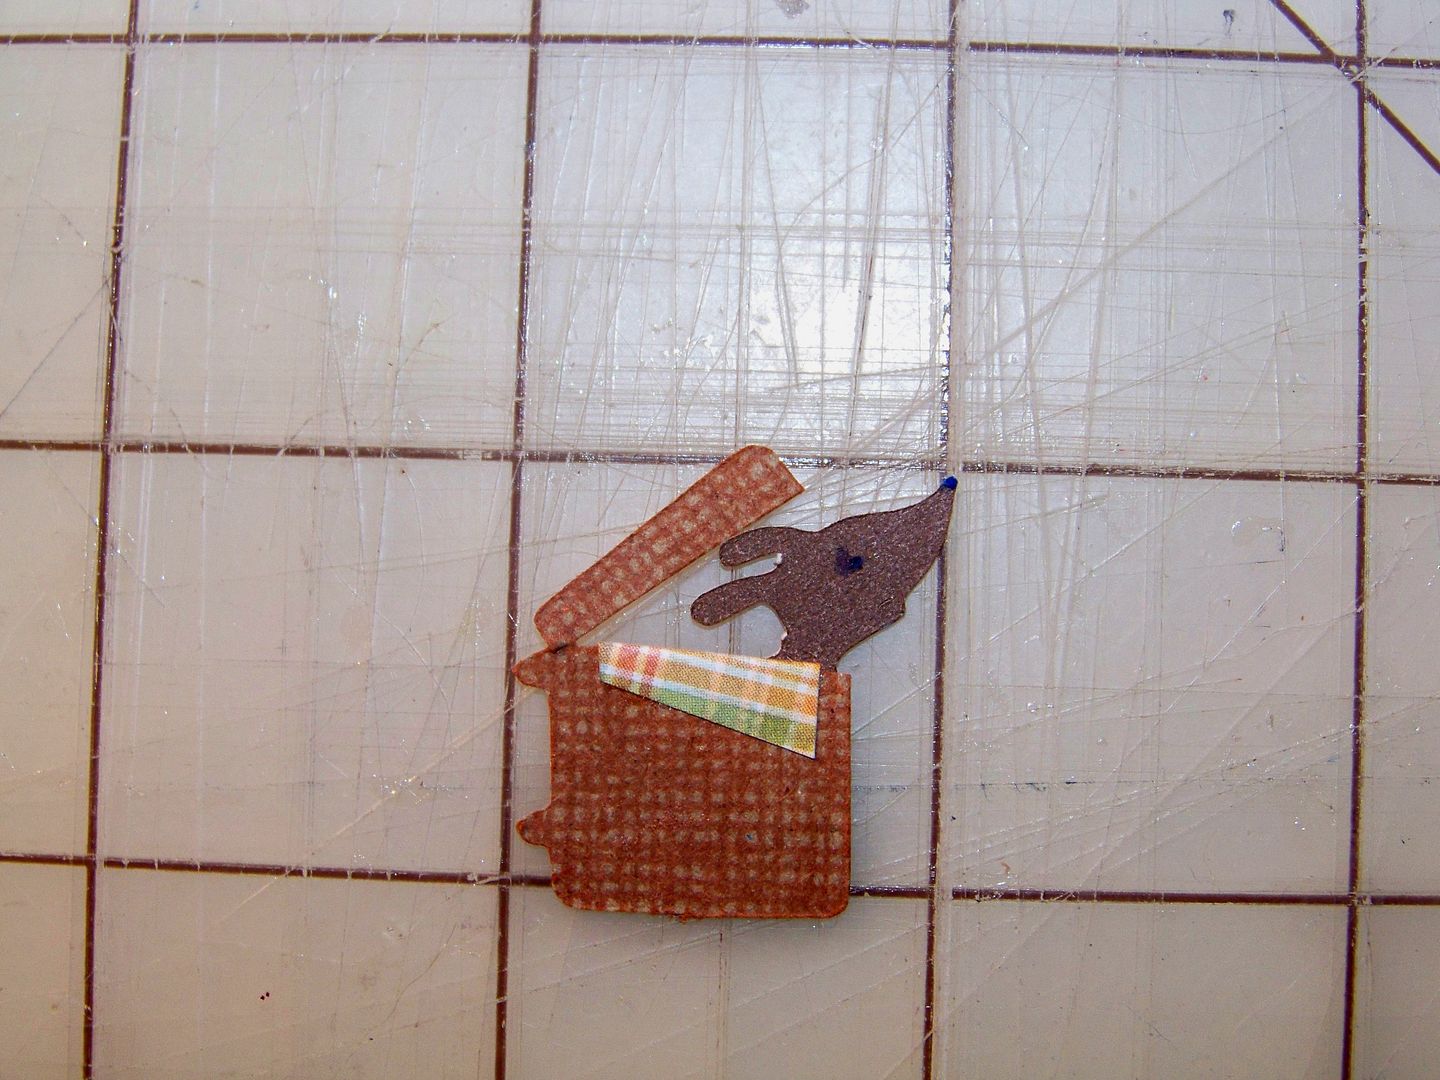
I created a basket by cutting the shape from Traveler (page 58 -icon shadow) at 3/4" on the Expression.  I stamped a woven design on it and made a cut near the top to create a lid. 


I added a "cloth" liner folded over the edge.  The puppy was cut from Paper Pups (page 87 solid) at 1/2" also on the Expression. 


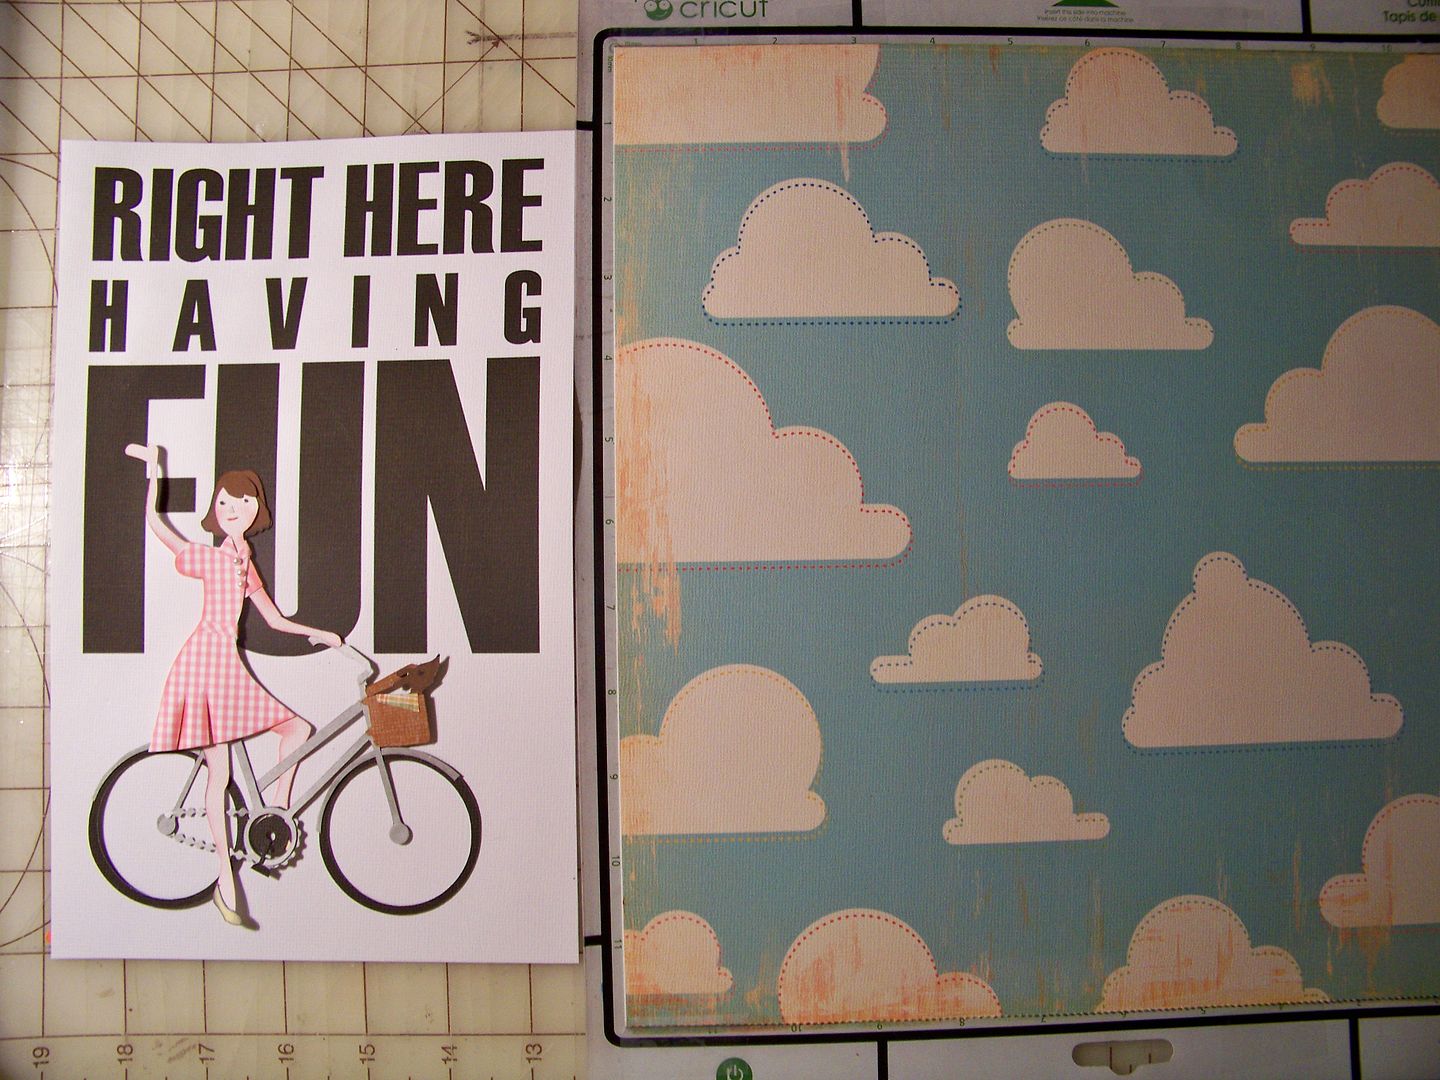
I knew I wanted the background to be the text "Right here having fun" from Traveler (page 49).  I changed the settings on the Imagine to 'print only' and printed it on white paper so that the figure with bike could be completed while keeping the background in mind.


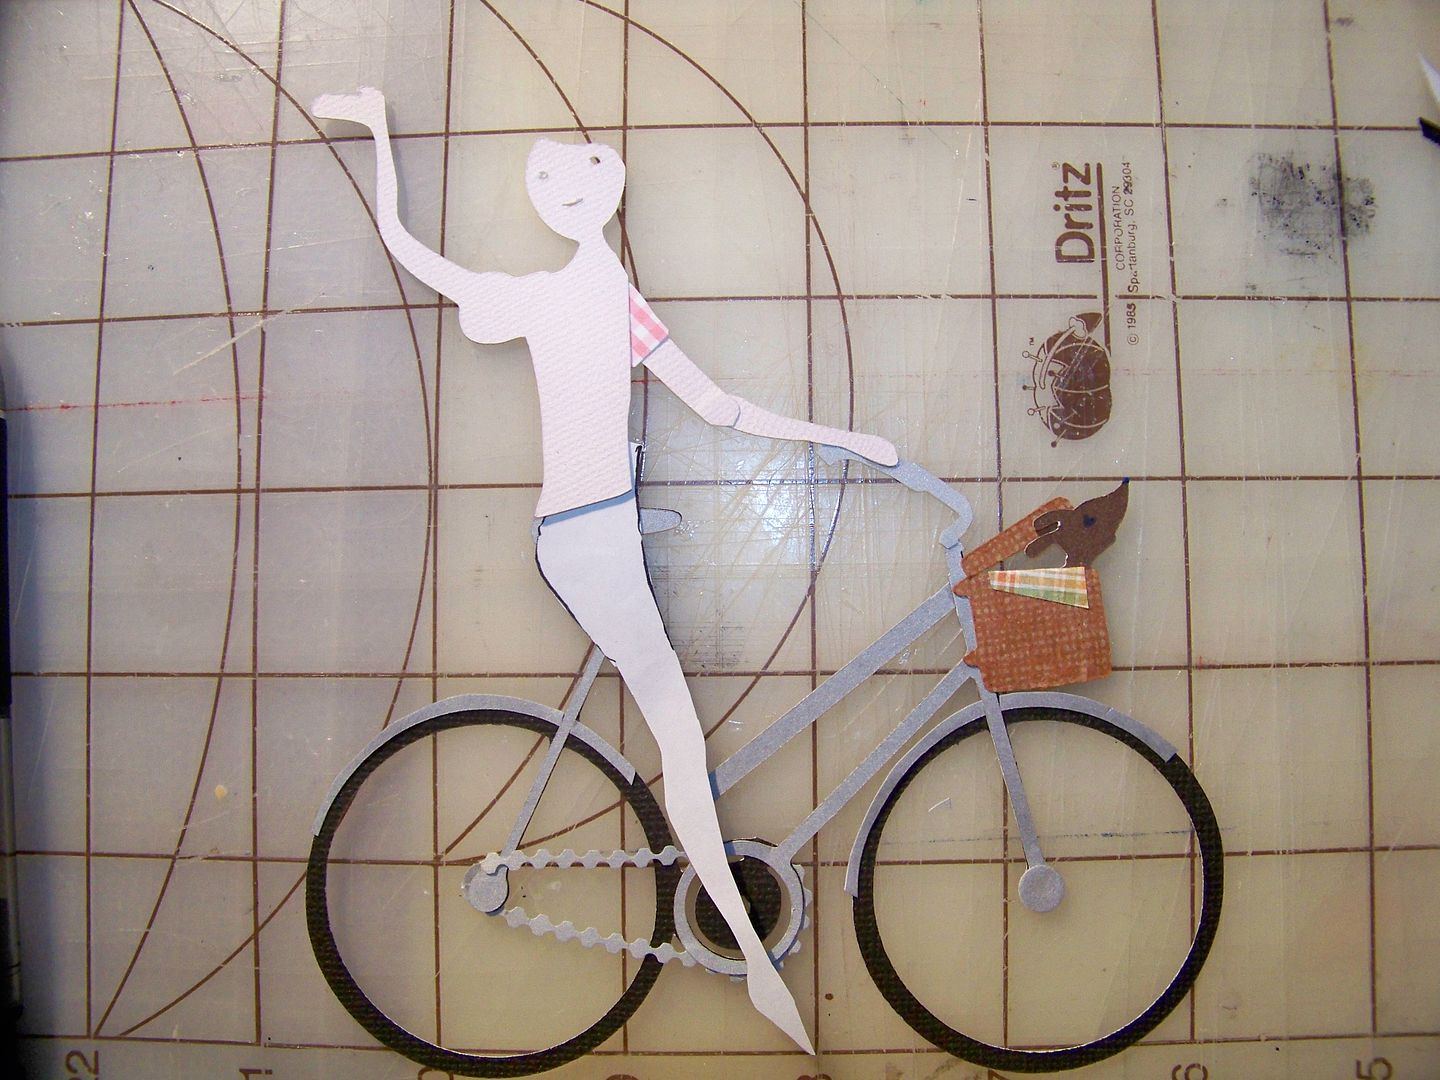
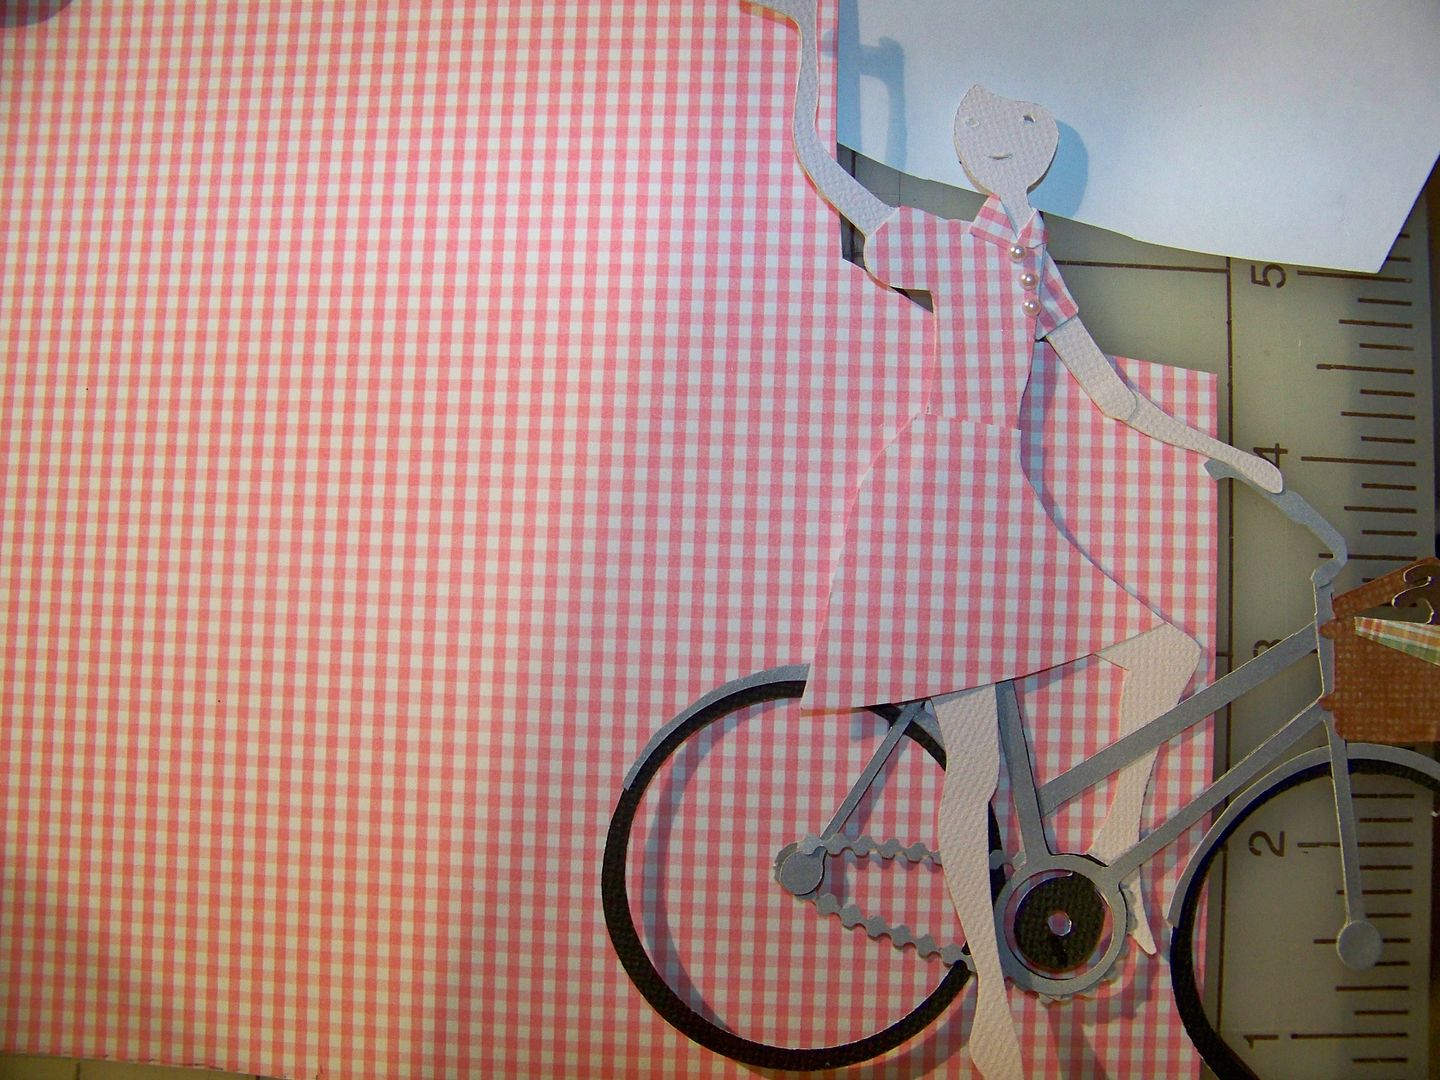
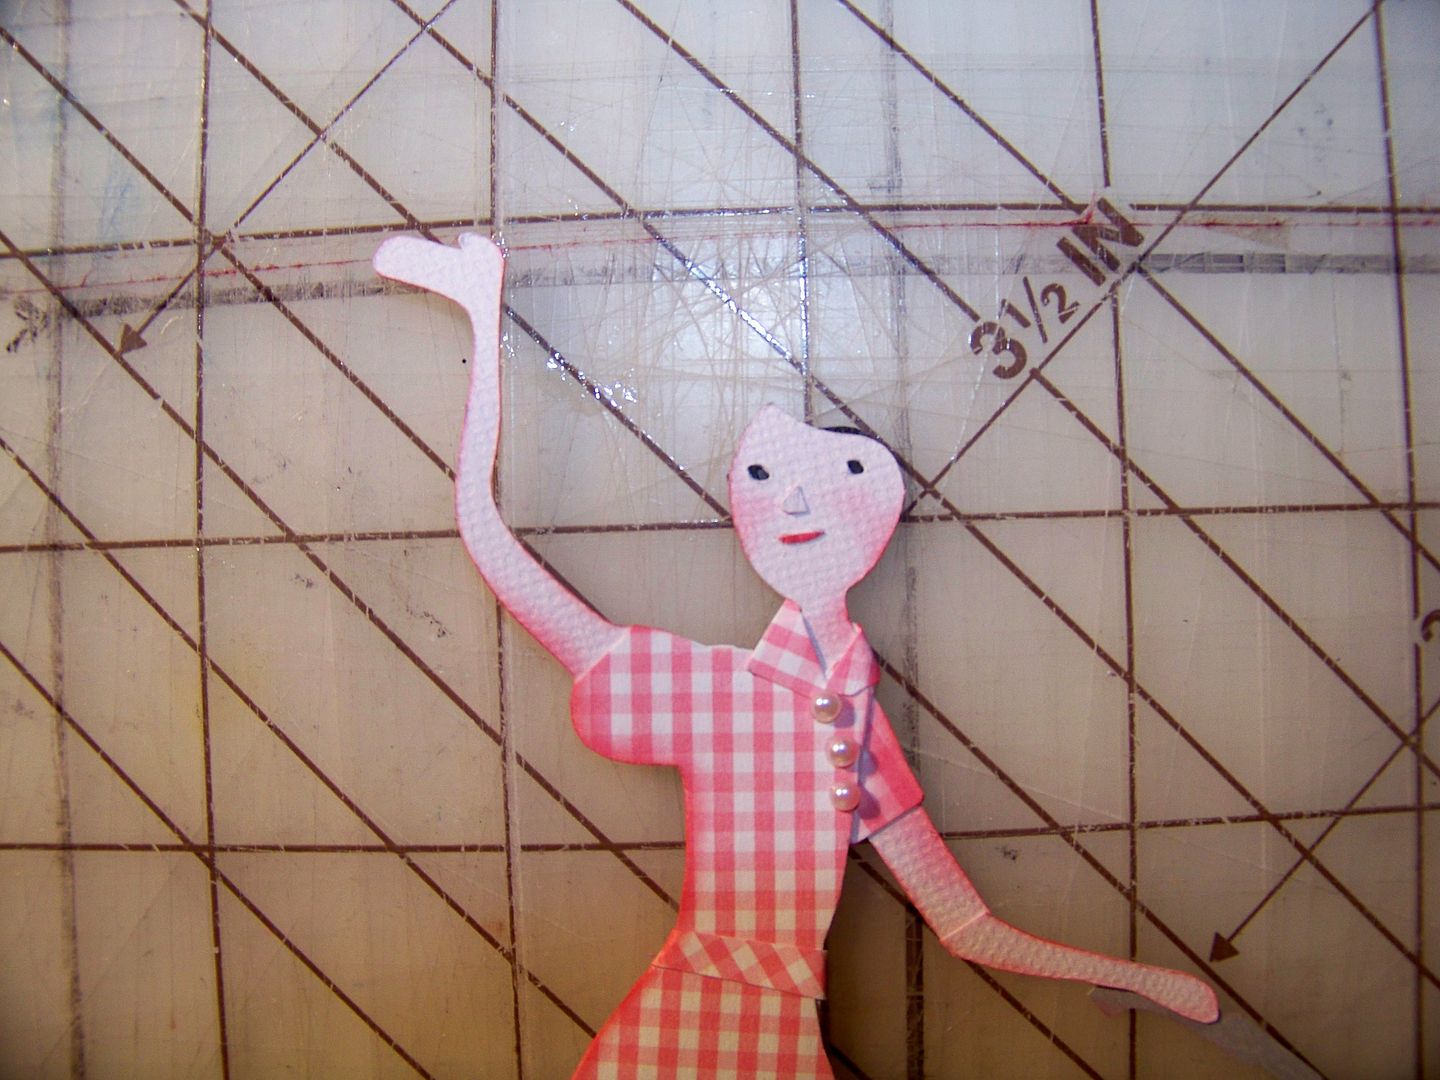
For the lady, I cut her upper body from Country Life (page 32) at 7-1/2", flipped.  (Funny, I bought Country Life just for this cut and as much as I use this cartridge, I have NEVER made that cut--until now!)  I used my Imagine to cut her and floodfill the shape with RGB 250, 229, 210 for flesh.  I also floodfilled a 6" square with the same flesh color so I could make her legs.  I hand-cut one leg to make her lower body.  I traced one leg straight and cut that.  I had to cut her arm at the elbow to change the angle in order for her to hold the handlebars.


I used the same leg pattern to trace and cut to create a bent back leg.  I didn't know if I wanted her riding the bike or stopped and I wasn't sure of the angles of the legs so I just pivoted them until I liked the positions.  I started adding clothing by tracing and cutting... and cutting away parts of the girl's torso a bit.  I added a shirt collar and adhesive pearls to emphasize the twisting of her torso.


I had been troubled by the look of the cut joint of her knee so I traced the bent leg and hand-cut so that it would be solid.  I created a skirt but after it was adhered, I decided to add an extra layer so that I could cut in a couple of "fabric" folds.  I re-cut it by matching the pattern and simply tracing it again, then cutting it out.  I cut in a couple of slits and rolled them toward the back, then inked.


I added a layer of black behind the cut of the face to finish her eyes.  I inked her face and added a paper mouth and nose.  I added a bias cut waistband.  I also cut the elbow to change the bend to be right at the inside of the elbow.  I inked her body in pink. 

I traced her feet to cut out little shoes and inked those in black to be sure they visually looked separate from her feet. 


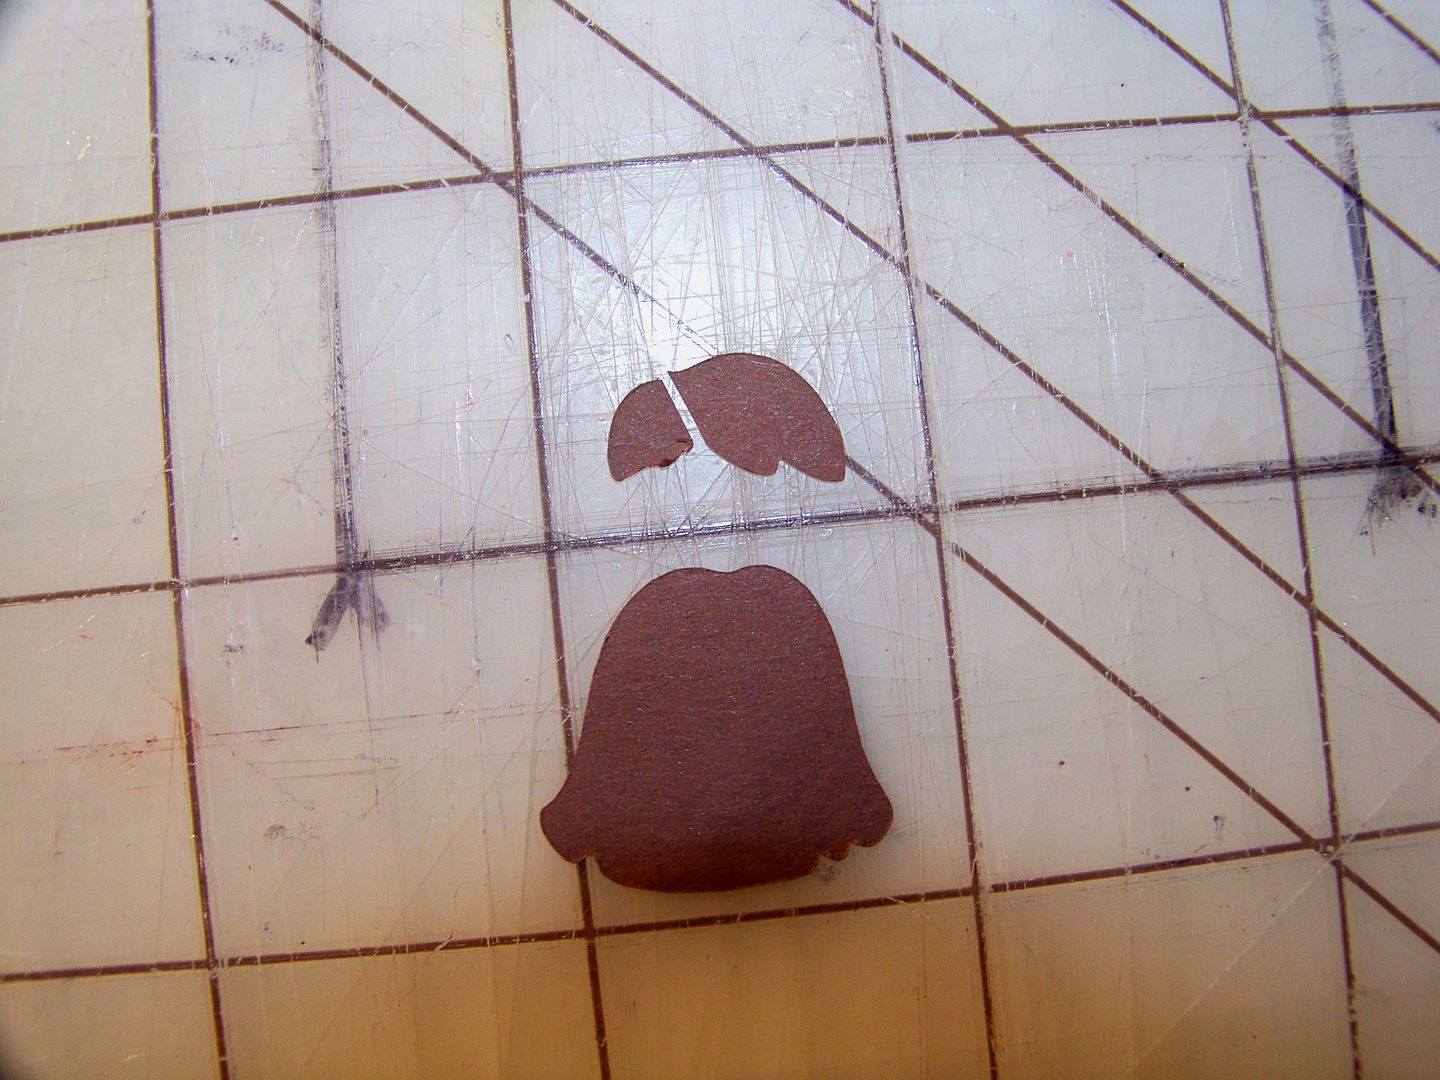
I created her hair by using two cuts at 1-1/2" from Paper Doll Dress Up:  page 44 and page 47.


My figure was complete!


I had been thinking about the background...  I have been noticing the skies around my neighborhood the past few weeks-- puffy white clouds and beautiful blue skies.  I took this picture with my phone a couple of weeks ago while sitting in the pick-up line at my daughter's school.  What an unexpected gift that day! 


Clouds just had to be in the background!  I printed a page of clouds from Hopscotch on the Imagine.  I double checked the scale next to the paper printing I did earlier and to the figure.


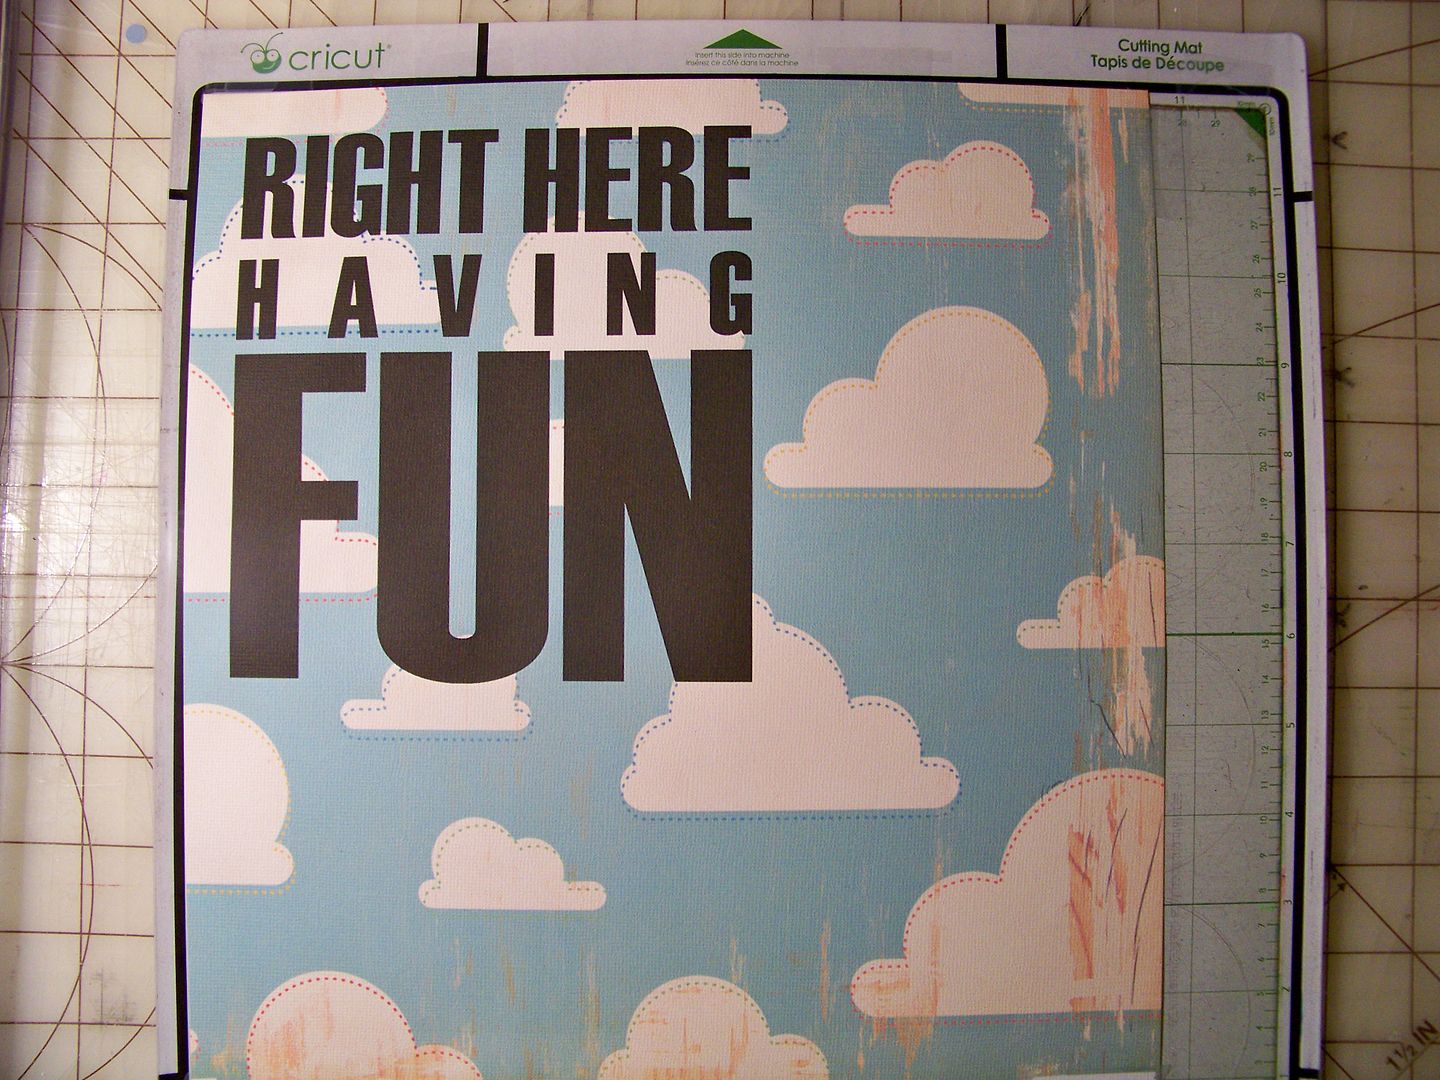
I trimmed off the top and sides a bit to remove the stylized scratches and scrapes from this printed paper so that my text would be on "cleaner" clouds.  I put the cloud paper back through the Imagine and used the Traveler cartridge again to print my text directly on the clouds-- with the machine set at 'print only.'  Again, I printed it at 7-1/2".


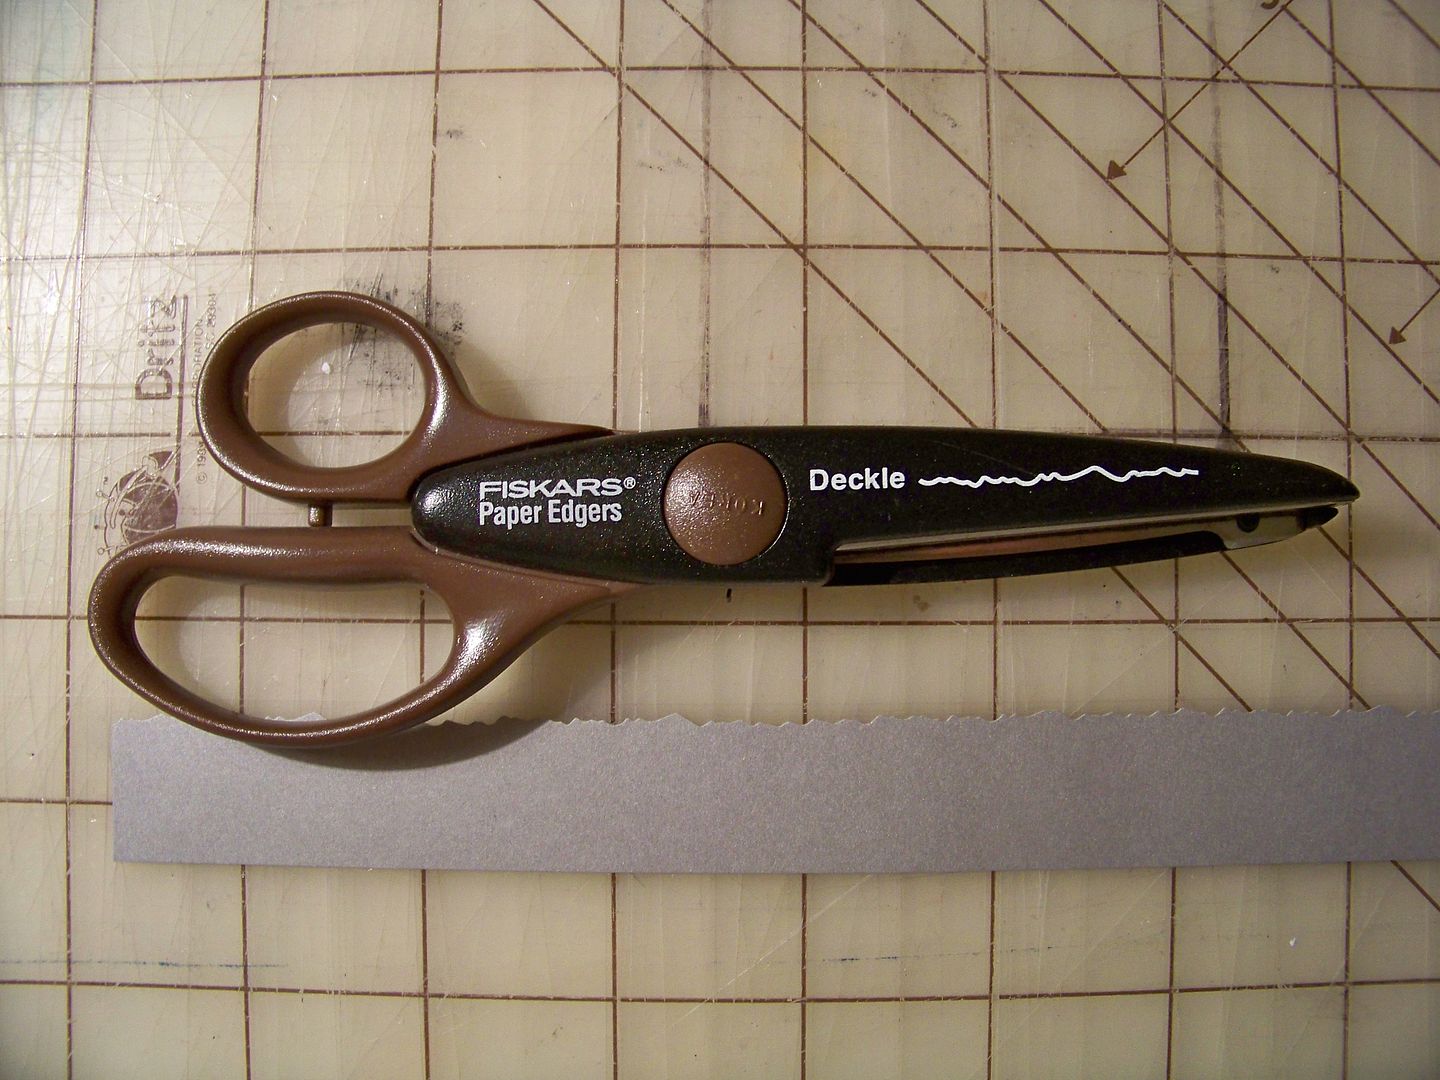
To ground the figure and bike, I cut a strip of gray paper and used decorative scissors to deckle the edge a bit. 


I used an edge punch to make two layers of grass and applied the grass behind the gray strip to look like the side of the road.  This was applied to the background paper.  I mounted the background paper on Crescent Illustration Board that I cut to size.

I used pop dots to apply the figure and bicycle to the plaque. 


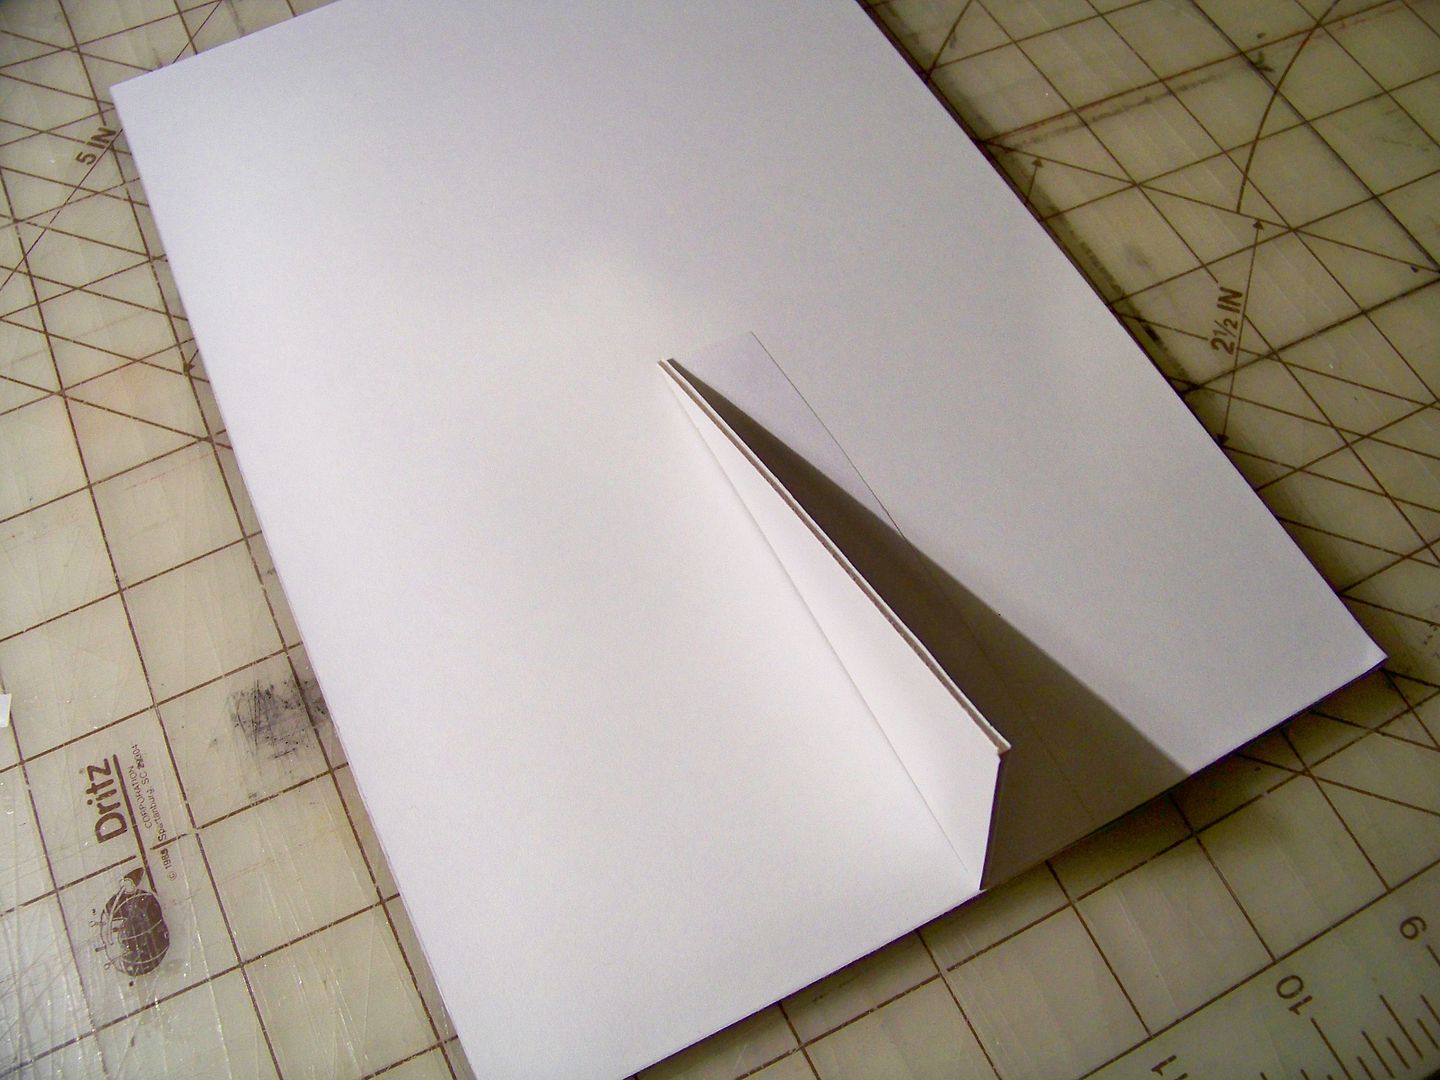
I cut a bit more illustration board to create a prop behind the plaque so it would stand up.


Finished!


This was so much fun to put together!  (I know, I always say that-- but it is always true!) 

If you missed my previous Design Team posts and want to check them out:
  • Click here to see my project featuring the orange cut on a gift set, which features printing the cut as a repeating motif to make custom paper, using printable vinyl, and customizing a face by turning the vertical axis. 
  • Click here to see my card featuring the car cut, which features adding details to look like a VW Super Beetle and adding a simple altered figure!  
Thank you for looking at my project!  You can find all of my Cricut and Yudu crafts by clicking here to go to My Project Gallery, or by clicking the tab at the top of my blog.  I hope you are having fun right there wherever you are!

Wednesday, September 7, 2011

Autumn Served with a Side of Penance

Well, a little bit of rain has changed everything here in Kentucky!  Gone is the 100 degree heat index, chased away with a little taste of autumn.  We had our coolest Labor Day in 76 years... and most people were thrilled.  ...Me?  Not so much. 


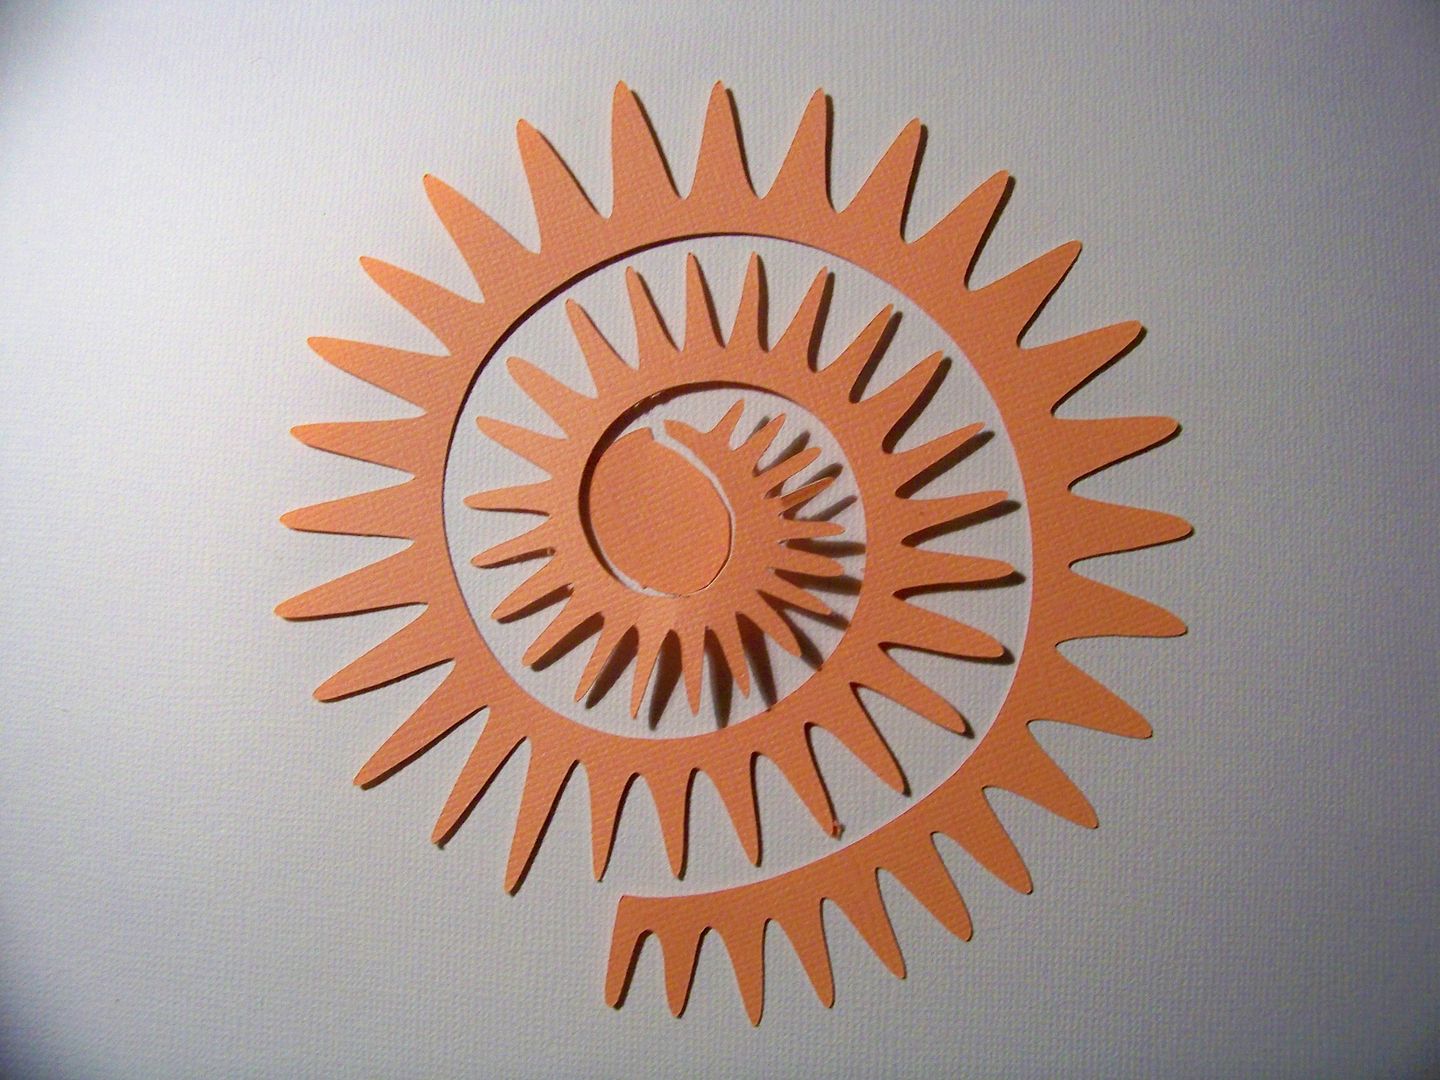
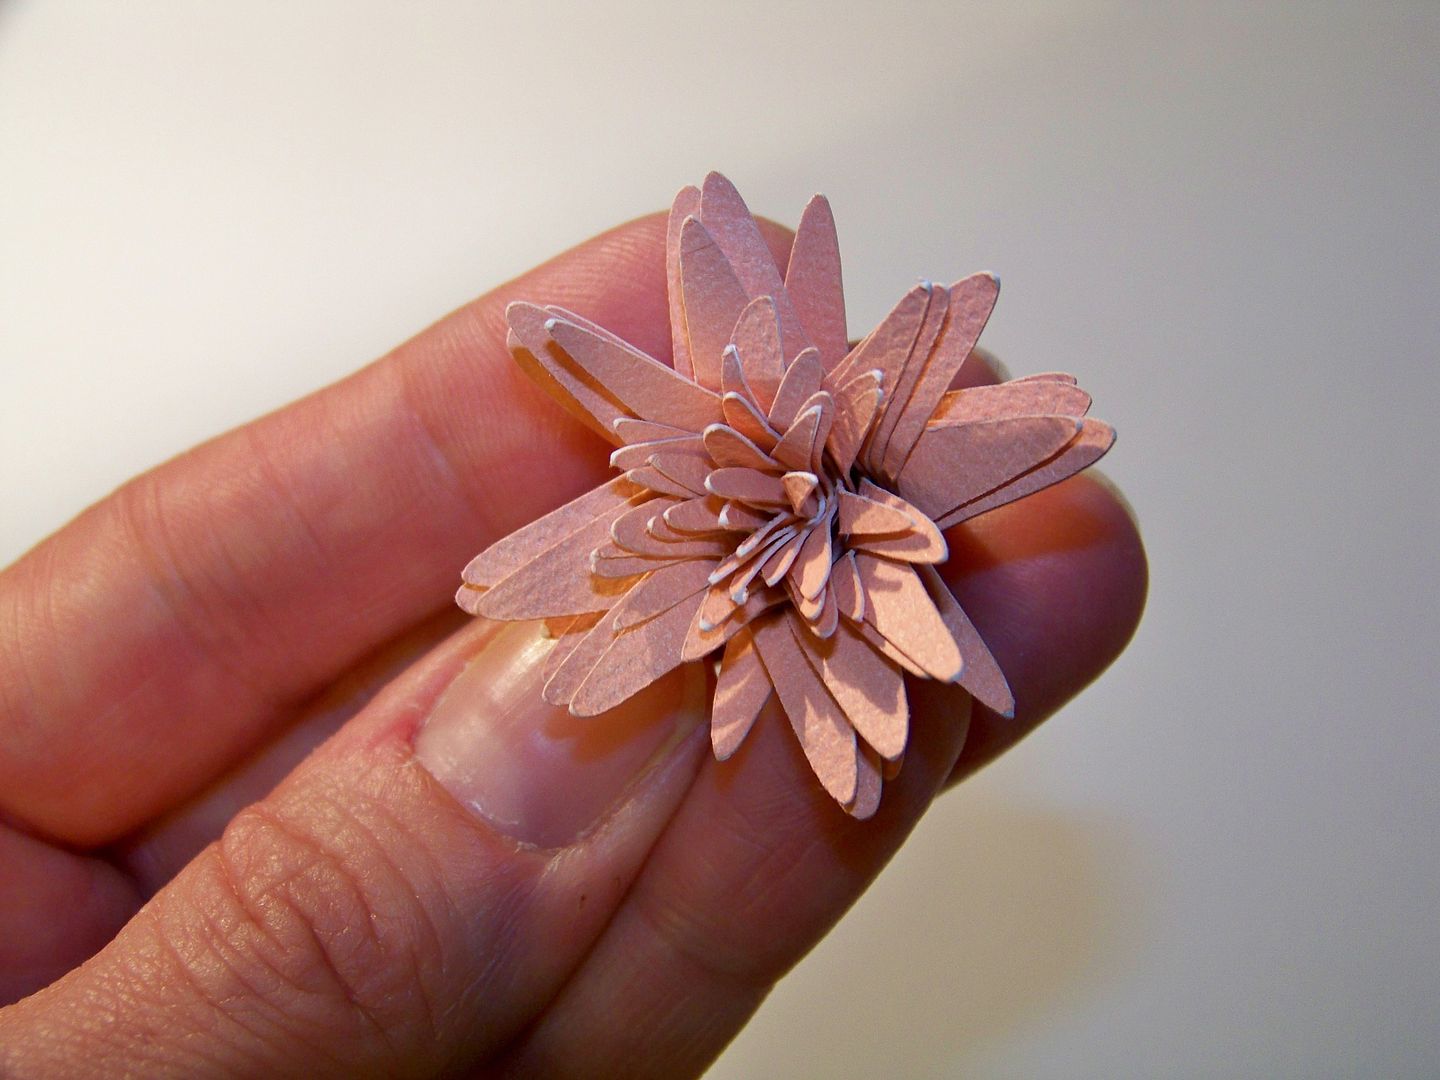
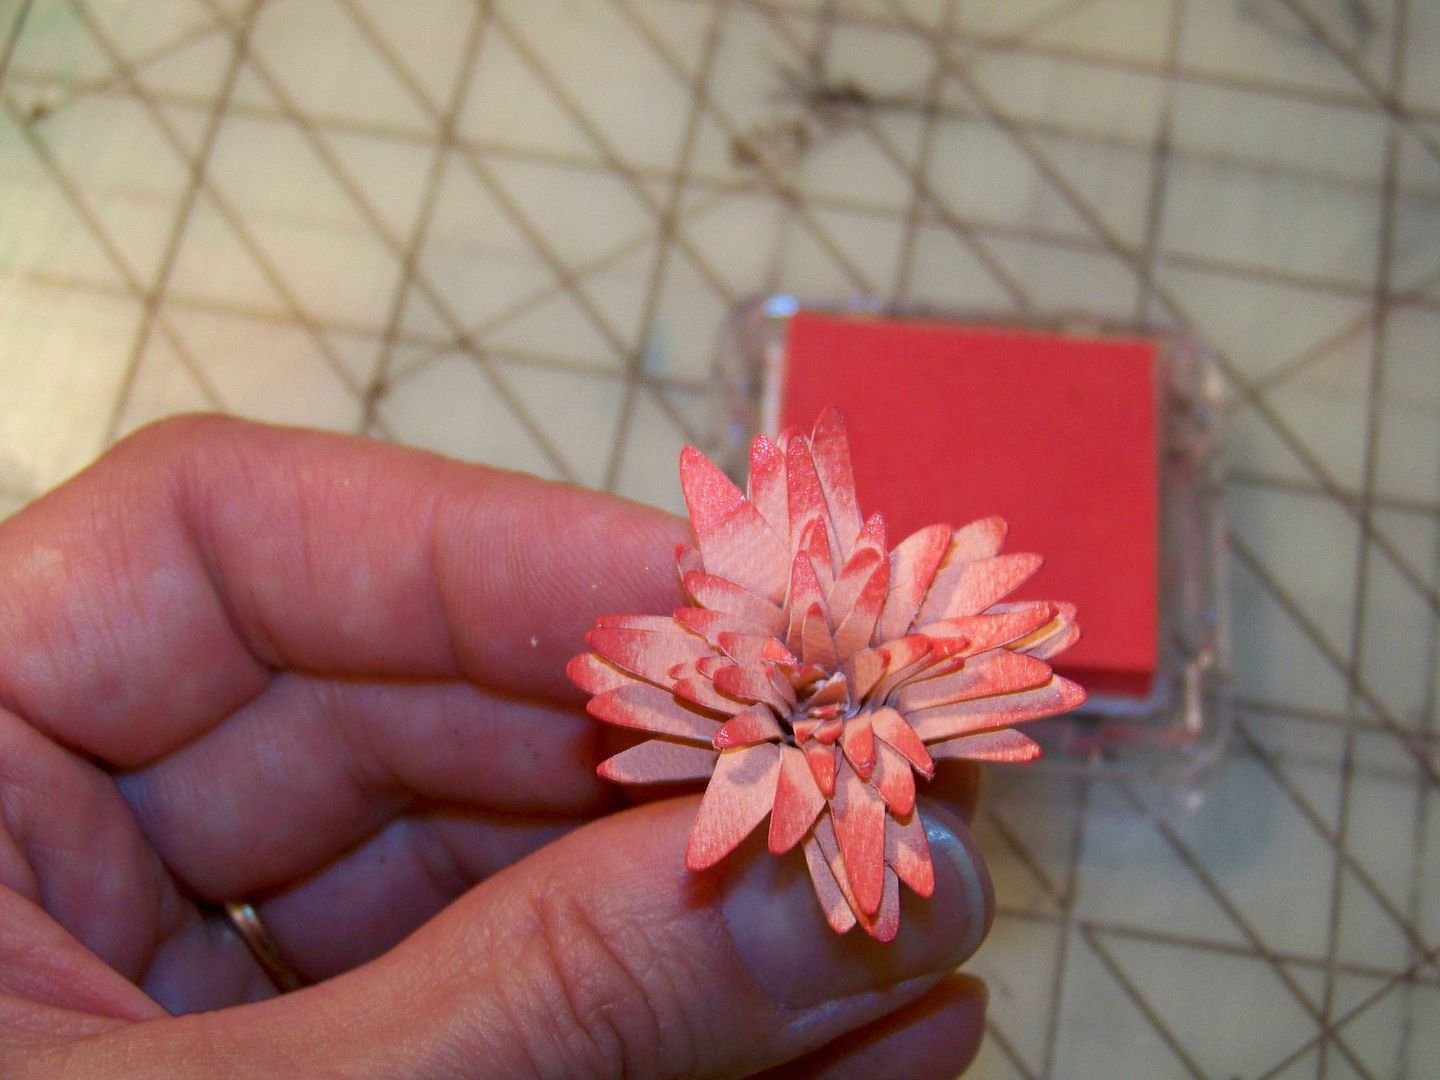
I love summer and I still had warm weather and flowers on my mind as I made a little card for my mother-in-law.  I bought the Art Philosophy cartridge from my message board friend, Jami Larson (CricutFarmer), just to have that spiral-cut pointy flower.  So the first thing I did was make it incorrectly.  But I liked it!  I wanted a tight flower after seeing some wonderful flowers in this book I just found, Paper Bouquet.


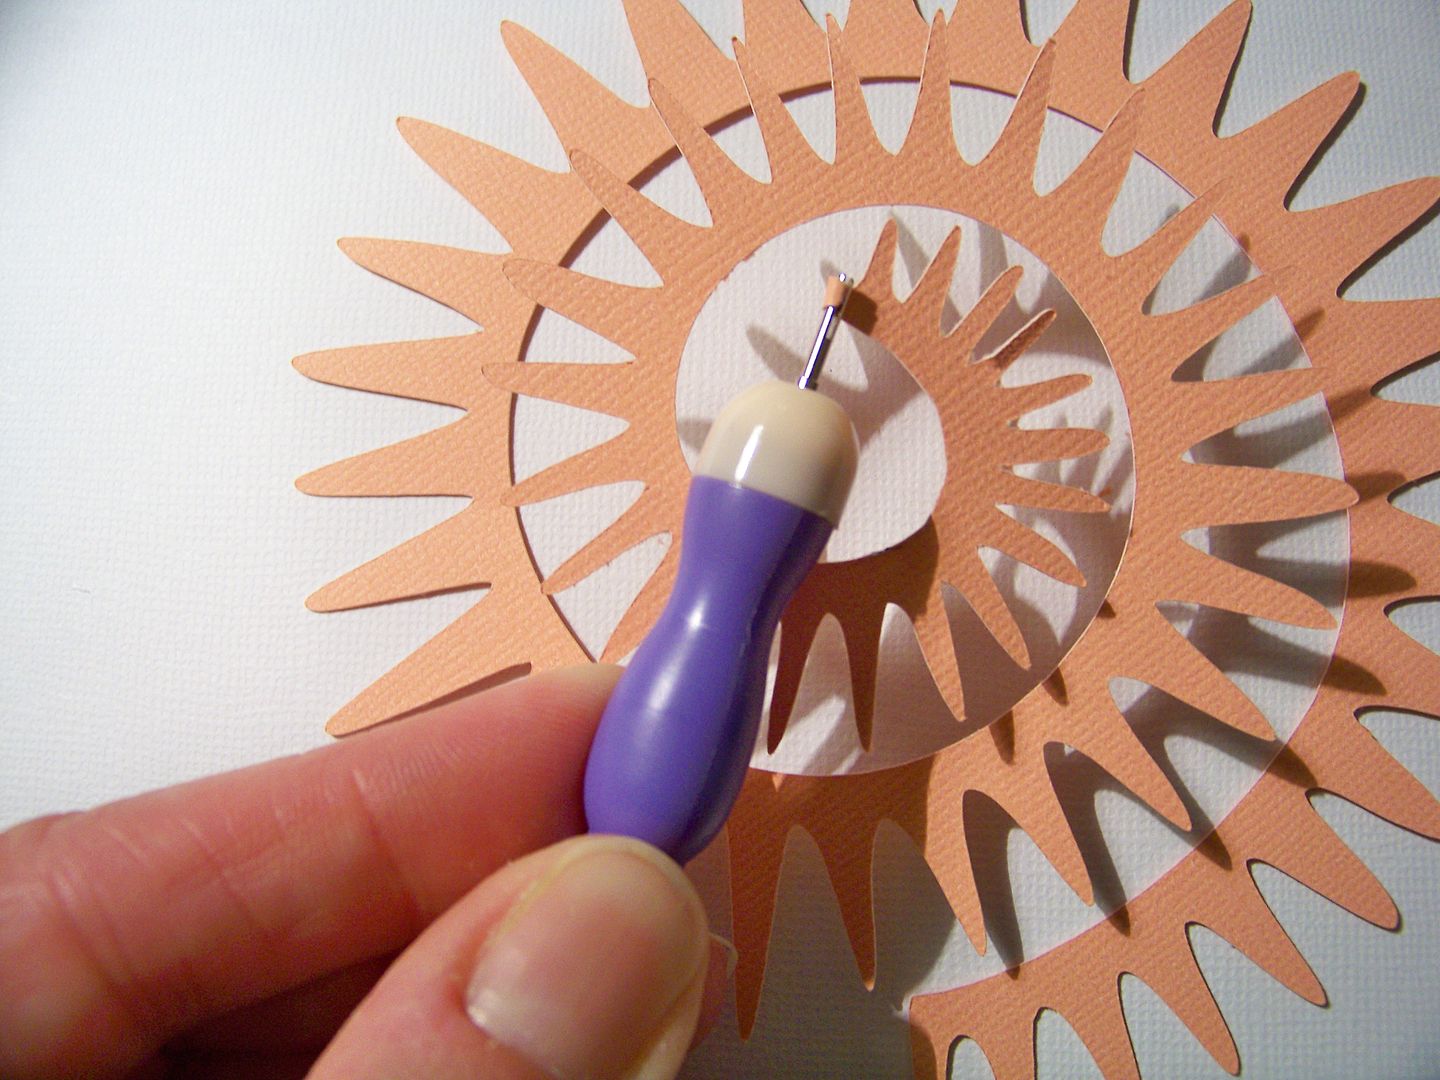
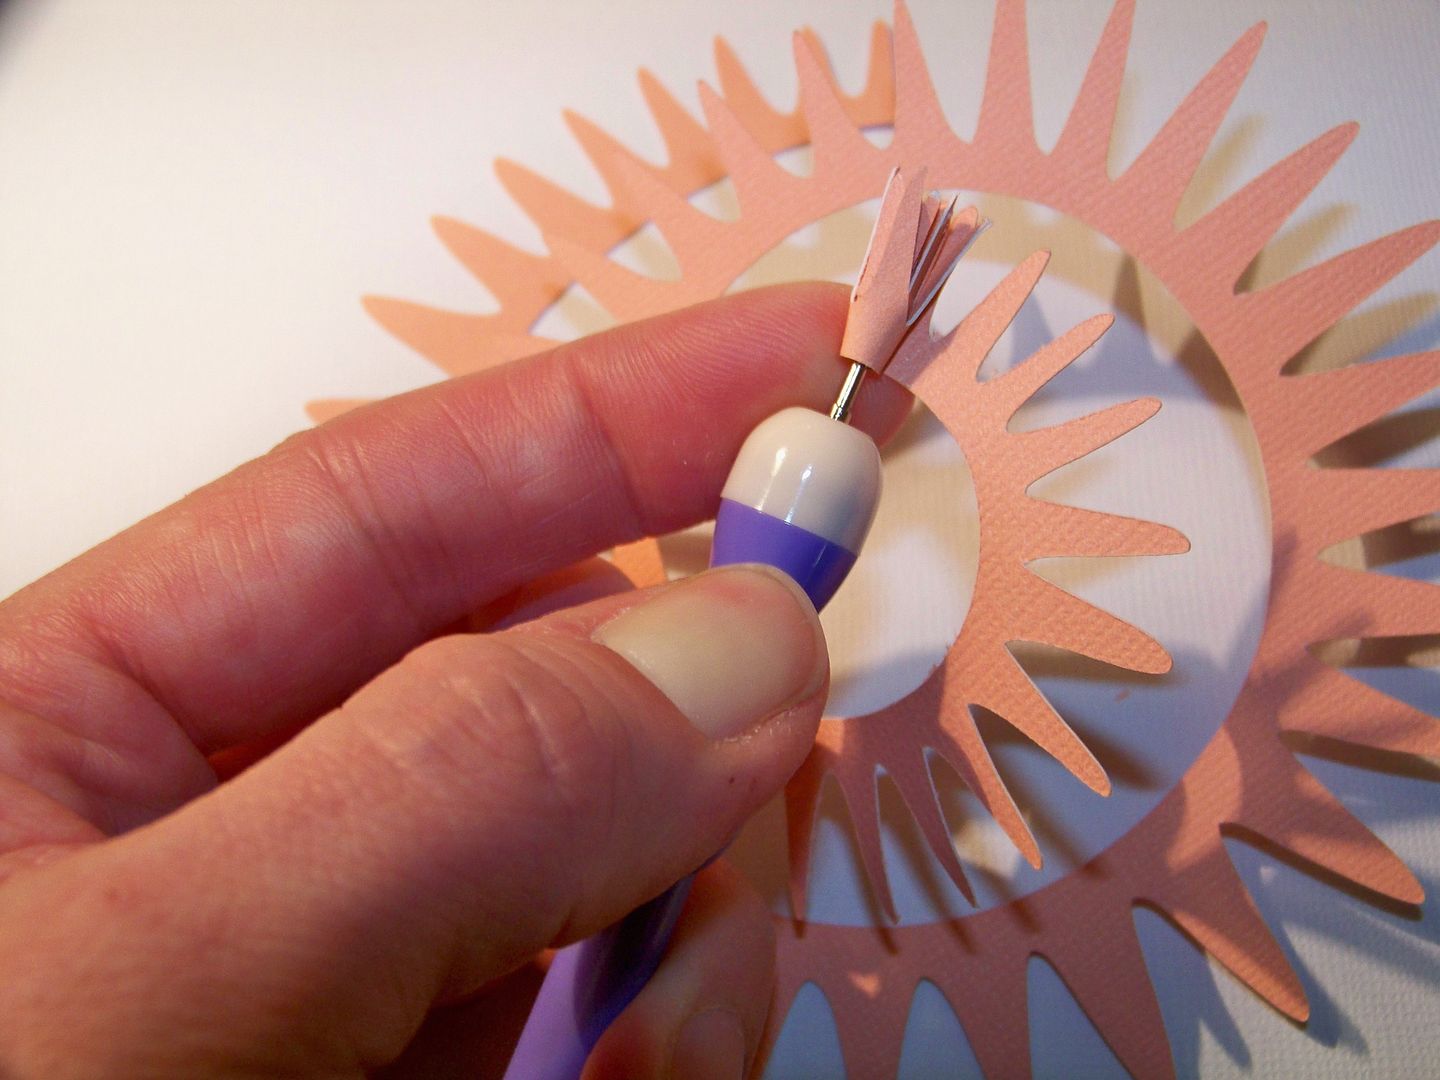
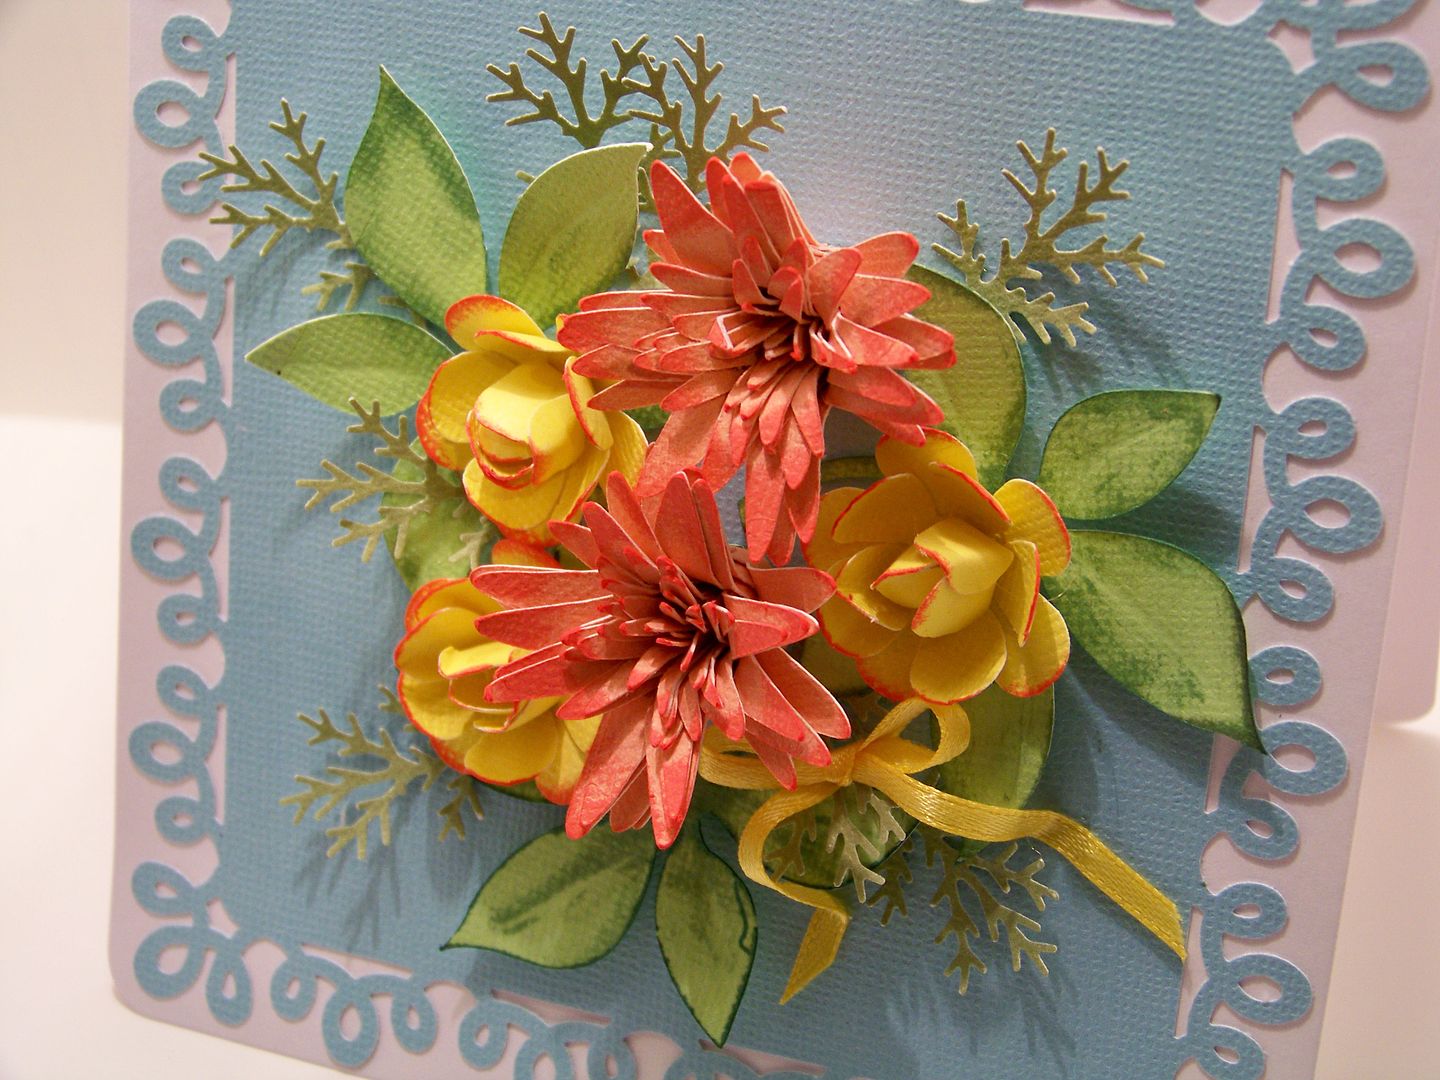
For this card, I cut the blue cardstock as a 5" square and used Martha Stewart punch-around-the-page loop punch for the base.  I created two pink flowers by cutting the pointy spiral flower on Art Philosophy at 5" (page 69) on my Expression.  Because I was going to roll it backwards, I trimmed off the inner circle, which normally would be a base.


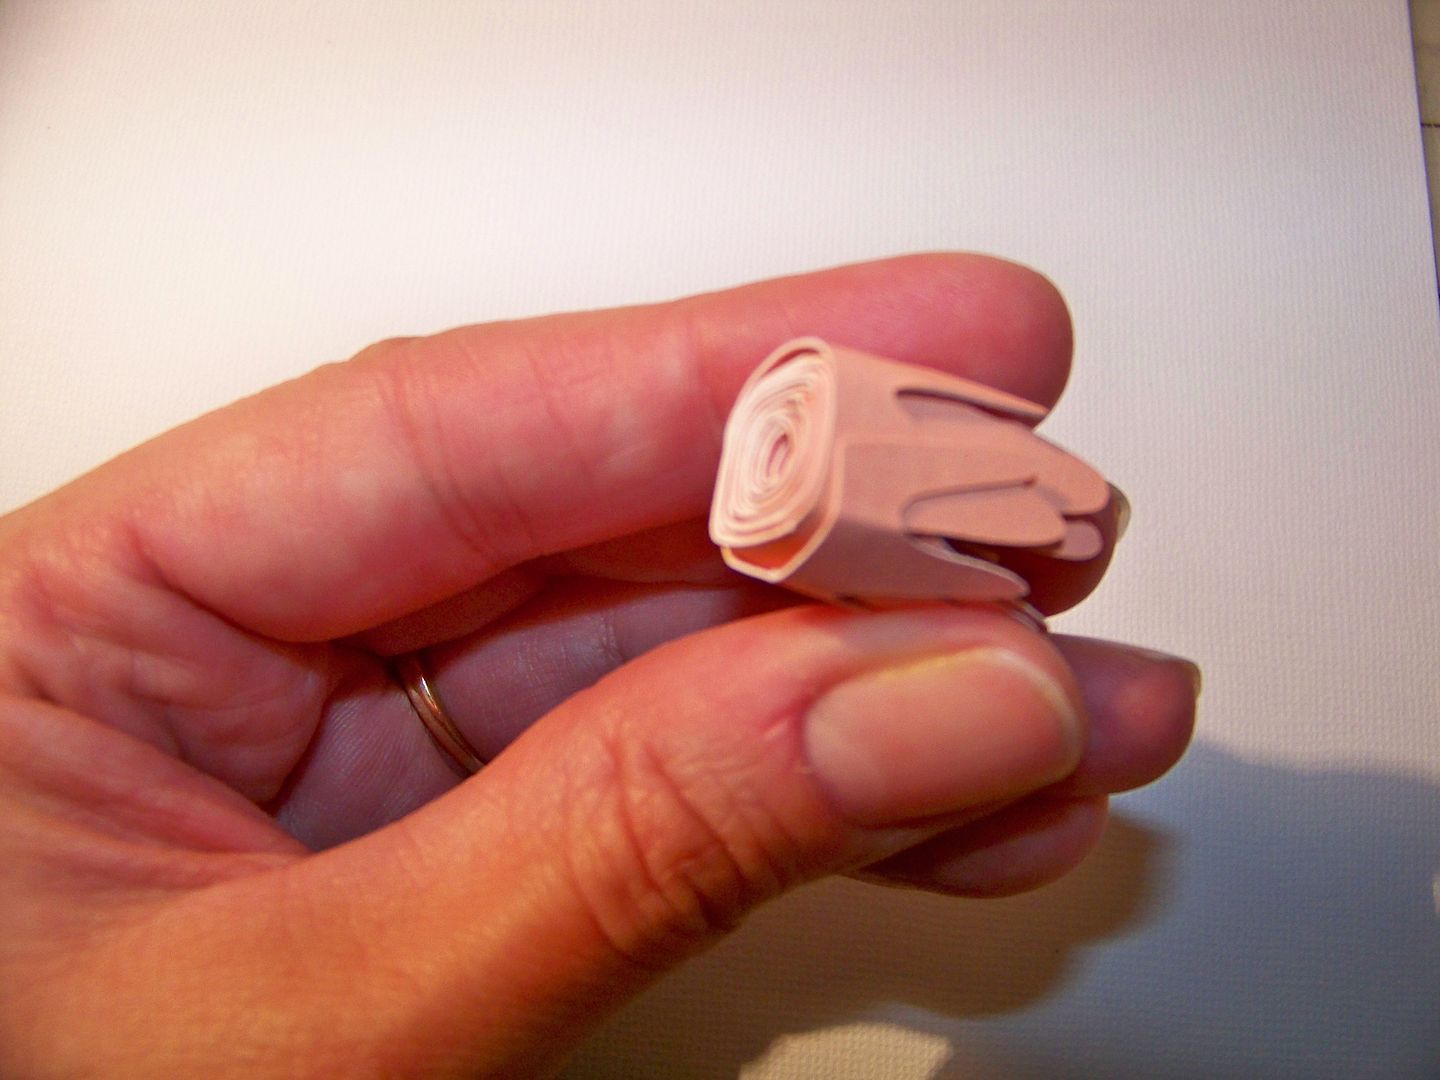
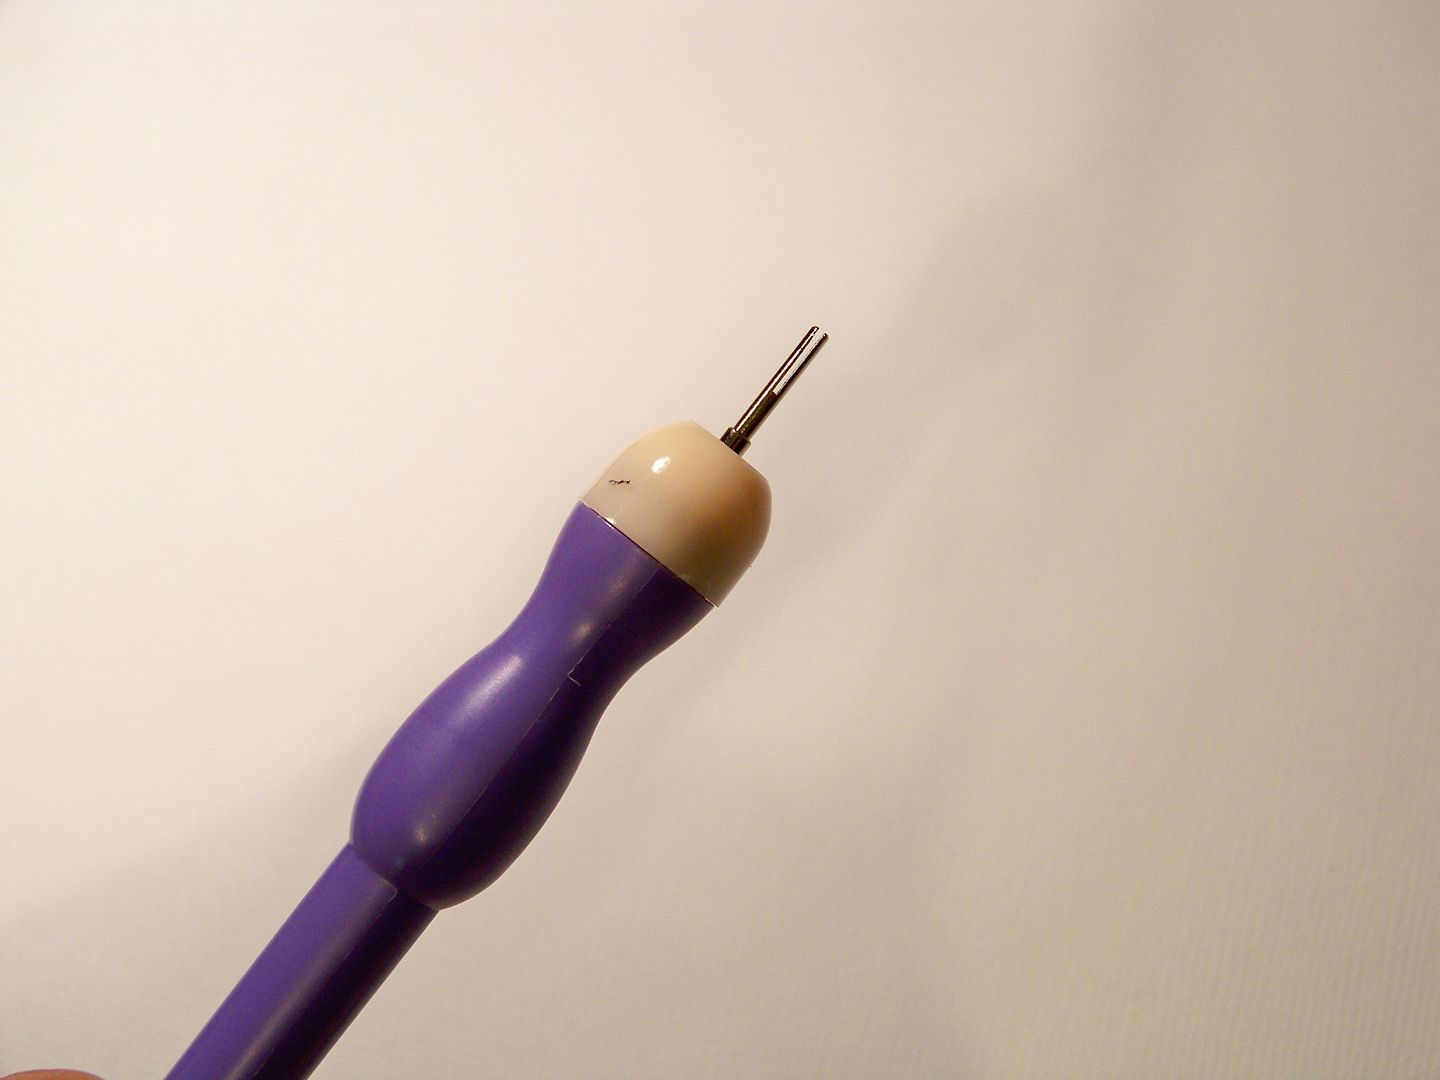
I used my quilling tool to roll the shape, starting from the inside, the backward way from what is usually done with this flower cut!  I peeled back the petals and inked it.


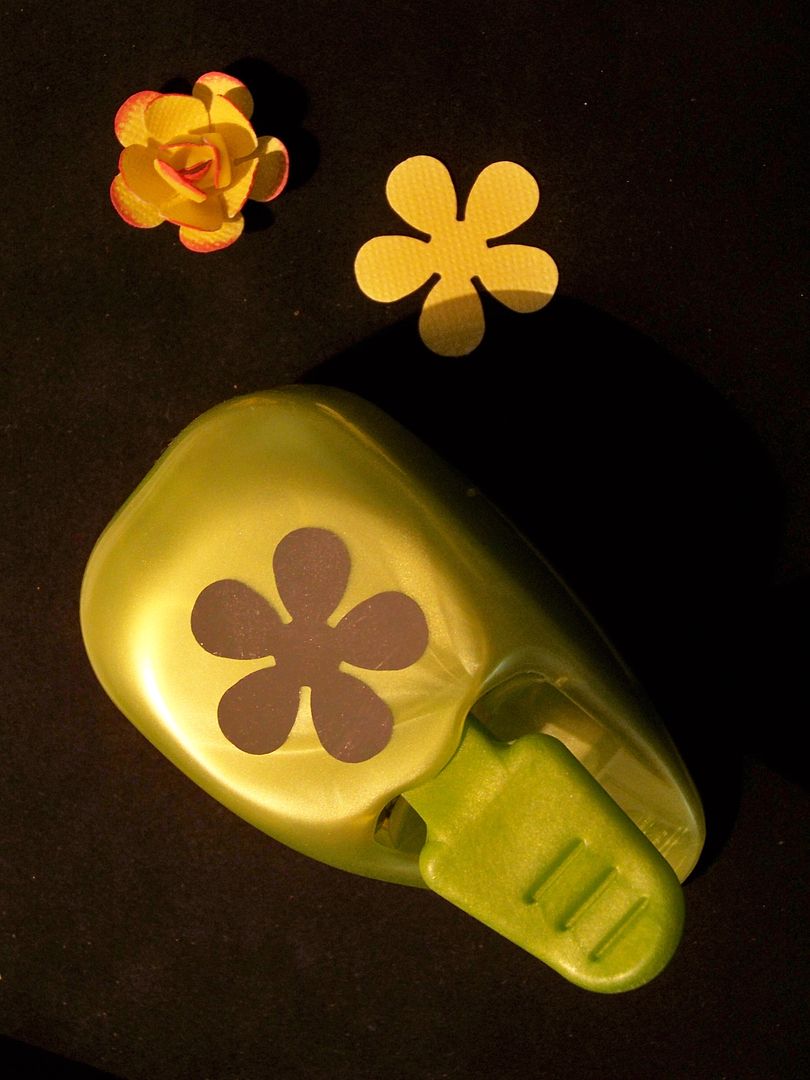
I made the yellow flowers with a punch. 


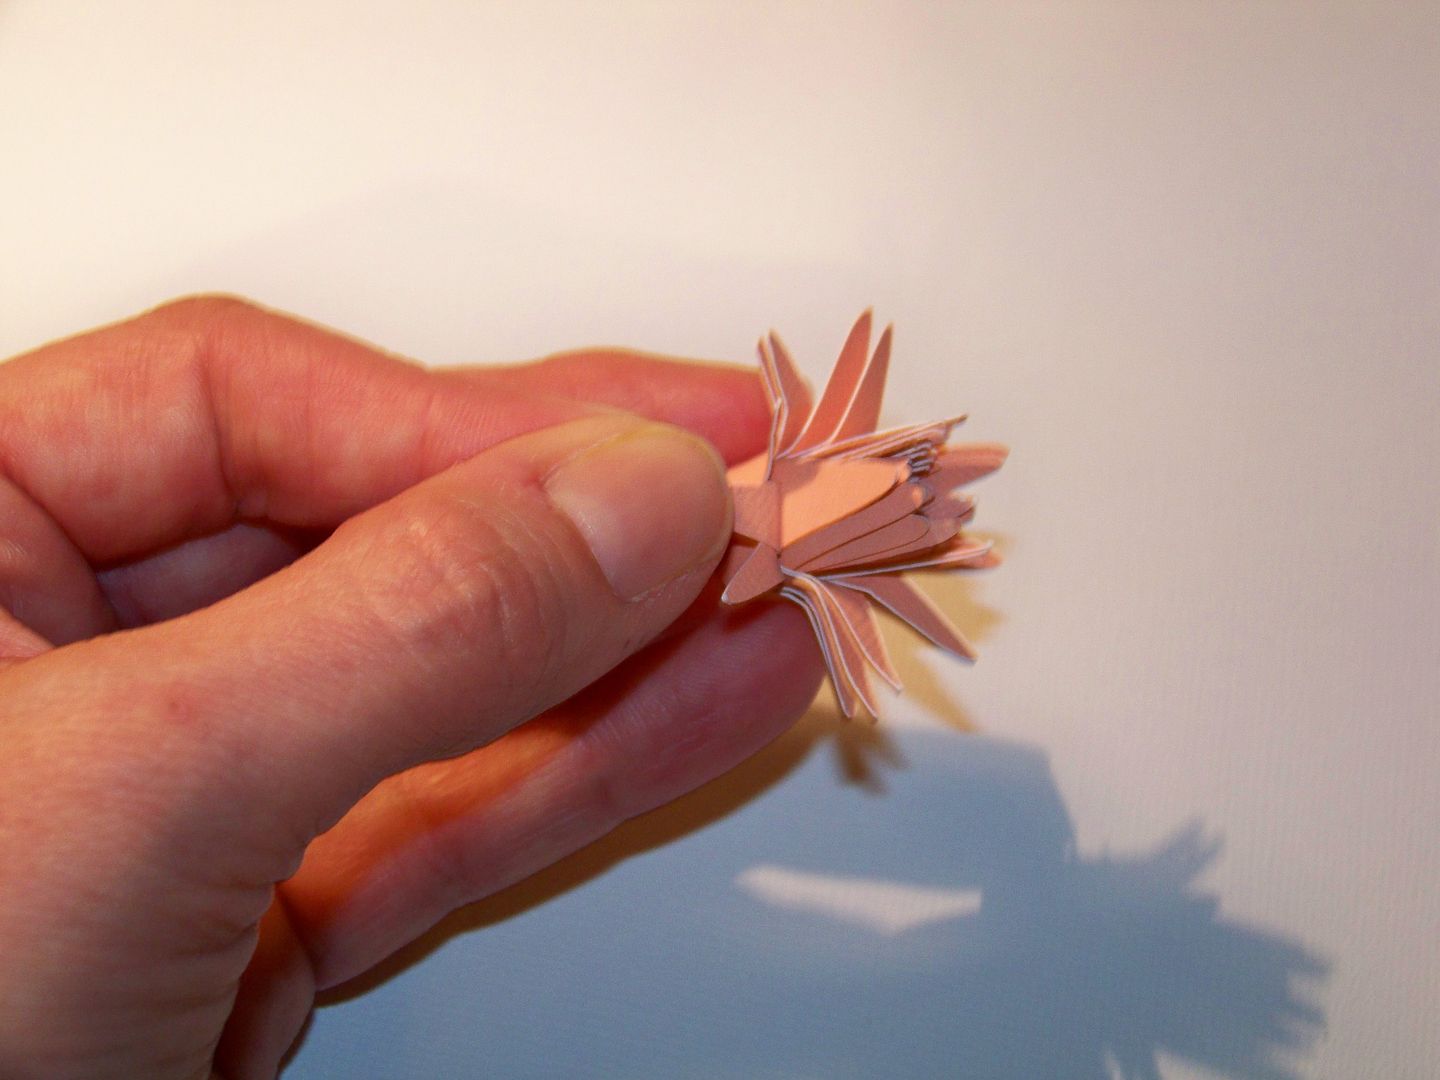
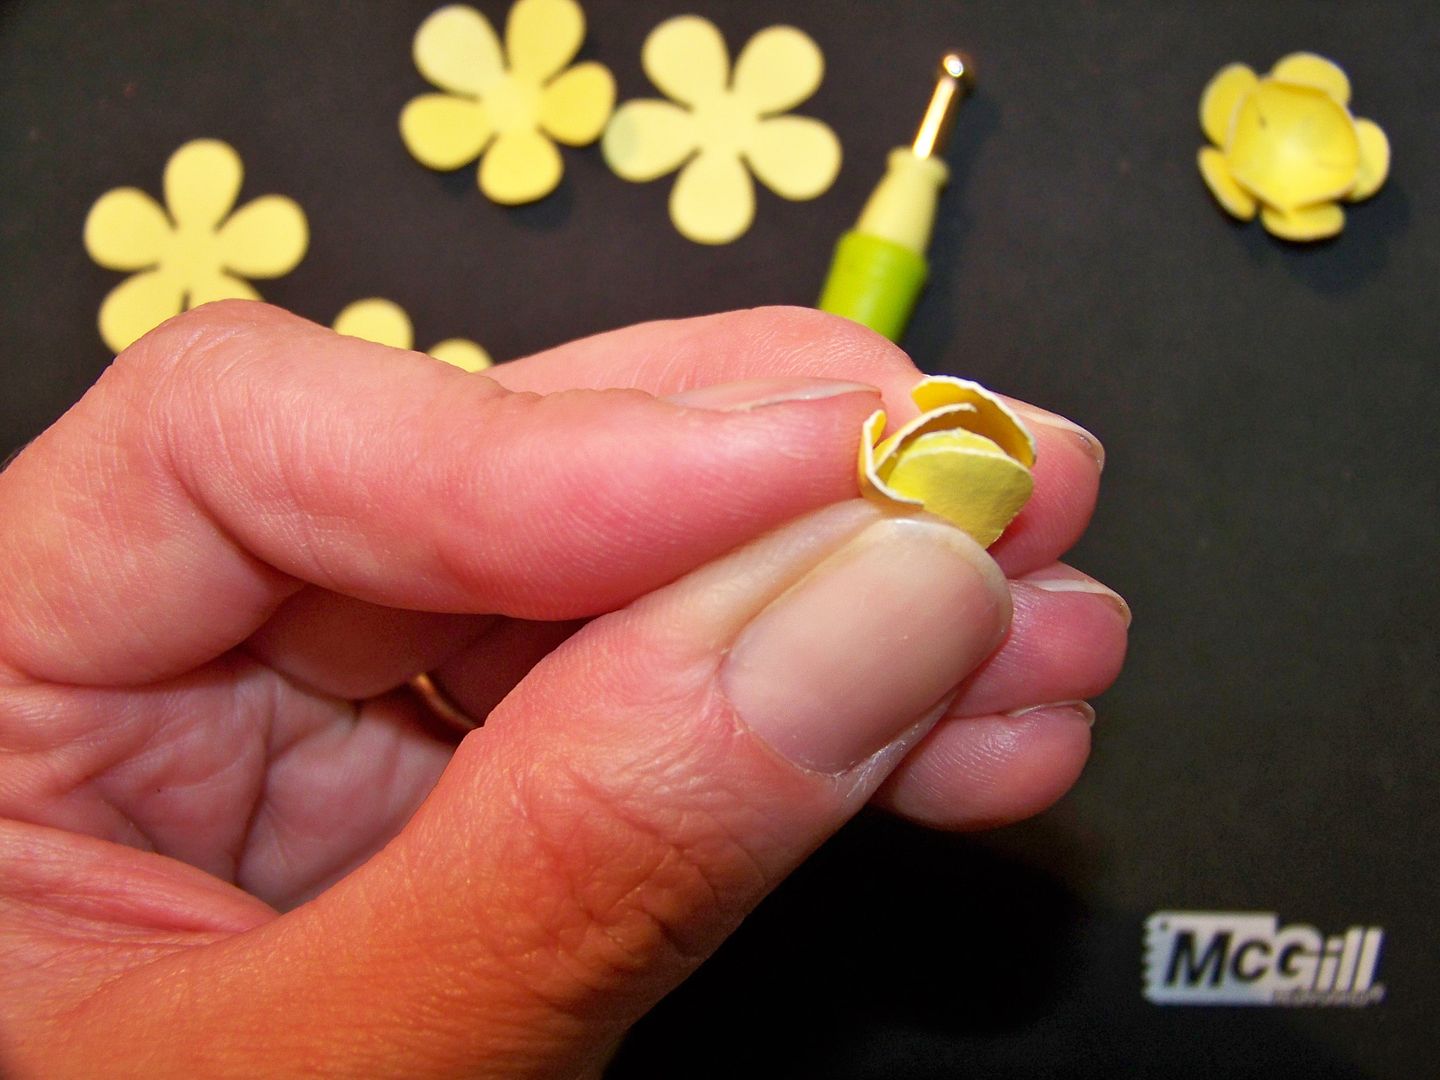
I used some McGill tools to help curl in the petals. I used three of these shapes for each flower.


The centers are pulled in tight and glued in place.  All the layers are just glued together.  Then the edges were inked.


The leaves were cut from Flower Shoppe (Exotic5), cut at 5".  I used a Q-tip and ink from my ink pad to add a little color and texture.  The leaves were added with pop dots.  I hot glued the dimensional flowers on and used a little Scotch Scrapbookers glue to add in little extra greenery that I got from a Martha Stewart branch punch.  I hot glued on a little ribbon.  The inside of this card had enough room for a gift card and a little message.


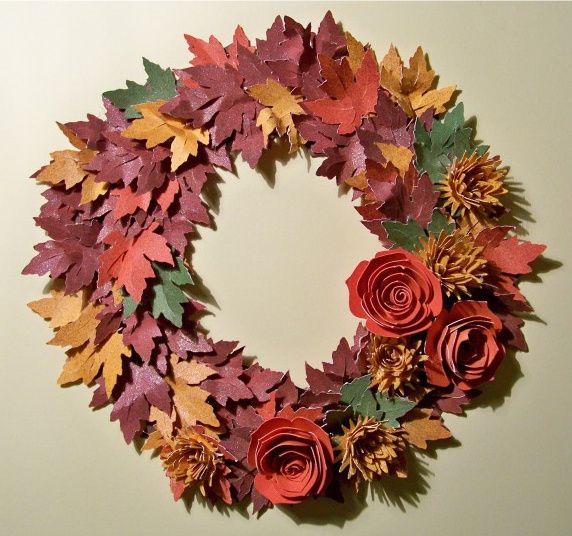
I wanted to make the Art Philosophy flower the correct way too.  I have seen so many beautiful wreaths and projects with those flowers.  I was also inspired by the autumn wreath that was just featured on the Circle Blog and I wanted to make a little version of my own:  a doorknob wreath. 


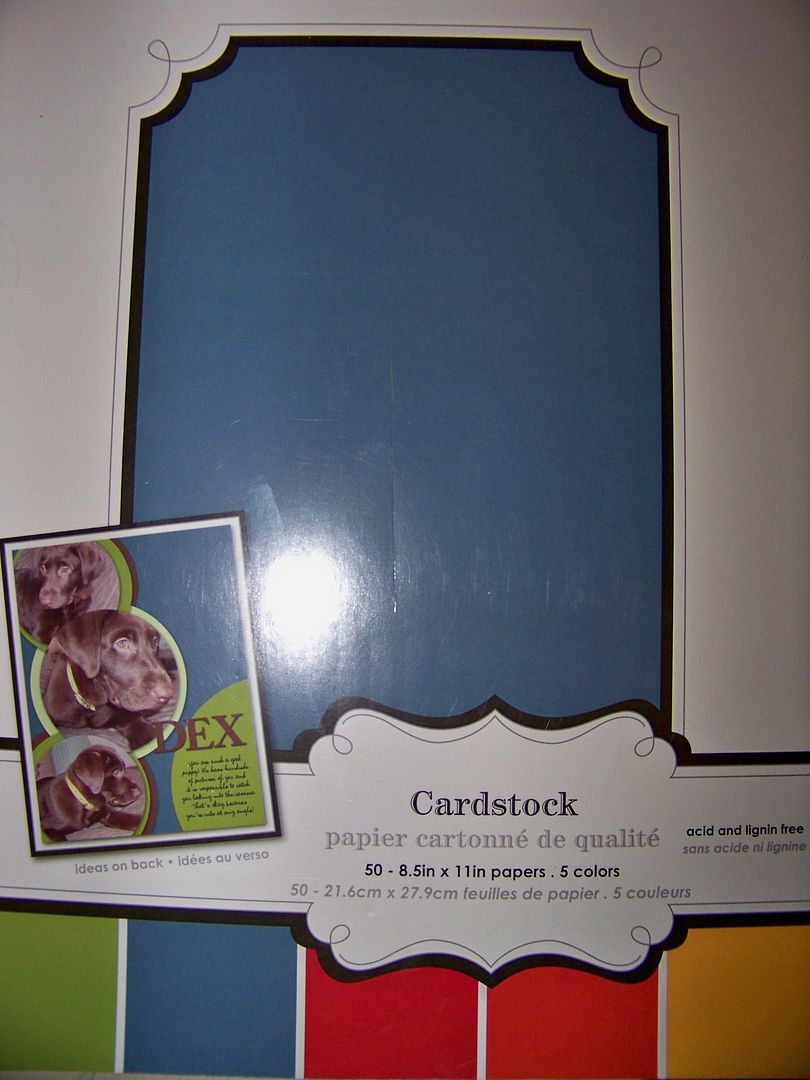
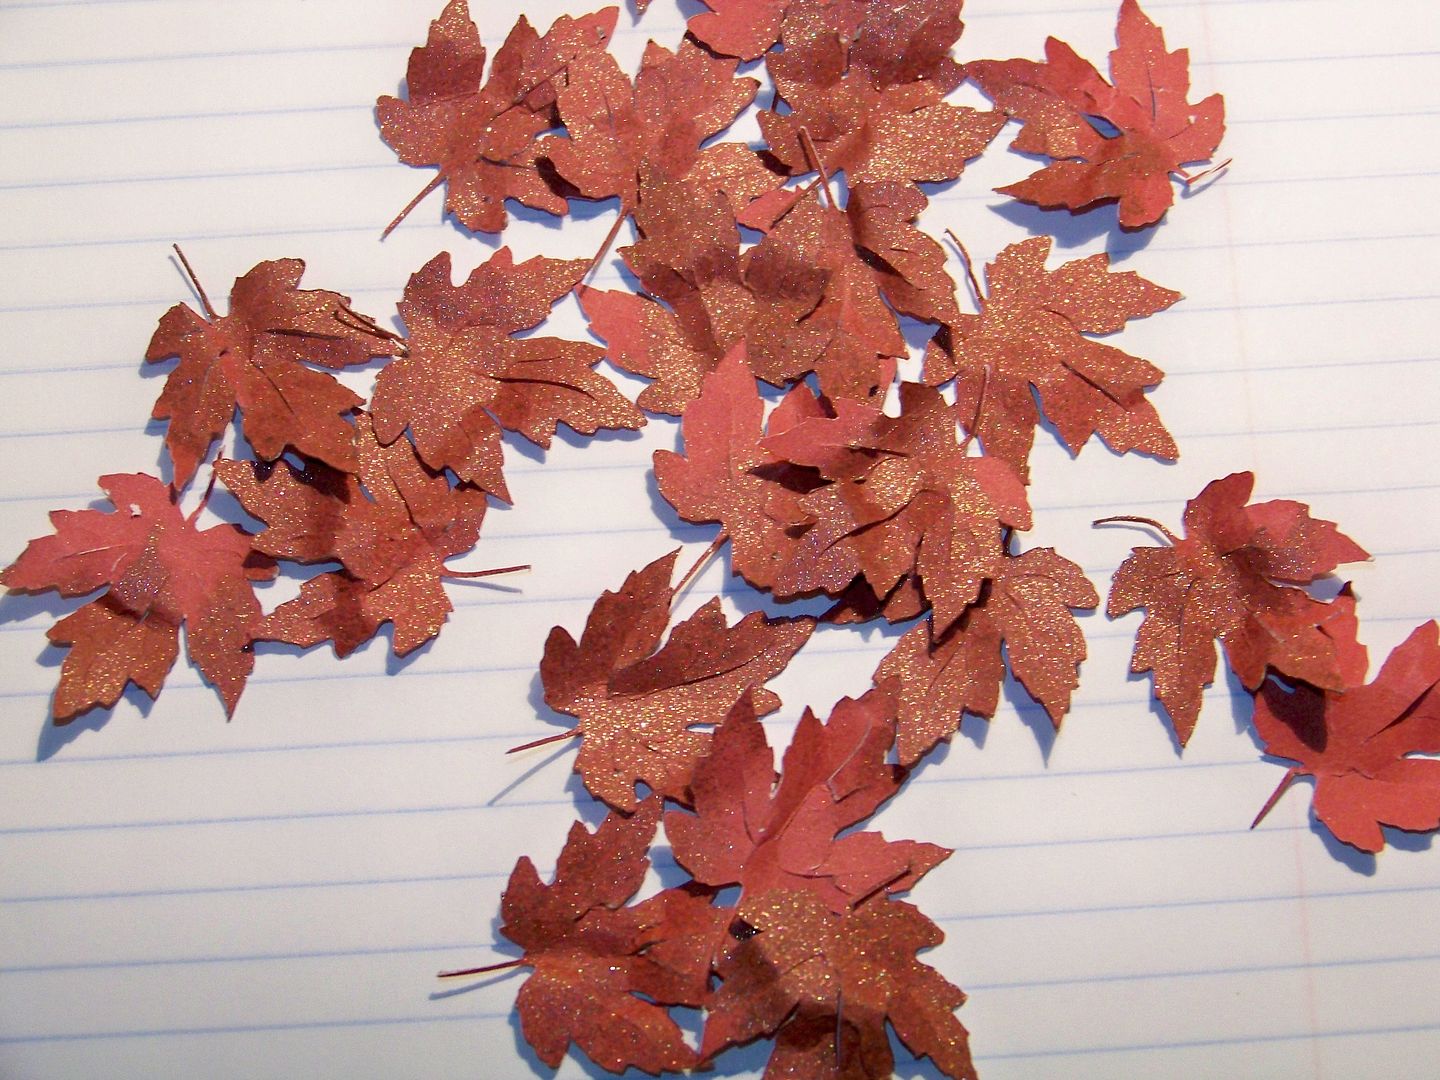
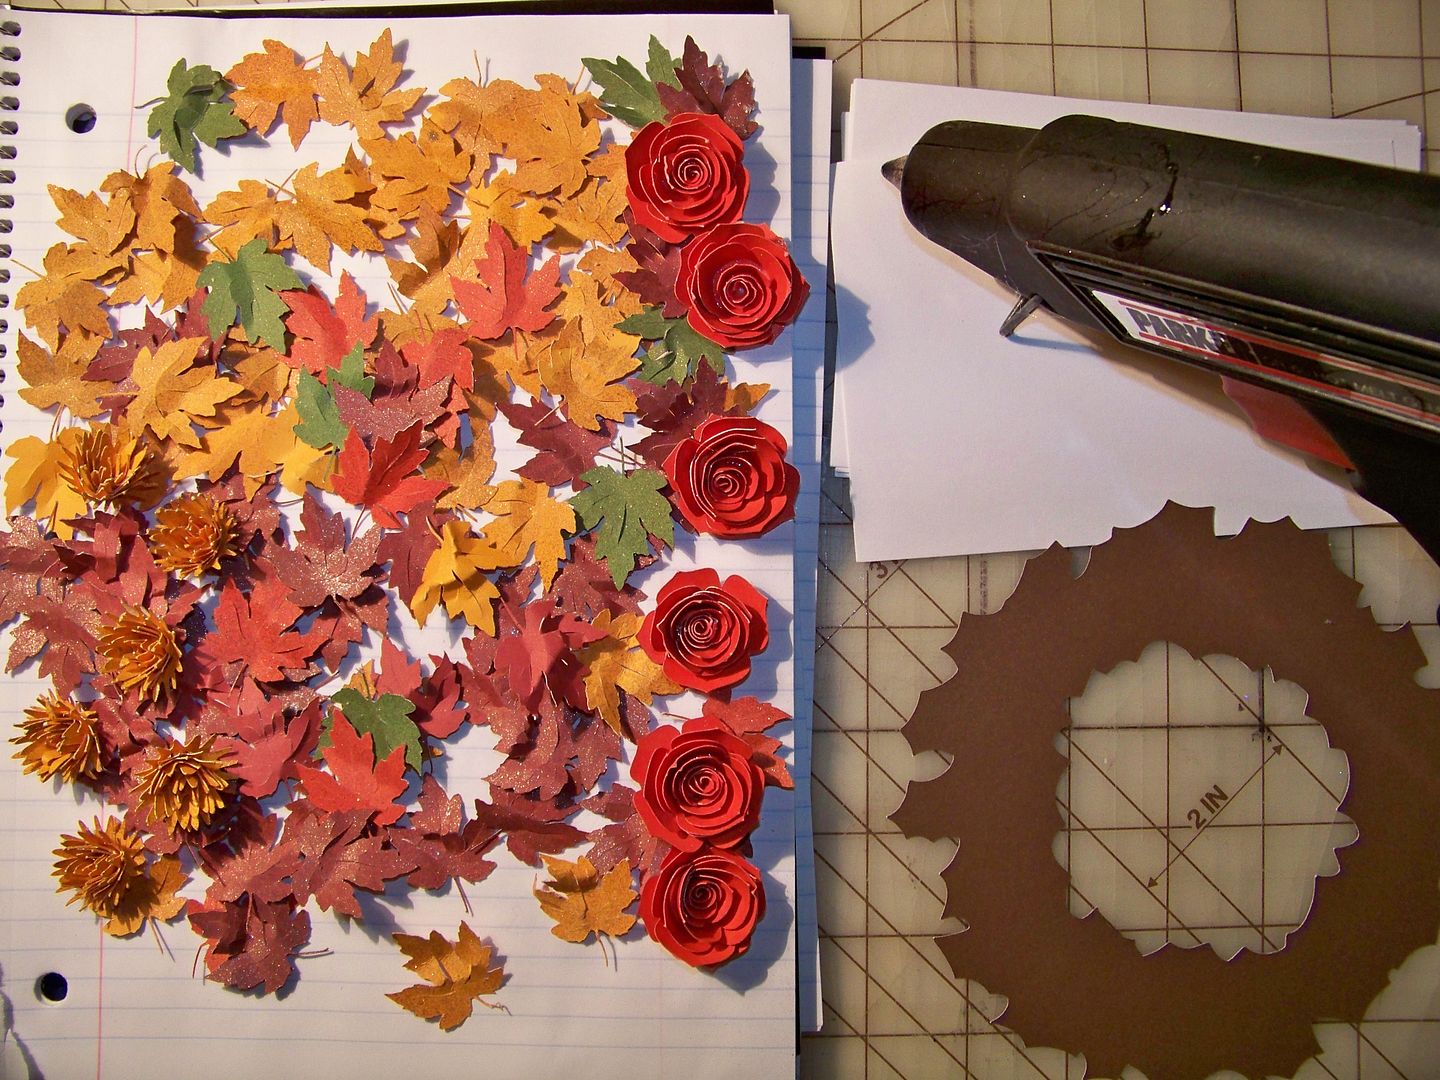
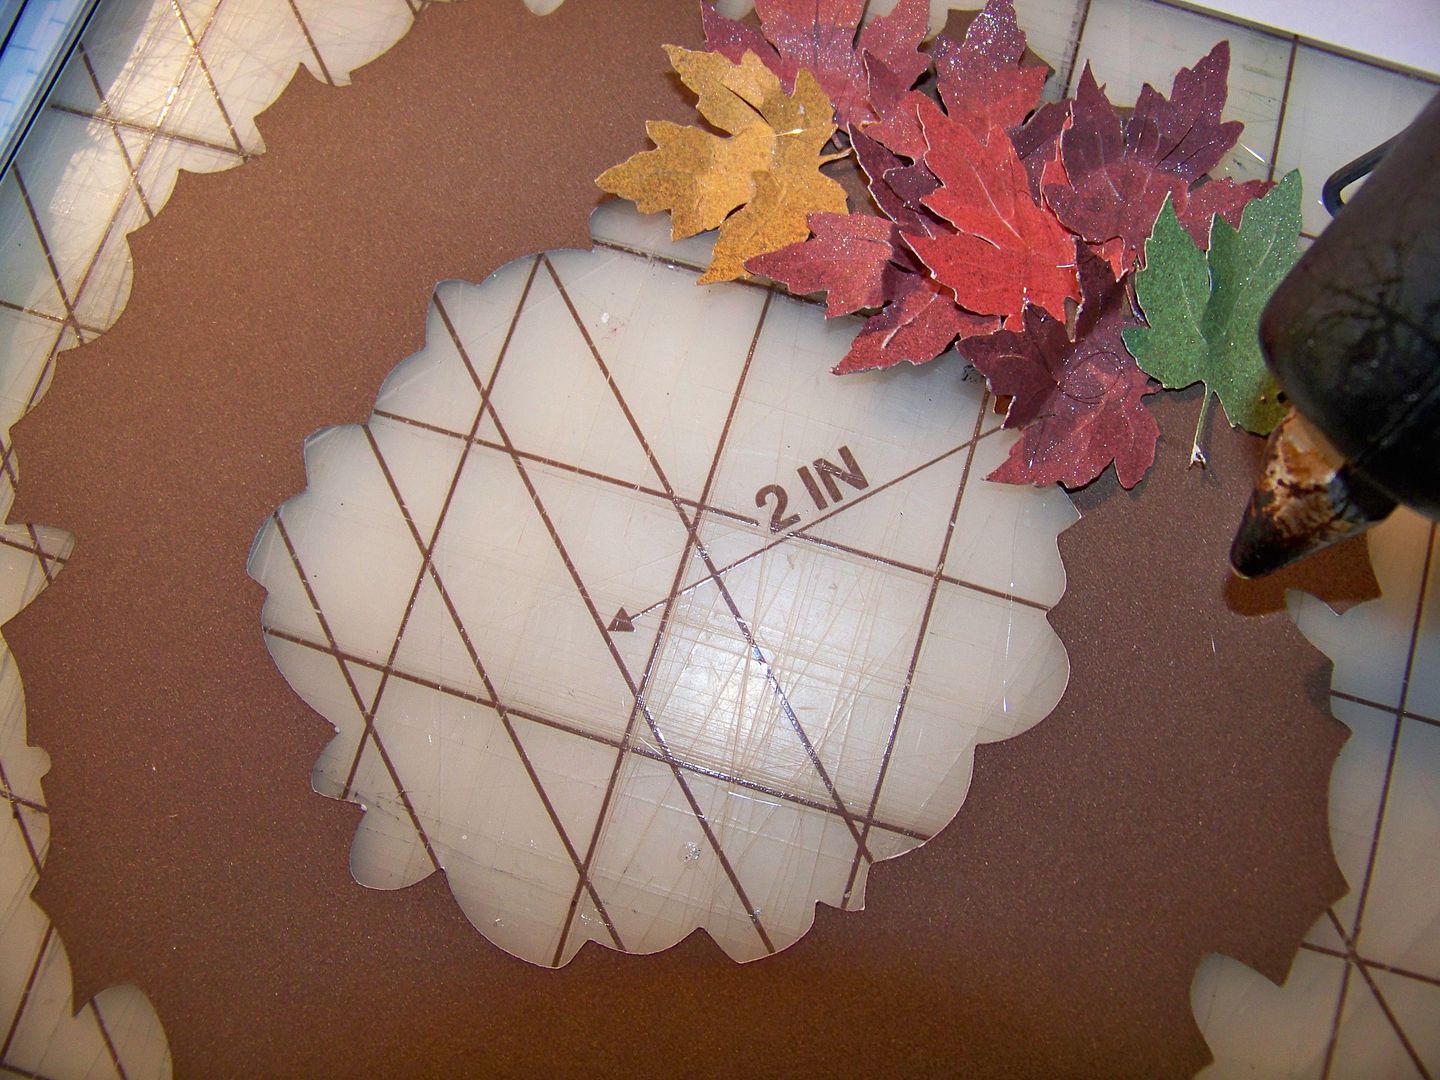
I started by cutting sheets of oak leaves from A Child's Year at 1-1/2" on my Expression.  Autofill cut 40 of these on 8-1/2 x 11 paper.  All of the cuts for this project were cut from solid papers in this $5 Walmart Colorbok pack called "Earth Tones". 


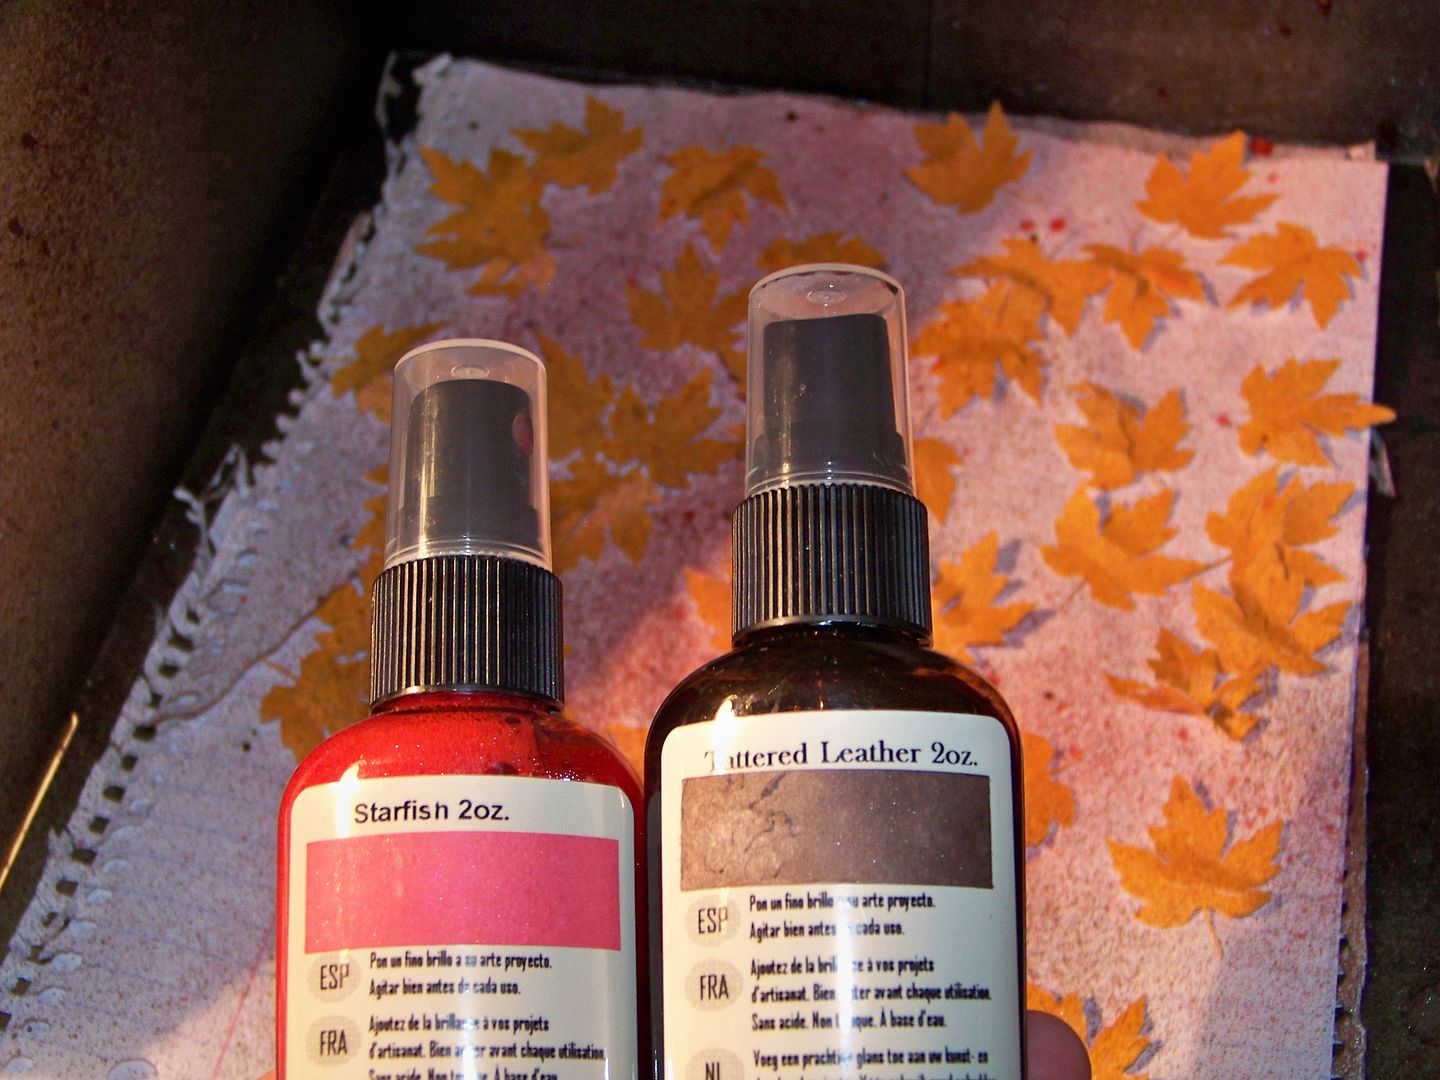
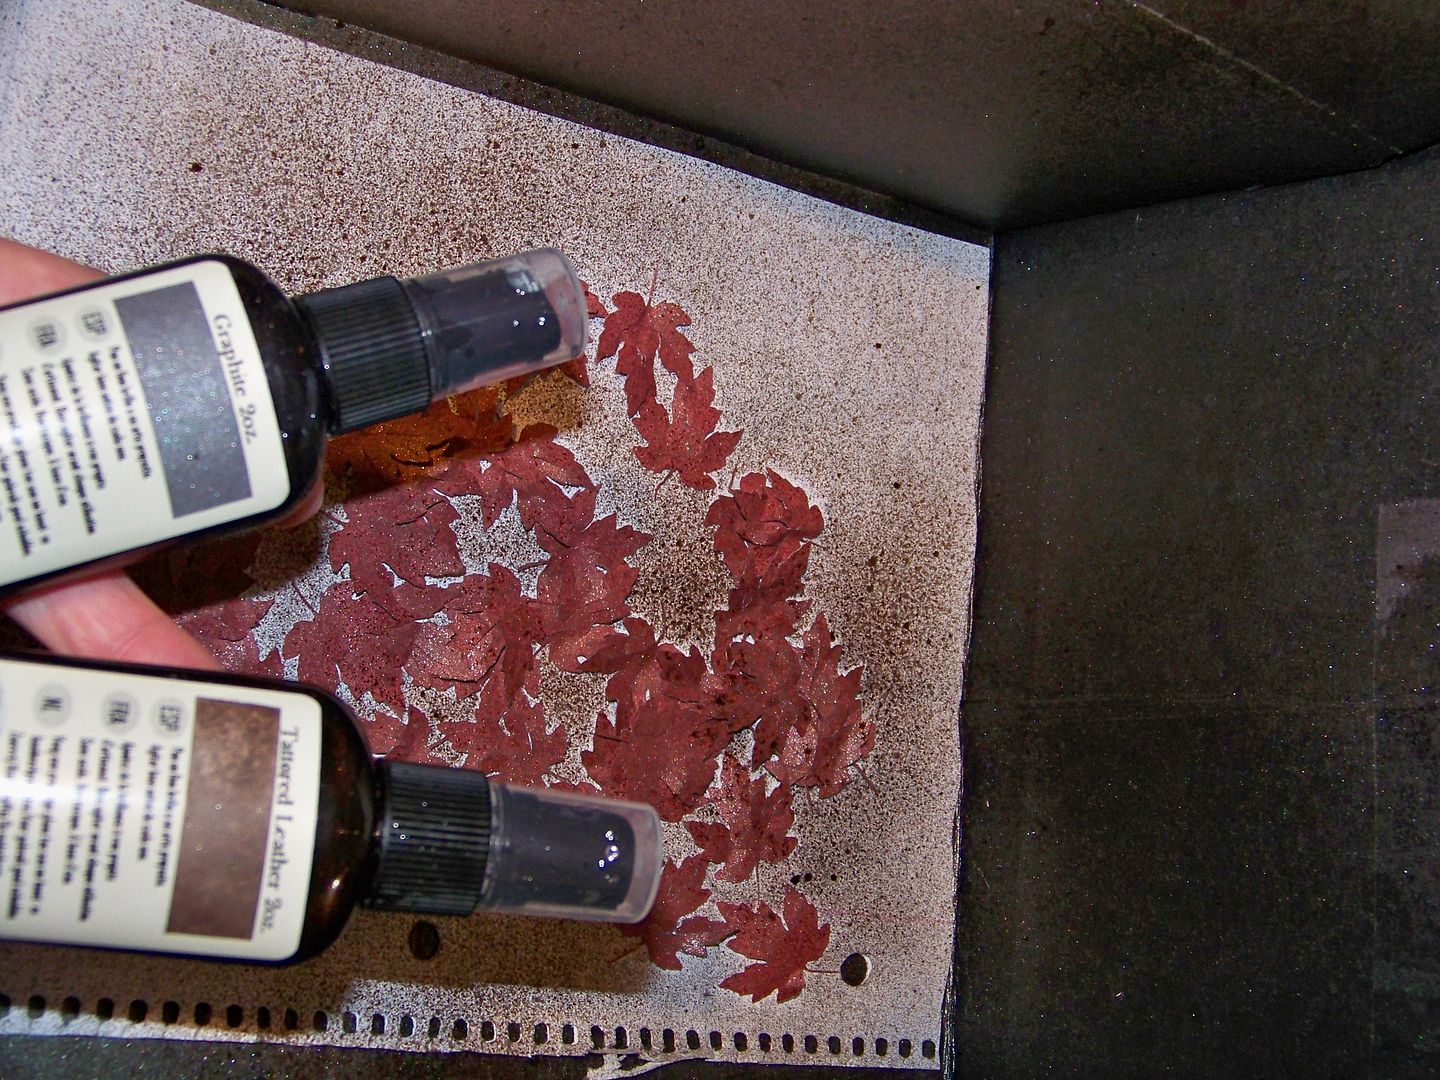
I cut full sheets of the yellow and reddish brown and 8 each of the green and orange.  I sprayed them with water, scrunched them up, and allowed them to dry.  Then I heavily spritzed them with Glimmer Mist.


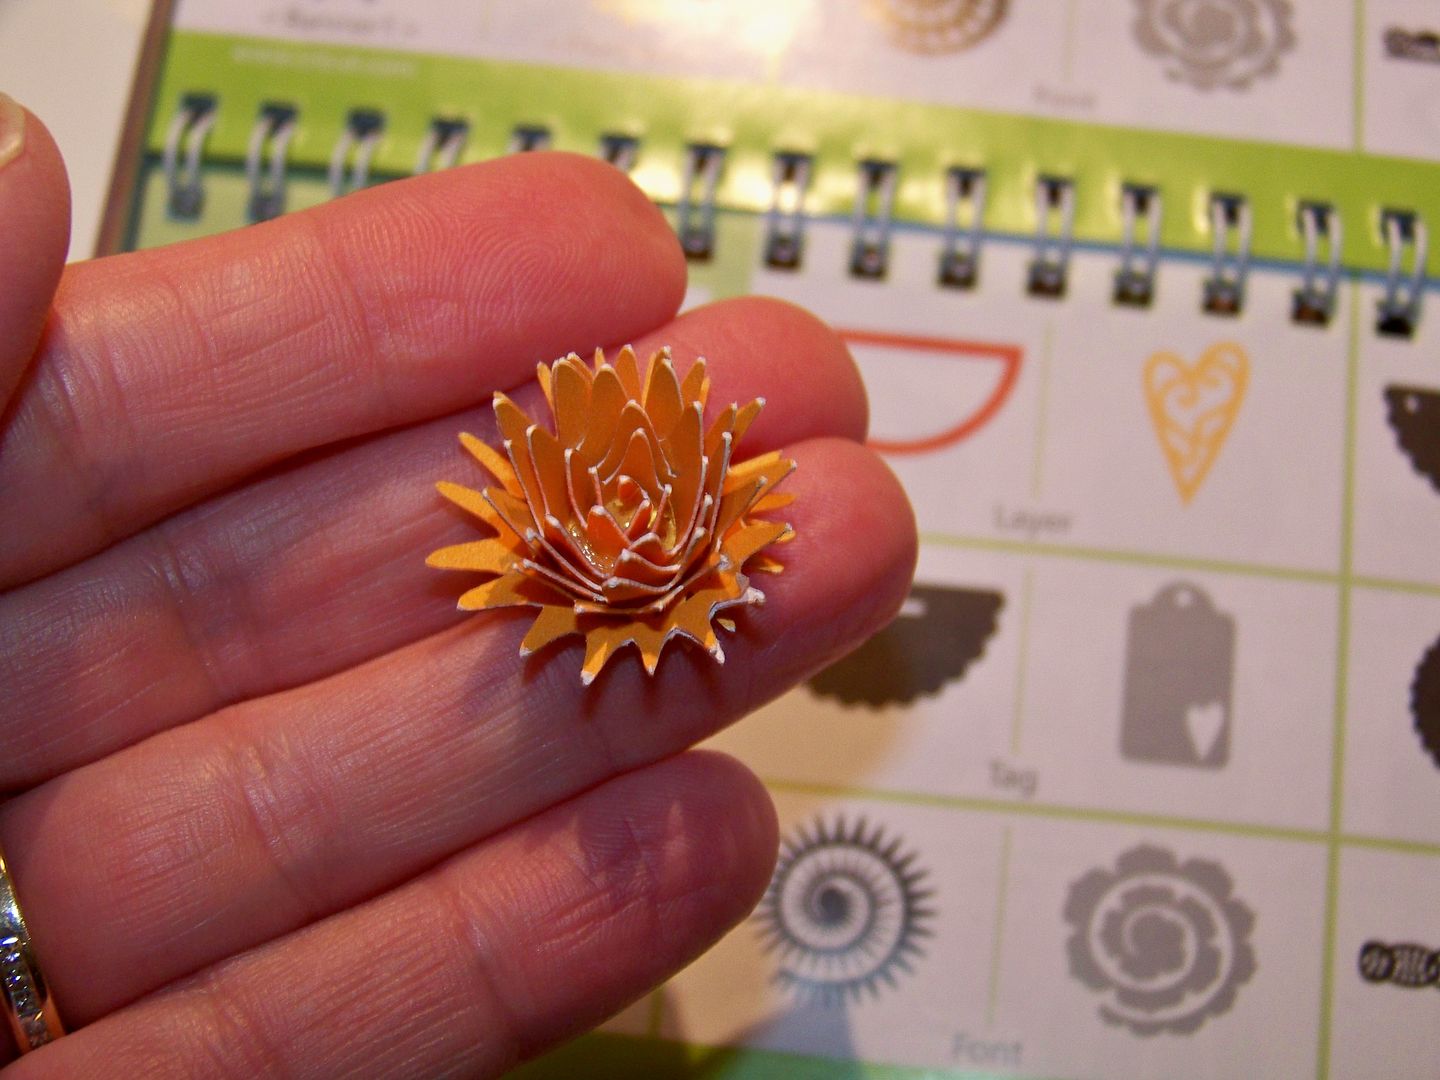
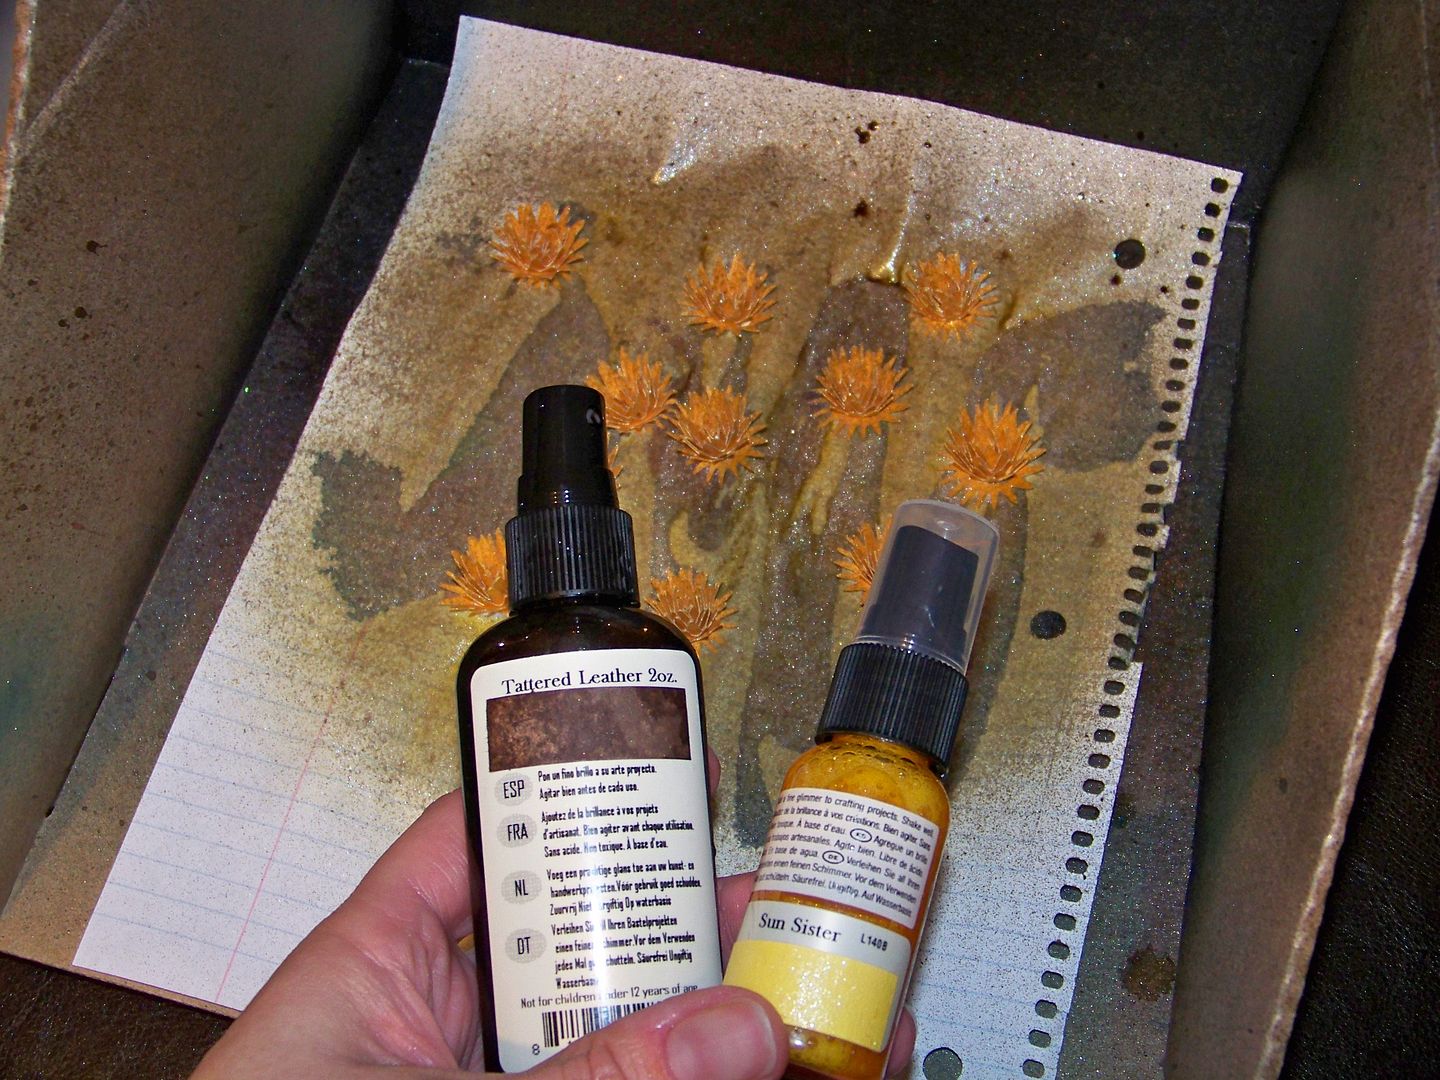
I cut the pointy, spiral-cut flowers from Art Philosophy at 2-1/2" (fit to page will cut 12 on 8-1/2 x 11 paper).  This time,  I made them correctly, rolling from the outside in, and gluing in place on the center circle base with hot glue.  Then I sprayed them with a little Glimmer Mist.


I cut the rose spiral-cut flower (same page as the pointy ones!) at 3".  Fit-to-page at this size will cut 6 on 8-1/2 x 11 paper.  I also sprayed it with Glimmer Mist to hide the white core.


I cut a wreath base from Christmas (Solutions) at 6" in blackout feature.  I hot glued the dried leaves onto the base, finishing with the flowers.


Autumn is the time for me for reflection.  I had Samantha, The Scrapmaster, on my mind lately, after giving her my flippant response to her question about 5-minute cards.  Who would want a 5-minute card I asked recently on the cricut.com messageboard, isn't that why we have Hallmark?!  Now, a little preface:  I do go to Hallmark for cards as I am not necessarily a cardmaker per se!  When I do make a card, it is to make something very special... but, come to think of it, I also make quick things!  I don't tout those 'quickie' cards, and never put them here on my blog, but I have made them I had to admit once I thought about it.  So, I sent Samantha a little apology and she sent me back the most kind and gracious reply.  It really made an impression on me that she would be so nice after I poo-pooed her concept.  So, to pay a little penance, I offer my quick cards.  (You may never see them again!) 

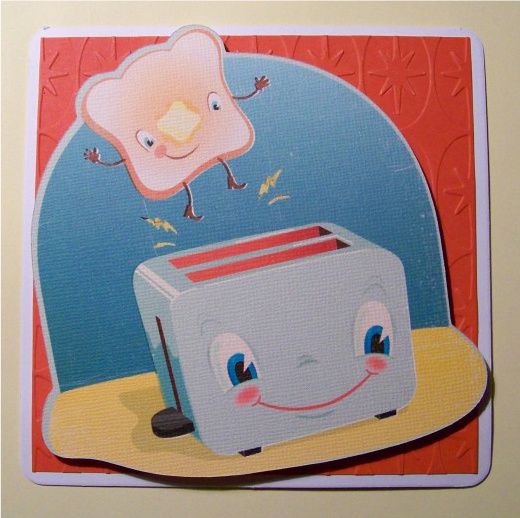
The Imagine and the Cuttlebug are the greatest tools ever created for FAST cards.  These are a few I have done recently.  

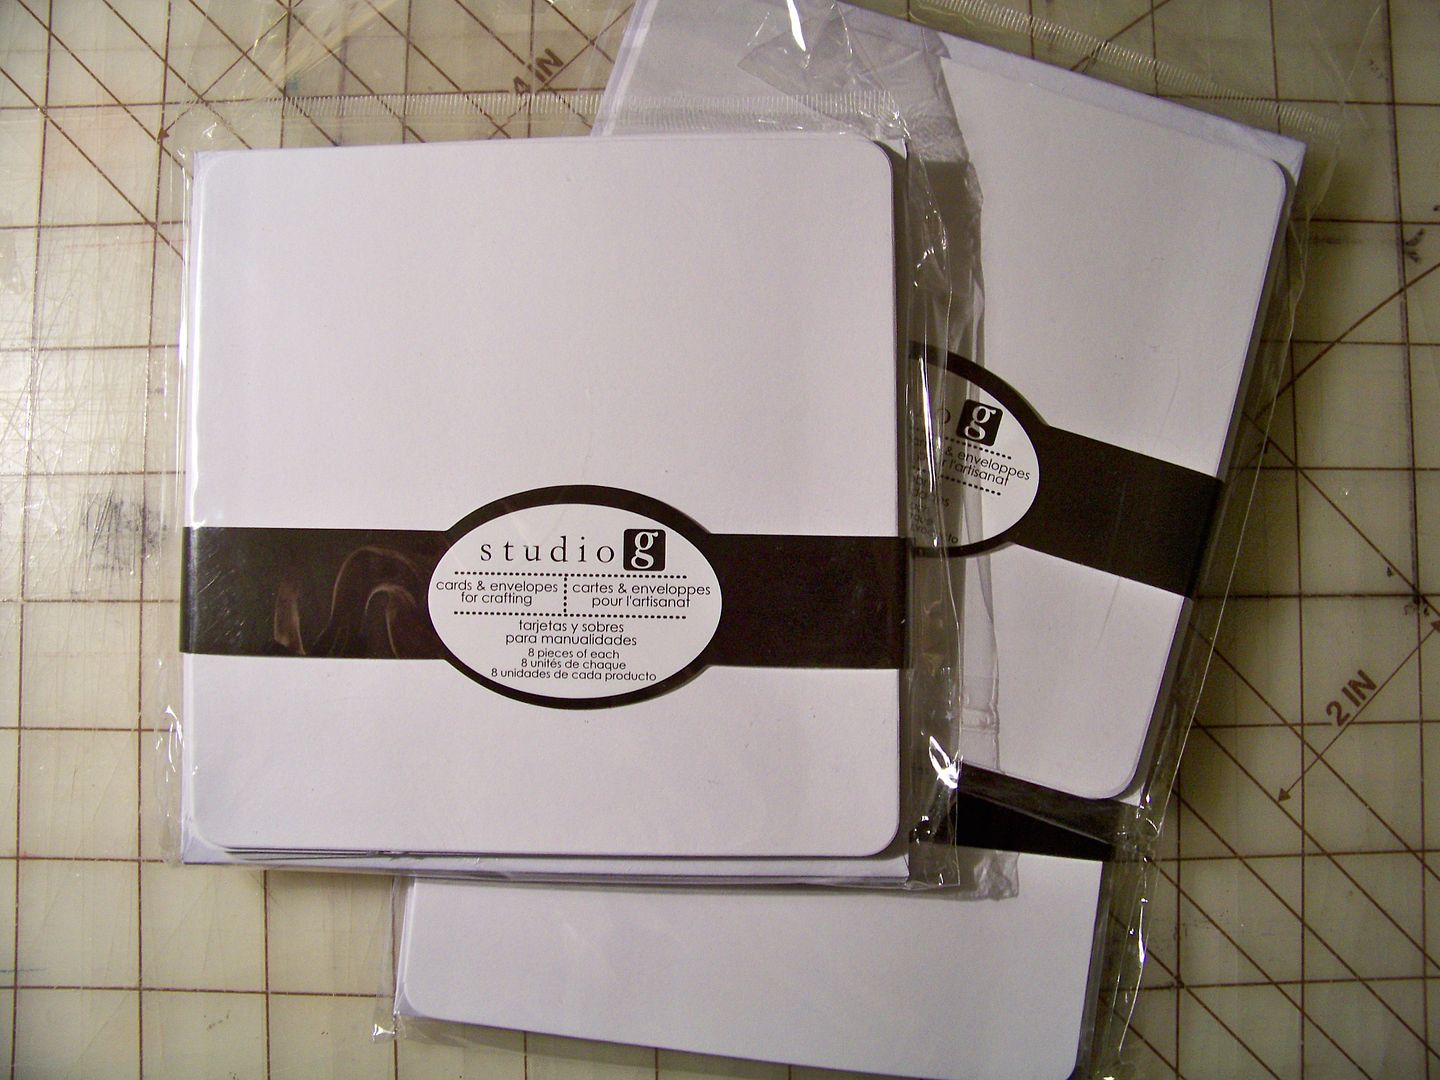
I also use white cardstock blank cards and envelopes.  I buy the A2 size from Michael's and just discovered the Studio G squares from Walmart, priced at just under a dollar for 8!


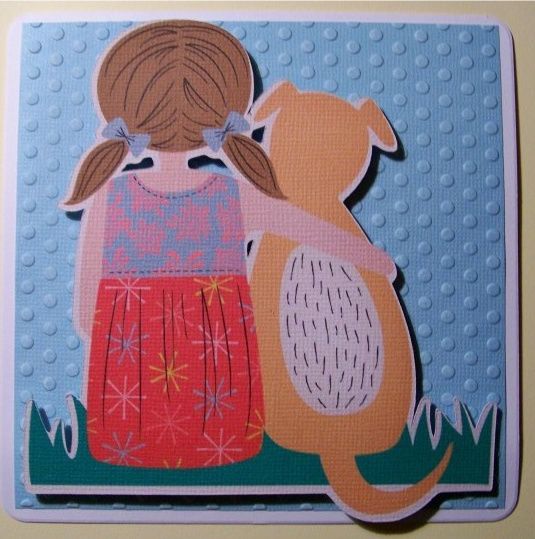
This is one I did to put with silk screened shirt I made for my daughter's friend.  (She designed the shirt and I screened it.)  In her design, she wrote "I like dogs" so I thought this was fun to put with it.

Imagine Better Togehter image cut at 4.8".  It is attached to cardstock that has been embossed with the 5x7 Cuttlebug Polka Dots folder with pop dots. 
This is one I did by simply embossing a metallic cardstock.  This is something I have done lots of times when I need to include a little note in with a RAK I send to my Circle friends.  I like embossing with the Circle logo embossing folder too.


This is another quick Imagine card with an embossed base.  I like making little cards for my daughter's lunchbox-- most of those are quickie ones - and just to make her smile!

Kate's Kitchen image cut at 4.8" on the Imagine.  It is attached to cardstock that has been embossed with a 5x7 Cuttlebug folder with pop dots. 

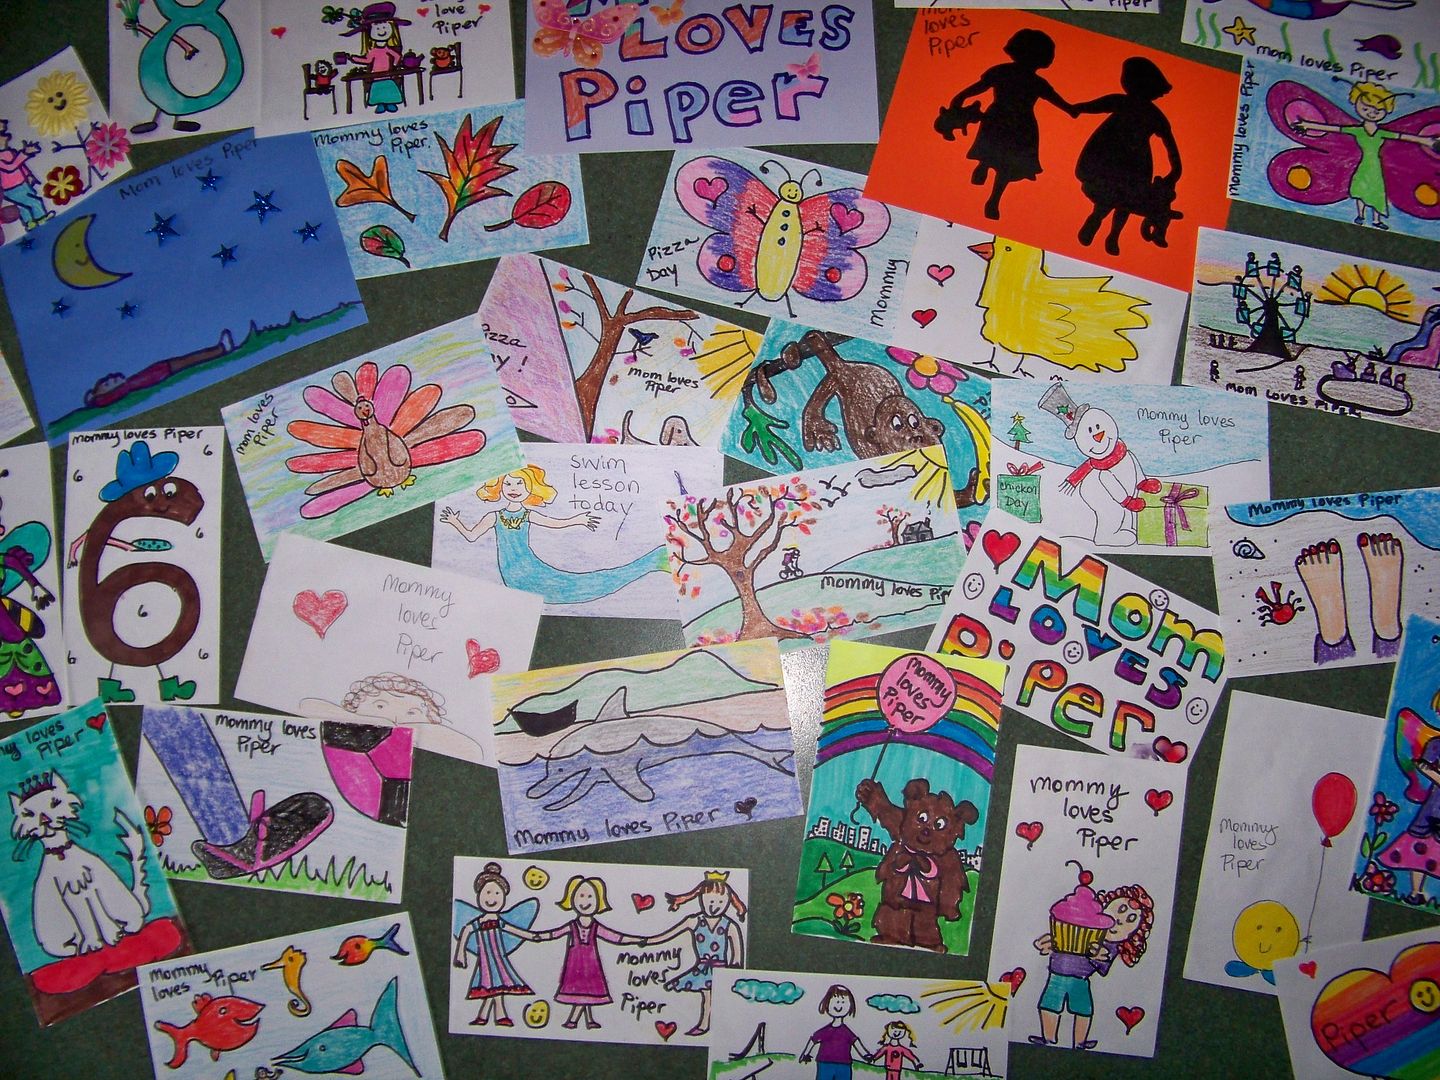
When my daughter was in preschool and kindergarten, I always simply used to scribble a little picture and color it in with her crayons or markers (or whatever was nearby)  on little index cards I would put in her lunchbox.  They took a minute or less to make, were so goofy and simple... and she has kept them all-- I guess there are hundreds of them.  So... to answer my question of who would want a quickie card, I guess the answer is 'someone who loves you and finds something special in your efforts'!


Lastly today, I want to thank everyone for your kindness in response to my project that was on the Cricut Blog.  That was a lot of fun for me!  I have received responses from a few folks who have taken the project in a new direction and made it their own.  I just love that and LOVE to see your projects!  The kindness, crafty support, and sweet comments really made my weekend -- even with those cooler temperatures!

Thank you for visiting my blog today!

But wait! There's more! Click 'older posts' above!

But wait!  There's more!  Click 'older posts' above!