You know how you see an image and suddenly get a memory? The minute I saw the orange cut in the Traveler cartridge handbook, I thought of my grandma. I used to get dropped off at Grandma's house every morning before school; I had breakfast with my grandparents every weekday all through my childhood. Grandma had the sweetest little juice glasses. (Remember when everyone had juice glasses? Gosh, I haven't seen those in ages!) Hers had oranges on them-- so much like this image!
 |
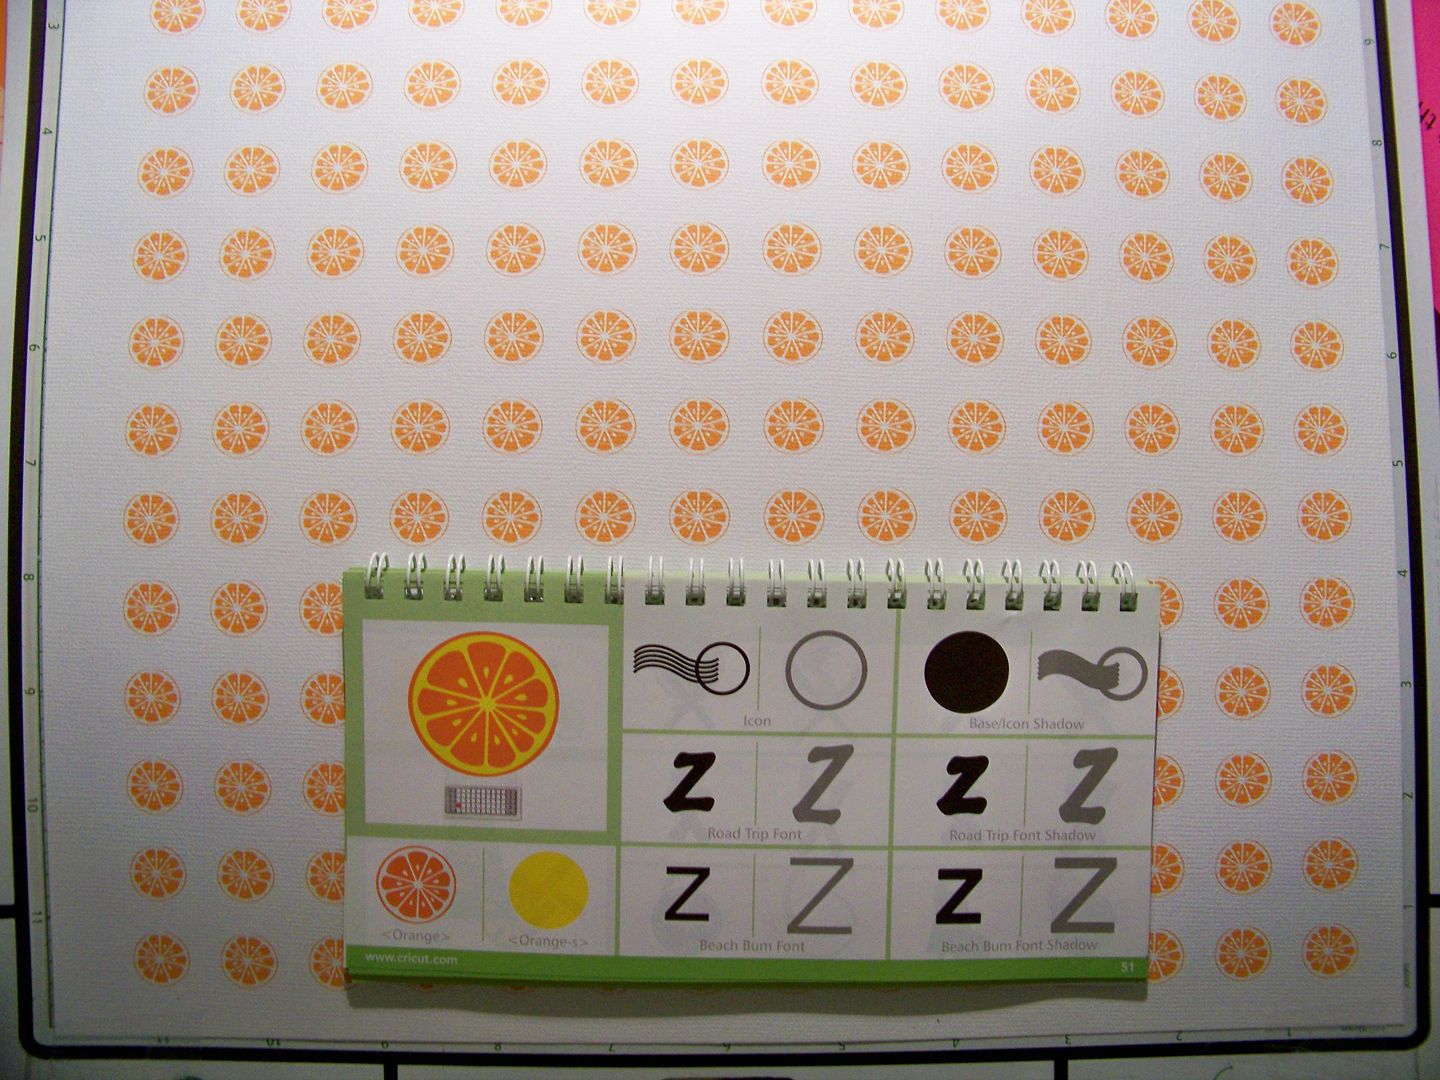
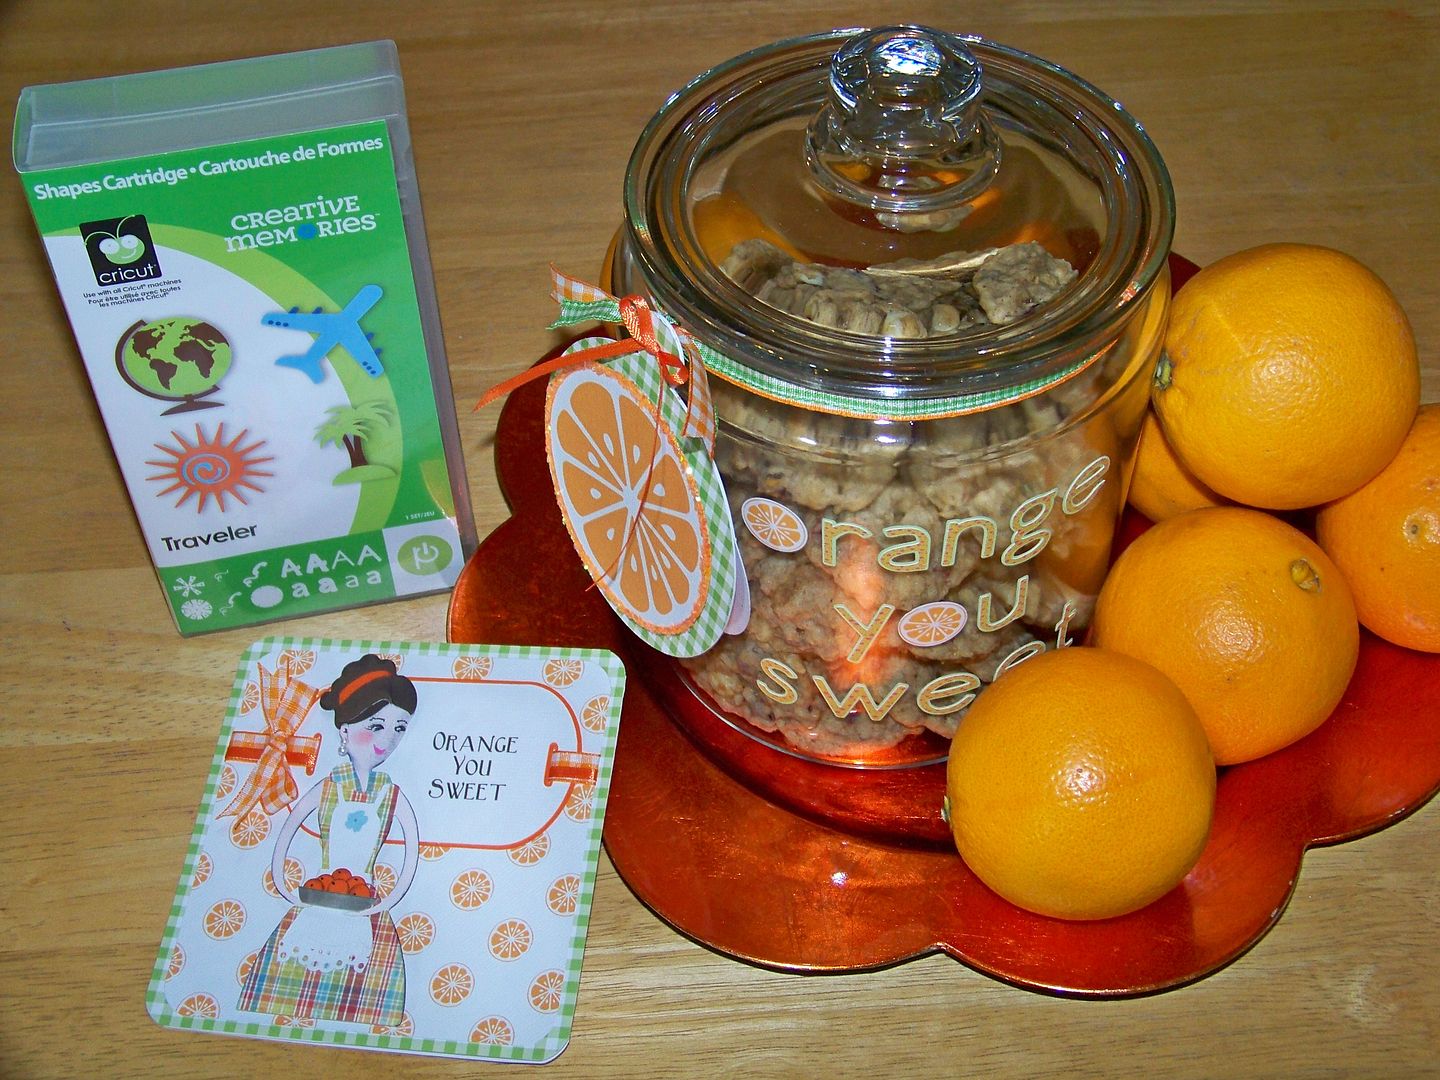
| Traveler cartridge from Creative Memories |
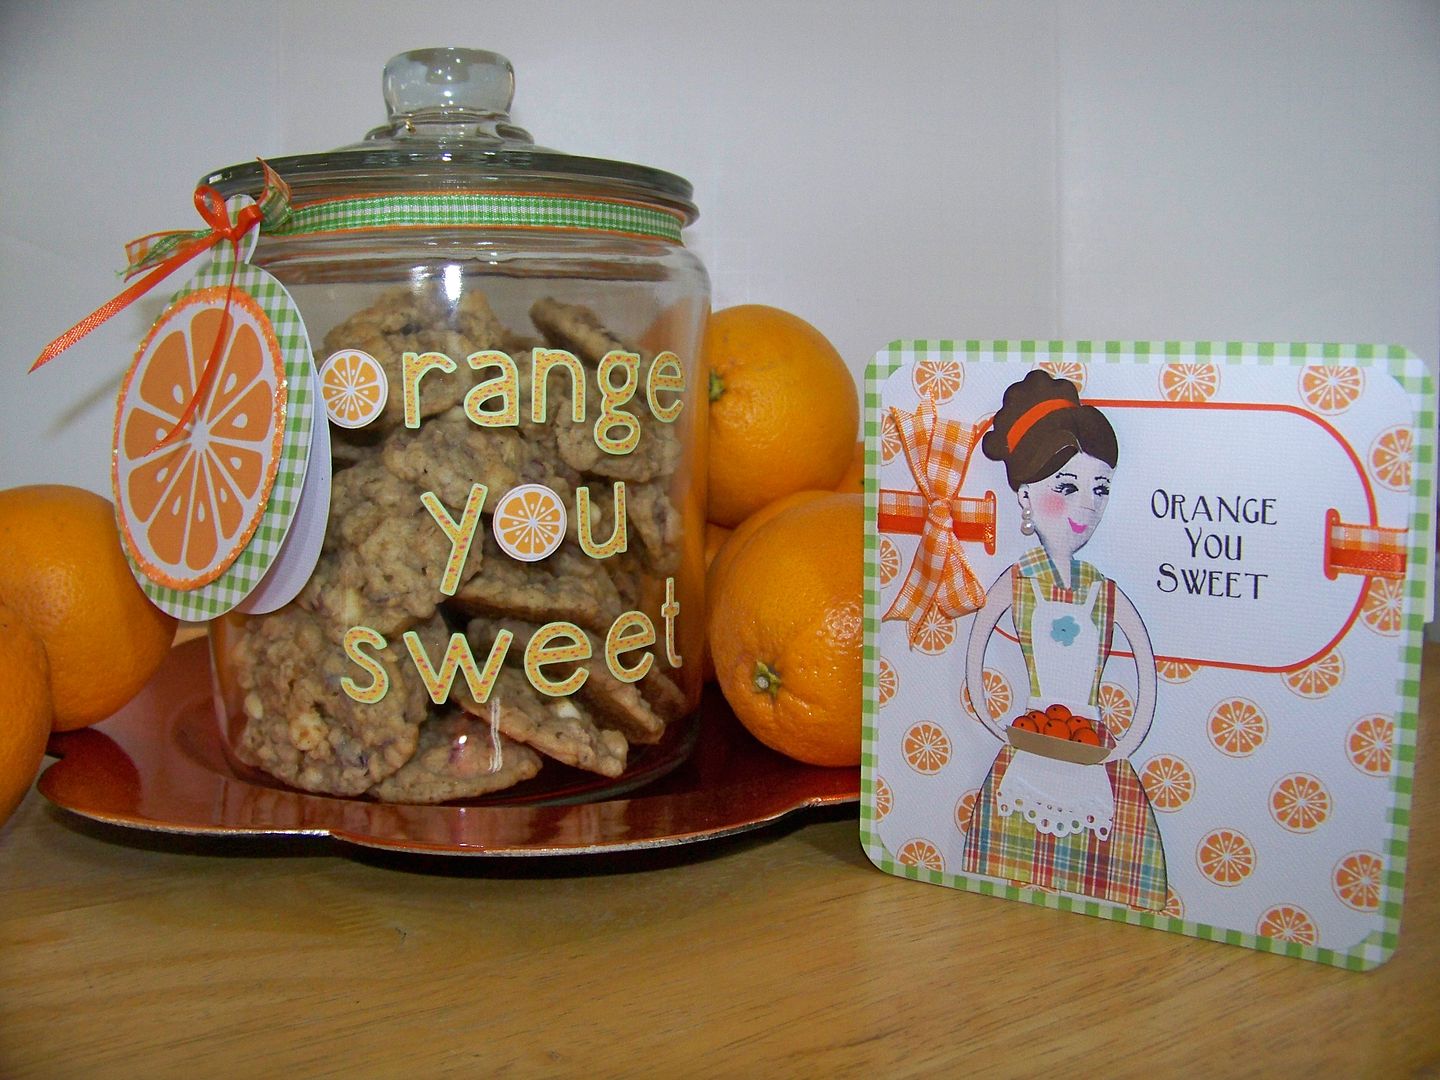
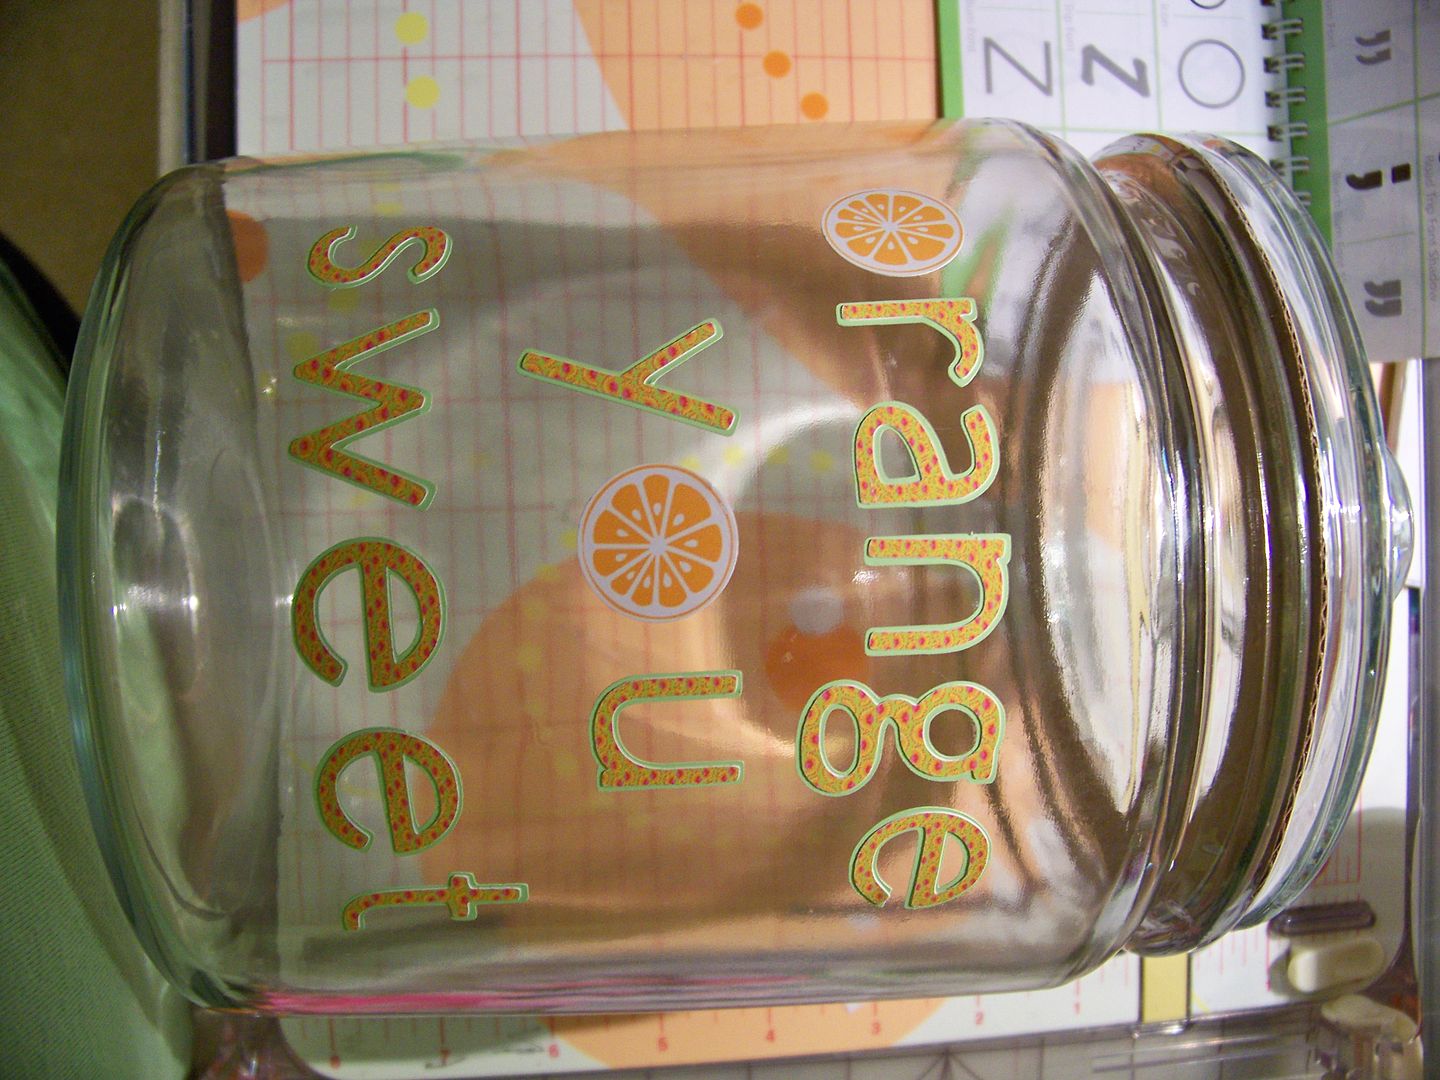
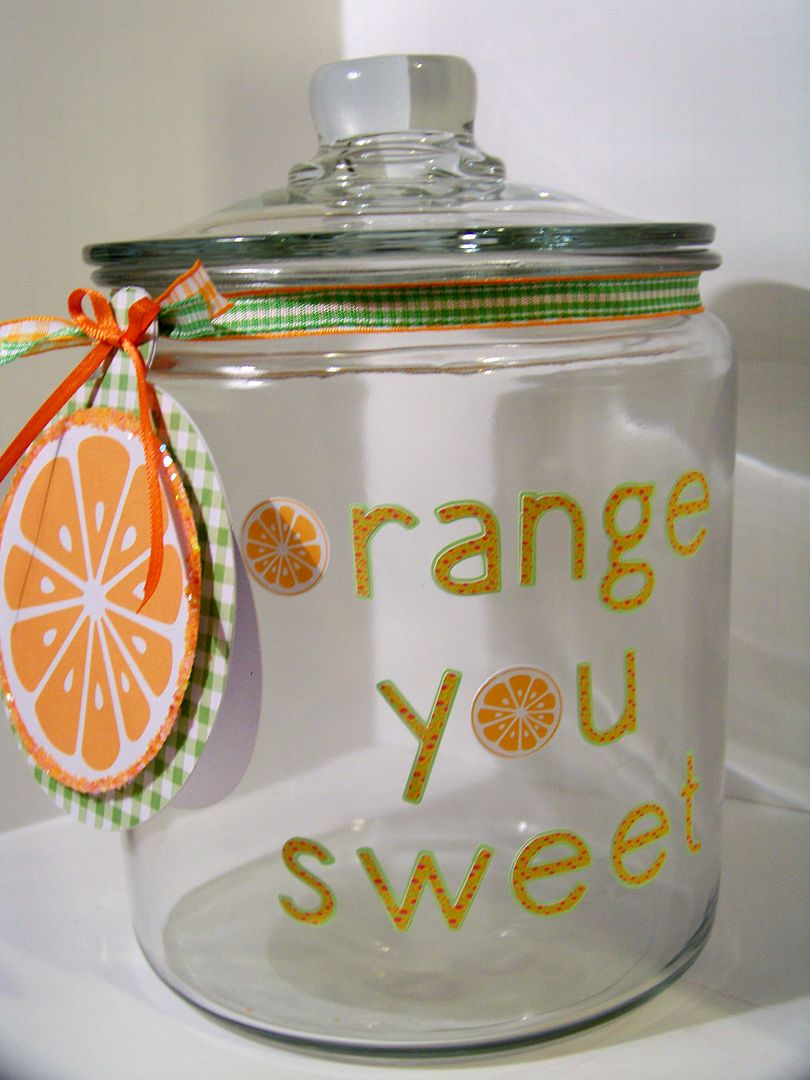
I started my project with a glass canister.
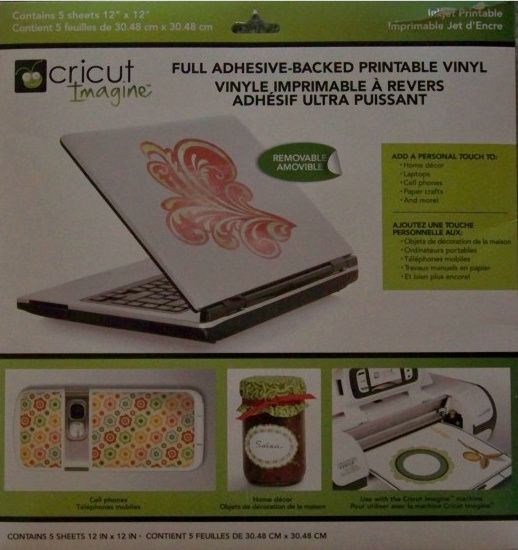
I have been wanting to try out the printable vinyl with my Imagine and since I don't have a stash of orange vinyl, I decided to try it out for this project!
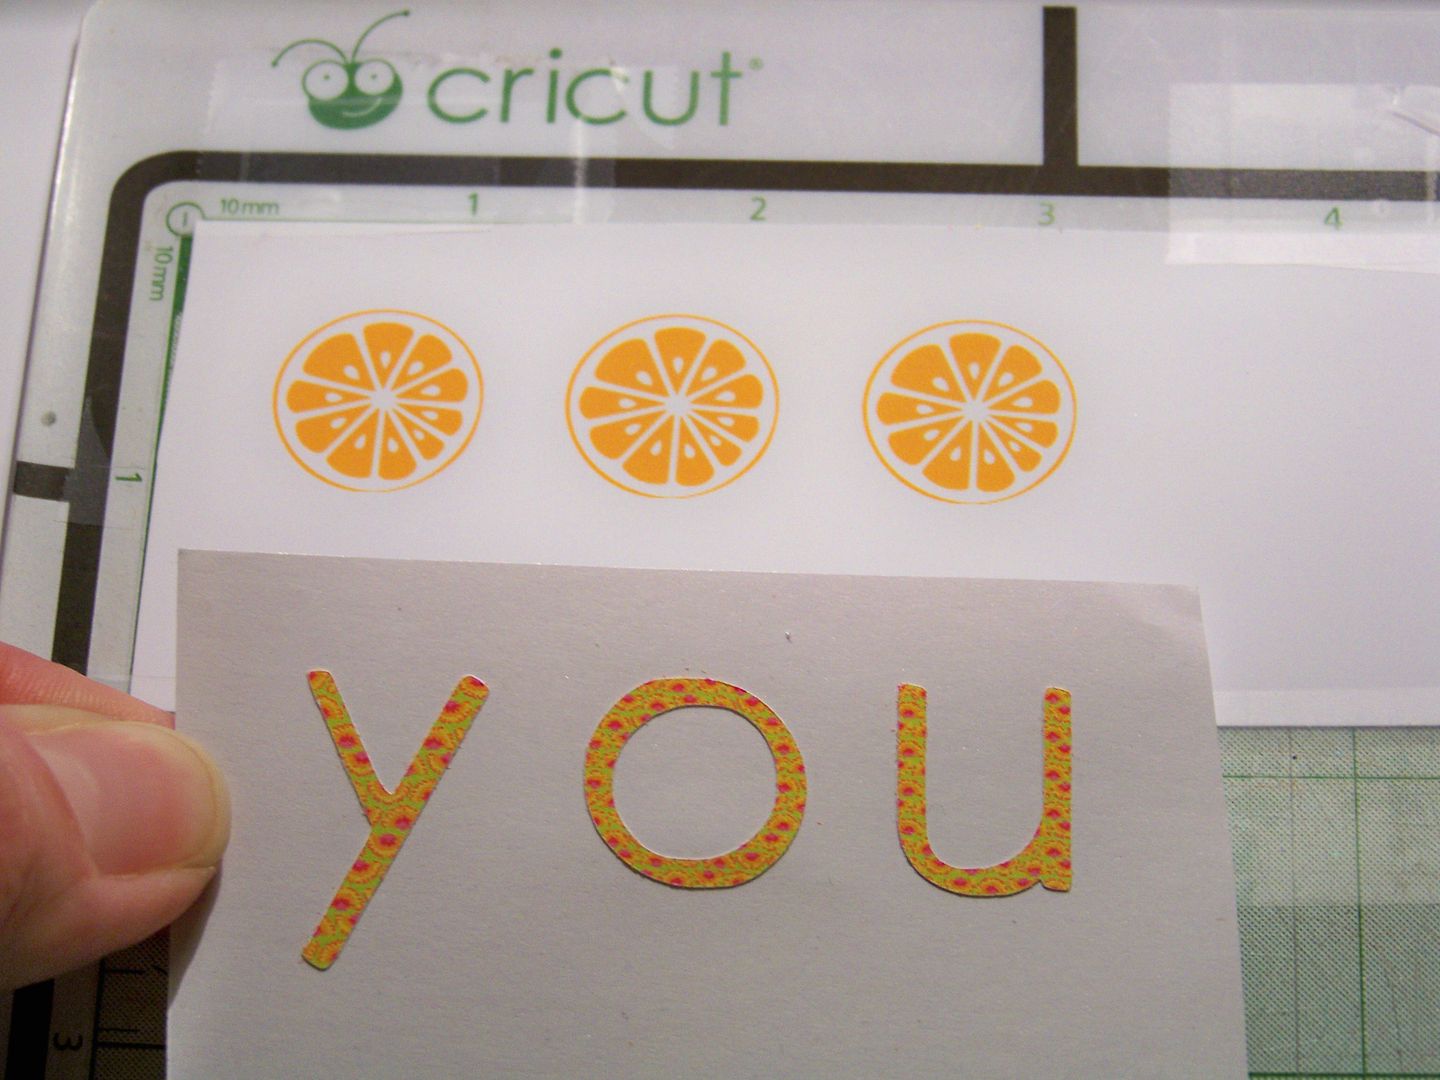
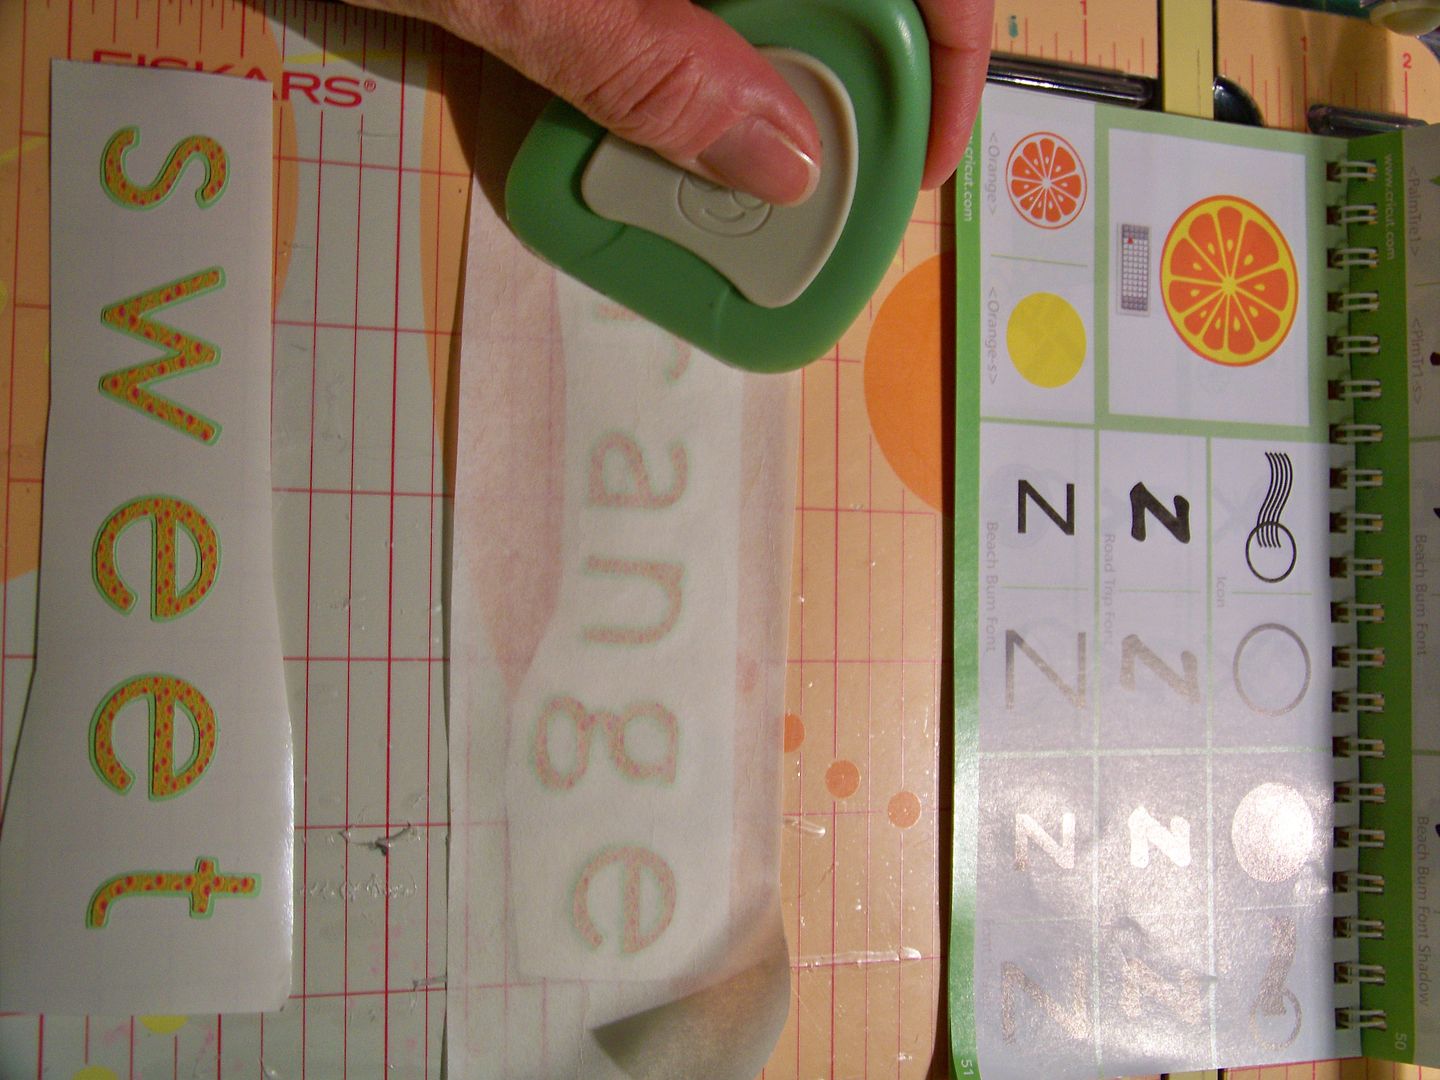
The letters were cut at 1" from the Traveler cartridge on the Imagine, floodfilling them with a print from All Wrapped Up.
I cut the shadow for this font out of regular (not printable) Oracal vinyl. I replaced the Os with the orange image. I printed those on the Imagine at .7" (printed only- not cut). They were floodfilled with the orange color that is built-in and appears on the queue. These are the Cricut settings I used for both kinds of vinyl:
Pressure: 3
Speed: 3
Blade: 3
Multi cut: 1
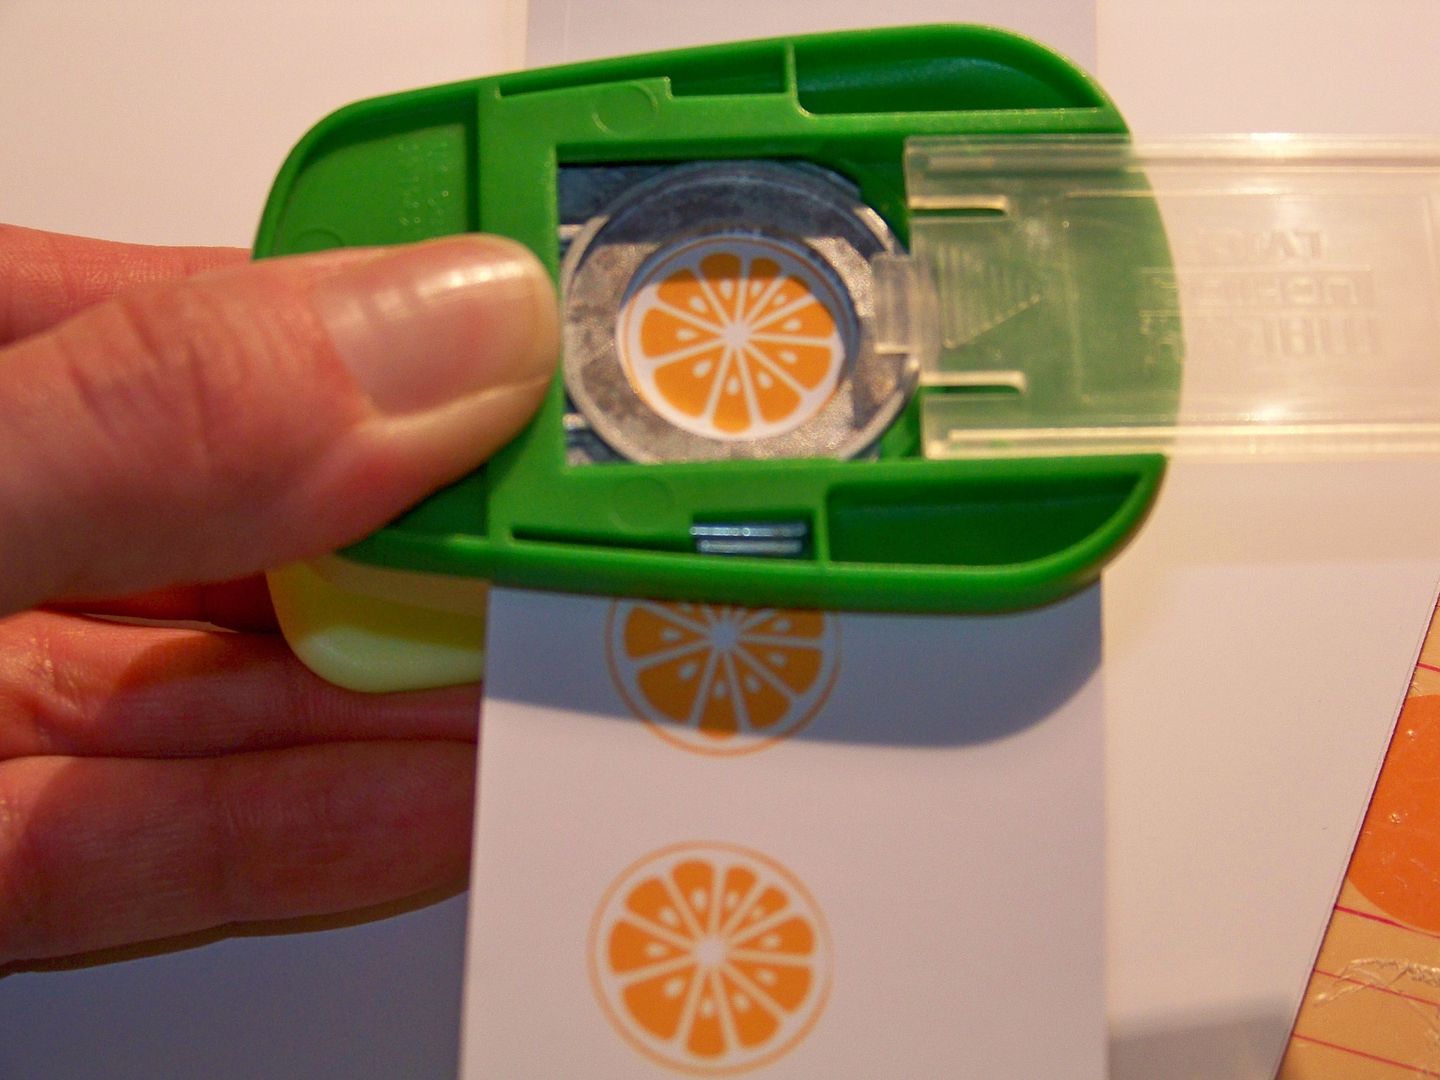
I weeded off all of the negative space around the letters. I used a 3/4" punch to cut out the oranges and applied all the letters onto the side of the canister to make my cookie jar.
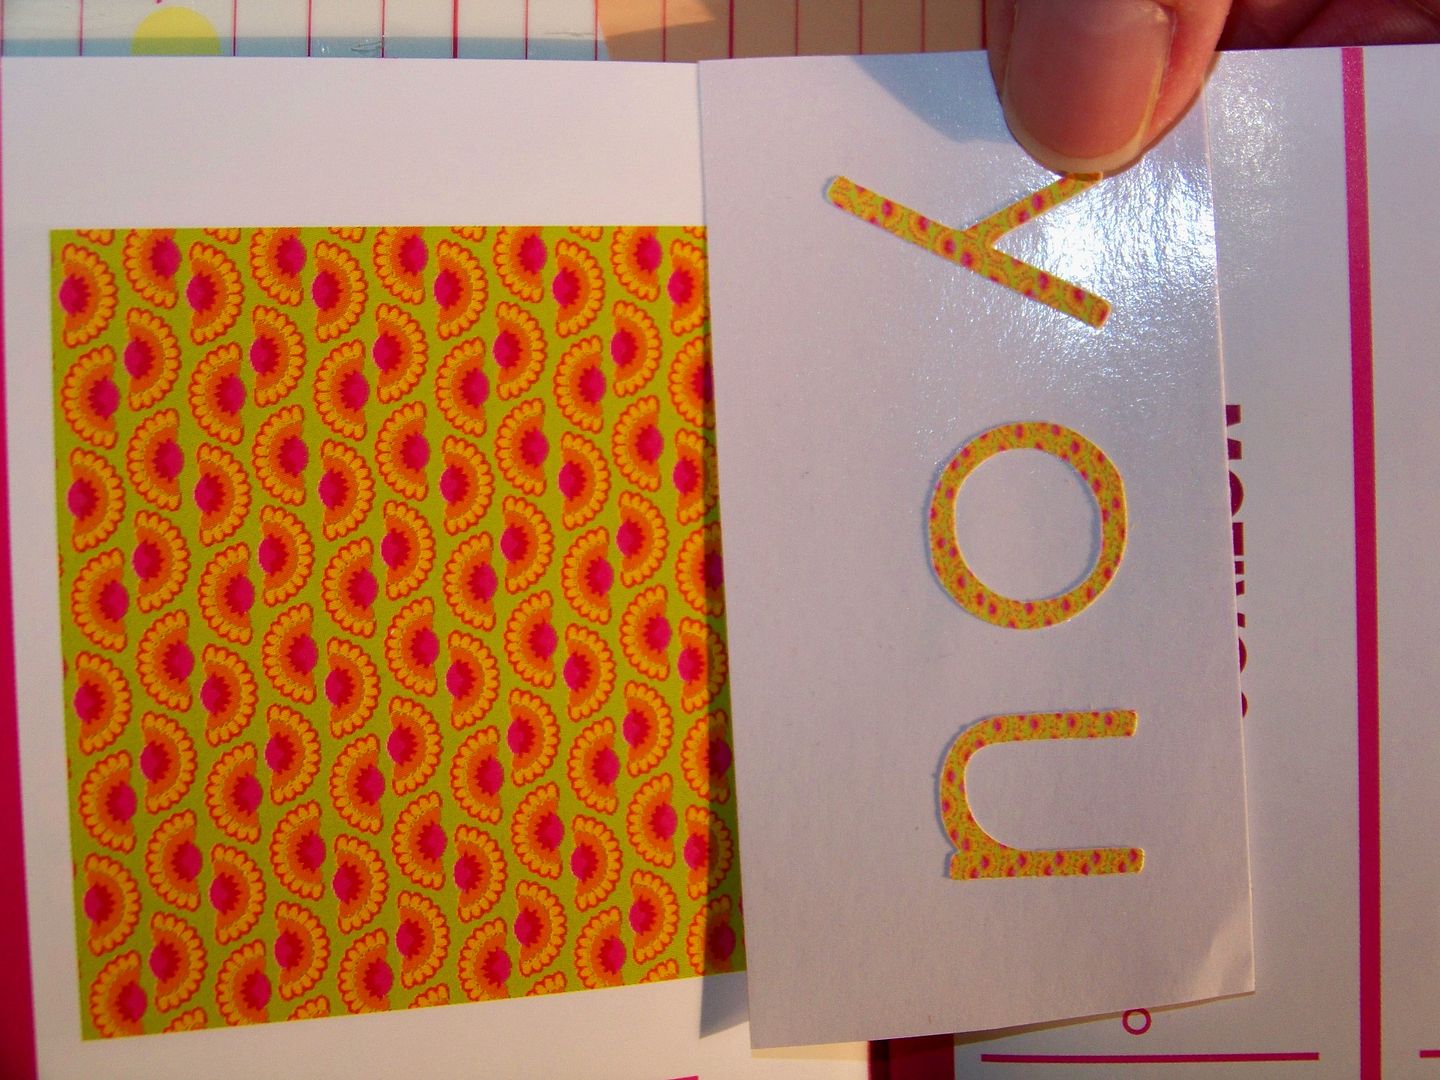
Just a note: I started the process using transfer paper, but the printable vinyl is stiff (like paper) and seemed to stiffen up the letters perfectly even though they were shadowed with regular vinyl. The transfer paper stuck a bit too hard and lifted the print a bit. It was unrecognizable on this project but may have been a problem for large cuts. I found that I could lift and place the letters just like a sticker so that is what I did for the letters after "orange". I also decided to change the spacing so that worked perfectly.
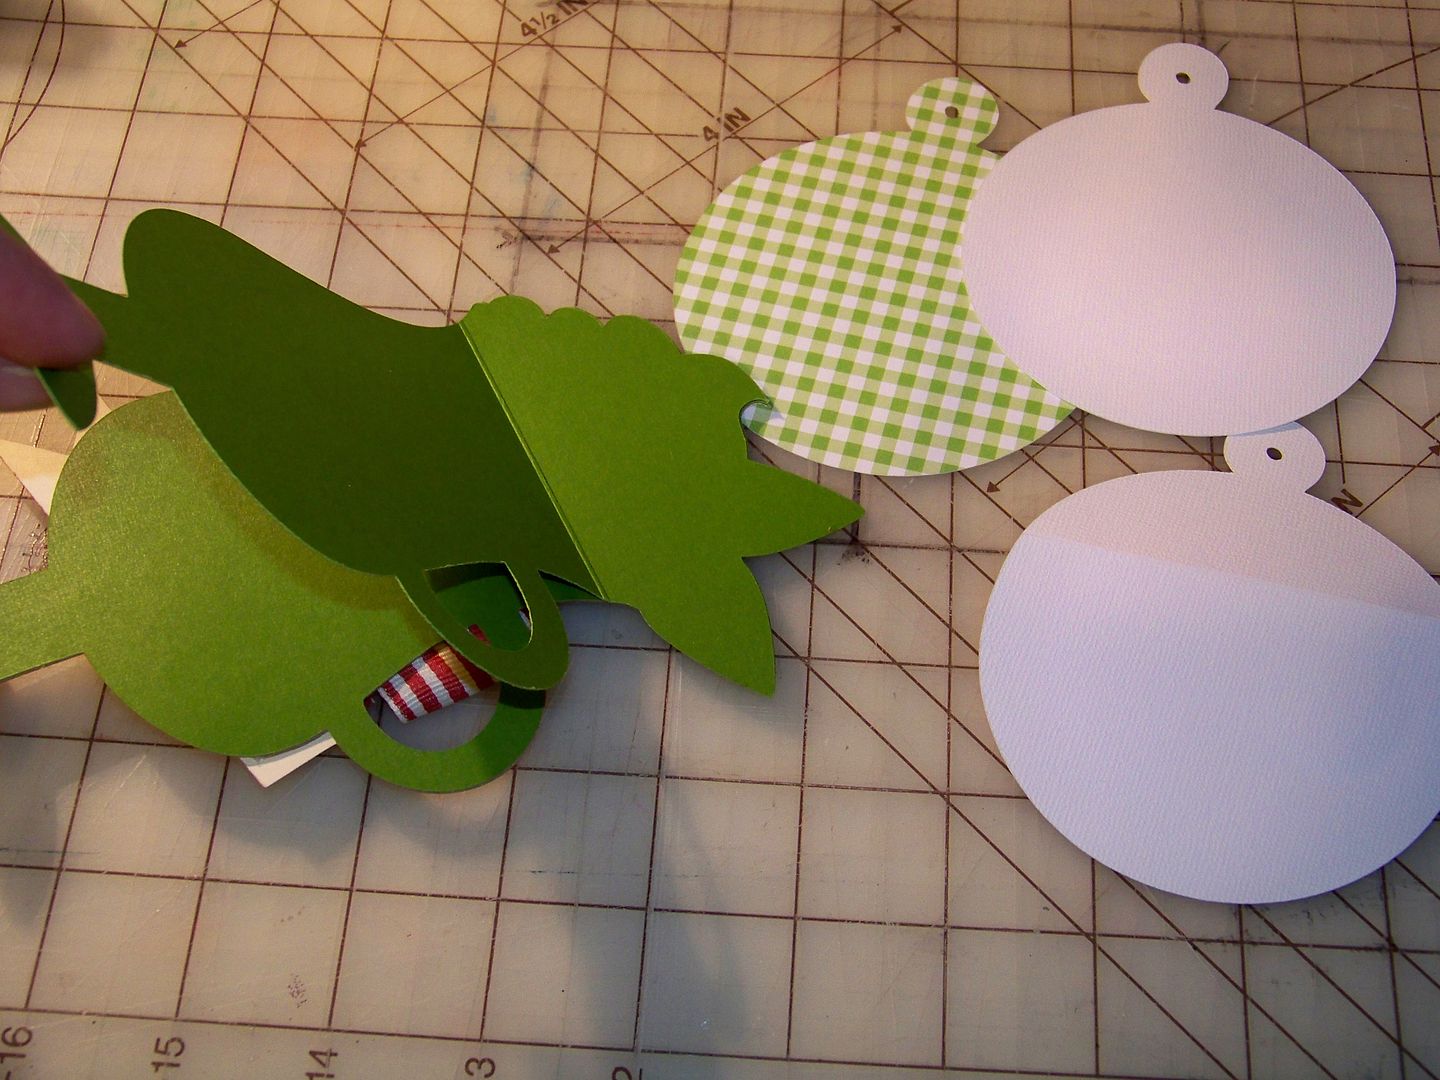
I wanted to add a tag to the canister too! I used a technique that I loved from one of Joy's cards. (She created a shaped card without welding and without a card feature!) My tag is made with the base/icon shadow cut of the compass from Traveler (page 52). I cut two from white card stock and one from green gingham paper at 4" on the Expression. Copying Joy's technique, I adhered the gingham to one of the white cuts. Then I scored the remaining white cut about 1-1/2" from the top and only adhered the top (above the score) to the other layer. Below, I have flipped her card upside-down so you can see what I mean by scoring. You can see her post of the card by clicking here.
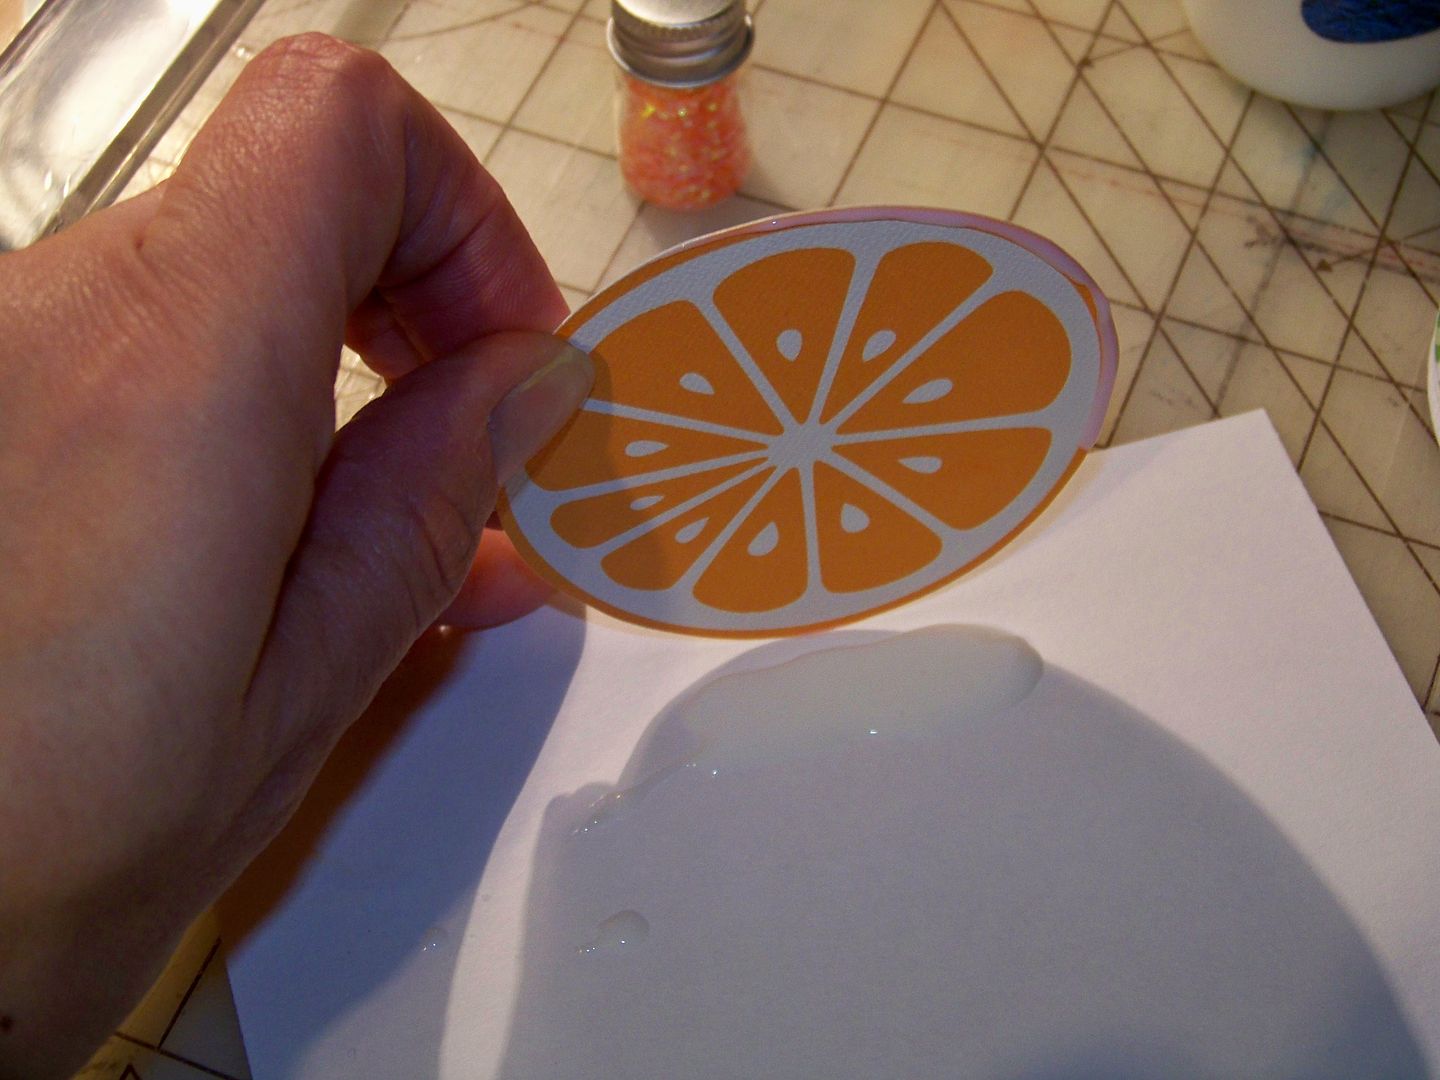
The orange cut on the front of the tag is cut from Traveler (page 51) at 3" on the Imagine. I set it to print only and then hand-cut around the rind. I dragged the edge through glue and glittered it with chunky glitter. Chunky glitter and green gingham-- this is soooo "my grandmother." (Remember when all glitter was chunky??) It is attached to the tag with pop dots.
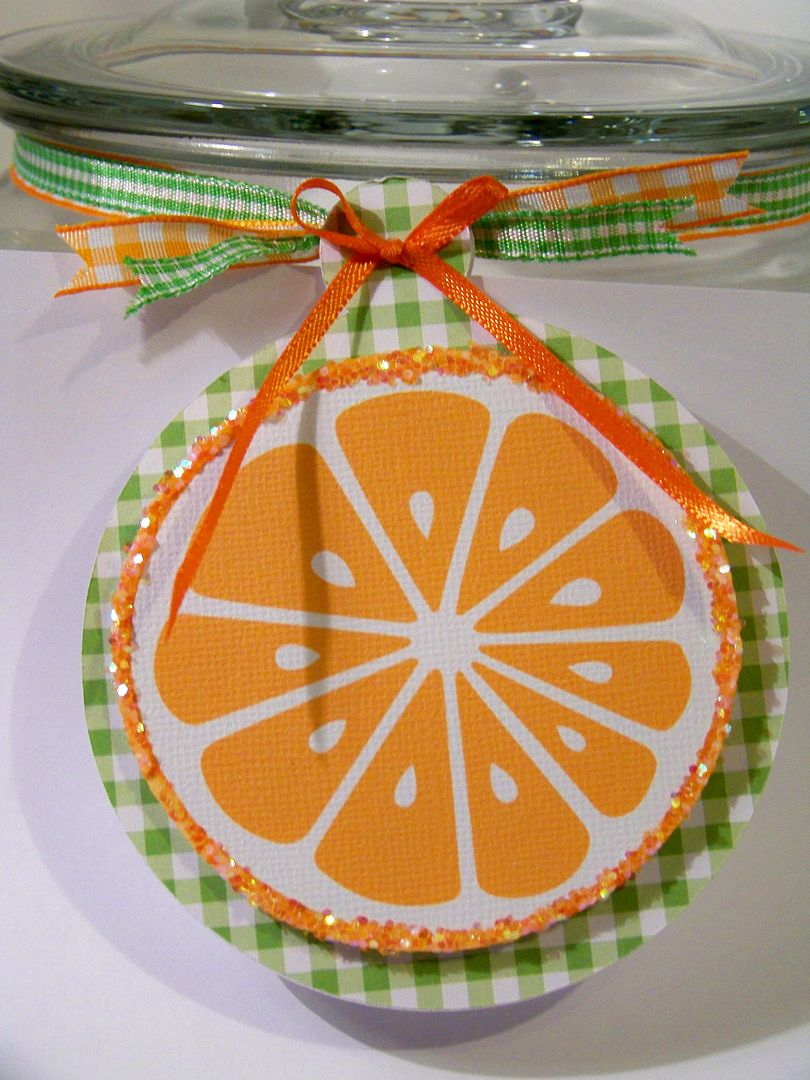
I wrapped the neck of the jar with green and orange gingham ribbon and attached the tag with 1/8" double-face satin ribbon in orange.
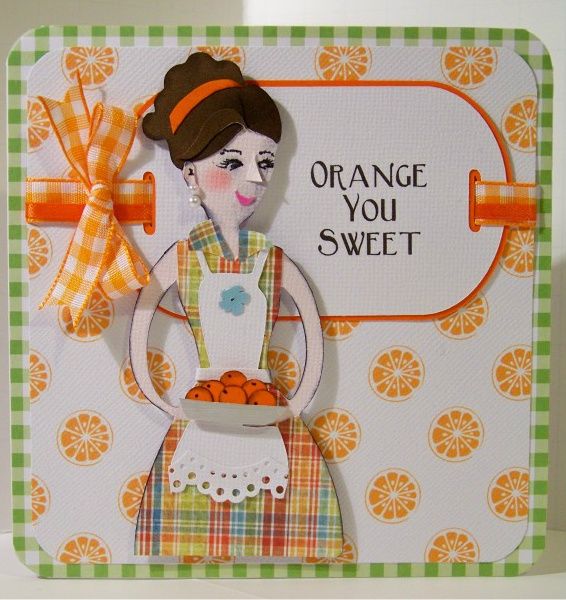
Next, I created a coordinating card for my thank you note.
I started by printing off my background paper.
To do this, I selected 'print only' from the settings menu on my Imagine. I used the same orange icon at 1/2" size, floodfilled with the same built-in orange color in the Imagine queue. I selected the autofill option and printed the paper. (This is another technique I learned from one of Joy's posts. You can see it on her blog by clicking here.)
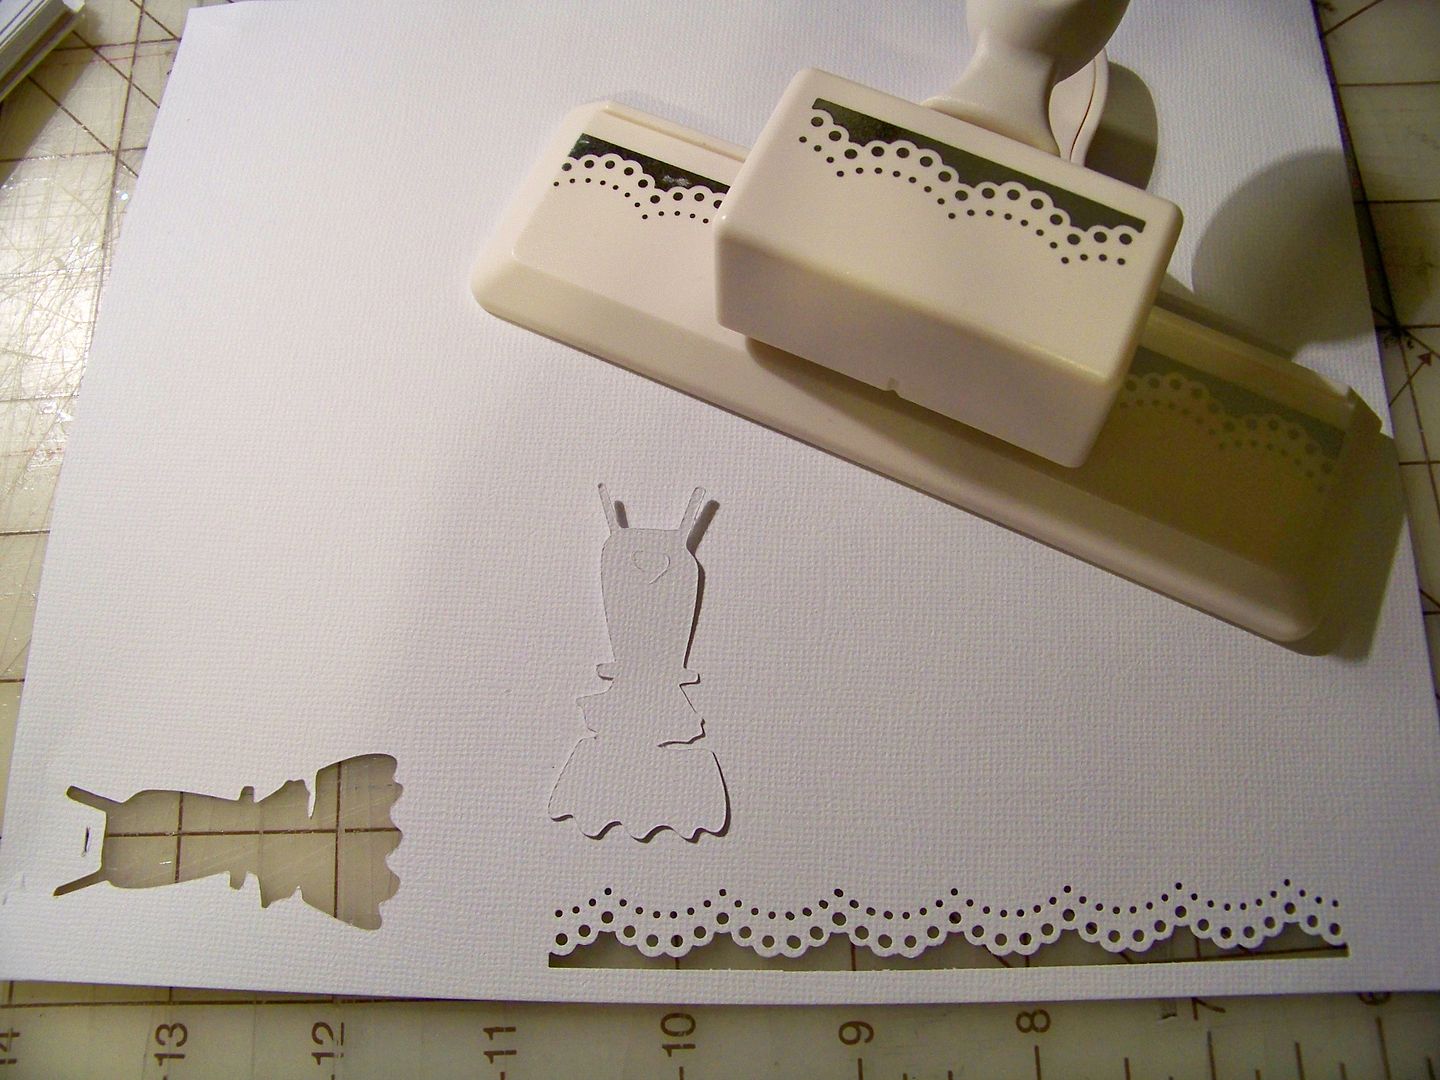
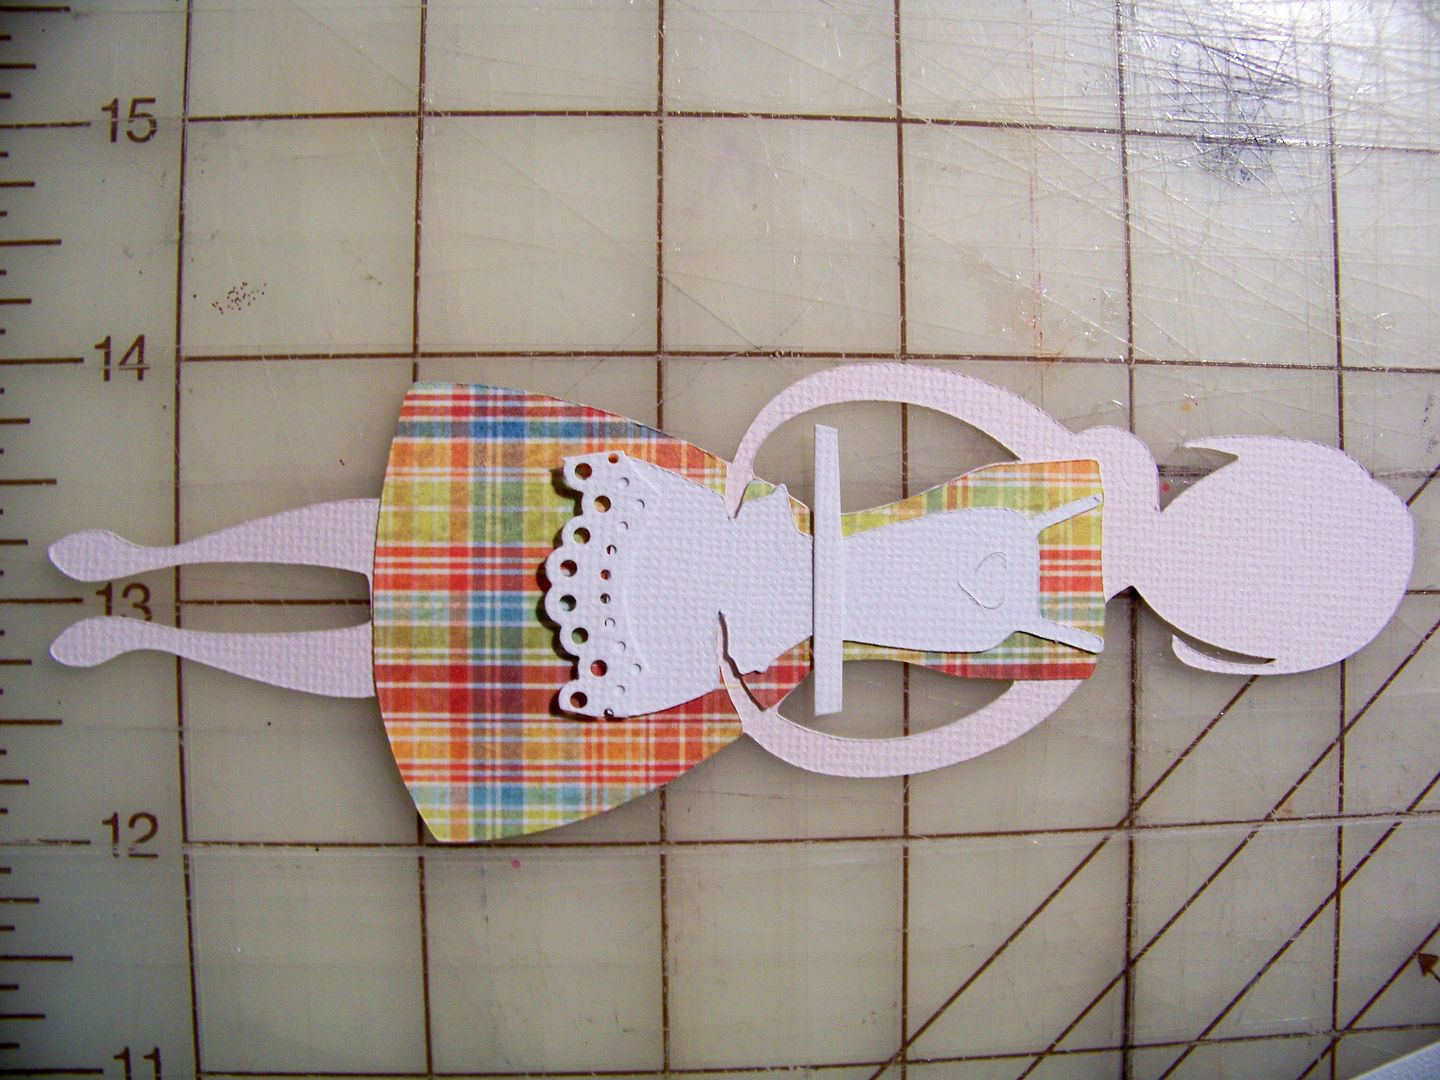
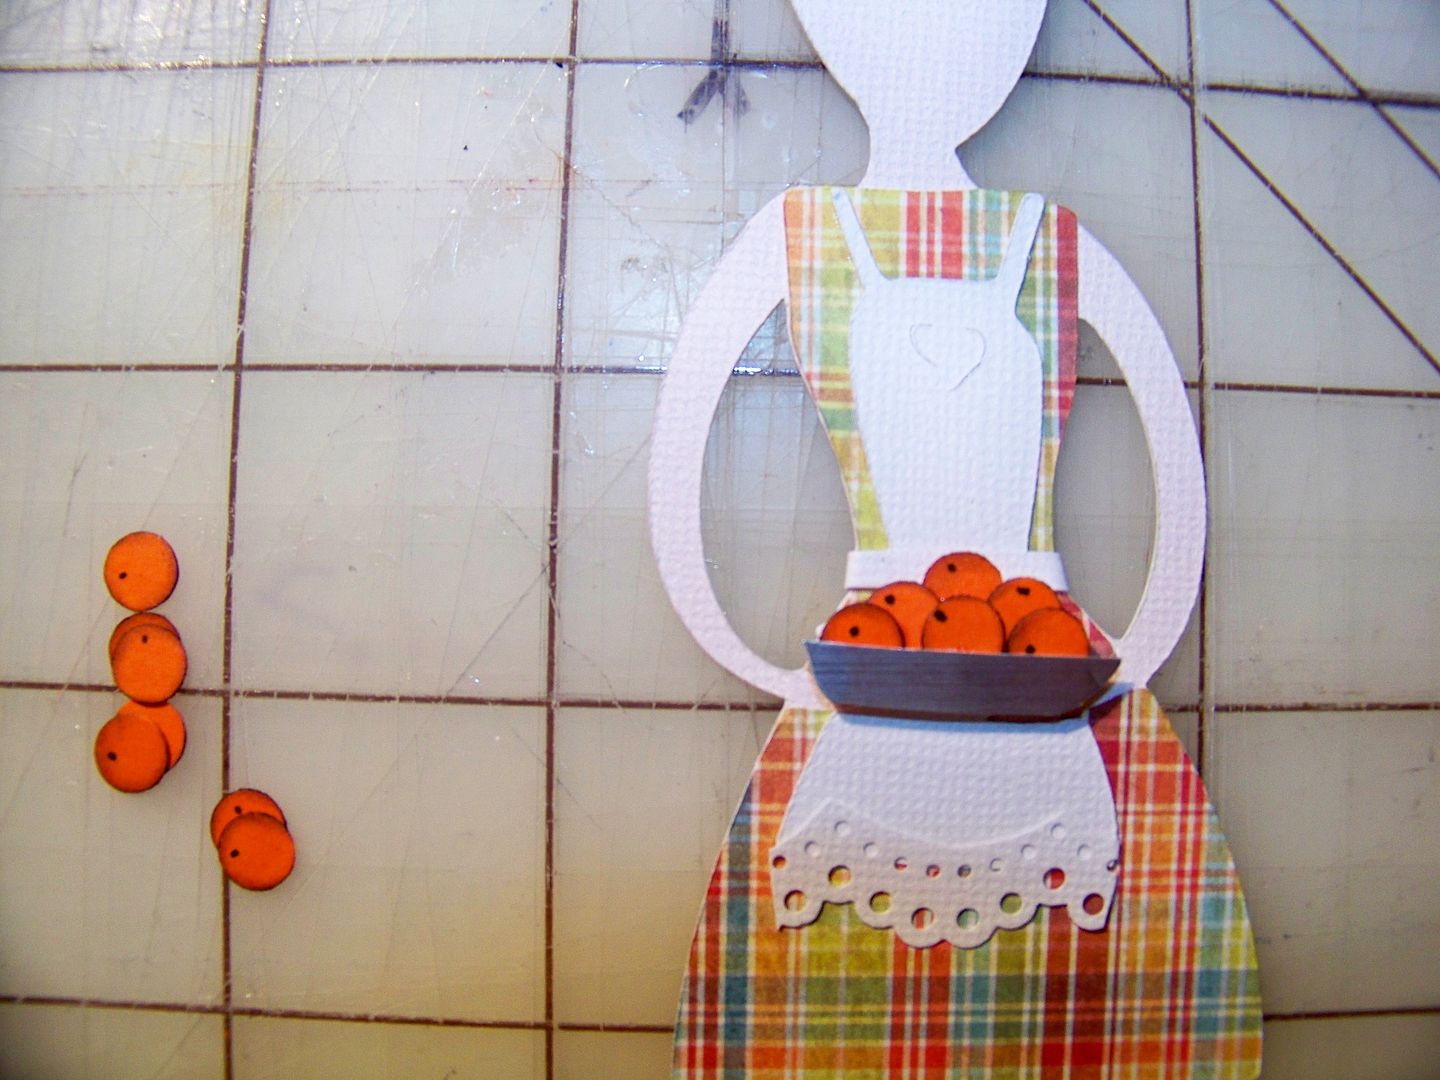
I cut a female figure from Country Life (page 36) at 6" on my Imagine, floodfilling the shape with RGB 250,229,210. I cut the dress layer from printed paper and the apron layer from white textured cardstock. I used an edge punch to create an eyelet trim for her apron hem.
I cut an extra strip of paper to give a bit of dimension to the band of her apron, the ends of which I tucked behind her.
I created little oranges for her fruit bowl with a hole punch, ink, and a fine tip pen.
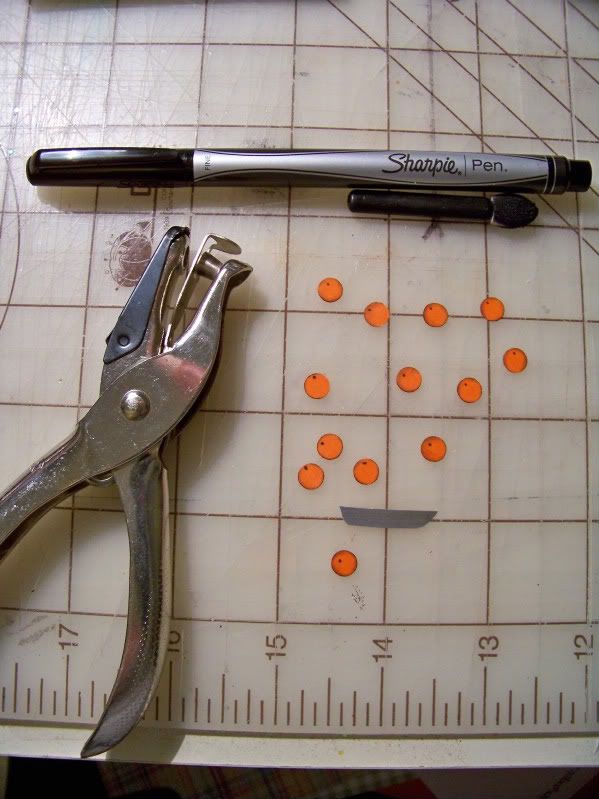
I layered them in a hand-cut bowl. I adhered this element with a pop dot.
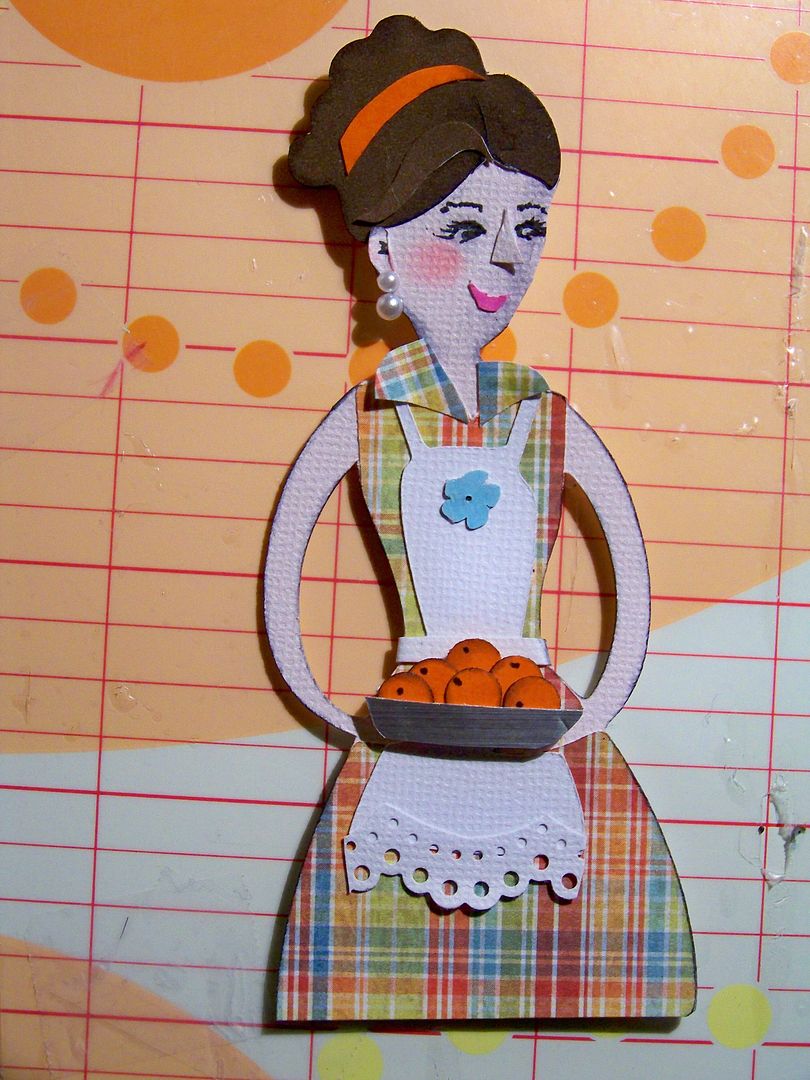
I wanted this character to look to the side. (I had in mind that she would look toward the sentiment that I planned for the card). I needed her to change from forward-facing so I trimmed off the hair style on the die cut and created a different style by adding a ponytail from Paper Doll Dress Up (page 71), cut at 2-1/2" on my Expression. (I trimmed off that bit of bangs.) I added an extra lock of hair and a headband to support the idea of her head turned to the side. I drew on a face and hand-cut a little nose and mouth. I cut the flower for her apron from Traveler (page 59) at 1" on my Expression. I hand-cut her collar and added earrings from adhesive pearls. I trimmed off the hem of her skirt and her legs.
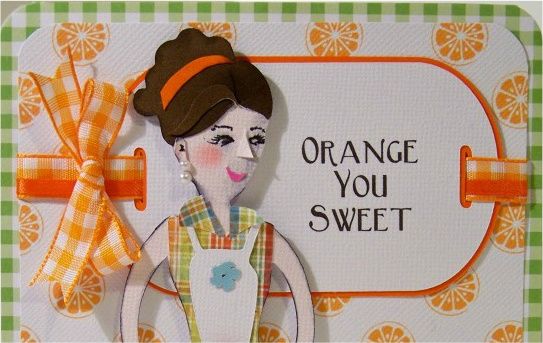
I cut a piece of green gingham paper and attached it to a plain card stock card base. Next, I cut the orange print paper diagonally and 1/2" smaller than the card stock base/gingham layer. I used a corner chomper to round the corners of the orange print and gingham card cuts.
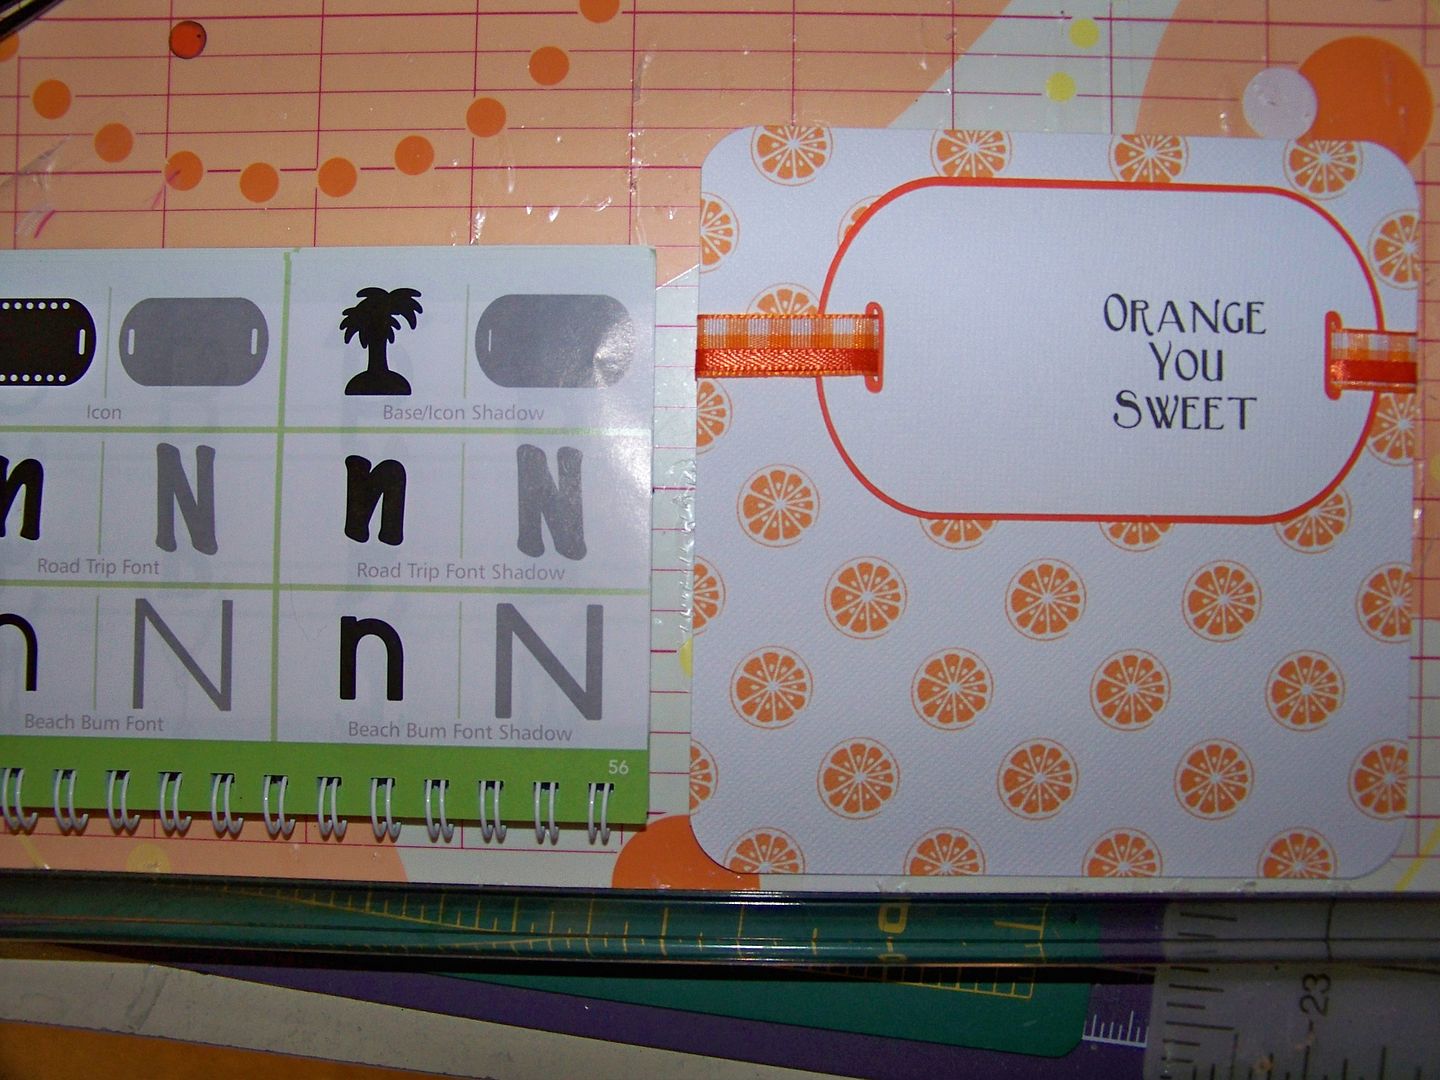
For my text box, I cut a tag from Traveler (page 56) at 2" with shadow. I printed the text on the white tag layer using Microsoft Birmingham Sans Serif at 20 point. I did this by first printing on a regular sheet of paper, then barely taping the edges of my die cut over it (using a light box to center the text where I want it), and running it back through the printer.
I threaded ribbon through the tag and tucked the ends behind the paper before attaching this layer to the gingham layer. I attached the figure with pop dots and added a bow.
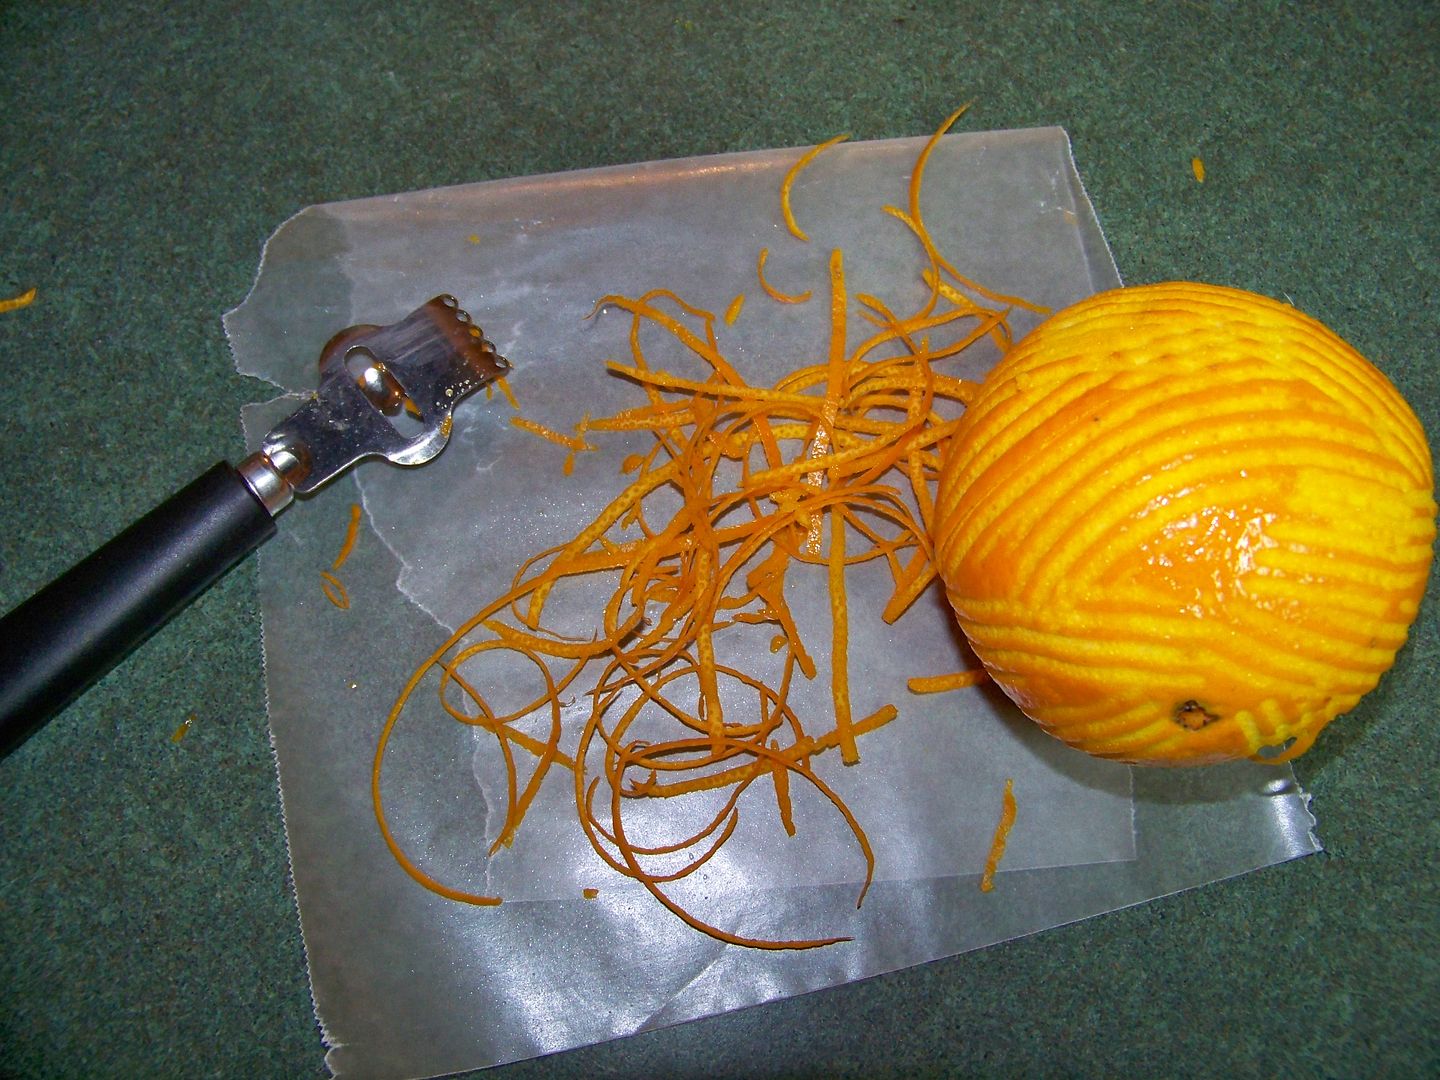
Last, I baked my cookies! I fell in love with the idea of an orange oatmeal cookie after a friend told me that someone had baked him a batch of cookies with orange zest last weekend. (Yes, it was mean of him to describe a cookie like that without providing one!) I decided to make some of my own!

I started with my regular oatmeal cookie recipe, making a few adjustments and adding orange zest, orange juice, dried cranberries, and white chocolate. My family loved them-- good thing it made more than enough to fill the cookie jar! The key to the taste is fresh zest and juice! This is my recipe:
1 stick Butter-flavor Crisco (minus 2 tablespoons)
3/4 cup brown sugar
1/2 cup white sugar
2 eggs
1 teaspoon vanilla
2 teaspoons orange zest (this was zest of 1 orange), chopped
2 tablespoons orange juice (juice from 1/2 orange)
1-1/2 cups flour
1 teaspoon baking soda
1 teaspoon cinnamon
1/2 teaspoon salt
3 cups oatmeal
1 cup dried, sweetened cranberries
1 cup white chocolate chips
Preheat oven to 350 degrees. Beat butter and sugars until creamy. Add eggs, vanilla, orange zest, and orange juice. Beat well.


In a separate bowl, combine flour, baking soda, cinnamon, and salt. Mix well. Gradually add the dry ingredients to the wet ingredients in the mixing bowl. Add oats, cranberries, and white chocolate chips. Mix well.
(I use a Pampered Chef cookie scoop to place dough on a light-colored, insulated, ungreased baking sheet.) Bake 10 minutes and then allow to remain on baking sheet 10 minutes to set. (I just left them on while the next sheet baked in the oven). Transfer to wax-paper-covered wire rack to cool completely. This made over 6 dozen cookies.
Thank you for looking at my projects today! If I have piqued your interest in the Traveler cartridge, you can click here to visit Joy's CM site for cartridge details.
This was such a fun post for me, filled with nostalgia and new things to learn! I enjoyed using a color palette I don't often employ. You can see all of my projects by clicking the 'My Project Gallery' tab at the top of my blog or by clicking here.
This was such a fun post for me, filled with nostalgia and new things to learn! I enjoyed using a color palette I don't often employ. You can see all of my projects by clicking the 'My Project Gallery' tab at the top of my blog or by clicking here.
22 comments:
First, congrats on joining the design team! Second, yes, I remember those lovely little juice glasses...I still have some! Third, what a wonderful project! Thanks for all the clear instructions and the recipe!
Carolyn
http://cccscraproom.blogspot.com
Love this project.The details are fabulous!
Wow!!! Love this project!!! And you included the recipe :D. I think I might need that All Wrapped Up cartridge. I totally remember juice glasses btw lol.
If you were handing out individual cookies, you might want to know I was able to make rub-ons and put them on glassine envelopes (see woyww 120 on my blog). And now I'm wondering if glassine is yudu-able lol. I need more coffee I think. But I'm soooooo happy you are on Joy's Design Team!!! Congratulations!!!!
Congrats on the DT! This figure is fabulous....love how you altered her. I love the colors and papers you used...clean, crisp, and out of the park fabulous work!
I love the lady and all the personalization to take her to the next level. The juice glasses might have been free glasses that jam or cheese spread came in. Remembe when there was free glasses in boxes of clothes detergent, cereal, or with a fill of gas or purchase at a fast food joint. You don't see that done much any more.
Congrats on being selected for the DT... you are so creative...
You are just too clever for words - amazing projects!
Oh sorry for post #2 - forgot to tell you I have an award for you in my blog so come by and pick it up sometime.
;)Melody
Great project! I love it. I can picture those sugary gel orange slices in there. Which my husband loves so I am thinking Christmas present!! Also, I should try your recipe. I bought a can of Oatmeal the other day to make monster cookies and came home and found 3 more partial cans! So, I am definitely looking for more recipes that use oatmeal!! Congrats on being on Joys design team! Can't wait to see more from you!
Fantastic project thanks for the tutorial!
Nadia, your detail always AMAZES me! Congrats on your new design team job! I'm excited to see more of your great work!
What a fabulous set - and such a wonderful way to say thank you! I especially like the little trim you added to the apron.
Congratulations on your new design team spot, too! How exciting for you!
Yummy!! Gonna have to try those cookies now... Thanks for sharing. Oh, almost forgot, love the jar & card, congrats on the design team!
Wow! You really included so many details! It's like looking into the future and seeing what my blog might be like if I ever get around to starting it...
I love your colors and it's so wonderful that you shared "the recipe" for everything down to the cookies!!!
TFS
Yay, yet another fabulous project from the talented Nadia. They are lucky to have you as a Designer!
Great projects! I also remember the juice glasses. Those cookies sound yummy....where do you find the time?!!
super project, and what a thorough tut, really well done, right down to the recipe. Thank you so much for sharing. I really like that you shared your cutting instructions for depth etc.
Wow this is gorgeous, love how you altered the lady to suit your card. Great project and a lovely gift idea. Congrats on joining Joy's design team.
Kim xXx
What a beautiful homemade gift!! Congrats on the design team and thanks for sharing all your tips and recipes!
I just love coming to visit your blog and seeing all the wonderful projects you've created. I especially enjoy how you always share your step by step because it makes us all appreciate all the time and love you put into each of your very special projects. My goodness, you must have the hands of an expert surgeon to be able to create these miniature little wonders!
Wow, Nadia.. this is wonderful! And you fooled me.. I thought those oranges were store bought or something- didn't know they were printed from the Imagine machine...
Nadia
This is super cute!
I am so excited for you! Congrats on being asked to be on the design team:)
Post a Comment