Wednesday, July 31, 2013

American Girl Crafts Party!

Today was the day for our American Girl Crafts party!  We had girls who ranged from 2nd grade to fifth, with the majority going into 4th grade.  I have mentioned this party in my last two blog posts--it has been my favorite upcoming project and has given me something really fun to look forward to when work has been so overwhelming!  It required a little bit of prep during my absolute busiest time of year as well as coordination of little girls' busy schedules, but we had so much fun!


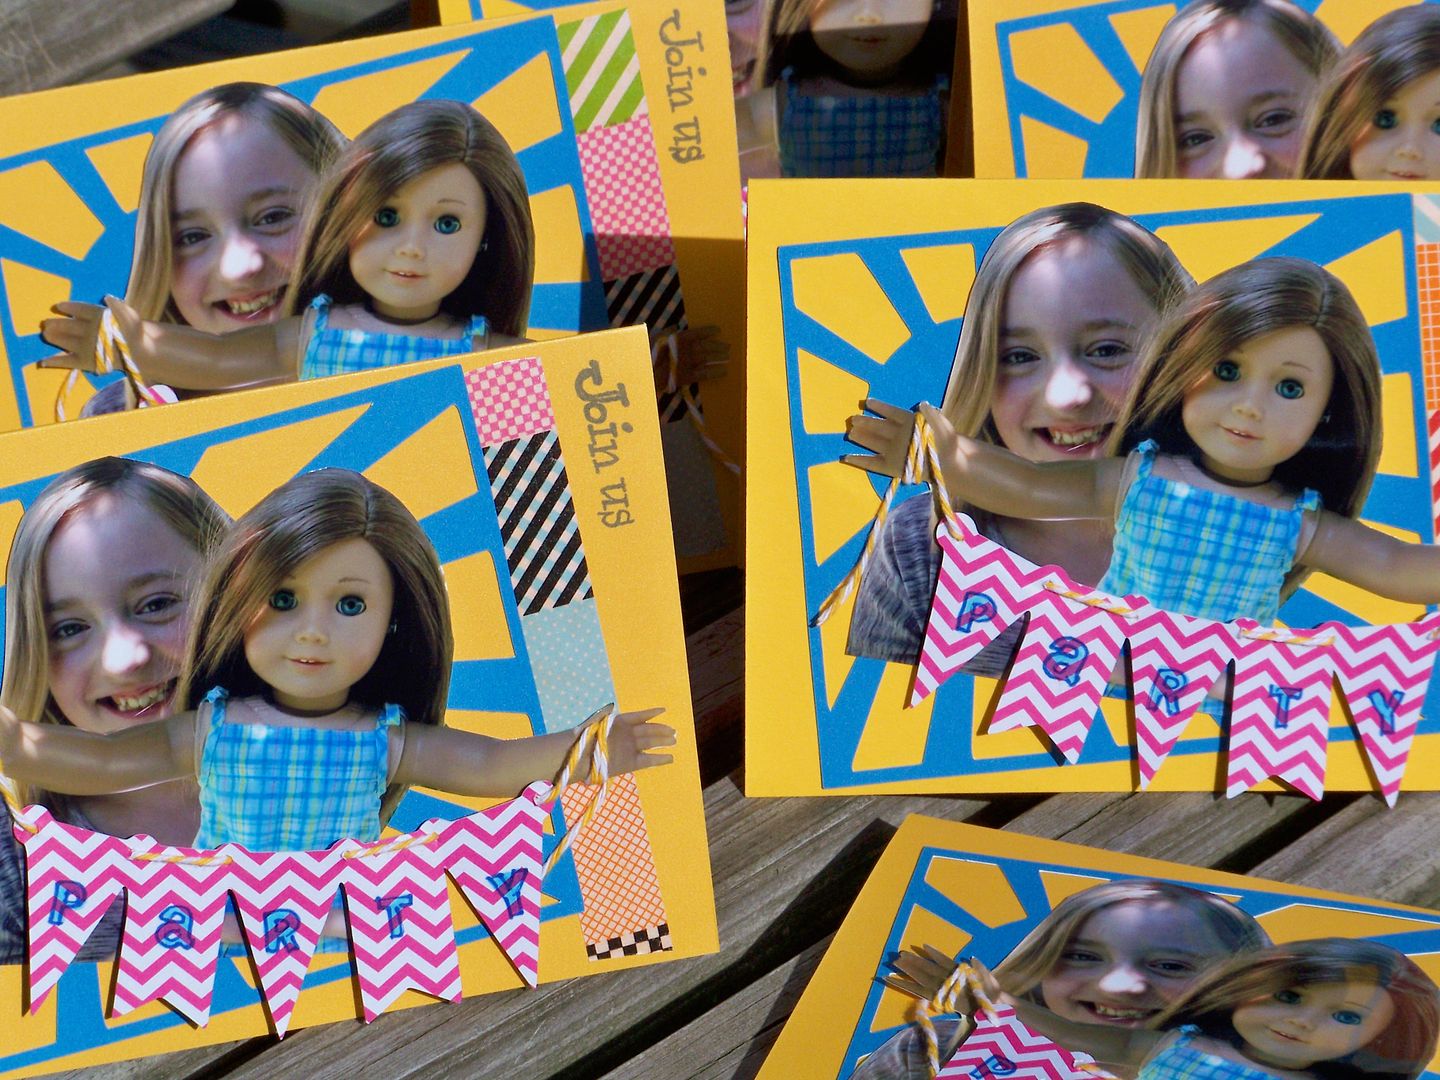
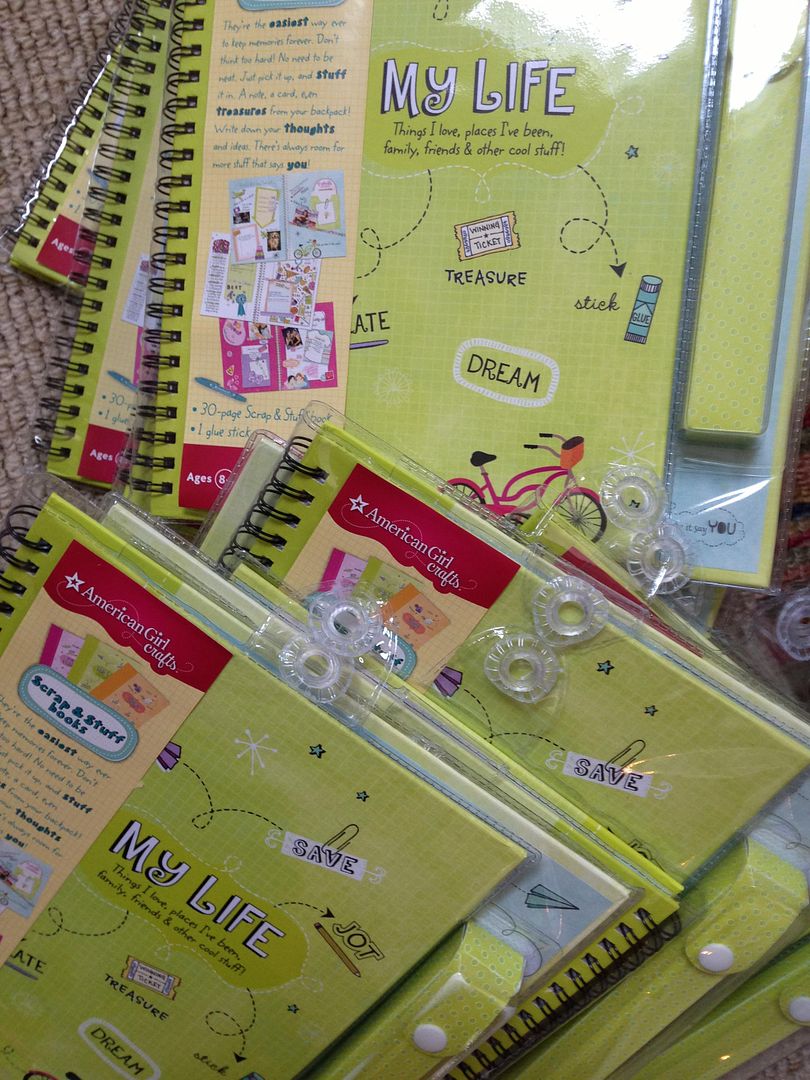
To tell you about the process: I had to submit an interest in hosting a party to houseparty.com.  Once I was accepted, I had only 30 minutes to email invitations to at least ten guests.  That was a bit tough and I got a little creative, but we did it and received our party pack-- a huge box of American Girl My Life scrapbooks and oodles of stickers, pockets, stamps, tapes, and other embellishments.  It was fantastic and so generous!


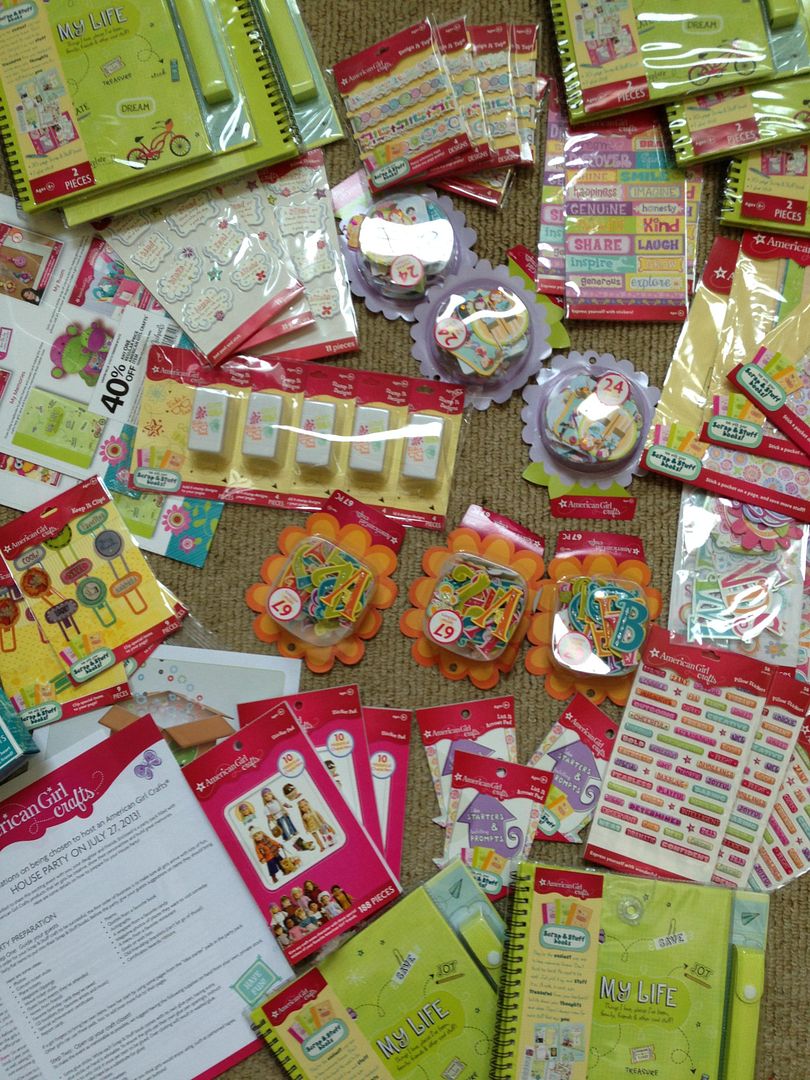
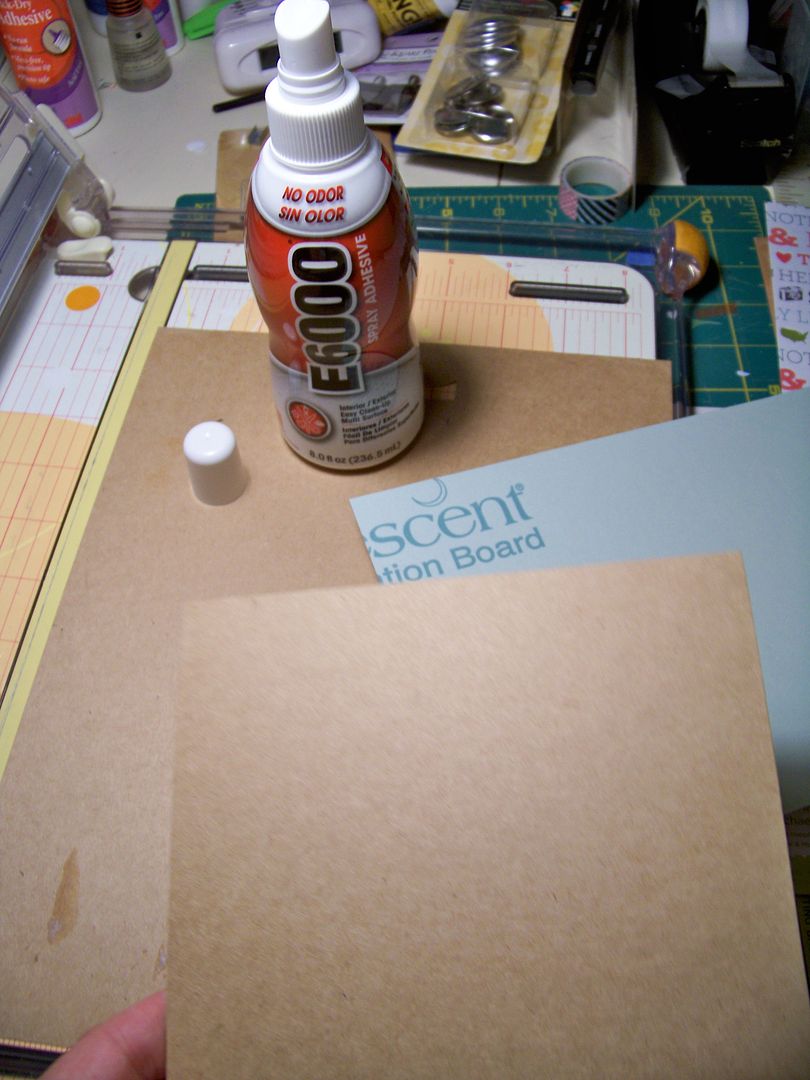
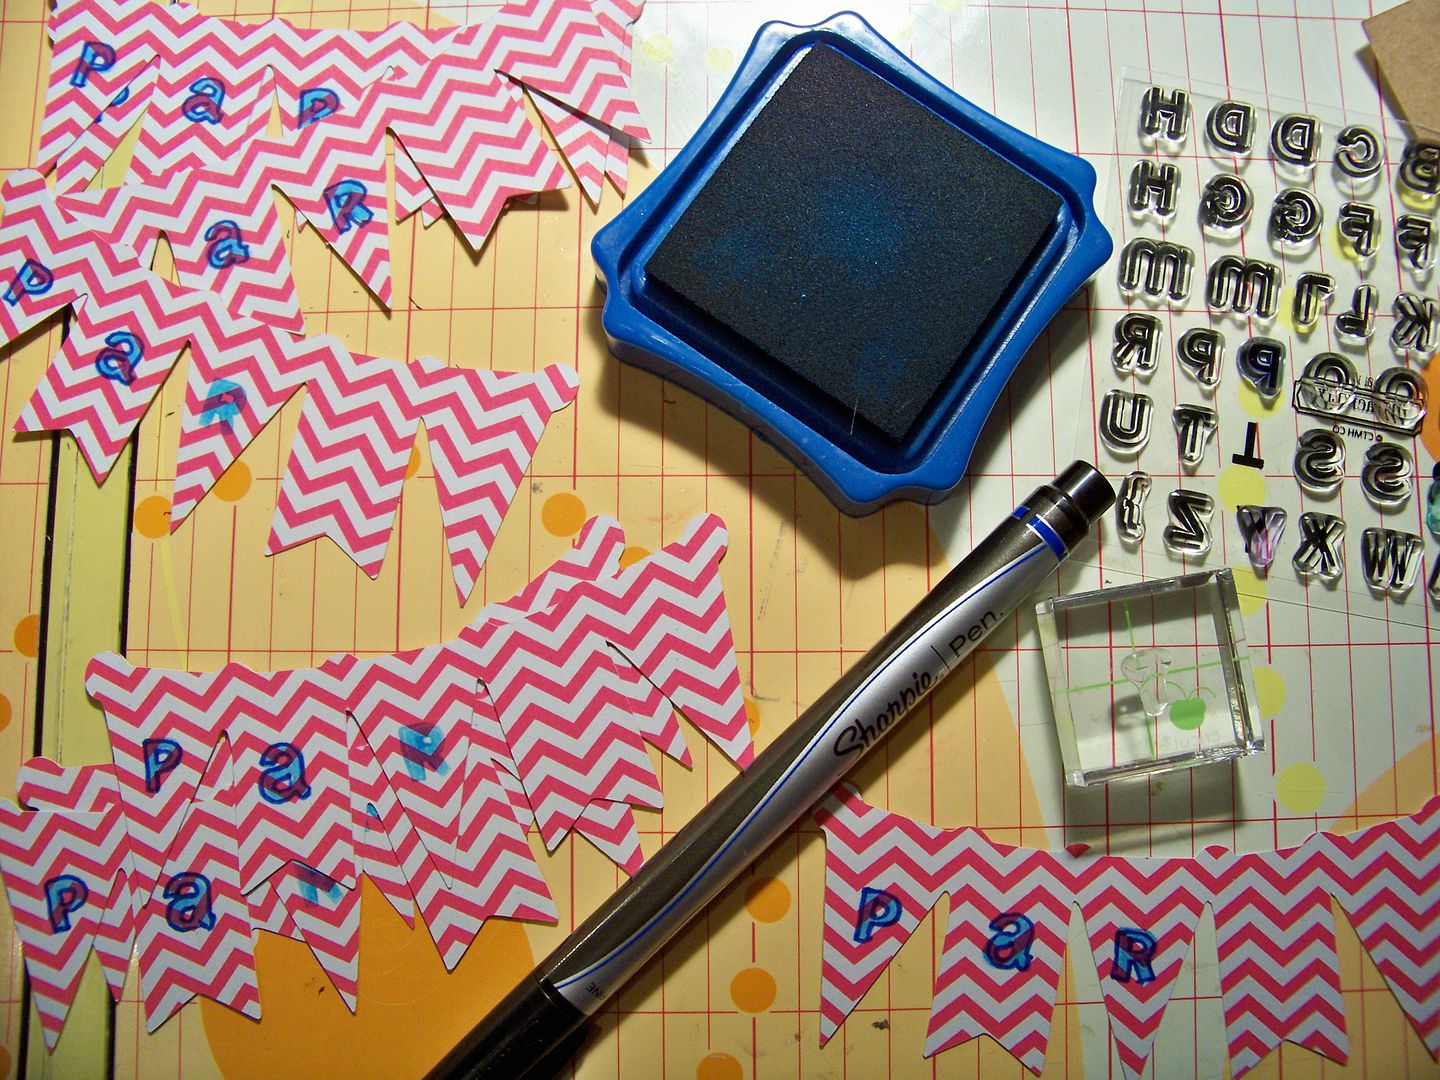
I took advantage of back-to-school time and picked up glue sticks, Teflon scissors, markers, colored pencils, Sharpie no-bleed fine writing pens all at bargain prices.  I added in some stamps and stamp pads, patterned paper, paint chips (for illustrating favorite colors), and punches!


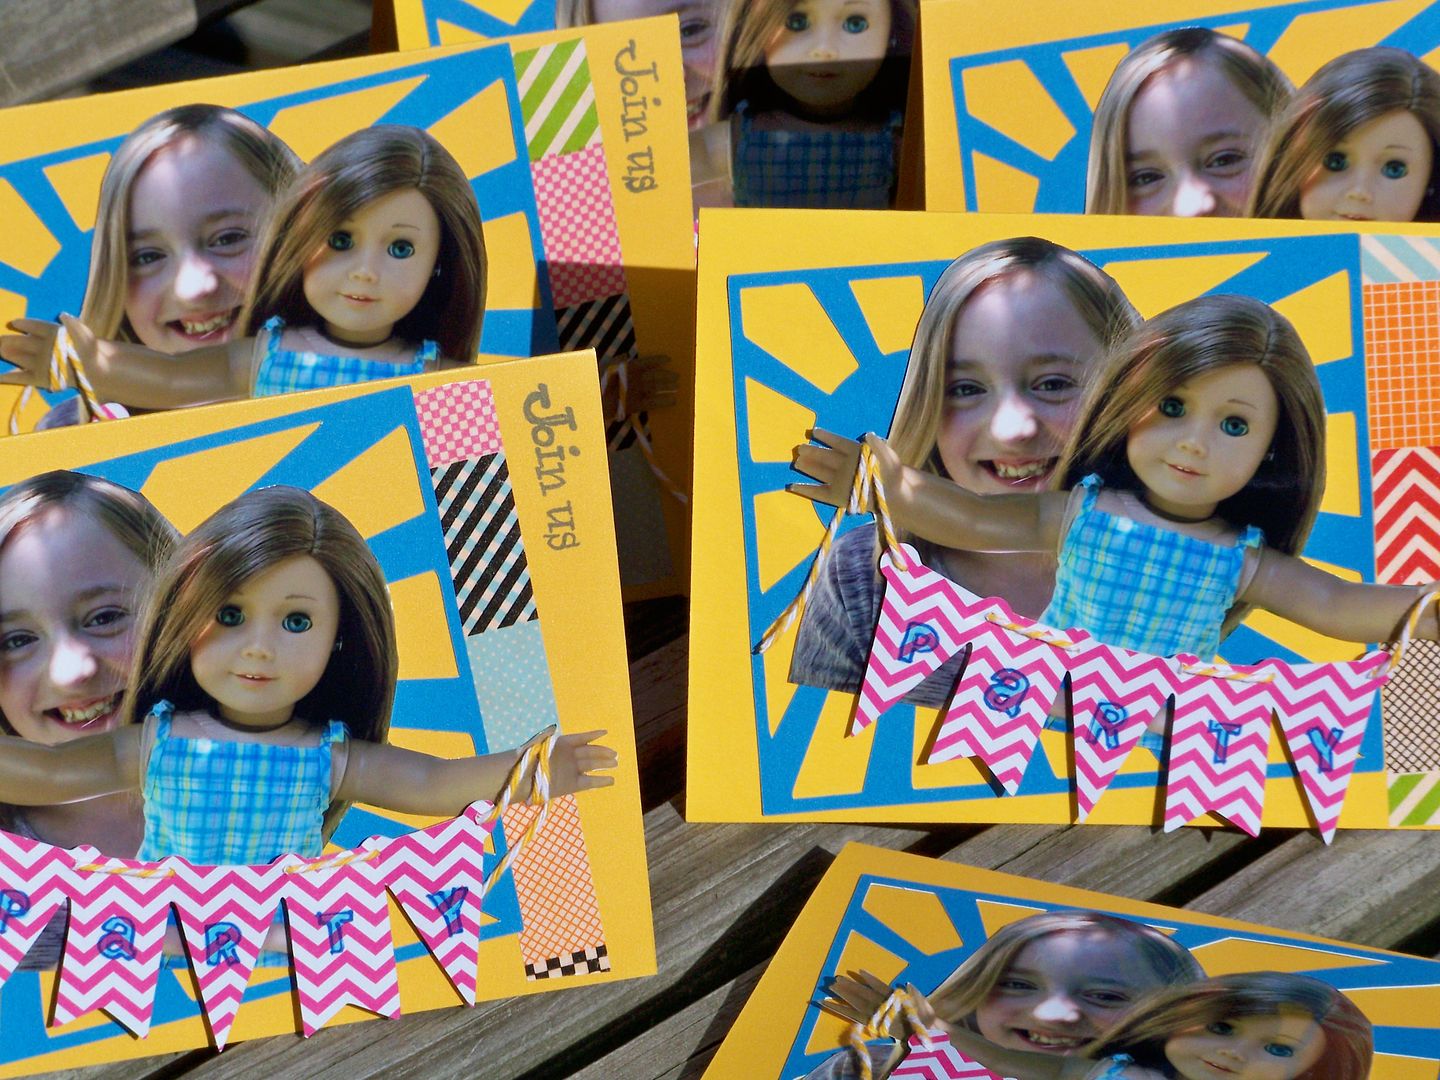
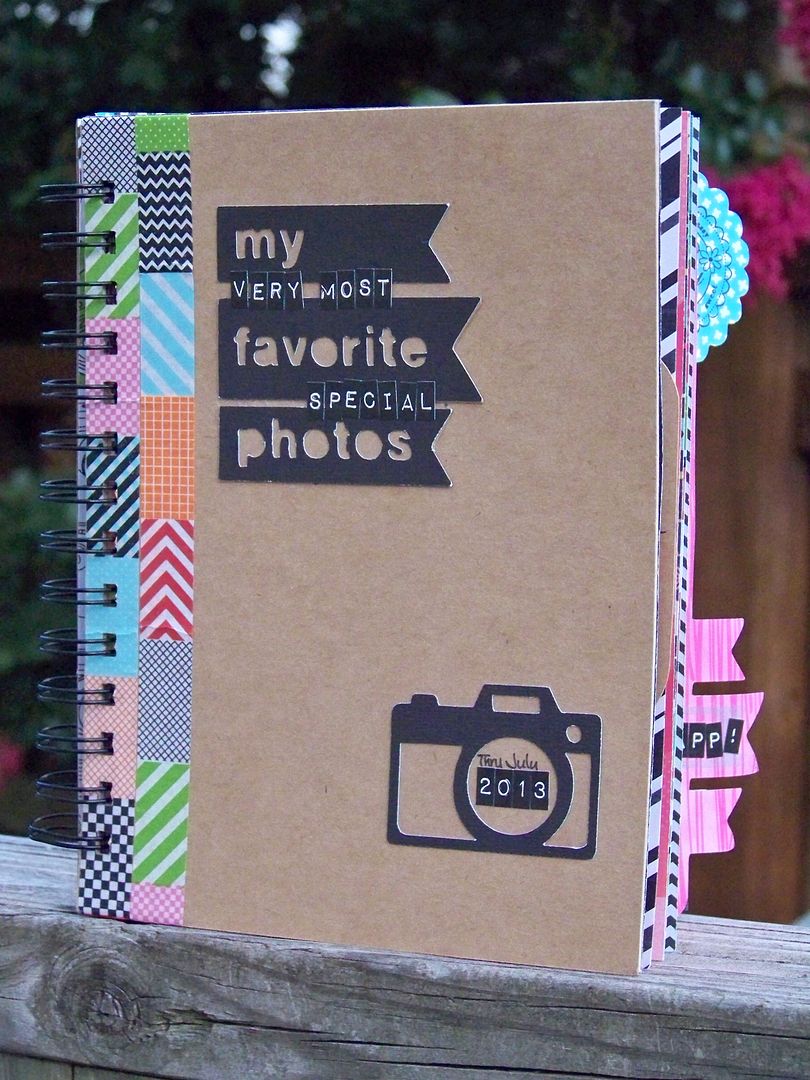
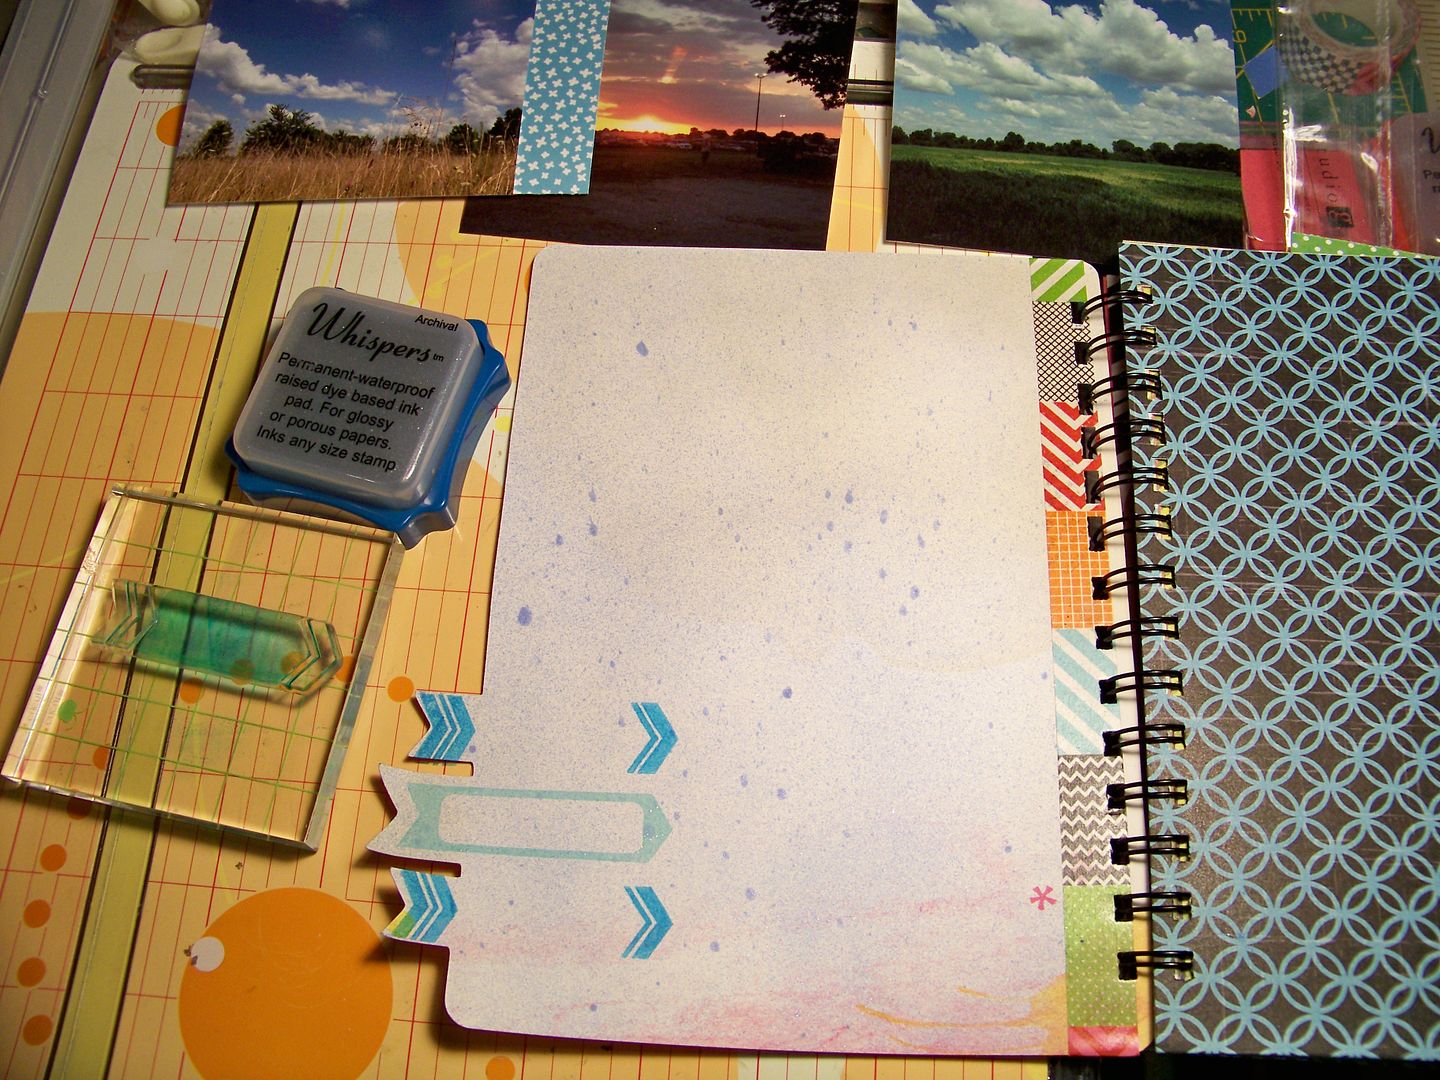
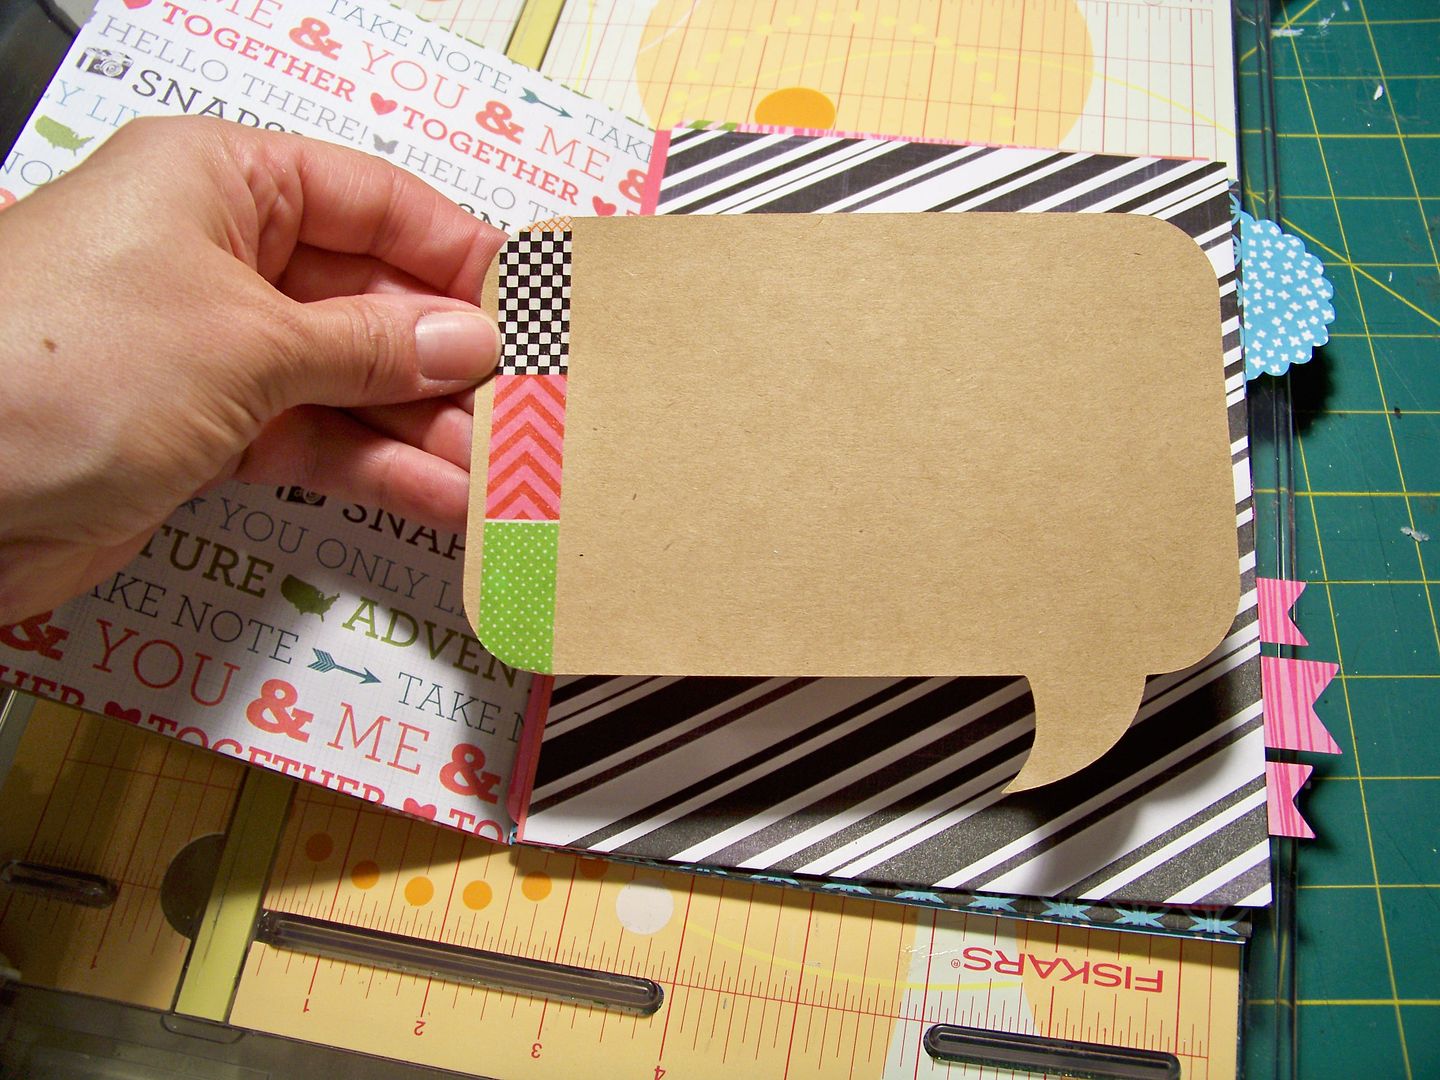
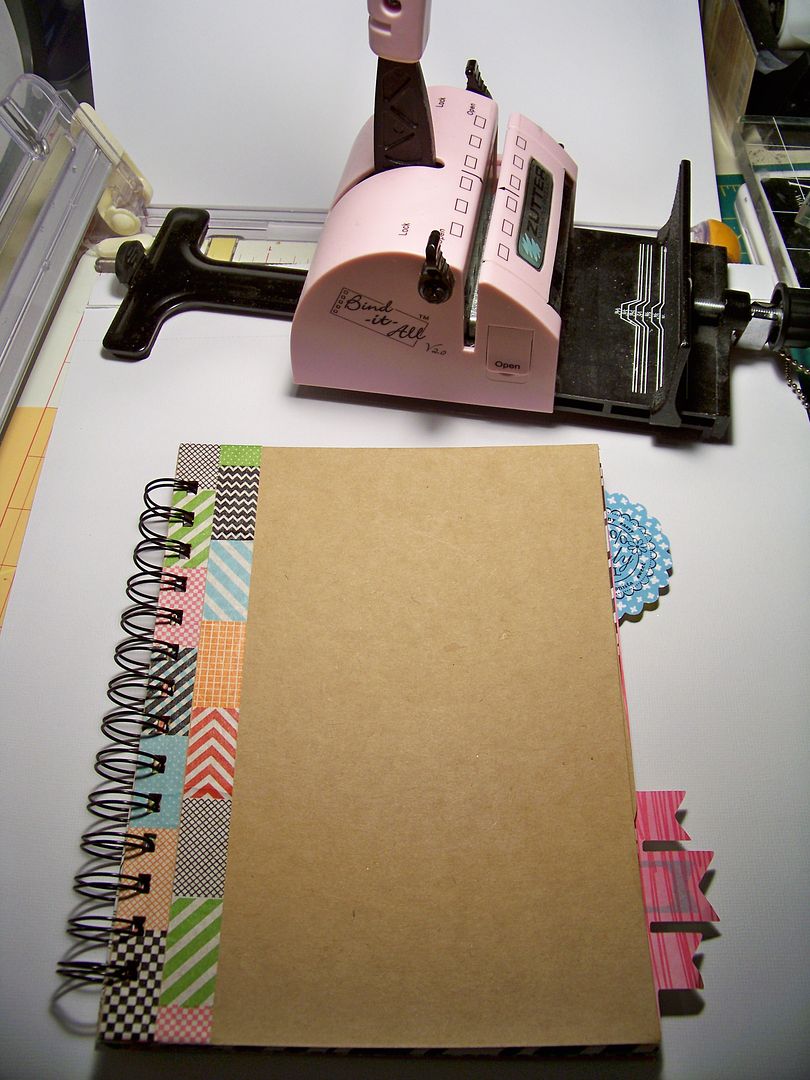
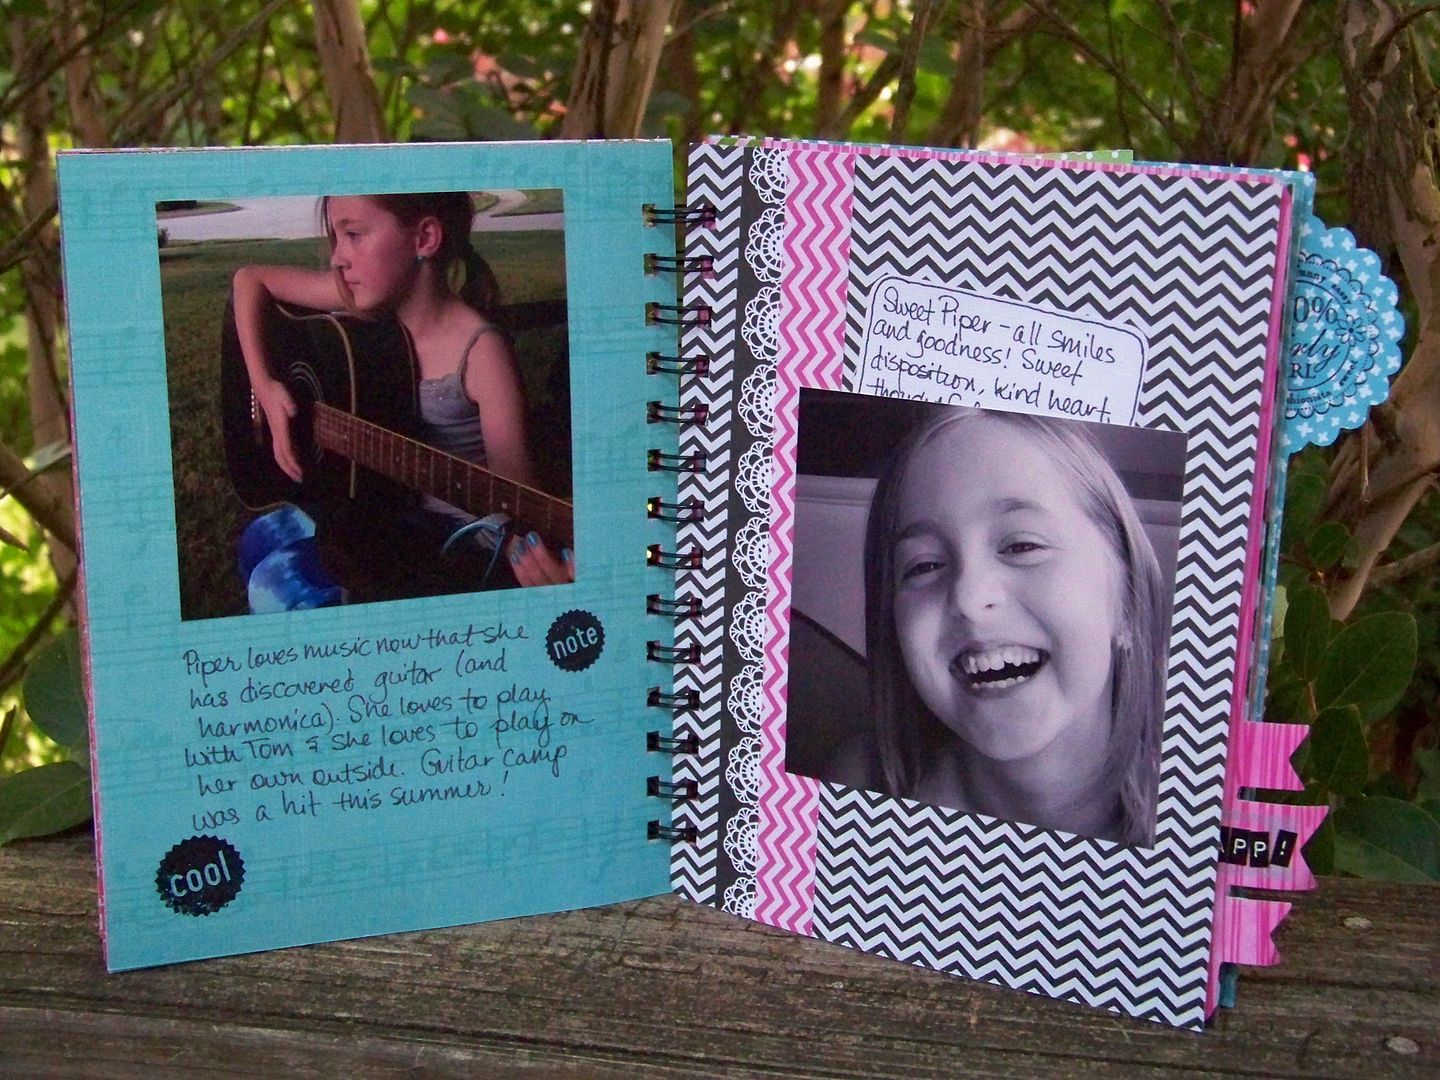
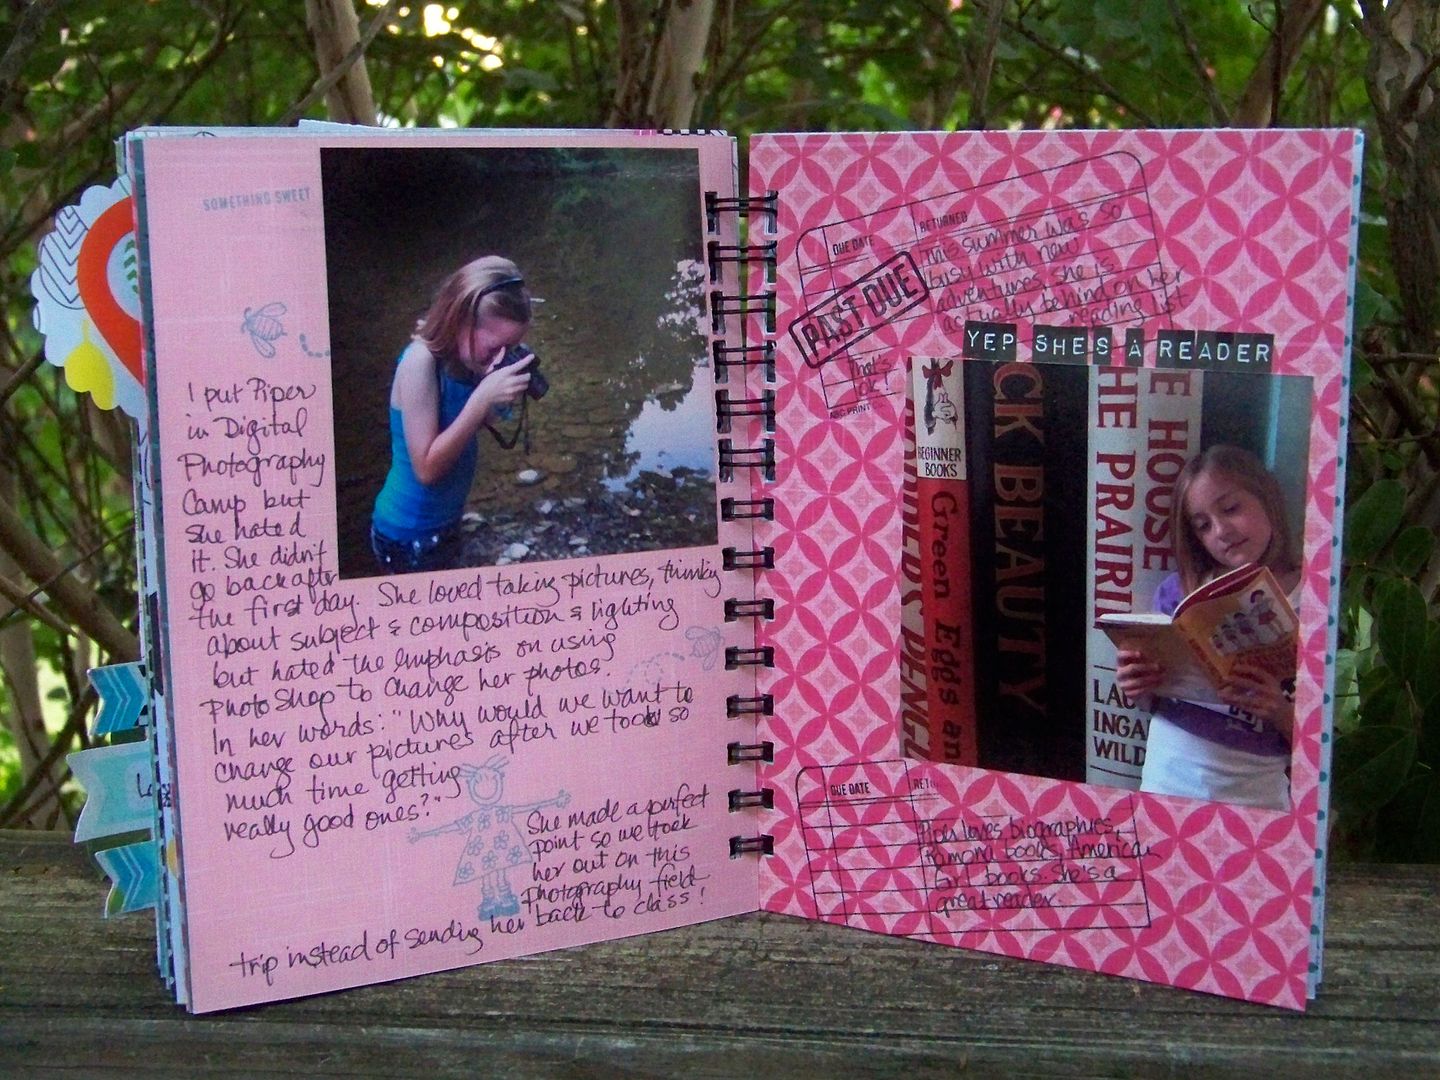
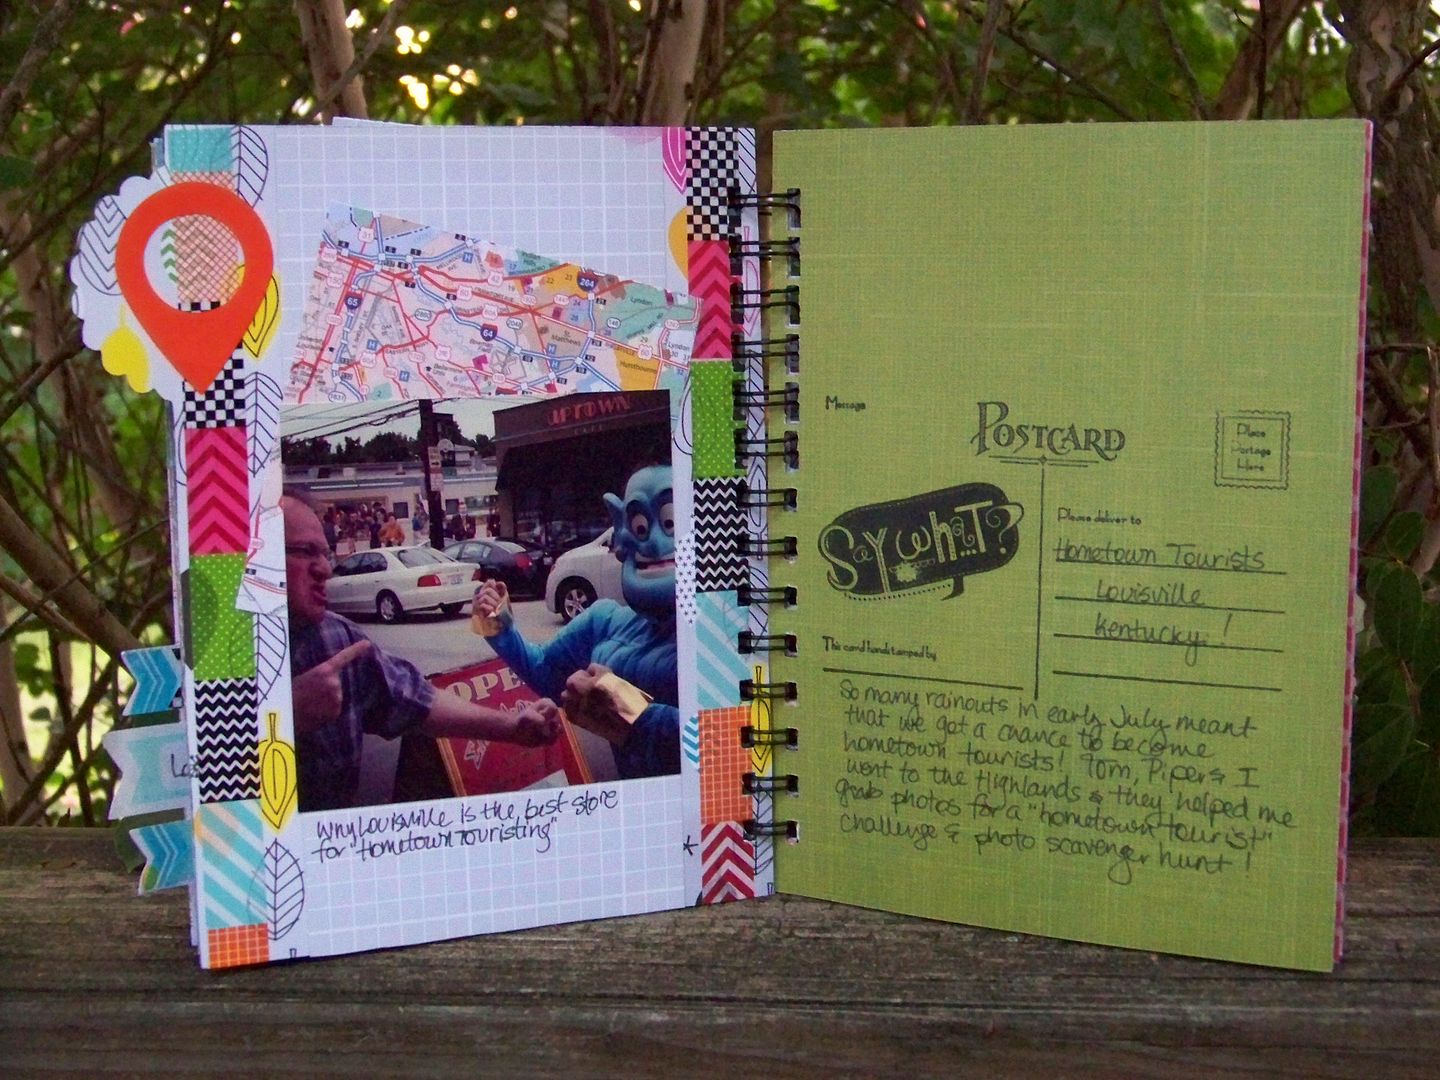
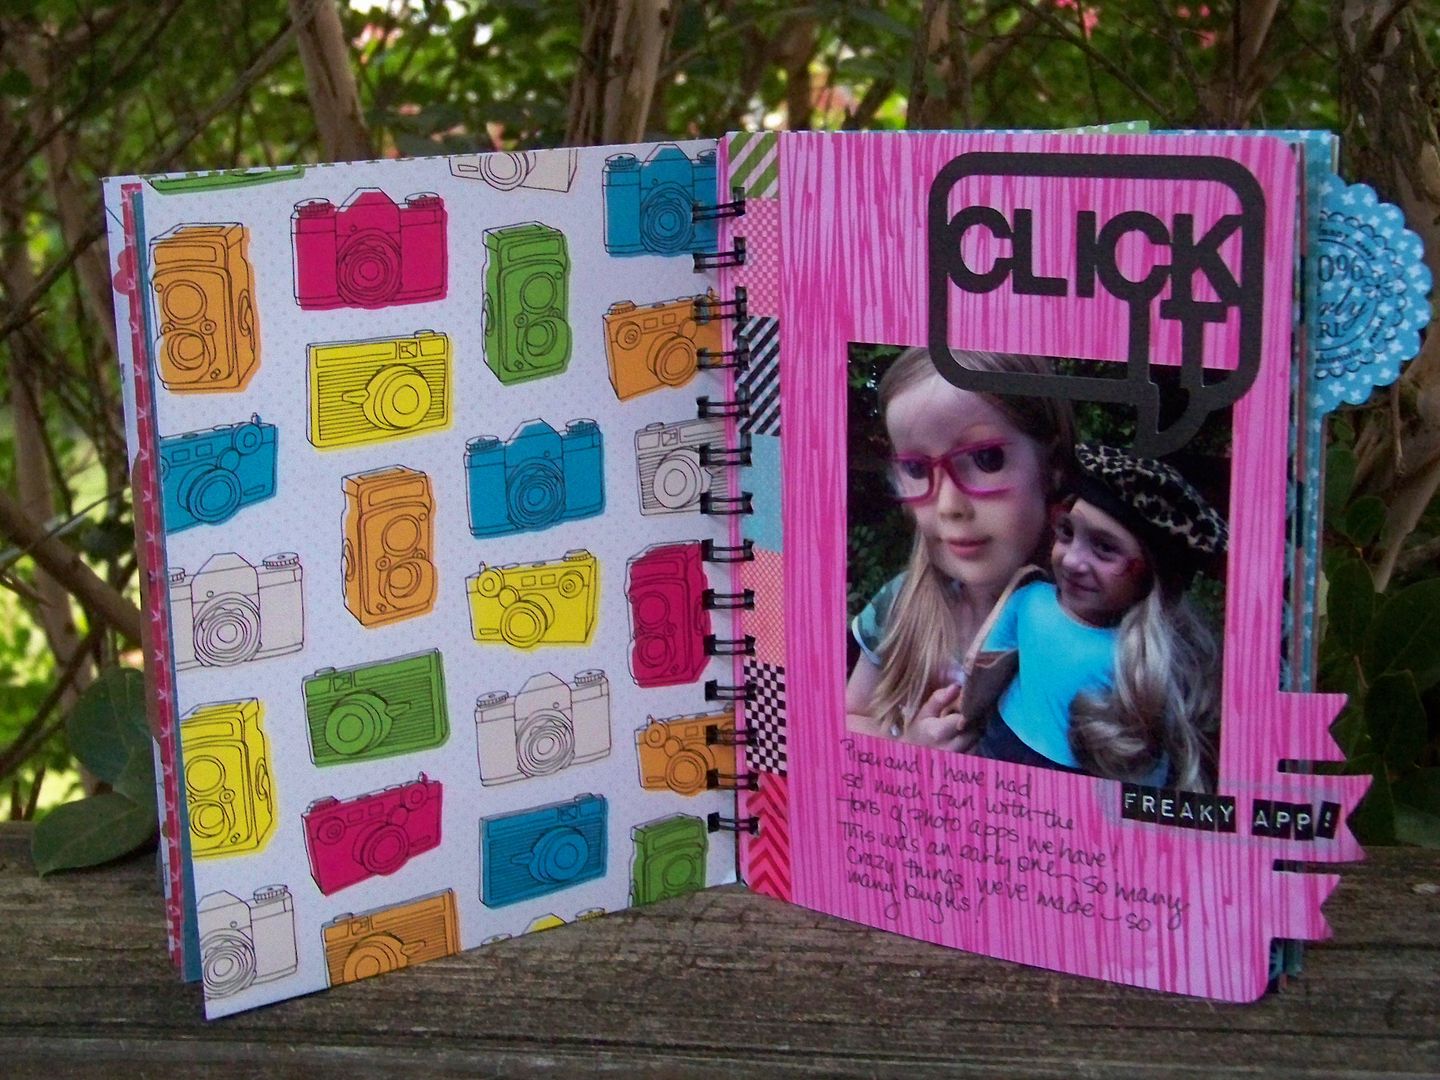
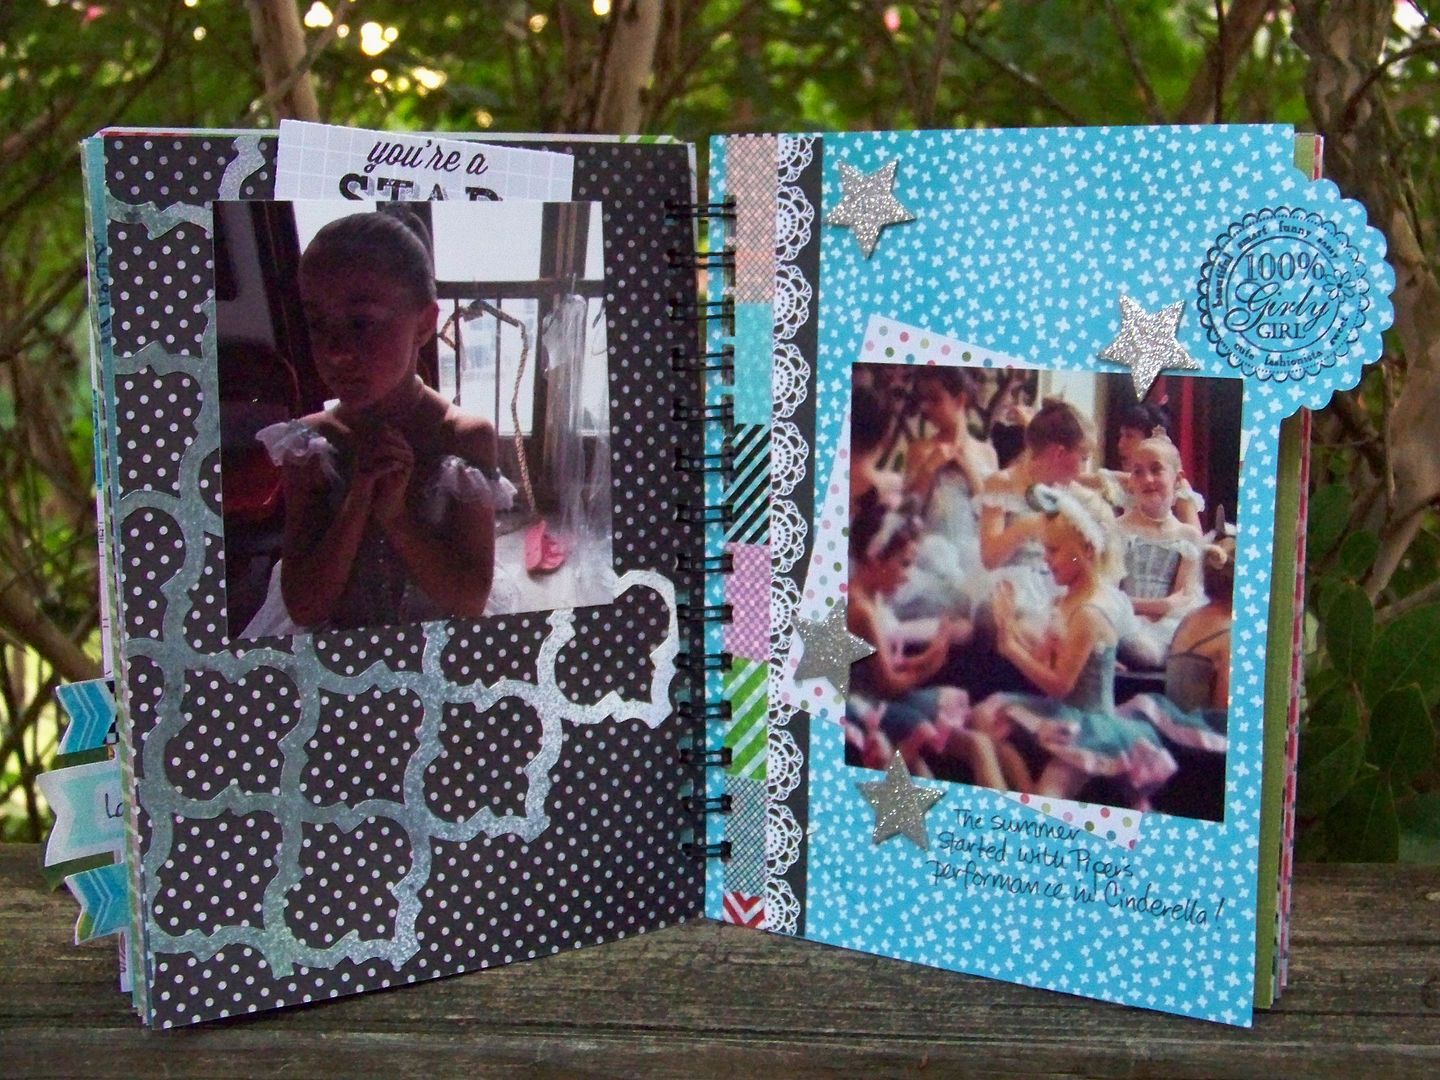
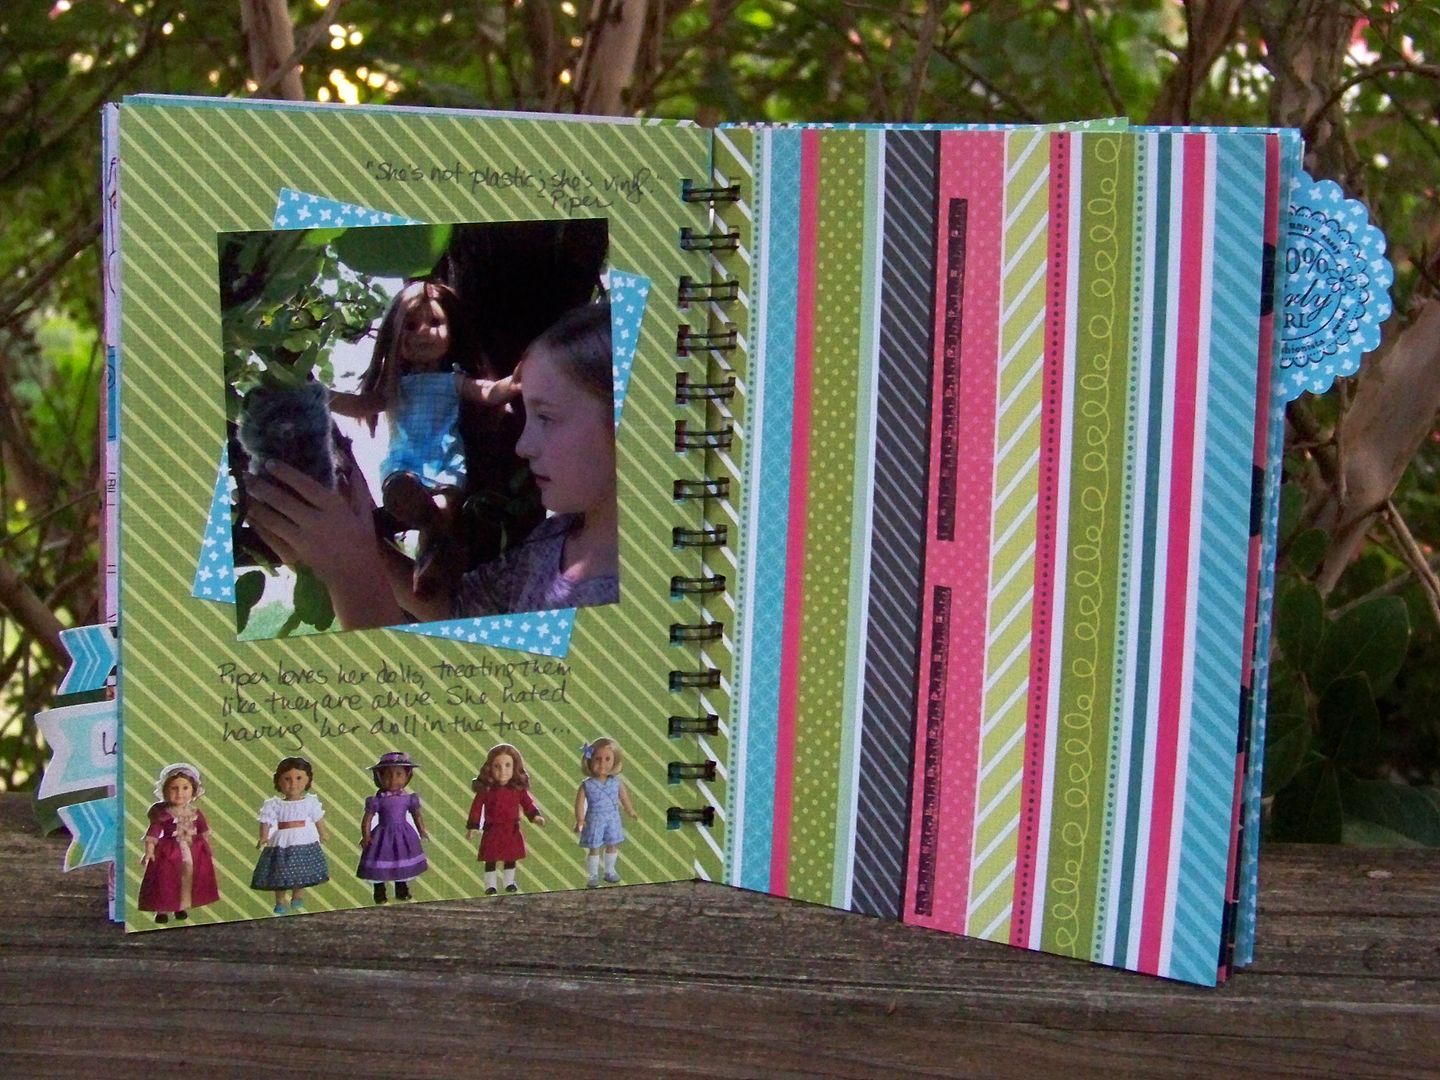
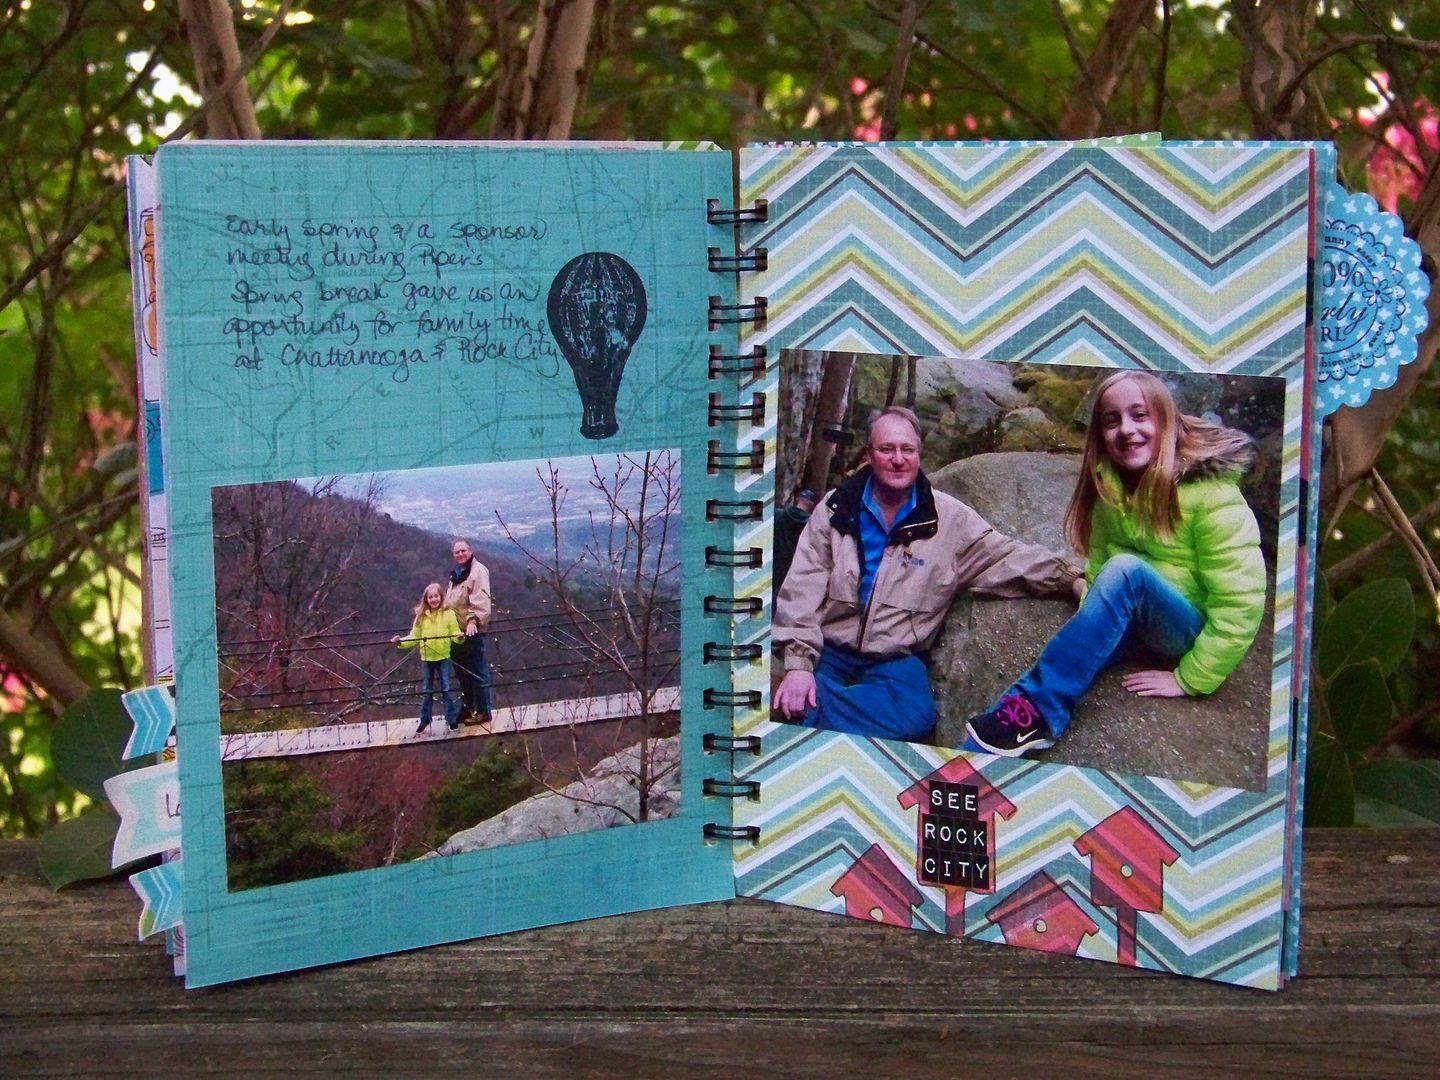
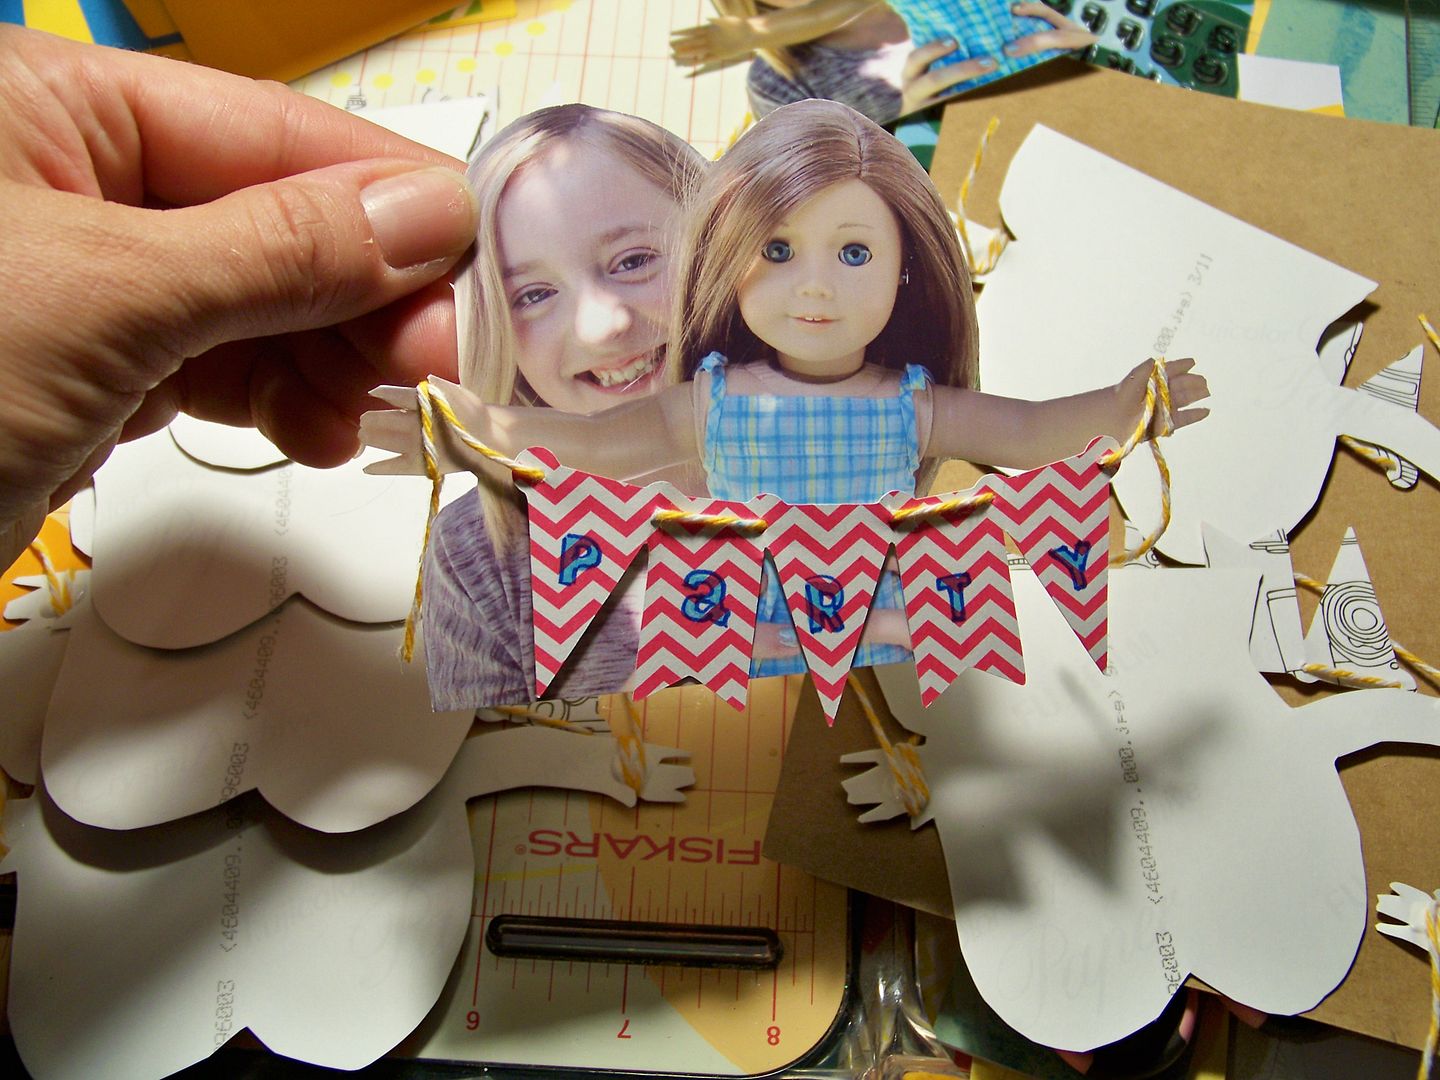
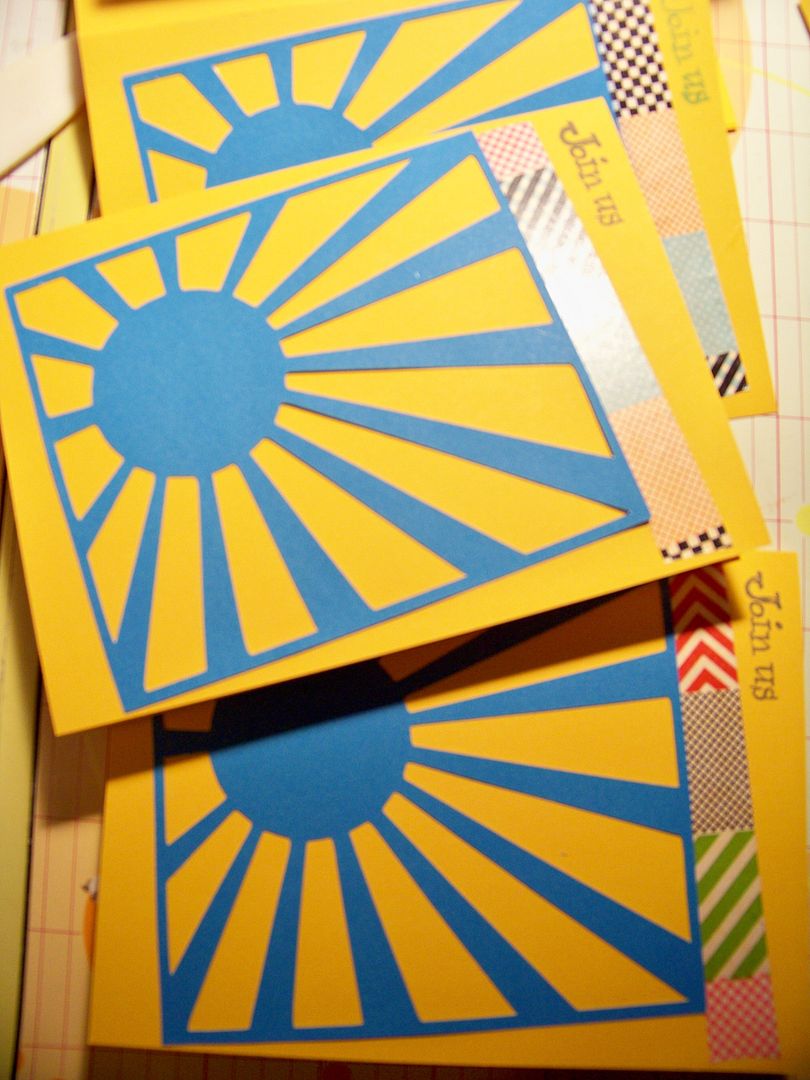
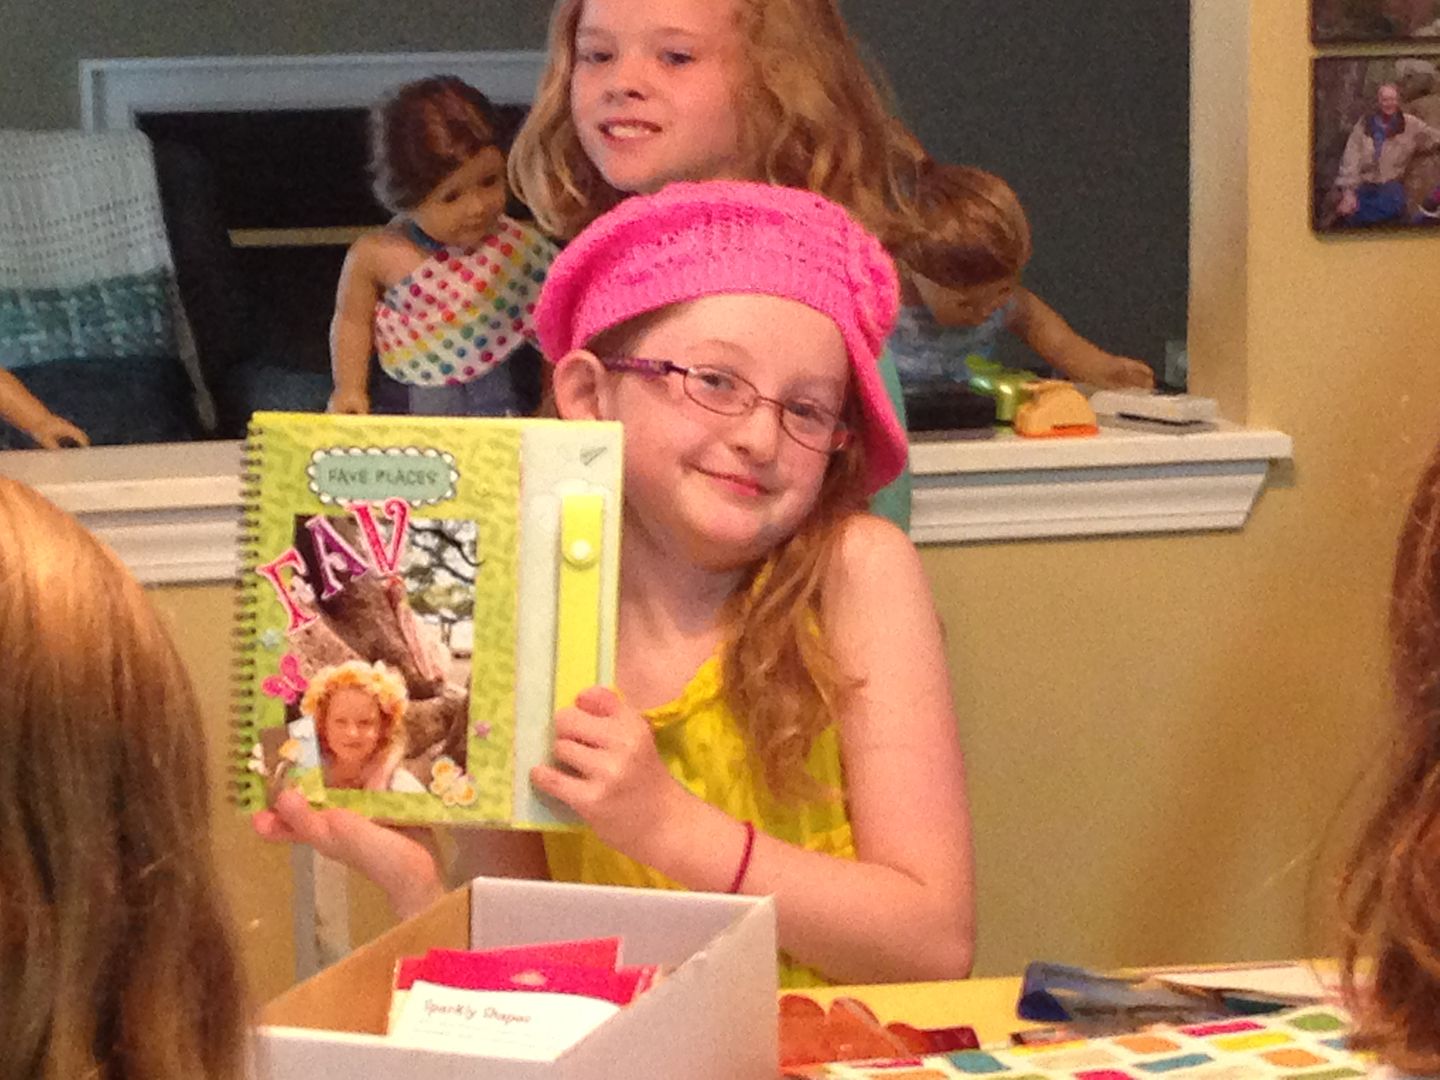
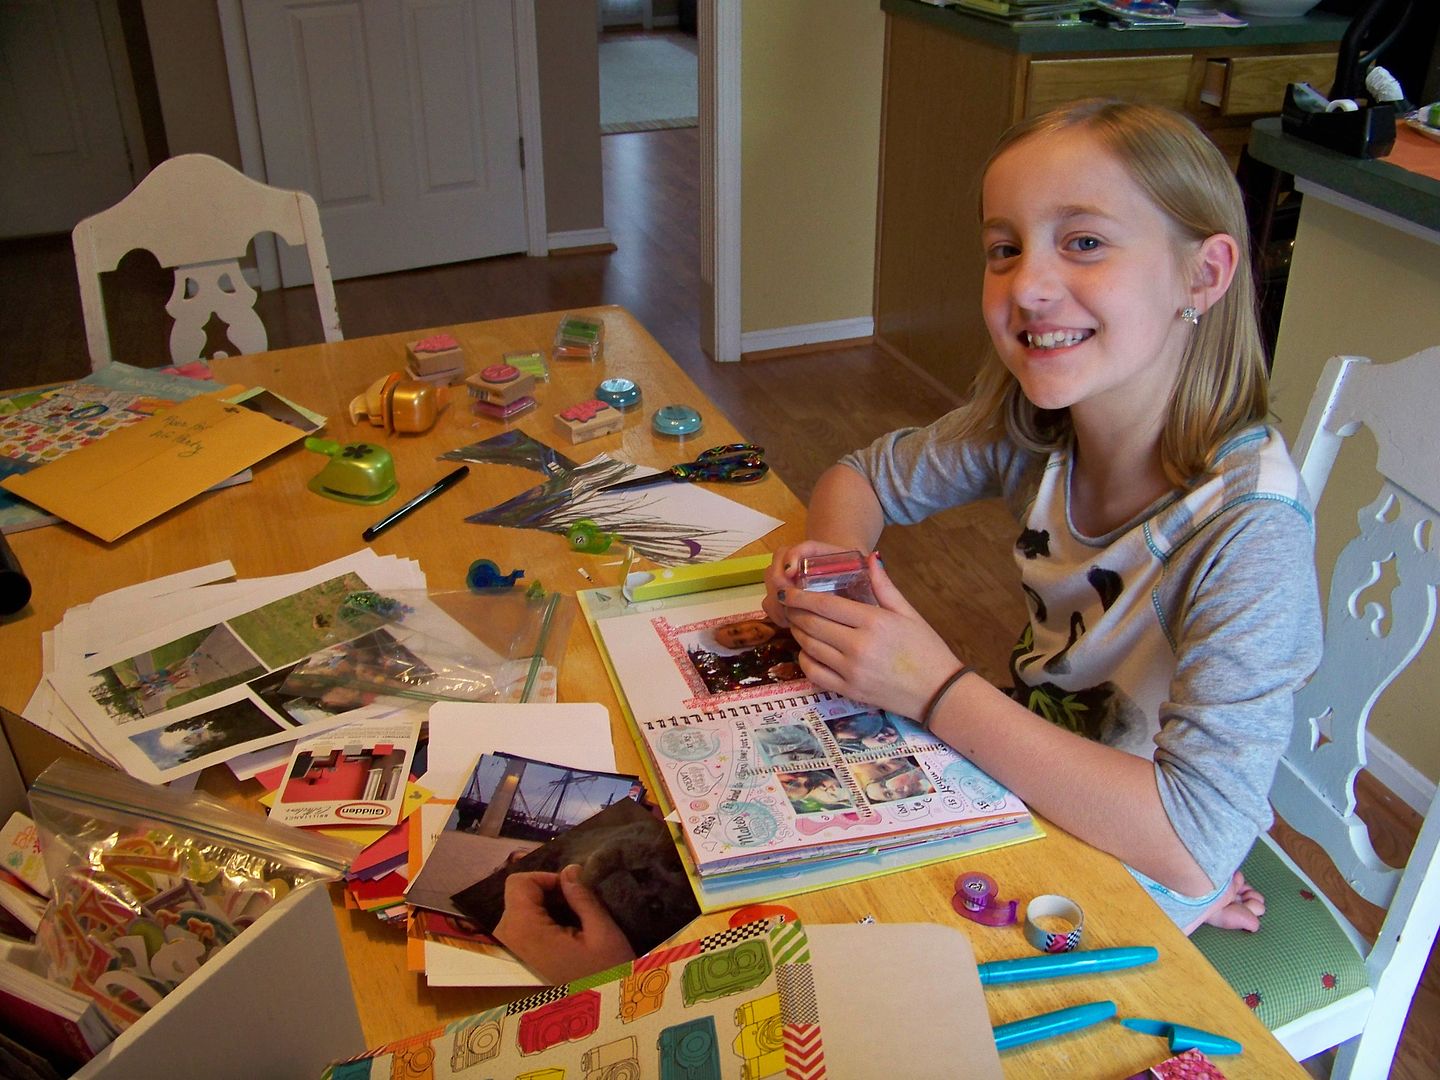
I created real invitations.  You can see the post for those by clicking here. I also made my own little photo journal to try out the style of scrapbooking the girls would be doing, although they needed no instruction from me and went to town on this!  You can see my post with my journal by clicking here.


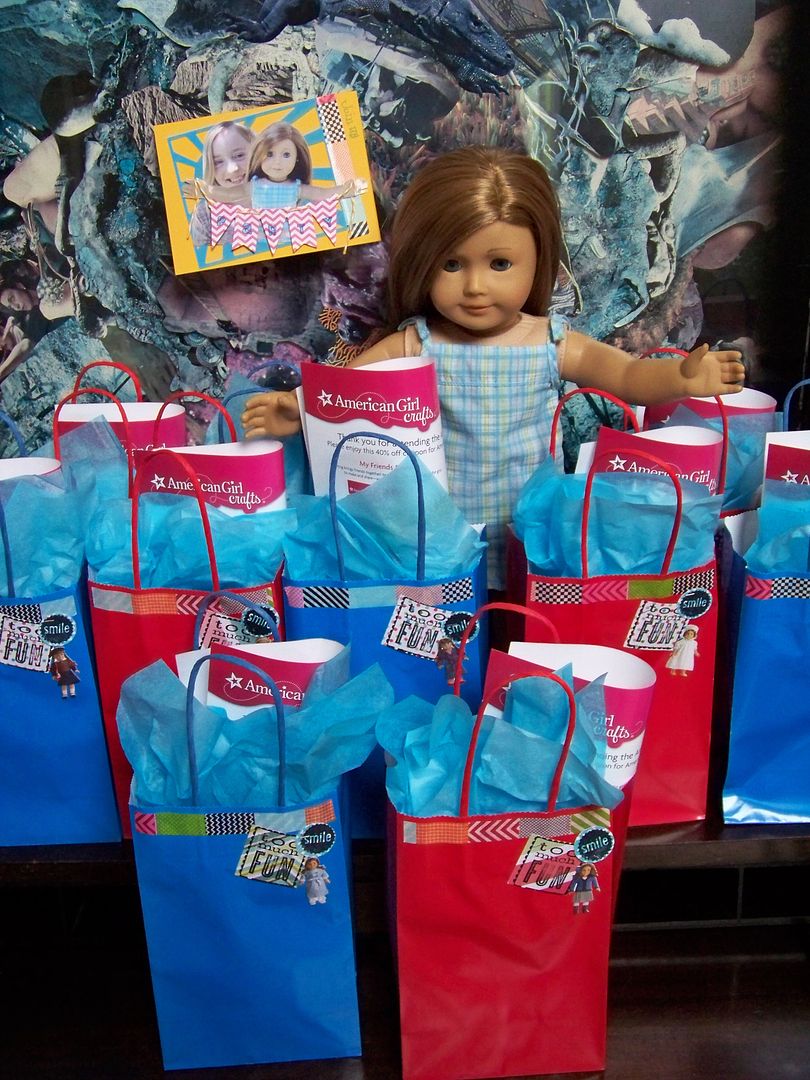
Piper and I made simple favor bags using Close to My Heart stamps, the same Smash Tape I used on the invitations and my journal, and some American Girl Crafts stickers from Piper's stash. That Tiny Attacher courtesy of Sara Andrews really came in handy!


Inside are colored pencils, markers, doll-sized forks and knives, a notepad, candy, and a coupon that we were asked to give to our guests.  I found the doll-sized forks and spoons in the party department at Walmart.  They are supposed to be for appetizers but with clear mini ponytail holders that we included, they are perfect for dolls!


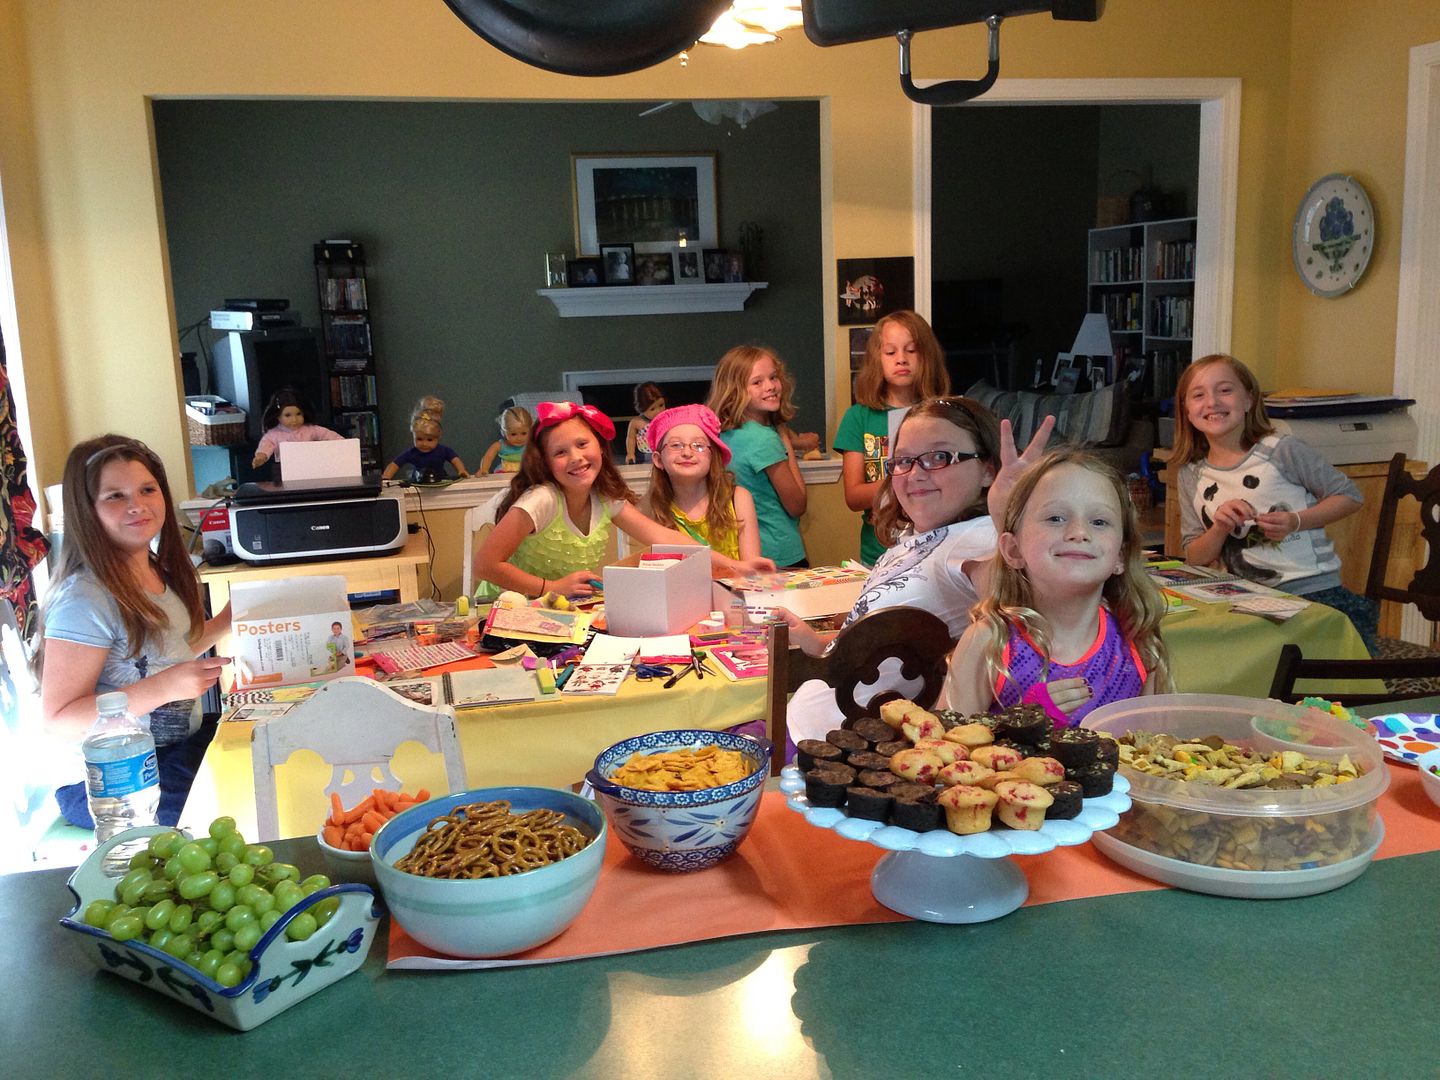
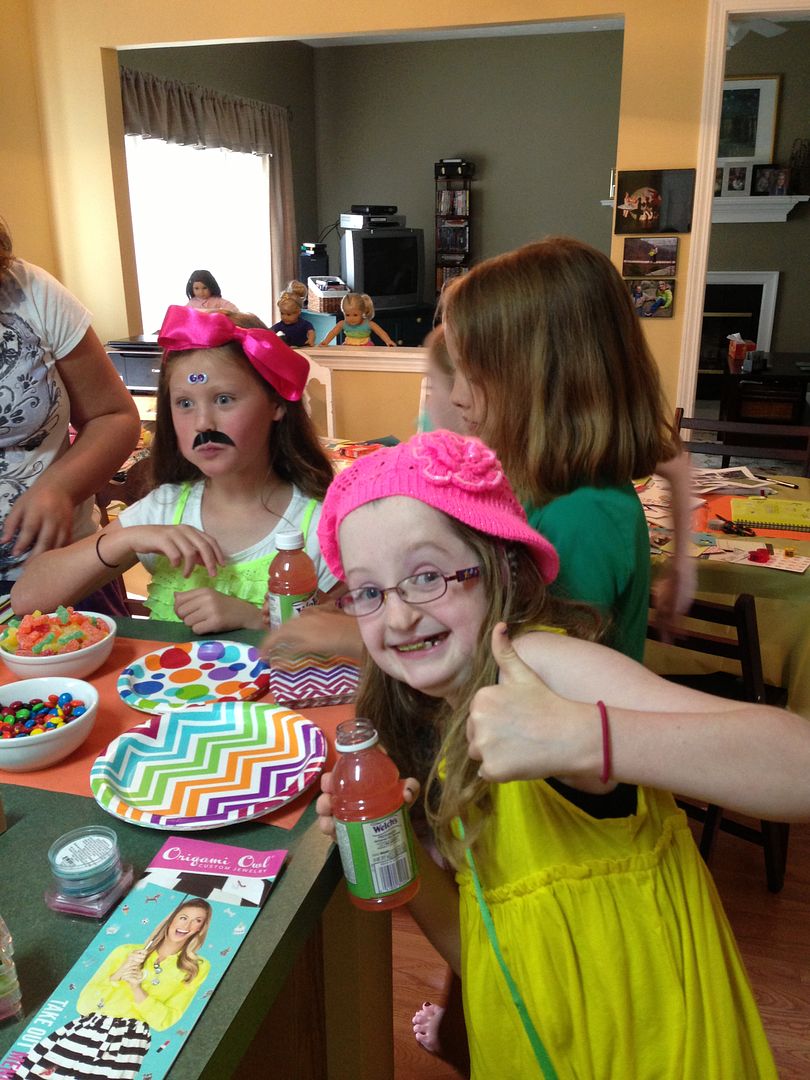
We picked up some fun, kid-style finger foods-- white grapes, baby carrots, brownie bites, strawberry mini muffins, Cheez-its, mini pretzels, M&Ms, and Sour Patch Kids.  I was going for non-staining foods so the girls could craft and eat without getting their papercrafts soiled.   We were trying to think things through but that pesky detail about table space... not so much... I did add a card table to the end of our kitchen table, but we were still pretty crowded!


Even so, those girls were so creative and made some really fun pages!


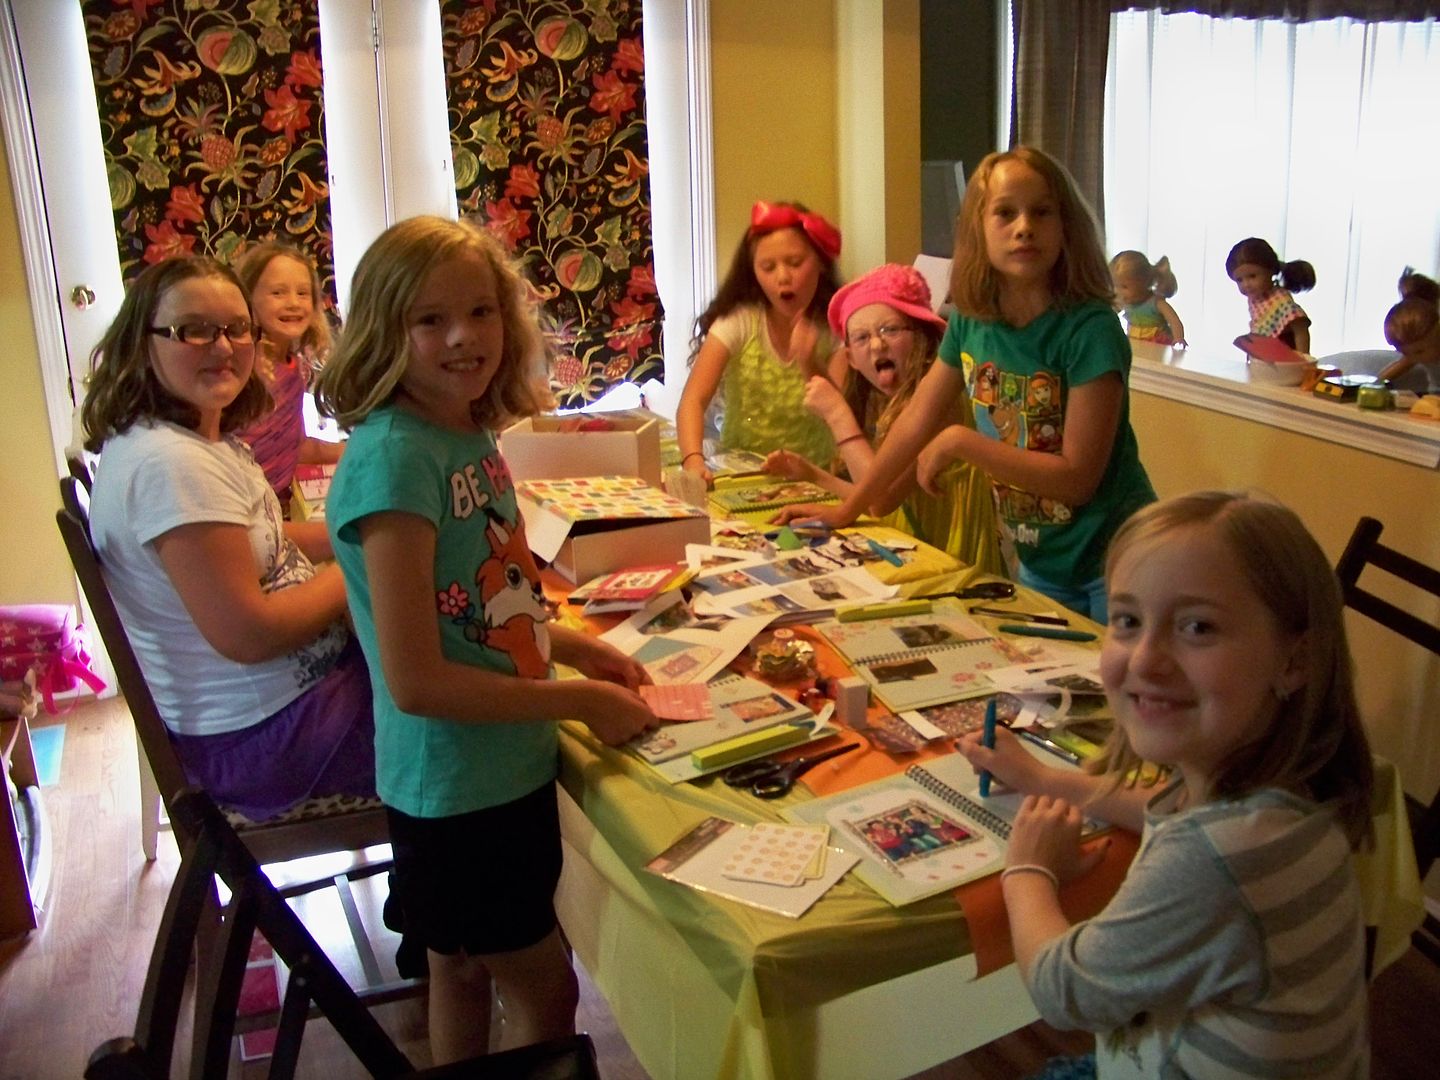
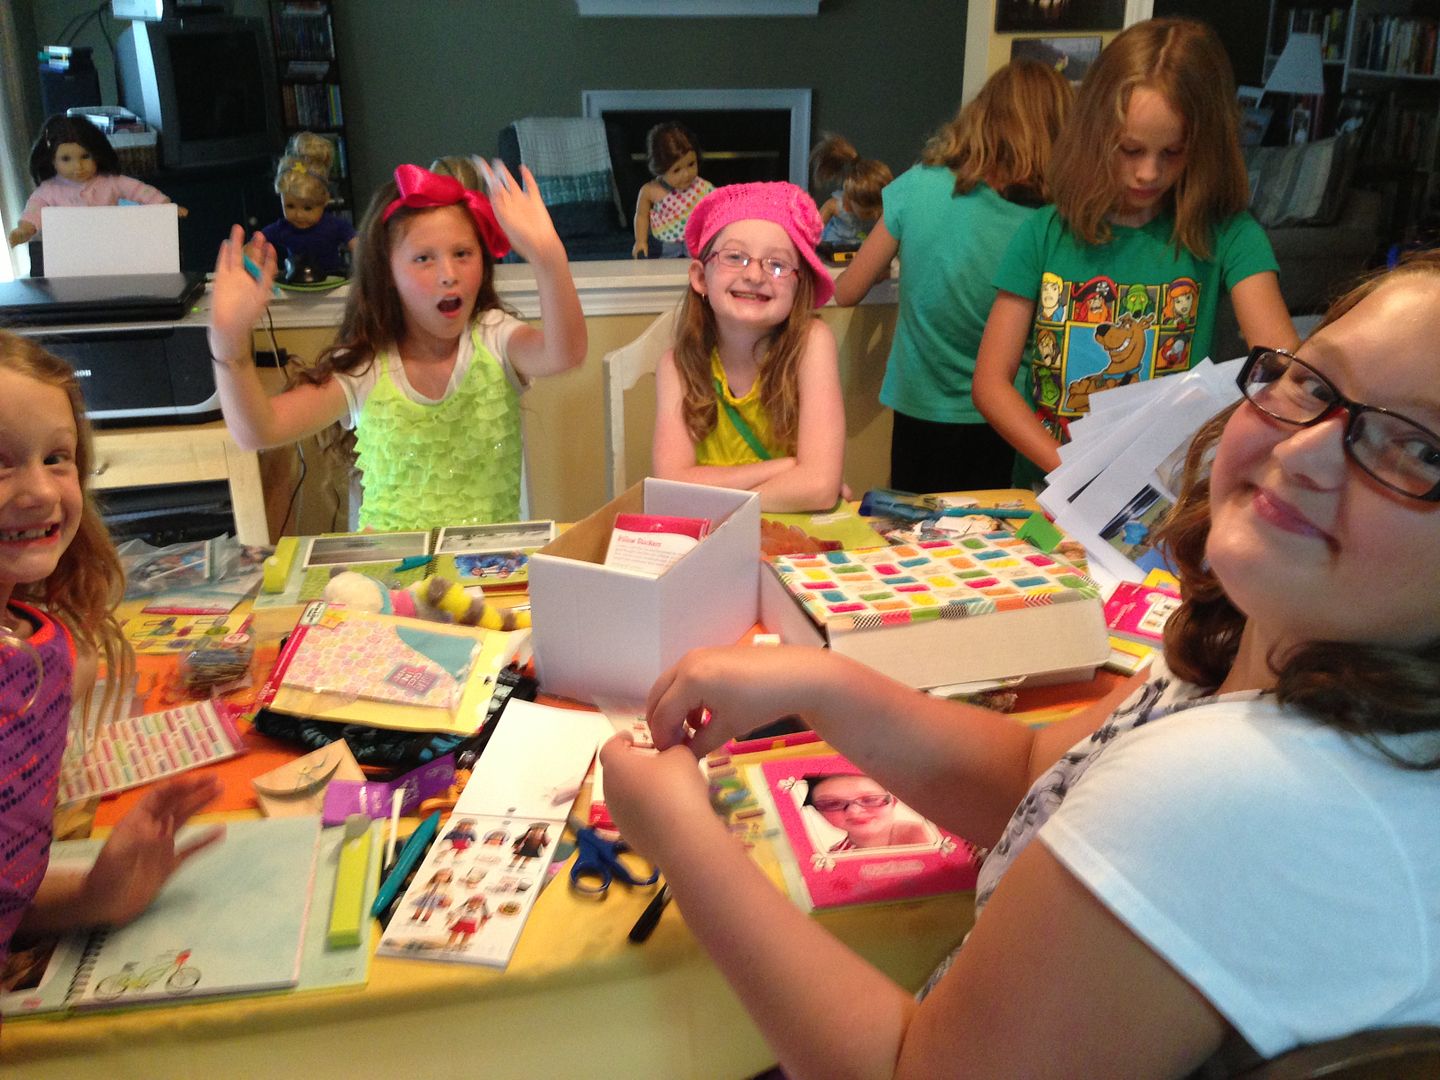
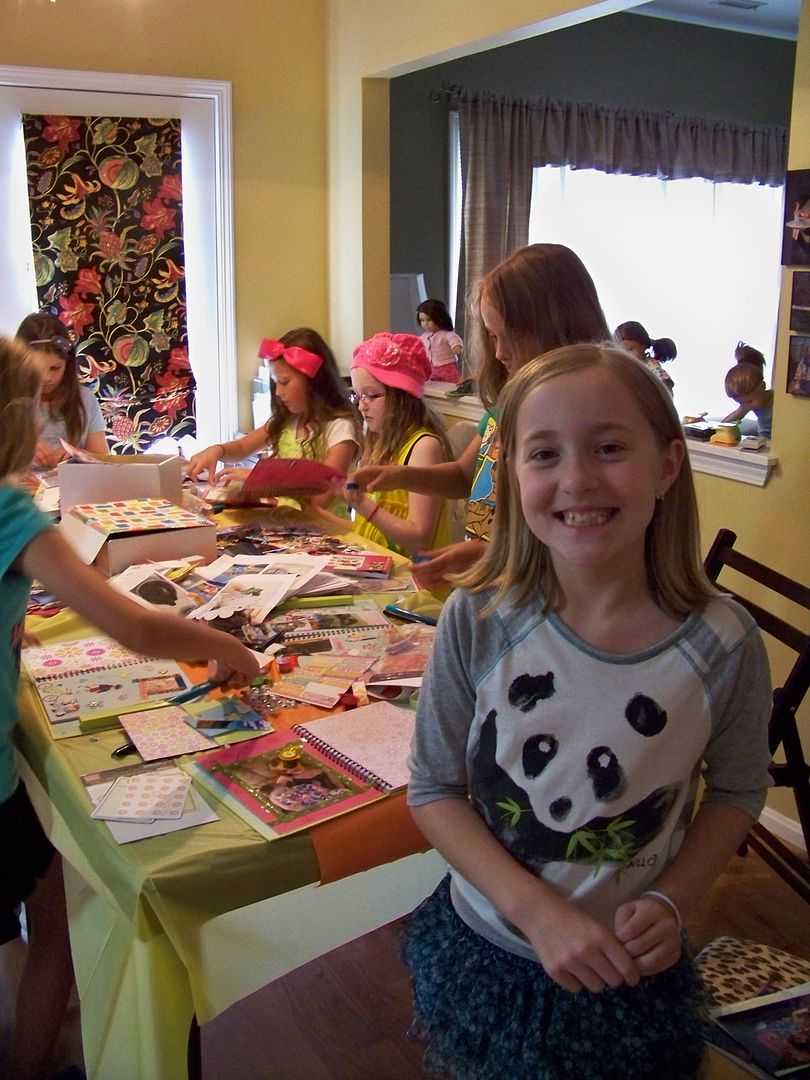
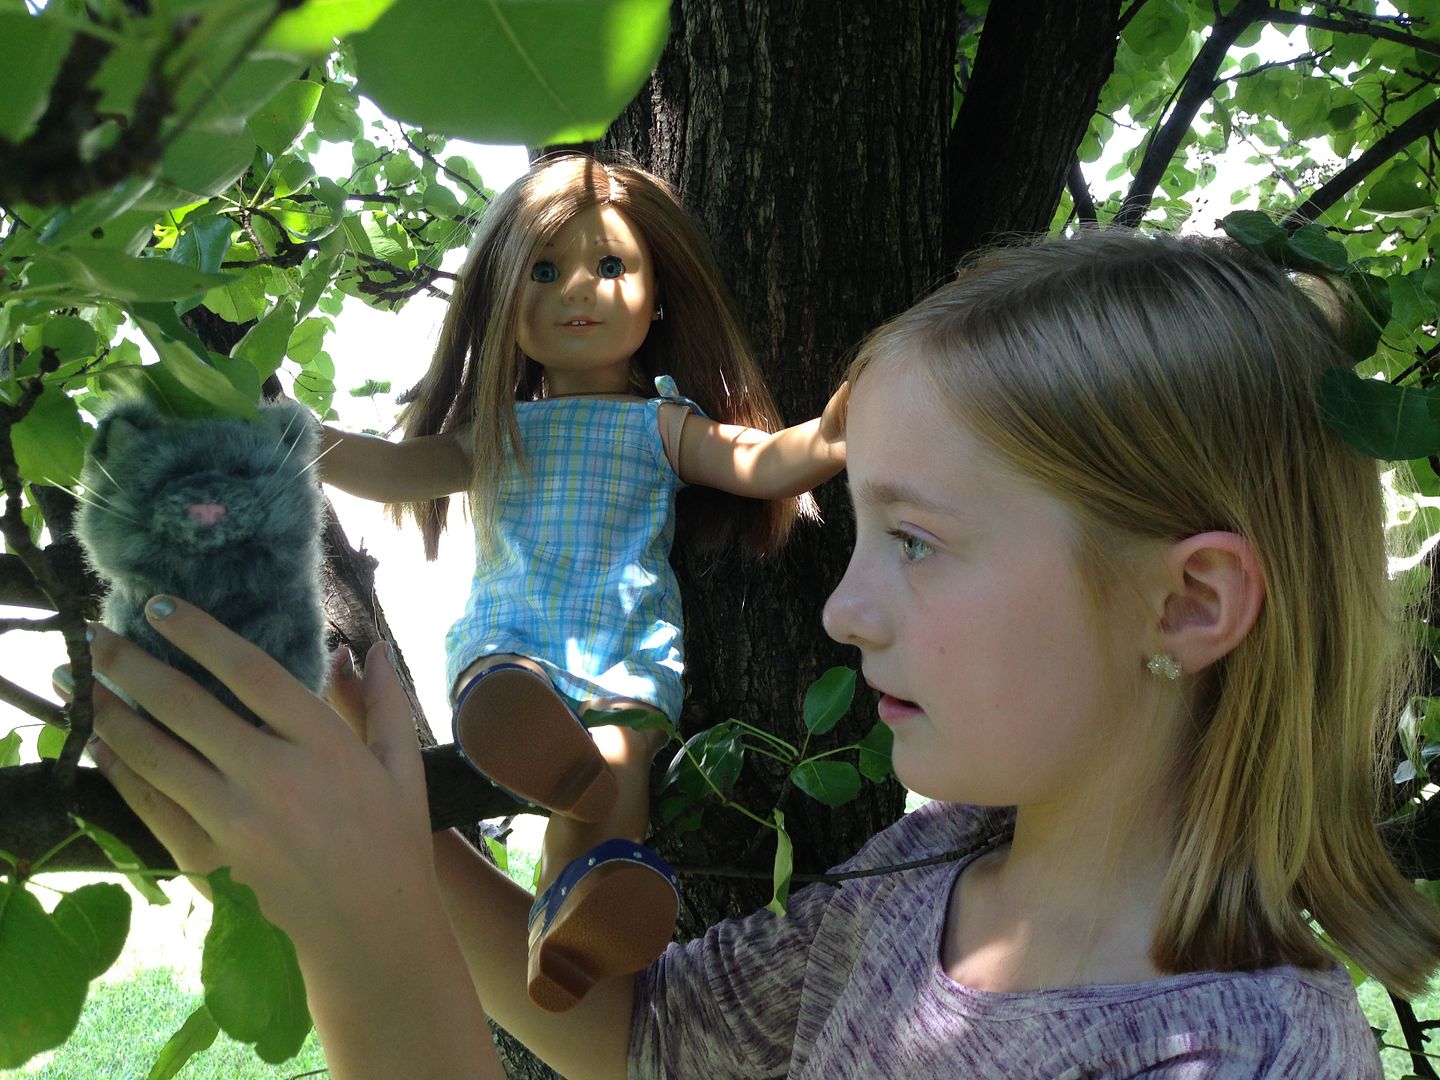
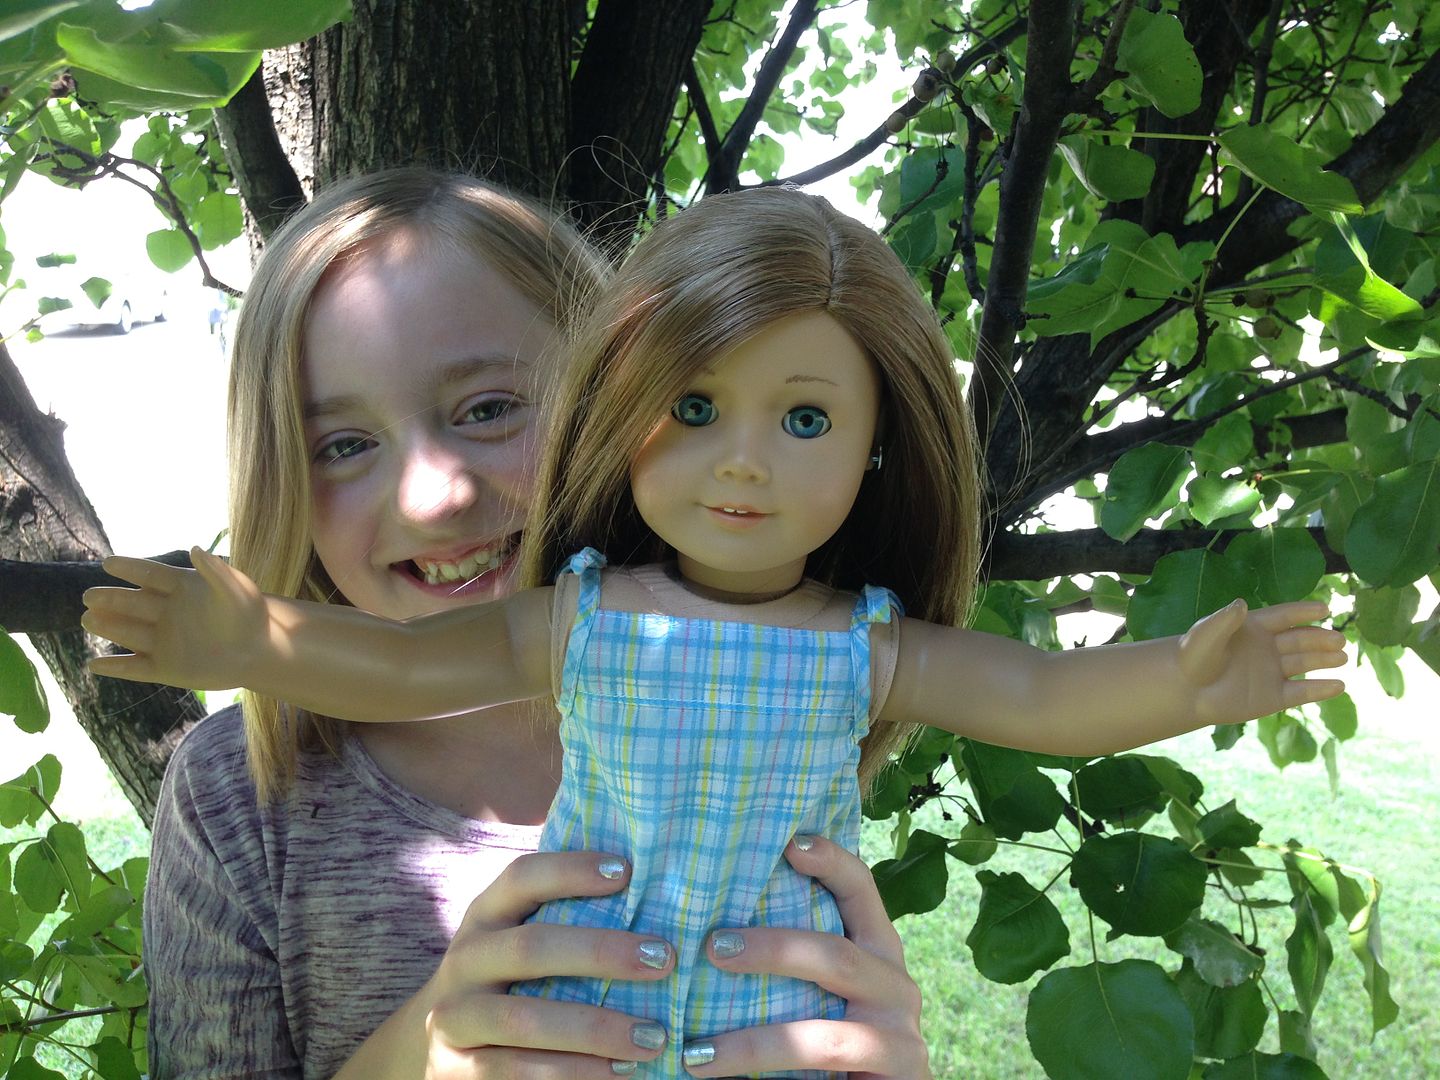
At some point, the girls were ready to just play and goof off.  A couple girls kept crafting but my kiddo couldn't resist time with friends and dolls!


In the end, after all of her sweet friends left, as I was picking up the house, she told me, "I want to finish my book now!"

I got messages from two moms that their girls crafted again when they got home too!


And the funny thing is that recently my kiddo told me she didn't like paper crafts.  After today's party, she told me she loved this.  I think her new love of photography really played into this too and crafting with friends is always fun, right?  She actually told me she finally understood why I like memory-keeping!  How about that!?


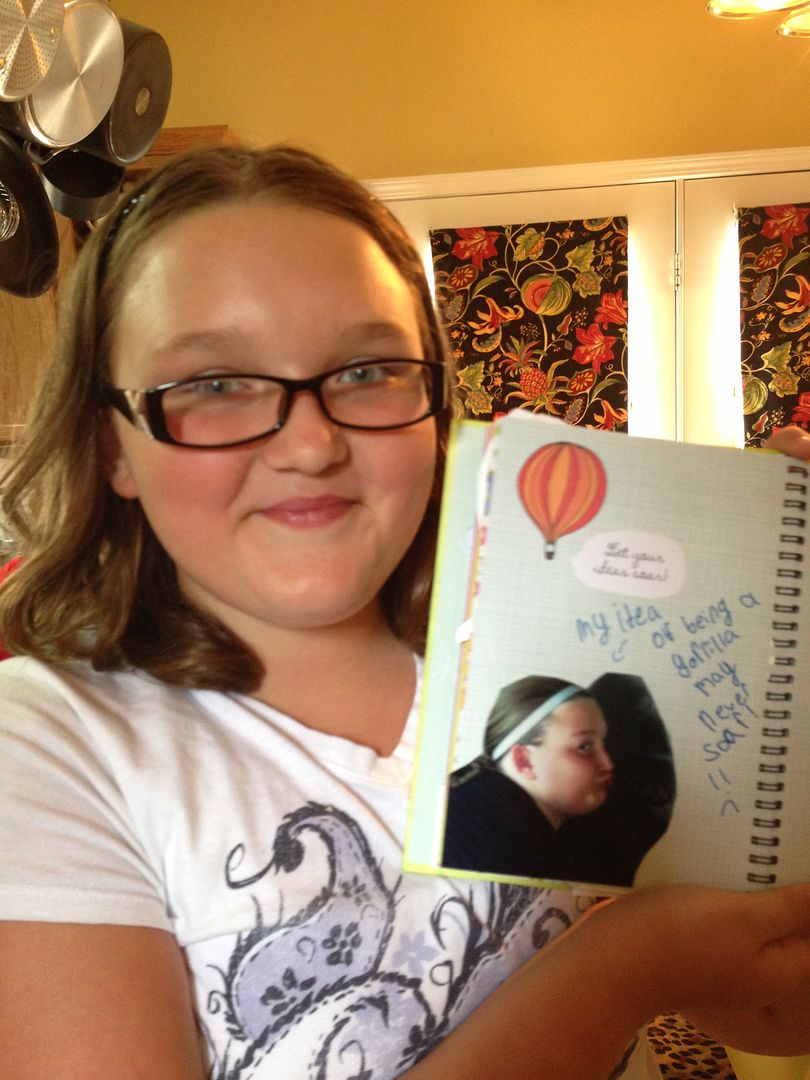
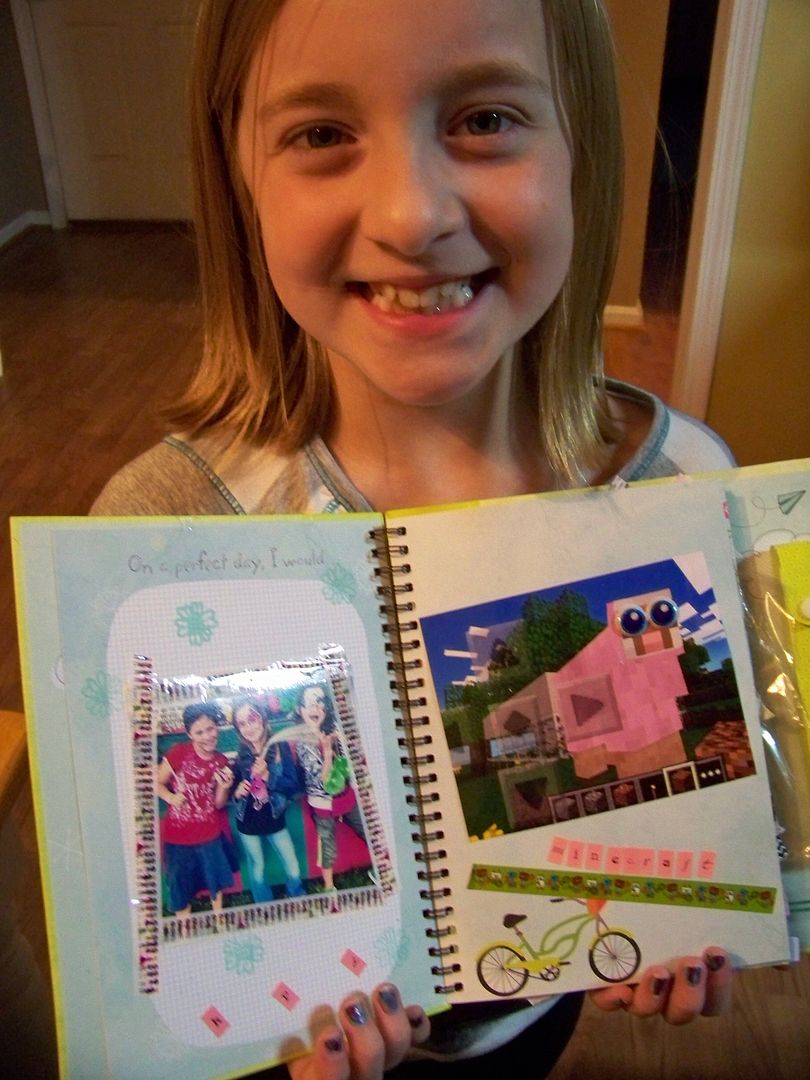
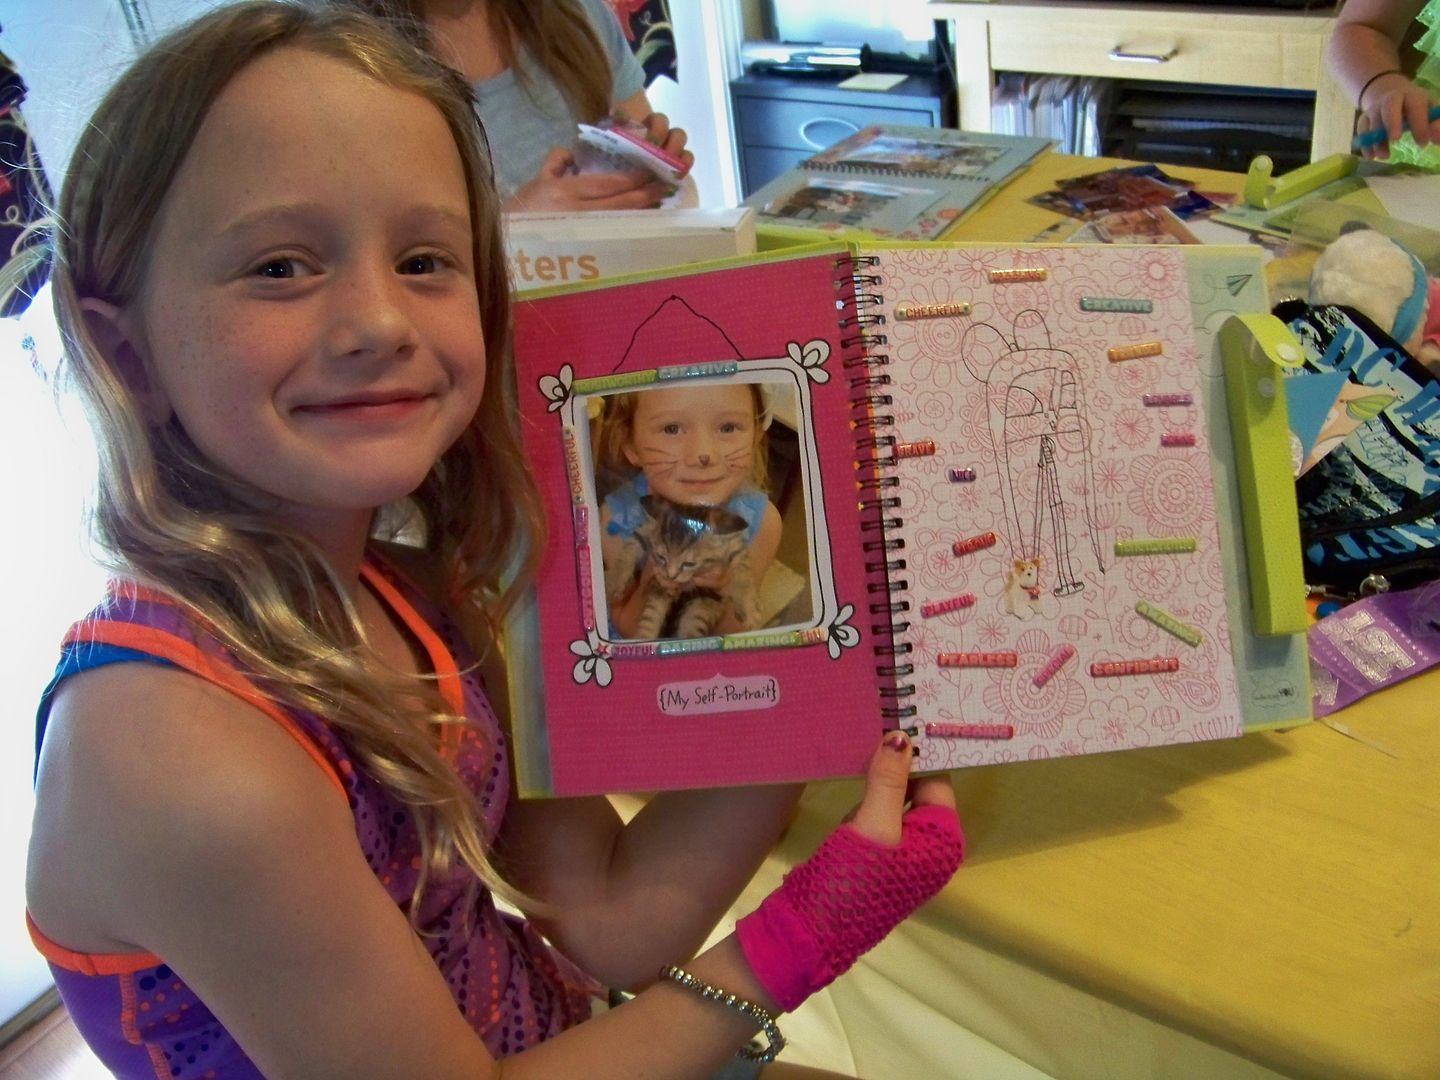
OK, moms, for a little personal critique of the American Girl Crafts:  The 'My Life' journal's size and writing prompts on the pages seemed pretty perfect for these girls.  The glue pen that came with the journals was okay but it was a problem if a girl "over-dialed" the size.  Unlike regular glue sticks, the glue couldn't be pushed back down and because it was skinny, that could be a mess!  I was glad I had regular glue sticks for them to use!  The embellishments were much-loved!  The hottest stickers were the ones with descriptive words they could use on pictures of themselves.  The individual chipboard letters were also very popular!  One little girl really rocked the 'Keep It Clips' but most of the girls seemed to be unsure of how to use them, gearing more toward tapes and stickers.  The Design It Tape was not as popular as the washi tape I provided.  (They LOVED washi tape, by the way!) The sticker pad that featured photo images of dolls, pets, and accessories were fun for all of the girls! They also seemed to love the self-inking stamps and the 'Stuff It' pockets they could add into their books!  My kiddo loved the dimensional stickers but I think she was the only one who used them.  Overall, I think this line is really great for girls and makes it easy for them to create something fun!

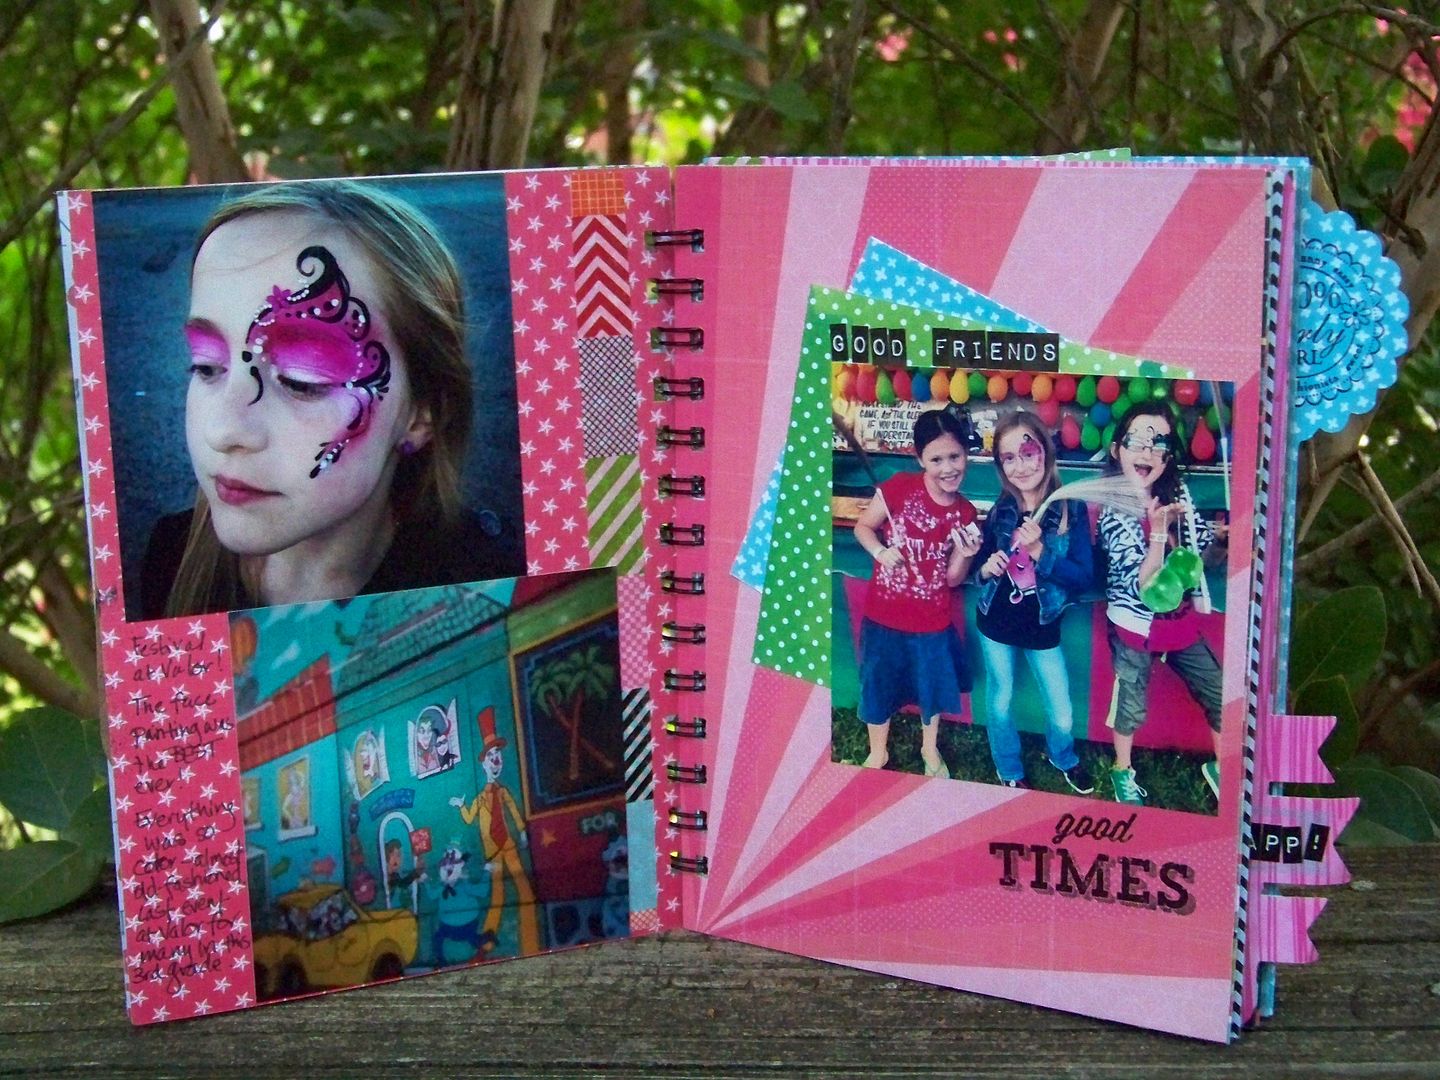
This project created a really fun 'snapshot' of my daughter's interests and insights at this age-- and I like that because it is more true to her than anything I could scrap or journal about her.  This is really a special scrapbook for that reason!  I like how fun and fast this was for the girls to put together!

Thank you for checking my blog post today!  This was such a fun break to a super-busy summer!


Thursday, July 25, 2013

Artbooking - Handmade Photo Journal


On my last post, I talked about a kid crafting party my daughter, Piper, is hostessing that is centered around American Girl Crafts.  They sent us "My Life Scrap and Stuff" scrapbooks and embellies for girls!  We are having a party where all the girls will leave with books all about themselves!  The next step was to figure out how to teach ten 9-year-olds how to 'smash' since that is the style of scrapbook in this line!  I had never done that kind of scrapbooking project, although my journals to my daughter when she was a baby were similar (more journaling than photos though).  To figure it all out, I didn't want to use the girls' American Girl Crafts journals and supplies; I wanted to make something that was actually for me.  I recently blogged about my obsession with Instagram and phone photography (click here to see that). My solution:  I made my own photo journal using materials I already had.  This is my first project video...


I am such an amateur... no editing and filmed outside using my phone-- you can even hear a bird who is annoyed that I am in his space.  Loud for a little guy and with a look of disapproval... do you see it on his face?


OK... So back to the project.  These are the crafty details...

  • The cover:  I cut two pieces of Crescent Illustration board (from Hobby Lobby) at 6"x8" for my covers.  I cut decorative papers to cover the fronts and backs of the illustration boards the very same size and glued on using E6000 Spray Adhesive.  I used kraft paper for the fronts and some free Amy Tangerine American Crafts papers that I got at Archivers a few weeks ago for the backs (to go toward the insides of the book).  Before gluing the backs on, I added two strips of Smash [washi] Tape and allowed it to wrap around to the back.  The camera icon on the cover and the 'my favorite photos' flags were all cut from the Artbooking cartridge. (For the camera- page 40, 10-1/4".  For the flags- page 40, 2-3/4".)

  • Inside Die Cut Pages:  I cut two decorative pages using Artbooking at 6" on my Cricut from two-sided card stock. The paper with the flags on the side were from page 40.  The one with the medallion on the side was from page 51.  I covered the holes with washi tape.  The kraft paper speech bubble page at the beginning was cut from Artbooking (page 45) at 6". 


  • Trimmer-cut inside pages:  I cut 19 pages at 6"x8" from two-sided decorative papers and card stocks -- this was more of the Amy Tangerine paper and some two-side papers from a cheap Walmart stack- automatic coordination of papers without any time or effort!
  • Journaling tags:  I cut speech bubbles at 3-3/4" from page 79 using the Artbooking cartridge.
  • Other decorative die cuts:  Geo-tag symbol was cut from Artbooking (page 38) at 2".  Click it speech bubble was cut at 2-3/4" from Artbooking (page 40).
  • Binding:  I used 3/4" 0-wires and a Zutter Bind-It-All.
  • Photos:  Aside from two photos in my book, I used Instagram photos for the rest.  I printed them using the Printicular app to select and order them and then picked them up at Walgreens.  
  • And:  I used Tim Holtz Idea-ology Label Letters, stamps (both from the Artbooking bundle as well as others from my stash), stickers from my stash including some American Girl Crafts doll stickers from Piper's stash (don't tell!).  For all of my journaling, I used a Sharpie (no bleed) extra fine pen.  For coloring in the chunky letters, I used watercolor pencil for fill.  All the washi tape used was Smash Tape.  I used ATG and E6000 Spray for all adhesion applications.  For all stamping, I used Ranger Archival Ink.

These are some of the completed pages in my book...


And speaking of Artbooking....I used that cartridge exclusively for this project because it had everything I needed.  If you are looking for the Artbooking bundle and need a Close to My Heart rep (the only way to buy it), my rep is Christie Tompkins. She can tell you about discounts, specials, and the $5 Stamp of the Month, which you will want to order when you buy your Artbooking bundle! Check out her CTMH webpage http://createwithchristie.ctmh.com/ or email her at christie.tompkins@gmail.com or call her at 502-939-5898.  Christie and I are friends who met through a crafting message board and then at crops. (Isn't it funny that I have to find local crafty friends by attending crops out-of-town??  I have had the same experience with friends I have met who sew!)

So... have you made your own Smash Books?  Imperfection is the key for this project-- I love that!!  I couldn't believe how fast it went together.  I started around 7pm, cutting my covers and papers.  I ordered my Instagram prints (and picked them up an hour later at Walgreen's) and finished my book before my head hit my pillow.  Kind of like a private crop for one!  Best way ever to spend a night off from work! I think I am ready to do this with a bunch of kiddos now!  Can't wait!

Thank you for checking my blog post today!

Tuesday, July 23, 2013

American Girl Crafts Party! Step One: Invitations


Summer for our family is all about work, but when Jenny of Jenny K. Scrappin Addict sent me a link to an American Girl Crafts Houseparty opportunity, I decided that it sounded like too much fun to pass up.  I mean, can you think of a better combo for a 9-year-old girl than American Girl dolls, crafts, and friends?

I was shocked when we got our party pack and saw all the fun stuff they sent!


I knew we were going to have some pretty excited girls!  Fabby stuff and lots of it, all coordinated, fun, and just right for crafty girls!


The Houseparty model is that you email invitations to ten people (mostly to prove that you are going to invite people I think and it is required for the selection process so we did it) but honestly, email invitations are not our style and they are always a little too impersonal so the first order of business was to create some fun ones to snail-mail out!

The American Girl Crafts stuff they sent was centered around a Smash-style scrapbooking line for girls in the American Girl brand called My Life Scrap and Stuff Books.


They sent enough for each girl to have one and then sent three-of-some and five-of-other packages of embellies, Stuff It Pockets, Design It Tape, stickers, Keep It Clips, stamps, and who-knows-what-all for the girls to share when putting together their books.  I wanted my invitations to have that kind of 'smash' look but I didn't want to open any of the American Girl Crafts supplies, saving those for the girls!

I started with taking some fun photos of my daughter with one of her dolls.  Her idea was that the doll would hold a banner, looking a little 3D.

We tried several things and my daughter had her own ideas...


But in the end, we picked this one.


I cut out around them so they would pop a little.


I used Cricut Creative Memories Holiday Frames and Tags to cut the banner at 1-3/4".  I used some Close to My Heart letter stamps that I got free a while back for the letters on the banners.  I ended up outlining them with micro pen to help them stand out on that chevron paper.


I used a mattress needle to lace twine through the banner cut and left tails long enough to wrap around the doll hands.


Next, I used the new Artbooking Cricut cartridge from Close to My Heart.  Wowsers-- so many cool things on that!  I picked a sunburst from page 52, cutting at 5-1/4".  If you are looking for a great rep to buy this from, check out my friend, Christie!  If you contact her at christie.tompkins@gmail.com, she can give you prices, specials, and discounts going on!  Christie is someone who lives just a few miles from me, but we met through the Cricut Circle message board and then in-person at a crop.  You may know her as SingnScrap if you visit that board.  Yes, she has a great voice and really does sing with a group!


I cut the card bases at 9"x6" and folded down to finish at 4-1/2" x 6".  I have a confession:  until this project, I have never used washi tape.  I bought a roll of Smash washi tape just for this project.


I also added it to the factory-made envelopes that I just happened to find in my stash that were the right size to make them coordinate a bit with the cards (and to make them stand out in the mail so they wouldn't be overlooked once delivered).


Mailed and official!  We are having a party!


Wednesday, July 10, 2013

Summer Obsessions

With the rain finally over (I hope), work is back to being crazy... but that rainy break meant that I got to over-indulge in my favorite thing: spending time with my family!  I will admit that I also have been sucked into the Instagram vortex... and for that I really blame The Phone Photography Project class. Honestly, I now find myself taking pictures of radishes at the grocery and my kid doing basically nothing.  Want proof?


Part of the whole obsession includes photo app craziness.  I am starting to think I never met a photo app I didn't like... well, okay, I am the only human apparently who doesn't love Histamatic, but aside from that.... it is getting kind of bad.  I finally had to box my apps together.  I am getting ready to need a third box, which is just ridiculous... but you know what is even worse?  I saw a 'storybook effect' on my of my apps that was available for in-app purchase and now I can't find it and it is making me crazy.  Twice now, I have needed that effect but cannot remember which app or which box.  Maybe it was an app I deleted or never bought?  This is when obsession gets a little out-of-hand, people!

Learning about new apps has been a big part of the fun for me.  Some of my new favorites I learned about from other students. That is how I found Collect, possibly my answer to doing 365.  Ha!  I am thinking that this app might actually get me in to try the Archiver's Memory Lab.


I will admit: this is only the second on-line class that I have taken. (Shimelle's Journal Your Christmas was the first).  I find that I sign up for these kinds of things thinking that it will make being creative fast and easy to work into my schedule.  But really, since I am the one taking the class, I should know by now that I make everything into a project.   Case-in-point:  one of our daily challenges was to snap a photo that embodies being a hometown tourist.  I did it and that would have been a great place to stop.  One shot, ten minutes or less, right?


No, I grabbed my husband and kiddo and picked one part of town to be hometown tourists in and we spent the entire day doing that.  (We rained out at the out-of-town location for an event we were putting on otherwise no way could I have convinced my husband to give up an entire day to do this at home!)  I took tons of pictures.  This is a very small sampling...


That would have been enough of making a crafty mountain out of an instructor-suggested molehill, but I plan on picking two other parts of town to do the same thing before the summer is over.  But I have been seeing things differently and chasing light.  And that's never bad, right?

I'm sure some of this (along with photos from the other thirty-one challenges) will turn into a "Project Life" style book-- and probably using that new Artbooking cartridge, but until then, they are hand-held in my phone.

And speaking of Artbooking, I am also obsessed with that!  Due to a weird set of circumstances, I already have this in my hot little hands and yet, all I can do is look at it.  I don't want to cut stuff; I just want to  shoot it, you know, with my phone.  I am hoping that Artbooking will actually get used when work slows down and I find myself wondering what to do with the millions of summer photos I have in captivity.  Until then, I am just swooning, and really, at this time of year, that is just fine!

To see my class challenges and other random acts of point-and-shoot, look me up on Instagram.  I'm nadiahmc there.  And let me know you came from my blog-- I'd love to follow you!

Instagram
So...what are your summer obsessions?


But wait! There's more! Click 'older posts' above!

But wait!  There's more!  Click 'older posts' above!