Way back in 2011, I was chosen by the management at the time of Provo Craft, led by Shannon Lerner and Jana Eubank, to be the first Caught Our Eye Cricut Crafter. It was a huge honor but shortly after that, and after only a few other Caught Our Eye Cricut Crafters were featured, management changed rather dramatically, the Cricut Circle ended as we knew it (the current Cricut Circle is a much watered down version without any of the inspiration and personal touches it had back then), the brilliantly creative Design Team was gone, and the Cricut Blog ended. (There is a new Cricut Blog, with a new address, format, and goals). All old format, including my project has since been erased.
This is the information from my project and that post. I am still proud of my efforts and so thankful to Shannon and Jana for giving me a chance to share my paper crafting with a larger audience. I hope you enjoy it!
____________________________________________________
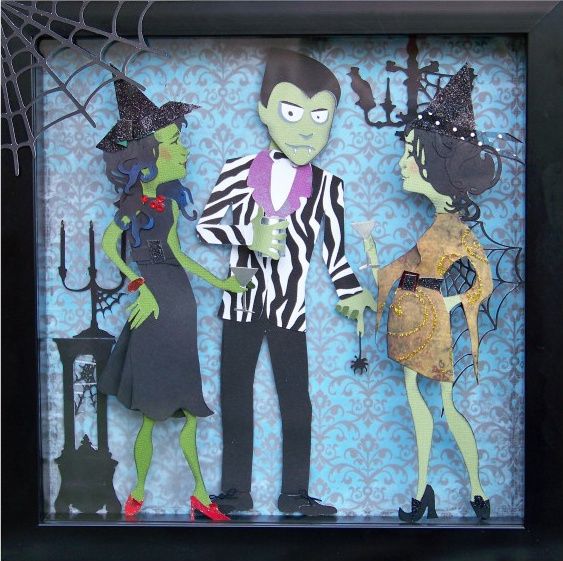
I have been day dreaming about using the faces on Art Nouveau. I love altering figures on cartridges and combining cuts to find unique characters for my projects. I also enjoy creating vignettes with those characters and thought that they would be fun witches for a little Halloween decor! On a personal level, I wanted to try a vignette with multiple altered characters, a new challenge for me!
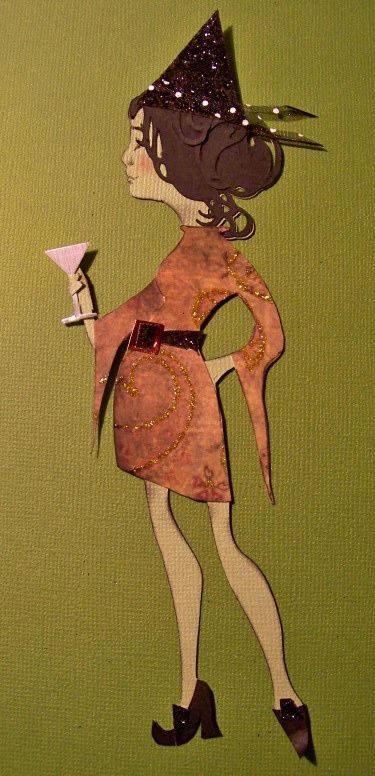
I started with Rock Princess
, cutting her on my Expression at 7" from pale green cardstock. I manually cut away the guitar and head. For for the new head, I cut from Art Nouveau at 2". I manually trimmed her neck to make it thinner so that it would fit the body. I cut two sets of hair so I would have extra curls to cut away and add to the head. I traced her body to create a dress and manually cut it out.
I added facial features, using a Sharpie micro tip fine pen. (Blush comes from an inkpad and a foam eyeshadow applicator). I cut and shortened her extended arm and then bent the fingers so that she could hold a little martini glass that I hand-cut from metallic cardstock. I reapplied it using a pop dot to place her body in front of that arm.
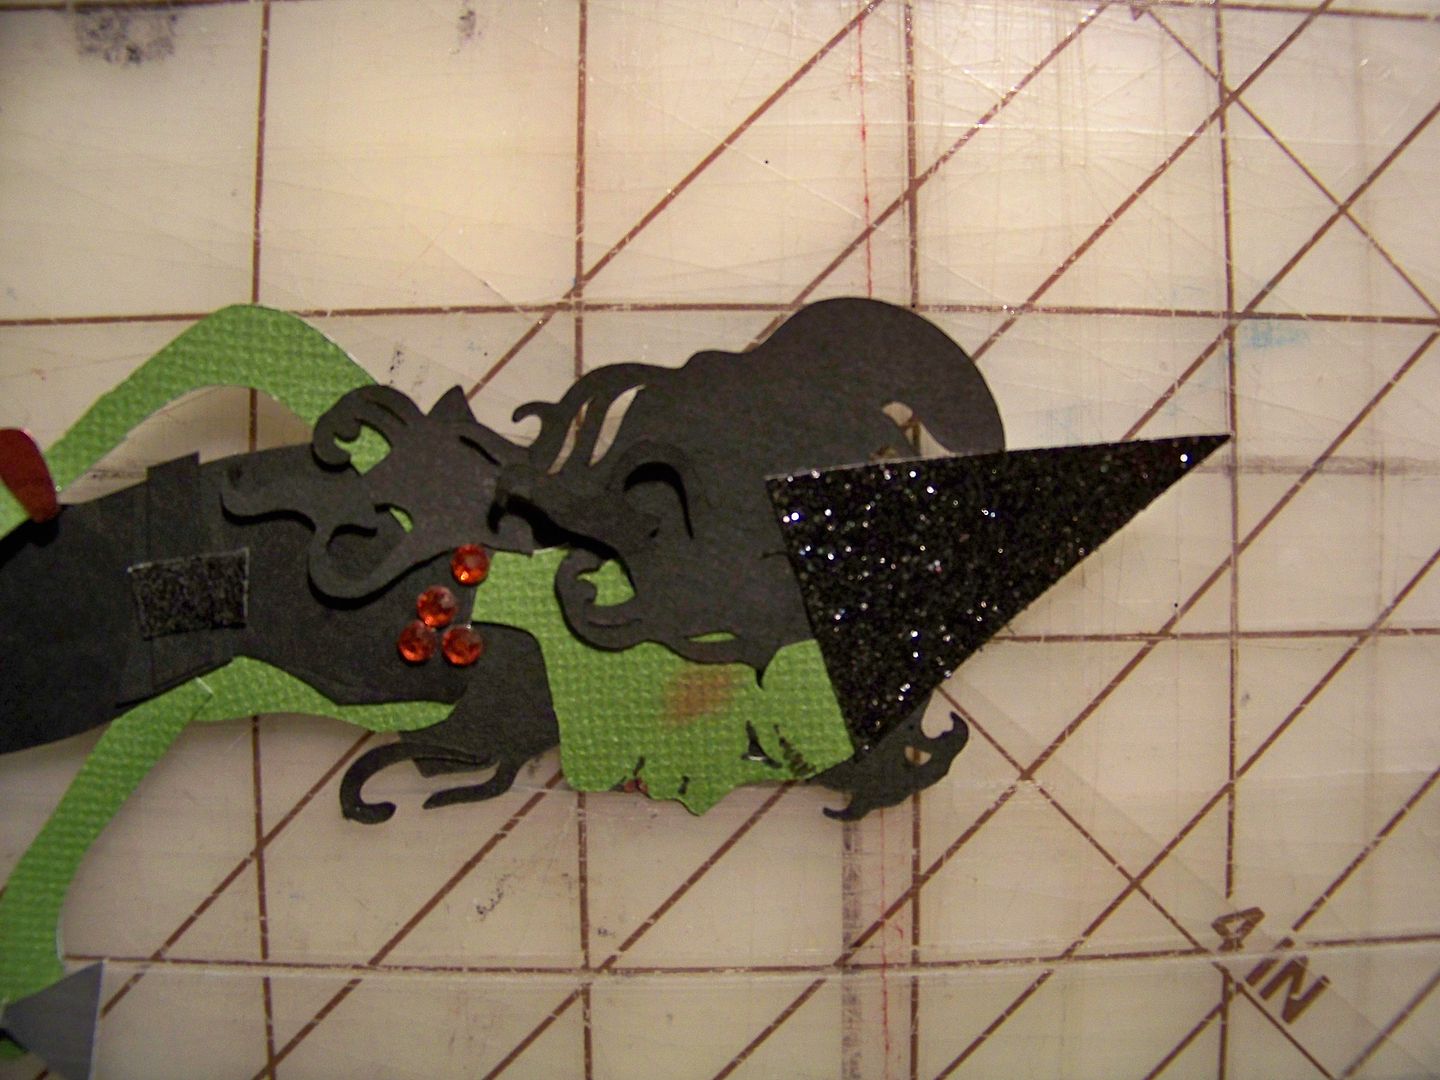
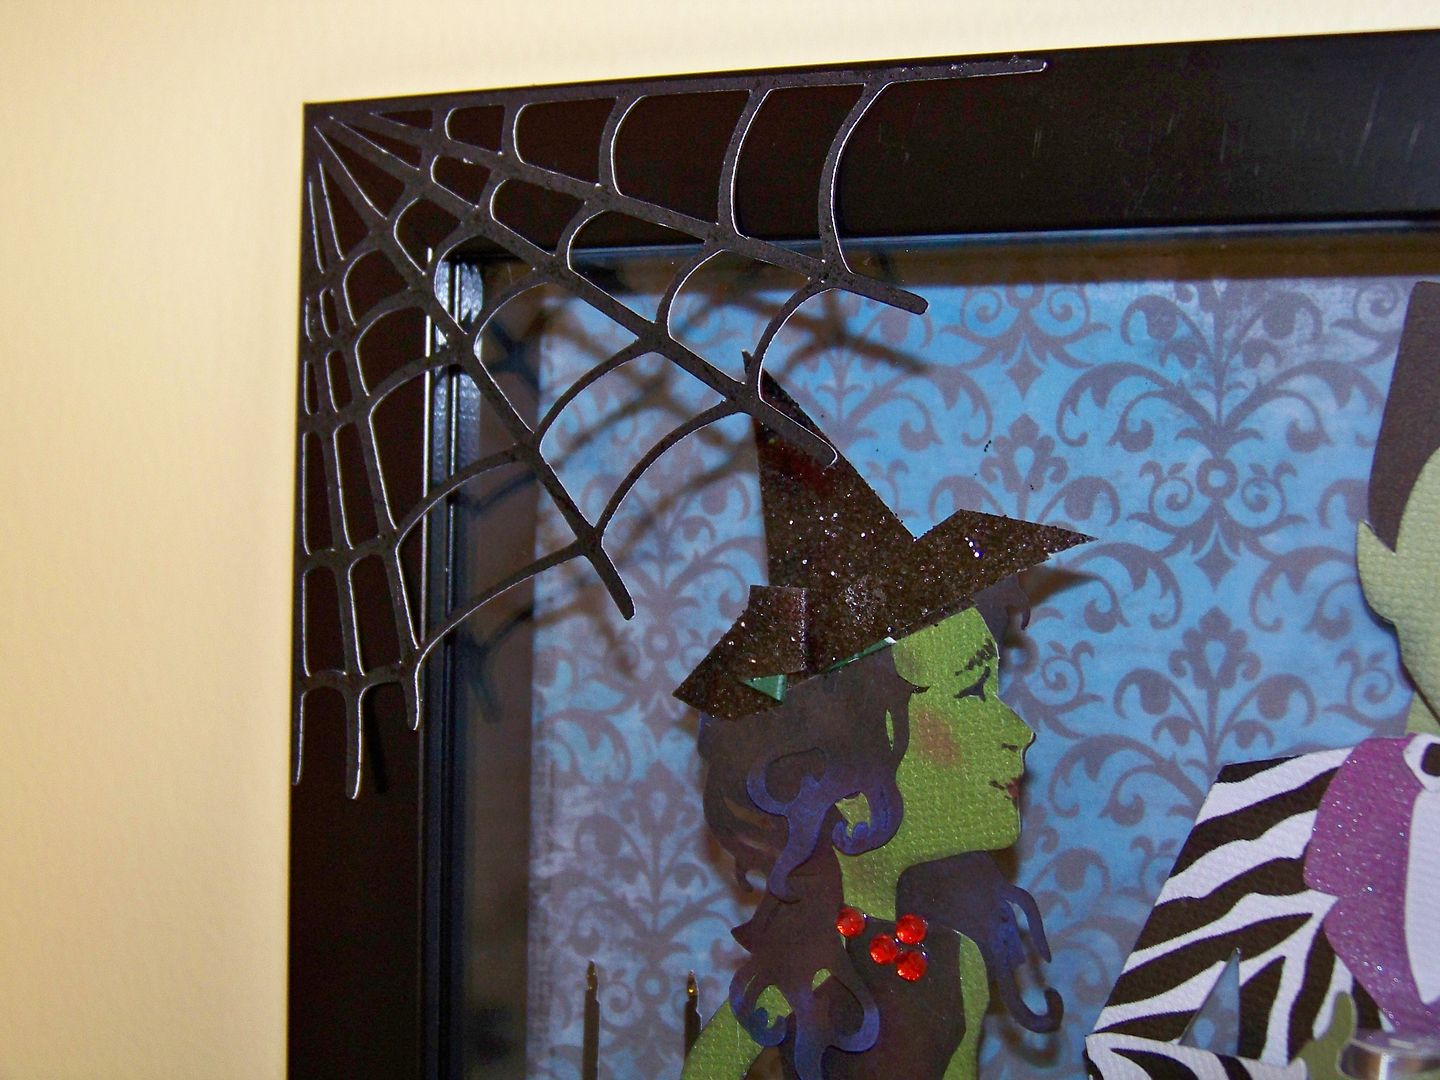
I cut a little pointy witch hat from glitter paper and sliced up a bit of ribbon for trim. I cut out a little belt and some pointy, curly-toe shoes. I inked her in black.
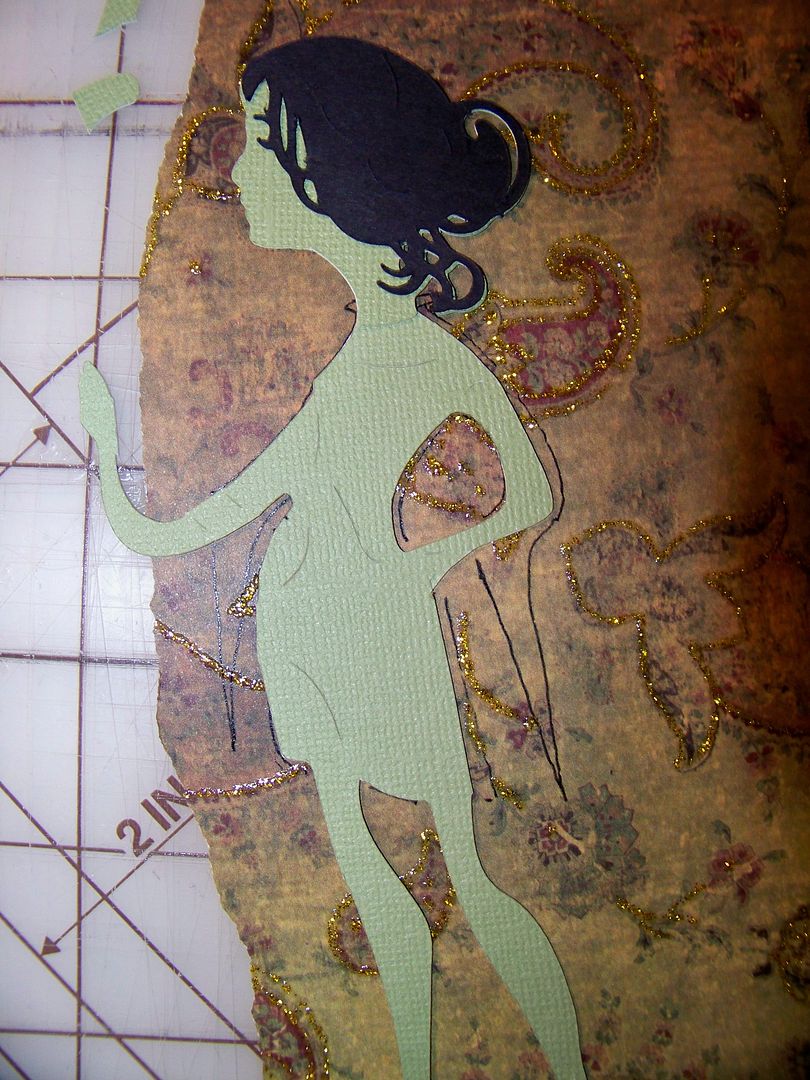
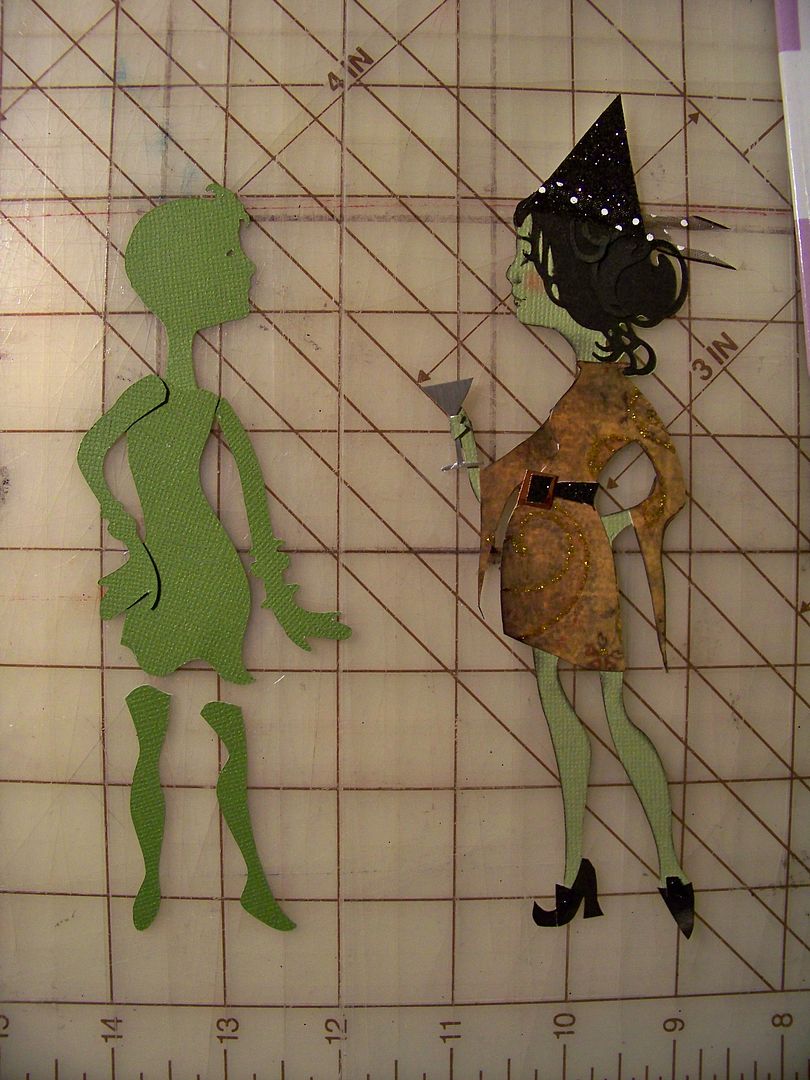
For the second witch, I cut from a darker green two bodies from Rock Princess
, one at 7" for the arms and one at 8" for the rest of the body. This rock princess has really long arms that I wanted to bring to a lowered position so cutting them smaller allowed for this alteration with better proportions.
As I cut the figure apart, I did so with reference to the first witch so that I would know how tall to make her. This one is very long-waisted with short legs, so I stretched her out to adjust for that. I manually cut apart her fingers on right hand.
I cut her head from Art Nouveau at 3" on my Expression. I trimmed off her hair, deciding that I would use the hair layers without matching up the curls so I would have a little more freedom with her hairstyle.
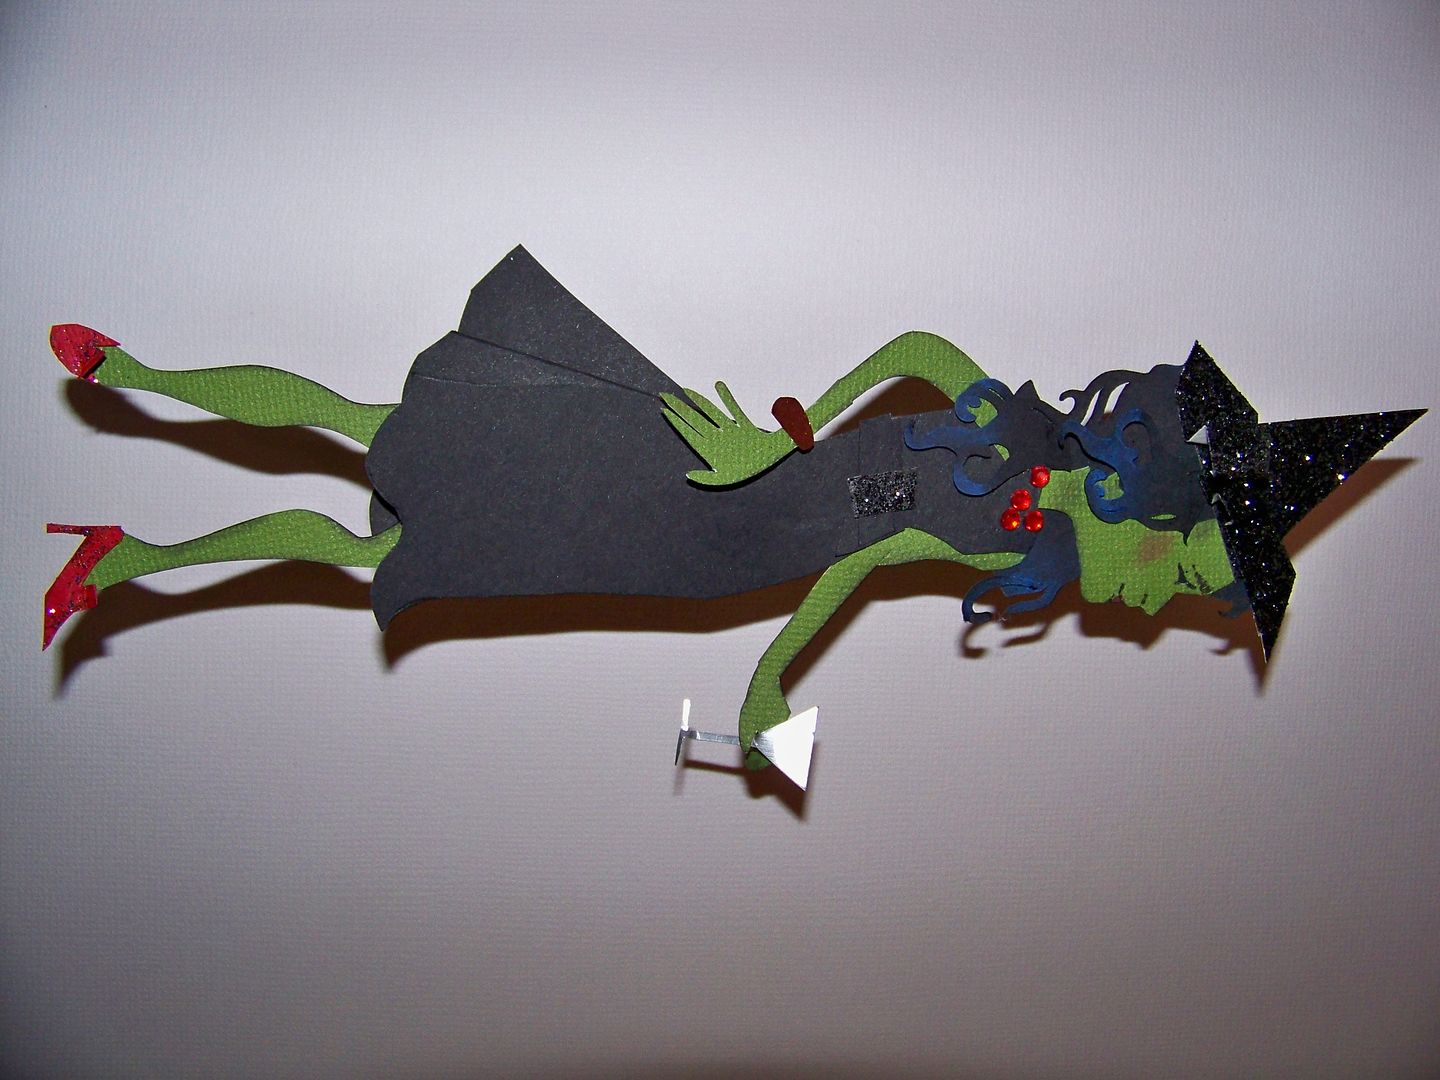
I created a dress, shoes, and hat for this witch, accenting and finishing her as I did the first witch. I wanted them to look like different people, so I trimmed her nose a bit to create a slightly more chiseled one. I cut her left arm at the elbow, changing the position so that she could hold her glass.
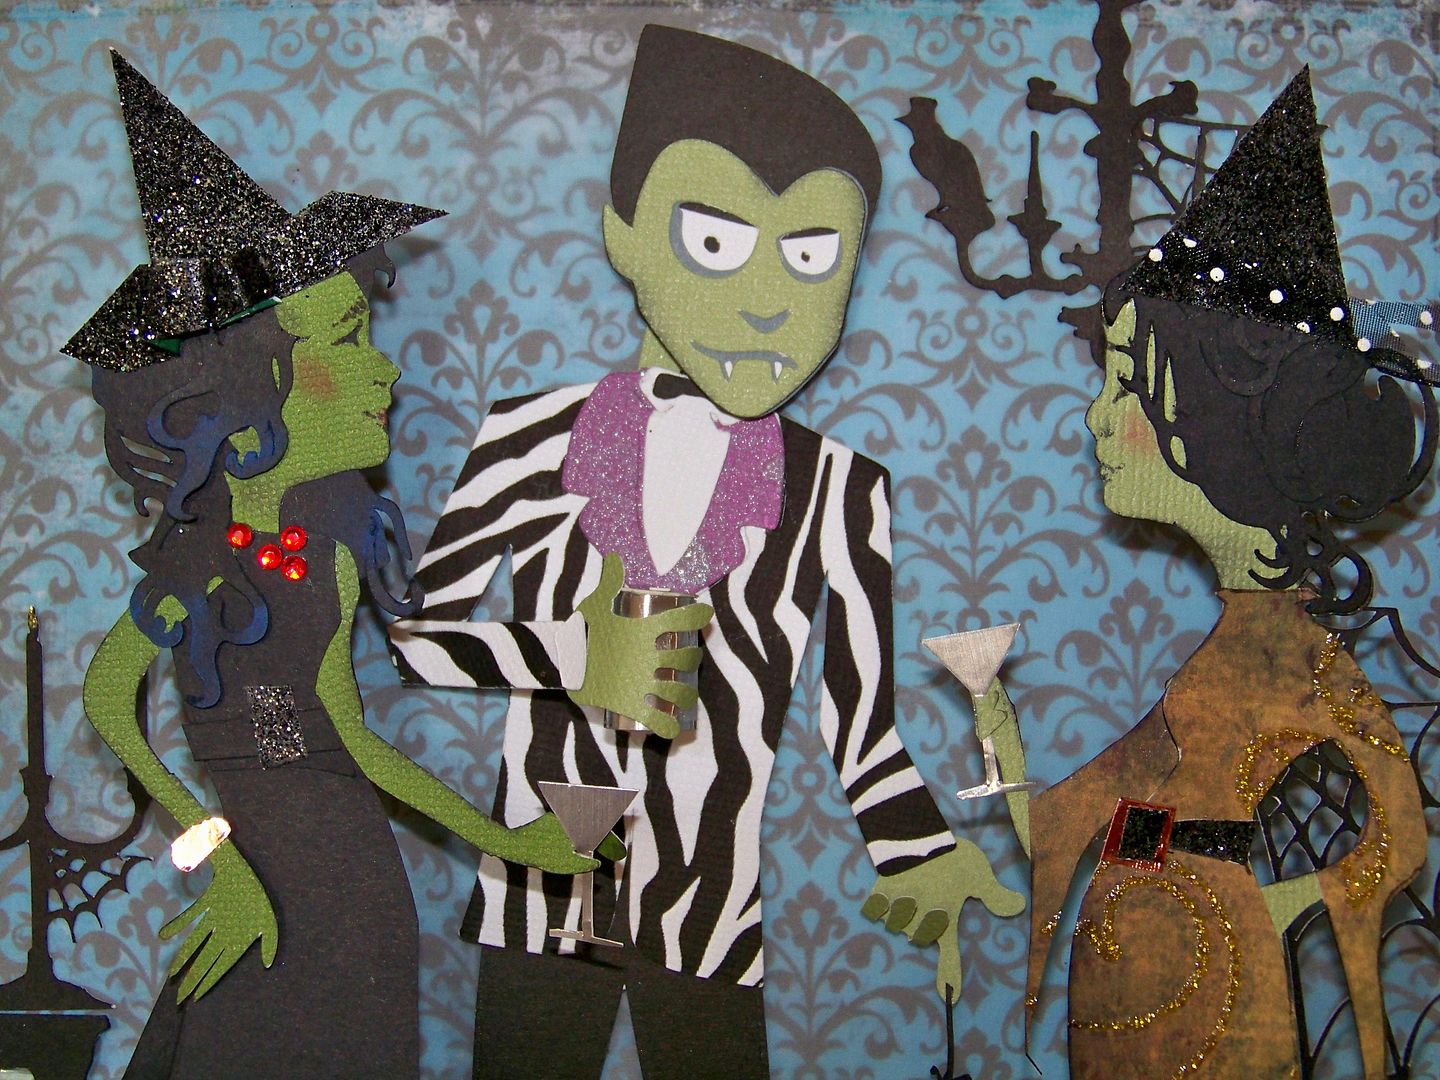
I added a skirt accent. When I put the two witches together, and saw the look they were giving each other, I realized they needed a goofy male character. They kind of have that 'can you believe this guy?' exchange going on.
At this point, I am sure you have figured out that I don't plan out my vignettes; I sort of let them develop as I go. To further tell on myself, I will confess that my original starting thought was a three-witch tea party which changed the minute my first witch developed a face. Now I have a monster cocktail party starting to take shape!
I decided on Dracula. I wanted to be sure that his body proportions and overall size were compatible with the other figures so I altered him next to the witches.
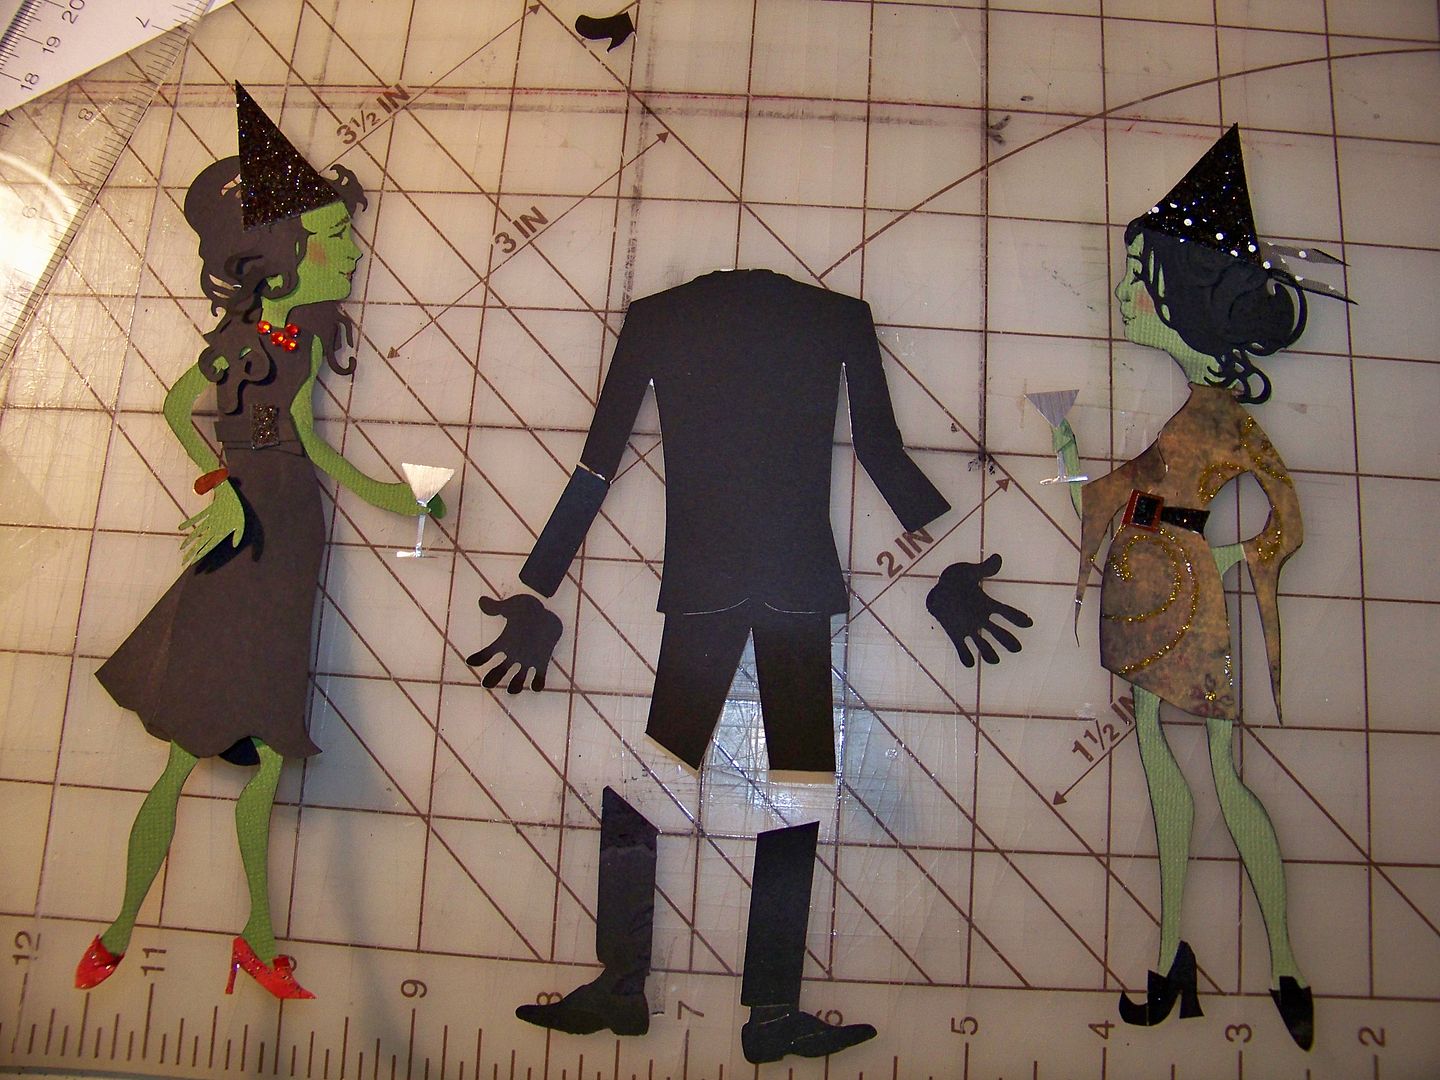
I cut his body from Formal Occasion at 7" on my Imagine. I cut away the female dancer. I used a punch for the hands. The die cut is doing some crazy dancing so I needed to cut and straighten the legs. I flipped the left leg so that the shoes both point out. I cut off the shoes and hand-cut new, straight legs using these pieces as my pattern. I attached the shoes to the new legs, adding shoelaces.
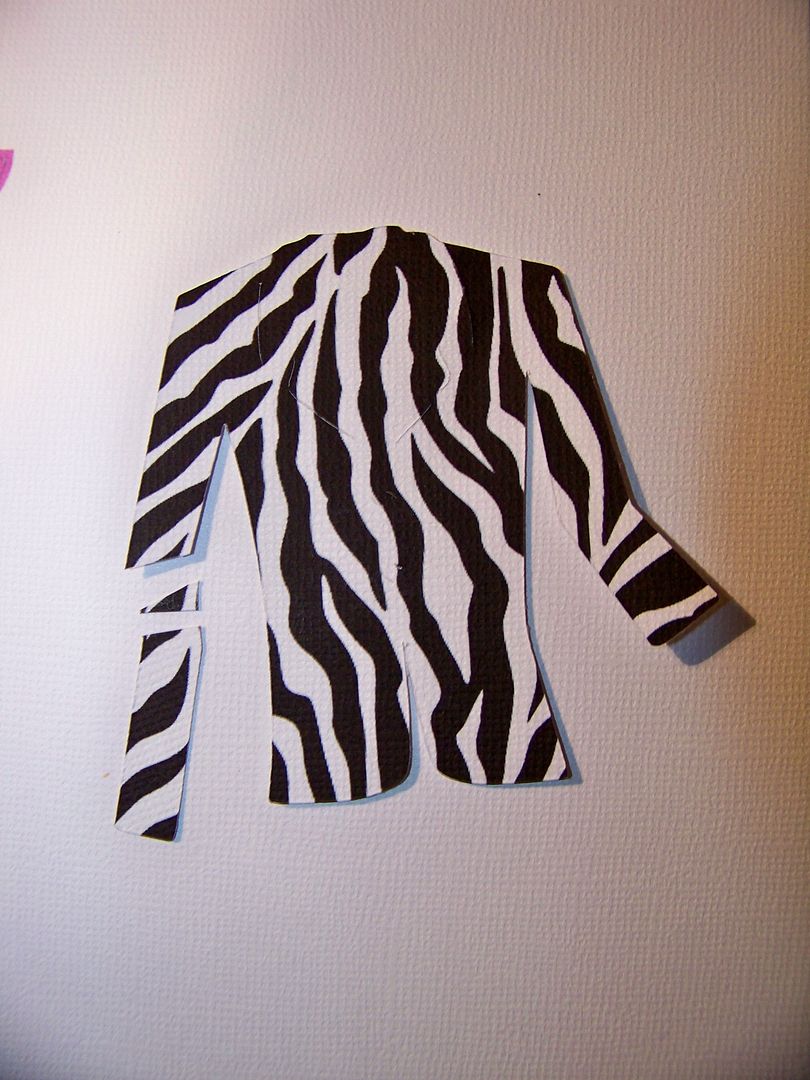
I cut the jacket layer on my Imagine, floodfilling the shape with the Black and White cartridge. I sliced at the elbow, repositioning the arm so that the character could hold a drink- he was my soda drinker, I guess.
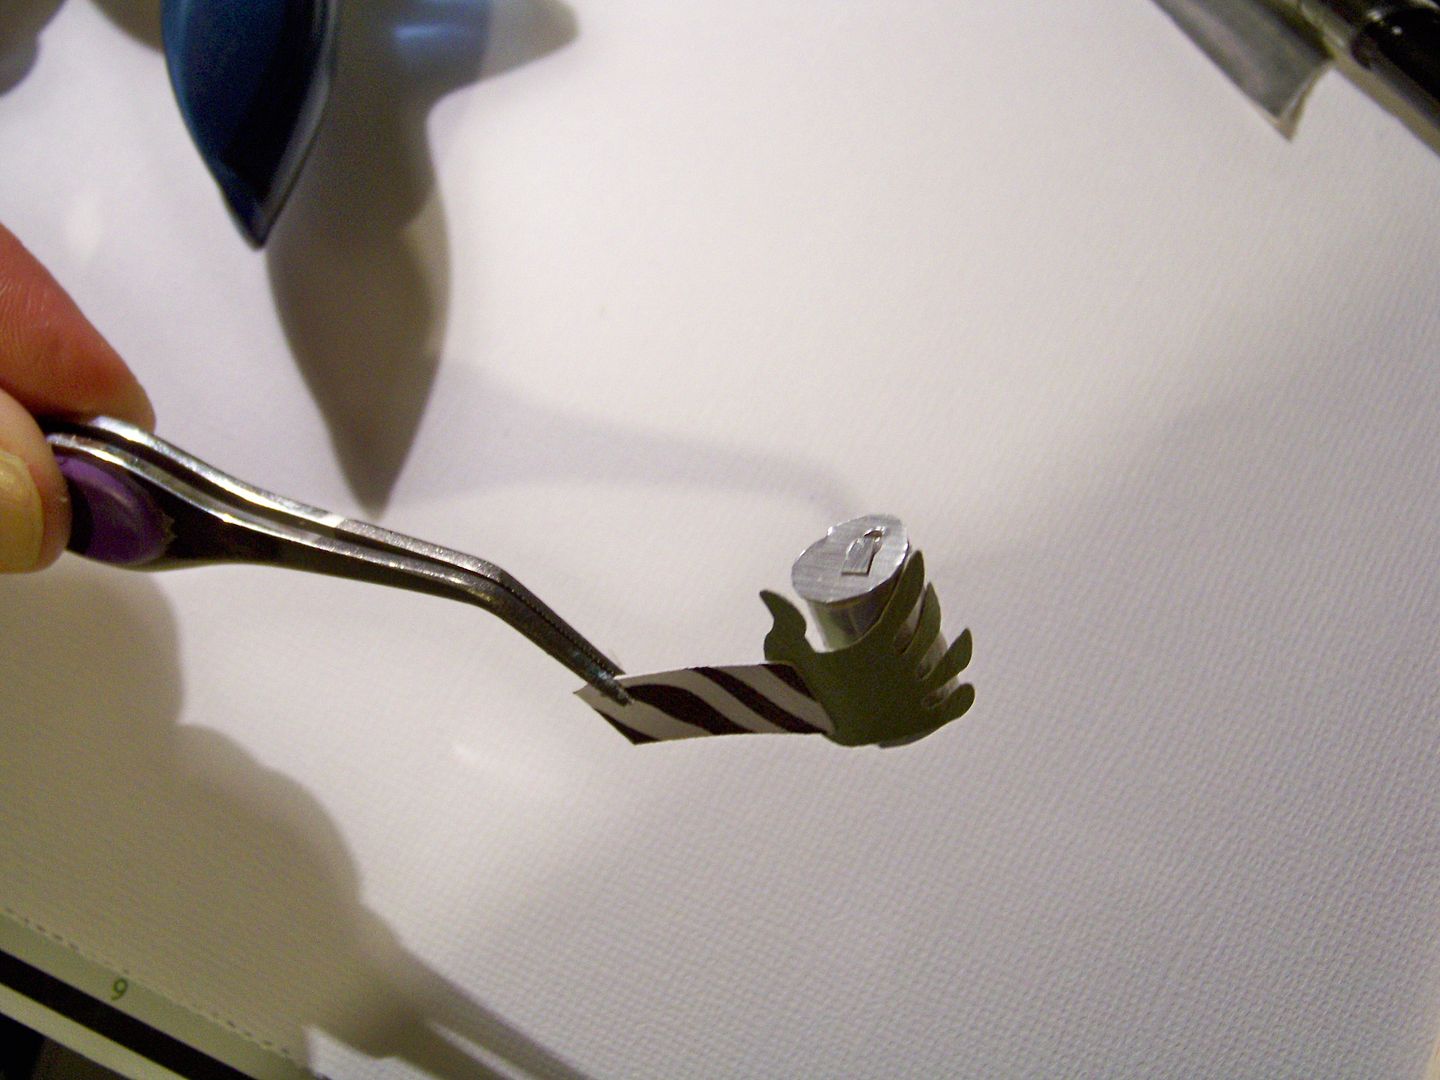
I created a drink can by rolling a piece of metallic paper and adding a circle lid. I used a mini hole punch and added a pull tab to the top. I rolled the hand over a dowel rod to curl it and glued it to the can. Then I reattached his arm at the elbow.
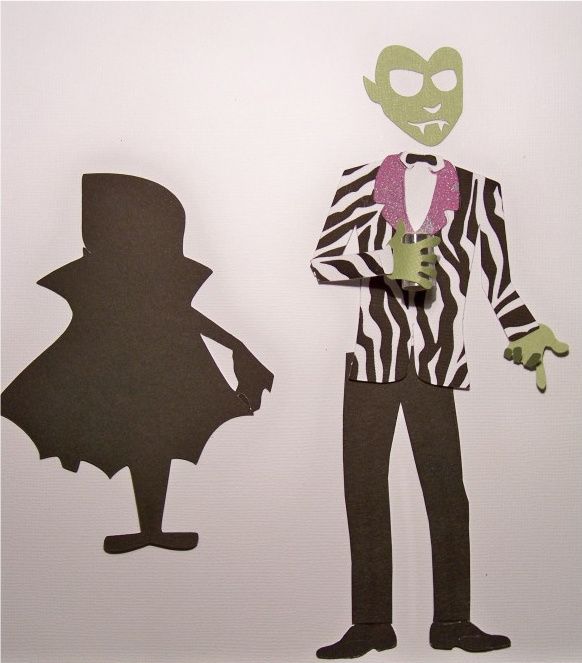
With the jacket and pants separate, I was able to tilt the shoulders a bit, giving him a little body language. I used Glimmer Mist in Graphite to give his pink lapels a little sparkle.
I placed the figures together again to determine the size of his head by cutting a couple of samples of the top face layer. Both witches have slightly oversized heads and I needed the male figure to keep that proportion too so that they would be compatible on the page.
I cut his head from Happy Hauntings at 4-1/2" on my Expression.
I cut all the layers of the face and trimmed the black base to separate the head from the body. I hand-cut a neck and attached the head to it with a pop dot. I finished the figure and added a spider hanging down from his finger cut from Happy Hauntings at 1-3/4" on my Expression.
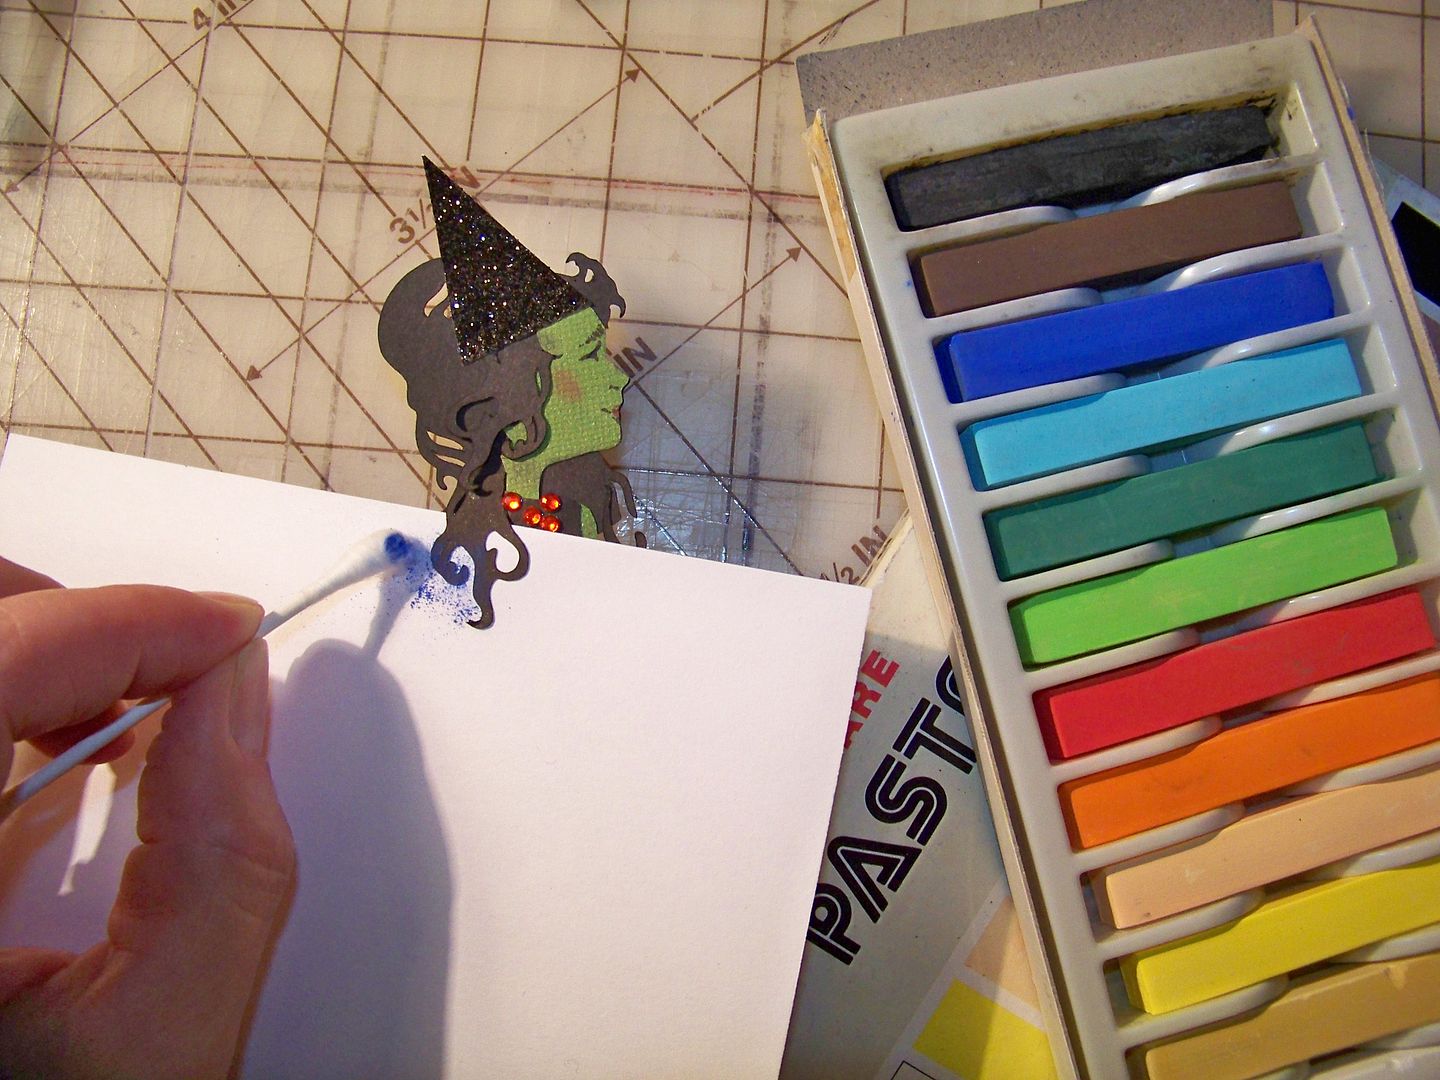
I revisited the other figures at this point, adding blue highlights to my second witch to help show off her layers of curls (shielding her body with an index card so the pastel dust wouldn't get all over her)...
...adding to her hat and trimming away a bit of hair.
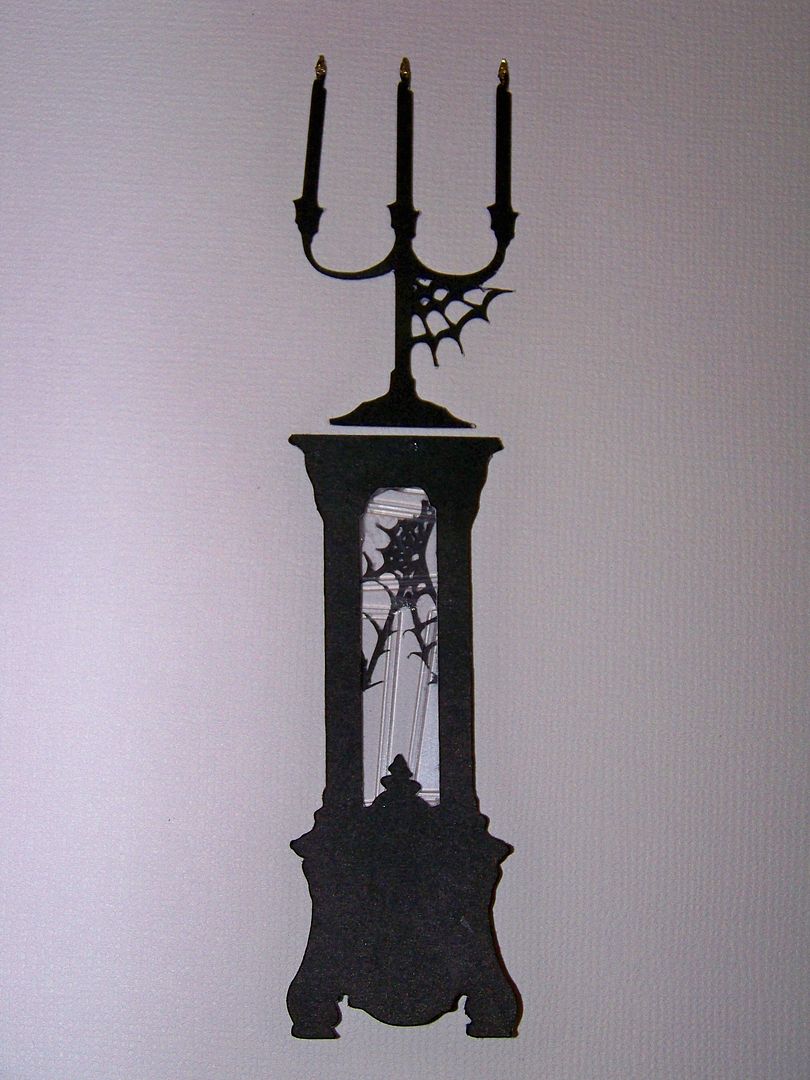
With my figures complete, I wanted to add a piece of furniture to help place the figures in a room. I was inspired by a project on the Circle Blog by Shantaie Fowler that used embossed acetate and decided to create a little cabinet with a window to hold a candelabra.
I cut the grandfather clock on French Manor at 5" on my Imagine, manually cutting off the top to create a little cabinet. I used a bit of acetate from a cartridge clamshell, embossing it with a folder from the Nifty Fifties companion set to look like broken glass.
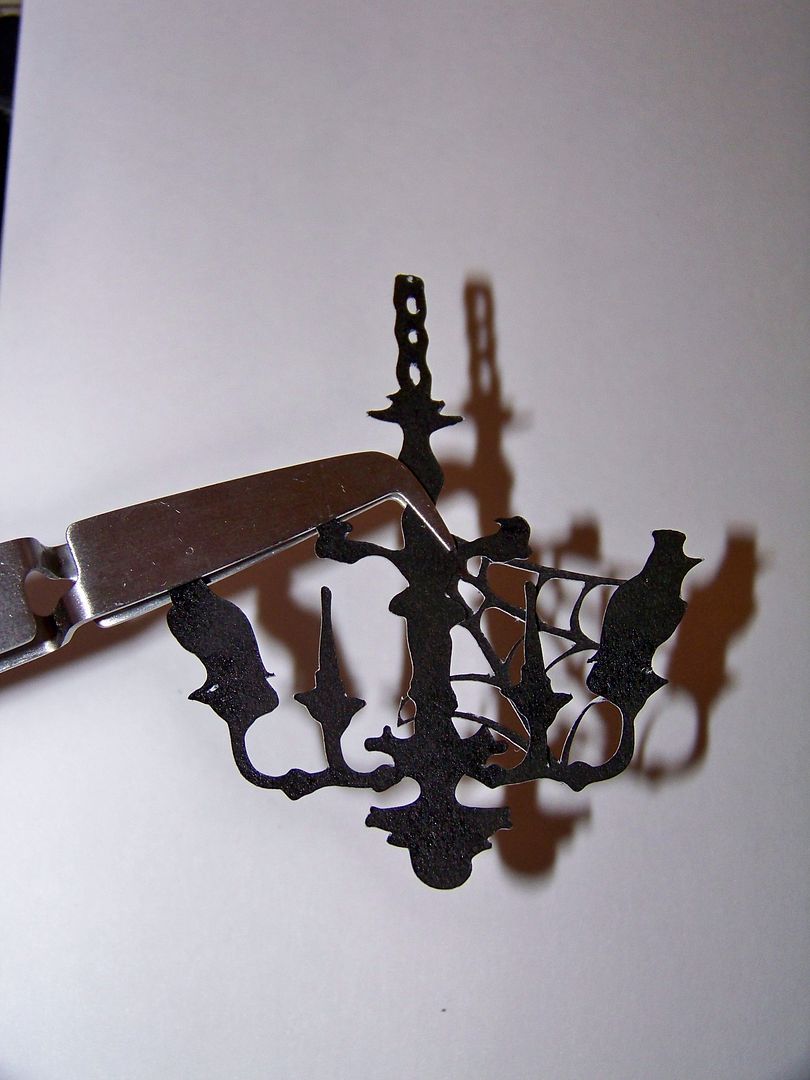
I used E6000 adhesive to attach the acetate to the die cut. I cut a spider web from October 31st at 2" on my Expression and tore the center out to fit the cabinet. Meanwhile, I cut the candelabra from Chic and Scary at 2" on my Expression2. I added gold stickles to the flames.
I added a spider web to the back of my first witch. It was cut from October 31st at 3" and trimmed to fit the shape.
I created a chandelier from Chic and Scary at 2-1/2", cut on the Expression2. I added a bit of leftover spider web that I had trimmed off of the one used on the witch.
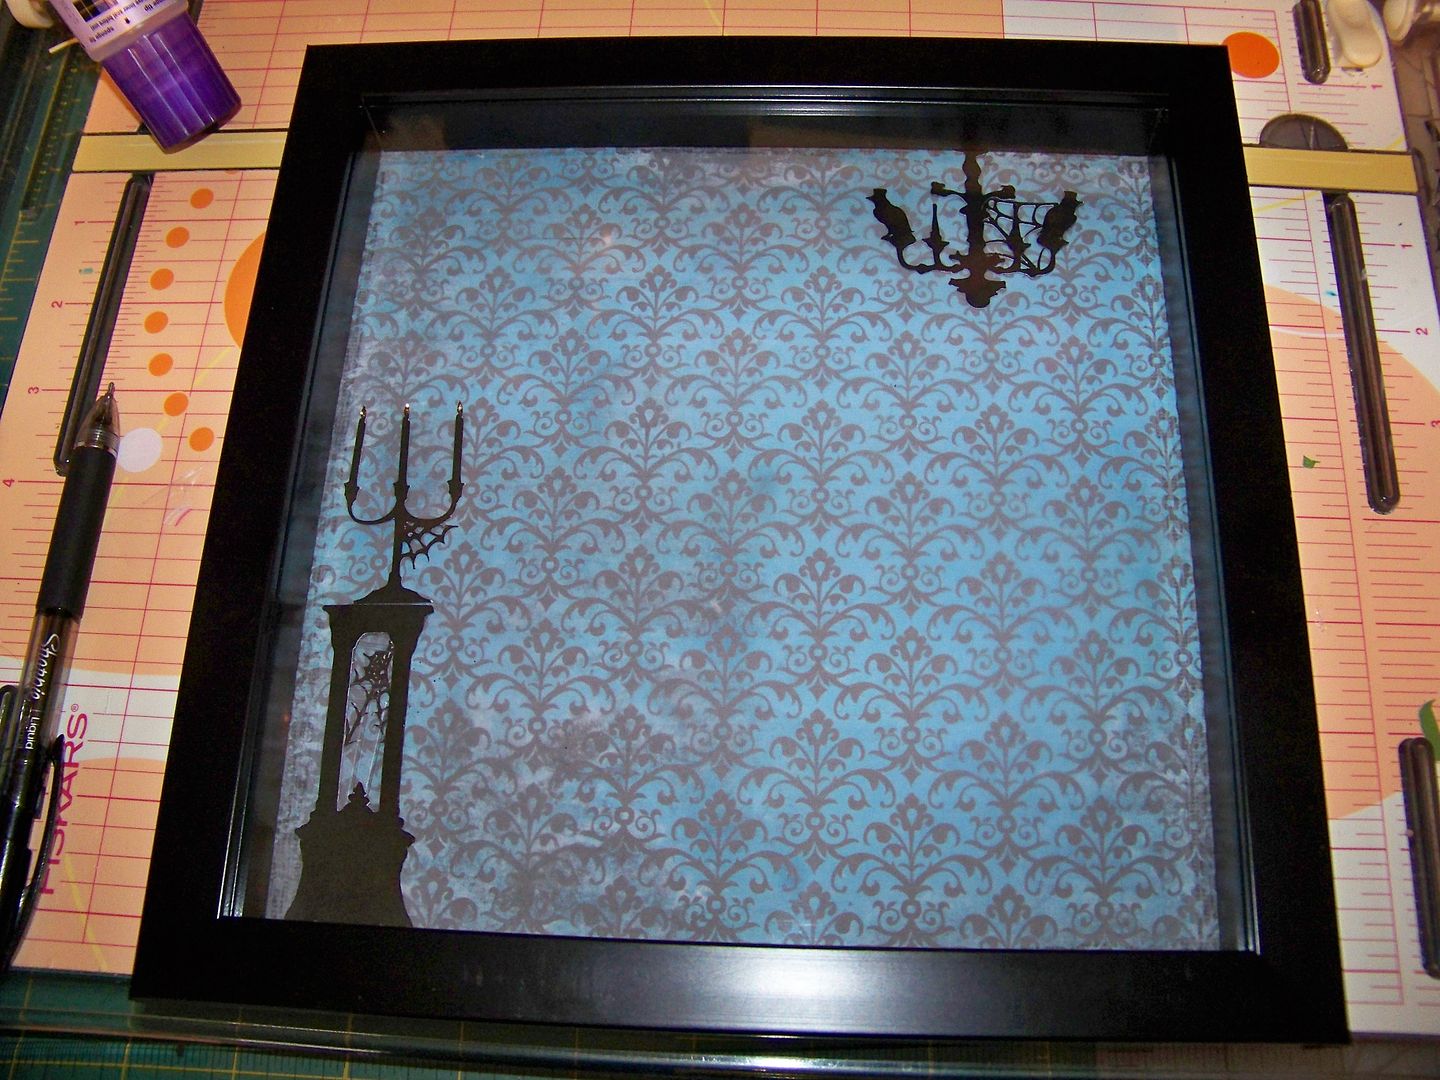
I decided I would place the vignette in an 8" square shadowbox. I used my Imagine and the JT cartridge to floodfill an 8" square. I cut a piece of vellum 8" to use as an overlay to soften the print so that the figures and furniture would not compete with the pattern.
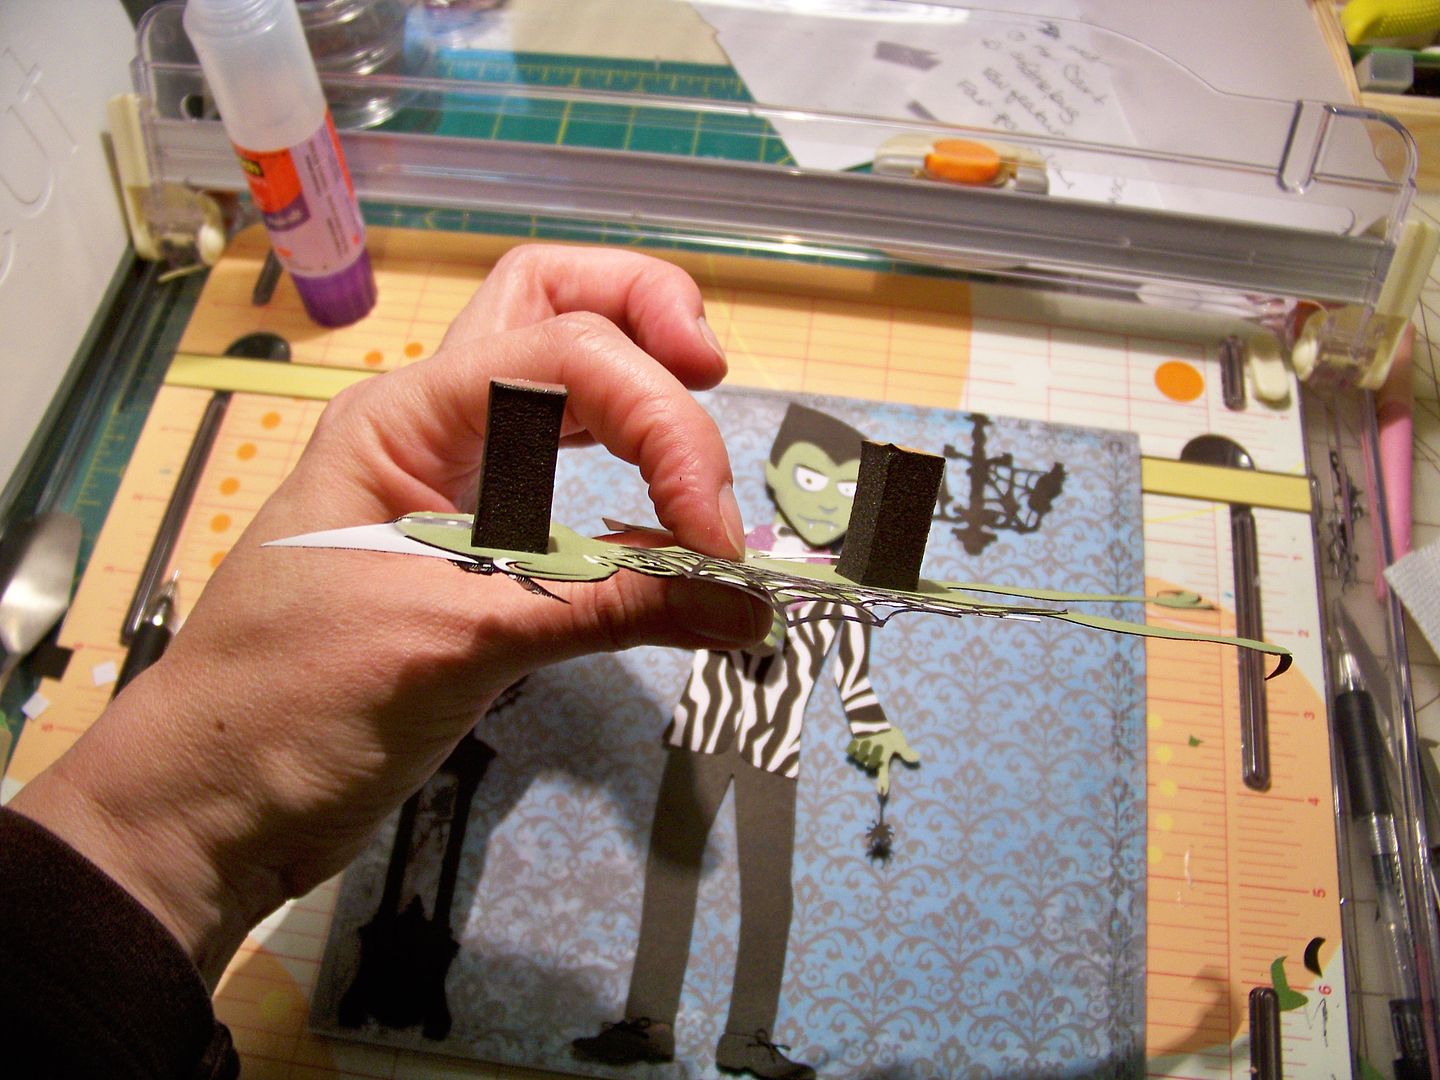
I adhered the chandelier and cabinet flat. I used pop dots to attach the characters. Dracula was popped up 1/8". The witches were popped up 1".
I placed the characters in the scene within the 8" room.
I tried to obtain as much dimension as I could given the depth of the frame.
I attached the front of the shadowbox and added a spider web cut from Chic and Scary at 2-3/4" on the Expression, attaching only the long sides to the frame with E6000 adhesive.
I hope you enjoy my project! This was so much fun to put together and I learned so much along the way!


1 comment:
Are you kidding me! I am just becoming acquainted with you & your AMAZING work! I want to marry details I love them so much & will spend DAYS on the tiniest detail...it's my therapy! You my dear, ROCK!
Post a Comment