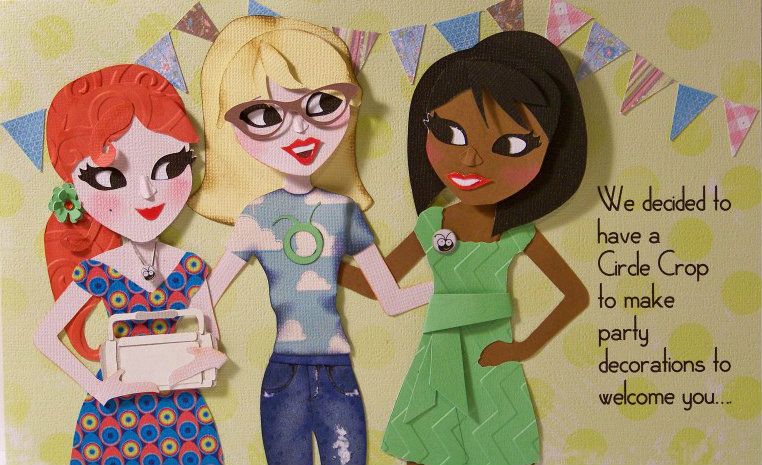
As a way to welcome the new Provocraft CEO, Ashish Arora, Cricut Circle members have been invited to create a card for the "Welcome to Provo Craft Card Making Contest"! We were asked to tell the new CEO what we most liked about the Cricut Circle. I wanted to create a scene that represents the fantastic Cricut Circle Meetups and Crops --and the friendly Circlets who make it so much fun!
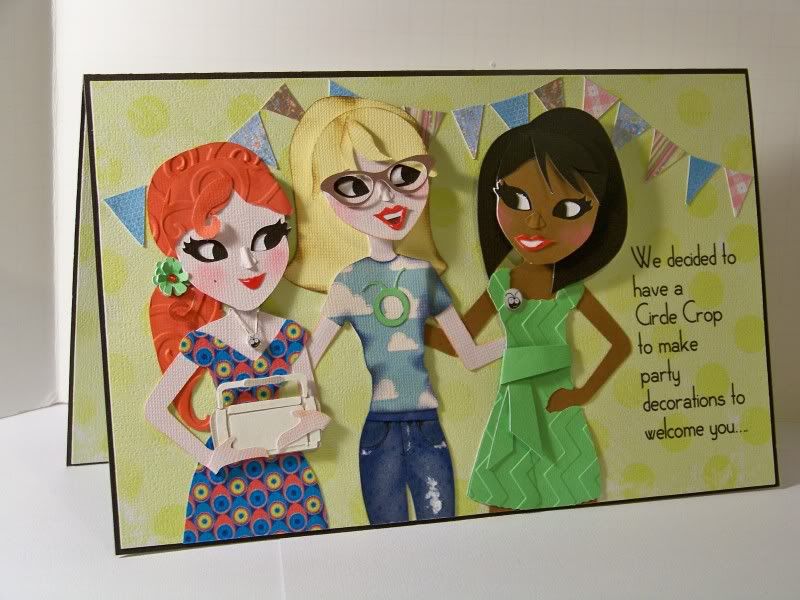 |
Card text (truncated):
We decided to have a Circle Crop to make party decorations to welcome you... But after the socializing, swaps, make-n-takes, socializing, snacking, checking the message boards, socializing, shopping, taking photos, and socializing, we just ran out of time! (I blame the make-n-takes!) . . . |

For the crafty details with cut sizes....
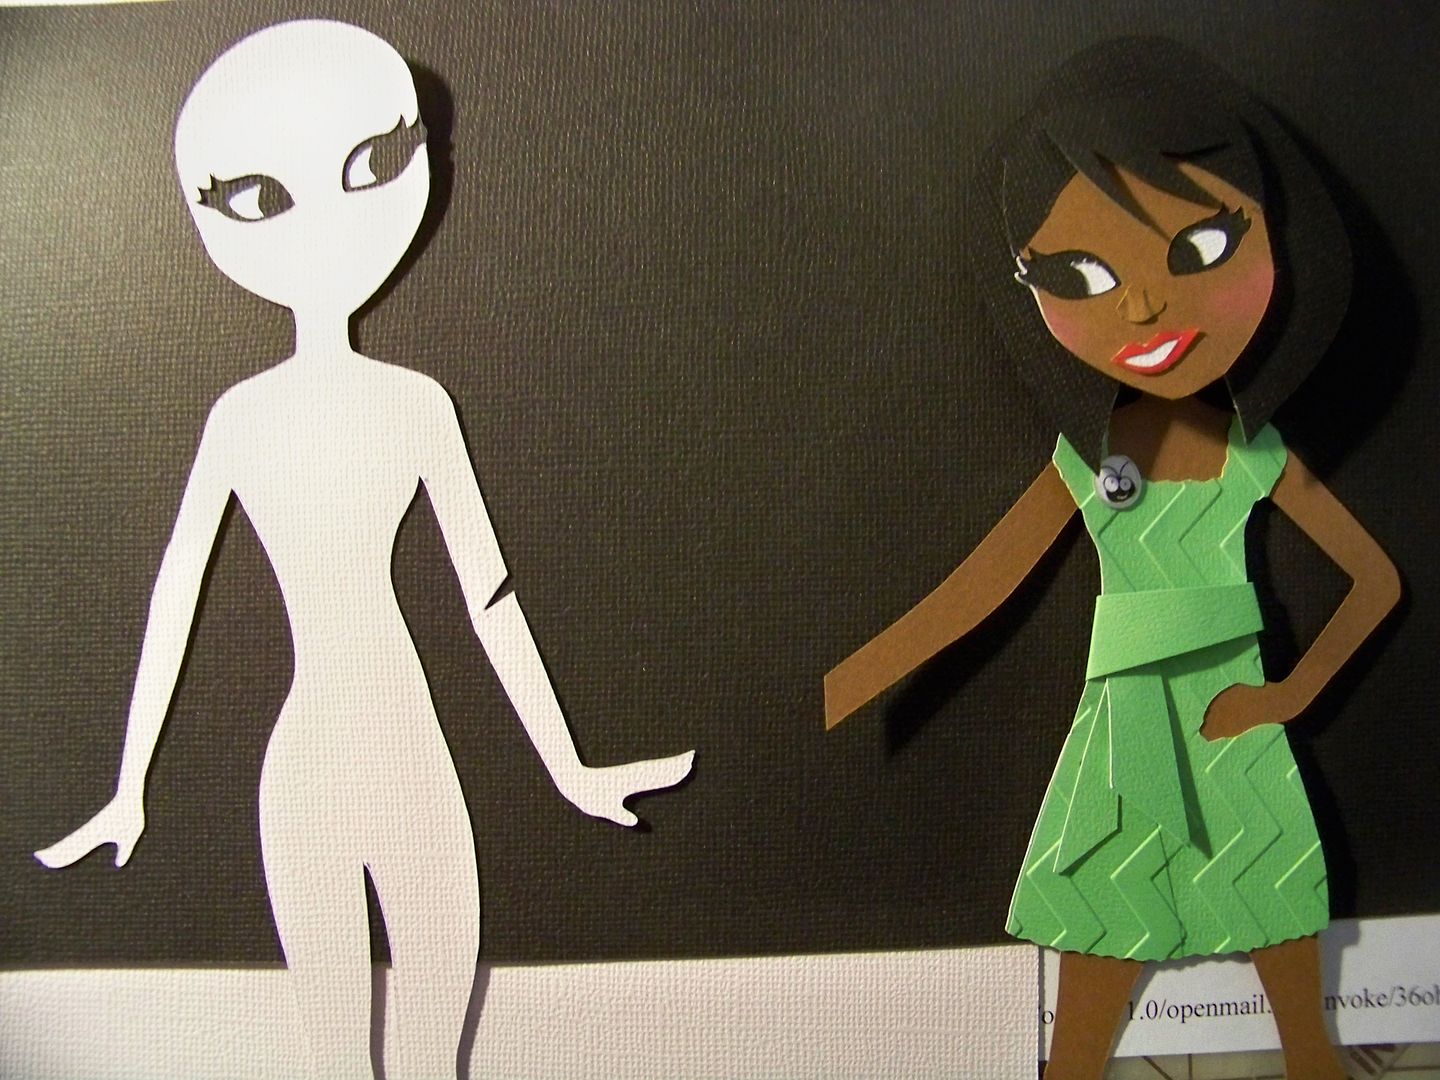
Just in time for this contest, I received the new Paper Doll Teen Scene cartridge and decided to make characters from that cart the focal point of my card. Let me just tell you that when I saw that way the eyes are created on this cart, I was thrilled!!! I have been wanting the PC illustrators to do more characters with faces like those from Happy Hauntings that, instead of features like dots that we have to glue onto a base, are instead built up within the layers. This cartridge has just those kinds of eyes!! (And the cool thing, if you are a person who prefers to use a stamp or your own hand-drawn faces, you can just use the white layer, cutting it in flesh instead!)
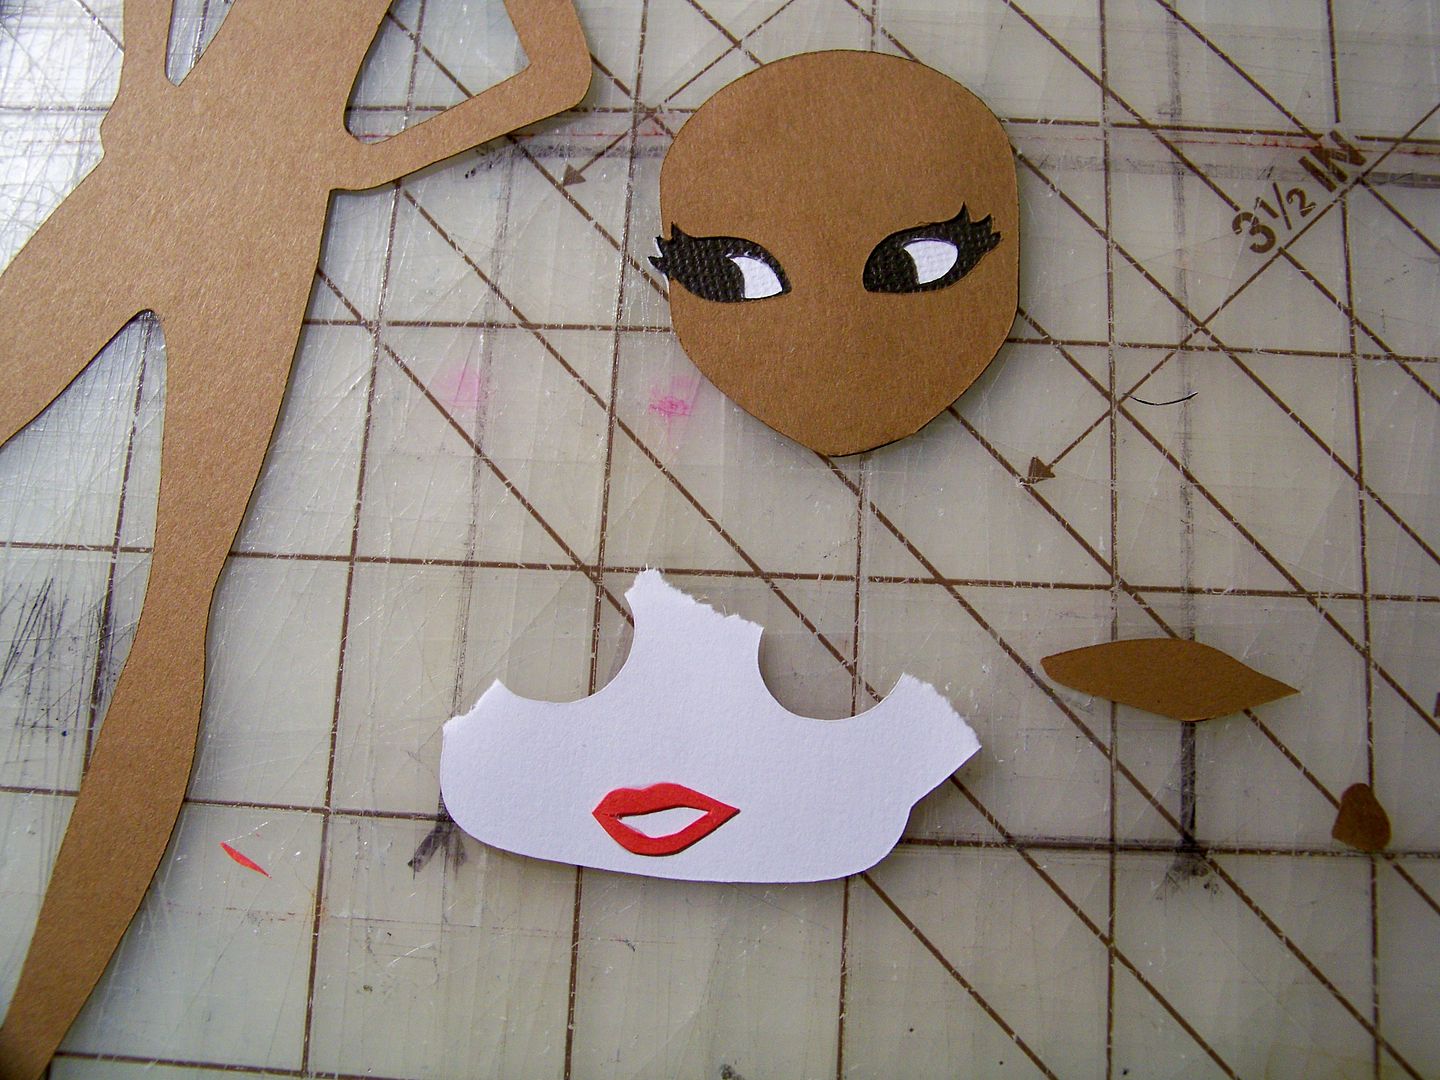
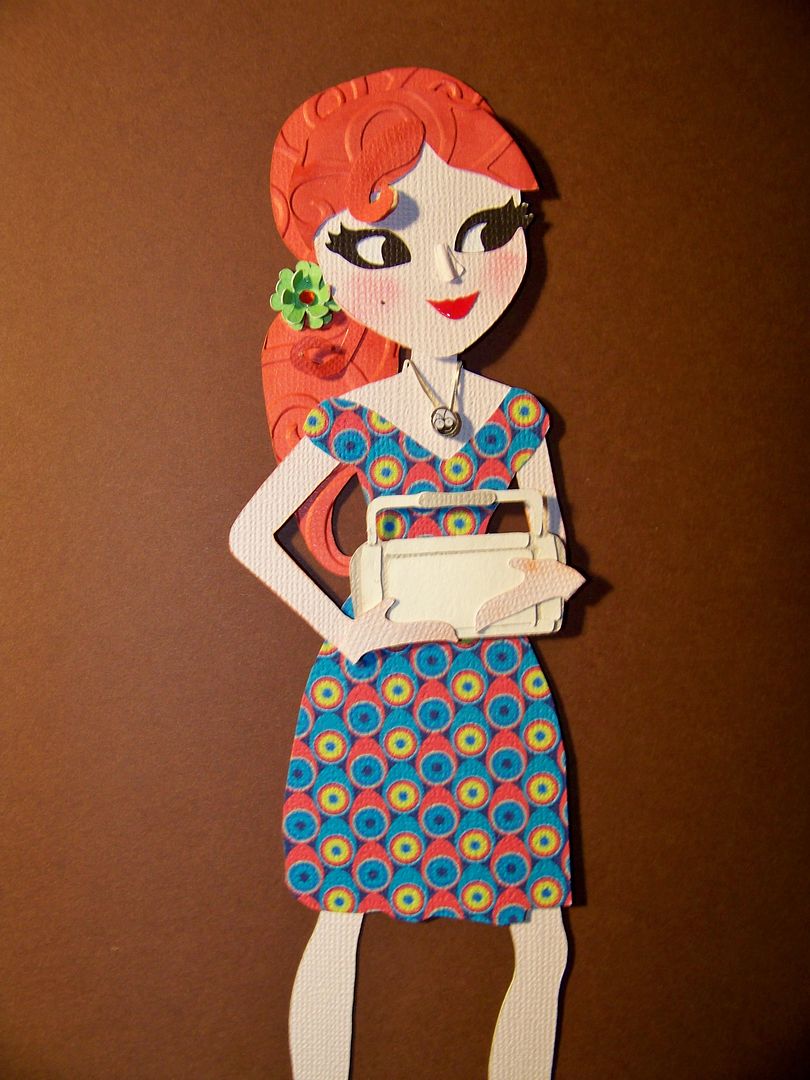
I started with 'Molly' (page 42). (That is Provo Craft's name for her on the cart.) I cut the layers of Molly at 9", minus clothing and hair, first on my Expression. Then, I cut off her head just under the chin!

I glued the heads together to create her face and discarded all the bodies except for the flesh-colored one since they are not needed. Additionally, by cutting off the head and rejoining with a pop dot, these figures gain a chin and gets bonus body language options because the head can be tilted and raised!
I hand-cut a nose and pinched it in shape. I hand-cut her lips and placed them over a bit of white paper for teeth.
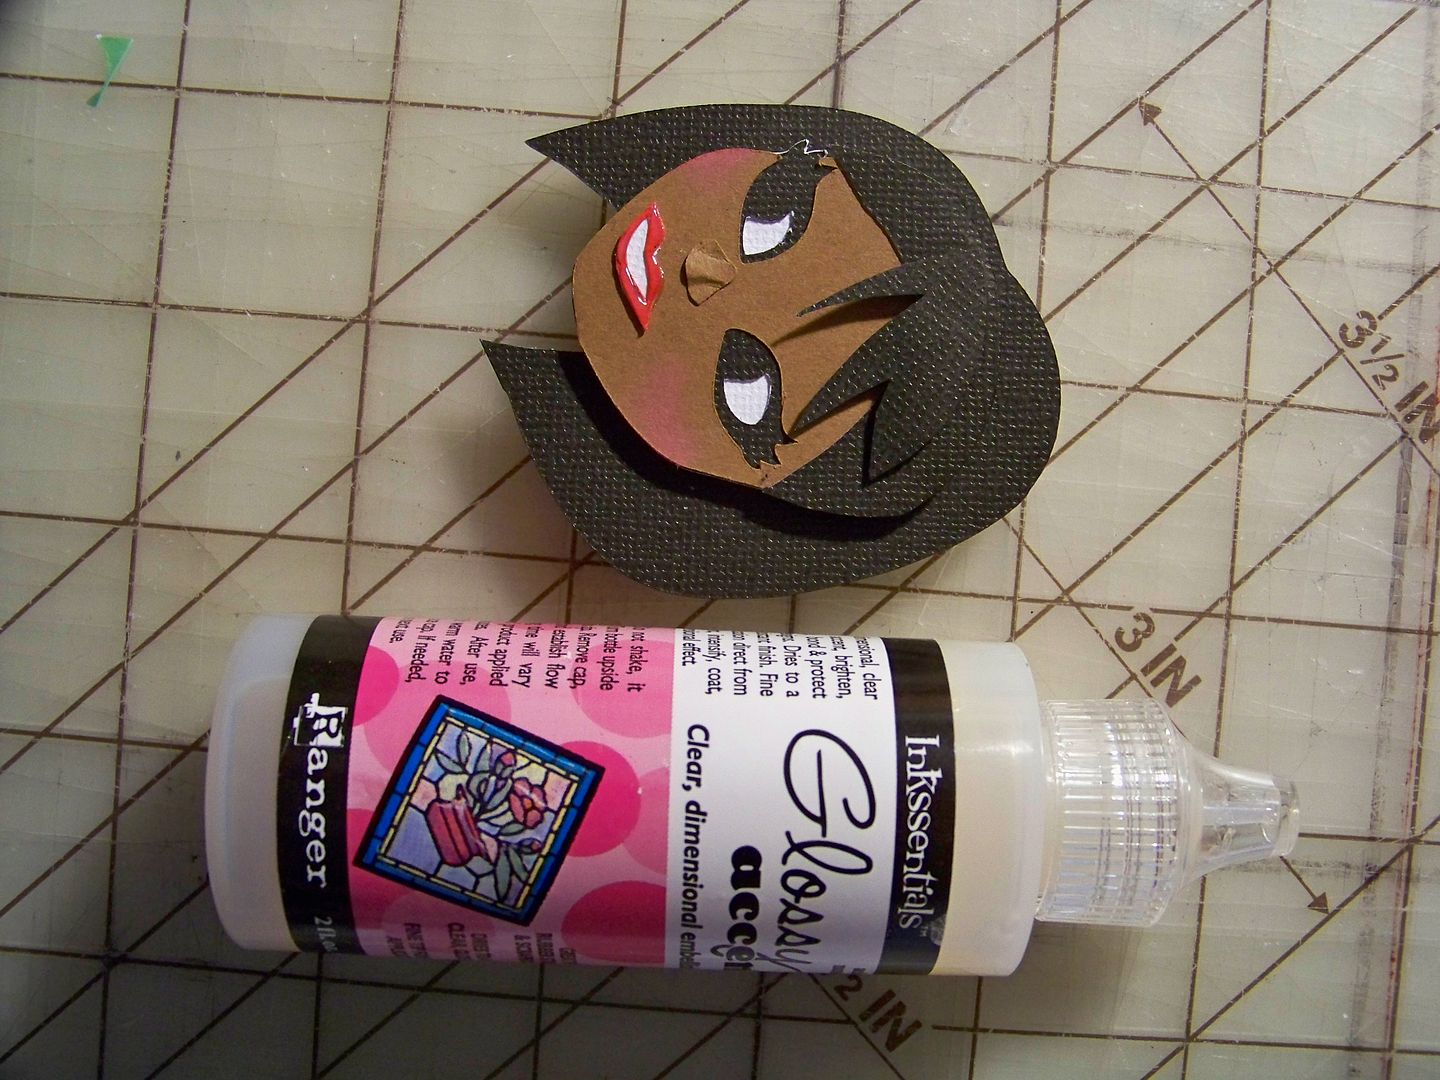
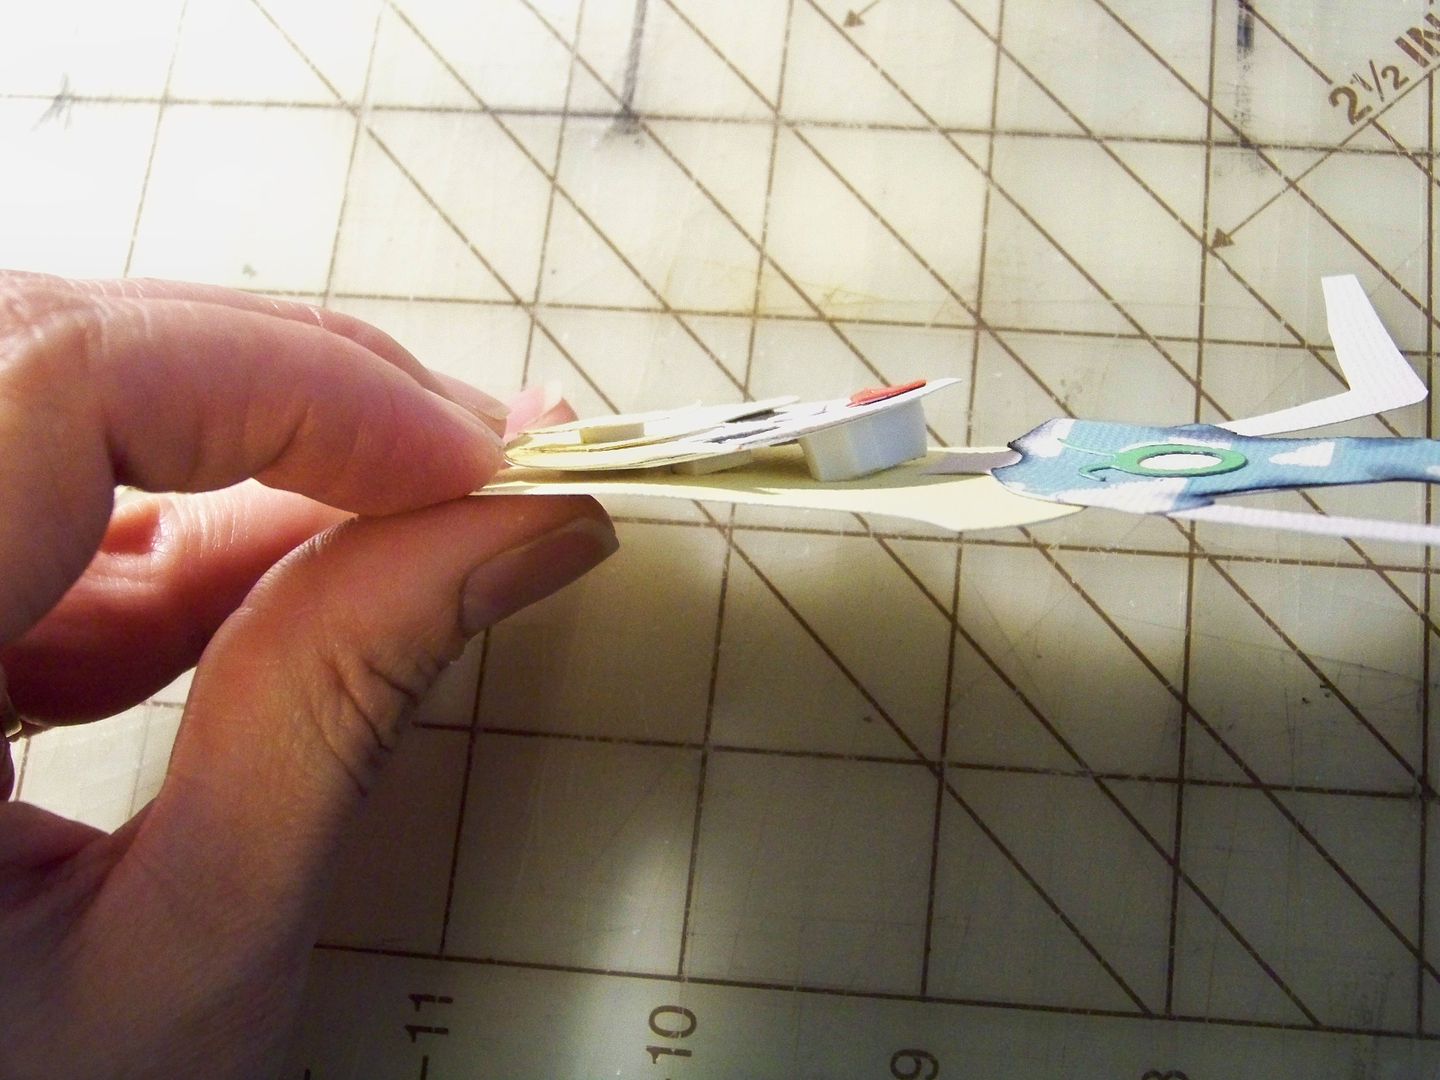
I cut her hair (the first body layer) and cut off that head too, also discarding the body. I placed the main section behind the face and trimmed off the front section. I also hand-cut bangs. The bangs are attached with a 1/16" pop dot.

I added Glossy Accents to give her a bit of lip gloss. I added a 1/4" pop dot to the top of the back of her head so that the head lifts away from the surface but her chin tilts down. The safely papers are still in place here because the head will be adhered on the card as a separate piece from the body. I inked on a bit of blush to finish her makeup.
I cut off one of her arms. I had the idea that my crafters would be arm-in-arm so I cut and attached a new arm that would be tucked behind the next crafter. (The new arm is attached with a 1/16" pop dot so that it is behind her shoulder. It is unfinished without a hand because it will be covered up by the middle crafter and is unnecessary).
I cut her dress twice. The first cut was used as the dress itself; the second cut was "fabric" used to help patch the hole made for her hand that I no longer wanted. I decided to ignore the seam made and simply emboss the pieced dress.

I hand-cut a belt, attaching on the back and allowing it to lift up a bit for dimension on the front. I created a little Cricut button for the crafty Molly to accent her Cricuty-green dress by adhering a logo bug I found at Google Images and adhered it onto a bit of silver paper, allowing the silver edges to just barely show. I popped it up at 1/16".

I knew I would be cropping the figures to fit but I did not crop them until I had all three created so I would know how they would fit together (and how they would work with the background).
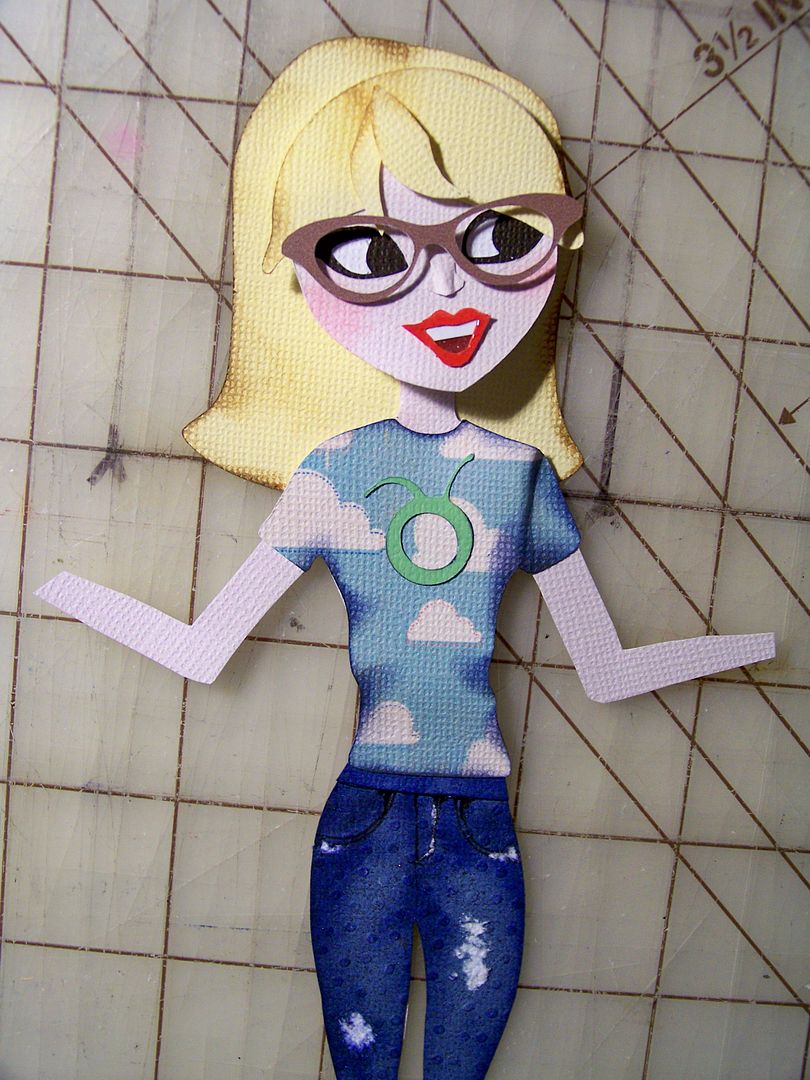
The next crafter I created was 'Chloe' (also the name in the guidebook). Flesh was printed using RGB 250, 229, 210. I used the hair layer and pants on page 37 and the t-shirt from page 34. I used many of the same techniques on her that I used on Molly.
I notched her arm so that it would be placed on Molly's back and not her behind-- which it where it was going to be without that alteration. I ended up cutting off that arm and using it as a pattern. It allowed me to emphasize that her arm is pushed behind her so that she can stand in a partial embrace with her friends with shoulders shifted and the arm didn't have the cut line at the elbow.

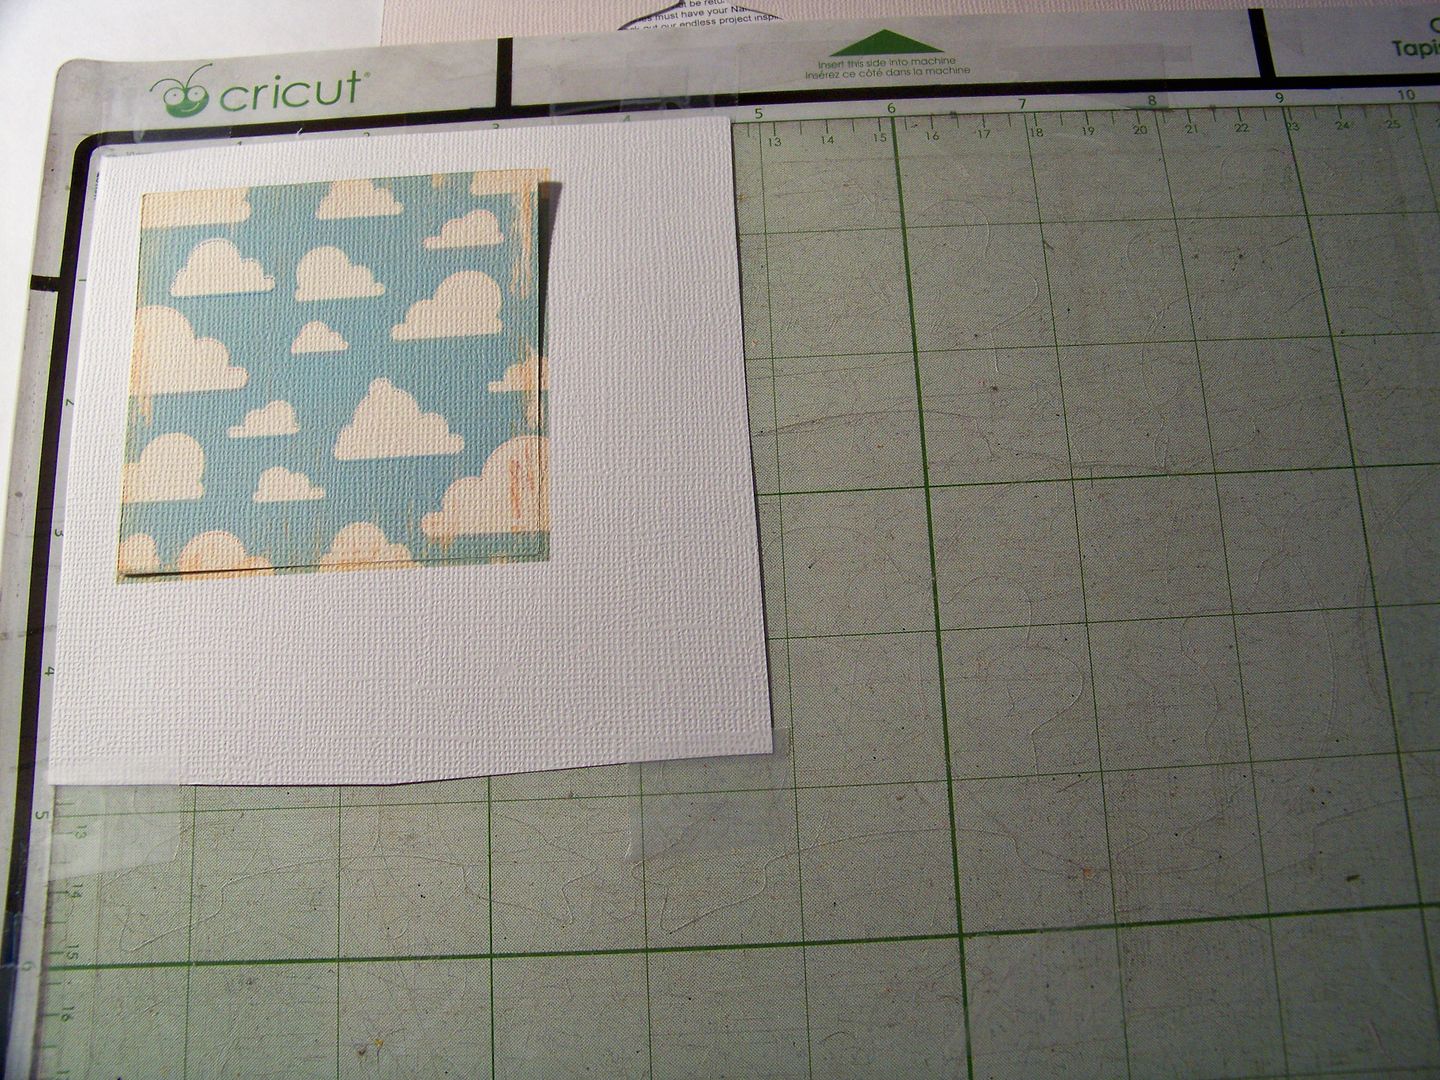
I used Hopscotch for her t-shirt print and Cricut Everyday to cut the circle logo at 3/4". Quick note: I discovered that my recent Imagine update did not make Paper Dolls Teen Scene work in my Imagine. To circumvent this for items using Imagine papers, I printed off necessary prints and solids using the built-in square edited to sizes that were similar to the finished sizes I needed so that the Imagine would scale down my prints like it does when I flood-fill small shapes. I used those patterned squares to cut the images on my Expression (actually, all cuts for this project were done on the Expression unless otherwise noted).
I inked the t-shirt to give it a little bit of volume to combat the flattening effect of the print. I folded the sleeve over the edge of the shoulder to mimic the effect of the cut arm.

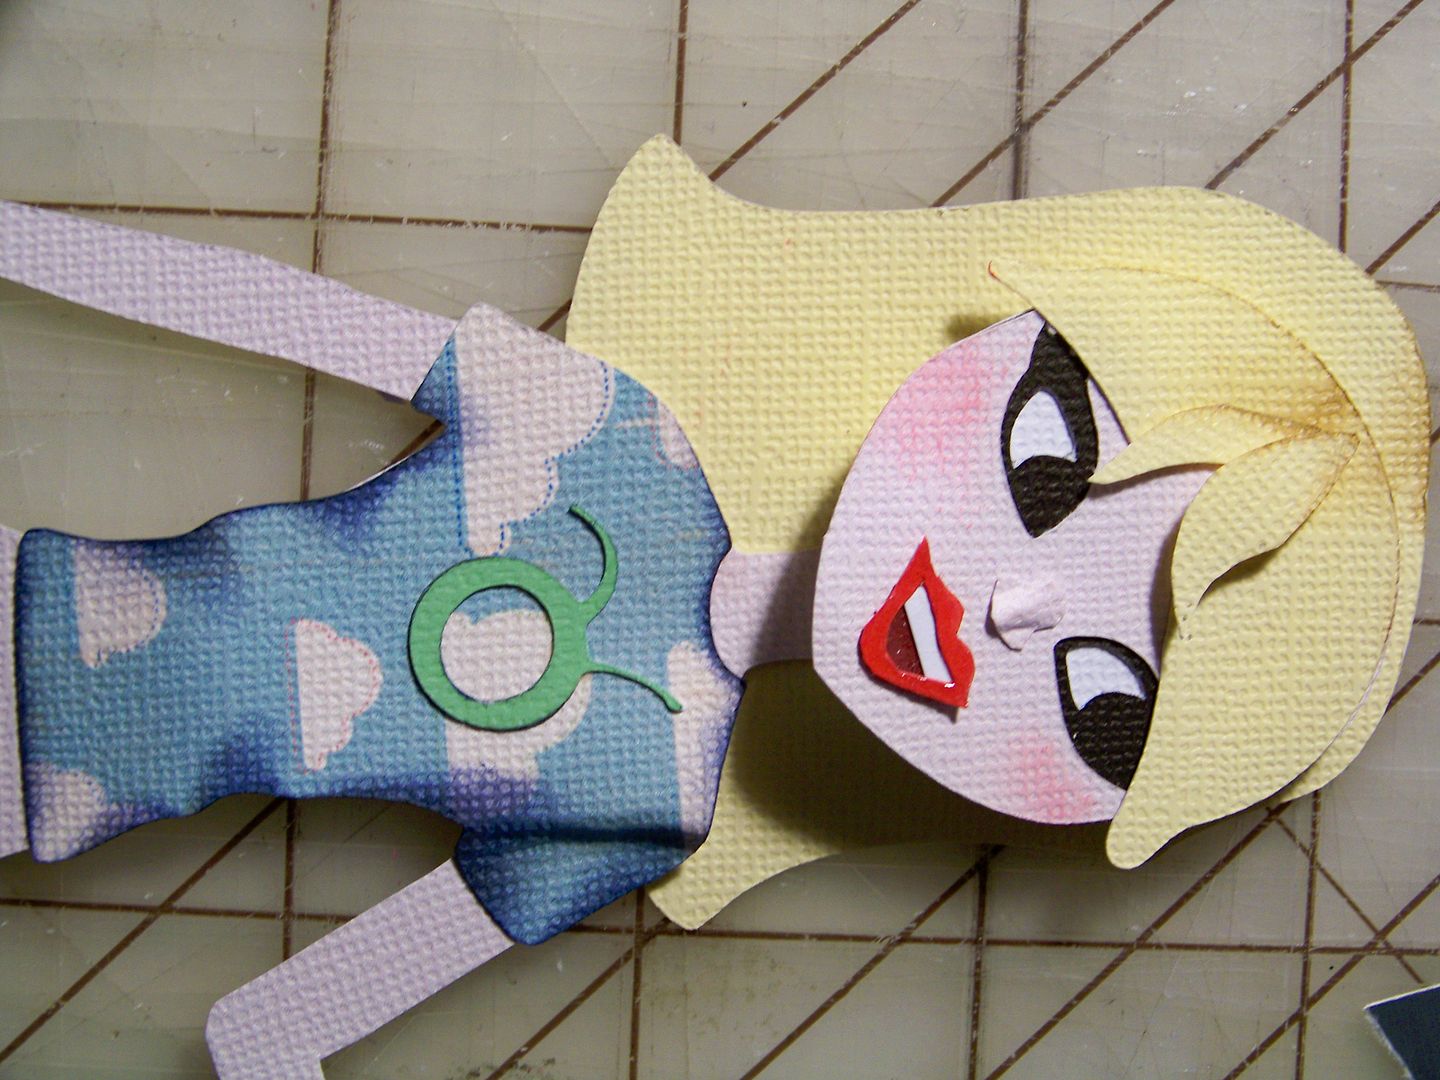
I popped up her chin with a 1/4" pop dot to alter the position of her face a bit.
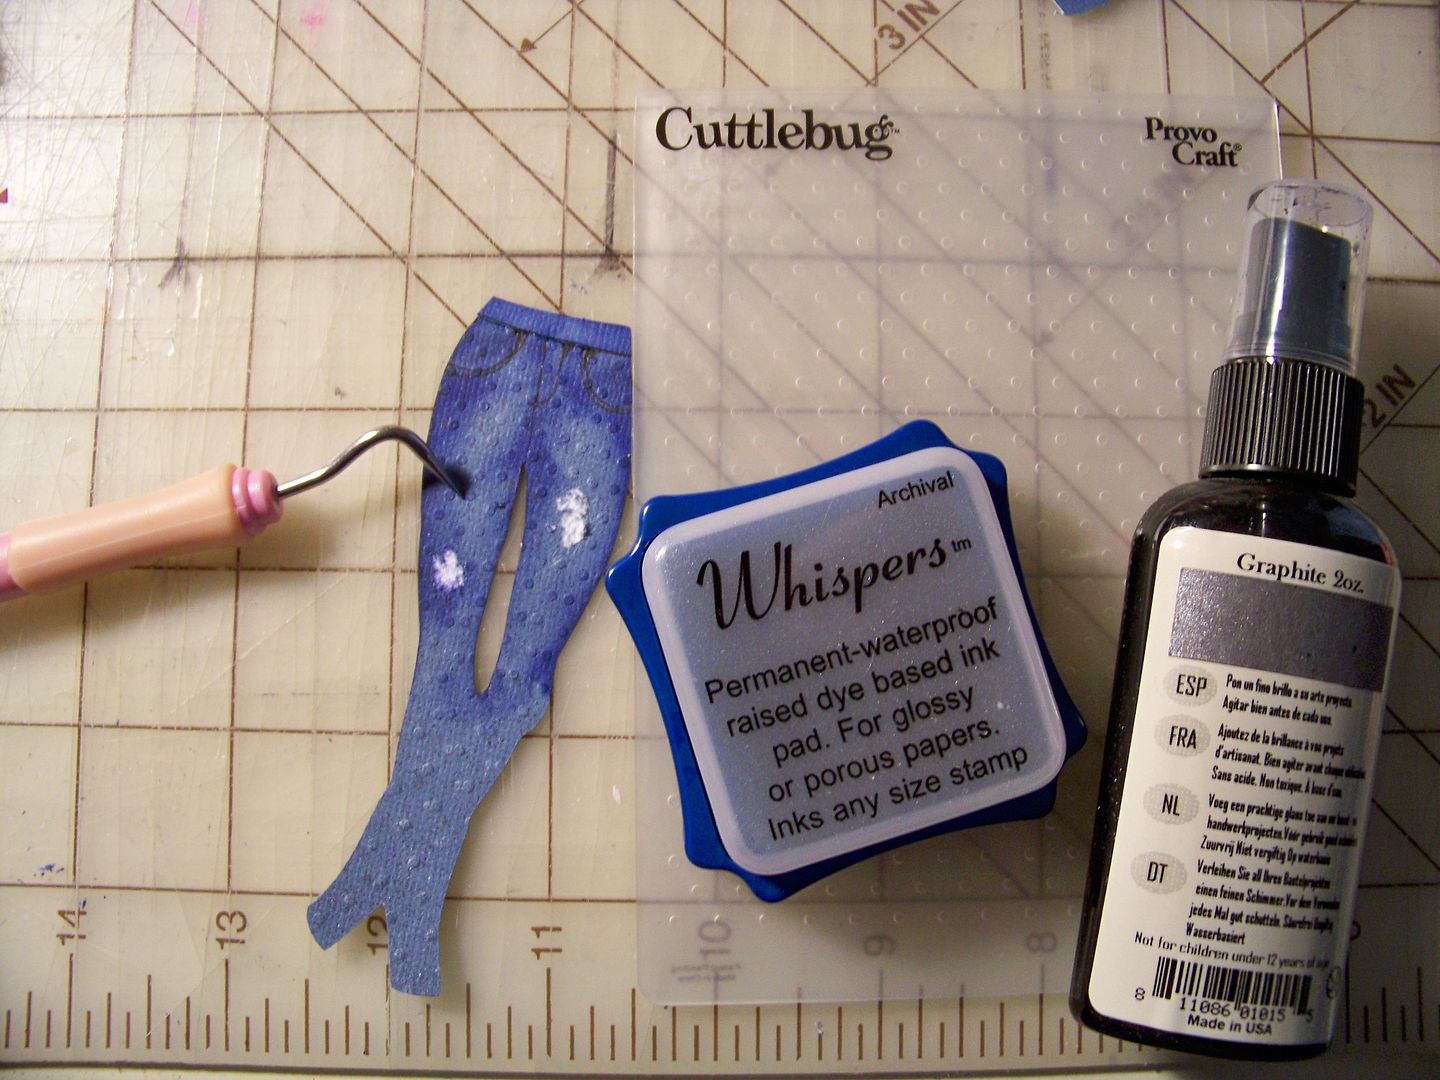
I created distressed jeans: First, I drew in the pockets and fly. Next, I embossed the die cut with the Cuttlebug Swiss dot folder. Then I embossed it again, moving the folder a bit to double up the amount of polka dots on the shape. The process made the first set flatten so I ran it through again with a smooth folder to flatten the second pass. It left me with a surface that was flat but still showed the pattern. I used Glimmer Mist in Graphite and blue ink to build up the surface color on the paper. Then i used the Cricut dental pick tool to scratch off the top layers of paper to mimic worn/frayed areas on the jeans.
For the third and final character, I went back to a 'Molly' cut --this time in a ponytail, flipped so that she turned the other way, and cut on the Expression (again using flesh paper printed on the Imagine using RGB 250, 229, 210).
I embossed her hair and added a couple of extra hand-cut curls.

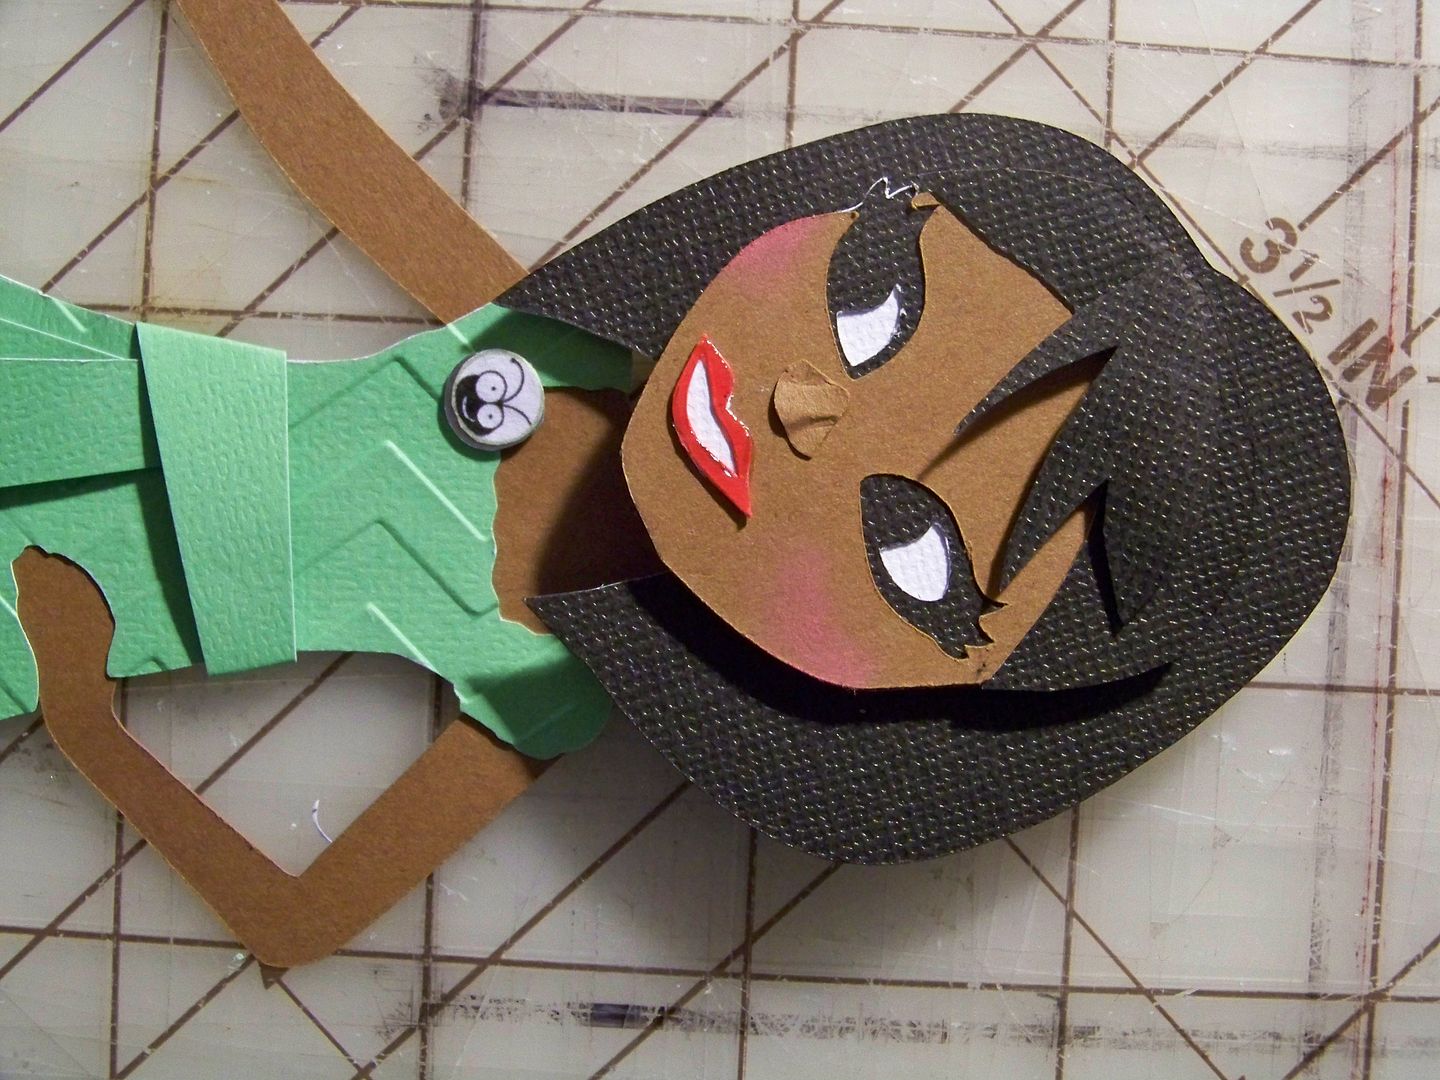
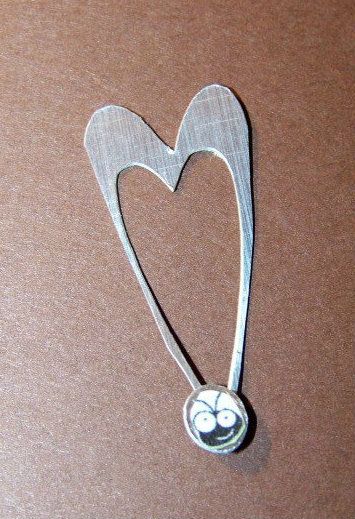
I cut her arms away from the body by scooping out where her hands would have been on the flesh layer and covering up the holes with her dress, which I hand-cut from the die cut I used as a pattern. Her dress is from page 48 and was cut from a 4-1/2" square of printed paper from All Wrapped Up. Her necklace is made from a heart outline than I trimmed down from Art Philosophy (page 37), cut at 1-1/4". I slipped it over her neck and folded it down in back, adhering to the wrong side of the figure on the back and placing a pop dot under the pendant on the front.
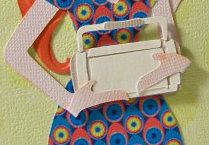
I recycled Chloe's hands on this figure so that she could hold her Cricut machine! The Baby Bug was cut from Cricut Everyday at 1". I cut off the recycled hands just above the wrists and attached them to the bottom of the machine so that it would appear that she is holding it.
Her hair embellishment is three layers of flower petals cut from Mother's Day Bouquet at 1/2". I added a little beauty mark on her cheek.
The background mat is from Imagine More Cards, scaled to a 9-1/2" square. (I must confess that the actual paper is more of a pale green but I was never able to capture that with my camera!) I created pennants from Birthday Bash (page 39), flood-filled with patterns from Blossom, cut at 1.9" on the Imagine. I manually cut them off the base and rearranged them on the mat.
I ran the mat through my computer printer to place the text for the front and inside of the card using Microsoft Aqueduct font. I placed and adhered the figures, trimming off the legs even with the bottom edge.
 |
| Card text: We decided to have a Circle Crop to make party decorations to welcome you... |
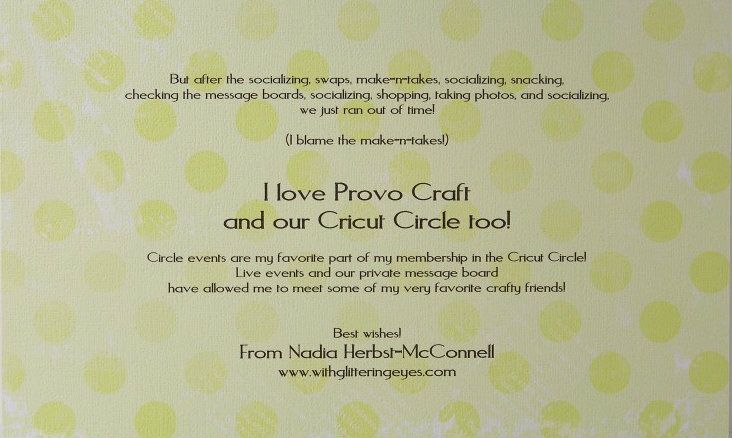 |
Inside: But after the socializing, swaps, make-n-takes, socializing, snacking, checking the message boards, socializing, shopping, taking photos, and socializing, we just ran out of time! (I blame the make-n-takes!) I love Provo Craft and our Cricut Circle too! Circle events are my favorite part of my membership in the Cricut Circle! Live events and our private message board have allowed me to meet some of my very favorite crafty friends!
|

The base of the card was black cardstock folded down to 6" x 9-1/2" to be certain that it would fit (even with dimensional elements) in an 8-1/2" x 11" envelope, one of the contest rules.
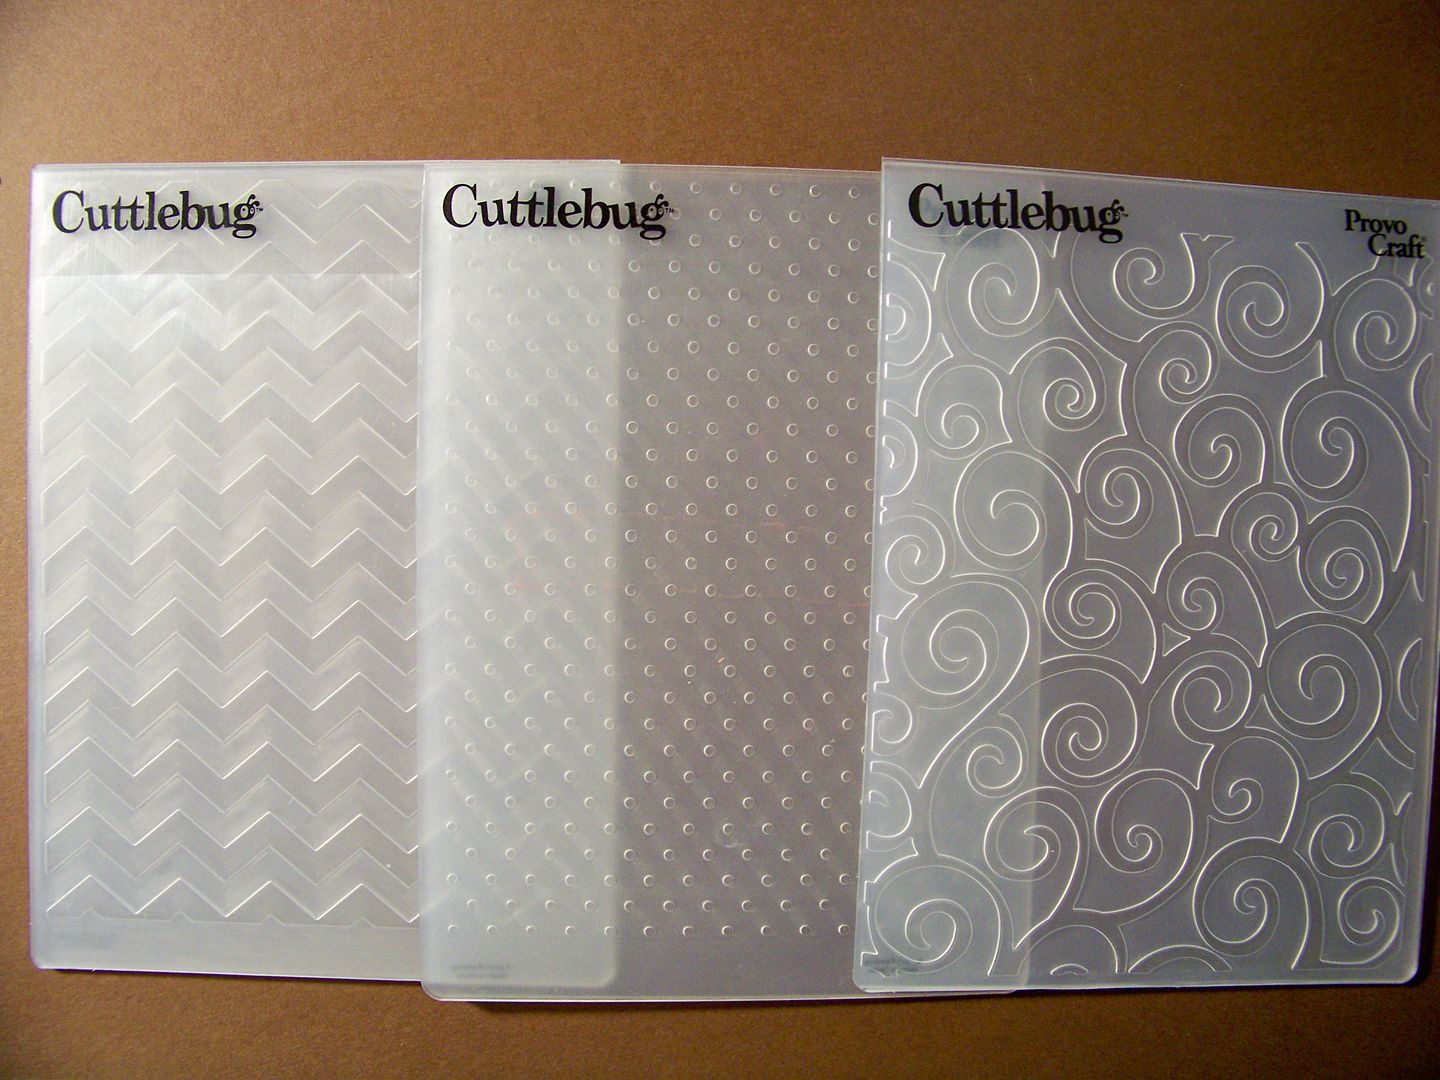
The terms of the contest state that we had to use at least five Cricut cuts and three Cuttlebug embossing folders. These are the cartridges used for the cuts:
- Paper Dolls Teen Scene (three friends)
- Cricut Everyday (Circle logo and Baby Bug machine)
- Nifty Fifties (glasses)
- Art Philosophy (necklace base)
- Birthday Bash (pennants)
- Mother's Day Bouquet (hair embellishment)
These are the Imagine carts used for printed papers (all other papers used were solids from my stash as well as the flesh I printed on the Imagine from an RGB code listed above):
- Hopscotch (t-shirt 'fabric')
- Imagine More Cards (background mats)
- All Wrapped Up (dress 'fabric' on left)
- Blossom (paper for pennants)
These are the embossing folders used for the green dress on figure 1, the jeans on figure 2, and the hair on figure 3:
Thank you for checking out my post today! This was a fun challenge and I have loved the inventive and beautiful cards posted by other crafters! I hope the new CEO is enjoying our well wishes as he finds new ways to make Provo Craft even better!
As always, you can see many of my previous projects by clicking here to visit My Project Gallery.
As always, you can see many of my previous projects by clicking here to visit My Project Gallery.