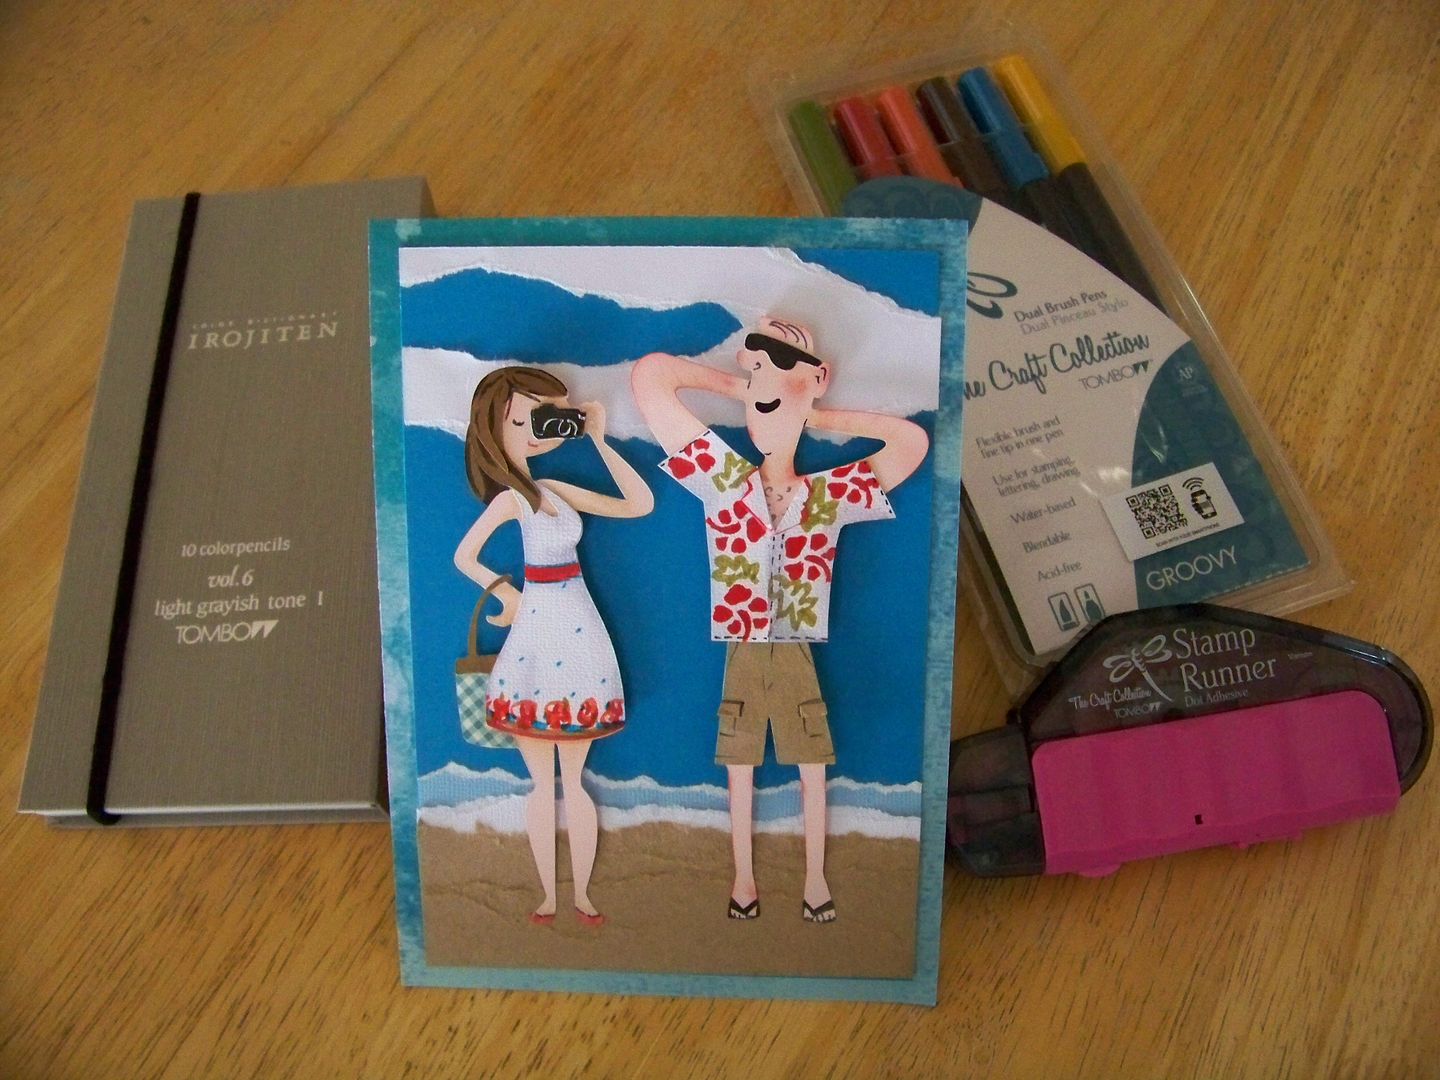
A couple of weeks ago, I was contacted by Tombow and asked to participate in Tombow 100 for Tombow's Centennial Year. The company is celebrating by offering bloggers a chance to make something with a few Tombow products that they provide. After a project is made and posted, Towbow will make a $100 product donation to the Council for Art Education.
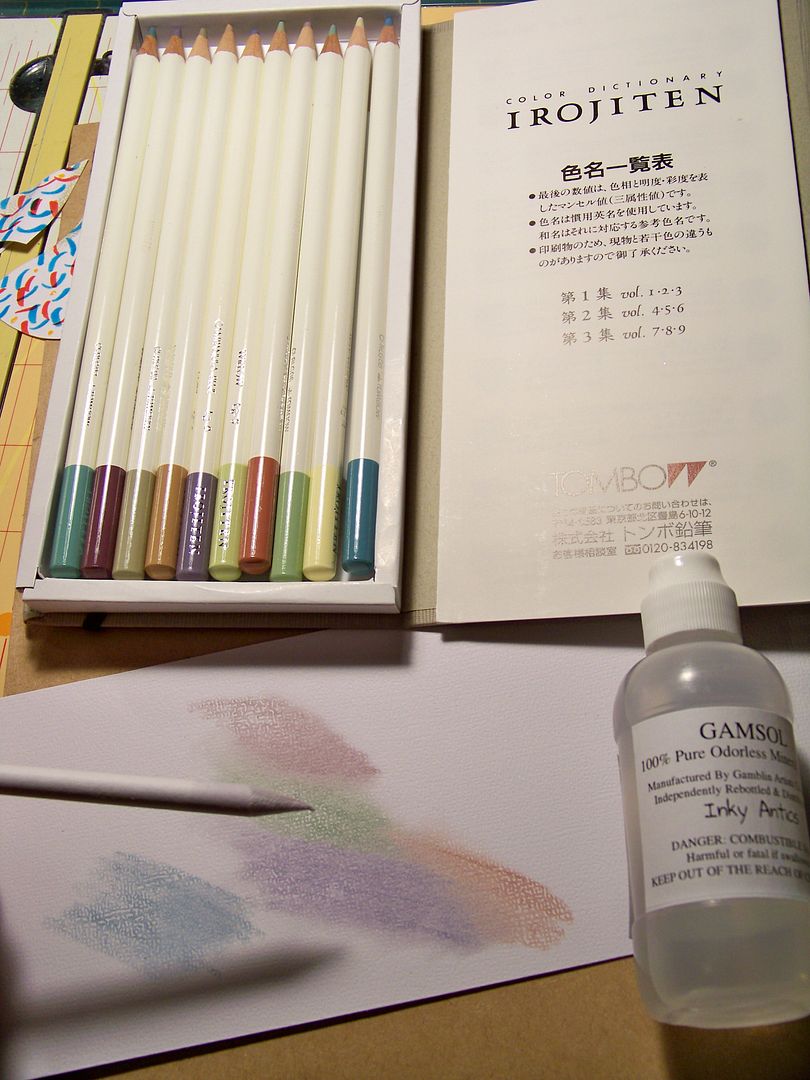
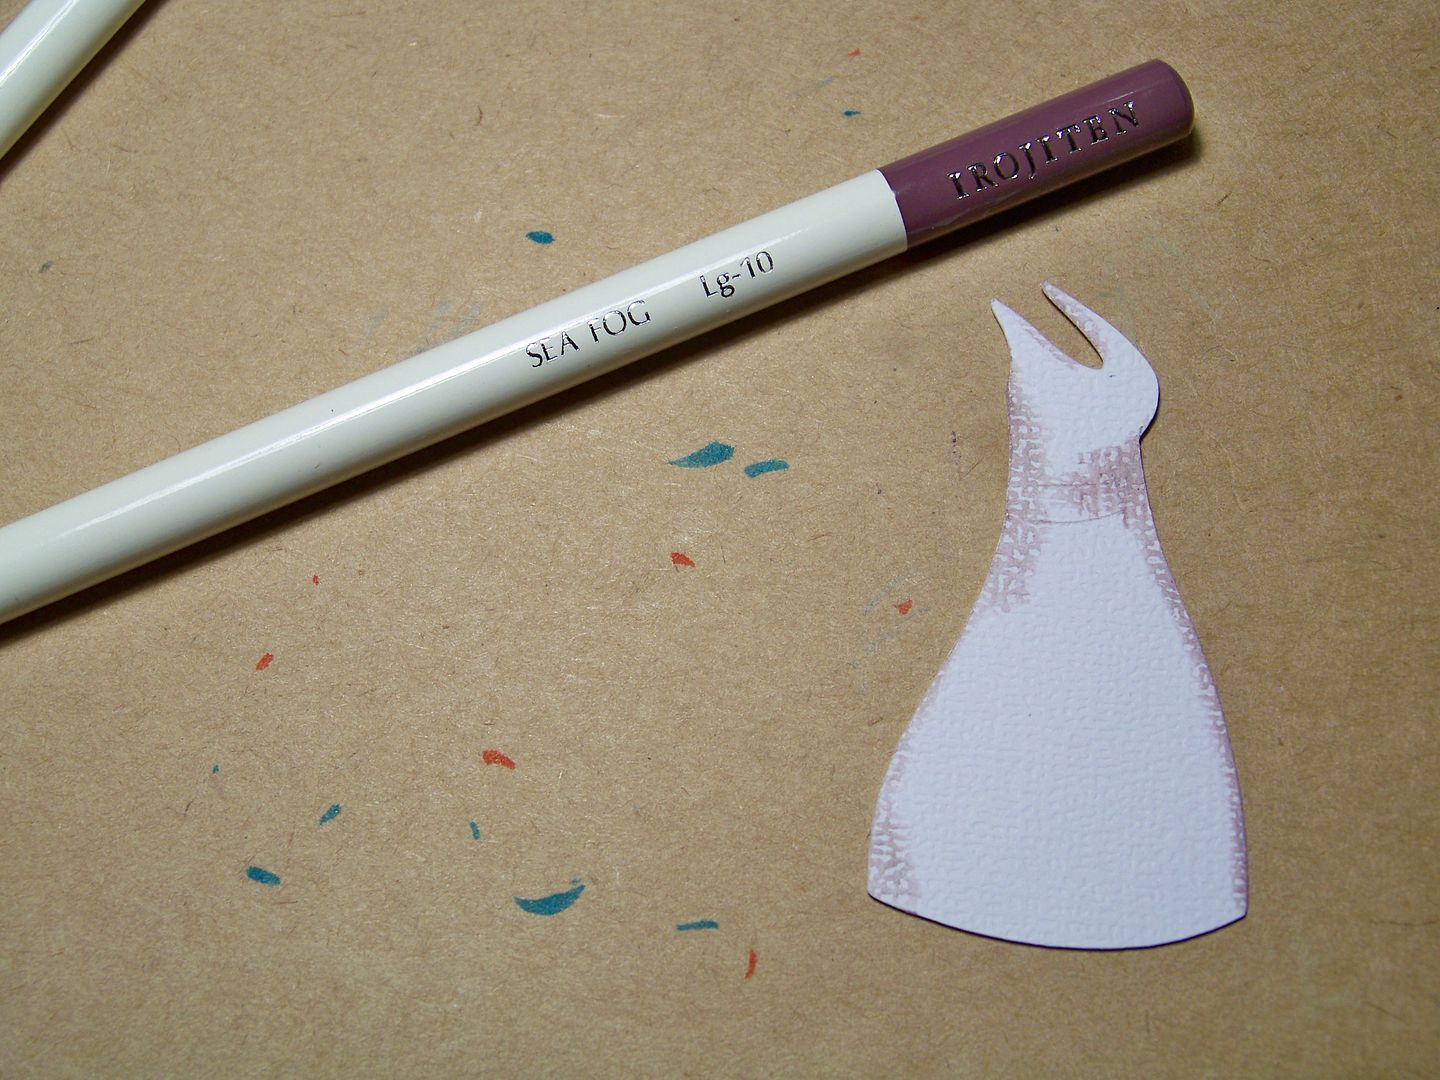
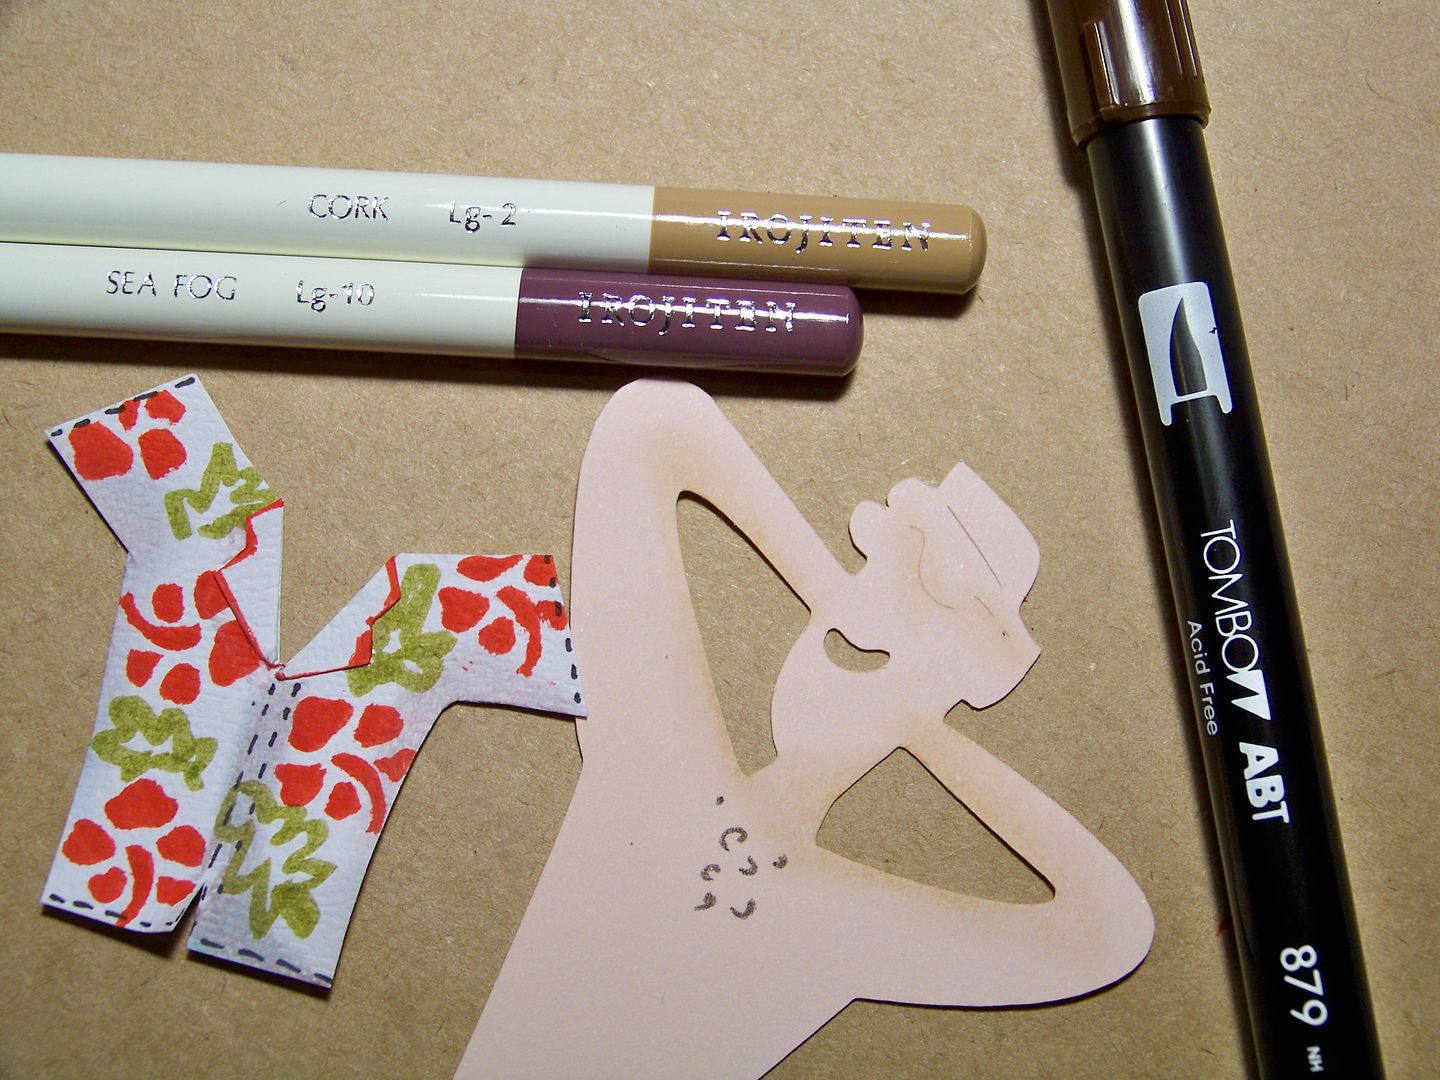
I thought I better give the products a whirl so I checked out the Irojiten Color Dictionary colored pencils to see how they would react with gamsol... Love it! These were beautiful! And in a lovely box. You know I am used to children's sale pencils so this was a real treat! These were "Light Grayish Tone 1" so they were quite pale and muted. And perfect for shadows on die cuts to give dimension!
Next, I tried out the markers, described on the package as 'dual brush pens'. I used something like this years ago and wanted to see how they would react with the pencil marks I had just blended... thinking this might be the perfect way to create a printed "fabric" on die cut characters' clothing! I had remembered that a while back, in the interview I did with artist Jayme McGowan, she had suggested that paper-crafters make their own patterned "fabric" for characters' clothing because sometimes printed papers are too recognizable. (You can see that interview by clicking here.) I thought this was the right project to try that!
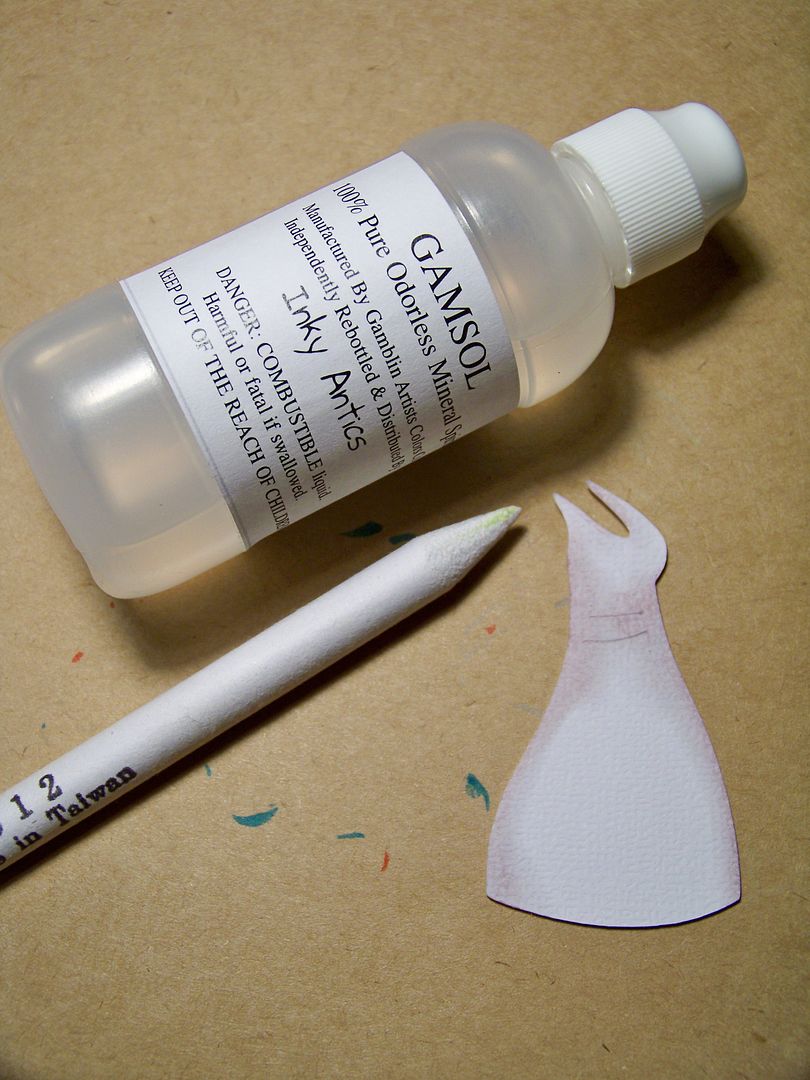
The gamsol and pencil created a slight resist but could be used together with the markers!

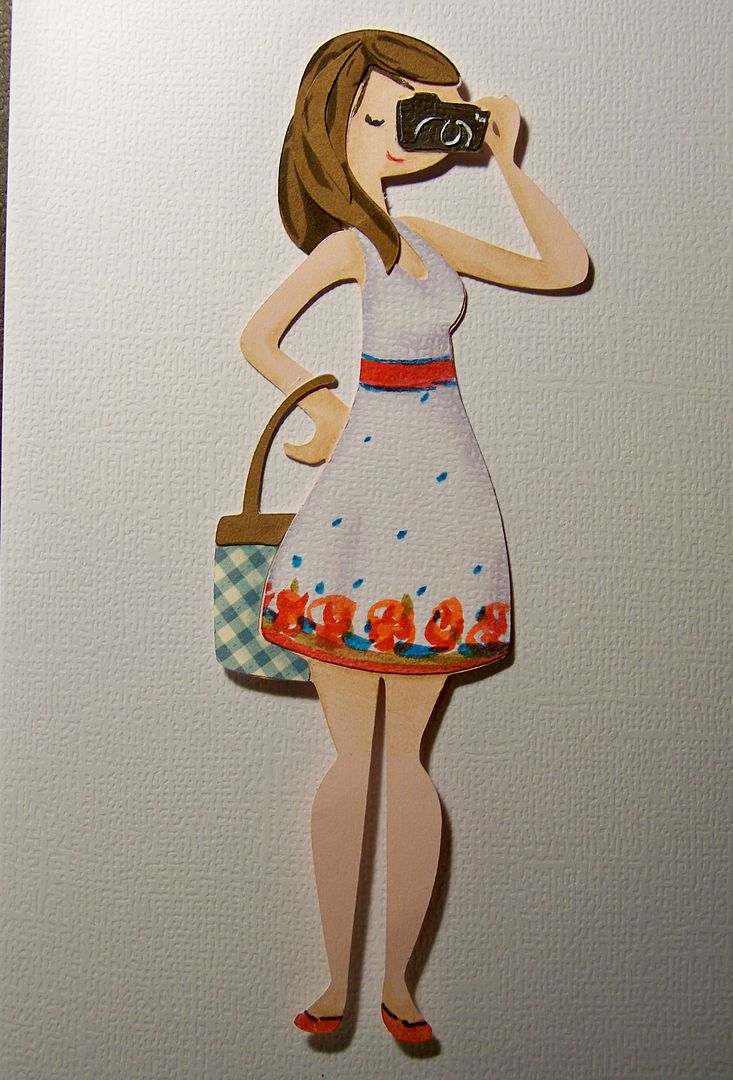
I started my Tombow 100 project by cutting a camera-wielding lady from Cricut's Pack Your Bags (page 39, cut at 5") from flesh-colored paper and her dress from plain white paper.
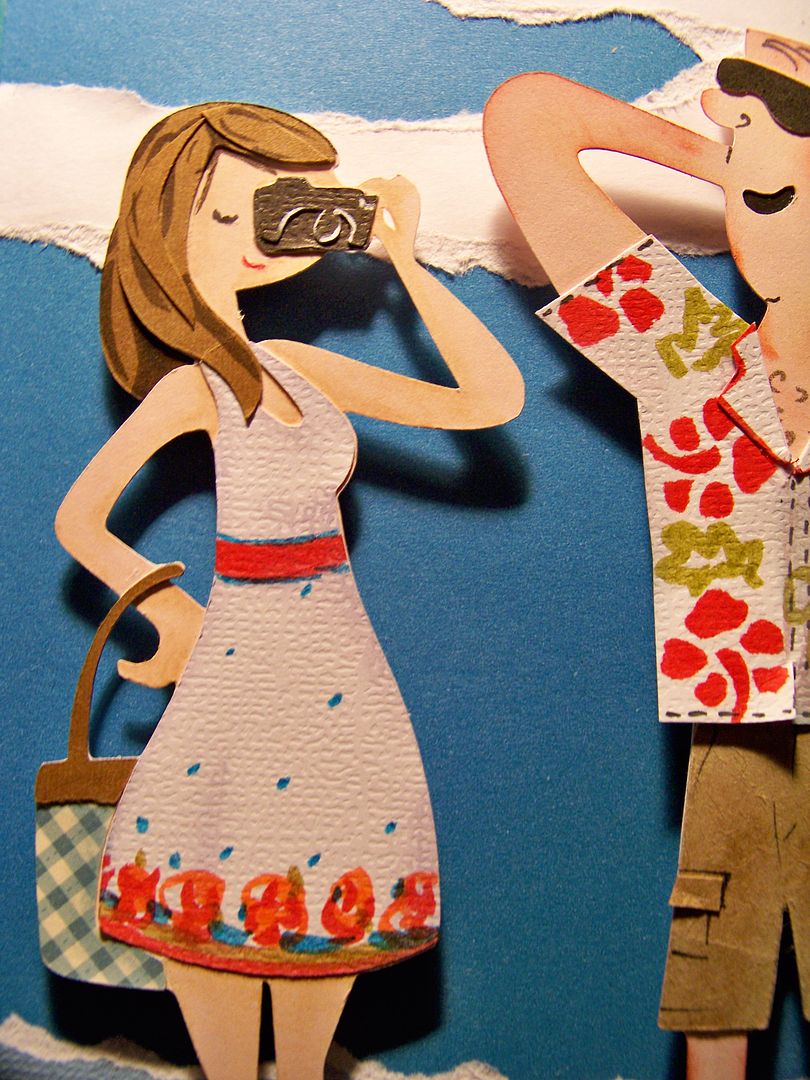
I started by shading the white dress with Tombow Irojiten Color Dictionary colorpencils, color 'Sea Fog,' to give the garment some dimension and look like there was a body under it. I used gamsol to blend it in.
I used the Tombow's Dual Brush Pens to create a border print on the dress. I loved the fluidity of these markers! Even on a tiny die cut, they really were fun to use!

As subtle as it is, I can really see the difference that putting down that layer of blended pencil makes, especially compared to the plain die cut!
Next, I worked on the character's skin.

I used color 'cork' for shadows and gamsol to blend again.
For her hair, I made two identical hair cuts, using the second to add layers and a chunk in the back. I used the brown dual brush pen to add darker marks for a little texture in her hair and stray strands.
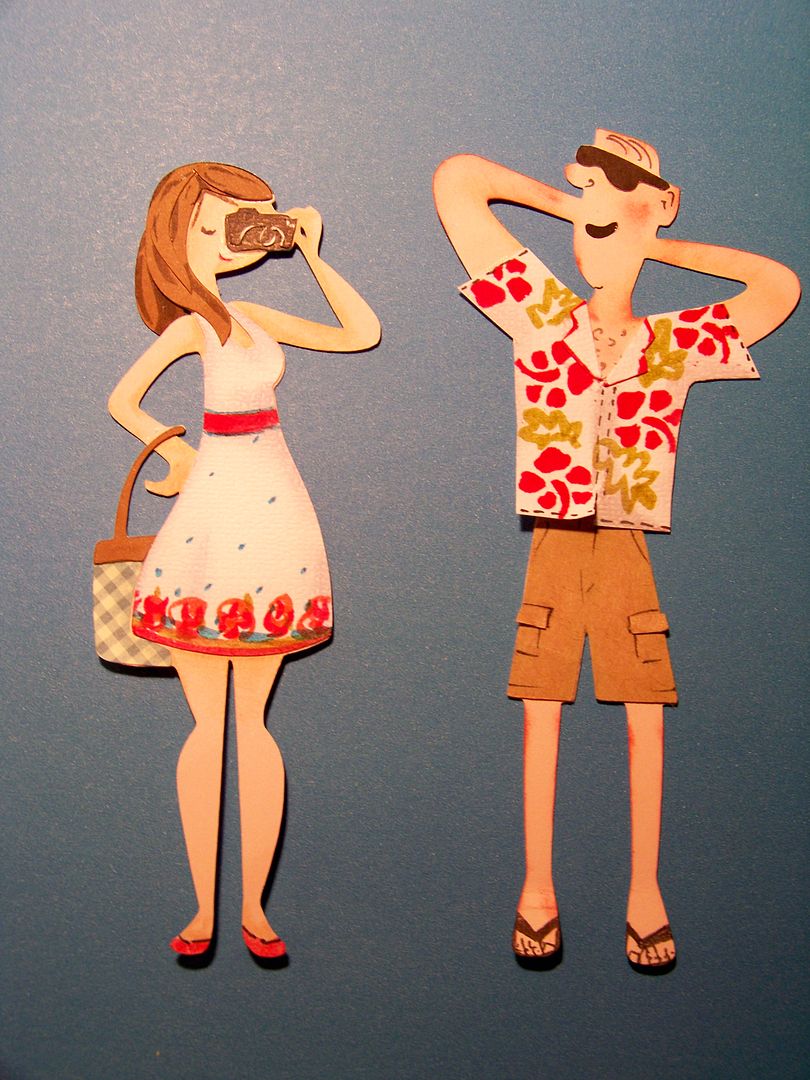
I decided that she would be photographing her paper husband and I liked the sunbather on Cricut's Pack Your Bags for this too. (Page 60, cut at 7-3/4). He is supposed to lying down, but I like him because it looks like he is posing when you stand him up!
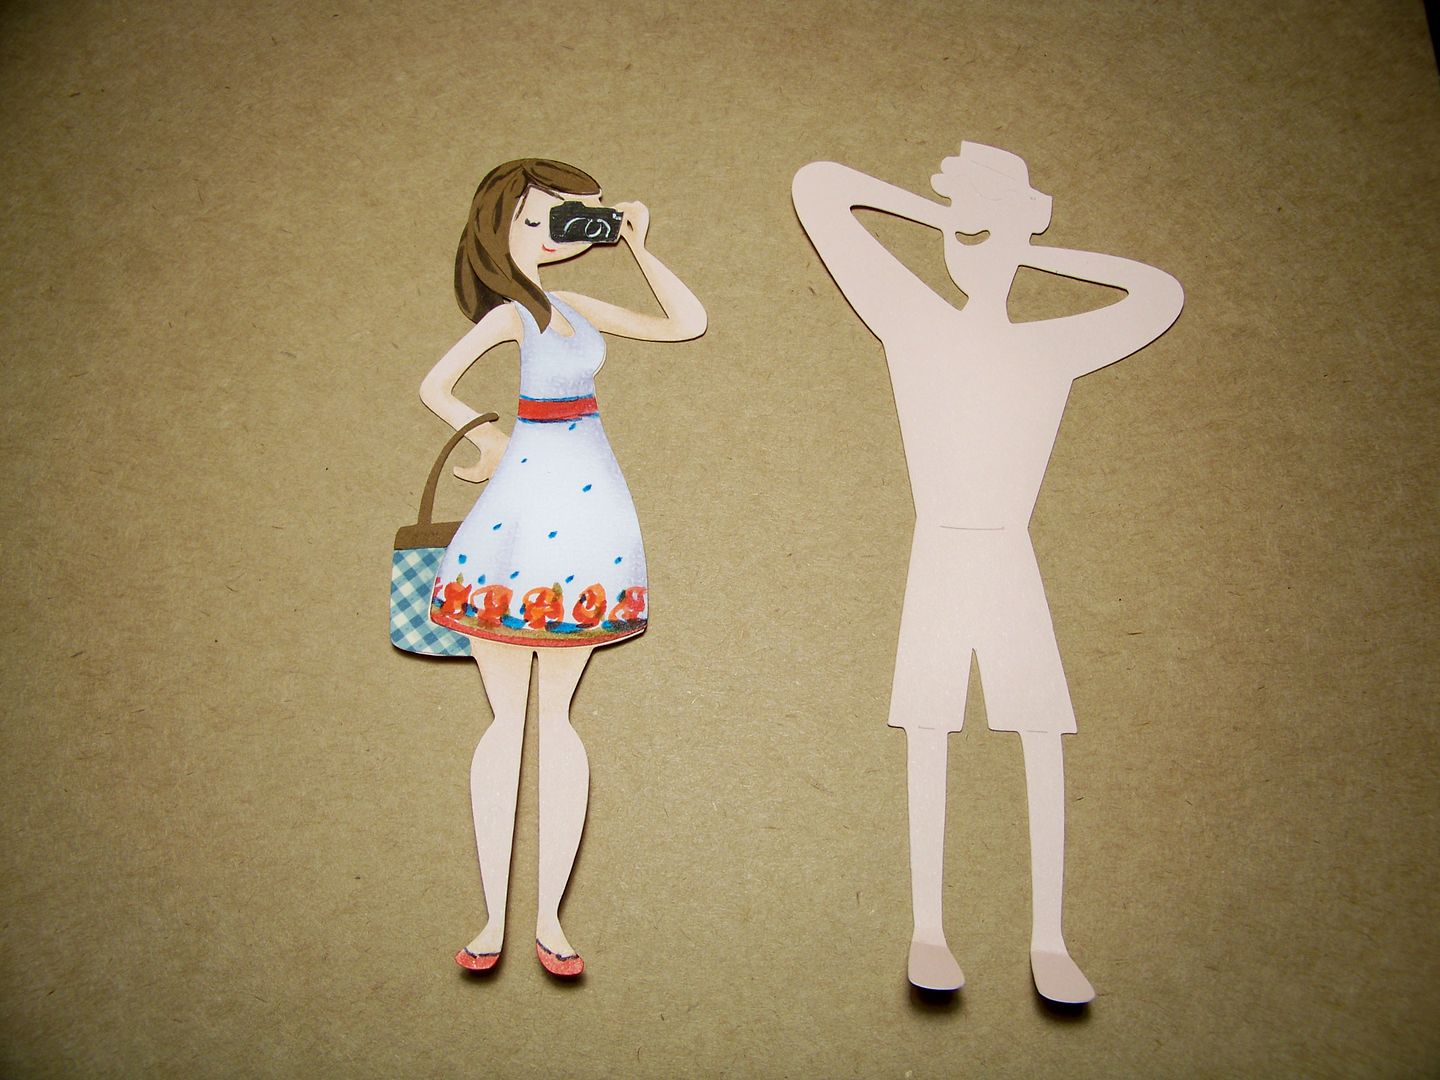
I also added a little red ink, applied with a sponge to give him a touch of a sunburn. No worries, it doesn't bother him. He still thinks he's a stud!

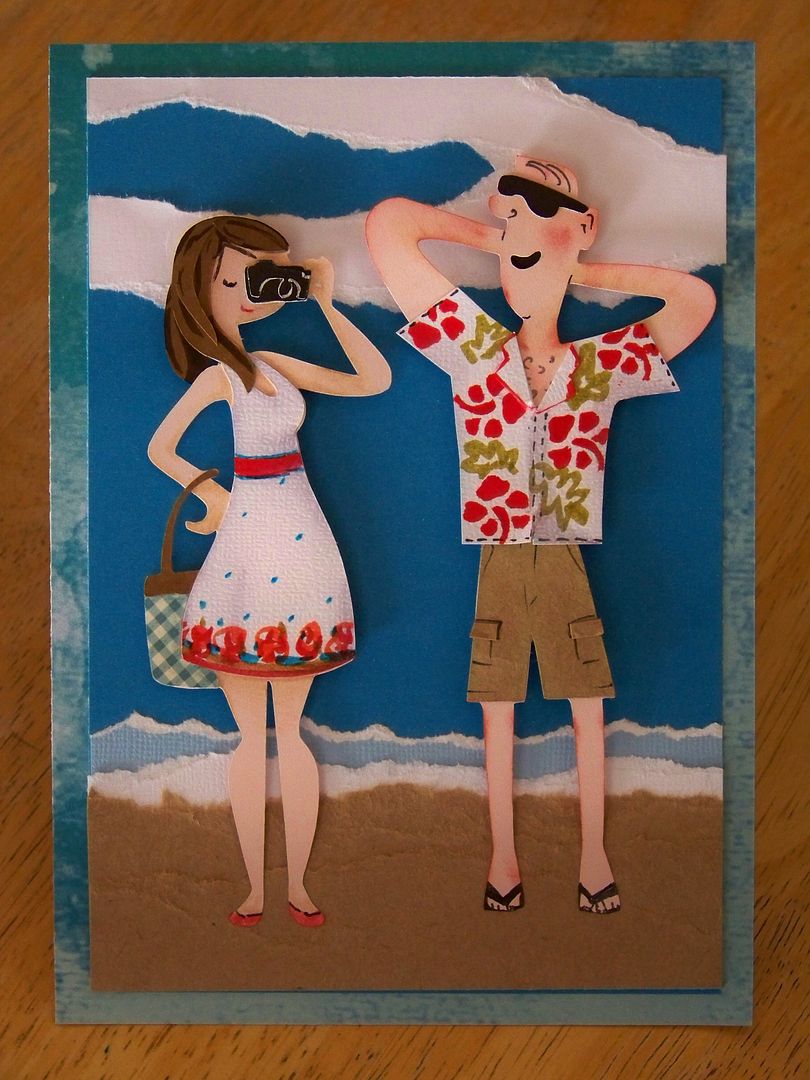
I wanted to make them at a frame-able size, so I cut a base at 5x7. I added ripped layers, adhering with the Tombow Stamp Runner they sent me. I added several layers of kraft paper, colored papers, and white paper to make it look like they were outside at the beach.
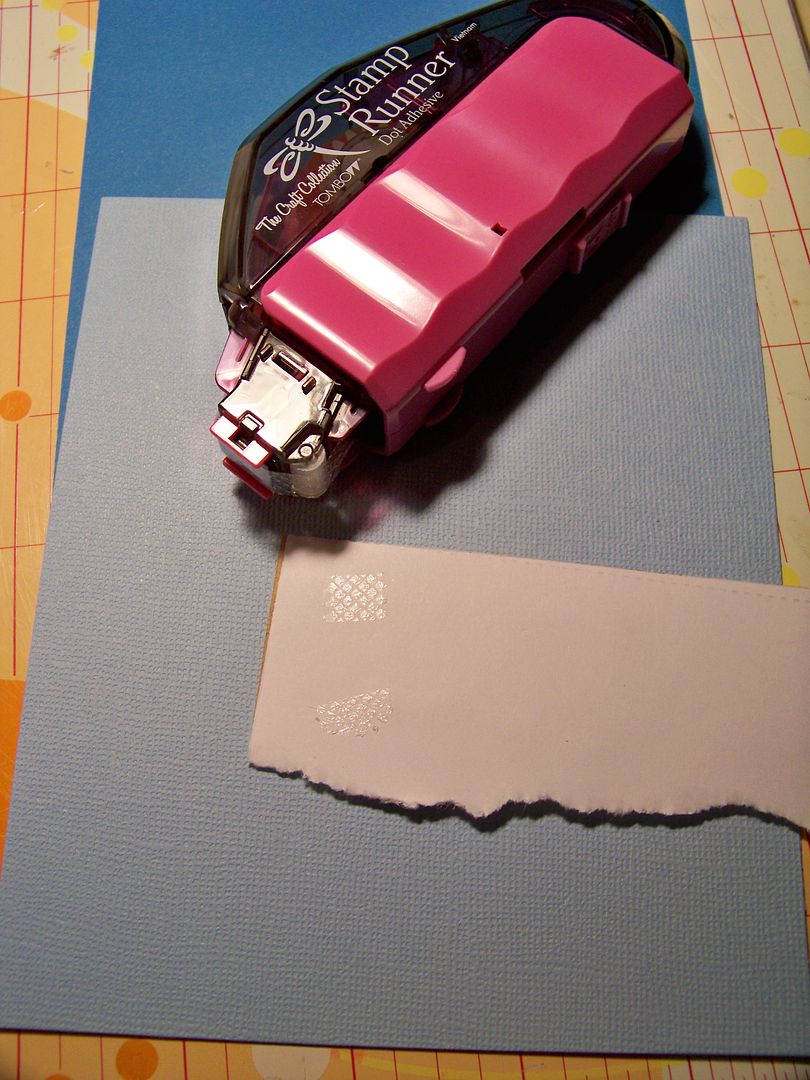
I stamped it on and also tried it as a roller.
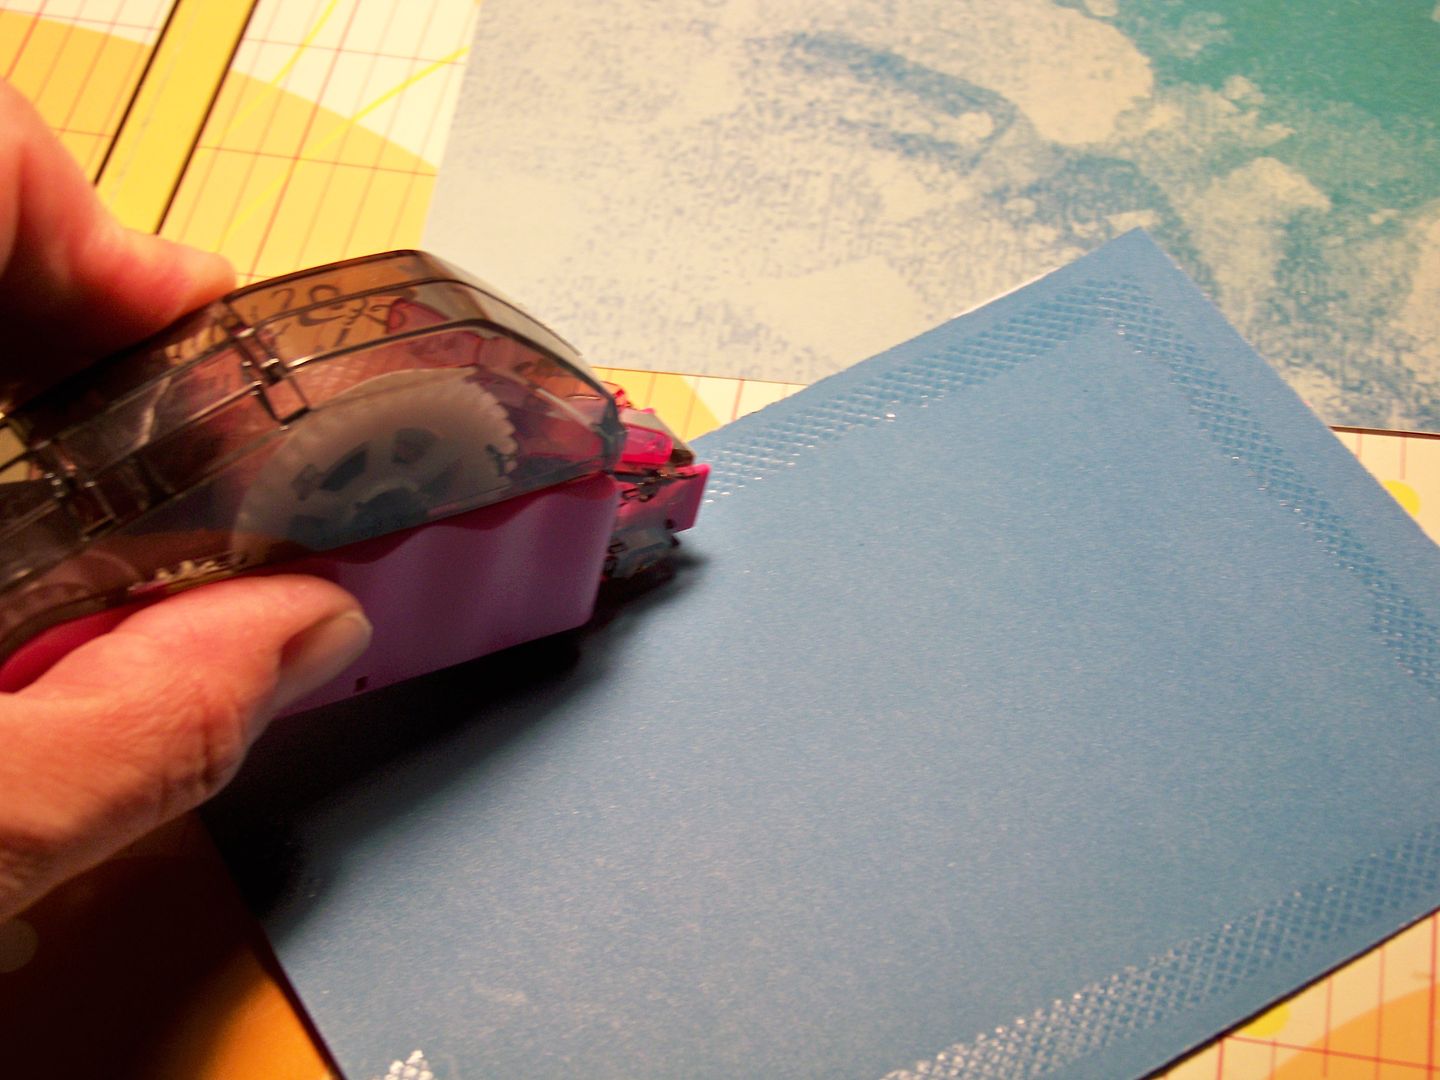
OK- I will admit it. I love my ATG so I had to make myself try this. Can I just admit that I really loved it? The roller application was just fine-- nice and small and would be much less cumbersome for someone like my daughter to use. It was smooth and flawless to use, which is surprising because what drove me to an ATG in the first place is how troublesome some glue runners are. What I really loved though, was the stamp application. It sets on end and you just push down to get a nice, "stamp" of adhesive applied. Perfect, easy, and permanent! When this runs out, I will be refilling it!
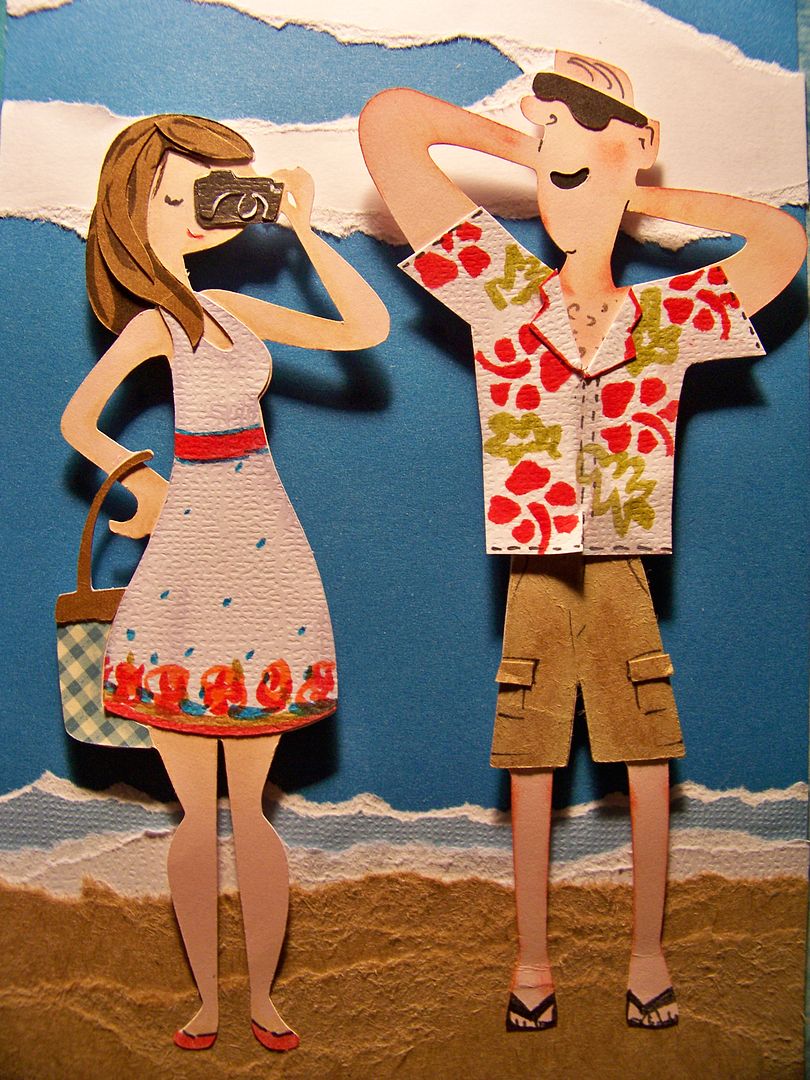
I applied the characters with feet glued flush to the paper, but head and chest lifted with 1/8" dimensional foam dots.
I had so much fun making this project! Thank you to Tombow for sending me a fun box of stuff to get my creative juices flowing! It has been a while since I have made paper characters so it was a nice little mental vacation! I like that the products allowed me to make die cuts unique! The quality of the products was fantastic-- they were a dream to use!
Thank you for checking my blog post today! You can also find me on Instagram, on Pinterest, and on Facebook. Many of my previous projects are in my Project Gallery.
Lastly, in one of the emails I received from the folks at Tombow, they attached a press release with this info for anyone else who may be interested in taking part in Tombow 100:
"Bloggers who are interested in participating in the "100 Days of Tombow" movement should contact Barbara Pritchett, public relations coordinator, who will facilitate the provision of the "100 Days of Tombow" Starter Kit, containing Dual Brush Pens, Irojiten Color Pencils and the Stamp Runner Adhesive. Every submission for the "100 Days of Tombow" blogging program will result in a $100.00 product donation to the Council for Arts Education." And this contact info was provided: Barbara Pritchett, EOS Marketing & Communications for American Tombow. barbara@eosmarketing.com, 404-949-3778 (office).
Happy Crafting!