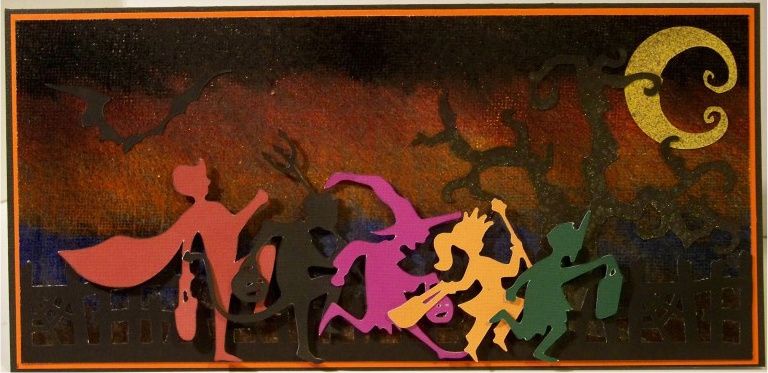
This cold, early October already has me thinking of Halloween. I bought the Autumn Celebrations cartridge just for the Halloween images so I decided to use that cartridge for my Weekly Challenge card on the Circle Blog.
I started with hand-coloring a piece of white, textured cardstock with pastels.
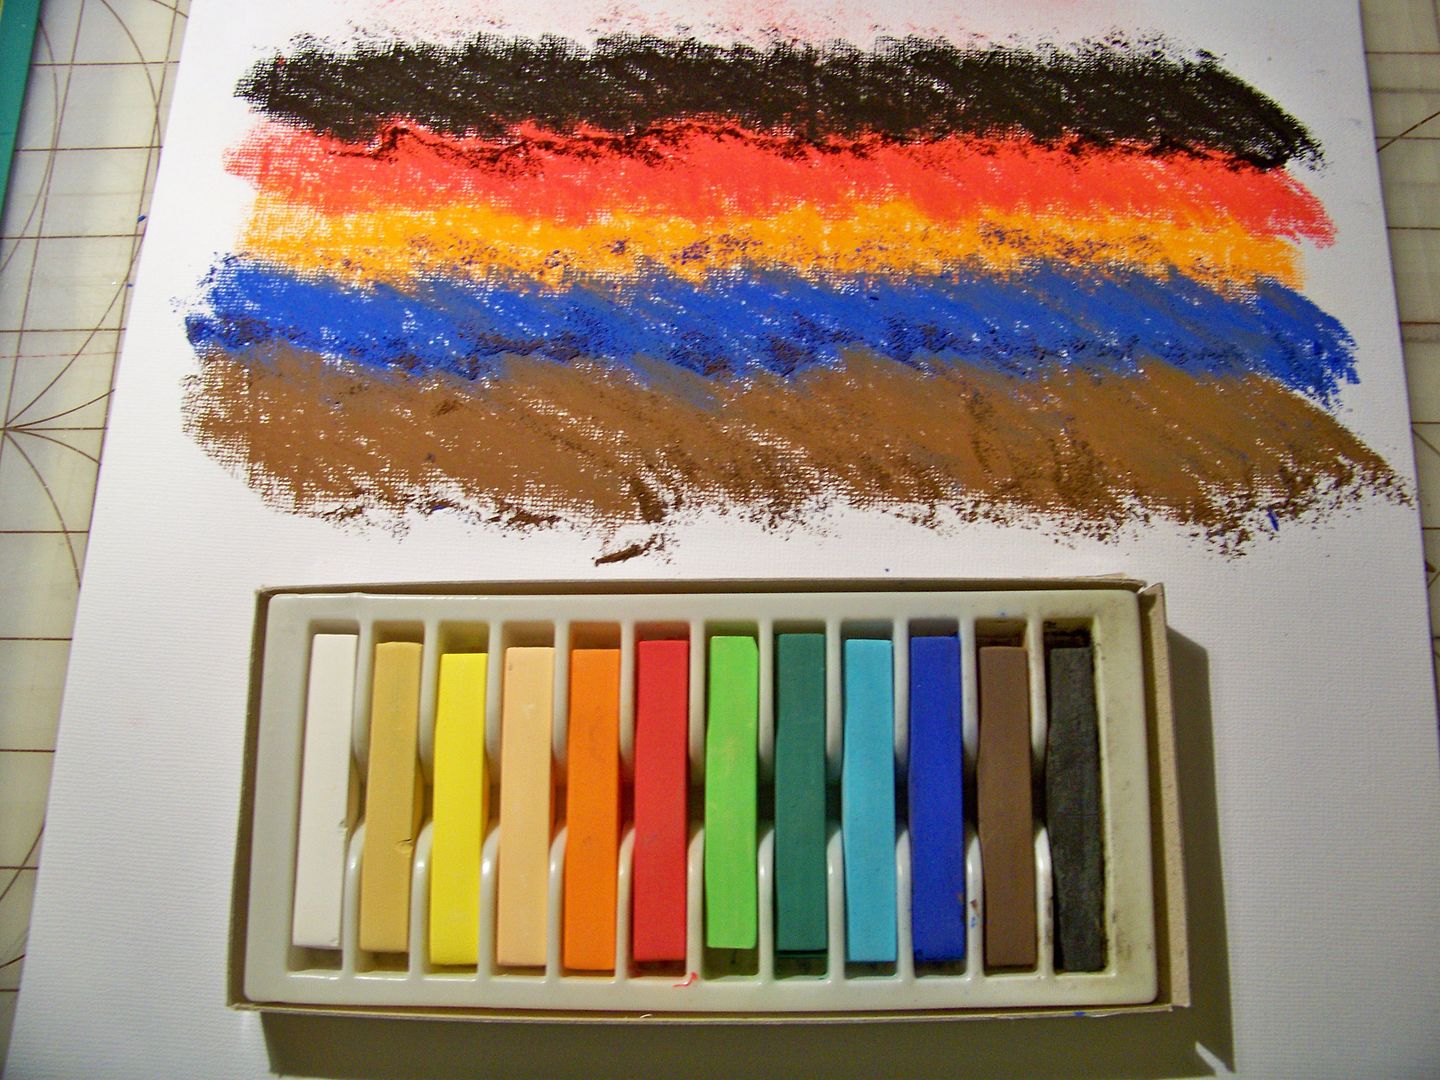
I knocked off the pastel dust and then blended them with my fingers to make a spooky night sky. I sealed the pastels on the paper with Krylon Crystal Glaze.
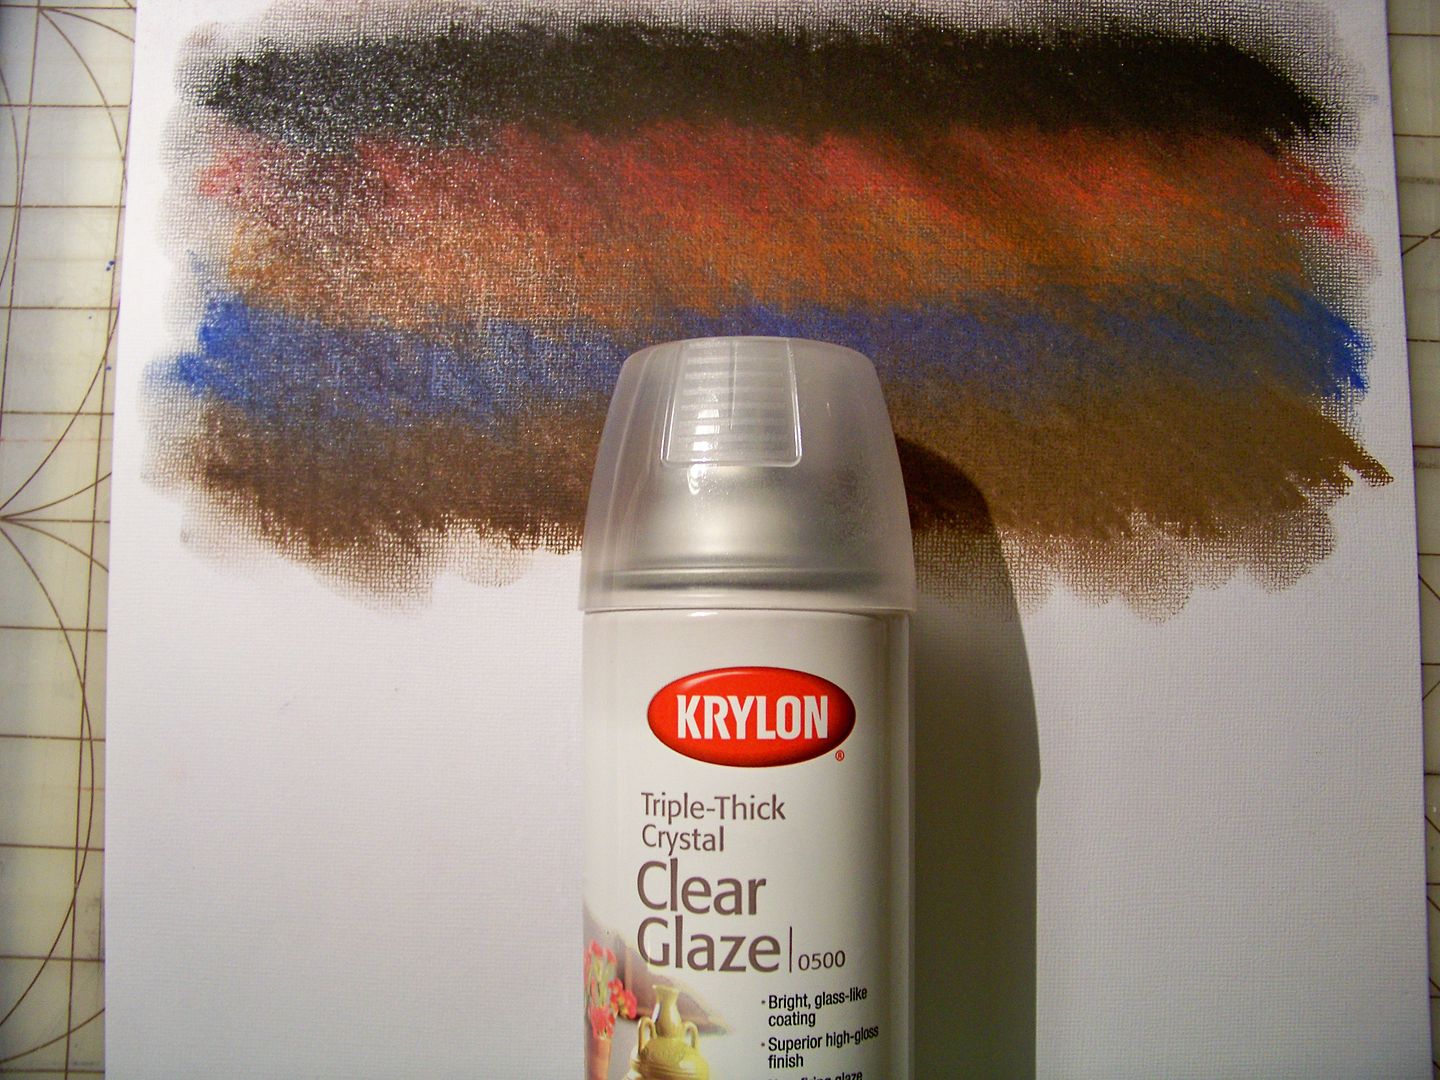
I trimmed the paper down to 4-1/4" x 9". Then I took it back outside and sprayed the sealant once again. I really liked this product becasuse the paper never buckled and it really worked nicely to prevent color transfer!
The fence was cut using a Martha Stewart punch.

The following were cut on the Expression:
- The tree was cut from Chic and Scary at 4" and was sprayed with Glimmer Mists in Graphite and Tattered Leather.
- The moon was cut from October 31st at 1-1/2" and sprayed with Glimmer Mist in Graphite.
- The bat was cut from October 31st at 1".
I cut the card from black card stock at 9" x 9-1/4" so that it would fold down to 4-1/2" x 9-1/4". I attached the layered orange mat to the card with additional ATG tape.
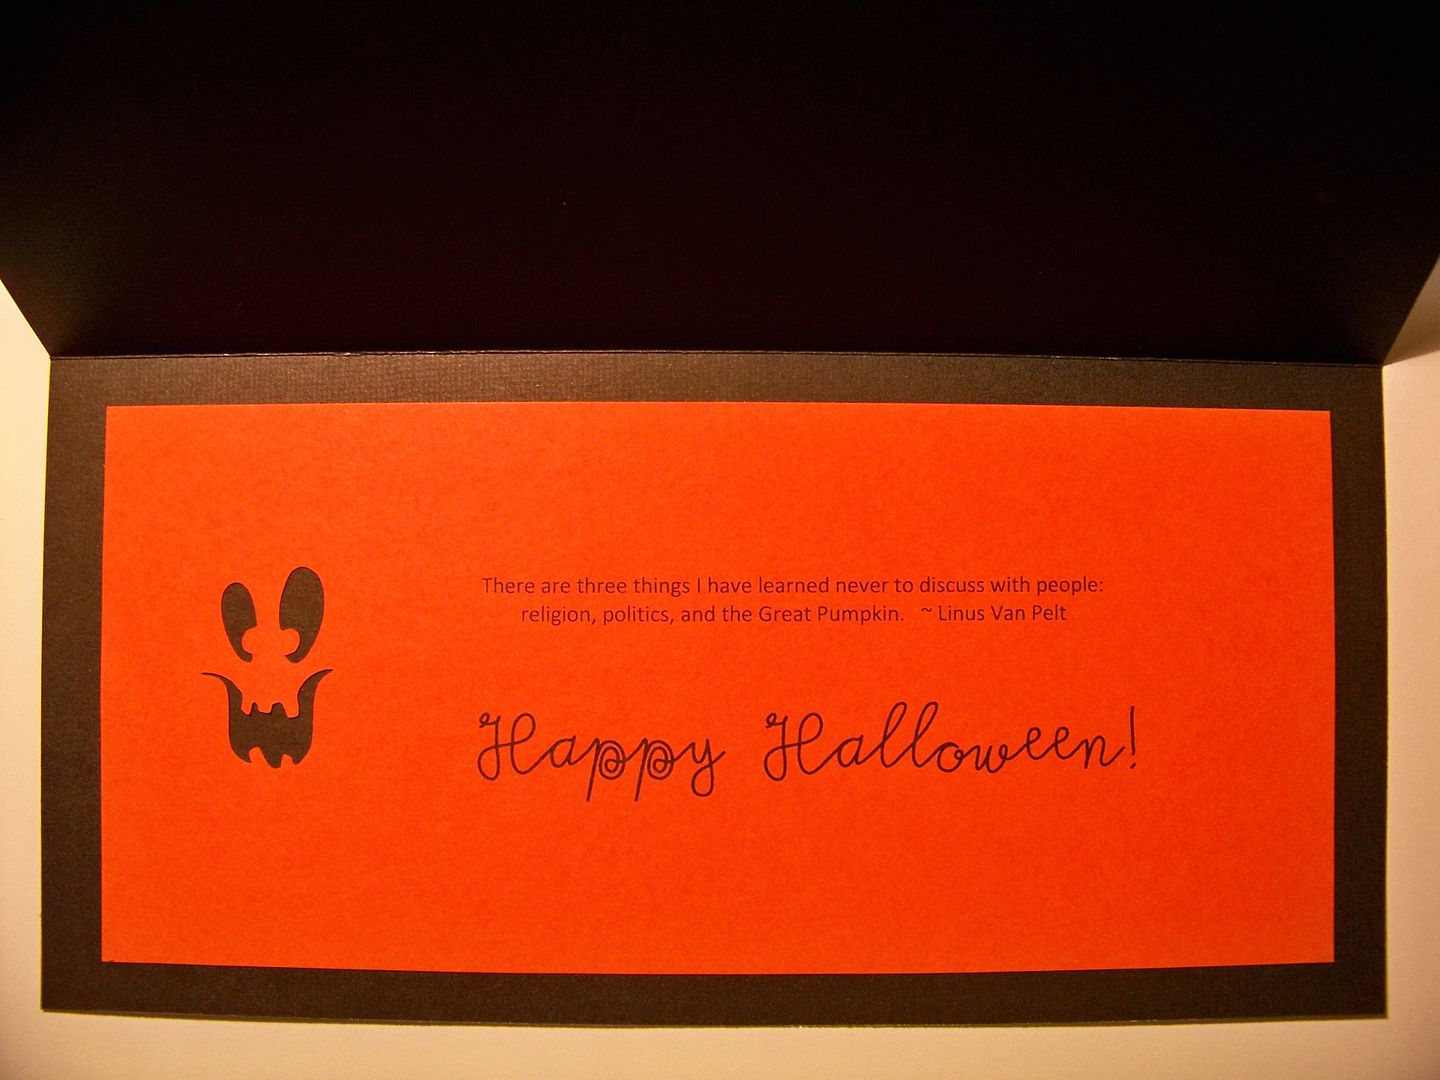
The inside of the card was created by first placing a 3-3/4" x 8-1/2" piece of orange card stock in the Expression. I selected Centerpoint and moved the blade to the center of where I wanted a jack-o-lantern face. I cut the image from Pumpkin Carvings at 1-1/2" and stopped the machine just before it cut the square around the face.

I created my text on my computer:
- The quote was printed using Microsoft Calibri at 11 point.
- "Happy Halloween" was created from a new font I found at fontspace.com called Milkmoustacio at 60 point. I am LOVING the fonts on Font Space! (Thank you, Okie, for the heads up on that!!!) Click here to see my favorite fonts. You can set up your own free account and download any of their fabulous fonts -- and save your favorites too!
Thank you for looking at my card. You can see all of my projects, including my other cards, by checking out My Project Gallery by clicking the tab at the top of my blog or by clicking here.