
I made this simple bag in class.
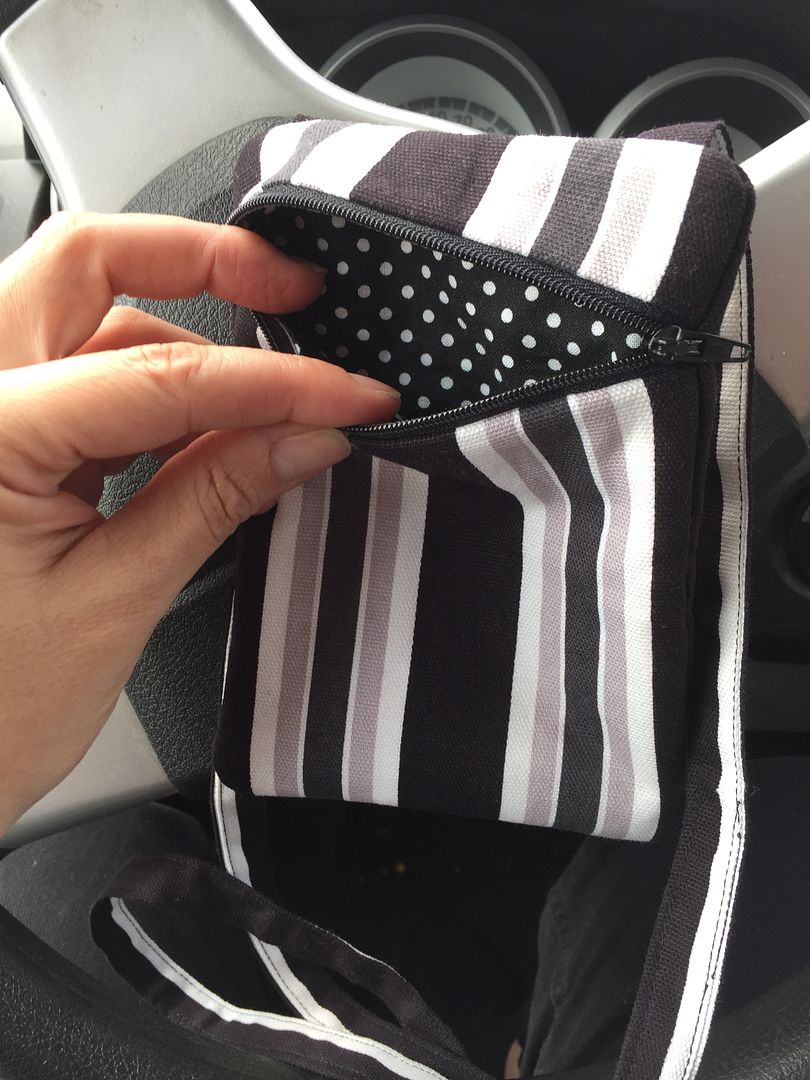
This is available to purchase on her website: click here. It is super easy to match stripes because of the way it is cut at the very beginning!
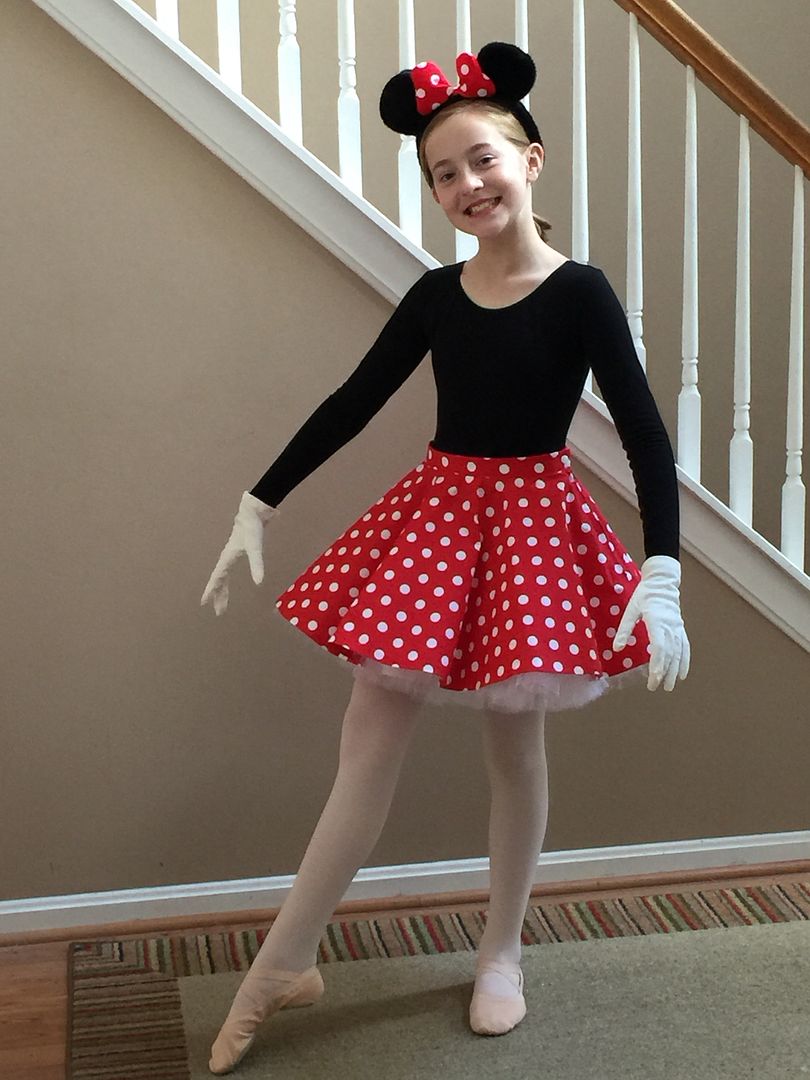
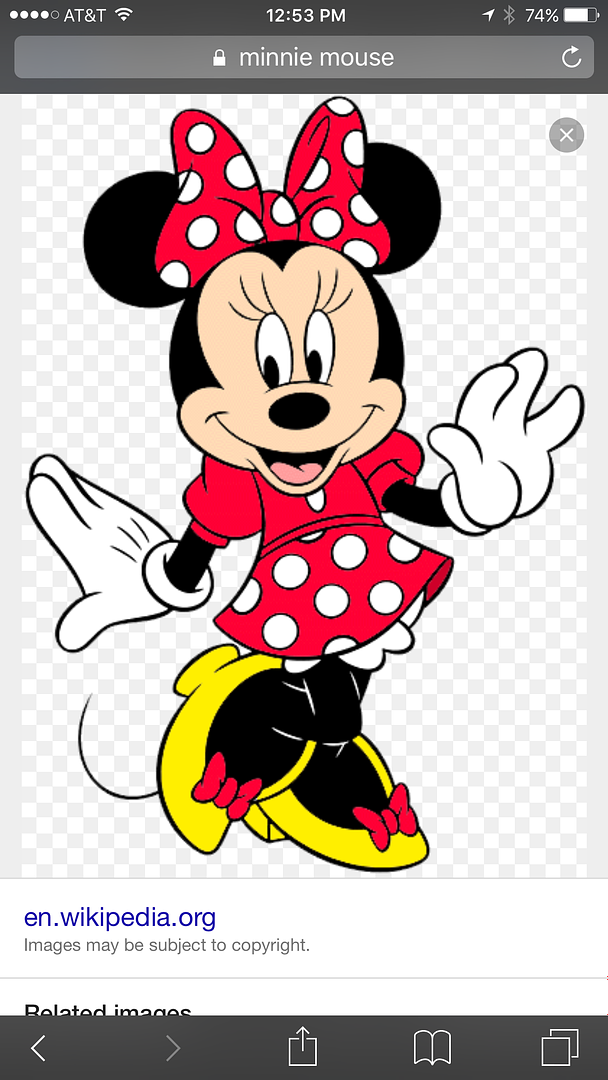
Last weekend, I shifted into high gear and decided to get my daughter ready for Halloween. She typically has one costume for trick-or-treating and a second costume for ballet class. The trick-or-treating costume has to be warm; the ballet costume has to be one she can dance in. Once we were able to use the same costume for both, but usually it just doesn't work that way. Since my kiddo loves dressing up, Halloween, and putting together characters, she has fun with this and prefers two different ones. This year, her ballet Halloween costume is Minnie Mouse.
Because all the photos of Minnie showed the edge of her bloomers...
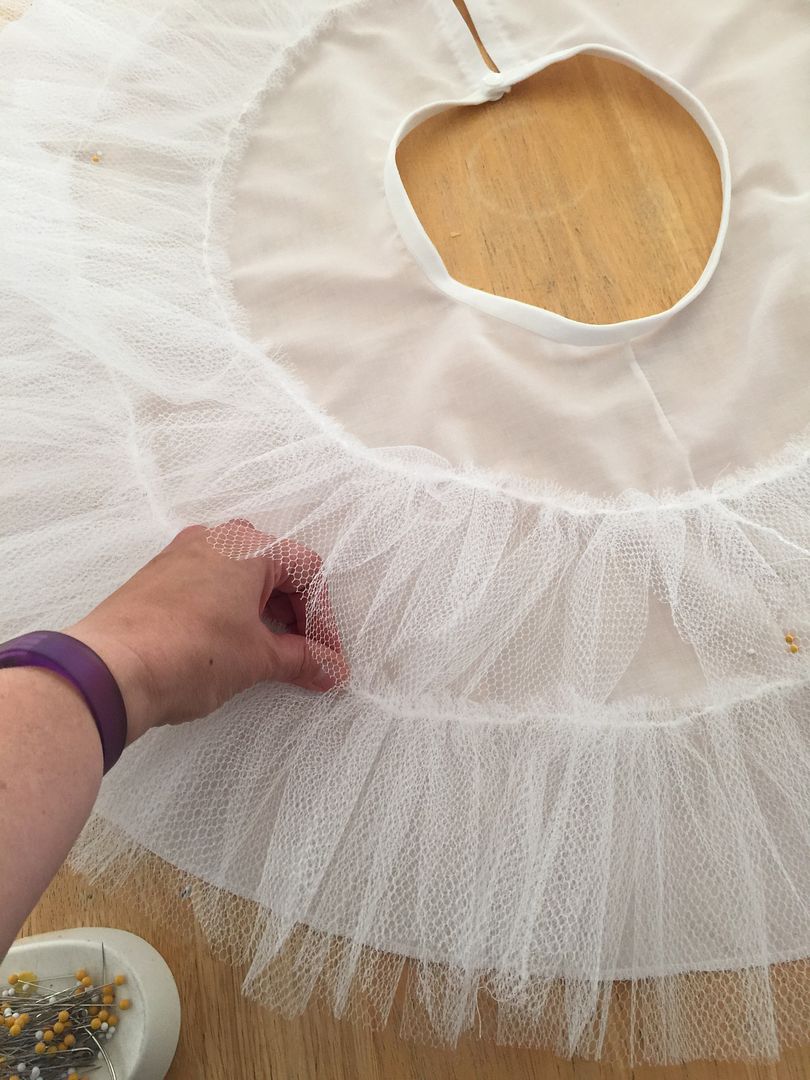
...I thought making a crinoline would duplicate the look but be easier (and more fun!) for dancing. It has been many, many years since I made a crinoline, but I remembered that the key to make this easier was to stitch the ruffle placement lines onto the slip first. This means that no thread tacks or marking is needed! I also zig zag onto a cord (I use perle cotton thread) to make gathering a cinch! Cutting the netting was super easy by folding it into fourths and using my rotary cutter to lop off each section. Instead of grosgrain, I find that fold over elastic is more comfortable to wear. I used my nifty Kam snaps as a closure for the crinoline.
The skirt and crinoline were cut from Simplicity 3836. The skirt is a short, circular skirt with a waistband and zipper. It only has to fit at the waist so this was really fast and easy to make.
She is wearing her required leotard, tights, and shoes. The headband is one we bought at Disney World. The gloves belonged to my grandmother that I had in my stash of stuff.
I gave myself the day to do the costume, but it really only took a couple of hours so I spent the rest of the day making up projects my daughter had requested when I was busier during the summer. She uses her iPad to look at my embroidery files online that I have pinned to Pinterest. (For info on how I have created an online "catalog" of my embroidery files and have organized them by type, theme, and vendor, check out my Organize With Pinterest page, or click here.)

Info about these designs:
- The whale is from Planet Applique: click here.
- The Cheshire Cat is from FrouFrou by Heather Sue. The eyes were stitched with Glow-in-the-Dark Robison-Anton thread, Moonglow color yellow. I bought it from a Facebook group for discounted thread: https://www.facebook.com/groups/DarLynDesignsdiscountembroiderythread/. One thing I learned the hard way: do NOT iron over the glow-in-the-dark thread! Even with a teflon press cloth, it melted!
- The dog (which looked like American Girl dog, Coconut) is from Embroidery Designs Avi on Etsy.
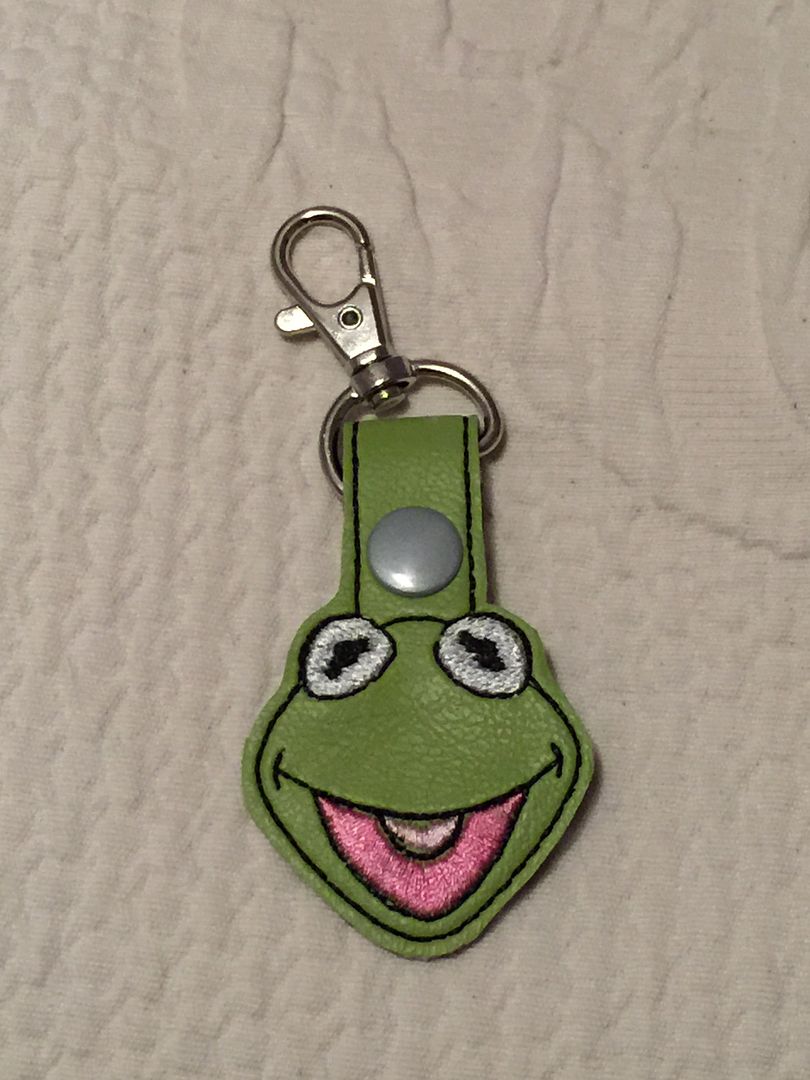
- The Kermit key fob is from Uncle Matt's Crib.
Next, I made a toddler top for my little niece. Her mommy is expecting a new baby next month so I barely got this done in time!!
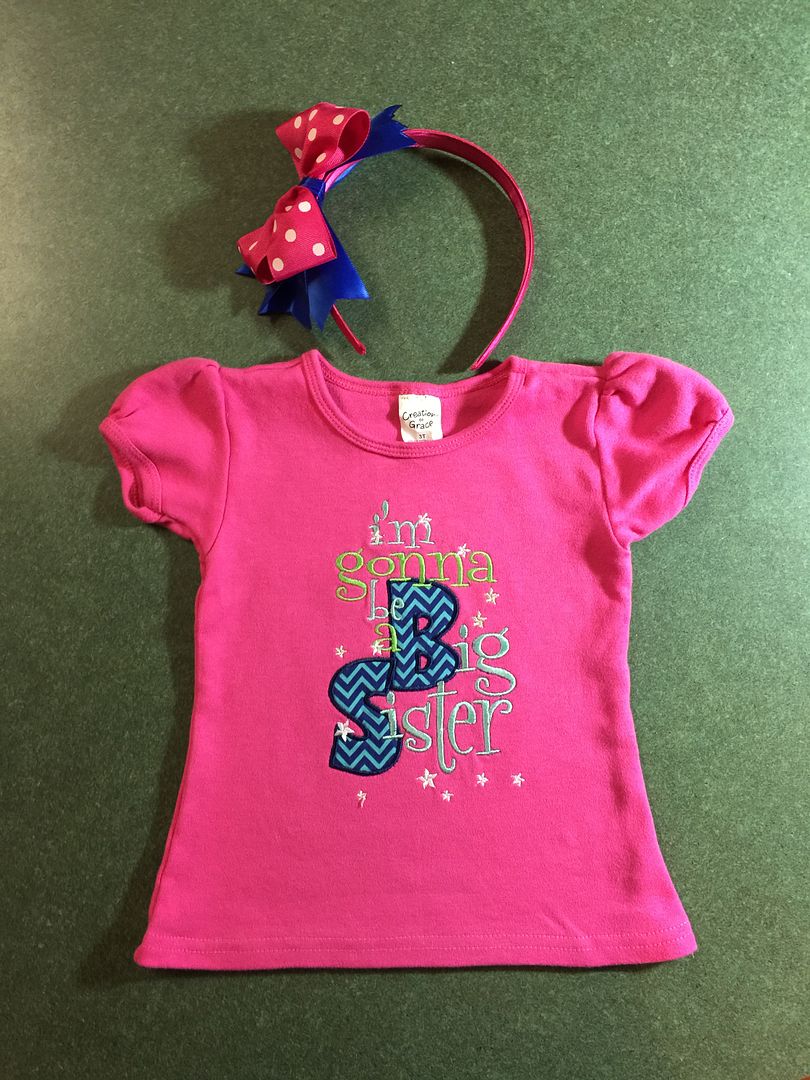
I am not gonna lie: this project put me through changes! I got the opportunity to deal with bird nesting. I got the opportunity to struggle with metallic thread. Then, as if that wasn't enough, I somehow bumped my machine and the final step, stars, stitched in the wrong places, including on top of some of the text. I figured no one would know so I tell on myself just in case you buy this file and wonder why mine looks different! The file is from A Stitch On Time. The thing to know about this company is that some files are instant download, some are emailed to the customer, and some require info because they are customized. I *think* this one was an instant download.
The headband was purchased with the satin covering. I added the bow and spikes I made. The ribbon used is 1-1/2" wide.
Next, I found an inexpensive fleece baby jacket and added a Halloween image to it for my little nephew who just graduated to the 3-6 months size! This is a Garanimals brand jacket.
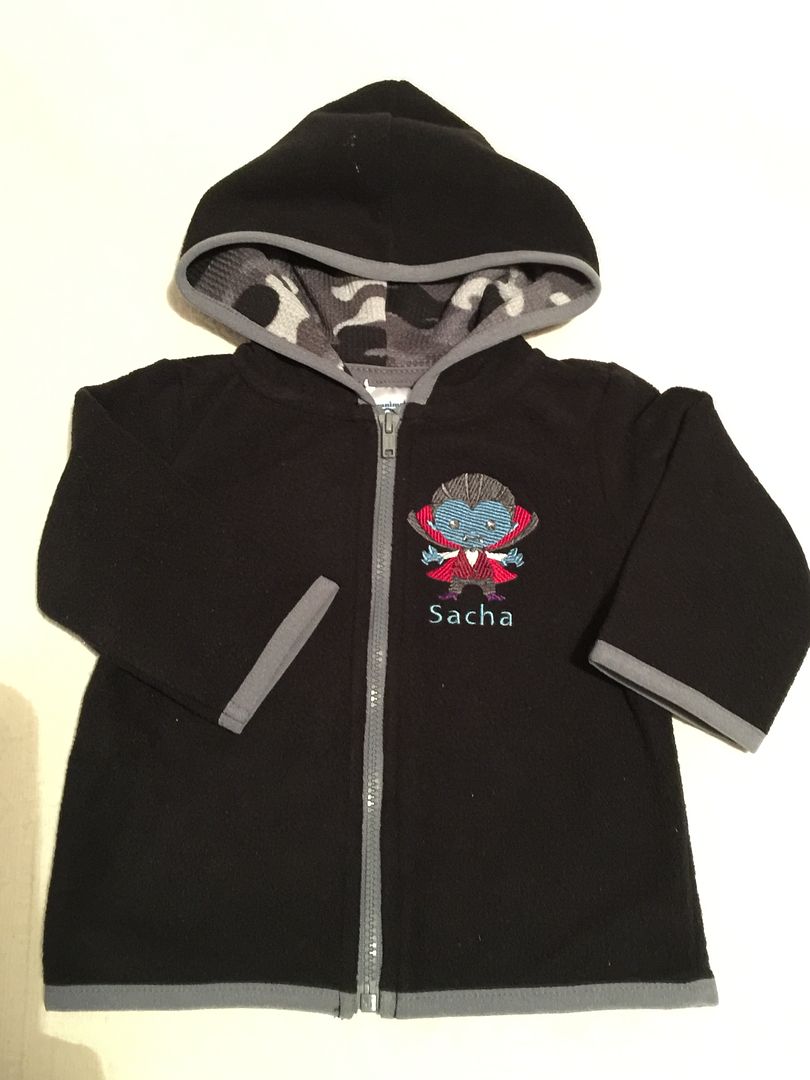
The little vampire is from Embroidery Library. So...to continue telling on myself...I greatly reduced the size of this file because I had purchased it to fit my 5x7 hoop. That works just great with Embrilliance, but I should have used the Density Repair Kit (which I also have in my Embrilliance suite) because this design was bullet-proof (as can be the case with Embroidery Library designs sometimes anyway)! It was so dense, that it shredded and broke the thread when it tried to stitch the fangs!
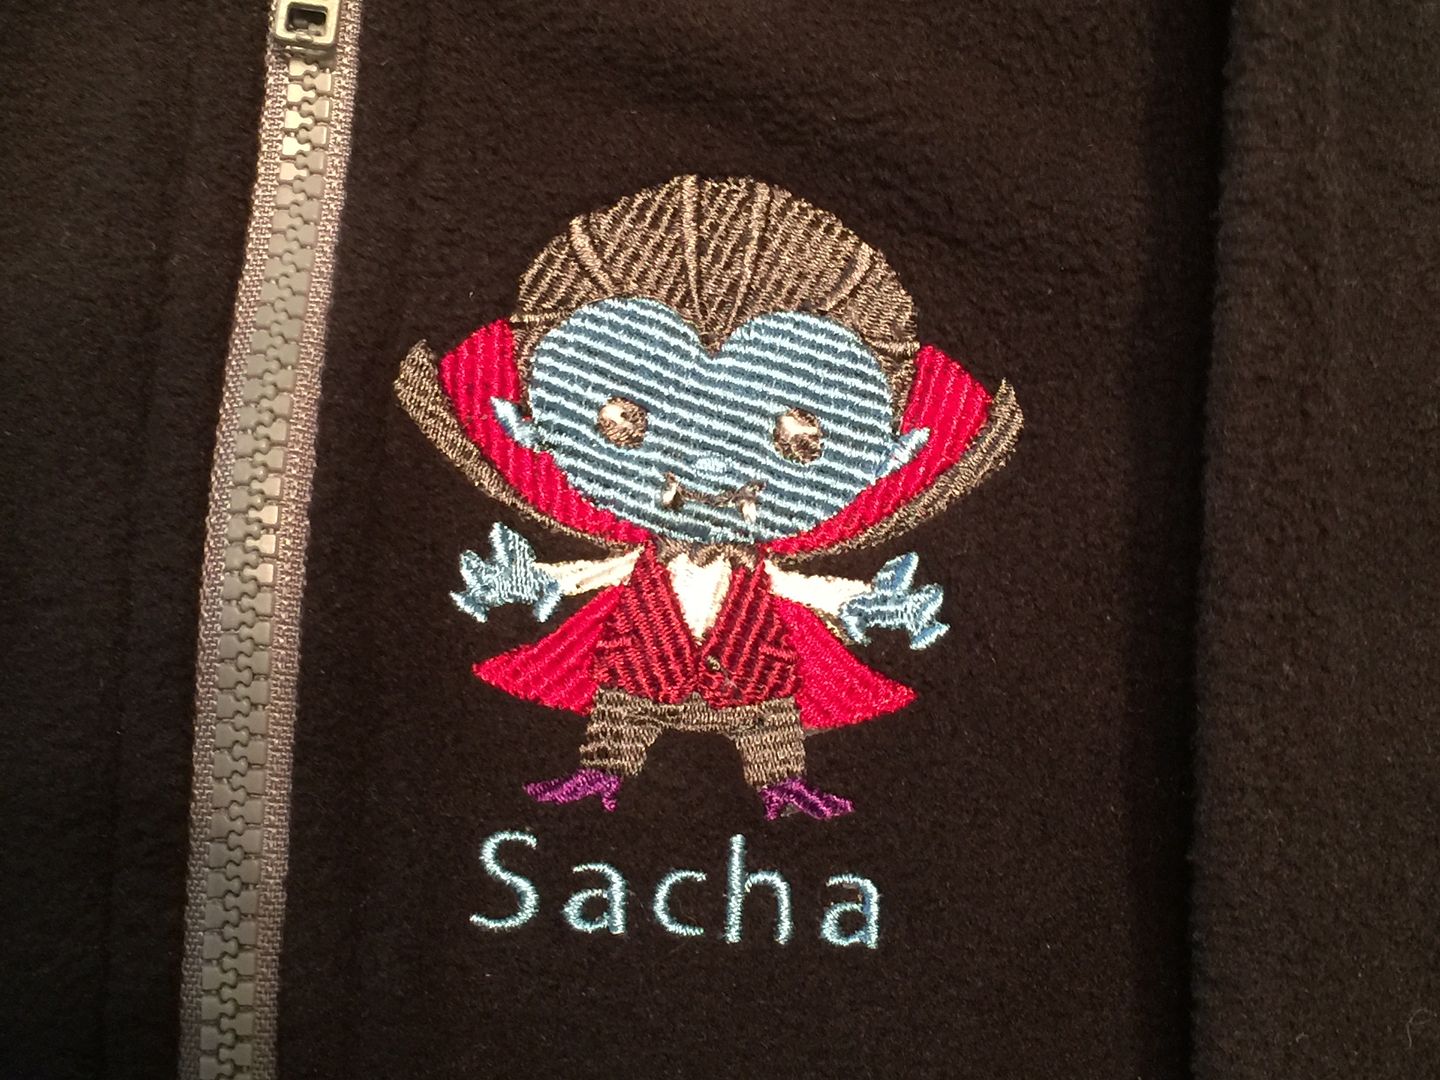
I don't exactly adore the way they chose to fill in the face color, but I LOVE, LOVE, LOVE the what they did the hands on this design! And I love the hair.
The text for the name is the block font that is built in on Embrilliance. It's the one that comes up when you add text if you don't switch it to a different one!
I also embroidered a dress for his big sister, a second-grader.

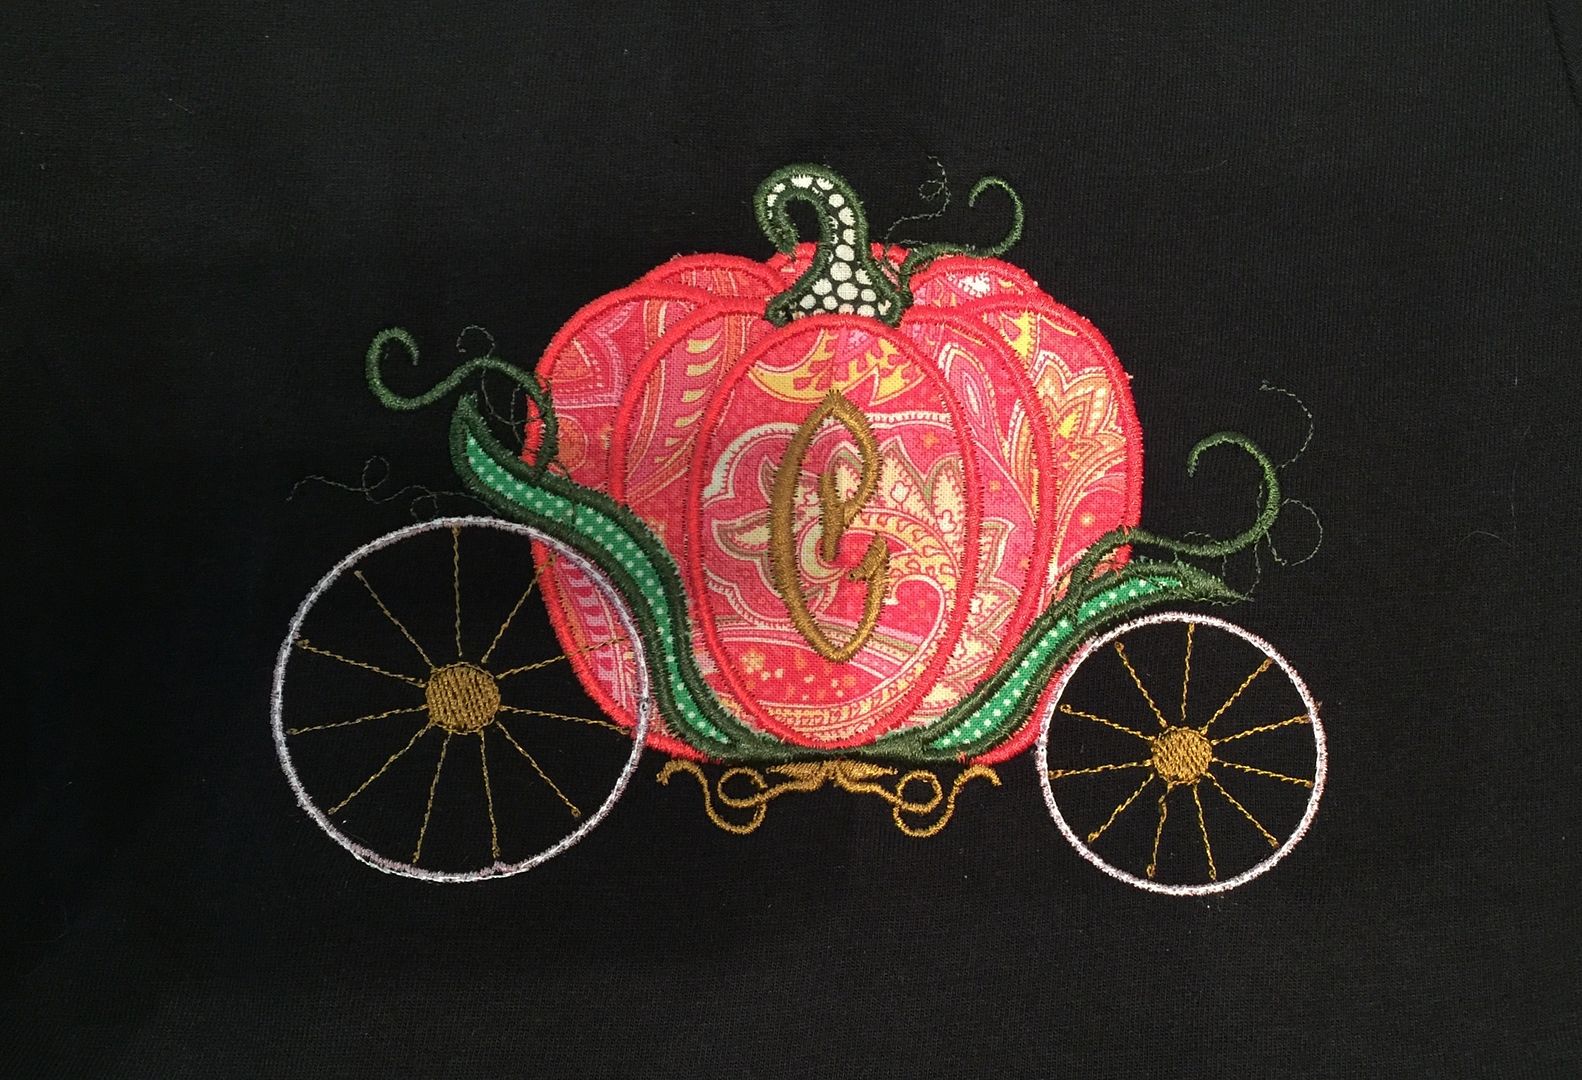
I didn't want it to be creepy. I went with a fairy tale Halloween look, all the way to the monogram. I was inspired by a photo in one of the embroidery Facebook pages, but I moved the carriage to the top and switched the name to a monogram. That switch to a monogram was really for safety as most people where I live don't put kids' names on their clothing or backpacks so that strangers won't know kids' names. (They also aren't into monograms much either so we will be trendsetters with this. hahaha).

I loved this font because it had a fairy tale look to me. This is Carson from Itch2Stitch. I also really loved the way it stitched out with the beautiful satin stitch.
The carriage is from Applique Corner and I just loved it. I added another "C" from Carson on the applique in my software.
And back to Embroidery Garden, I made her Owl Stuftie for my daughter. This was an easy, easy project. The entire project is made on the hoop using the step-by-step directions that come in the file.
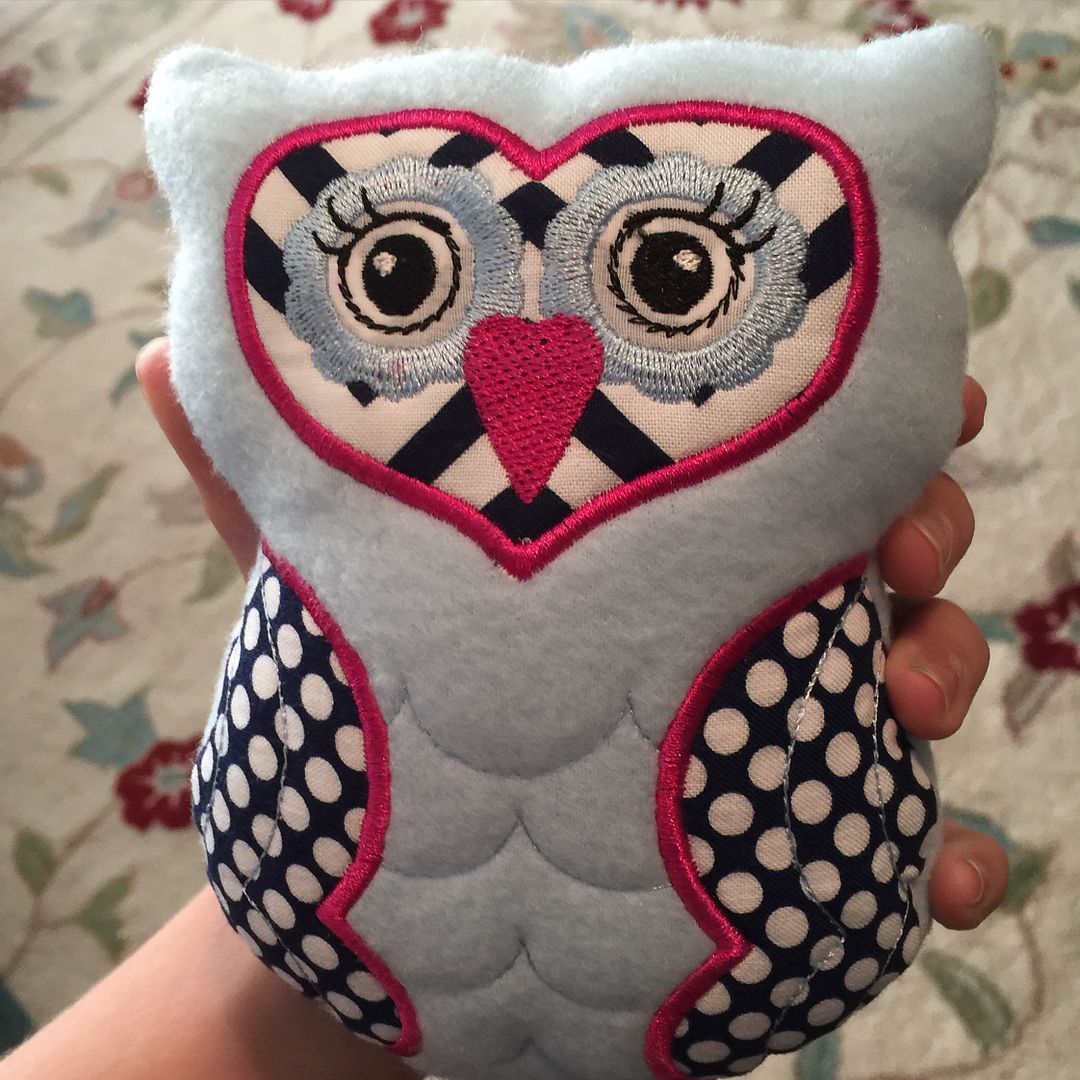
Once all the sewing steps are complete, the excess fabric is trimmed off and the owl is turned, stuffed with polyfil, and the bottom opening is slip-stitched closed. The finished owl has a pocket on the back that is perfect for placing a note or gift card. When I took the class earlier in the month from Reen, she told us that she NOW likes to use poly mesh stabilizer instead of the tearaway that the pattern calls for. As a person who has made several in-the-hoop stuffed toys, I can tell you that the poly mesh makes a HUGE difference. So I am passing that tip to you too! I also did not use the Heat N Bond Lite for the applique. I always use it for garment appliques or for anything that will be laundered, but this project never will. I didn't see a change in not using it on this owl.
So that was the result of my binge sewing and all brought on by a simple and fun class! I am looking forward to stitching for Christmas next! And I have an upcoming paper crafting retreat so that might help me get my paper craft on again!
Links shared in this post:
- In the Hoop Hipster Bag: click here.
- Simplicity 3836 sewing pattern: click here.
- My Organize with Pinterest page: click here.
- Killer Whale applique: click here.
- Cheshire Cat embroidery design: click here.
- Source for discount specialty thread from DarLyn Designs: click here.
- Dog applique: click here.
- Kermit key fob: click here.
- Big Sister applique and embroidery file: click here.
- Vampire embroidery file: click here.
- Carson font: click here.
- Carriage applique: click here.
- Owl Stuftie file: click here.
All of my embroidery projects are done on my Brother PE770 and all designs are put into my Embrilliance software before taking to my machine to stitch out. For info on where I get my stabilizers and other tools and supplies, check out my Machine Embroidery page, or click here.
Thank you for checking my post today!