
One thing that I have really embraced with the Explore is better writing capabilities than with previous Cricut machines. I love that the Explore has a dual barrel holding mechanism so that I can cut a shape and write on it on the same mat without reloading. I have enjoyed experimenting with different types of pens, not just Cricut-branded ones. You can find a list of tested pens on my Pen Options page (click here).
What I don't love, is the limited amount of Cricut 'Handwriting Style' fonts! Aside from the ones listed on the drop-down menu in the text edit window....
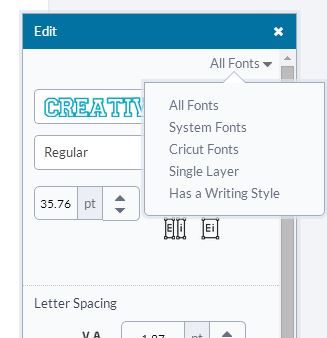
...There are a few Creative Memories fonts that will only show up if you have those cartridges linked. Don't get me wrong: I LOVE those handwriting fonts, but I just like MORE options!
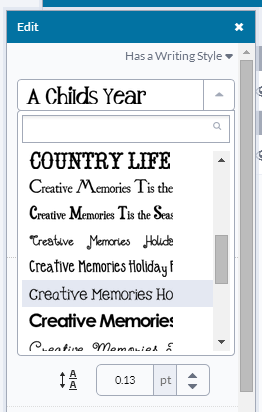
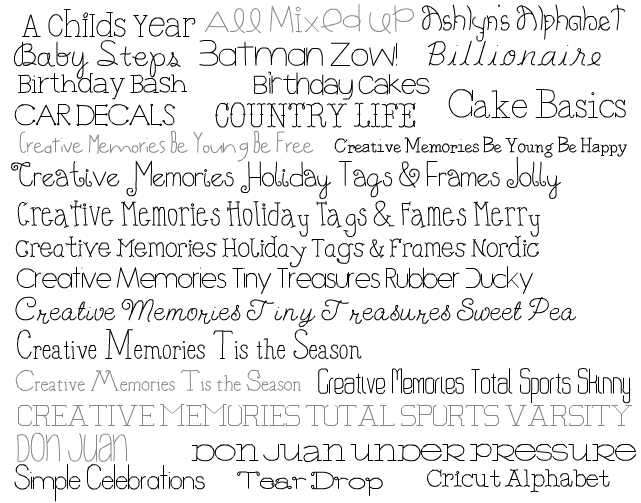
These are all the available Cricut (single stroke) writing fonts at this time.
That naturally drove me to see if there are any single stroke fonts out there from places like dafont.com. Happily, not only are there fonts that appear to be single stroke, but there are also some that are filled in!

The problem with most system fonts is that they simply get outlined with the Explore, which is sometimes just what you want, but more often than not, when you want a handwriting style, you want it to look like a single-stroke font.
I found a great starting place and resource for this at the Clever Someday blog. The good thing for Cricut Explore owners is that owners of other software have had this capability for a while so they have done a lot of the leg-work for us. Check out Kay's page on Fonts and specifically Pen Fonts (click here).
The key for Design Space is to be sure the font you find is a True Type Font (TTF).
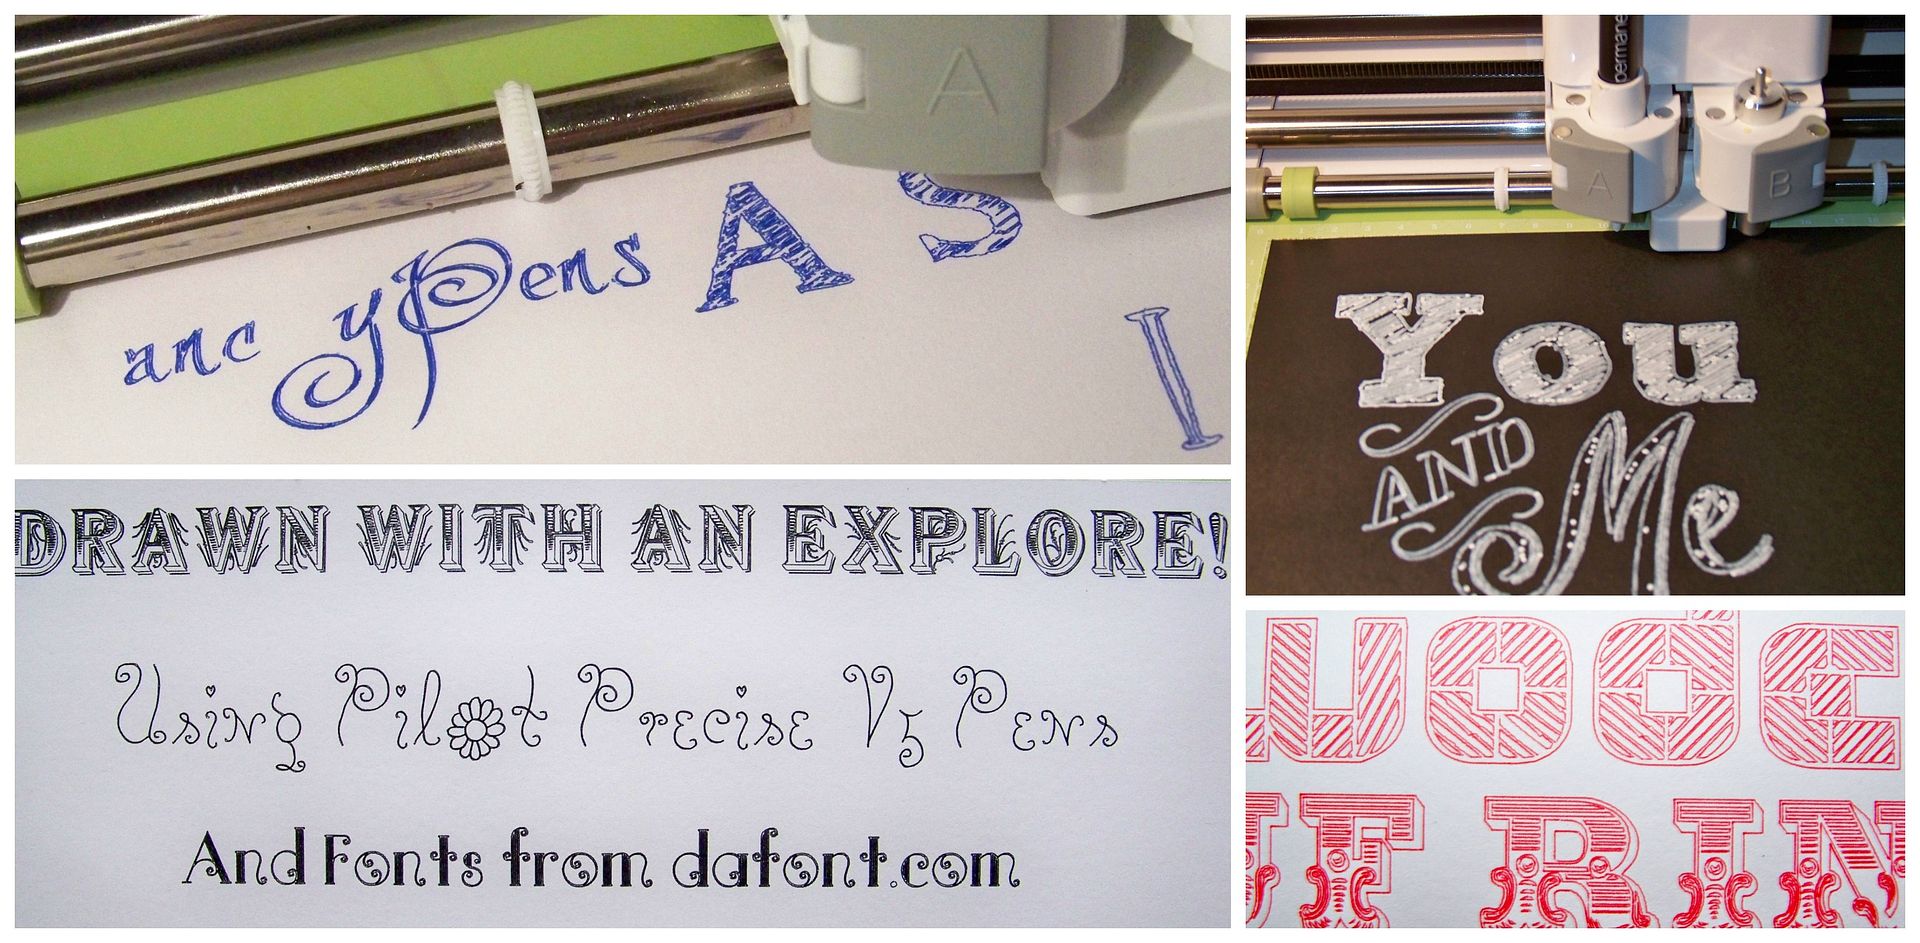
This post will explain how I have used my Explore to write specialty fonts that are not part of Cricut cartridges and weren't already on my computer. To summarize this process: First, I find a font, I download it, I install it, I open Design Space, I insert text, I edit the text, and I save the file. For all of my samples here, I have used Pilot Precise V5 Extra Fine pens from Walmart.
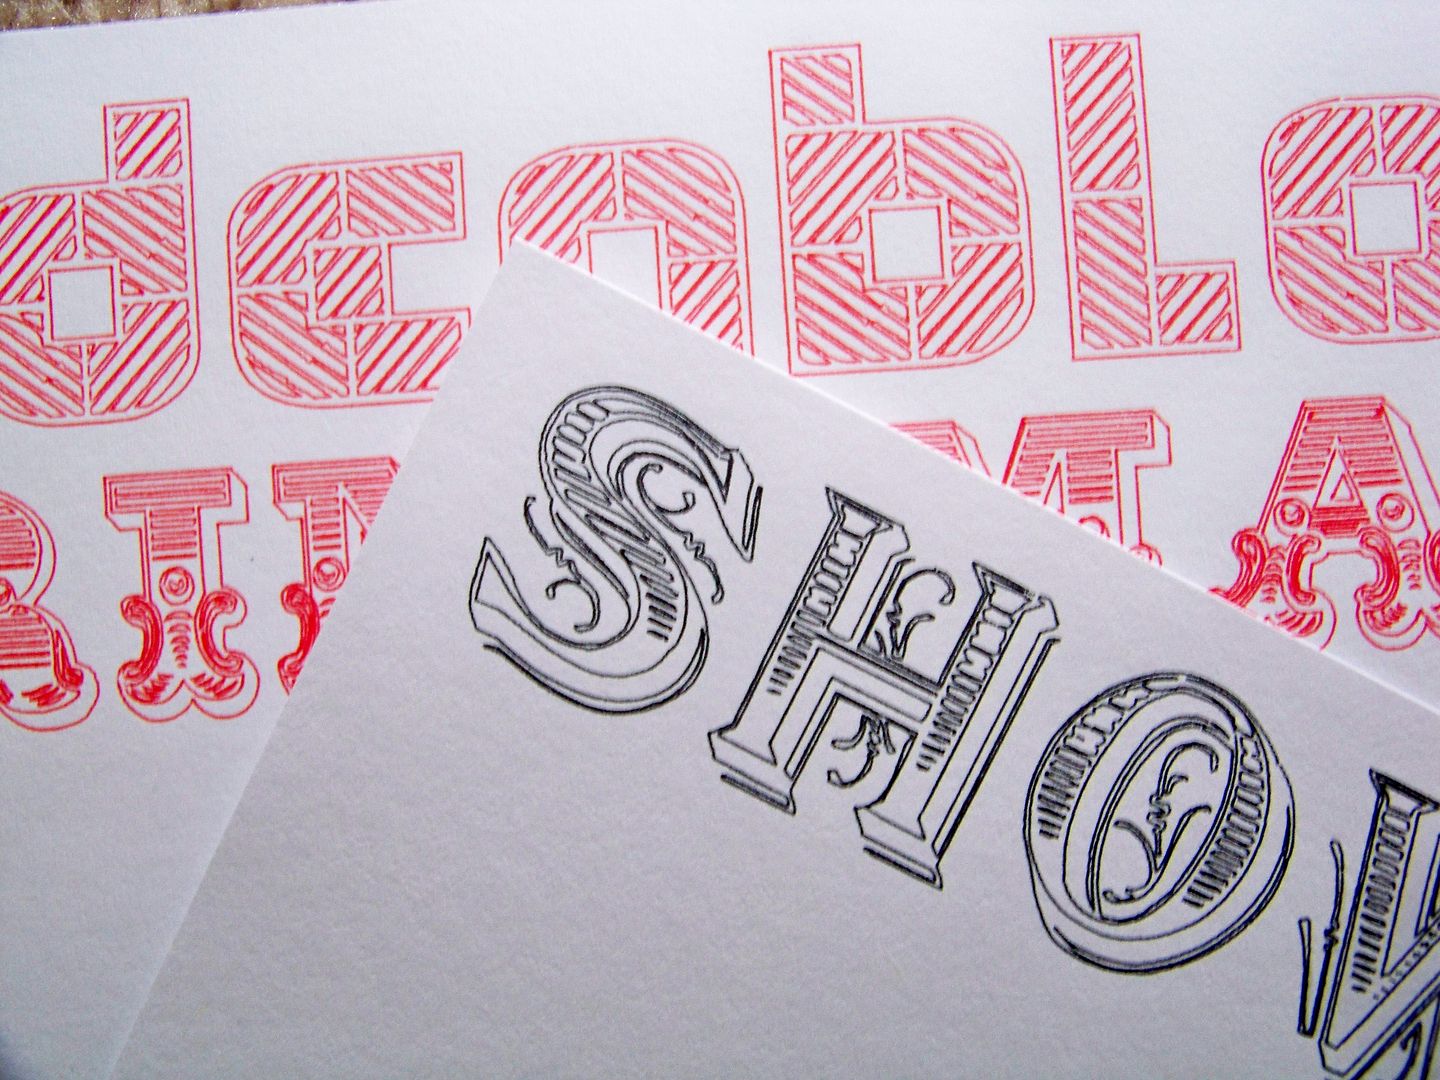
There are thousands of usable fonts. These are some of my new favorites that I really love! Fonts are addicting and I am so happy that so many are perfect for writing with the Explore (so many, many more than I have here).
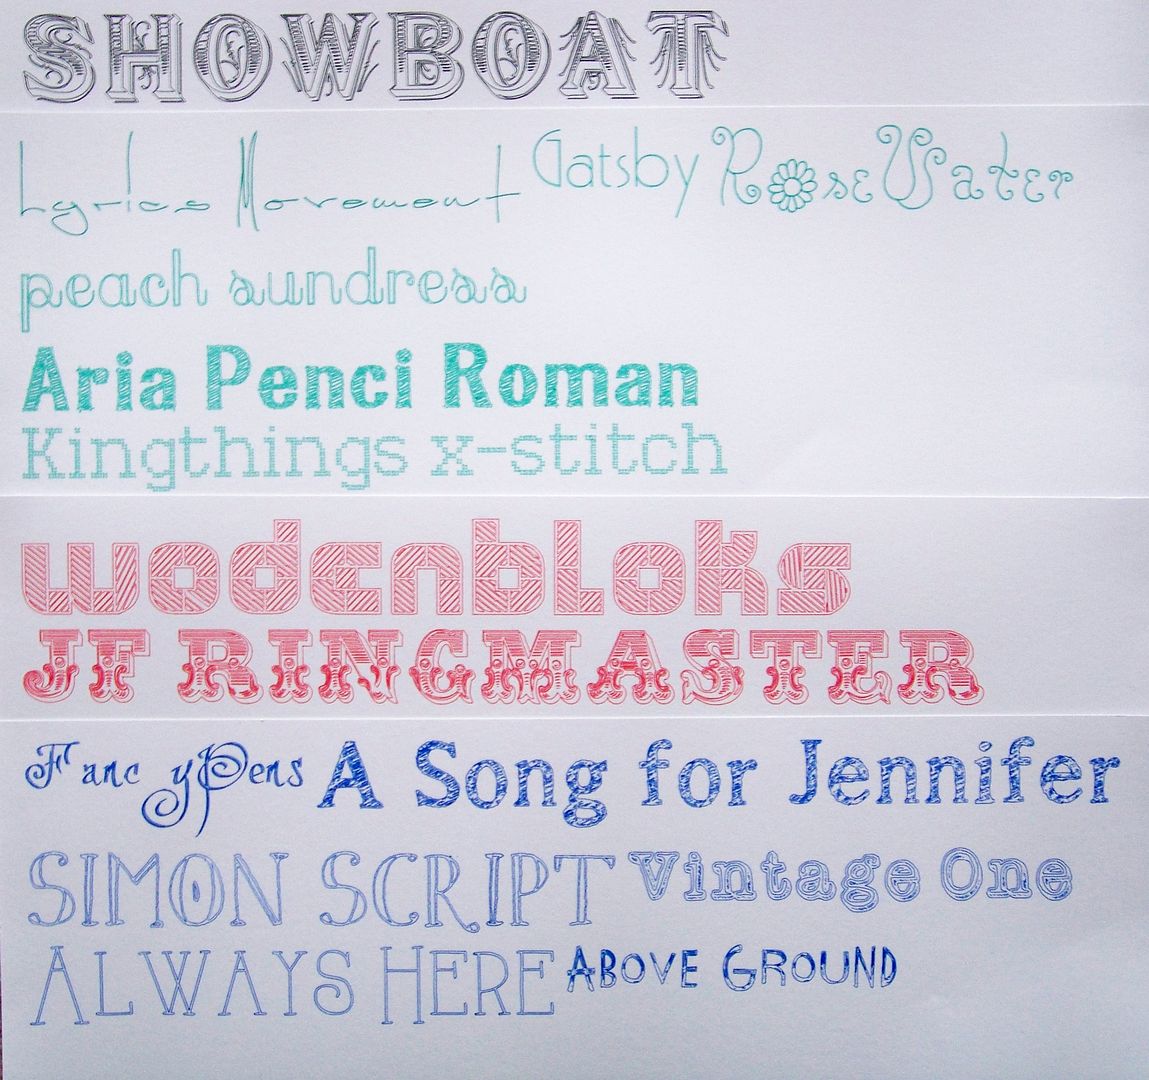
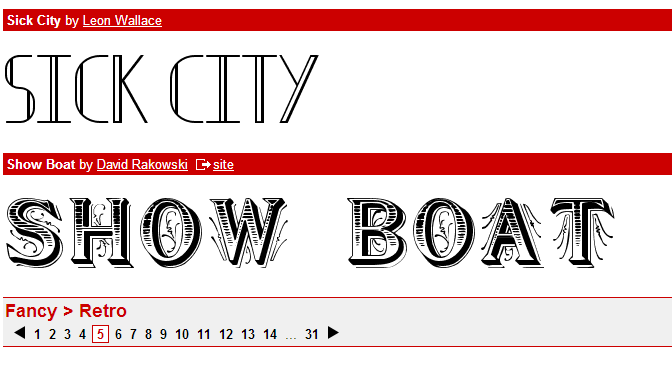
Showboat, Lyrics Movement, Gatsby, RoseWater, Peach Sundress, Aria Penci Roman, Kingsthings x-stitch, Wodenbloks, JF Ringmaster, Fancy Pens, A Song for Jennifer, Simon Script, Vintage One, Always Here, Above Ground.
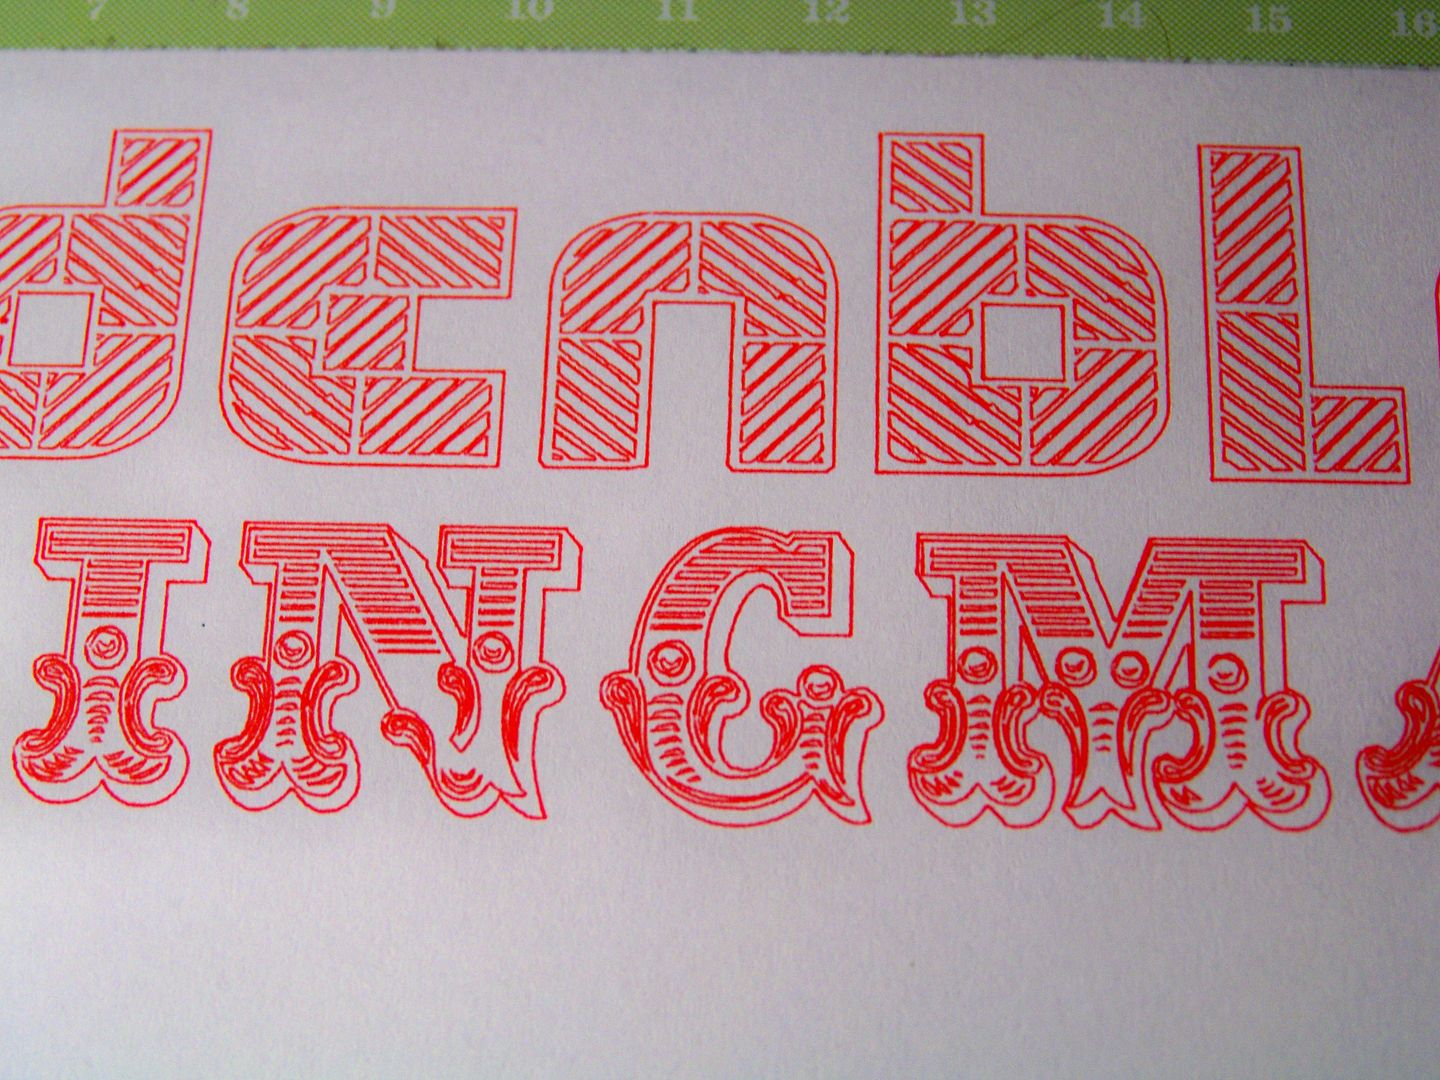
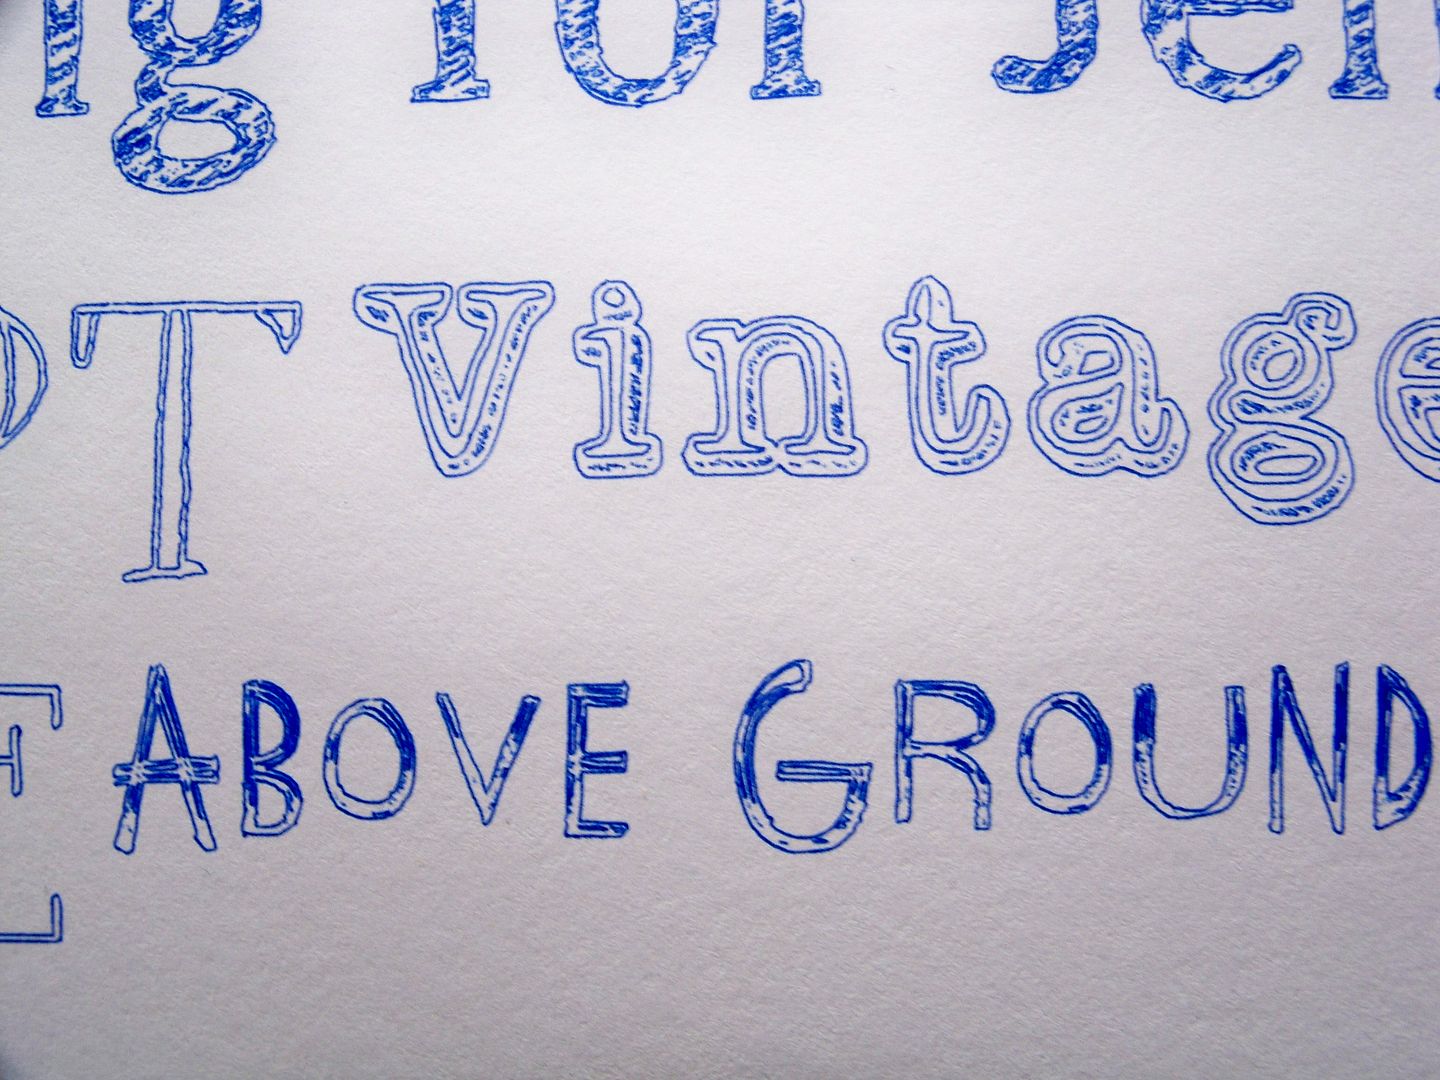
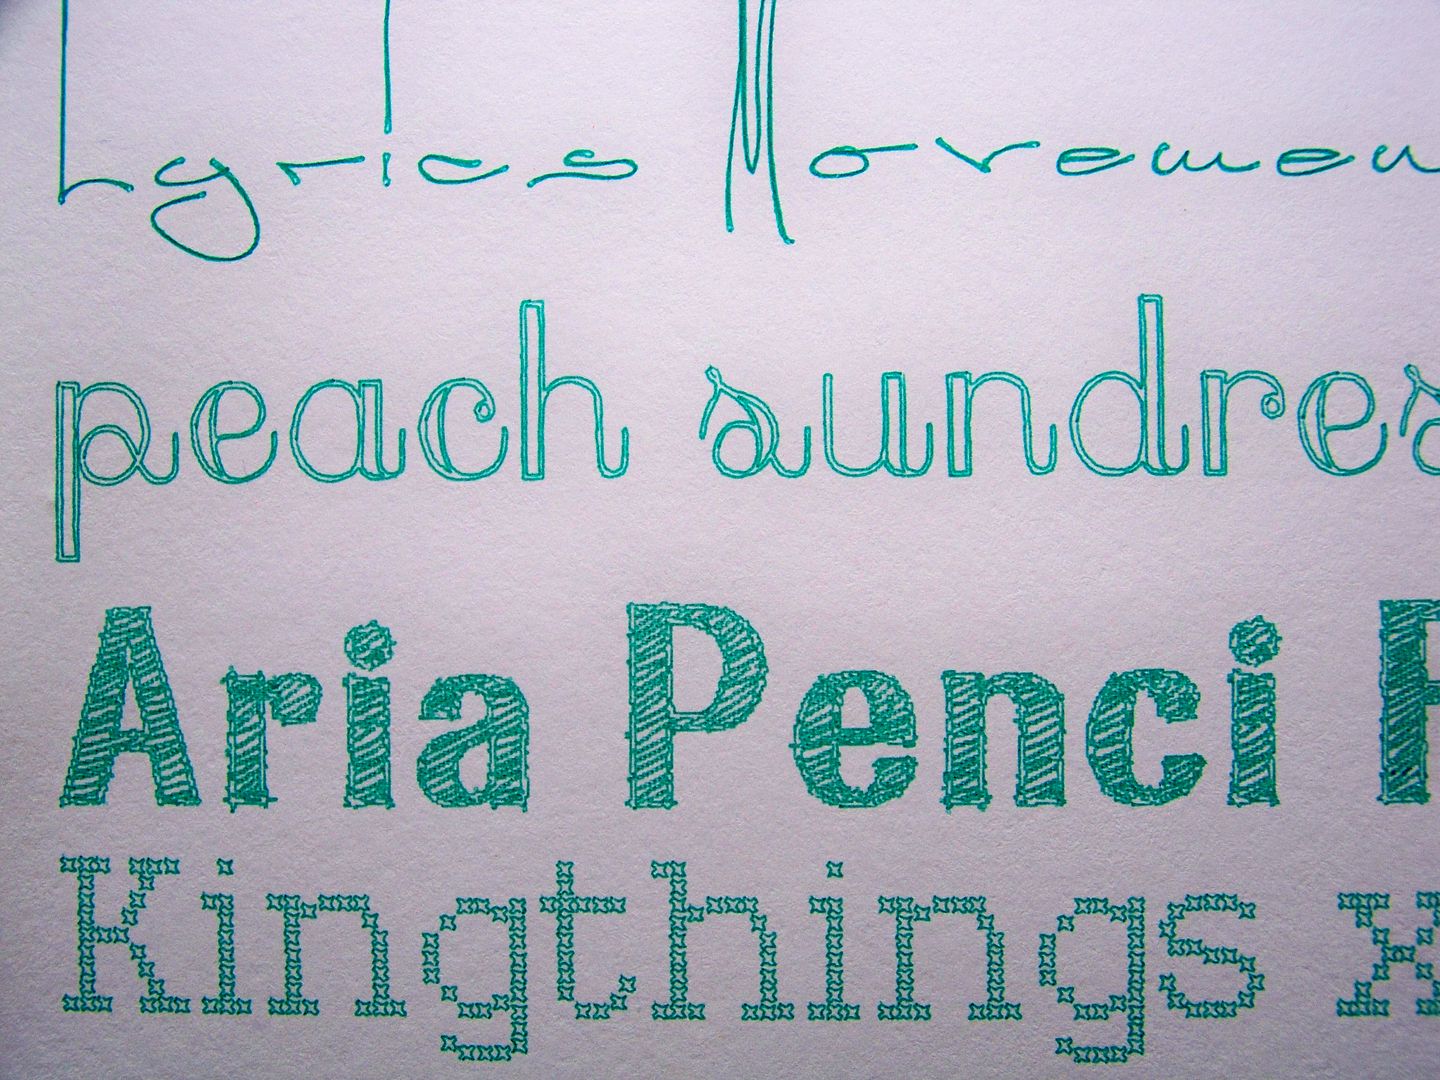
Close ups of some of the fonts on the sampler above:
 |
 |
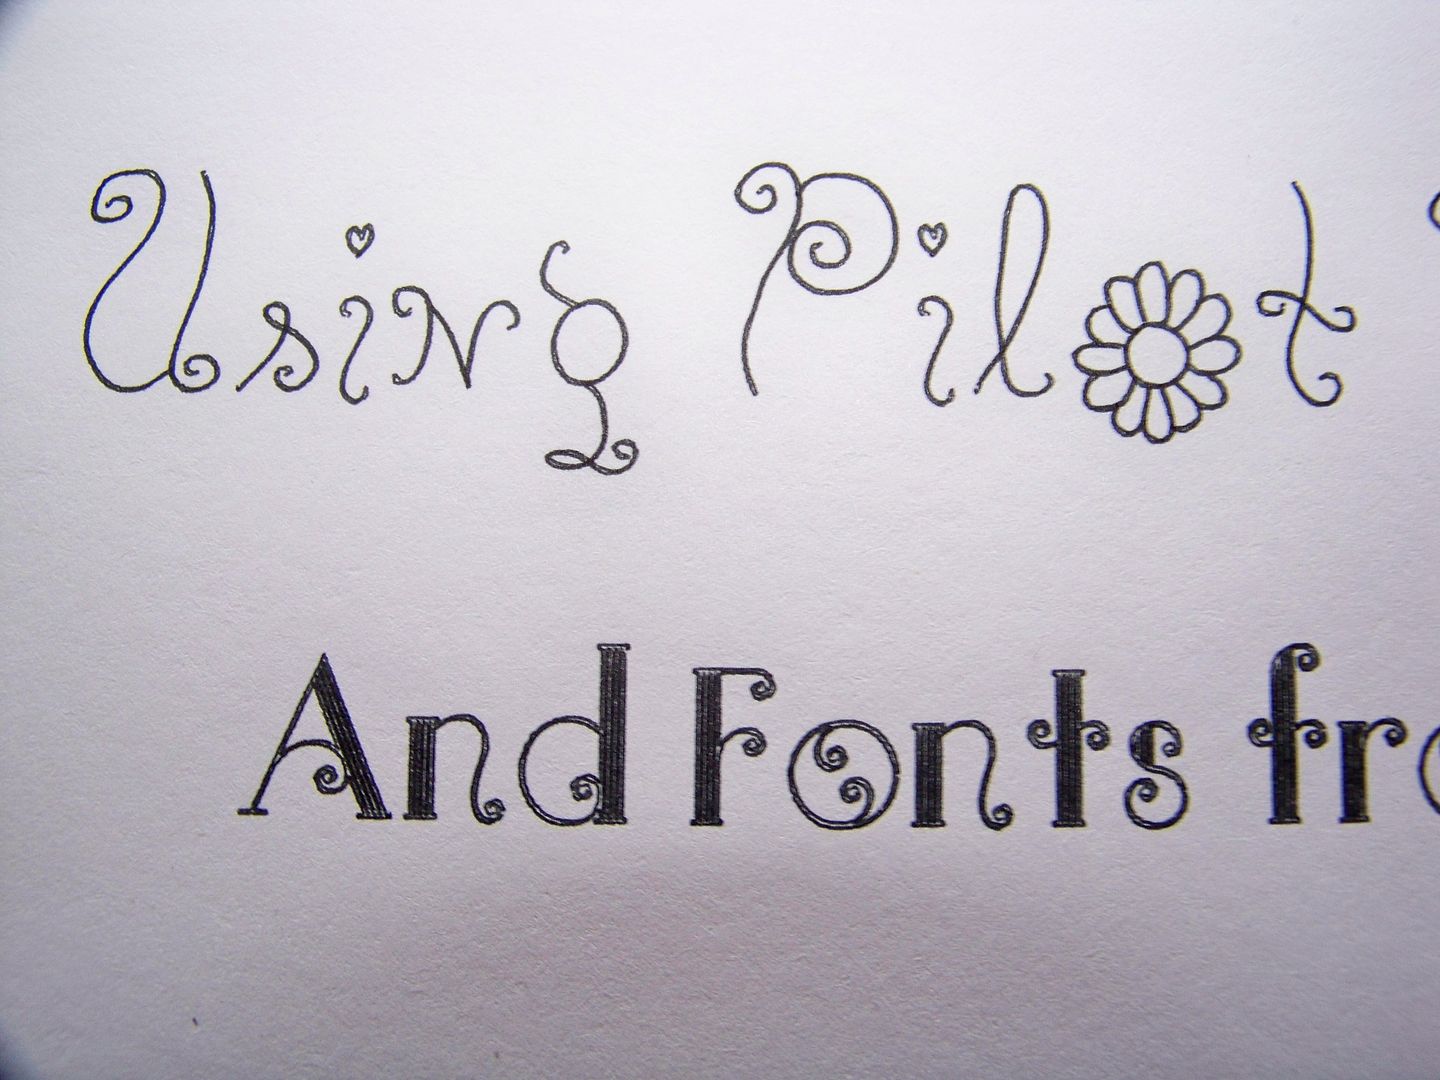 |
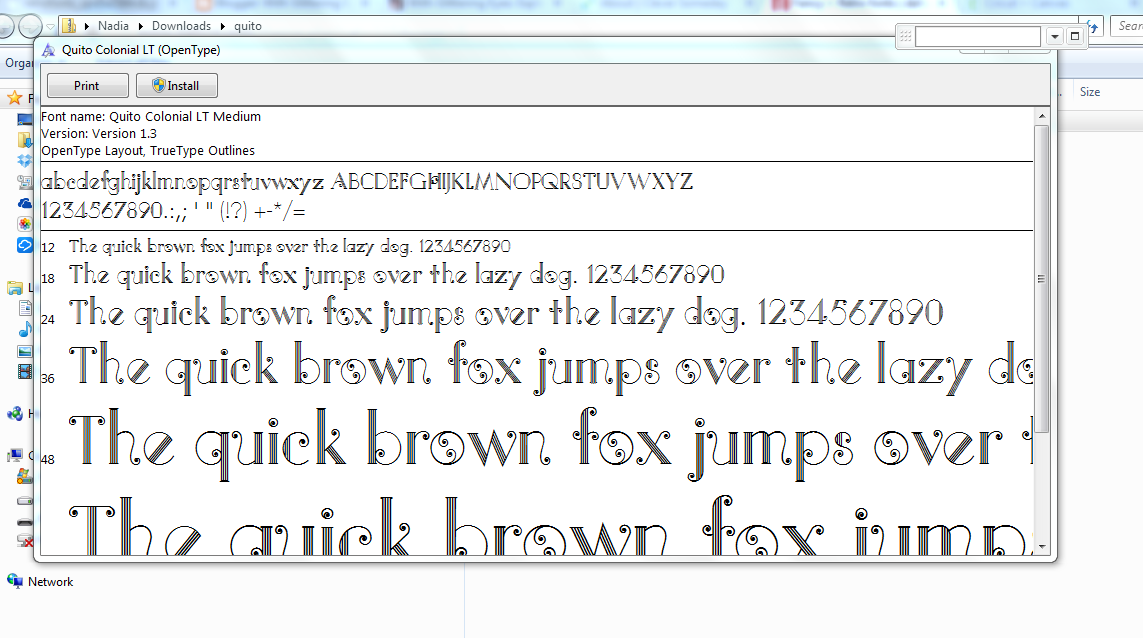
| The curly font on the title photo with text "And Fonts from dafont.com" was made using a font that is not on the sampler. The closeup is pictured here and called Quito Colonial. |
___________________________________________________________
How to find a font you like and install it to your computer:
- Go to your favorite font site. There are lots of places for free True Type Fonts. My favorites are dafont.com and fontspace.com. Type in the font you like in the search field. You can also see all the fonts they classified as 'handwritten' on dafont by clicking here. You don't have to use what they call 'handwritten'; there are lots of fabulously ornate fonts that really show off penwork. Some of my favorite fonts with this kind of detail are under the category 'fancy-retro' (click here).
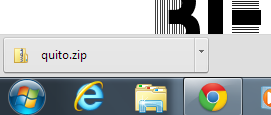
- Pick a font you like. Click on the download button and wait for it to download on your computer.
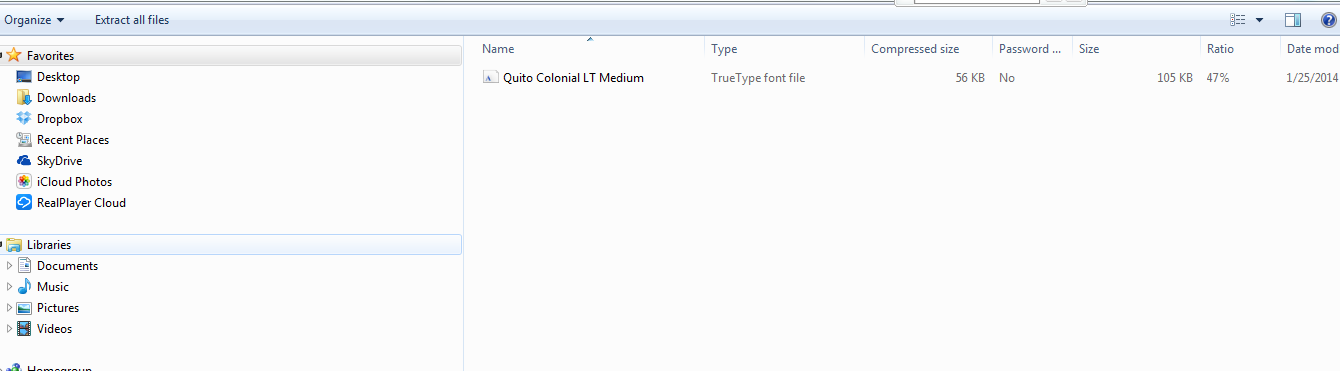
- The file shows up on your screen. At this point, make sure that it is a True Type Font under 'type'. Open Type Font will not work in Design Space.
- Double click the file to get the option to print or install the font. I do both. I print it so I have a reference of my extra fonts (because honestly you can sometimes barely read the installed system fonts on your computer, let alone in Design Space. This way, I can know the name of the font so I can find it instead of relying on my memory or hoping that the style and name show up enough to help me! I also have a paper that I can write notes on. Some specialty fonts have different elements for upper case letters than for lower case.
- Click 'install' and TA-DA! You now have that font in your computer! You can use it for regular use, such as for a font you want printed on a Word document AND you can use it in Design Space to cut out or write on your projects!
___________________________________________________________
- Open Design Space. I have found that if I had Design Space open and then uploaded a new system font, the font will not show up. I have to close Design Space and open it again for it to show up in the list!
- Click new file. Set canvas. This will help you to know the size that the Explore will be drawing your font. If you want to draw on a cut (tag, card, etc.), go on and insert that image and size it.
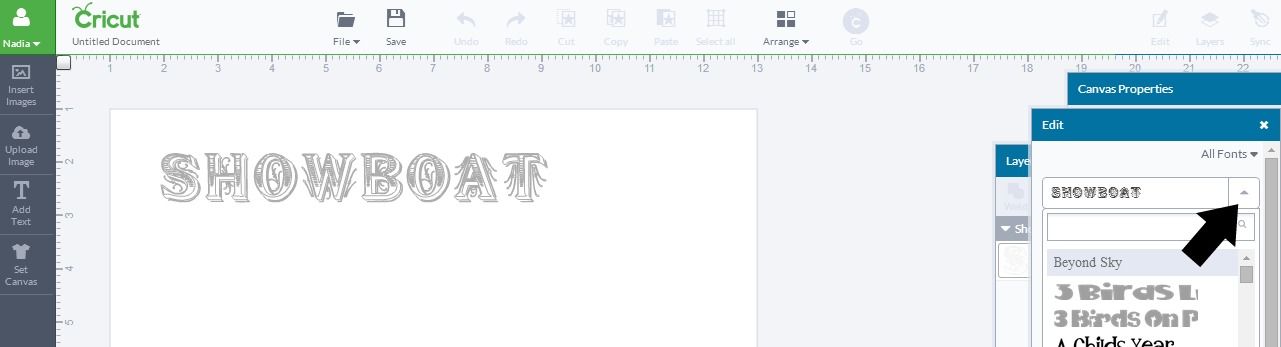
- Click 'Add Text'. Type at least a letter of your message. You have to have something in the text box before you can edit. Go to edit and click on the drop down arrow next to the defaulted text. Here, you can scroll through the listed fonts or you can type in the font you want if you know the name.
- Your text will change to that font.
- Go to the layers panel and change the style from cutting (scissor icon) to writing (fountain pen nib icon).

- Note: The uploaded fonts, even if they look like handwriting fonts or are even classified as such by dafont or another source, are SYSTEM FONTS! In truth, when your Explore draws with these, they are outlining, but they are designed to be so thin that you often cannot tell! Sometimes that 'outlining' adds to the beauty and complexity of the font design.
- Click 'go' and let the Explore prompt you to insert a pen. Continue as prompted.
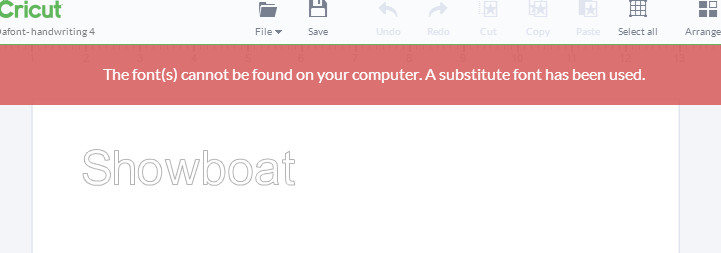
- Note: You can save this file and print before or after saving as usual, but one thing I have noticed on some imported system fonts, though not all, is that sometimes when you close the file and come back to it, Design Space cannot seem to find the font. It tells you this in a pop up and changes the font to one it picks. This officially stinks, and I hope that it will be changed. Especially for complex or time-consuming projects, being able to close Design Space and come back to it with fonts unchanged is important. This means that I was able to have the Explore draw this...

...But when I closed the file and came back to it, it looked like this:
- Another note: I did find several fonts that were filled in that I thought would be great, but once I downloaded them and tried to bring them over to Design Space, I got a message that the font was too complex for the program. It only happened a couple of times, but because it did happen, I wanted to put that warning out there in case the first one you try is that type. No reason to become discouraged; there are soooo many options. Pick another!
___________________________________________________________
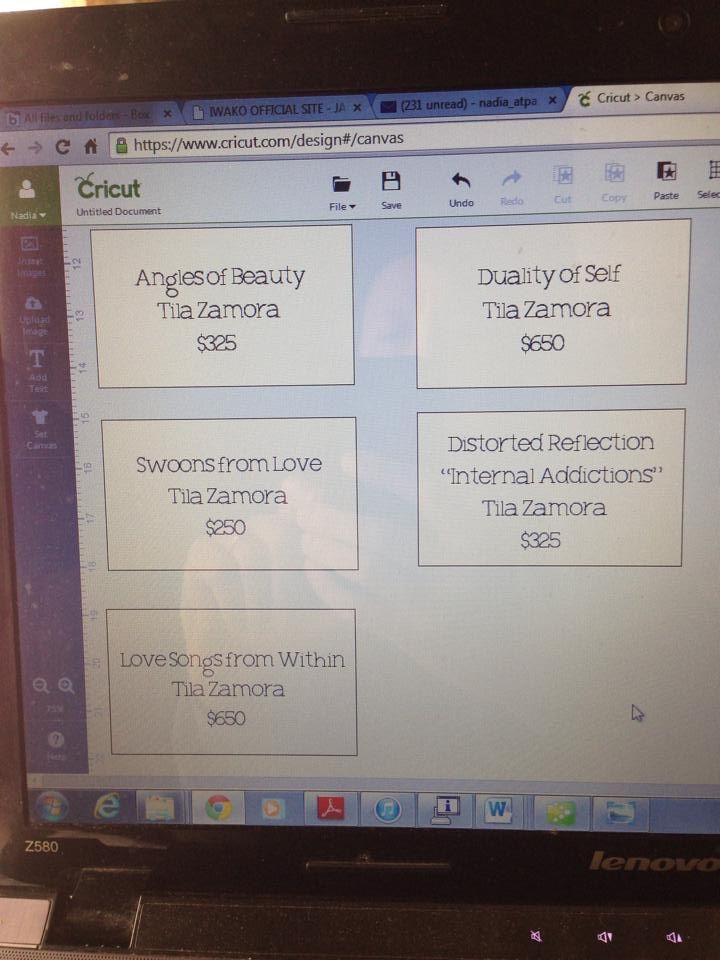
I recently made some exhibition signs for my sister's paintings that were going to be in an art show. The Explore cut the shape and wrote the text on the same mat and without reloading.
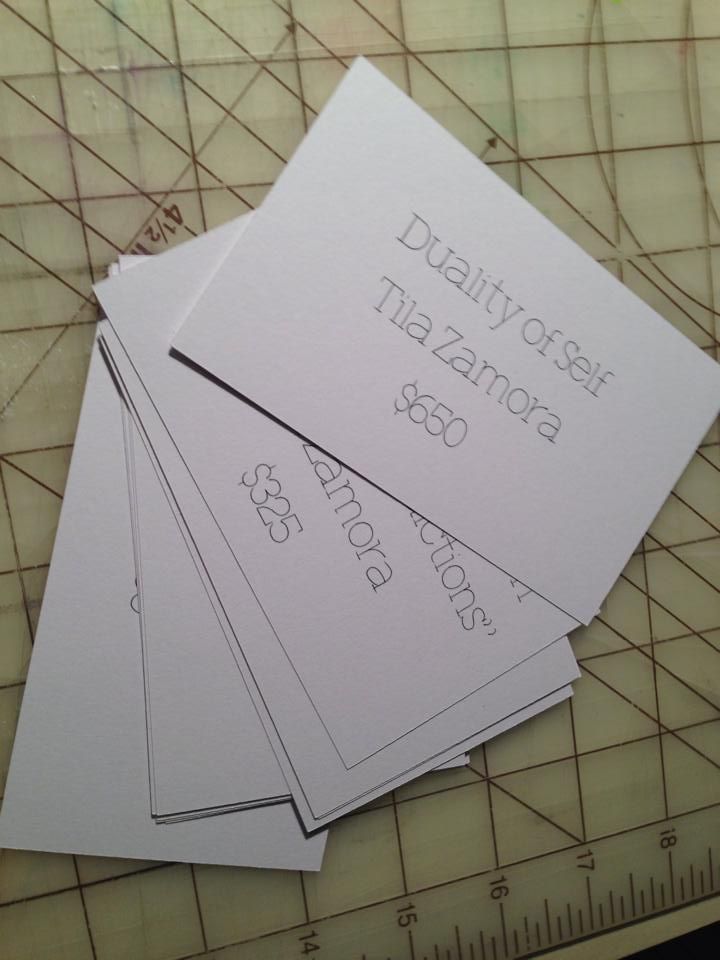
I first inserted the card base on the virtual mat in Design Space and sized them. Next I clicked 'add text'. I chose a Cricut Handwriting font so I selected that filter from the edit drop down button after I typed in my text. I chose the font I wanted. Next, I sized it to the card. Then I drug a rectangle around the card and clicked 'attach'. I had 11 unique cards so I used copy and paste buttons for the bases. I did the same for the text, but then edited the text to change the paintings' names and prices.
In order for the text to attach to the card, on some, I had to click 'attach' twice and, on some, I had to ungroup and then click attach. I have no idea why they weren't all the same, but the key is to attach the font to the cut and then check it by clicking the 'go' button to make sure the text is indeed on the cut, and not hanging out by itself on a mat! This is the OfficialCricut Video on how to attach text: click here.
___________________________________________________________
Pen Size Comparison:
This is Simon Script, drawn with different pens in the Explore. The effect really changes depending on the size and kind of pen. Felt tip, rolling ball, and ball point pens each release different amounts of ink and affect bleed. Fonts that are designed to go over the same line repeatedly can be ruined with 'wetter' pens. Skinny fonts can be ruined with pens that are not 'wet enough' and show too clearly the outline of the letters, giving up the illusion of single stroke. Each can also change the font in ways that are interesting and usable in different ways! Click here for a list of pens that have been tested in the Explore. If you know of others, please let me know! I am always adding to the list as more pens are found.
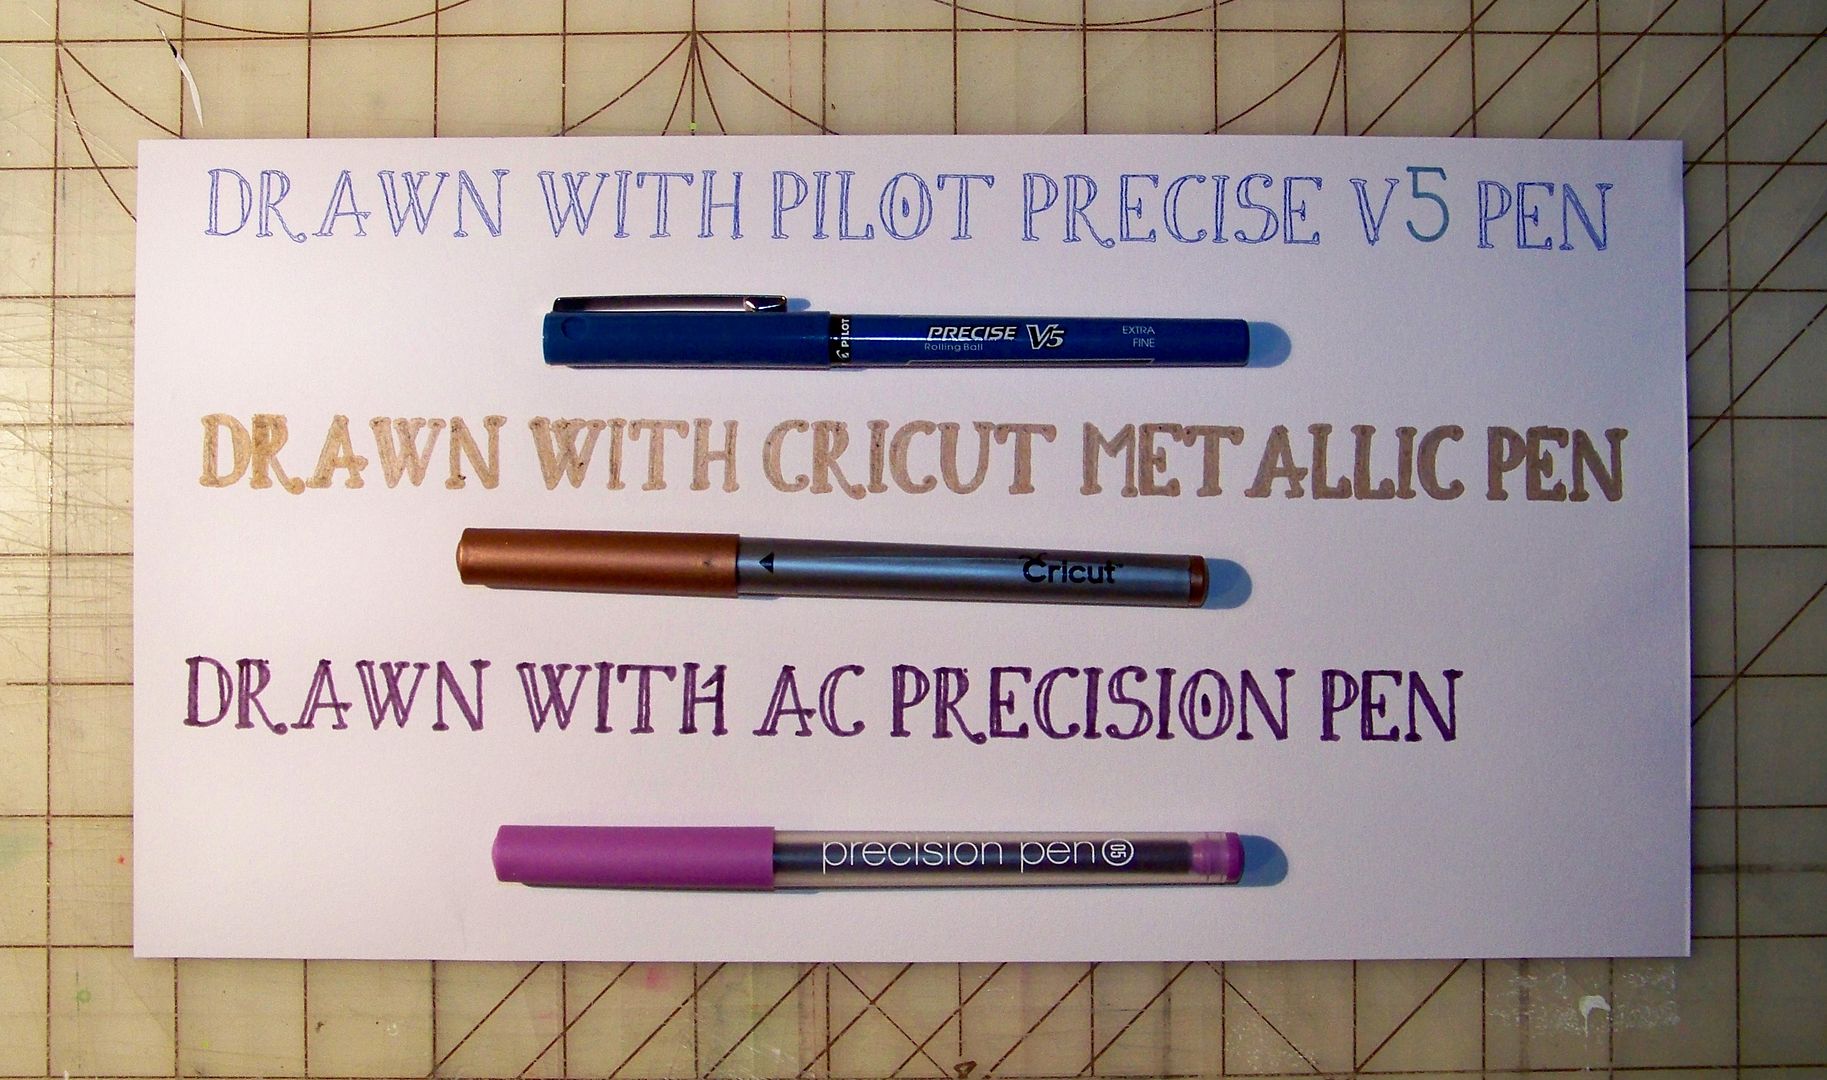
This illustrates text drawn at the same size with different pens. (Note: This font doesn't have numbers so the five is a different font and not drawn with the pen listed as the rest of the line.)
___________________________________________________________
Chalkboard Fonts:
I was looking for fonts that would work on black paper using the American Crafts Chalk Makers.
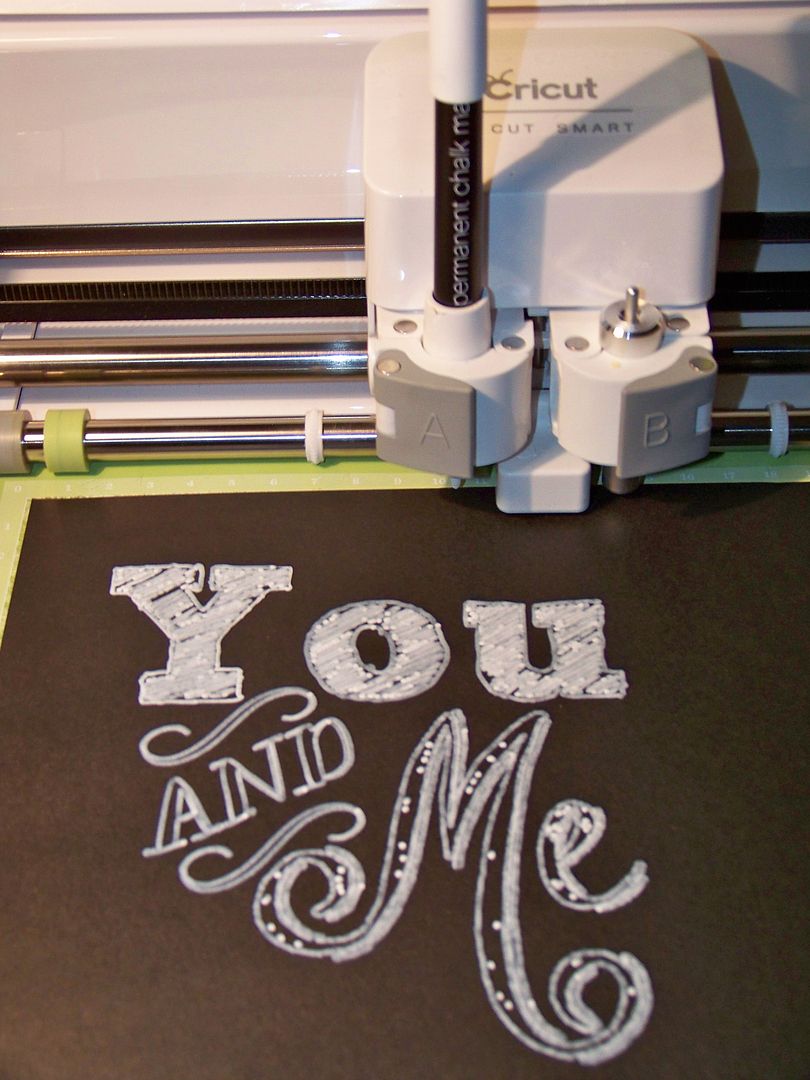
There are so many possible fonts! I used Sketch Block for 'you' and Chalk Hand Lettering Shaded for 'me'. Additionally, there are dingbat-style images that the Explore can draw. I used Bergamot Ornaments for the scrolled 'and'. For dingbat fonts, I cut and paste the image legend onto a Word doc (to show which image correlates to which alpha-numeric character). To get this legend, I clicked on the font in dafont and it came up.
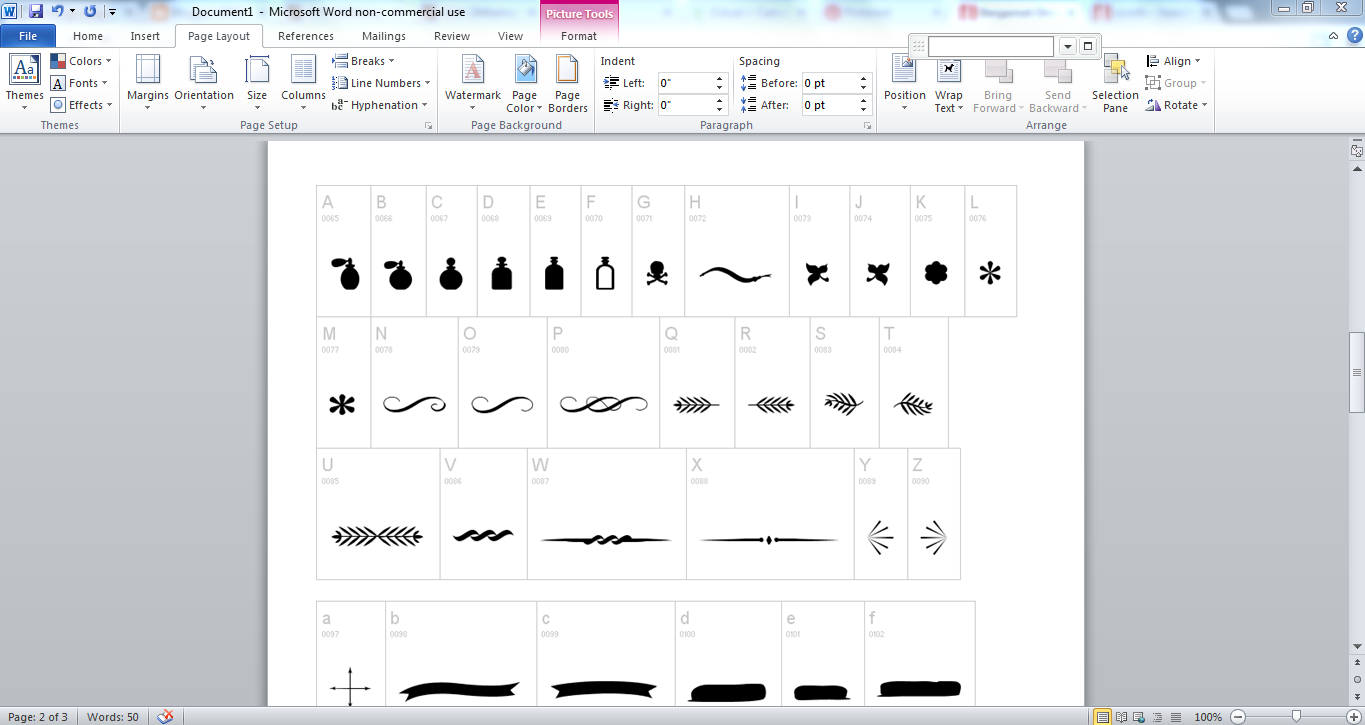
This is a link to all the dingbat fonts on dafont: click here. More free images to cut and draw!
Note: Three markers are packaged together in the American Crafts Chalk white marker sets. Two of them are narrow and one has a fatter tip. As you can see, they are different lengths! The fatter tipped one will not work in the Explore; the tip won't touch the paper even though the barrel fits in the pen housing. The narrow tipped ones fit perfectly however!

 Thank you for checking my blog post today! If you are looking for fonts to inspire you, check out my fonts Pinterest board (click here). To see many of my previous projects, check out My Project Gallery (click here). So many projects swirling in my mind with this new machine and all the new things I can do because of it! I am working on a project for National Scrapbooking Day (weekend) and National Teacher Appreciation Day. I hope you will return to check out those upcoming projects! Happy Crafting!
38 comments:
Once again, NAdia, you hit this ne outta the ball park!!! THANK YOU a million times for sharing your knowledge and creativity so unselfishly!
Have a great weekend.
Ann
Thanks for sharing! I know you're focused on the Explore, but I am excited to have some great new fonts to use with my Silhouette Cameo! What a thoughtful and informative blog post! I can tell you put lots of time and care into preparing it!
Thanks and have a great day!
Oh, thanks, Ruth! I am glad this info is useful for other cutters! I came so close, so many times, to buying a Cameo!
Wow - this is a wonderful post with great information and great inspiration! My mind is swirling now especially because the pen that came with my Explore is still wrapped in plastic!
I will definitely be referring back to this post again! Thank you!
YAY - another WOW post by Nadia!
This must have taken you forever to try all those fonts...they all look amazing.
I pinned this post to pinterest before I even read it all.
YAY NADIA!
I am a newbie to your blog and have to send out a BIG THANK YOU for sharing your information! What a resource to be found and such great eye candy on your blog! Looking forward to more fabulous posts!
Such FANTASTIC information. Thank you so much for sharing all this. I will be referring back often!!
Thank you so much for all this detailed step by step information!
Your post is awesome...the best of the best information, very thankful that you are willing to share what you have learned...it helps all of us to be better at what we do...Thank you, and I look forward to reading more in the future!
Wow, the time, expertise, and effort are not lost with this blog post. Thank you so much for the inspiration. I am a absolutely booking marking this for future use.
You always go the extra mile when you discover something and share with us. So why am I always overwhelmed by your detail and comprehensive posts?? Wow!!! Thank You! Thank You!
What a great resource this is!
How did you cut the sentiment so close to the writing?
Wonderful post! Lots of very useful information. Thank you so much.
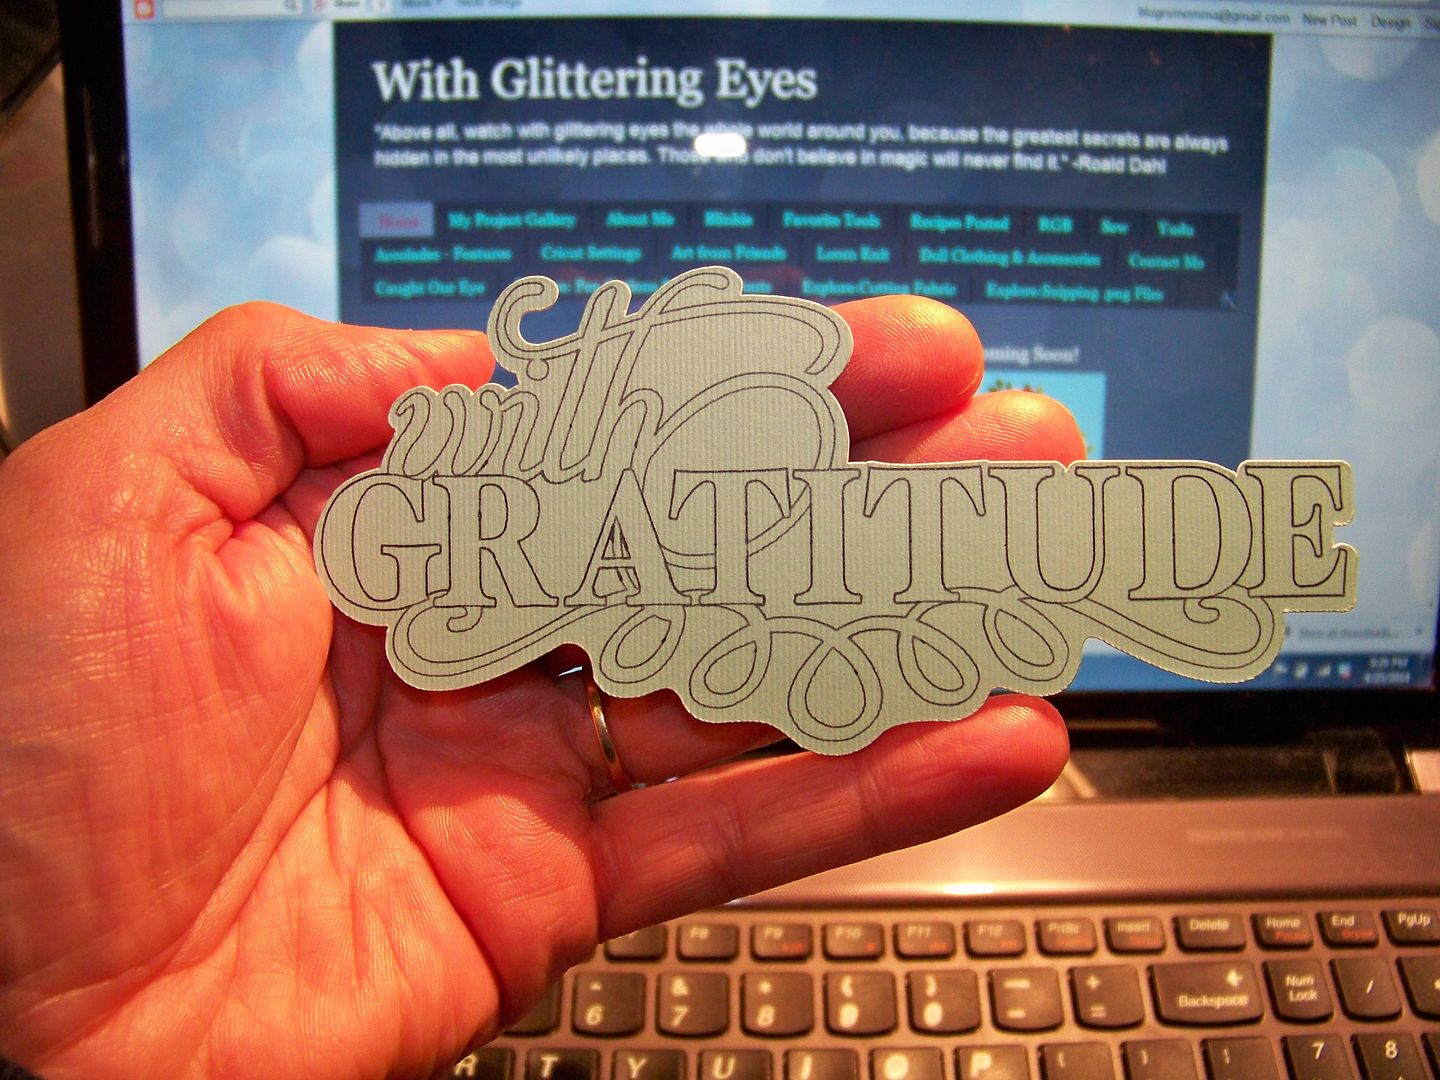
ByAnnette- that small picture at the very end "With Gratitude" is actually a Cricut cut! It is from the Phrases cartridge. I kept two layers and changed them from cut to draw and the Explore did the rest! :)
Nadia, Thank you for all the work you put into this and for sharing with us! Awesome!
Lady, you are uber creative, you blow my mind when you think out of the box!
Di&Co
Very nice Nadia!! Love all the research you have done. :) The Showboat is my favorite!
Hi, I am in love with your blog! Outstanding! Can you advise how you cut the shape out around your post on "With Graditude"?
LOVE love your beauteous creations! Your attention to detail is awesome and so inspiring! I love working with the more challenging designs and you make it look so easy! Thanks!
Great Great post!!!!
What an amazing tutorial. Thank you so much. I know you have saved me and all the others reading this post countless hours of frustration and time...because you already put in the time! I found your blog from the Let's Learn Cricut Explore group on FB.
Thank you much for this you have put so much work into just to share with us it has been a huge help xx
Thank you so much for the information. I was looking for something like this over the weekend and gave up. I will definitely be coming back to refresh my memory when I try this out.
I dont already have to tell you how AWESOME your site is!!! Great stuff, very informative.
Im having trouble with uploading the fonts to my CDS?? Can you please help me??
Thanks!
-Carie
Carie- once they are uploaded to your system (computer), they will automatically be in Design Space, but you have to close out of DS and then open it back up to see them. Is that what you mean or do you not have them uploaded to your computer yet?
I have added some true type fonts that work great and some that the cricut will not recognize. I get little boxes with x's in them rather than the letters. Any idea why?
Paula- some fonts are to complicated for the Cricut. I am not sure if that is it.
Hello! Very informative post! I do have a question for you- do you have any idea if the Cricut Explore could do a Japanese font?
Thanks for your time.
Shellee
Duane and Shellee-- as long as it is a TTF, I don't know why not.
I downloaded the AlwaysHere font that you show. Installed it and then opened my Cricut Design. It still is not showing up in Has a hand writing style. I have alot of fonts and it only shows a couple fonts there.
Kathy Whear- You will NOT find it in the "has a handwriting" drop down!! These are system fonts. You must read the blog post to understand! They will outline. The KEY is to find fonts (like these) that MIMIC single-stroke. This is the point of the whole post. To find the fonts, after you install them in your computer, CLOSE out of Design Space. When you open it, you will find your system fonts listed with "system fonts" and will "all". That is where all of your fonts are, my dear!
Just came upon your post. Wow! So easy to follow your directions! Thanks for figuring it out and sharing it with us!
This is such a great blog. Thank you! However, I followed all of your instructions and downloaded a true type font from dafont.com under the handwritten category (by pressing the link you provided). In the Cricut Design Center, I typed in a text and found the font under system fonts, but it is still appearing as an outline. Do you know why this is? Thanks for your help.
Ynez, remember that those ARE system fonts so they will be outlines! The key is finding a SKINNY font so that it APPEARS to be a single stroke.
Great tutorial thanks for sharing, I've tried using the precise V5 pens and Part of my journaling is written but then the pen doesn't reach the paper, do you have any idea why that may be happening?
Wow, this blog has really helped me learn even more about my cricut!!! Thanks for taking the time to share. I really appreciate your step by step explanations, that is so helpful.
I just found this post and it is so helpful. I can't wait to try and try some of these fonts with my Explore.
Thank you. I learned a lot from your post :D
Thank you so much! I have been wondering about this for months and can't find the time to play.
Post a Comment