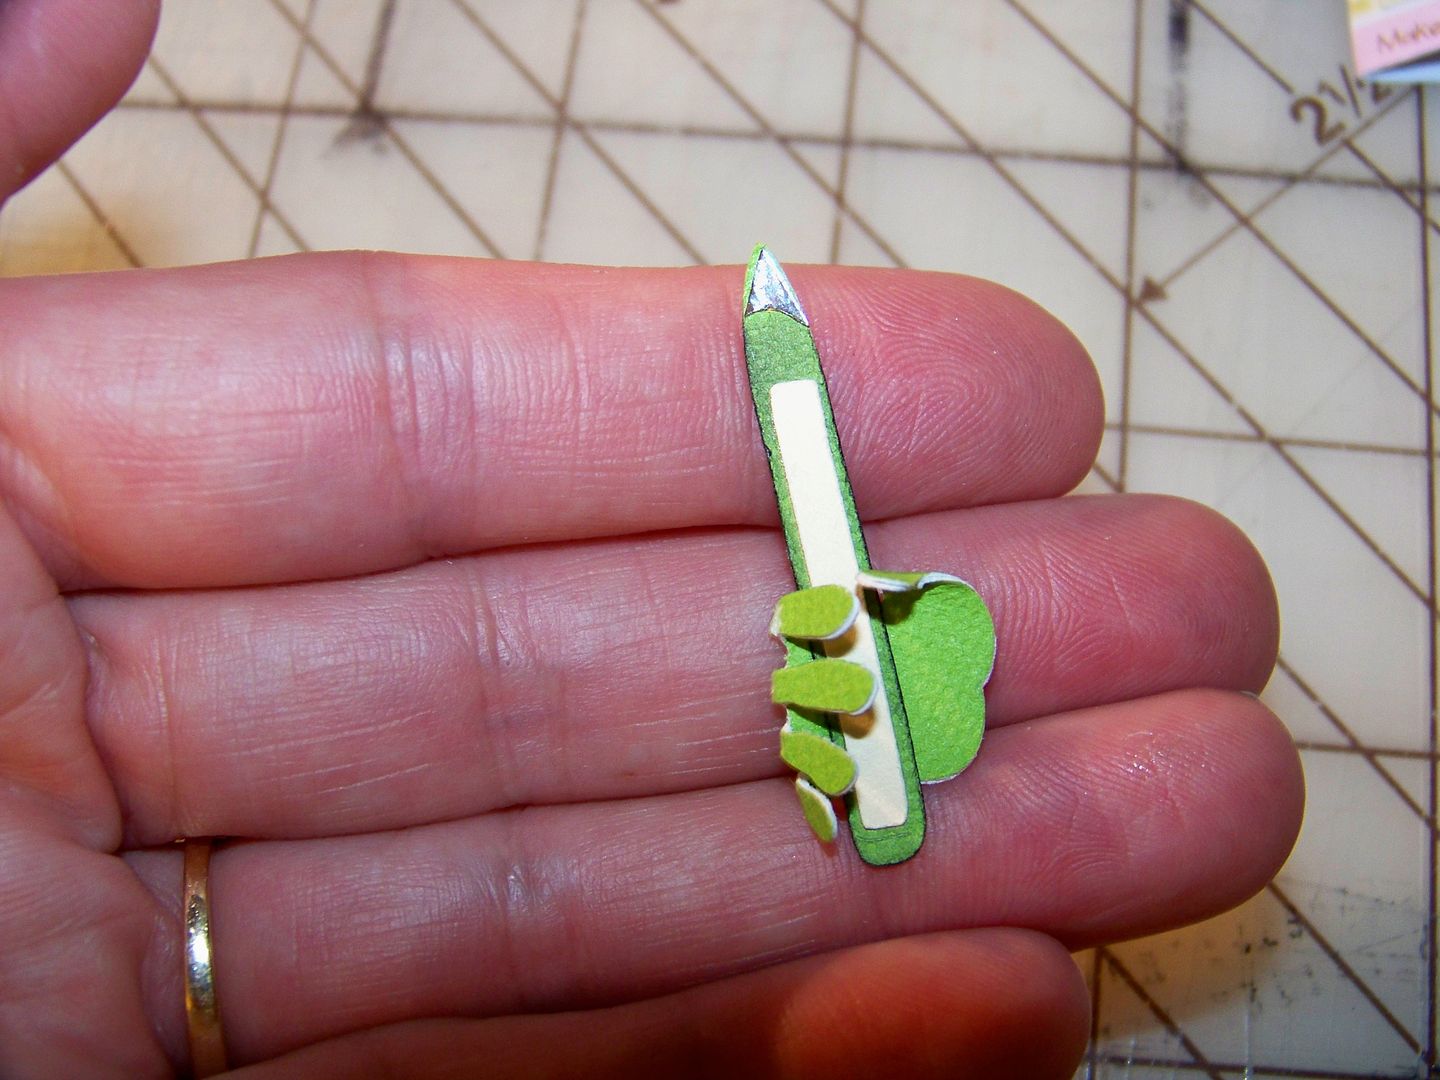
These are my favorite tools that I use.
- Electronic Die Cutter -- I have a Cricut Maker, a Cricut Explore, Cameo Silhouette, and a ScanNCut. You only need one but new ones find their way to me. They all work equally well for paper projects. The differences stem mostly in the software. For cutting fabric for embroidery, I prefer my Silhouette since it works great with my embroidery software and those fabrics are always backed with HNBL anyway. I primarily use my ScanNCut for cutting around shapes and never use it with its software. Because I have so many Cricut cartridges and SVGs and I am so comfortable with Design Space software, I tend to use my Cricut machines the most for everything else.
- Provocraft Cricut Expression -- I have done my most creative things with this machine because I like to alter my cuts and combine them with my hand-cut elements. This is no longer supported or made but I use this machine more than the computerized ones above. The original 12" width cutter with features like Centerpoint (to cut shapes with a programmed center), autofill (to cut a full page of the same shape), flip (to mirror cut any shape). Cuts a variety of materials successfully, especially cardstock and vinyl. I love this machine because I can manually move the blade to the location I choose on a 12x12 or 12x24 mat. Check out the amazing and helpful Narelle's blog, Cricut Lover's Guide to Design Studio, for a complete list of cartridges available, along with a full list of cartridges containing fonts! This machine has manual settings. To learn which settings to use for your project, check out my Cricut Settings Page. You cannot cut SVGs or any file format other than Cricut cartridges with this machine.
- Provocraft Cuttlebug -- Gives dimension and textural interest to die cuts and backgrounds! I do not usually use my Cuttlebug for cutting (except for use with the Cuttlebug Quilling Kits), but I love it for embossing! It is also a great tool for adding rub-ons (my daughter's favorite use for it). You can use it with other brands of embossing folders as well! For Provocraft's chart indexing which plates to use with other brands of folders and dies, click here!
- Pens -- For a complete list of pens that work with the original version Cricut Explore, check out my Pens page: click here!
- Free fonts from dafont.com and Fontspace.com -- I have always loved printing sentiments on my computer in lieu of using rubber stamps, but now that the Cricut Explore has allowed us to cut or draw any font on our computer, having specialty ones is especially helpful and gives unlimited choices! Add them to your computer by downloading them, unzipping, and saving to your computer's font file!
- Martha Stewart Scoring Board -- Make perfect boxes, envelopes, rosettes, and more. Check out the no-die-cutter-needed projects here from Scor-Pal (another brand; similar product).
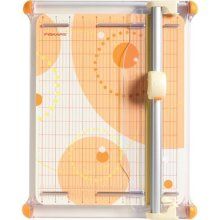
- Rotary Paper Trimmer --
Necessity for getting absolutely straight cuts. I love my Fiskars Trimmer (9902 Desktop Rotary 12") because it has an extra plate to hold paper in place that is separate from the plate with the blade.
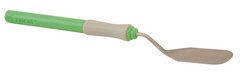
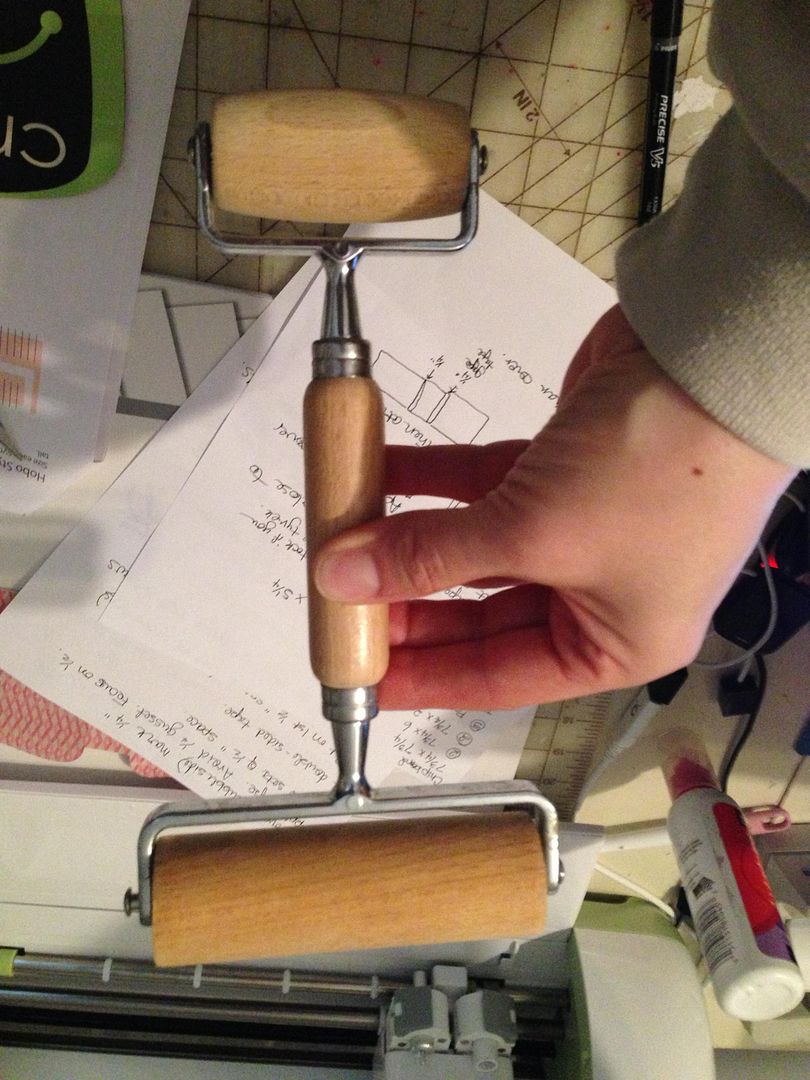
- Spatula --
The simple tool that should come with all Cricut machines in my opinion!!
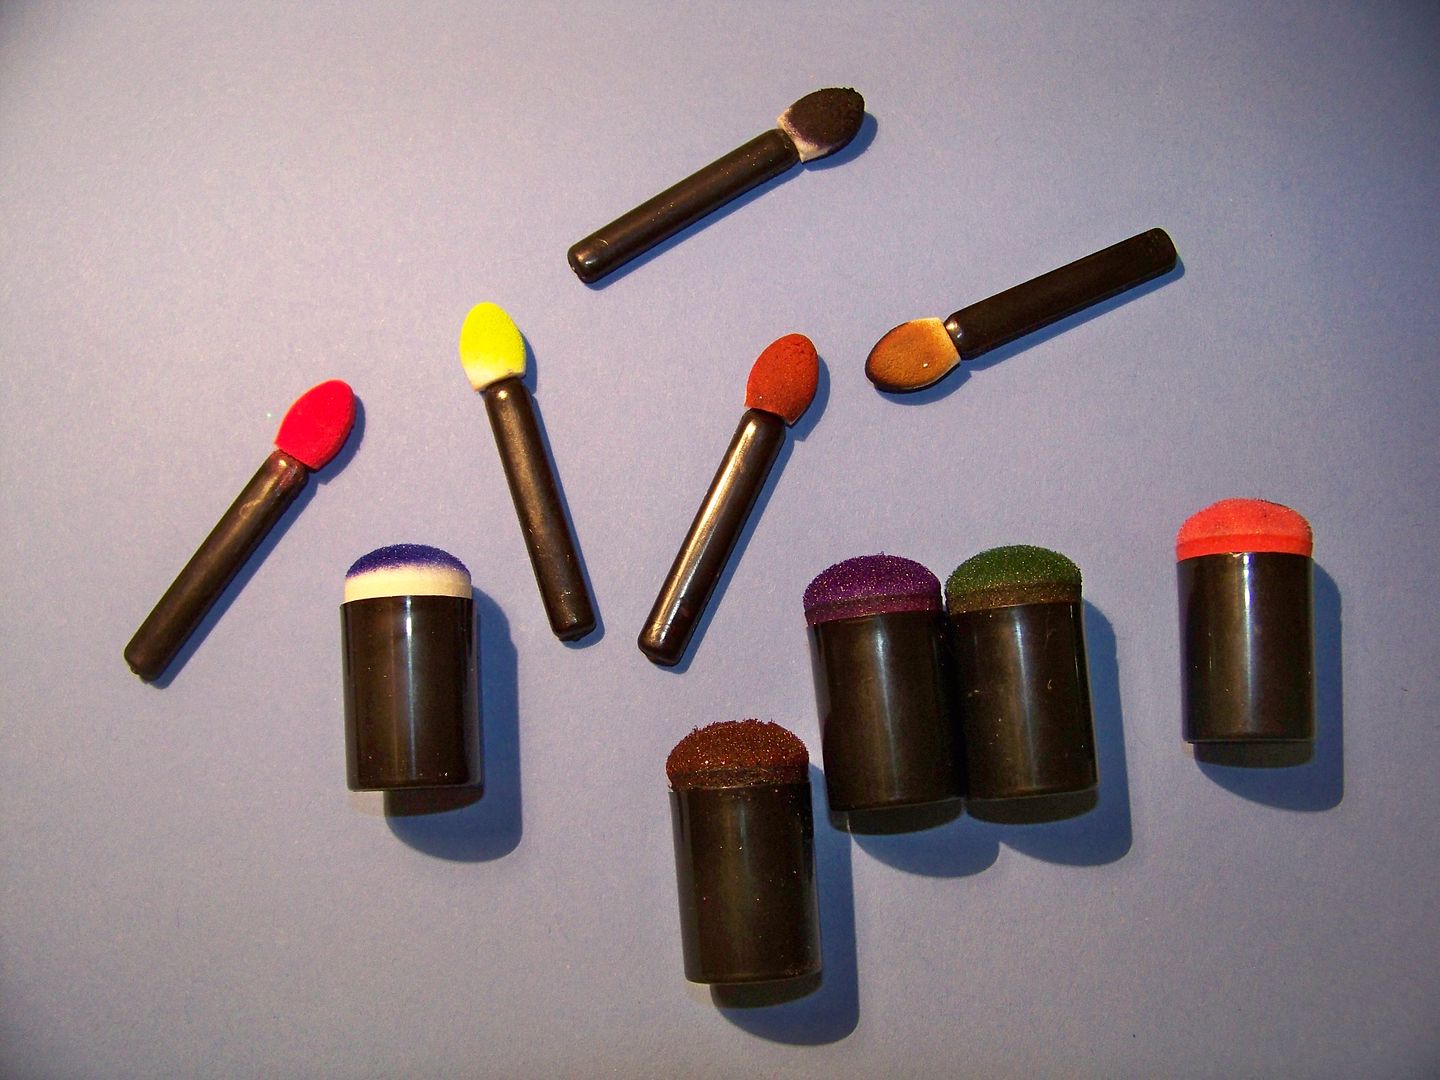
- Foam Applicators --
I use these to ink edges.
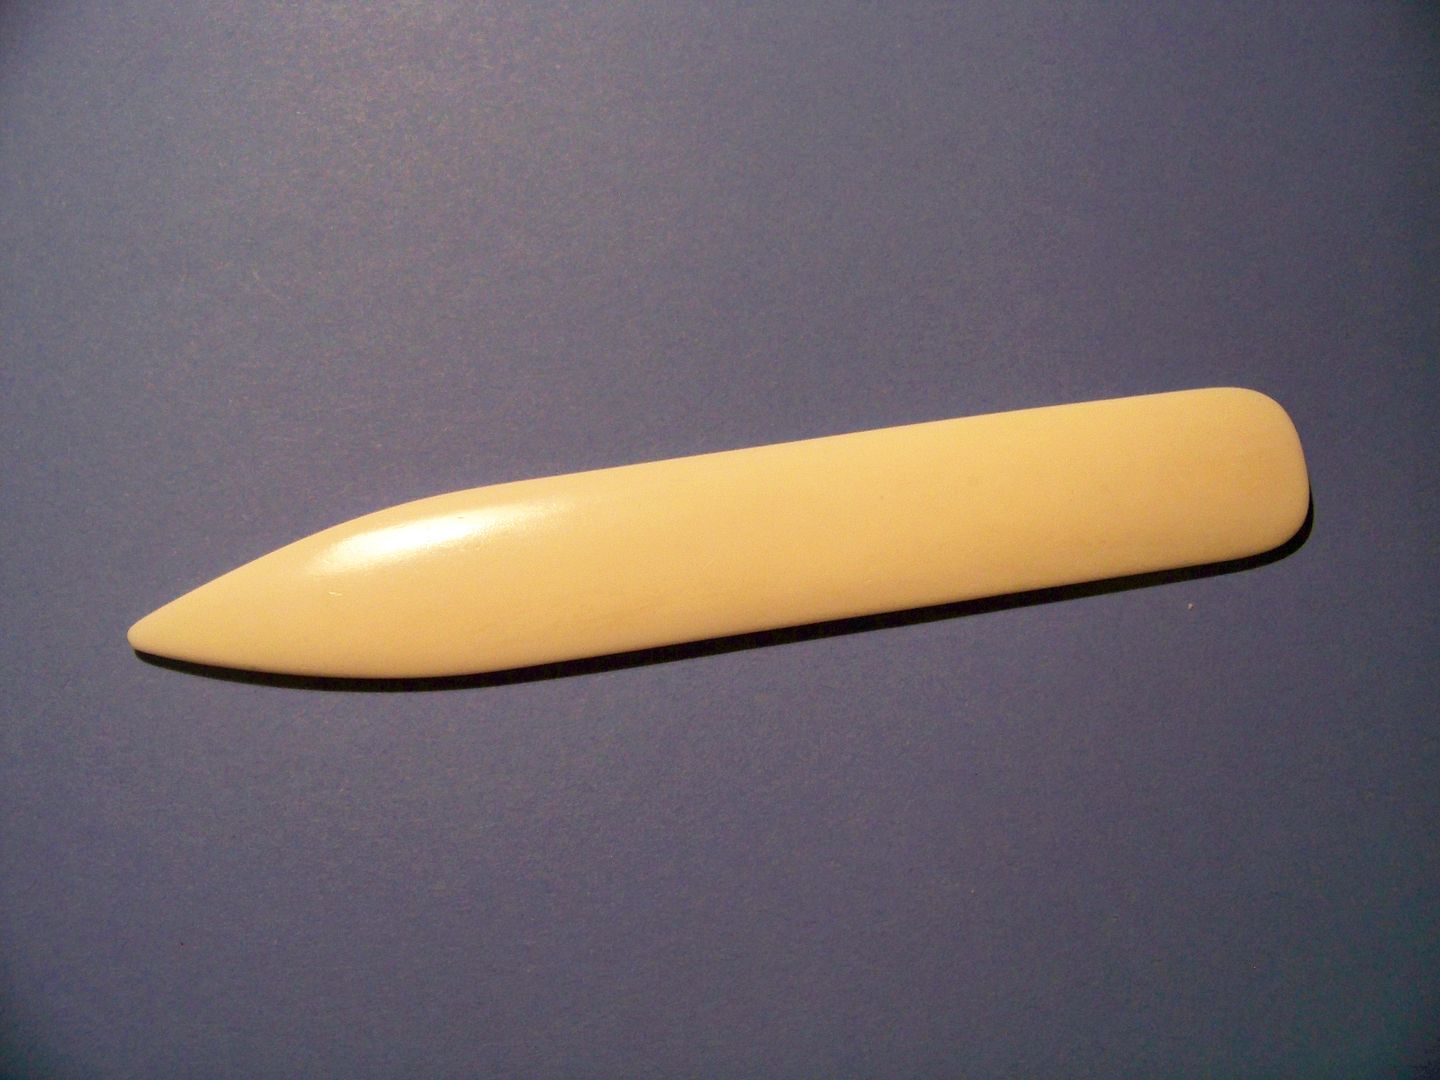
- Bone Folder --
A must for getting smooth, flat folds. Some old ones are made from bone. Typically, they are now made of plastic.
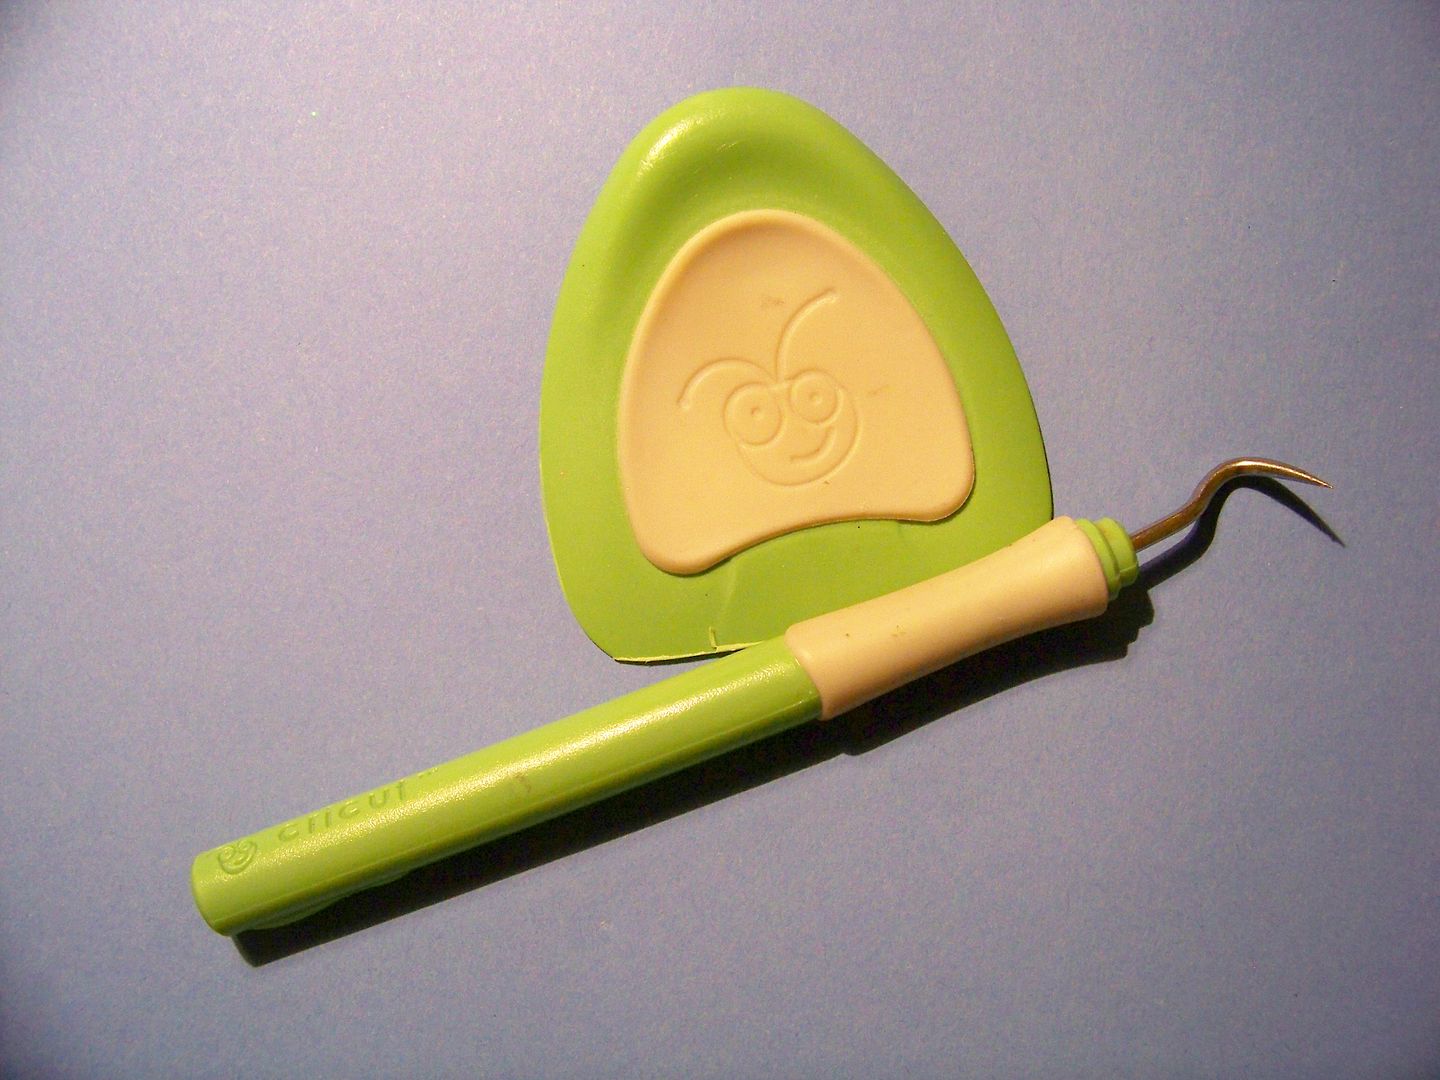
- Cricut squeegee and dental pick --
These come in the Cricut tool kit, but they are the only tools I use from the kit with regularity. They are required though!!! I use the dental pick tool to remove gluey residue webs from intricate cuts that have gone through the Xyron. (Remove the residue with rubbing alcohol!) It is also a perfect 'weeding' tool for vinyl projects. I use the squeegee to apply paper to the mats.
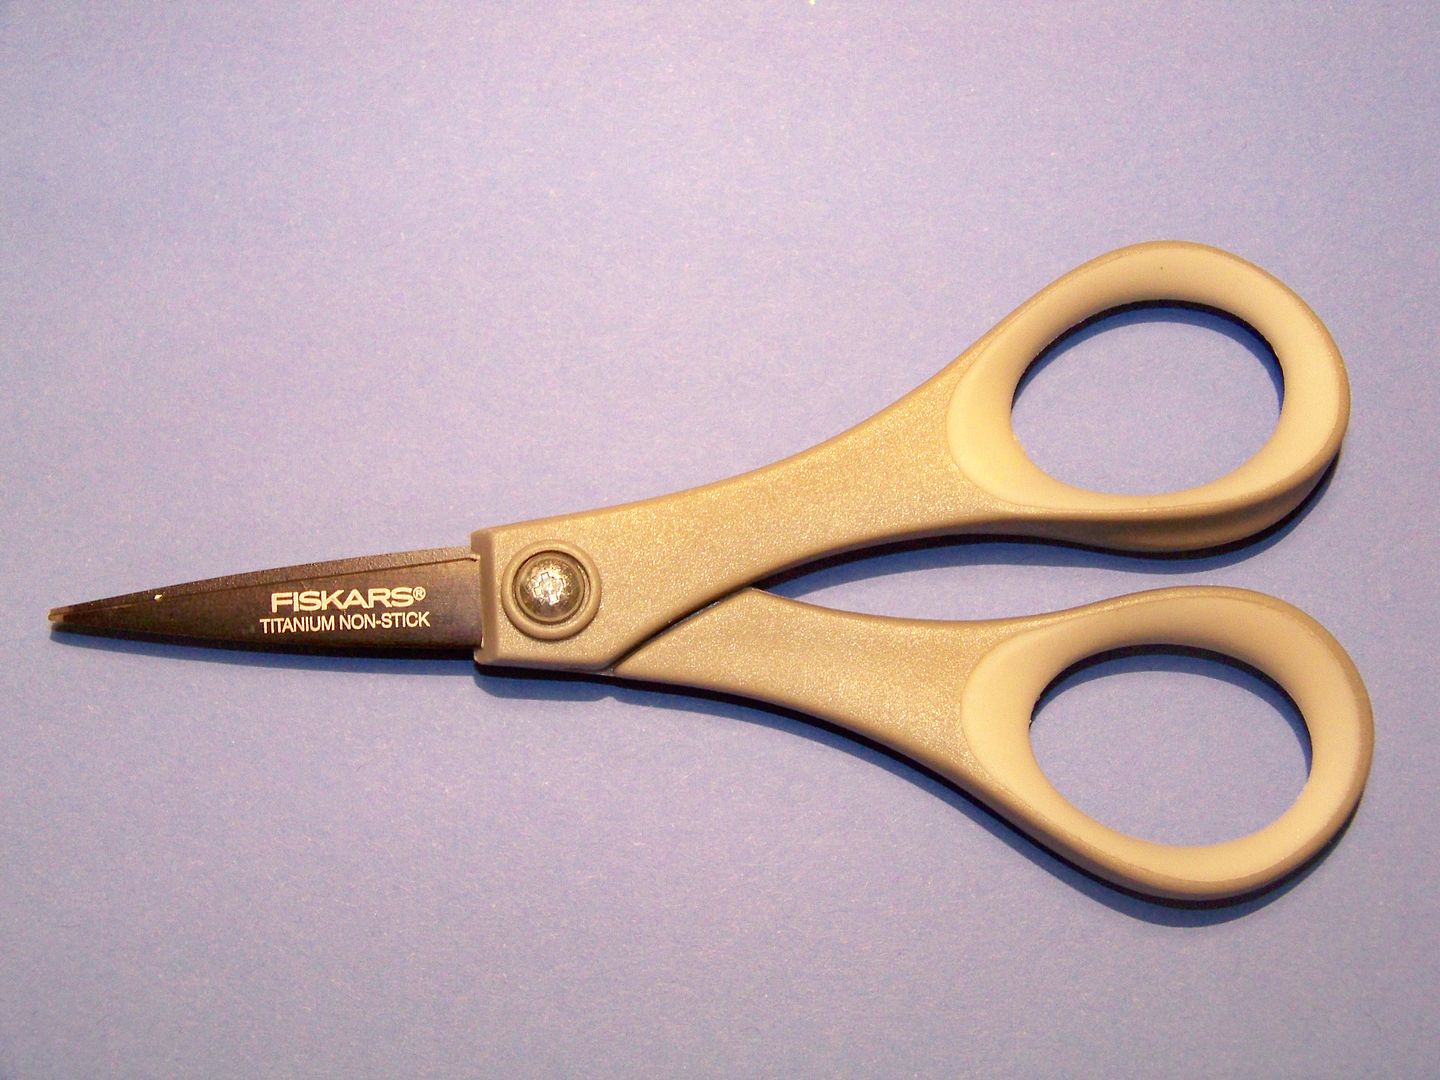
- Fiskars Titanium Non-Stick Scissors --
I love these scissors for cutting through gummy surfaces, like adhesive Velcro! They absolutely do not gum up or attract residue!
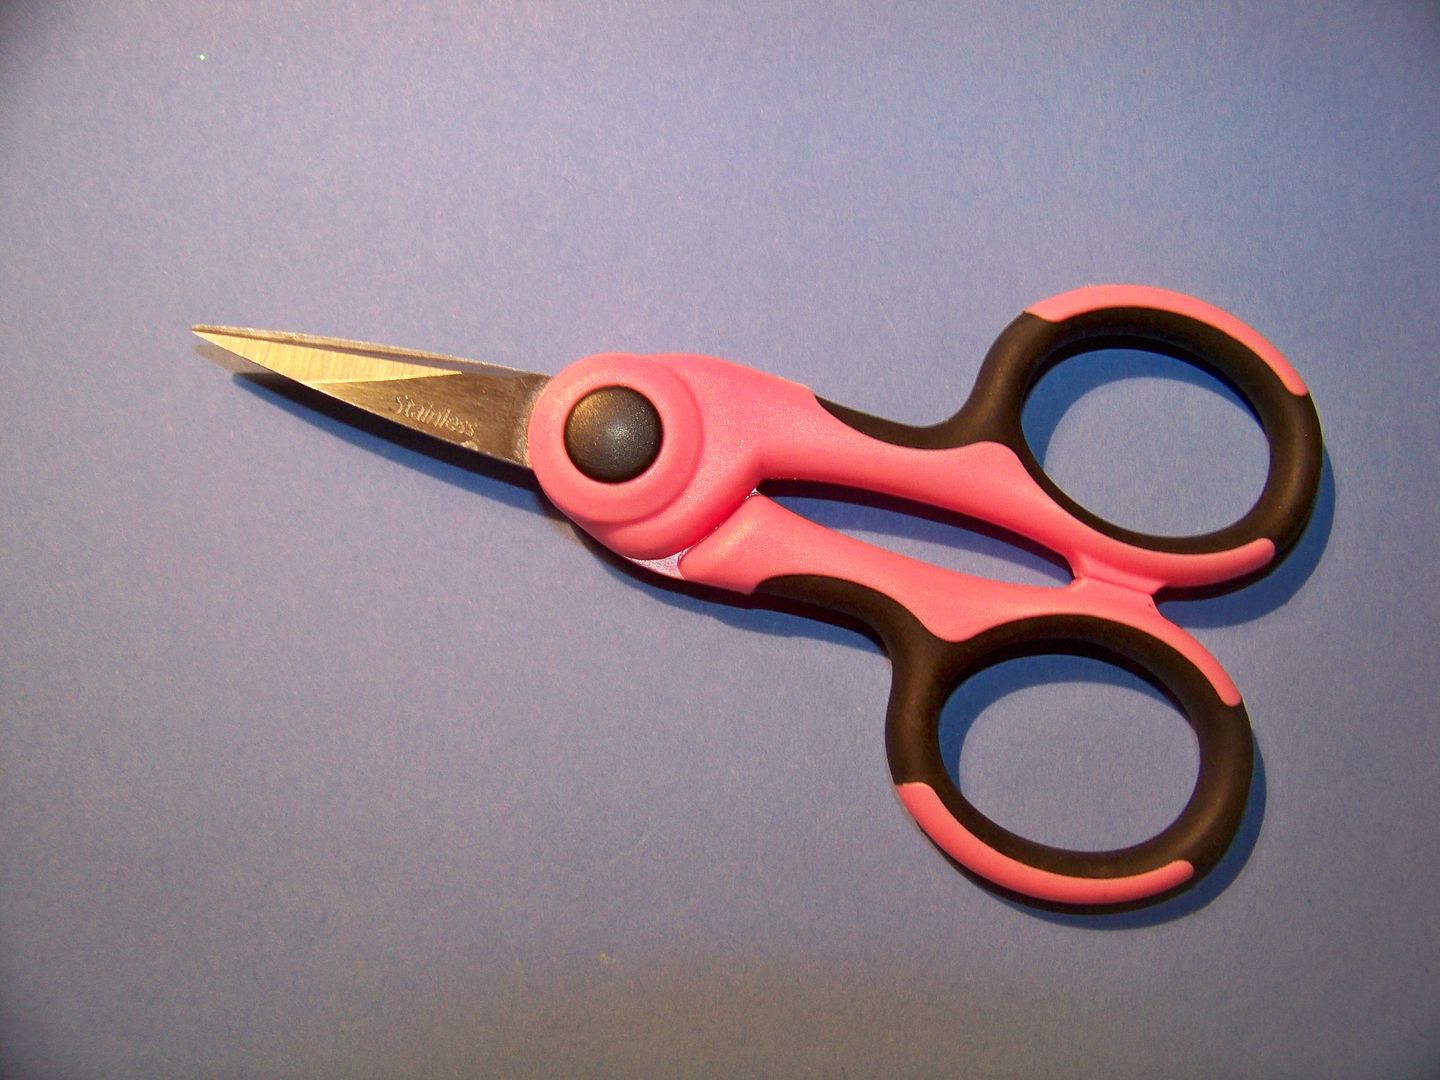
- Super sharp, fine-tipped scissors --
For precision hand-cutting
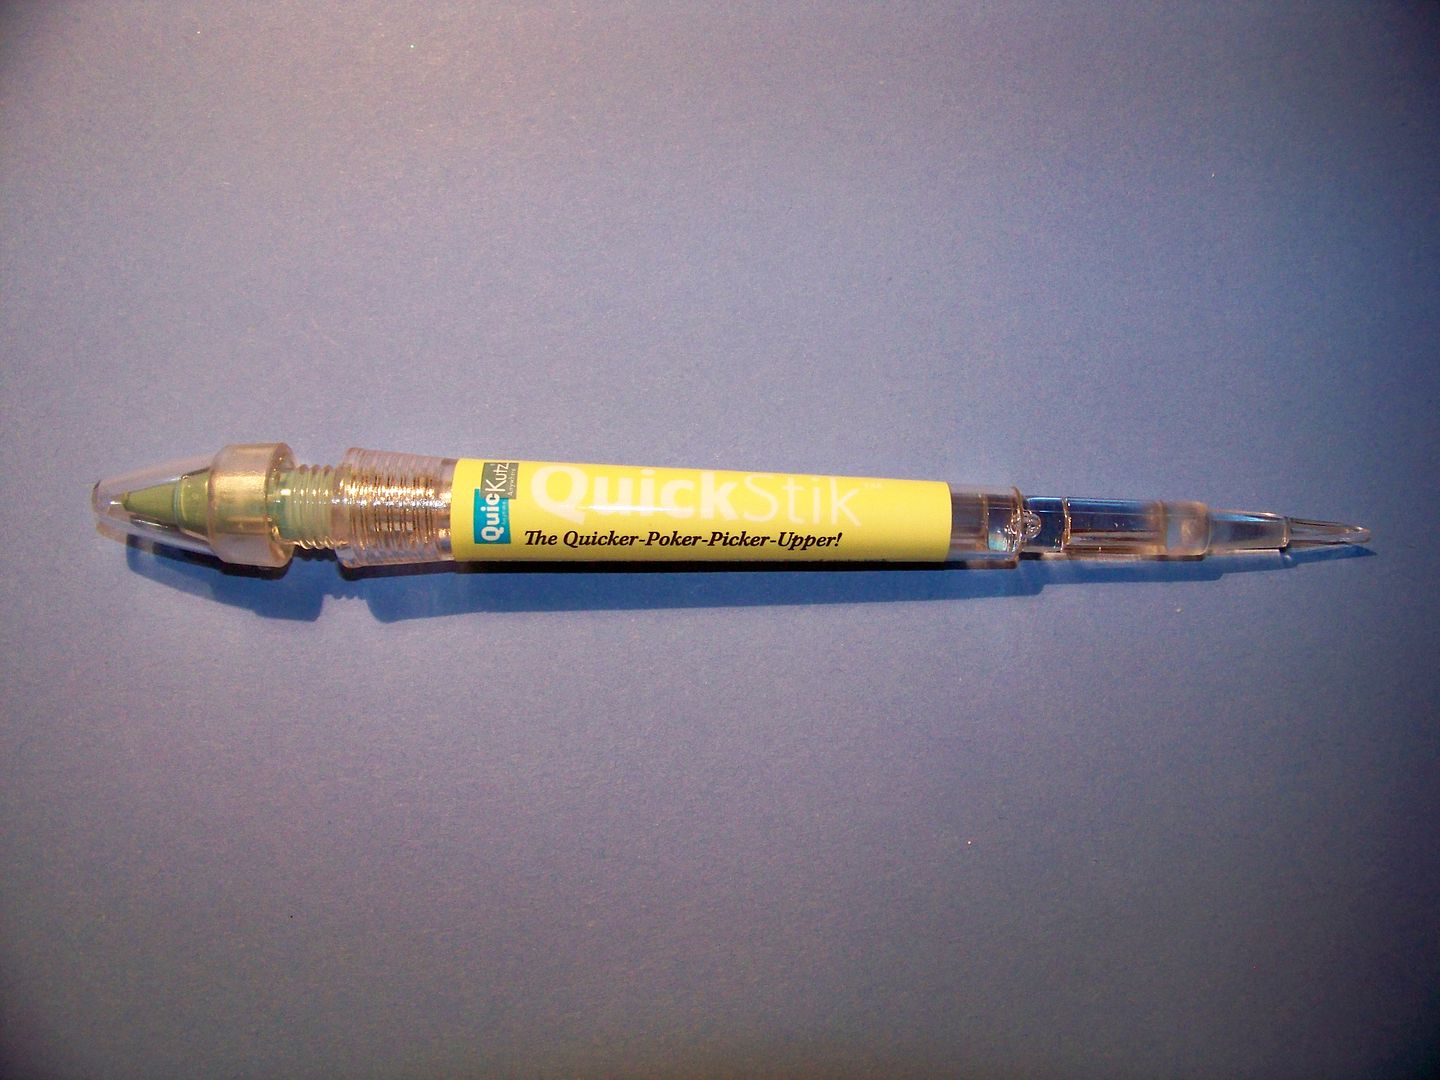
- QuicKutz Quick Stik --
Picks up tiny die cut pieces for layering with its tacky tips. Perfect for those tiny licensed character pieces!
- WeR Memory Keepers Brad Setting Tool --
Push holes with the awl end and open brad backs with the setting end! I love this for those teeny brads that can destroy your fingernails!
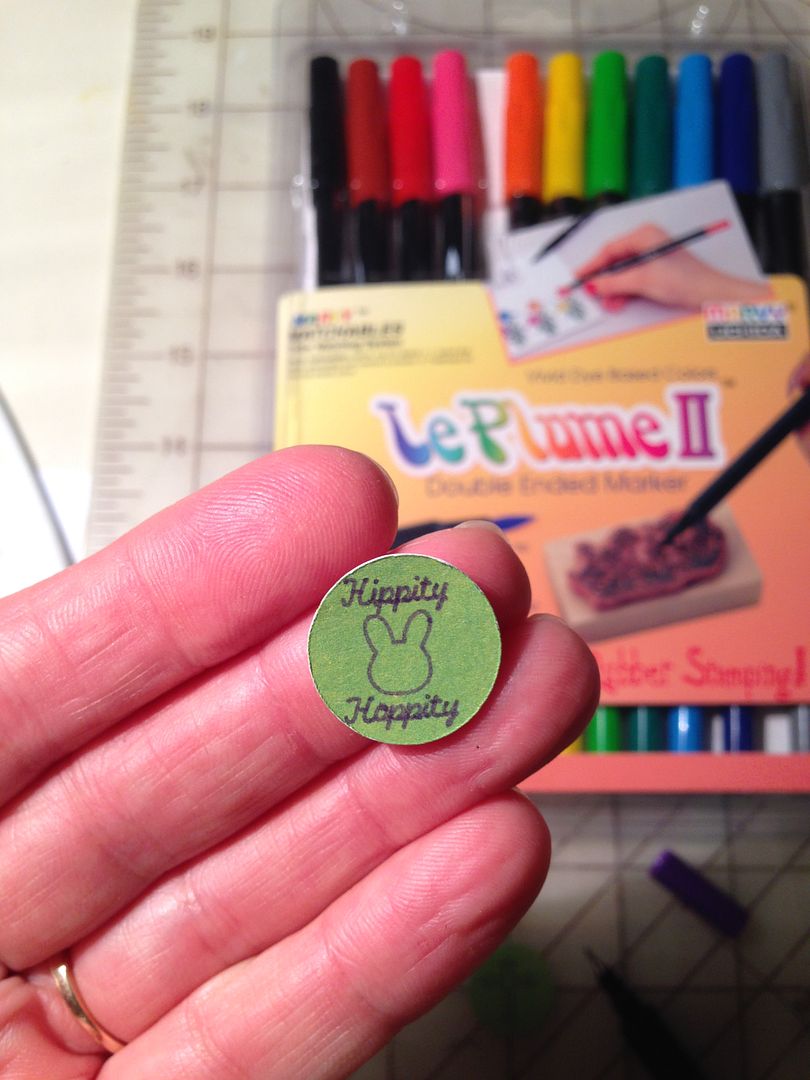
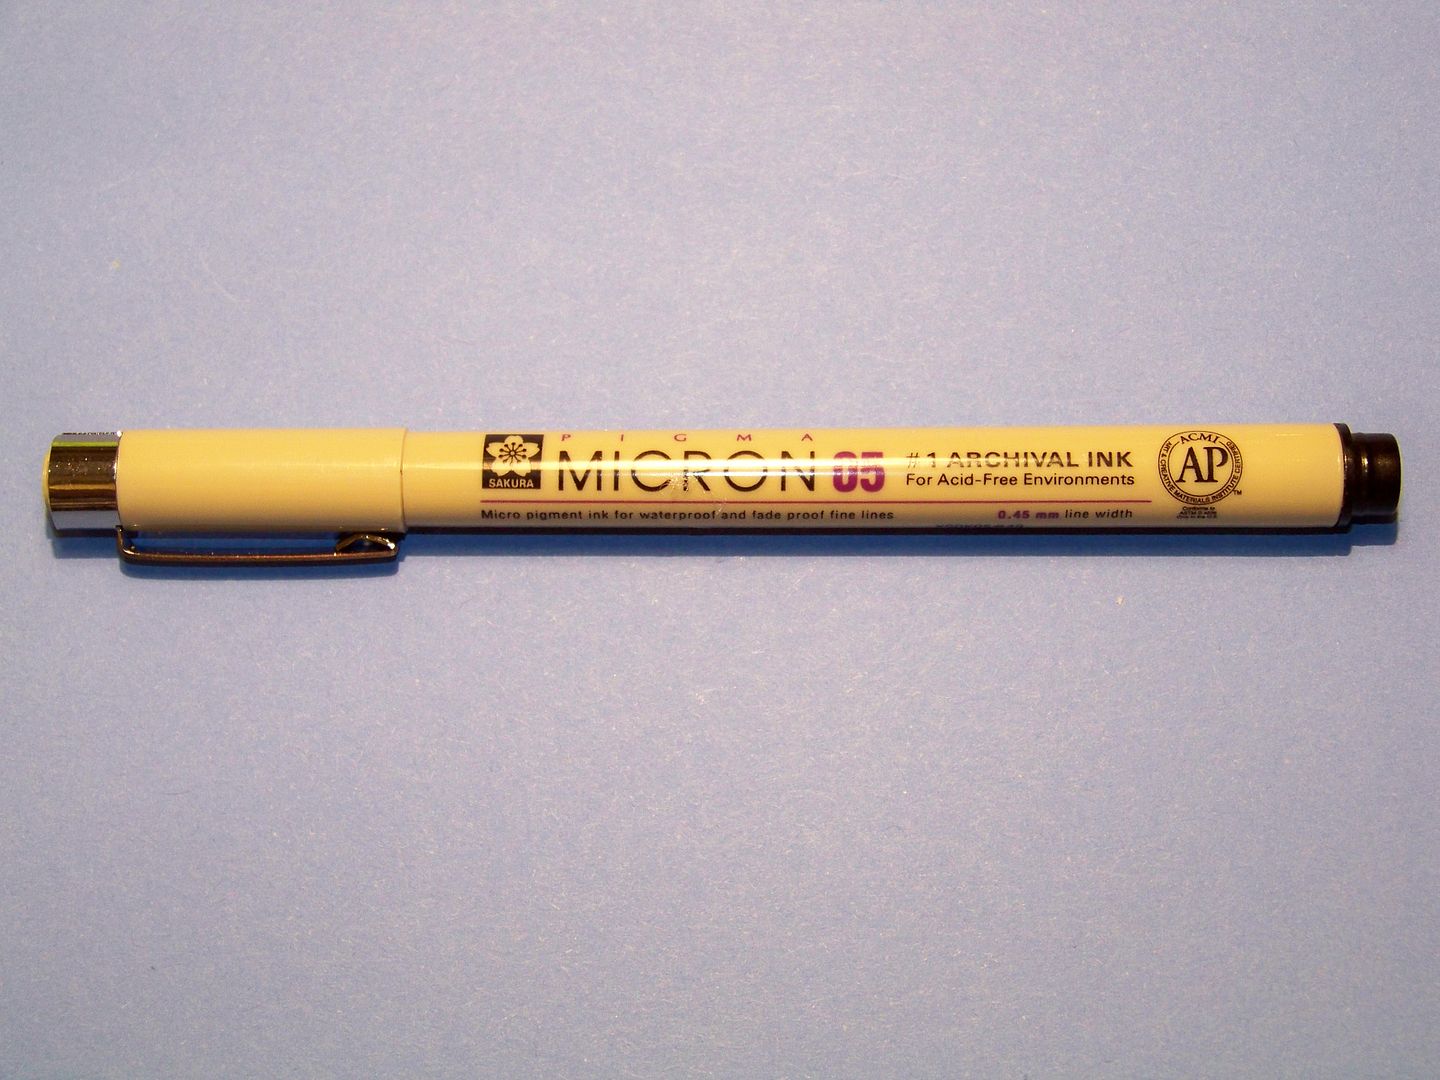
- Zig Millennium 01 pen or Pigma Micron 05 --
Draw your own perfect little faces and details! This super-fine pen is a photo-safe, acid-free, pigment ink.
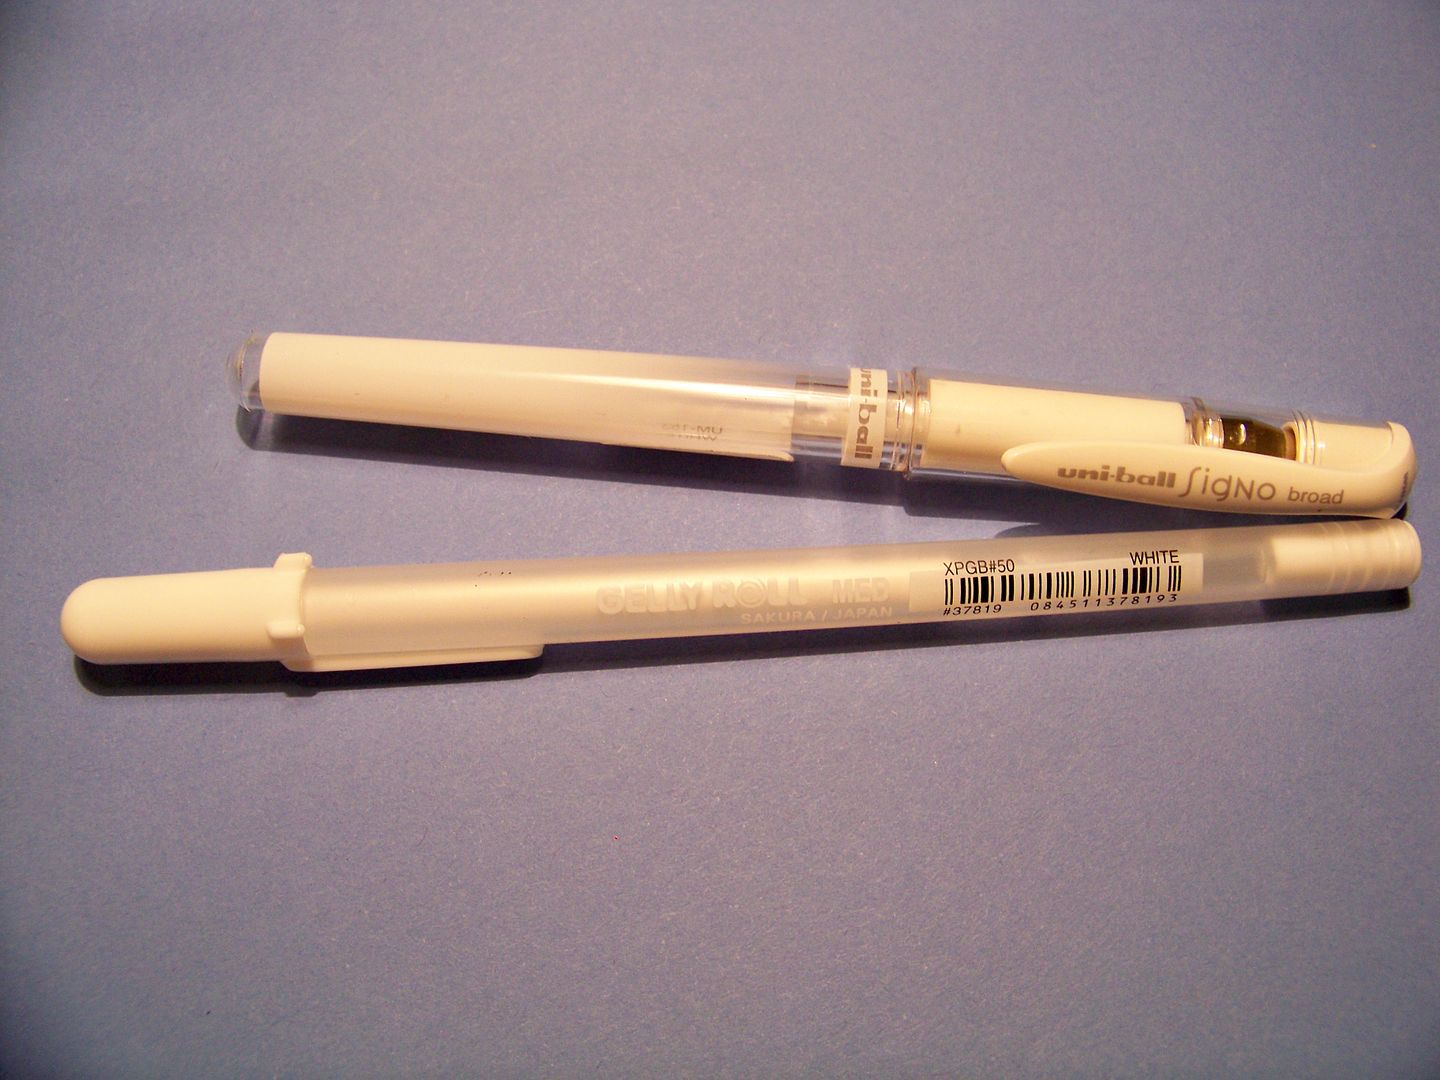
- Fine White Gel Pen --
Great for 'stitching', accents, and faces drawn by hand.
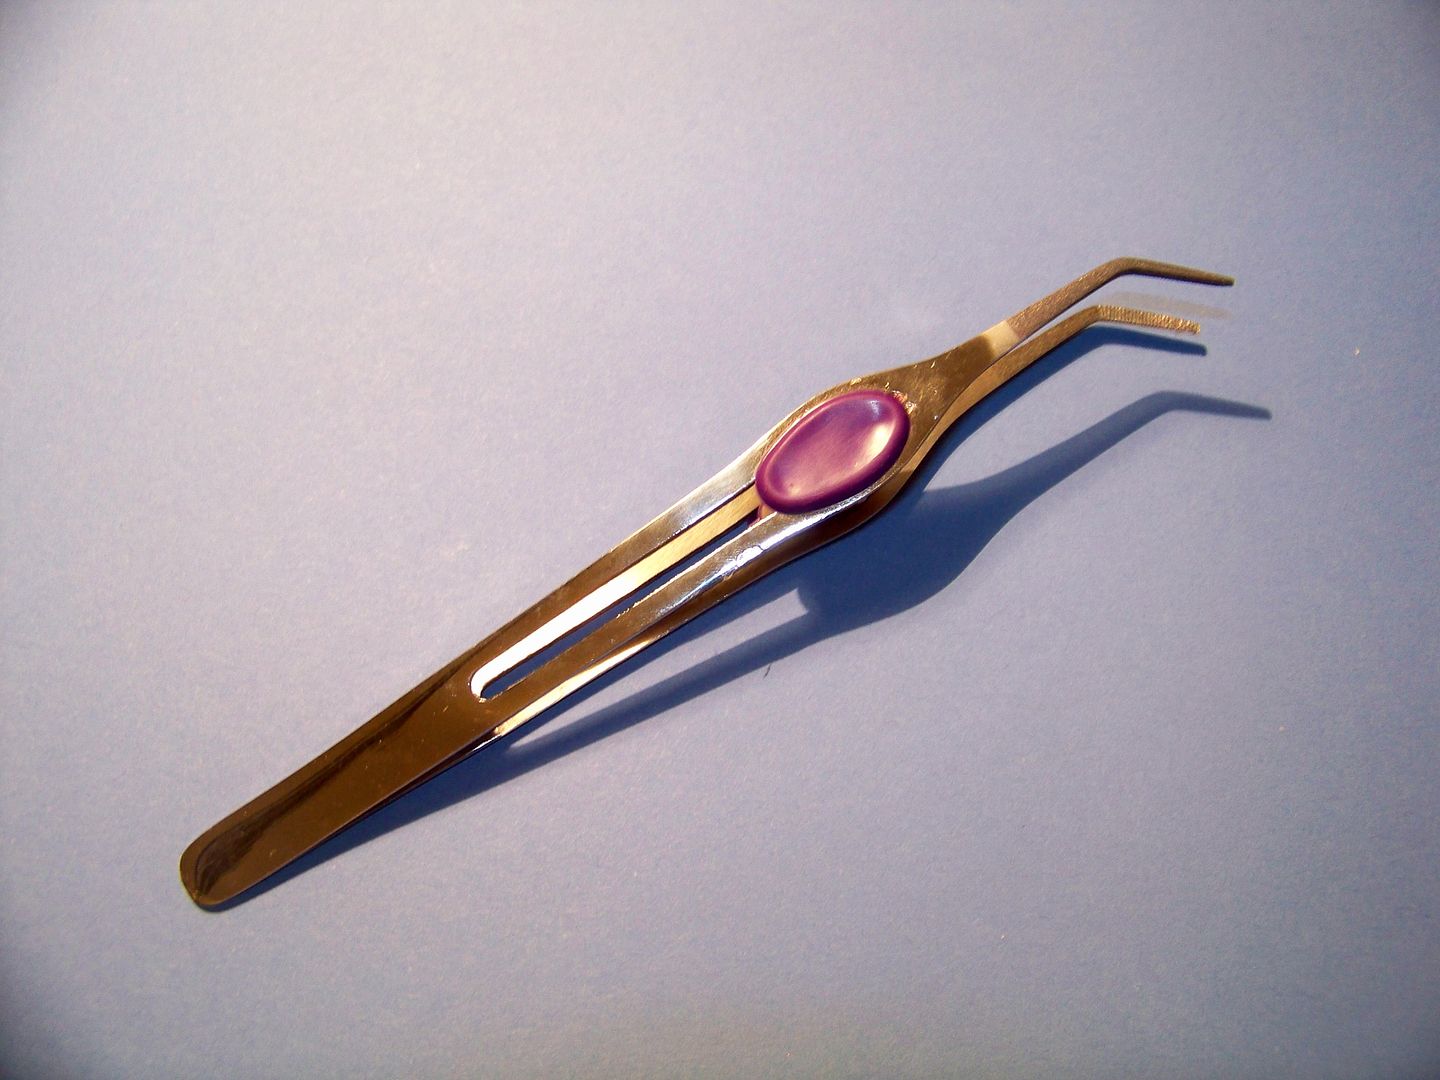
- ToolTron Stainless Beading Tweezer --
Grip tweezer ends hold stones and beads in place for moving, gluing, and setting.
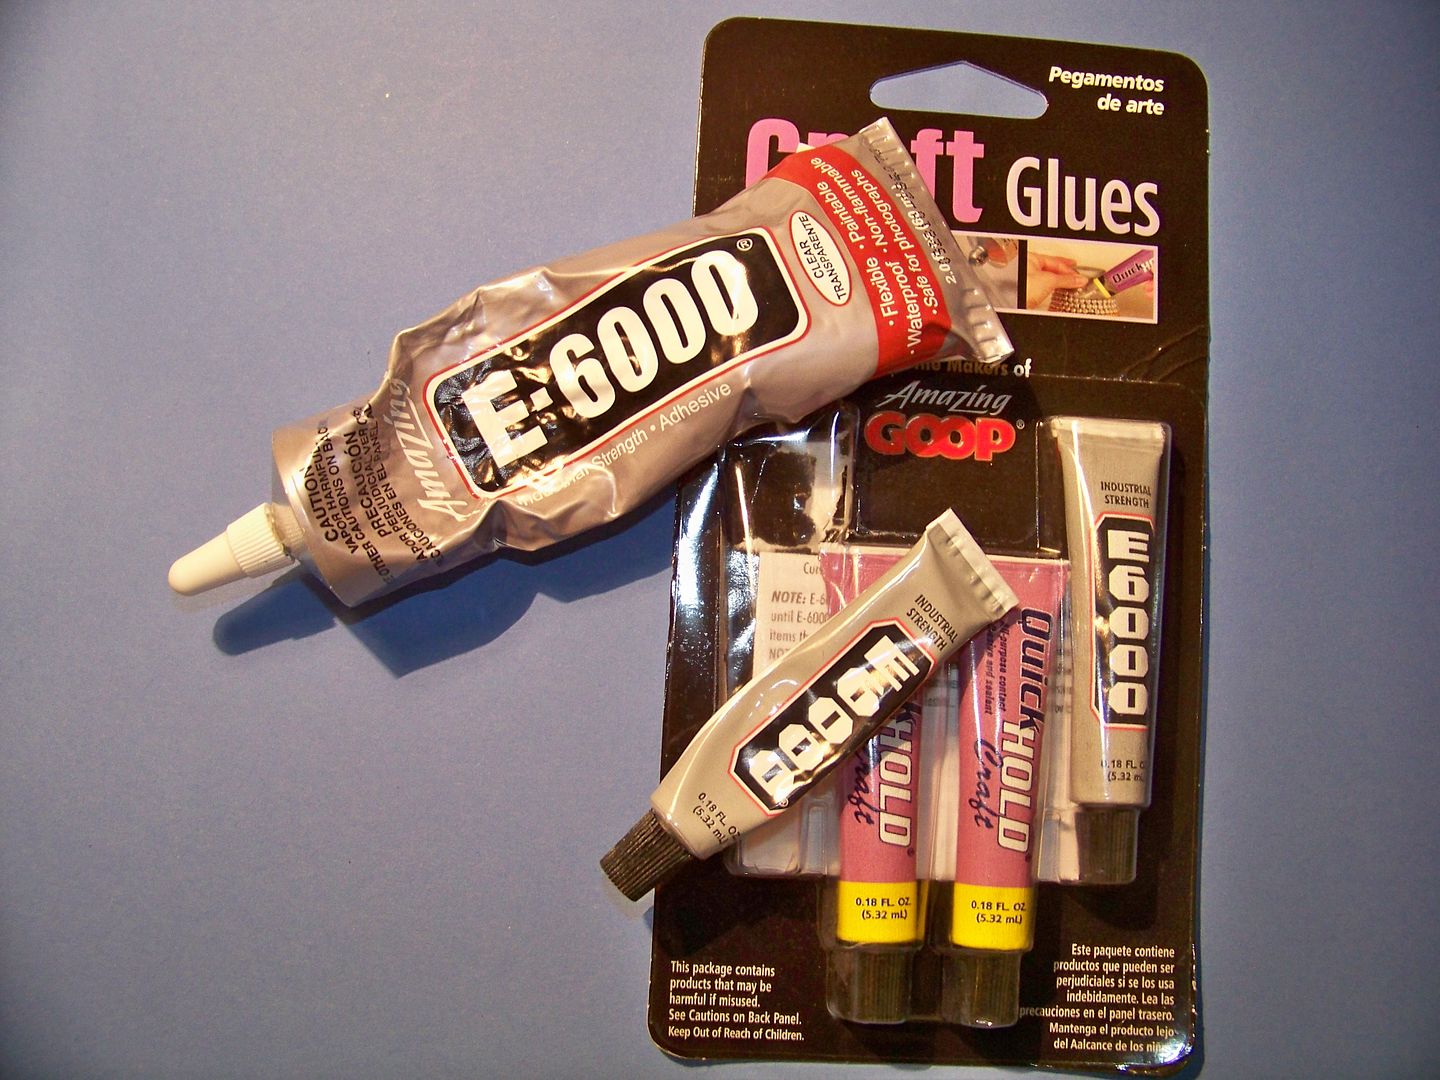
- E6000 .18oz Tube Plastic Adhesive --
Perfect glue for non-porous surfaces, like plastic and metal. I like the little tubes because I don't have to worry as much that over time the lid will get glued on to the tube! It is very effective stuff and easy to be messy with the big tubes! These get used for a couple of months, get used up, and get tossed.
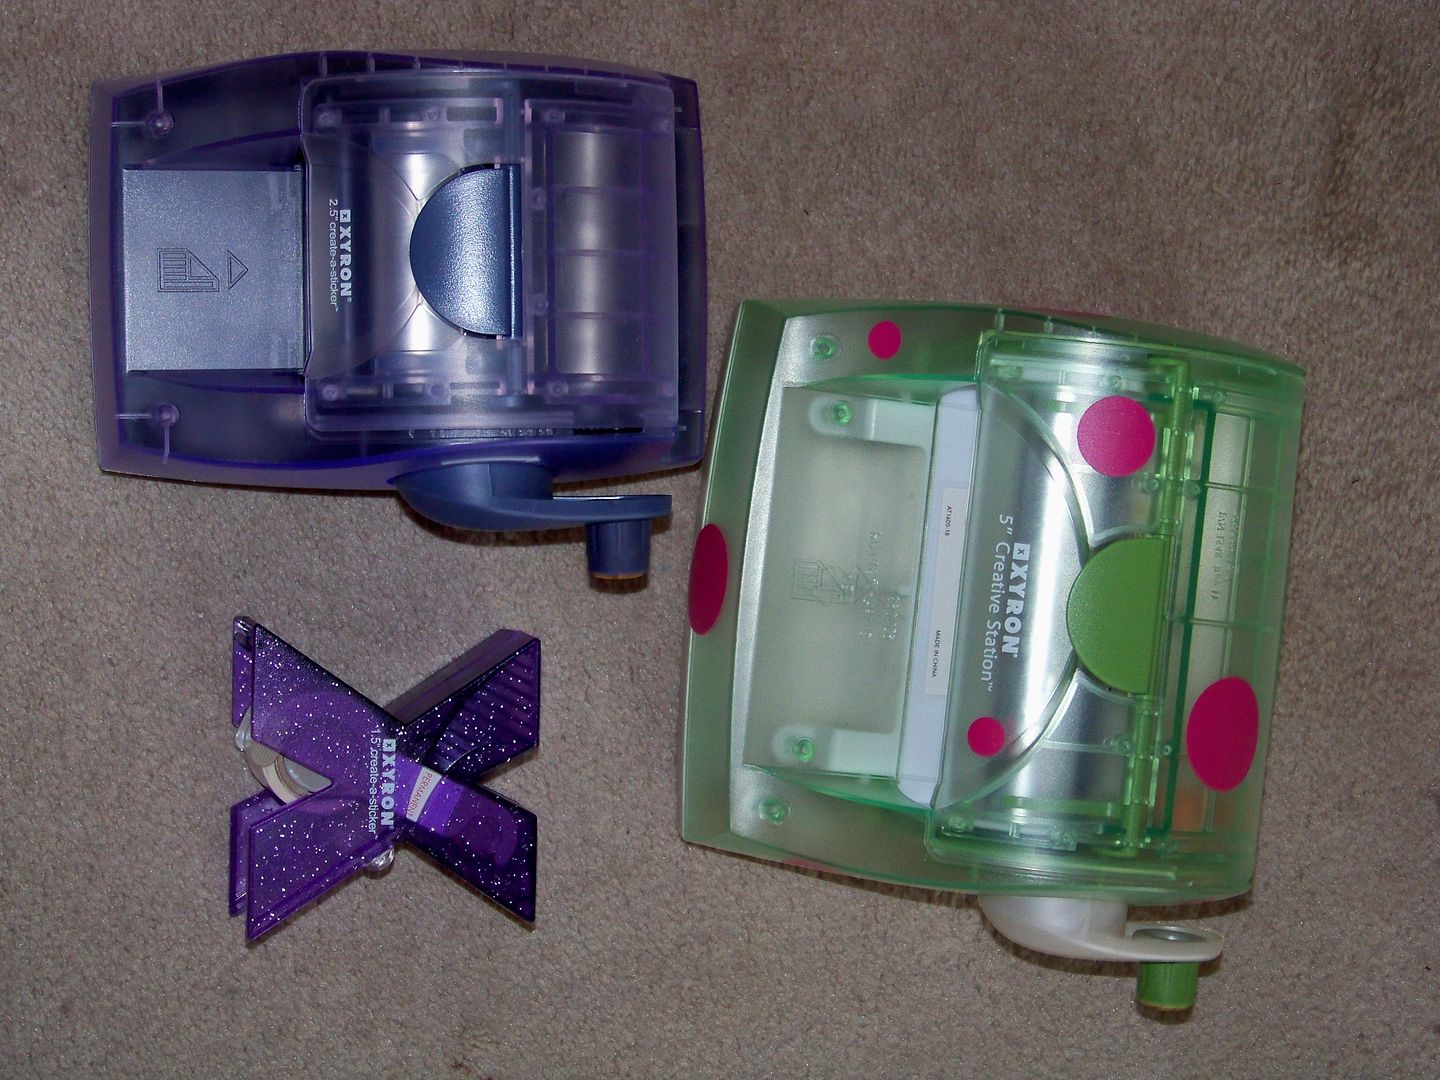
- Xyron --
The most fabulous invention for applying an even application of adhesive to flat surfaces. This is my preferred method for applying glitter!
- Advanced Tape Glider (ATG gun) --
Fantastically strong, thin, adhesive. Easy to use and refills are readily found in most craft stores. Perfect application onto straight edges.
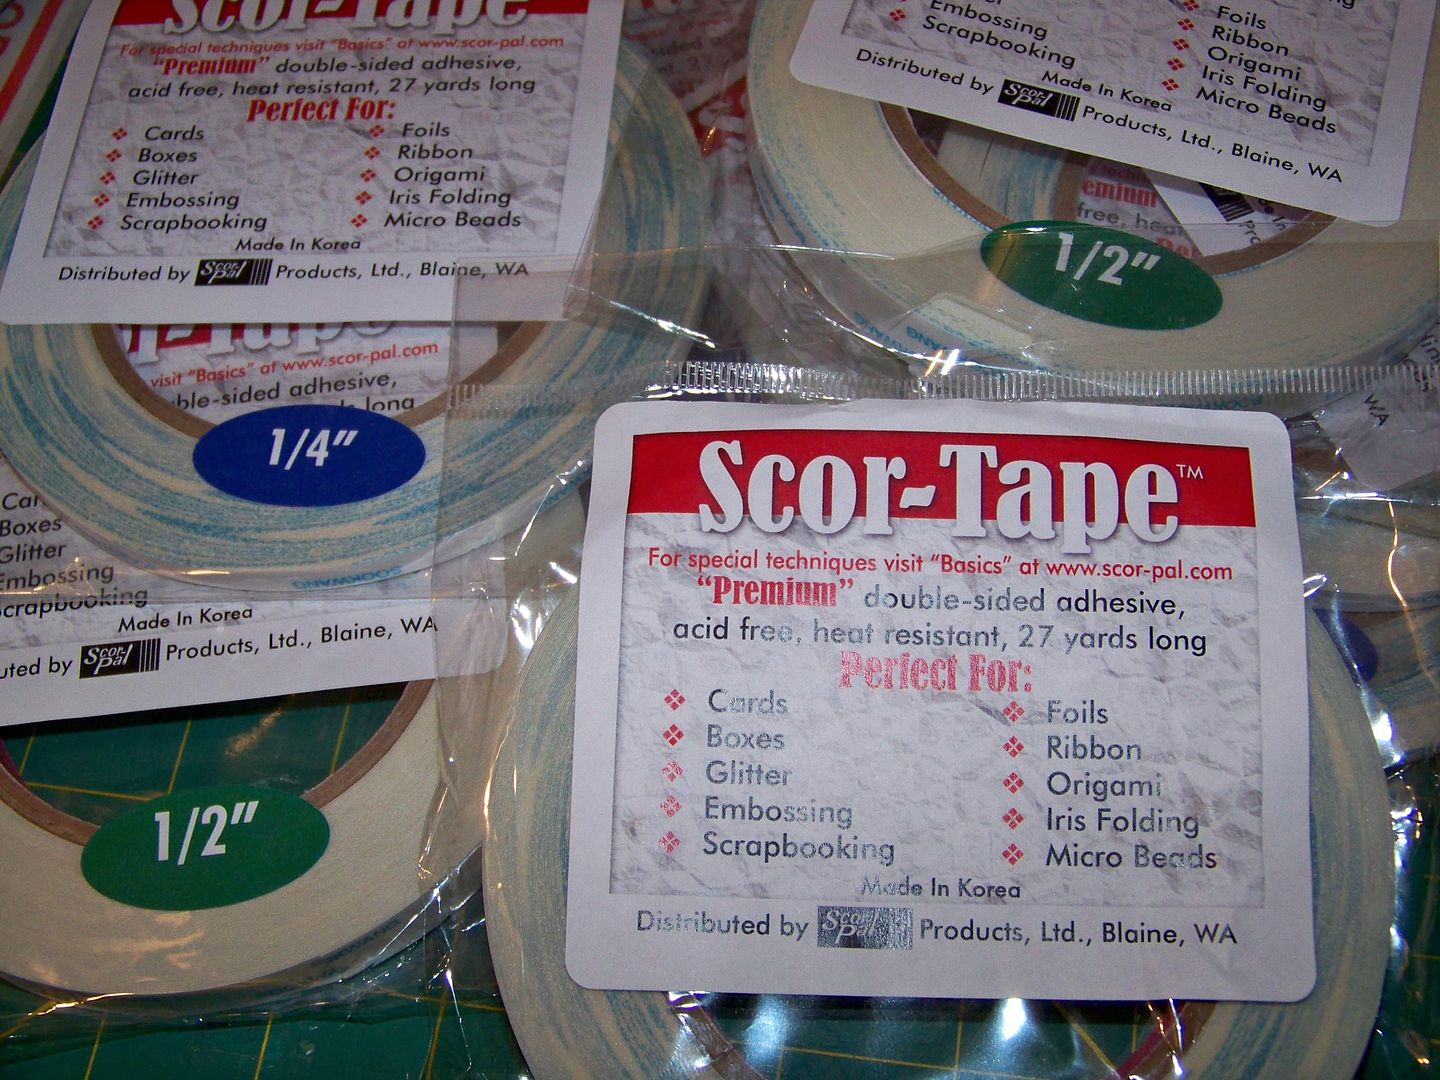
- Scor-Tape --This is perfect for album book binding. Because I use so much for binding, these 27 yard rolls are great. I buy this in bulk on eBay.
- Basic Photo Safe Adhesive for Paper -- I used Scotch Quick Dry for years but can no longer find it. I now use Art Glitter Designer Adhesive that I buy on Amazon.
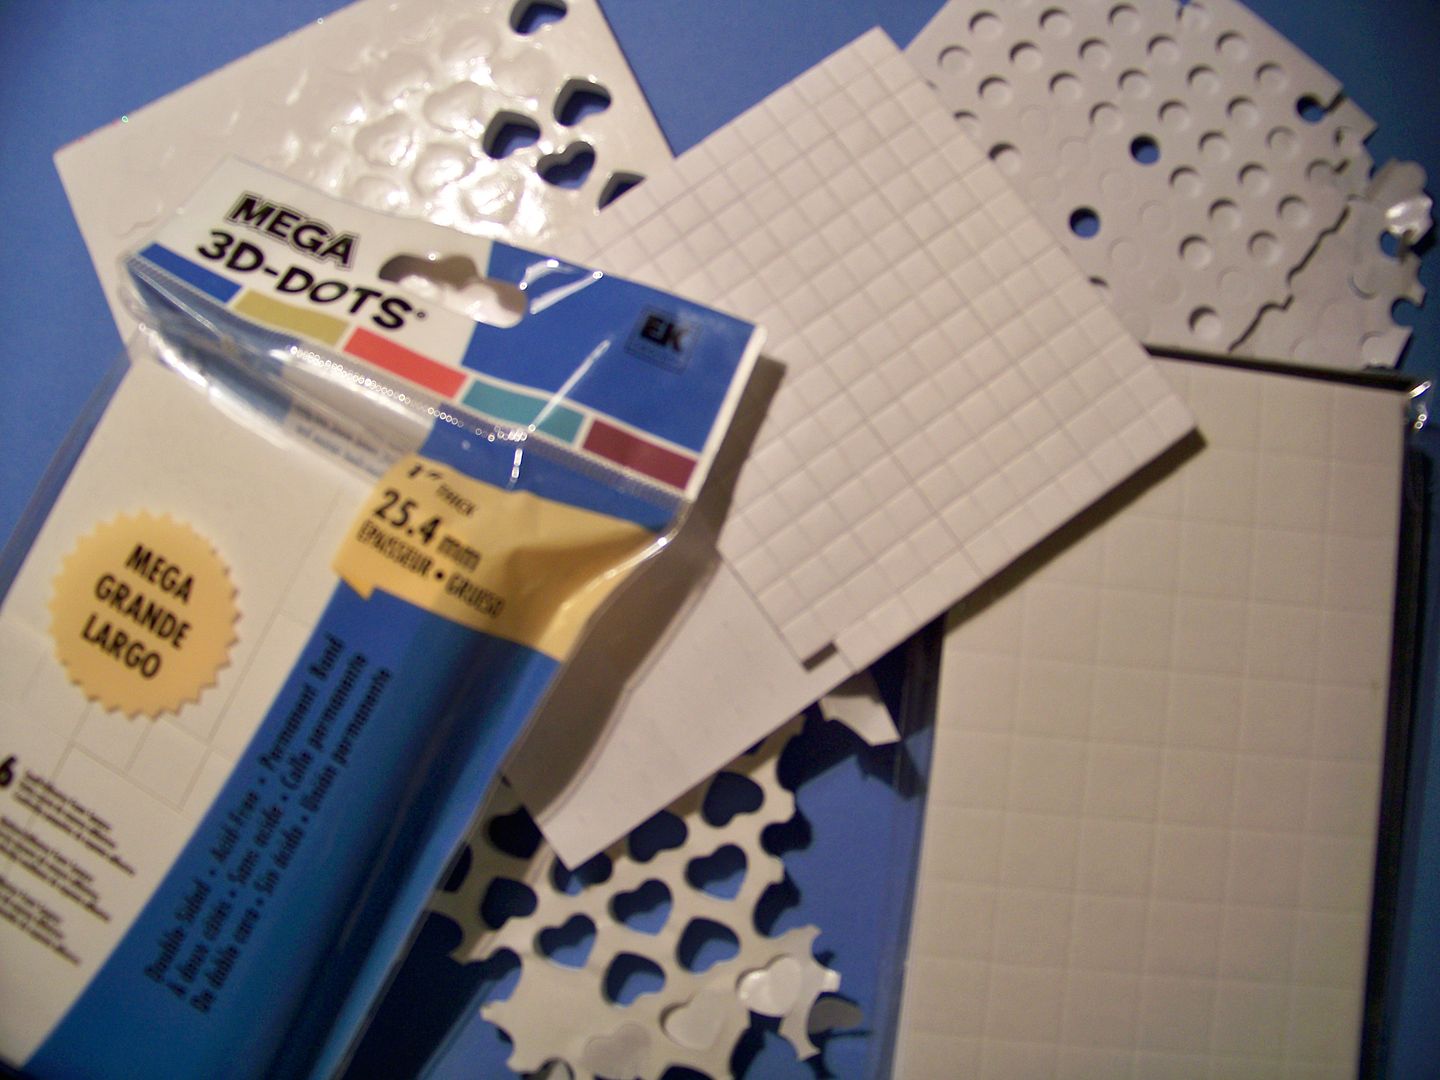
- Adhesive Foam (pop dots) in a variety of thicknesses
- Cardboard Overspray Box --
You can make your own or pick up a cheap one (I got mine at Archiver's for less than $5). Protects your workspace from overspray from Glimmer Mist, spray adhesives, and spray paints.
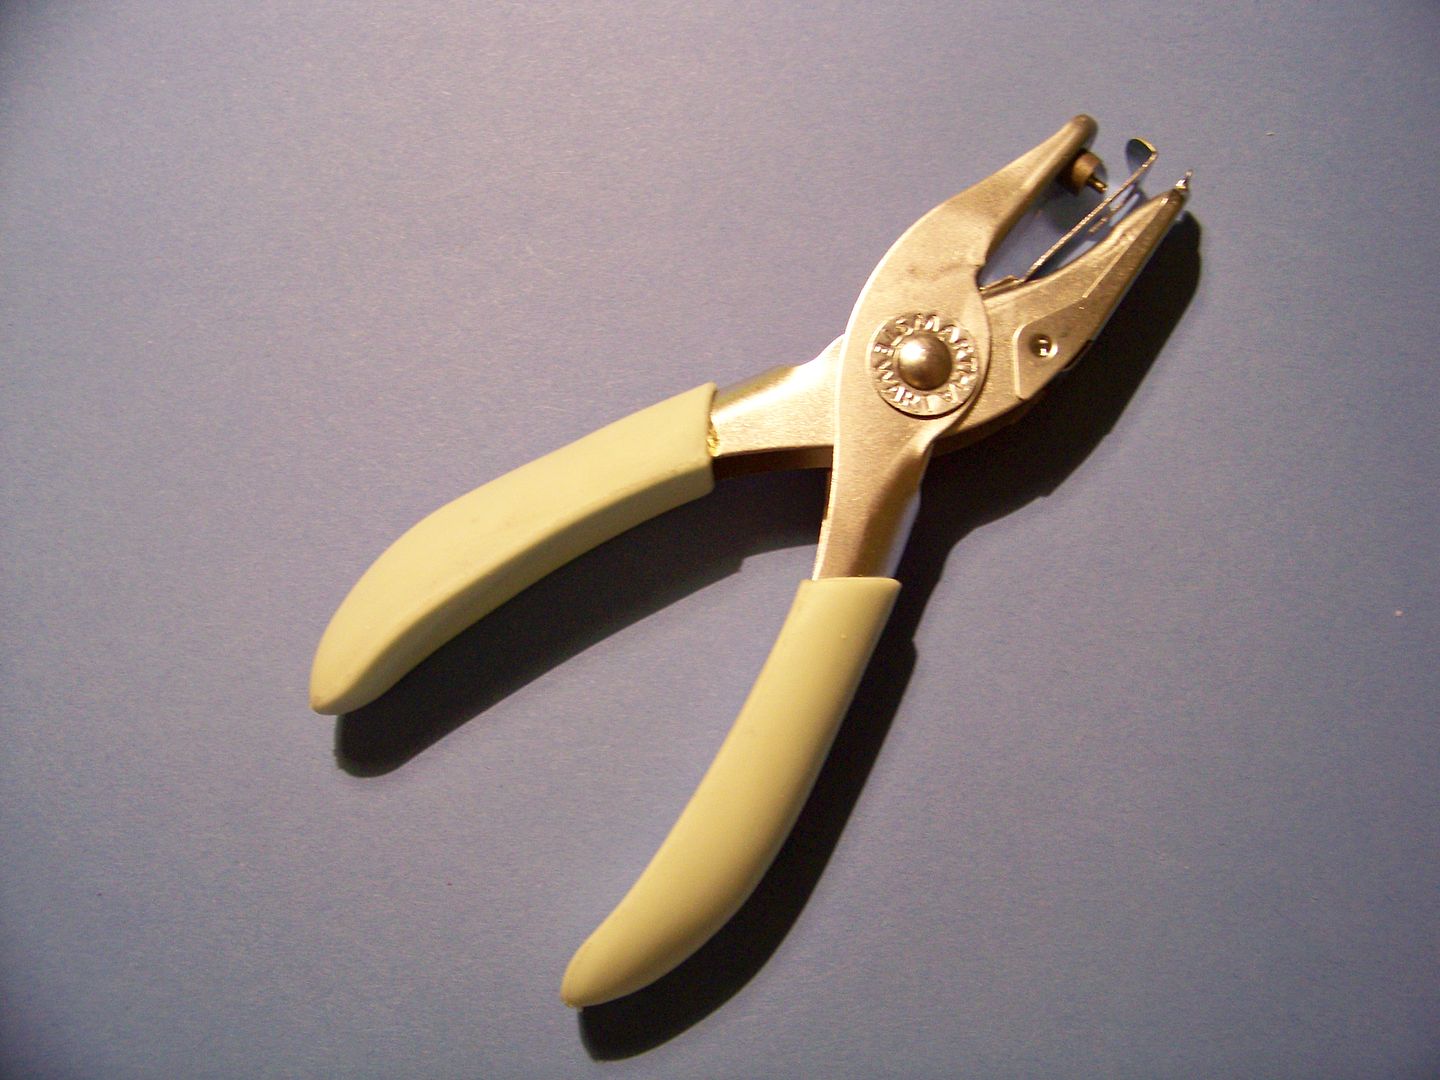
- 1/16" Hole Punch --
Punch a small hole for tags, ornaments, lacing.
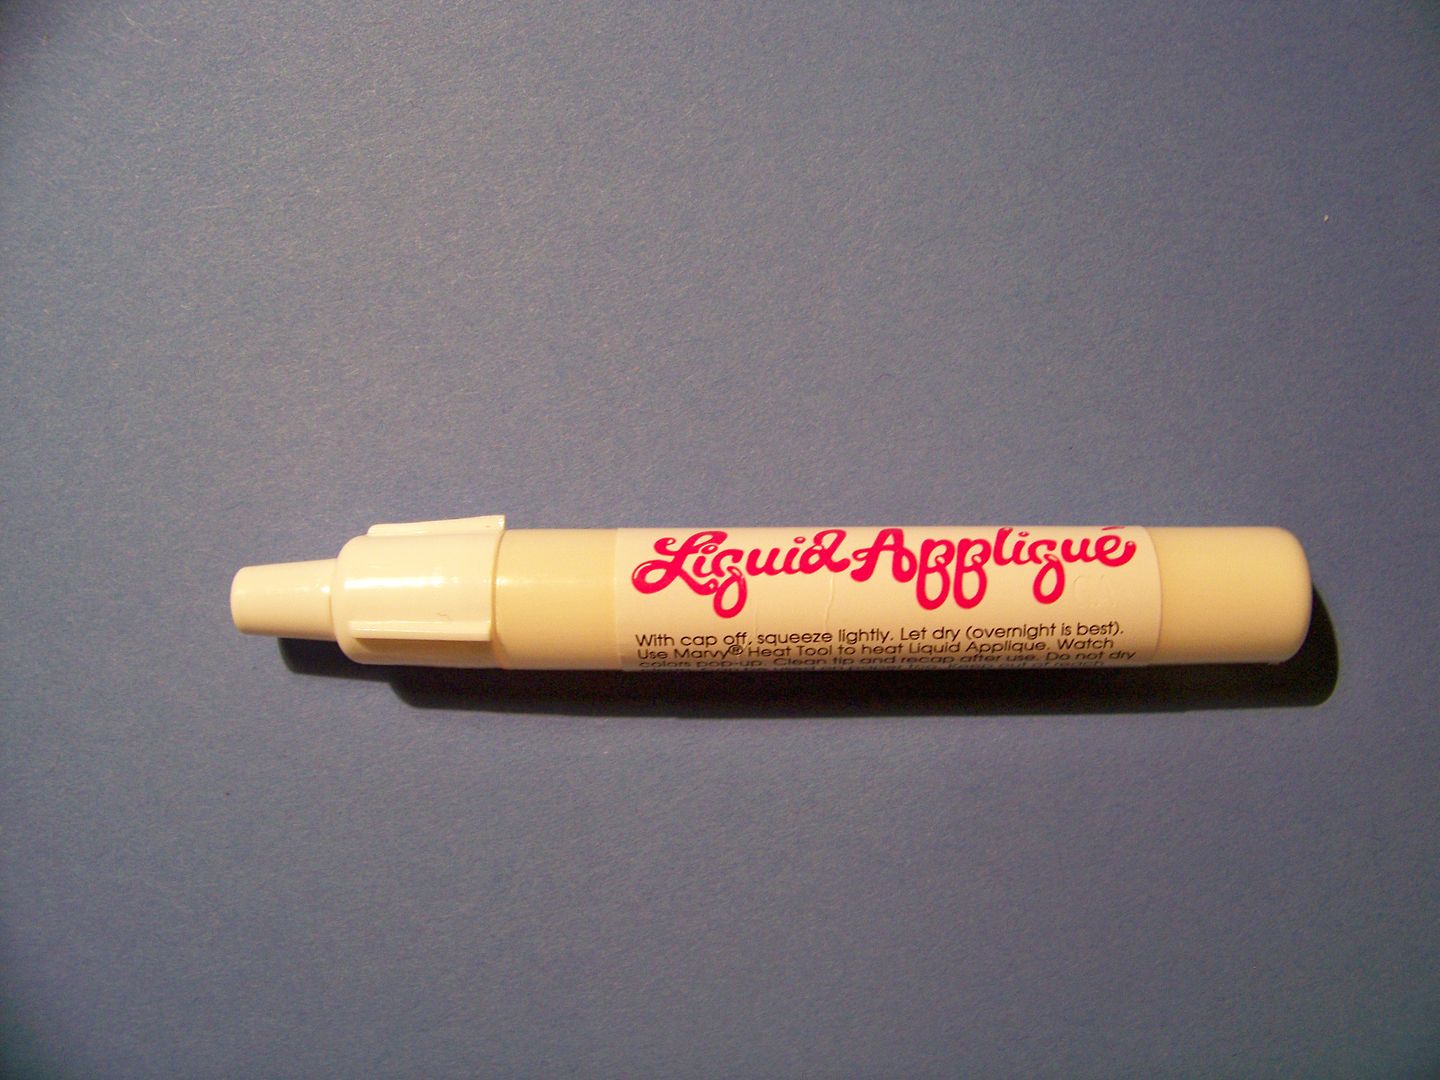
- White Liquid Applique --
More of a material than a tool, but I mention it so much that I decided to put it here! This is a terrific paint-like chemical that expands with heat. I have used it to create a beard on Santa, icing on a paper cake, and bubbles in a bathtub.
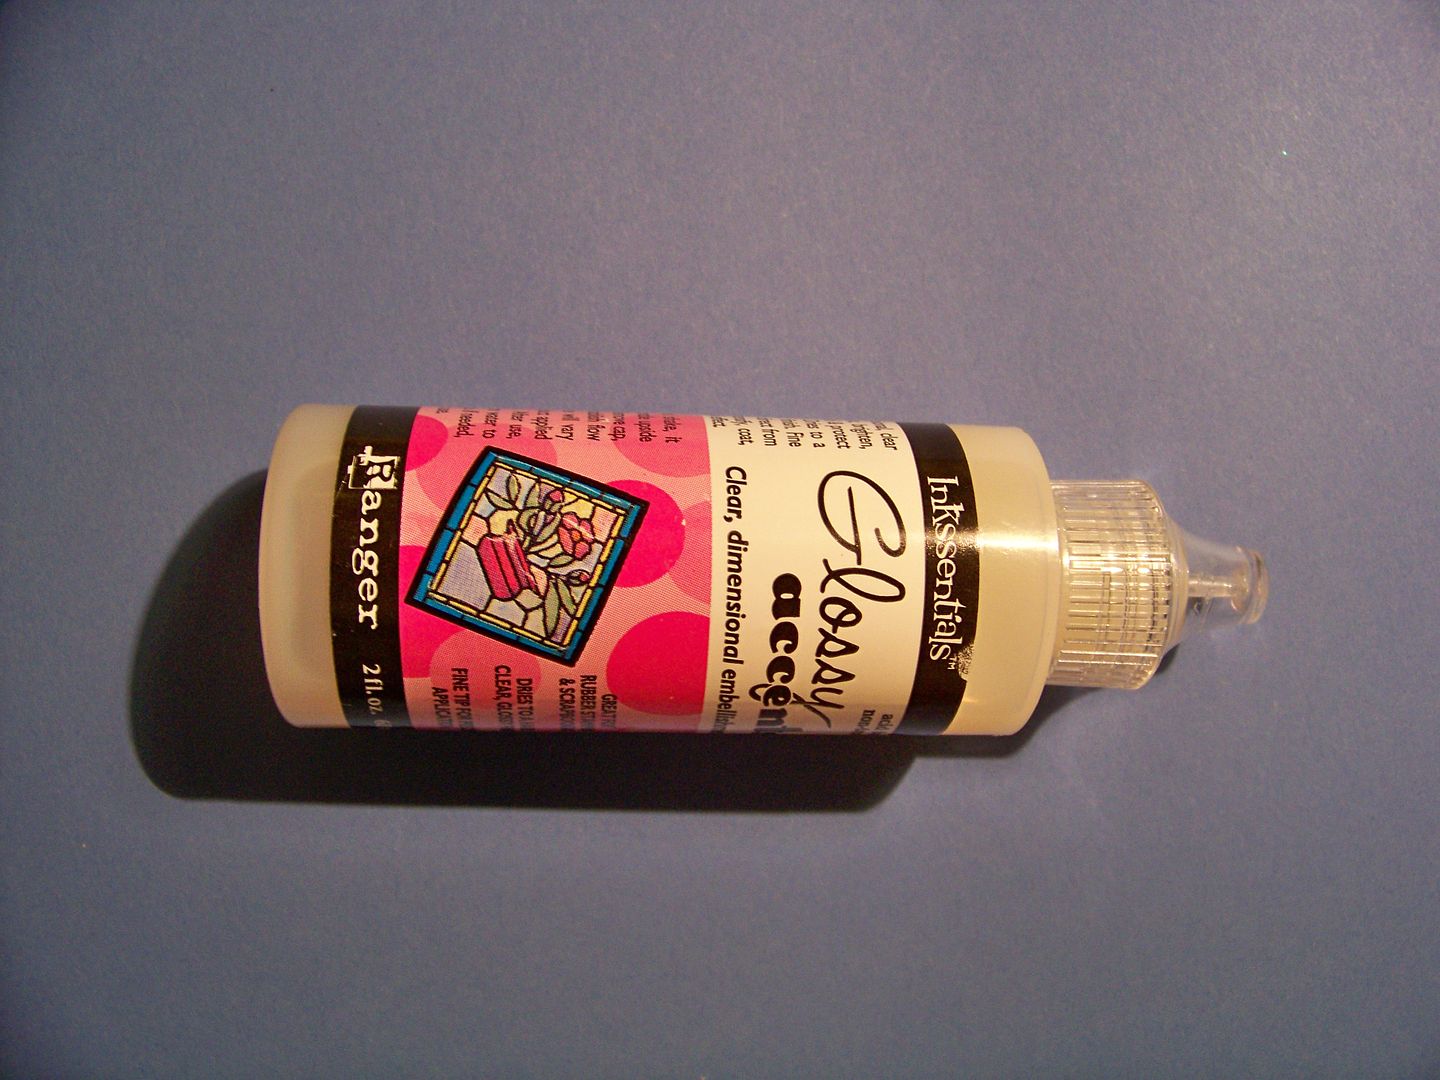
- Glossy Accents --
Clear, smooth finish to make matte pieces shiny and lift flat items. Requires drying time.
- Glitter!!! (and embossing powder)-- Martha Stewart glitters are my absolute favorite. That brand makes very fine (size) glitters that adhere to papers beautifully with Xyron adhesives. Look for the Glow in the Dark glitter for fun! Ranger makes a beautiful Crystal glitter. For embossing, I love Ranger's holographic embossing powder! You must use a heat gun to activate embossing powder.
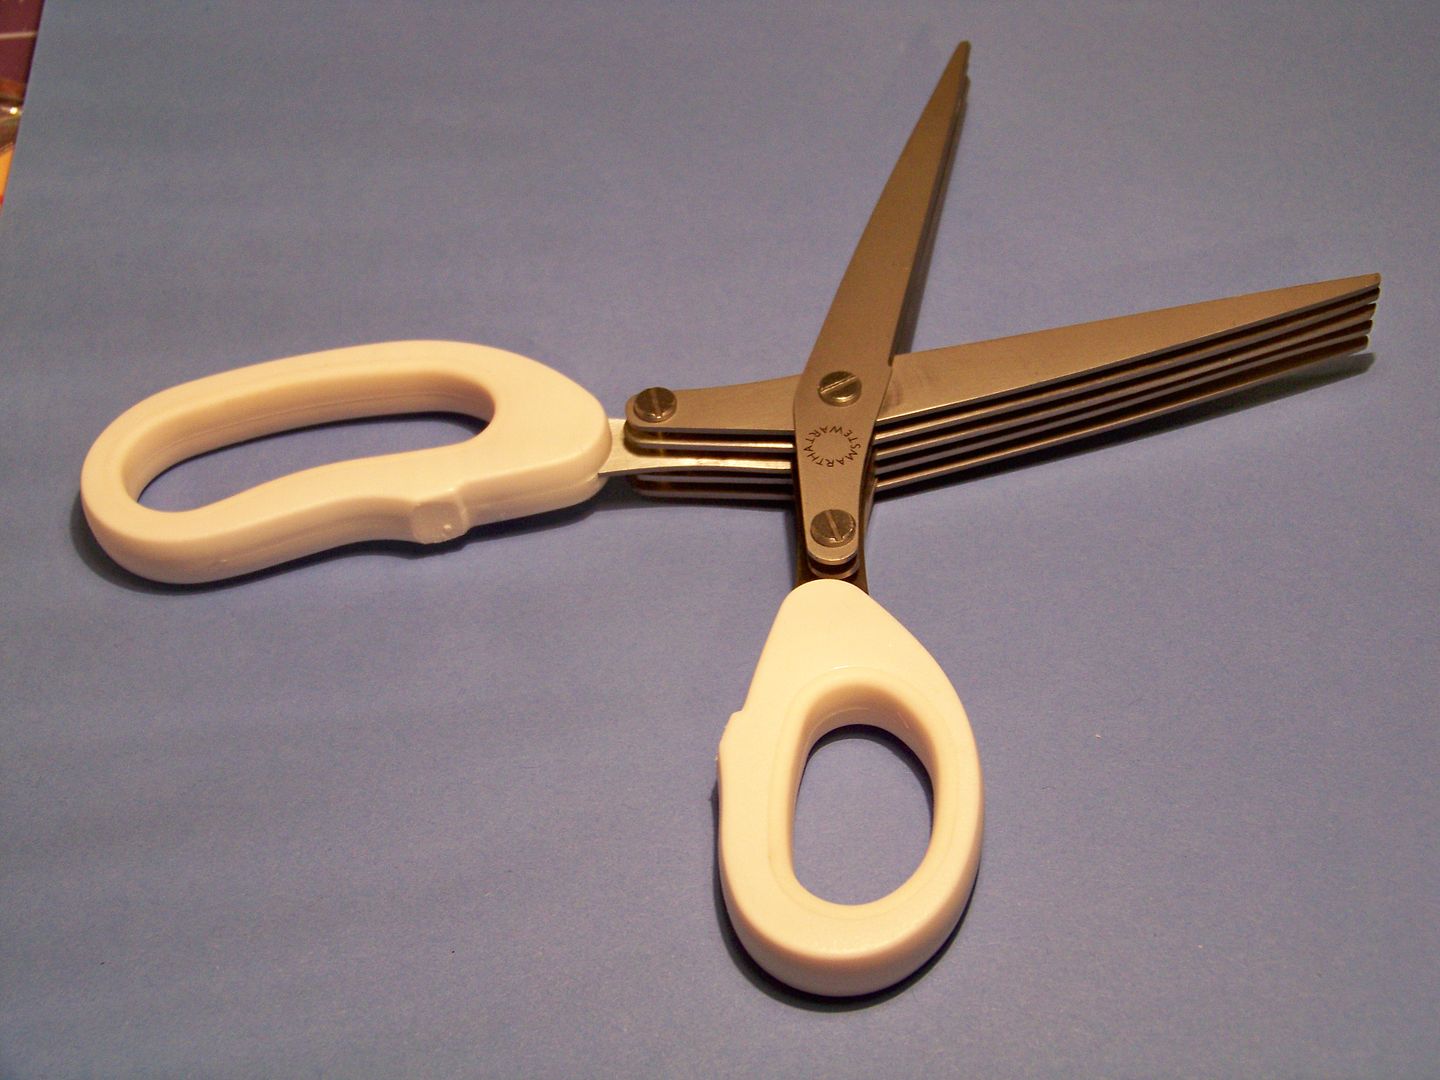
- Martha Stewart Fringe Scissors --Quickly cuts fringed edges on papers. Great for dimensional grass and paper fringes and poms.
- Corner Rounder --Makes nice, rounded corners even on thick materials.
- Mod Podge Clear Sealer --Spray on papers printed on the Imagine to make them less likely to run. When it is wet, it has a horrible odor that goes away once it is dry. It allows you to smear on glitter paint or glues without color changes. When water is removed immediately from the surface of the paper, there is no apparent damage. Water that is left to set on the paper will have damage, although it will be less apparent than without the sealer.
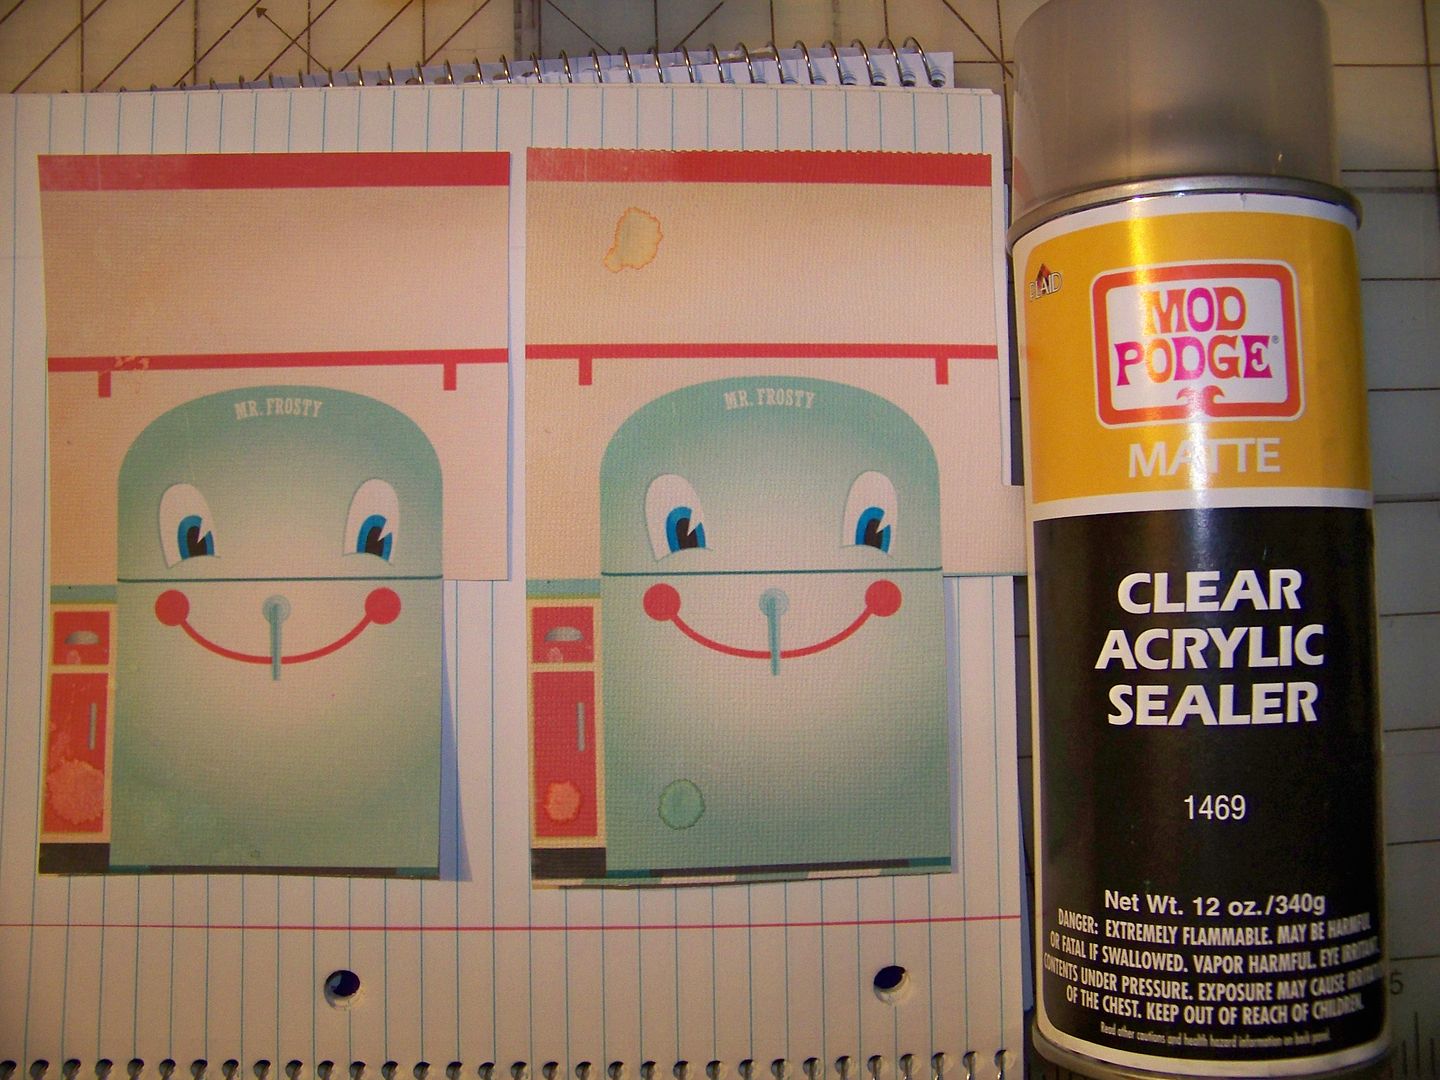 |
| paper on the left is treated; paper on the right is not |
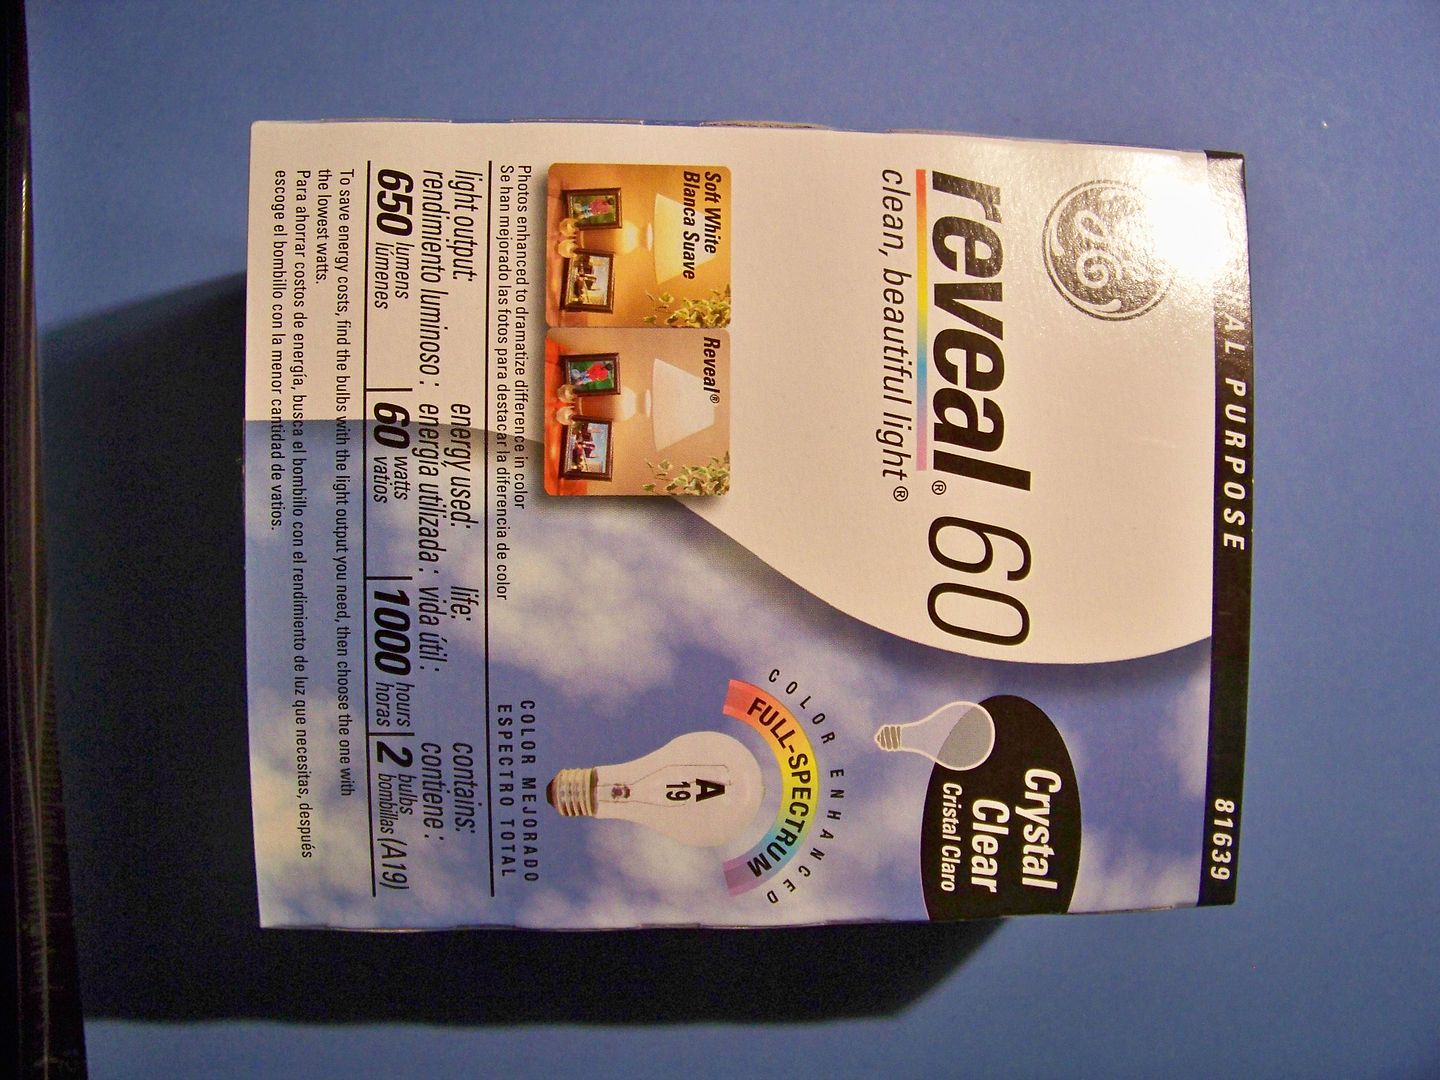
- Reveal Full Spectrum Light Bulbs --Use these anywhere that you may be taking a picture to avoid a yellow picture. I finally figured this out!!
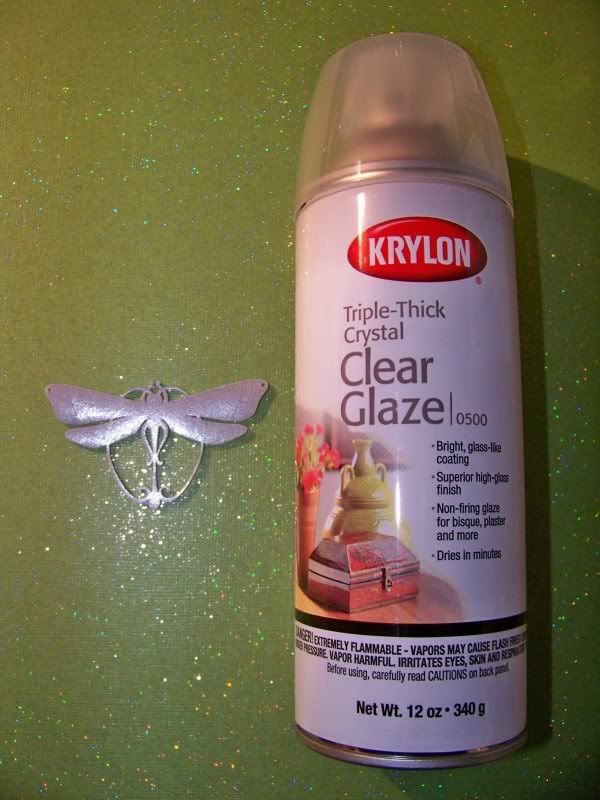
- Krylon -- Triple Thick Crystal Clear Glaze. Perfect for sealing paints and dyes . Great for work with Shrink Film!
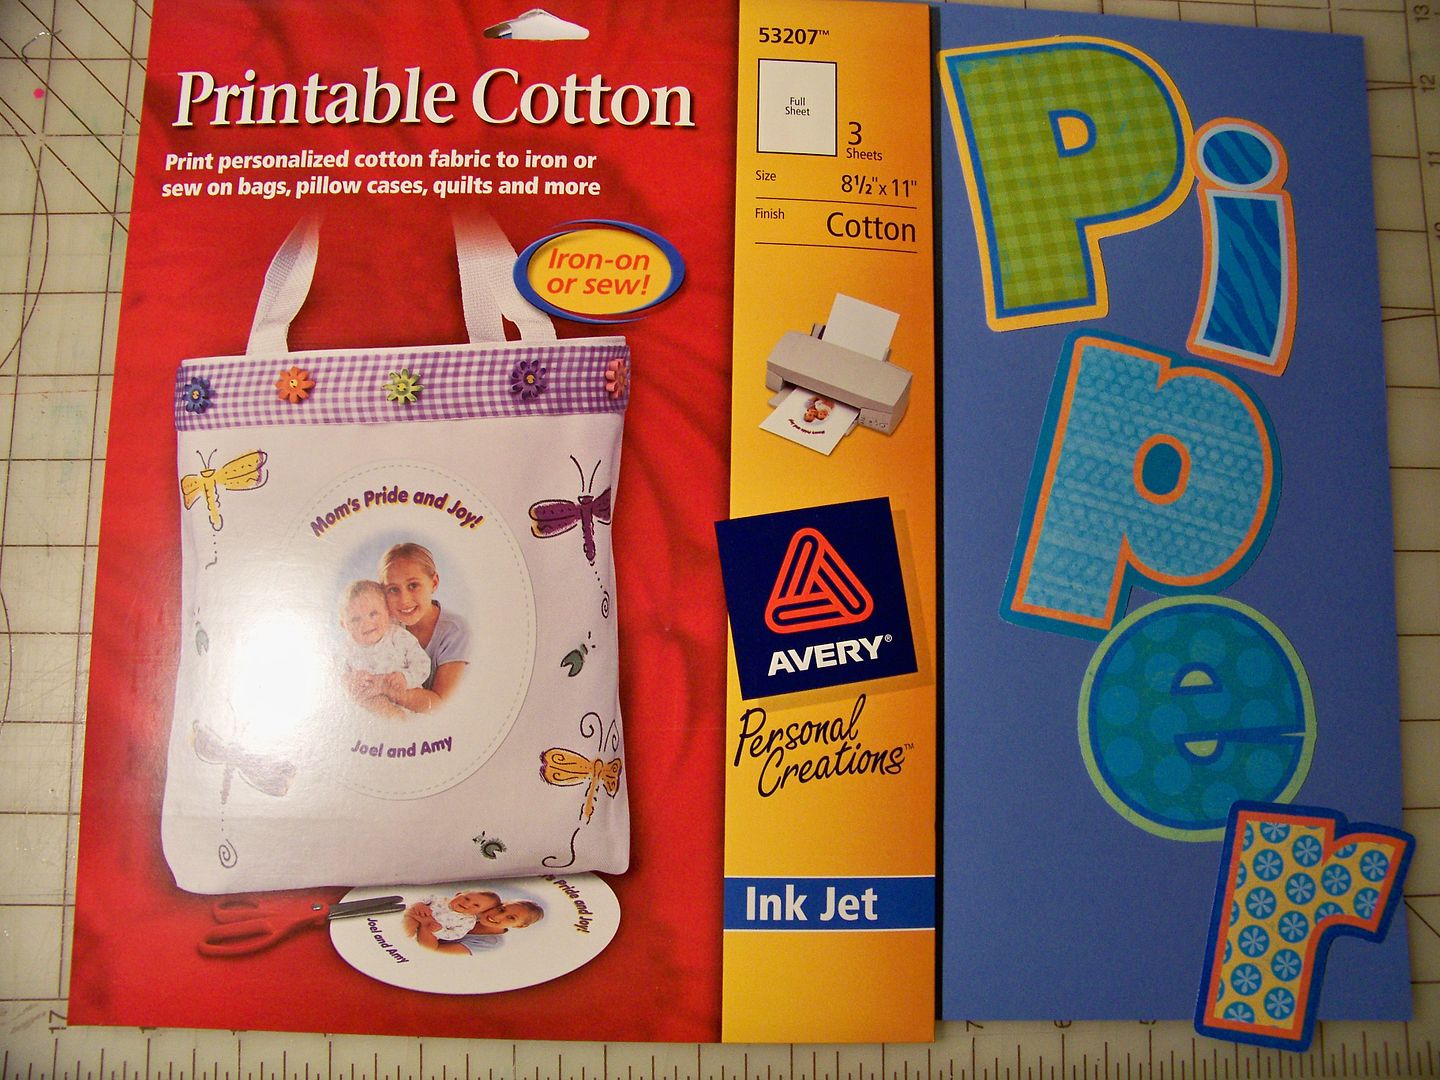
- Avery Printable Cotton --
Prints and cuts in the Imagine!
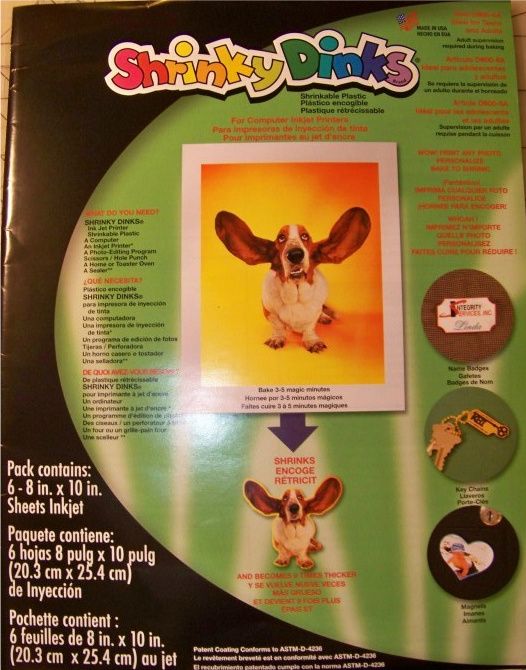
- Shrink Film --
Prints and cuts in the Imagine! This one has a white background. I have need to use multi-cut 2 for this brand:
- Ultra Thick Embossing Enamel --
I use this to seal shinky dinks that have been printed on the Imagine. You can also use a spray sealant.
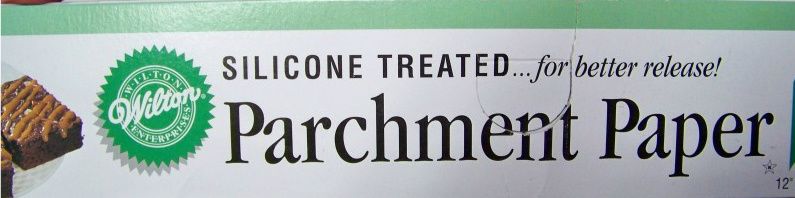
- Silicone Treated Parchment Paper --
I use this to bake shinky dinks.
- Clock --Time flies when you are having fun!
- Baby Wipes --
Keep a plastic tub on your work area to quickly clean up rogue glitter and gluey hands! You can even decorate the tub with vinyl! Also great to clean off rubber stamps!
- Isopropyl Alcohol (rubbing alcohol) --
Best cleaner ever and you can get it for less than $1 at any grocery or drug store! Removes gummy residue off of spatula and other metal tools.
- Notebooks --
I buy tons of these at back-to-school time for 10 - 15 cents to use as a work surface to apply glue, ink, and glitter. If a page gets messy, just turn the page for a new, clean surface!
- YourStory laminator and book binding system --
I use the laminator more than the binder but loving having this tool. You are not limited to the YourStory binding kits; you can make your own, using hot glue instead of glue strips!
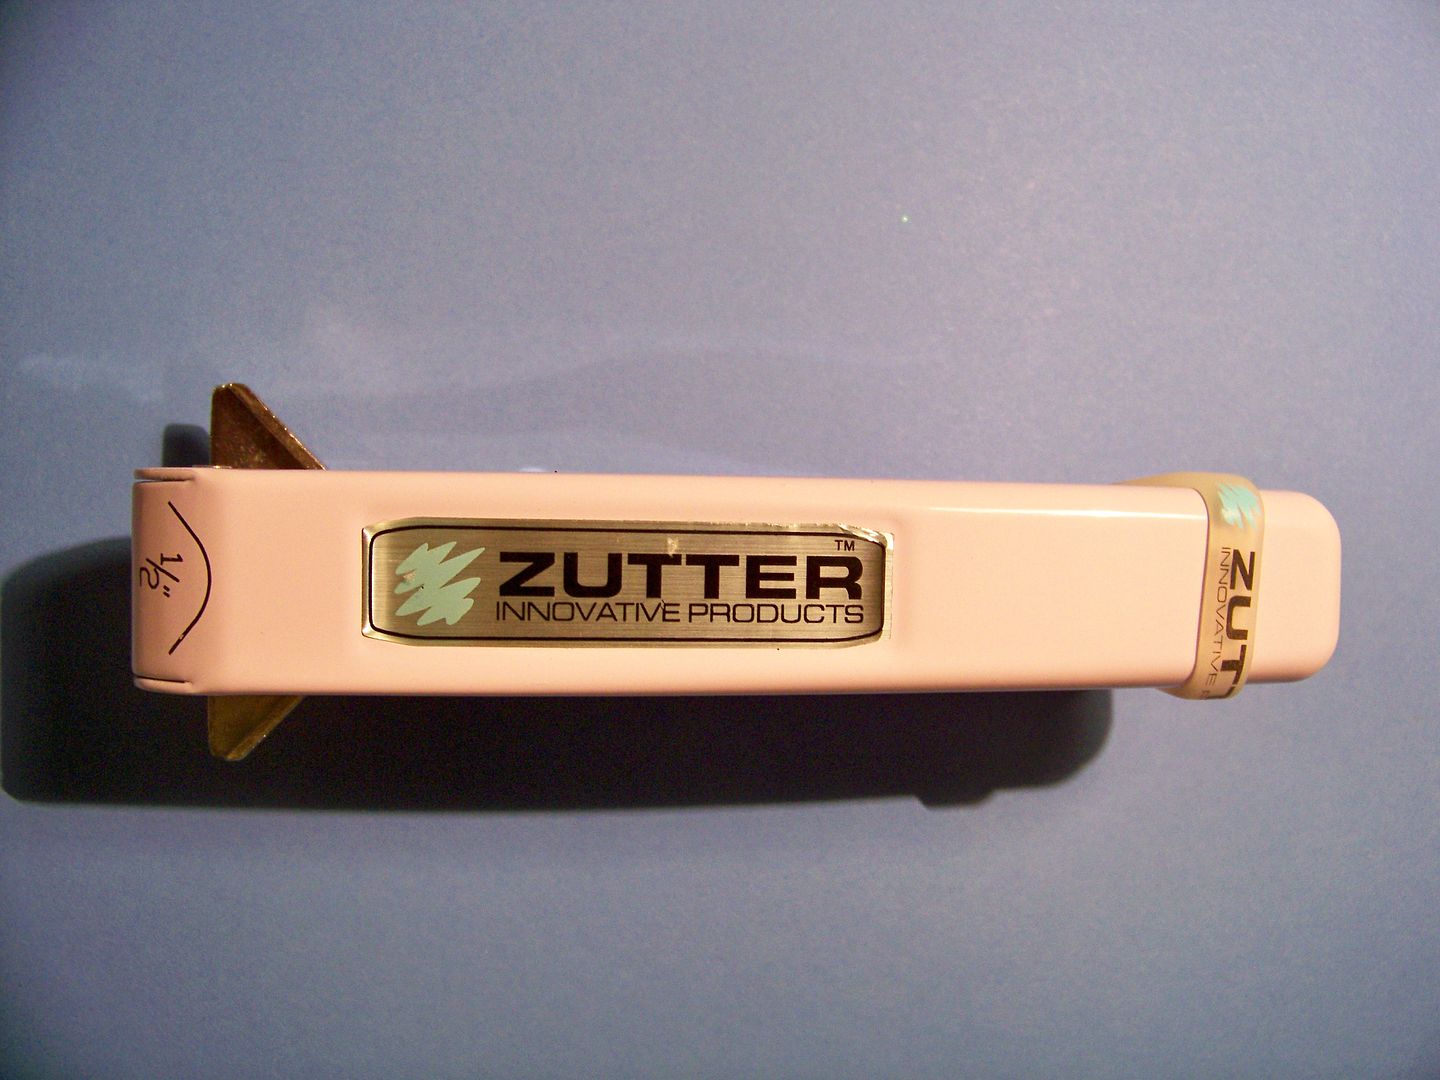
- Zutter Bind-It-All -- For wire binding.
- Provocraft YUDU -- Pull the blue frame up and off to use as a light table! Screen print garments, home decor items, and papers. This is my newest favorite toy!
- Martha Stewart edge punches --
I have an addiction to these, especially the Punch Around the Page lines. EK Success makes a few cute ones too! Of course, these are not as versatile as a border on a cartridge, but sometimes you just want quick, easy, cute, and done. Perfect for that!