Showing posts with label School Treats. Show all posts

Friday, May 18, 2012

Last Day of School!

Wow!  Today is the last day of school!  How did this happen so fast?

My daughter's school has a half-day today, flocked with events like Crazy Teacher Olympics (where the teachers do things like Egg Toss and other games intended to make them messy kid entertainment) and Hallway Sock Races (the one day they are allowed to run in the hall).  They do make it really fun and, this year, they have added Crazy Hair to the day... more about that later!

As always, I made little treats for the kids and I have a gift for her fantastic teacher, Mr. Workman!  I must have regressed last night, because I pulled a late-nighter getting these treats done... And for a little nostalgia, my husband yammered at me, asking why I waited until the last minute and "didn't you know for some time that this was the last day of school."  Mom would have been proud of his lecturing!

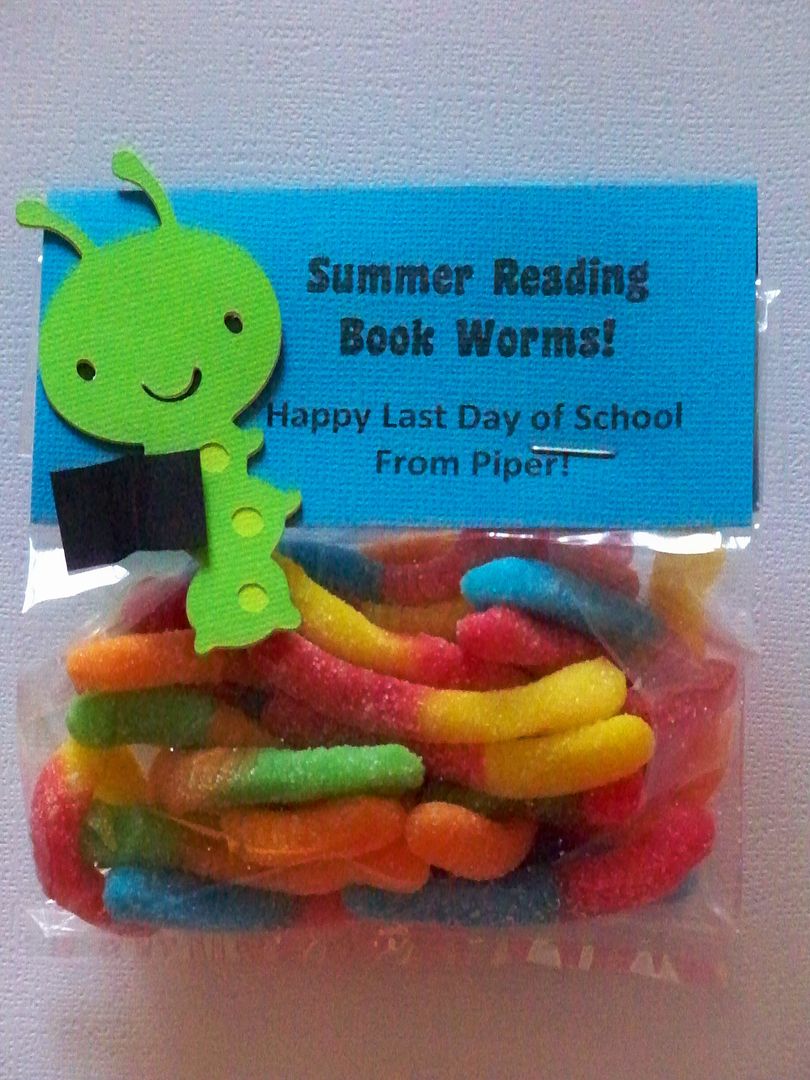
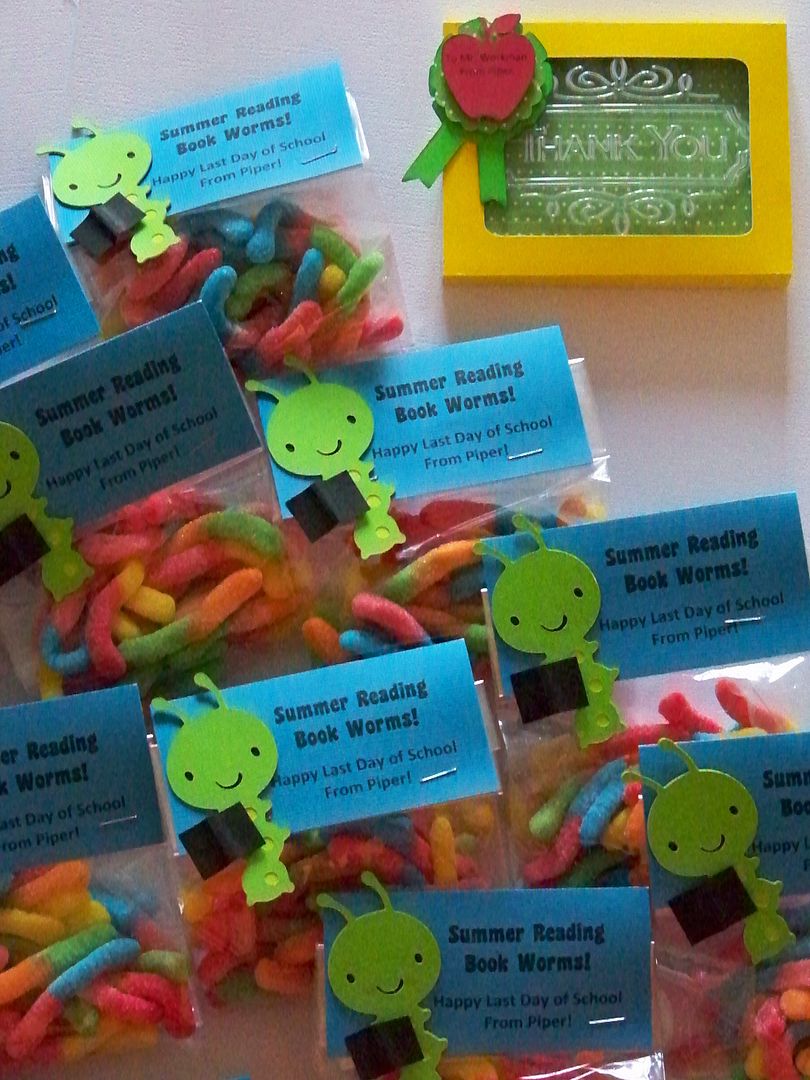
Despite that, I had a blast making these Book Worm treats!  


I got the idea from my Pinterest boards which lead me to the post on the Sweet Serendipity blog.  (Click here to see her version.)  I picked a 'book worm' theme because Piper's teacher has been stressing to the kids this past week to do summer reading!  I thought this was a fun tie-in.

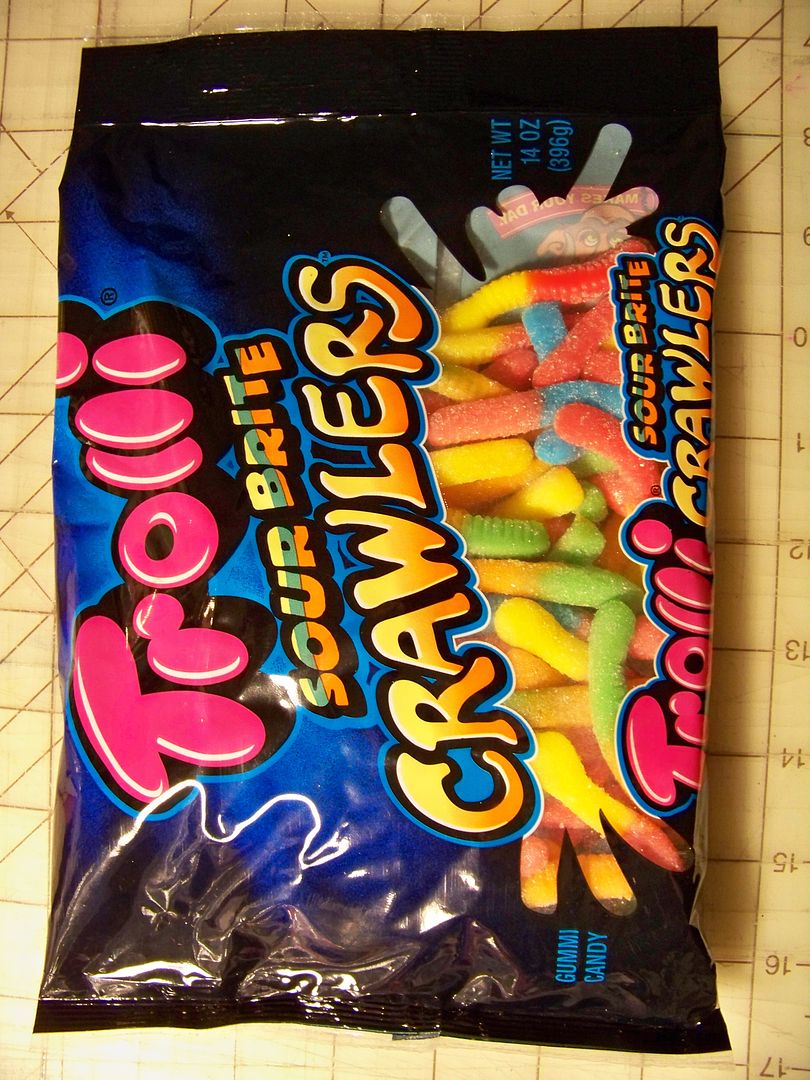
As disgusting as I find gummy worms to be, I kind of liked these because they were rainbow-colored and smelled great!  I used four packages for 15 treat bags.  (These are from Walmart).


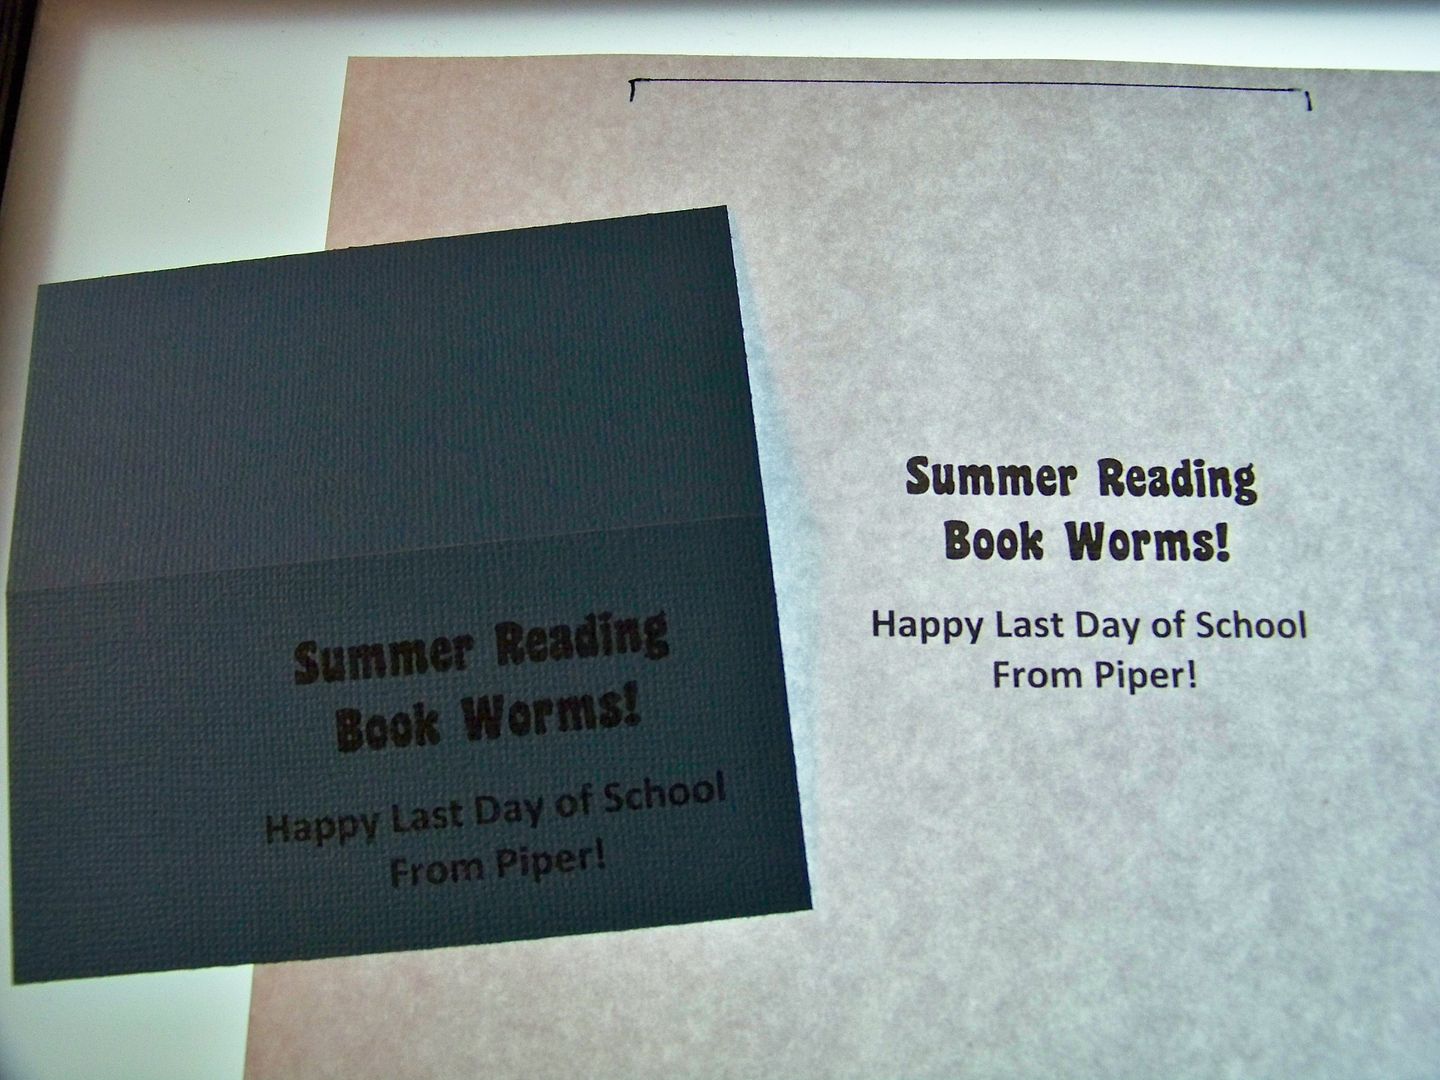
The toppers were cut to 4"x4".  (I sized them for 9"x4" pleated treat bags).   I printed the sentiment on my printer using Microsoft Coaster at 20 point for the top text and Calibri at 16 for the lower text.  I figured out a little trick for lining up the toppers:  I printed off the text onto white paper, lining up the first topper with my light box.  Then I marked the top and top corners.  All the remaining toppers were simply placed on the sheet using the marks and taped in place.  I saved a lot of time and they all matched exactly!


The caterpillar was cut from Create-A-Critter at 3" on my Expression.   For the books, I hand-cut little 7/8" x 5/8" rectangles and folded them into book shapes.  The books were applied with a 1/16" pop dot; the caterpillars were applied with 1/4" Terrifically Tacky Tape for a strong hold!


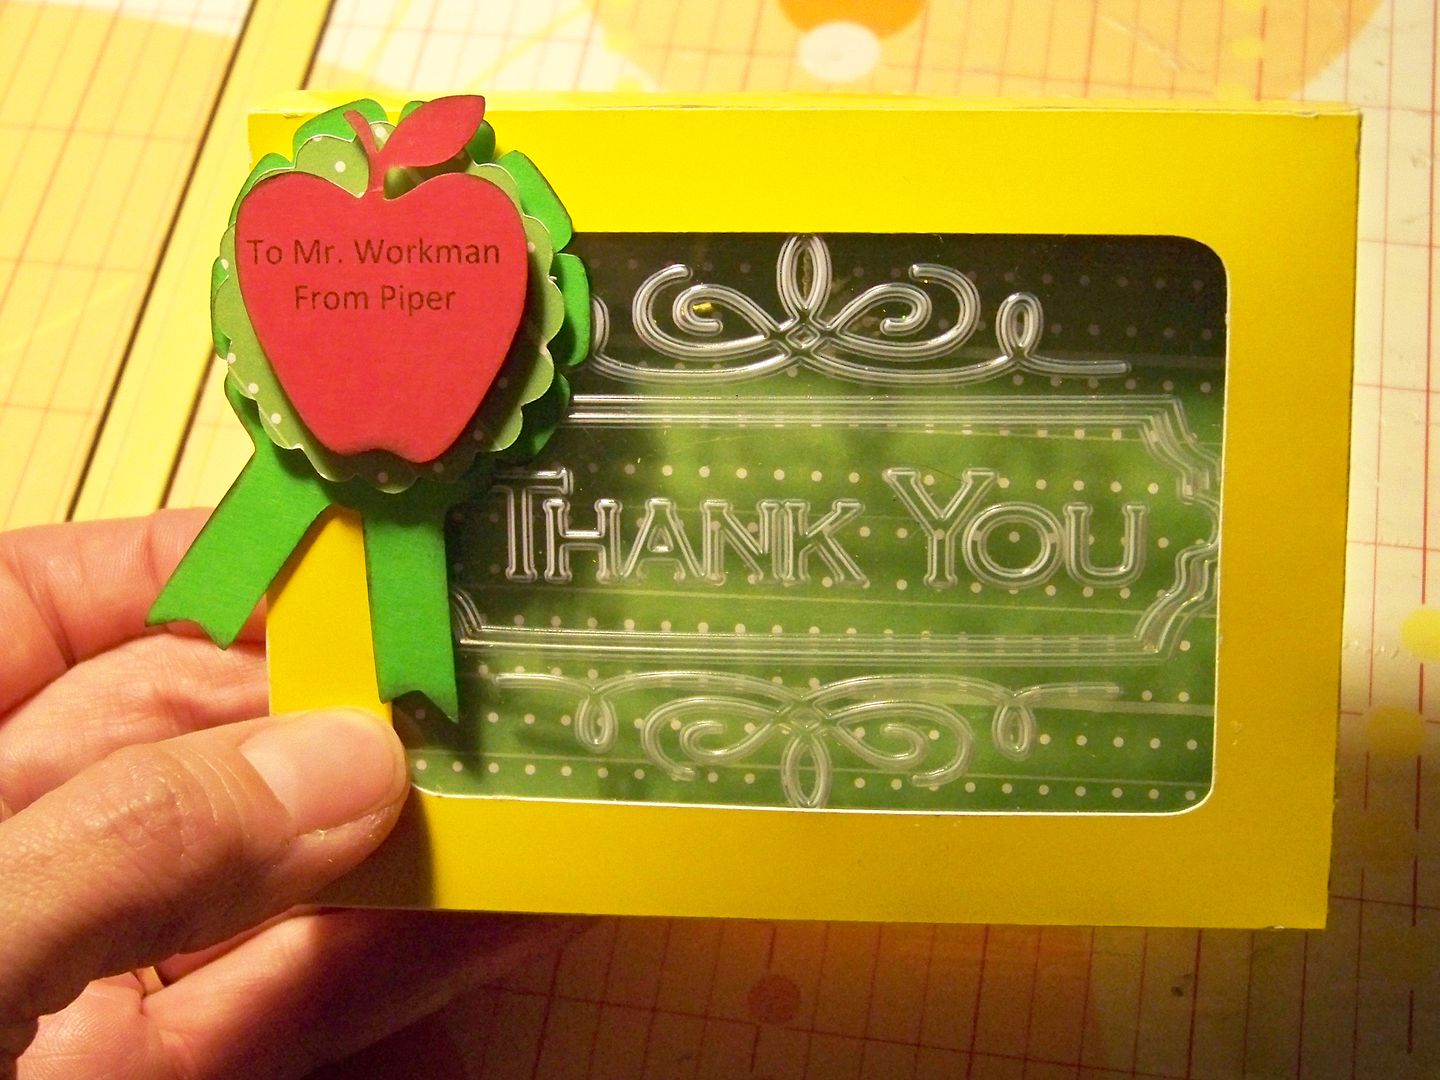
Yesterday,  I worked on a gift card box for a teacher gift.  


You can see my tutorial on making these by clicking here!  (Cart, cut, and plastic embossing details are all on that post!)  This one was made by embossing on the Cuttlebug with a Sizzix folder and cutting the box from high-gloss card stock.  The apple and ribbon are from Makin the Grade; the scalloped circle in between the apple and ribbon is from Mini Monograms.  I popped up each layer with an 1/8" pop dot and adhered to the box with E6000 glue.

I created a little card to go inside to hold the gift card.  My daughter wrote a sweet little message of appreciation inside to her teacher.


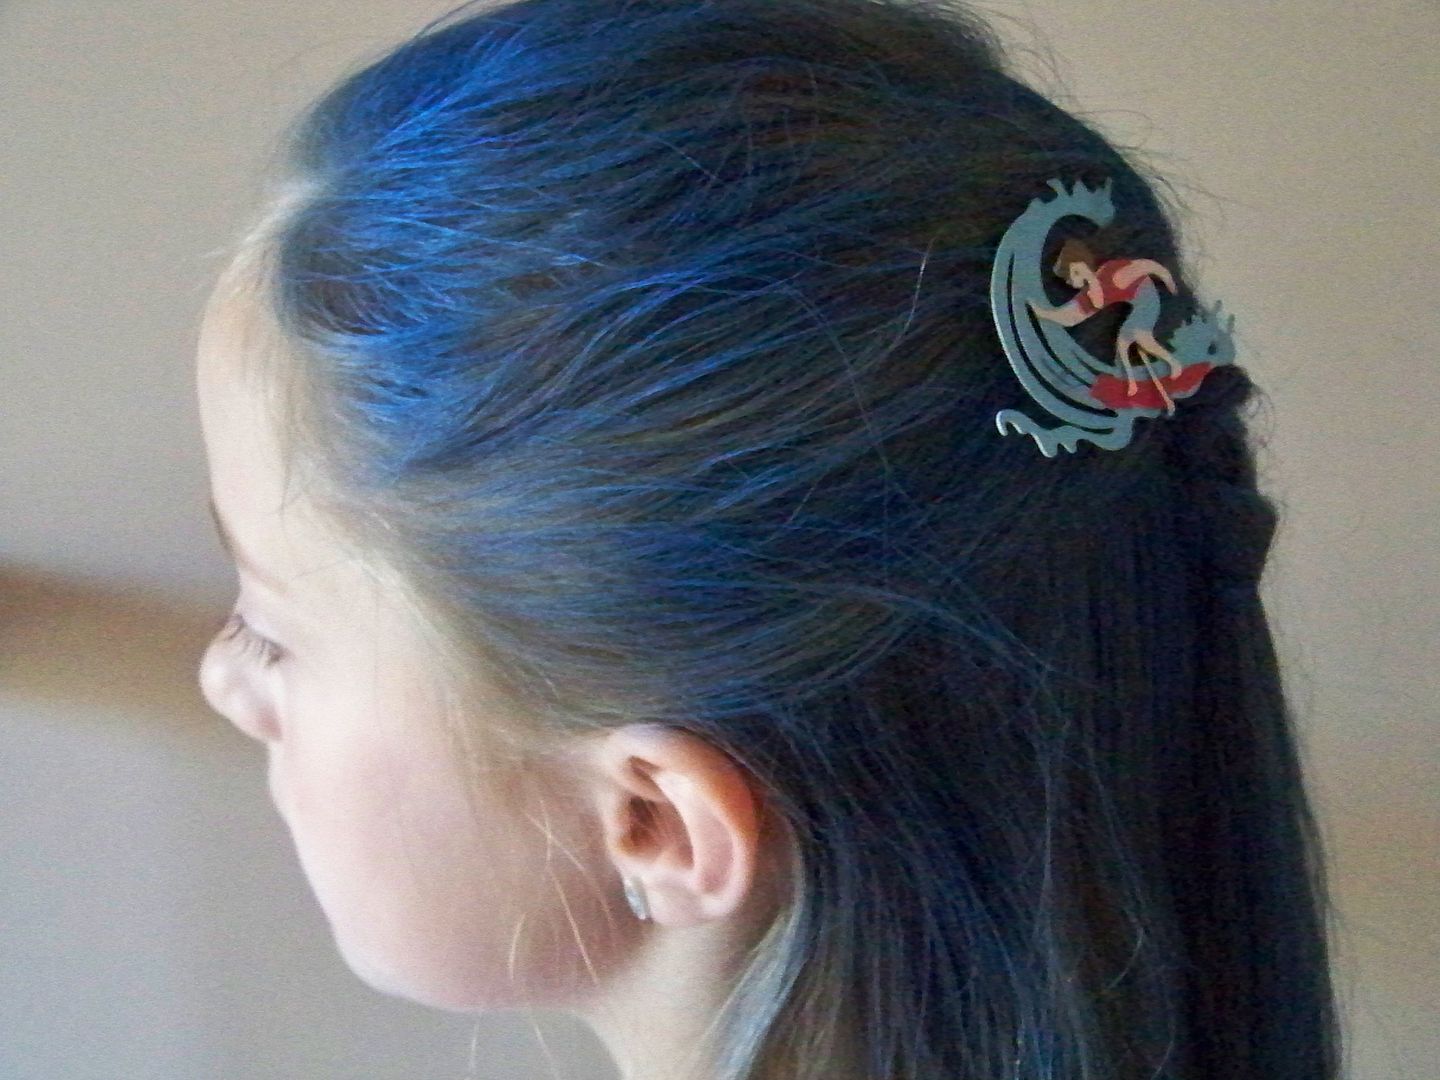
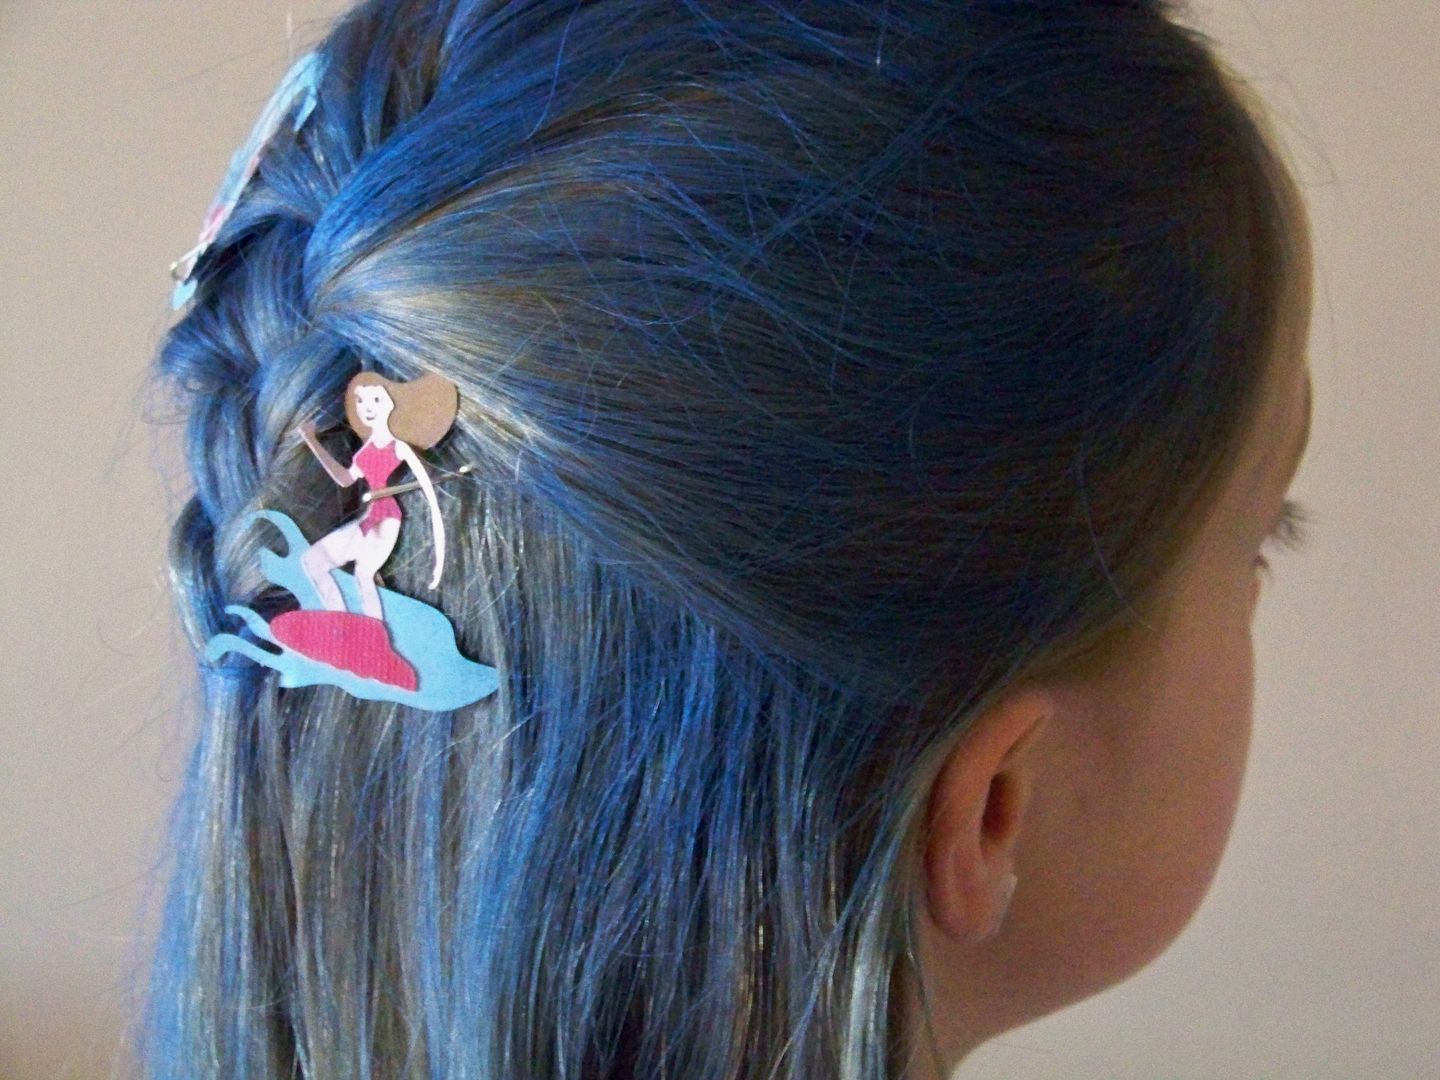
And lastly.... what almost made us late for this last day of school... a quick, crazy hair-do featuring blue hair spray and some surfers from Fun In the Sun (the girl was cut at 2-1/4"; the boy was 1-3/4").  Luckily, these cuts layered pretty fast this morning!  


Dropping her off this morning, I saw a rainbow of kid hair flooding into the school.  Woohoo!  We made it on time and... another summer is just beginning!  

Thank you for checking out my blog post today!  Happy Last Day of School!

To see last year's End of School S'mores Kits, click here.  
To see last year's Teacher Appreciation gift set, click here.  
To see the flower garden Crazy Hair we did earlier in the year, click here.
To see many of my previous projects, click here  for My Project Gallery.


Monday, August 15, 2011

Back to School!


School starts today and I wanted to share my back-to-school projects with you!

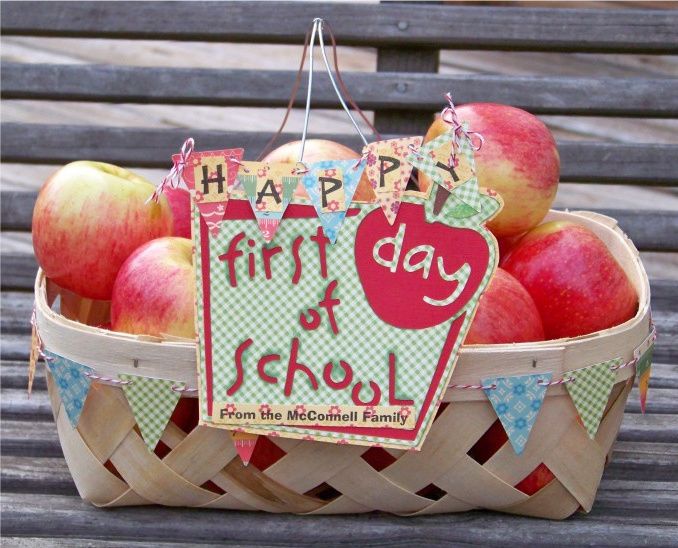
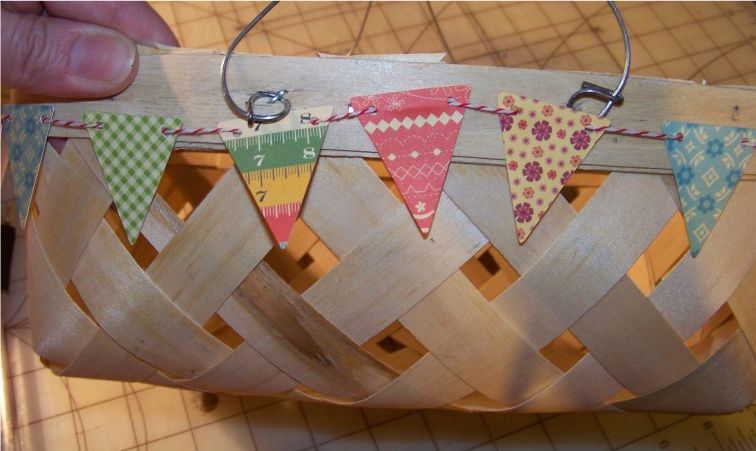
I started with an Apple Basket for the Teachers' Lounge


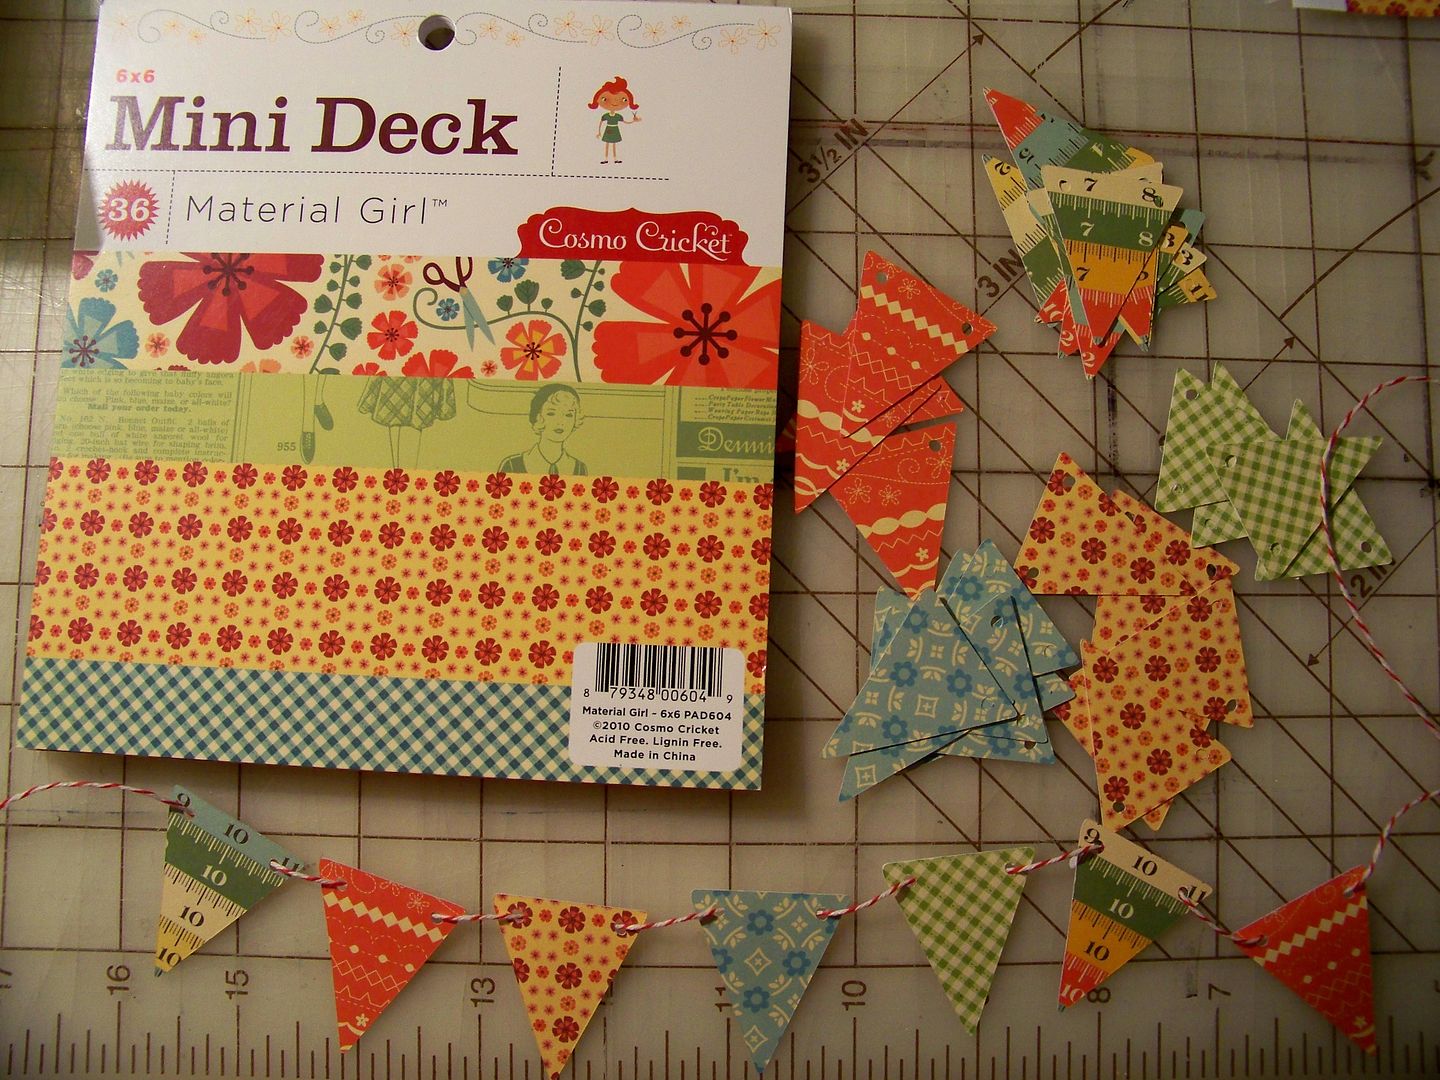
I used the new Art Philosophy cartridge to create pennants (cut at 1-1/2" on my Expression) using papers from a mini deck I had in my stash.  I love the old-fashioned look of these papers!  The scale of a mini stack makes it perfect for a small cut.


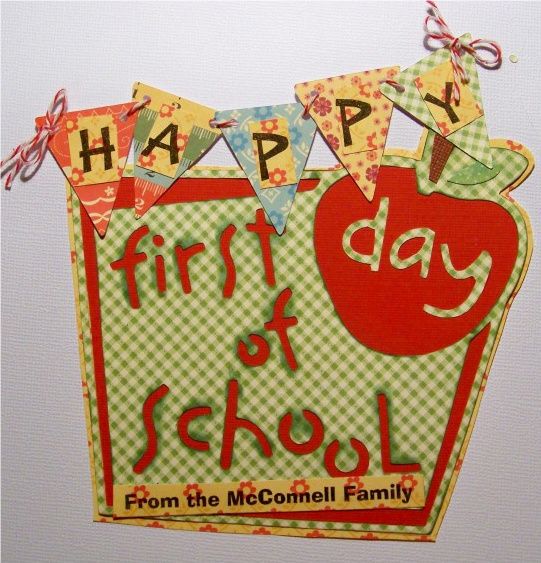
I cut the tag from Locker Talk at 4-1/2" on my Expression.  I added text from Microsoft Exotic Island BTN at 48pt for the word "happy" and from Adlib Bt at 16pt for the phrase "from the McConnell Family."  I printed the text on a mini print from the stack and I incorporated more of the pennants for continuity. 


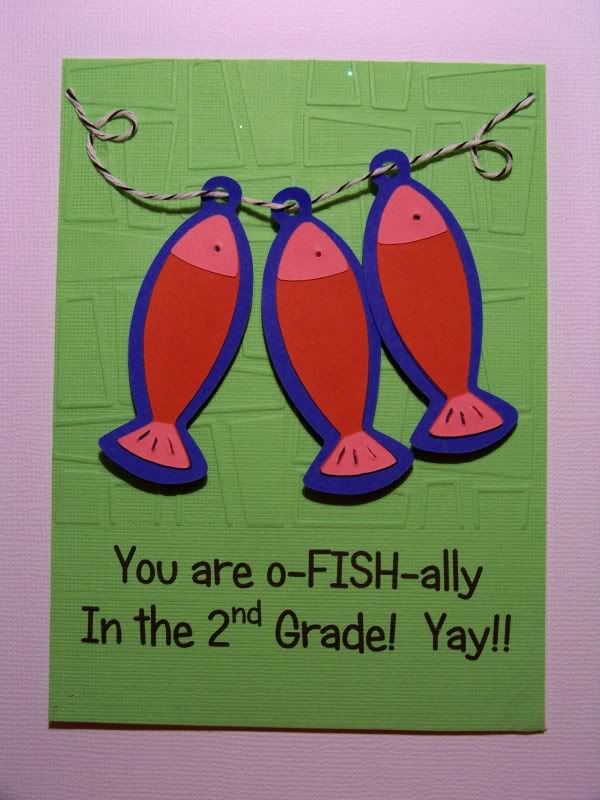
Next, I made a lunchbox card for my daughter!  I found the idea for the text on Pinterest and put together some Cricut cuts for my graphic. 


The popped up fish tags are from Meow, cut at 2-1/2" on my Expression.  The text is Microsoft Candy Round BTN at 30 point.  I embossed the area above the text after printing.


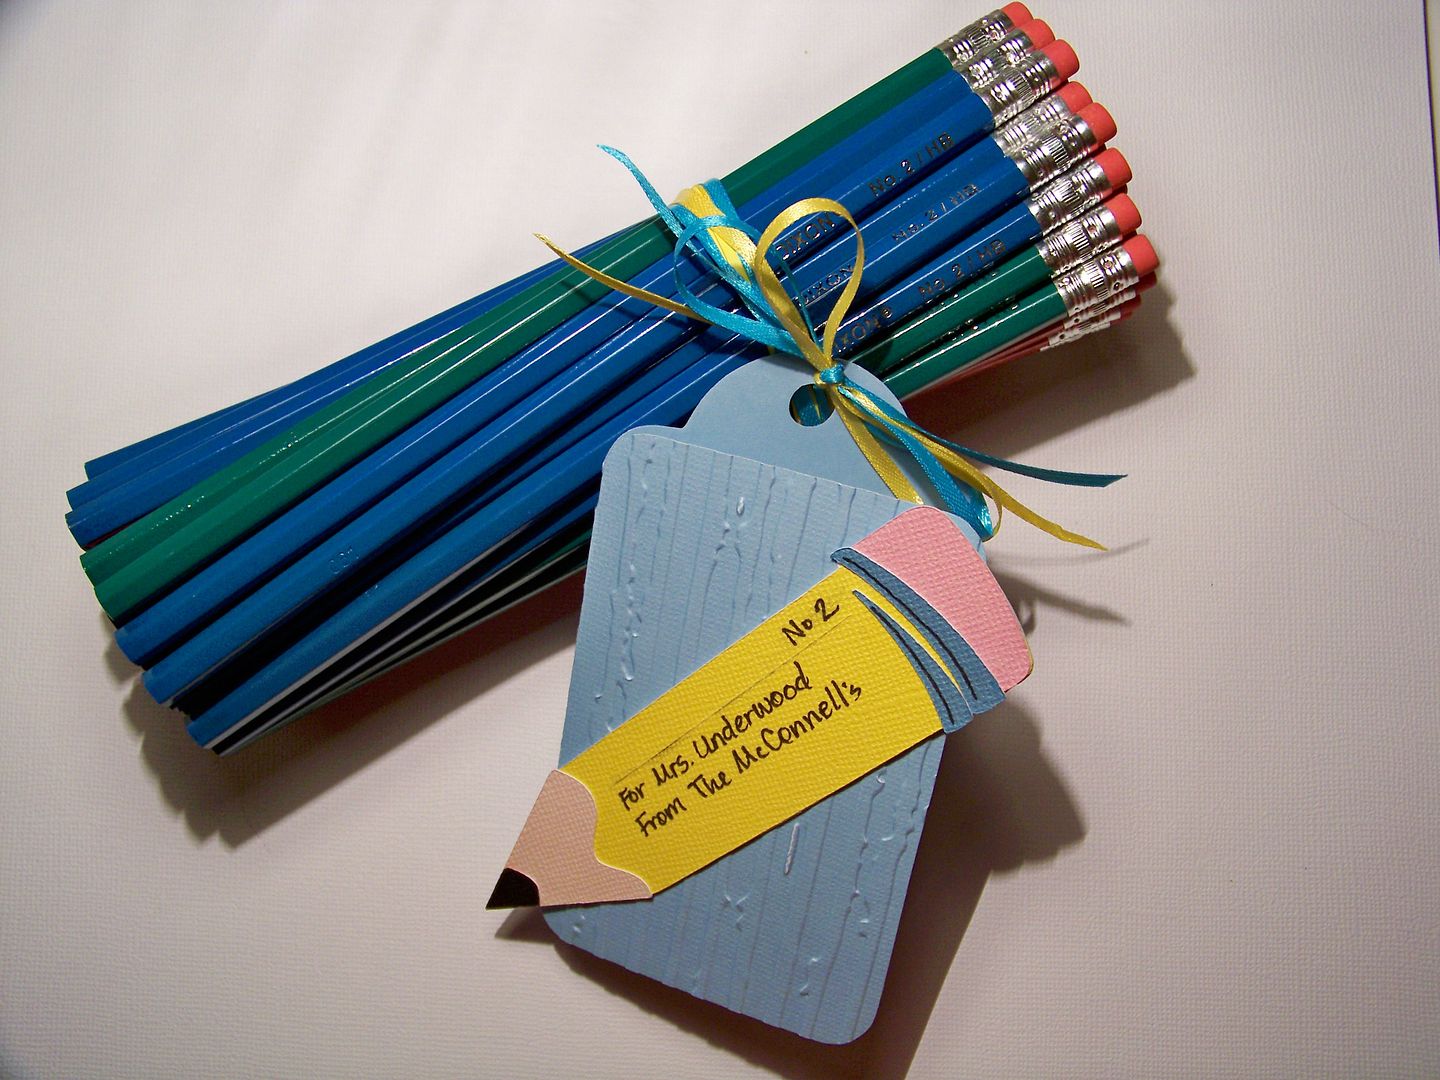
My last project is a teacher gift.  The teachers at my daughter's school add a Classroom Wishlist at the bottom of the supply lists that we (parents) receive.  Usually I include a bag of teacher wishes but this year, I decided to allow this teacher to pick up whatever items were not provided by other families with a gift card from my family.  (Pencils were on her wish list!)


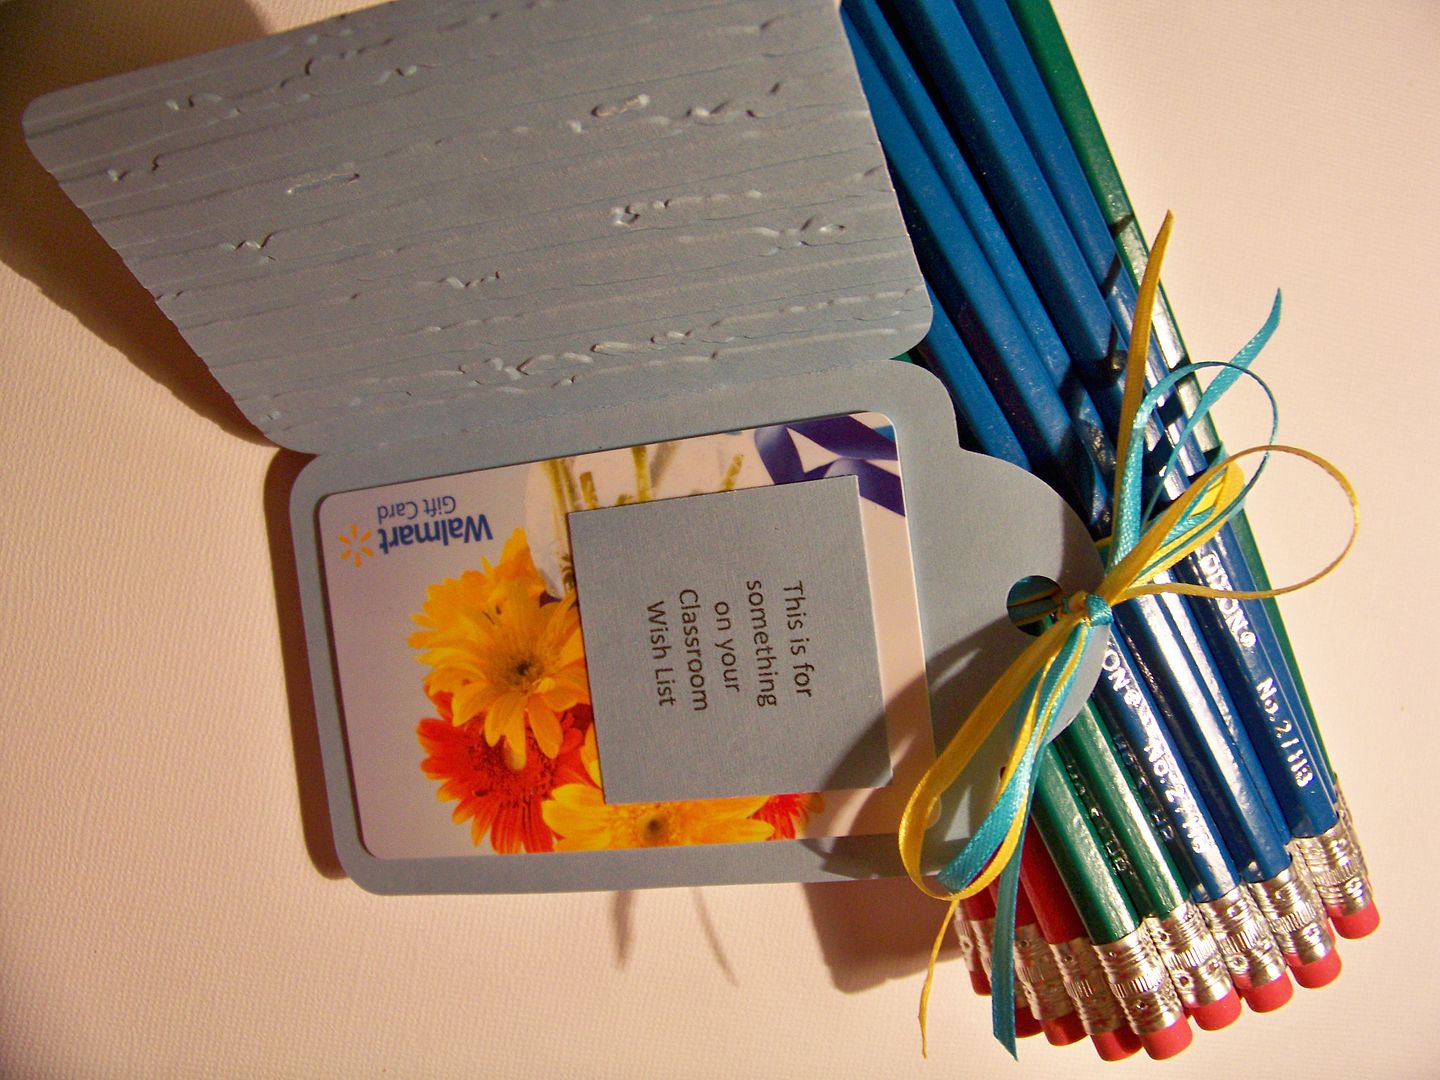
I wanted come up with a fun way to incorporate the gift card and found the pefect tag cards on the Art Philosophy cartridge (page 50), cut at 4-1/2" on the Expression.  The pencil is from Locker Talk, cut at 2".  I embossed the front of the tag card.   Inside, I used Terrifically Tacky Tape to attach the gift card and a little note.


Thank you for visiting my blog today.  You can see all of my projects by clicking here or by clicking the "My Project Gallery" tab at the top of the blog.  There, you will find links to all of my Cricut and Yudu projects. 

Monday, May 16, 2011

S'mores for the Last Day of School


I cannot believe my daughter's last day of school is this Friday!  How did that happen so fast?

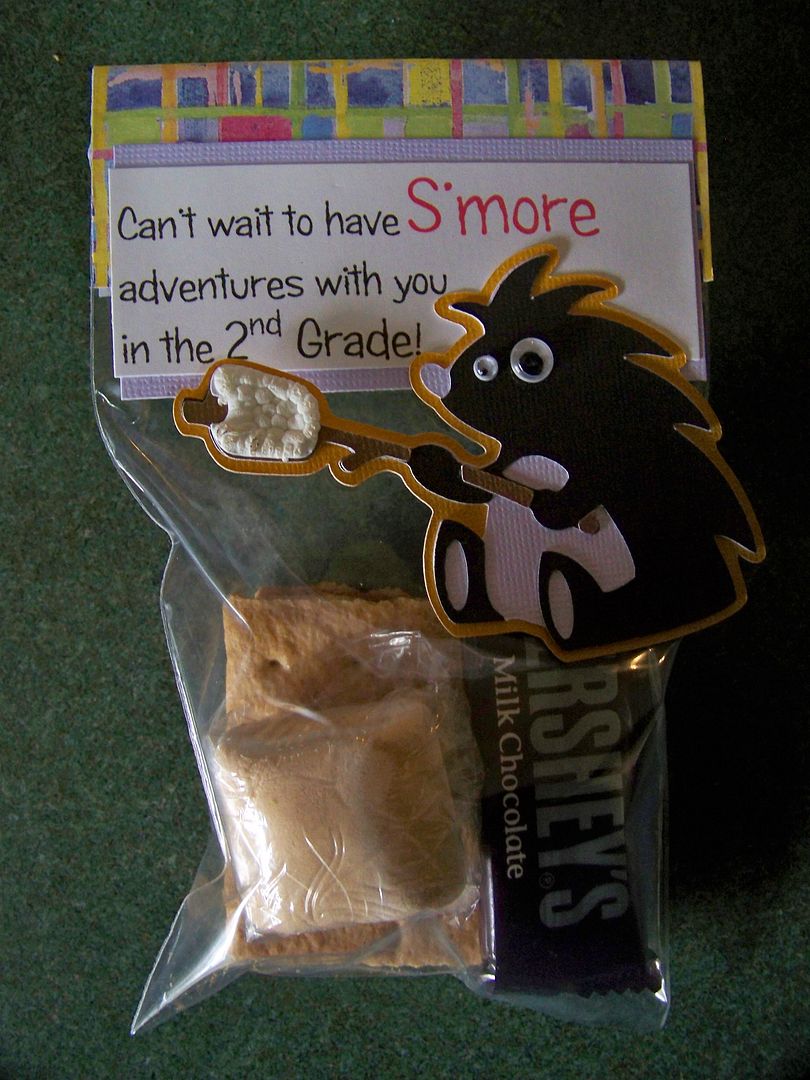
For fun, Piper always takes a little good-bye gift for all the kids in her class.  I have seen lots of little s'mores kits on the message boards this past winter and spring.  So many cute ones!  I decided to use that idea and create some for her class. 

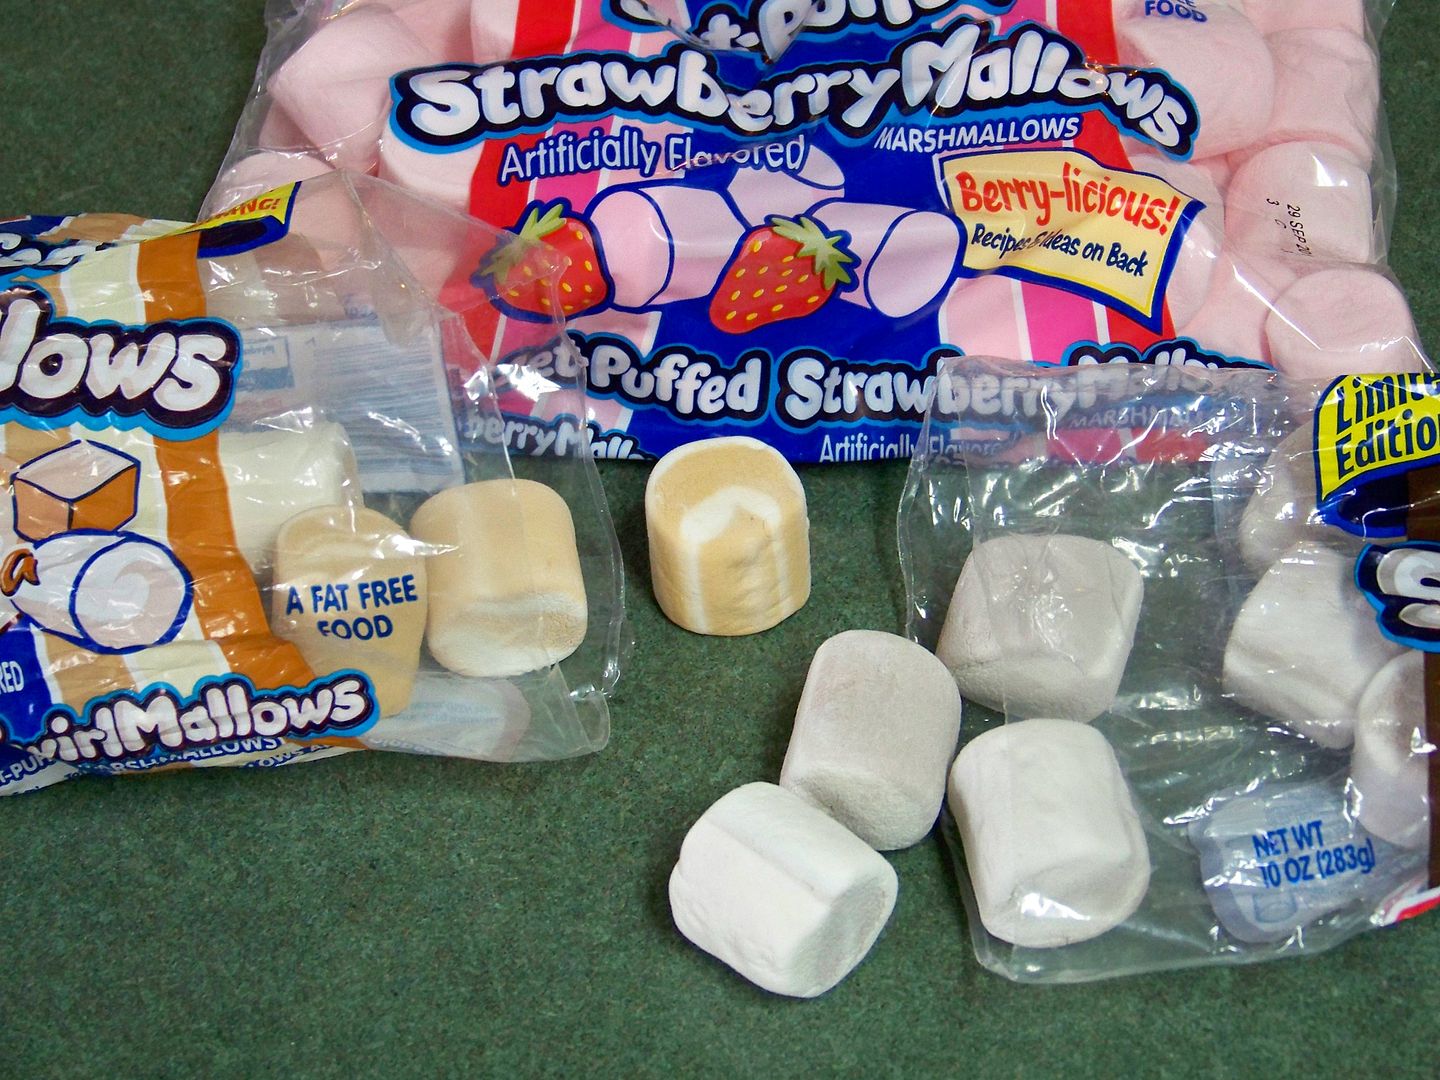
I found the most wonderful flavored marshmallows.  Piper loves the strawberry ones but I am in love with the caramel marshmallows! 

After we did a little test kit last week, I found that the marshmallows get hard after 3 days in the sealed plastic bags that I purchased for packaging.  I am guessing that the combination of air in the bag and the graham crackers cause this.  Since I didn't want to wait until Friday morning to put these together, I ended up using a little Saran Wrap to individually wrap each marshmallow to keep it fresh before placing them in the bags with the other ingredients.  I bet you are thinking it wouldn't matter if it got hard since we are microwaving it.  That's what I thought too, but nope, it makes a big difference!  Are you impressed how thoroughly I test these projects?  *brushing the crumbs off my chin*

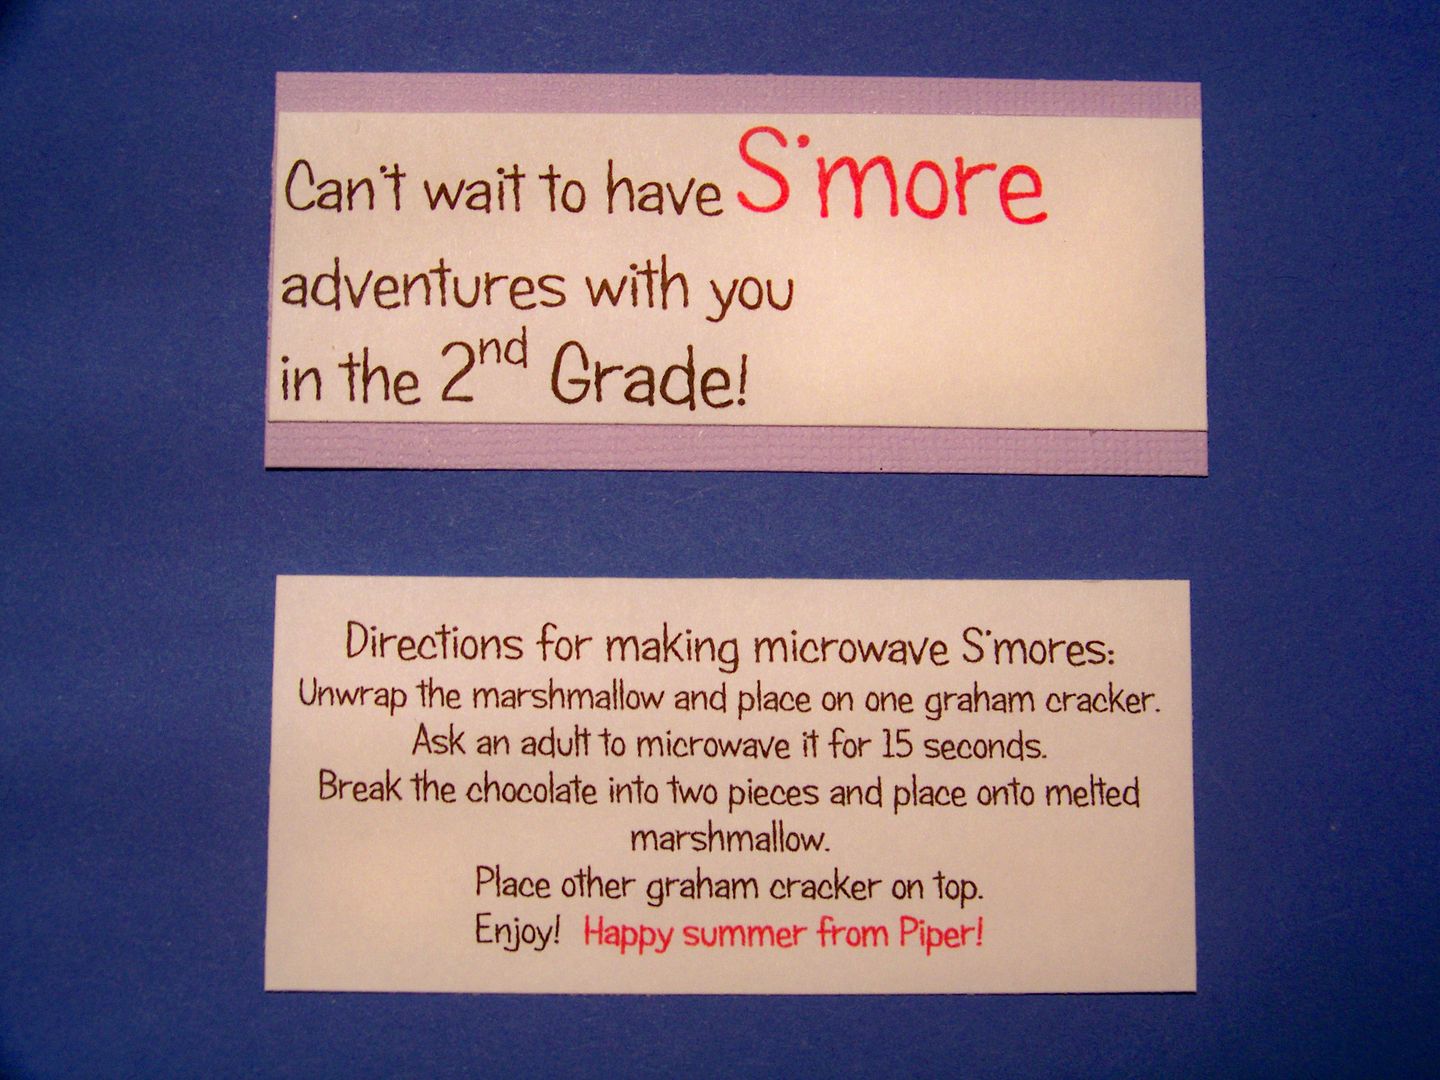
I created the text on the computer for the fronts and for the directions that will go on the back of the bags.  I wanted a fun play on words.

The directions are on the back of the bag topper.
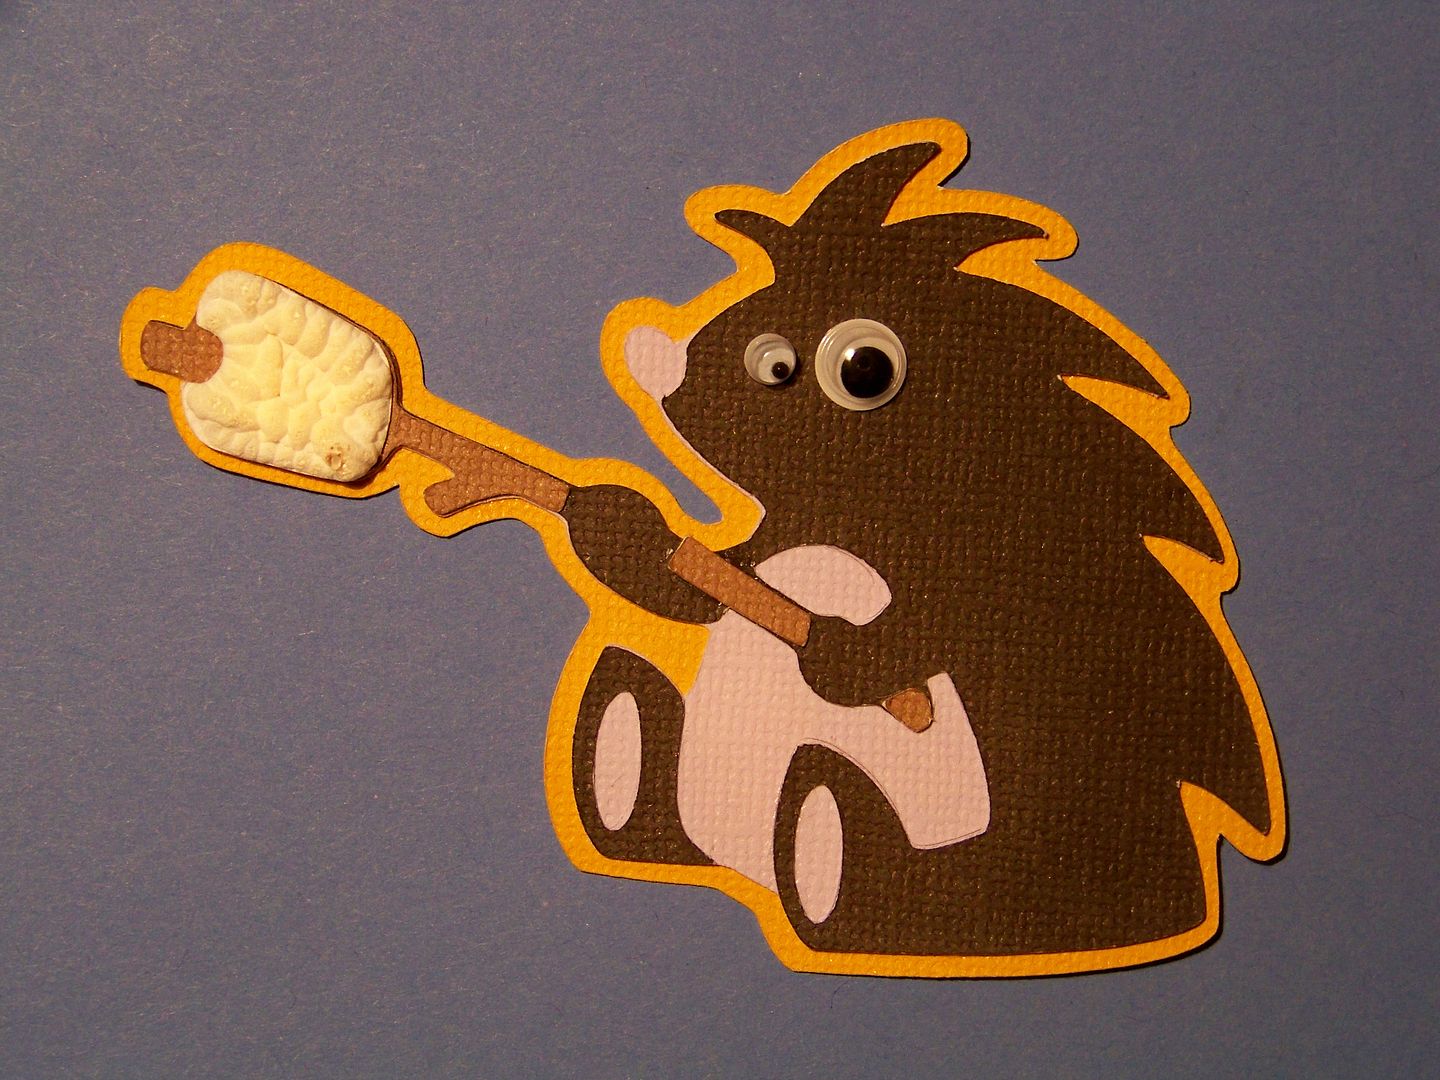
I used Campin' Critters for the little porcupine.  I loved that I was able to find a little guy roasting a marshmallow! 
The googly eye were adhered with E6000 so they wouldn't pop off!
I cut him at 2-1/2" on my Expression.  At that size, starting with the largest shape (the outline), I was able to get 12 on the page when I used Autofill.  That allowed me to know that I wouldn't need any more than one sheet of paper for each layer.
I used Liquid Applique to give the paper marshmallows dimension and texture.  I applied a thin layer so it wouldn't pop up too high; I wanted it to look like a roasting marshmallow!  I found that leaving the heat source on it caused it to brown!  I love that!!!

I used reclosable bags that are 4"x6".  For the bag toppers, I cut patterned paper into twelve 3"x4" pieces.  They were folded in half to finish at 1.5"x4".  This used only one sheet and fit the bags perfectly.  I used ATG tape to apply the greeting and directions to the topper, as well as to adhere the critter in place!
Thank you for visiting my blog... now I have to figure out some kiddo activities for next week and the rest of the summer.  Yikes!!!  (Wasn't it winter like a month ago?!)

Monday, May 2, 2011

Teacher Appreciation Day!

My daughter, Piper, LOVES her teacher.  She is kind and patient and accessible to the parents, even answering emails on weekends, including Easter!  She truely loves the kids... and they love her.  She has worn her heart on her sleeve this year, as she shared with her 1st grade class and their families that she and her husband were expecting their second child.  Then she shared her pain when she miscarried.  Many of the families have felt very close to her.

She has been so understanding and kind to my daughter.  She has been a positive and encouraging force in all subjects, nurturing Piper's love of learning.  When I read that I had an opportunity to win an Expression for my daughter's school by showing my appreciation for her teacher, I jumped at the chance!  This is my entry in the Circle Magazine Challenge.

I started this project at Walmart looking for the base items for a teacher set.  I have loved the sets I have been seeing on the Circle blog.  I knew that I wanted some sort of collection or set of gifts.  I had in my mind using black for a blackboard and some 'ready made' Imagine images so I could avoid piecing layers.  I decided on the Best Friends cartridge.  There is a character with blonde hair and a tutu.  My daughter and I agreed that she looked like that character.  She picked out others that looked like her friends and I printed out and cut LOTS of these in various sizes. 

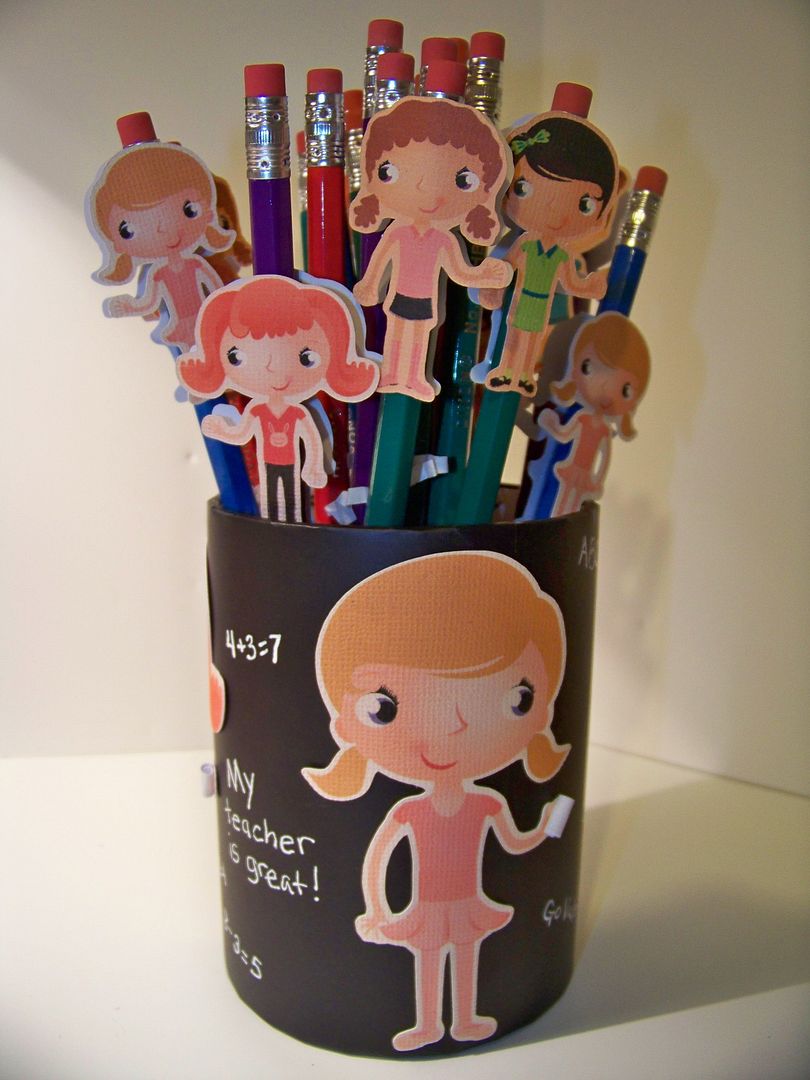
I started with a pencil holder.  I found a solid black one to use.  I cut three images at 4" and glued them on with E6000 plastic adhesive.  Using a white pen, I wrote between the characters to mimick chalkboard writing.

The giant paperclips I purchased for part of the gift set served perfectly to keep the paper images in place while the glue dried.

Rolled up strips of paper create 'chalk' for the characters to hold.
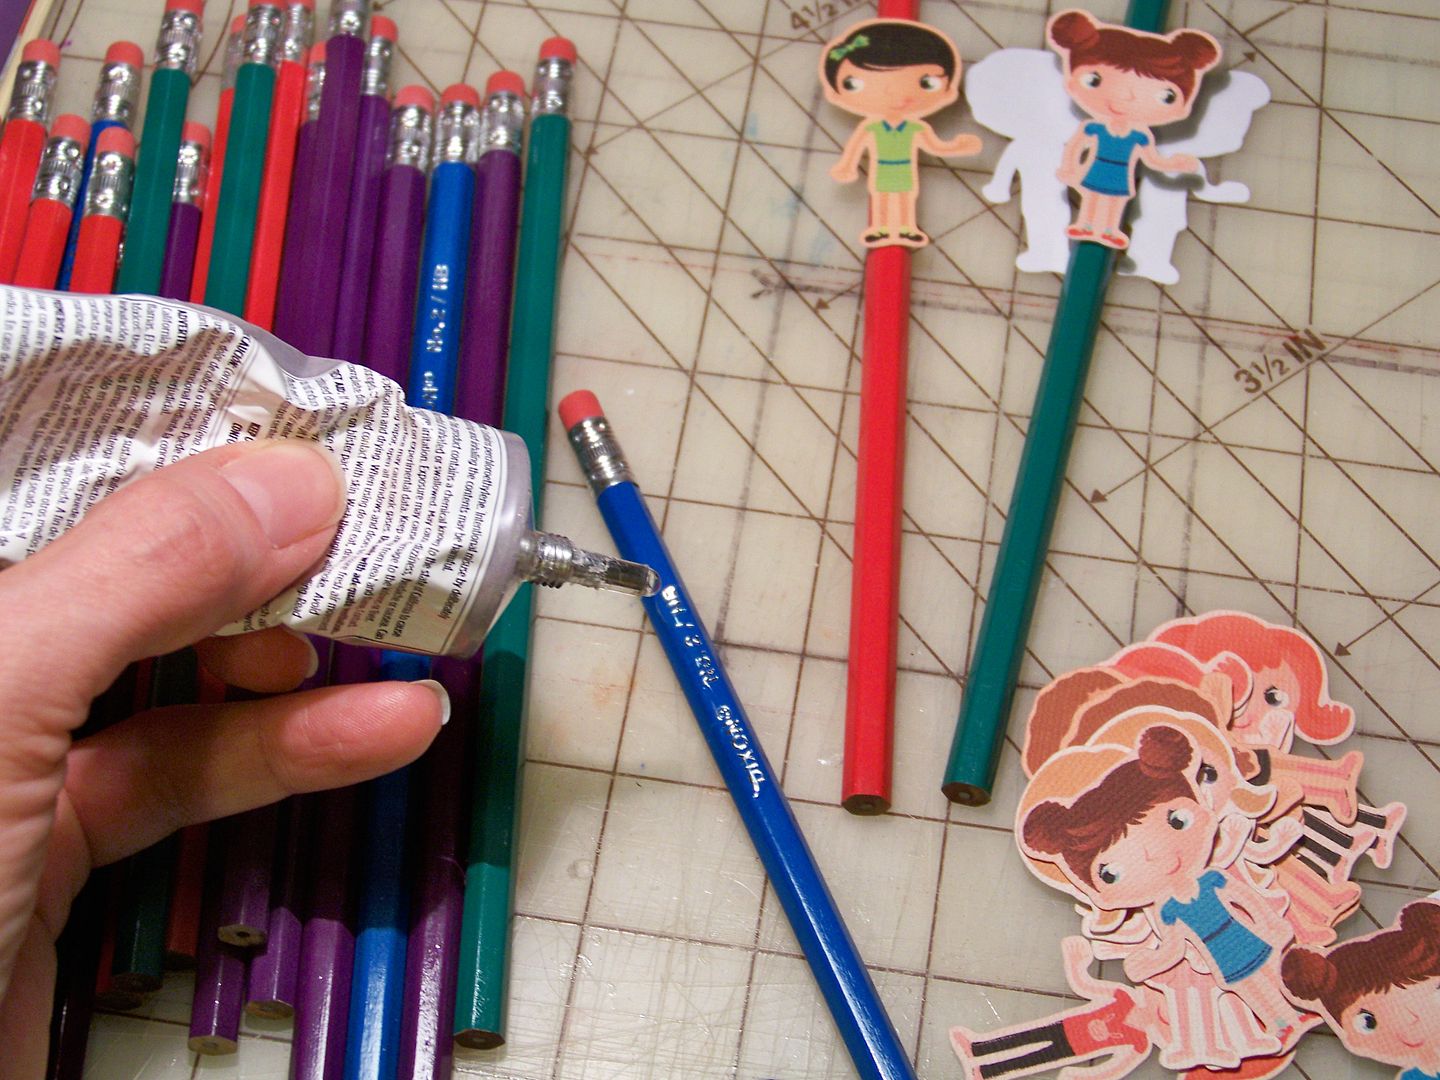
I had purchased a box of solid-colored pencils and cut lots of characters at 2" (flipping half of them to glue onto the backs).  I placed some of the paper dolls at the top of the pencil, just under the eraser and some in the middle of the pencil, covering up the brand.


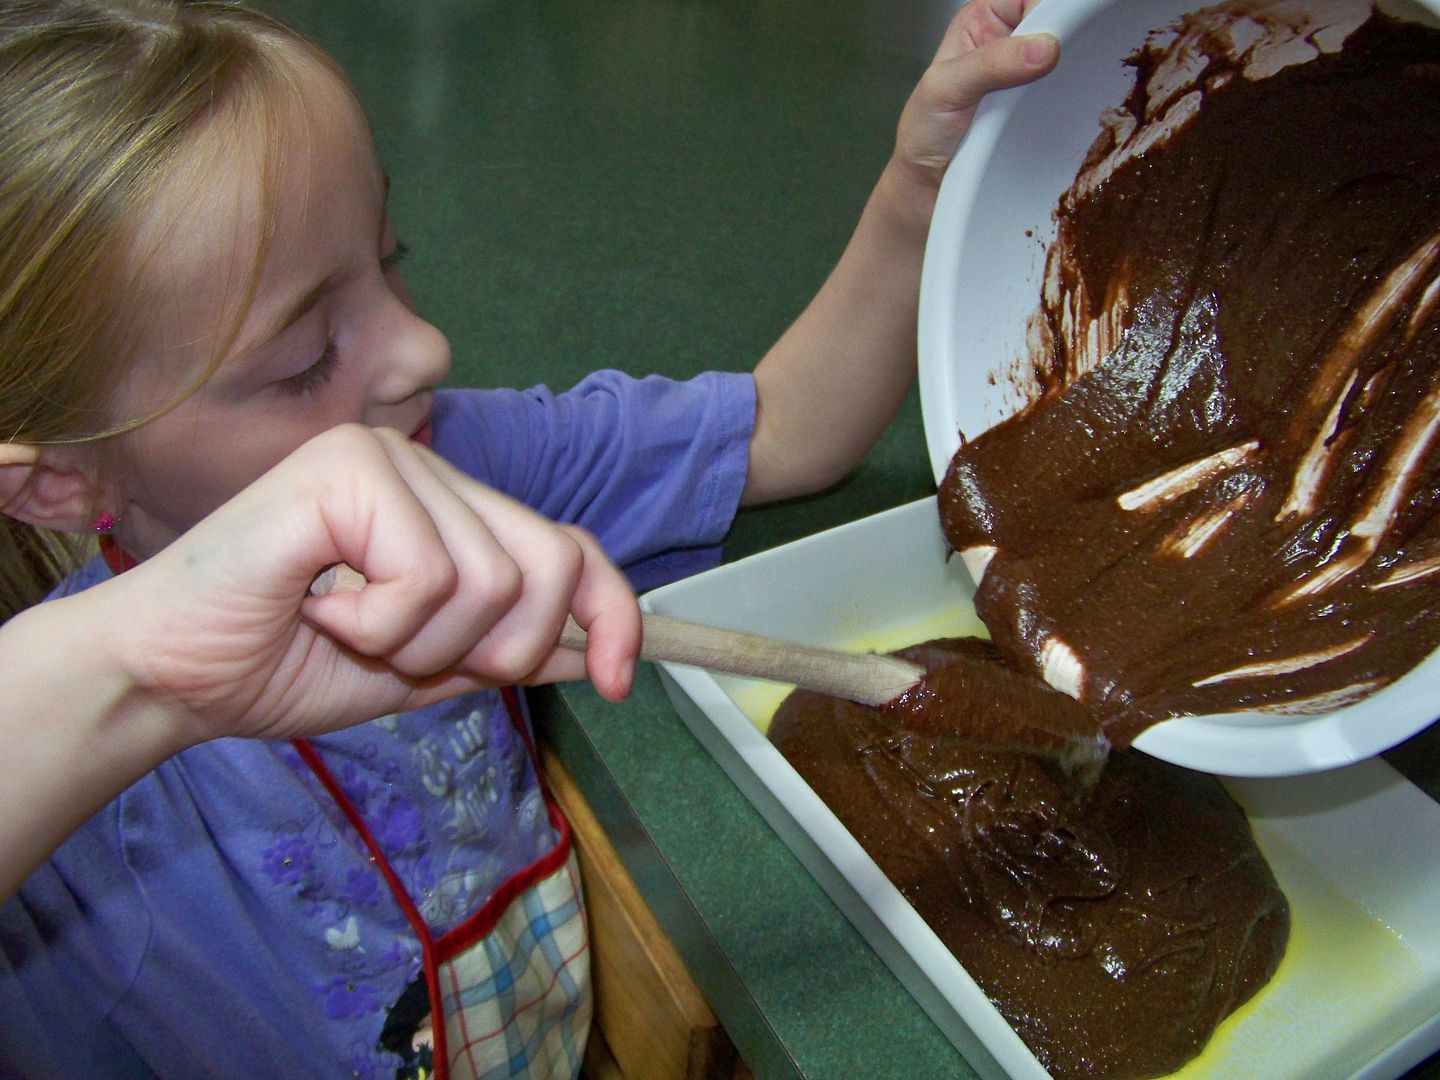
Piper and I worked on making brownies.  Piper insists that brownies are her teacher's favorite treat.  I hope she is right. 


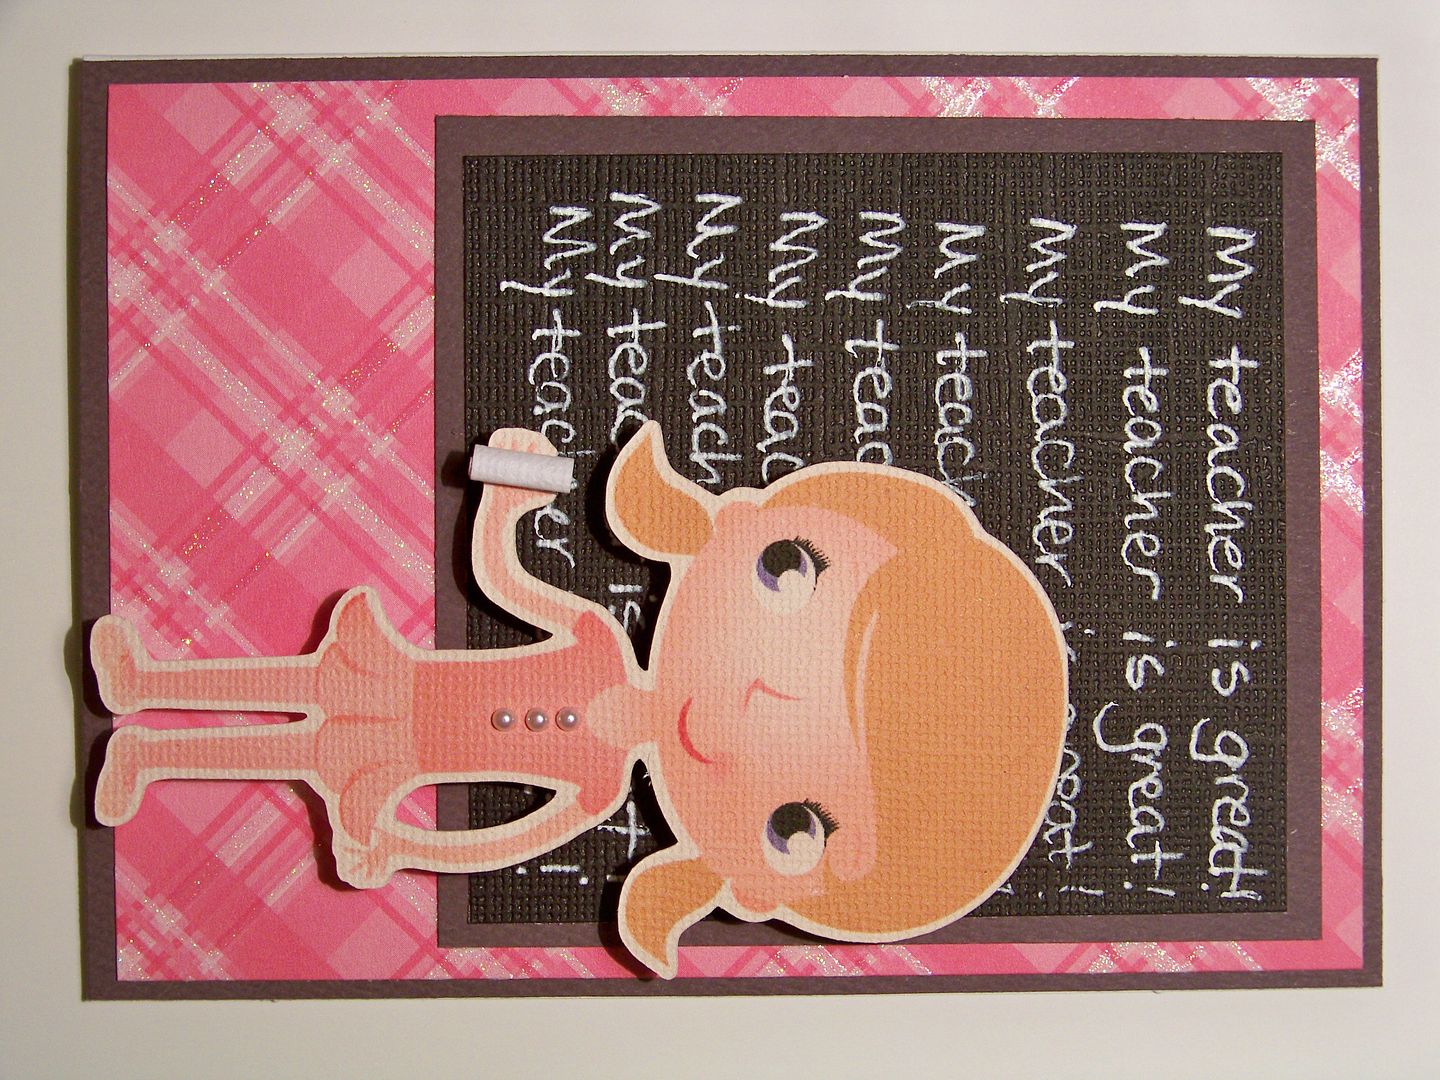
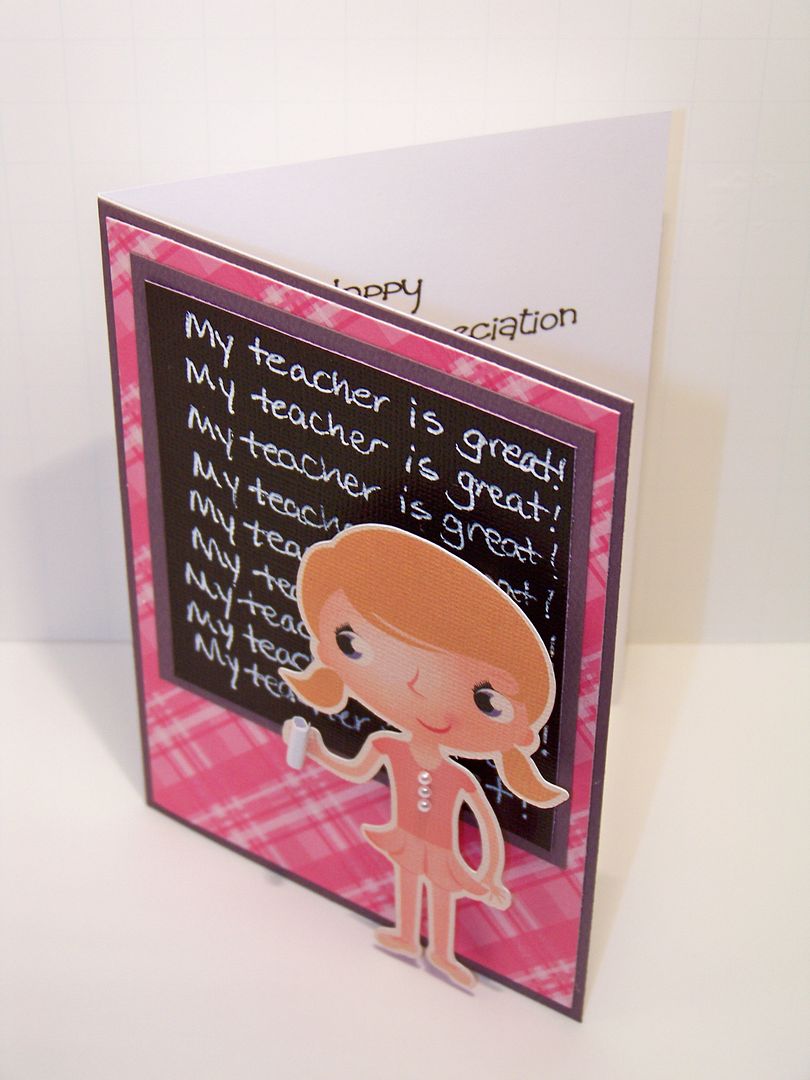
While the brownies baked and cooled, I finished up the projects, starting with a card.  I had been thinking of a card I had seen a while back from Sonia Kertznus on the Cricut message board that used a car decal girl and placed her in front of  a blackboard with 'my teacher is great' written over and over like punishment sentences.  I thought that was so funny and clever.  I used this design with my Best Friends Piper doll, cutting her at 4", popping her up and giving her a piece of rolled paper chalk.

I printed the sentiment inside on my computer.

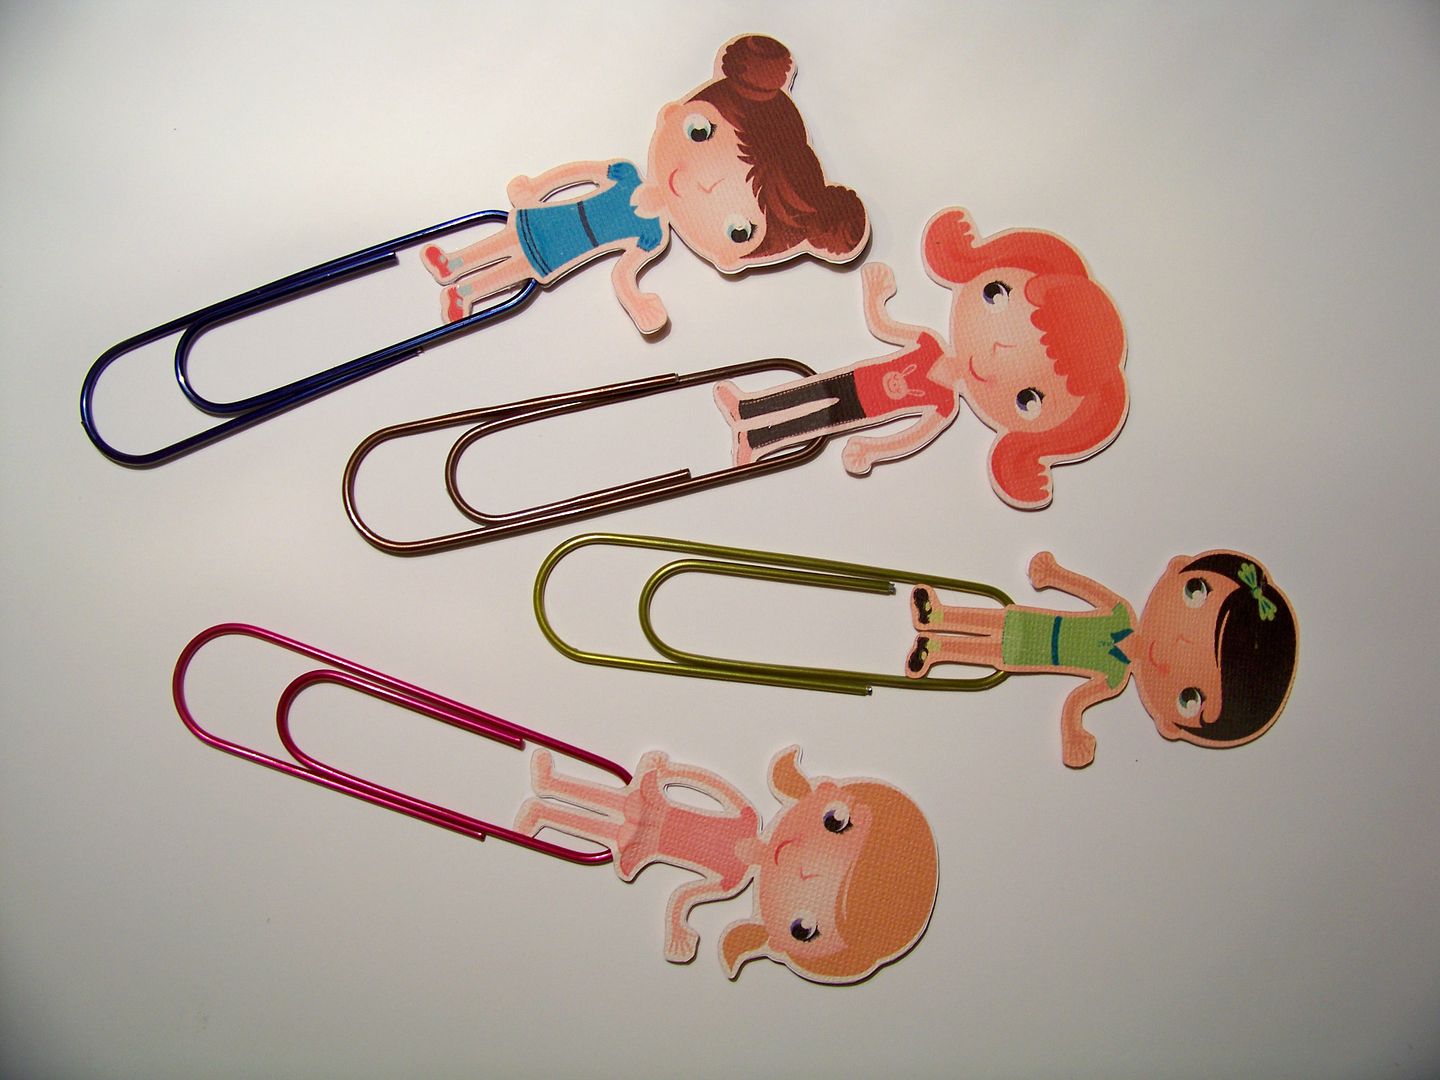
I gathered those jumbo paperclips that helped with the pencil cup and decorated them to match the set.  This idea originally came from Scrapalette.  She once posted her bug head paperclips and then sent me one to see firsthand.  Over the weekend, I did my first one with Doxie's metal challenge.  I loved the way it finished so I decided it would be fun to include a few with this set.  Like the pencils, I printed two of each character, flipping one, for each clip.  These were each cut at 3".  I used the E6000 again to ensure that they would stay together.


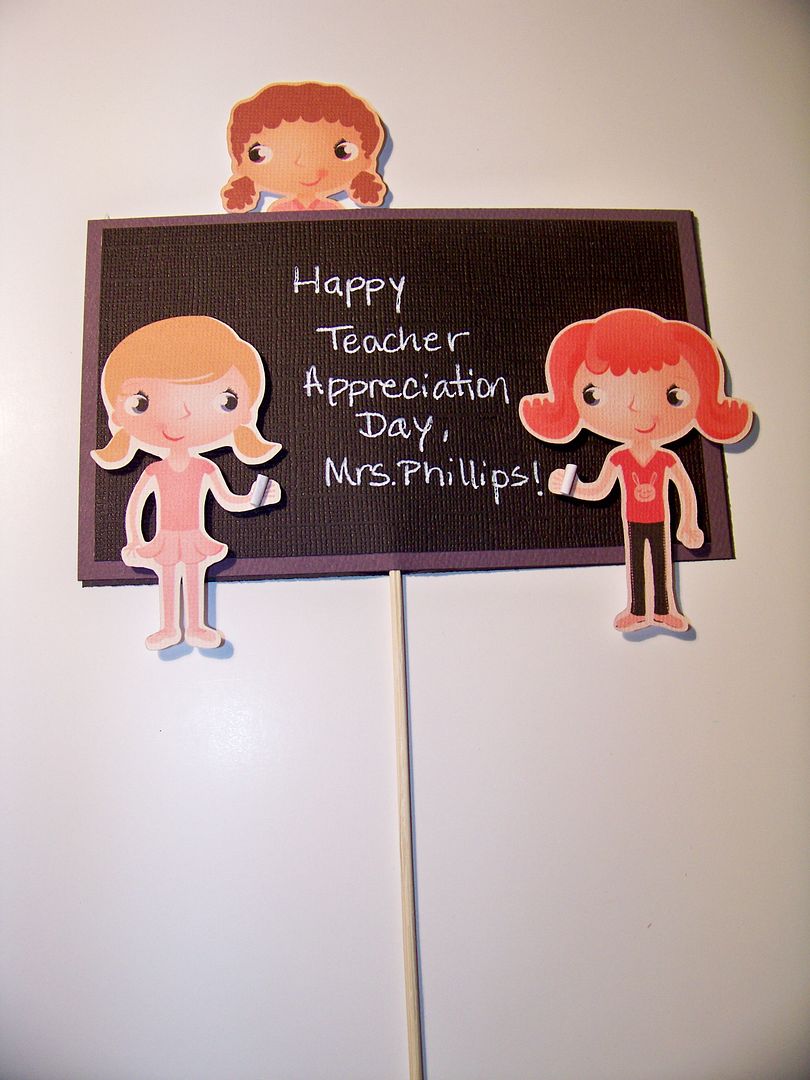
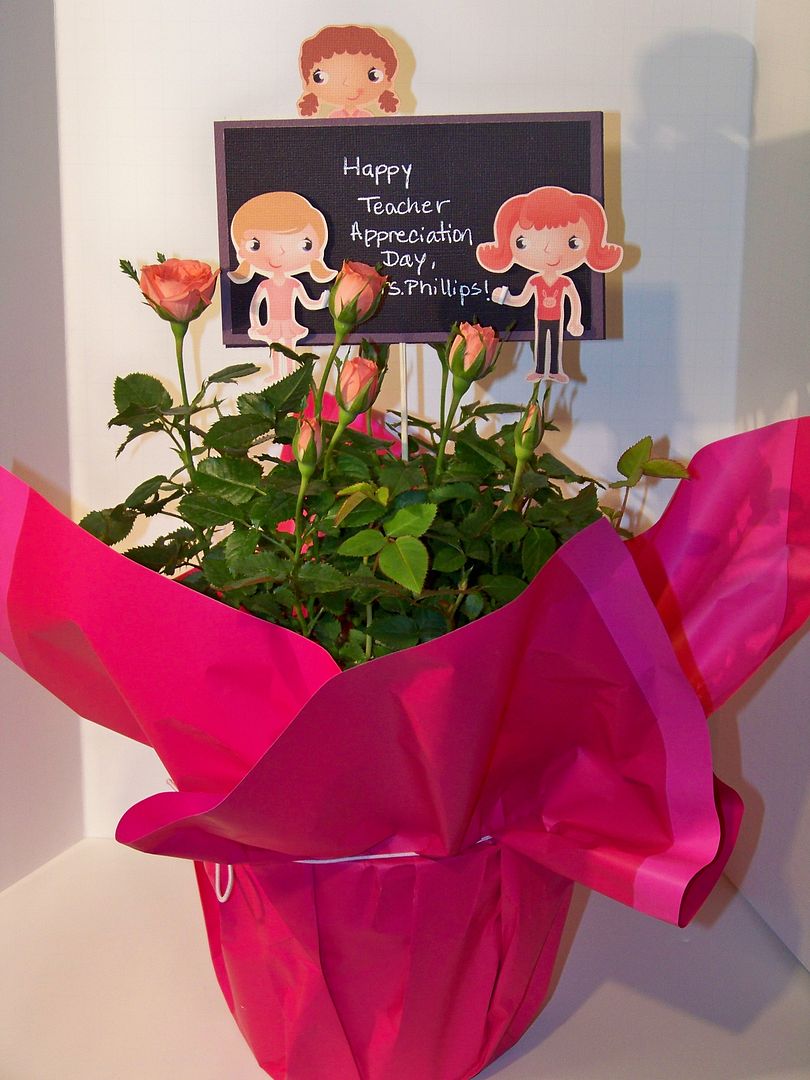
I had purchased some baby roses and wanted to make a pick that would carry on the theme.  These were also cut at 3". 


Once the brownies were cooled, they were individually wrapped in wax paper and them packaged in plastic.  I made a little tag using a 2" character.


I put it all together, ready to go out the door, letting all those faces peak over the top of the bag.  I clipped the card to the bag with one of my jumbo paperclips. 

 I hope she likes it.  Hopefully it will make her smile. 

Thank you for visiting my blog.  I have had such a fun evening putting together this gift for such a wonderful teacher and kind person.

Thursday, March 17, 2011

Happy Saint Patrick's Day!

 
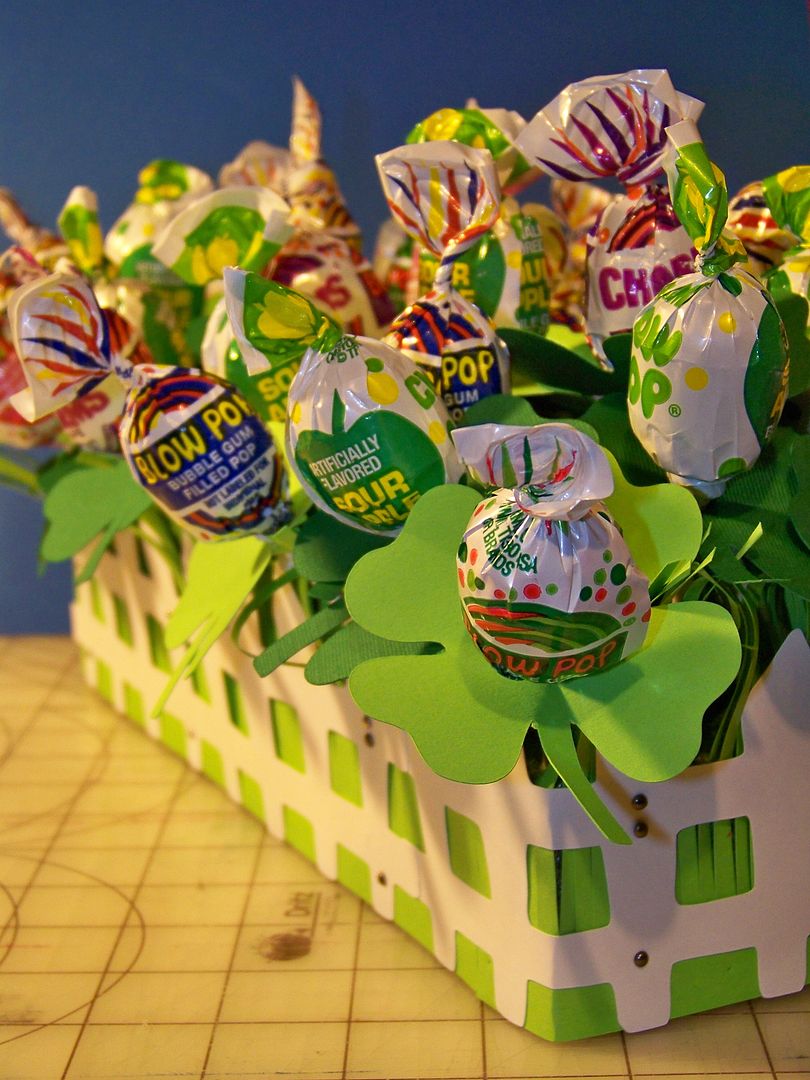
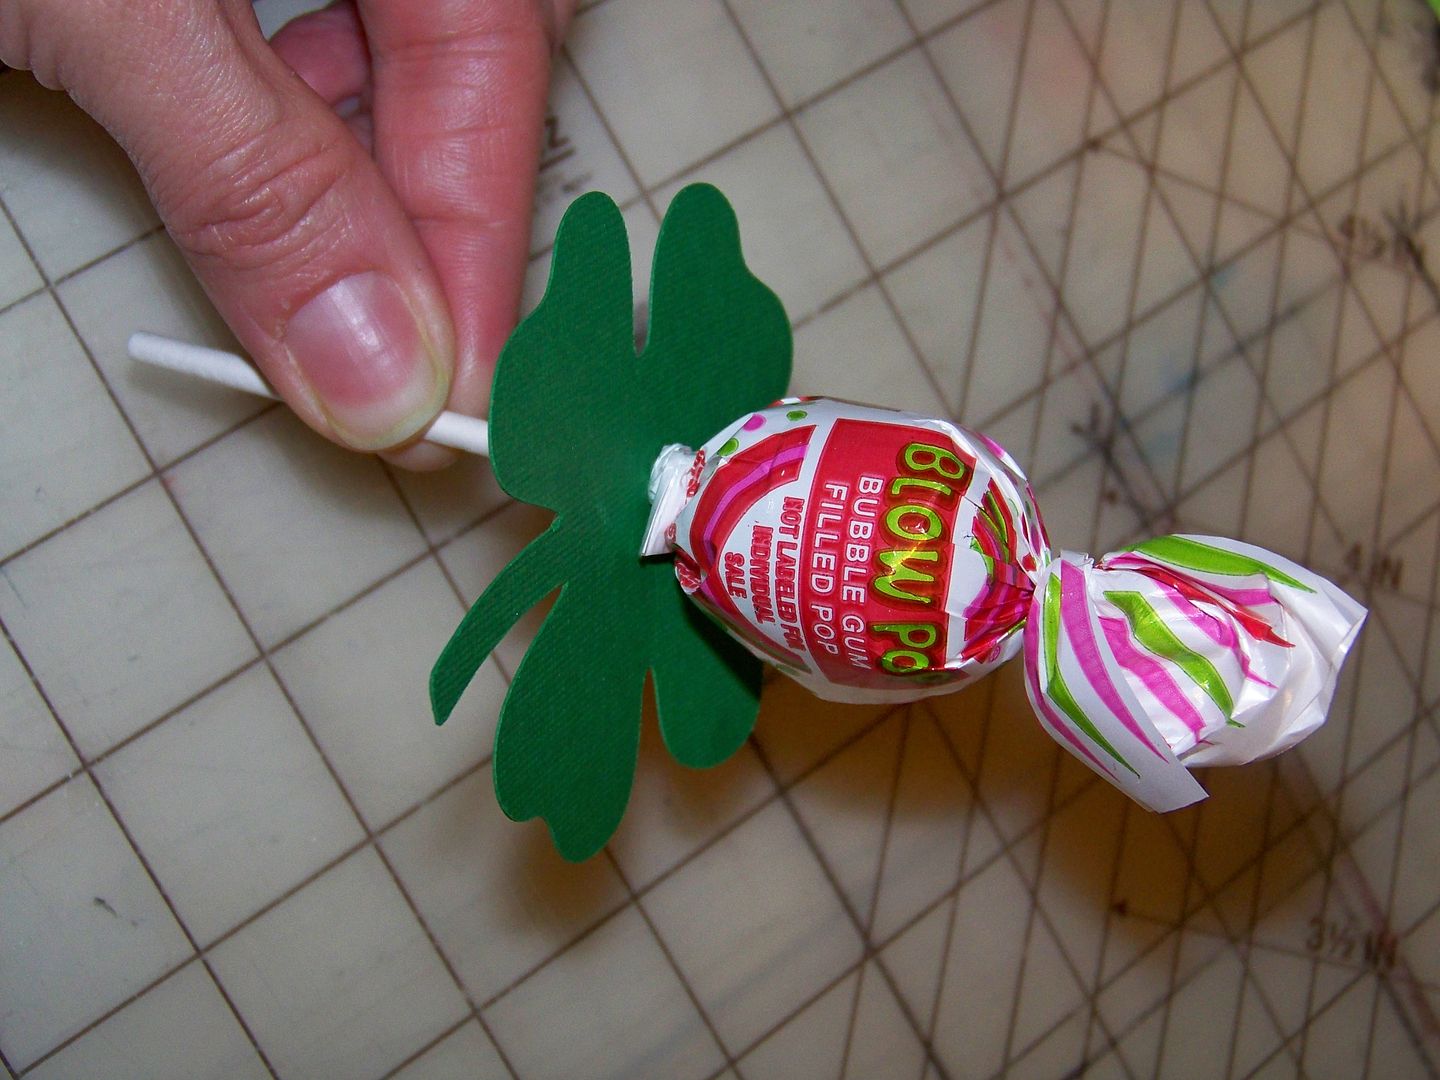
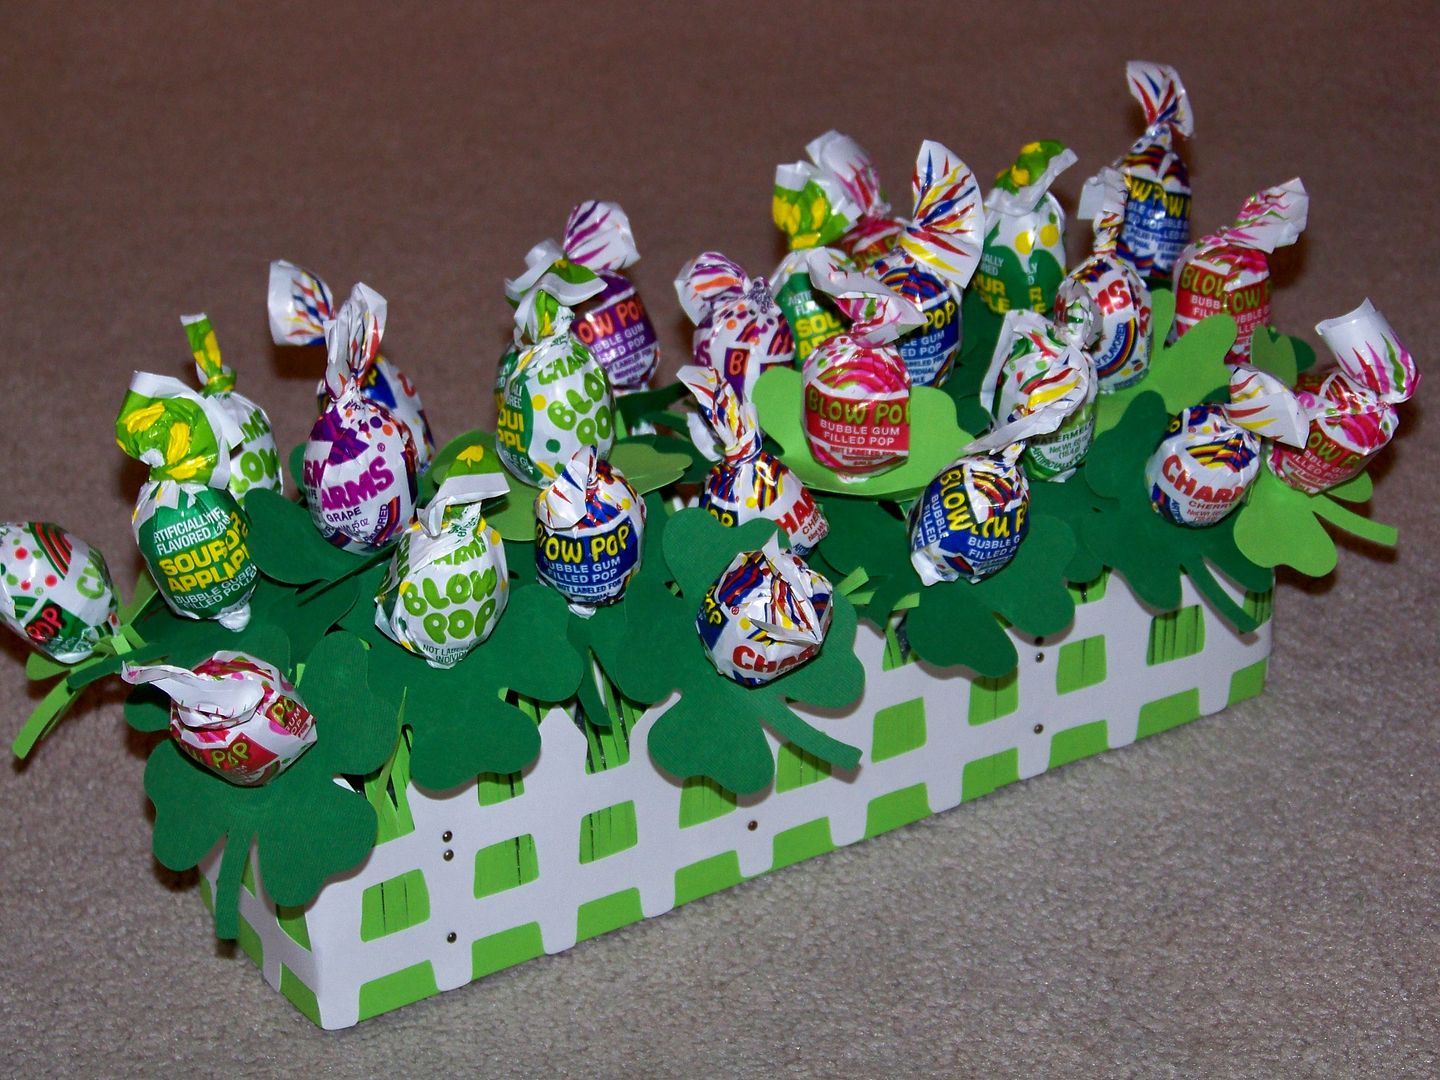
My daughter's class is having a Saint Patrick's Day party so I made some treats.  I  have been wanting to try lollipop flowers from AllisonF's Goody Bag Diva blog  since the time she posted her daughter's party favors during Princess Week.  You just have to see 'em!  Allison's flowers are gorgeous with lots of layers, but I thought a little shamrock instead of the flower layers would be fun for this project.  I bought a couple of bags of Charms Blow Pops (mostly for the word 'charms').  I used the shamrock on Designer's Calendar (at 3" autofill will cut twelve on 12x12 paper or six on 8-1/2x11 paper).  The small hole punch on the CropADile Big Bite was the perfect size to allow the sticks to be pulled through the shamrock.
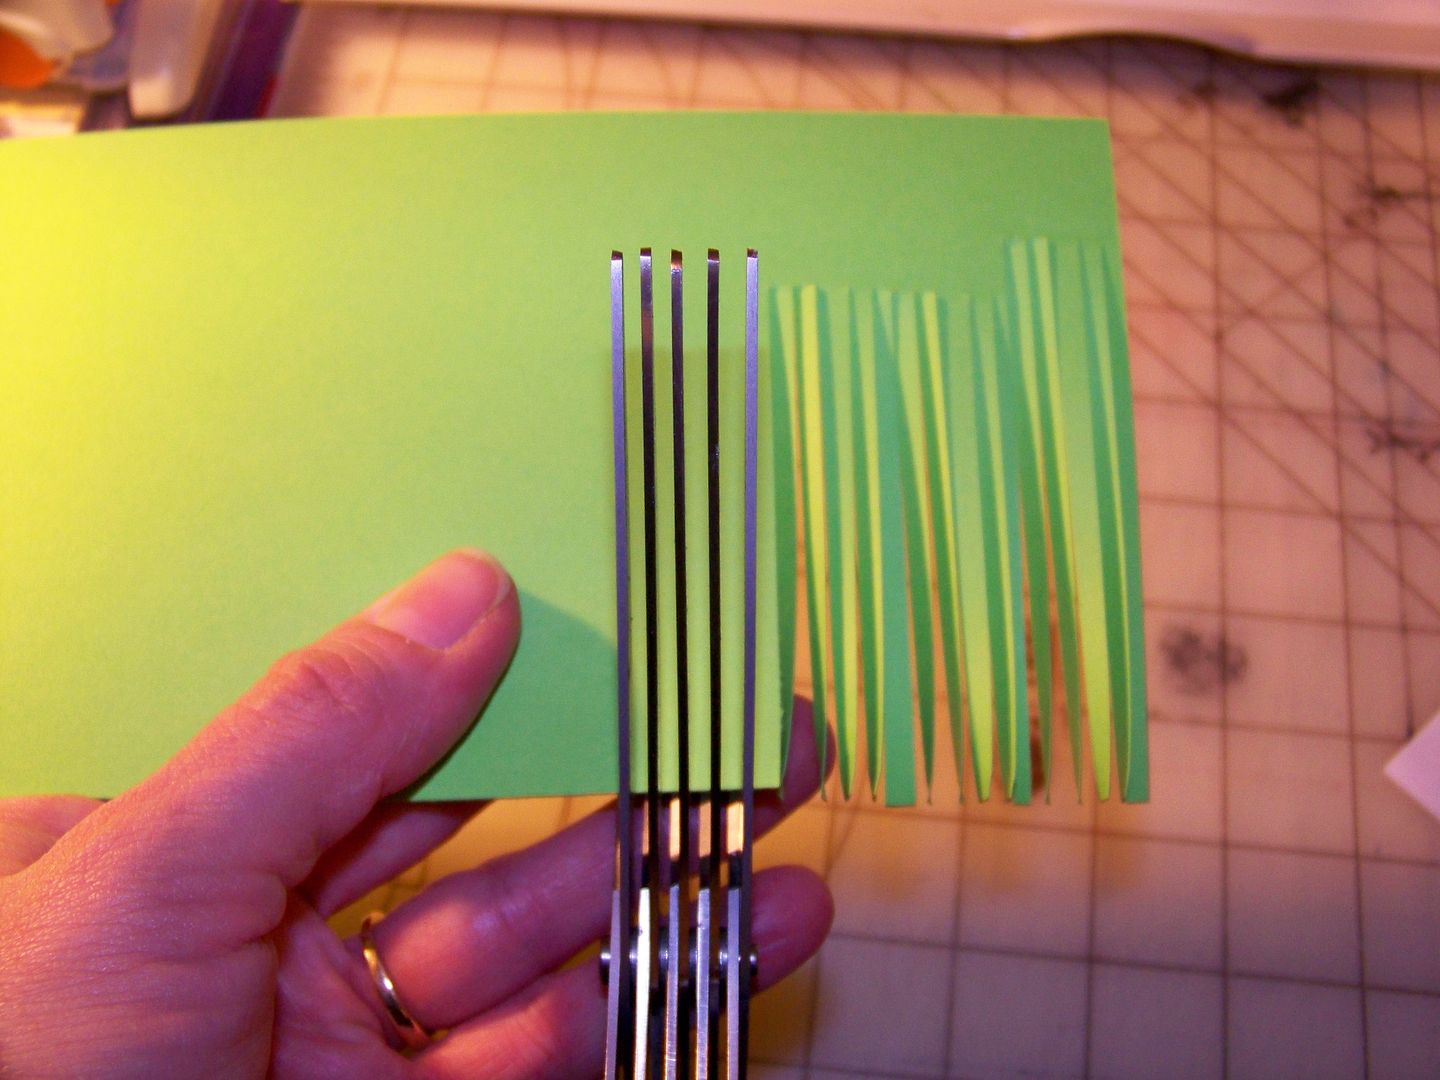
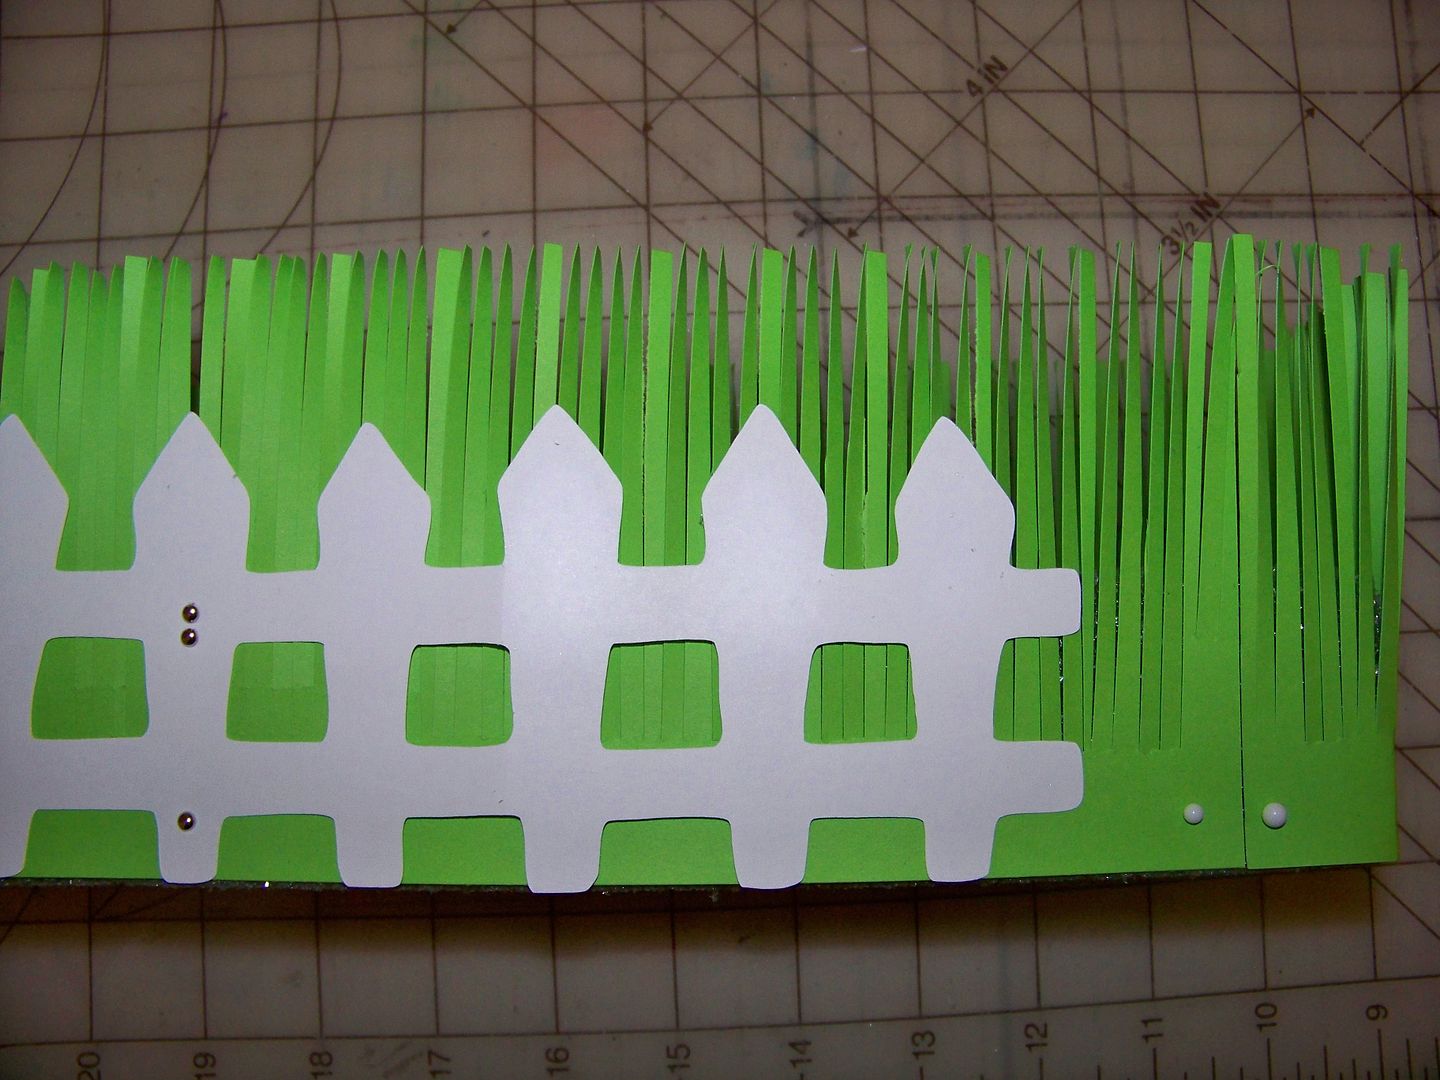
I wanted a cute way for Piper to take them to school for the party.  I created a little grassy box using my new, fabulous Martha Stewart Fringe Scissors (how does that woman know what I want when I don't even know?), a  3"x12" styrofoam block, and the Paper Doll Dress Up Cricut cartridge.
For the grass, I cut three 4"x12" strips and fringed on one side.  The picket fence was cut at 3".  I used sewing pins to hold everything on the block temporarily.  Mini metal brads and glue became the permanent solution!
The shamrock pops where crowded in together.

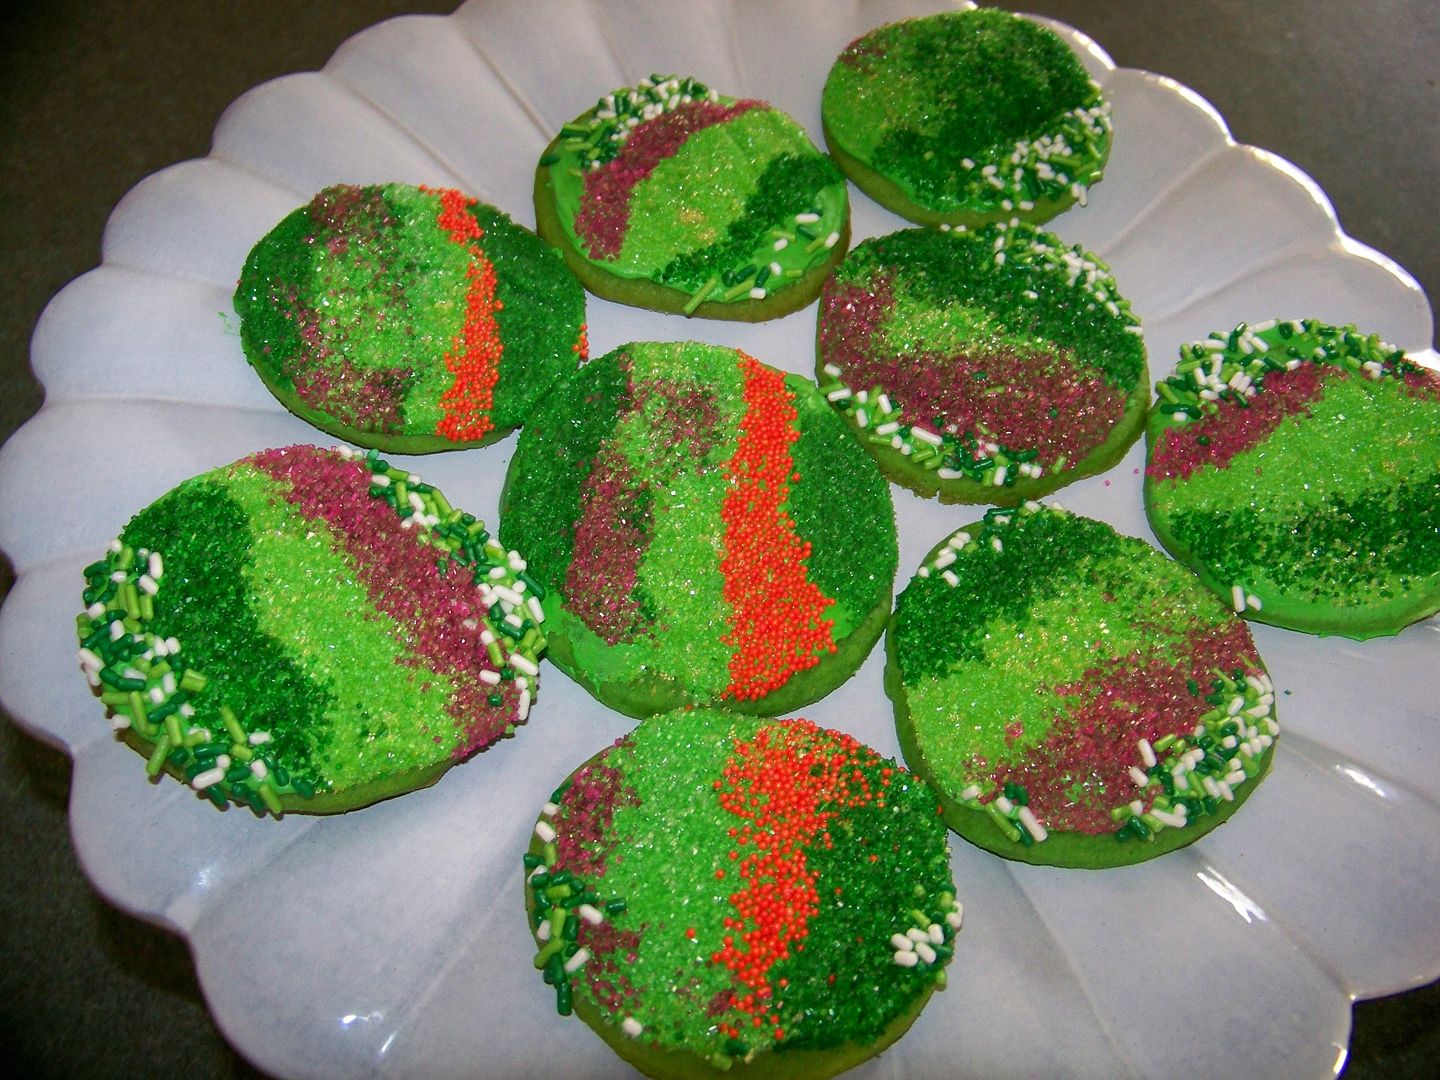
I also was given sugar cookie duty for the party.  I have a favorite recipe that I use for all kid holidays.  This is a basic iced sugar cookie that is pressed into colored sugars that have been placed in a pattern.

SUGAR COOKIES for ST. PATRICK'S DAY (click here for printable version)
3 cups all-purpose flour
1 teaspoon baking soda
1/8 teaspoon salt
1 cup sugar
1 stick Butter Flavor Crisco
2 tablespoons water
2 eggs
1 teaspoon vanilla
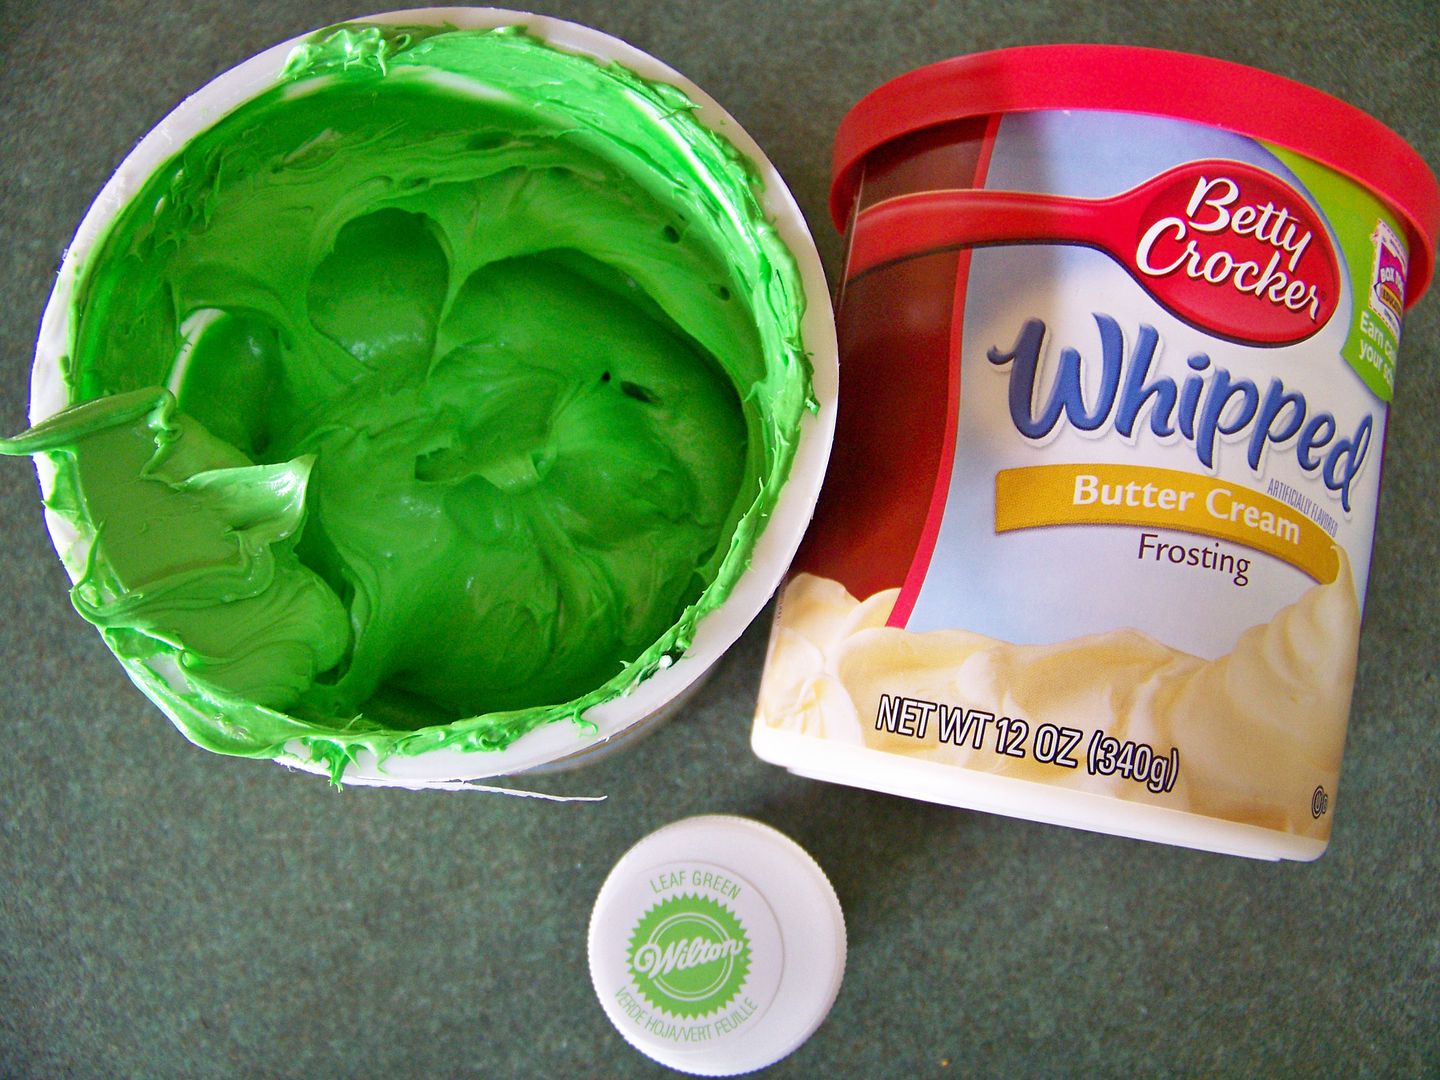
2 cans Whipped Butter Cream icing (yes, this is cheating but just be sure to get one that is both whipped and buttercream for best flavor!)
Wilton leaf green gel food coloring (in little pots)
assorted sprinkles and colored sugars
Combine flour, soda, and salt.  Set aside.
In a large bowl, beat sugar, Crisco, and water until light and fluffy.  Beat in eggs.  Add vanilla.  Gradually add flour mixture, forming a soft dough.  Add about 1/2 teaspoon food coloring, adjusting to get the green you desire.  Mix until the coloring is evenly distributed throughout.
Shape dough, wrap with plastic, and chill for two hours.
Preheat oven to 375°.  Spray baking sheets with Pam for Baking.

Roll out dough on floured surface to 1/8"  (I like mine more like 1/4" but the cookies will spread and their form may distort which will only matter for cookies other than circles, but they will be softer).  Cut out shapes (I used my grandma's 2-1/2" biscuit cutter for a round cookie) and place on baking sheet.  Bake 8-10 minutes.  Let stand a few minutes before transferring to cooling rack.  Cool completely.
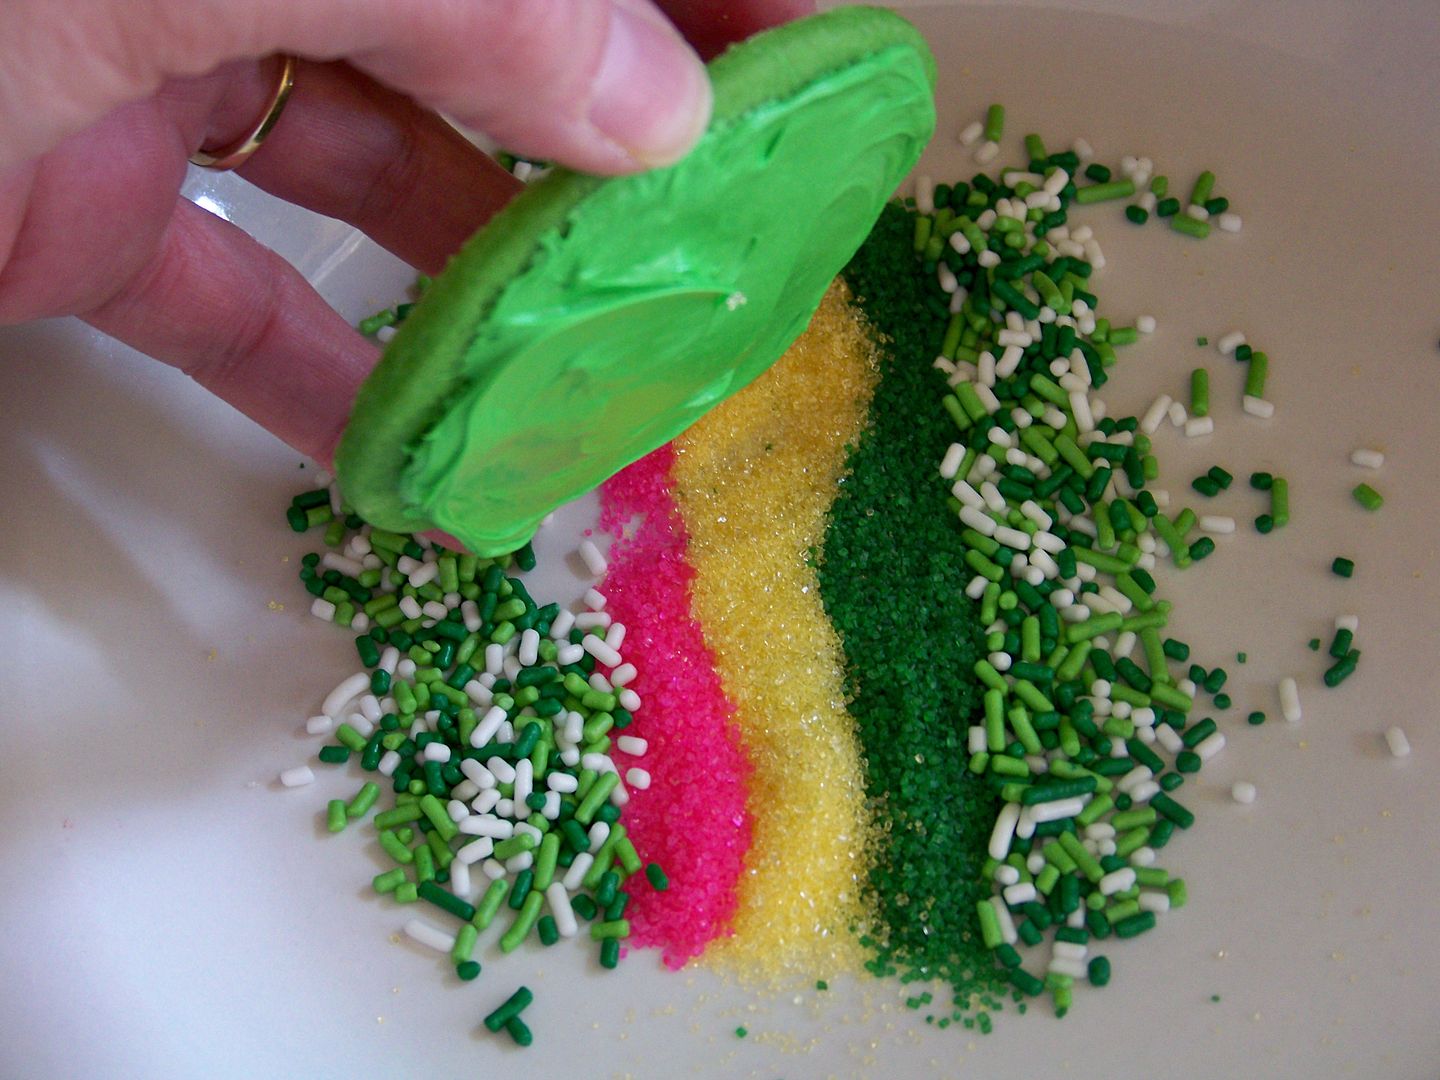
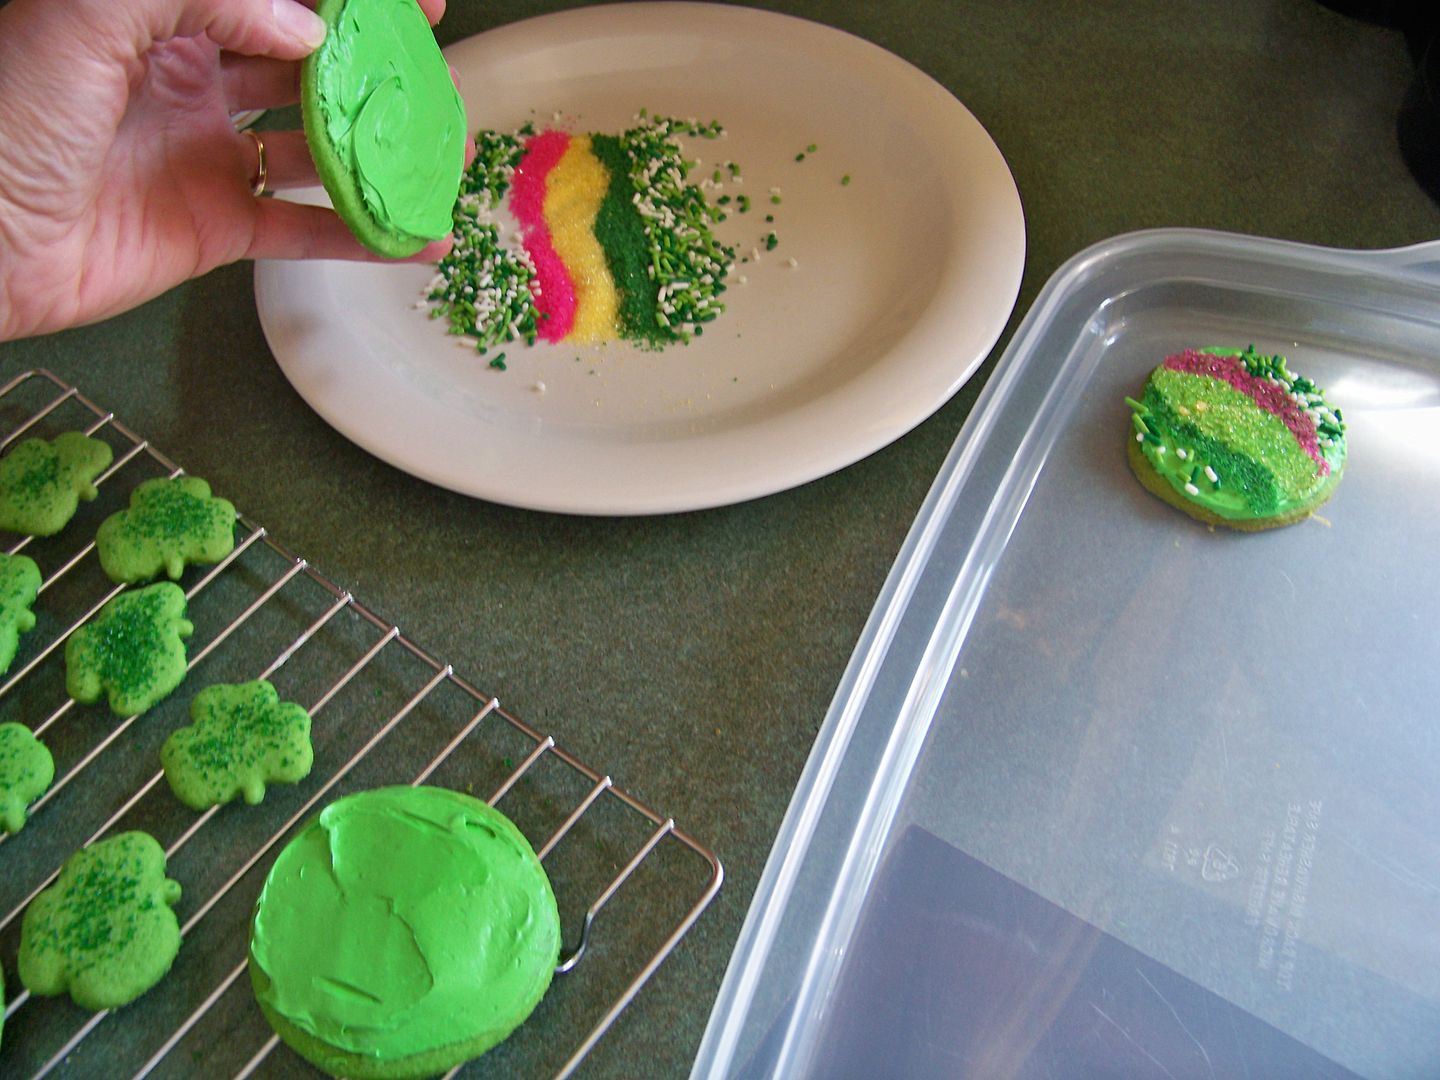
Mix about 1/4 teaspoon of food coloring into each can of icing.  Adjust to get the color you like.  Mix completely!  Ice cooled cookies.  Sprinkle colored sugars and sprinkles onto a plate.  I like to make a striped pattern. 
Press iced side of cookie into sugars.  Repeat with all cookies.  My daughter loves these!  This recipe (minus the food coloring) works great at Easter too, using an oval cookie cutter and pastel sugars.

One last thing:  I wanted to share this sweet little cartoon about Saint Patrick that my husband found.  It is an Oscar-nominated short and it is adorable!  Click here to go watch it!

Happy Saint Patrick's Day!

Sunday, October 31, 2010

Weekend Challenge and Halloween Fun Stuff!

I thought you might like to see some fun projects I have been working on.

With the craziness of the Cricut Message Board this weekend, I am actually getting to post my weekend challenge here first and will have to post on the MB once it gets straightened out!

Allison has asked that we use non-traditional materials for our projects so I chose Shrink Film and ... socks!
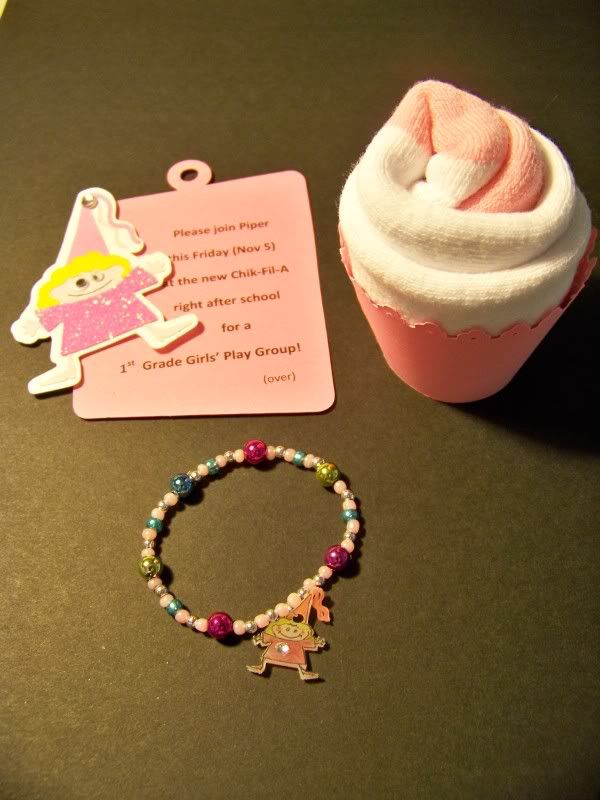

My daughter's school is just down the road from a new Chik-Fil-A (my fast-food weakness) so we are planning a 1st Grade Girls Play Date at their playplace. Of course those climbing, twisty-tube play areas always require socks for Kentucky health code compliance, so my invitations to the little girls include socks just for fun.

This past spring, I found a great craft idea on GreenBean's Crafterole blog for the instructions for rolling socks into the shape of a cupcake and placing it in a cupcake holder. They really look like a frosted cupcake! I love that idea. You can see it here! Carrie is one of my favorite crafters with her seemingly endless string of GREAT ideas!

Cupcake Details:
2-1/2" Cupcake wrapper is cut from Easter cartridge (on 8-1/2x11 paper, Autofill cuts 3).
The socks are from WallyWorld.
Clear bags are from Hobby Lobby and the cheapy ribbon is from the stash.

I placed each "cupcake" in a clear bag with a tag.
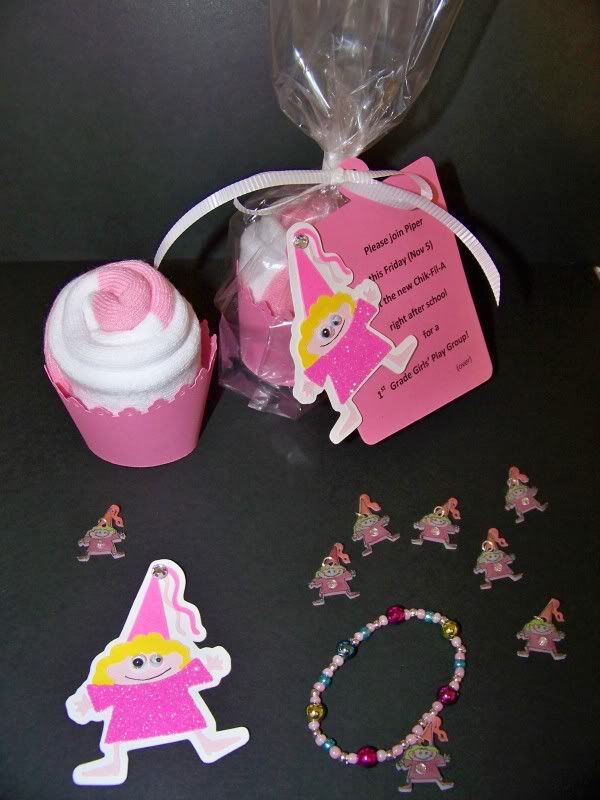
Tag Details:
2-1/2" Princess is cut from Mini Monsters (on 8-1/2x11 paper, Autofill cuts 10 shadows).
4" Charm tags are cut from George (charm, shift, H) (on 8-1/2x11 paper, Autofill cuts 6).
I put glitter on the dresses using my Xyron. I learned about using the Xyron 2-1/2" Sticker Machine to apply glitter from the fabulous girls on the Cricut Circle, AllisonF and Caroline (Doxieluv01). Wow is that addictive! Placing the cut shape upside-down in the machine, peeling them off the sticker paper, and applying glitter (I lightly press it in using a piece of the sticker paper) creates a perfect surface and once the glitter is applied, no flaking! So easy and effective!
I printed directly on the tags with my computer after they were cut out on the Cricut. The princesses were applied onto the printed tags with pop dots.

I also made little bracelet favors with a Shrinky Dink charm that matches the Mini Monsters character on the invitation.


Bracelet Details:
2" Princess is cut from Mini Monsters on Shrink Film.
Misc beads, .5mm Stretch Magic jewelry cord, and sterling split jump rings are used to string together the bracelets.

Just a bit of quick info on working with Shrink Film...

I received so much great info from a thread on the Cricut Circle on using this stuff! First, it will curl up. I had not been baking long enough and, on previous failed attempts, did not leave them in long enough to uncurl, which they will eventually do! Once that was pointed out, it changed the game. Second, the Cricut will cut it, but it takes using the Multicut function.

These are my settings: Multicut 3, Blade 6, Pressure 5, Speed 3 and baked 6 minutes at 325. I was able to outline and write on the film best using a Zig 01 fine pen. You have to punch out a hole before it bakes or the force of trying to punch it later will break your charm in two! I used a regular office hole punch. It looked huge but was perfect! My daughter's Crayola Markers colored the shrink film with no problems. Since the colors will darken as they shrink, I found that not coloring in the skin and just adding rosy cheeks worked best for me. You can glue onto the film after it is baked. I use E6000 adhesive. I love that stuff. It is made for non-porous materials.

I cut my character at 2" and it baked down to 3/4".

I found the princess on Mini Monsters while doing a different project earlier this week. I made treat bags for my daughter's ballet class. Her ballet school allows the children to wear dance-appropriate costumes and to bring treats for one another the week leading to Halloween. Those different sized googly eyes were first used on that project.
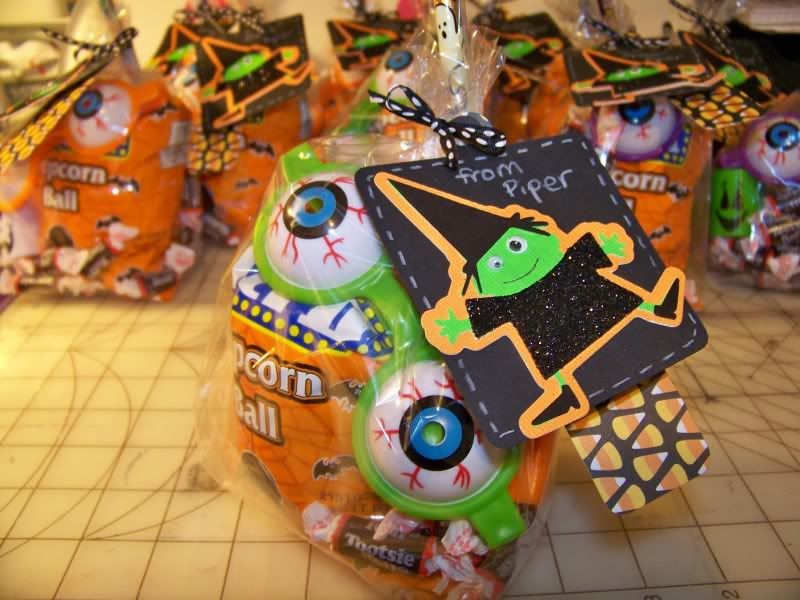
The tags were made with Mini Monsters, page 41. I started with the orange shadow and found that on 12x12 paper, autofill will cut 12 at 3". Two different sizes of googly eyes finished up the characters super quick. That was an idea I found on the Circle Blog. I used a Zig microfine pen to write on her smile.

The black tag behind the witch is a charm on page 99 of George & Basic Shapes cut at 3-3/4". Autofill will cut 9 on 12x12 paper. The candy corn patterned tag behind that is also from George, cut at 4-1/2". Autofill will cut 14 of those on 12x12 paper.

Speaking of Halloween, that is the perfect holiday for the craziness of the challenging challenges at Olive Juice Studio. I adore the funky mind of Kim Du Chene! Her challenge for October is to create a scrappy scarecrow, of course she has a list of requirements (such as including a rubber band, a feather, and items starting with the letter "P") to spice it up and make you think! That is the part I love, naturally!
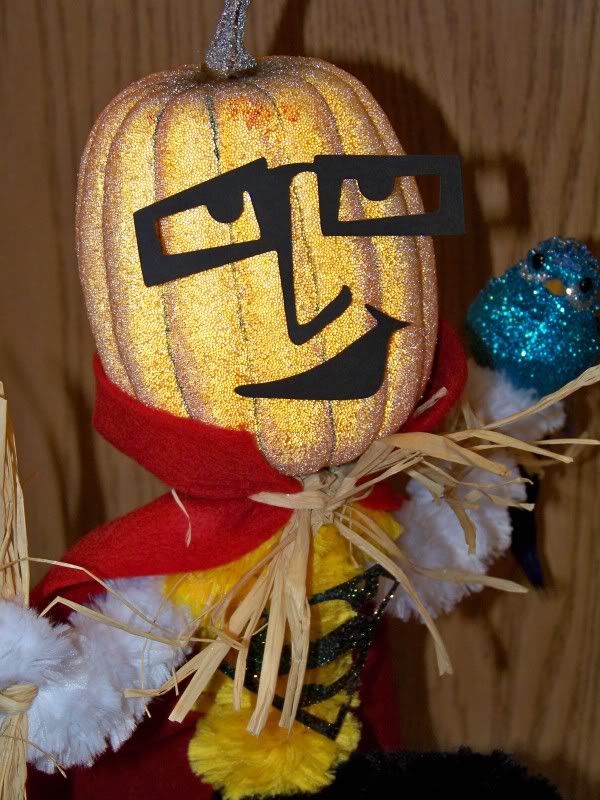
This is Supa Scare. Apologies for that, but part of the challenge was to create an appropriate name for the scarecrow created.
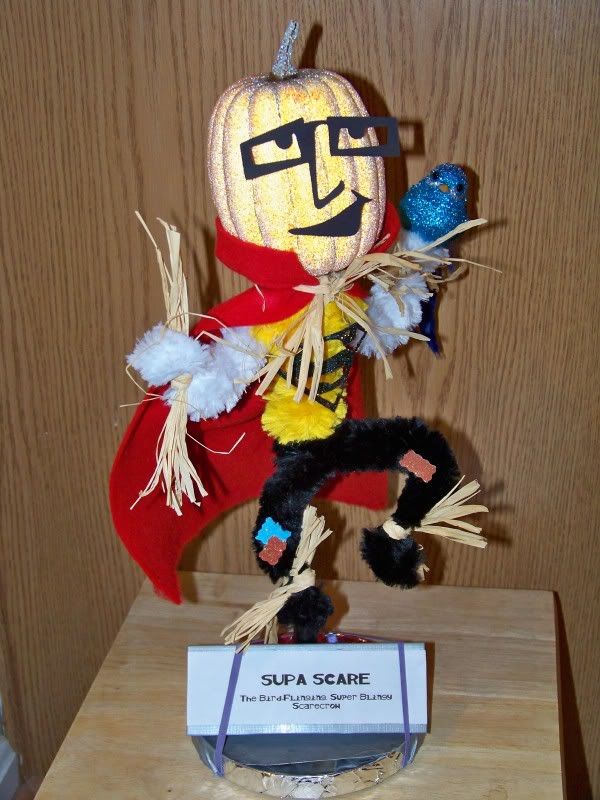
He is made completely from found items at our house (it kinda shows). His glittery head and bird are from leftover items from the church bazaar stuff I donated. His base is a CD holder, wrapped in metal tape (leftover from attaching the dryer hose) and duct tape (that my husband borrowed from a neighbor last night for me). The black and glitter papers on him are from my drawer of little scrap papers, the giant pipe cleaners are ones I raided from my DD's craft stuff (she is 6 so it required trading and begging). The rubber bands are from the asparagus that I cooked last night. (How can a house not have any rubber bands except what shows up from the produce department??!!) The raffia has to be from 1992, leftover a project I did then for school. That is the only time I remember using it and I had quite a time remembering where I put it. The felt is left over stock from when I thought that I needed every color made to create my little 2" acorn fairies. (Note: 2" fairies do not require a case of felt to get completed). The dowel rod inside him is leftover from DD's birthday party in 2007 when the girls made magic wands. The face is from Pumpkin Carving (cut at 3-3/4") and the "S" on his chest is from Superman (cut at 2").

Silliness is par for the course in October! I just heard a great editorial on the radio who praised Halloween as a celebration of creativity. That was not the point of his message, but it was one that made me take note.

My daughter's Christian school (and her previous preschool for that matter) does not allow any mention of Halloween or use of Halloween symbols. Until this year, I really underplayed it for this reason. I have never attended a church that disallows the holiday, in fact, my current church had a Halloween party and a haunted house for the kiddos instead of RE this week. For this reason, I have gone back to my love of Halloween. How could I not love a celebration of creativity?! We continue to respect the rules of the school and wishes of some of the other families, but that is part of being a member of a community. I think it is a better lesson to teach my daughter to be respectful but still true to our family's values and preferences.


Now... I am off to get ready for tonight's family hooha for Halloween! Best wishes for a safe, happy, and creative Halloween! Eat extra treats for me!
But wait! There's more! Click 'older posts' above!

But wait!  There's more!  Click 'older posts' above!