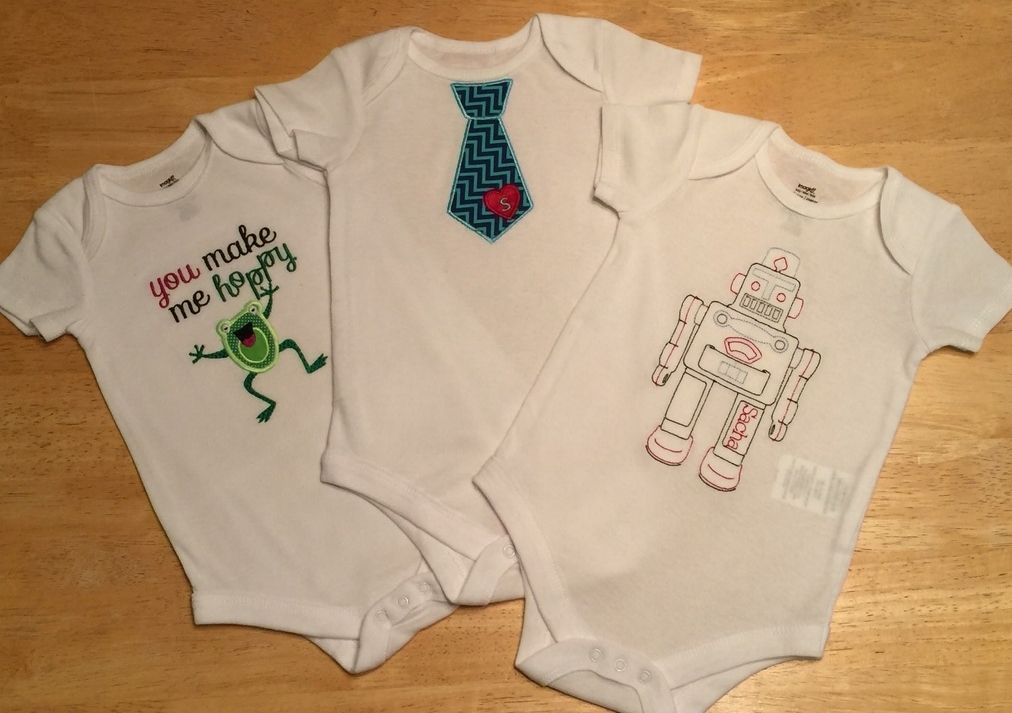
When I got my Brother PE-770 embroidery machine and Embrilliance software last March, my first "project" that I completed by the end of the month (after three weeks of learning while practicing on scraps of fabric), was a baby gift set. This was also my first embroidery post on this blog!

I continued to make baby gift sets to continue to learn. I still think they are a great way to practice because new moms love personalized things for their new babies so you instantly have a happy cheerleader, excited for your efforts! And some of those moms got less than stellar results as I continued to learn (and sometimes fail as you can see below), but they received projects with tons of effort!!


Last June, when I did the first baby project tutorial, personalized burp cloths, I had planned on a series of tutorials. All these many months later, I am finally doing the second one. At this rate, it is safe to say that in ten years, I should have them all completed.
One of the hardest things I finally figured out was baby onesies! I had read where others liked the snap-back onesies and side zipper gowns in order to easily deal with baby clothes with a single needle machine...and I had read that the cheap, thin ones were the worst, the hardest to successfully sew. I had read that some embroiderers open up the sides of onesies to stitch flat and then re-sew the sides. All of those solutions had merit and were perfectly acceptable, but I wanted to be able to embroider regular onesies, cheap onesies, any onesie!! The first step to accomplishing this came when I found clearance Imagin8 brand onesies at Michael's Craft Store. They were priced down to 70¢ so I loaded up a cart and bought tons of them. I gave myself permission to try and learn, even if that meant throwing away any that didn't work out until I had it figured out. I threw away quite a few that were complete disasters, but in the end, I learned how to stabilize them, stitch them without any extra tools (like the HoopItUp that I wasted money on), without cutting open the sides, without spending money on expensive blanks with back or side openings, and with perfect, repeatable results. The hardest part was learning how to stabilize them properly, without the stabilizer shadowing and showing through to the front, without puckering, without a stiff rectangle on the front.
This tutorial shows what I finally figured out. I am sure there are many other ways to do this, but this is the way that finally worked for me. It works for me every single time without fail! Learning this meant that I had acquired skills to embroider on all sorts of knit clothing!
Supplies needed to float and embroider a onesie:
- embroidery software - I use Embrilliance Essentials. I use my software for every single project that I stitch. This allows me to merge and size my file, add text, and print out a full-size paper copy of my design with a list of color steps for the stitch out.
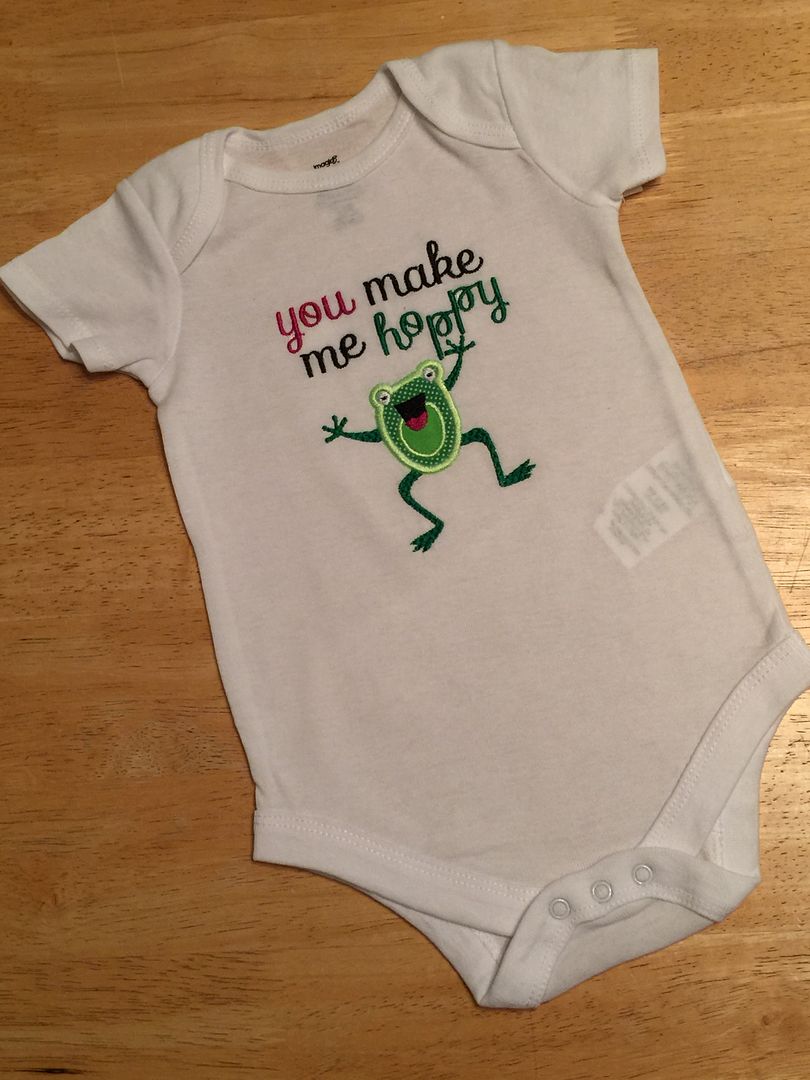
- embroidery file ready to save and stitch (The file I have used in this tutorial is made of an applique that I digitized myself and the Daphne font from Stitchtopia.)
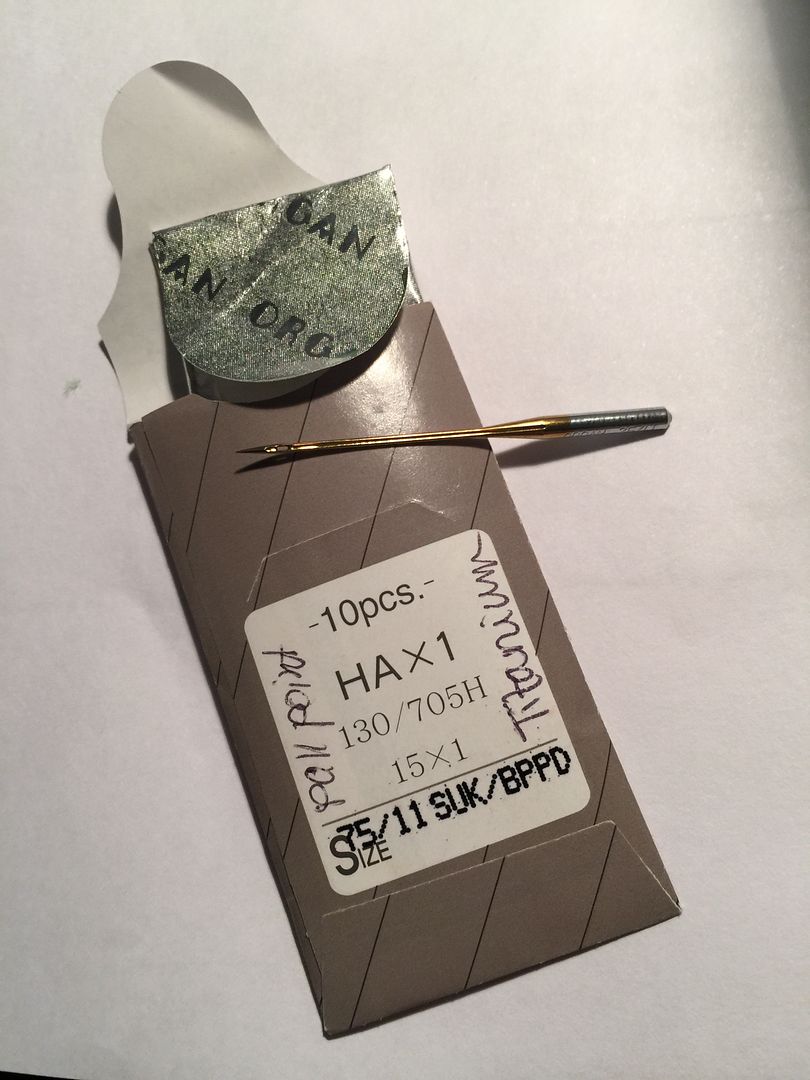
- Ballpoint embroidery needles size 75/11.
- Fusible No Show Poly Mesh stabilizer (this is a type of cutaway stabilizer)
- tearaway stabilizer
- water soluble stabilizer (WSS) if a topper is used
- applique fabrics (if doing applique)
- Heat N Bond Lite (hnbl) (if doing applique)
- Stitch cover (this is not a stabilizer but rather a fusible knit facing that covers rough stitching. Cloud Cover, Tender Touch, CoverAStitch are some of the trade names).
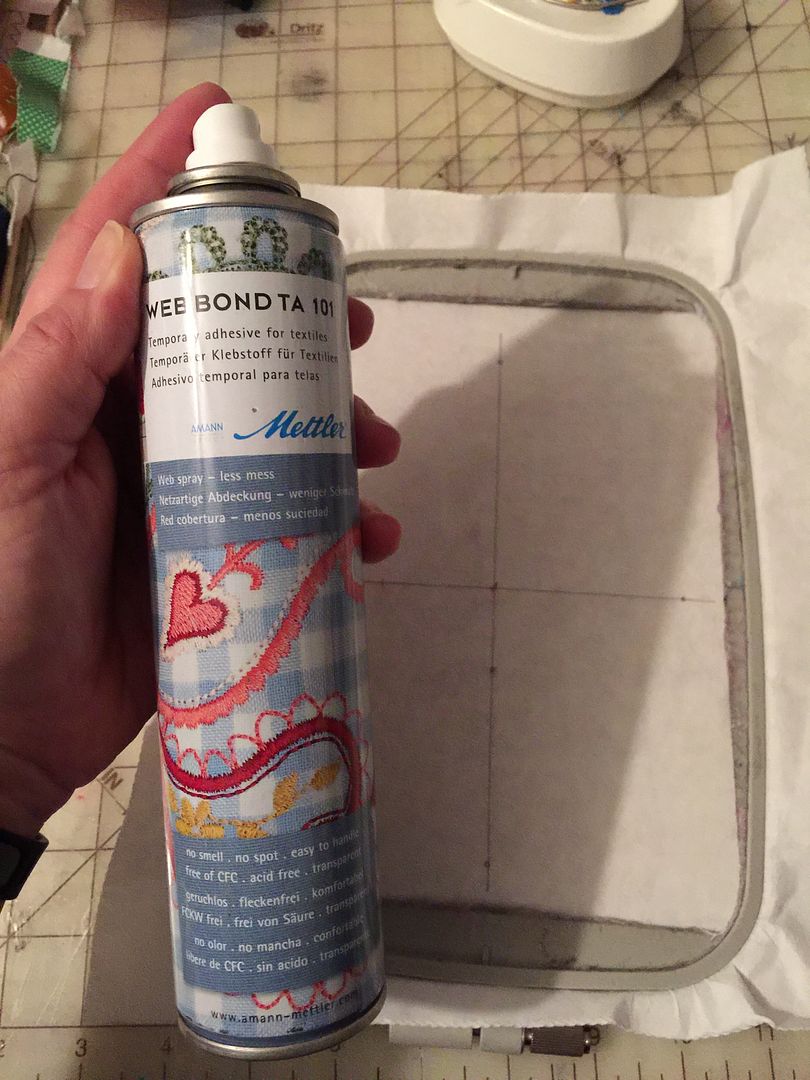
- Temporary textile adhesive (Mettler Web Bond TA 101 is what I use but there are several options on this)
- Curved scissors for trimming appliques or an electronic die cutter to pre-cut the applique shapes (if an applique file is used)
- Rubber-ended seam ripper or other rubber-ended tool (for removal of WSS if it is used)
I buy my stabilizers and stitch cover from World Weidner (they are also on Amazon). I buy my hnbl from Walmart.
This tutorial will not show you the steps of how to do applique. For that, check out this tutorial from Itch2Stitch: click here. For how-to on cutting appliques with an electronic die cutter, click here. I most often cut my appliques with scissors but sometimes my Silhouette is a better option.
Step One: I pre-wash the onesie, the fusible no show poly mesh stabilizer, the stitch cover, and the fabrics I use for appliques. Many people do not do this but I find my best results when I do.
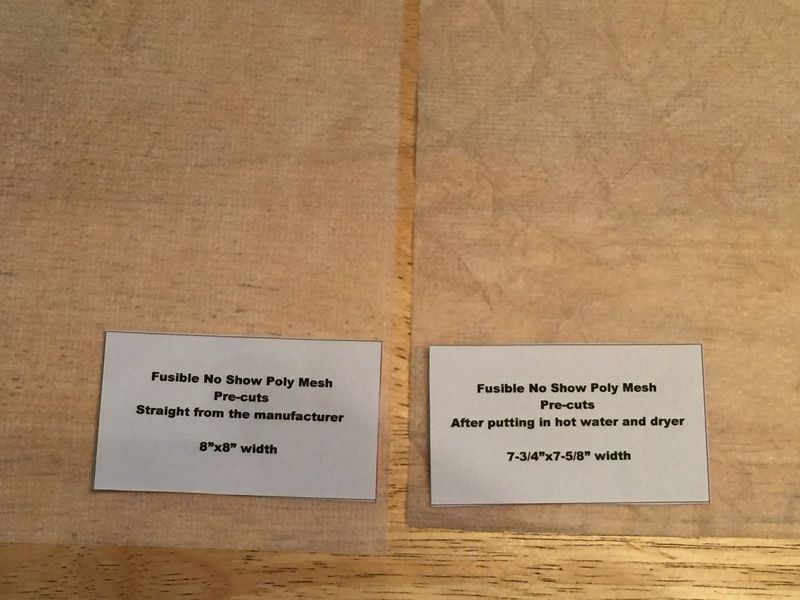 |
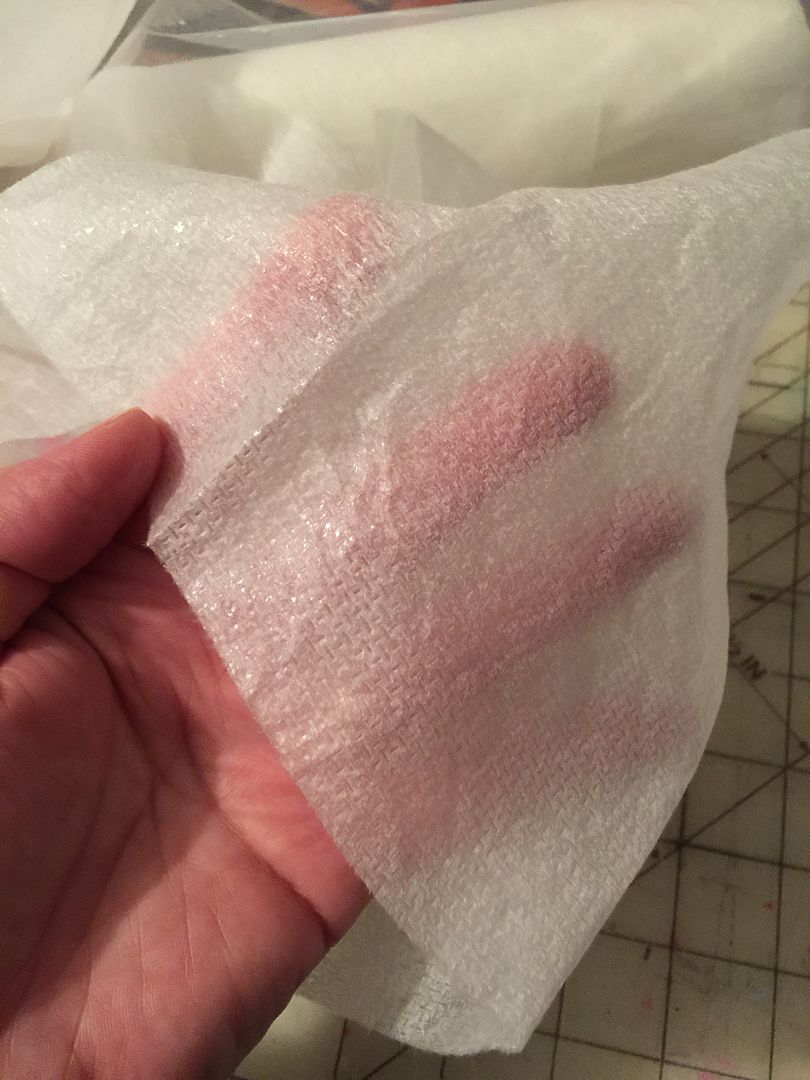
| Straight out of the package, the squares of fusible No Show Poly Mesh measure 8"x8". After dipping in hot water and putting in the dryer, the size is 7.75"x7.625". For the stitch cover, I find that it does not shrink through the width but did shrink in the length at a rate of 1/4" per 10". |
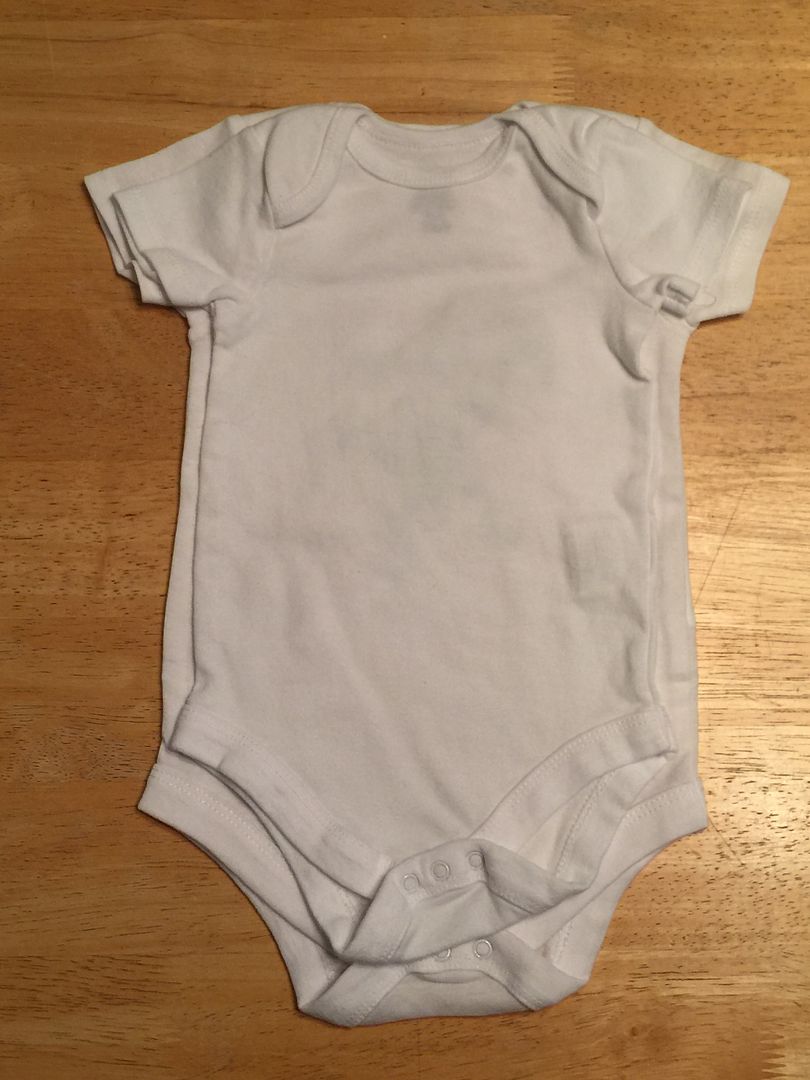 |
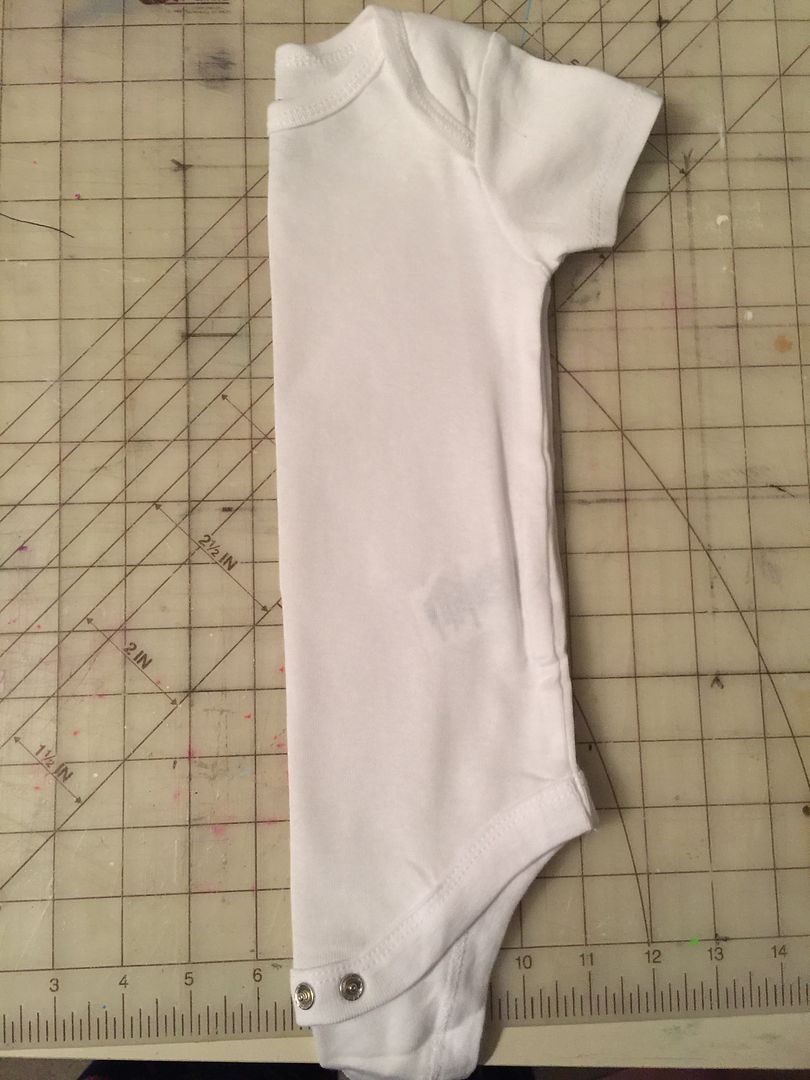
| These are both the same brand, same size onesie, from the same package. The one on the top has been dipped in hot water and thrown in the dryer. The one on the bottom was straight out of the package. It shrunk in the width and length. |
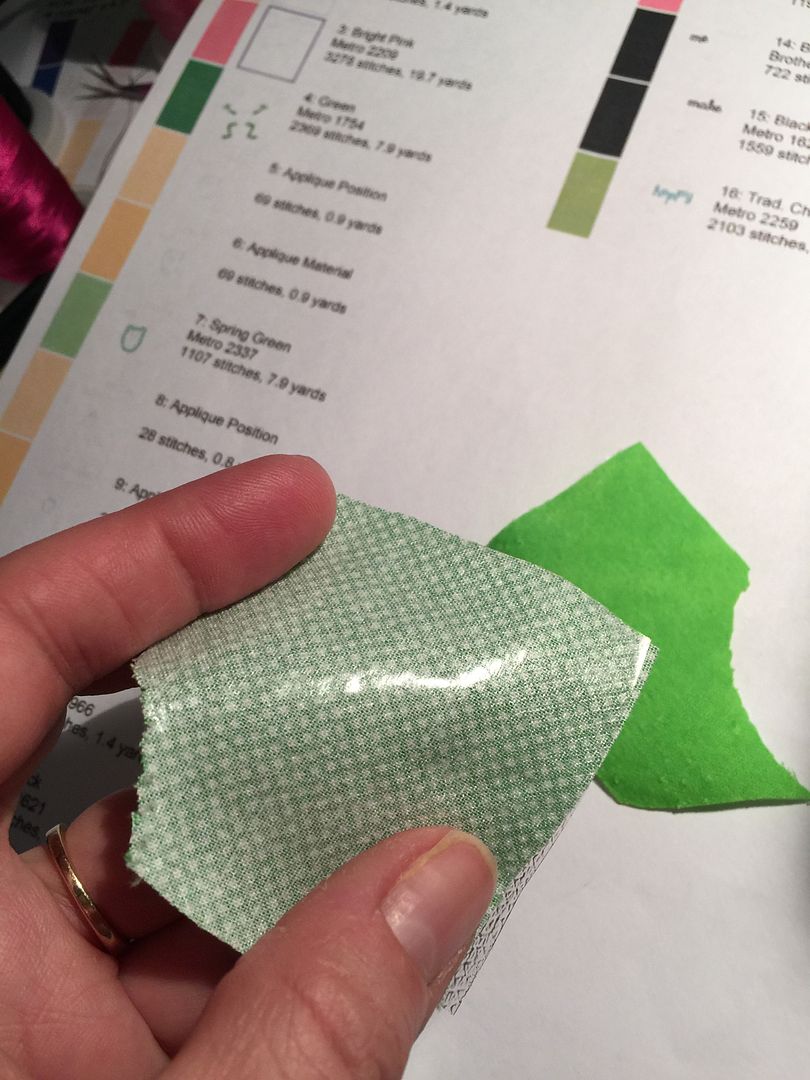
Step Three: I prepare the applique fabrics that I have pre-shrunk by fusing HeatNBond Lite (hnbl) to the wrong sides of the fabrics.
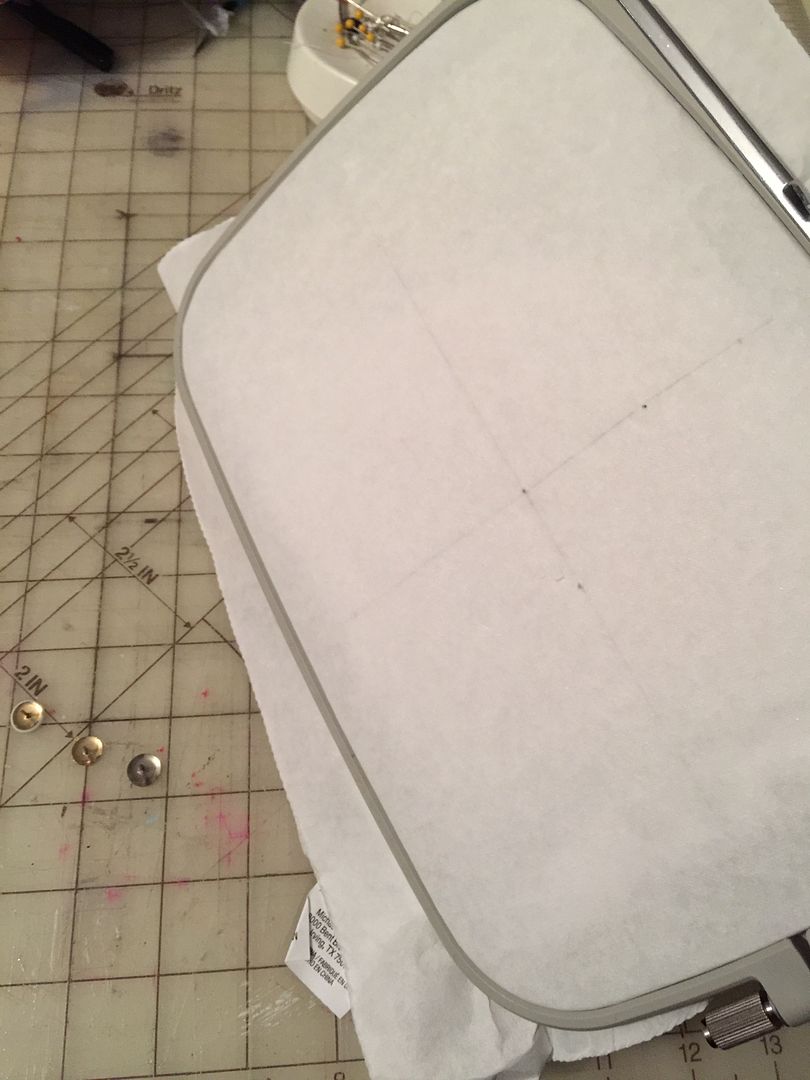
Step Four: I hoop tear-away stabilizer in my 5x7 hoop. I use my grid to mark the cross-hairs to show the vertical center line and horizontal center line.
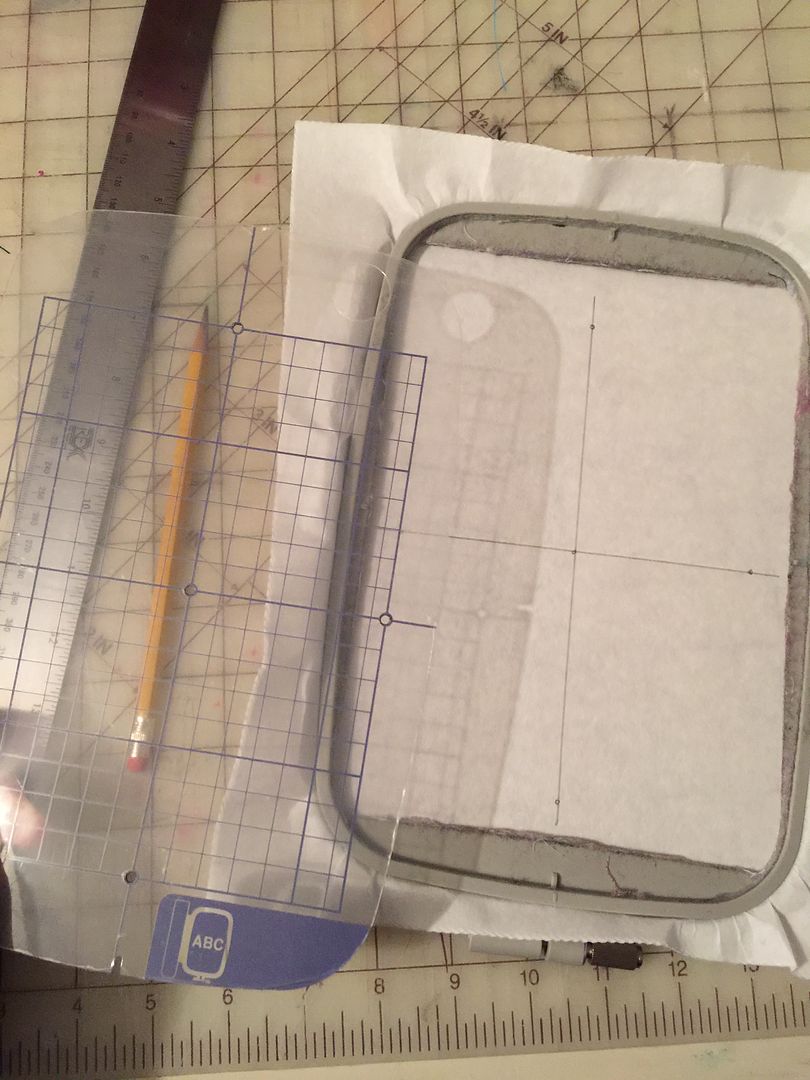
Step Five: I tape the paper copy of the design onto the hooped tearaway.
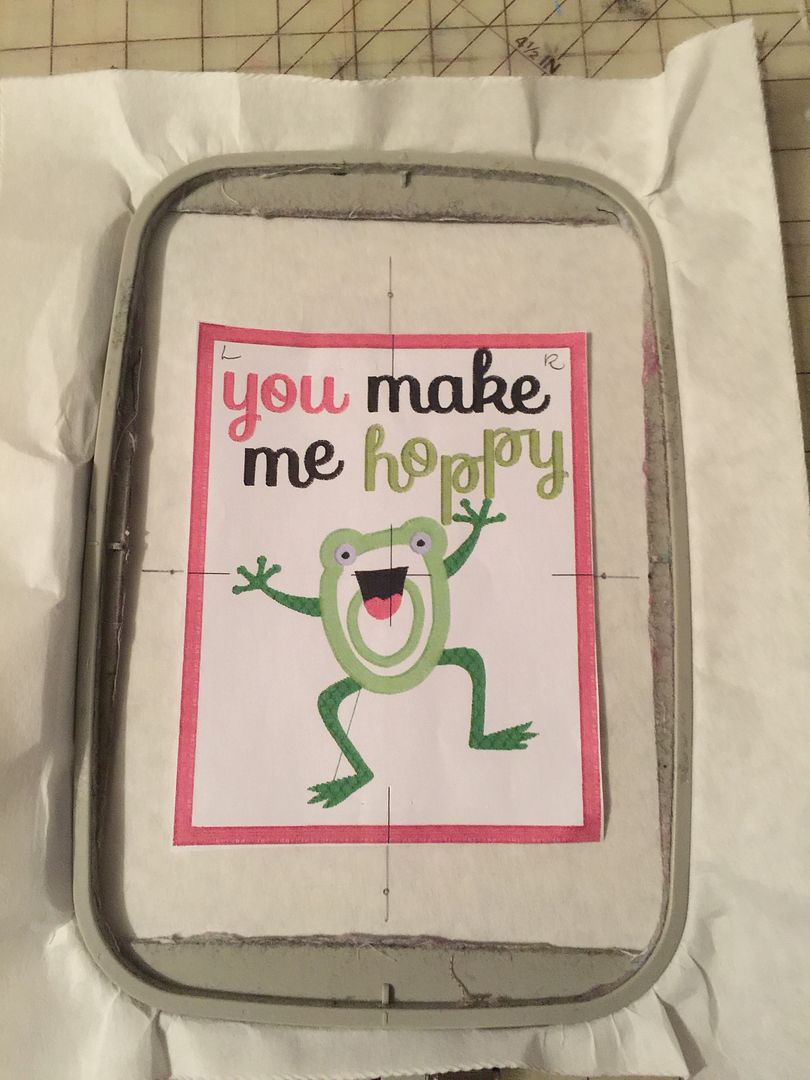
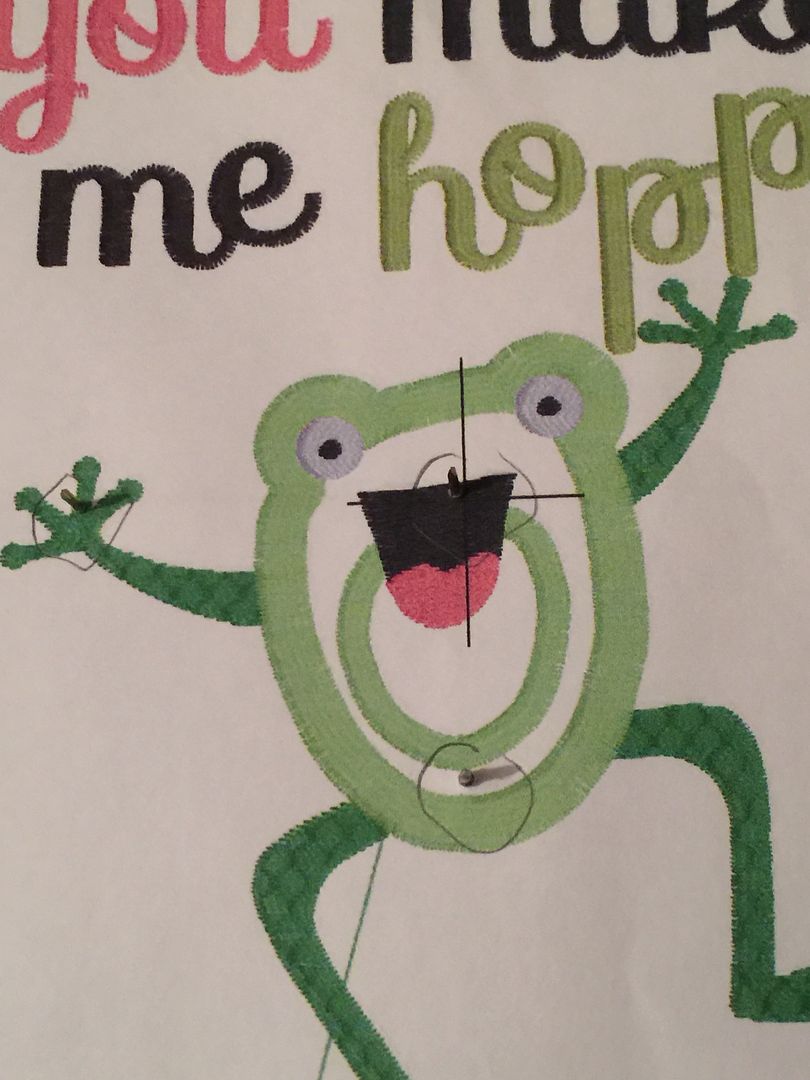
I place three thumbtacks from the backside of the hooped stabilizer so that the points are on the top. I place one in the center, one on the vertical line, and one on the horizontal line. I try to pick places where the design will cover the onesie to hide any holes created. (This method of transferring placement is something I learned from Lisa Shaw's blog post on alignment.)

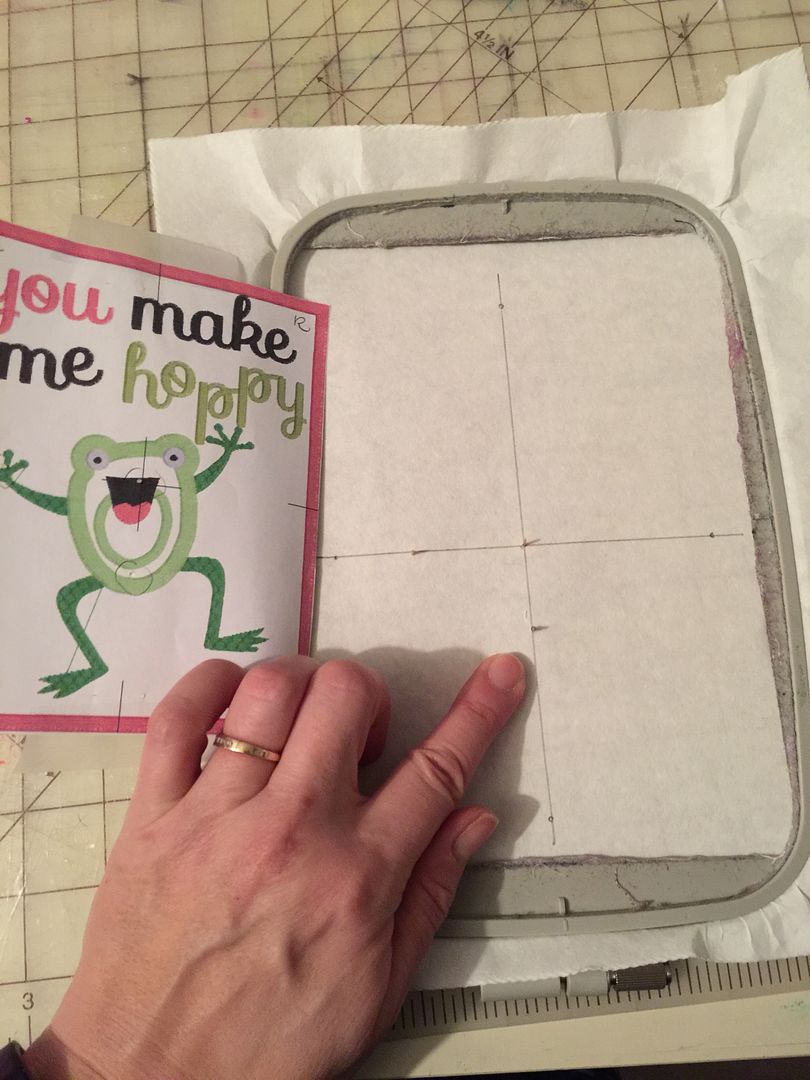
I remove the paper copy, leaving the thumbtacks in place. (I sometimes have to tape them on the back). I set aside the prepped hoop and the paper copy.
Step Six: I apply fusible no show poly mesh to the wrong side of the front of the onesie. It will be trimmed down later so applying a rectangle is fine.
Step Seven: I iron the onesie to make the knit fabric perfectly smooth. I fold the onesie in half lengthwise to get a vertical center line that will match up with the vertical center line on the paper copy of the design.

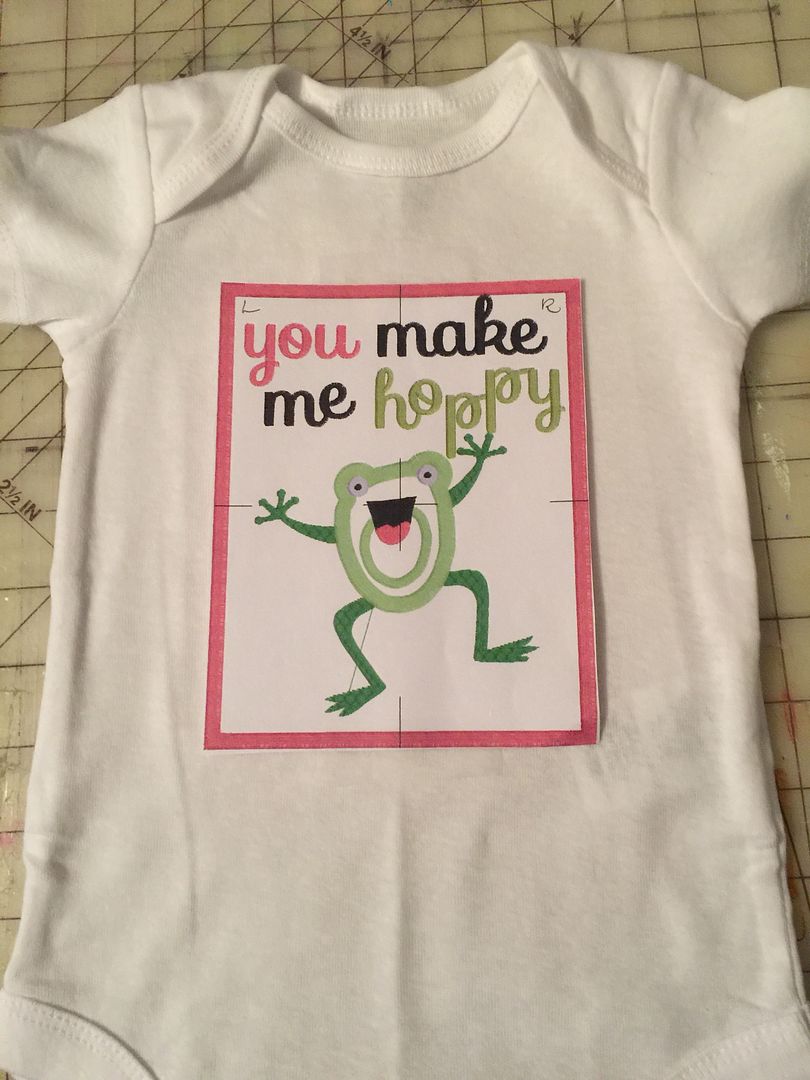
Step Eight: I use the print-out from my Embrilliance software to place the full-size paper copy of the design where I like it, matching center lines. (When in doubt, I use a placement guide from the Embroidery Library.) I tape and pin in place on the top and bottom of the paper copy to keep in place. (Note: for clarification, my design included that pink border, but I decided not to use it. That is not the basting box. The basting box is just the thin back outline. I only mention that in case seeing that is confusing to anyone.)
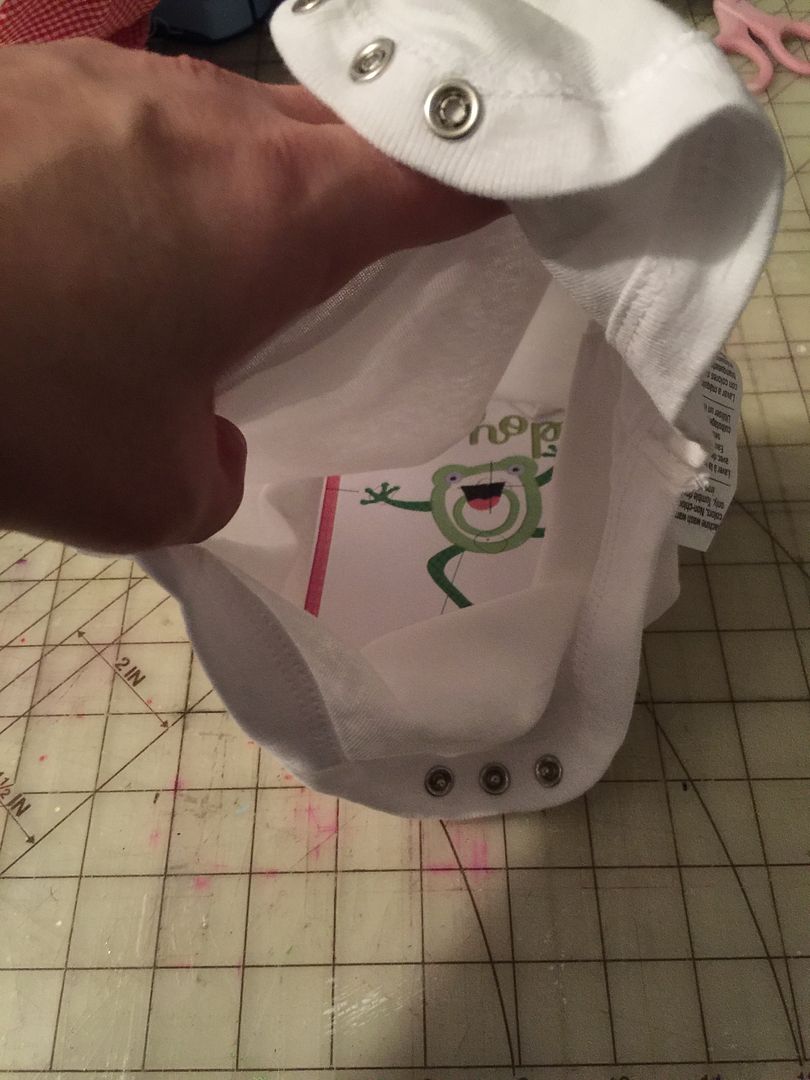
I turn the onesie inside-out so that the paper copy is inside the onesie.
Step Nine: I spray temporary textile adhesive on the tearaway on the prepared hoop. A little goes a long way.
Step Ten: I match up the holes on the paper copy with the thumbtacks EXACTLY. I pin the onesie in place on the top and bottom of the hoop so that the onesie cannot shift as I smooth it in place..
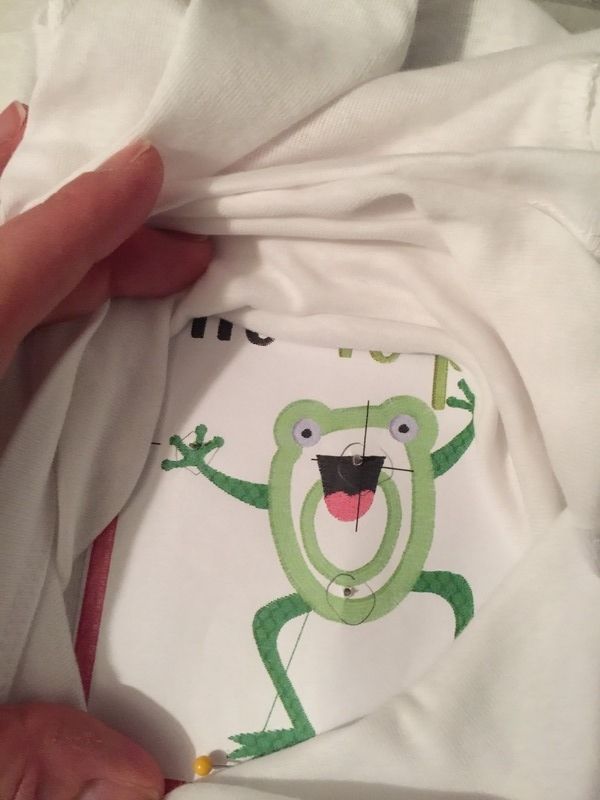
I like to also make sure the vertical lines on the paper copy match the pencil line on the hooped tearaway-- just a double-check.
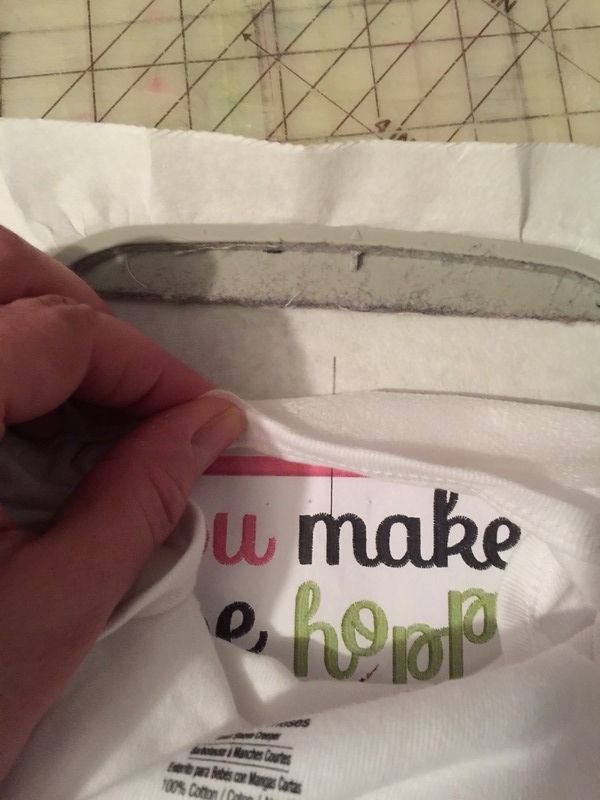
I carefully unpin and peel away the paper copy.
I carefully remove the thumbtacks from the back of the hoop.
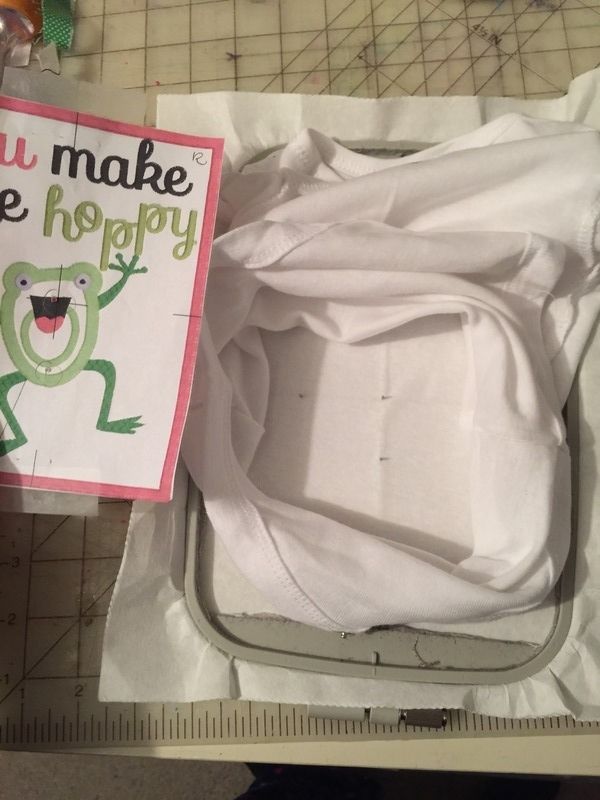
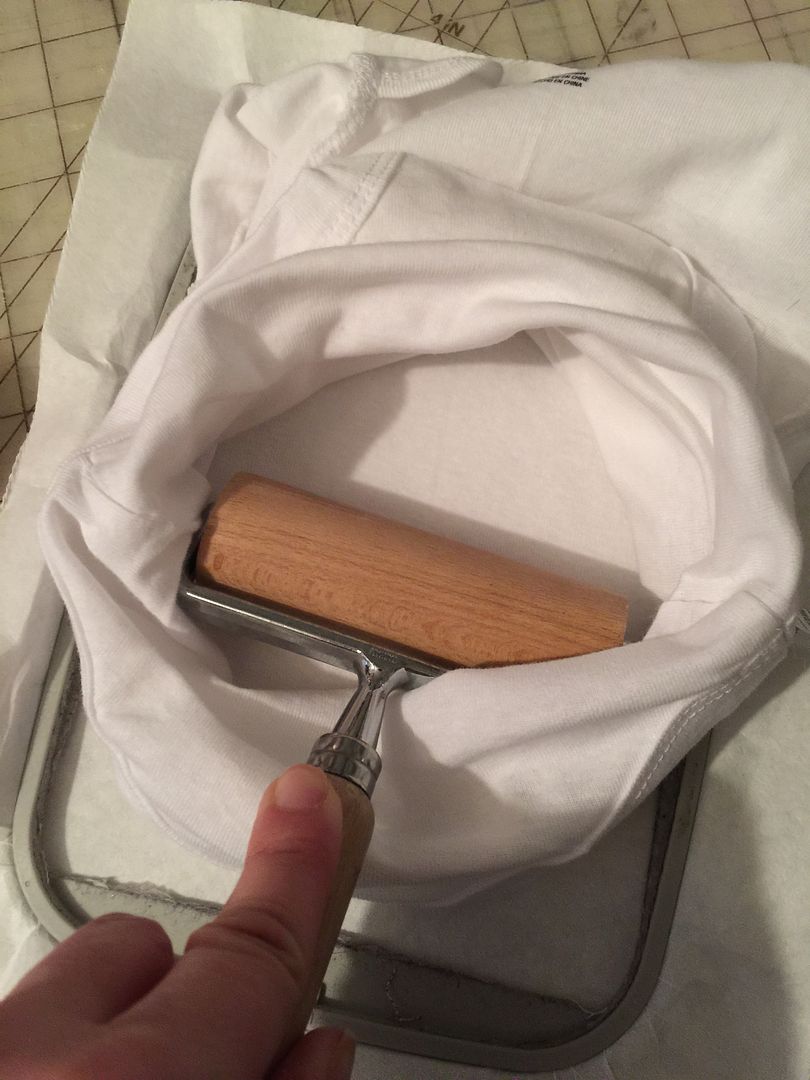
Step Eleven: I gently smooth the onesie in place, taking great care NOT to stretch it in any way. I use a brayer to press it in place to smooth out that fold line.
Step Twelve: I put in a ballpoint needle in my embroidery machine. I check to make sure the bobbin thread is the right color (white or black depending on the color of the onesie) and that it is in sufficient quantity.
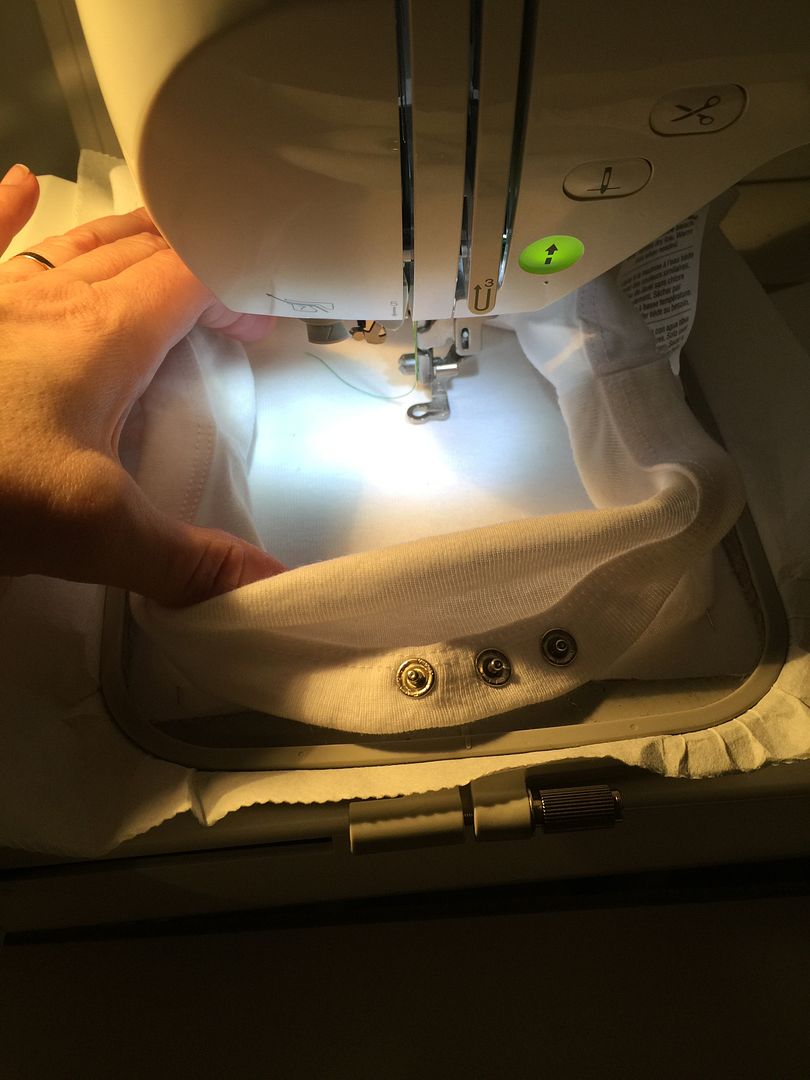
Step Thirteen: I attach the hoop to the machine and stitch a basting stitch. This is the hardest part because this will be the largest design stitched in the hoop. I usually apply water soluble stabilizer (WSS) at this point because I think it can keep the stitches from sinking in a bit, but on this project, that is debatable. I hold the onesie out of the way as it stitches, pressing the stop button as needed and keeping my fingers out of the way of the needle.
Step Fourteen: I stitch my design. I keep the paper list of steps next to my machine that I printed from my software when I printed my paper copy. It keeps me aware of what part of the design will stitch when so I can be sure to move that part of the onesie out of the way. I sometimes remove my hoop during stitch out to iron down tacked on applique pieces (before the satin stitch is applied) using a tiny iron I bought at Joann's. More often than not, I get in a hurry and forget. I think this is a matter of personal preference and time.
Step Fifteen: I remove the finished applique from the machine, cut jump threads from the front and back. From the back, I clip the basting box threads and remove that.

I tear off the tearaway.
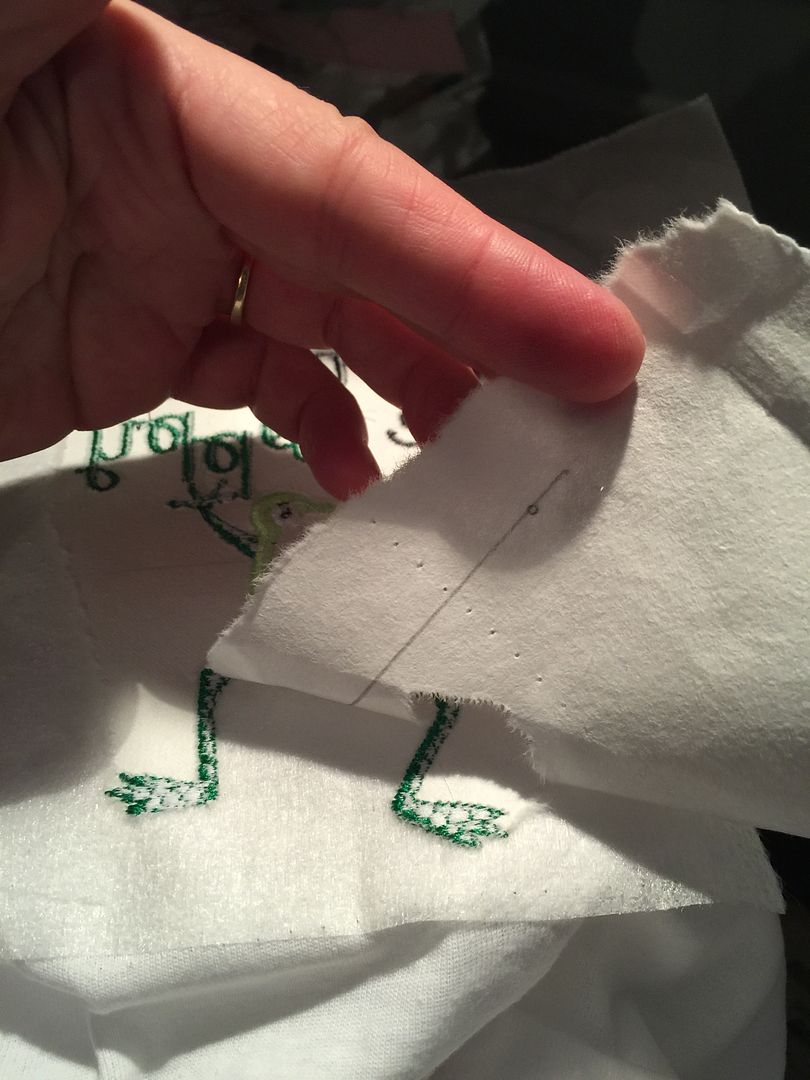
I pull up the poly mesh and trim close to the design.

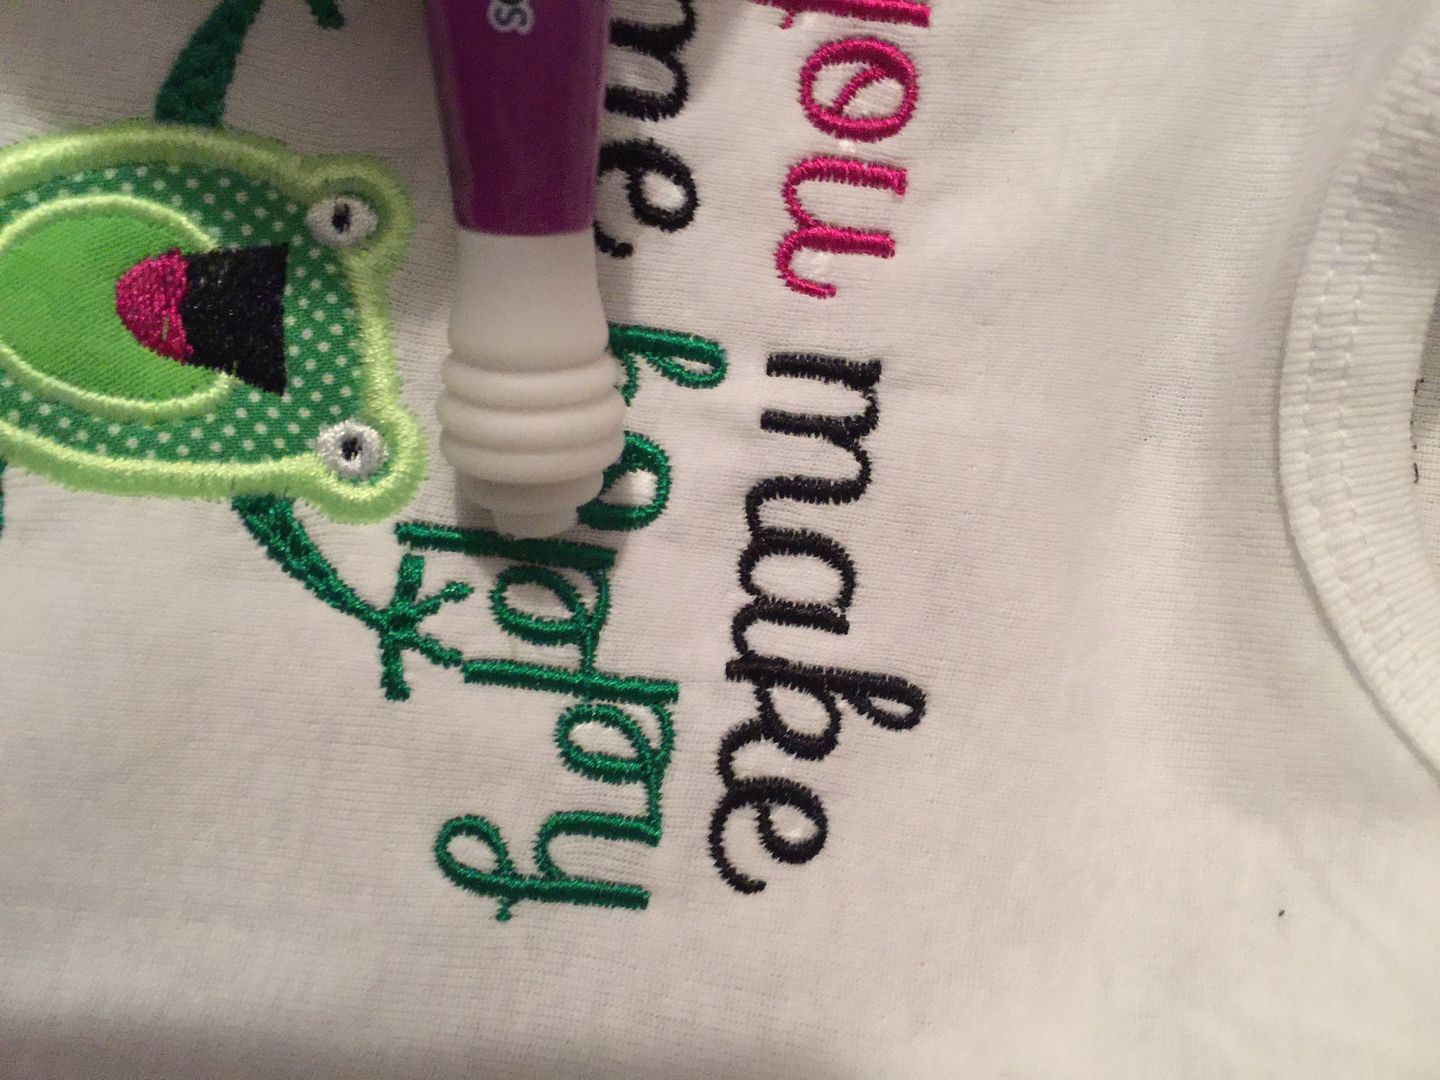
From the front, I remove the WSS. Anything that doesn't pull away, I use the rubber end of my seam ripper to rub it off. (Any that is still remaining can be removed by placing a damp cloth over the stitching and pressing with a steam iron to melt the WSS).
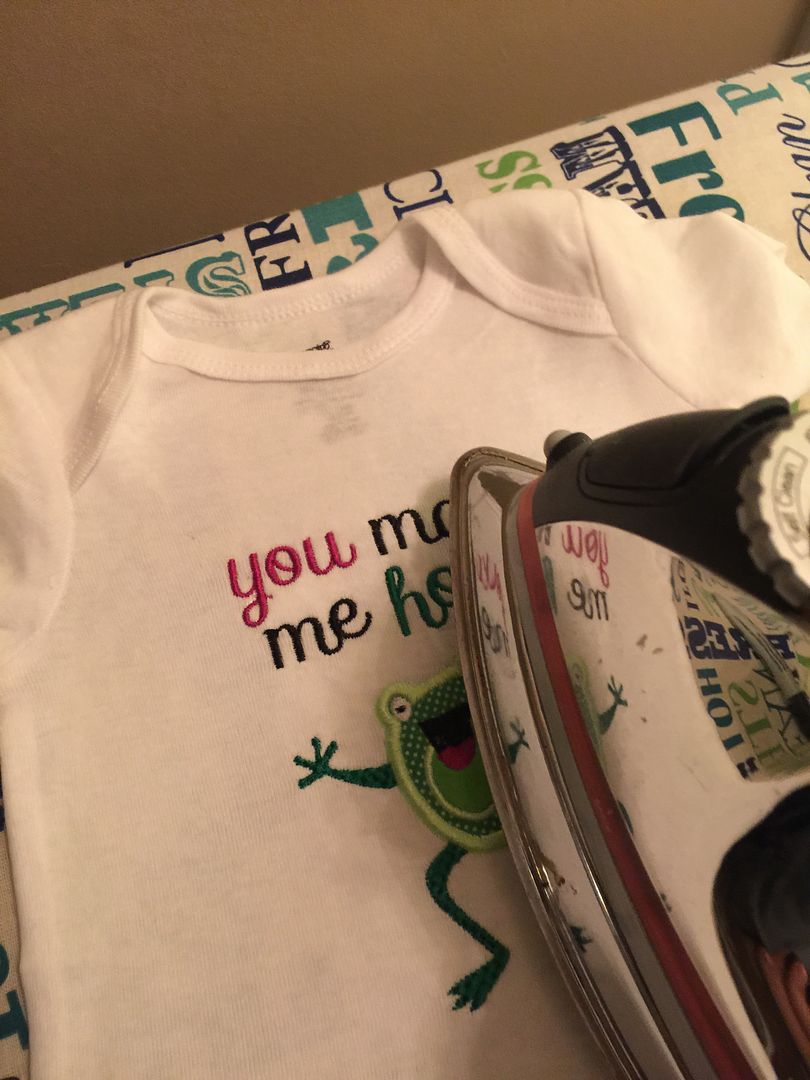
I press the design with an iron to remove pin holes and make it crisp.
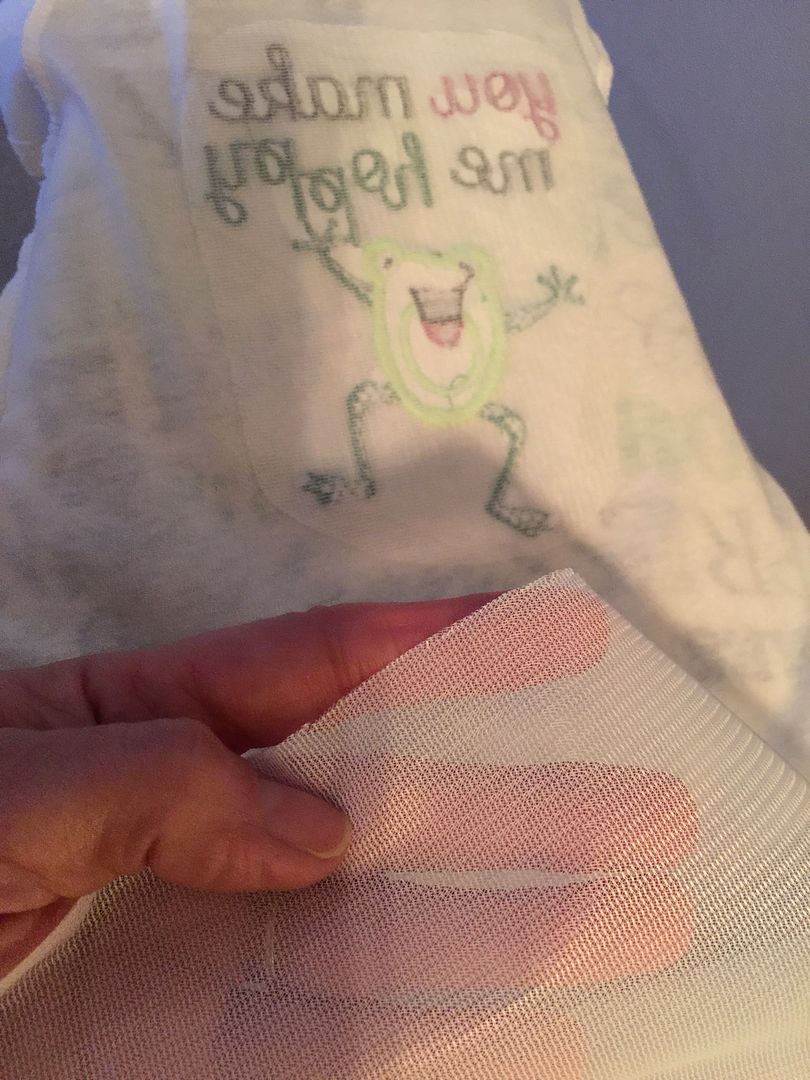
I turn it inside out and fuse piece of stitch cover (cut to the shape of my stitching) to the wrong side of the embroidery.
I turn the onesie to right side and it is complete!
List of links in this post (none of the links on this post are affiliate links; these are all direct links):
- Embrilliance Essentials software: click here.
- Info on how I digitized the frog applique: click here.
- Daphne font from Stitchtopia: click here.
- Source for stabilizers (World Weidner): click here.
- Source for stitch cover (World Weidner's Over the Back Cover A Stitch: click here.
- Source for HeatNBond Lite (Walmart): click here.
- Tutorial for the first baby project, personalized burp cloths: click here.
- How to do machine applique tutorial by Itch2Stitch: click here.
- How to cut applique fabric using Embrilliance and an electronic die cutter: click here.
- Info on basting boxes: click here.
- Thumbtack placement info on Lisa Shaw's blog: click here.
- Placement guide for embroidery on children's clothing: click here.
|
| Designs from the title pic: Frog Onesie - applique is one I digitized. Font is from Stitchtopia (Daphne). Tie Onesie - Applique Market. Font is Block in Embrilliance Essentials. Robot Onesie - robot is from Hang to Dry. Font is from Designs by JuJu (Bean Stitch Block). |
To see all of my embroidery notes, links to my other embroidery projects and tutorials, check out my Embroidery page on this blog using the tabs at the top, or just click here.
19 comments:
Awesome tutorial Nadia!
I know that took you a long time, but it is a great tutorial.
Another great tutorial! On an earlier post I think you stated that you discontinued using fusible no show mesh due to shrinkage? I haven't used it yet and am wondering if it is still fusible after washing and drying it. Thank you, Nadia. :-)
Debbie Miles,
I am so excited that someone actually listens to me!!! Maybe it's just that we are having a snow day today and I am not being heard by my family haha, but I am shocked and amazed that you remember that! And yes, it is true! More than one of those onesies that I had to toss were due to the stinkin' poly mesh!!!! But washing and drying to pre-shrink finally, finally solved my problem. And amazingly, the preshrinking has absolutely no effect on the fusing or strength as a cutaway stabilizer so it is win-win! I still have friends who swears they have no problems with poly mesh right out of the package and we use the very same brand from the same distributor so who knows. All I know is that poly mesh is back in my crafty arsenal now that I preshrink it!
Nadia
Thanks for this post. In particular, I like the use of the thumbtacks to align the design precisely. I have just completed Lisa Shaw's Craftsy class about aligning designs for large embroideries that extend beyond one hoop using the tacks. I hadn't thought far enough to apply it to just getting a single design centered. I think I will find this very helpful.
Nadia, another great tutorial...though I am not doing onesies, this is good information for knits. And a very good tip about preshrinking the fusible o show poly mesh. Thanks for sharing.
***** star review. Awesome tutorial.
I think you are the nicest, most generous, talented craft blogger on the internet! If I had an award, it would go to you!
One of the best tutorials I have seen. Thank you for sharing your investment of time and research with us. I also gained confidence in comparing my findings with yours. You are a great teacher!
Hi! With your no show being fusible do you have any problems pulling it up to trim?
Just read through and I am amazed. This actually makes sense. I am one of those people who swears by fusible no show poly mesh...and I never have tried shrinking it. I do wash/dry the knit blank, my fabrics so it would make sense to wash the fusible. I'll have to try it. Instead of using the thumbtacks I draw the crosshairs from my picture on the front of the fusible, with pencil. Then after it is fused I just use those lines to match the ones on my temporary that I have hooped. I fold the item to find the center just like you do. I will confess I do take out a side seam sometimes since I have fast frames and a six needle and just like it to lay flat without putting my fingers in there. When I had my single needle doing this I was a little braver. For someone doing it first time, you have the steps nailed!
No problems pulling it up. I don't find that it is a very strong fusible adhesive. I assumed it was manufactured like that on purpose so you could pull it up and trim it. :)
Wow thank you so much for your awesome tutorial. It's the best I've ever read, and I've read a few during my research. Thank you very much for your generosity in sharing it to.
Wish I would have read this months ago! Thank you so much for your time and talent. It is very much appreciated!
Without a doubt the best tutorial I have ever seen. This is exactly what I need - a visual step by step. So glad I have Embrilliance so that I can follow along to make some Onsie's for an upcoming little one. I'm sure I'll be posting some questions. Thanks SO VERY much for all the time you spent in order to help others.....very much appreciated.
Great tutorial. Thank you!
You are so thorough in your tutorials. I enjoy reading them. I got really anxious to go and try this! �� As I gave up on onesies cause I couldn't stabilize well enough. After reading this ... I may try again! Thx!!!
Thank you so much! I realize this post is a few years old and I’m late to the game, but I couldn’t leave without expressing some gratitude! I’m a newbie to all of this, and while I’ve successfully completed a handful of projects now, I’ve also spent a ton of money and thrown a lot away. My baby sister just had her first baby and she’s been begging me to make some cute onesies for her. I’ve avoided this because I simply couldn’t afford the extensive trial and error you must have suffered in order to write this awesome post! Thank you for the tutorial! Thank you for the time it took you to figure this method out, thank you for the additional time it took to write this post, and most especially thank you for your willingness to share the fruits of your labor! I’m so grateful, and so certain that with your guidance I’ll be able to do this successfully, that I’m looking forward to sharing pics of my successfully completed onesies already!
Thank you so much for this detailed tutorial. I am just starting embroidering and plan to start with
baby things, so this tutorial is perfect. It is so easy to follow. I can't wait to get on this tomorrow. I just
have to finish collecting my supplies. Mary
Post a Comment