I have wanted to try Shrinky Dinks on my Imagine since before I even owned one. I have only played briefly in the past with Shrinky Dinks -- using my Expression. You can see the charms I made for little girls by clicking here from a previous post on this blog.
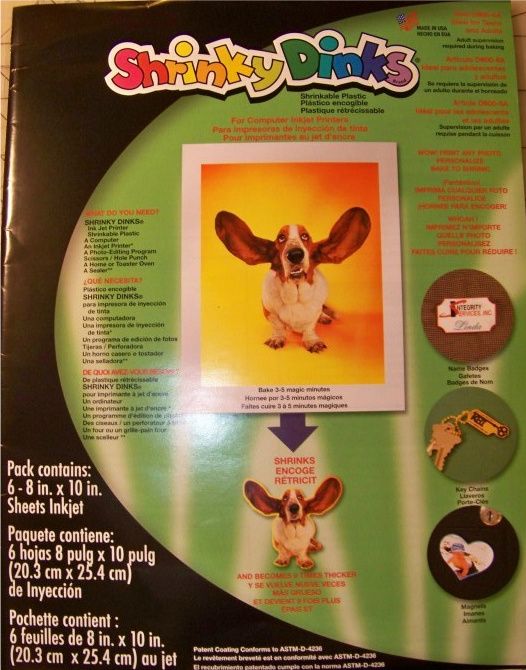
I had to make 26 charms and I chose the Imagine Snow Angel cartridge for my design. Using a layer from the ornament on page 27, I printed it and cut it at 2.7" true size on Shrinky Dink brand film made for inkjet printers. (Autofill allows for 6 per sheet).
Blade - 6
Speed - 3
Pressure - 5
Multicut - 2
I punched the cuts with the 1/8" hole with my Crop-a-dile Big Bite. I wanted a hole that would just allow for the jump ring.
You can set your printing to 'draft' to get a lighter result, but I did not do this, leaving it instead at 'best quality'. I liked the more intense coloring!
 |
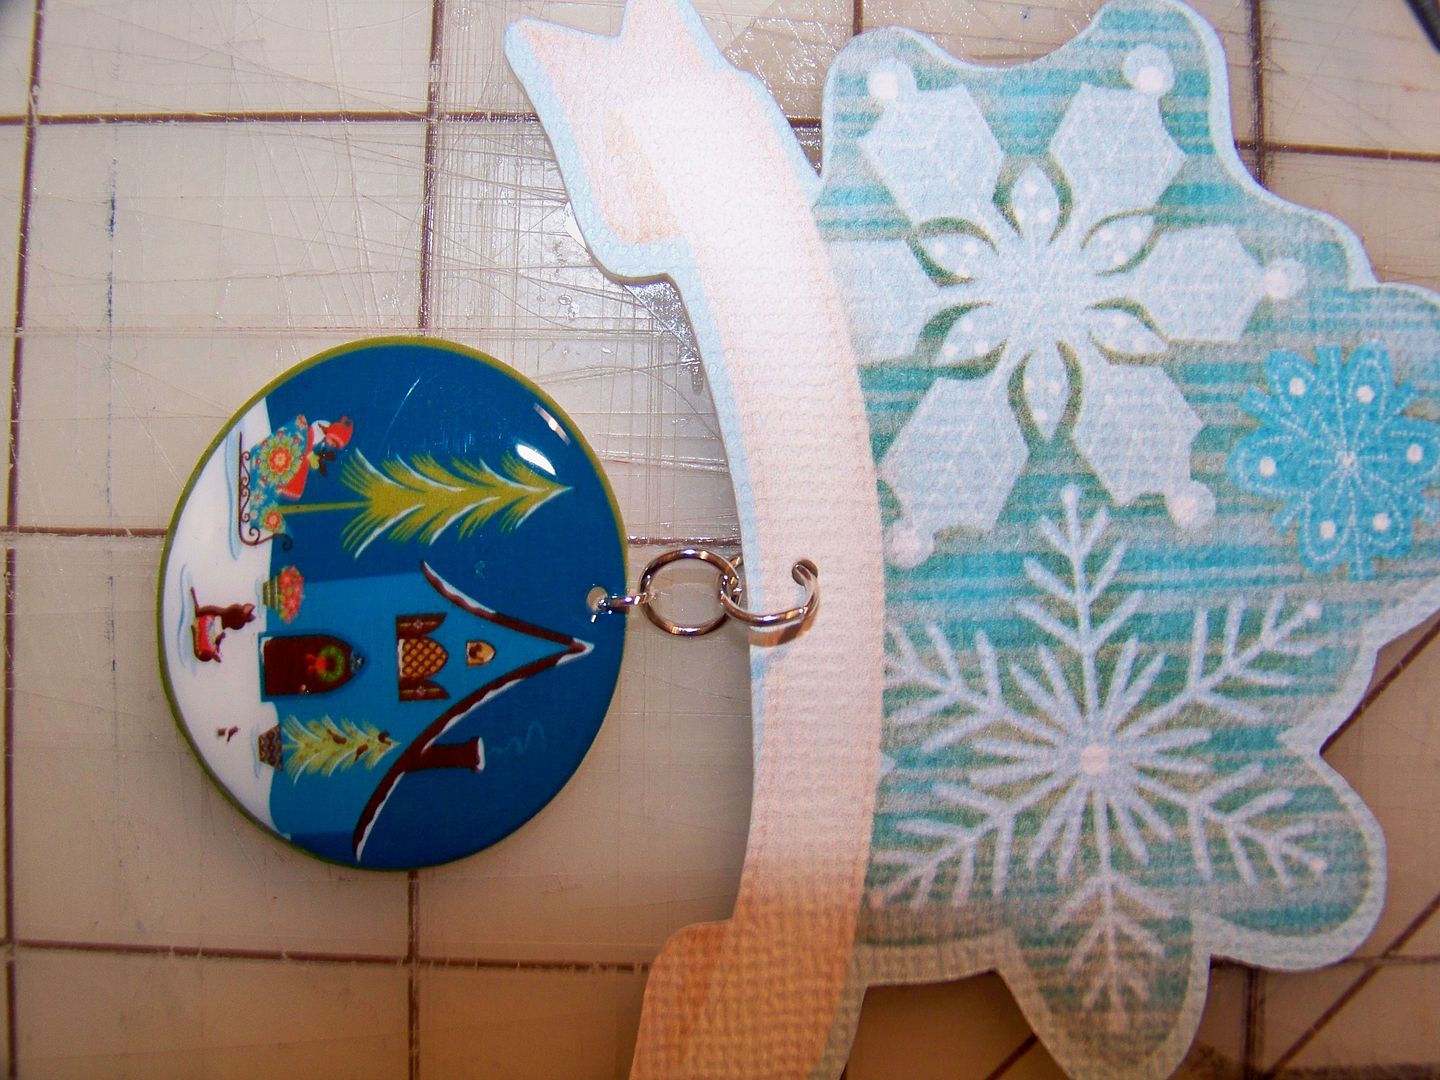
| The baked (shrunken) charm is on the left. You can compare that to the pre-baked die cut on the right. Baking changes not just size and color, but also the shape. My finished charms were not symetrical and not round. I like this-- it looks like something created --not manufactured! Since I was using a printed scene, this was a bonus to me! Yay for happy accidents! |
The Shrinky Dink package called for preheating the oven to 300 degrees. I placed my die cut shrink film on a parchment paper-covered cookie sheet.
I had to bake my shapes for much longer than the 3-5 minutes noted on the directions; I baked them for 6 minutes (using a timer to keep me reminded of them), then checked on them and baked for 3 minutes more. Some batches required a bit longer, up to 3 additional minutes! They will buckle and curl, but you know when they are ready when they are small and mostly flat. (I kept the oven light on so I could look at them through the door to check on their progress). I used my oven-mit-covered hand to lightly press down the centers of finished ones, while still in the oven, to make sure they were perfectly flat.
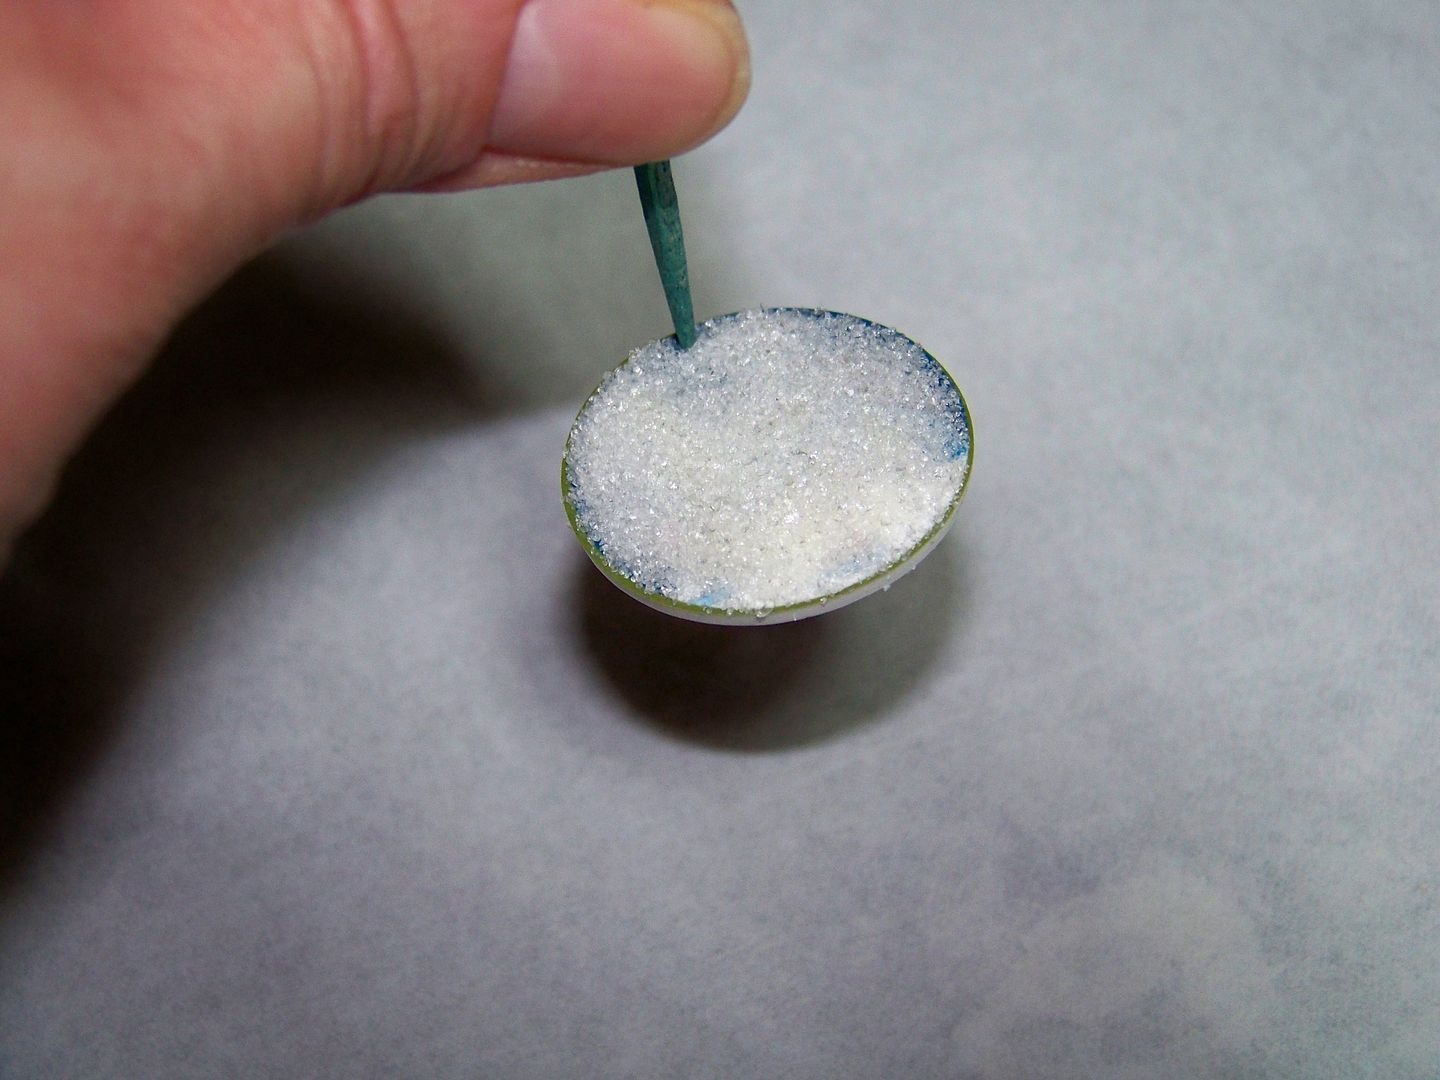
Imagine ink is not waterproof and I wanted to seal them, not knowing their end use. (The ink will run when it comes in contact with sweat or water). I have been told that you can use a spray sealant to prevent this (like Krylon or Plaid), but I wanted to try using embossing powder.
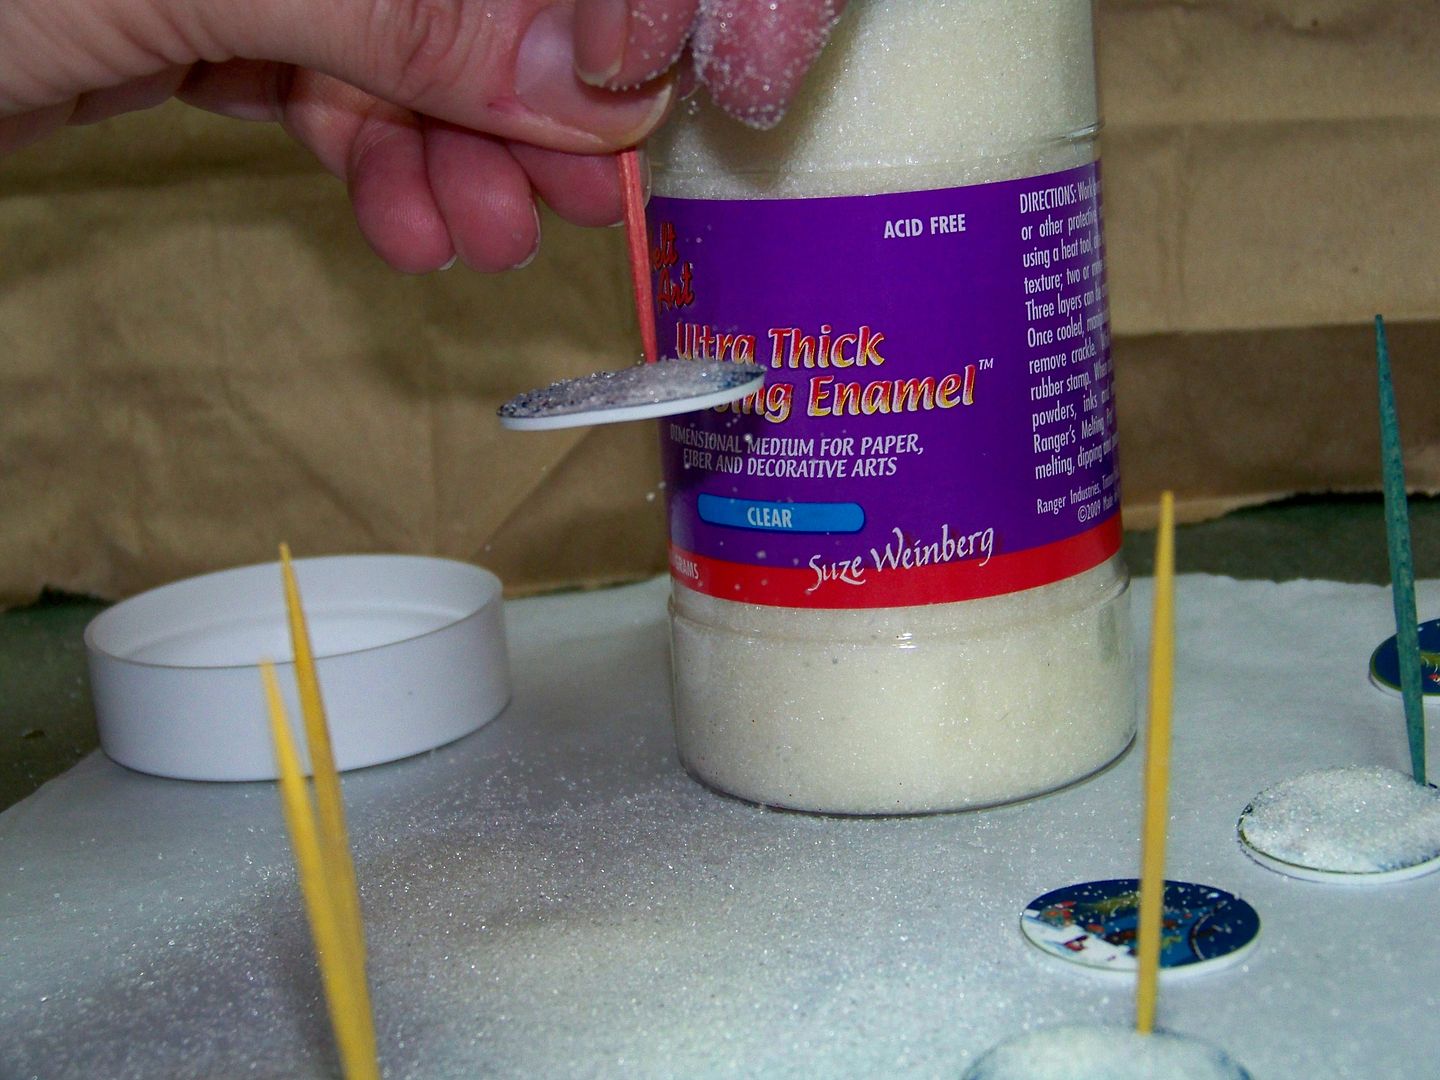
I removed the toothpicks and placed them back in the oven for 6 minutes (still at 300 degrees).
Once out of the oven but still hot, I moved them off of the parchment paper and onto a paper Chinette plate to cool. (The charms come out of the oven with a gooey surface. I accidentally flipped one upside down when removing it from the parchment paper. This ruined the smooth, perfect surface. To fix it, I simply placed it on a protected surface and used my heat gun to melt it again. It smoothed itself out perfectly once again-- you can add more embossing powder or not. I did this the next day so no worries.)

Glossy and so pretty! I instantly knew that I would be re-visiting this technique to make sweater buttons this fall -- love the finish!
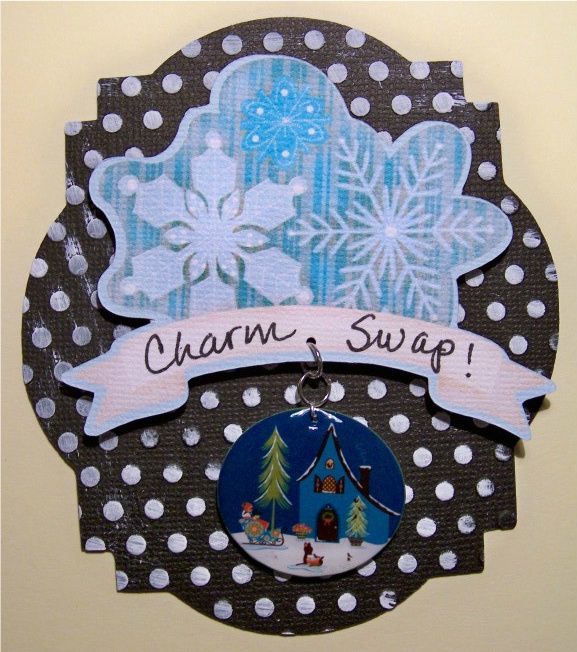
I used 4mm and 6mm jump rings on each and attached them to a snowflake banner cut from Enjoy the seasons cut and printed at relative size 2.4". I reinforce the back of the banner with a foil sticker and then use the tiny Martha Stewart hole punch.

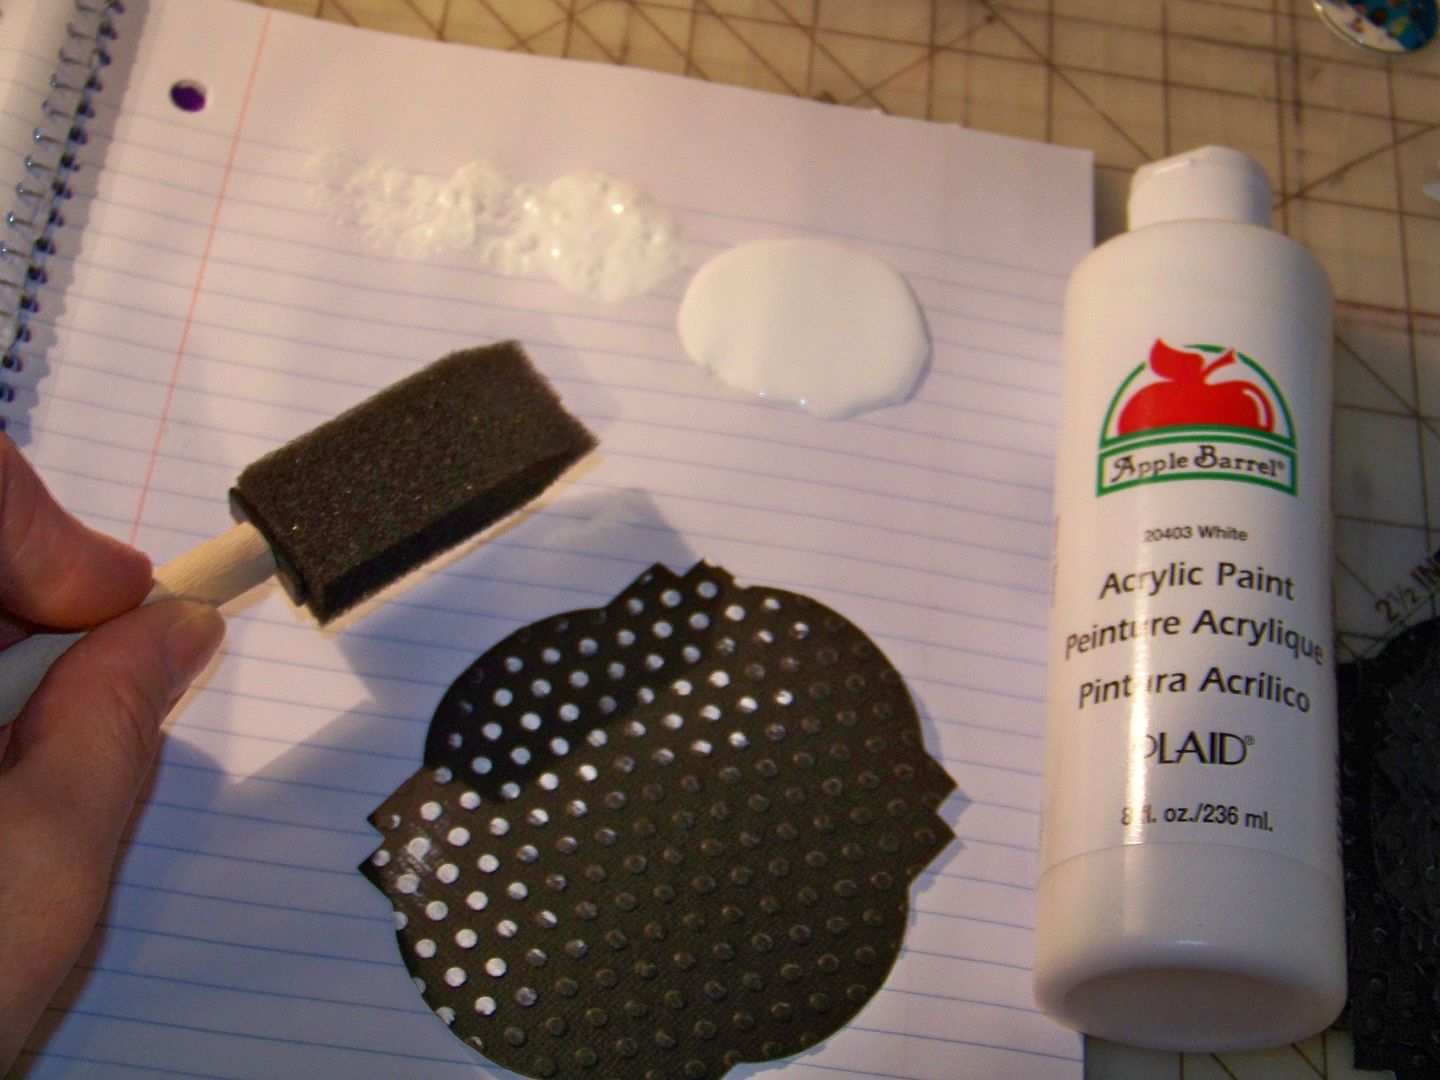
The card base is cut from Lacy Labels (#4) cut at 3.5" on the Imagine. I used black card stock and then ran each through the Cuttlebug. I used a dry sponge brush to apply white paint to the raised dots. The snowflake banners with charms were attached to the cardstock base with pop dots. I applied my calling card info to the back with double sided tape.