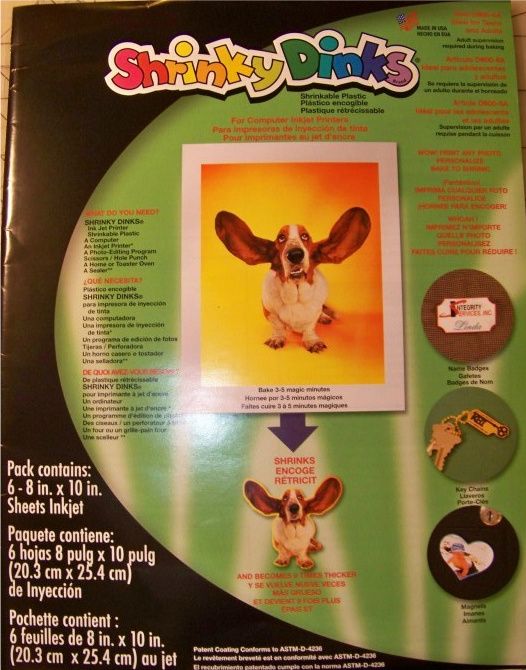
I have wanted to try Shrinky Dinks on my Imagine since before I even owned one. I have only played briefly in the past with Shrinky Dinks -- using my Expression. You can see the charms I made for little girls by clicking here from a previous post on this blog.
I had to make 26 charms and I chose the Imagine Snow Angel cartridge for my design. Using a layer from the ornament on page 27, I printed it and cut it at 2.7" true size on Shrinky Dink brand film made for inkjet printers. (Autofill allows for 6 per sheet).
Blade - 6
Speed - 3
Pressure - 5
Multicut - 2
I punched the cuts with the 1/8" hole with my Crop-a-dile Big Bite. I wanted a hole that would just allow for the jump ring.
You can set your printing to 'draft' to get a lighter result, but I did not do this, leaving it instead at 'best quality'. I liked the more intense coloring!
 |
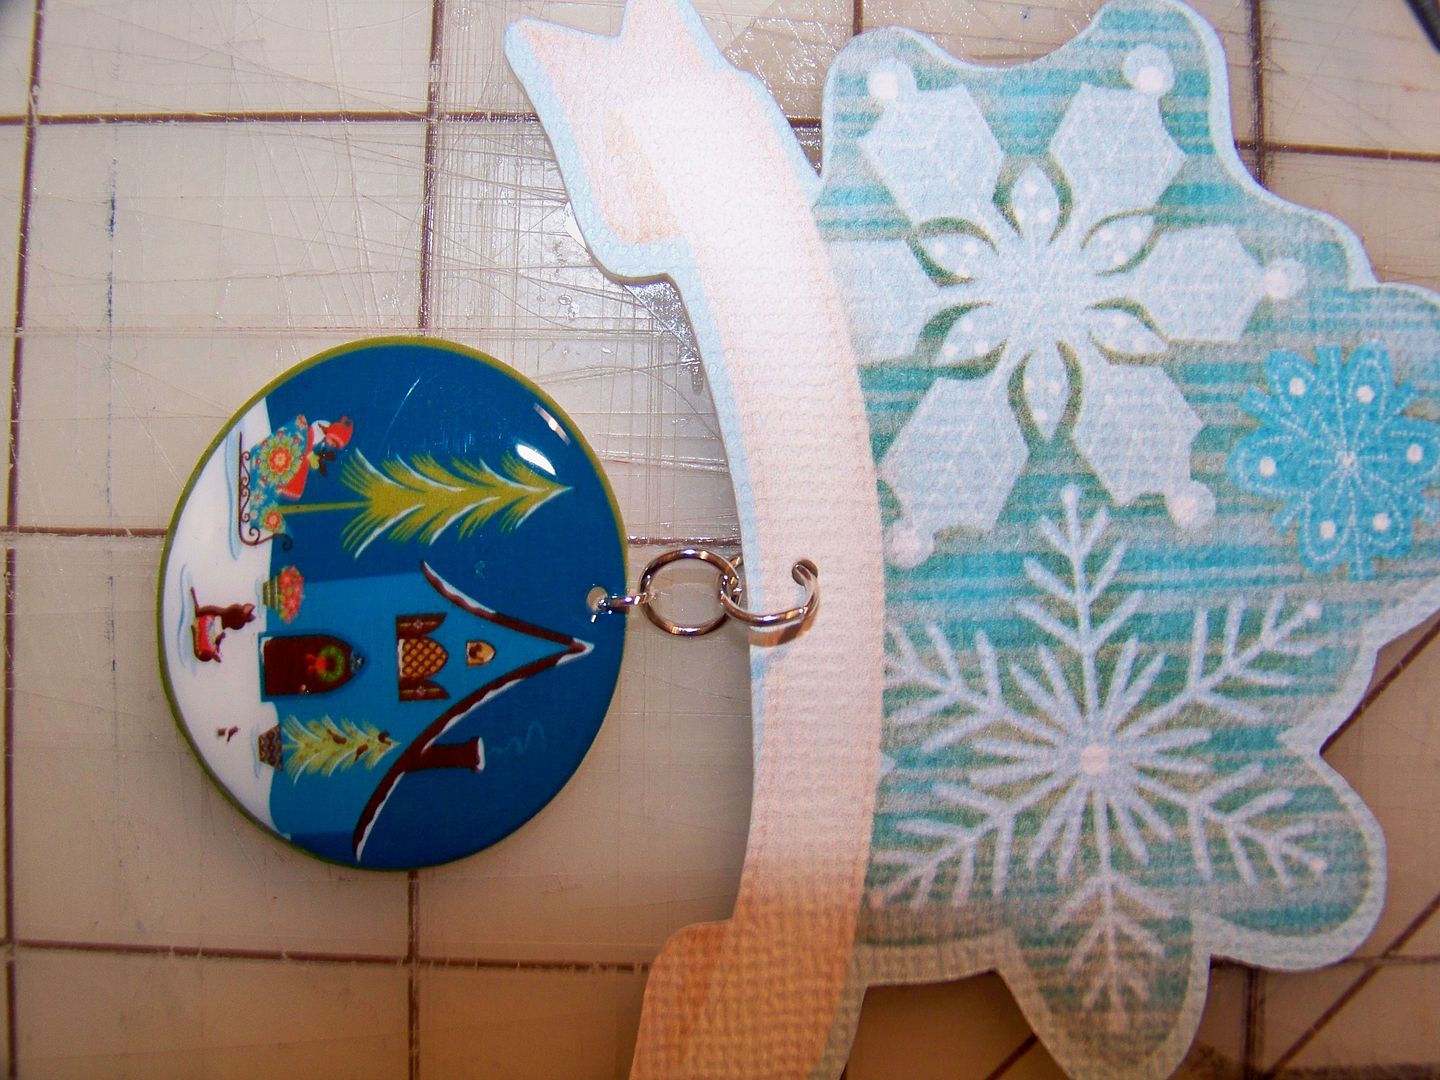
| The baked (shrunken) charm is on the left. You can compare that to the pre-baked die cut on the right. Baking changes not just size and color, but also the shape. My finished charms were not symetrical and not round. I like this-- it looks like something created --not manufactured! Since I was using a printed scene, this was a bonus to me! Yay for happy accidents! |
The Shrinky Dink package called for preheating the oven to 300 degrees. I placed my die cut shrink film on a parchment paper-covered cookie sheet.
I had to bake my shapes for much longer than the 3-5 minutes noted on the directions; I baked them for 6 minutes (using a timer to keep me reminded of them), then checked on them and baked for 3 minutes more. Some batches required a bit longer, up to 3 additional minutes! They will buckle and curl, but you know when they are ready when they are small and mostly flat. (I kept the oven light on so I could look at them through the door to check on their progress). I used my oven-mit-covered hand to lightly press down the centers of finished ones, while still in the oven, to make sure they were perfectly flat.
Imagine ink is not waterproof and I wanted to seal them, not knowing their end use. (The ink will run when it comes in contact with sweat or water). I have been told that you can use a spray sealant to prevent this (like Krylon or Plaid), but I wanted to try using embossing powder.
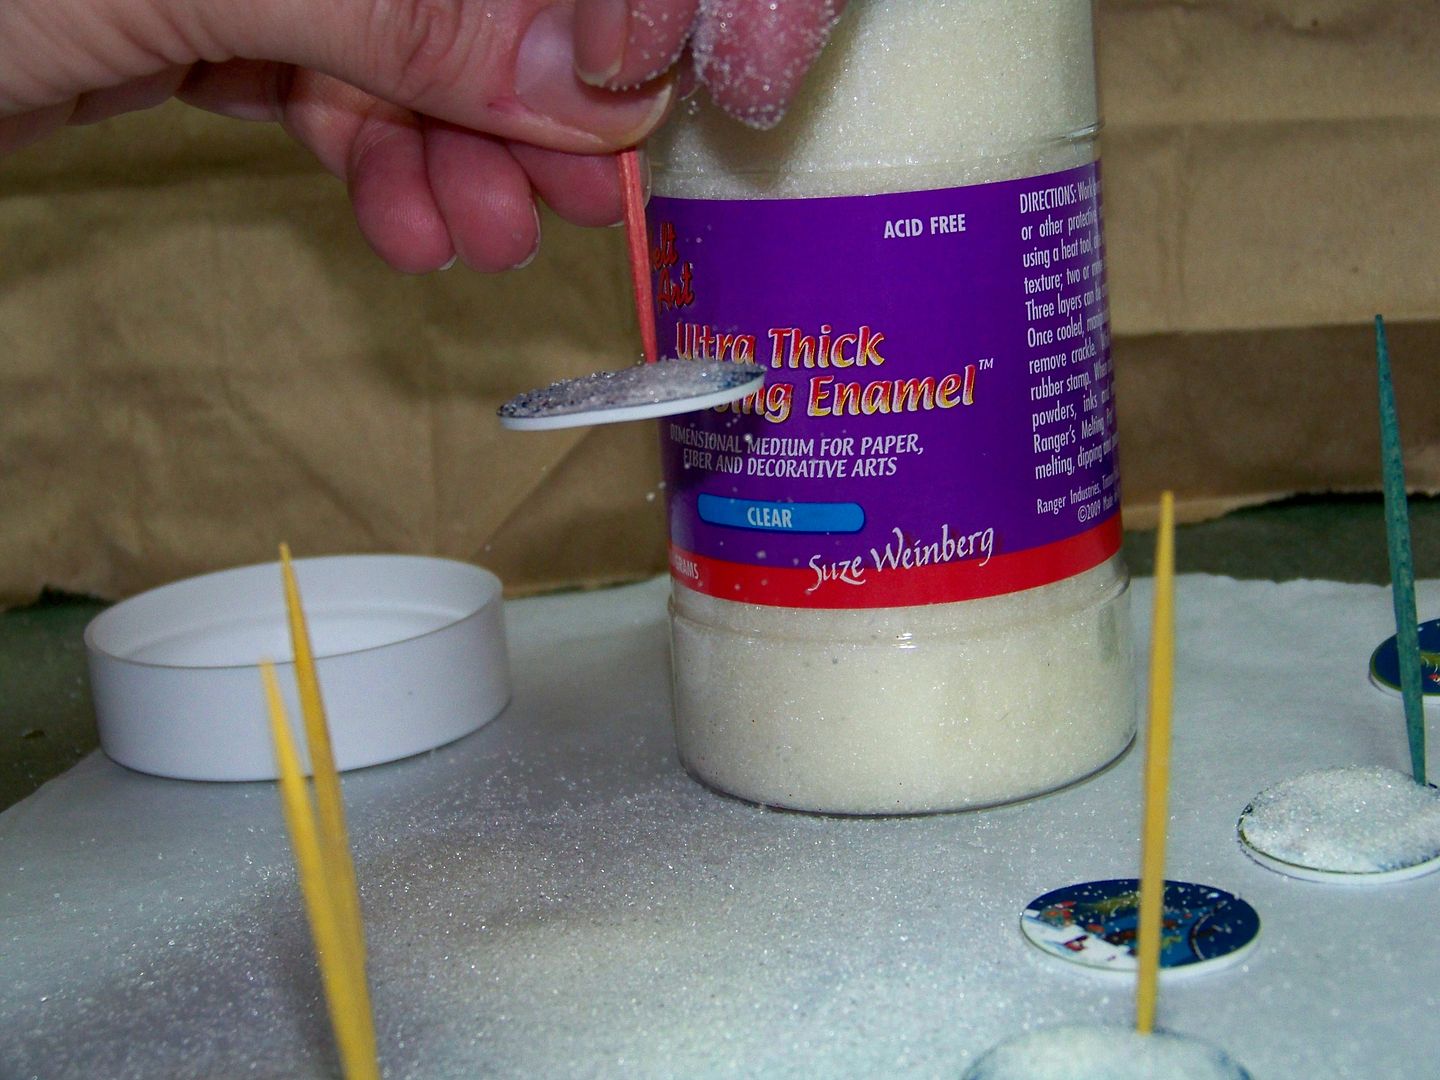
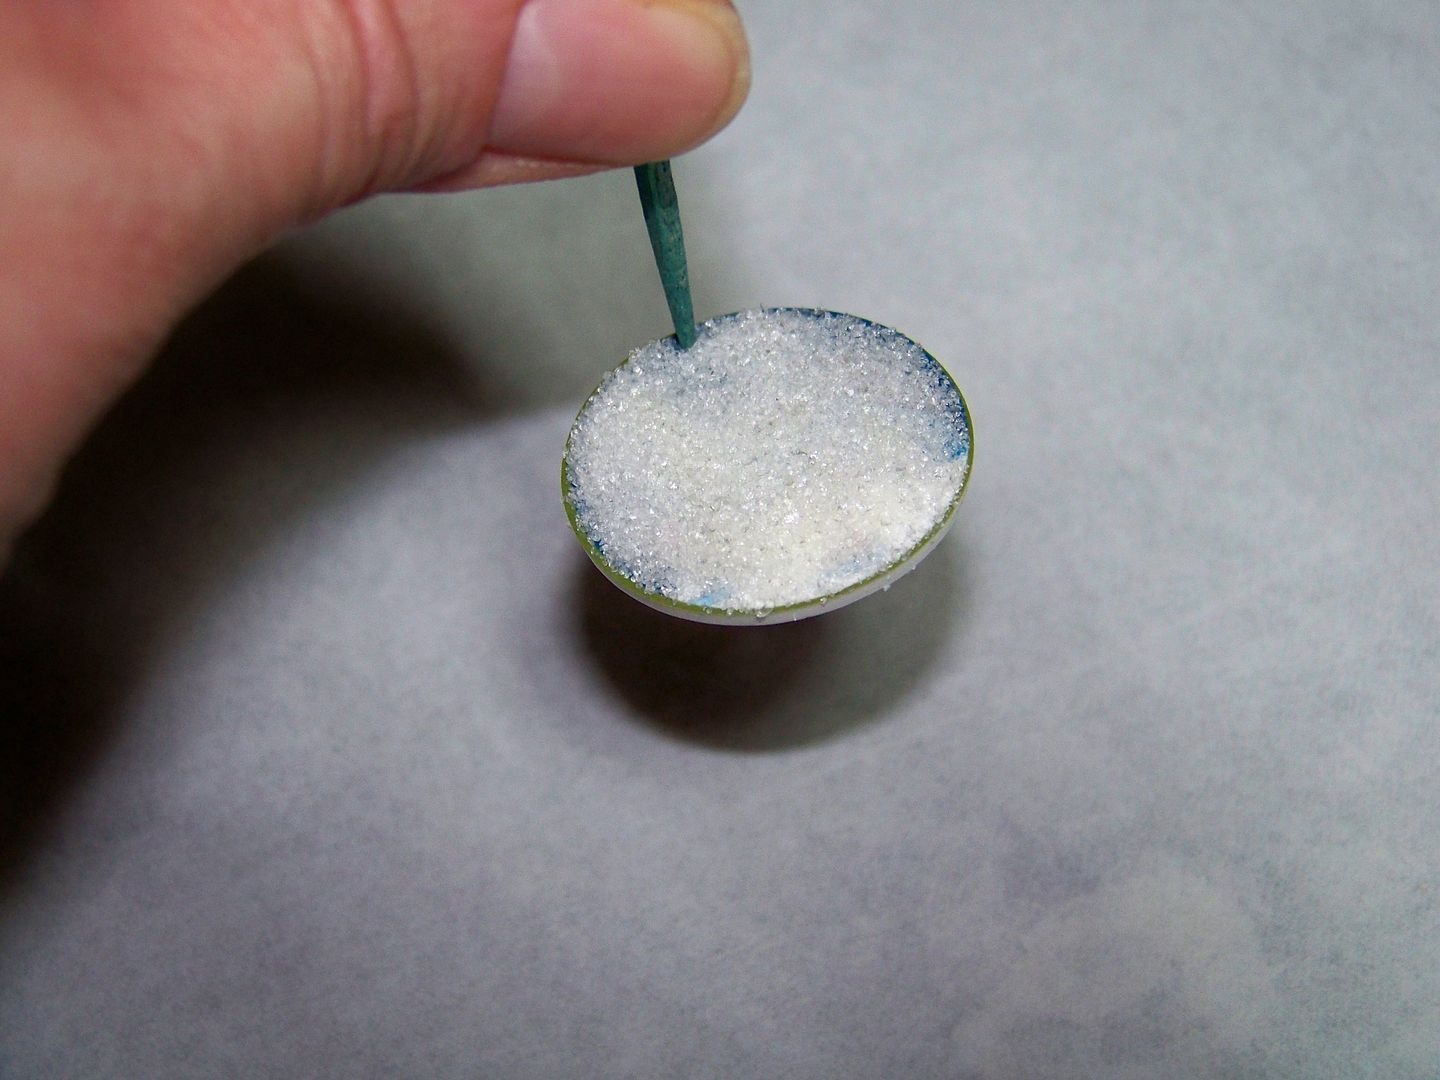
I removed the toothpicks and placed them back in the oven for 6 minutes (still at 300 degrees).
Once out of the oven but still hot, I moved them off of the parchment paper and onto a paper Chinette plate to cool. (The charms come out of the oven with a gooey surface. I accidentally flipped one upside down when removing it from the parchment paper. This ruined the smooth, perfect surface. To fix it, I simply placed it on a protected surface and used my heat gun to melt it again. It smoothed itself out perfectly once again-- you can add more embossing powder or not. I did this the next day so no worries.)

Glossy and so pretty! I instantly knew that I would be re-visiting this technique to make sweater buttons this fall -- love the finish!
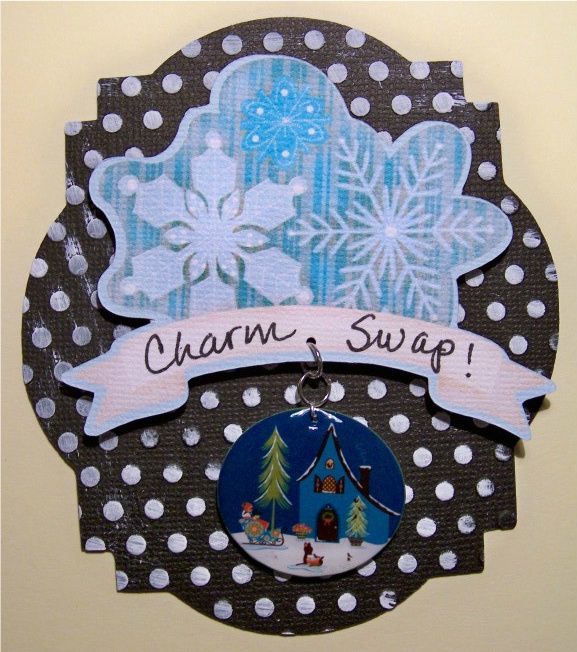
I used 4mm and 6mm jump rings on each and attached them to a snowflake banner cut from Enjoy the seasons cut and printed at relative size 2.4". I reinforce the back of the banner with a foil sticker and then use the tiny Martha Stewart hole punch.

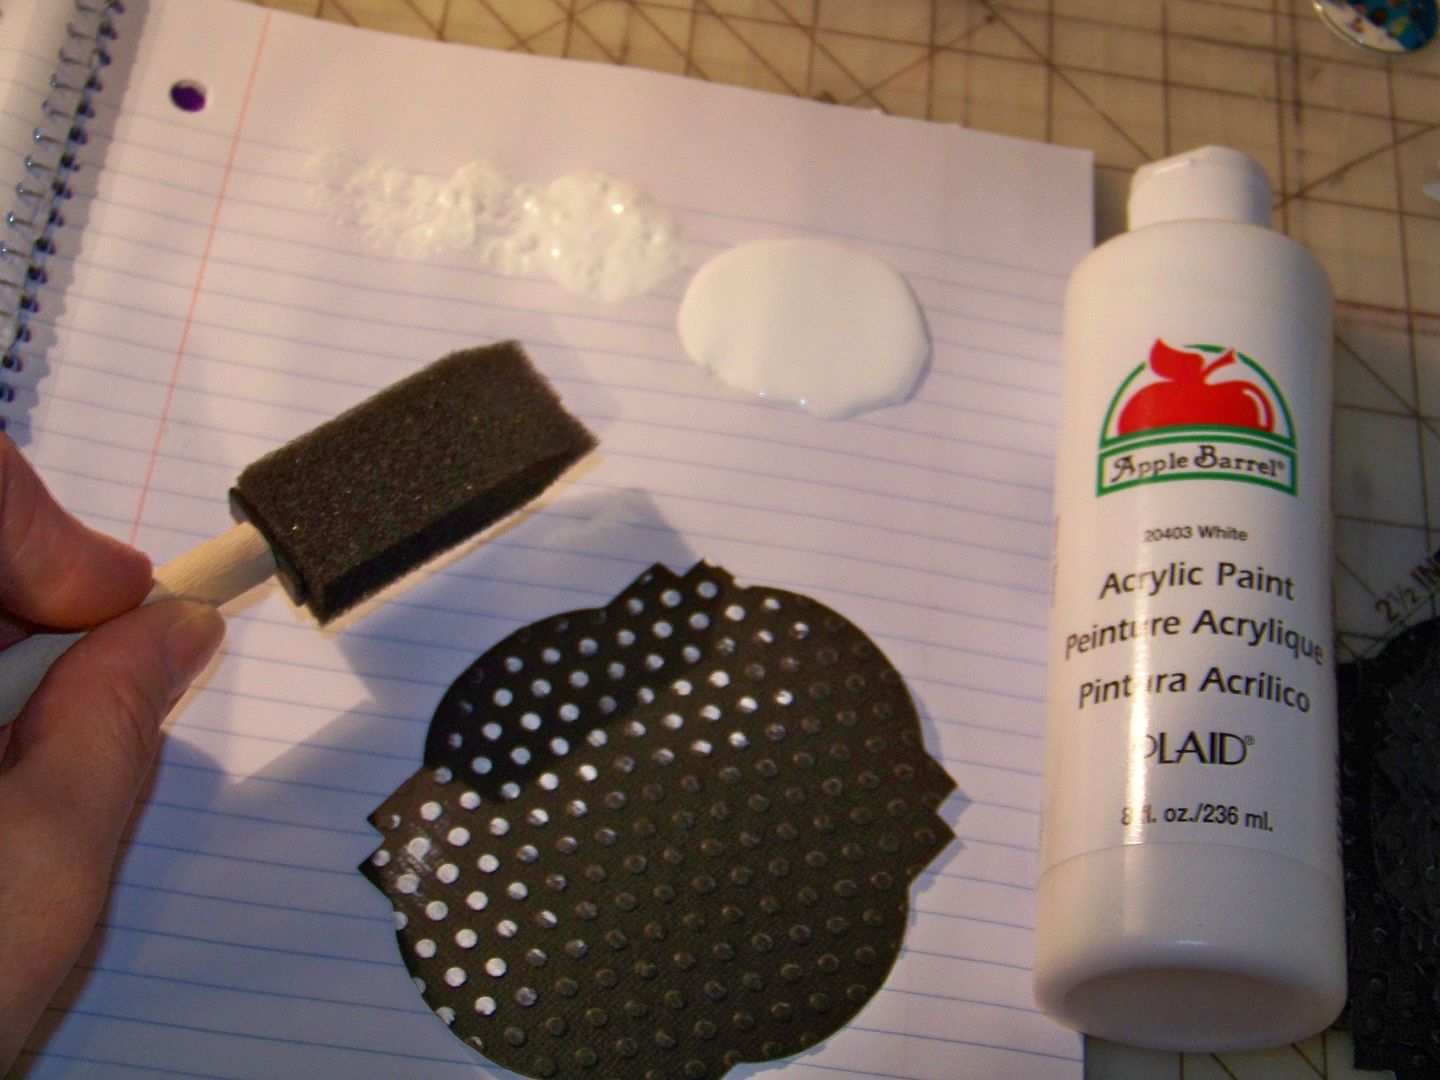
The card base is cut from Lacy Labels (#4) cut at 3.5" on the Imagine. I used black card stock and then ran each through the Cuttlebug. I used a dry sponge brush to apply white paint to the raised dots. The snowflake banners with charms were attached to the cardstock base with pop dots. I applied my calling card info to the back with double sided tape.

26 comments:
Thank you so much for the great info ...
Love those charms
I planned on going to J's today, hope they have the supplies needed for this lovely project.
I have been adding sterling silver charms to special cards, hope these charms work as well for me.
Huggs dear
circle member Emerald
These are awesome. I love your thorough tutorial too. I have been wanting to try these as well. Another one for the "to do" list. Thanks for sharing!
How cool! I have only used shrinky dinks once before, but I like how the printed expression scene turned out!
Gorgeous!!!
Hugs,
M
Oh these are just awesome. I love the glossy finish on them... very very pretty.
LOVE these!!! I used a similar method by printing images out of my printer and putting it into a melting pot of embossing powder, but I really like the idea of using the Imagine for printing!!! Another great use for the Imagine!
Thanks for sharing your wonderful project and tutorial with us!!!
Oh my goodness. I learn so much from you. You are so talented and amazing. I love these charms. GREAT GREAT GREAT job.
Thanks for the instructions and tips.
fantastic tutorial! I will definitely be trying this out.. come to find out I have 3 unopened packs of shrinky dink material..
Nadia thank you for this tutorial since I just got the I this was on my list of things to try. You make it look so easy, hope mine really are assimple and beautiful as yours. You're are such an inspiration in so many ways.
WOW, Nadia...do you ever sleep???!! I LOVE the shrinky dinks charms & will have to give them a try IF I ever have an Imagine that works properly! Thanks for sharing!
What a GREAT idea!!! I'm so going to try this!!!! Thanks for the inspiration!
This is such a creative idea! Love it! Thanks so much for the very detailed directions! Can't wait to make some! :)
I've been wanting to try this myself. You can also use a heat gun on them. It works much faster and you get the same results. ~kris
These are gorgeous! I can't wait to try this technique. Thanks so much for the detailed tutorial.
Karen
Awesome tutorial and end result! TFS
The Utee on imagine ink is a great idea. Love how the charm turned out. I am so going to scraplift and when I can get back upstairs I am so trying this!
Just found your post on Made it myself Mondays no 19. Love your little scenes. I use shrink plastic which I think is just another brand name and love using it. Glad someone else has had the same problem as me with the embossing powder shooting everywhere with a heat gun. Thought I was just being a bit thick with the instructions on the pot!! Hugs Mrs A.
Wow! Love your project. Thanks for posting the tutorial to make these. I think I might like to try making some. I'm going to have to go back a reread some of the steps.
http://lorisartsyobsession.blogspot.com
The best tutorial I have seen. thanks
Thank you so much for posting the directions on how to do this! I cannot wait to try this myself!
Lynn McNally
great tutorial! I am definately going to try some of your suggestions!
Hi Nadia,
I used your hints when I made my shrinky dink charms for the circle MB charm swap. I was asked a couple of questions on my blog today, and when I answered, I provided a link to your blog. Hope that was ok. I found your tutorial to be the most helpful and thorough. And, thanks to you, I have purtty cute charms. ;) Thank you for all you share!
Thanks for visiting my blog. Woo hoo. I am so glad you are getting this cart. It is my favorite imagine cart to date. Can you see Elvis with covered in UTEE with baked in bling in my future? Thanks for being so sweet, and suggesting I send a link to Curt. I think I will - and tell him how fabulous this cart is. Could not have done the charms without your tutorial. Thanks again!
Diane
Hi Nadia -- I made some charms following your excellent instructions. I am so happy with how they turned out. I just posted the project on my blog, and I put in links to your blog. Thank you so much for the great tutorial -- the UTEE is such a great finishing touch. I couldn't be any happier with my charms and can't wait to make more.
Linda
Thank you for sharing this awesome idea. I followed your instruction and the coating was done very successfully. I linked this page on my blog today. Thank you again!
Thank you so much for the idea of using embossing powder on the shrinky dinks. I can't wait to try it!!
Post a Comment