A while back, I stumbled upon a blog that presented Mimi Kirchner's circus tattoo dolls that she made with vintage toile. I was in love! (You can check it out by clicking here.) At one time in my past, I was an art doll maker too so this kind of find really excited me! I loved the whimsical design and fun details that were employed to get a retro look. I thought that the use of toile to represent tattoos was genius!
Last night, I realized that the Carousel Cricut cartridge has a silhouette of a Circus strong man. I decided to do a little character study on this cut with the inspiration I got from Mimi Kirchner.
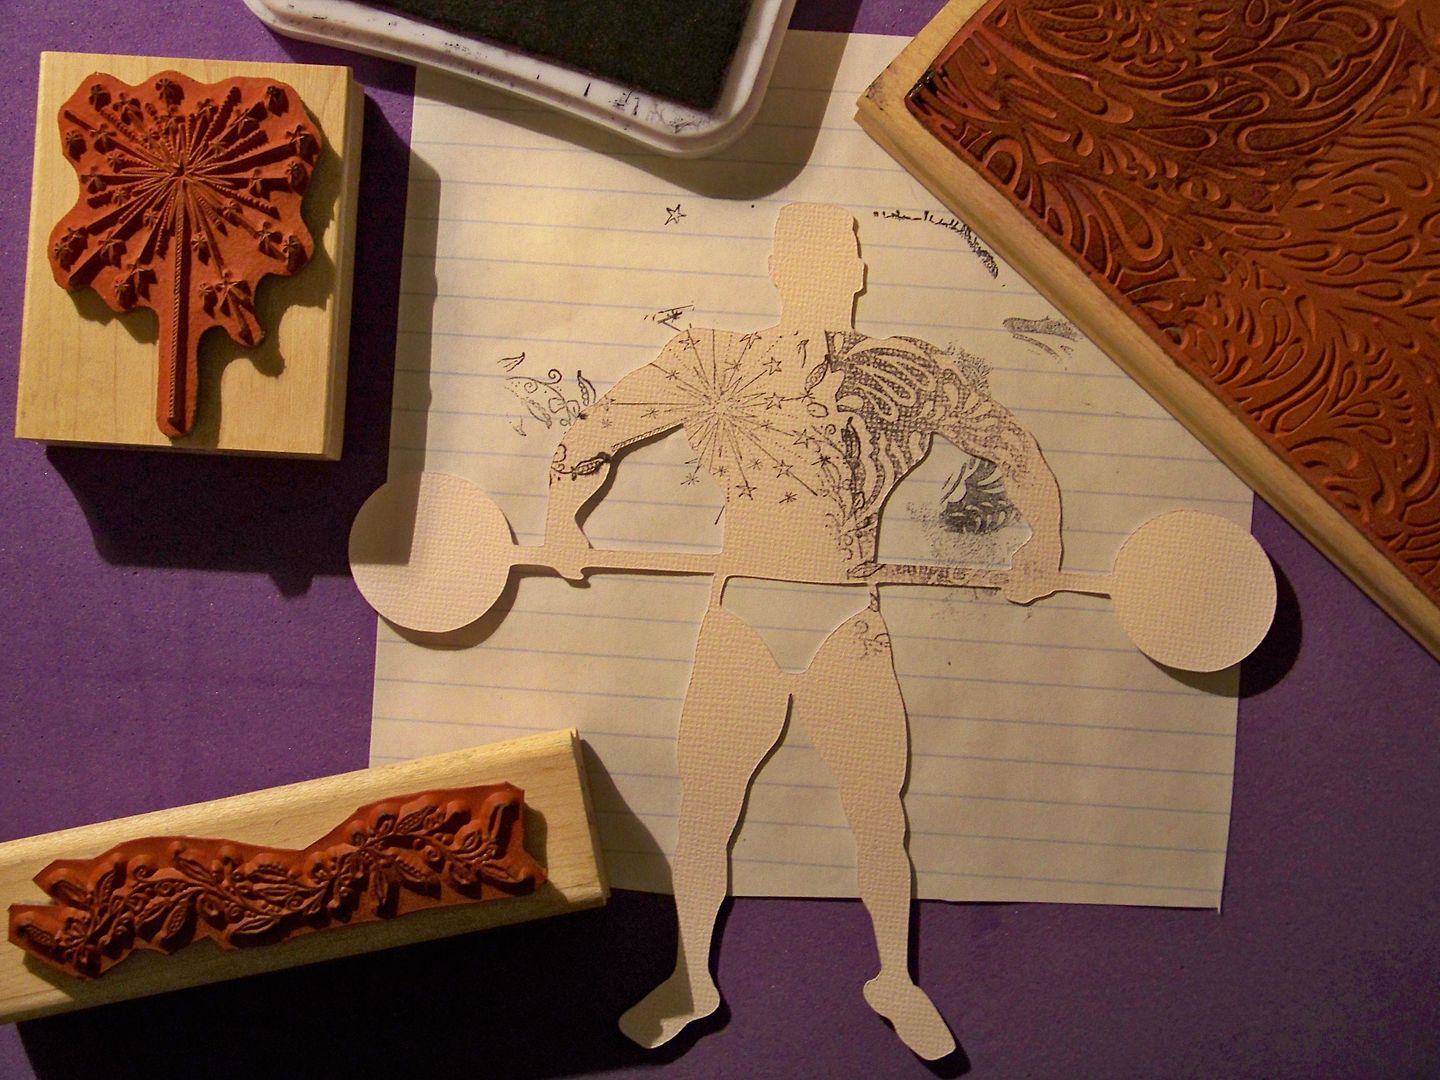
First, I cut three figures from Carousel in my Imagine at 6.3", floodfilling it with flesh color. I used RGB 250,229,210.
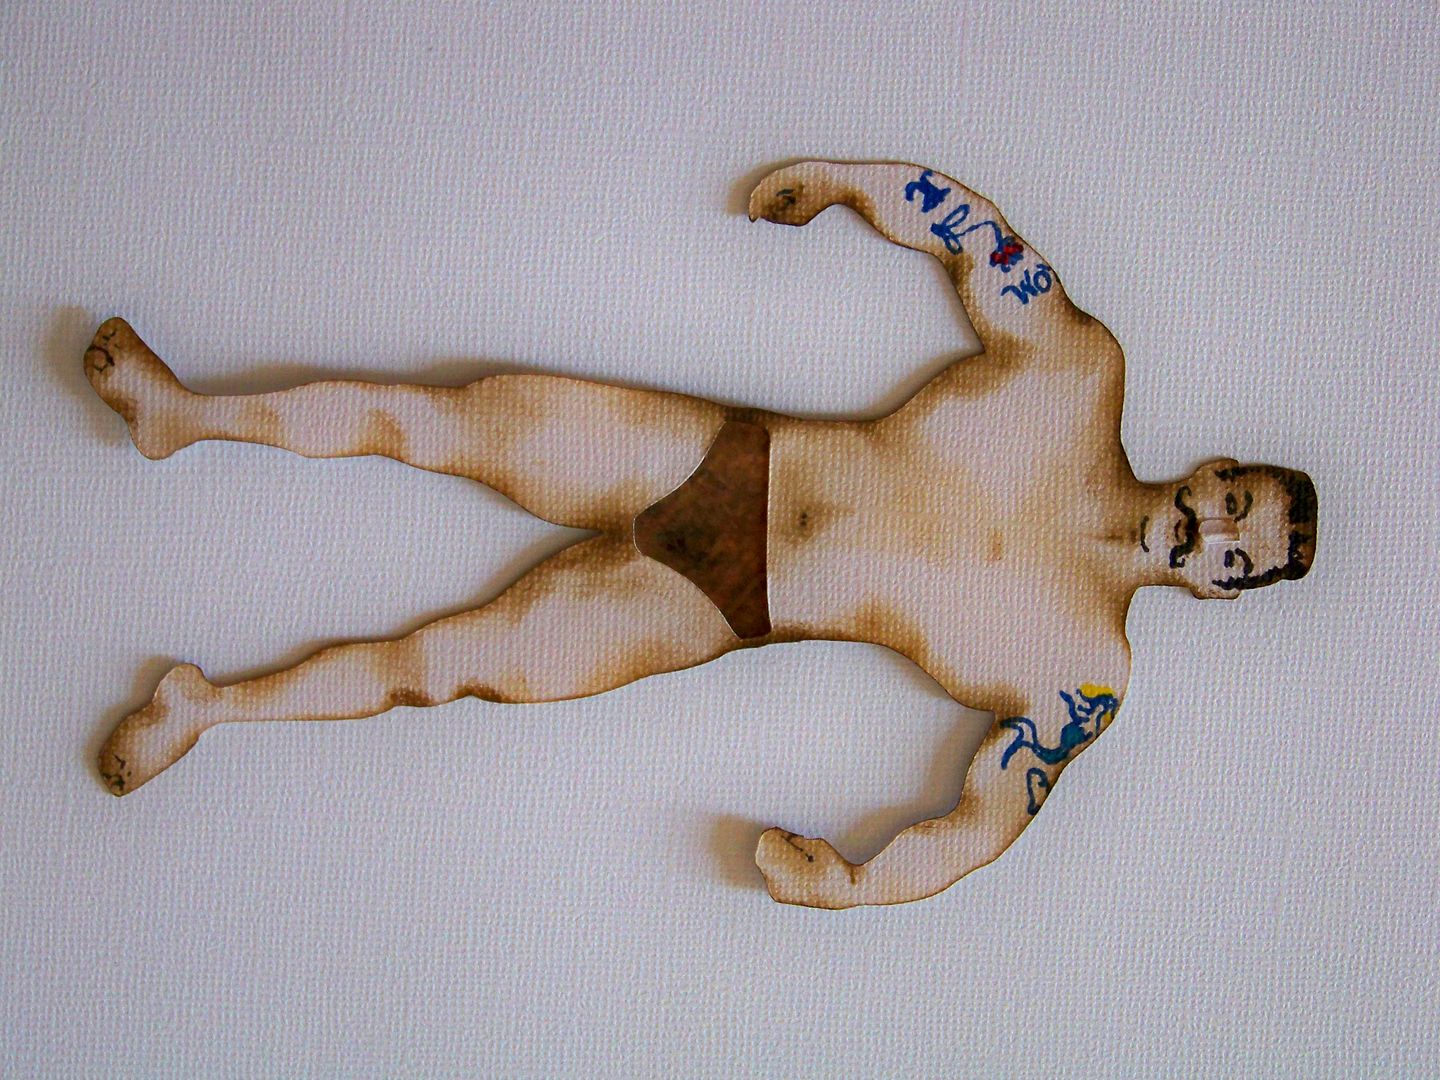
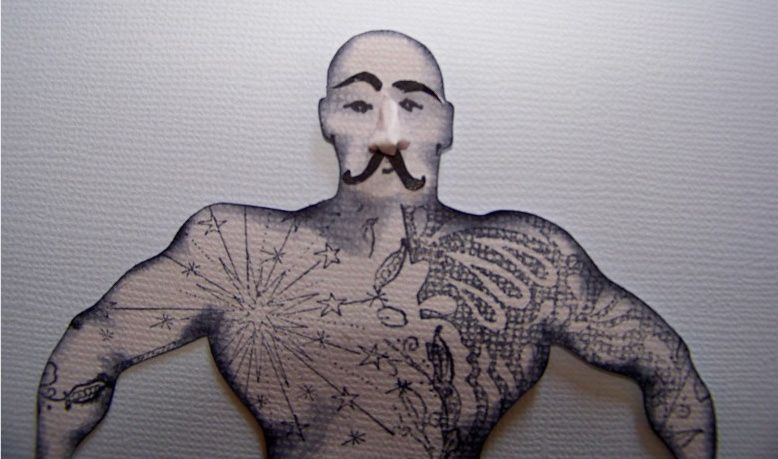
On the first one, I cut off the dumbbells and added a bit of brown paper behind the figure for his clothing. I used a foam eyeshadow applicator and a brown inkpad. I just inked him and did a bit of shading to give him some volume. I used Sharpie pens for the detail work and drew in some silly tattos. I hand-cut his nose using scraps from the dumbbell.
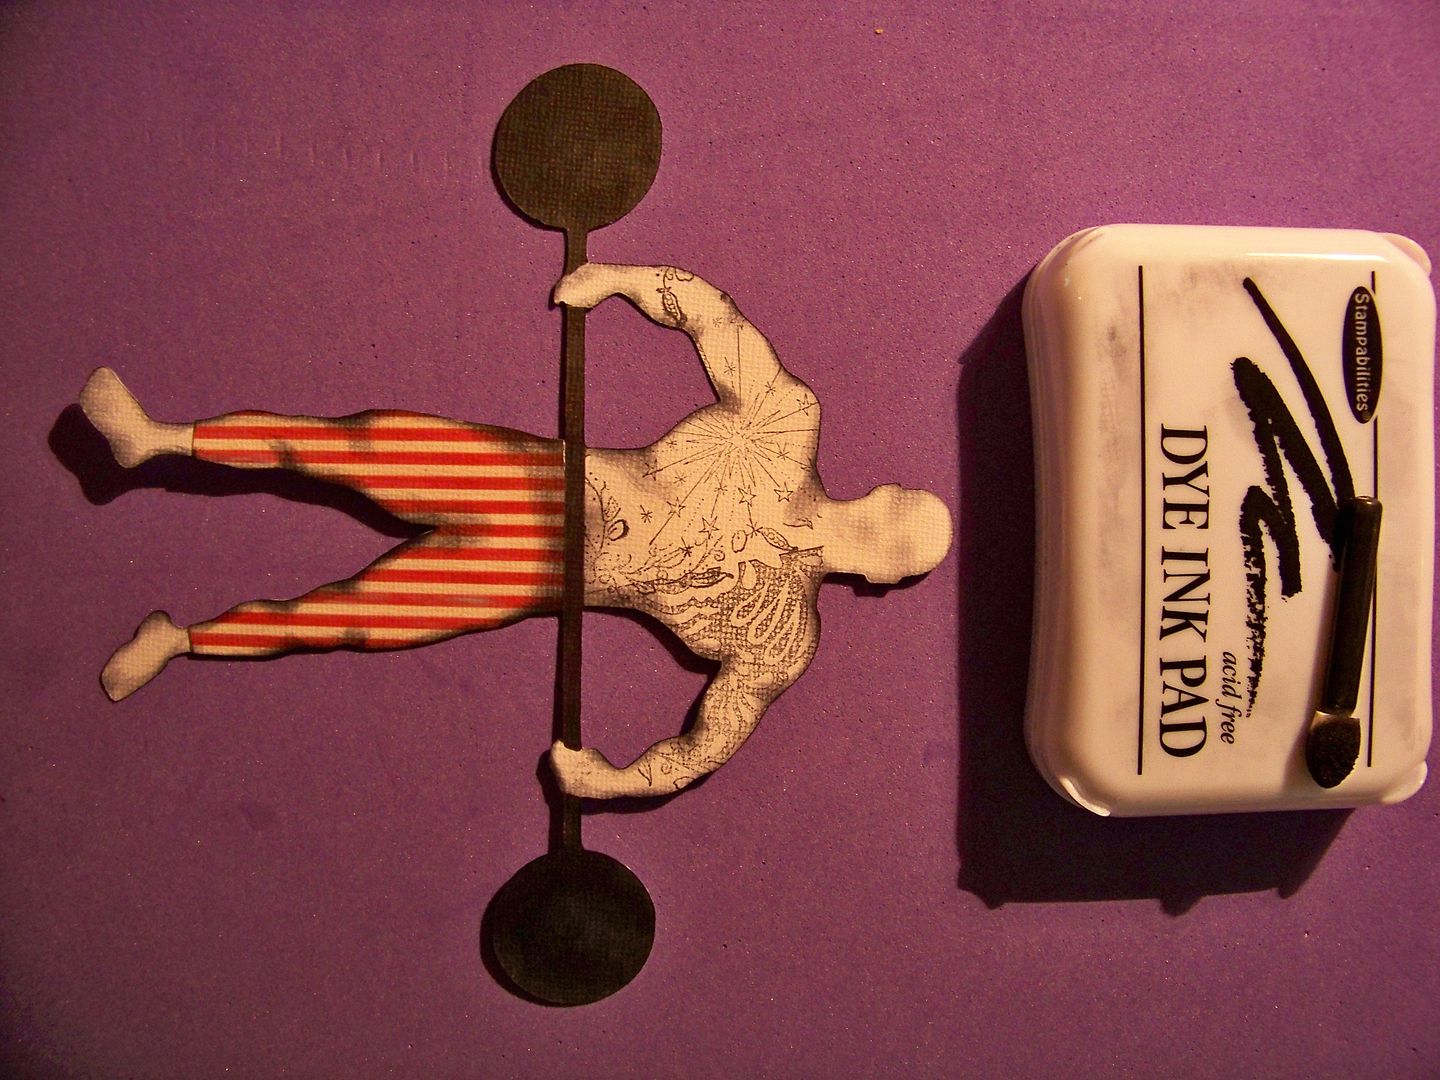
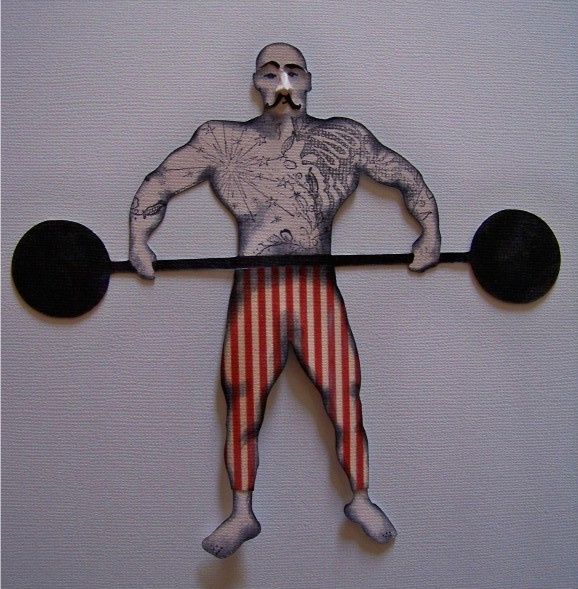
This time, I kept the dumbbells. I also printed a 5.5" square of red stripe from Buccaneer. I traced his legs to create the pants and glued them on. I colored in the dumbbell. I cut his mustache from Billionaire (the taller one) at 1/4" and then made a small cut so I could spread them apart. I hand-cut his eyebrows and drew in the rest of the face.
I felt like I had the character I wanted... but this time, I wanted to make this cut into a super hero.
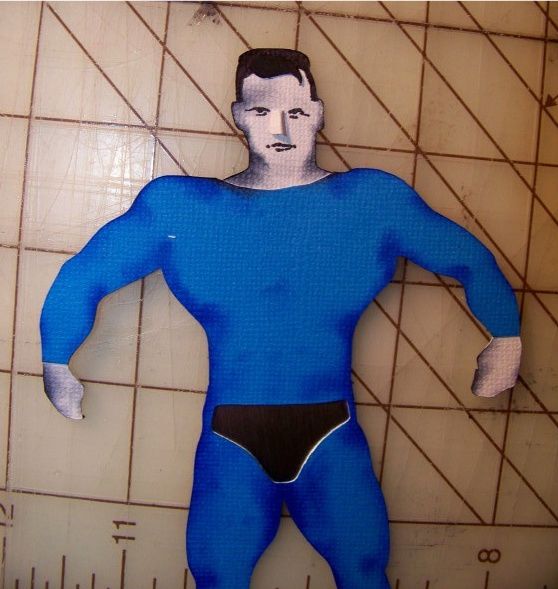
I cut another 6.3" figure, this time, floodfilling in with blue (one of the built-in colors on the Imagine queue). I cut away the head, hands, and dumbbell. I used the head from the last remaining figure that was flesh-colored. I inked him in blue on his suit and black on his face. The nose I made for him was smaller.
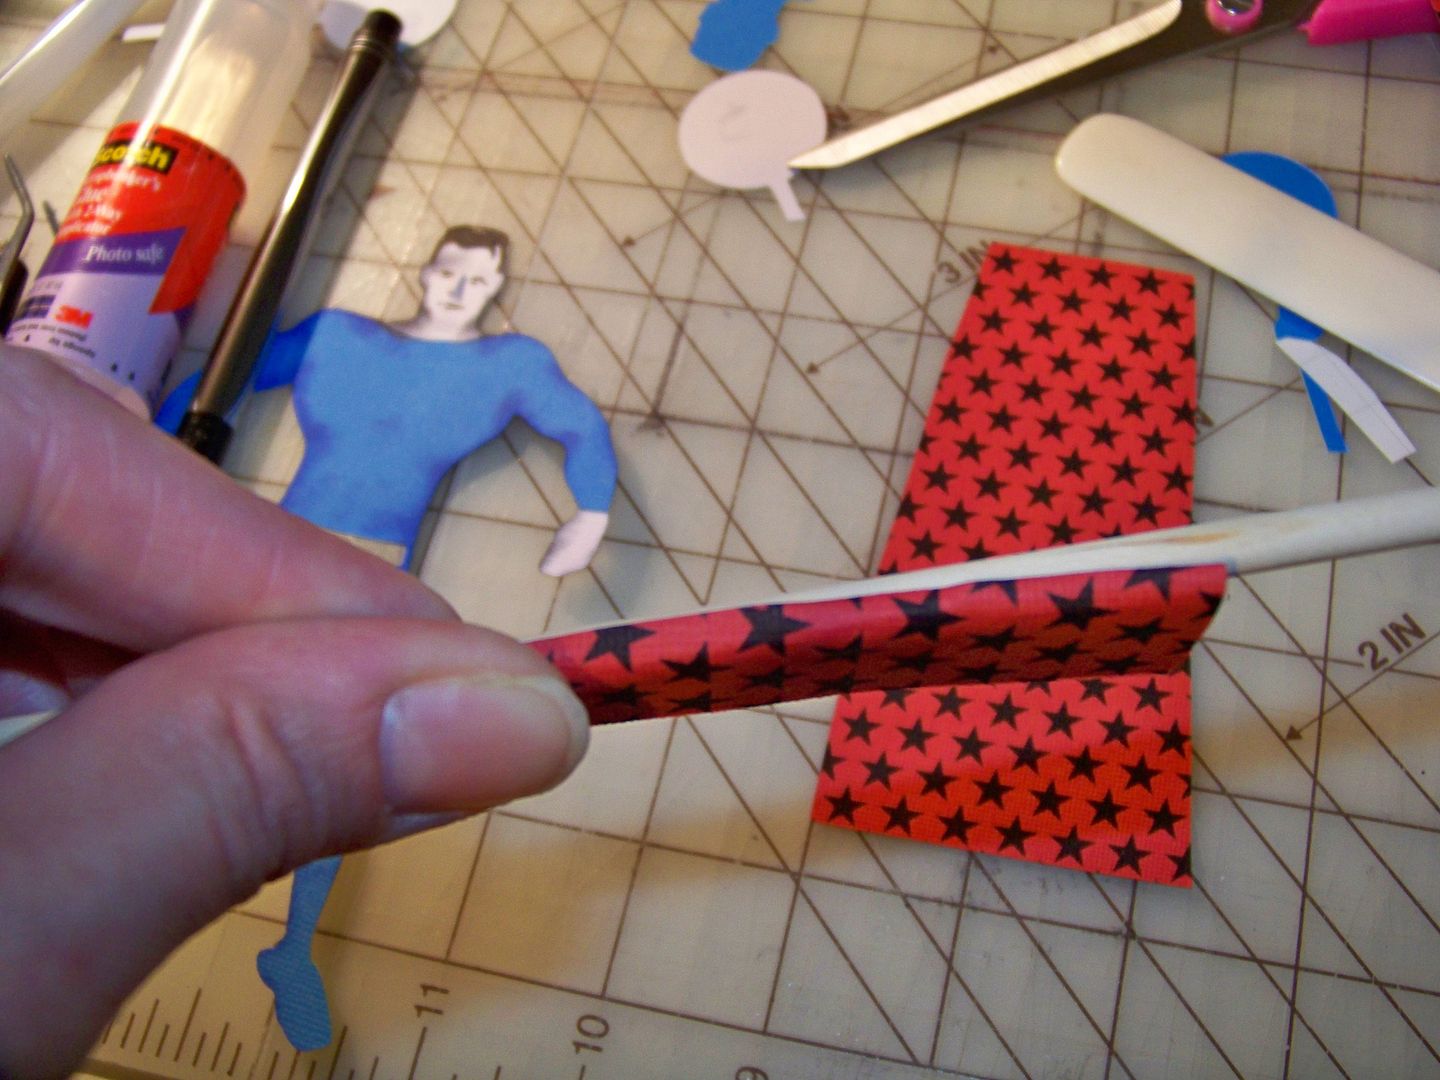
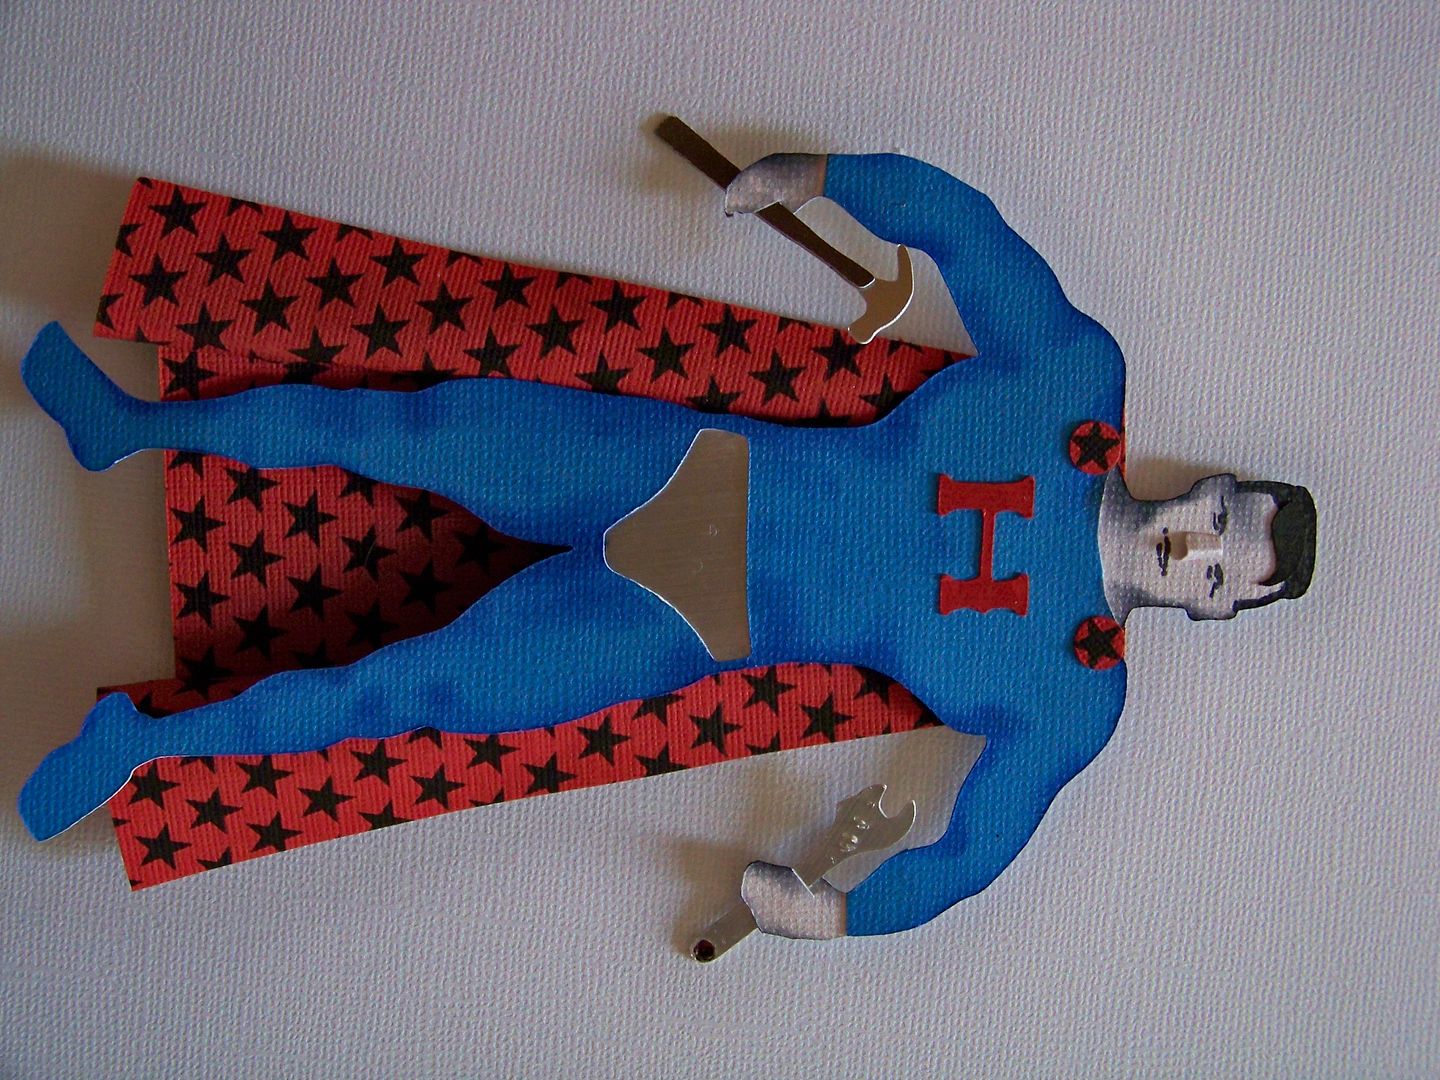
I created a cape by printing a 6" square of red paper with the star print from the Black and White cartridge. I cut three pieces-- a back piece and two side pieces. I rolled the side pieces to create the folds in the cape. I created epaulettes by centering one of the stars with a hole punch and pressing it out.

So, why is he so 'super'? He's handy! (Yes, we are in big need of a handy man-- so much so that I think of them as super heroes right now I guess.) The hammer and wrench were cut on Handy Man at 1-1/4". The "H" is from the Hannah Montana cartridge, cut at 1/2".

I love creating characters and I had so much fun with these guys! I learned so much and can you believe the difference in outcome when inking in brown versus black! You can really see that in the picture above (remember the flesh was all the same RGB)! You are welcome to visit My Project Gallery in the tab at the top of my blog, or by clicking here, to see all of my other characters and projects!
Thank you for visiting my blog today!