Showing posts with label Banners. Show all posts

Friday, May 4, 2012

Milk and Cookie Doll Party and Banner Challenge Entry

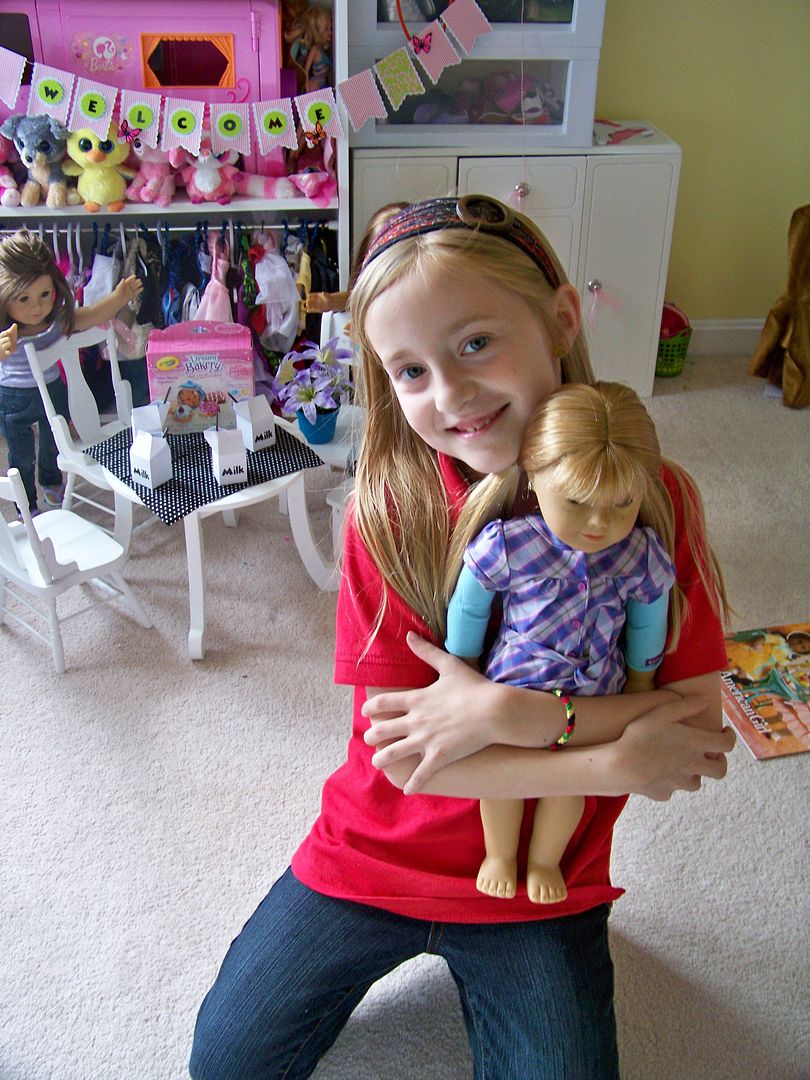
My daughter has been bugging me for days.... She used some of the money she was given by family in her First Communion cards to buy some things from the American Girl Doll site, including another doll.  She has been so excited about this.  She set up her other dolls in careful anticipation of their new friend's arrival... they are all dressed up and positioned with their arms up to show their unbridled excitement :),  and they have a gift for the new doll... REALLY!  I made the mistake of showing her the tracking info after it was emailed to me and she has bugged me daily to re-check it and report the status of its location.  She knows the package is due to arrive today... and it did!

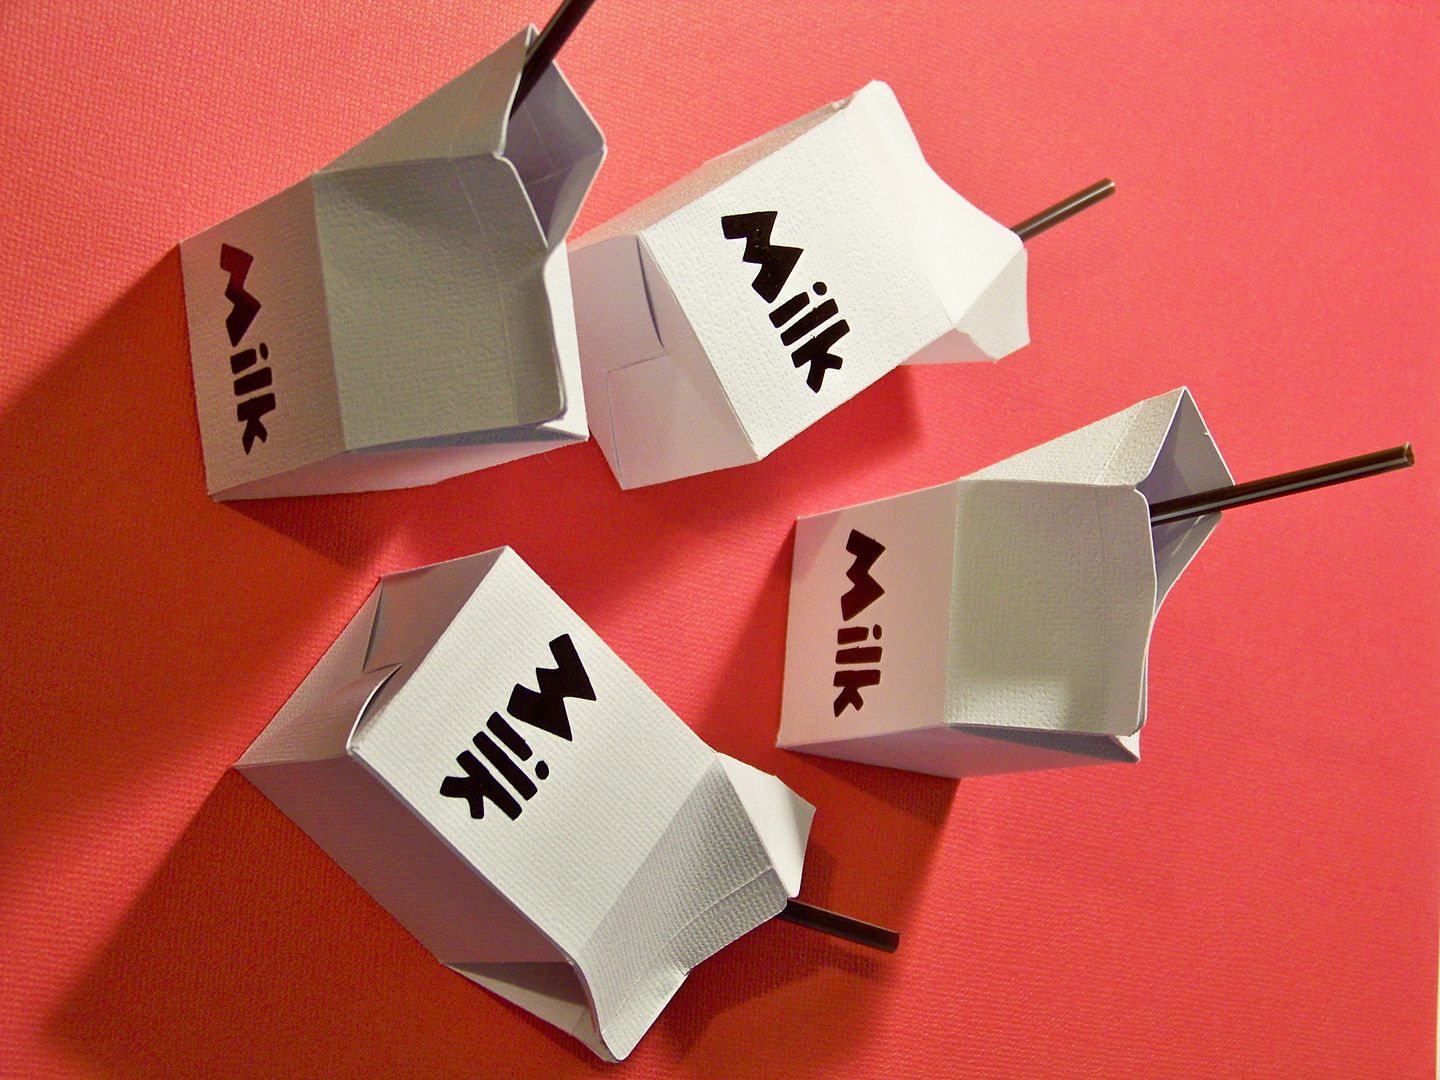
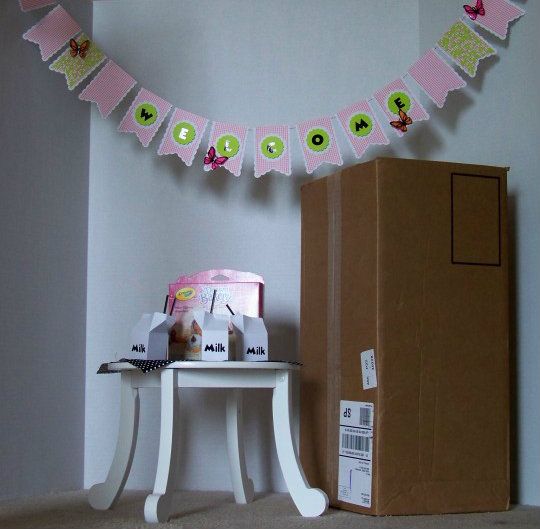
To make it extra fun for her (as if that is needed), I took time today to make a little make-believe milk-and-cookie welcome doll party to surprise her when she got home from school.  I started by using Tags, Bags, Boxes, and More 2 to create little milk cartons.


I love the scoring on this cartridge, but I don't use a scoring tool (I don't own it --- yet), so I score by simply adjusting the blade depth to 2 and the pressure to 2 for scoring, changing it back to my regular settings for cutting the outline.  I cut down coffee stirrers to make little straws.

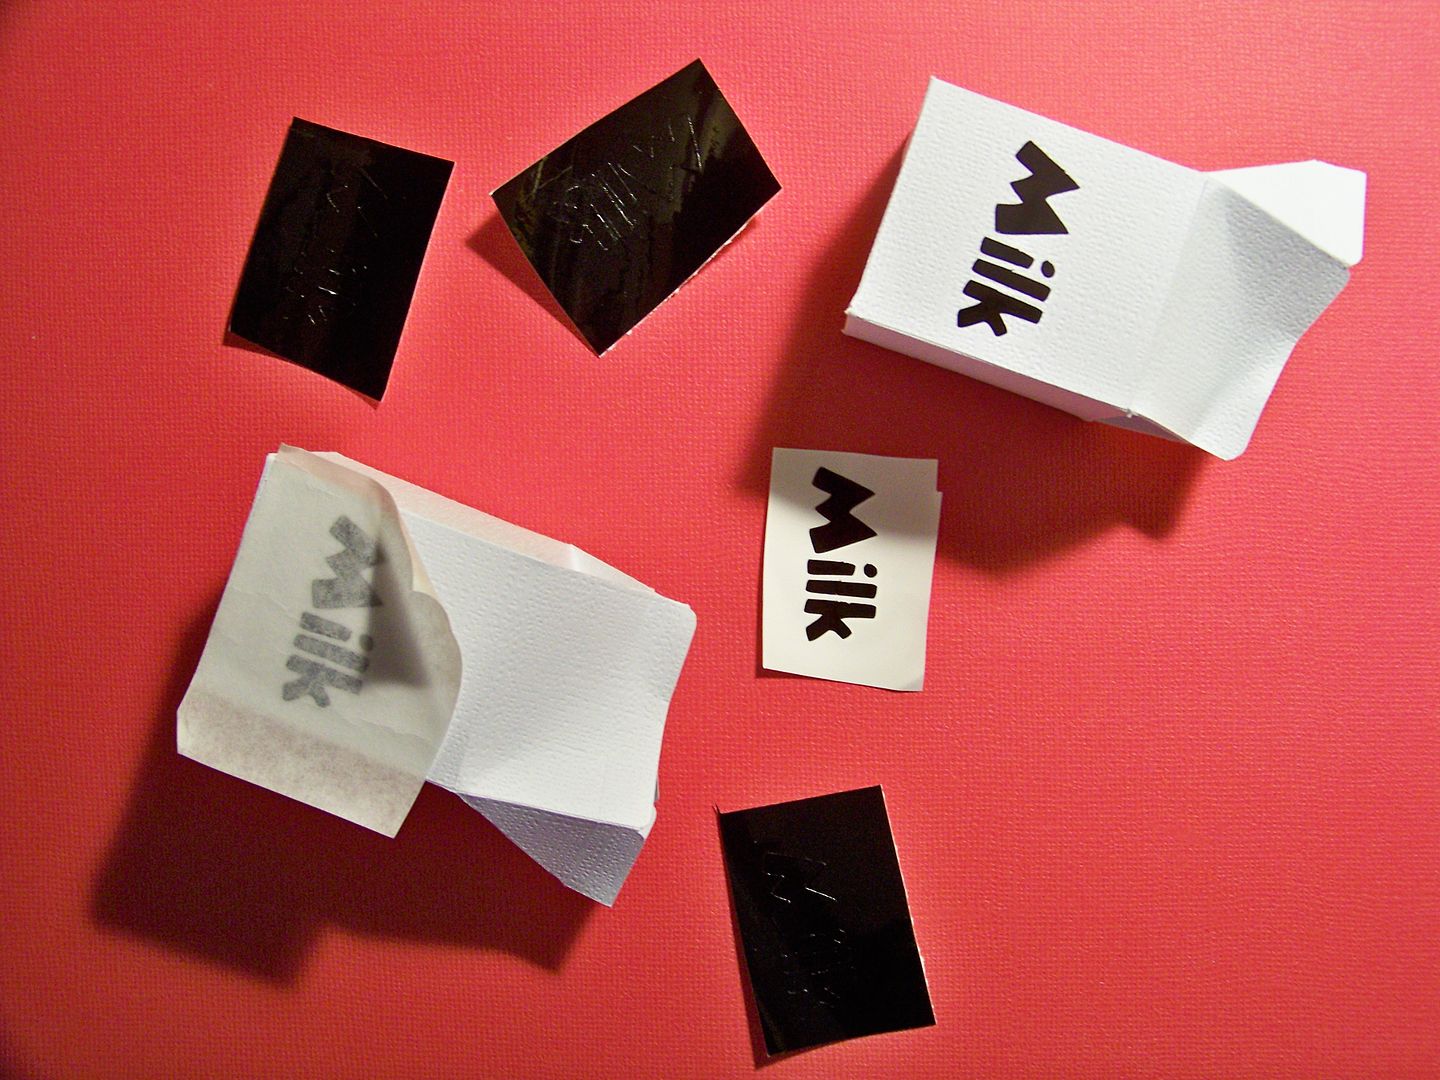
These were cut at 4" on my Expression.  The text was cut from Mickey Font at 1/2" in vinyl (using pressure 3, blade depth 3, and speed 3.)  Adding the vinyl was an after-thought, but because the cartons are so little, they gained sturdiness so it was a breeze to add the text after the cartons were assembled using transfer tape.


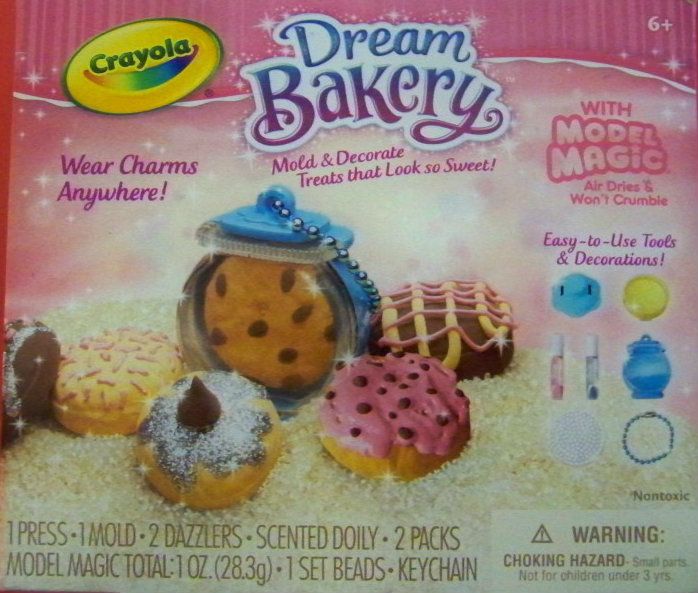
For the cookies, I bought a little kit for my daughter to make them herself from air-drying clay!  She loves making things for her dolls, often finding projects in the American Girl Magazine or from things she creates on her own!  I am hoping this will be a fun activity for her this weekend when she is at her Nana's house!


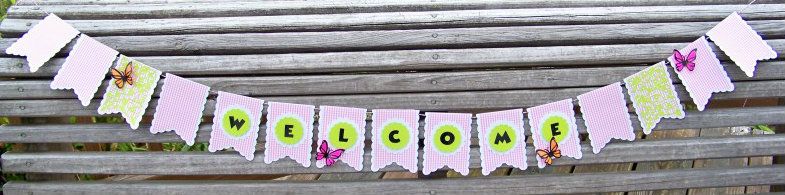
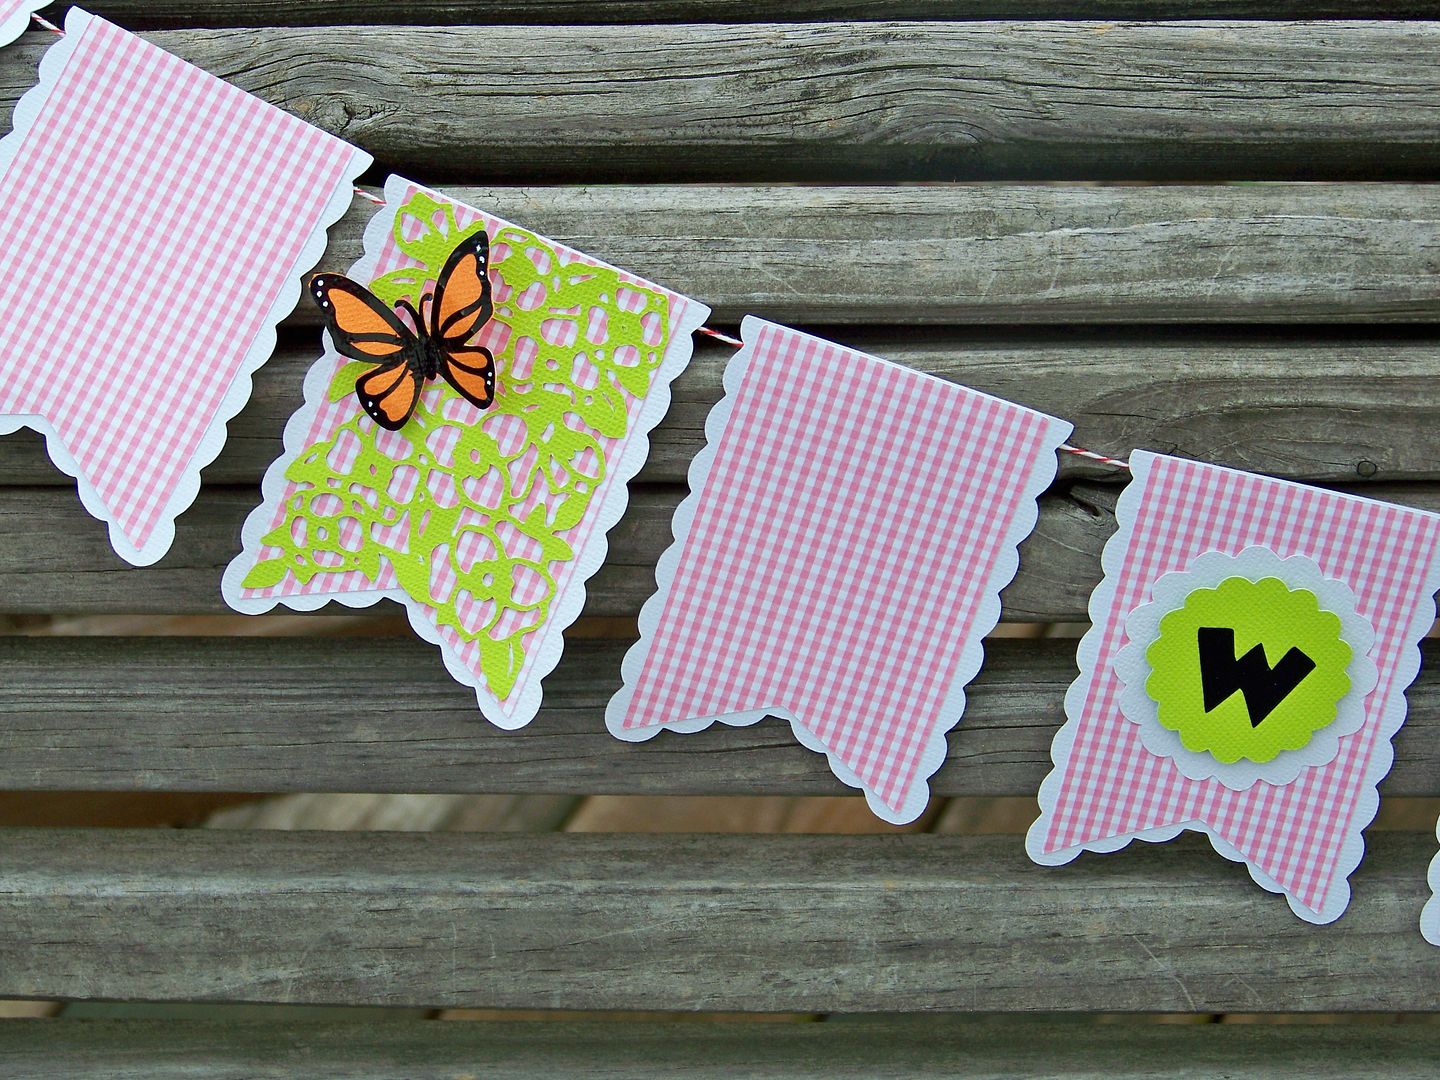
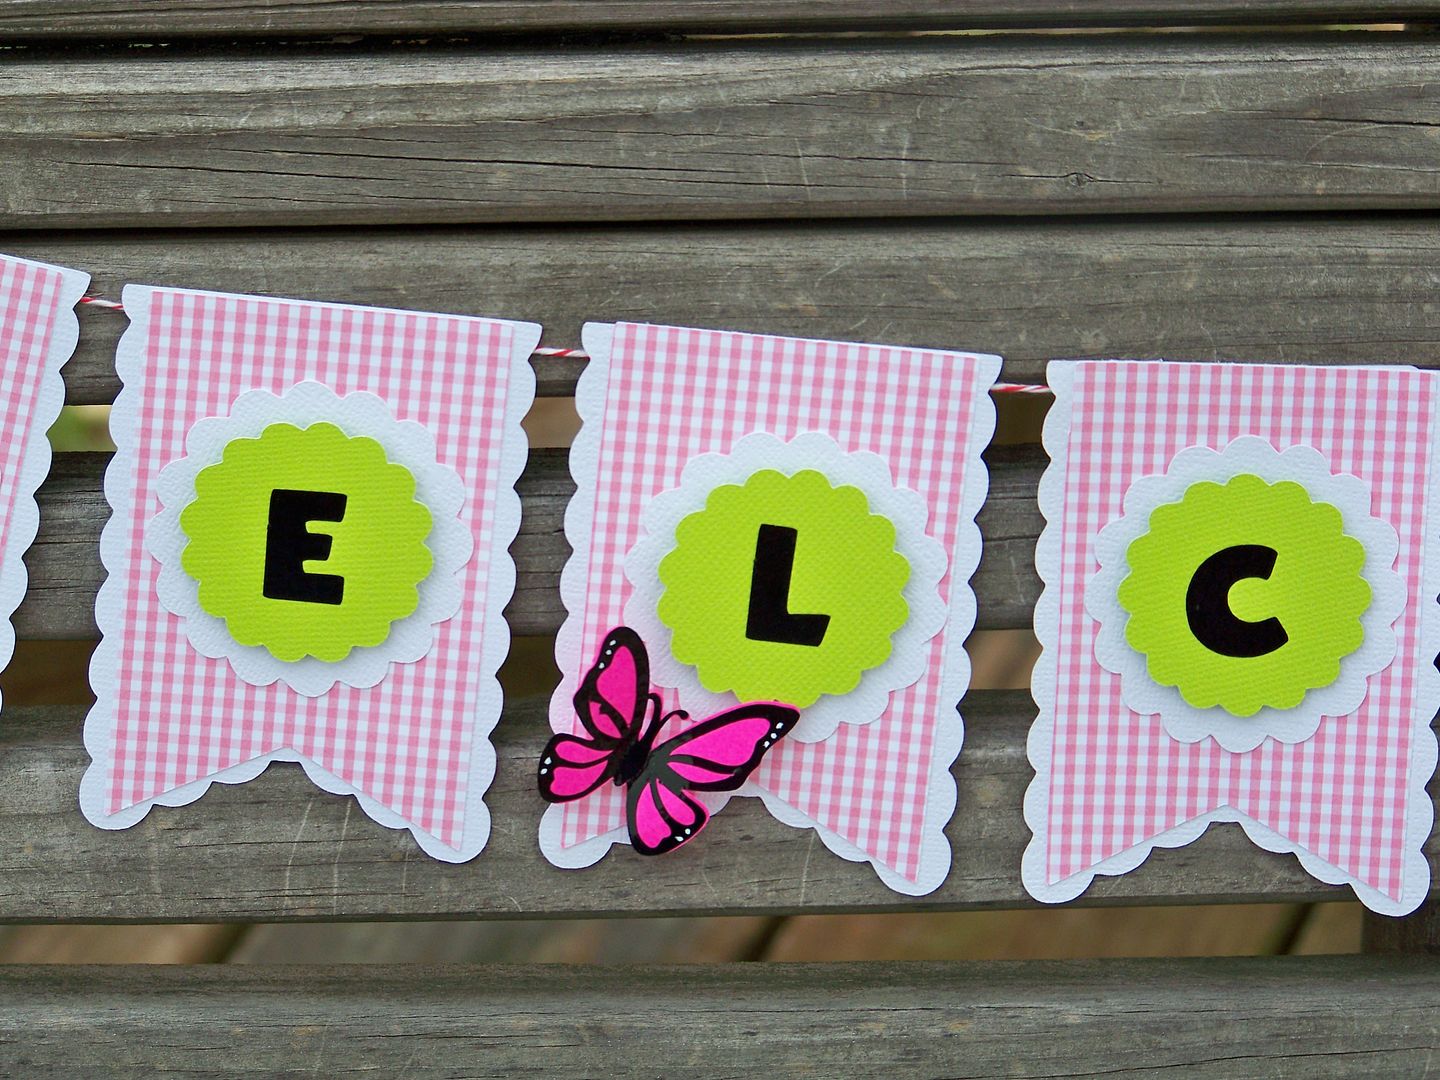
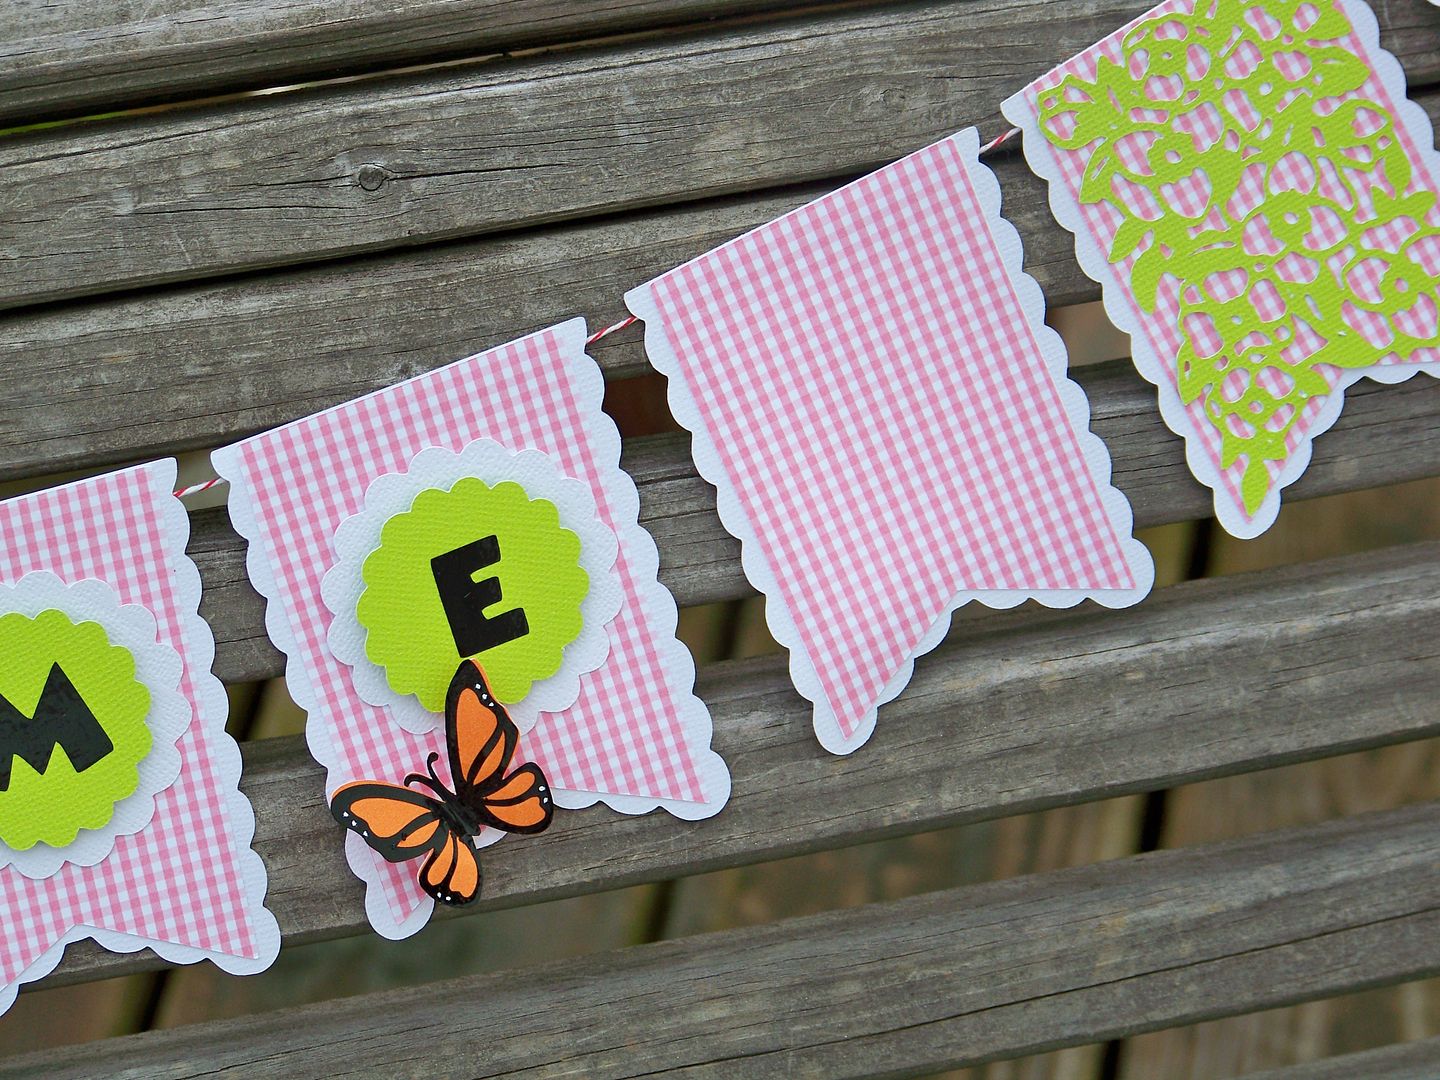
I created a 'Welcome' banner for the party using the Pretty Pennants cartridge.


I cut the pennants at 3-1/4".  In addition to the base cut, I also cut a scallop.  For two of the end pennants, I cut a decorative layer.


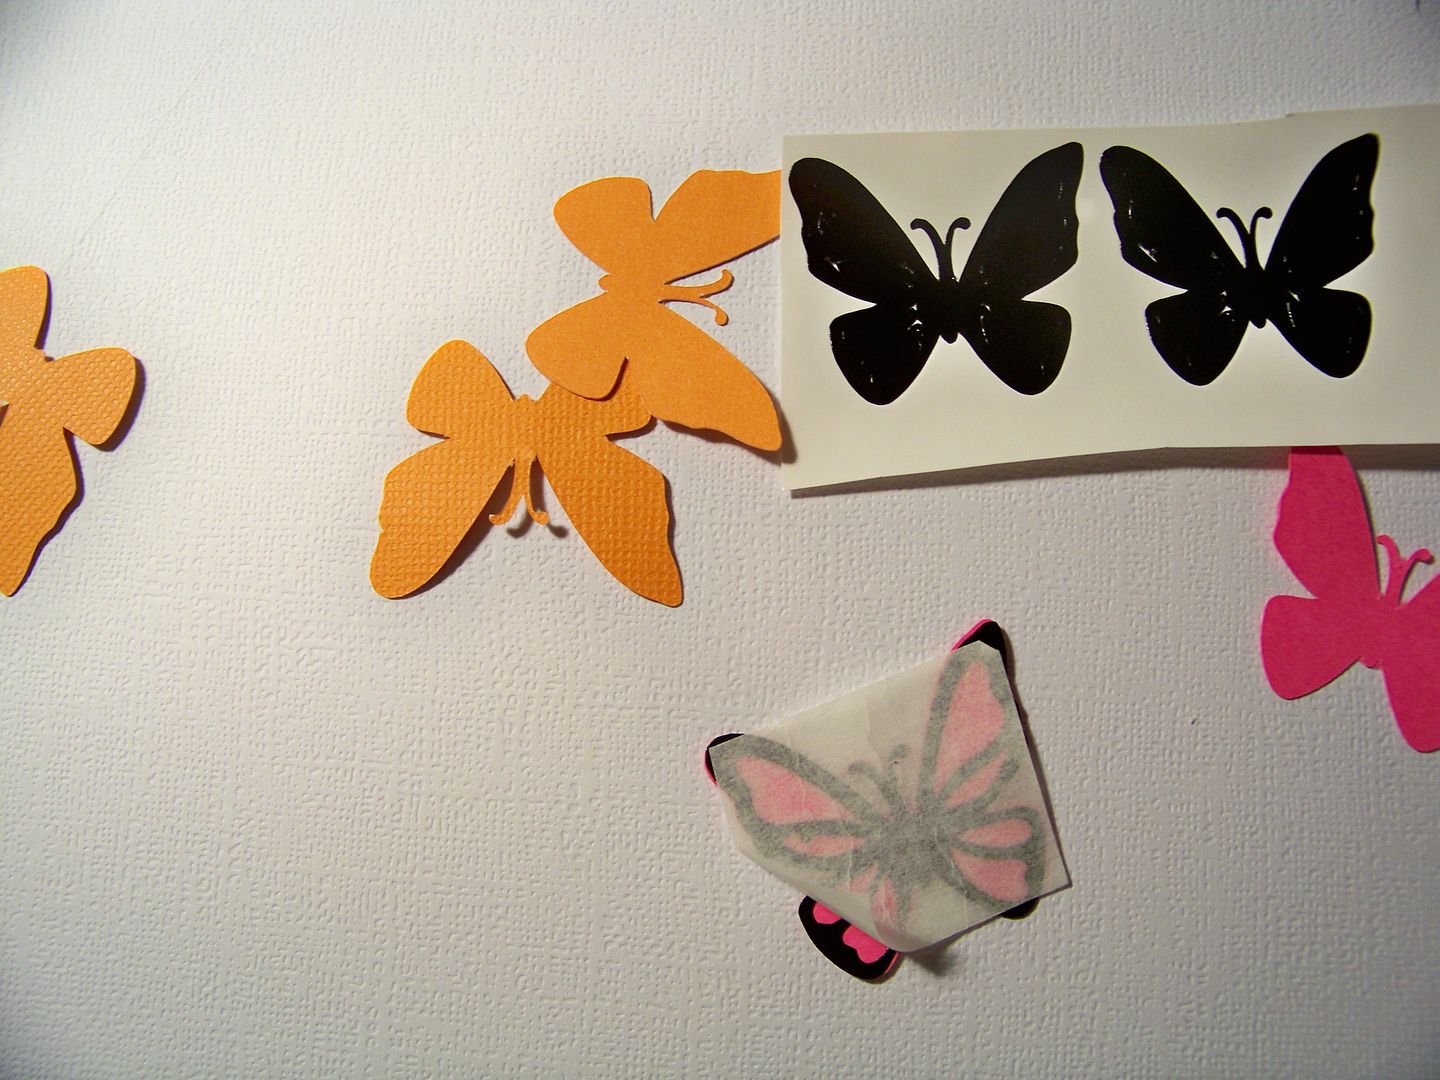
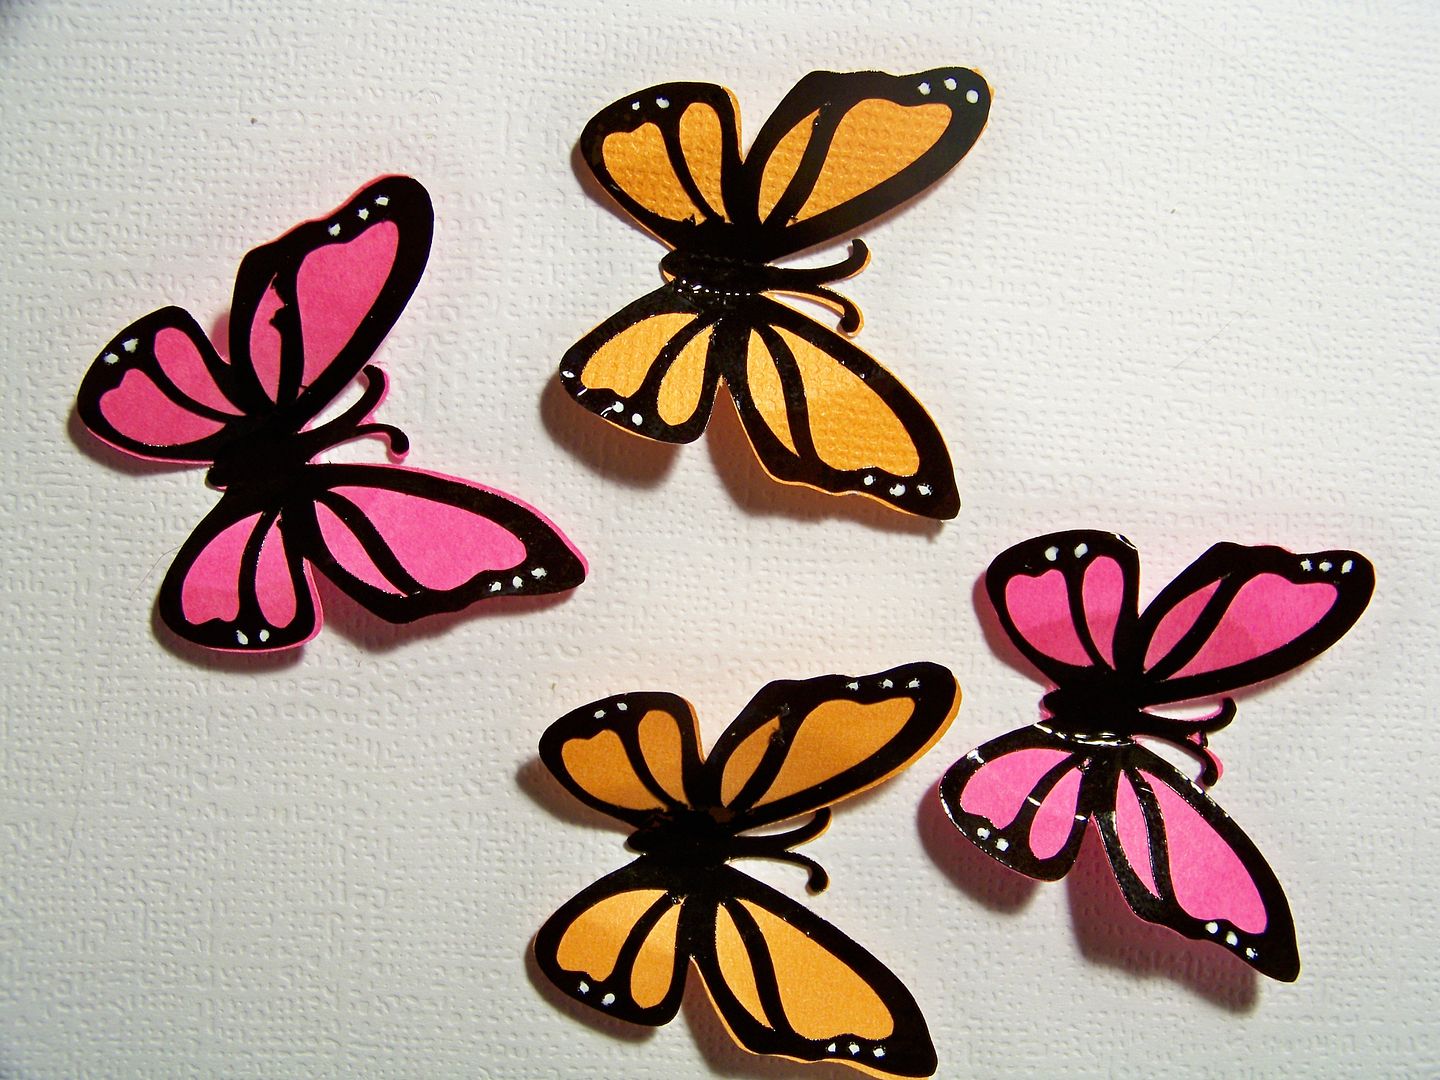
For the pennants with the letters, I used Mini Monograms for the scalloped circles, cut at 1-3/4" and 2-1/4", and Mickey Font for the letters, cut from vinyl at 3/4".  I placed pop dots between the scalloped circles.  I accented them with butterflies from Paper Trimmings at 1-1/4".  I cut the backgrounds of the butterflies from card stock and the black outline from vinyl, using transfer tape to apply the outline onto the backgrounds.  I shaped them and added little gel pen accents.


This banner is my entry in the Cricut Circle Magazine Challenge for this month as well!

Well, of course, she was in heaven....can't wait to see how those little cookies turn out.


Thank you for checking my blog today.  To see many of my previous projects, click here to go to My Project Gallery.


Friday, February 3, 2012

Share the Love


Pin It

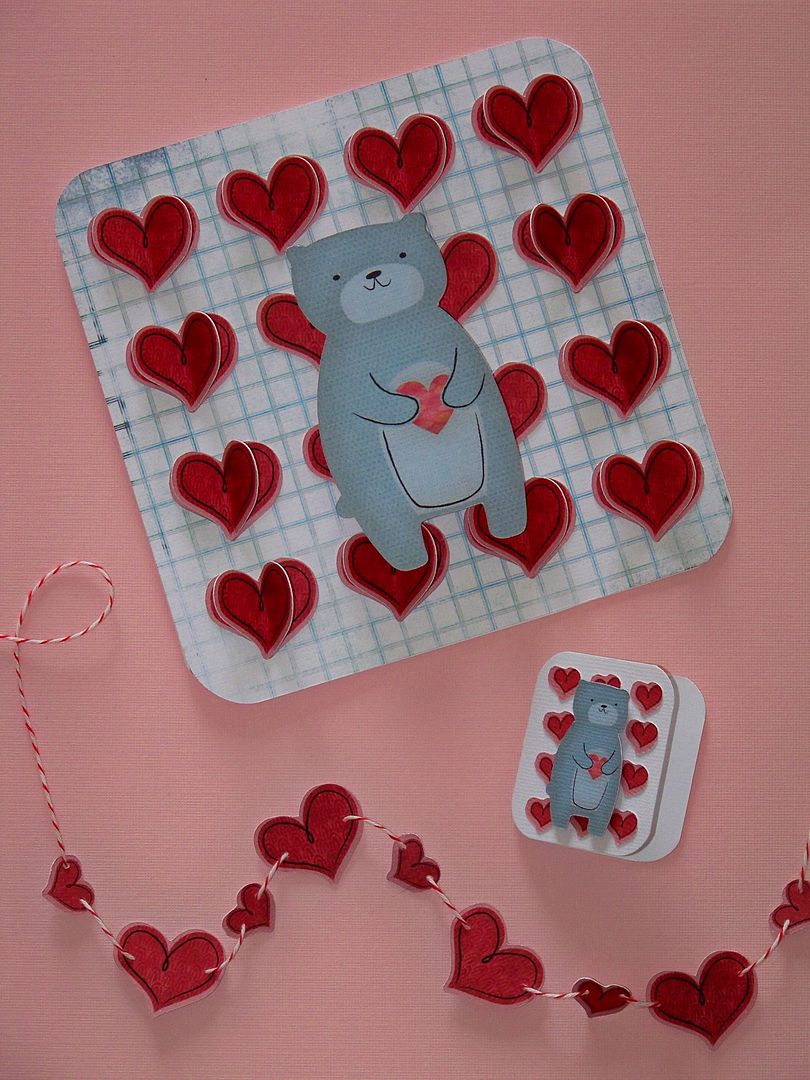
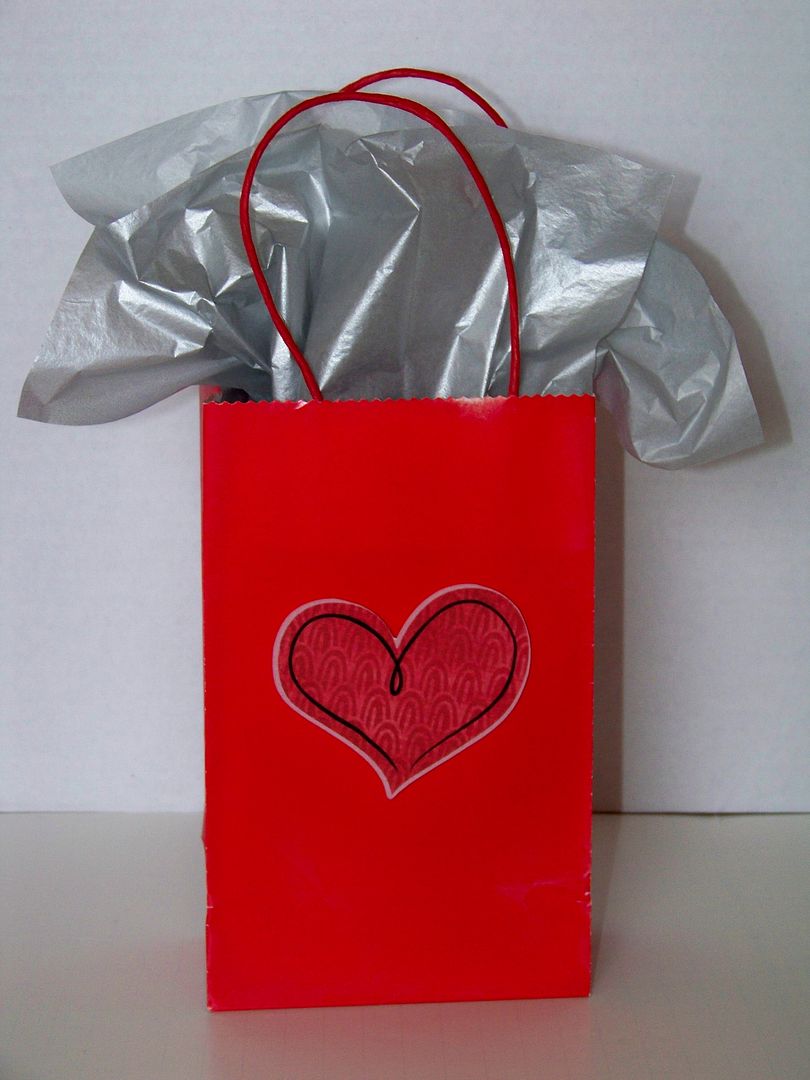
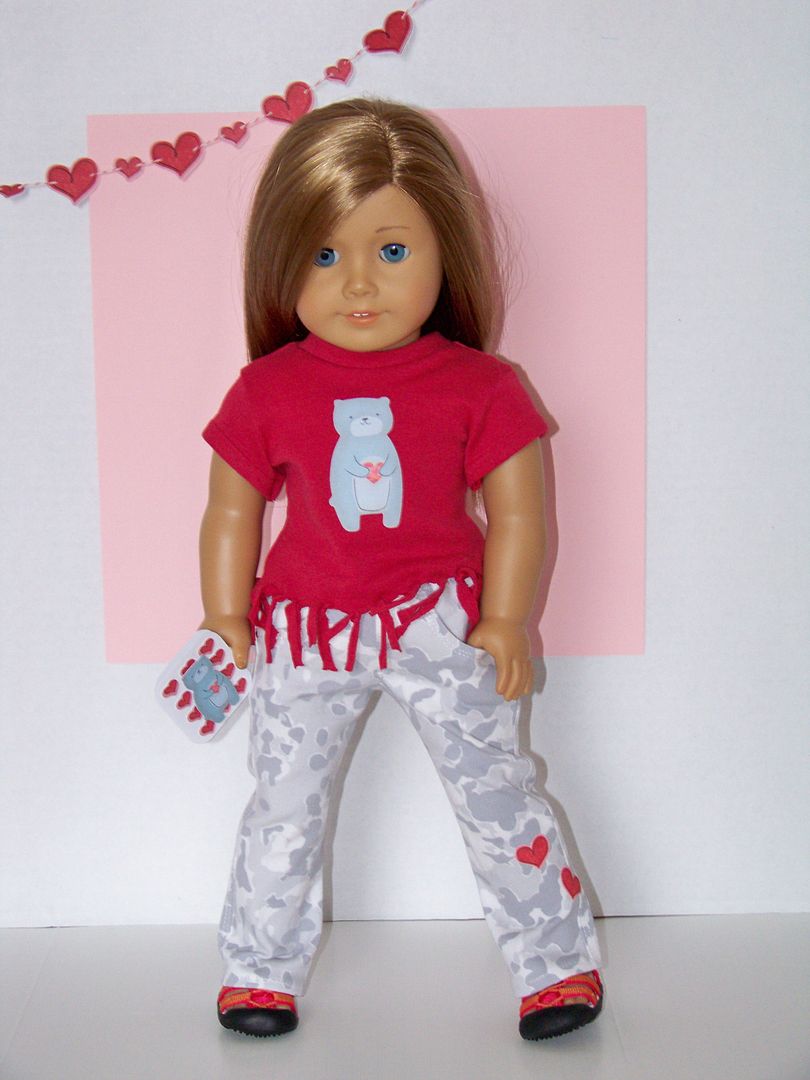
Valentine's Day has been major holiday in our family for as long as I can remember. My mom's birthday is February 14, so we have always celebrated BIG on that day-- and continue to do so even now! Pink and red, heart-shaped foods, pink drinks, Valentine-y outfits, presents for everyone, a Valentine tea, and parties are still the norm at our house! For my daughter's Valentine gift, I made a little outfit for her doll. I love finding new ways to use my Cricut machines and cartridges!  This present, gift bag, garland, card (and mini card) gift-set is also my entry for this month's Cricut Circle Blog Challenge: Share the Love!

For the crafty details:
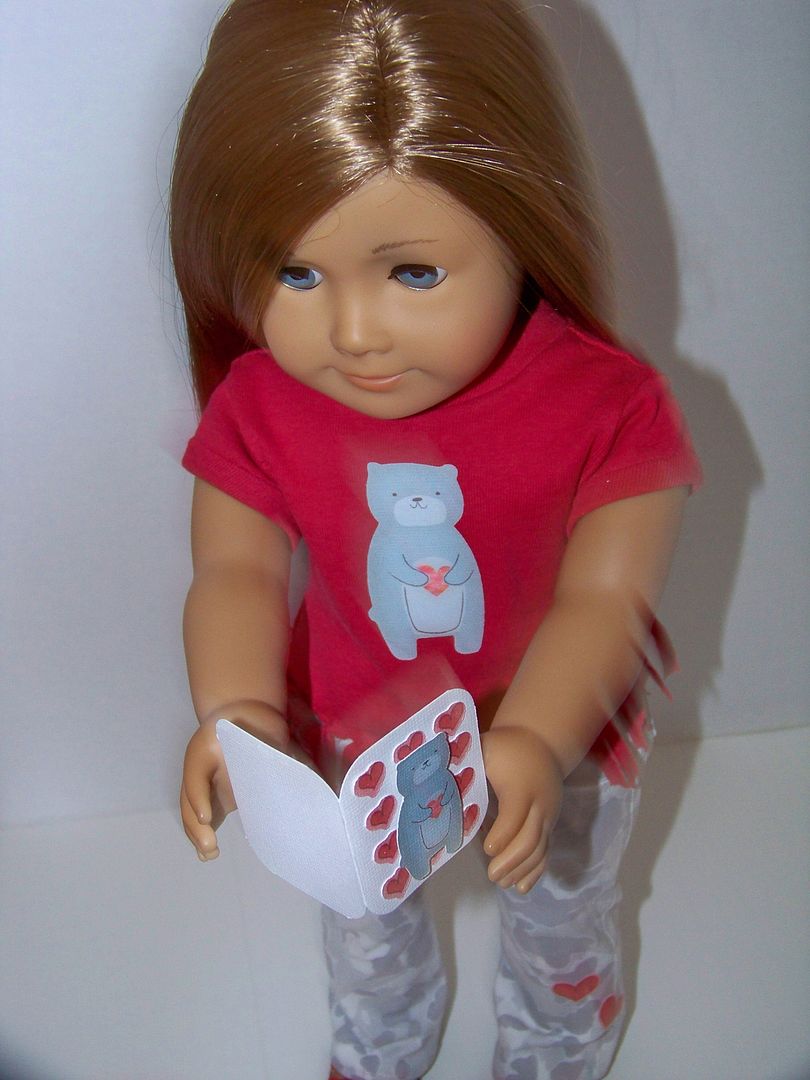
The card is made from two cuts from Better Together and a built-in Imagine shape, floodfilled with a pattern from JT.  The bear was cut at 3-1/2"; the rounded square was 6"; the hearts were 1".  Extra hearts were folded and glued in the centers only for a little dimension.  The bear has been popped up 1/2".


I also made a doll-sized card... and a garland made with the extra hearts I cut.  Doll-sized cuts:  card folded is 1.75" x 1.875"; hearts .3"; bear 1.5". 


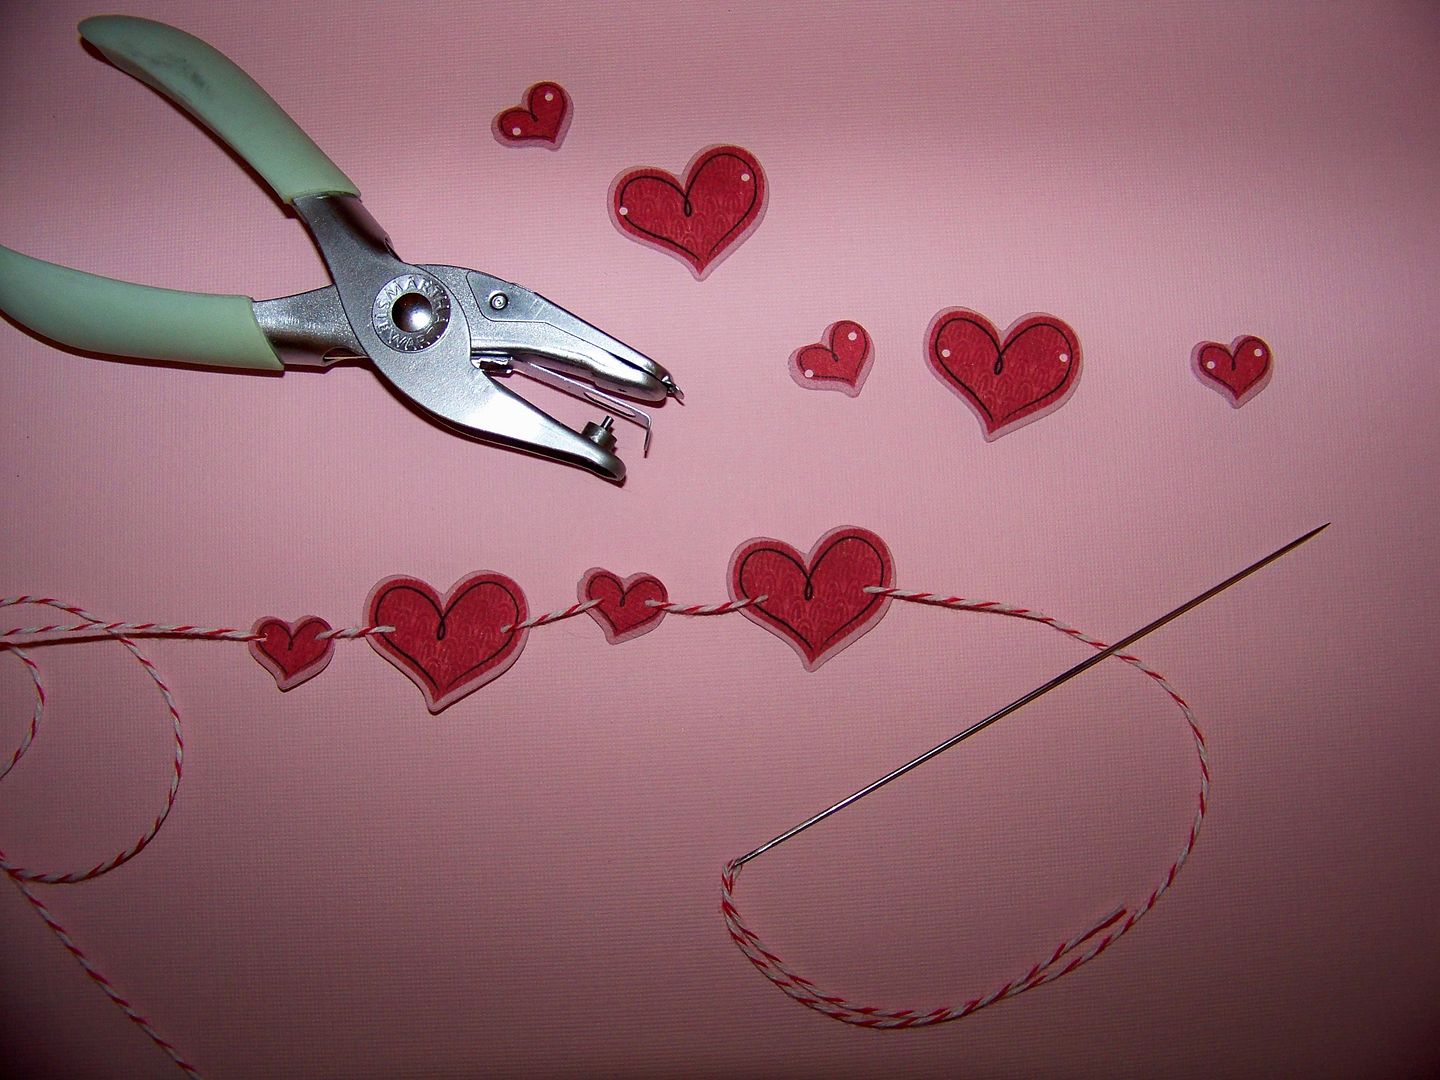
I used the tiny 3/16" Martha Stewart hole punch and an upholstery needle threaded with bakers twine to attach the hearts into a garland.  Garland hearts are 1" and .5". 

The gift bag is simply embellished with the same heart cut from Better Together at 3".

The doll outfit used the same Imagine cuts to keep continuity.


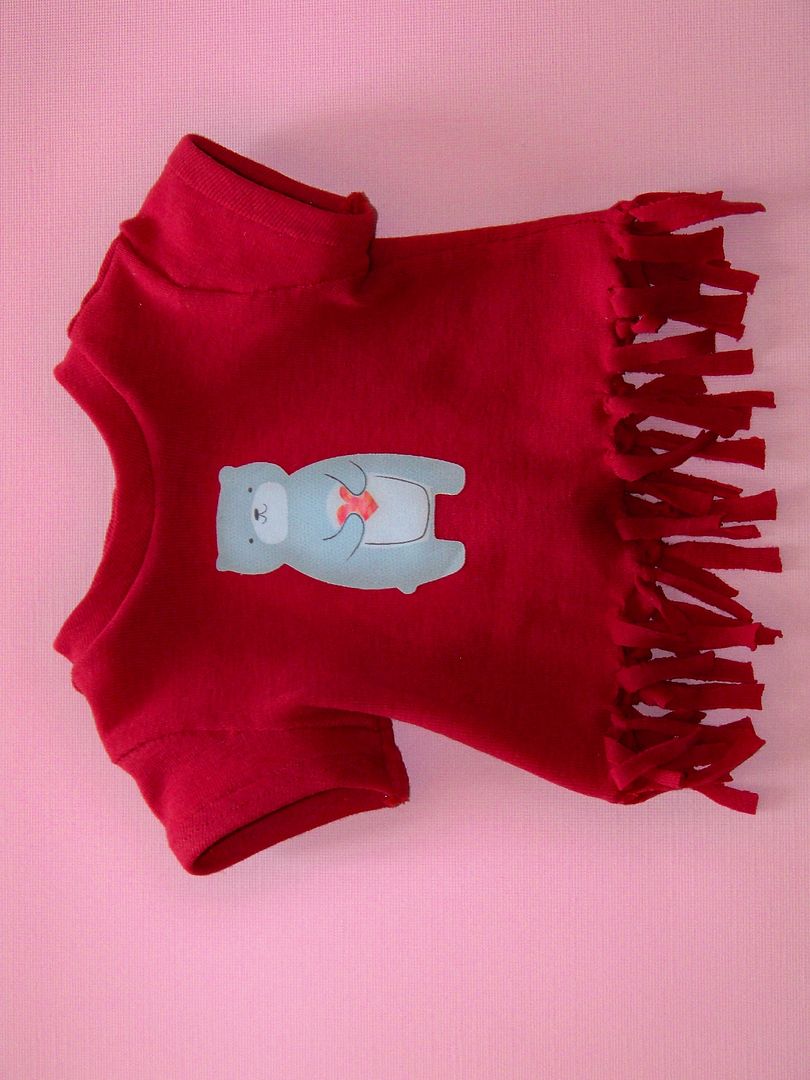
The t-shirt features an image from the Imagine cartridge Better Together (cut at 2-1/2"), printed on Avery's Printable Cotton.  I love this product for use in the Imagine.  Instant iron-on image!  One tip:  be sure to use a new, sticky mat!  I made the shirt using the Liberty Jane T-shirt Variations pattern .  I received an email from my daughter's favorite clothing store, Justice, that featured a trend in fringed t-shirts.  (Why are elementary-school girls so obsessed with that store??!!)  I think if Piper sees a display at Justice with this look, she will think it is cool that she has this for her doll...


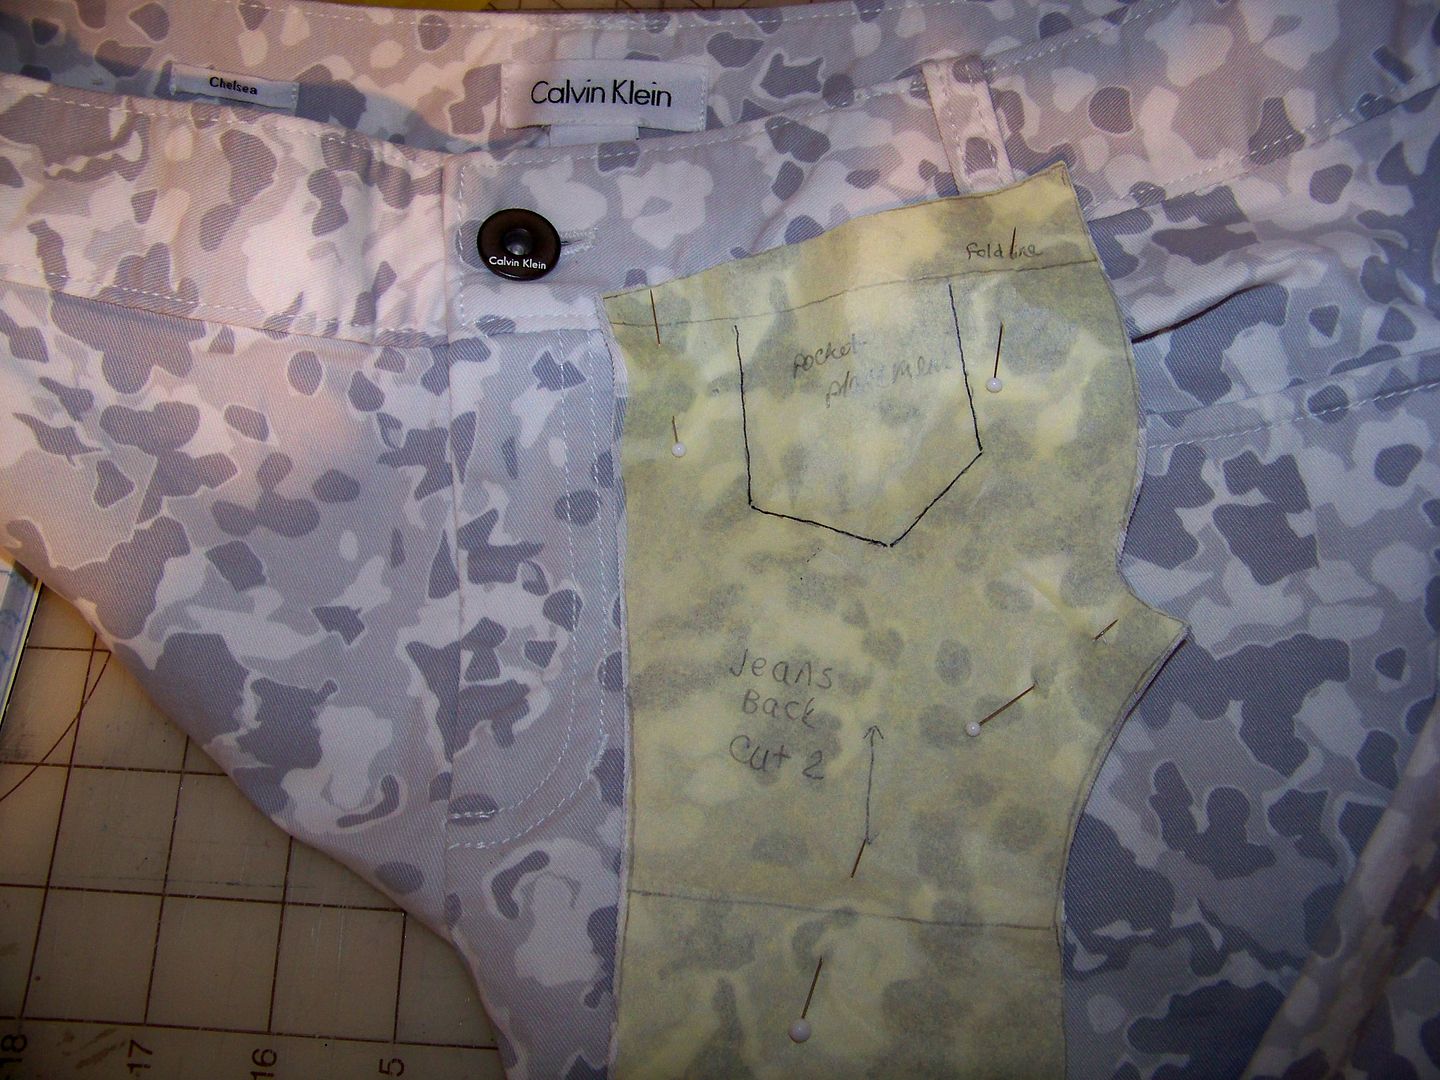
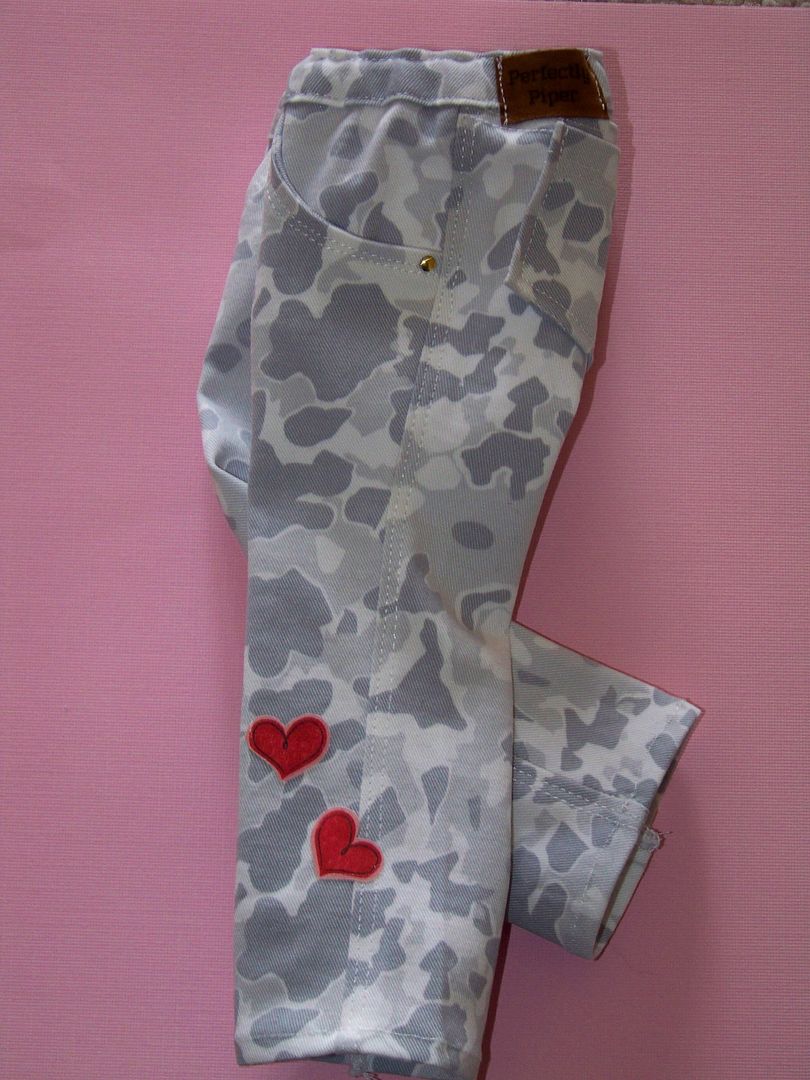
The jeans are upcycled from Calvin Klein jeans we found at a thrift store.  I have been working on designer doll jeans for my new Etsy store, which I will tell you about in a bit.  The pattern is altered from Liberty Jane's Jeans pattern and includes lots of topstitching, real working pockets, and a mock fly.  This print worked well because it was a small scale so it was the right scale on the doll!


The hearts on the leg are the same repeated heart motif from Better Together, a separated layer printed and cut at .7". I used fusible studs to create the look of rivets on the front pockets and created a tag for the back waistband on suedecloth....just like real jeans!


I think Piper is going to love this-- it is a total surprise as this whole challenge was completed yesterday while she was in school.  Something about the doll-sized card cracks me up... but then I might be too immersed in the whole "doll thing" right now!  And... it really points to one of the things I love about my Cricut machines:  I can change the size instantly to make miniatures.  The Imagine artwork makes it so incredibly FAST to do too!


So... I mentioned that I was working on doll clothes for my new Etsy shop... My daughter and I have been having such a fun time with a new little doll clothes venture we have started together, Perfectly Piper Doll Couture!  


It has just been a fun way to spend time together crafting while getting her excited about sewing (we start that this summer!) ...and making a little money for her activities.  Piper has a creative fashion eye (and is a brutally honest supervisor) and I am a hard-working seamstress elf. Although I think I am a fast worker, the Piper tax requires that Piper get copies of her favorite styles (which is all of them), so the shop is filling, but at a slow pace! You can find us at...


  • Perfectly Piper Studio Etsy shop, perfectlypiperstudio.etsy.com
  • Doll blog, perfectlypiper.com
  • Perfectly Piper Doll Couture Facebook page


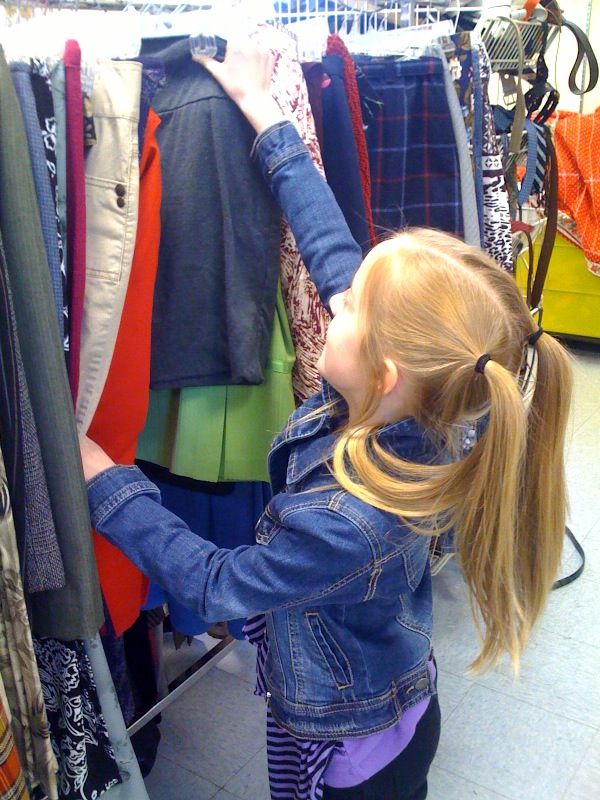
  • We have had a great time shopping for fabrics... even finding some special fabrics at thrift stores to upcycle. This is Piper on a recent "thrift run" helping me search for suede. She is awesome at finding treasures!


    In case you were wondering.... this blog, With Glittering Eyes, is my favorite project so I will continue featuring my papercrafting, sewing, loom knitting, and Yudu-ing here!  And I am trying to participate in more Circle challenges --I have missed getting to do those!

    Wednesday, September 21, 2011

    Cricut Bug Altered Figure!

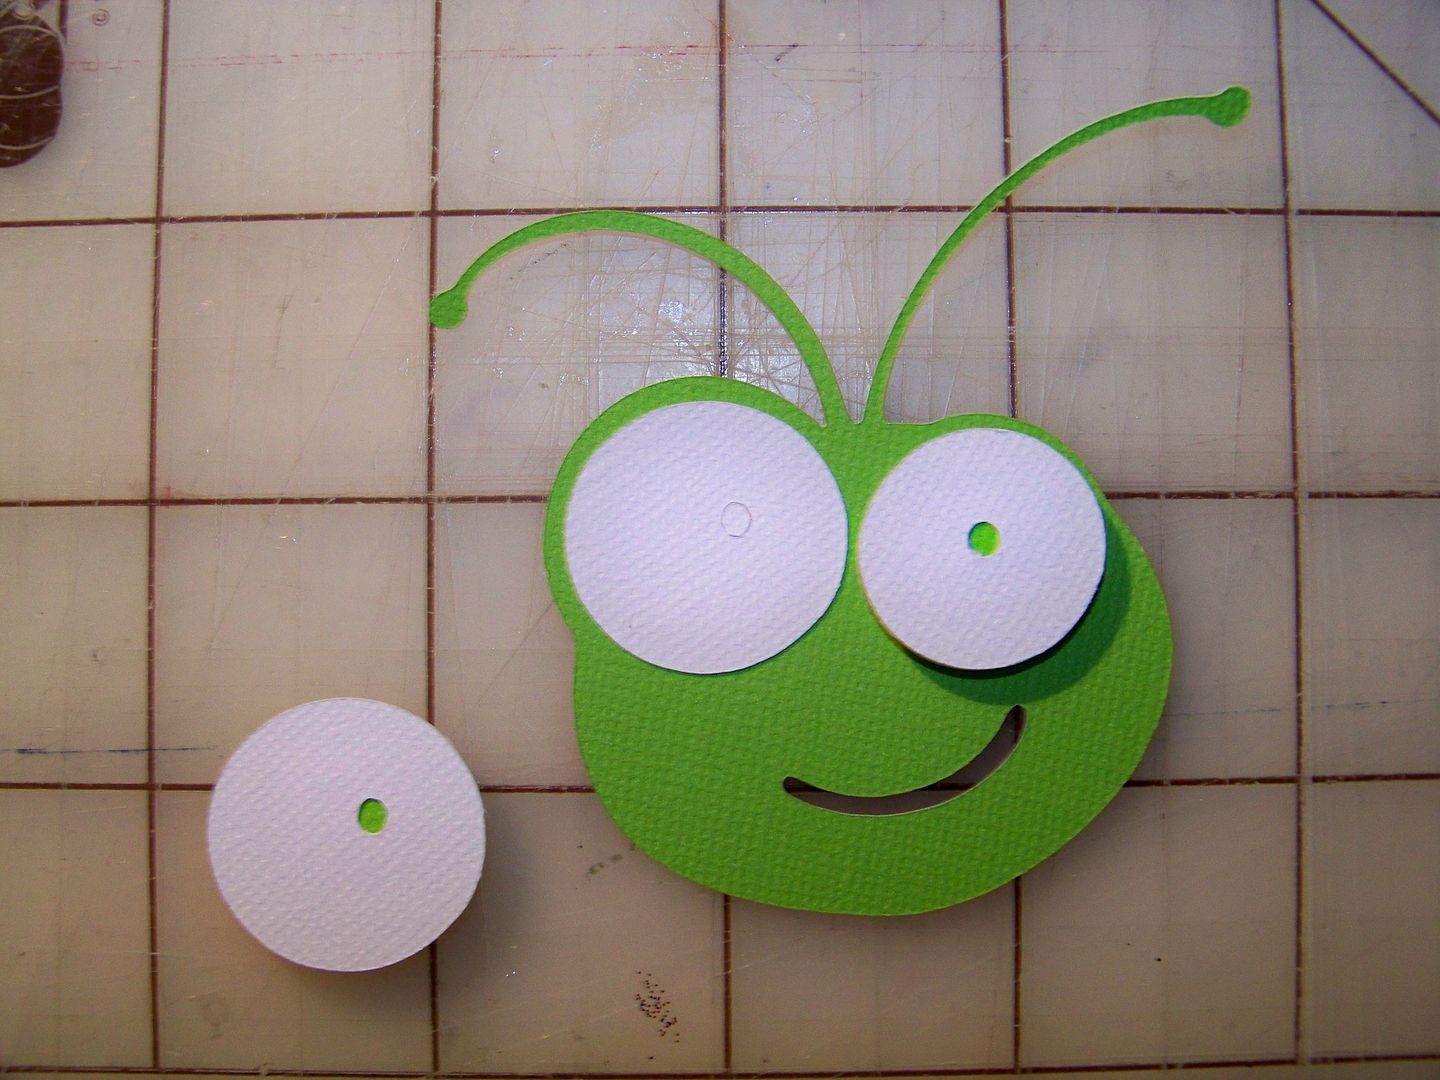
    I have been having such a fun time playing with figures that I wanted to try to give some added features to the Cricut bug!  I thought the E2 Design Challenge might be a good time to try altering the Cricut guy!  I have to admit I had a lot of fun messing around with this image!


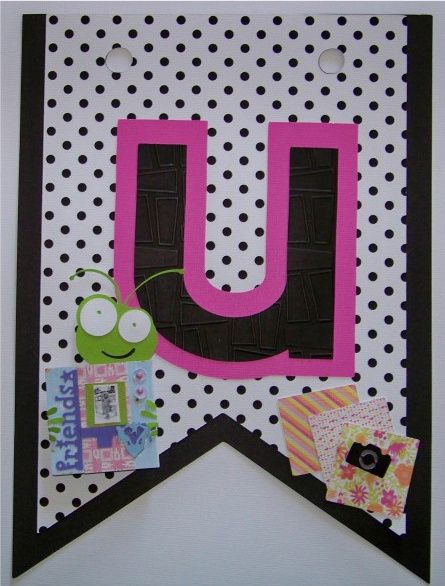
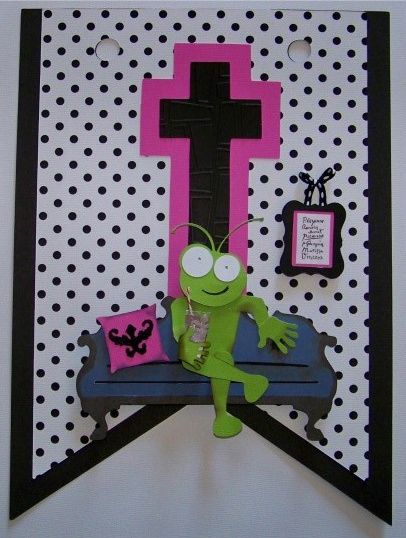
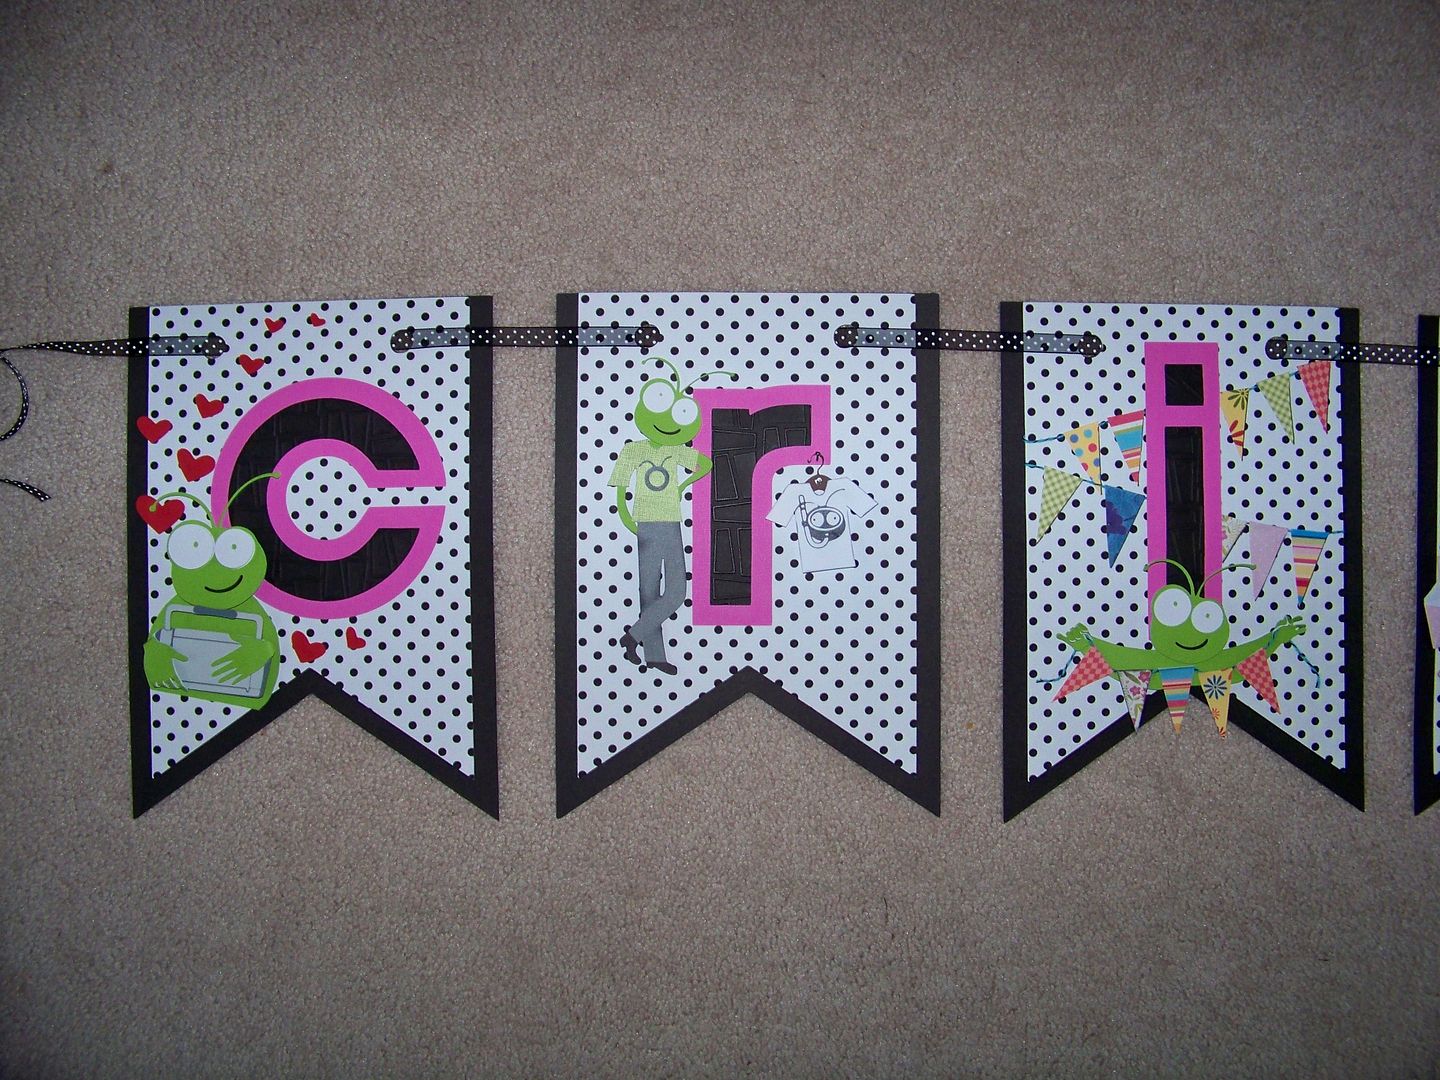
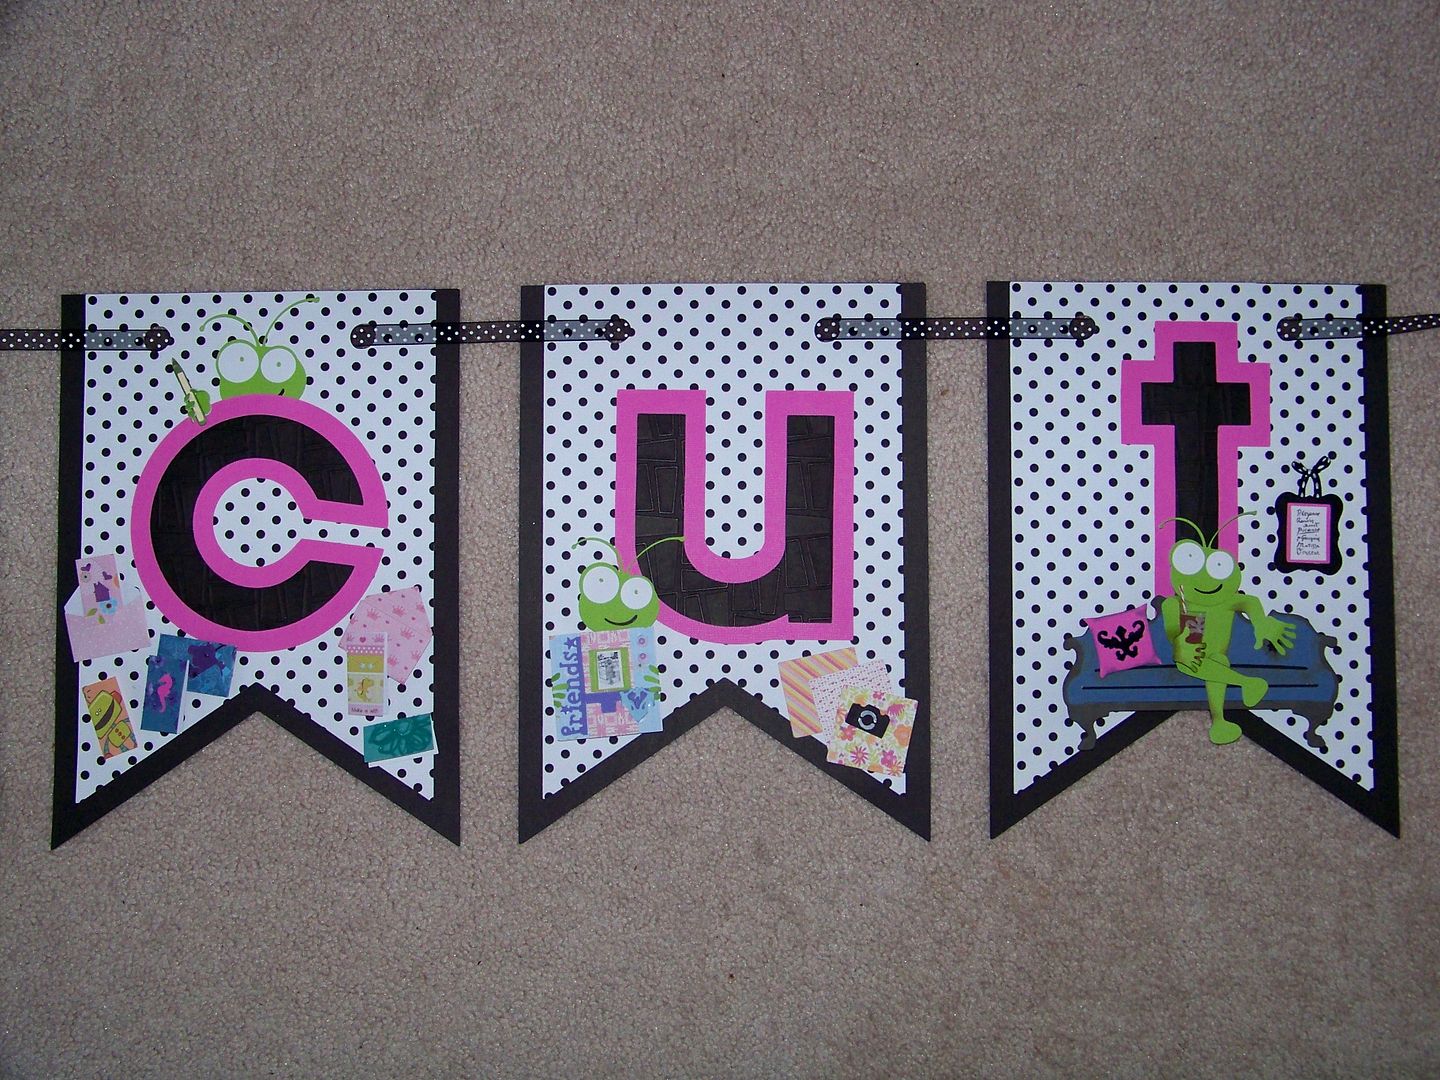
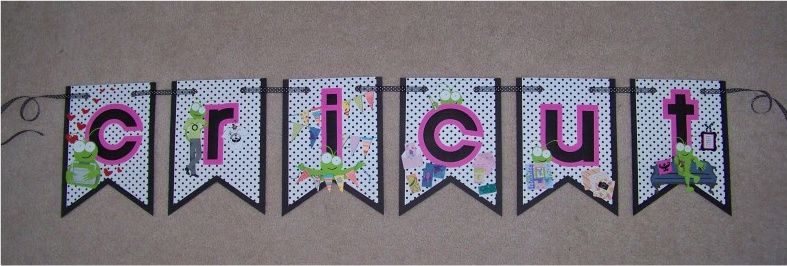
    For my banner, I wanted to be sure that the letters could be clearly seen from a distance, and that each pennant of the banner would have a unique action for interest up close. 

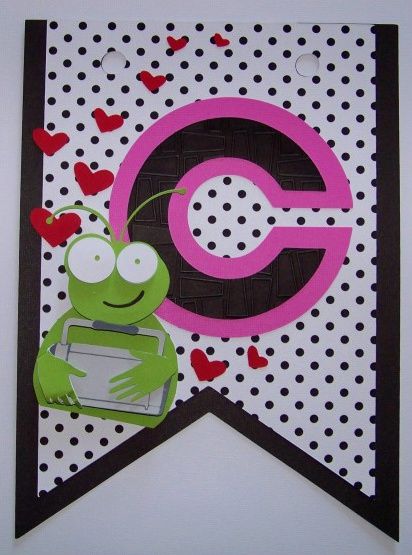
    For my introductory pennant, there is plain ole Cricut love...


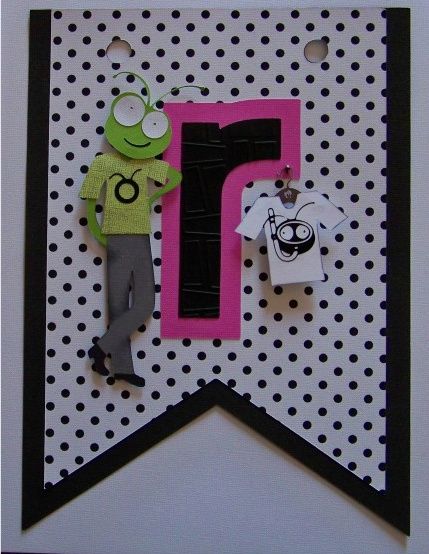
    ...then, the next one features the idea of using a Cricut for apparel...


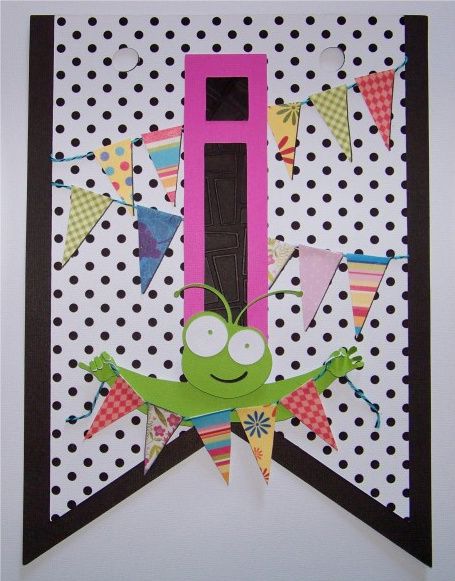
    ...on to party decor...


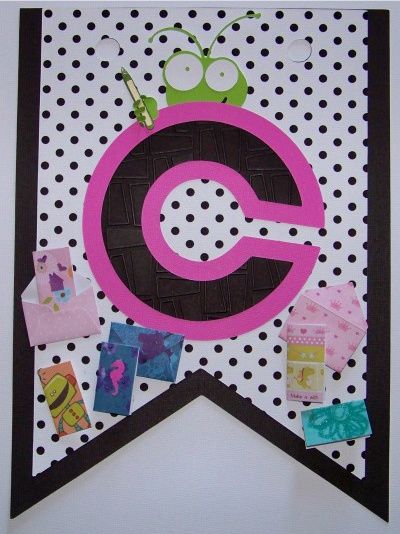
    ...for card-making...


    ...and scrapbooking...


    ...and finally, using a Cricut for home decor!


    For the details:

    First, I decided on my banner shape.  For that, I chose Birthday Bash (page 59), cut at 10" on my Imagine.  The top layer was flood-filled with a print from Black and White.  I also printed off a couple of pages of Cricut Green on my Imagine, using RGB 147, 208,25. 

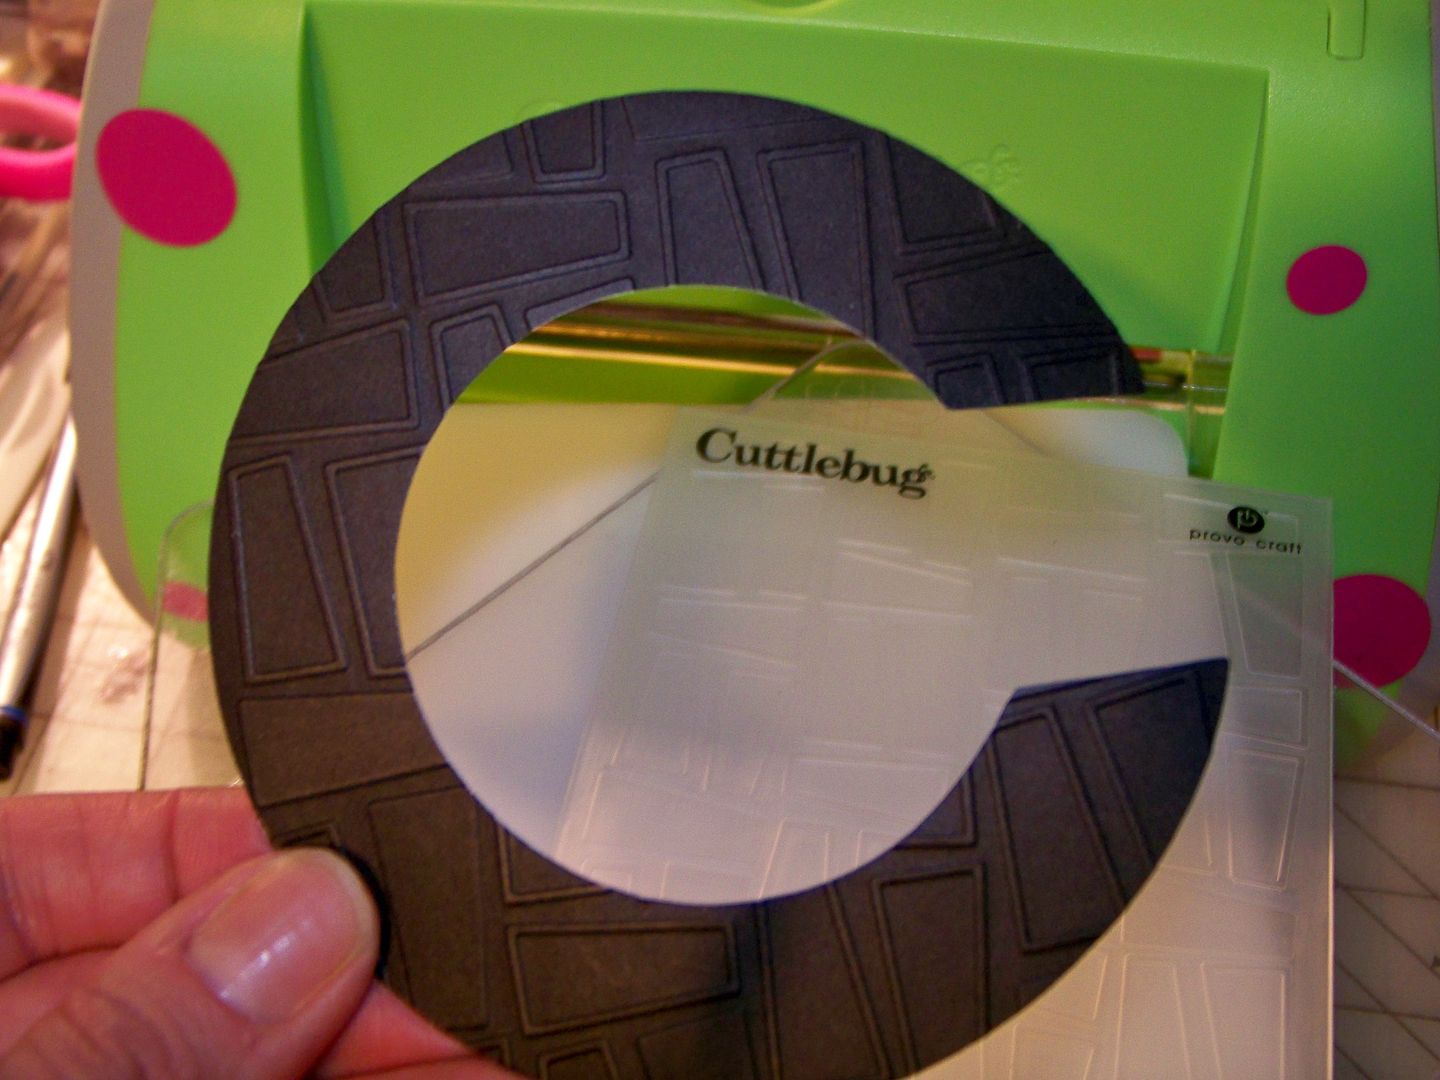
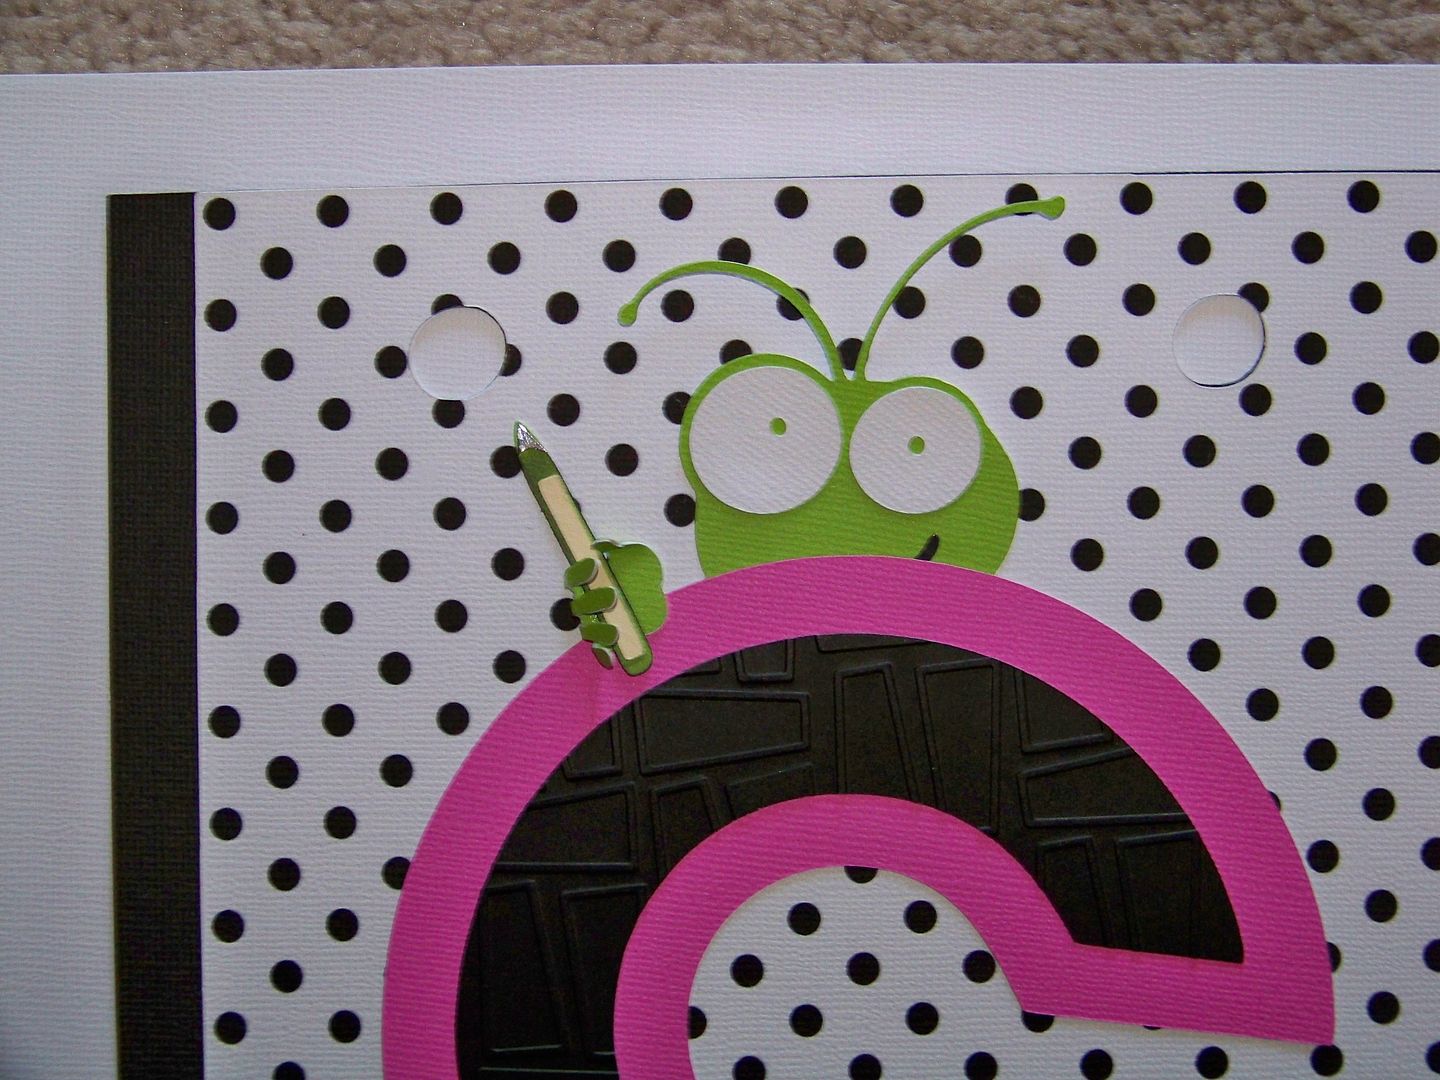
    I cut out my letters from Hannah Montana (Daddy's Girl font) at 7-1/4" on my Expression and used a folder from the Nifty Fifties companion set to emboss them.   I cut the shadow from hot pink.  With my bases ready, I started working on each pennant individually.


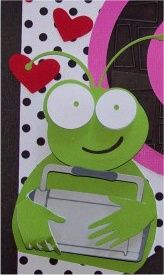
    For the first pennant, I cut the bughead from Cricut Everyday at 3" on my Expression.  The hands were cut from Sentimentals (page 25), at 2", flipping one.  The hands were adhered to the machine and I hand-cut a body to hold the figure together.  The machine was cut from Cricut Everyday (page 32) at 1-3/4".    I attached my letter to the pennant and then used pop dots to apply the figure.  The hearts were cut from Doodlecharms (page 85- border) at 1", 3/4", and 1/2".  They were adhered flat.


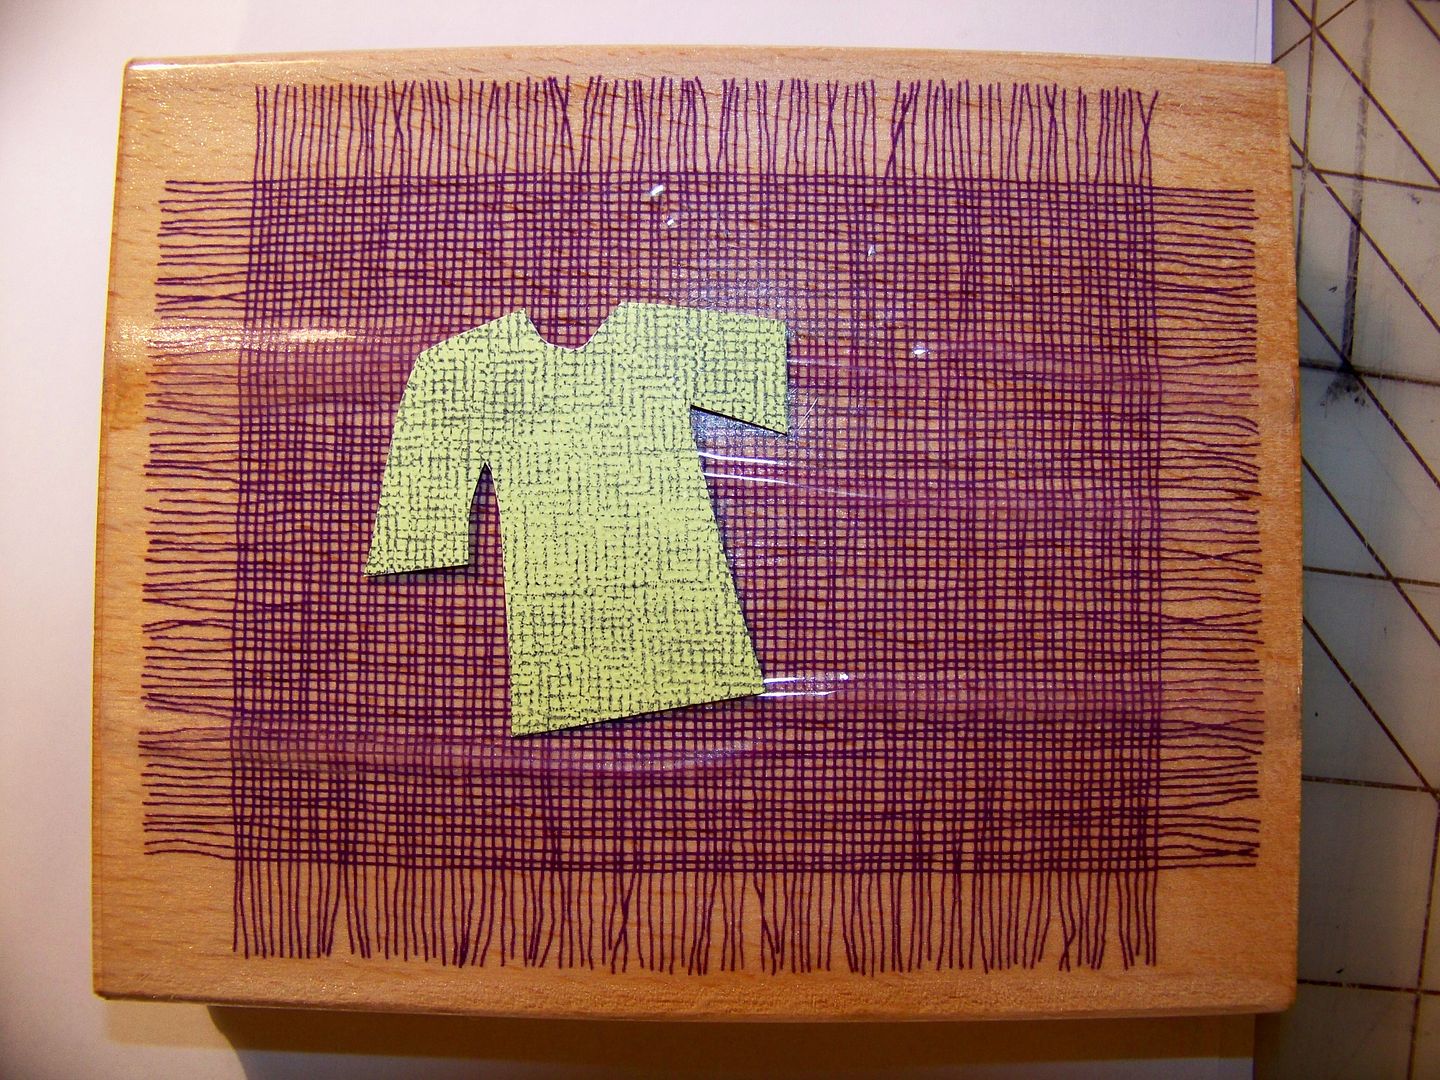
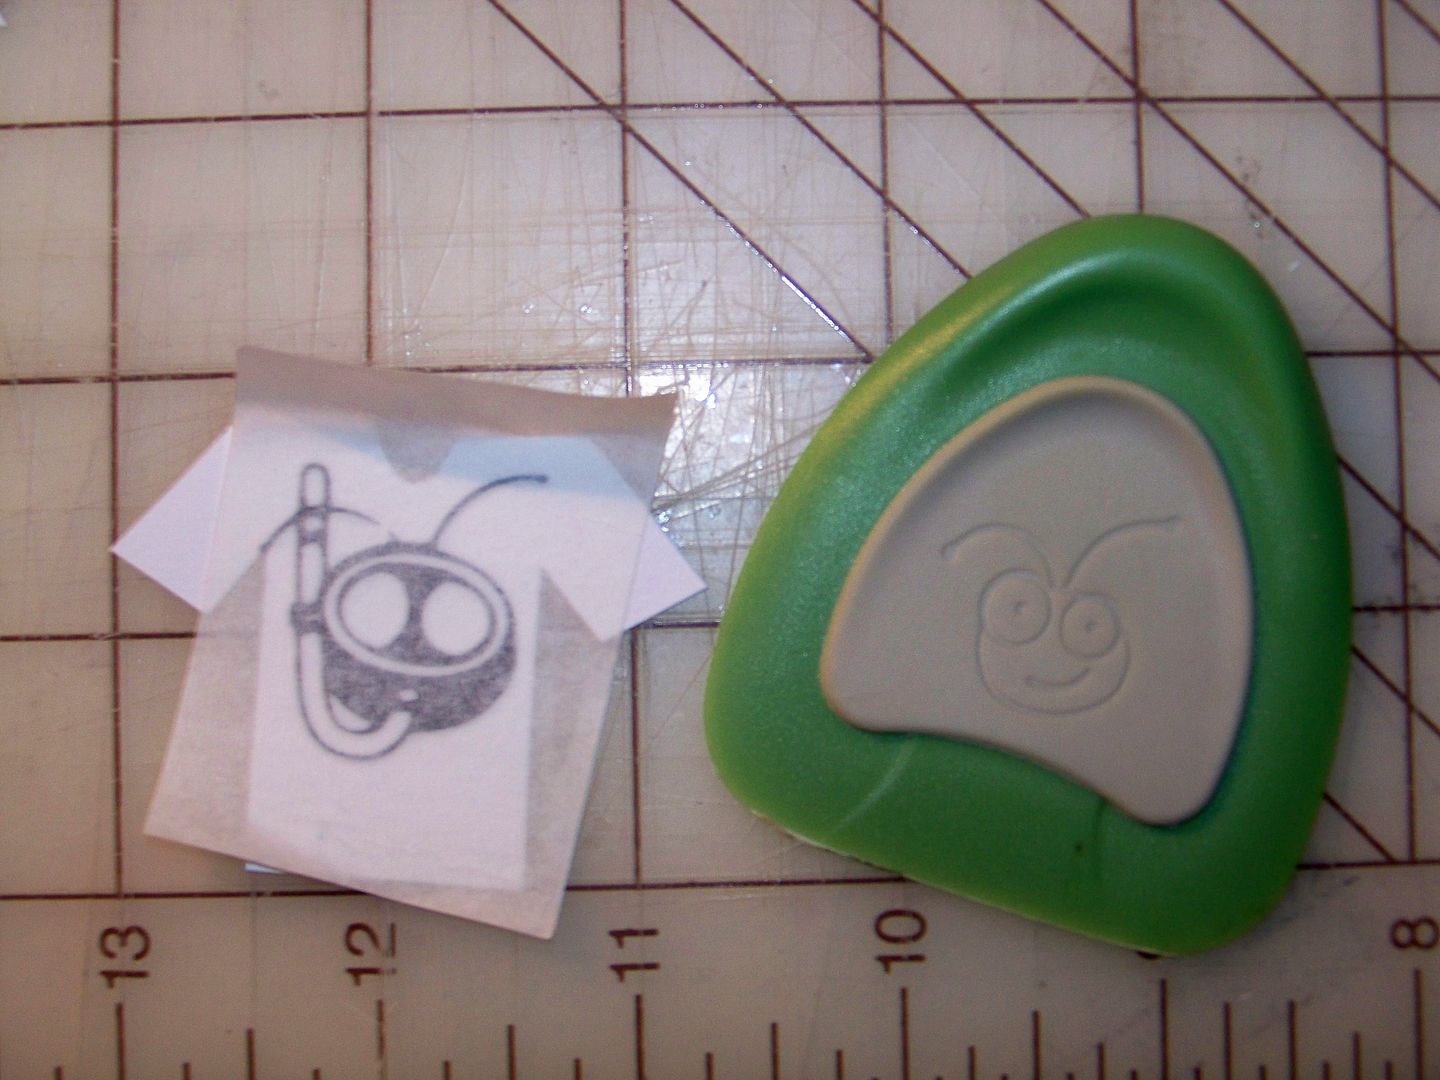
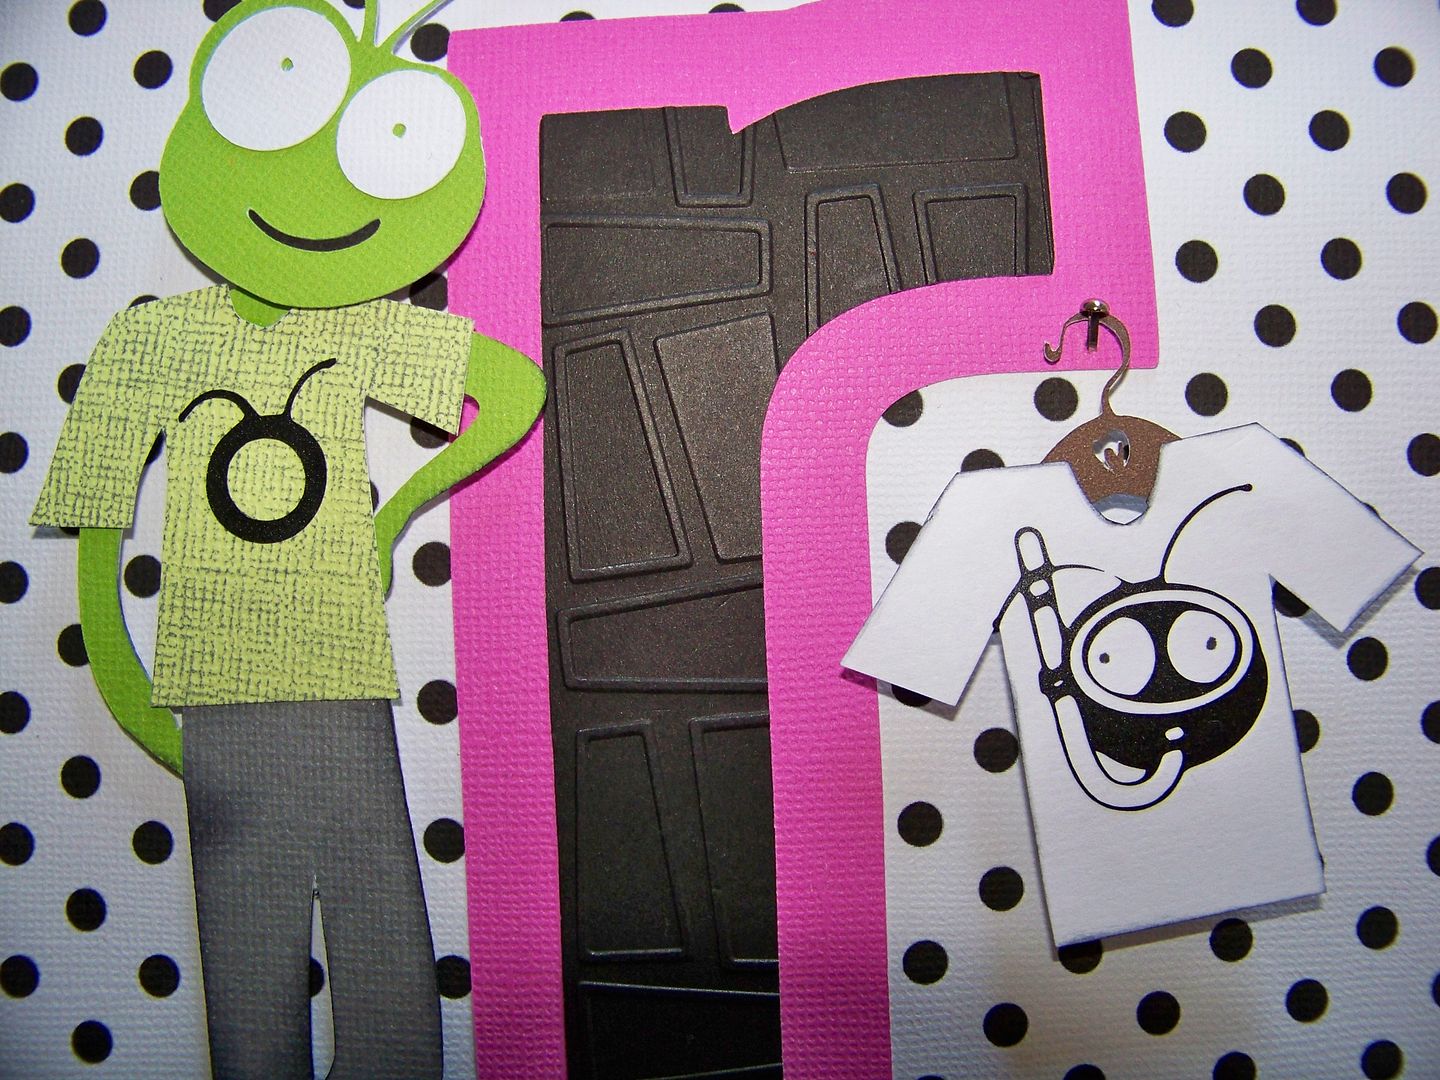
    For the apparel pennant, I cut a bughead from Cricut Everyday at 2" on my Expression.  I cut the body from Country Life (page 33), at 6".  I cut one green and one gray figure, cutting up the gray and applying it to create pants and shoes (I used a marker to color in the shoes).  Then I hand-cut a t-shirt.  I used a stamp to get a little bit of texture and pattern on the shirt.  The Circle logo was cut from Cricut Everyday at 3/4" in vinyl.  I used transfer paper to apply the design.  (This cut is so small that the antennae would only cut correctly in vinyl).  The extra t-shirt was cut from Cricut Decals at 1-1/4" (also in vinyl).  The hanger was cut from French Manor at 1-1/4".  I snipped off the hanger ends before adhering it behind the shirt.  I used an awl to make a small hole in the letter and attached a brad, allowing part of the shank to remain on the top of the paper surface to form a "nail" on which the hanger could hang!  (It is actually adhered with a pop dot). 


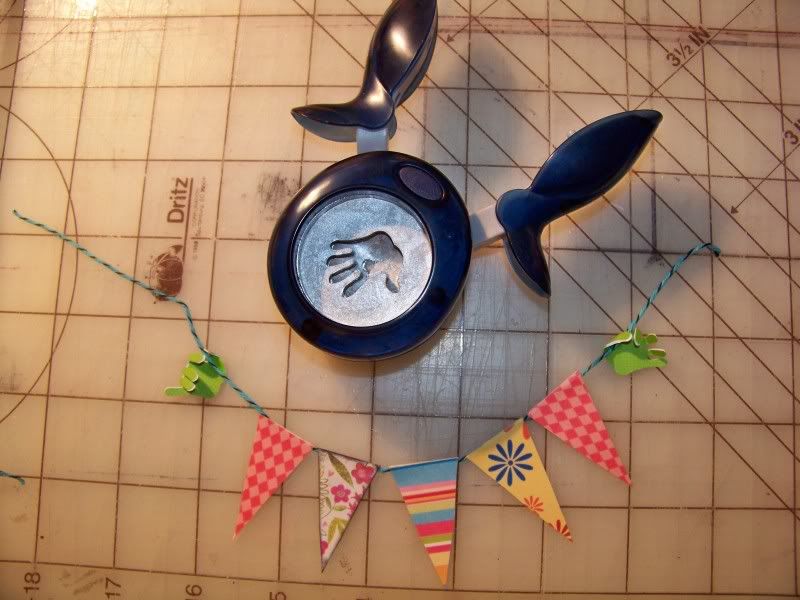
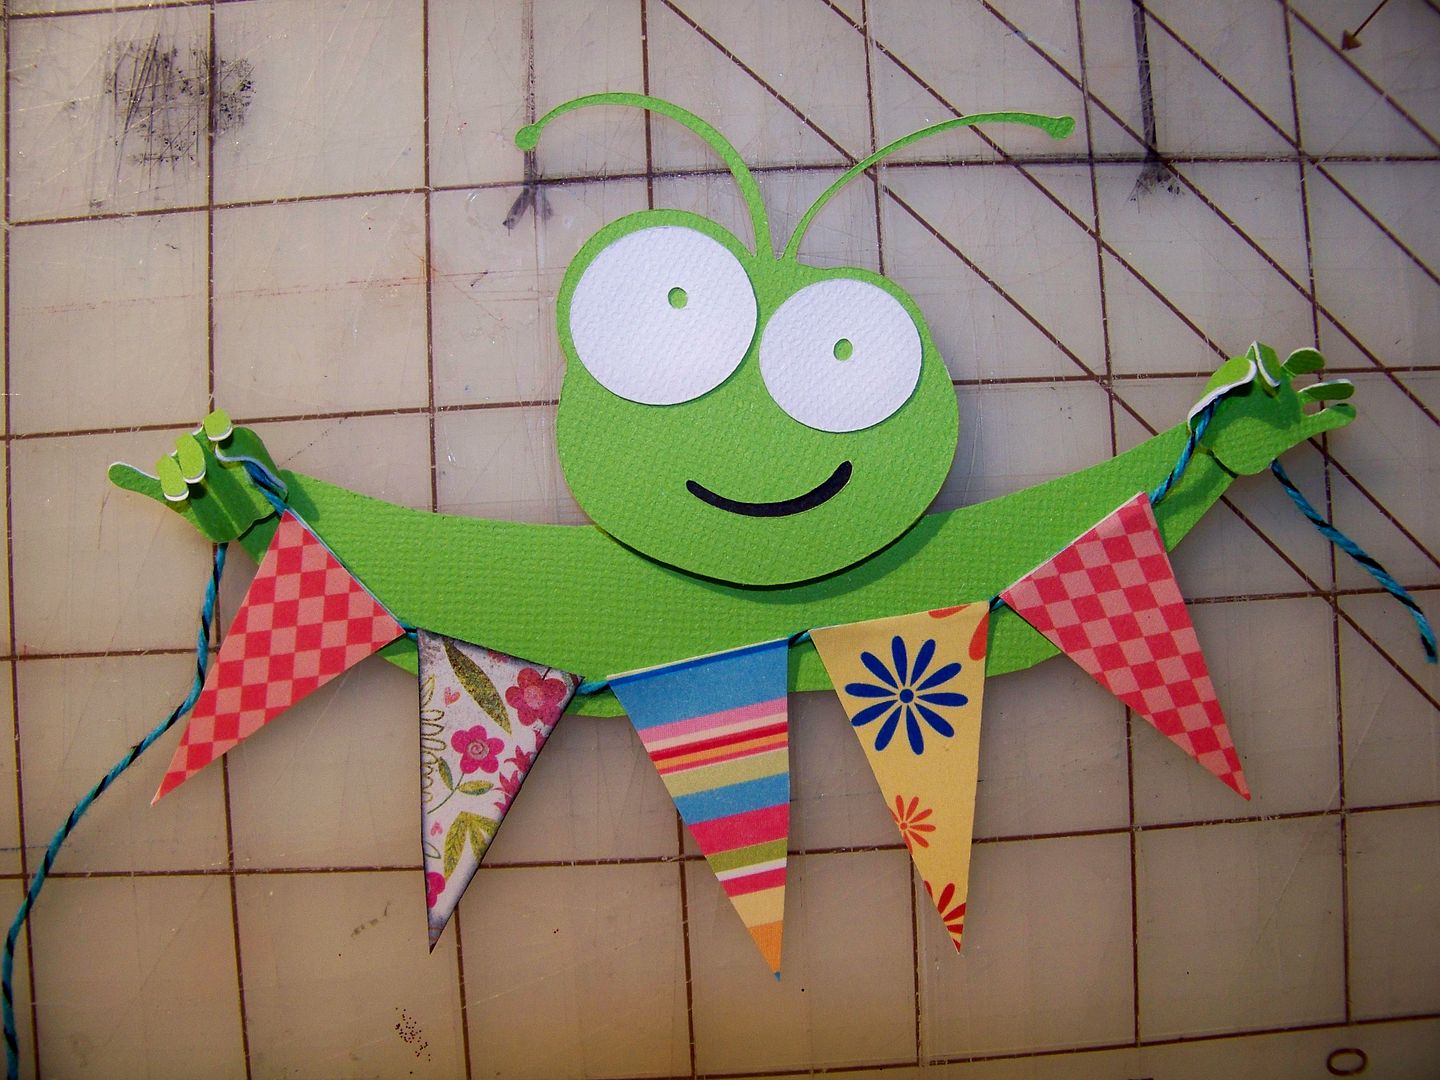
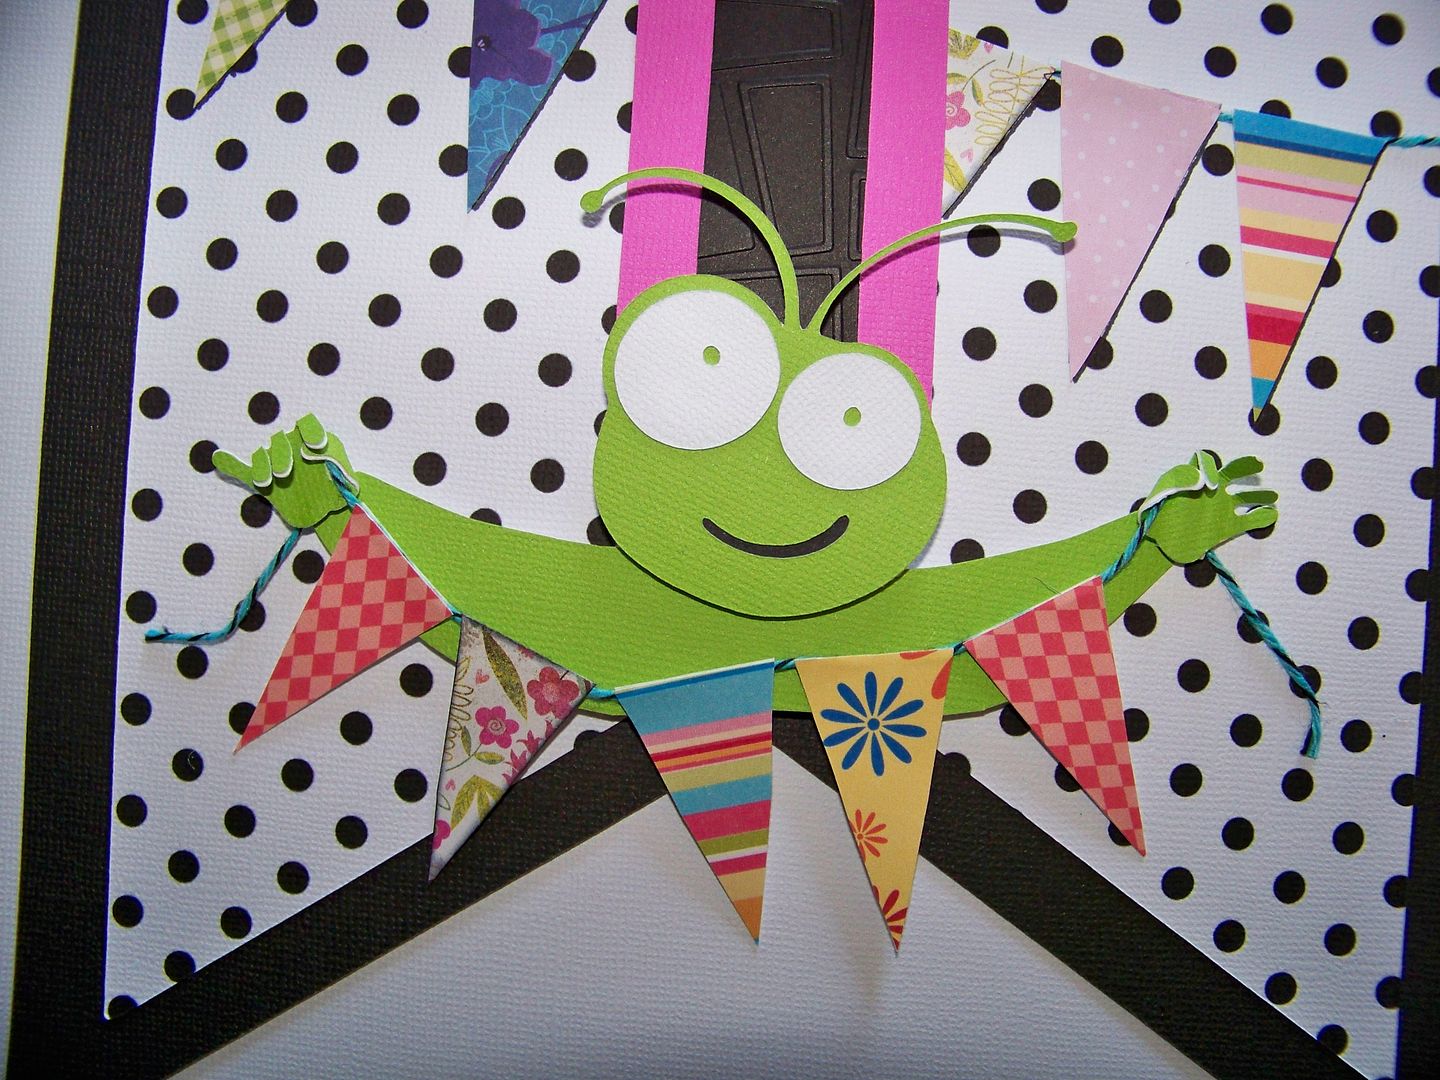
    For the party decor pennant, I started by making the hands with a punch.  I folded them and attached them to a piece of twine.  Then I hand-cut triangles and attached them to the twine.  I cut the bughead at 2-1/2".  I hand-cut arms to connect the figure.  I cut more pennants and twine for the background.  I tucked the twine ends behind the polka dot top pennant before attaching it to the shadow pennant.  Then I adhered the letter on top of the pennants.  The figure is attached via pop dots.


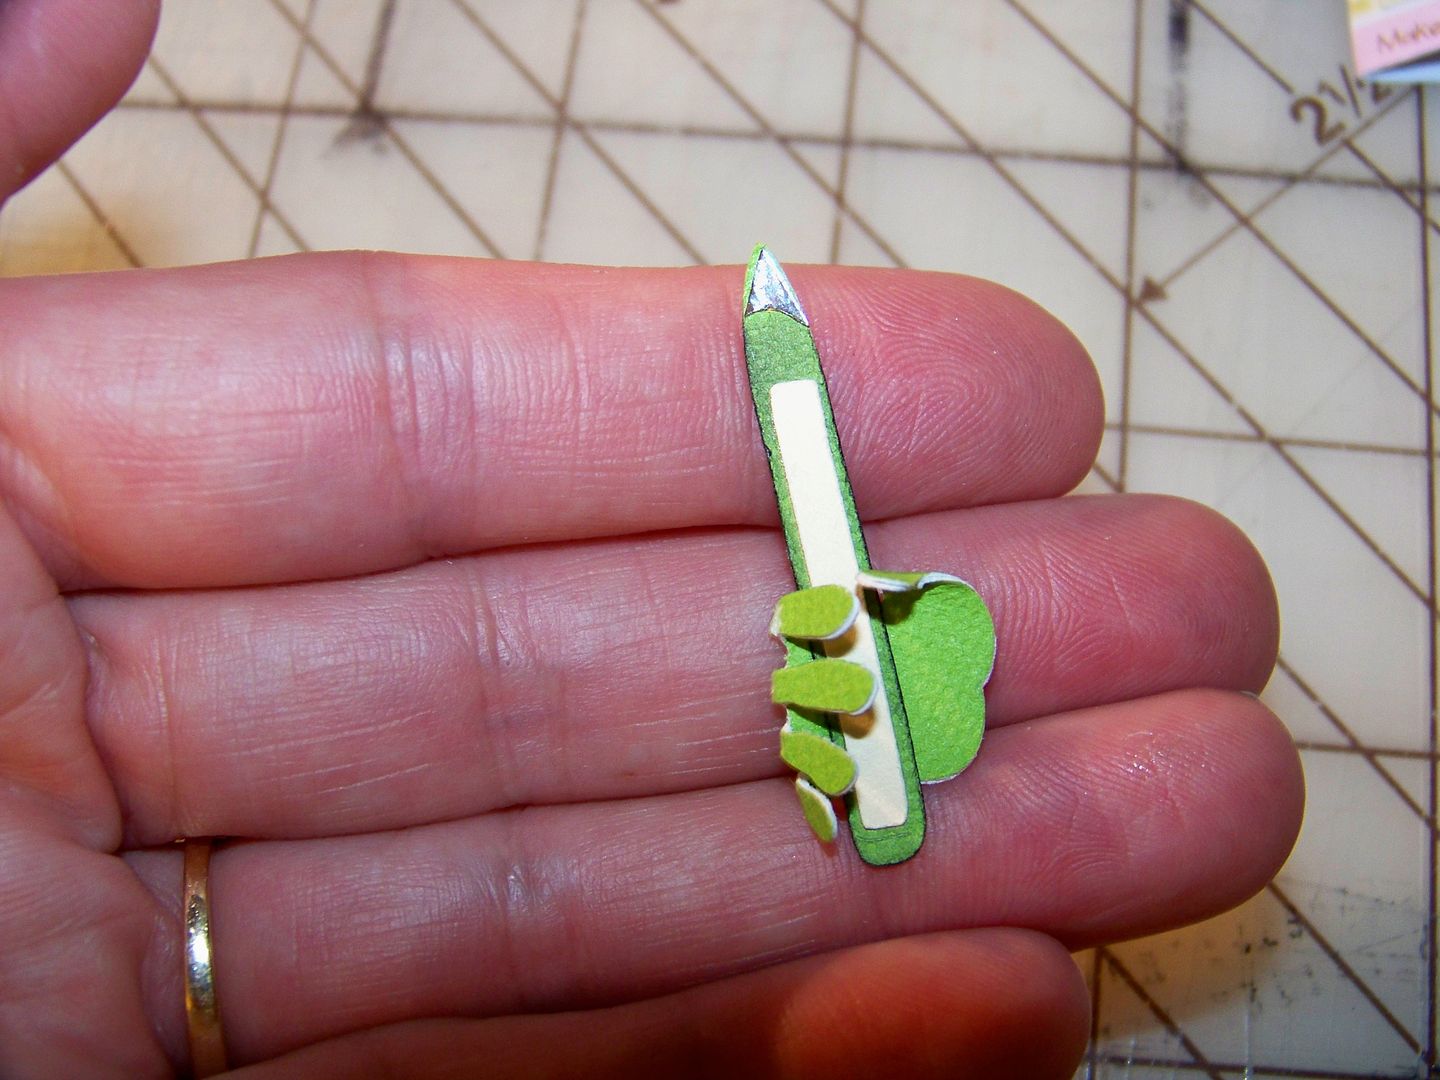
    For the card-making pennant, I cut the bughead at 2-1/2".  I cut the bone folder from Cricut Everyday (page 53) at 1-1/2".  I hand-cut and added the silver tips.  The hand is cut from a punch and folded around the bone folder as if it is holding it.  I partially hid the head, but placed the hand on the letter.  For the cards and envelopes, I used punches and decorative papers to create little cards.


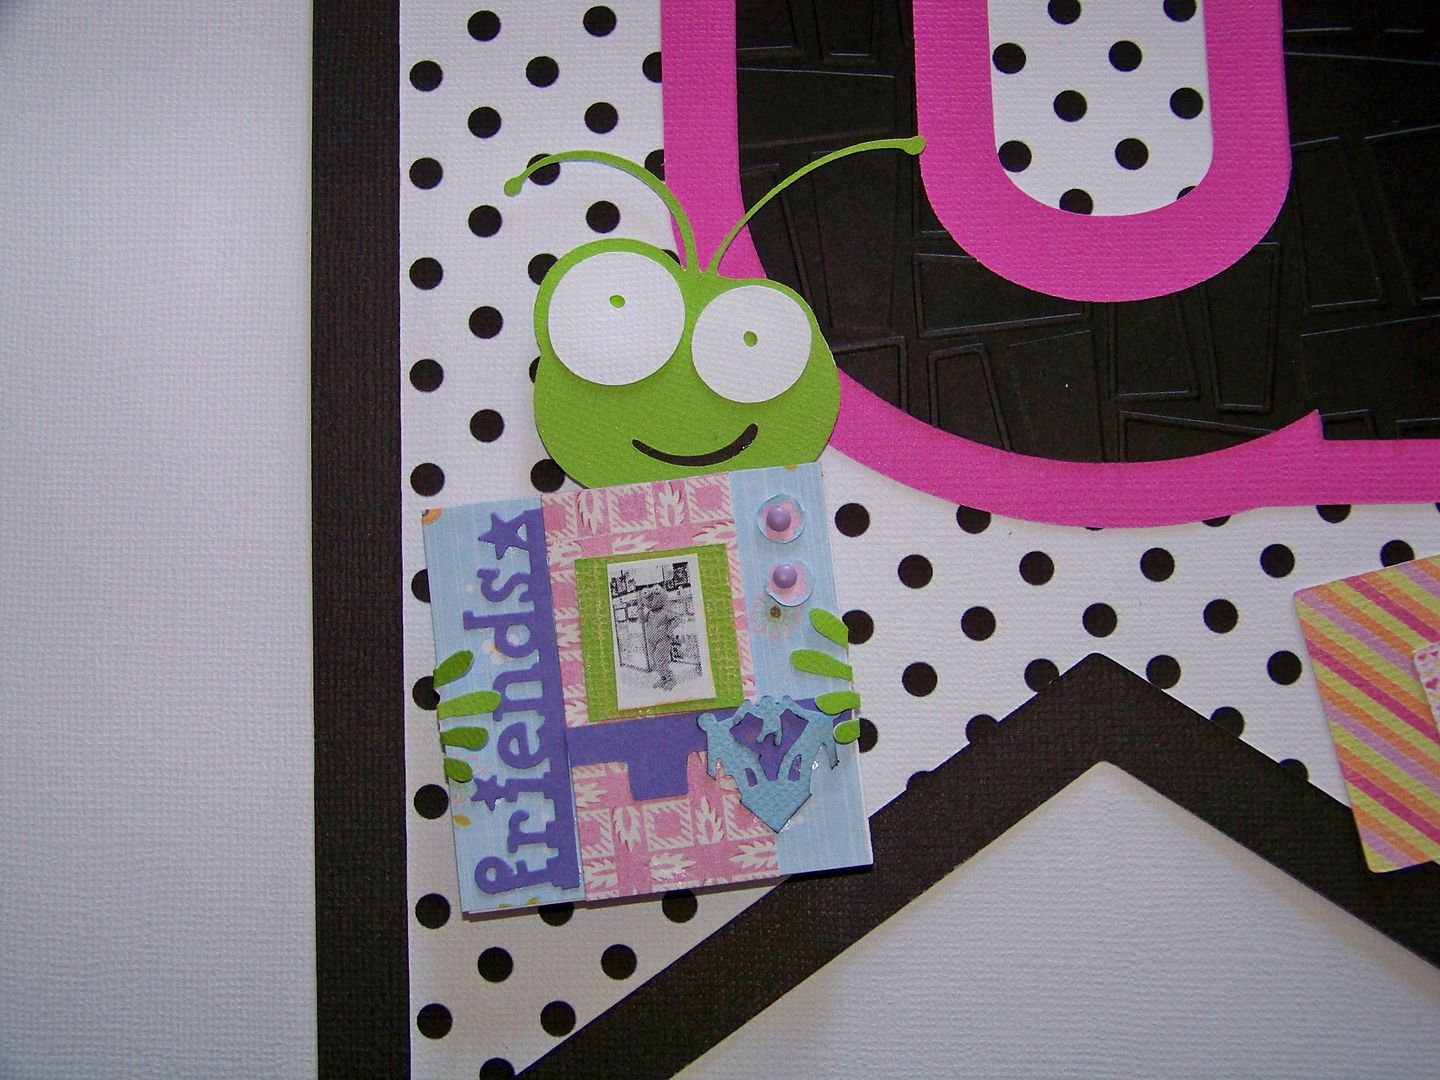
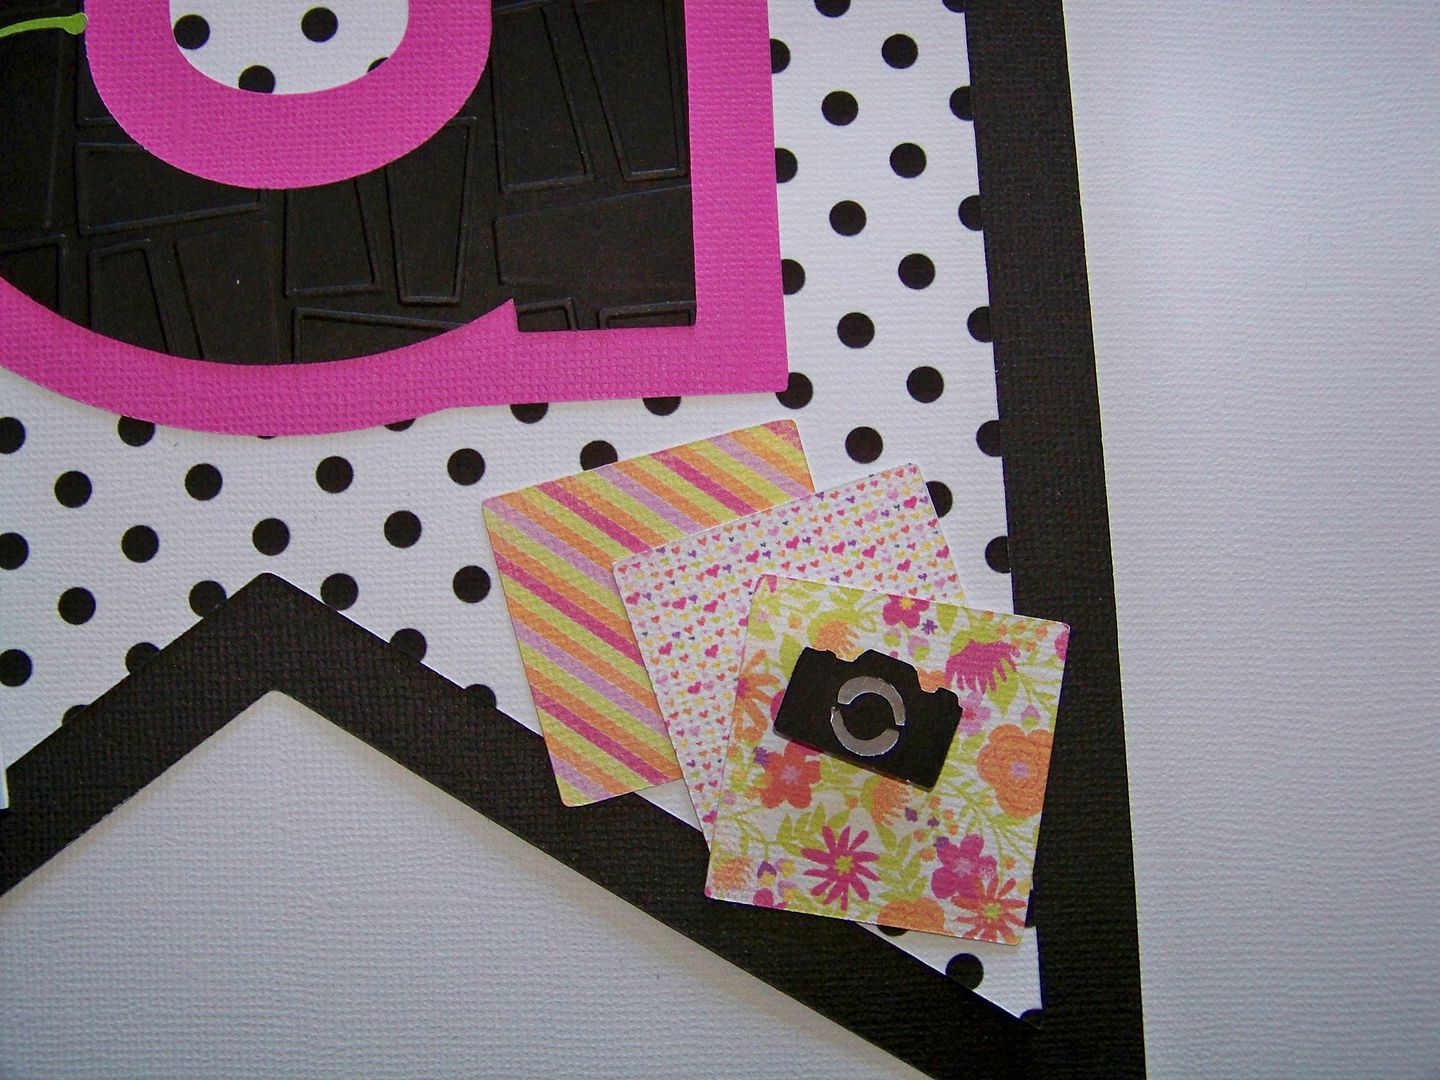
    For the scrapbooking pennant, I started by making a mini scrapbook page, using punches to get the elements small enough.  I cut a bughead at 2-1/2" with Cricut Everyday and used a punch for the hands.  I adhered the hands directly to the mini layout and popped it up with pop dots.  The head is adhered flat to the paper.  I printed and cut three pieces of decorative paper using my Imagine from the Berries and Cream cartridge.  (I floodfilled three 1-1/2" squares to make those.  The Imagine automatically scales the print down to size).  The camera is cut from Going Places (page 111) on the Expression at 1/2".  I placed a little scrap of silver behind it to emphasize the cut.


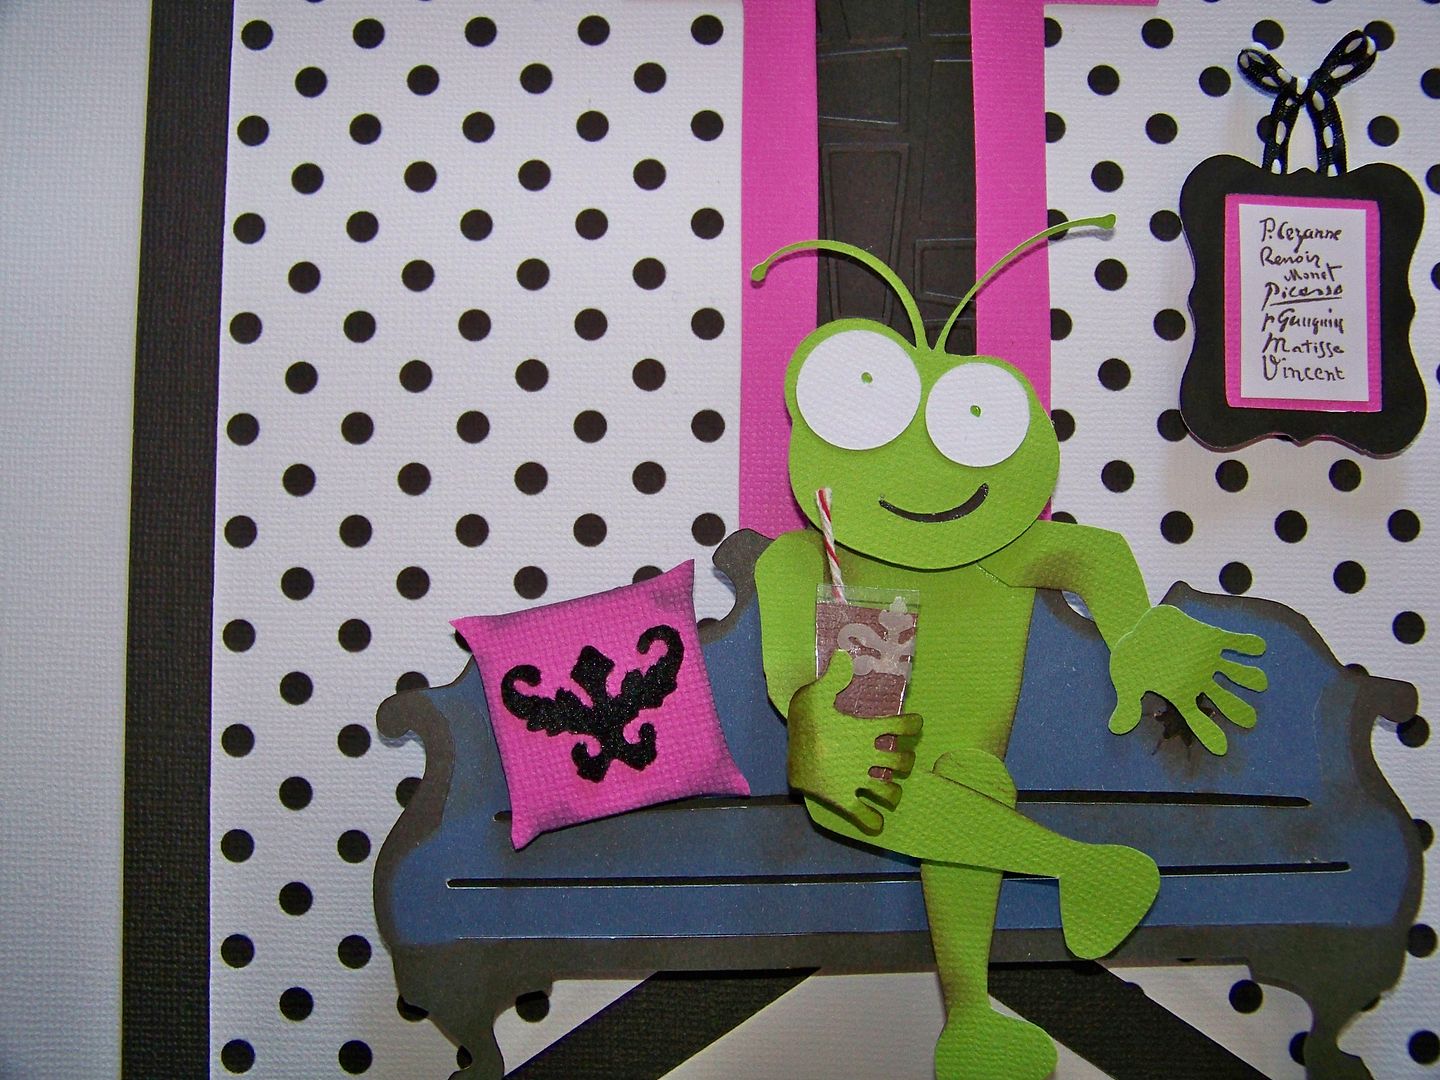
    For the home decor pennant, I cut a sofa from French Manor (page 32) at 3-1/4".  I inked it heavily and added a scrap of black behind it for the folds and tufted cuts.  The bughead was cut at 2" from Cricut Everyday.  I hand-cut a body.  I inked and used pop dots to emphasize areas that are forward, like the knee, and areas that recede, like the elbow.  The hands were cut with a punch.


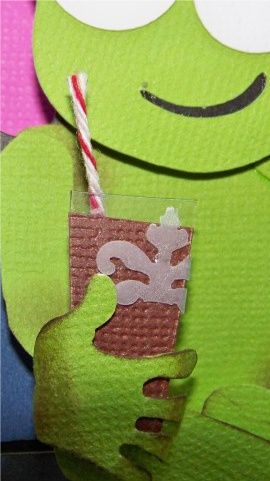
    I wanted to create an etched glass- one of my favorite uses of my Cricut!  For that, I hand-cut a piece of acetate and a piece of brown cardstock.  I adhered them with E6000 plastic adhesive where the hand would cover it.  Then I shaped and inked a hand and adhered it to the glass.  I created a straw with a piece of twine and placed it behind the drink.  I used a punch to cut a shape from vellum for the "etching" and glued it on.


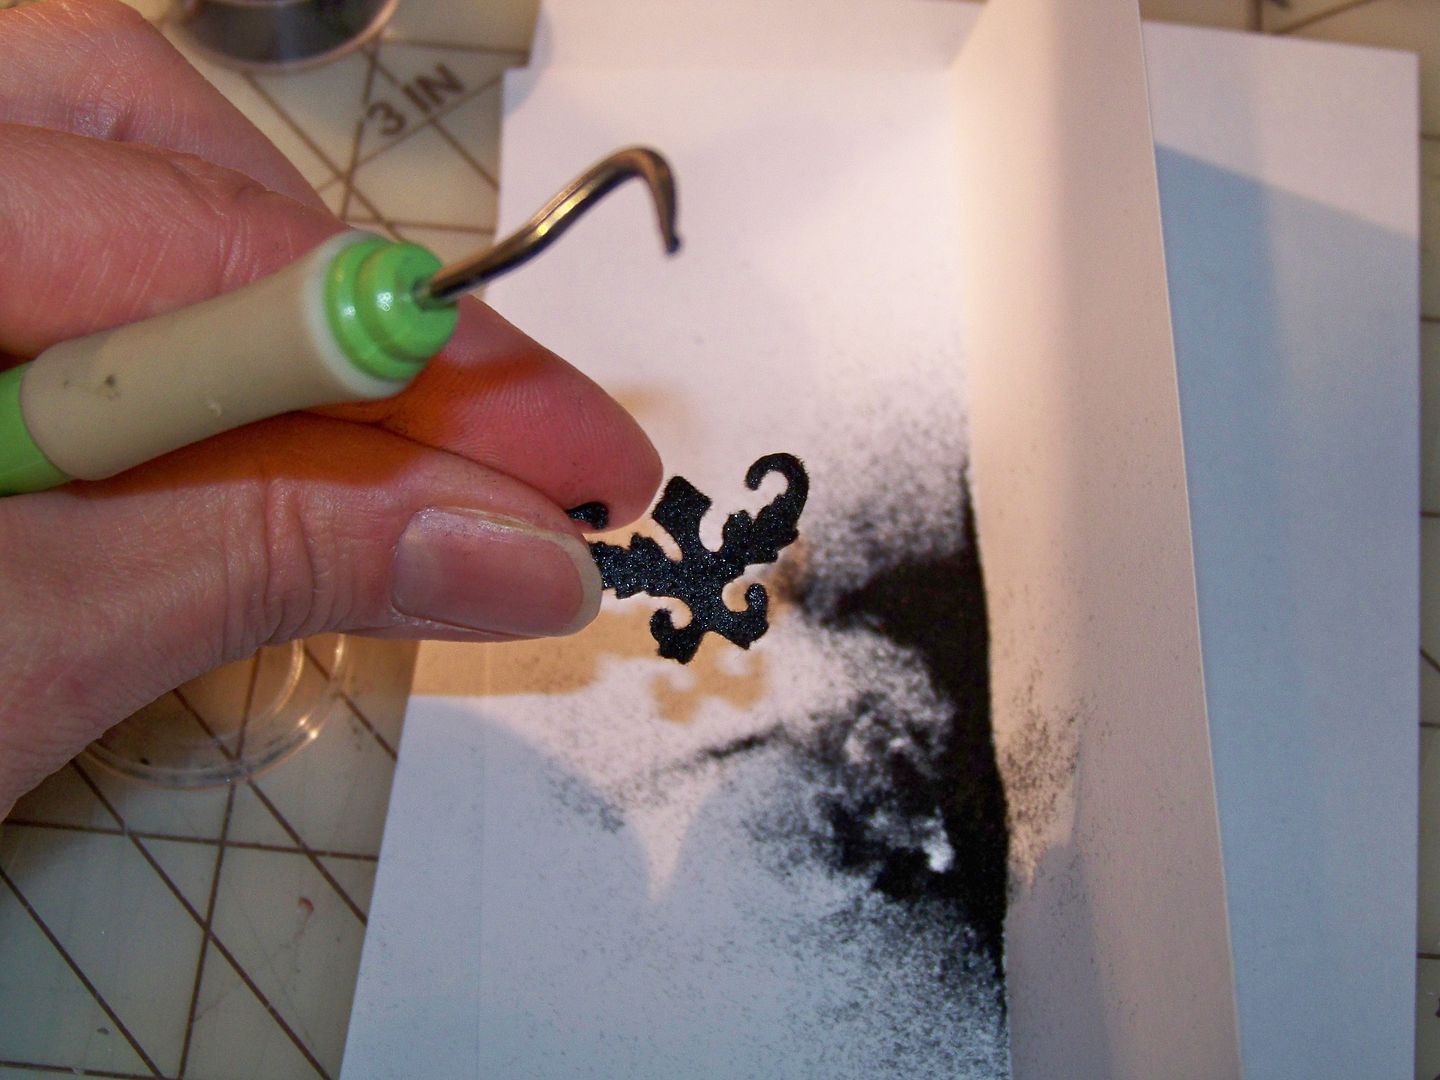
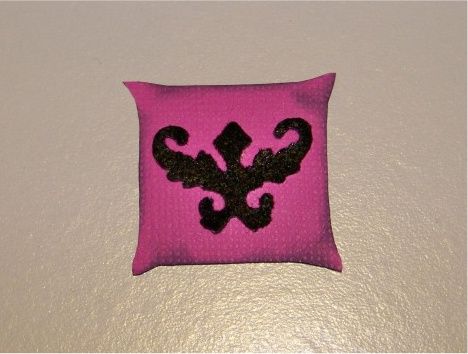
    I wanted to create a decorative pillow that simulated a flocked shape created with a die cut pattern on the Yudu.  I created a pillow by hand-cutting the shape and inking heavily to create a little volume.  I cut a shape from Damask Decor (page 31 - layer 1) on my Expression at 2-1/4".  I ran it through my Xyron, face down.  I sprinkled black flocking powder over the adhesive-coated side and pressed it in.  (I used the dental pick tool from my Cricut tool kit to remove any "webs" of adhesive in order to have clean edges).  I adhered the shape to the pillow cut. 


    (Don't you think this would be an awesome REAL project?  I am sooo doing this for my sofa with my Yudu and flocking!)

    I wanted to create a bit of wall art.  For that, I photocopied the handbook from Work Collage.  I increased the size 120%.  I trimmed the design I chose to size.  I cut a frame for it using Fancy Frames (Fram7Lr), at 1-1/4" on my Expression.  What I love about Fancy Frames is that the size you pick is the size of the inside height you want for your artwork/photography.  I created a mat for the picture by adhering a bit of pink cardstock to the back of the frame and adhering the artwork to the front.  I attached a piece of ribbon to the back of the frame and attached it to the pennant with a pop dot.


    With everything in place, I lined them up on the floor and ran an organza polka dot ribbon through the pennant holes.  I used Terrifically Tacky Tape on the ribbon to attach it to the backs of each pennant.


    I had so much fun doing this project!  It was fun to put together some of the things I have learned about altering figures- with no worries about hairstyles!  My daughter was somewhat concerned that the bug was naked on most of my pennants, but I explained that he was clothing-optional.  I don't know if that answered it for her or not, but from what I can tell about him, it is true.

    Thank you for visiting my blog today!  You can see all of my projects by clicking My Project Gallery at the top of my blog, or by clicking here.
    But wait! There's more! Click 'older posts' above!

    But wait!  There's more!  Click 'older posts' above!