
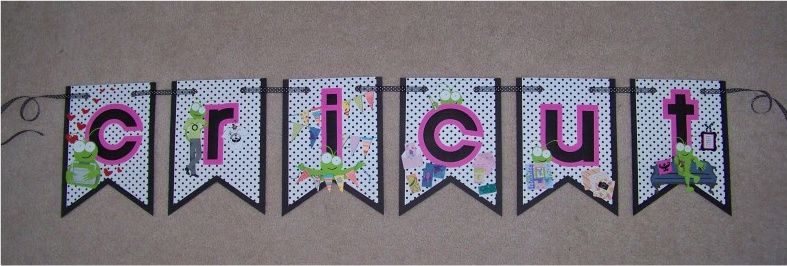
For my banner, I wanted to be sure that the letters could be clearly seen from a distance, and that each pennant of the banner would have a unique action for interest up close.
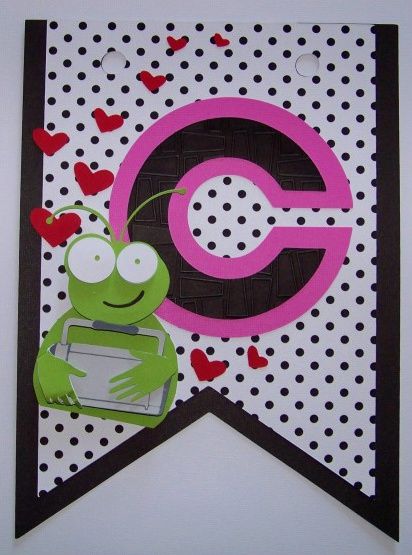
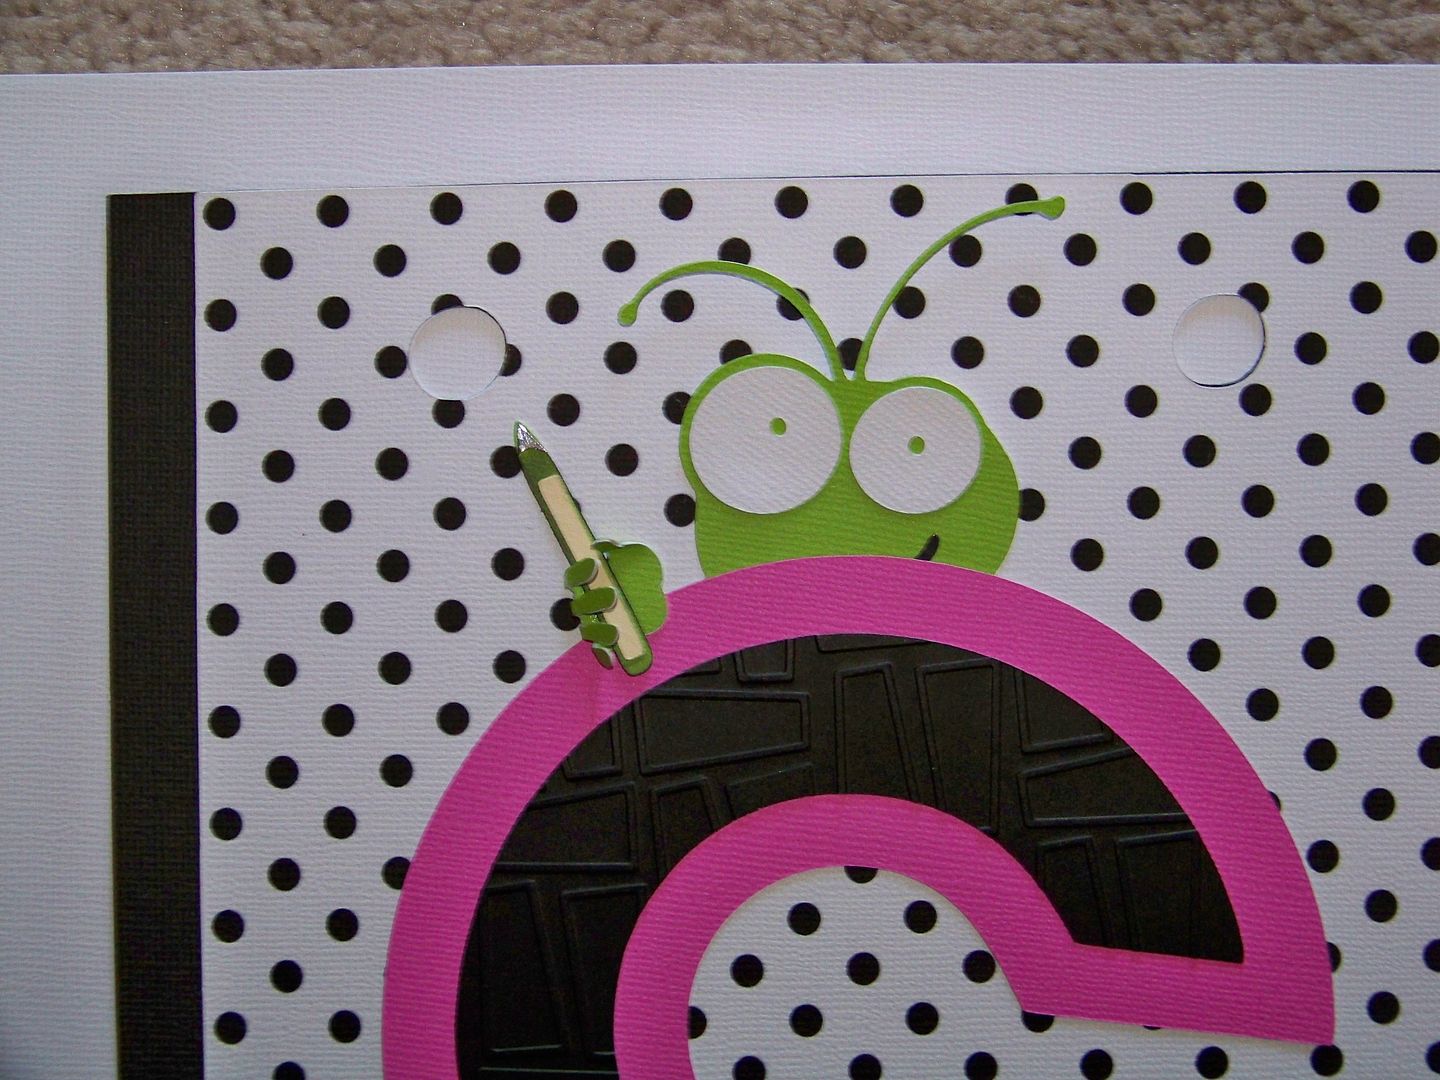
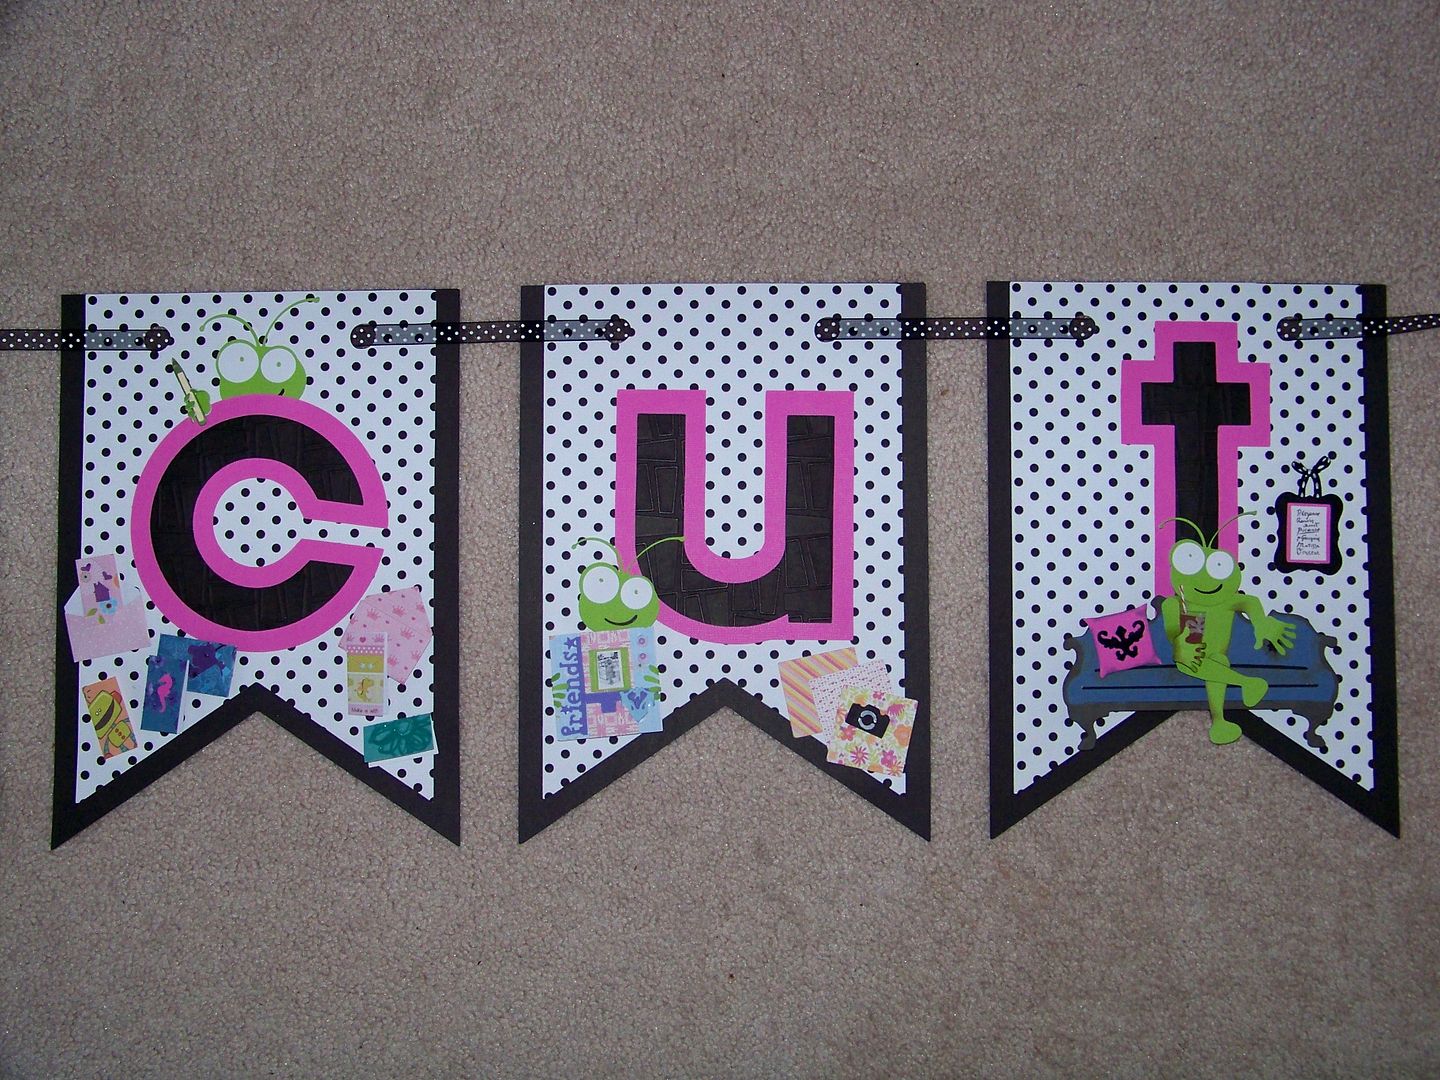
For my introductory pennant, there is plain ole Cricut love...
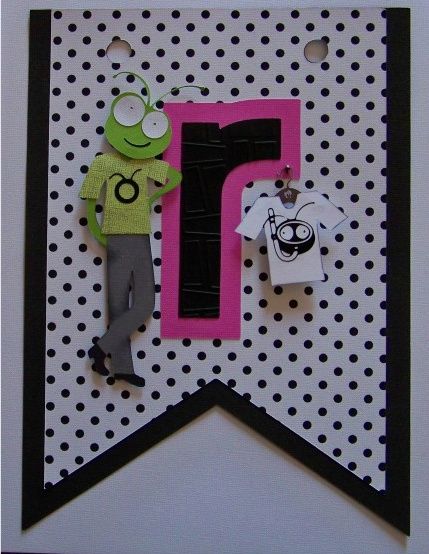
...then, the next one features the idea of using a Cricut for apparel...
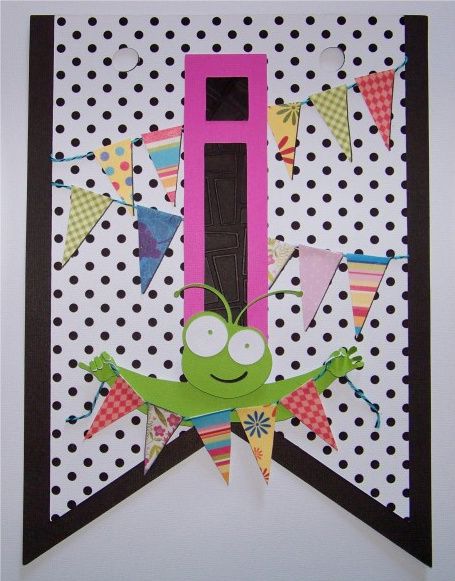
...on to party decor...
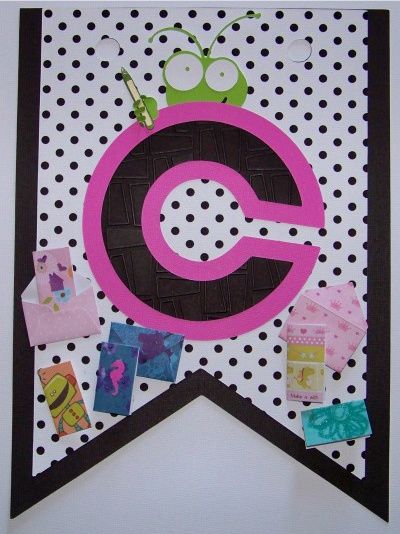
...for card-making...
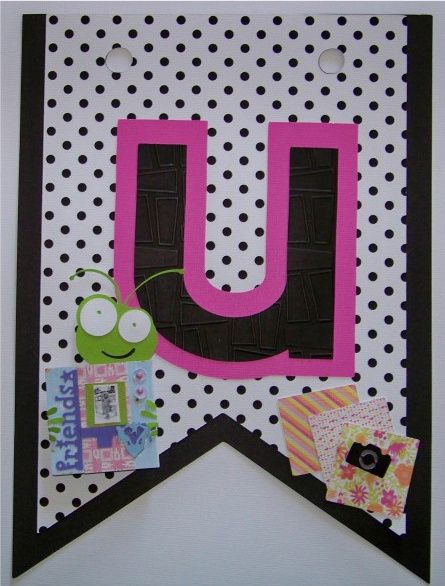
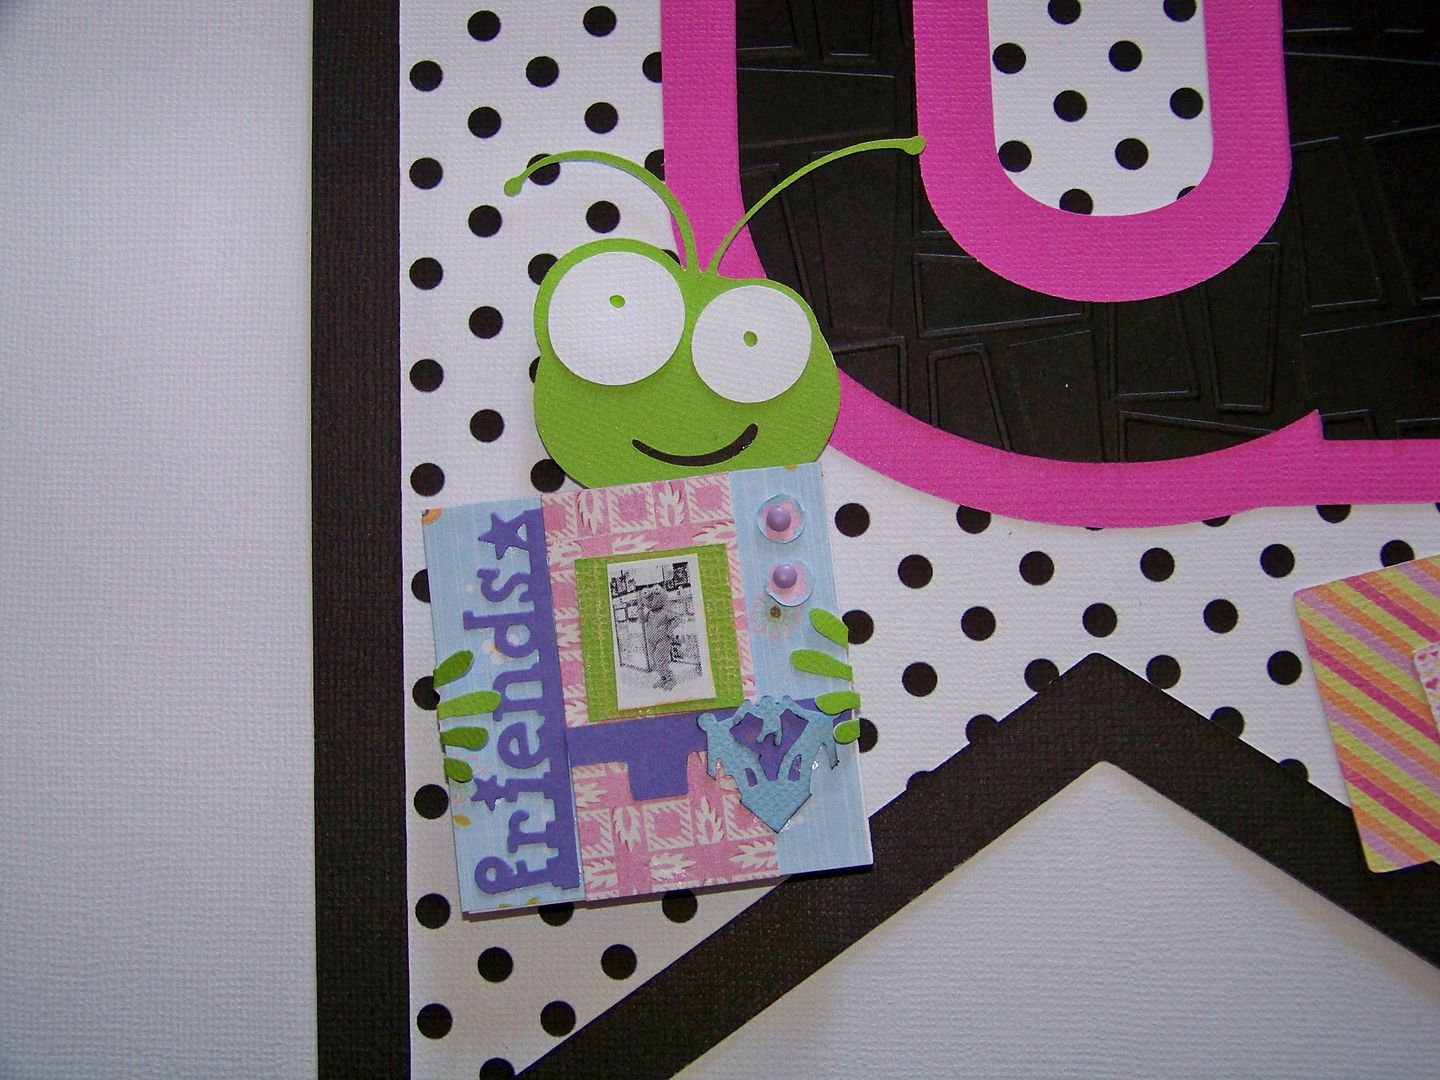
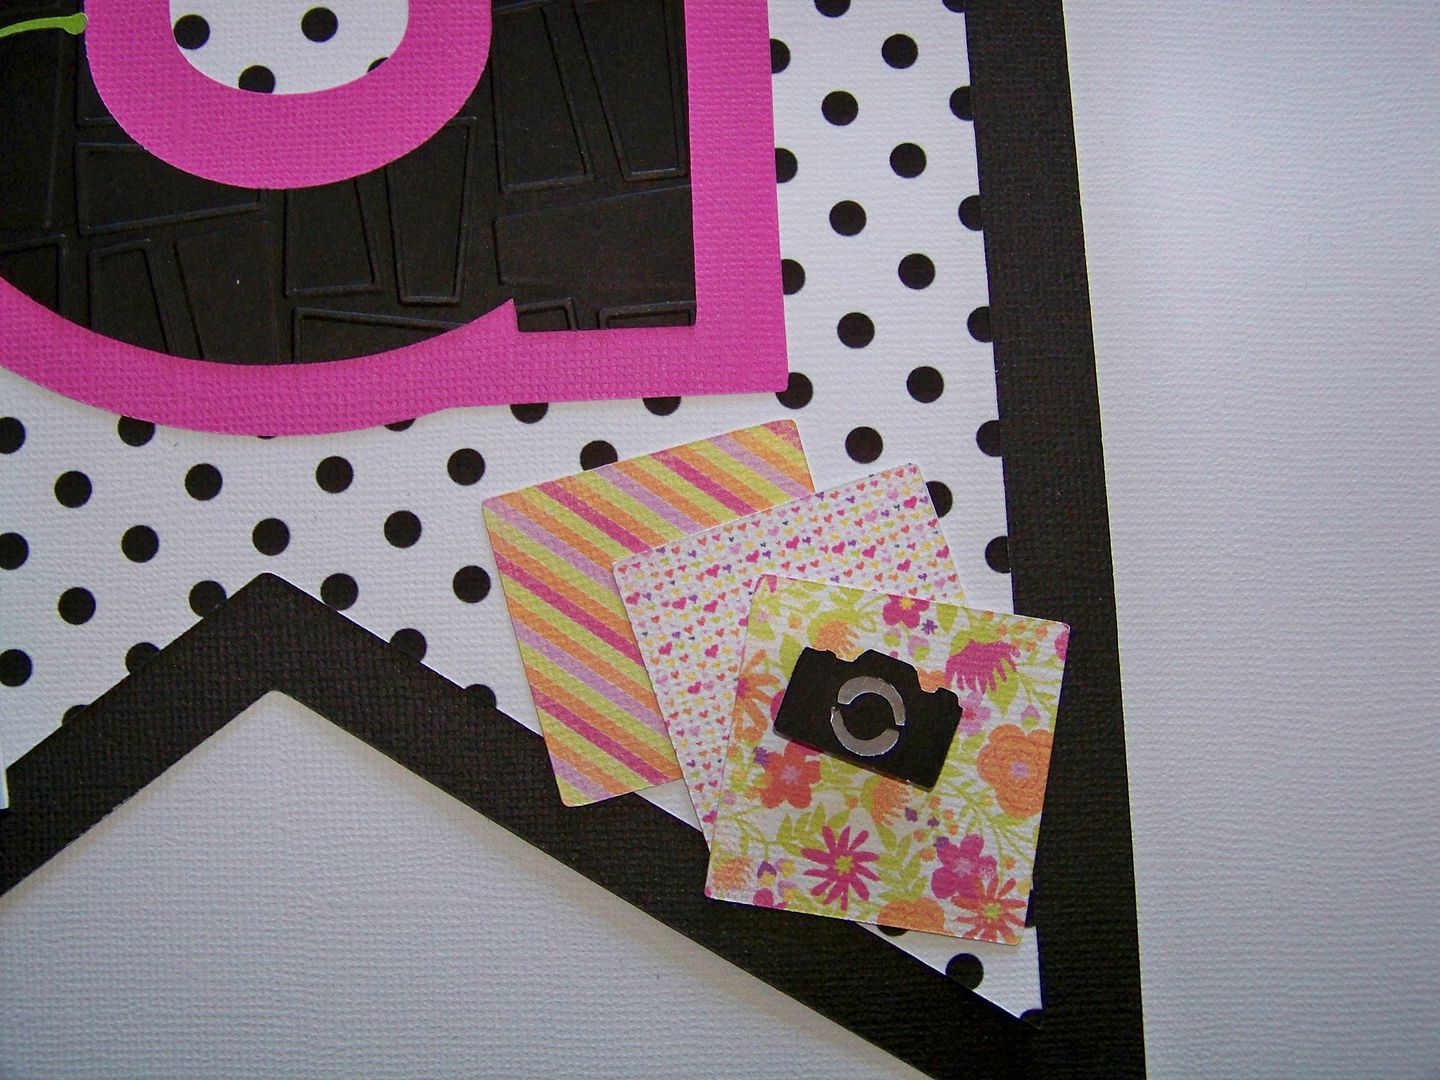
...and scrapbooking...
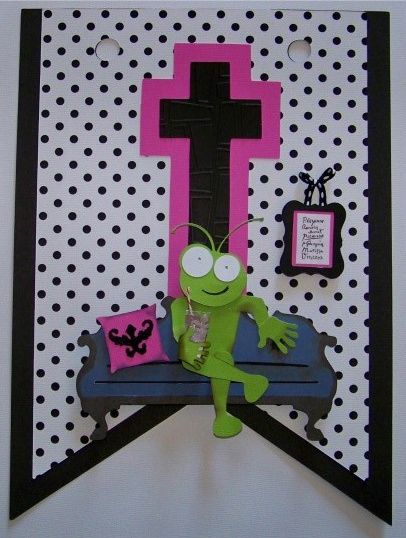
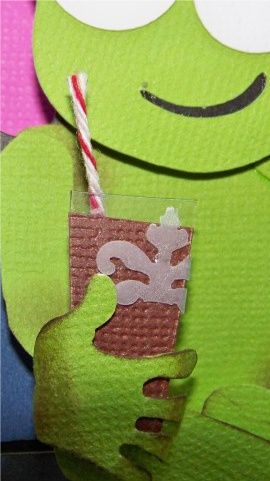
...and finally, using a Cricut for home decor!
For the details:
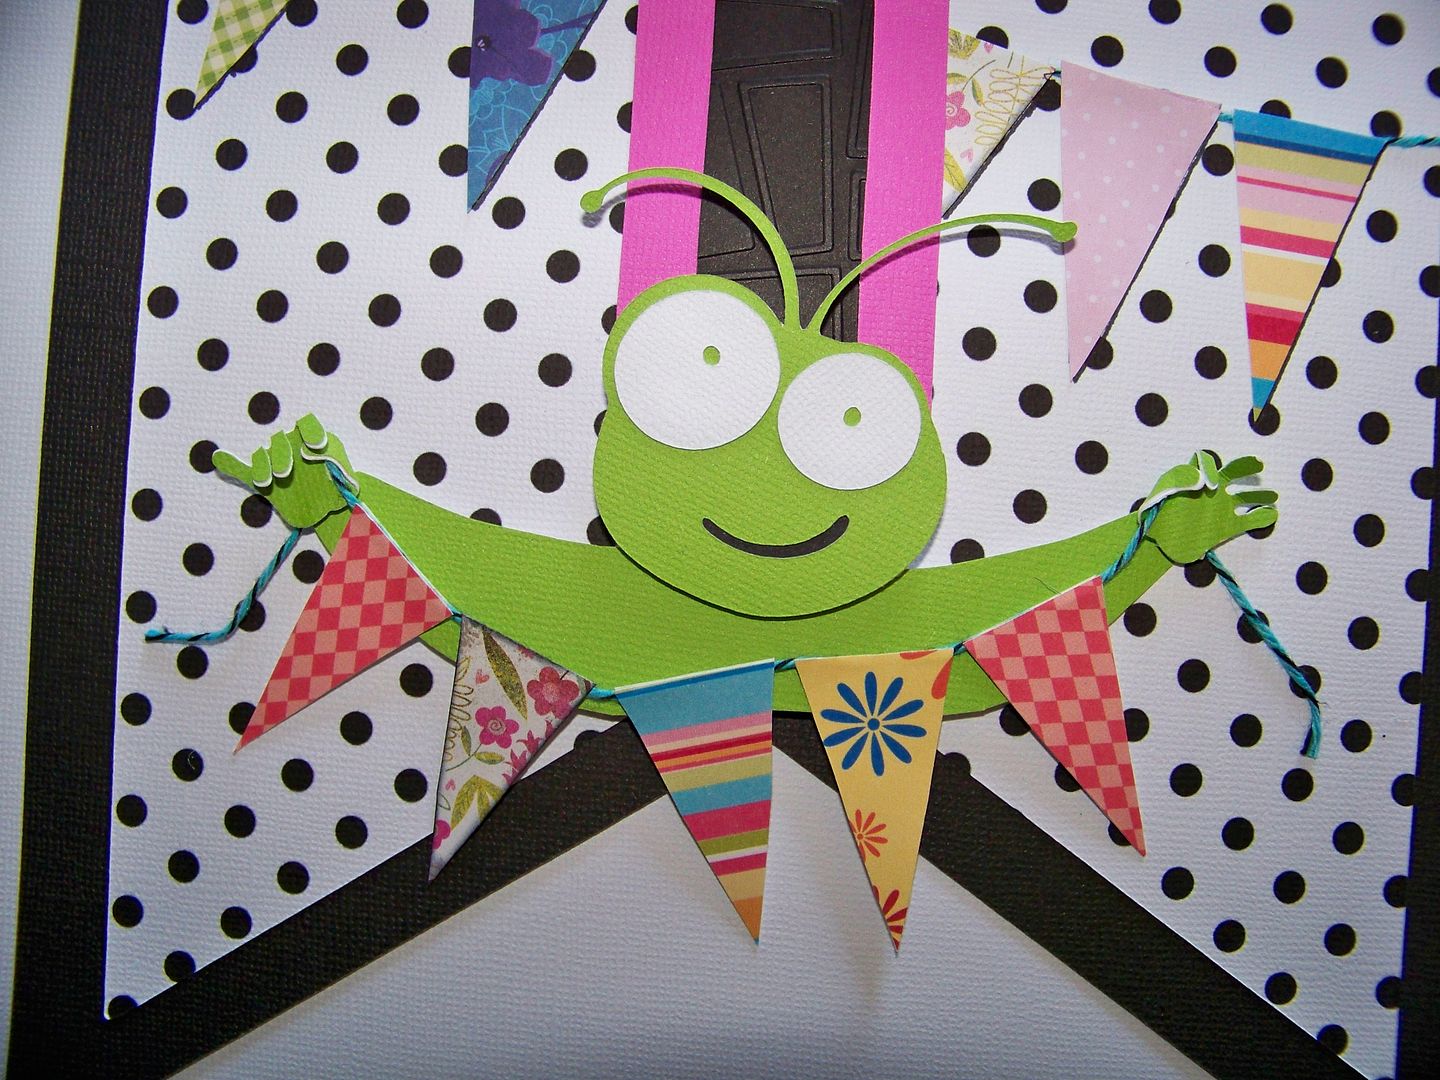
First, I decided on my banner shape. For that, I chose Birthday Bash (page 59), cut at 10" on my Imagine. The top layer was flood-filled with a print from Black and White. I also printed off a couple of pages of Cricut Green on my Imagine, using RGB 147, 208,25.
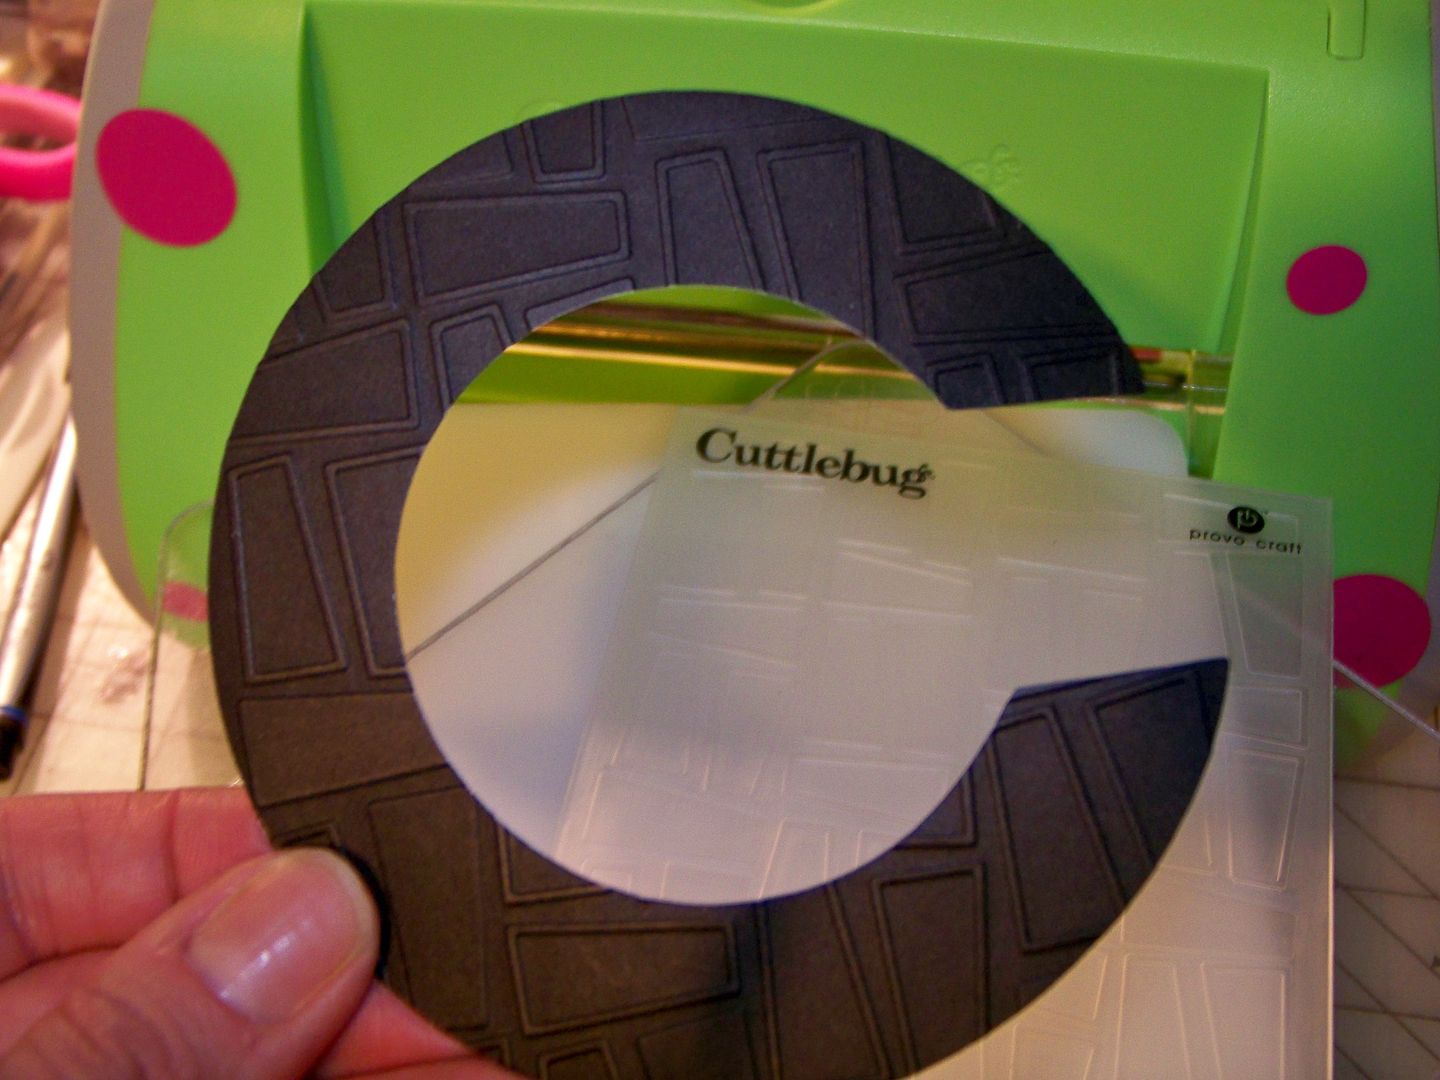
I cut out my letters from Hannah Montana (Daddy's Girl font) at 7-1/4" on my Expression and used a folder from the Nifty Fifties companion set to emboss them. I cut the shadow from hot pink. With my bases ready, I started working on each pennant individually.
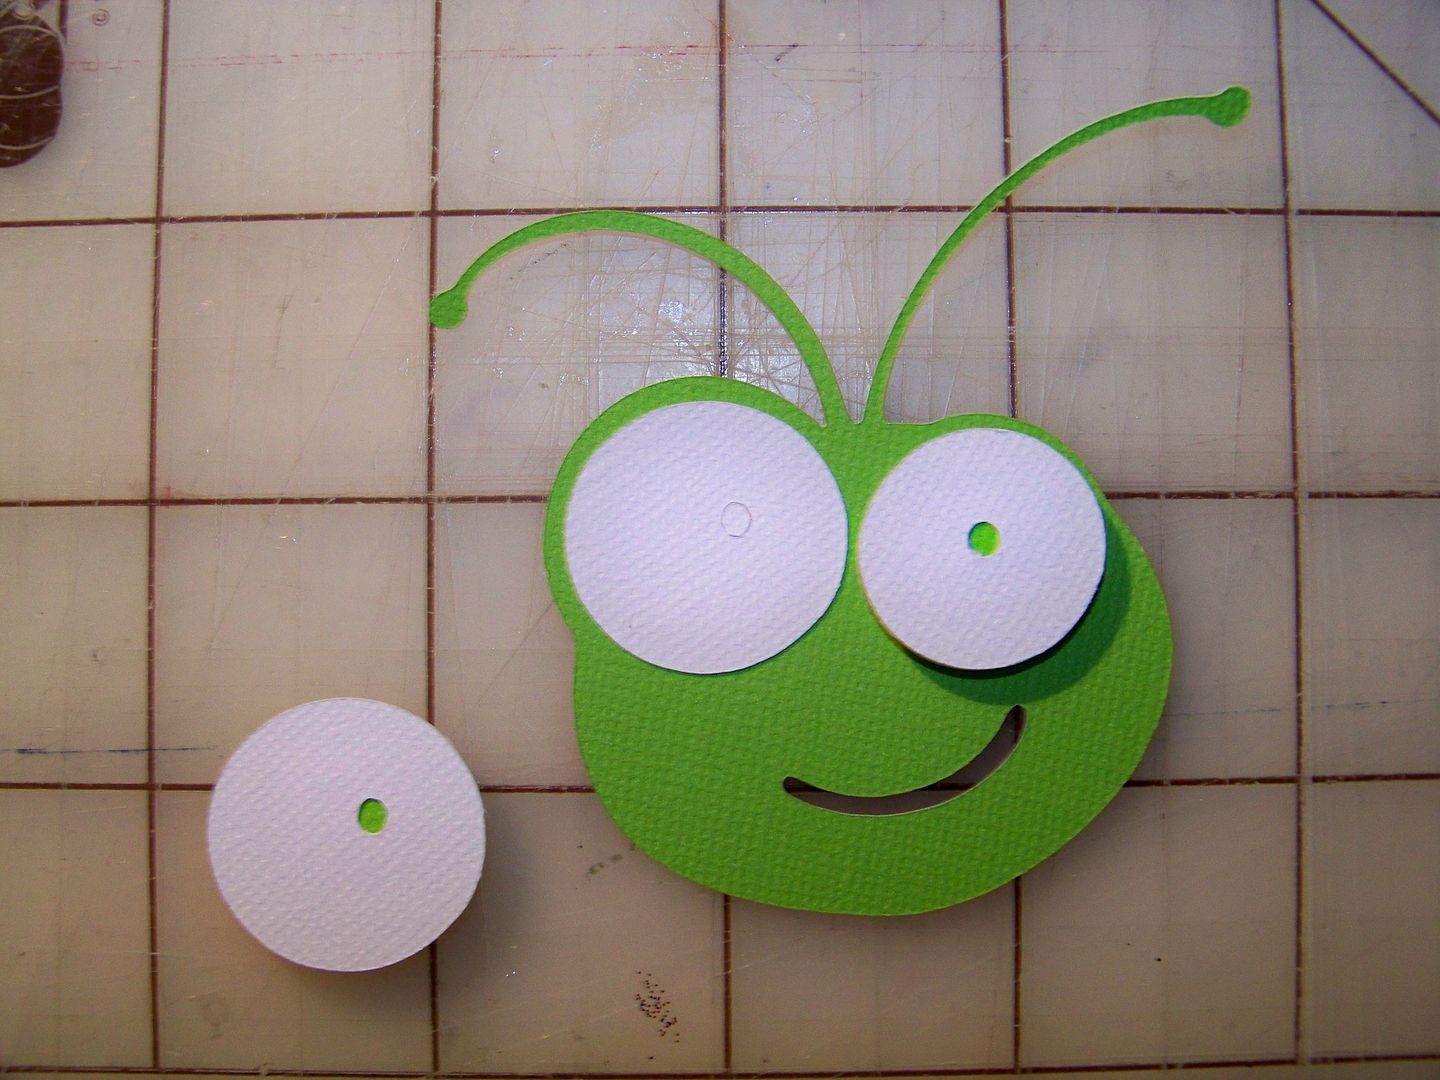
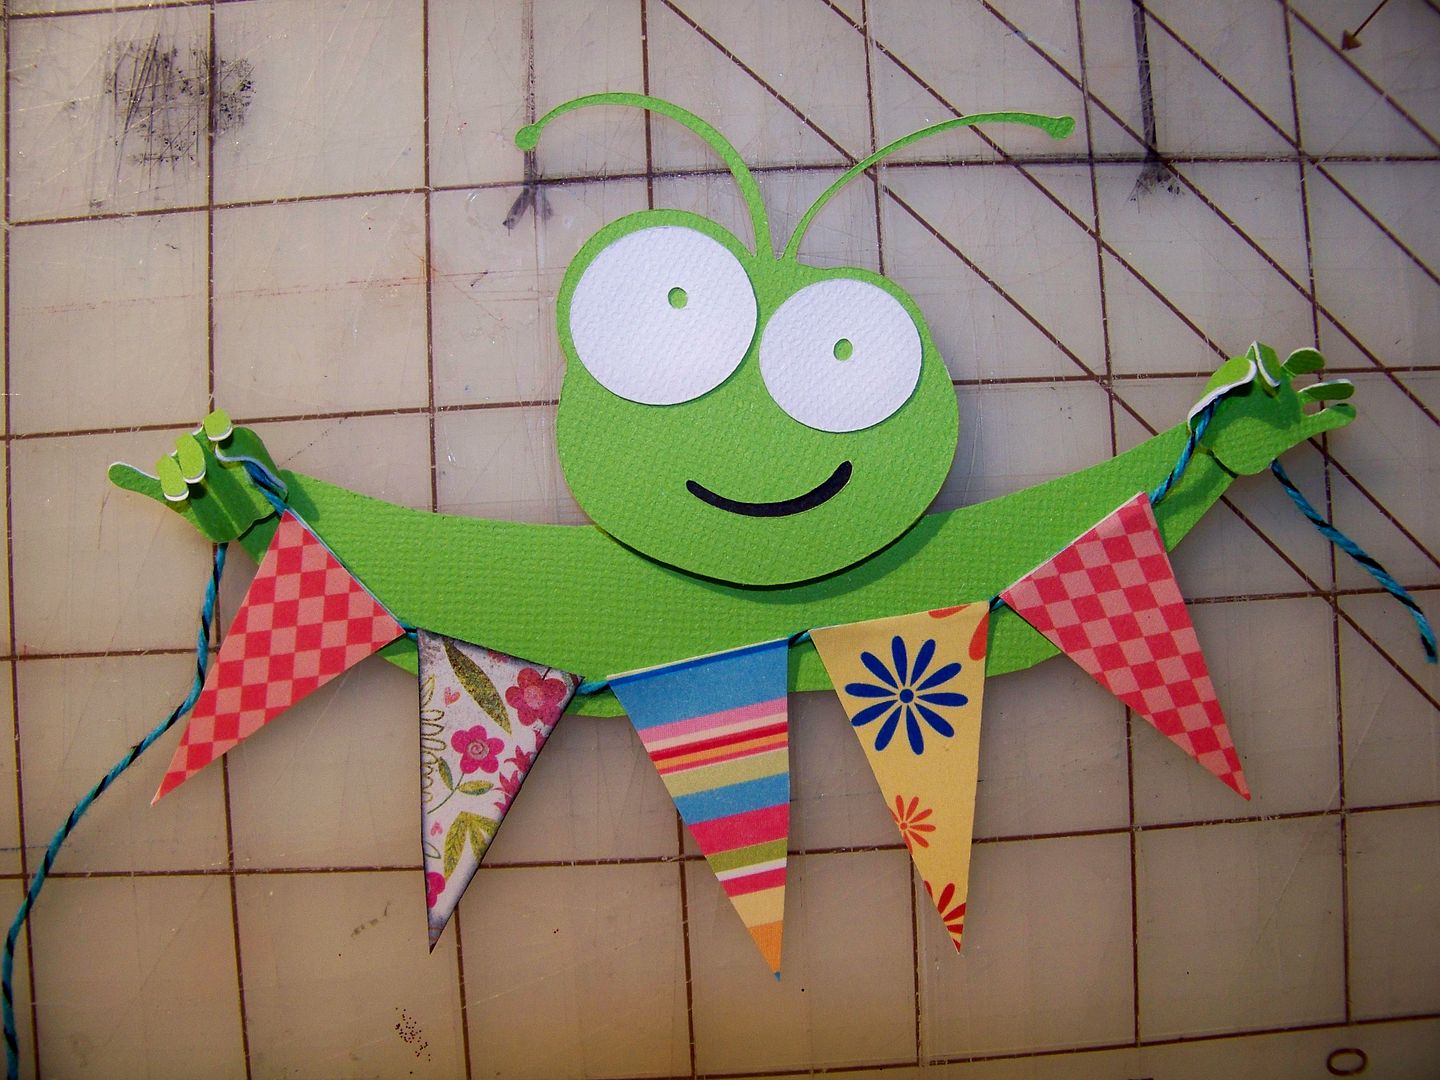
For the first pennant, I cut the bughead from Cricut Everyday at 3" on my Expression. The hands were cut from Sentimentals (page 25), at 2", flipping one. The hands were adhered to the machine and I hand-cut a body to hold the figure together. The machine was cut from Cricut Everyday (page 32) at 1-3/4". I attached my letter to the pennant and then used pop dots to apply the figure. The hearts were cut from Doodlecharms (page 85- border) at 1", 3/4", and 1/2". They were adhered flat.
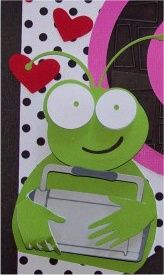
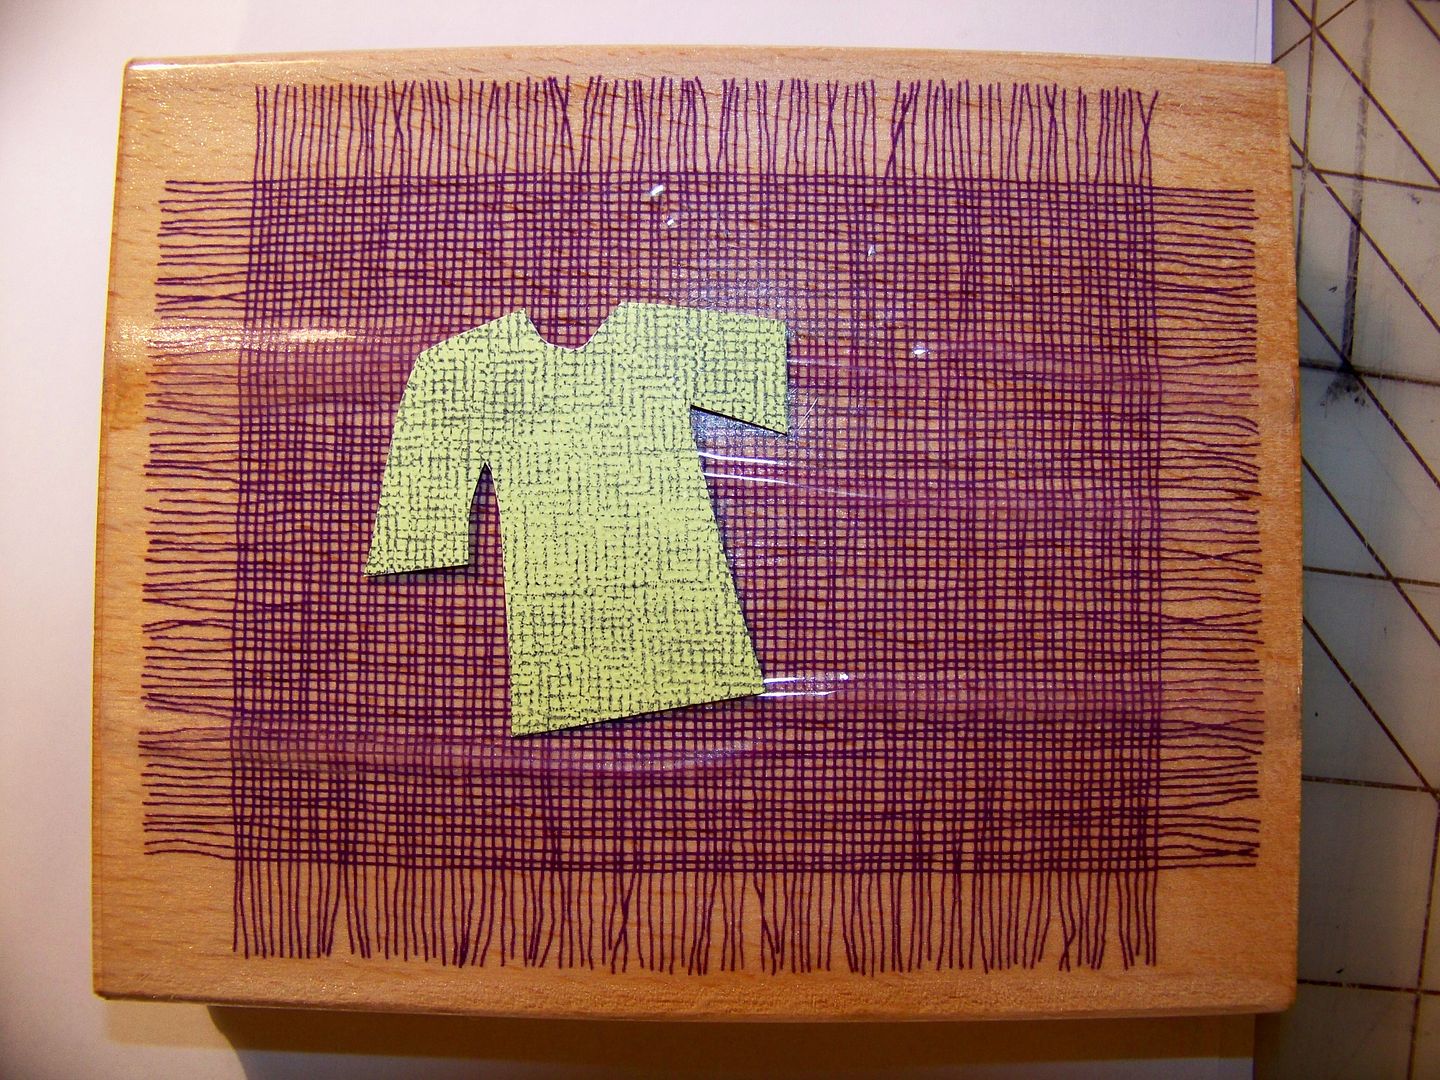
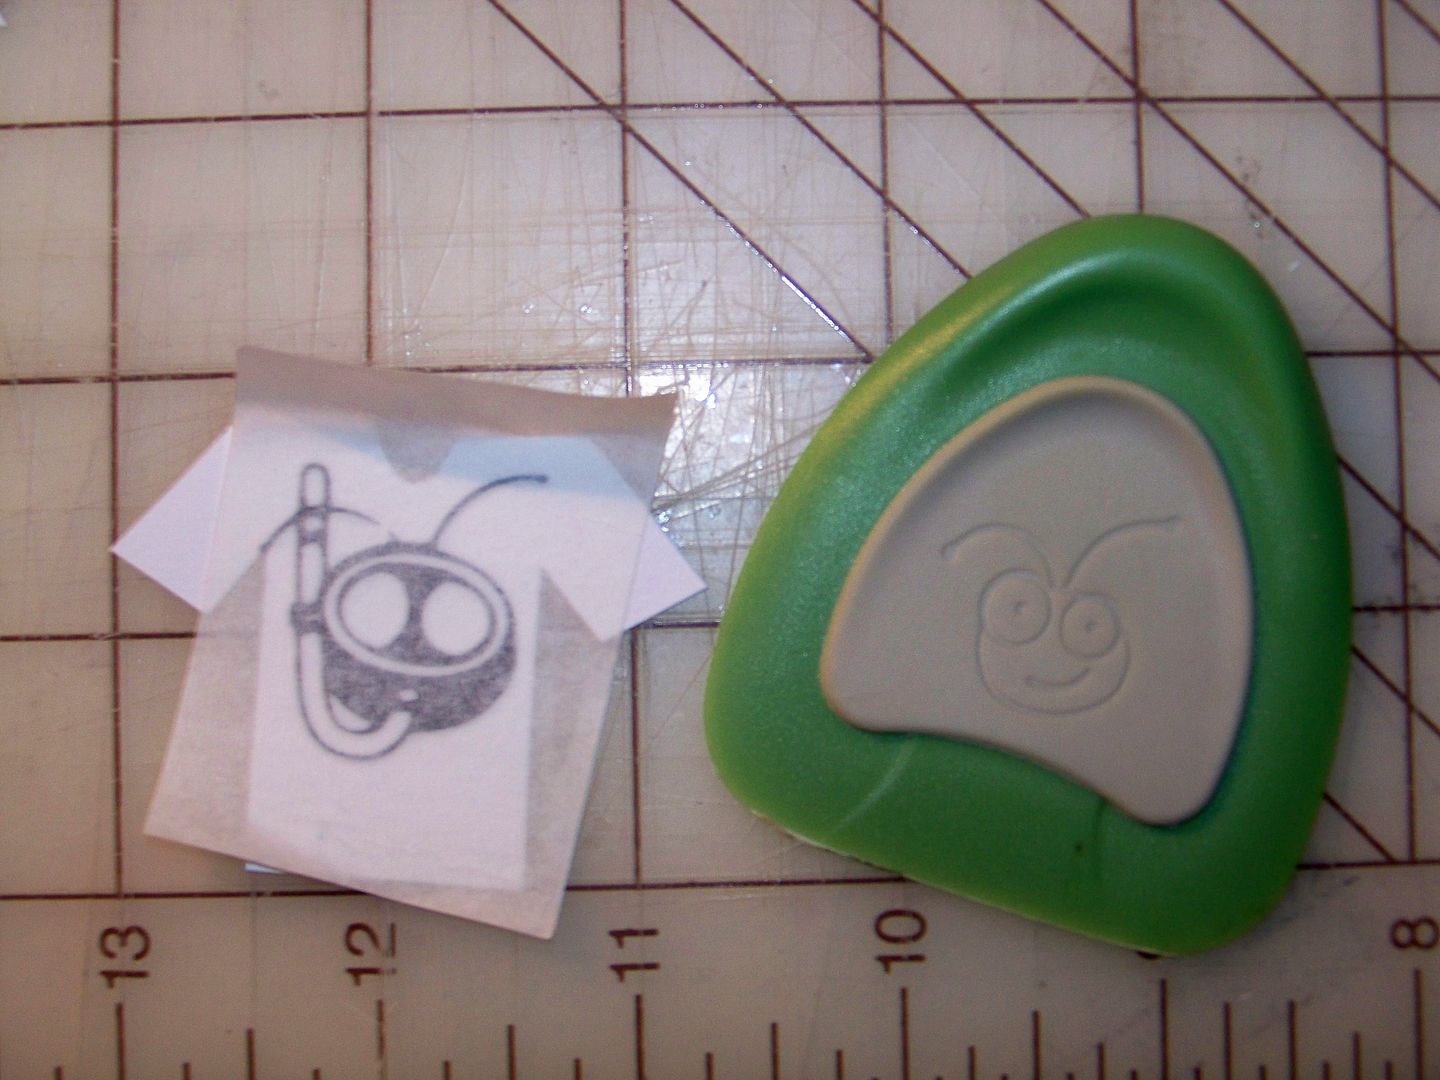
For the apparel pennant, I cut a bughead from Cricut Everyday at 2" on my Expression. I cut the body from Country Life (page 33), at 6". I cut one green and one gray figure, cutting up the gray and applying it to create pants and shoes (I used a marker to color in the shoes). Then I hand-cut a t-shirt. I used a stamp to get a little bit of texture and pattern on the shirt. The Circle logo was cut from Cricut Everyday at 3/4" in vinyl. I used transfer paper to apply the design. (This cut is so small that the antennae would only cut correctly in vinyl). The extra t-shirt was cut from Cricut Decals at 1-1/4" (also in vinyl). The hanger was cut from French Manor at 1-1/4". I snipped off the hanger ends before adhering it behind the shirt. I used an awl to make a small hole in the letter and attached a brad, allowing part of the shank to remain on the top of the paper surface to form a "nail" on which the hanger could hang! (It is actually adhered with a pop dot).


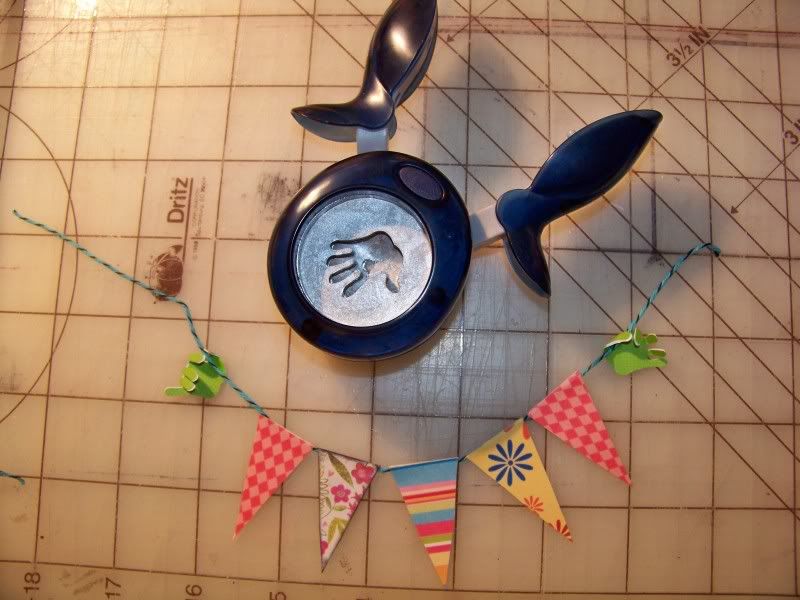

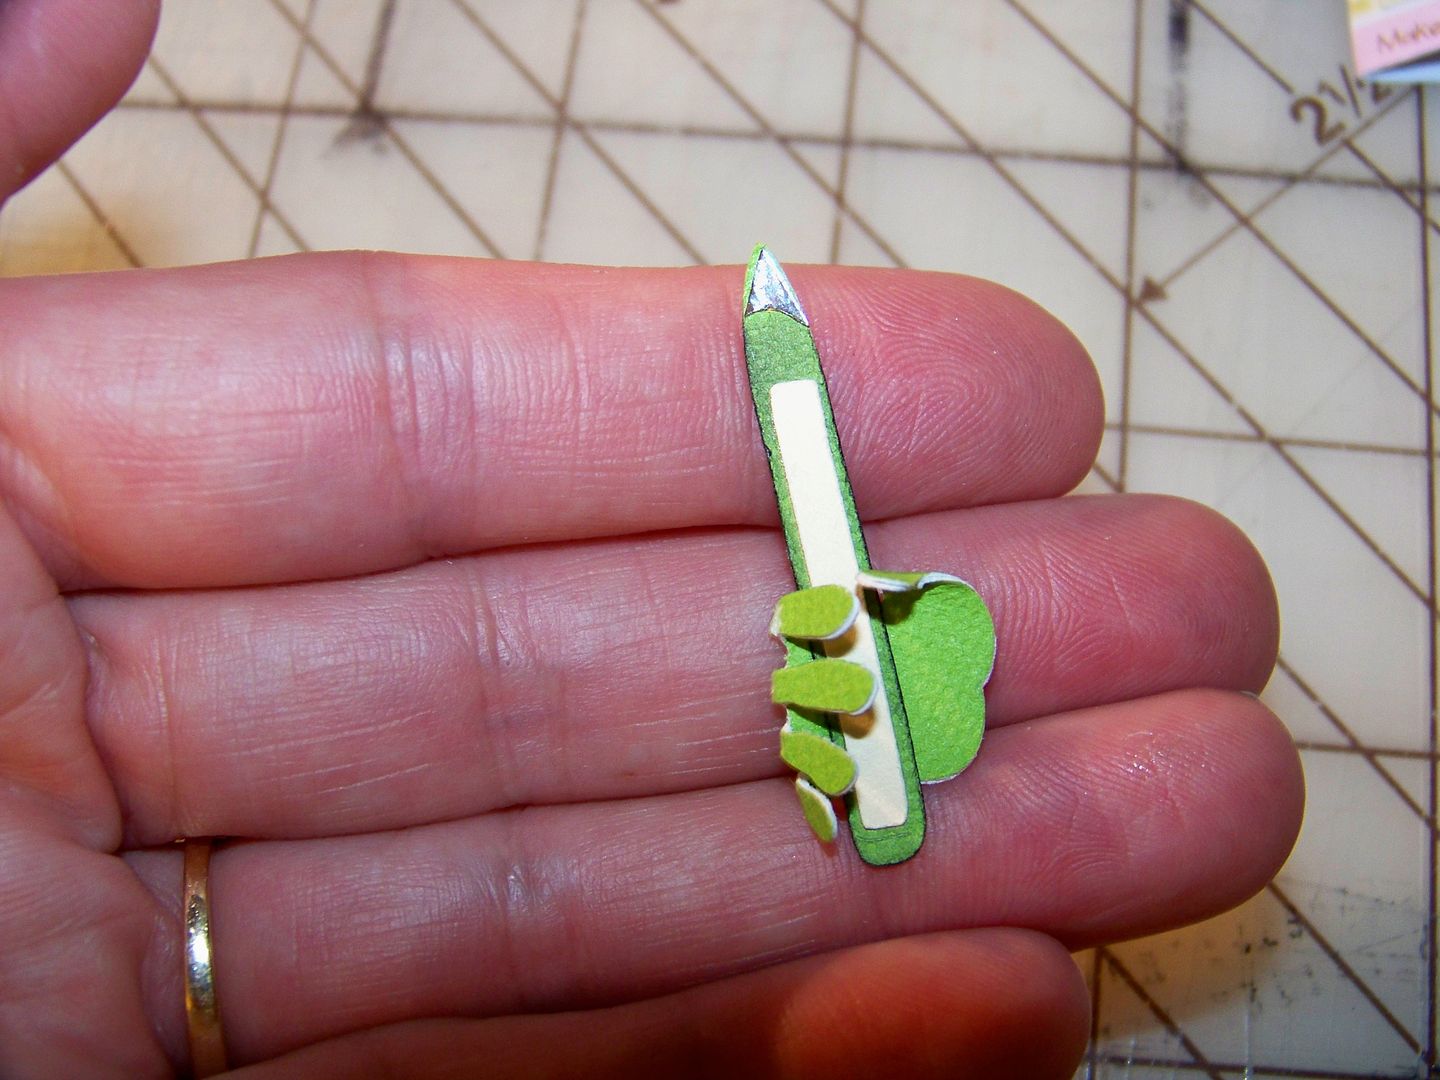
For the card-making pennant, I cut the bughead at 2-1/2". I cut the bone folder from Cricut Everyday (page 53) at 1-1/2". I hand-cut and added the silver tips. The hand is cut from a punch and folded around the bone folder as if it is holding it. I partially hid the head, but placed the hand on the letter. For the cards and envelopes, I used punches and decorative papers to create little cards.

For the scrapbooking pennant, I started by making a mini scrapbook page, using punches to get the elements small enough. I cut a bughead at 2-1/2" with Cricut Everyday and used a punch for the hands. I adhered the hands directly to the mini layout and popped it up with pop dots. The head is adhered flat to the paper. I printed and cut three pieces of decorative paper using my Imagine from the Berries and Cream cartridge. (I floodfilled three 1-1/2" squares to make those. The Imagine automatically scales the print down to size). The camera is cut from Going Places (page 111) on the Expression at 1/2". I placed a little scrap of silver behind it to emphasize the cut.
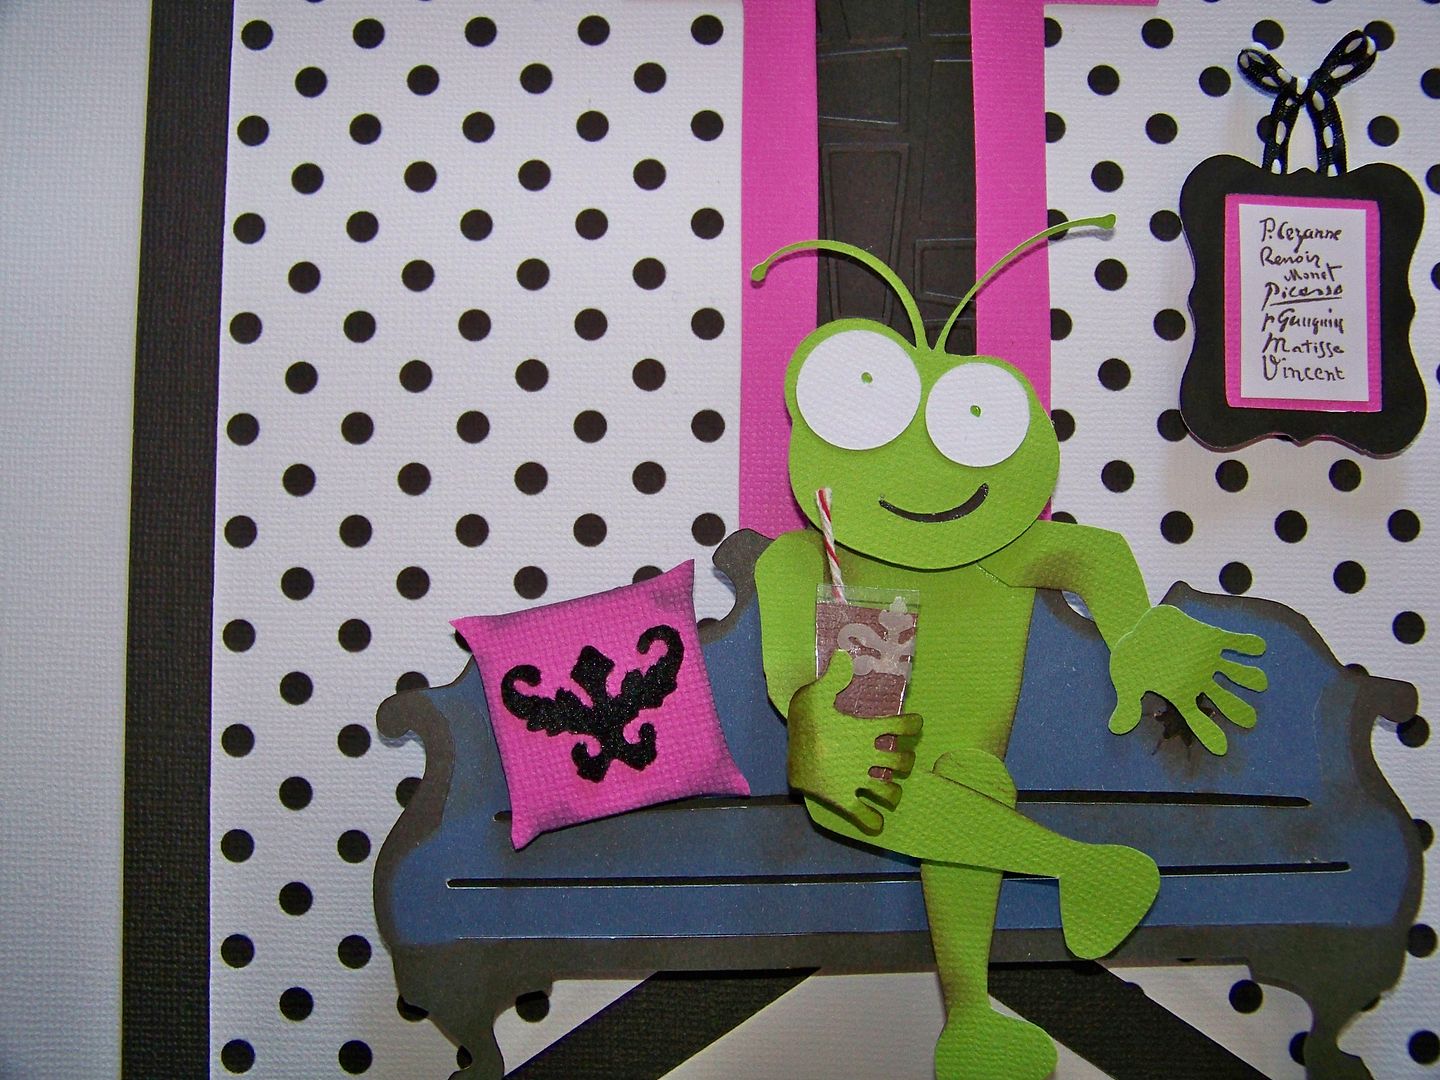
For the home decor pennant, I cut a sofa from French Manor (page 32) at 3-1/4". I inked it heavily and added a scrap of black behind it for the folds and tufted cuts. The bughead was cut at 2" from Cricut Everyday. I hand-cut a body. I inked and used pop dots to emphasize areas that are forward, like the knee, and areas that recede, like the elbow. The hands were cut with a punch.

I wanted to create an etched glass- one of my favorite uses of my Cricut! For that, I hand-cut a piece of acetate and a piece of brown cardstock. I adhered them with E6000 plastic adhesive where the hand would cover it. Then I shaped and inked a hand and adhered it to the glass. I created a straw with a piece of twine and placed it behind the drink. I used a punch to cut a shape from vellum for the "etching" and glued it on.

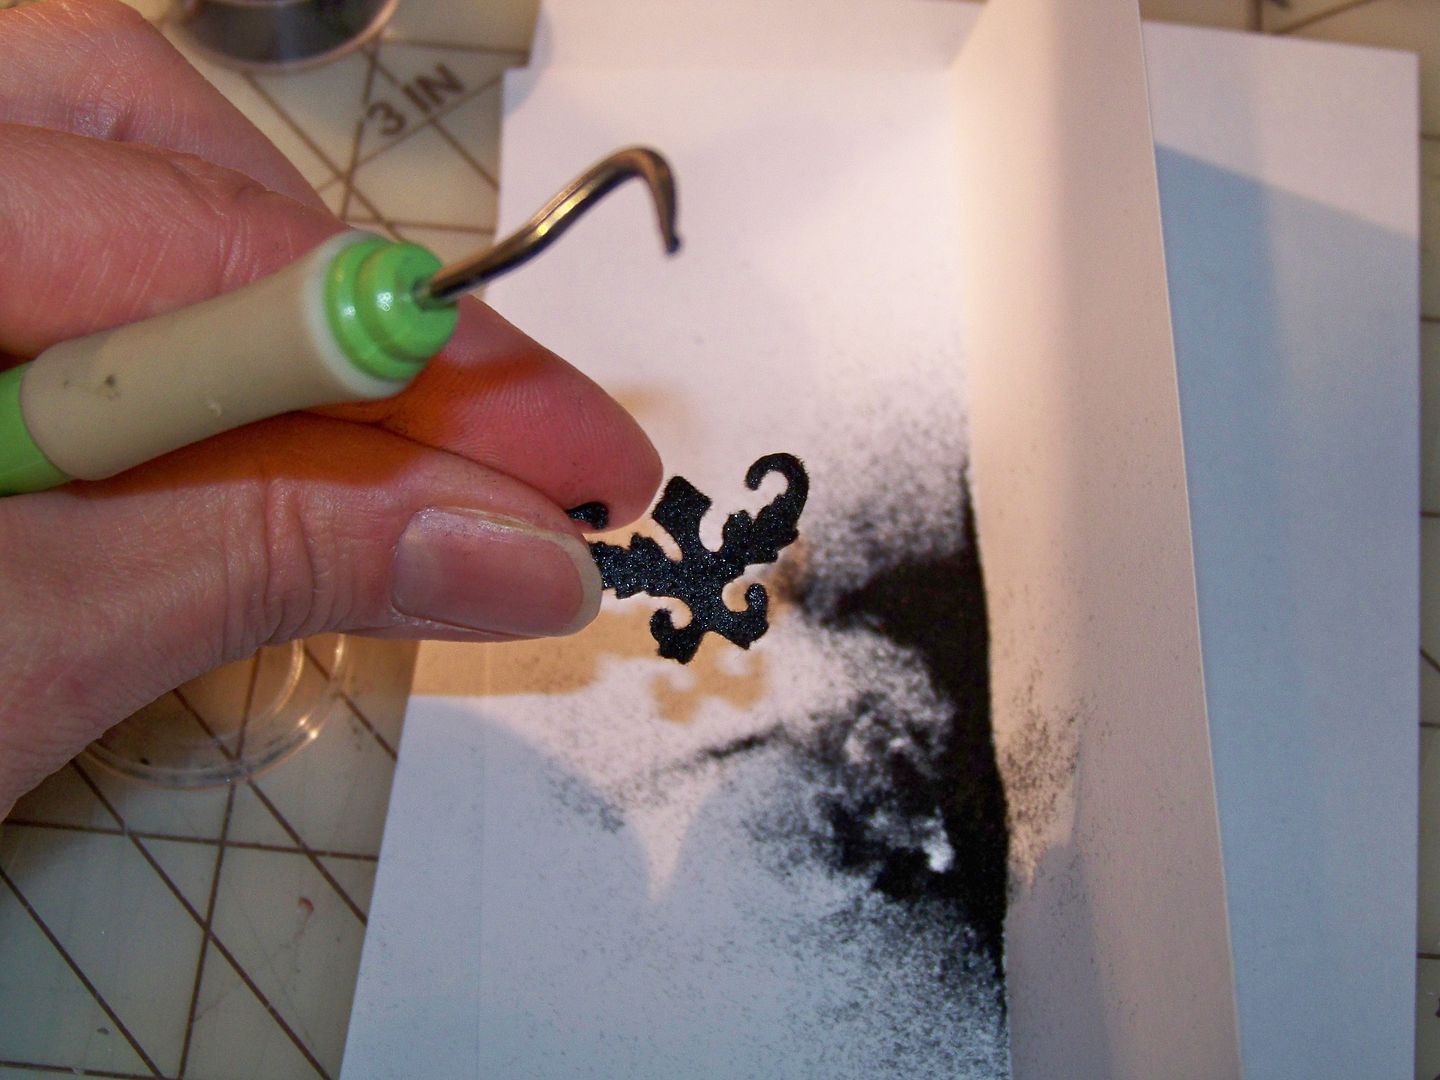
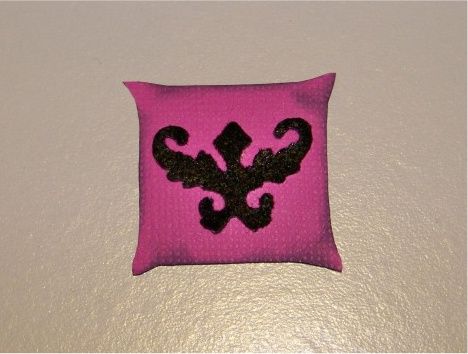
I wanted to create a decorative pillow that simulated a flocked shape created with a die cut pattern on the Yudu. I created a pillow by hand-cutting the shape and inking heavily to create a little volume. I cut a shape from Damask Decor (page 31 - layer 1) on my Expression at 2-1/4". I ran it through my Xyron, face down. I sprinkled black flocking powder over the adhesive-coated side and pressed it in. (I used the dental pick tool from my Cricut tool kit to remove any "webs" of adhesive in order to have clean edges). I adhered the shape to the pillow cut.

(Don't you think this would be an awesome REAL project? I am sooo doing this for my sofa with my Yudu and flocking!)
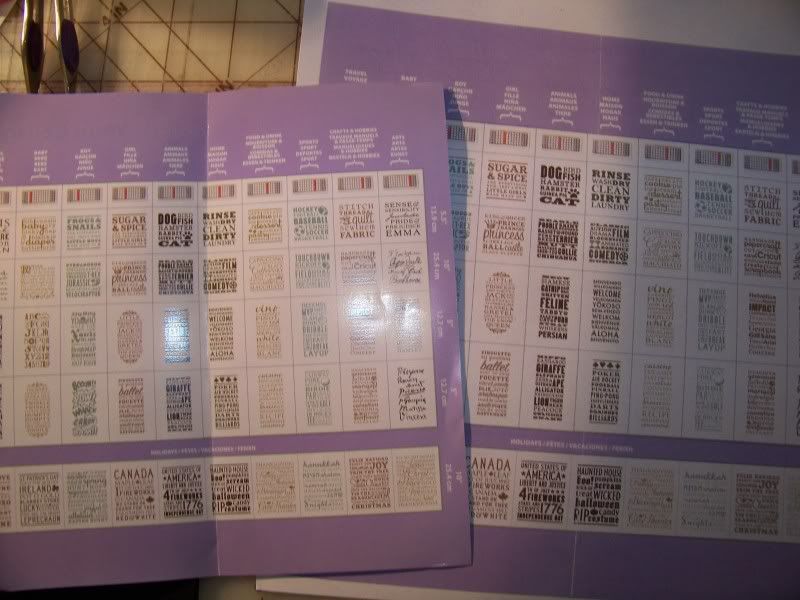
I wanted to create a bit of wall art. For that, I photocopied the handbook from Work Collage. I increased the size 120%. I trimmed the design I chose to size. I cut a frame for it using Fancy Frames (Fram7Lr), at 1-1/4" on my Expression. What I love about Fancy Frames is that the size you pick is the size of the inside height you want for your artwork/photography. I created a mat for the picture by adhering a bit of pink cardstock to the back of the frame and adhering the artwork to the front. I attached a piece of ribbon to the back of the frame and attached it to the pennant with a pop dot.
With everything in place, I lined them up on the floor and ran an organza polka dot ribbon through the pennant holes. I used Terrifically Tacky Tape on the ribbon to attach it to the backs of each pennant.

I had so much fun doing this project! It was fun to put together some of the things I have learned about altering figures- with no worries about hairstyles! My daughter was somewhat concerned that the bug was naked on most of my pennants, but I explained that he was clothing-optional. I don't know if that answered it for her or not, but from what I can tell about him, it is true.
Thank you for visiting my blog today! You can see all of my projects by clicking My Project Gallery at the top of my blog, or by clicking here.
25 comments:
Your posts are so over the top creative, I can't believe my own eyes. This is too frickin' cute! I love that you visually told the cricut story. And the altered figures of our illustrious green logo are to die for adorable! I love this!
The banner is GREAT!!!!!
You are AMAZING!
Oh Nadia! You have done it again! This is just sooooo creative! I love your art!
Colleen
The banner is totally awe-inspiring! What a work of art. And what's especially nice, is that your work sparks my creativity. Thank you so very much!
I love all the details you put in your work as always, Nadia! Love how you found bodies for the bug heads - so creative!
;)Melody
Another awe inspiring project! I love that you take pictures of your process and share all the details.
Oops! I put my comment in the next post (sorry). Your banner is delightful and I'm glad I didn't enter that contest myself. Good luck. This is darling.
WOW!! just WOW!! I'm absolutely amazed...
Very Clever- just darling! I will be looking for this one on TV ;)
love it, you are super creative
Oh Nadia.. this is just beyond adorable... you are just amazing...
Great job, as usual Nadia! It's beyond words.
Talk about attention to detail...Nadia, you are at the top of the creative chain! What a fun and amazing banner!
Carolyn
http://cccscraproom.blogspot.com
This is just perfect! I hope you entered the Cricut contest with it! I love EVERY THING about it!
Thanks for sharing your talent!
Nadia How awesome! I always love stopping by your blog:)
This is so, so fantastic, Nadia!! It must have been incredibly fiddly to put together but you absolutely mastered this!! The "r" (apparel) pennant is my favourite. And I didn't notice the little decoration on the glass on the home decor segment until I saw the close up. My fingers are crossed for YOU!! Best of luck in the competition. You've blown me away!!
Nadia - please check out the Cricut Blog (cricutblog.org) if you haven't already. There's a post about the banners - with a close-up of your home decor pennant. I was so excited to see it - and I'm sure you will be even more so!! I'm still crossing my fingers for you!
Was this is amazing. So much detail. It is awesome.
Thank you, Kate!! I had to go peek-- http://cricutblog.org/?p=1657
Thank you so much for the heads up! That was fun to see.
NADIA!!! This is unreal! I just love your little Cricuts and the incredible details on each pennant! Thanks for sharing - you always provide so much inspiration!!
Amazing, awesome work! I love the way you alter and have so much detail on all your figures. I wish I had that creativity and patience.
Ok, I had to come back. You are so amazingly talented, a true artist. To be able to do what you do w/such small figures and create such fabulous work just puts me in awe!
I took a button and posted you on my blog! I think everyone needs to see how amazing you are.
The detail that went into that banner is simply breath taking. I love the pillow! Everything about it. If Cricut doesn't hire you for something, they are losing out!
www.inspired-by-scrapping.com
Fabulous banner, Nadia!
got a glimpse of yours amongst all the rest of the entries, and of course yours stood out as one of the most creative. Thank you for showing all the closeup photos...all the tiny little pieces and how you transform them into little vignettes is just amazing beyond words!
WOW!! truly amazing! Did you win with this banner? Did it air on HSN? I didn't see it. I HOPE you won! Thanks for sharing!
HeartAMZ1@aol.com
Debbie Chapman
This banner is wonderful with the absolutely adorable Cricut figures!
Post a Comment