I used some super-cheap supplies I purchased at Walmart (curling ribbon, paper bags, textured cardstock packs, treats for favor bags). I found all of the movie images I needed via Google Images. Along the way, I found the original Disney artwork for the movie and fell in love with Claire Keane. Her artwork -- which was the artwork that Rapunzel painted on her walls in her tower -- was the influence for the colors for the cardstock and for the fabrics I used. I have a link to her site at the end of this post-- check her out!

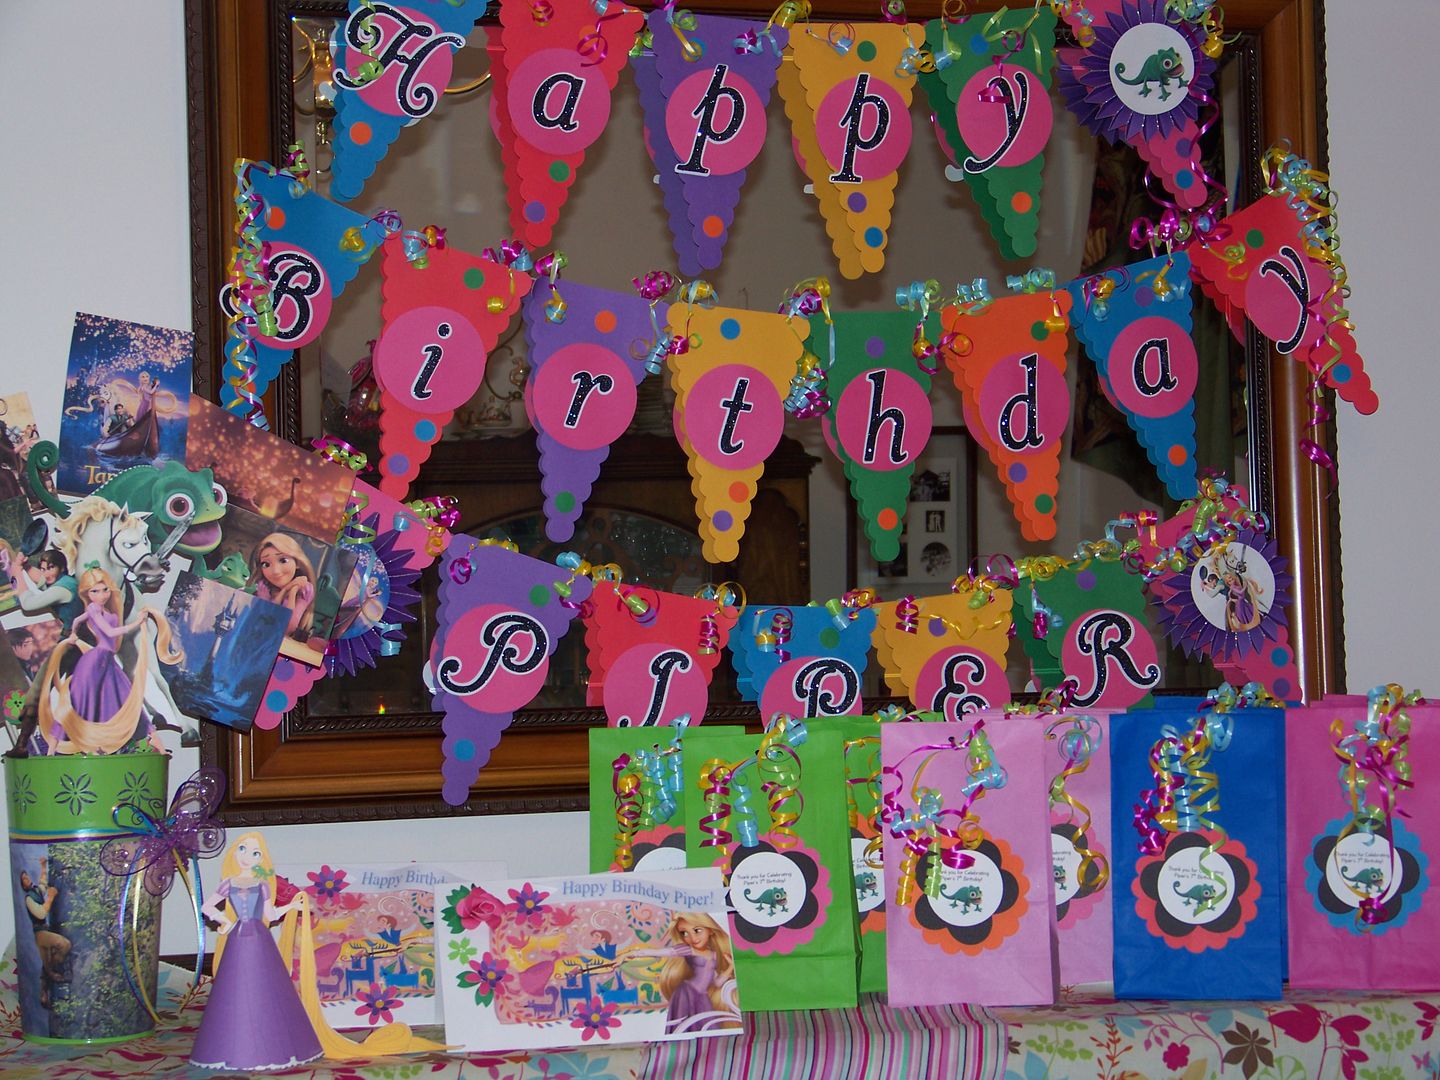
First project: Favor Bags!
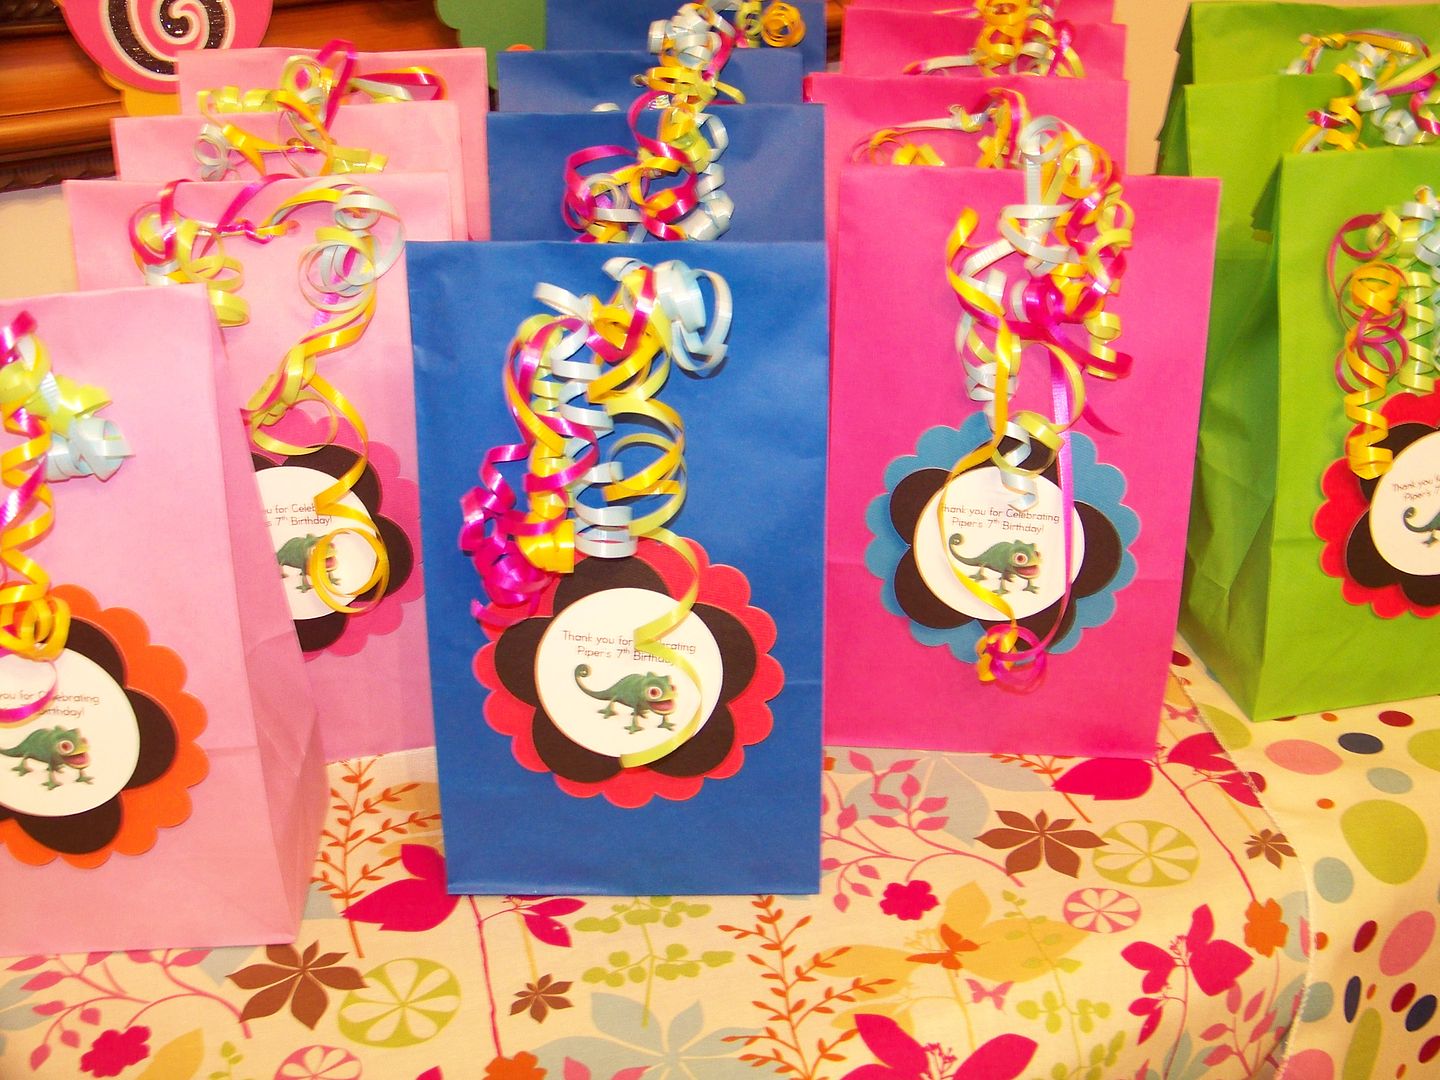

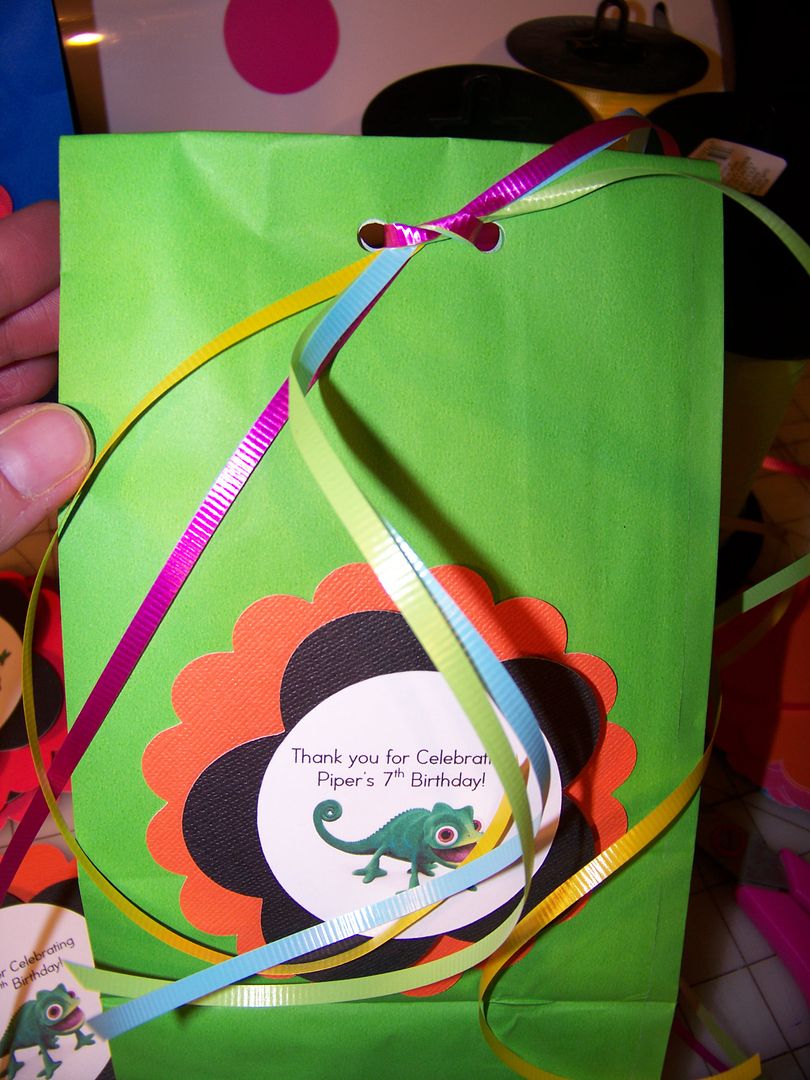
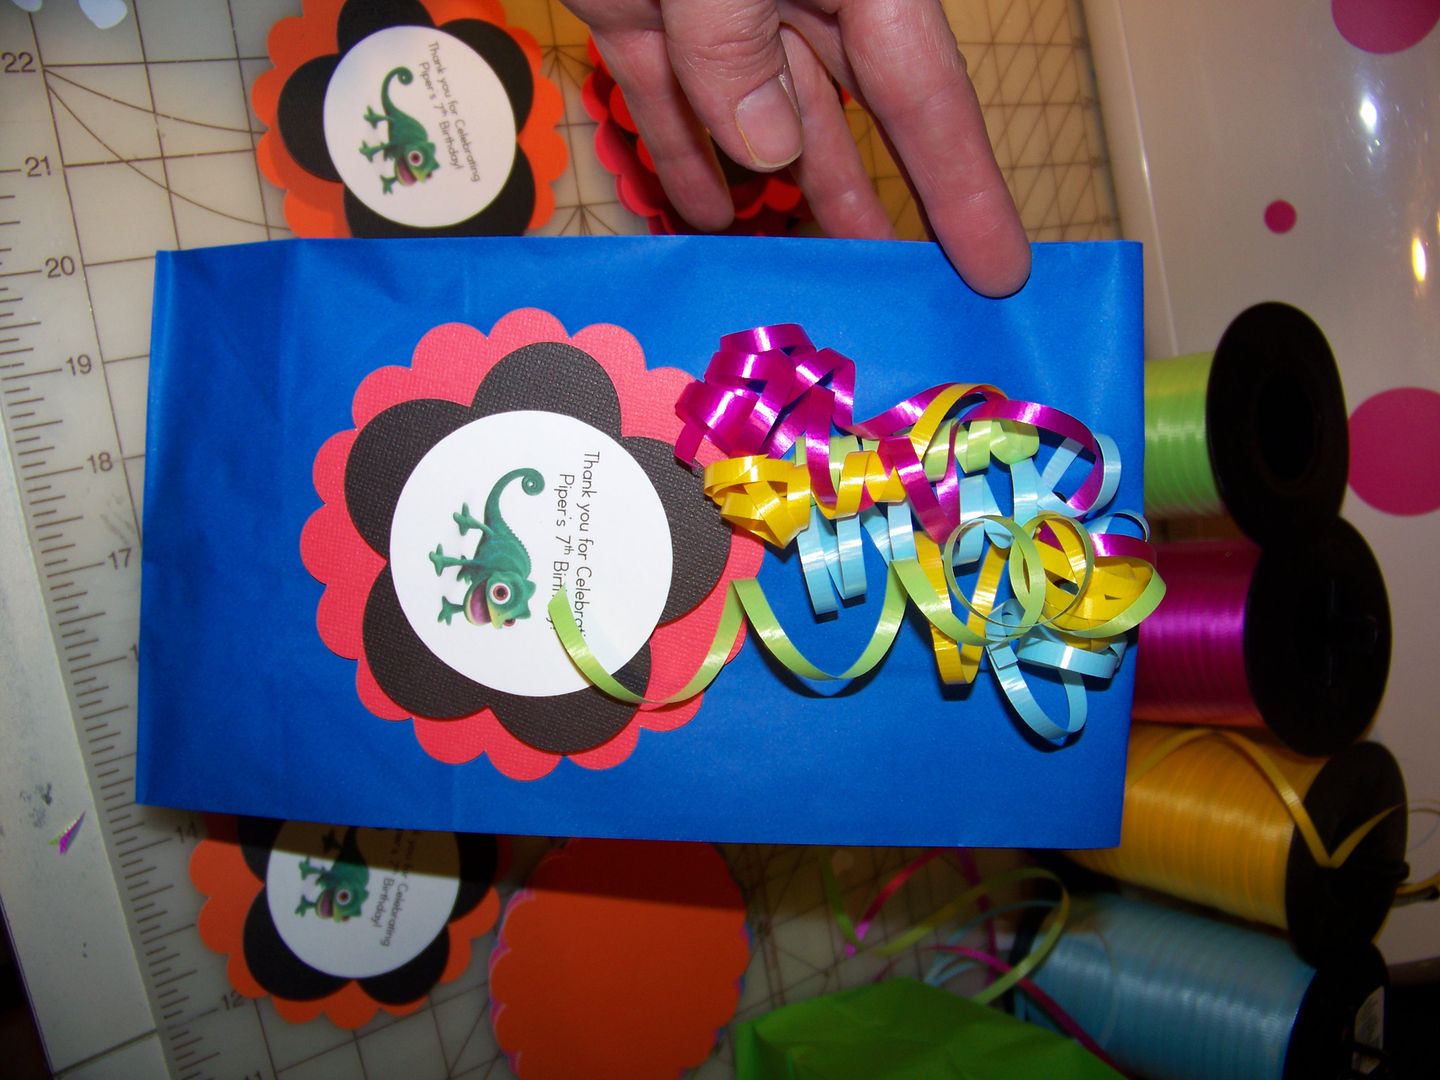
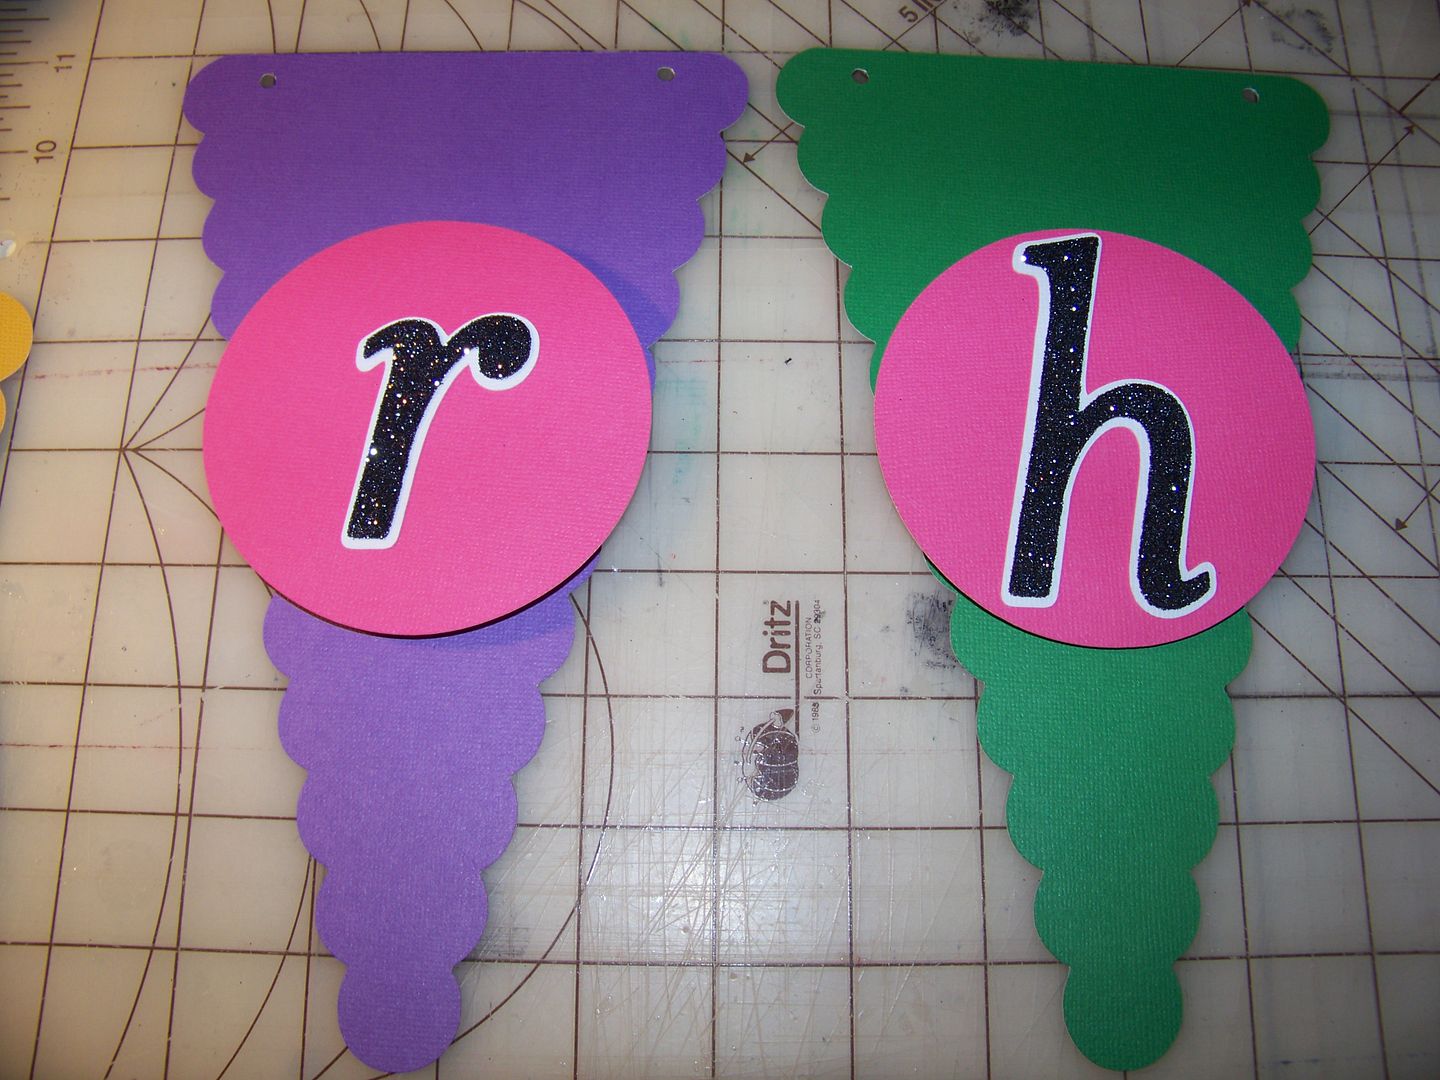
Next, I cut scalloped circles for the base of the tags using Mini Monograms again at 4-1/2" (page 129). The black flower that is layered in between the scallop and printed circle was cut from the same cart, page 128, at 3-1/4".
The printed circle and flower were attached to each other via ATG tape. They were attached to the scalloped base with a 7/16" Ranger pop dot. The base was attached to the bag with ATG tape. The bags were filled with bubbles, watercolor paints, glittery bouncy balls, stampers, rings, and lots of candy, then the tops were folded over and holes for the ribbon were cut with a hole punch. Colorful curling ribbon was fed through, tied, and curled.
Next: the banner!
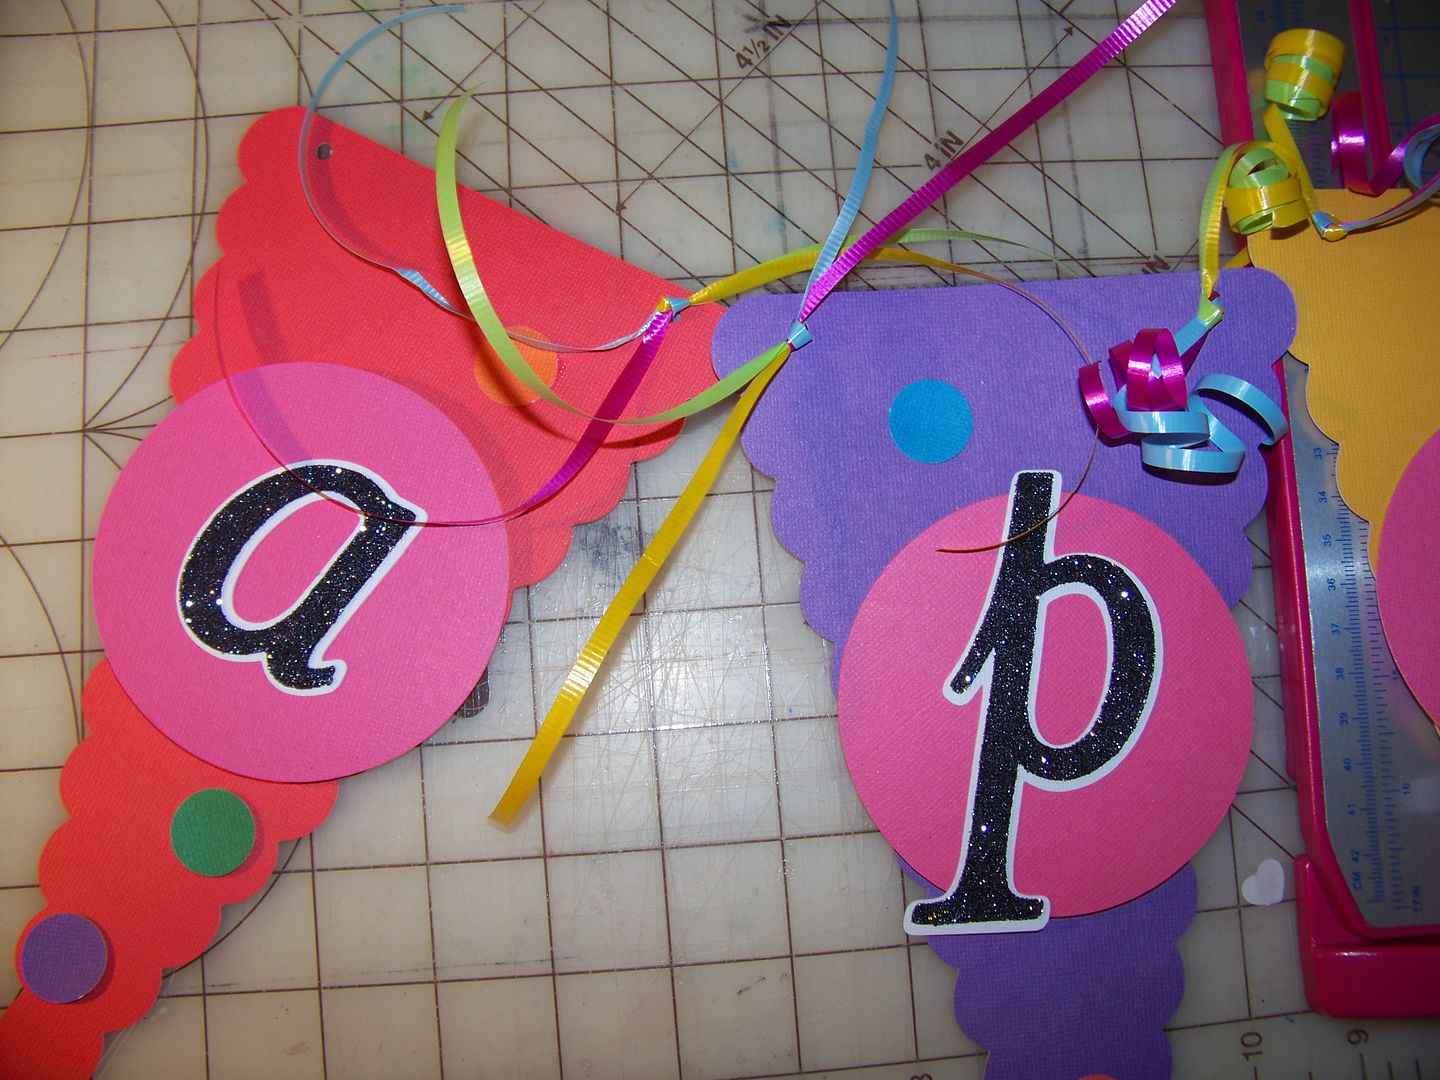
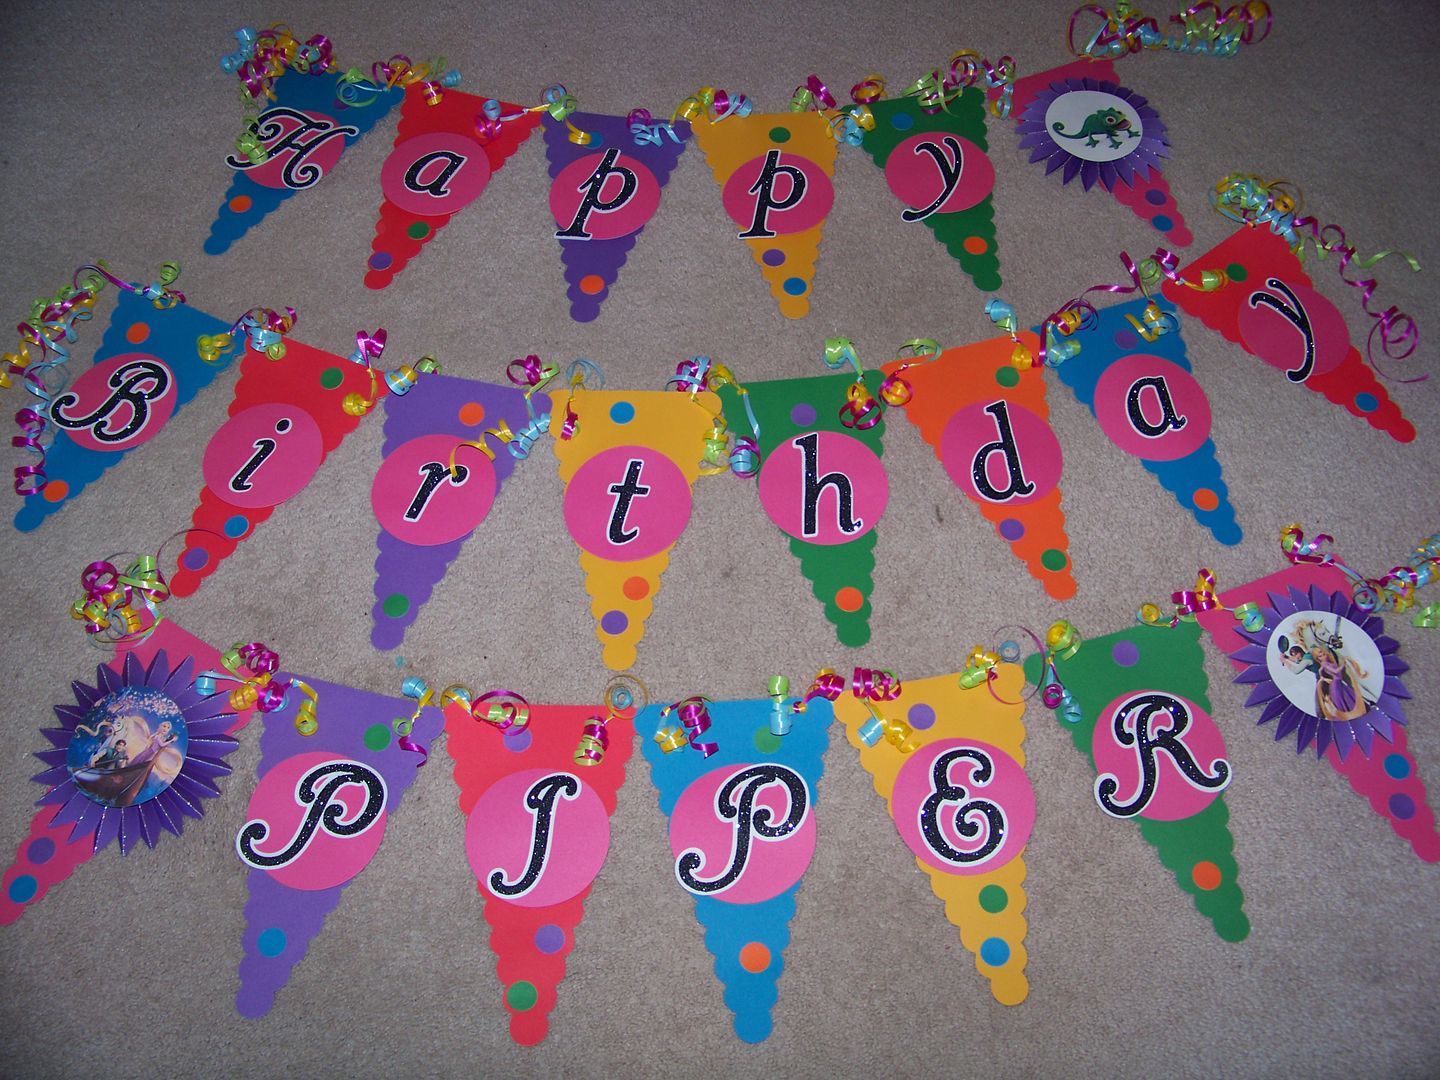
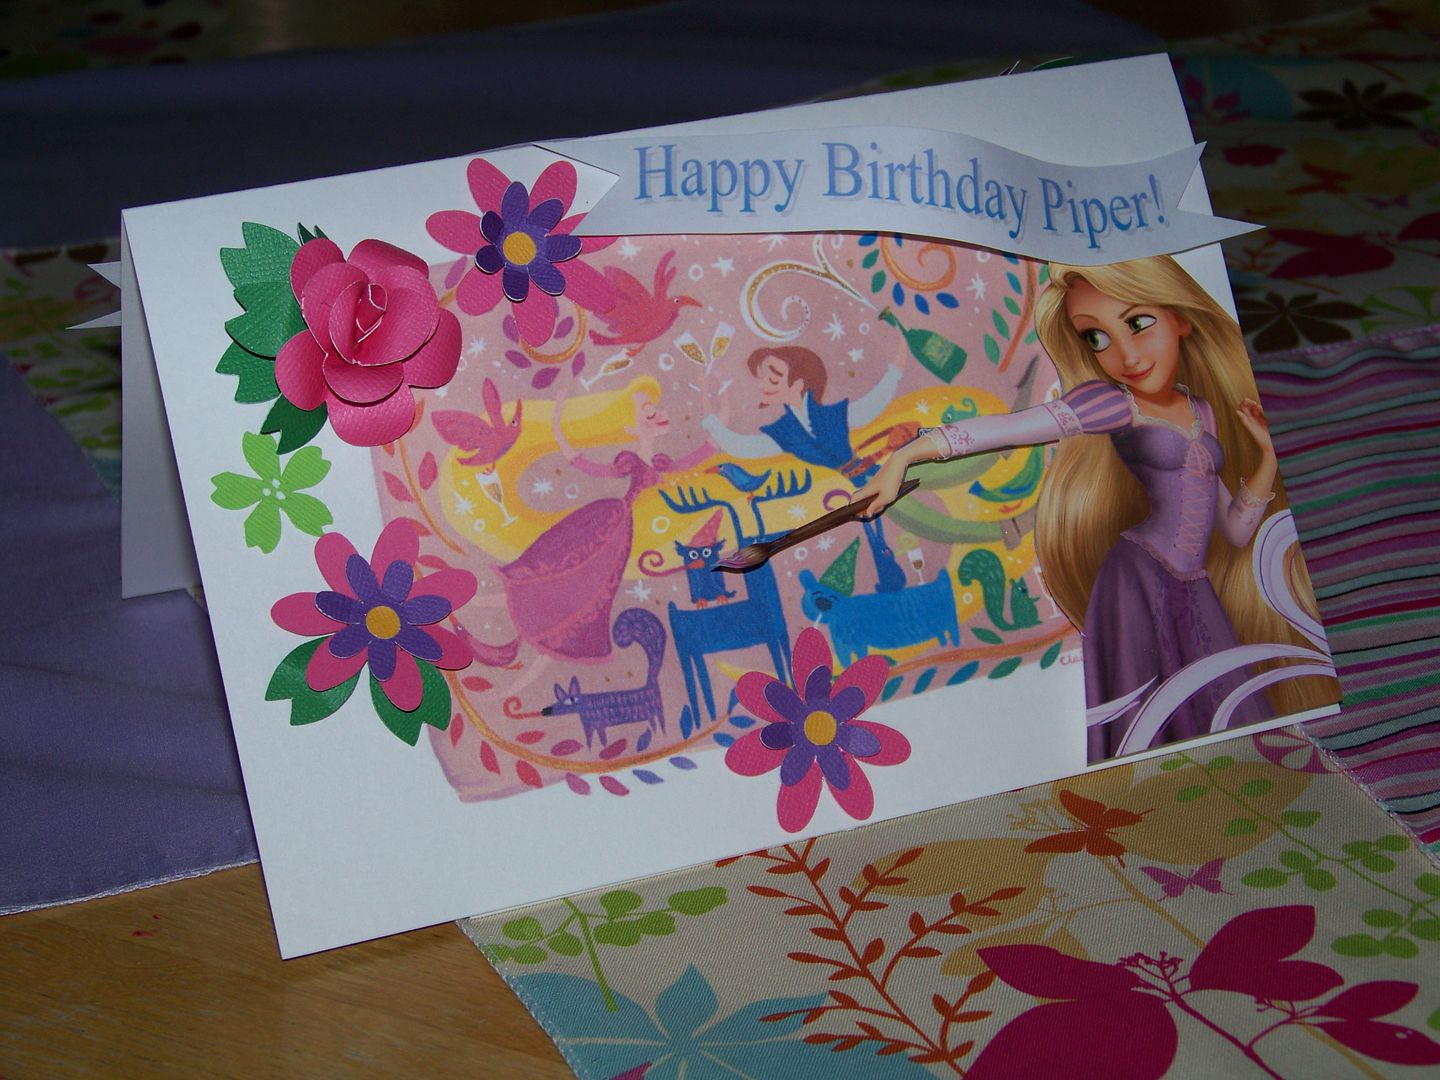
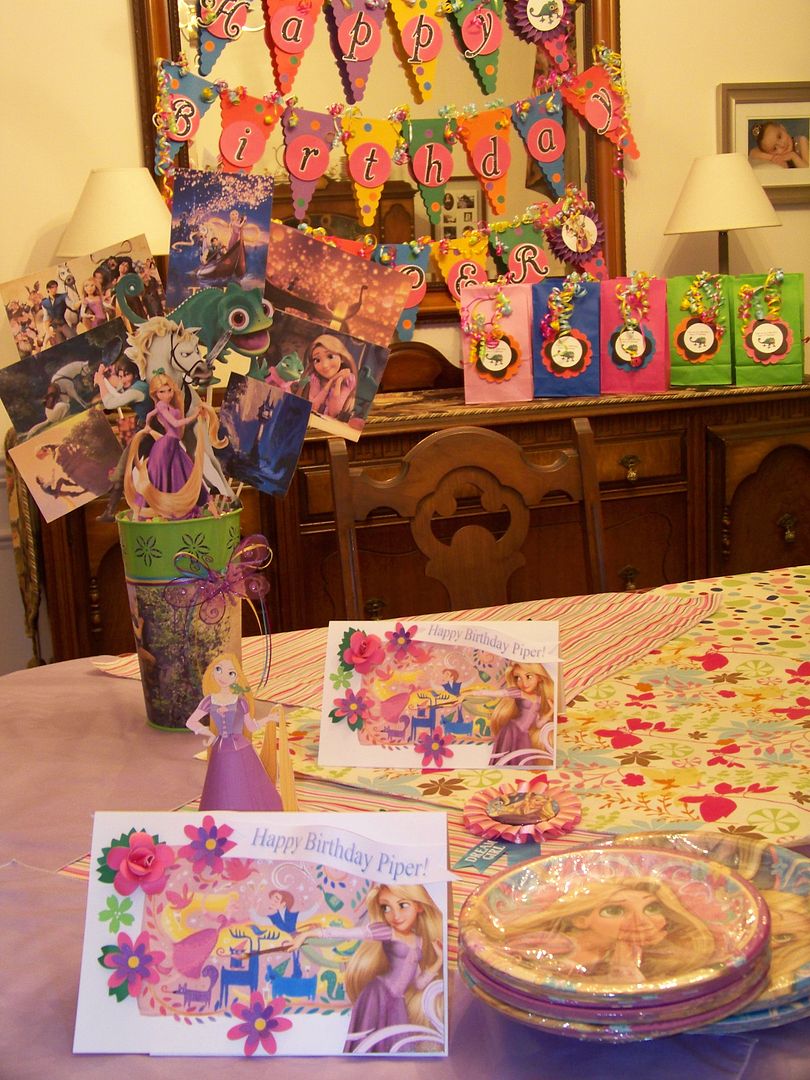
I used the scalloped pennants from Country Life (page 46), cut at 8-3/4". I found more movie images and printed them on white cardstock. I cut them using Mini Monograms (page 126) at 5" using the Centerpoint feature.
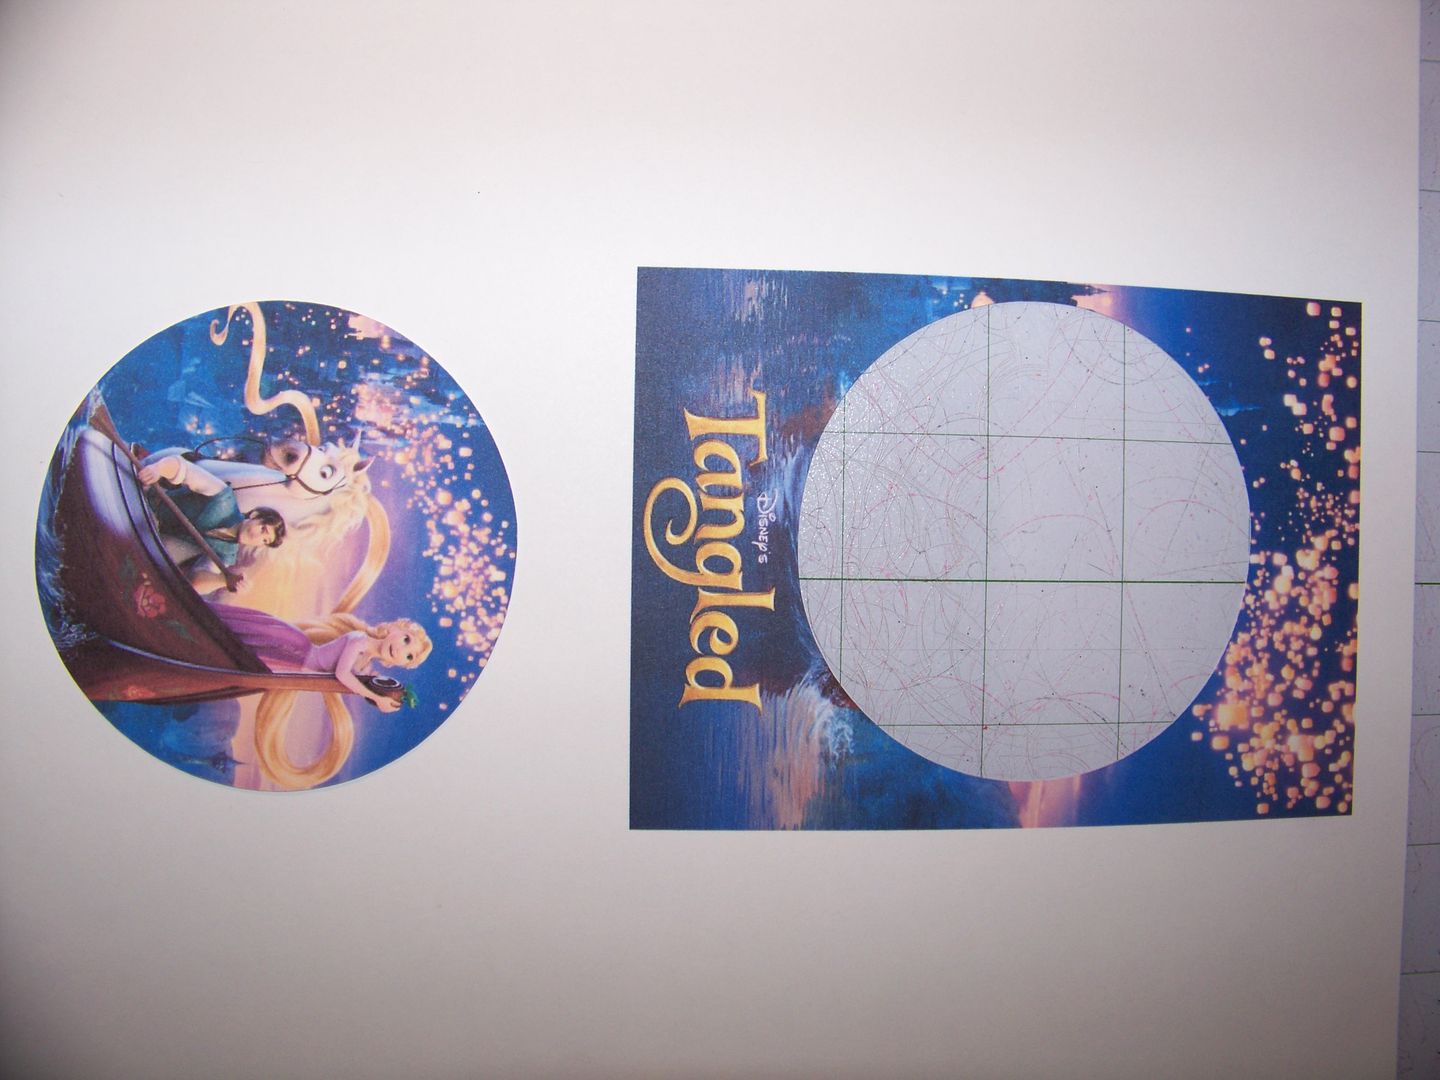
Stickles was added to the top edge of each fold to add a little sparkle. The printed circles were adhered on top.

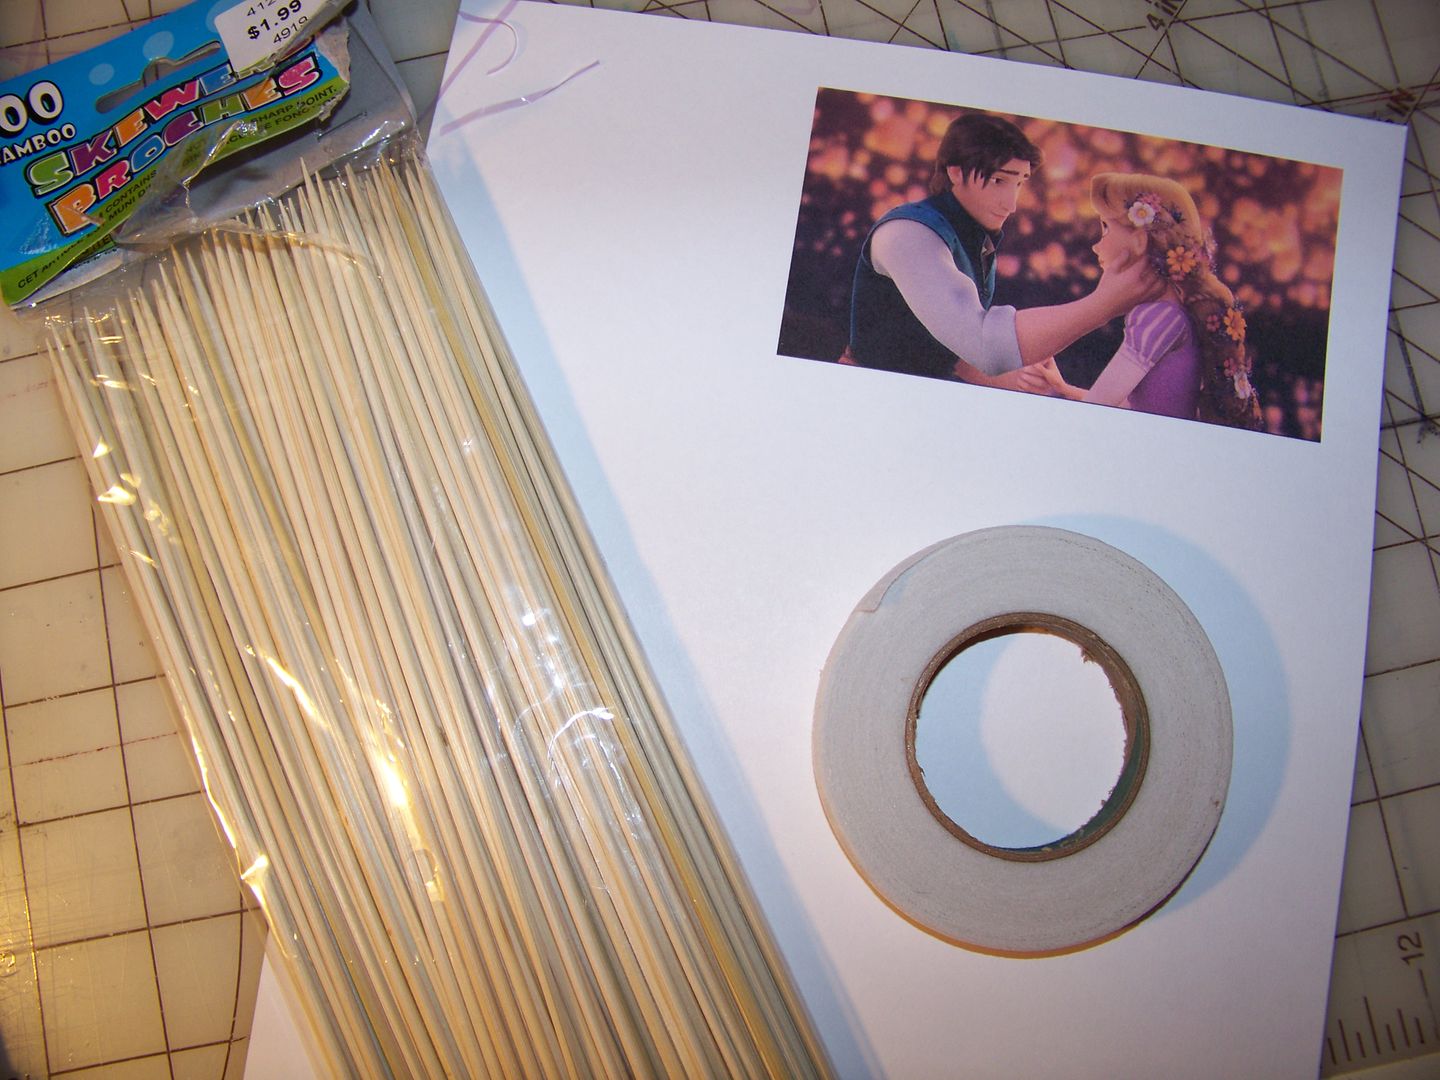
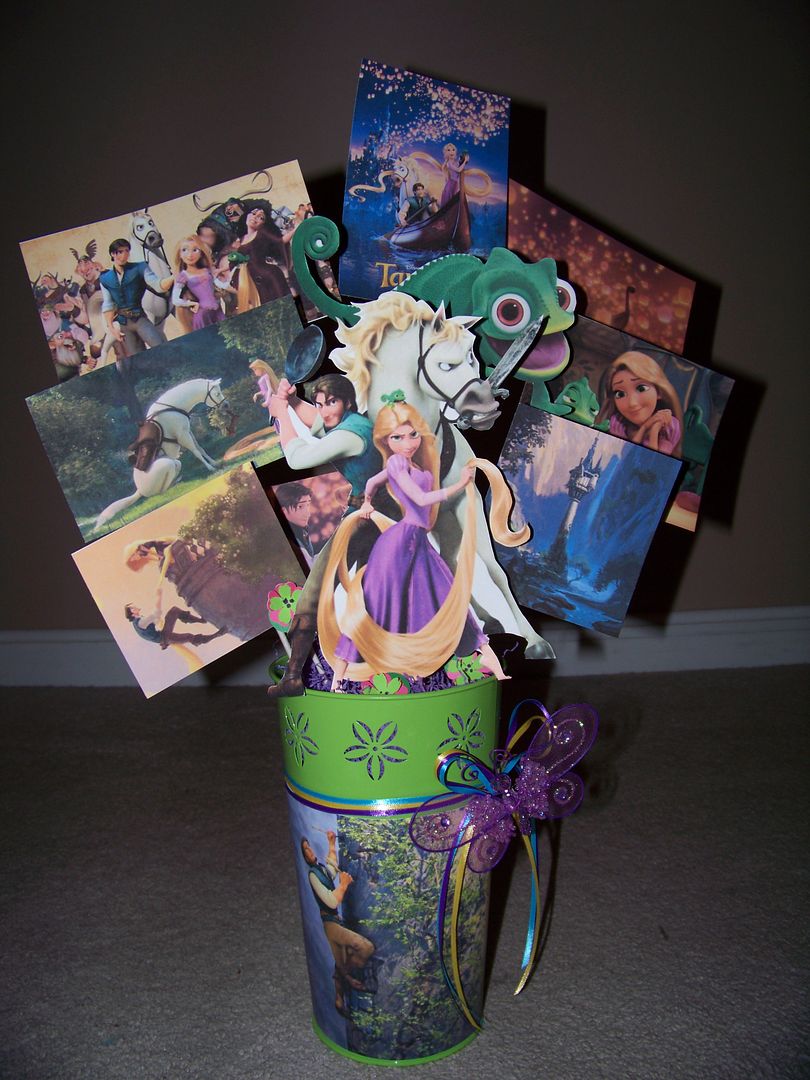
Next: the centerpiece! I used more movie images that I printed onto cardstock. Using white floral tape, I covered wooden skewers and then taped them to the back to use as picks.
I placed these in the purple grass with a bit of glue.

Next: Table Squares and Table Decor!
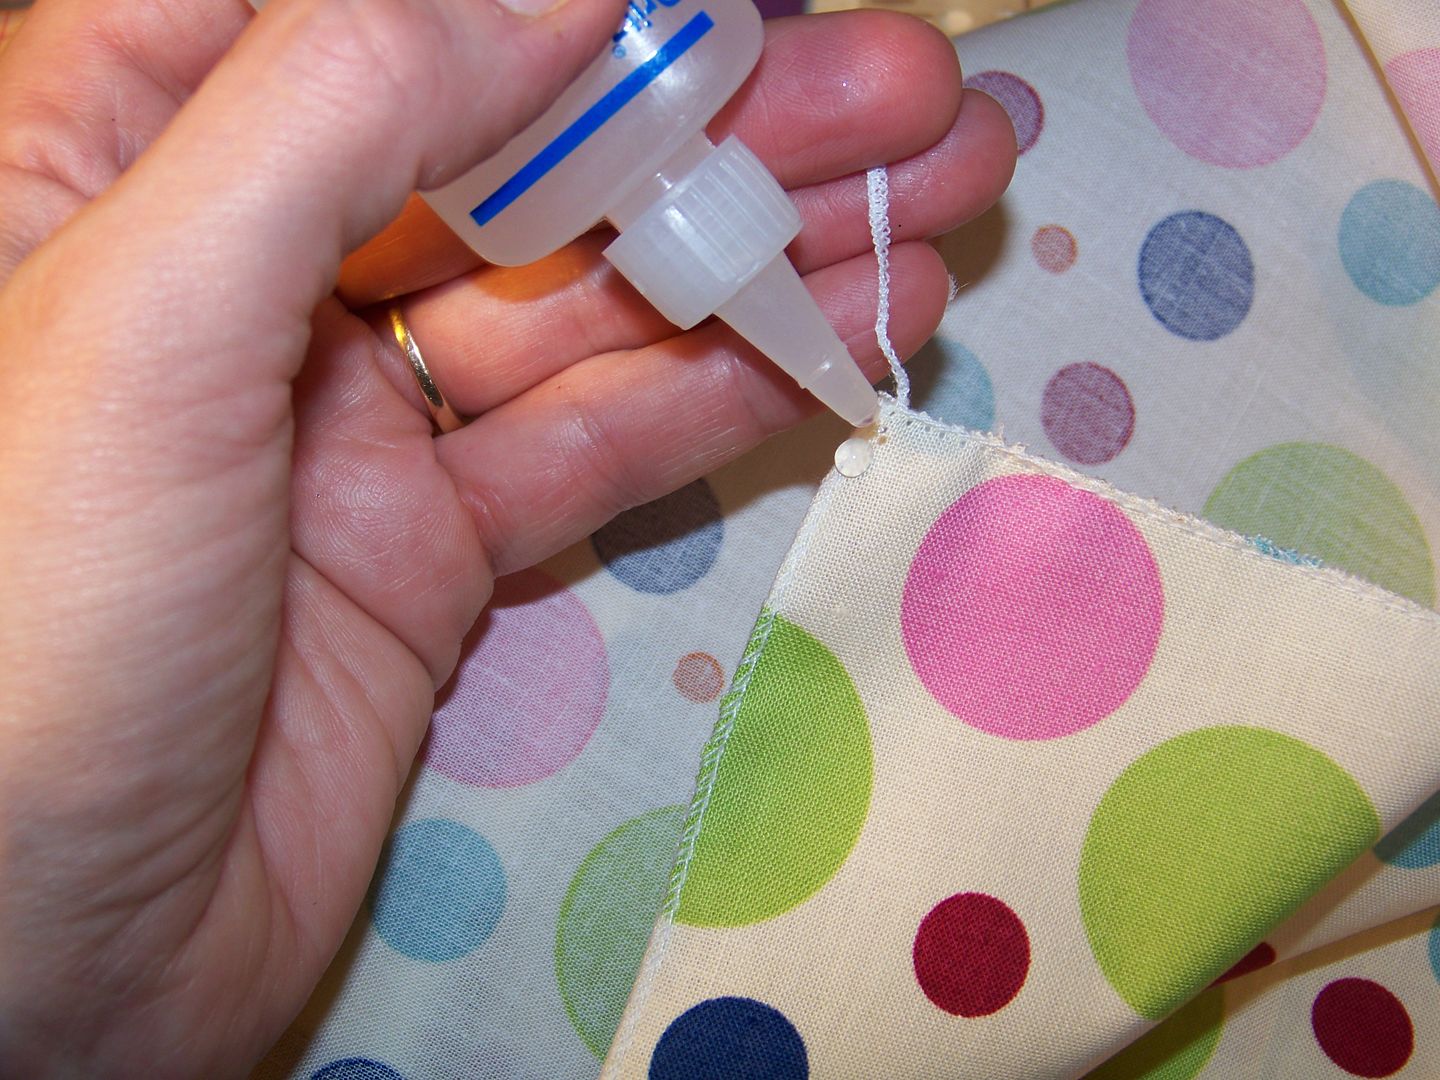
I found great fabrics for table squares that coordinated with the movie pictures and cardstock I used. I have found that 22-1/2" or so squares of fabric work better for party tables and buffets. They are cheap (5/8 yard will make 2; 1-1/4 yard will make 4), easy to hem quickly with the narrow rolled hem feature on the serger, and a snap to iron and launder.
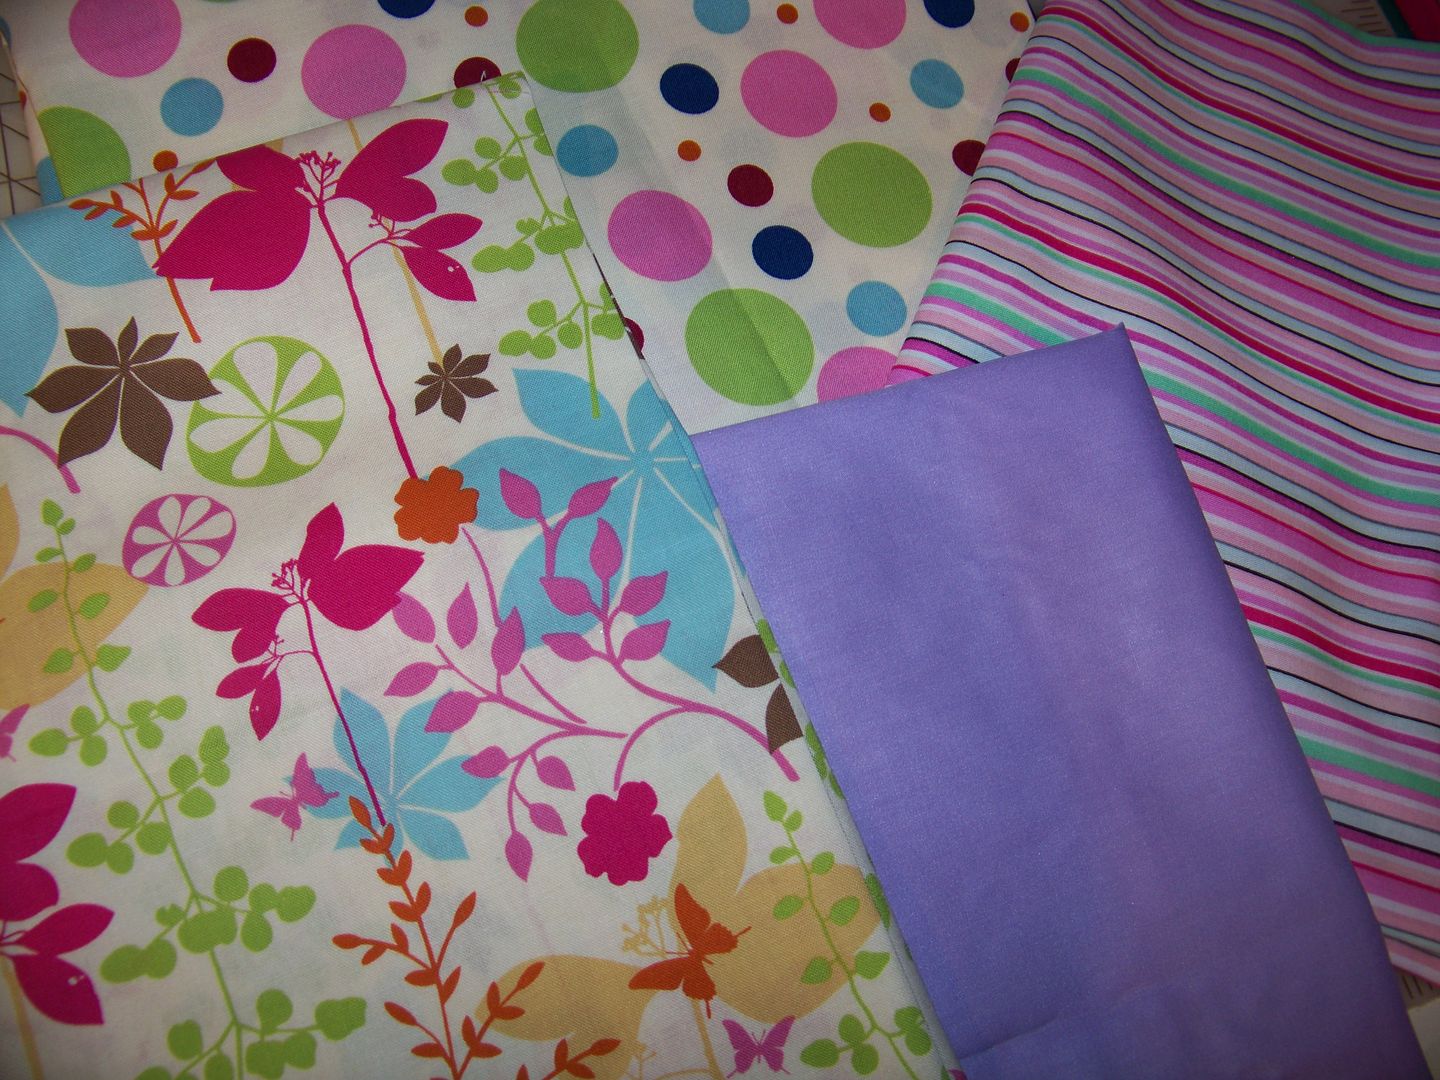
When serging, remember to change the throat plate for rolled hem, remove the left needle, and tighten the looper tension dials by three.

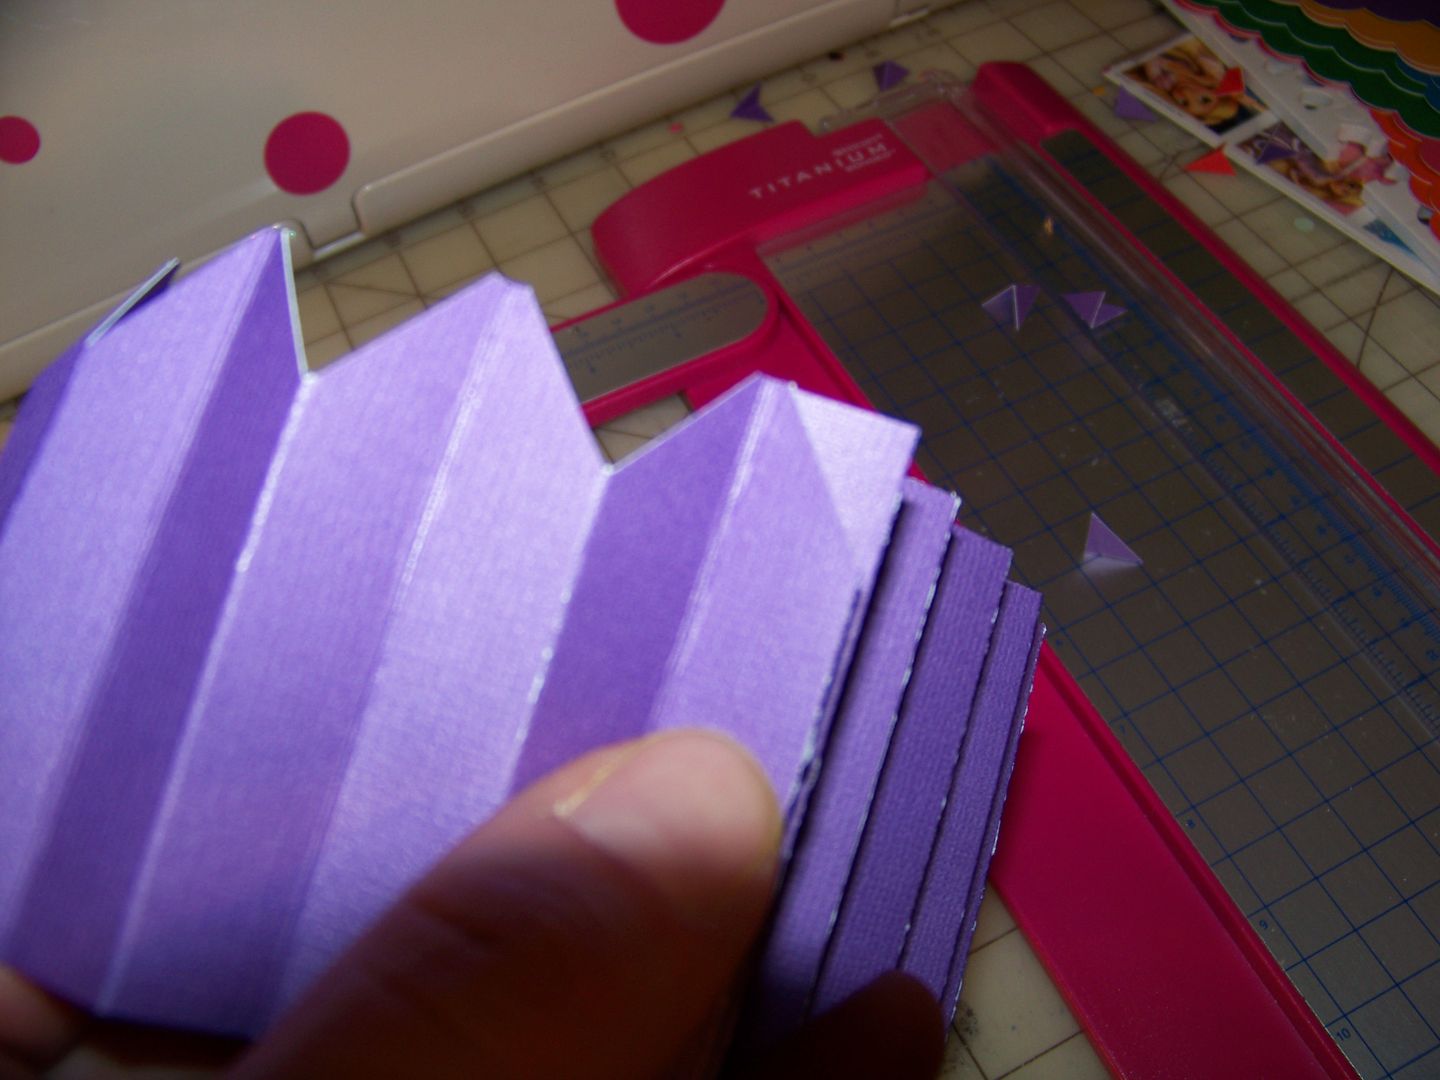
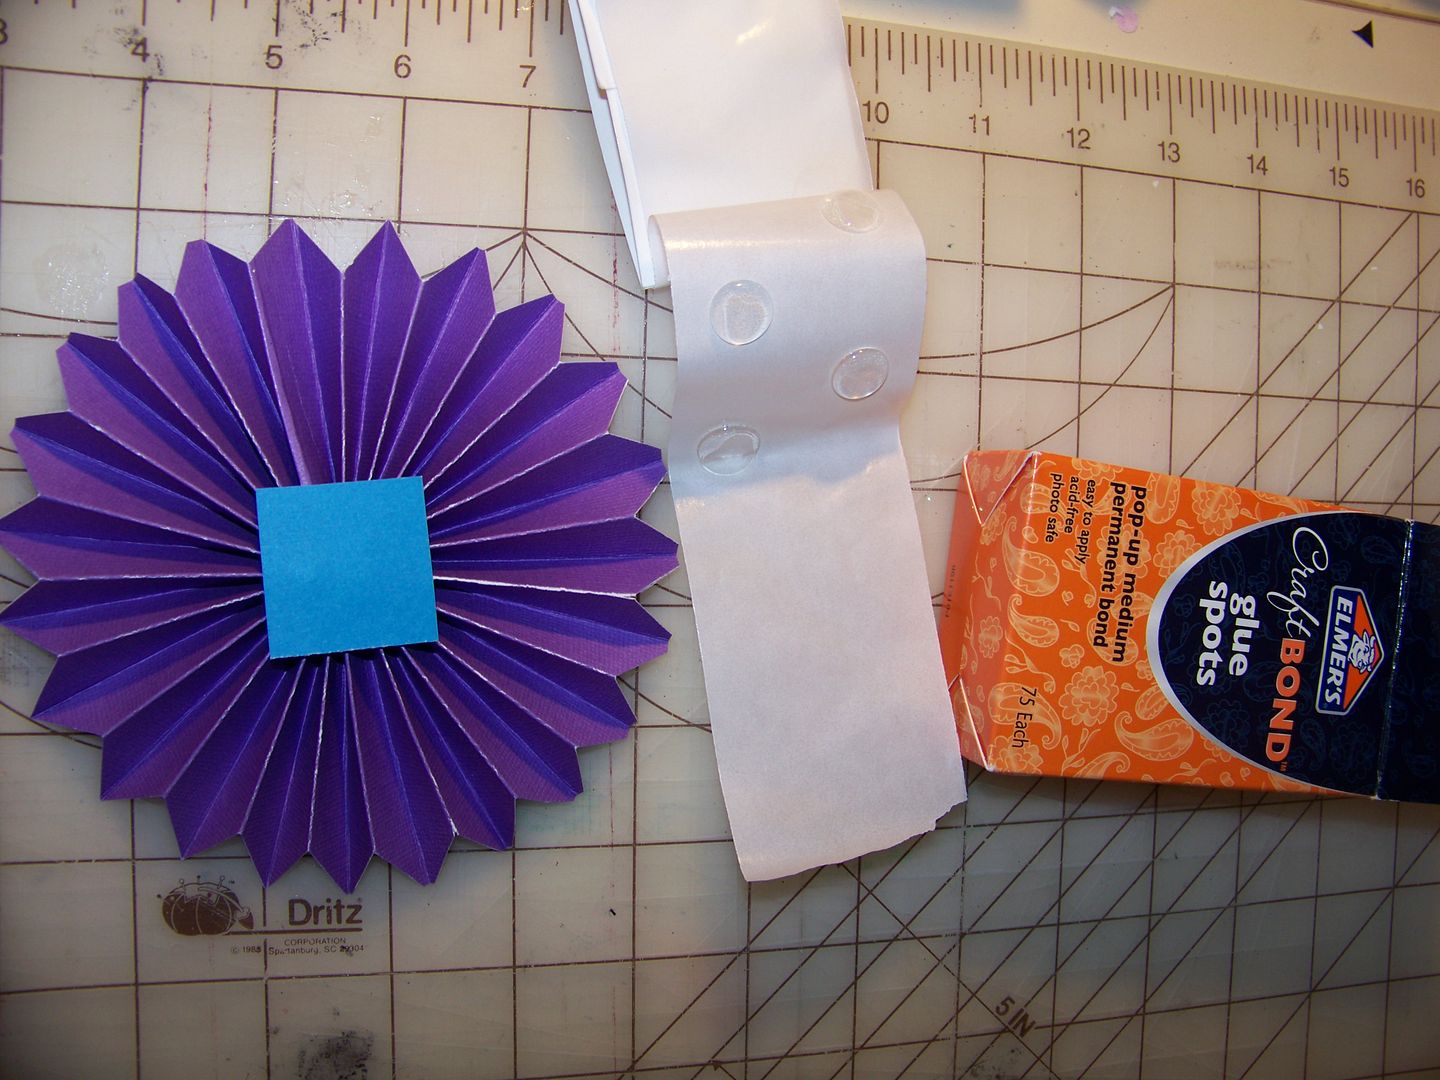
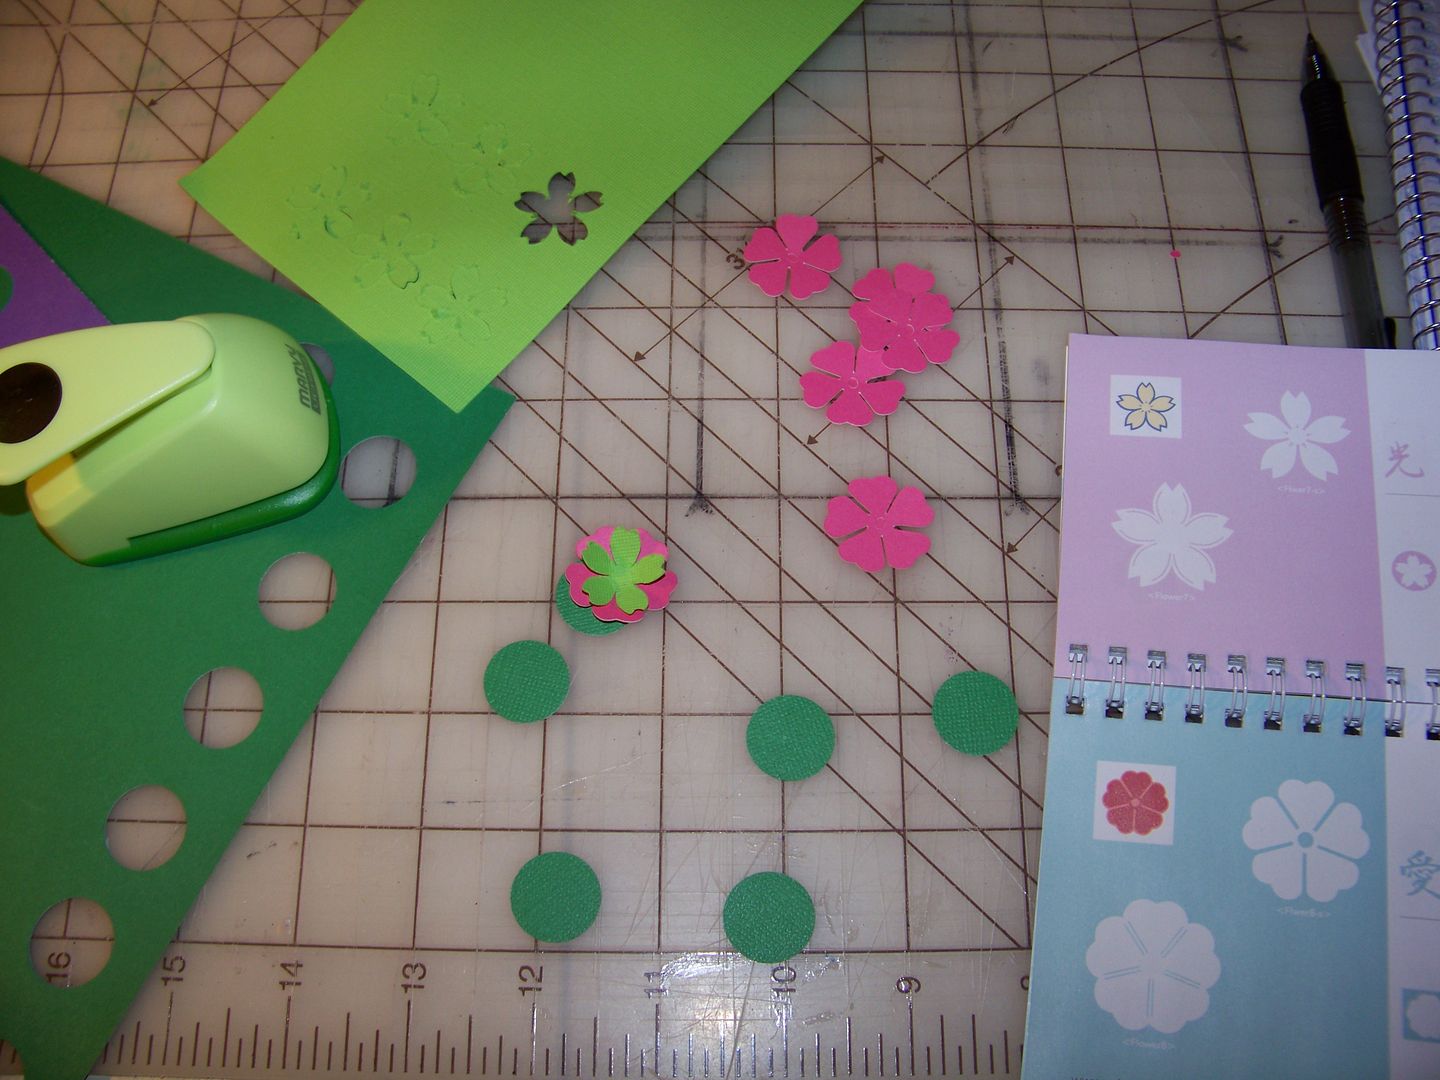
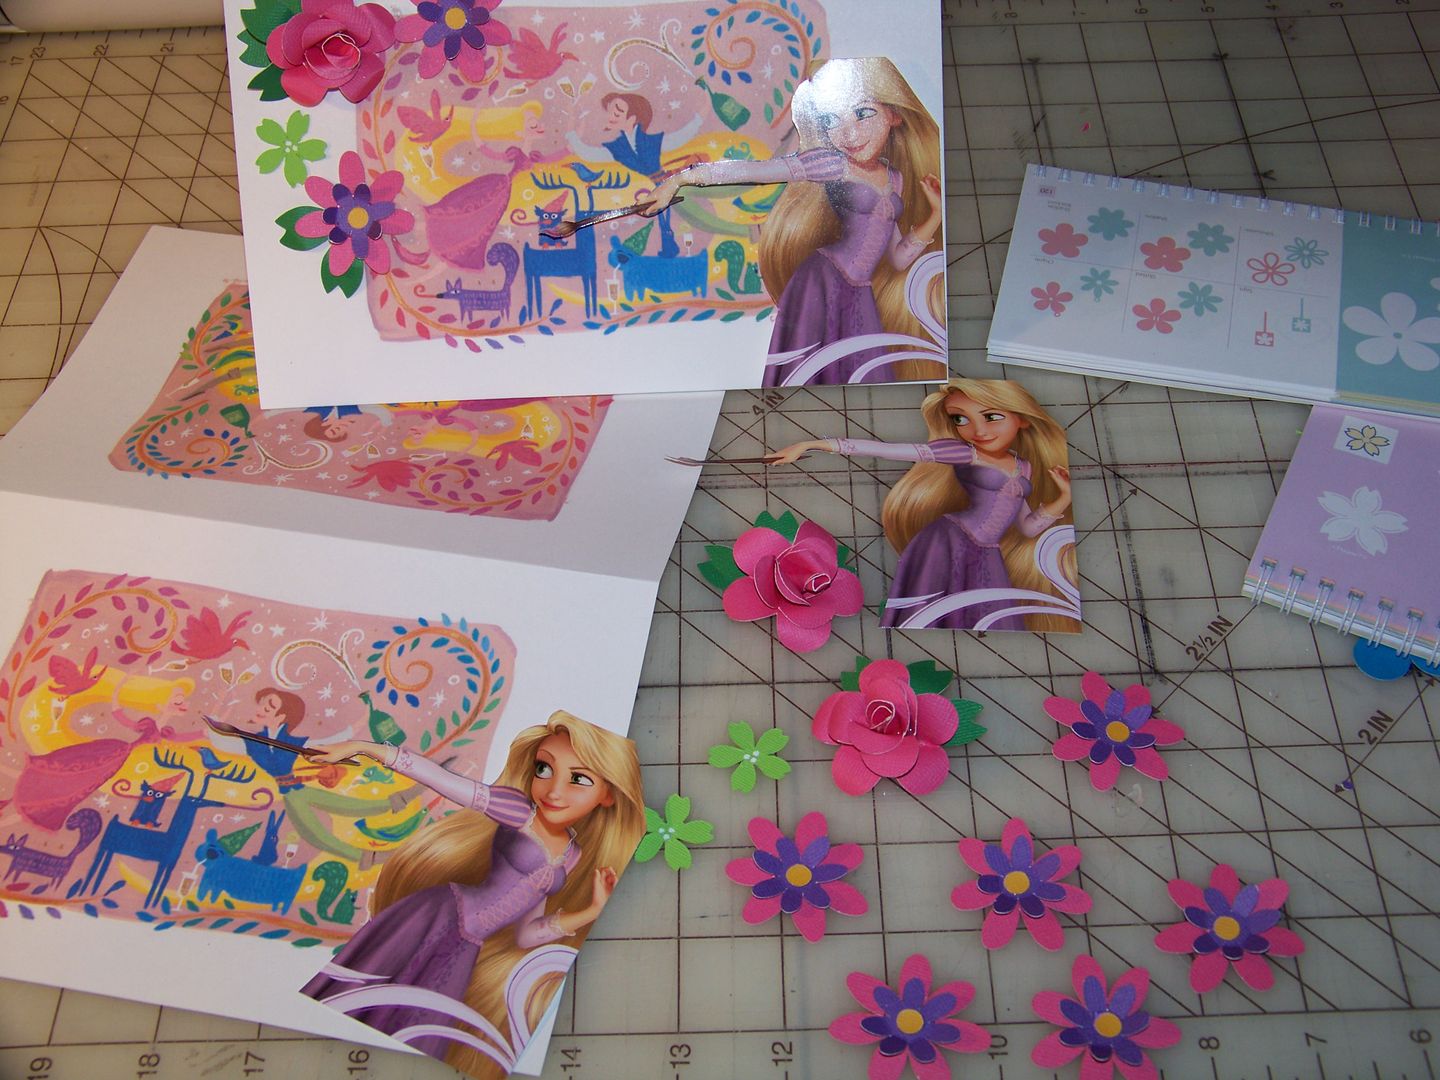
I used the inspiration picture, printing two on a page of cardstock and flipping one image, for table decorations where the kids will be sitting. I cut out and popped up a commercially printed Rapunzel. 3D cricut roses added a fun dimension to the tent cards. For info on how to make the roses using your George cart, check out Kathy Orta's great video tutorial! I cut my inital shapes from George using the blackout shadow feature per Kathy's video, at 1-1/2". I added a flower from Pagoda, cut at 1-1/2", and some layered flowers from George, cut at 1" and 1-1/2".

So, we have a family dinner on her actual birthday, and I've set everything up that we will using at the kid party to brighten up my dark dining room and to let Piper enjoy the decorations that we have planned for her kid party. All that's left is the food and cupcakes for two parties... and cupcakes to take to school... and treats to take to ballet... gotta love bein' a kid!
In addition to the favor bags for the kids, I have a take-away craft project that I printed on cardstock. This is a 3D Pascal to color and create. Click here to link to Disney Family's pdf! I love that website for Disney projects for kids!
Also - be sure to check out Claire Keane's site. Her artwork is stunning. If you loved Rapunzel's walls, then you will love her work! Check out the video she has embedded on her site that she did with her husband Vincent, another artist from the movie. Oh, and if you are excited by the colors she uses, you might be interested to know that their child is named Matisse.
Enjoy and thank you for looking at my blog and projects! I am most happy with this because these projects have been a labor of love for my little Piper!
17 comments:
And they are FANTASTIC!! What a wonderful momma and lucky little girl.
I feel completely outdone! *SNIFF* Oh how I have missed you!
Absolutely stunning!
Allison
Wow that party looks Amazing!! You did such a great job! I love all the little details you added, they really make it so much more special! Thanks for visiting my site and your sweet comments!
WOWZERS...one of the most wonderful things about the creative world is all of the incredible people I come into contact with...your blog is a fantasy land with endless paths to inspiration!! Thanx so much for the sweet words on my Blizzard of Oz LO both on the mb and my blog...I so appreciate the encouragement...thanx for becoming a follower of mine...I too am following your blog...I look forward to seeing more of your art!!!
Wow!! So much work and detail!! You did such an awesome job on all of it!!
This must have been a wonderful party!
I love making those banners. Ok, I've
only made one but it was so fun!
I feel like I haven't been here forever.
(hug)
TR
Nadia,
Oh so good to see ya back! I love all the fun stuff you made for Pipers Birthday, as always what a great job. Thanks for the tip on the Disney web site I too used it for my Granddaughters Birthday Feb 18th.
Nadia,
Oh so glad to see you back! What a wonderful job on everything you made for Pipers birthday. I bet she was thrilled.
Wow!!! I'm overwhelmed and amazed by all the party projects!!! What a great job!!!
Thank you for emailing your blog; I am so glad to be here visiting with you!
I'll be seeing you!
Nadia - WOWZERS looks like you've been busy. Hope the party was a huge success. Check out my blog I have something for you ;o)
www.carolinescraftography.blogspot.com
Caroline
I LOVE, LOVE, LOVE this! FABULOUS WORK!!!!!
Wow, that must have taken you such a long time! It turned out amazing though, I bet she was thrilled!
What an amazing party. I love how you took plain items and added a little bit of movie bling to match it to the party theme without overwhelmeing it. Great job!
I'd love it if you shared your party on our Shinding Saturday linky party. Either last week's a be entered into the drawing here: http://kimskandykreations.blogspot.com/search/label/shindig%20saturday
or tomorrows. You'rs would make a great addition to our party theme linky share.
Thank you for all the wonderful ideas and links.
I live in the UK where ‘Tangled’ has just been released and my daughter, also turning 6, is desperate for a Tangled themed party.
Thank you for making my planning stress free!
Tangled Party Supplies
Your daughter must know that she was so lucky having a amazing party like this. Don't mind if I steal some or more of your ideas for this Tangled party theme. Glad you share this. Tangled Party Supplies
Just loved it! I´m preparing my own party.
Thank you so much for telling me about Claire. I found her blog and loving her work! I almost bought the book she talked about! Now I have to buy it :)
Post a Comment