When Shannon Lerner of Provocraft sent an email to all Circle members who had registered for the Kentucky Crop, she mentioned that instead of Make-and-Takes, she would be doing a YUDU demo. As a person who is not big on Make-and-Takes, I was thrilled. I decided that I would pump her for every tip and get answered all of my questions from the real, live YUDU expert!
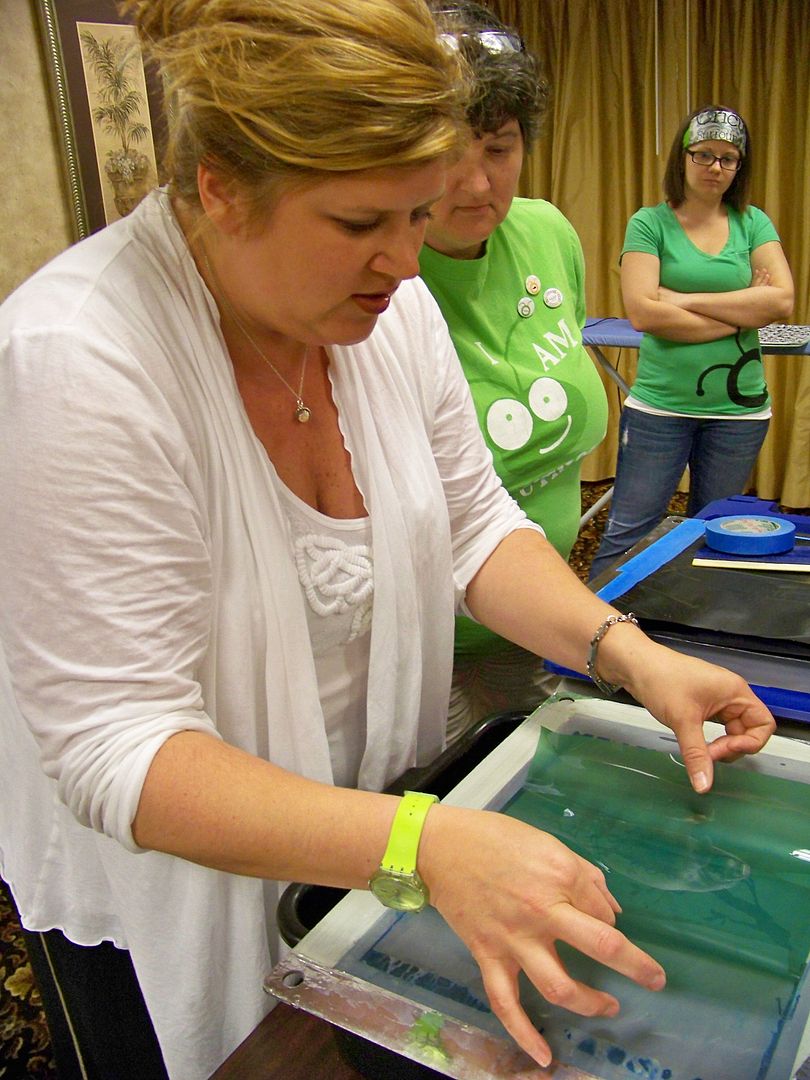 |
| She was so patient, answering everything I threw at her and letting me snap pictures all along the way. |
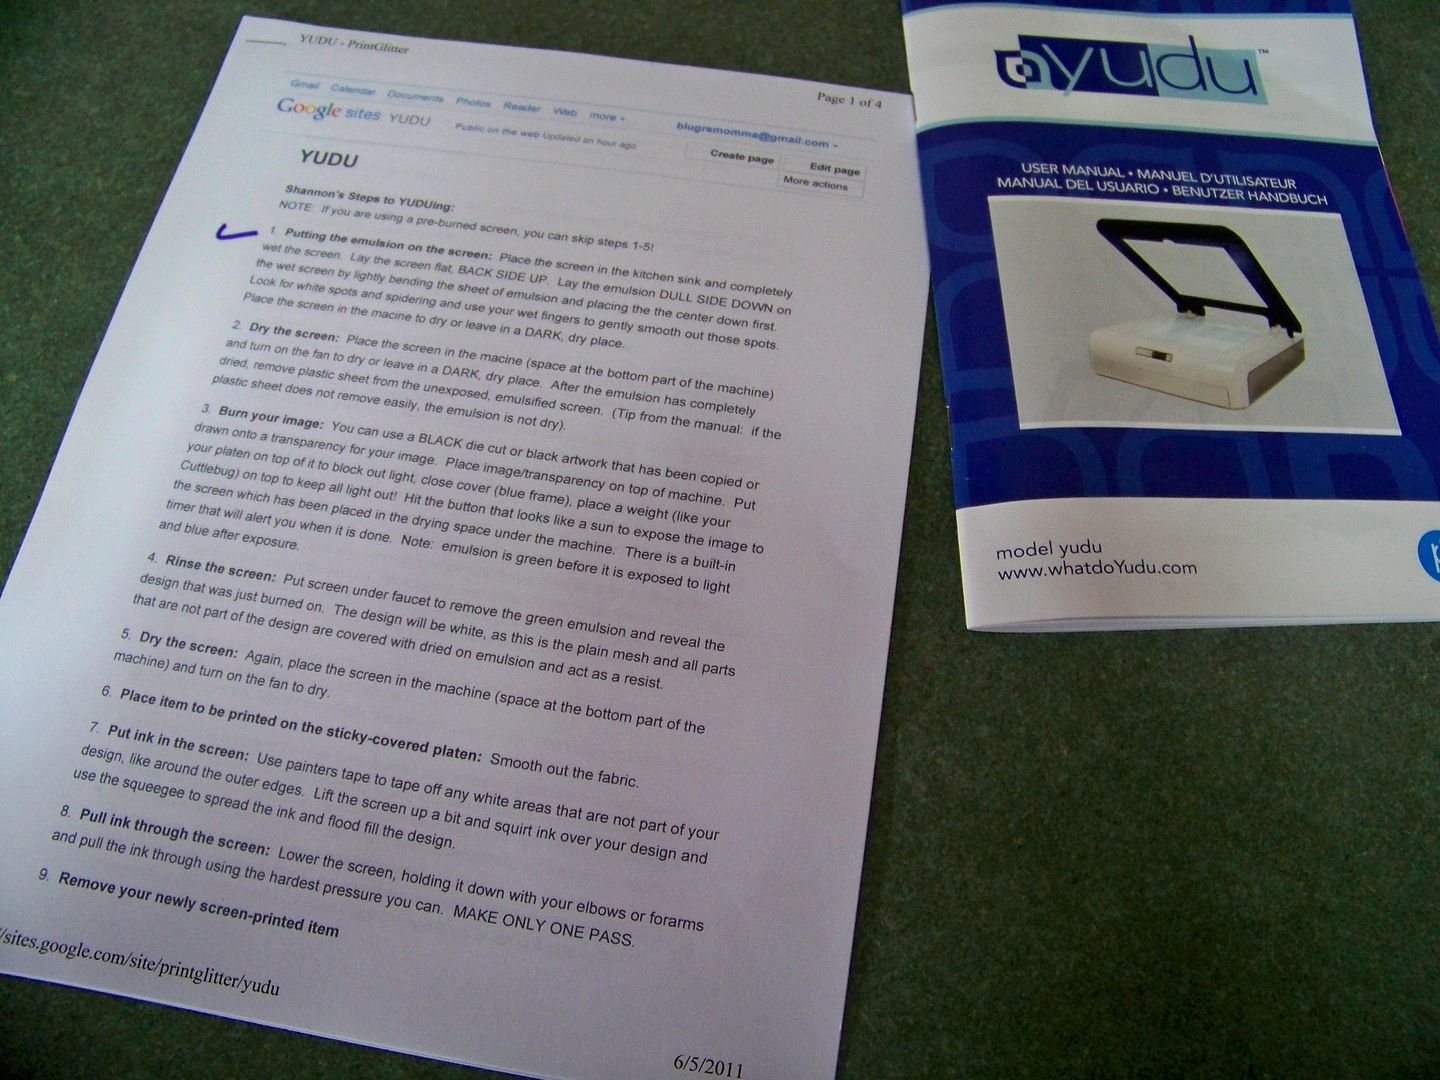
Armed with a notebook and camera, I took notes and asked tons of questions. You can see all of Shannon's tips and techniques that she shared with us on my YUDU page (click the tab at the top on the blog, or click here). You will notice a link to a printer-friendly version there. I highly recommend printing it to have handy for your first project!
I took my YUDU and since it was used to successfully screen lots of projects, I felt like my YUDU knew what to do. The next day, I traipsed all over Louisville, looking for Provocraft branded items.
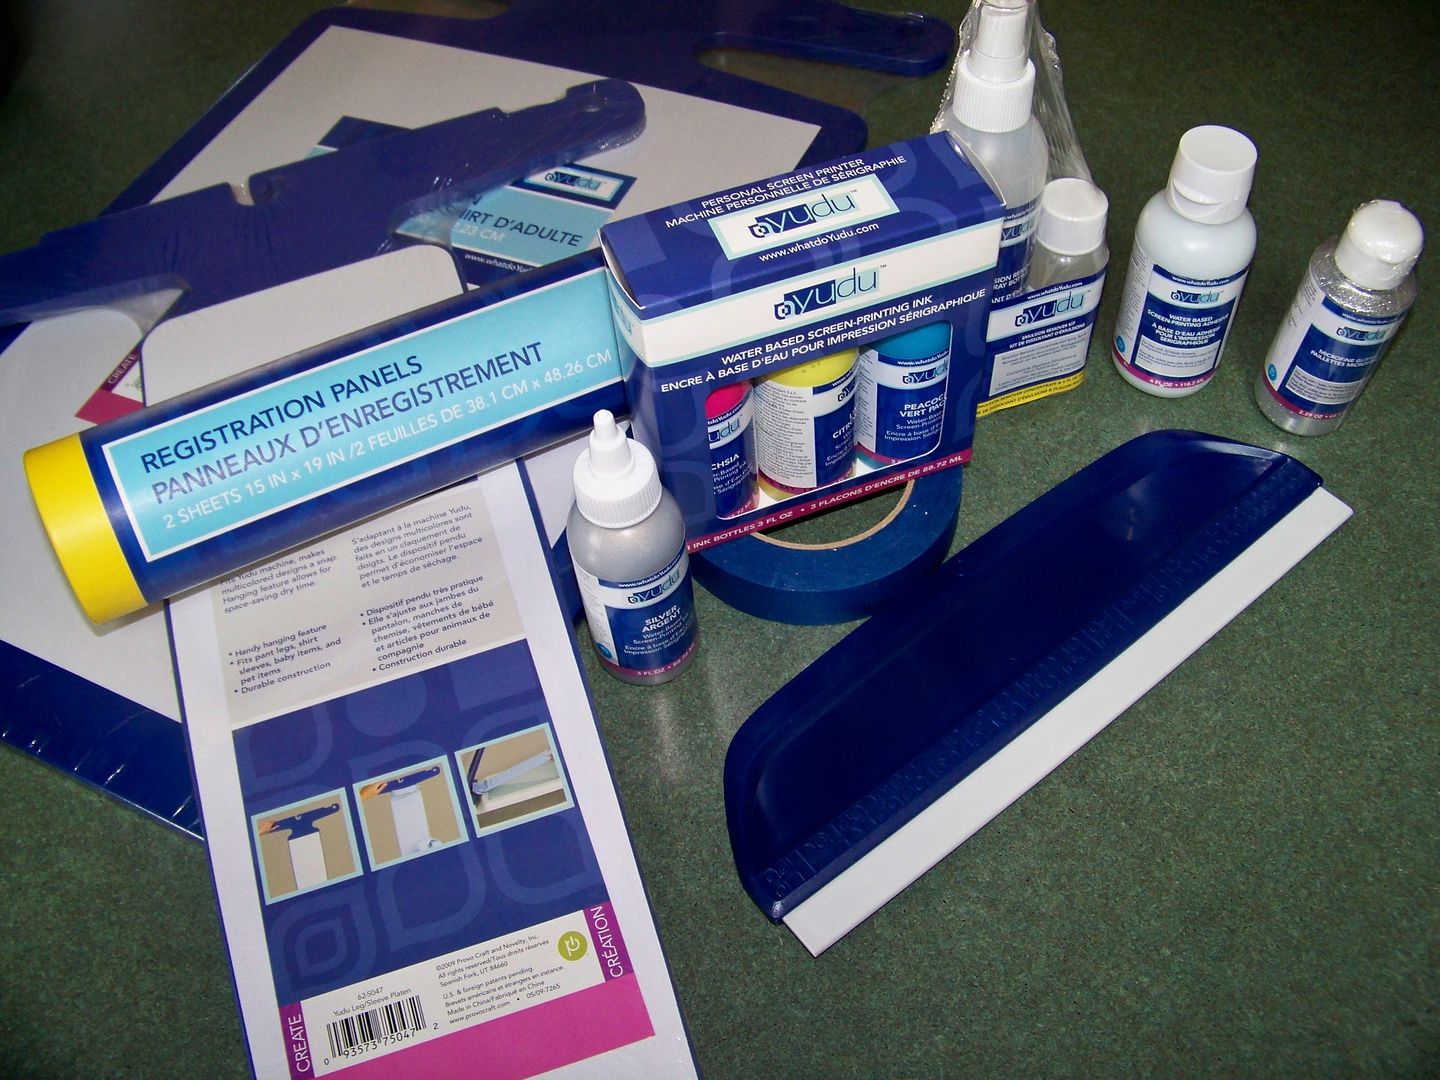
Between three stores, I still didn't find the 70 mesh screen needed to do flocking or the foil or flocking materials. After looking on the YUDU forum, I discovered a source for liquid emulsion! $153 later, I had placed an order for chemicals, screens, and lots of options. I also found all the specialty YUDU products at cricut.com.
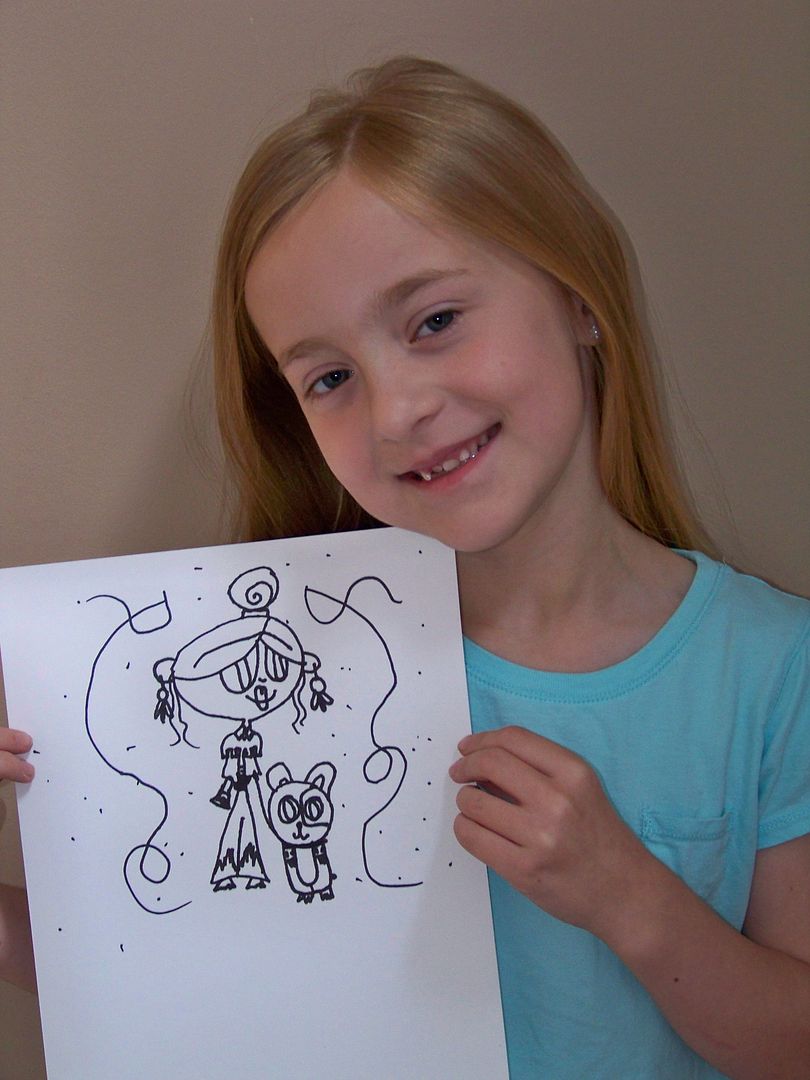
I decided that the only way to keep my YUDU confidence was to keep screen printing with what I had.
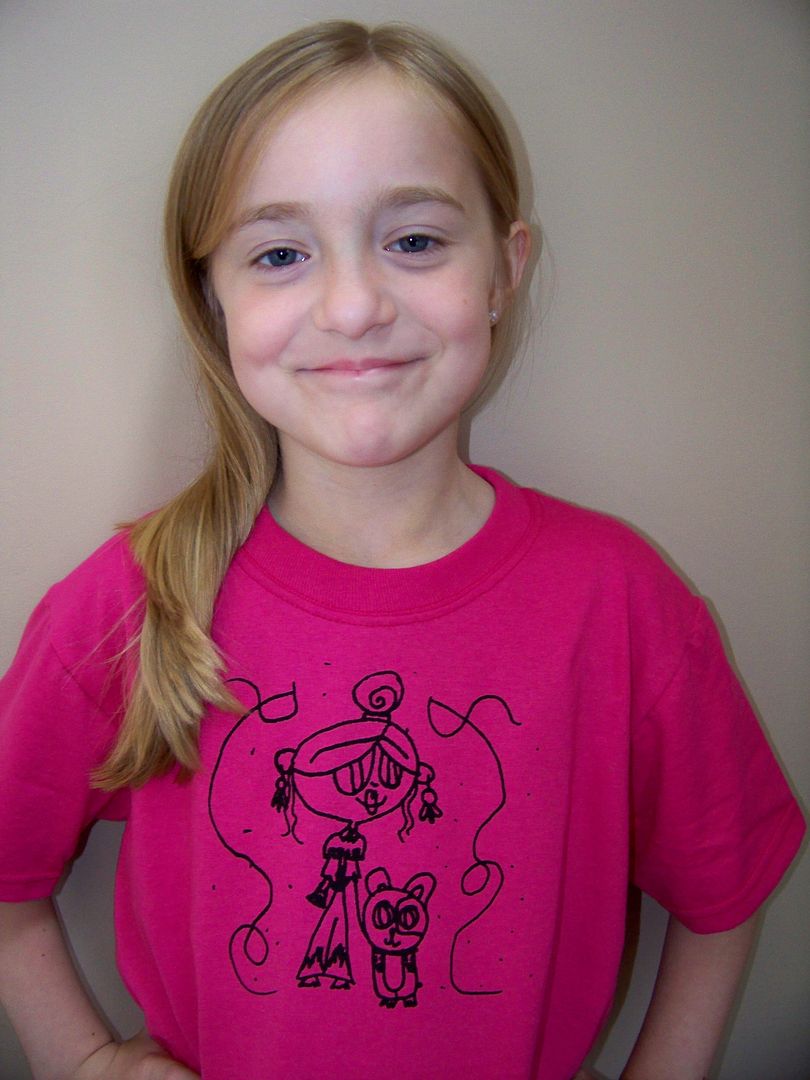
I asked my daughter to draw a picture on white cardstock with a Sharpie.
 |
| The blue areas were exposed in storage. |
 |
| Back side of the mesh frame. |
 |
| Top side of the mesh frame. |
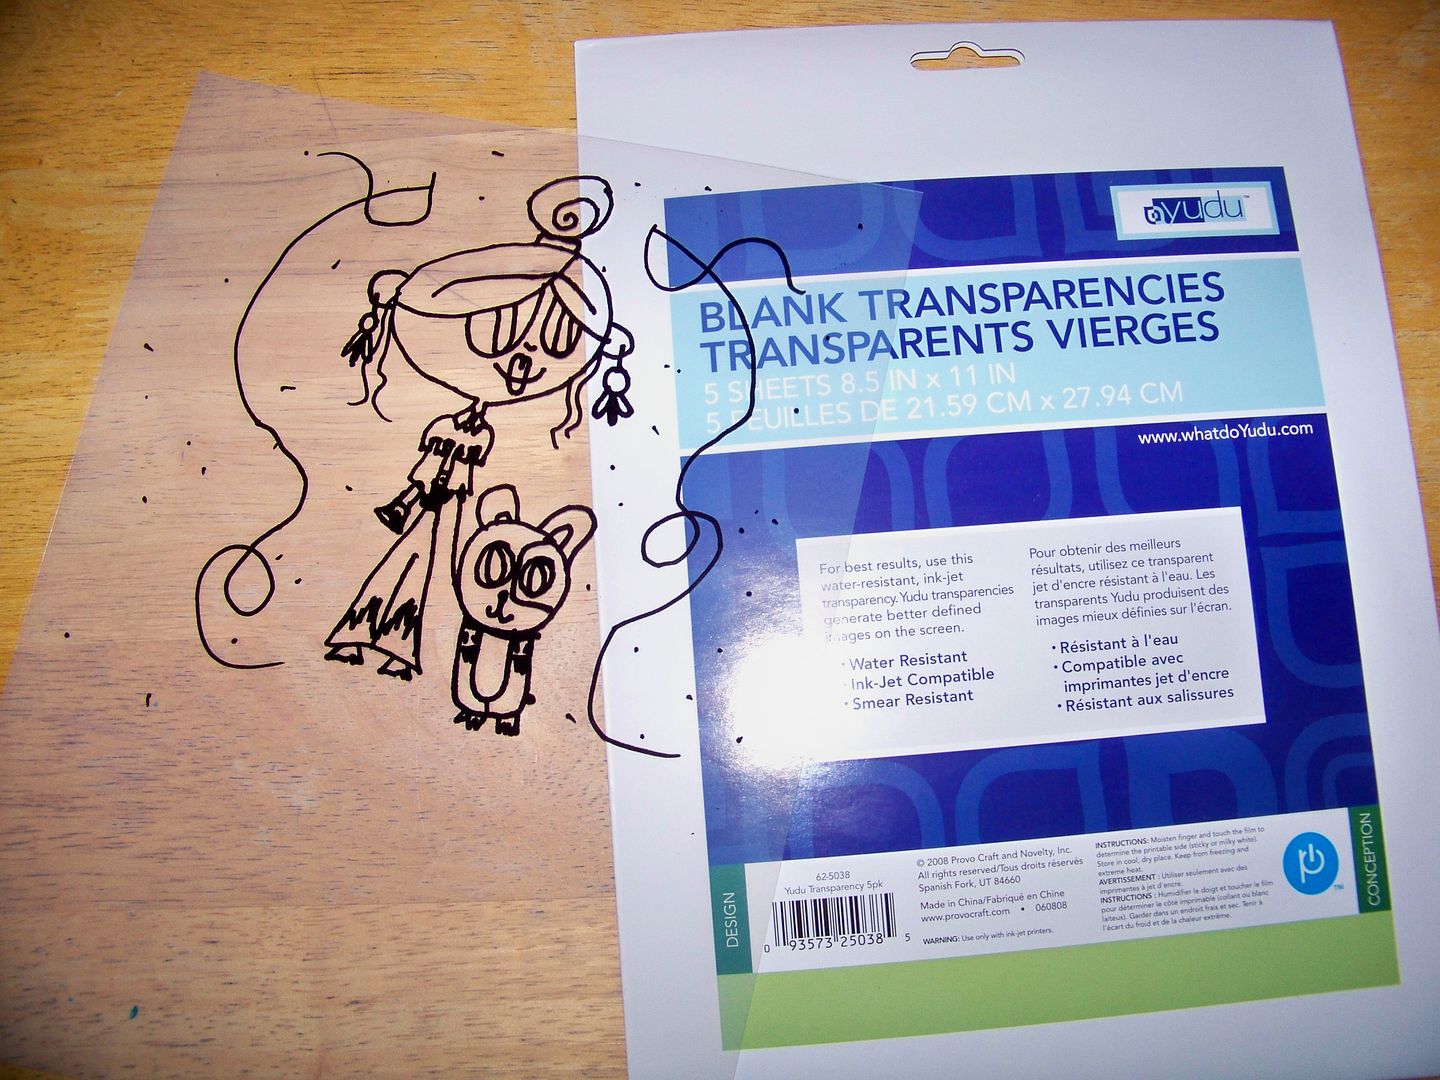
I heat-set it, using a piece of paper as a press cloth.

Applying the emulsion sheet was the hardest part. Making sure it adhered and then the waiting! Letting it dry, rinsing it, and letting it dry again takes hours!!! That is why I stopped everything when I watched Cricut Circle's CraftySanSan's awesome YUDU videos online. My jaw dropped when she demonstrated using her Cricut to cut Oracal 651 vinyl to use instead of emulsion on her mesh screen. Not only was it quick and as easy to apply as any vinyl project, but-- AND THIS IS BIG -- there is NO DRYING TIME!!!!! No waiting for the emulsion to dry (no emulsion), no rinsing, no waiting for the screen to dry. We are talking instant printing!!!!
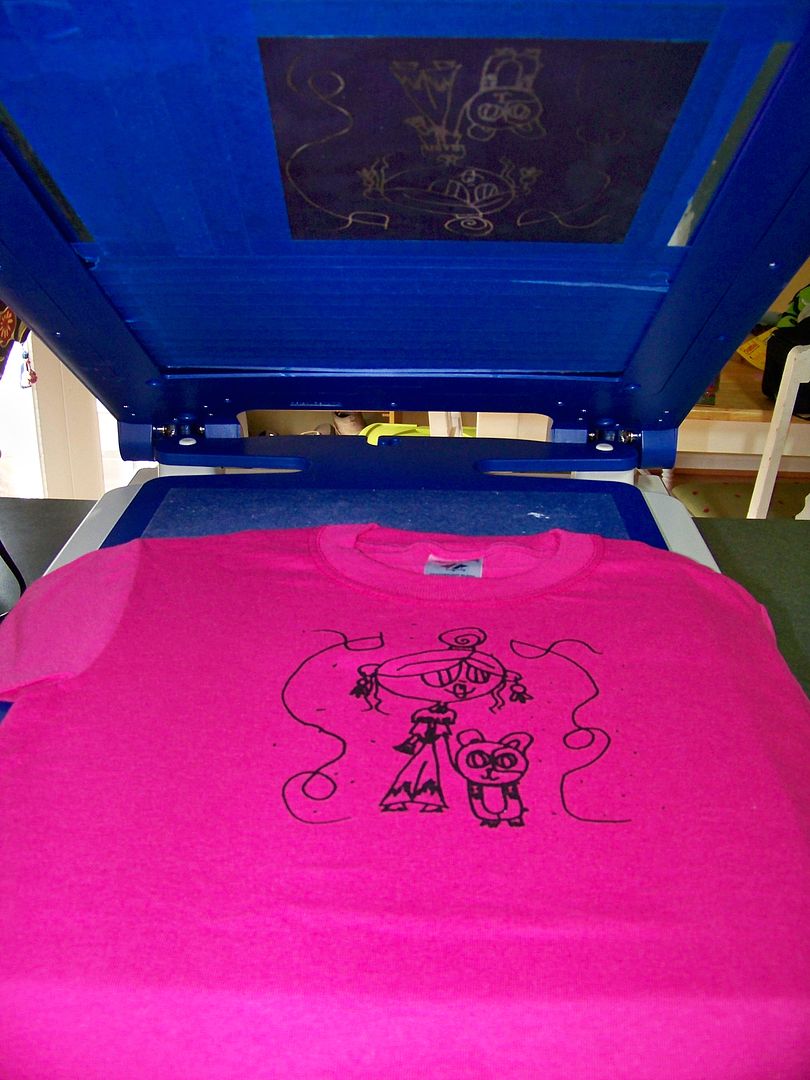
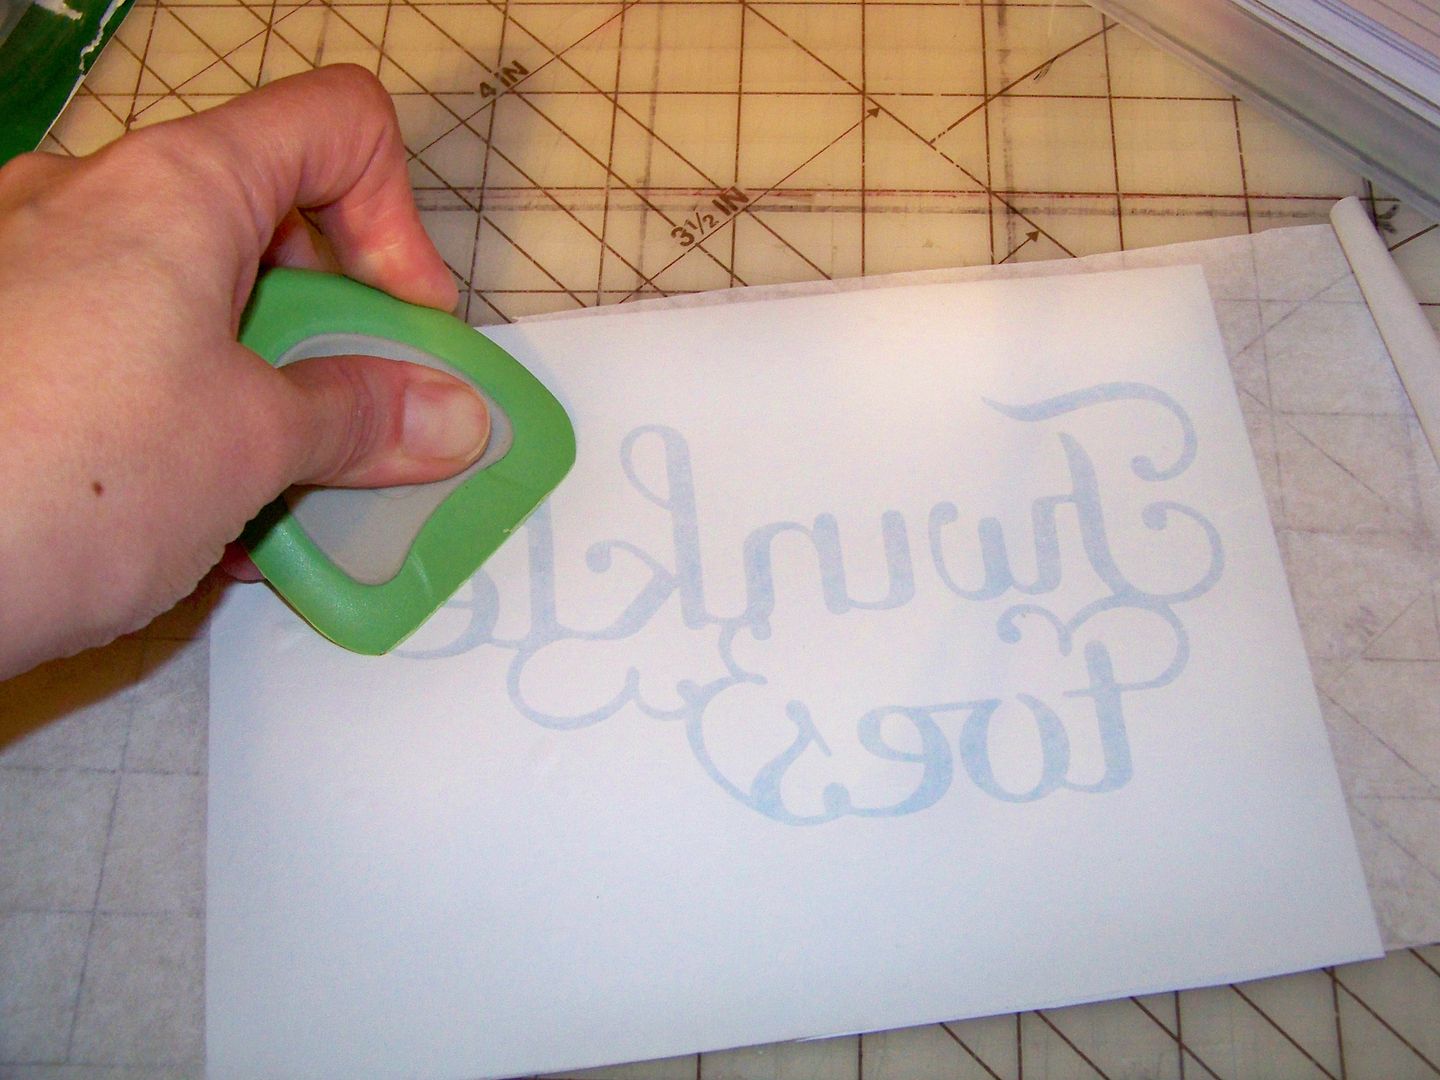
Luckily, I had some 651 on hand. I used Twinkle Toes, flipping the image and using a kiss cut (blade 3, pressure 3, speed 3) to cut the vinyl. I weeded the lettering, leaving the negative space to use on the screen. I applied it with transfer tape.

I centered the shirt and pulled the ink through as usual. I was pleasantly surprised that it worked!!!!
 |
| Why did I have it plugged in????? I didn't need to expose anything or dry anything! |


I cannot wait to try the liquid emulsion! I have been promised that it is easier to apply than the capillary emulsion film (and it definitely is cheaper). I will still have drying times with this product, unlike the vinyl, however, I won't be limited to Cricut cuts for my design... although with over 200 cartridges, I am not all that limited! Even so, Shannon suggested going to the Library of Congress website for black and white images to YUDU and that cannot be done with the vinyl.
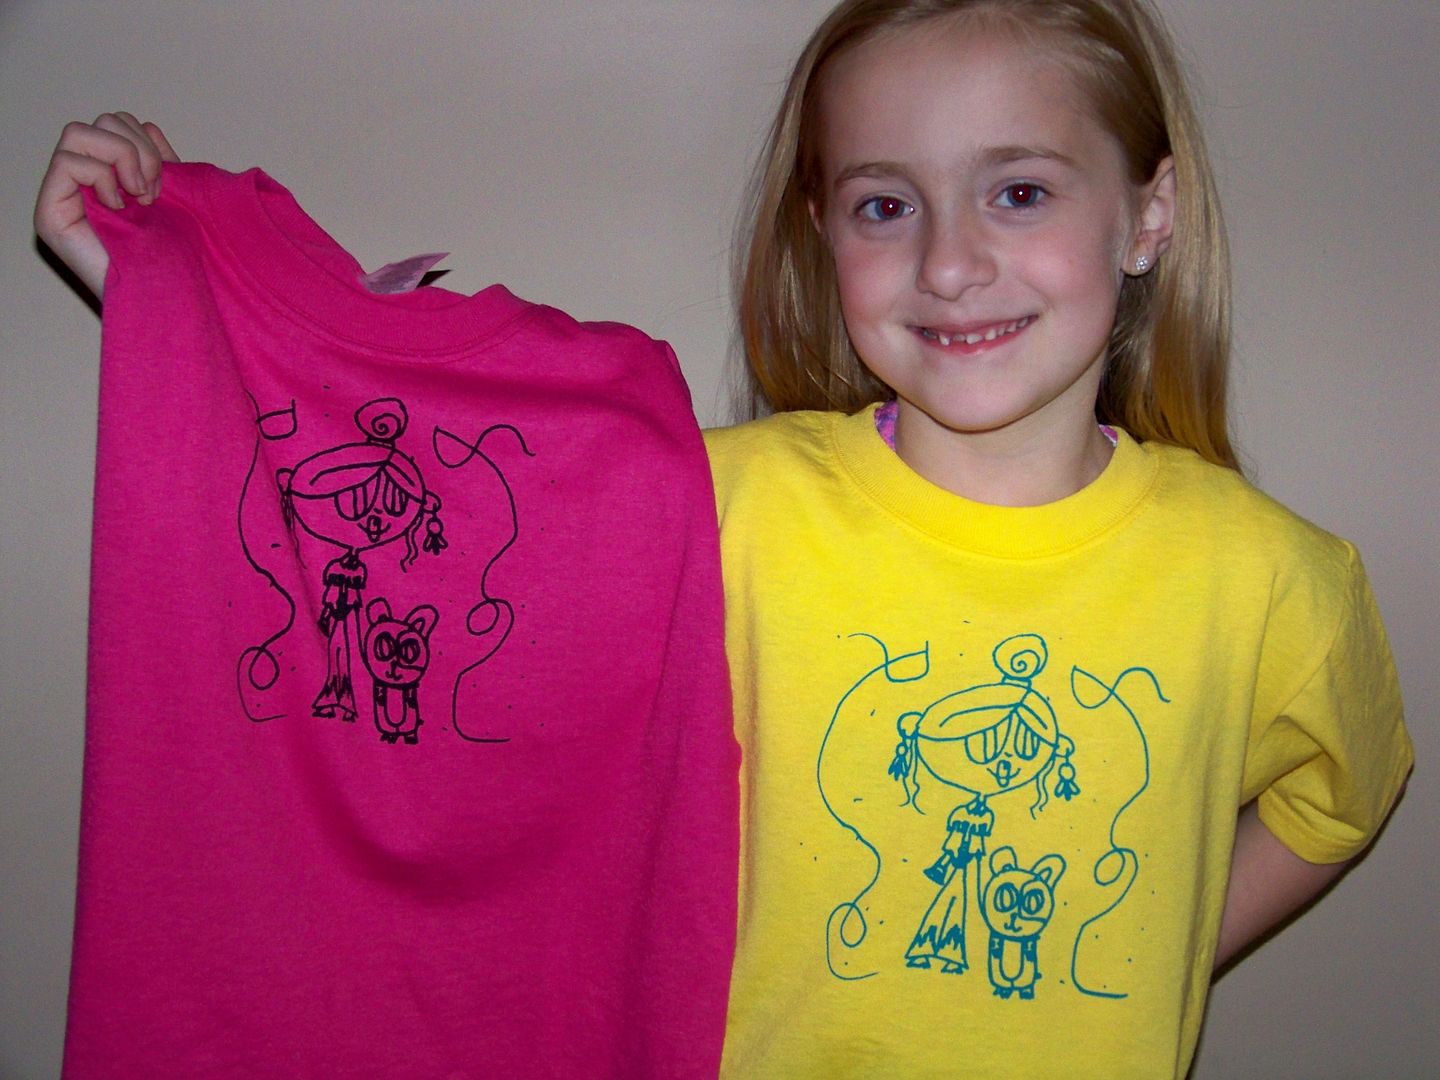
I am so excited that I saw Shannon's YUDU demo! It allowed me to have the confidence to start playing with this amazing machine! I can see that YUDU projects will be on the plan for the rest of the summer... now to find the best prices on t-shirts!
Thank you for visiting my blog!
14 comments:
Those shirts turned out to be so cute! Isnt Shannon the greatest??
Thanks so much for all the info :D. 70 mesh are available at cricut.com btw, just saying... enabling lol.
OK, now, I don't need any more enabling!! I am going to have to get a paper route to sustain my hobbies! :P
I have ordered an 86 mesh screen-big experiment. I will be finding out if that was a mistake with the Provocraft YUDU glue! I did buy the foil and flocking material from cricut.com and I found some glitter at my local Joann's. I cannot wait to get that screen and try these things!!!
Great post Nadia, I want to unpack mine sooo bad but havent gotten the nerve yet. LOL
You almost have me convinced to get one!! Unfortunately, the space underneath my bed is already used and I have no other hiding spots from my husband. Opps, I meant storage spots.
Glad the shirts turned out. They look great!
I love the shirts:) They came out awesome.
I too leave my yudu sitting around.
I tried to watch utube videos for it but none seemed to make me feel comfortable with it:)
Nadia, love how your shirts came out, especially the ones your daughter drew. I think that's the best idea I've seen for a child's artwork.
Thank you for visiting my blog and leaving such a nice comment. I had a lot of fun with the heat transfer vinyl. For my second time ever I think the shirts turned out great. I'm curious to see how they hold up to a few washes. I would love to see your shirts if you make some. I think it's a great idea for the meet-ups because I am so bad with names. I wish everyone had their names on their shirts. Cindy
Great job! Love it! :) I've never tried YuDu.. it just seems so complicated... and kind of intimidating to me. But you sure made it look easy!! :) Just maybe.. one day I shall have to YuDu too!!
Nadia,I really needed this post! I've not had the best luck with my Yudo practices. I thought I'd left a message on this post before but I don't see it -- I might have forgotten to hit the "Publish Comment" button; I do that sometimes.
Hello! I just stumbled on your blog and I love what you've created. I have a cricut but only about 6 cartridges and I don't even know some of the things you mentioned, but that doesn't matter, because I have the feeling you would help out a friend in need of advice.
I also have a daughter! Just one! (I get asked that a lot.) My girl is 10. How old is yours? AND some of my in-laws live in Louisville! I am just so delighted to find your little spot and I hope to be back for more visits.
Buzz,
Janelle
Your projects are wonderful. Great job using your machine. I am inspired to pull out my YourStory and use it now...sitting for 6 months.
Nadia I have nominated you for Irresistibly Sweet Award for your blog and all your crafty inspirations to myself and others. If you would like this award please check it out at www.cricutcraftingrammyblogspot.com
Thanks- Suzanne
Your shirts turned out wonderfully! I bought a YuDu...watched a video...decided it was way to messy for me and took it back! LOL!
Just found you blog through cricut.com...you do wonderful things!
OMG, Nadia --- Piper drew that??? That is simply awesome! Wowsers! She takes after her Momma, w/ talent bursting at the seams! :-)
How sweet for her to give one to her friend! :-)
Post a Comment