Wednesday, September 21, 2011

Cricut Bug Altered Figure!

I have been having such a fun time playing with figures that I wanted to try to give some added features to the Cricut bug!  I thought the E2 Design Challenge might be a good time to try altering the Cricut guy!  I have to admit I had a lot of fun messing around with this image!


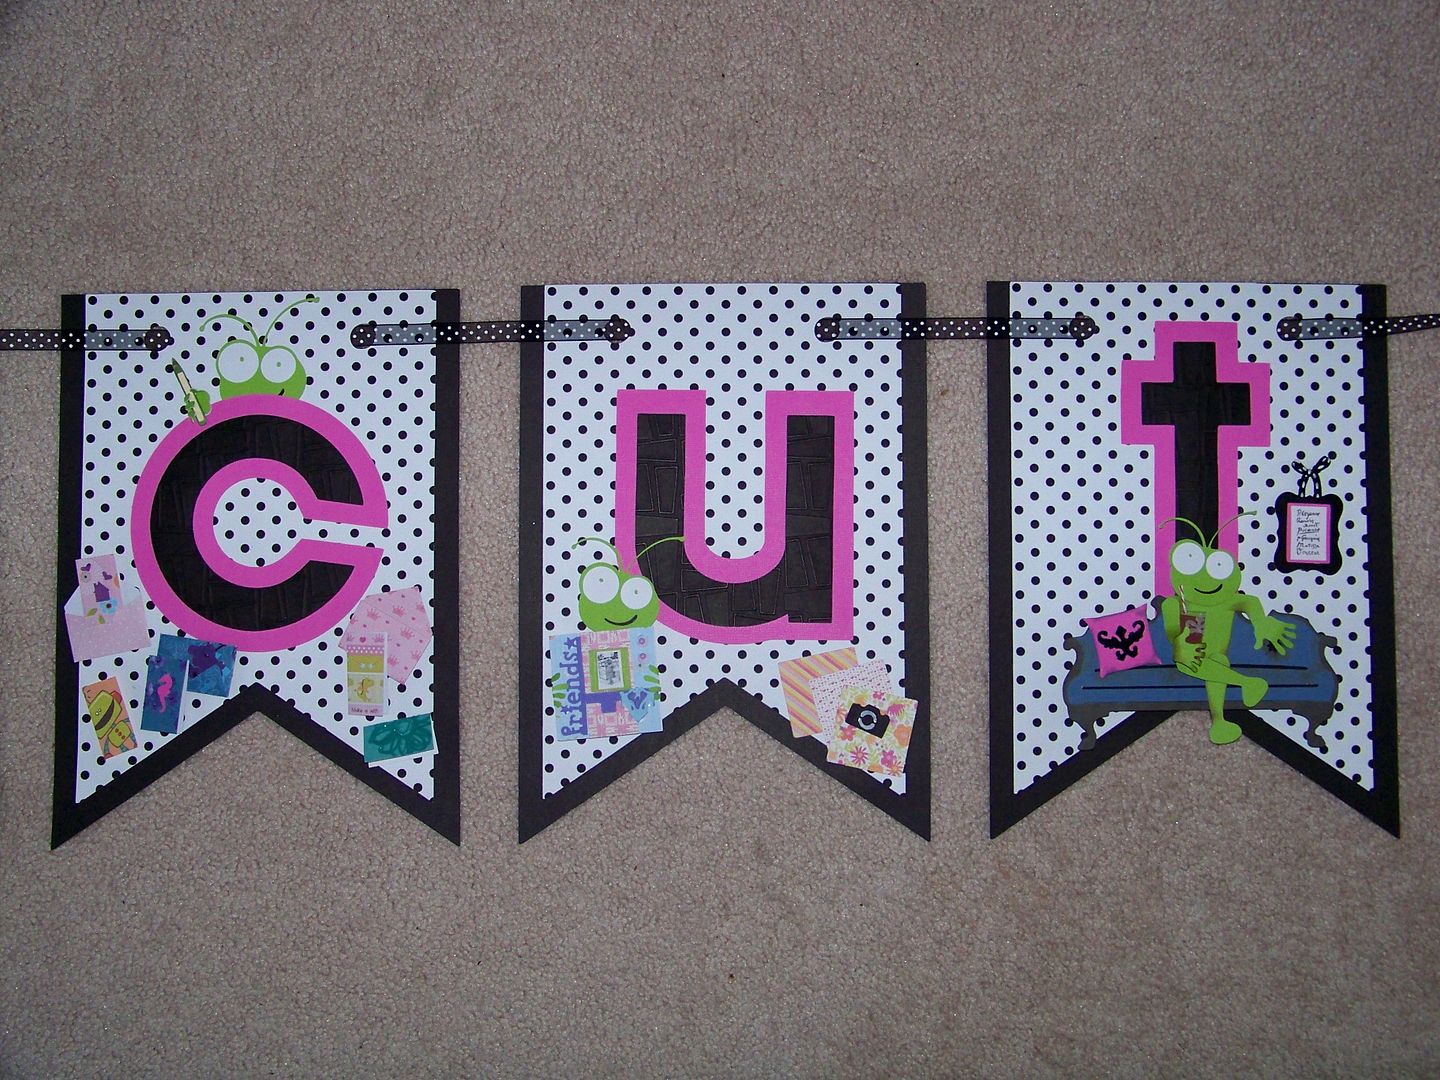
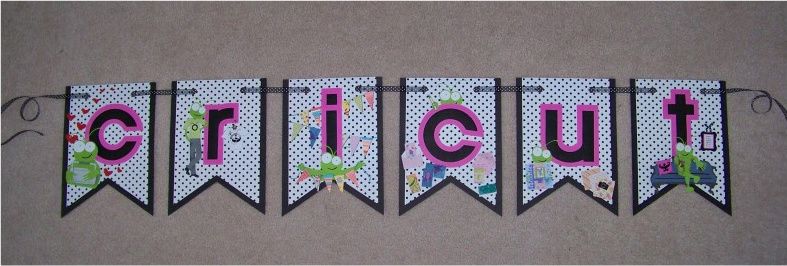
For my banner, I wanted to be sure that the letters could be clearly seen from a distance, and that each pennant of the banner would have a unique action for interest up close. 

For my introductory pennant, there is plain ole Cricut love...
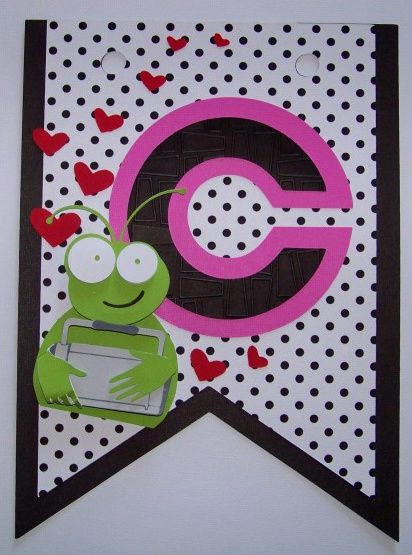

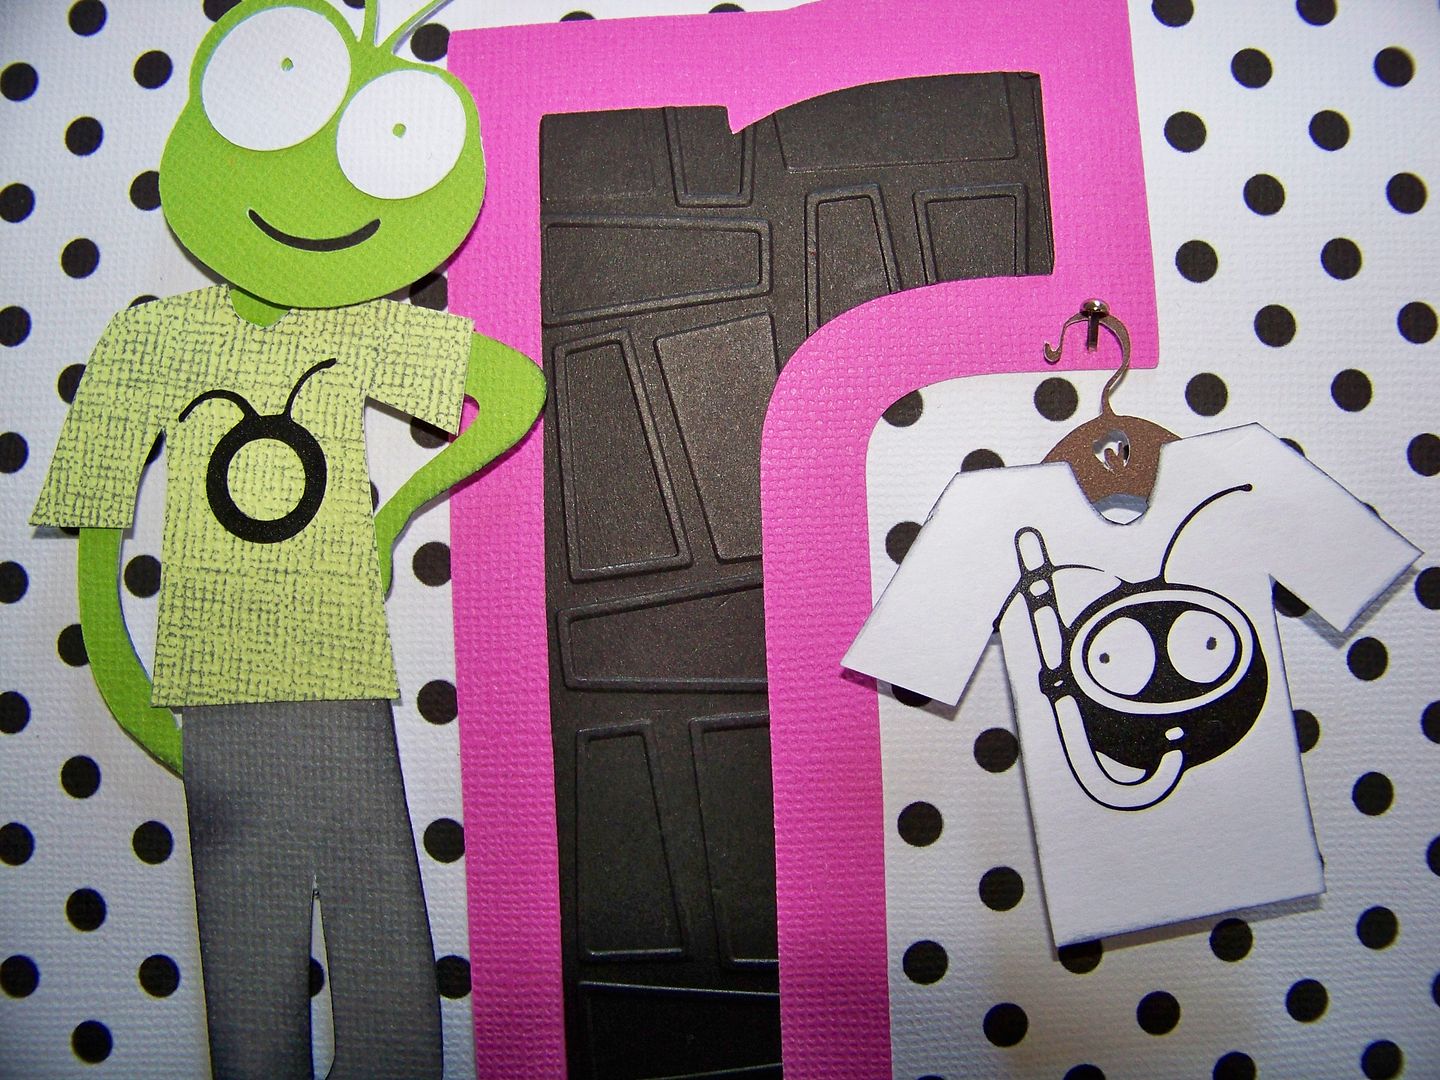
...then, the next one features the idea of using a Cricut for apparel...
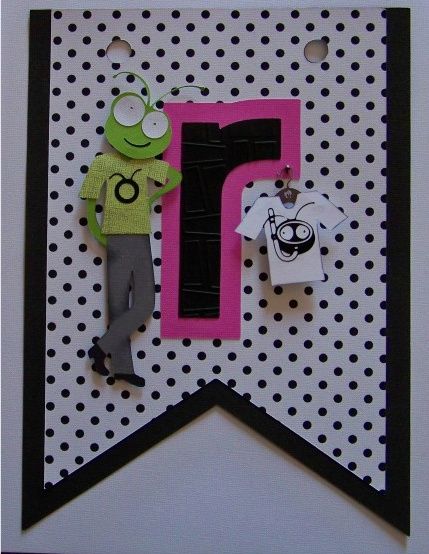

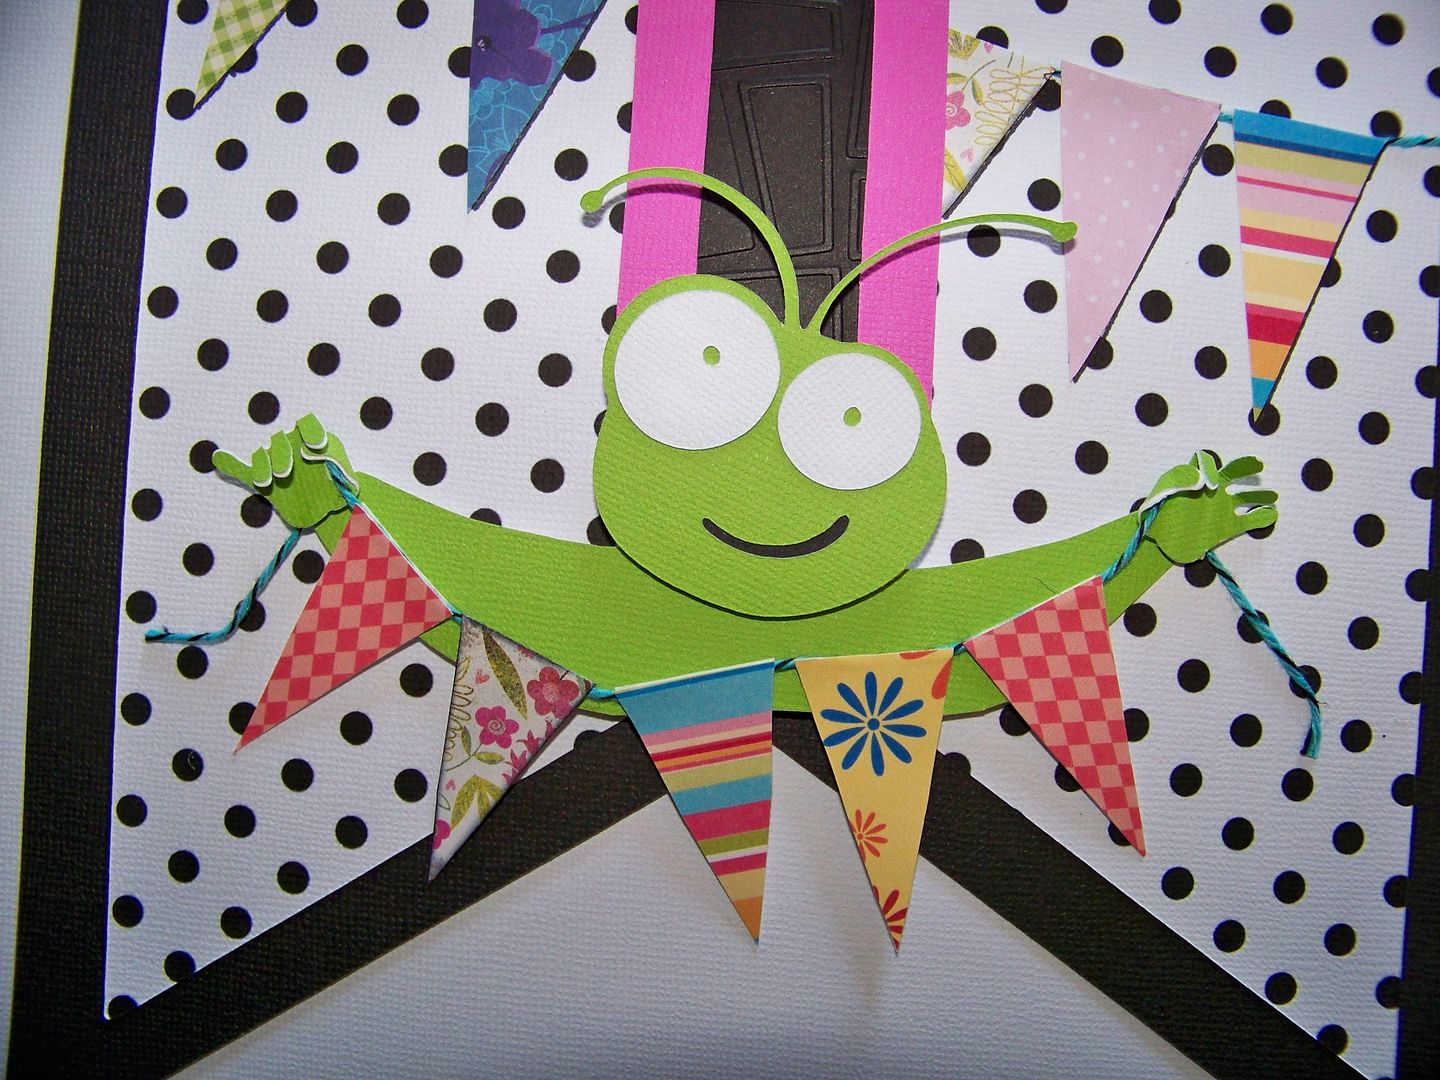
...on to party decor...
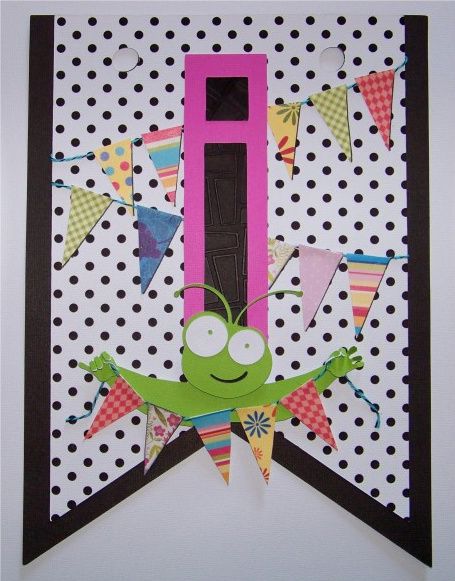

...for card-making...
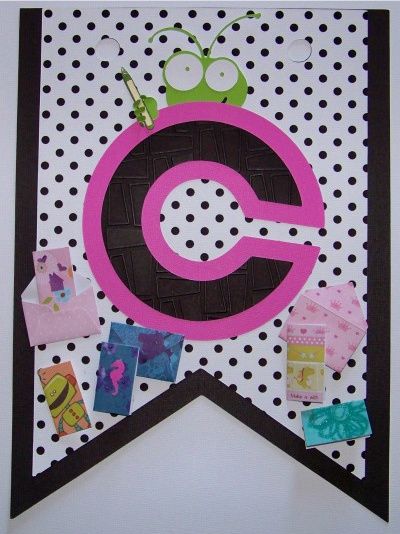

...and scrapbooking...
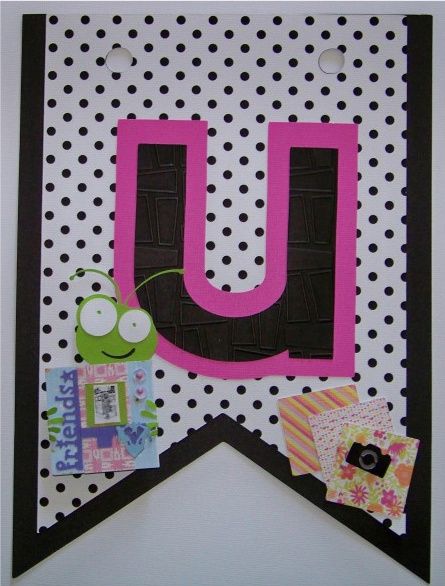

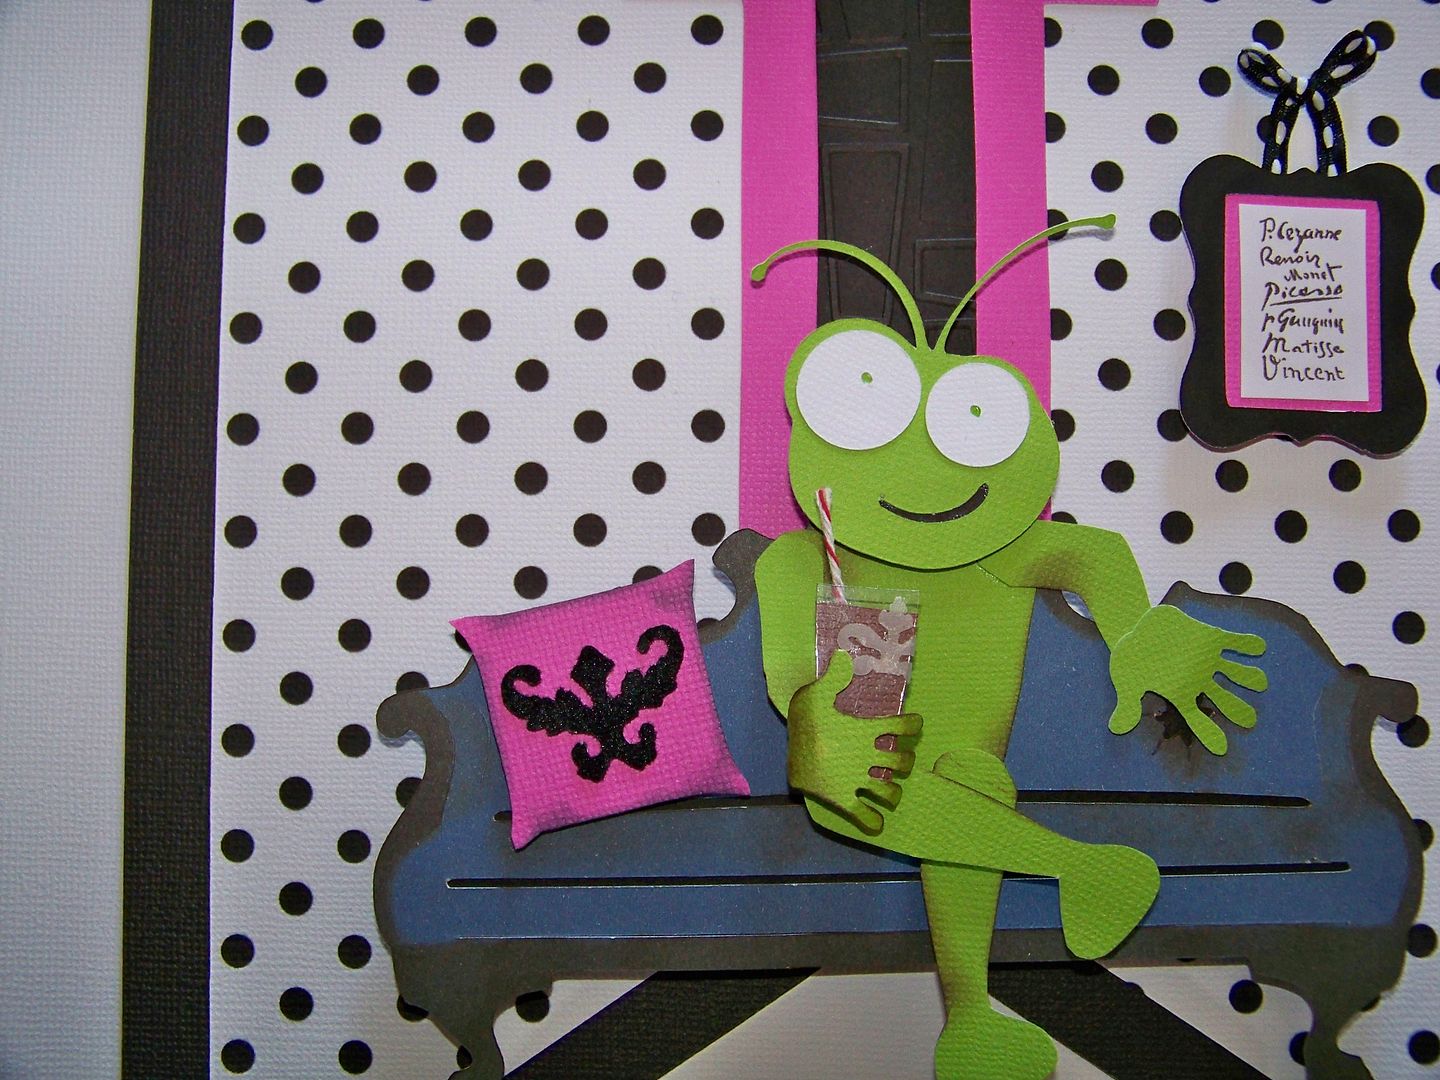
...and finally, using a Cricut for home decor!
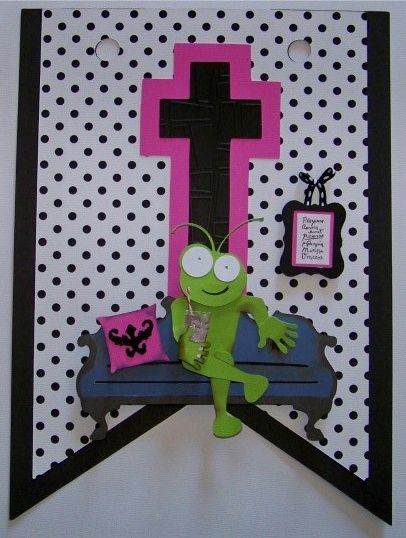

For the details:

First, I decided on my banner shape.  For that, I chose Birthday Bash (page 59), cut at 10" on my Imagine.  The top layer was flood-filled with a print from Black and White.  I also printed off a couple of pages of Cricut Green on my Imagine, using RGB 147, 208,25. 

I cut out my letters from Hannah Montana (Daddy's Girl font) at 7-1/4" on my Expression and used a folder from the Nifty Fifties companion set to emboss them.   I cut the shadow from hot pink.  With my bases ready, I started working on each pennant individually.
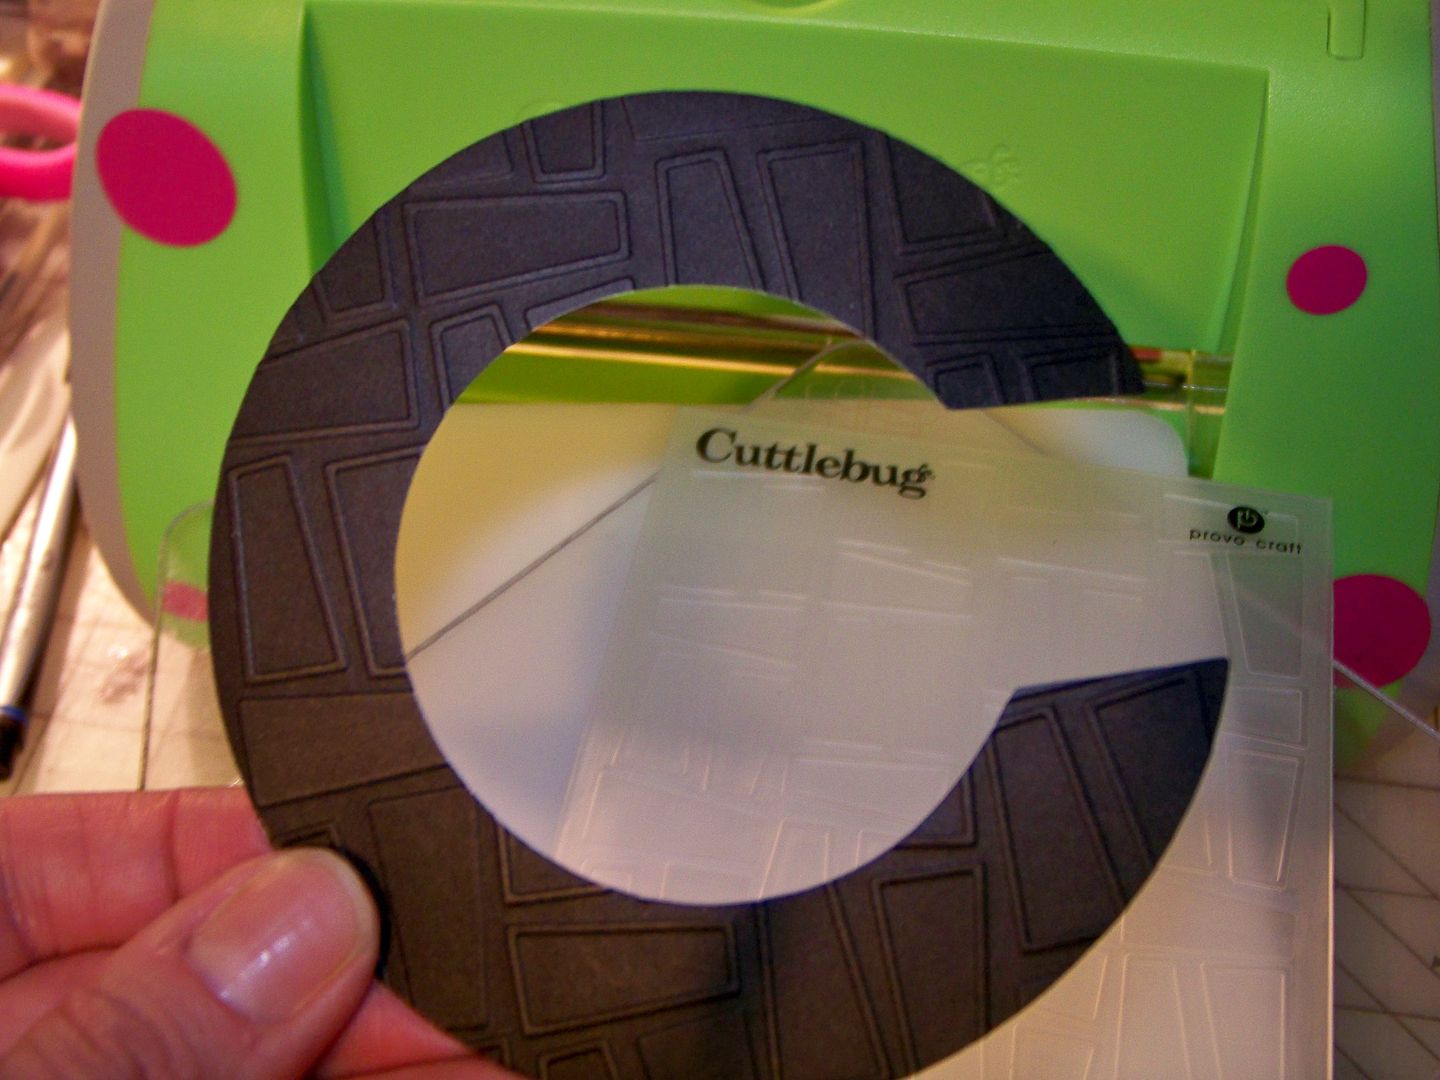

For the first pennant, I cut the bughead from Cricut Everyday at 3" on my Expression.  The hands were cut from Sentimentals (page 25), at 2", flipping one.  The hands were adhered to the machine and I hand-cut a body to hold the figure together.  The machine was cut from Cricut Everyday (page 32) at 1-3/4".    I attached my letter to the pennant and then used pop dots to apply the figure.  The hearts were cut from Doodlecharms (page 85- border) at 1", 3/4", and 1/2".  They were adhered flat.
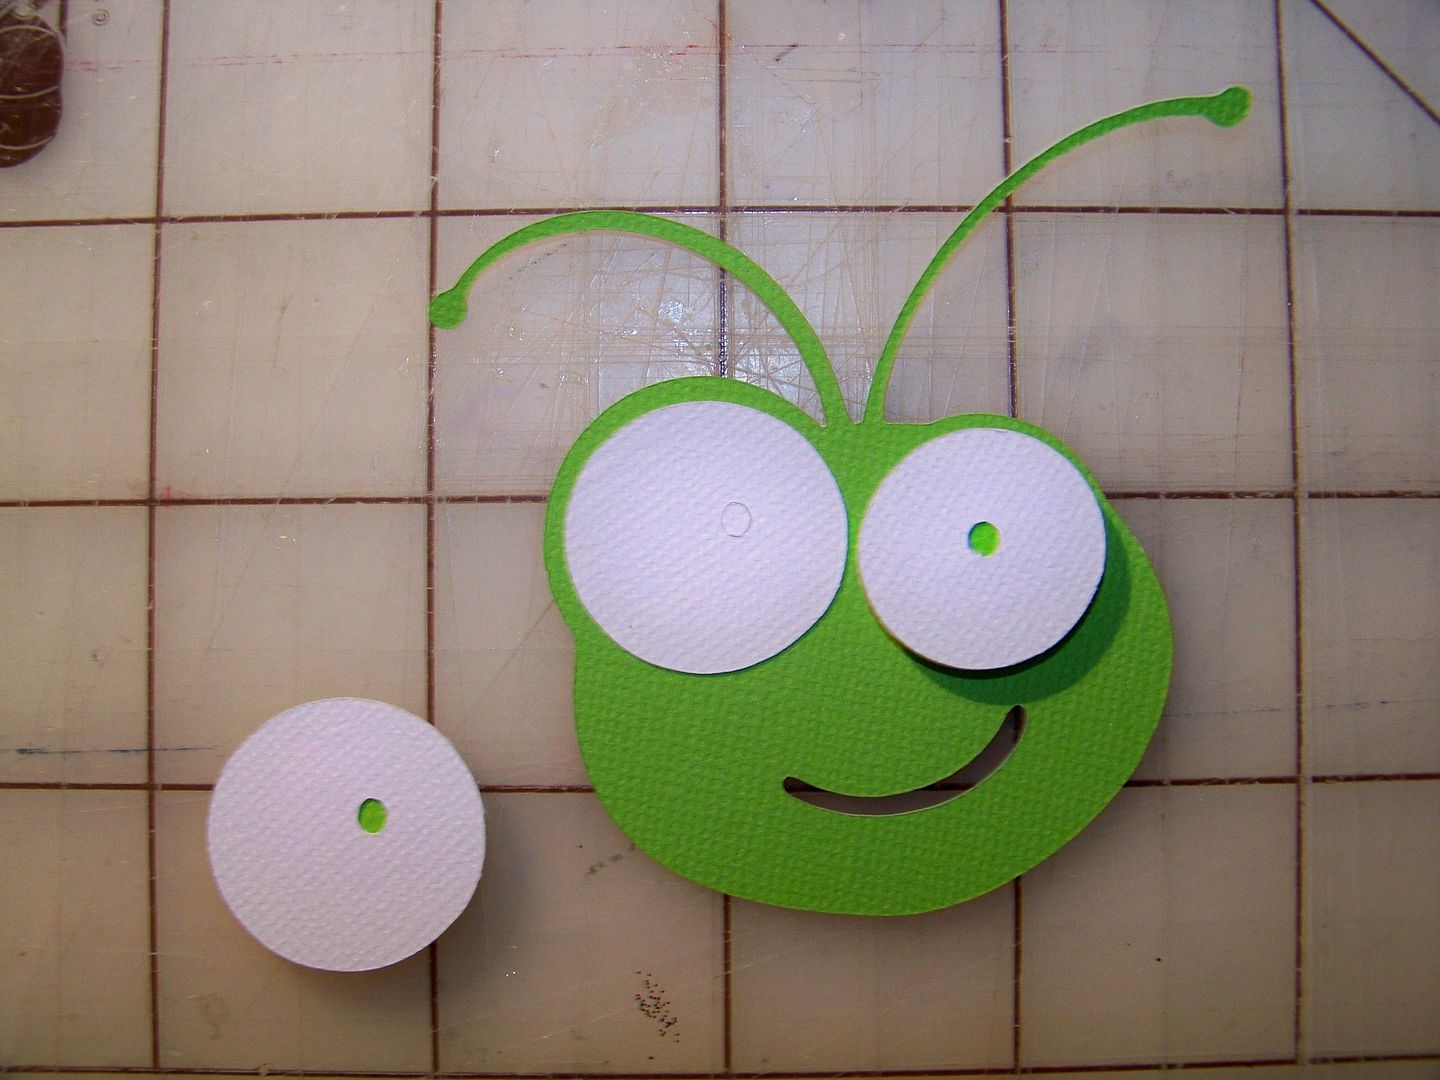


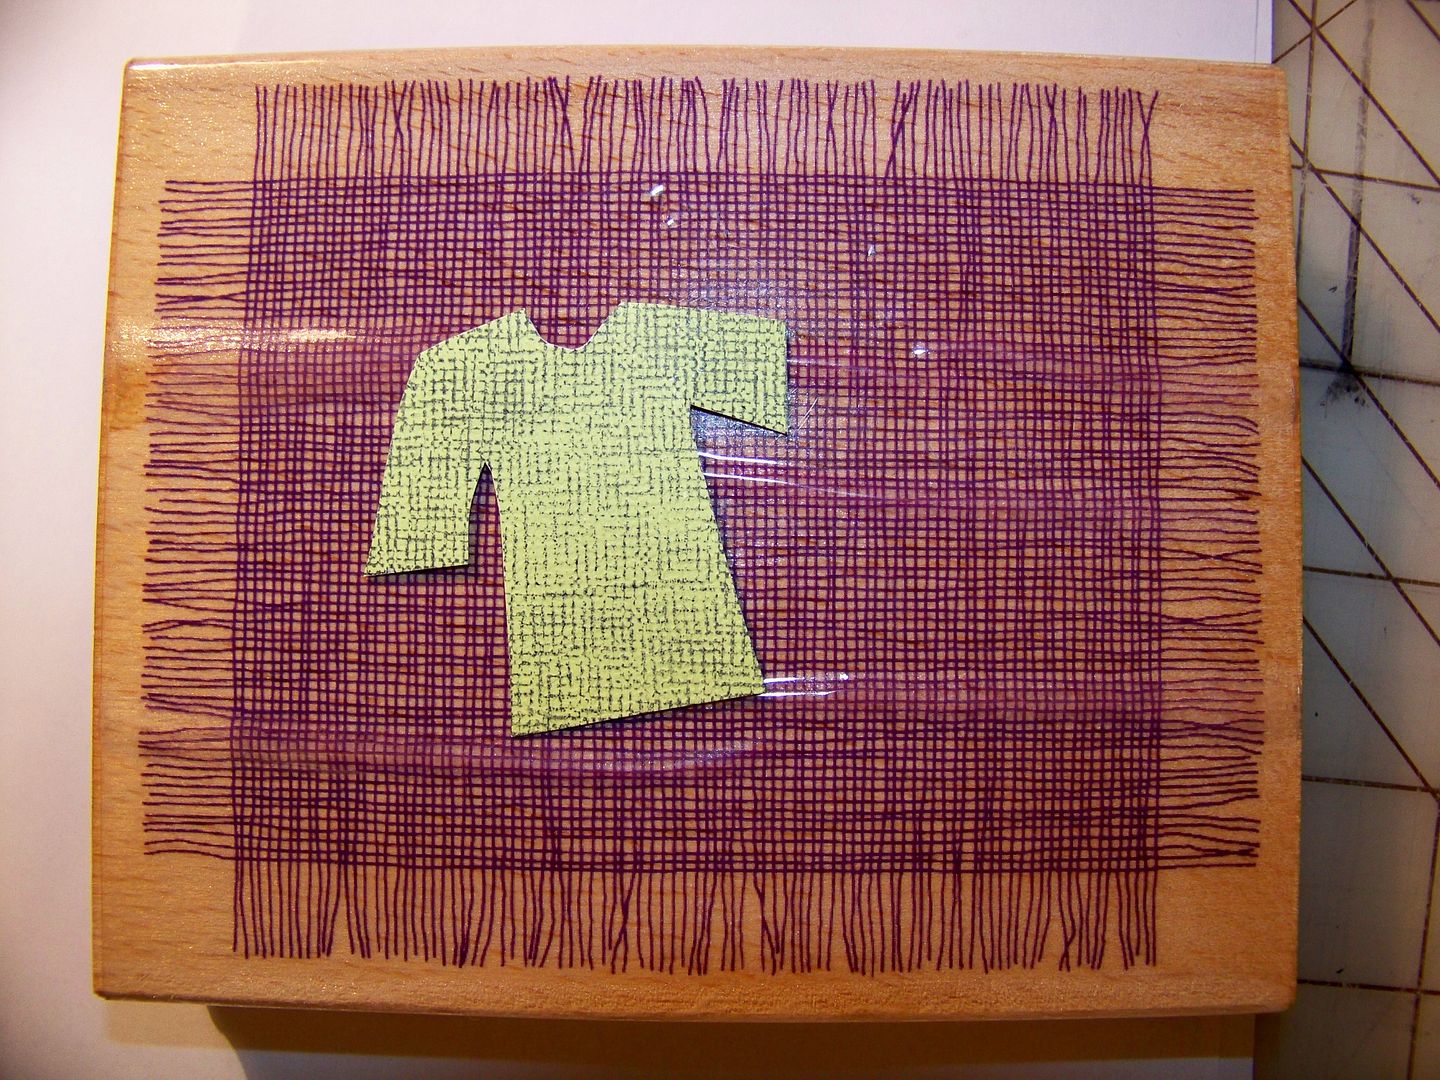
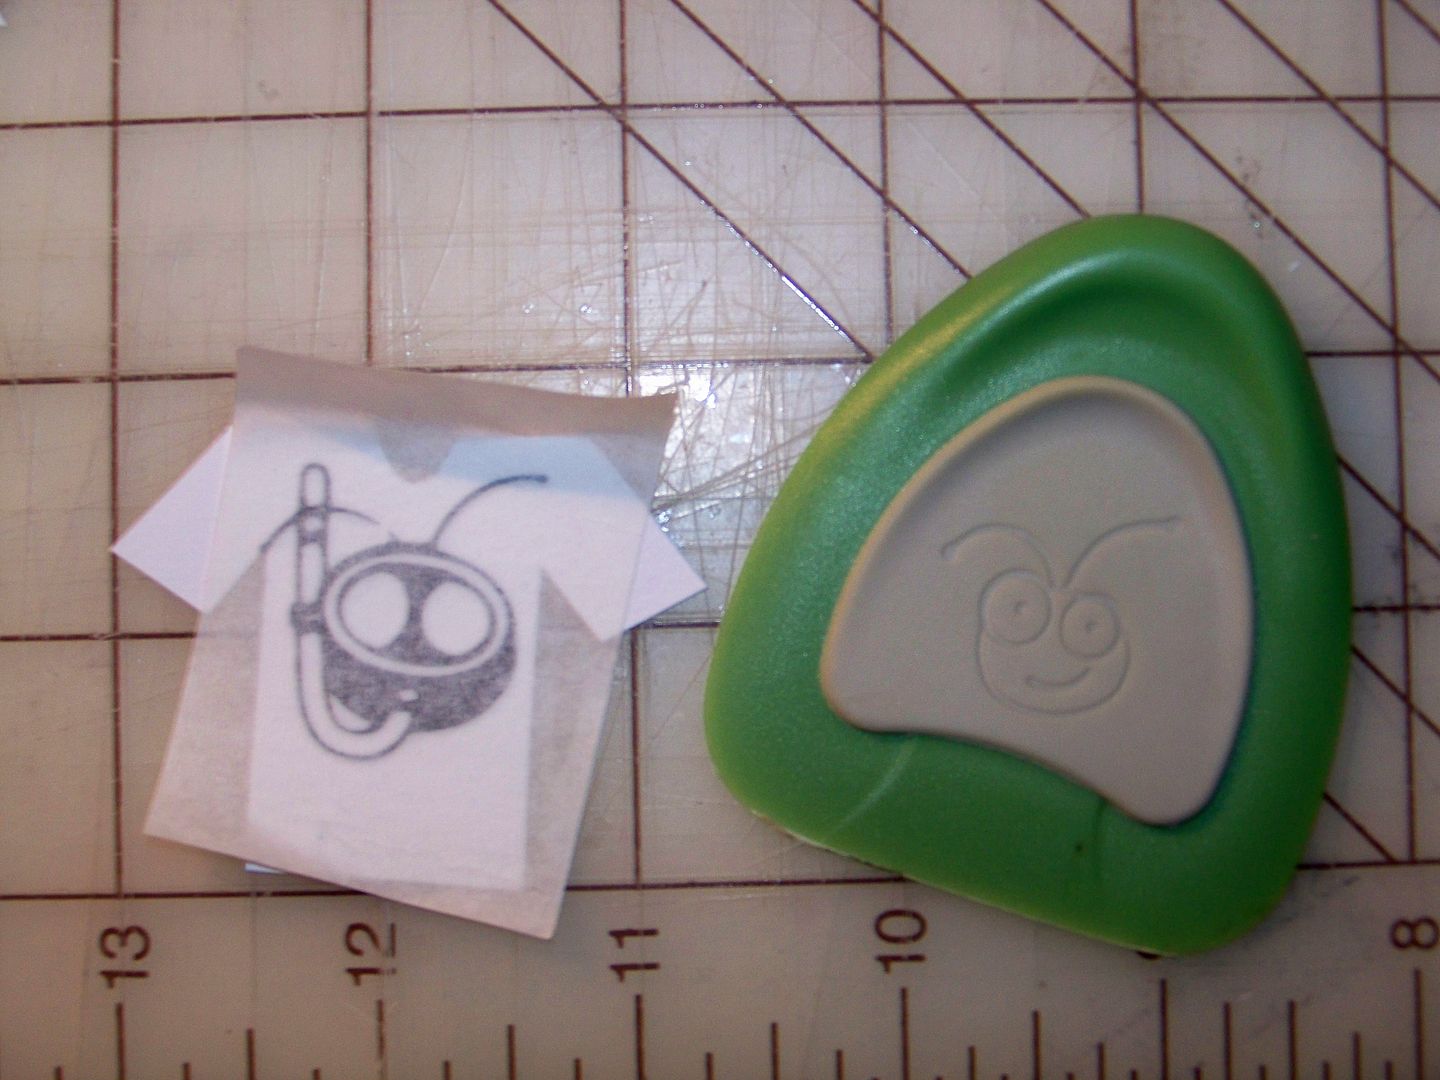
For the apparel pennant, I cut a bughead from Cricut Everyday at 2" on my Expression.  I cut the body from Country Life (page 33), at 6".  I cut one green and one gray figure, cutting up the gray and applying it to create pants and shoes (I used a marker to color in the shoes).  Then I hand-cut a t-shirt.  I used a stamp to get a little bit of texture and pattern on the shirt.  The Circle logo was cut from Cricut Everyday at 3/4" in vinyl.  I used transfer paper to apply the design.  (This cut is so small that the antennae would only cut correctly in vinyl).  The extra t-shirt was cut from Cricut Decals at 1-1/4" (also in vinyl).  The hanger was cut from French Manor at 1-1/4".  I snipped off the hanger ends before adhering it behind the shirt.  I used an awl to make a small hole in the letter and attached a brad, allowing part of the shank to remain on the top of the paper surface to form a "nail" on which the hanger could hang!  (It is actually adhered with a pop dot). 


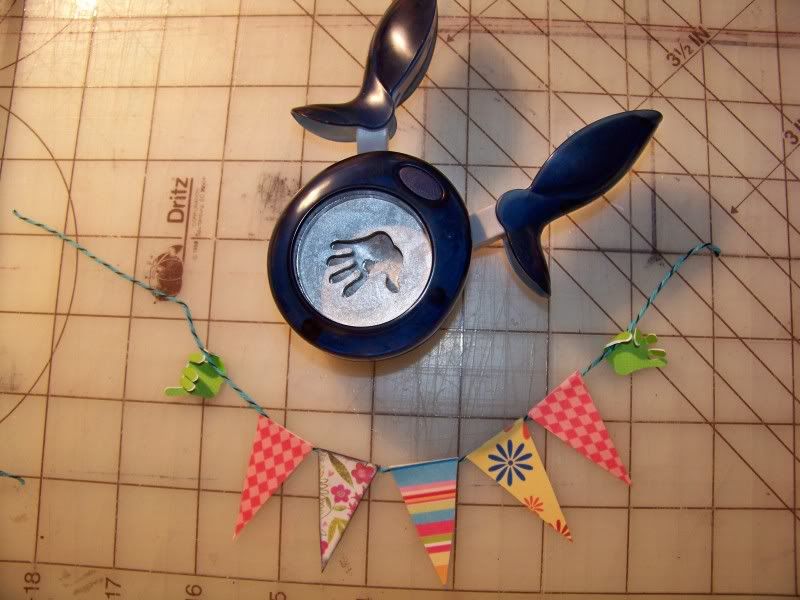
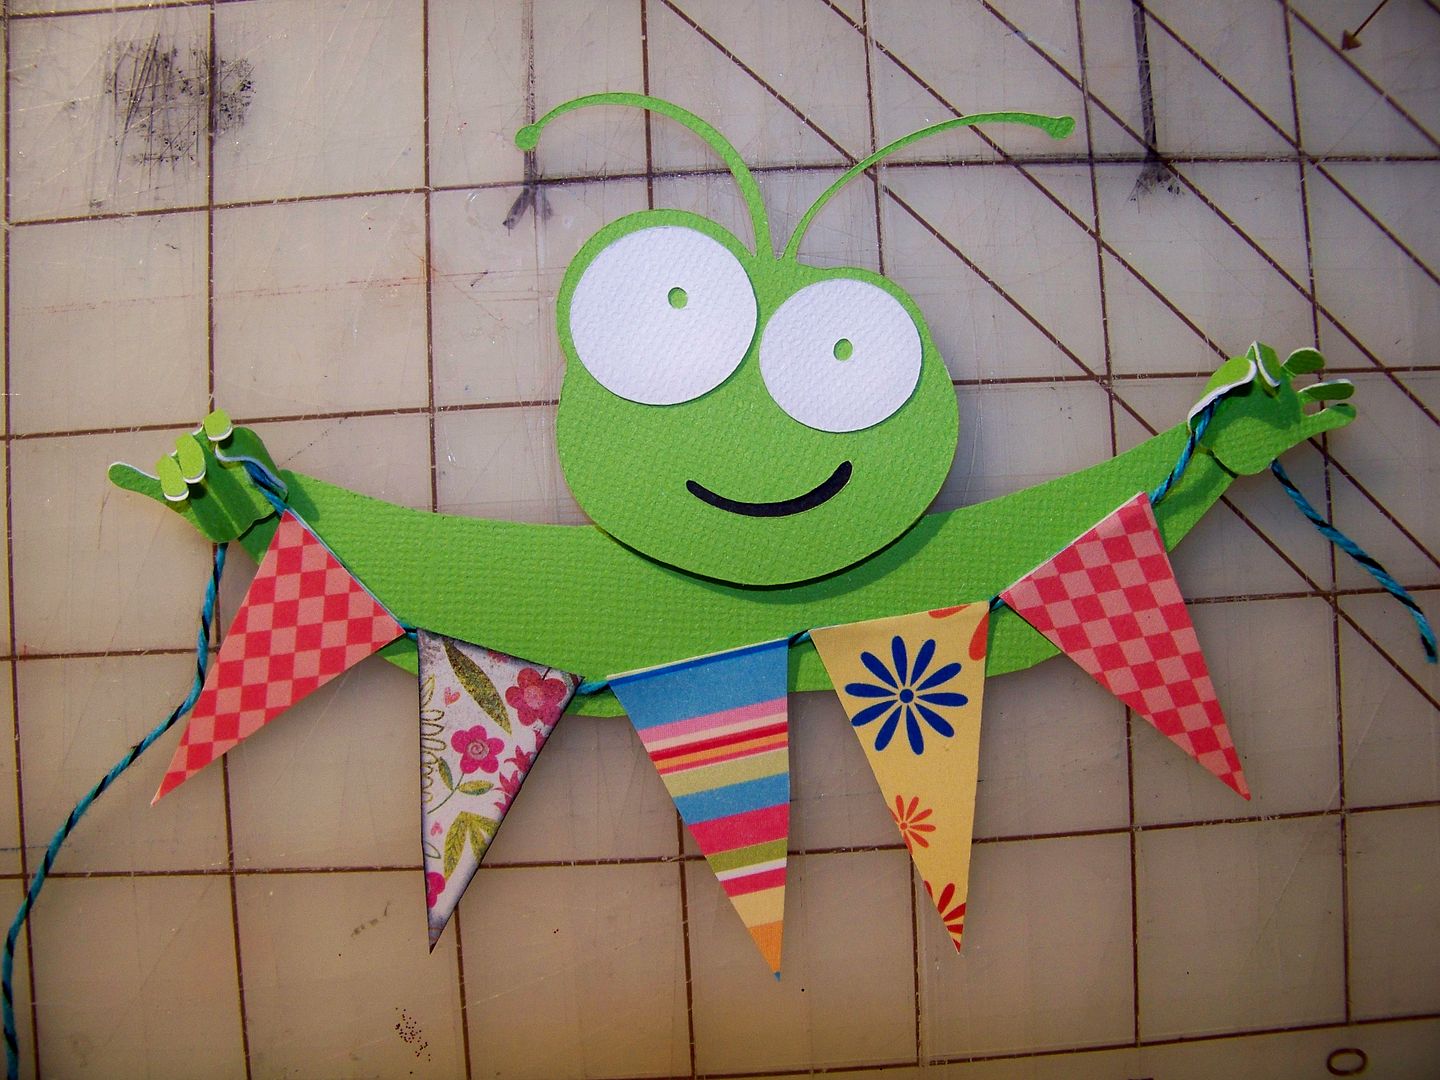
For the party decor pennant, I started by making the hands with a punch.  I folded them and attached them to a piece of twine.  Then I hand-cut triangles and attached them to the twine.  I cut the bughead at 2-1/2".  I hand-cut arms to connect the figure.  I cut more pennants and twine for the background.  I tucked the twine ends behind the polka dot top pennant before attaching it to the shadow pennant.  Then I adhered the letter on top of the pennants.  The figure is attached via pop dots.


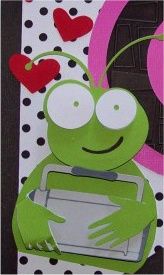
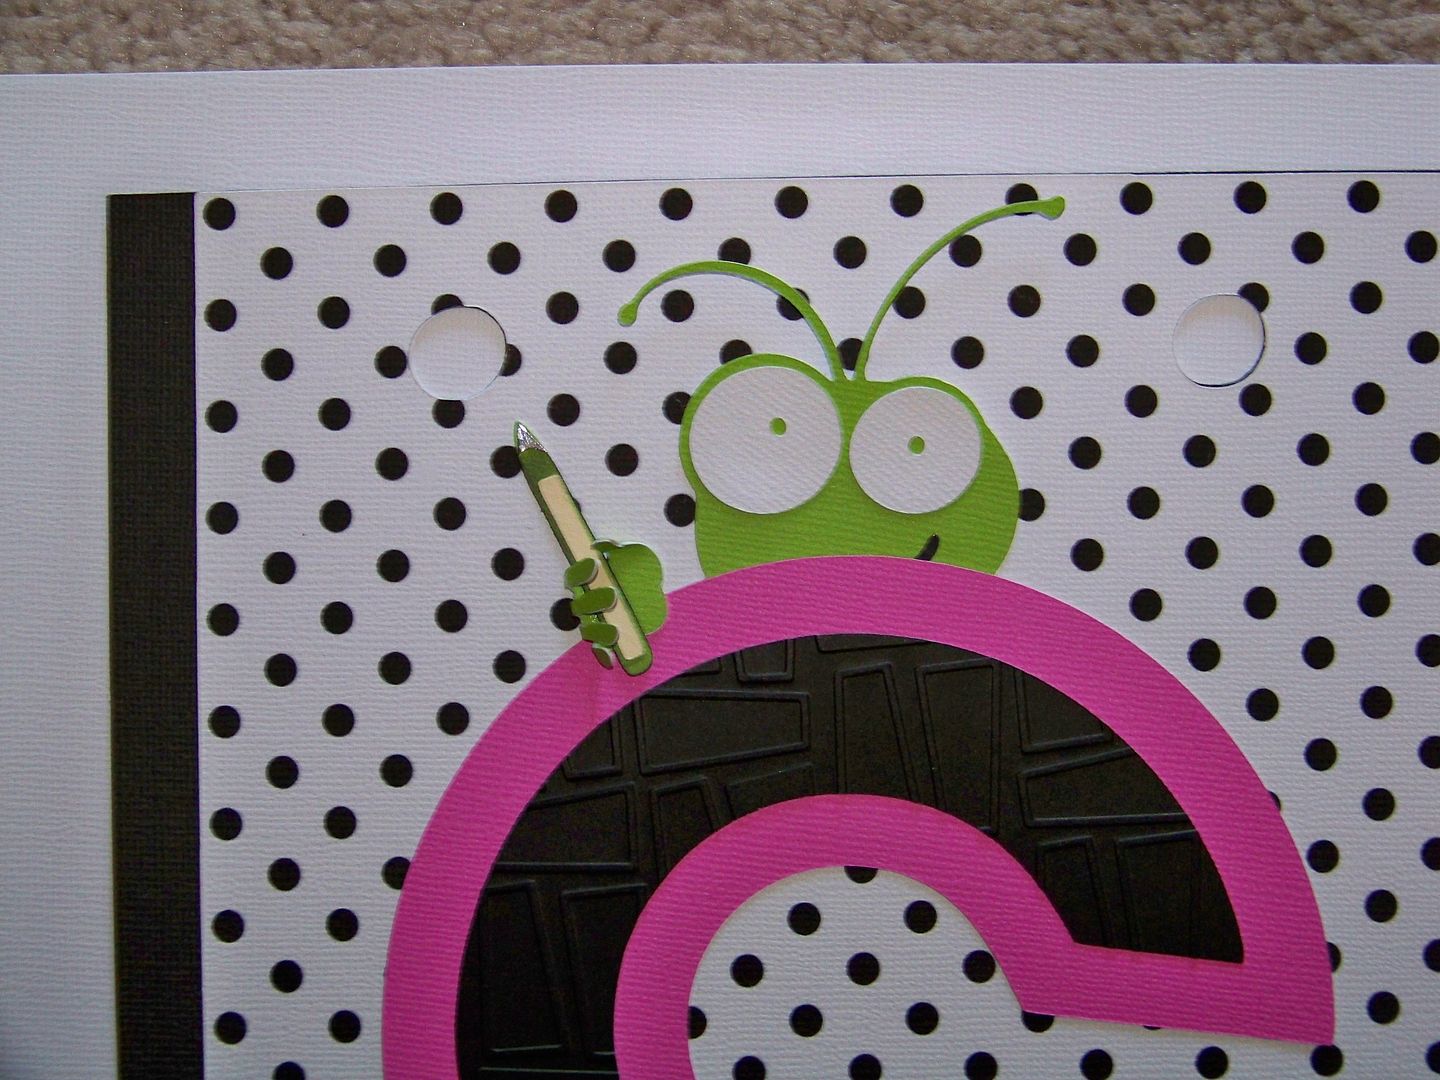
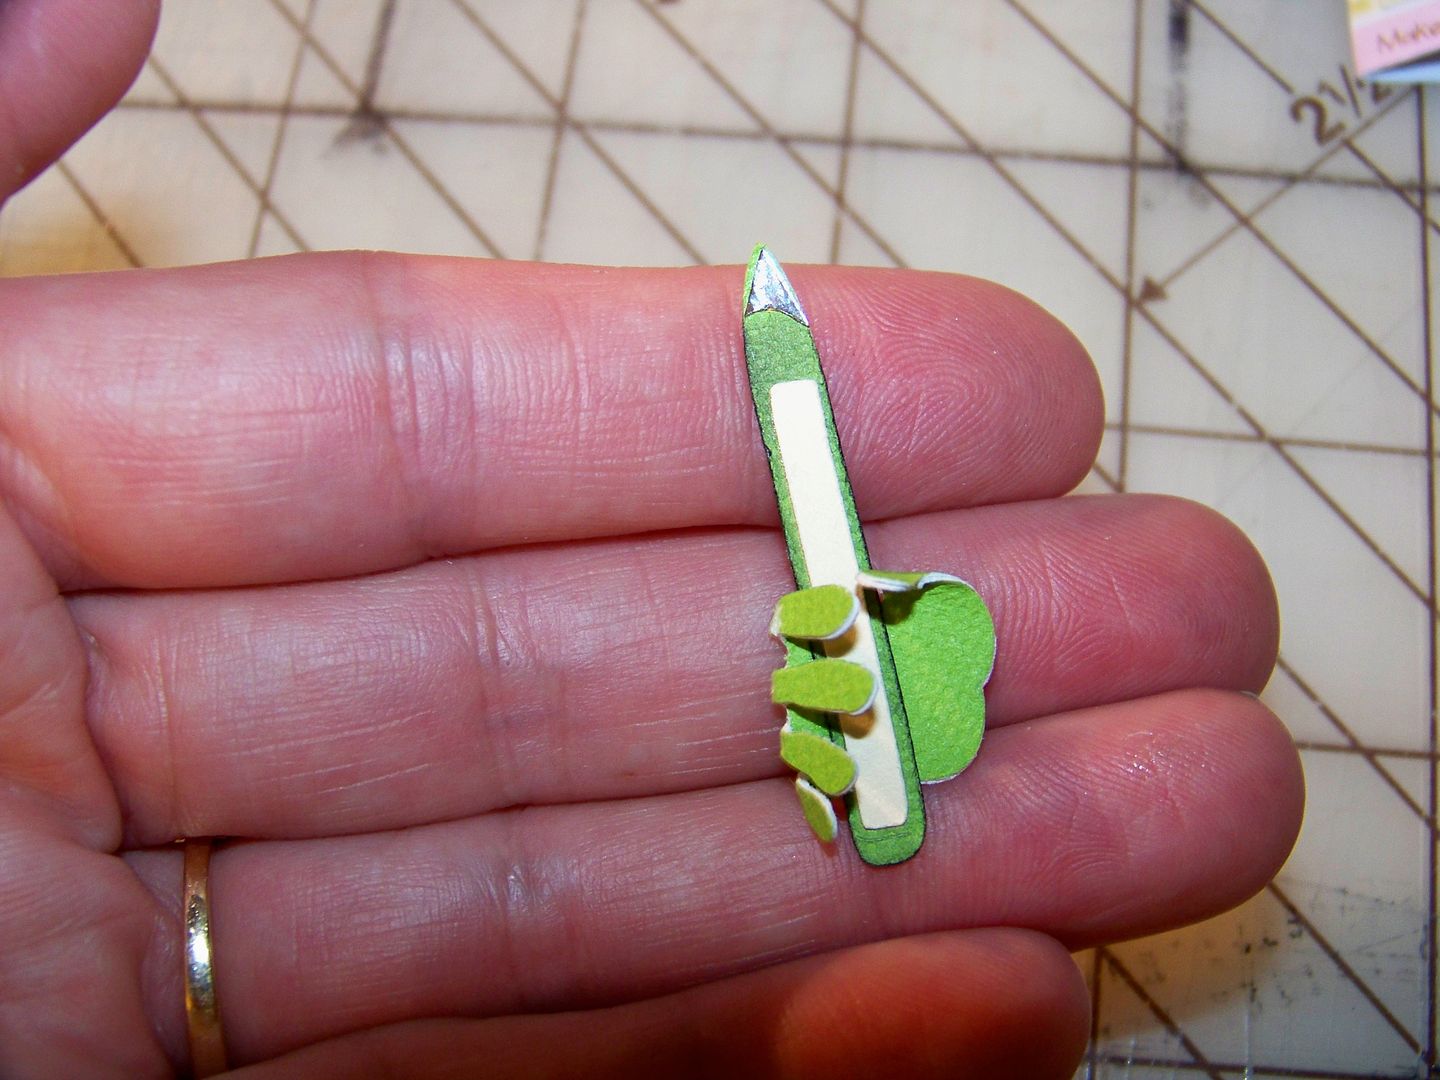
For the card-making pennant, I cut the bughead at 2-1/2".  I cut the bone folder from Cricut Everyday (page 53) at 1-1/2".  I hand-cut and added the silver tips.  The hand is cut from a punch and folded around the bone folder as if it is holding it.  I partially hid the head, but placed the hand on the letter.  For the cards and envelopes, I used punches and decorative papers to create little cards.


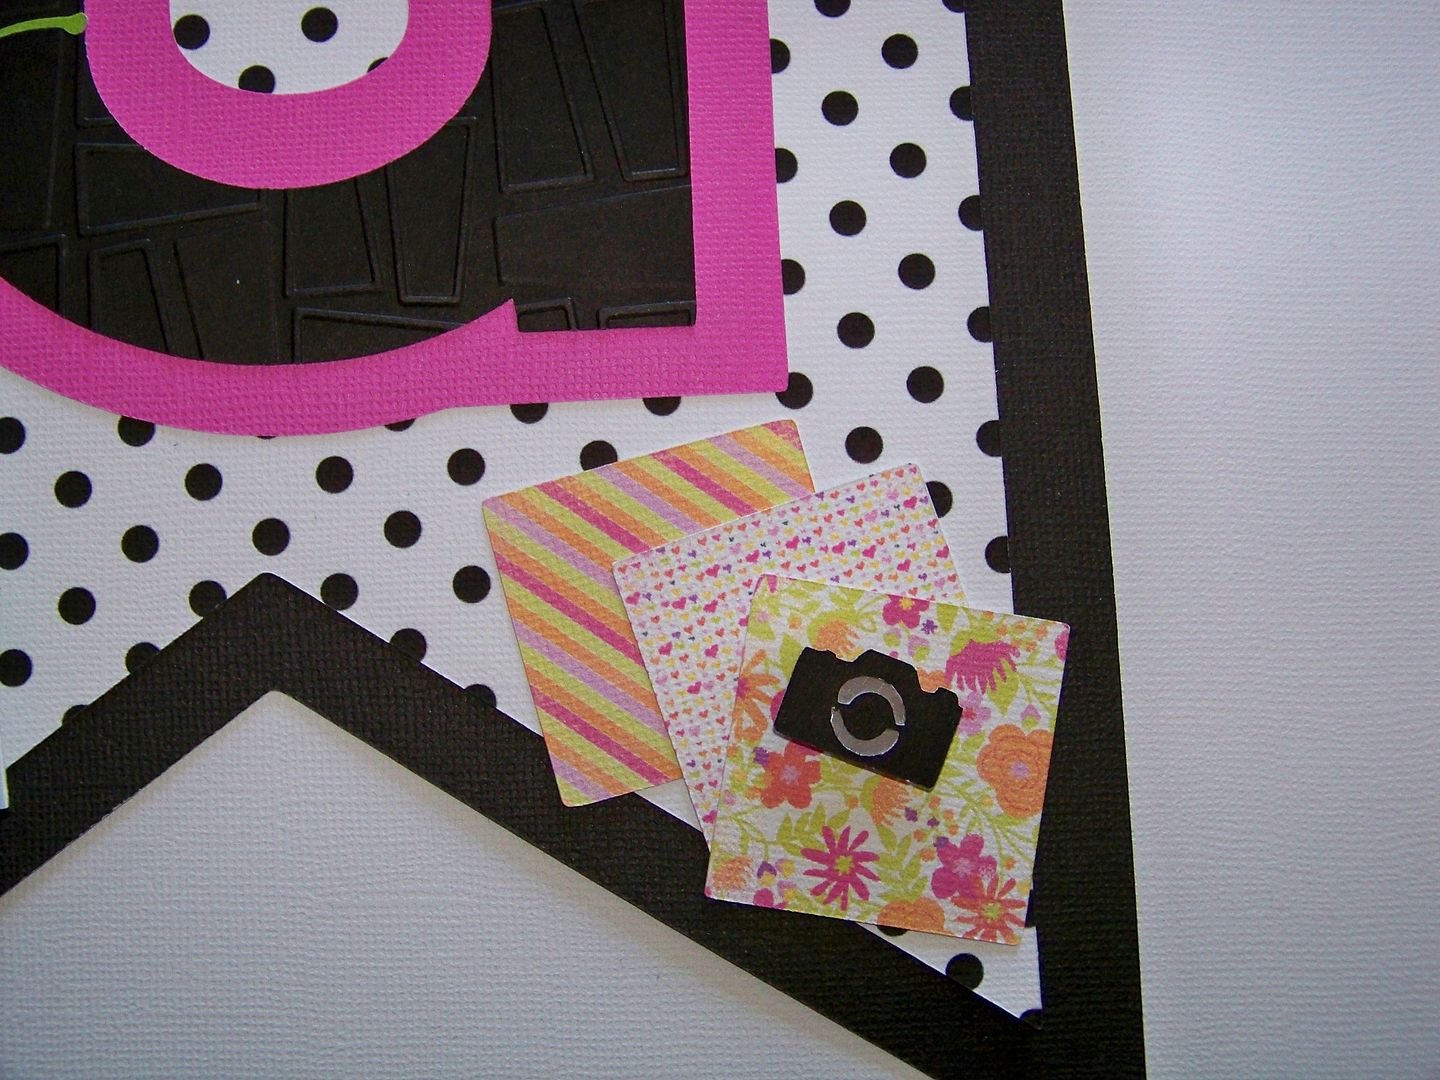
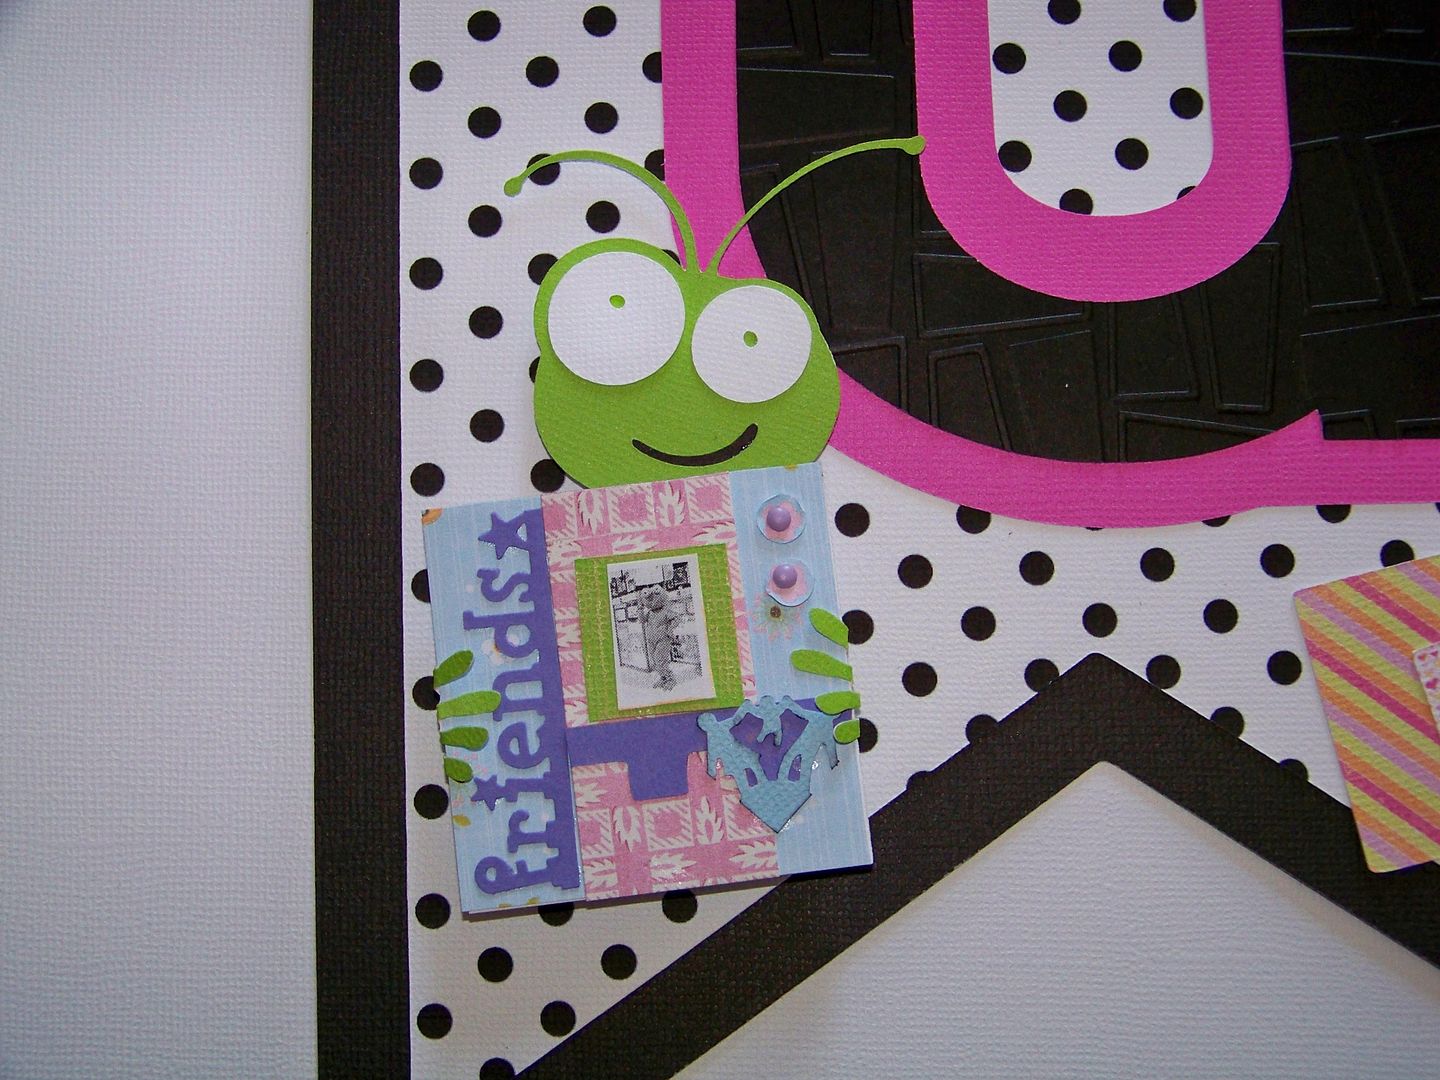
For the scrapbooking pennant, I started by making a mini scrapbook page, using punches to get the elements small enough.  I cut a bughead at 2-1/2" with Cricut Everyday and used a punch for the hands.  I adhered the hands directly to the mini layout and popped it up with pop dots.  The head is adhered flat to the paper.  I printed and cut three pieces of decorative paper using my Imagine from the Berries and Cream cartridge.  (I floodfilled three 1-1/2" squares to make those.  The Imagine automatically scales the print down to size).  The camera is cut from Going Places (page 111) on the Expression at 1/2".  I placed a little scrap of silver behind it to emphasize the cut.


For the home decor pennant, I cut a sofa from French Manor (page 32) at 3-1/4".  I inked it heavily and added a scrap of black behind it for the folds and tufted cuts.  The bughead was cut at 2" from Cricut Everyday.  I hand-cut a body.  I inked and used pop dots to emphasize areas that are forward, like the knee, and areas that recede, like the elbow.  The hands were cut with a punch.


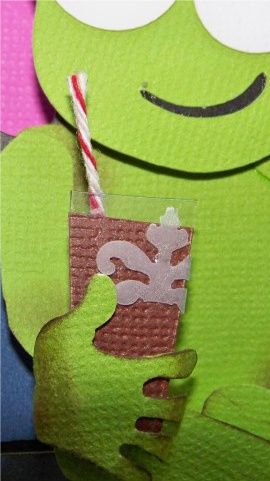
I wanted to create an etched glass- one of my favorite uses of my Cricut!  For that, I hand-cut a piece of acetate and a piece of brown cardstock.  I adhered them with E6000 plastic adhesive where the hand would cover it.  Then I shaped and inked a hand and adhered it to the glass.  I created a straw with a piece of twine and placed it behind the drink.  I used a punch to cut a shape from vellum for the "etching" and glued it on.


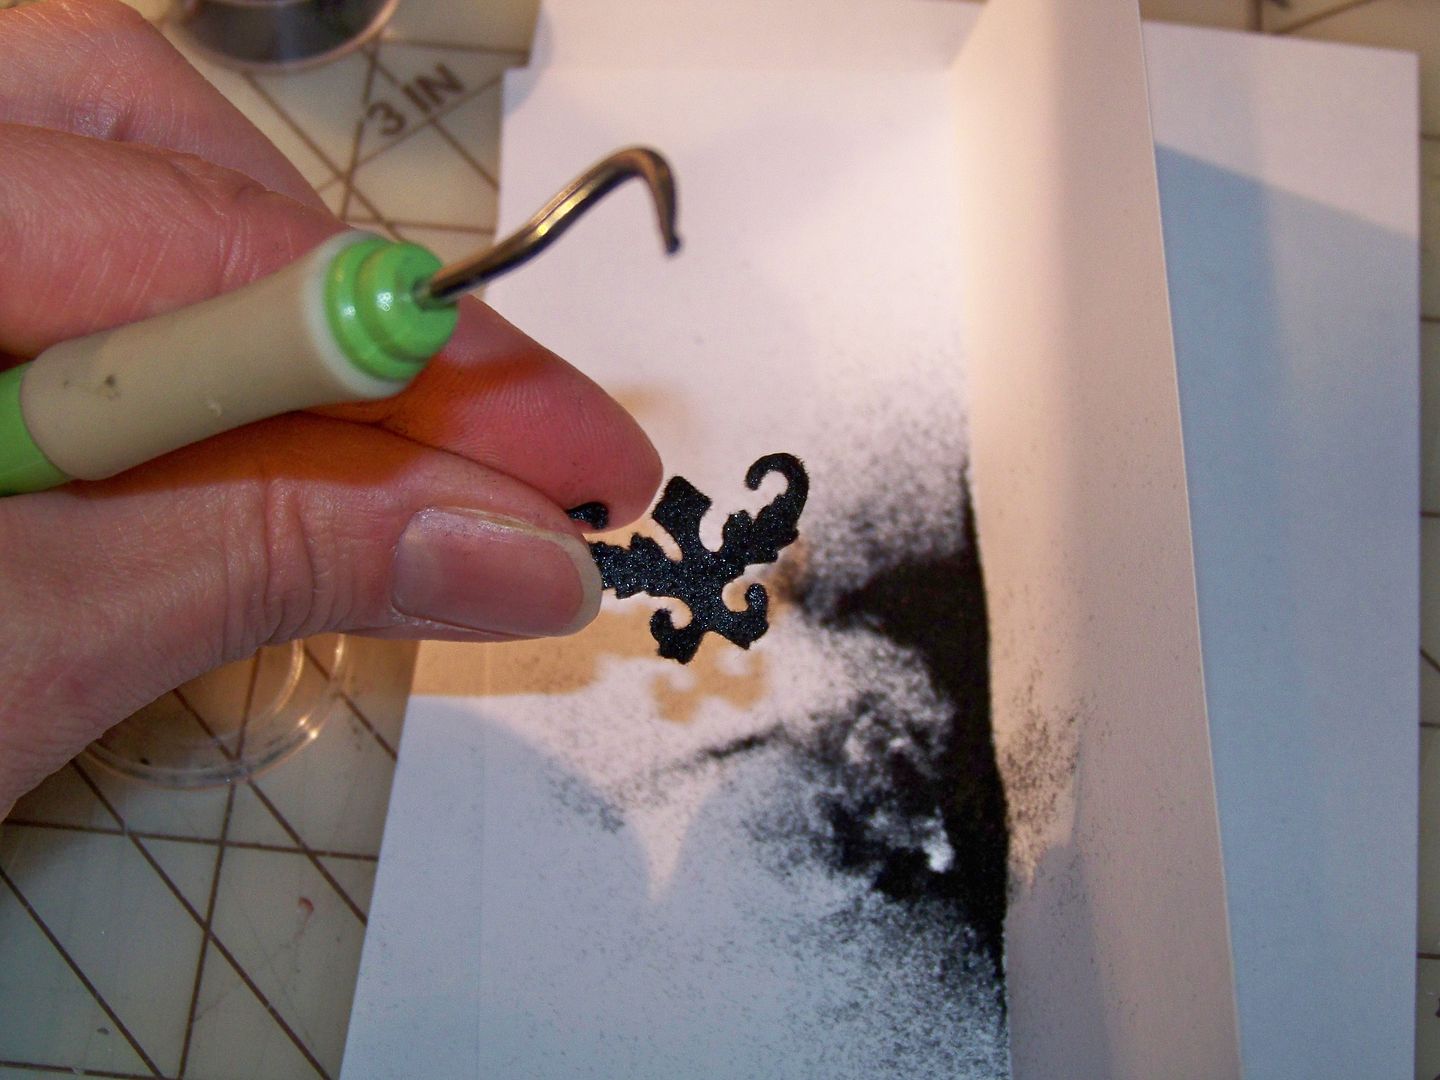
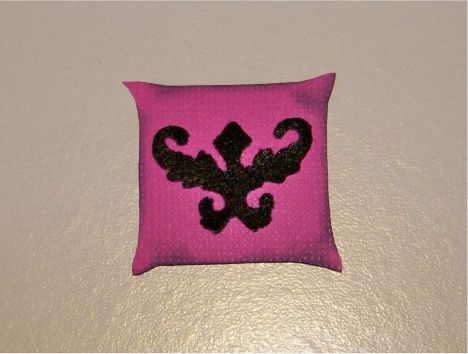
I wanted to create a decorative pillow that simulated a flocked shape created with a die cut pattern on the Yudu.  I created a pillow by hand-cutting the shape and inking heavily to create a little volume.  I cut a shape from Damask Decor (page 31 - layer 1) on my Expression at 2-1/4".  I ran it through my Xyron, face down.  I sprinkled black flocking powder over the adhesive-coated side and pressed it in.  (I used the dental pick tool from my Cricut tool kit to remove any "webs" of adhesive in order to have clean edges).  I adhered the shape to the pillow cut. 


(Don't you think this would be an awesome REAL project?  I am sooo doing this for my sofa with my Yudu and flocking!)

I wanted to create a bit of wall art.  For that, I photocopied the handbook from Work Collage.  I increased the size 120%.  I trimmed the design I chose to size.  I cut a frame for it using Fancy Frames (Fram7Lr), at 1-1/4" on my Expression.  What I love about Fancy Frames is that the size you pick is the size of the inside height you want for your artwork/photography.  I created a mat for the picture by adhering a bit of pink cardstock to the back of the frame and adhering the artwork to the front.  I attached a piece of ribbon to the back of the frame and attached it to the pennant with a pop dot.

With everything in place, I lined them up on the floor and ran an organza polka dot ribbon through the pennant holes.  I used Terrifically Tacky Tape on the ribbon to attach it to the backs of each pennant.
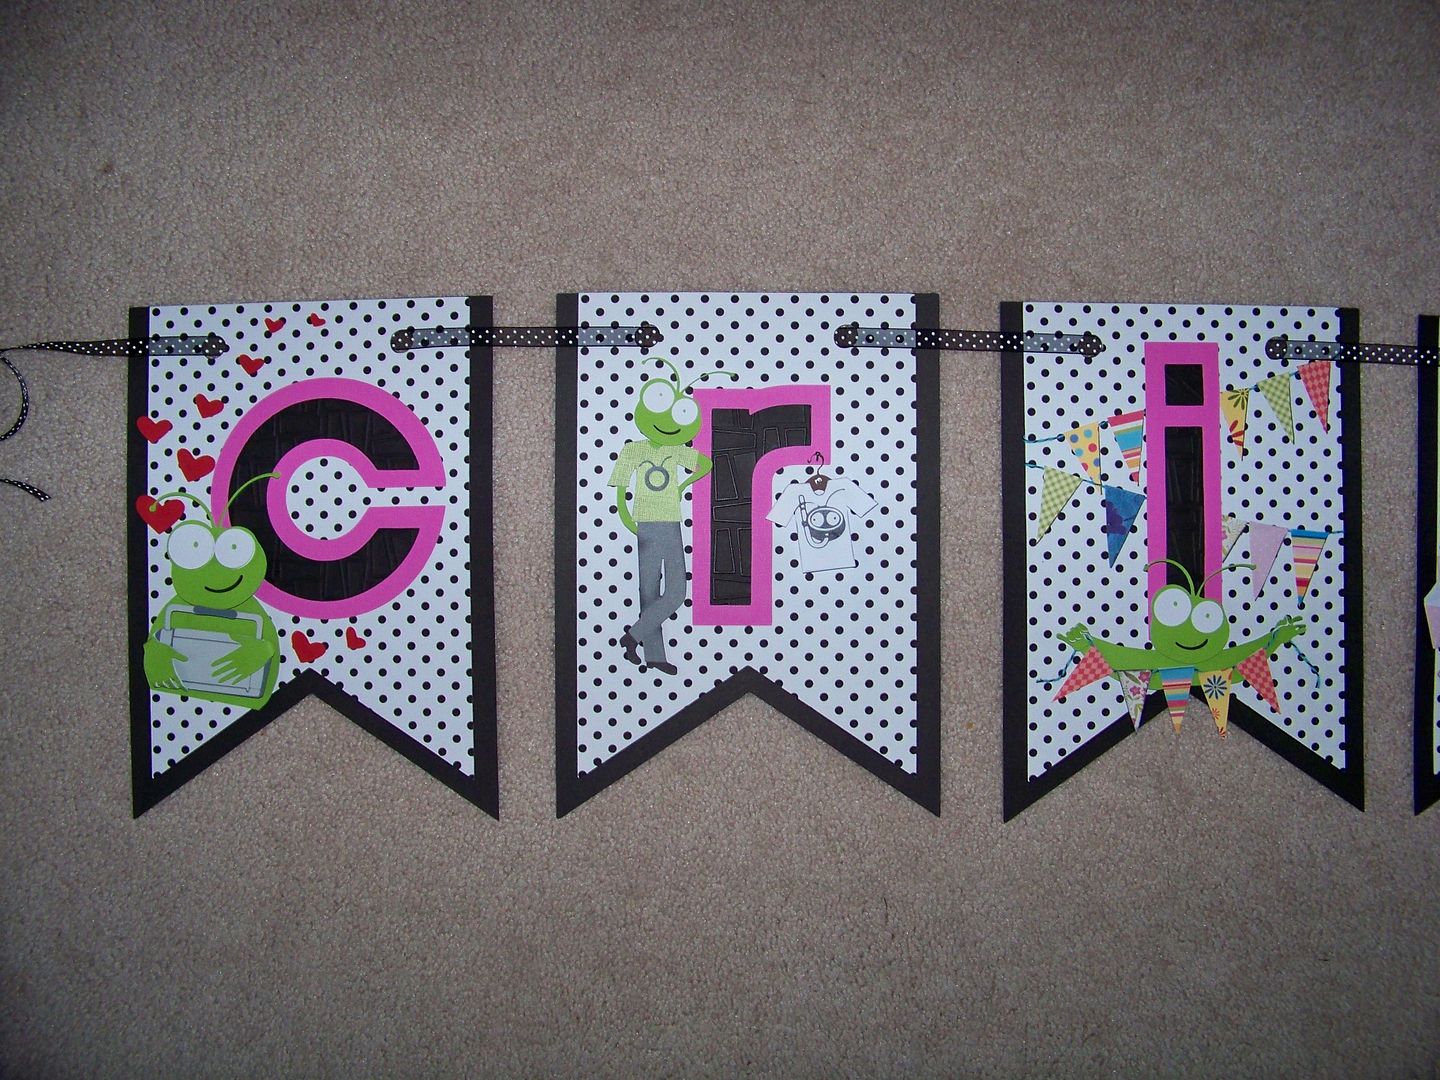


I had so much fun doing this project!  It was fun to put together some of the things I have learned about altering figures- with no worries about hairstyles!  My daughter was somewhat concerned that the bug was naked on most of my pennants, but I explained that he was clothing-optional.  I don't know if that answered it for her or not, but from what I can tell about him, it is true.

Thank you for visiting my blog today!  You can see all of my projects by clicking My Project Gallery at the top of my blog, or by clicking here.

Wednesday, September 14, 2011

Vintage Circus: The Strong Man


A while back, I stumbled upon a blog that presented Mimi Kirchner's circus tattoo dolls that she made with vintage toile.  I was in love!  (You can check it out by clicking here.)  At one time in my past, I was an art doll maker too so this kind of find really excited me!  I loved the whimsical design and fun details that were employed to get a retro look.  I thought that the use of toile to represent tattoos was genius! 

Last night, I realized that the Carousel Cricut cartridge has a silhouette of a Circus strong man.  I decided to do a little character study on this cut with the inspiration I got from Mimi Kirchner.

First, I cut three figures from Carousel in my Imagine at 6.3", floodfilling it with flesh color.  I used RGB 250,229,210. 

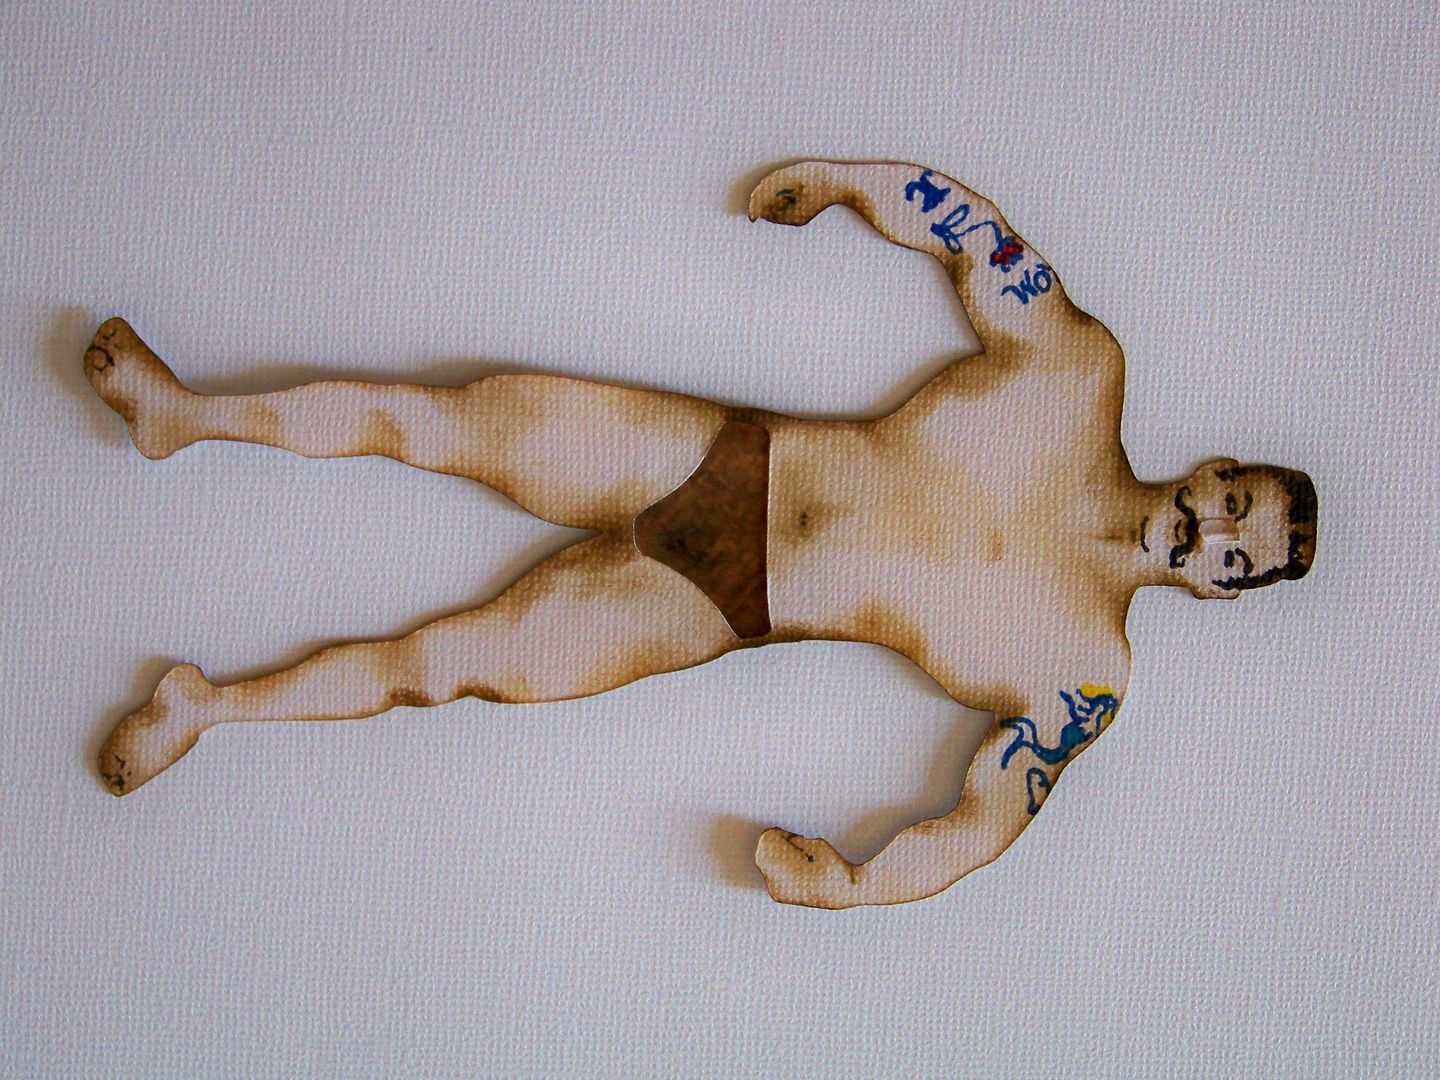
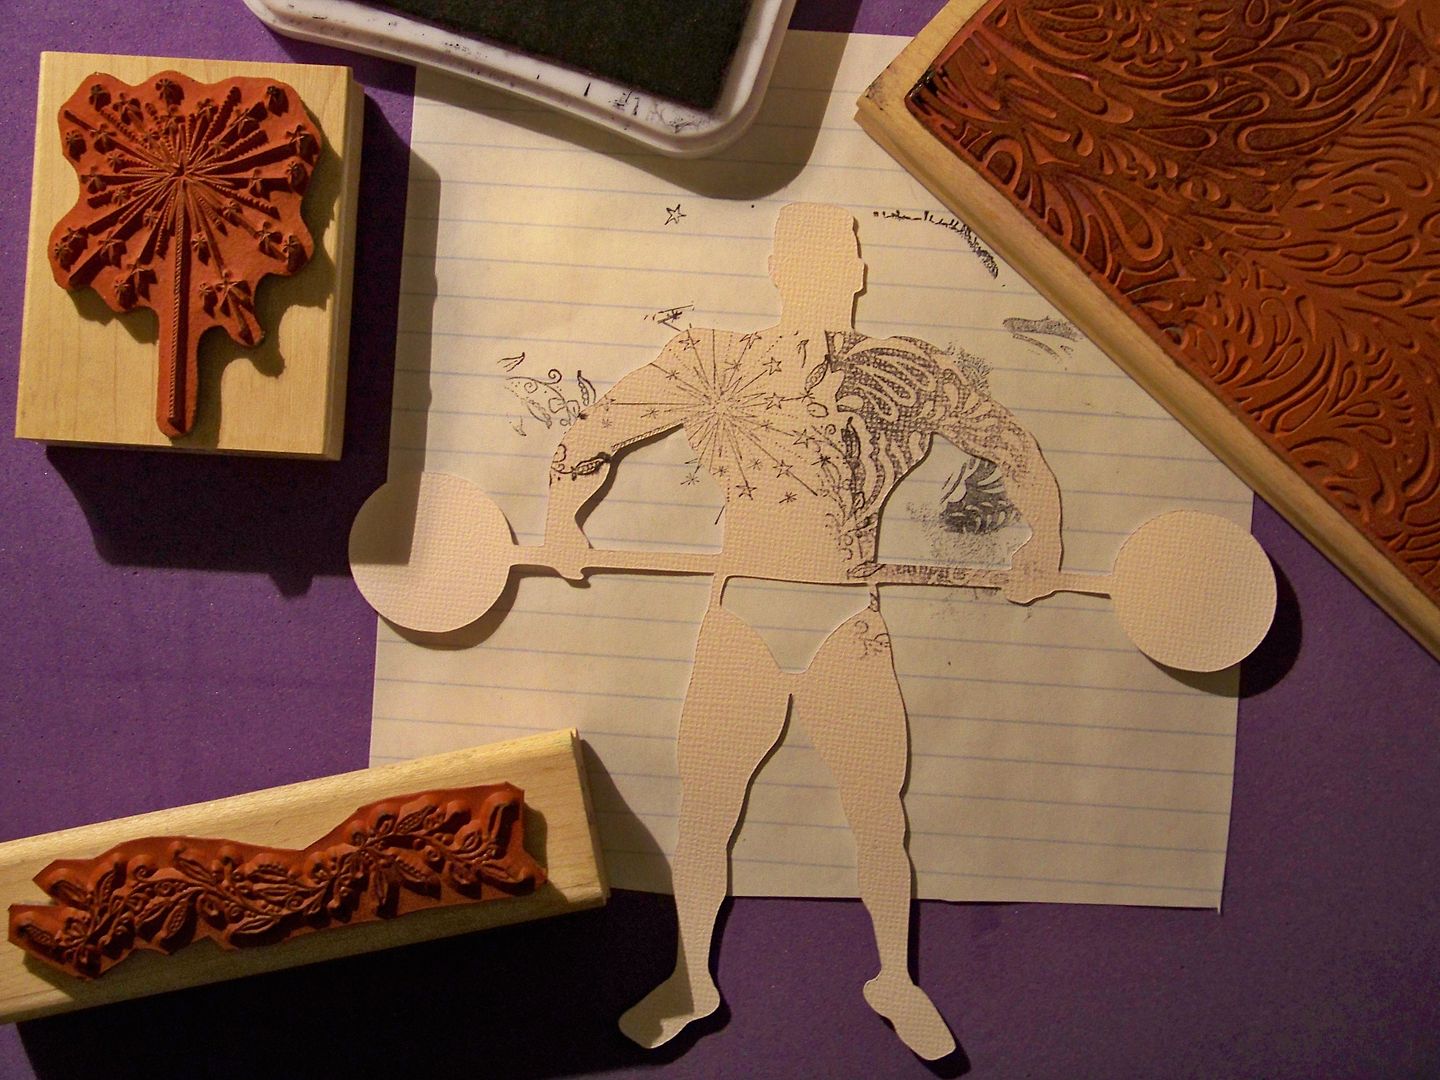
On the first one, I cut off the dumbbells and added a bit of brown paper behind the figure for his clothing.  I used a foam eyeshadow applicator and a brown inkpad.  I just inked him and did a bit of shading to give him some volume.  I used Sharpie pens for the detail work and drew in some silly tattos. I hand-cut his nose using scraps from the dumbbell.


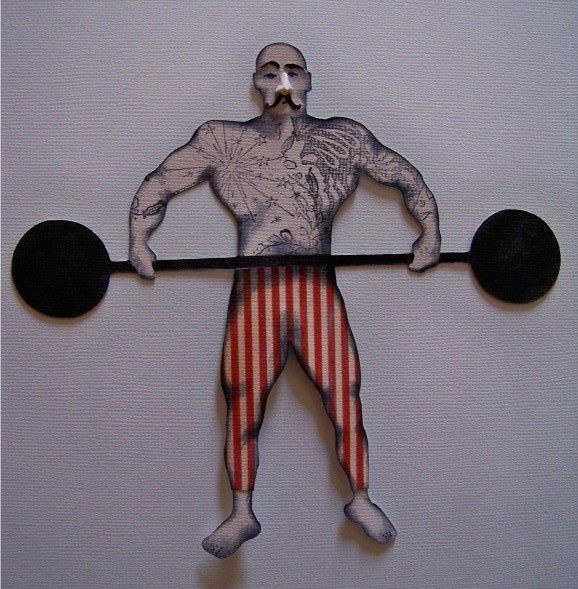
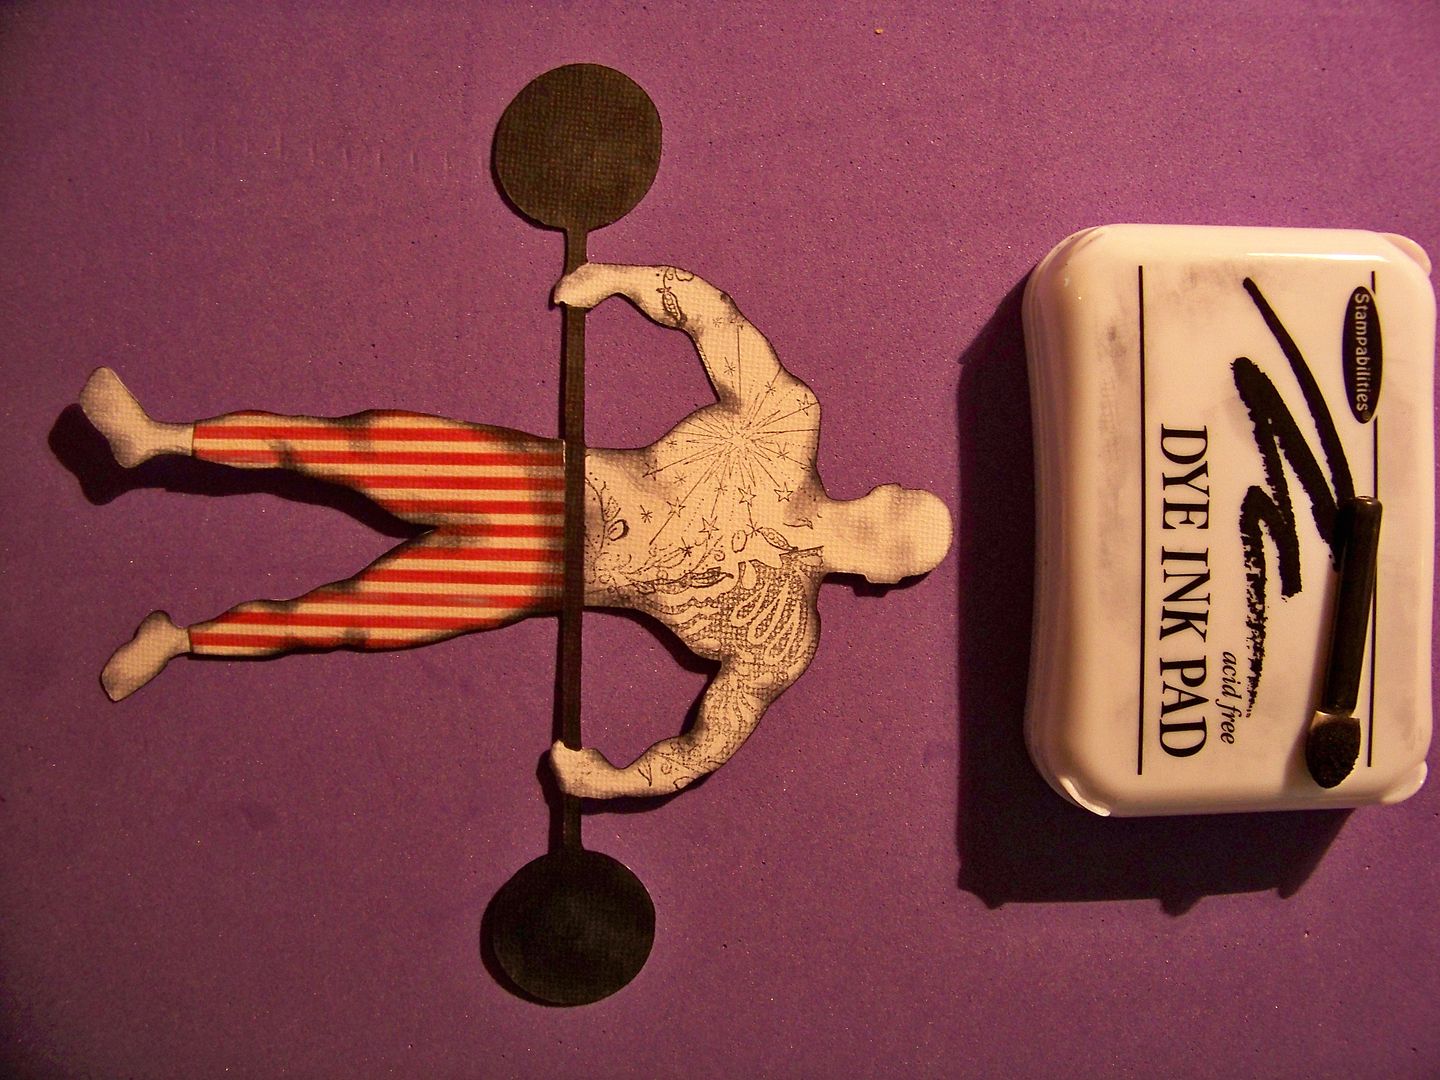
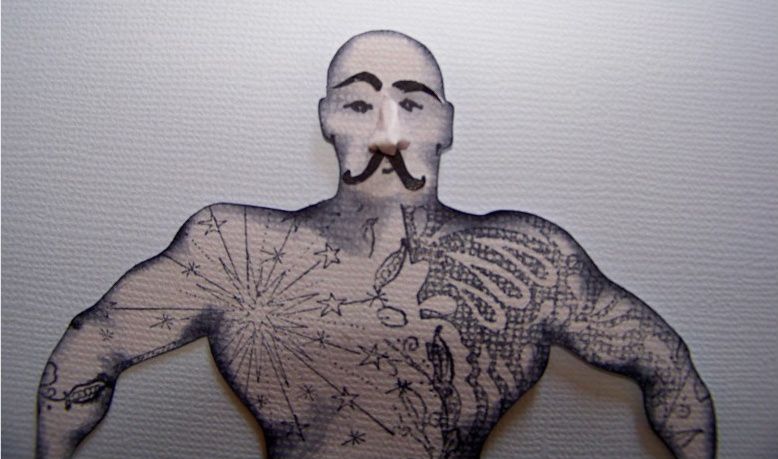
For the next one, I first went to Google Images.  I wanted more of the kind of character that Mimi Kirchner was able to develop and I needed some clues.  I searched "old fashioned circus strong man" and "vintage tattoo".  Talk about great characters!!  I trimmed off the silhouette of hair, realizing I wanted a bald strong man.  Now I knew that I needed to I use black to do the shading (due to the effect of the black and white pictures, I guess.)  I used stamps and black ink to create his tattoos.  (This was an epiphany that I should have gotten from the toile but got instead from the cover of a book called Vintage Tattoos.  Those old-fashioned line-drawing-style tattoos looked like something from a rubber stamp!) 


This time, I kept the dumbbells.  I also printed a 5.5" square of red stripe from Buccaneer.  I traced his legs to create the pants and glued them on.  I colored in the dumbbell.  I cut his mustache from Billionaire (the taller one) at 1/4" and then made a small cut so I could spread them apart.  I hand-cut his eyebrows and drew in the rest of the face. 


I felt like I had the character I wanted... but this time, I wanted to make this cut into a super hero.

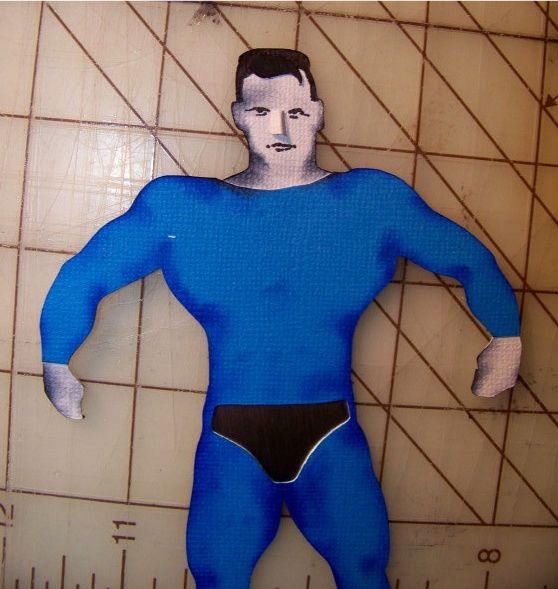
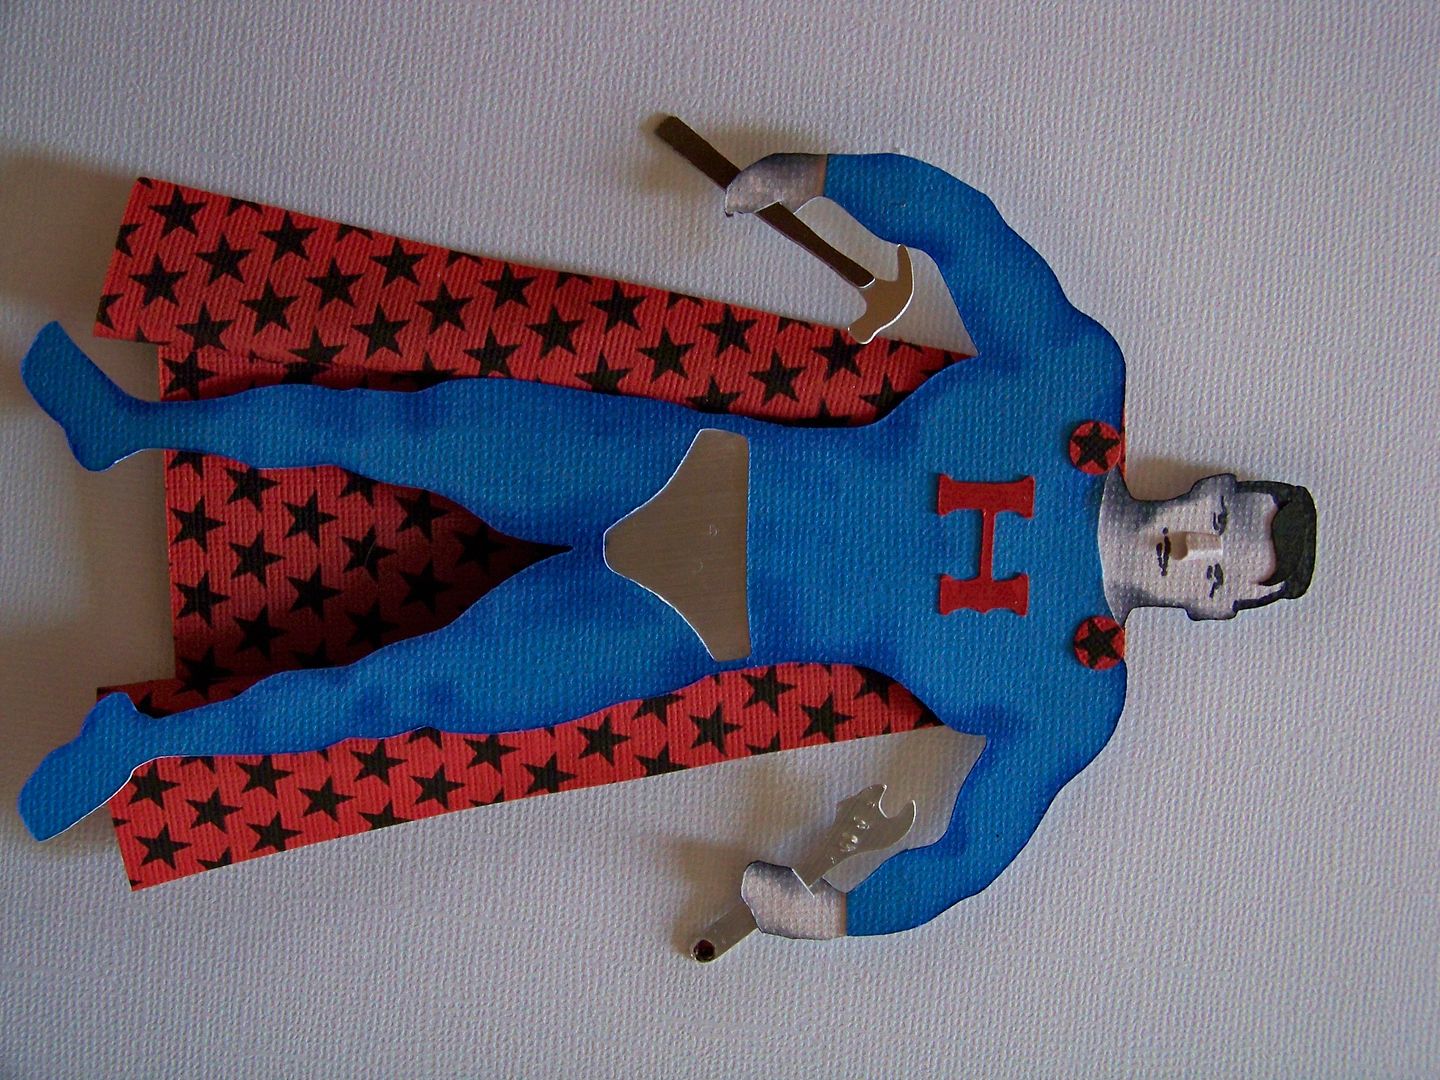
I cut another 6.3" figure, this time, floodfilling in with blue (one of the built-in colors on the Imagine queue).  I cut away the head, hands, and dumbbell.  I used the head from the last remaining figure that was flesh-colored.  I inked him in blue on his suit and black on his face.  The nose I made for him was smaller. 


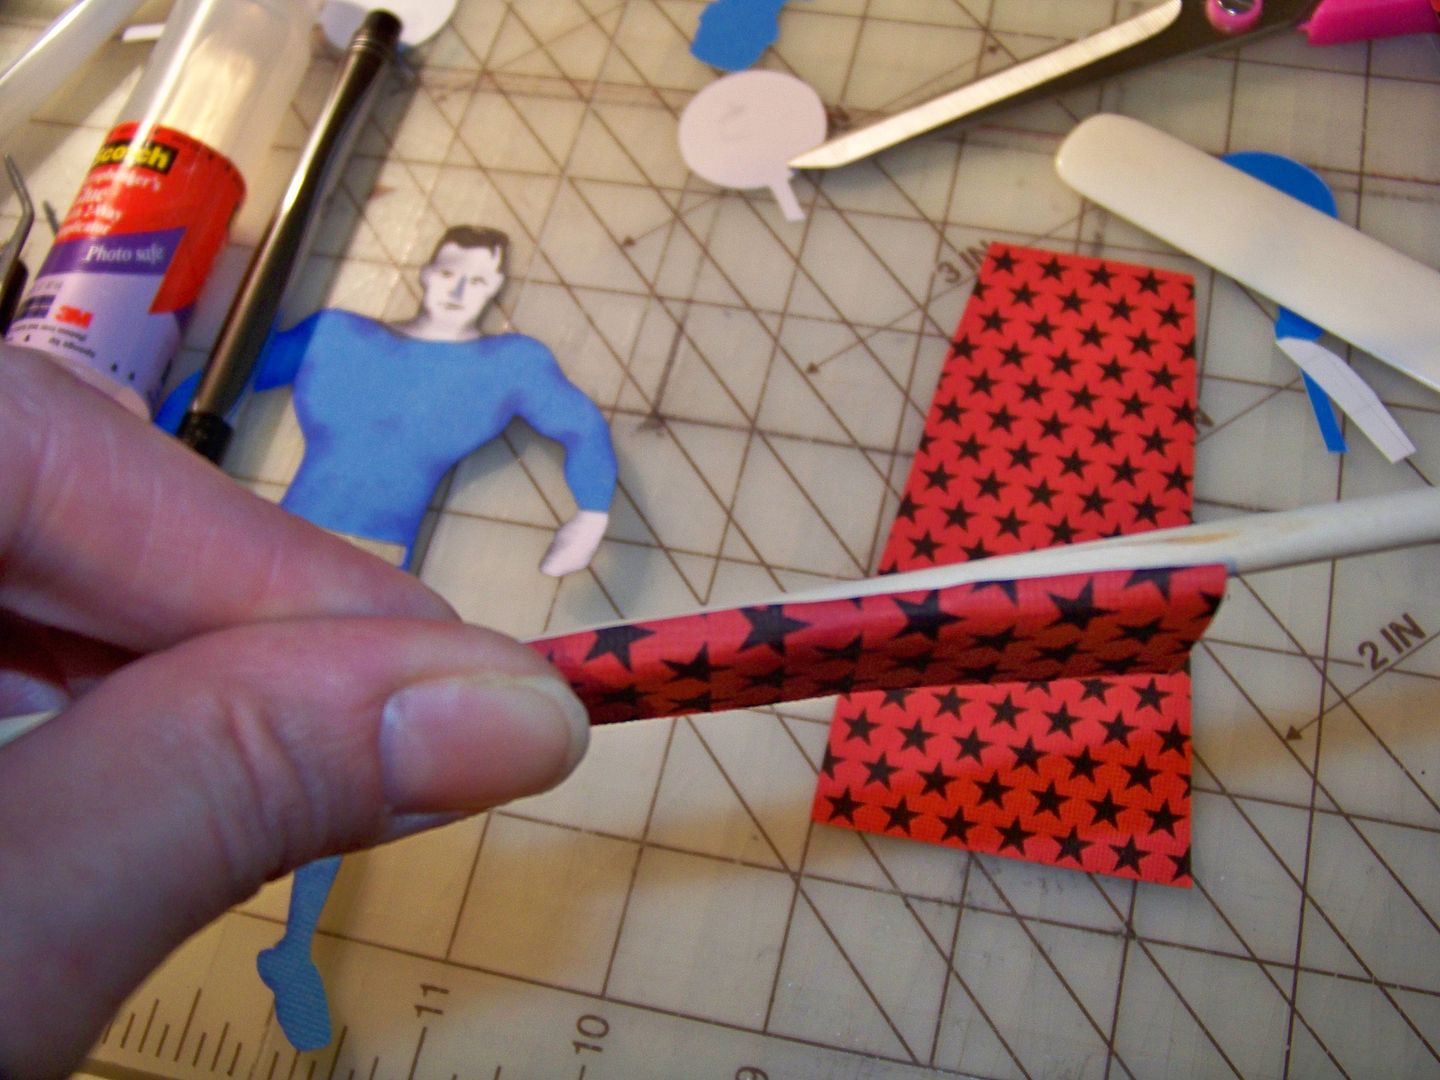
I created a cape by printing a 6" square of red paper with the star print from the Black and White cartridge.  I cut three pieces-- a back piece and two side pieces.  I rolled the side pieces to create the folds in the cape.  I created epaulettes by centering one of the stars with a hole punch and pressing it out.


So, why is he so 'super'?  He's handy!  (Yes, we are in big need of a handy man-- so much so that I think of them as super heroes right now I guess.)  The hammer and wrench were cut on Handy Man at 1-1/4".  The "H" is from the Hannah Montana cartridge, cut at 1/2". 


I love creating characters and I had so much fun with these guys!  I learned so much and can you believe the difference in outcome when inking in brown versus black!  You can really see that in the picture above (remember the flesh was all the same RGB)!  You are welcome to visit My Project Gallery in the tab at the top of my blog, or by clicking here, to see all of my other characters and projects!

Thank you for visiting my blog today!

Wednesday, September 7, 2011

Autumn Served with a Side of Penance

Well, a little bit of rain has changed everything here in Kentucky!  Gone is the 100 degree heat index, chased away with a little taste of autumn.  We had our coolest Labor Day in 76 years... and most people were thrilled.  ...Me?  Not so much. 


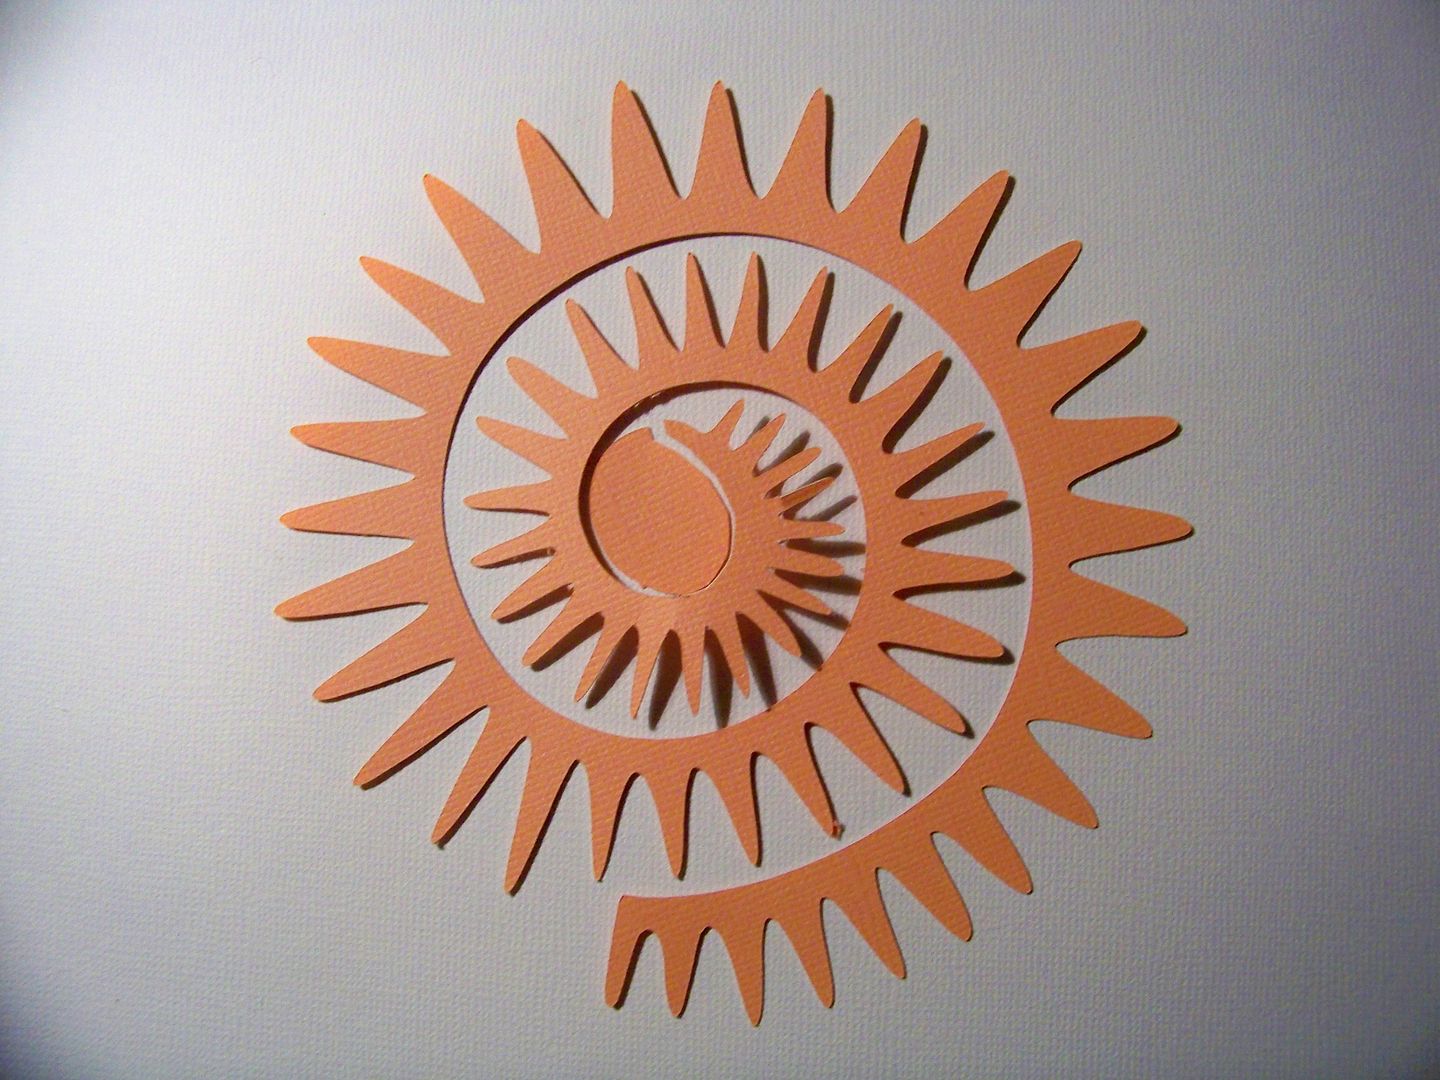
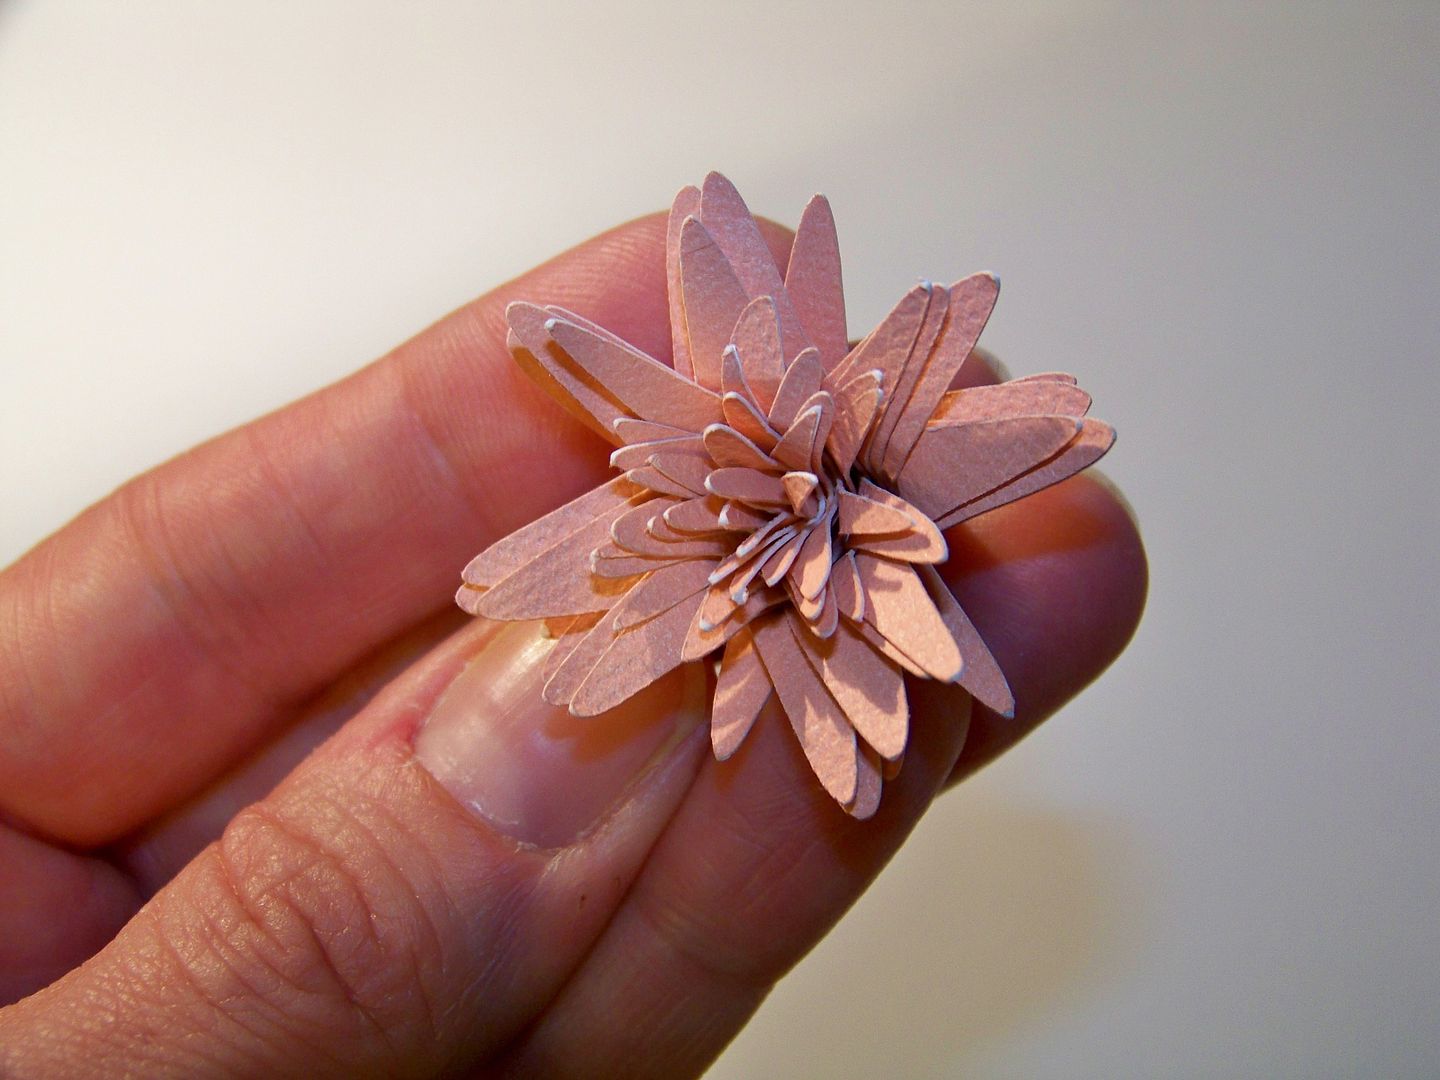
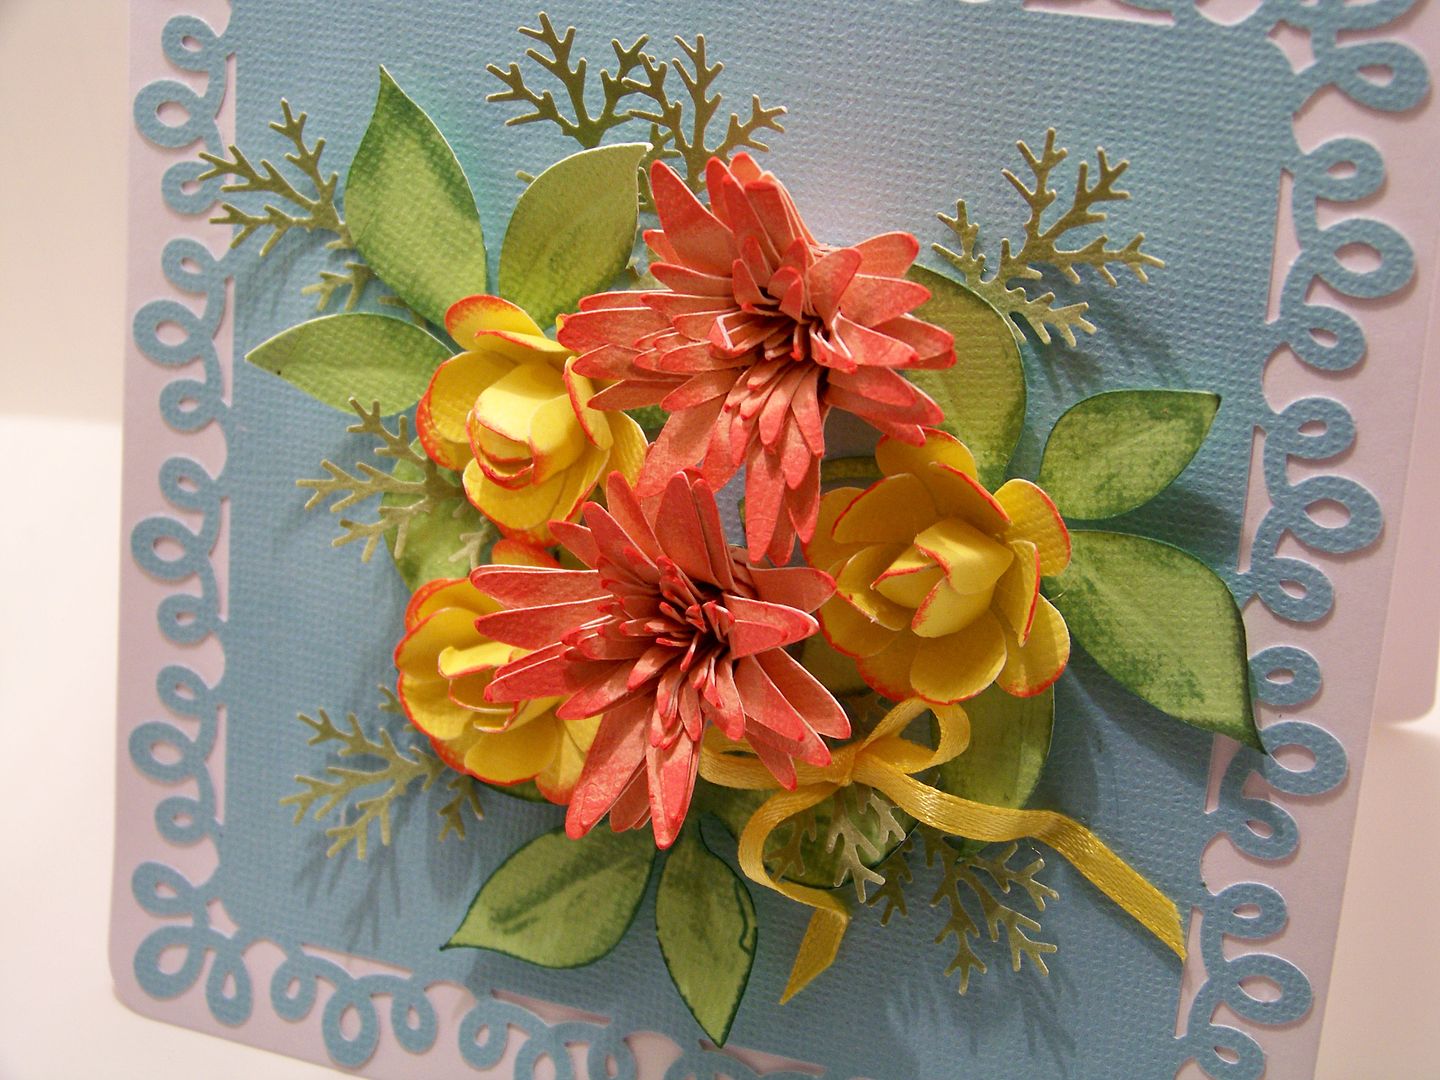
I love summer and I still had warm weather and flowers on my mind as I made a little card for my mother-in-law.  I bought the Art Philosophy cartridge from my message board friend, Jami Larson (CricutFarmer), just to have that spiral-cut pointy flower.  So the first thing I did was make it incorrectly.  But I liked it!  I wanted a tight flower after seeing some wonderful flowers in this book I just found, Paper Bouquet.


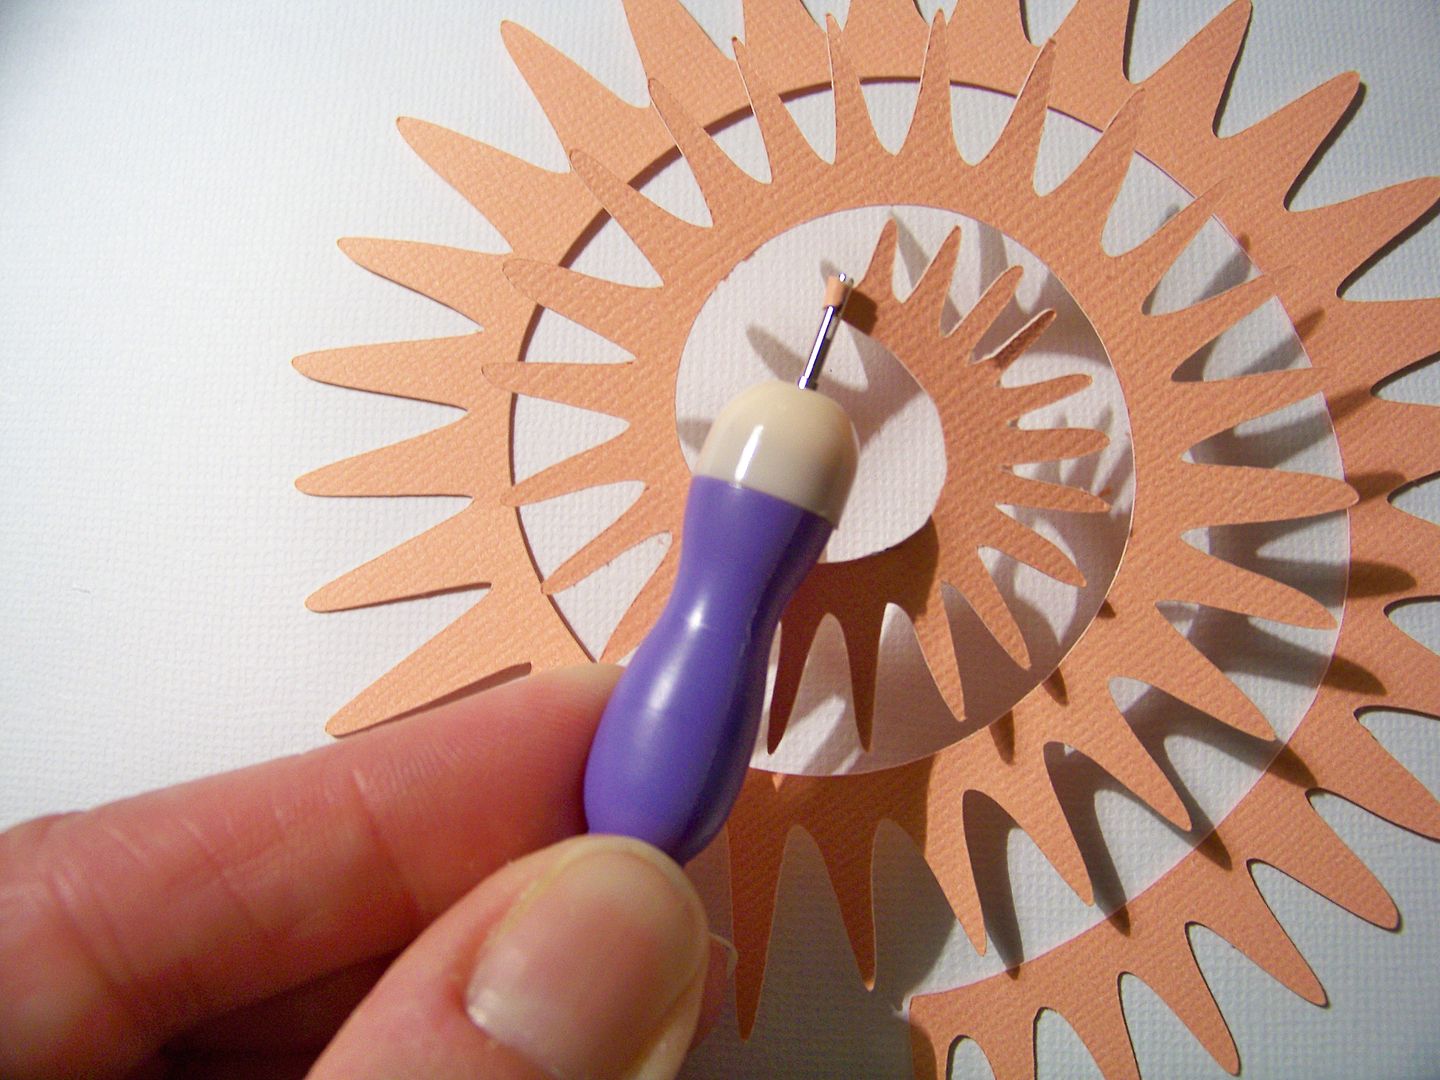
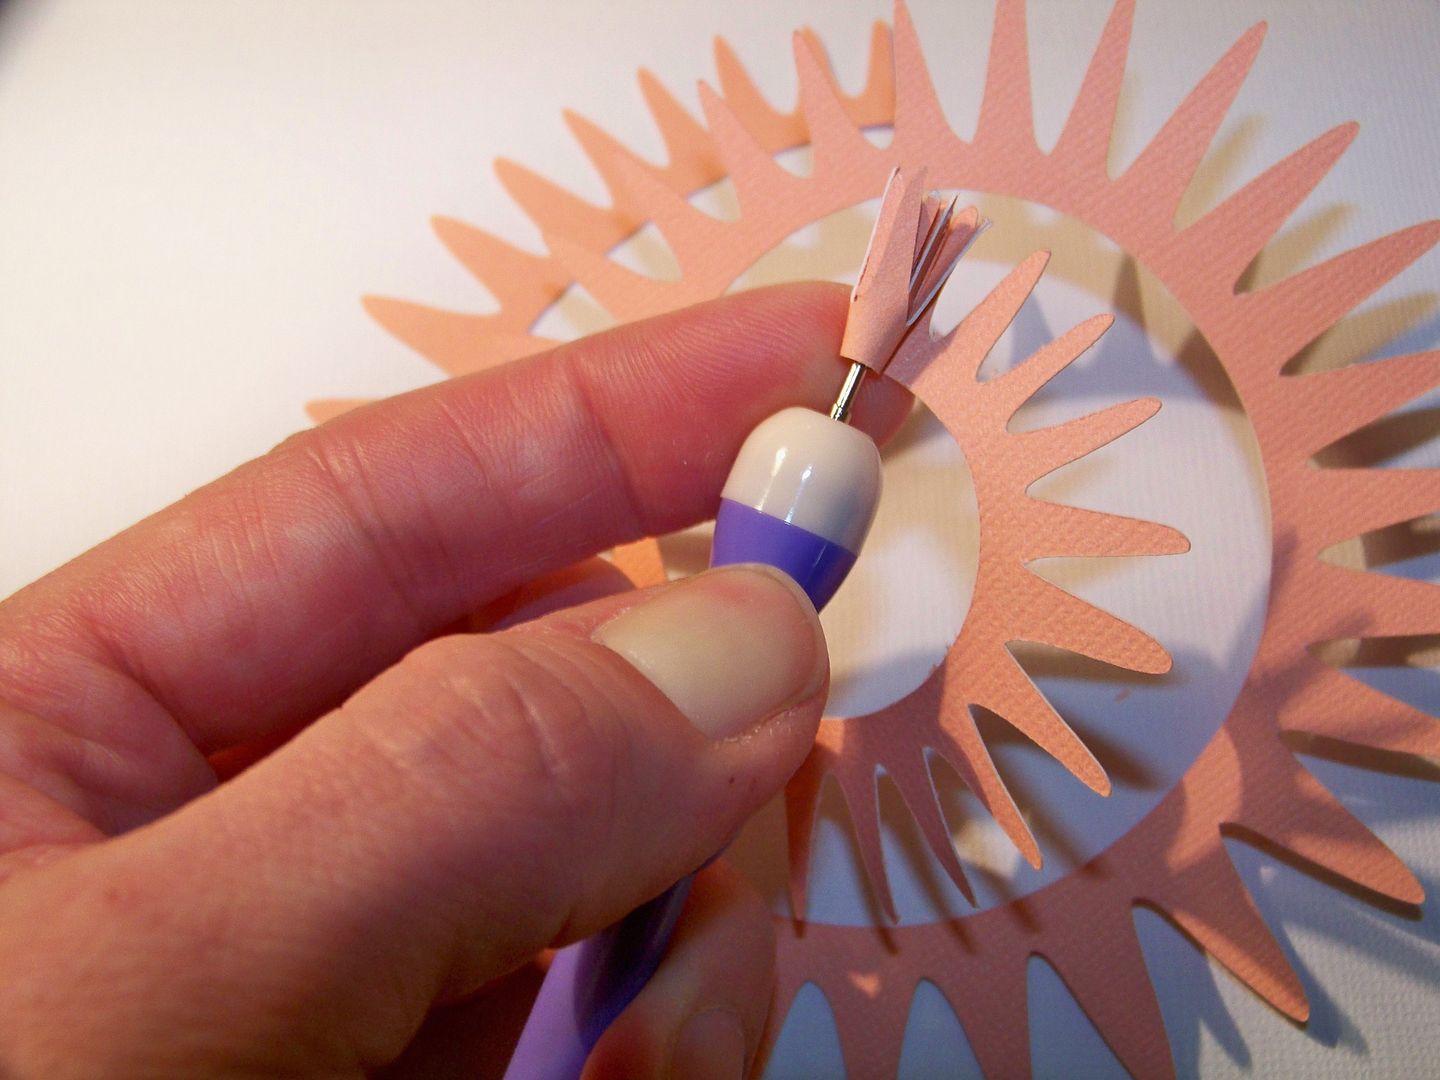
For this card, I cut the blue cardstock as a 5" square and used Martha Stewart punch-around-the-page loop punch for the base.  I created two pink flowers by cutting the pointy spiral flower on Art Philosophy at 5" (page 69) on my Expression.  Because I was going to roll it backwards, I trimmed off the inner circle, which normally would be a base.


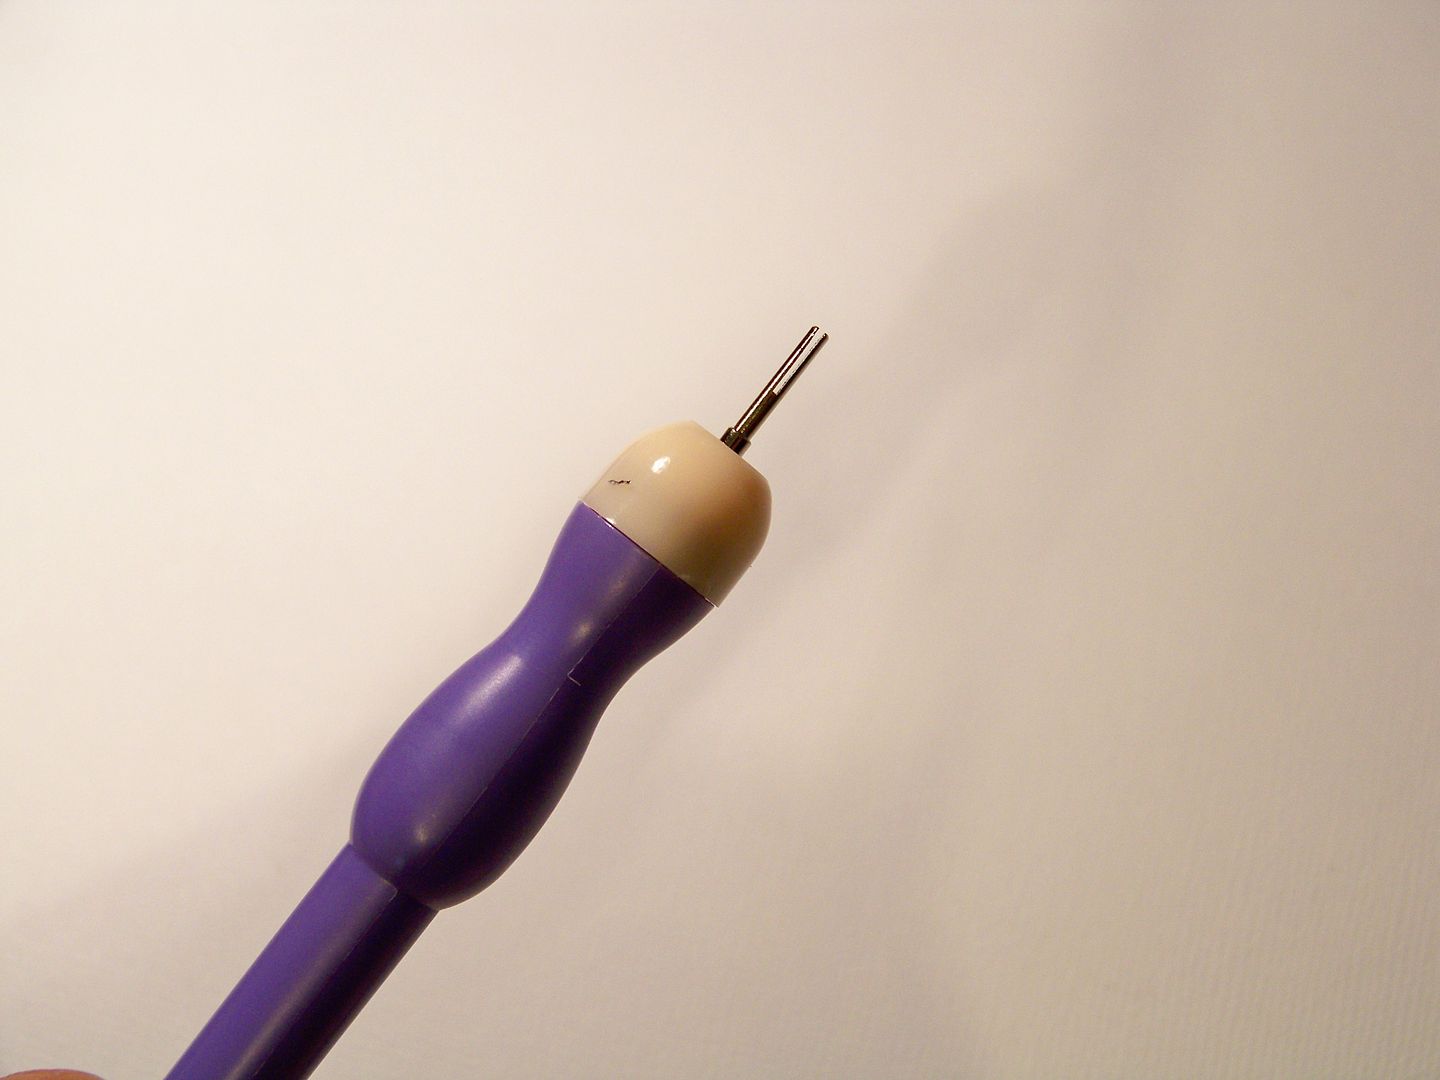
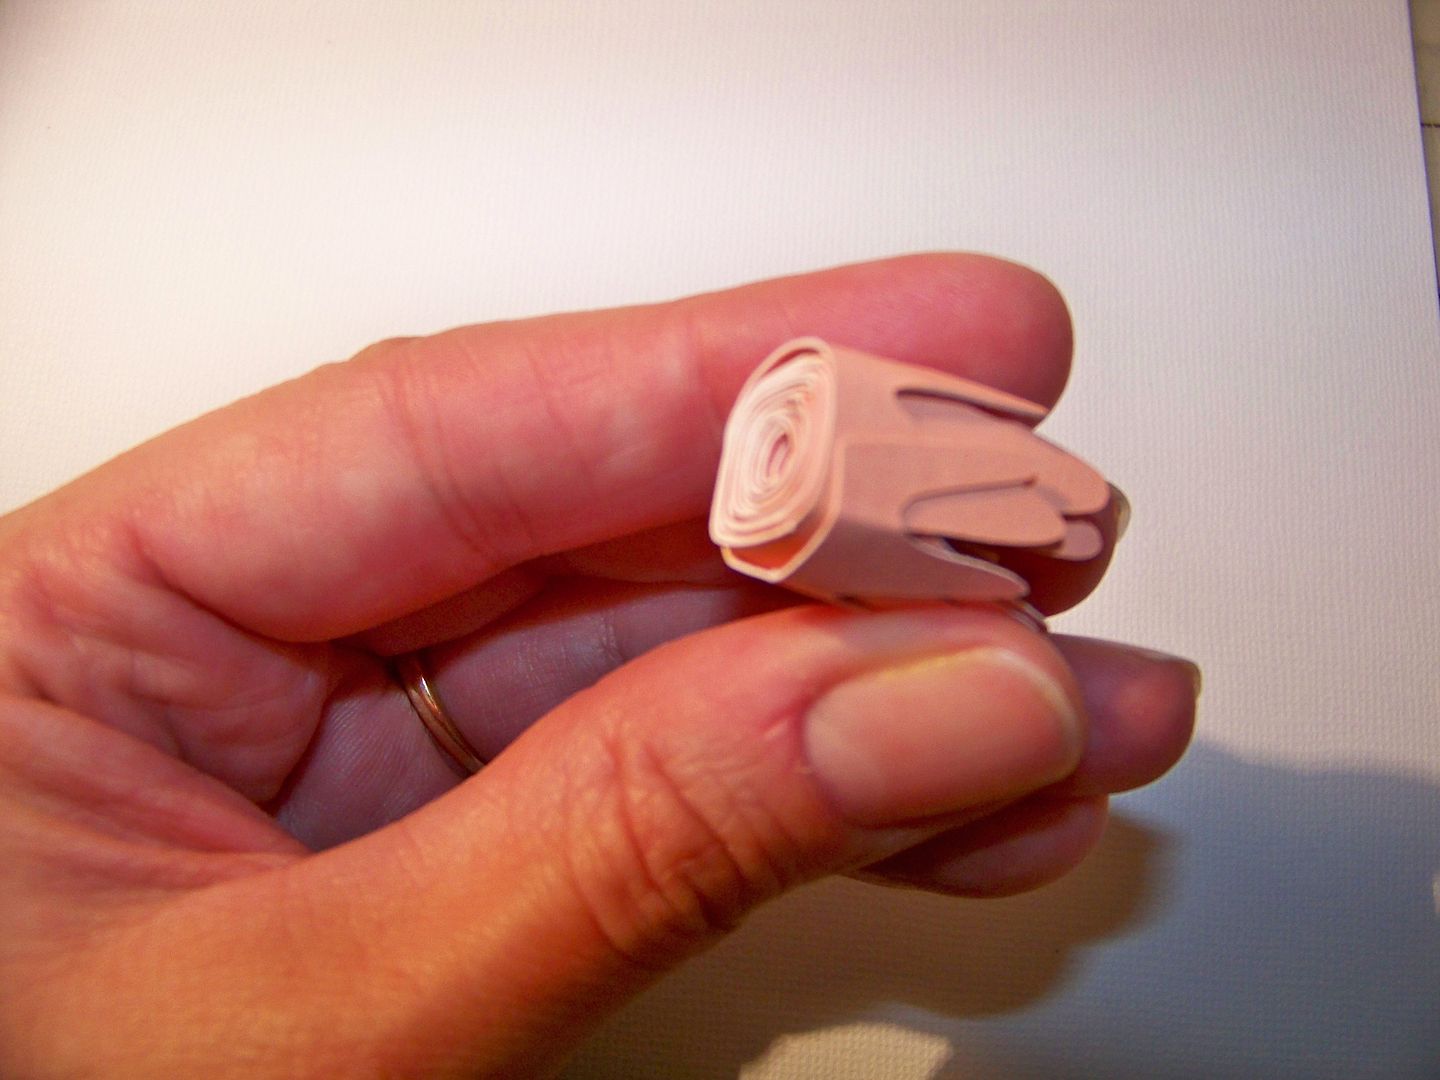
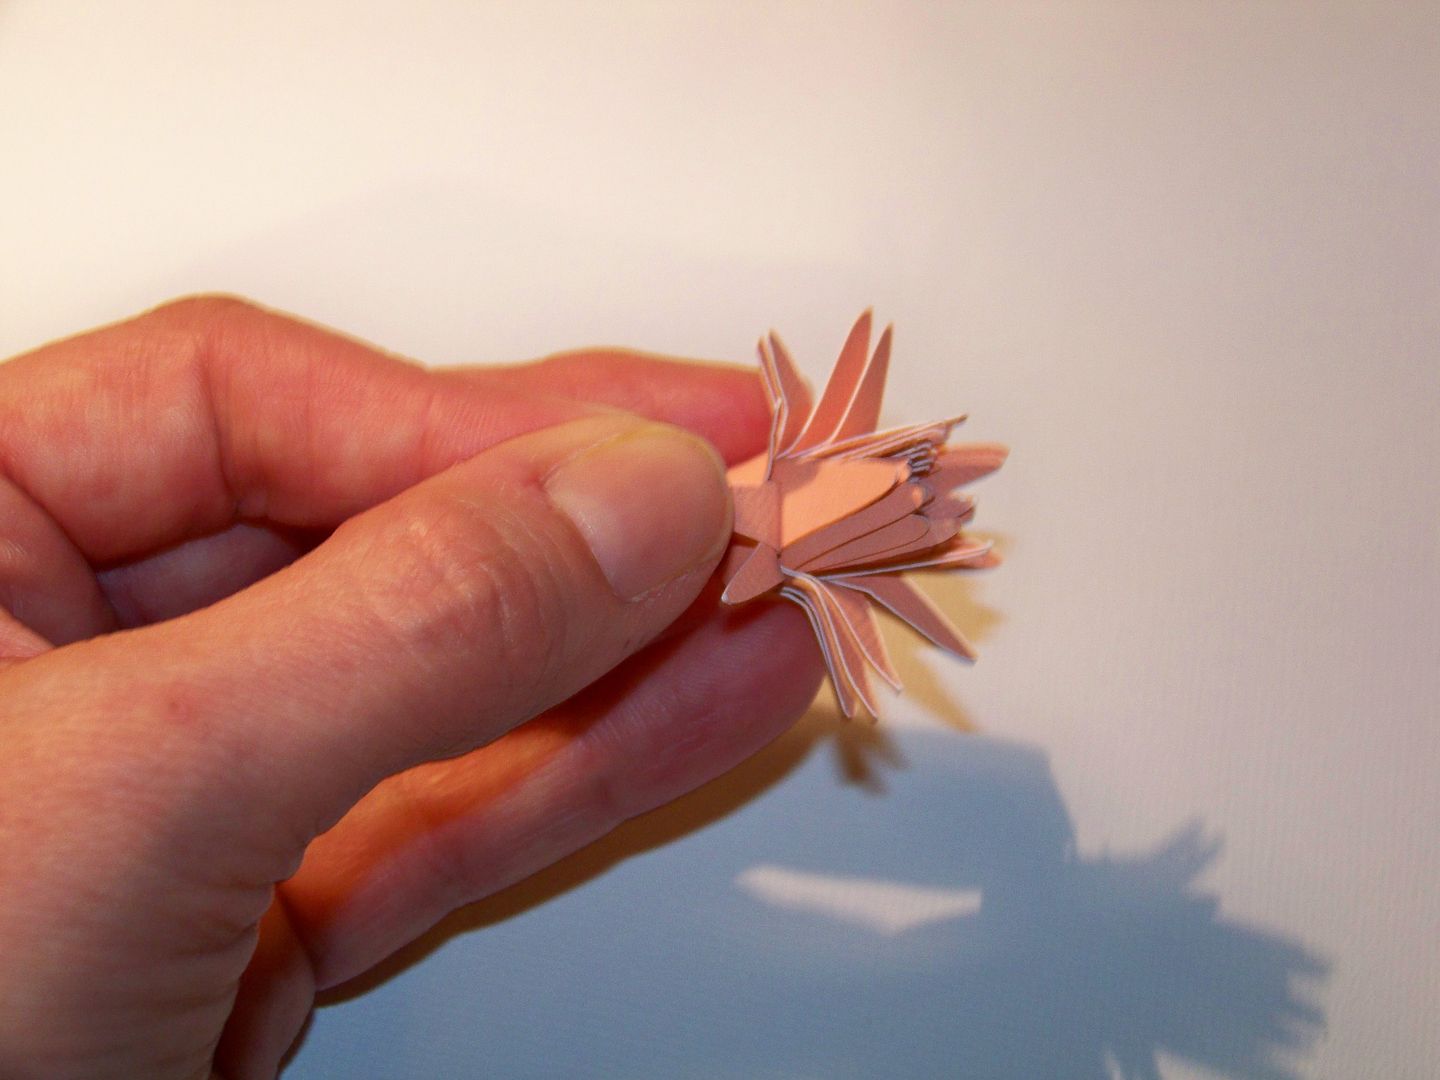
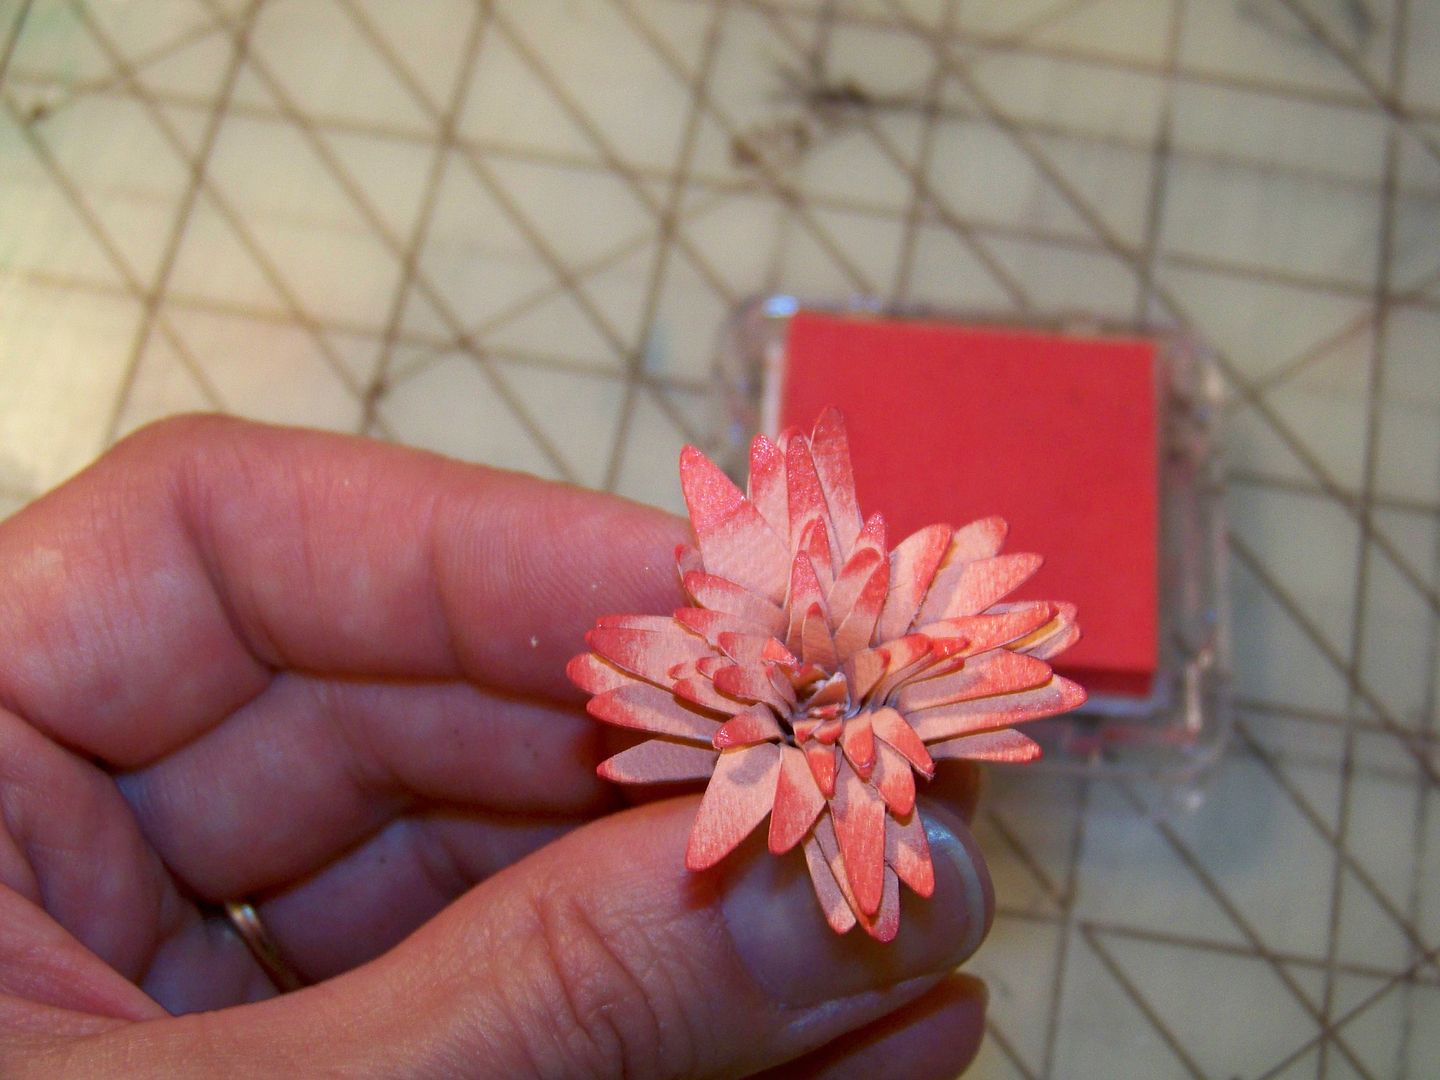
I used my quilling tool to roll the shape, starting from the inside, the backward way from what is usually done with this flower cut!  I peeled back the petals and inked it.


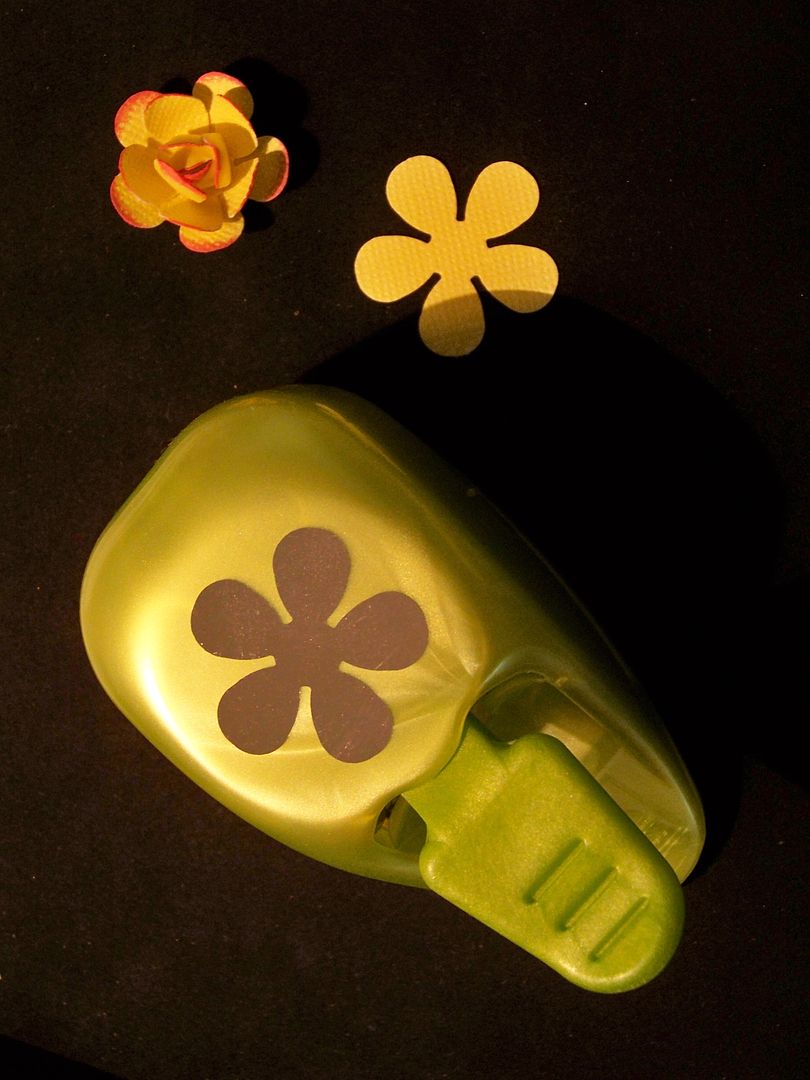
I made the yellow flowers with a punch. 


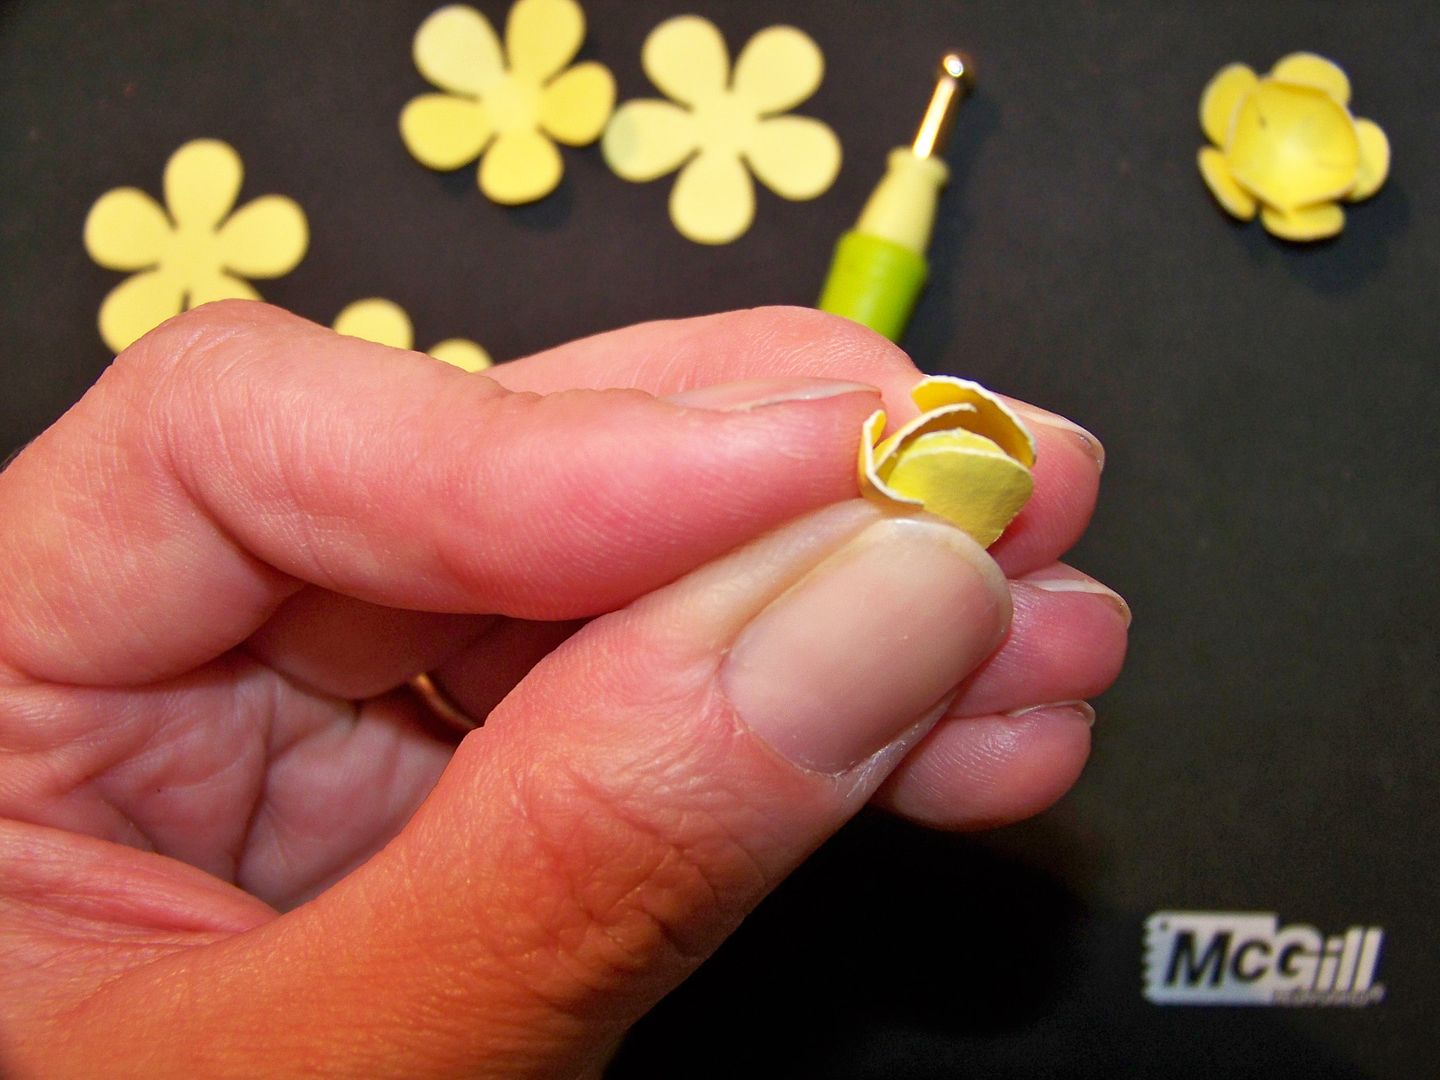
I used some McGill tools to help curl in the petals. I used three of these shapes for each flower.


The centers are pulled in tight and glued in place.  All the layers are just glued together.  Then the edges were inked.


The leaves were cut from Flower Shoppe (Exotic5), cut at 5".  I used a Q-tip and ink from my ink pad to add a little color and texture.  The leaves were added with pop dots.  I hot glued the dimensional flowers on and used a little Scotch Scrapbookers glue to add in little extra greenery that I got from a Martha Stewart branch punch.  I hot glued on a little ribbon.  The inside of this card had enough room for a gift card and a little message.
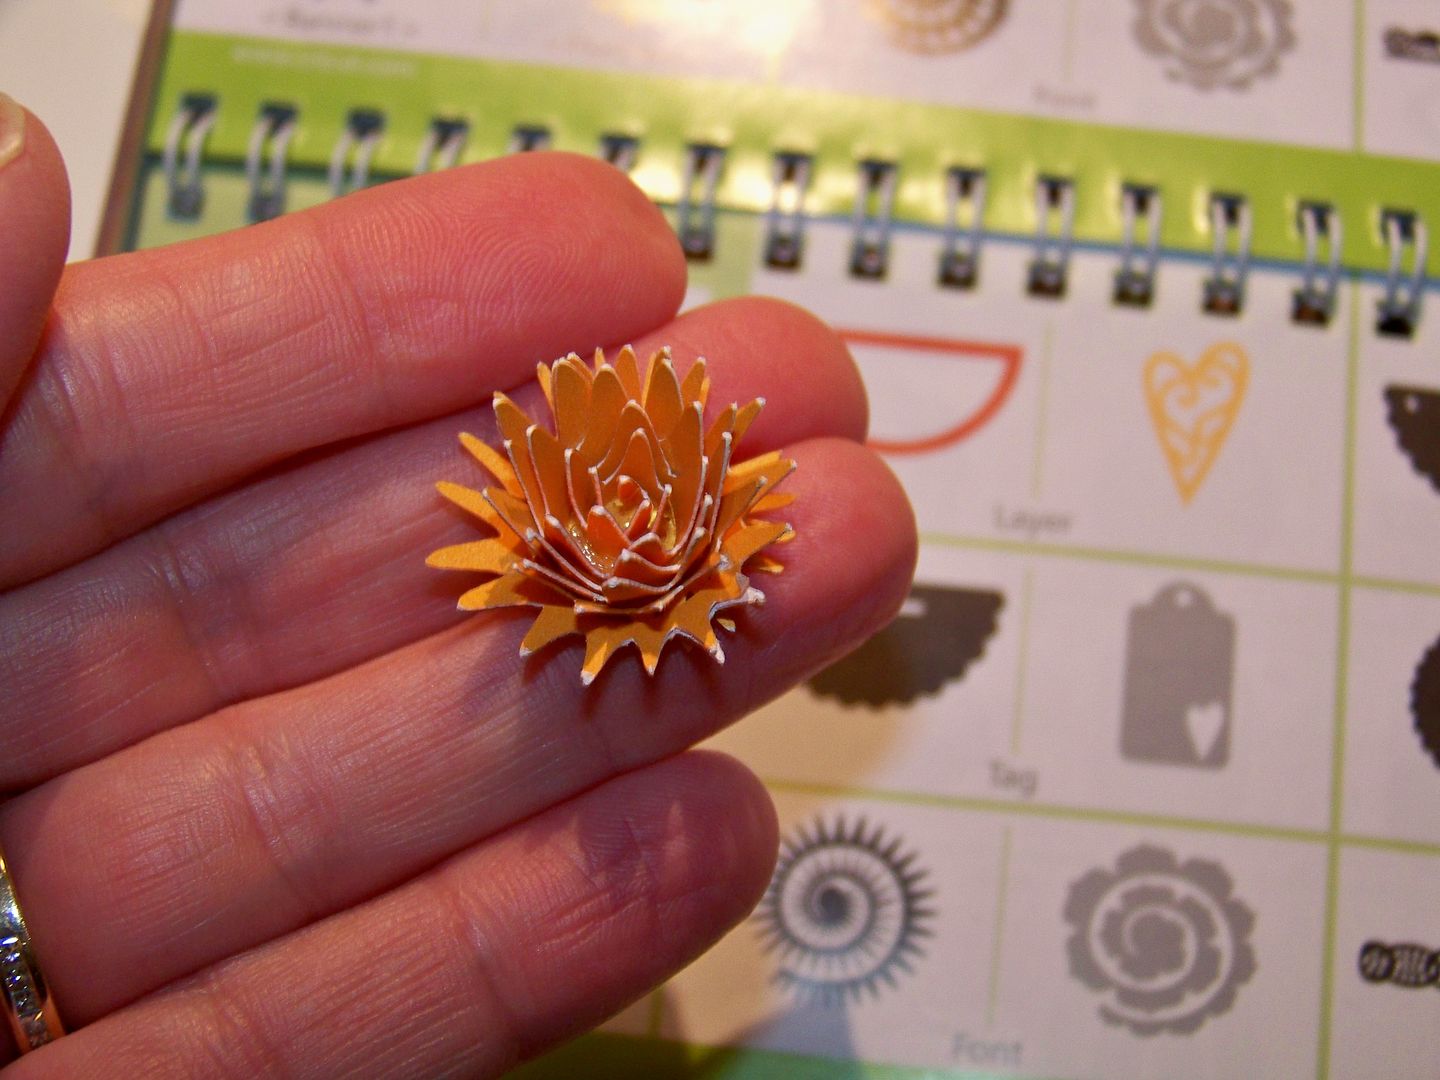

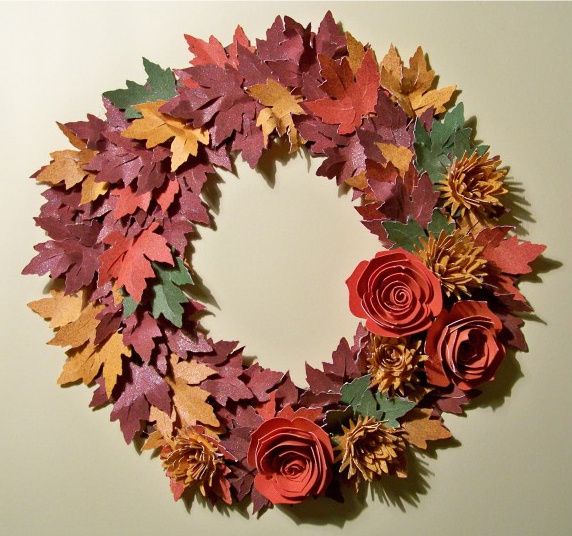
I wanted to make the Art Philosophy flower the correct way too.  I have seen so many beautiful wreaths and projects with those flowers.  I was also inspired by the autumn wreath that was just featured on the Circle Blog and I wanted to make a little version of my own:  a doorknob wreath. 
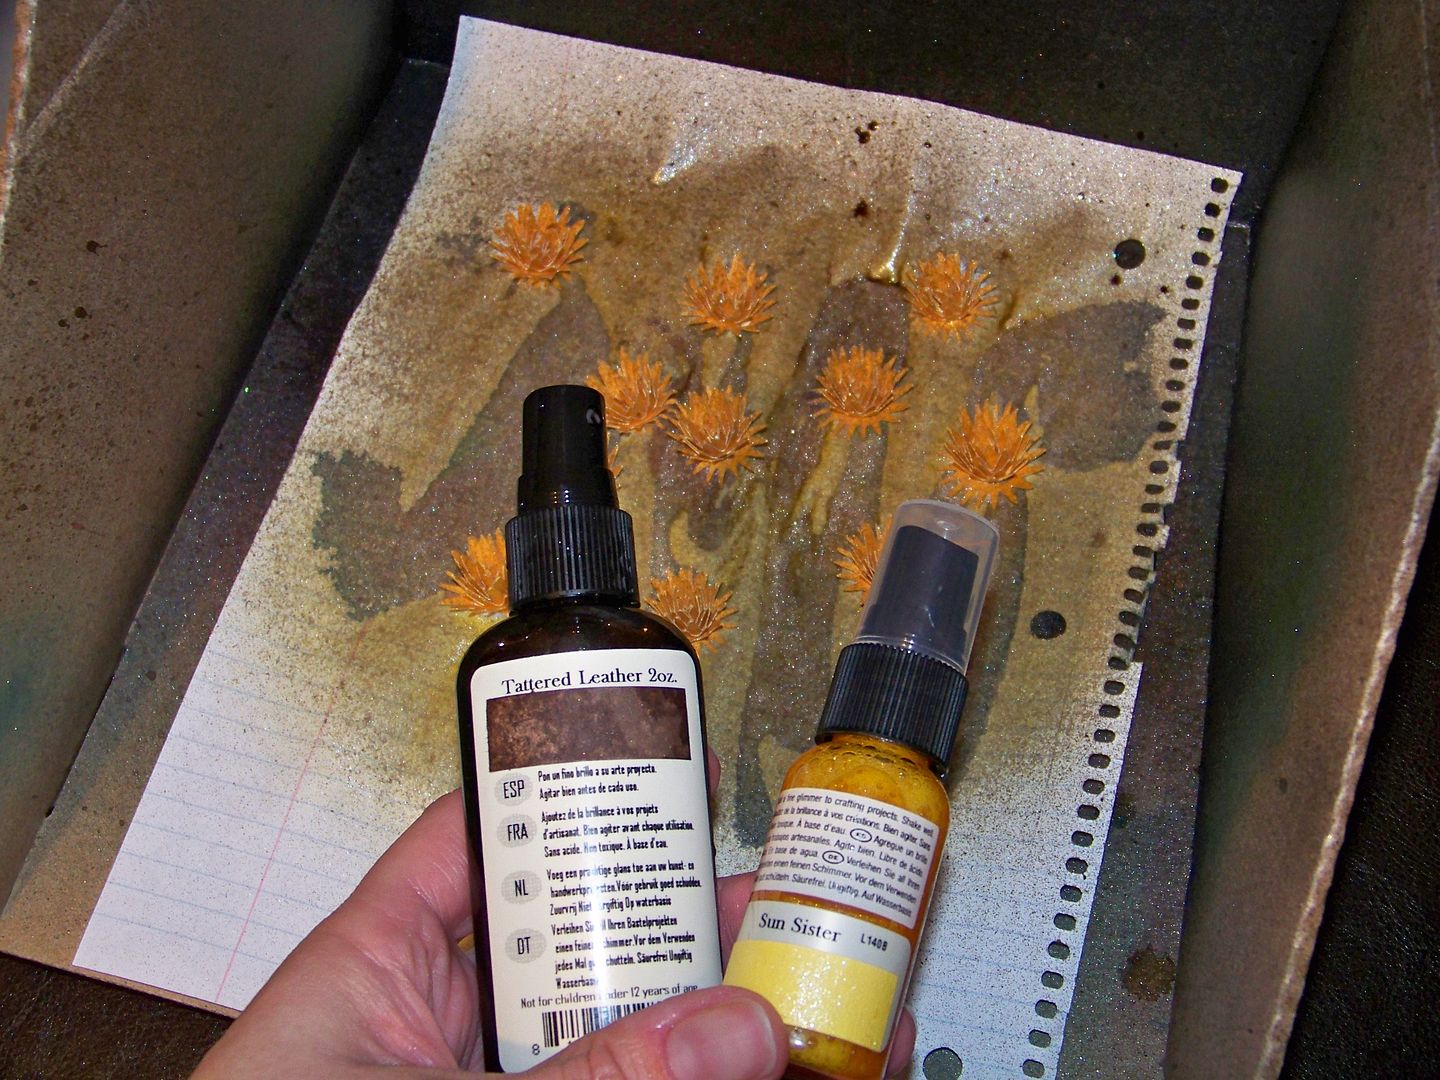

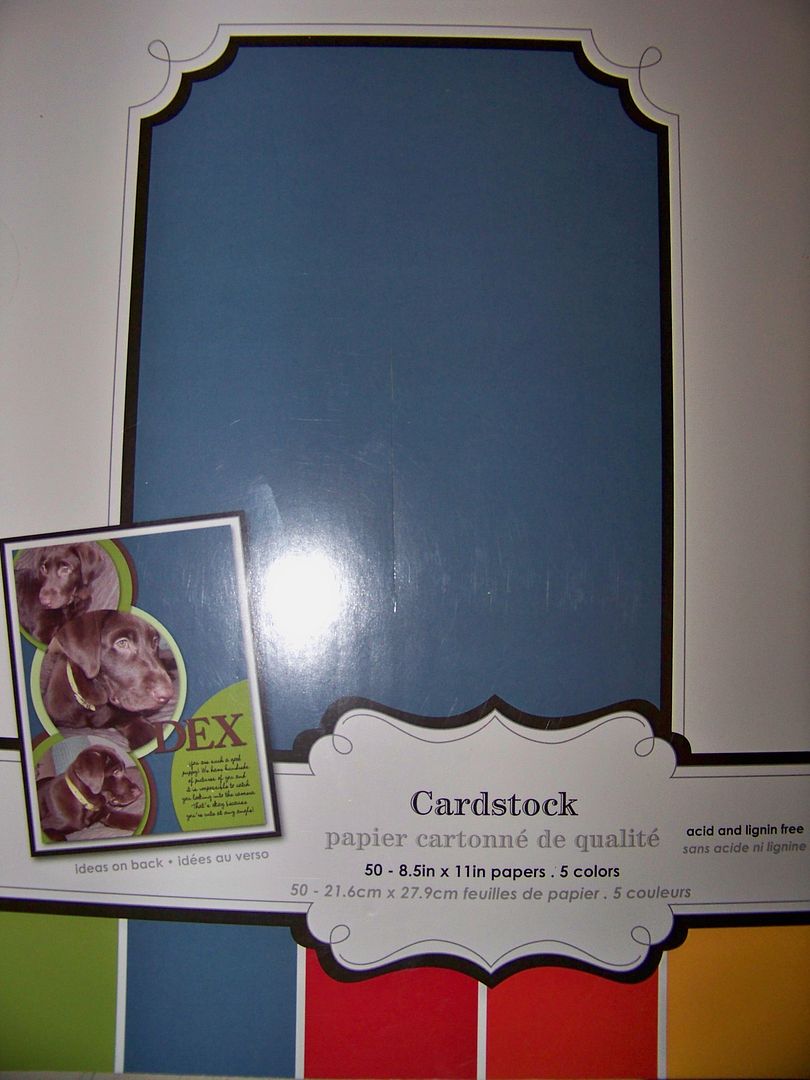
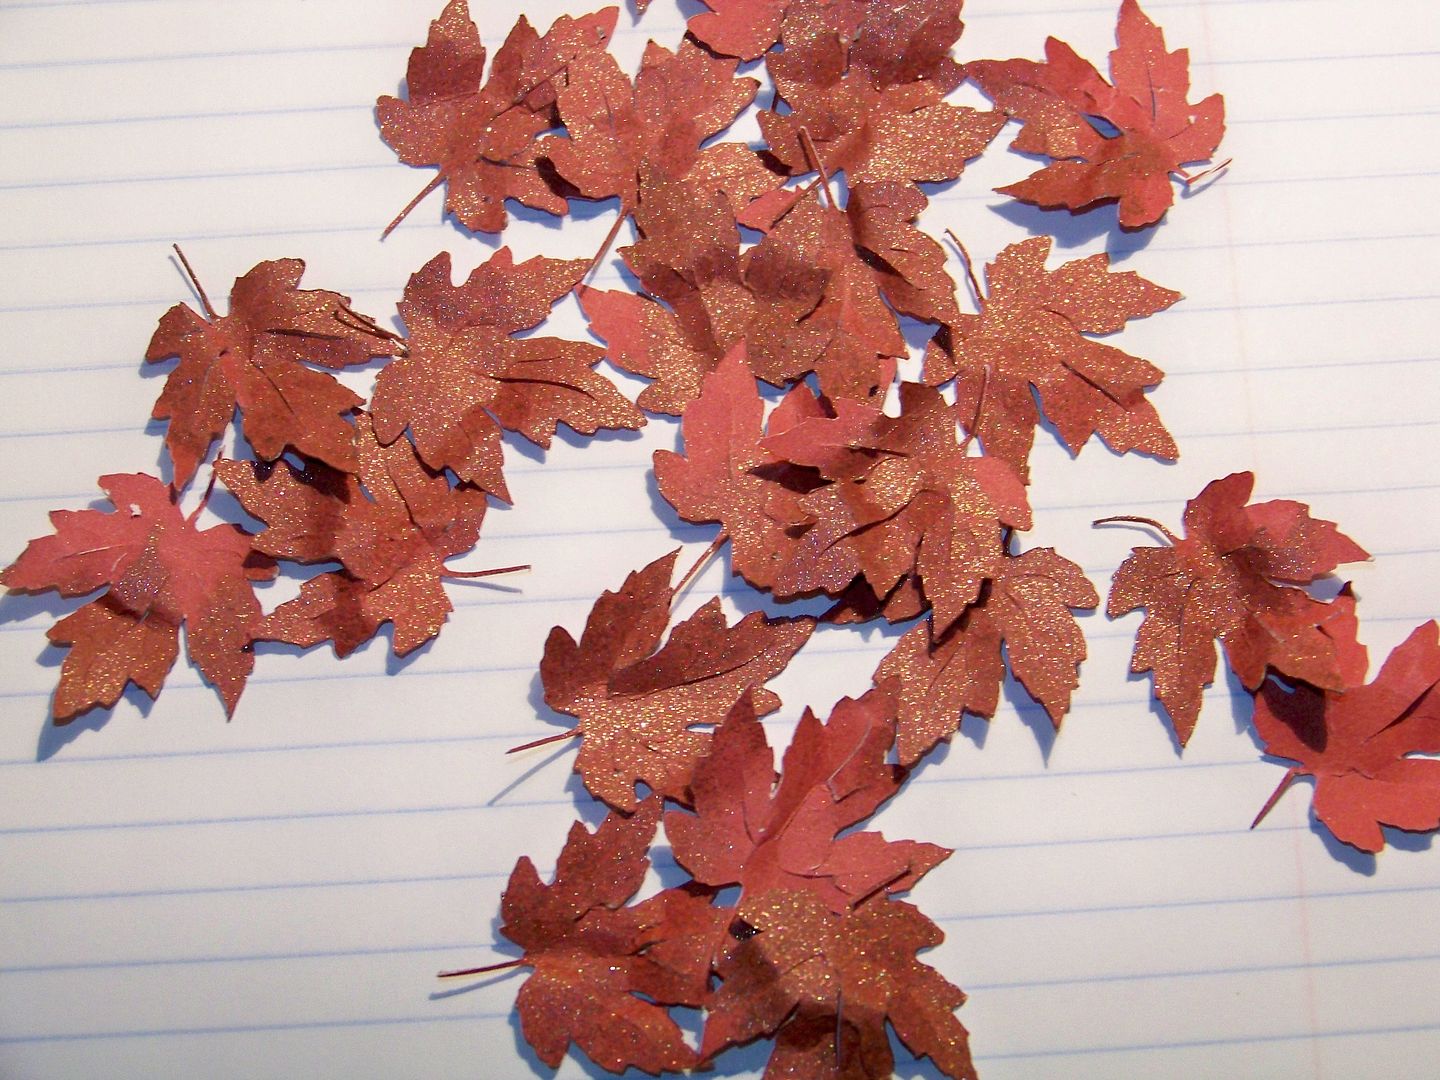
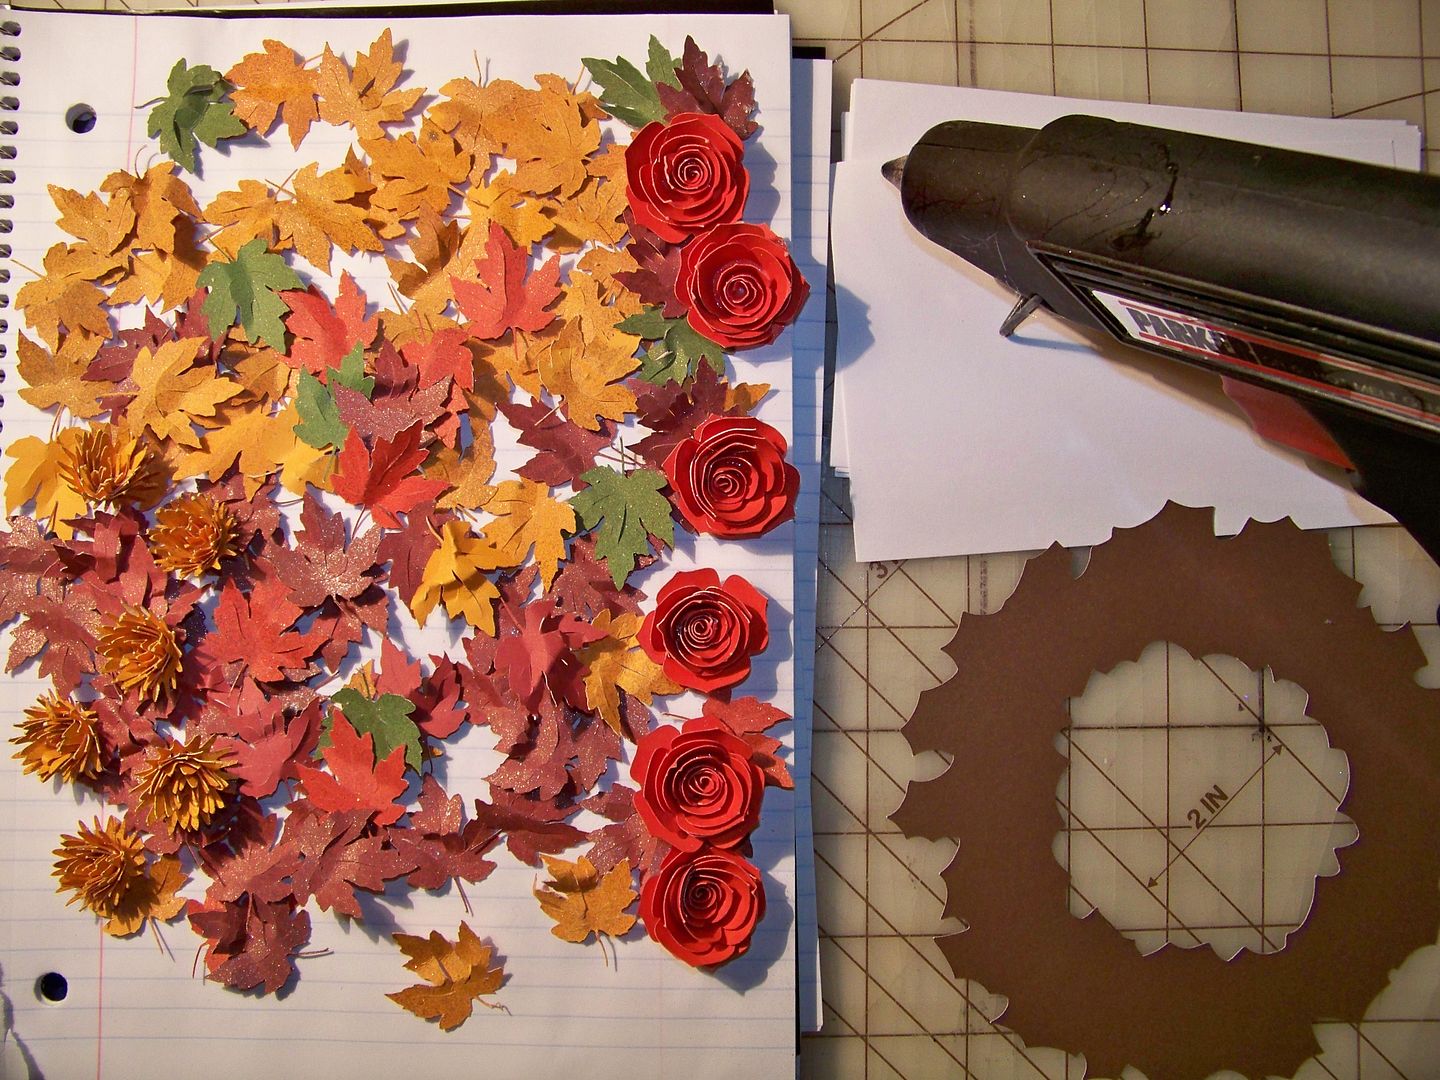
I started by cutting sheets of oak leaves from A Child's Year at 1-1/2" on my Expression.  Autofill cut 40 of these on 8-1/2 x 11 paper.  All of the cuts for this project were cut from solid papers in this $5 Walmart Colorbok pack called "Earth Tones". 


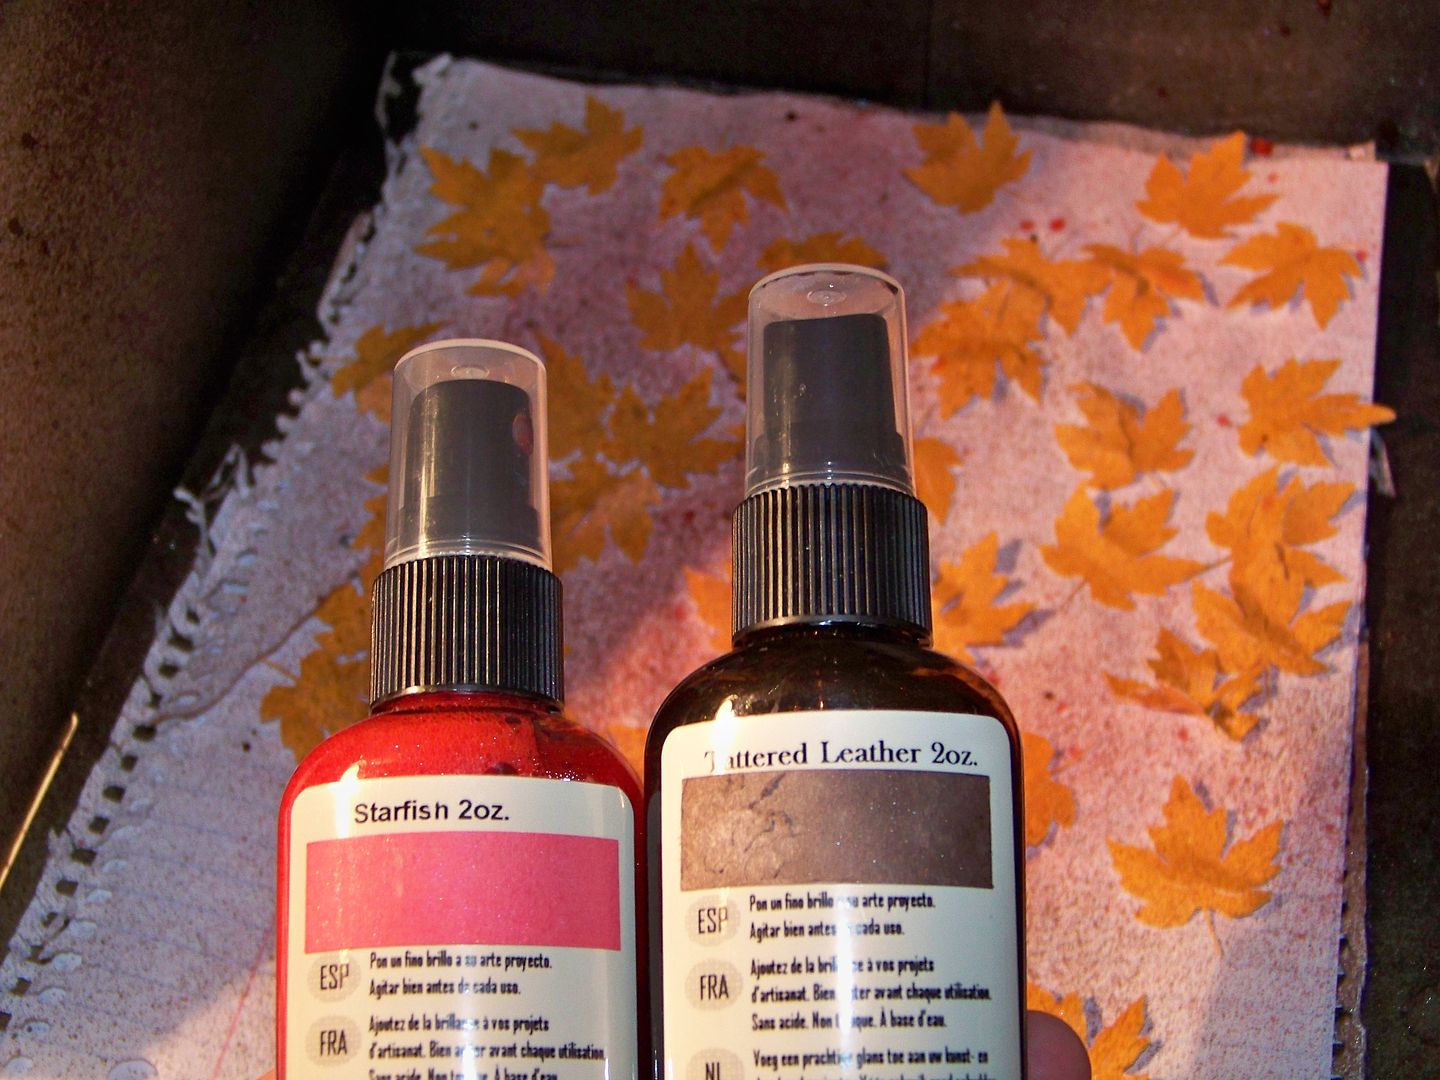
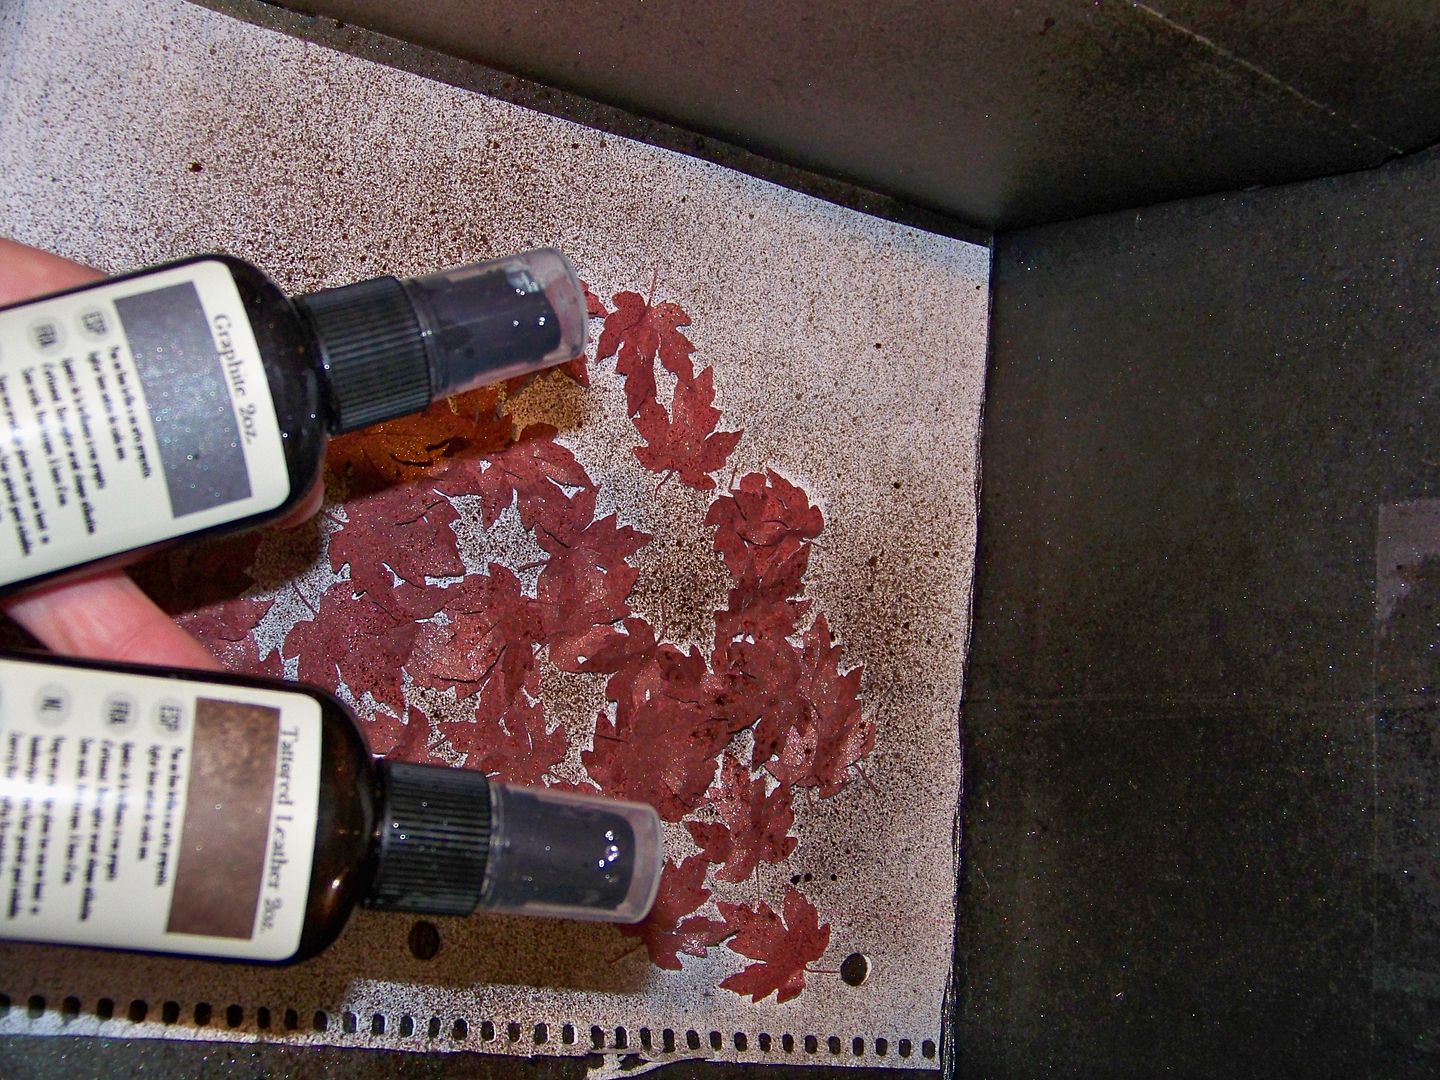
I cut full sheets of the yellow and reddish brown and 8 each of the green and orange.  I sprayed them with water, scrunched them up, and allowed them to dry.  Then I heavily spritzed them with Glimmer Mist.


I cut the pointy, spiral-cut flowers from Art Philosophy at 2-1/2" (fit to page will cut 12 on 8-1/2 x 11 paper).  This time,  I made them correctly, rolling from the outside in, and gluing in place on the center circle base with hot glue.  Then I sprayed them with a little Glimmer Mist.


I cut the rose spiral-cut flower (same page as the pointy ones!) at 3".  Fit-to-page at this size will cut 6 on 8-1/2 x 11 paper.  I also sprayed it with Glimmer Mist to hide the white core.


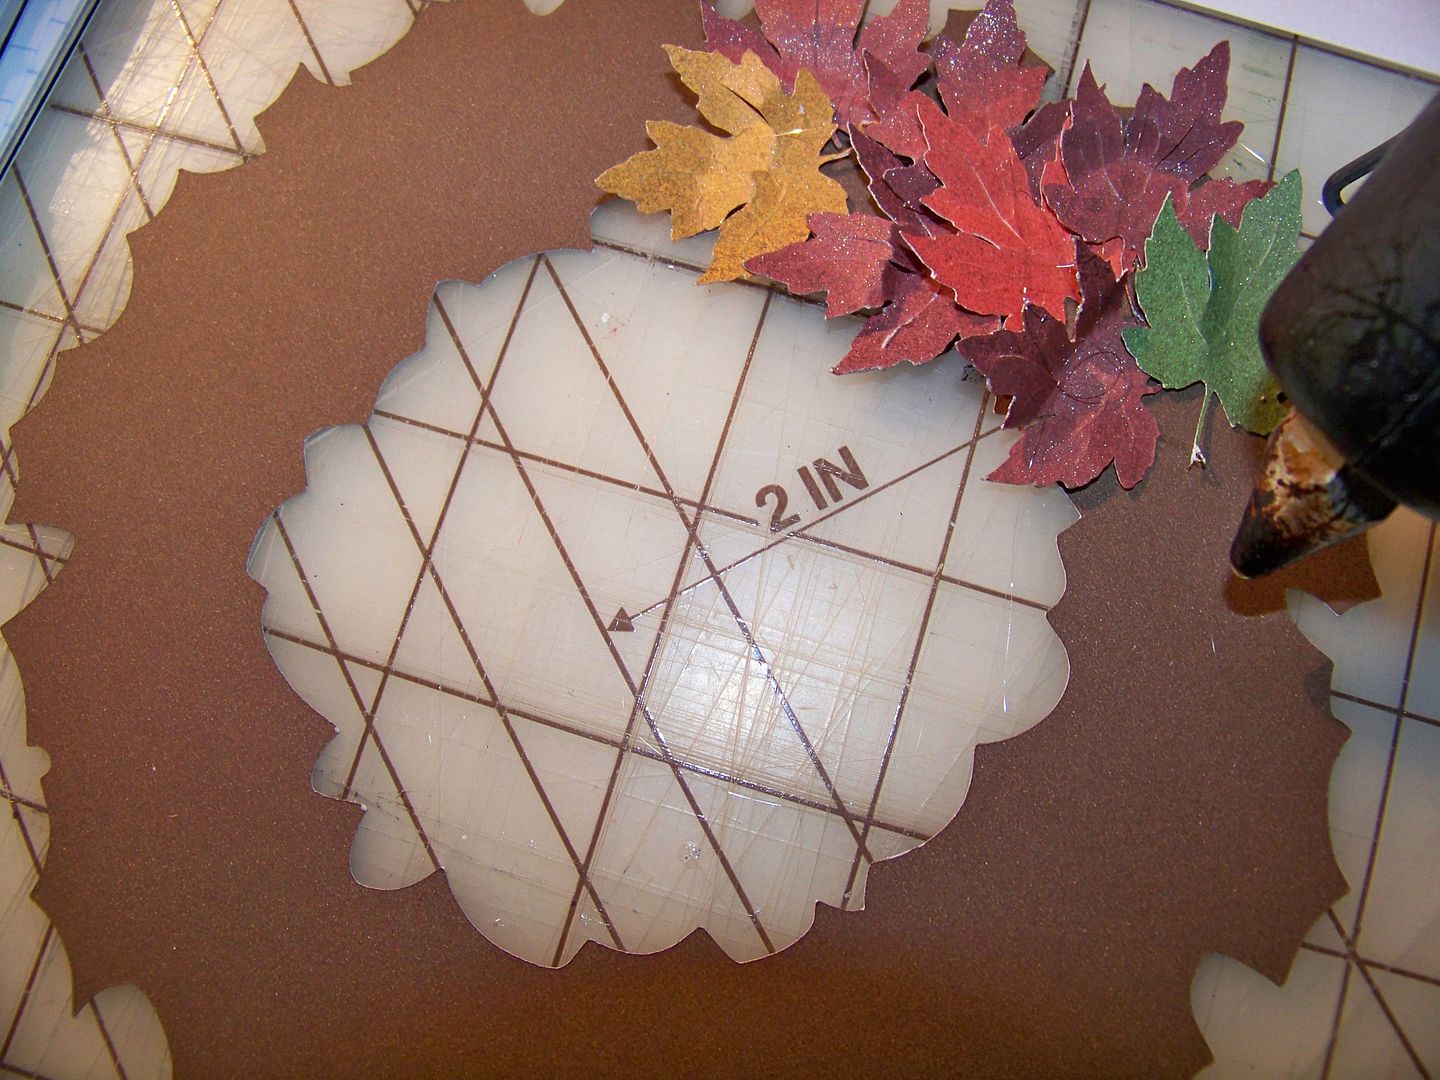
I cut a wreath base from Christmas (Solutions) at 6" in blackout feature.  I hot glued the dried leaves onto the base, finishing with the flowers.


Autumn is the time for me for reflection.  I had Samantha, The Scrapmaster, on my mind lately, after giving her my flippant response to her question about 5-minute cards.  Who would want a 5-minute card I asked recently on the cricut.com messageboard, isn't that why we have Hallmark?!  Now, a little preface:  I do go to Hallmark for cards as I am not necessarily a cardmaker per se!  When I do make a card, it is to make something very special... but, come to think of it, I also make quick things!  I don't tout those 'quickie' cards, and never put them here on my blog, but I have made them I had to admit once I thought about it.  So, I sent Samantha a little apology and she sent me back the most kind and gracious reply.  It really made an impression on me that she would be so nice after I poo-pooed her concept.  So, to pay a little penance, I offer my quick cards.  (You may never see them again!) 

The Imagine and the Cuttlebug are the greatest tools ever created for FAST cards.  These are a few I have done recently.  

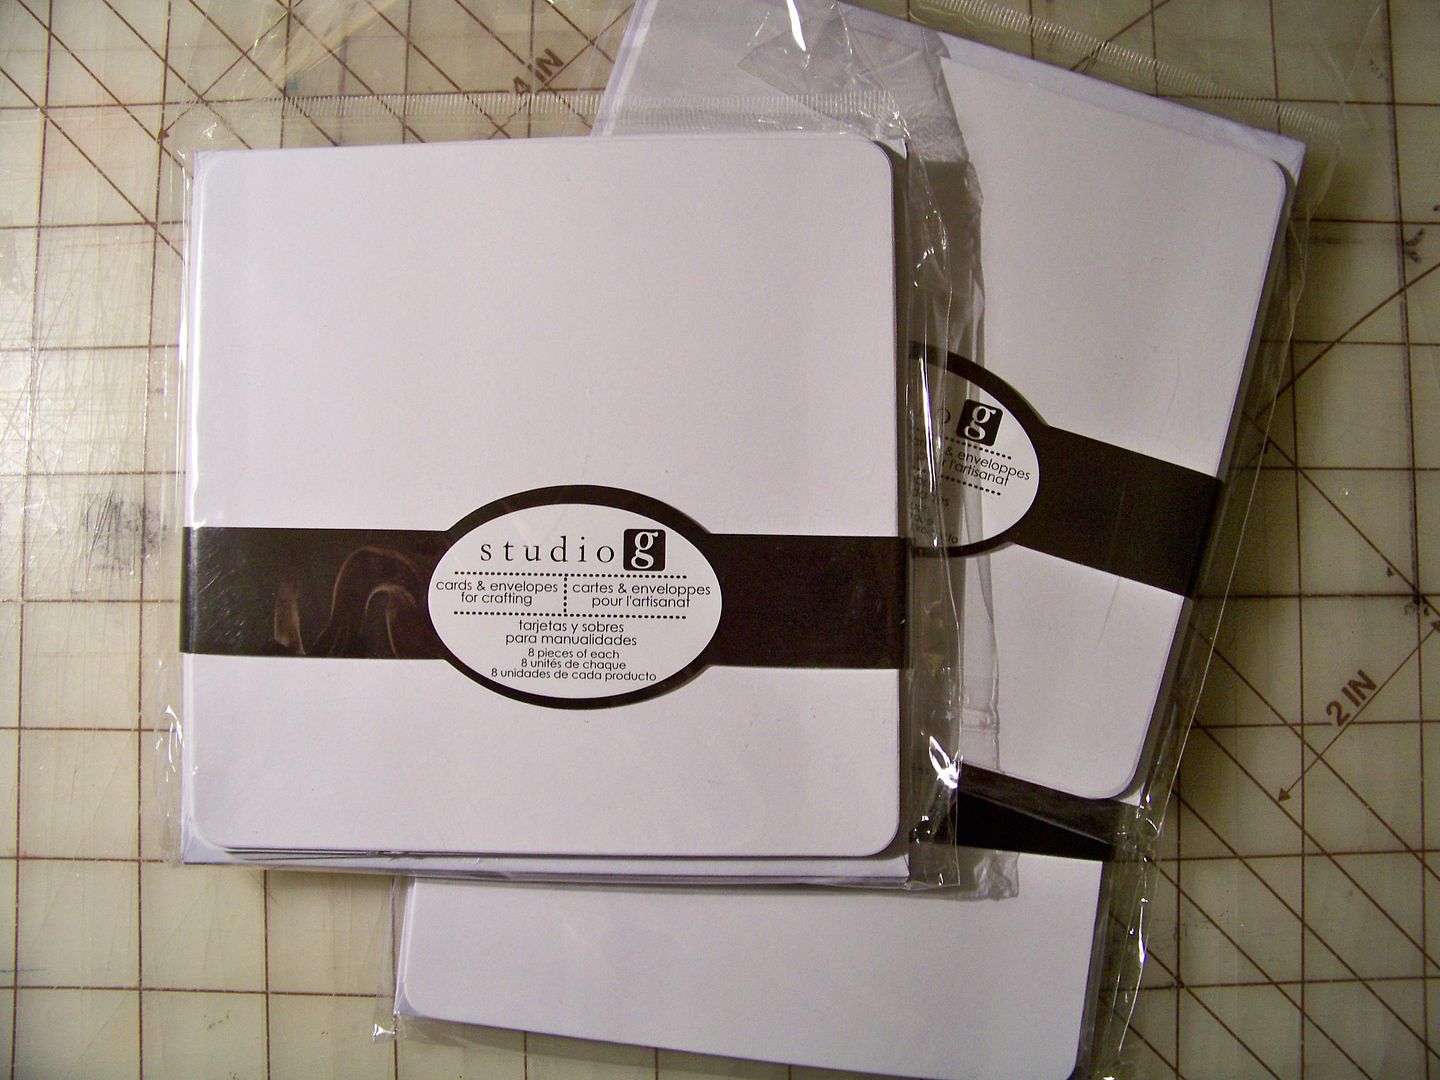
I also use white cardstock blank cards and envelopes.  I buy the A2 size from Michael's and just discovered the Studio G squares from Walmart, priced at just under a dollar for 8!


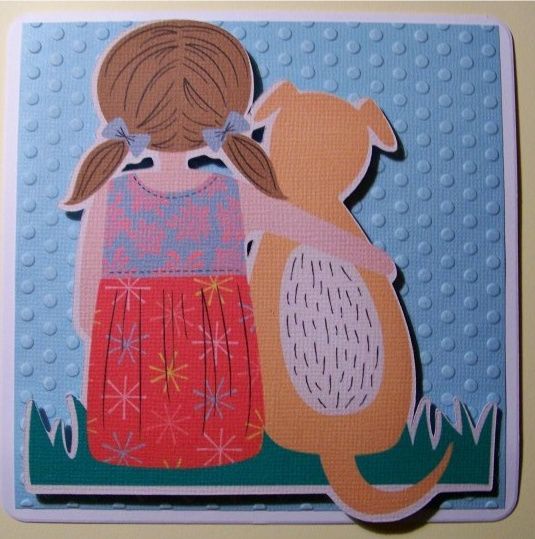
This is one I did to put with silk screened shirt I made for my daughter's friend.  (She designed the shirt and I screened it.)  In her design, she wrote "I like dogs" so I thought this was fun to put with it.

Imagine Better Togehter image cut at 4.8".  It is attached to cardstock that has been embossed with the 5x7 Cuttlebug Polka Dots folder with pop dots. 
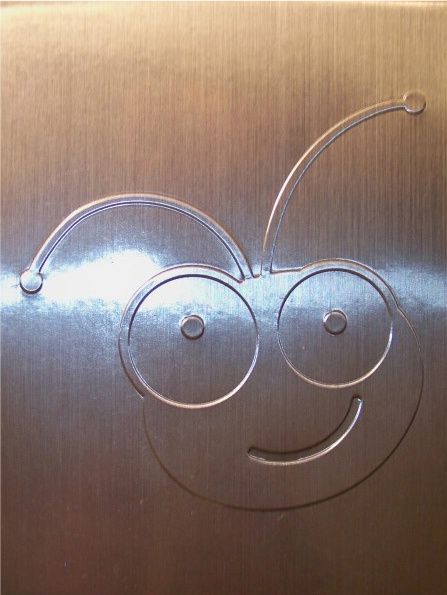
This is one I did by simply embossing a metallic cardstock.  This is something I have done lots of times when I need to include a little note in with a RAK I send to my Circle friends.  I like embossing with the Circle logo embossing folder too.


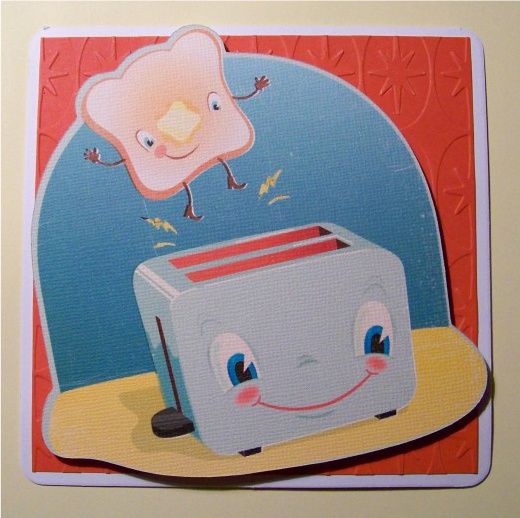
This is another quick Imagine card with an embossed base.  I like making little cards for my daughter's lunchbox-- most of those are quickie ones - and just to make her smile!

Kate's Kitchen image cut at 4.8" on the Imagine.  It is attached to cardstock that has been embossed with a 5x7 Cuttlebug folder with pop dots. 

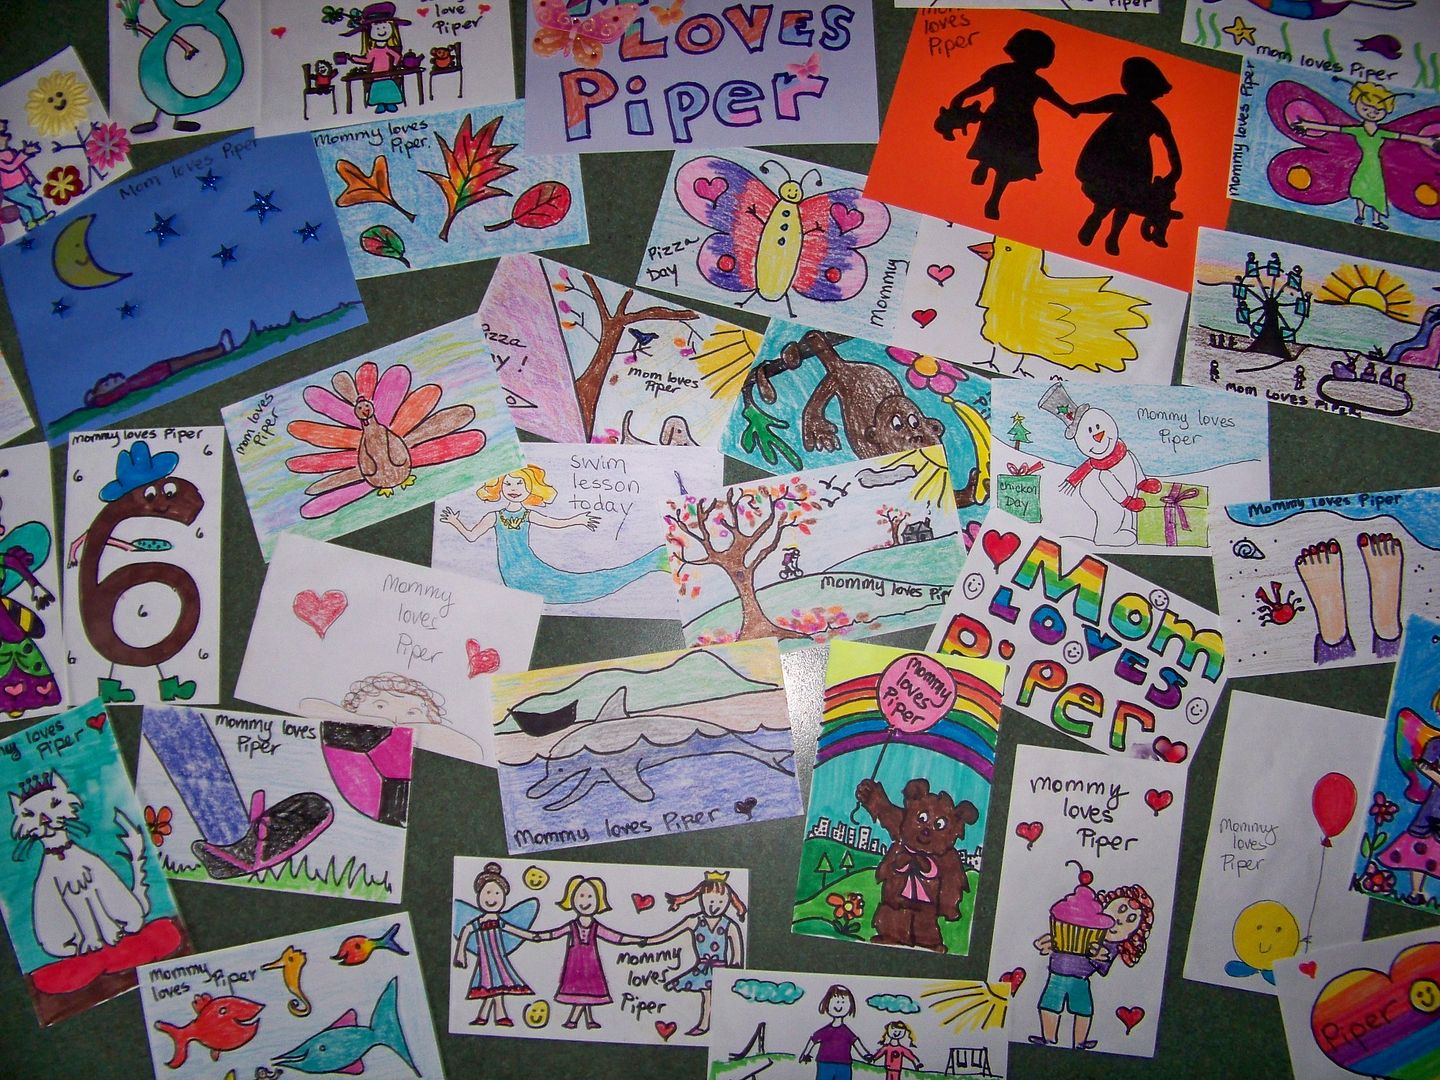
When my daughter was in preschool and kindergarten, I always simply used to scribble a little picture and color it in with her crayons or markers (or whatever was nearby)  on little index cards I would put in her lunchbox.  They took a minute or less to make, were so goofy and simple... and she has kept them all-- I guess there are hundreds of them.  So... to answer my question of who would want a quickie card, I guess the answer is 'someone who loves you and finds something special in your efforts'!


Lastly today, I want to thank everyone for your kindness in response to my project that was on the Cricut Blog.  That was a lot of fun for me!  I have received responses from a few folks who have taken the project in a new direction and made it their own.  I just love that and LOVE to see your projects!  The kindness, crafty support, and sweet comments really made my weekend -- even with those cooler temperatures!

Thank you for visiting my blog today!

But wait! There's more! Click 'older posts' above!

But wait!  There's more!  Click 'older posts' above!