Saturday, December 8, 2012

Journal Your Christmas - Dec 5, 6, 7

Yesterday, I received the sad news that my Great Aunt had died.  Aunt Sylvetta was my late grandma's sister.  When I was a child, I remember taking day trips with my grandparents to Aunt Sylvetta's little place in the country.  Unlike my grandma who didn't like to talk about certain scandalous family happenings, Aunt Sylvetta was full of stories.  (I guess she knew that stories that were separated by a generation or more were no longer scandalous and became interesting or even exciting!)  Trips to Aunt Sylvetta's always included taking long country walks with my grandpa (leaving Grandma and Aunt Sylvetta to catch up).  He and I used to look for rocks to take home and spy Indian Paintbrush flowers.  Evenings were filled with the sounds of the whip-poor-wills and eating her mile high meringue pies!

One of the few toys Aunt Sylvetta had was a cast iron toy stove.  I remember playing with that little stove for hours!  20 years ago, I found a similar little stove and bought it just to remember those visits!

My December 7 journal entry was all about Aunt Sylvetta and I snapped a photo of my toy stove for the day....


I placed my hand-written journal entry for this day in an envelope I cut and adhered.


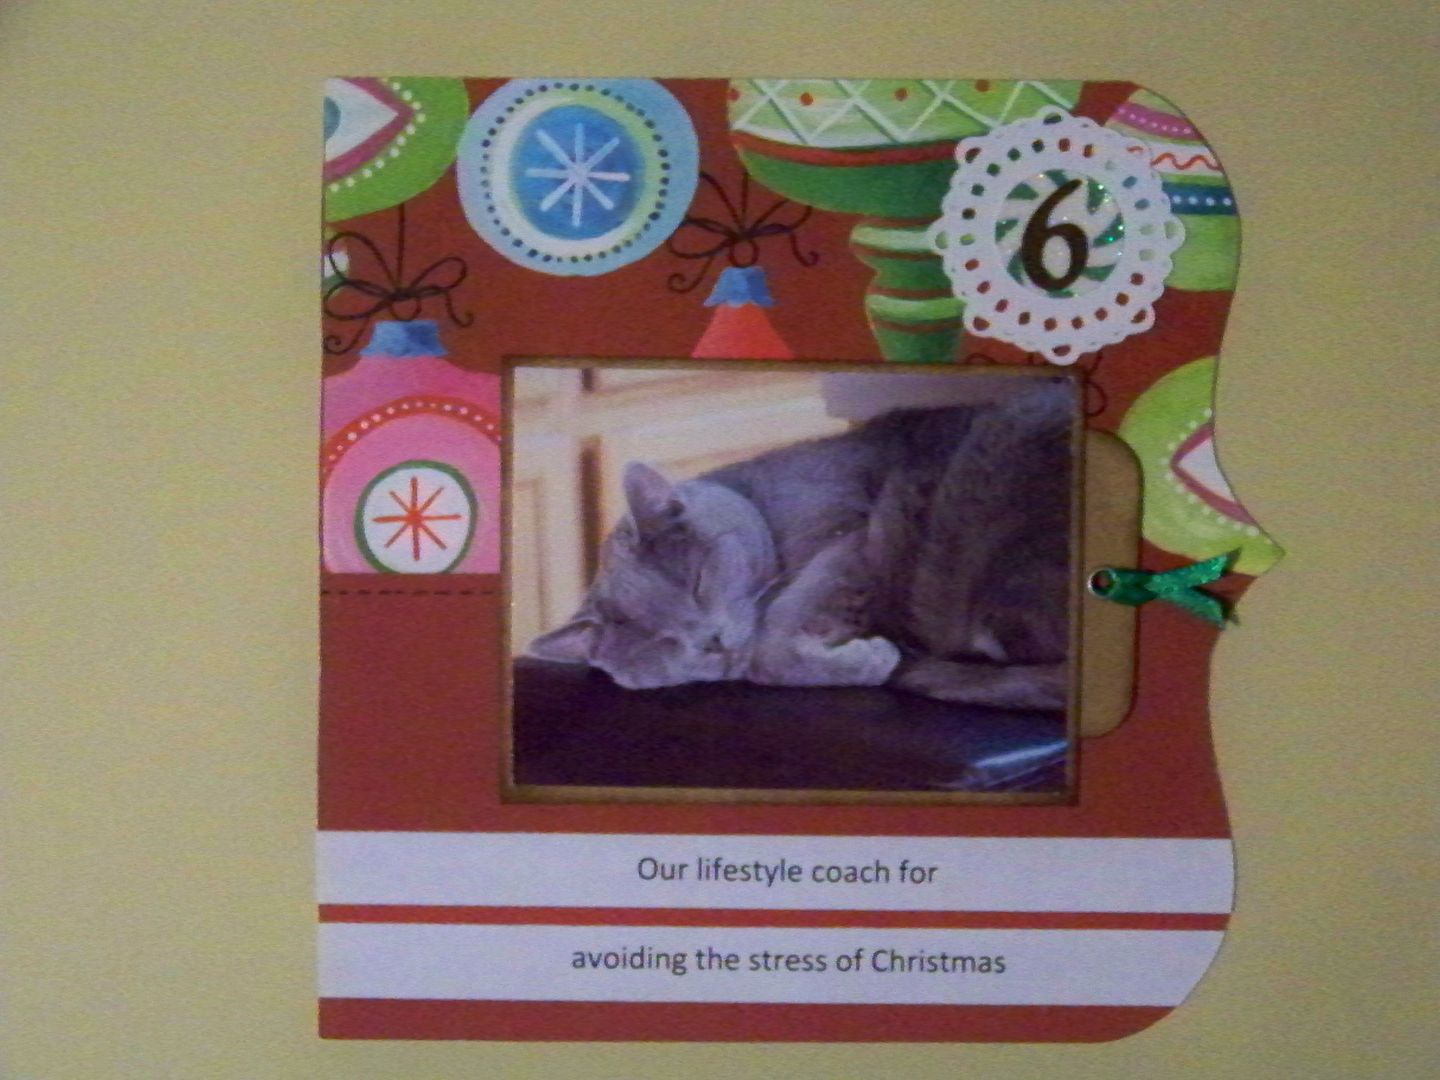
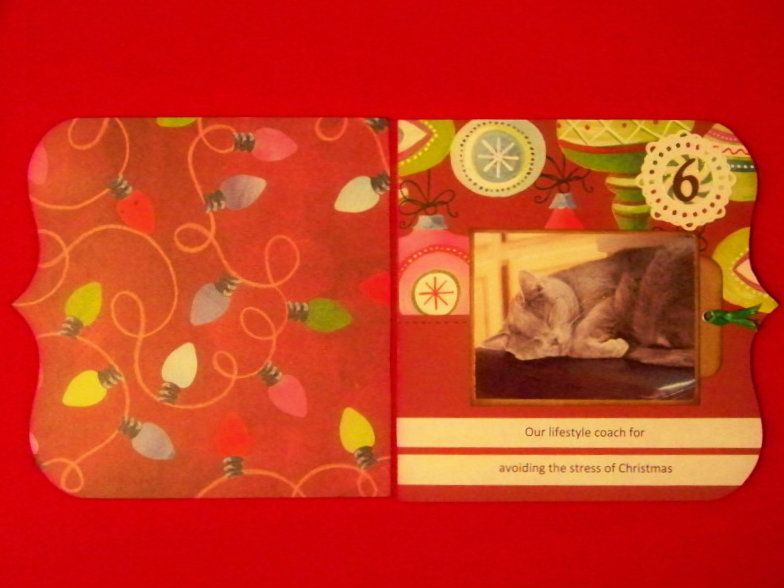
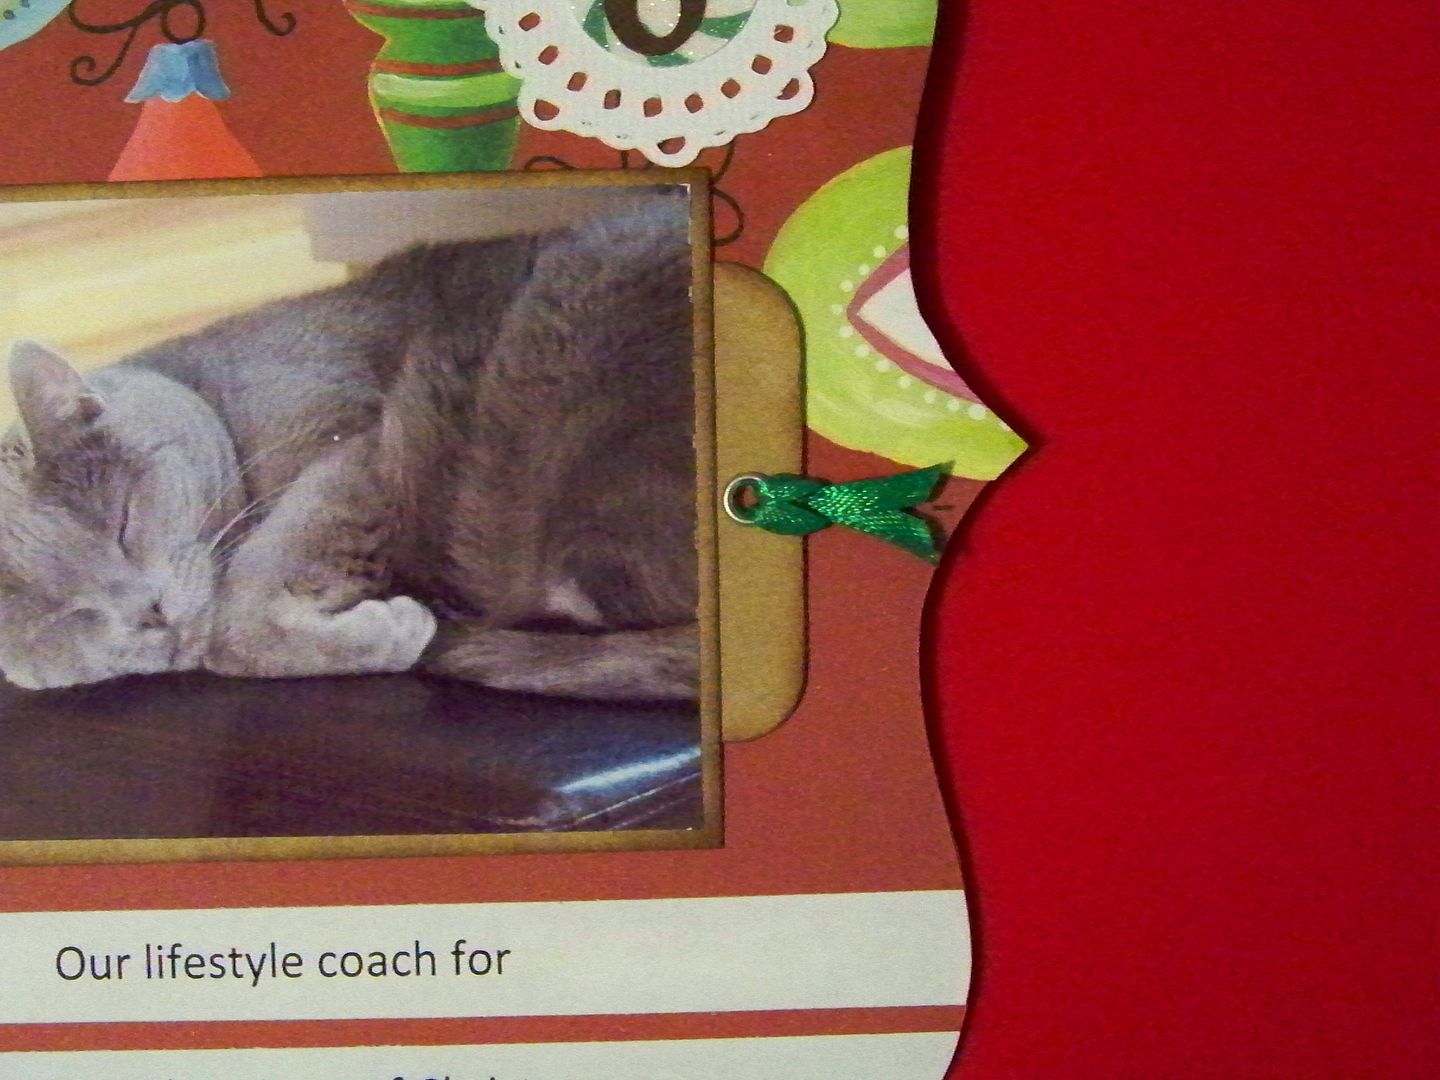
Moving backwards in my book, my December 6 entry was more light-hearted and focused on our cat, Feather.  I used Shimelle's prompt for finding coziness in Christmas for my theme.


I used a printed paper for the opposite page...


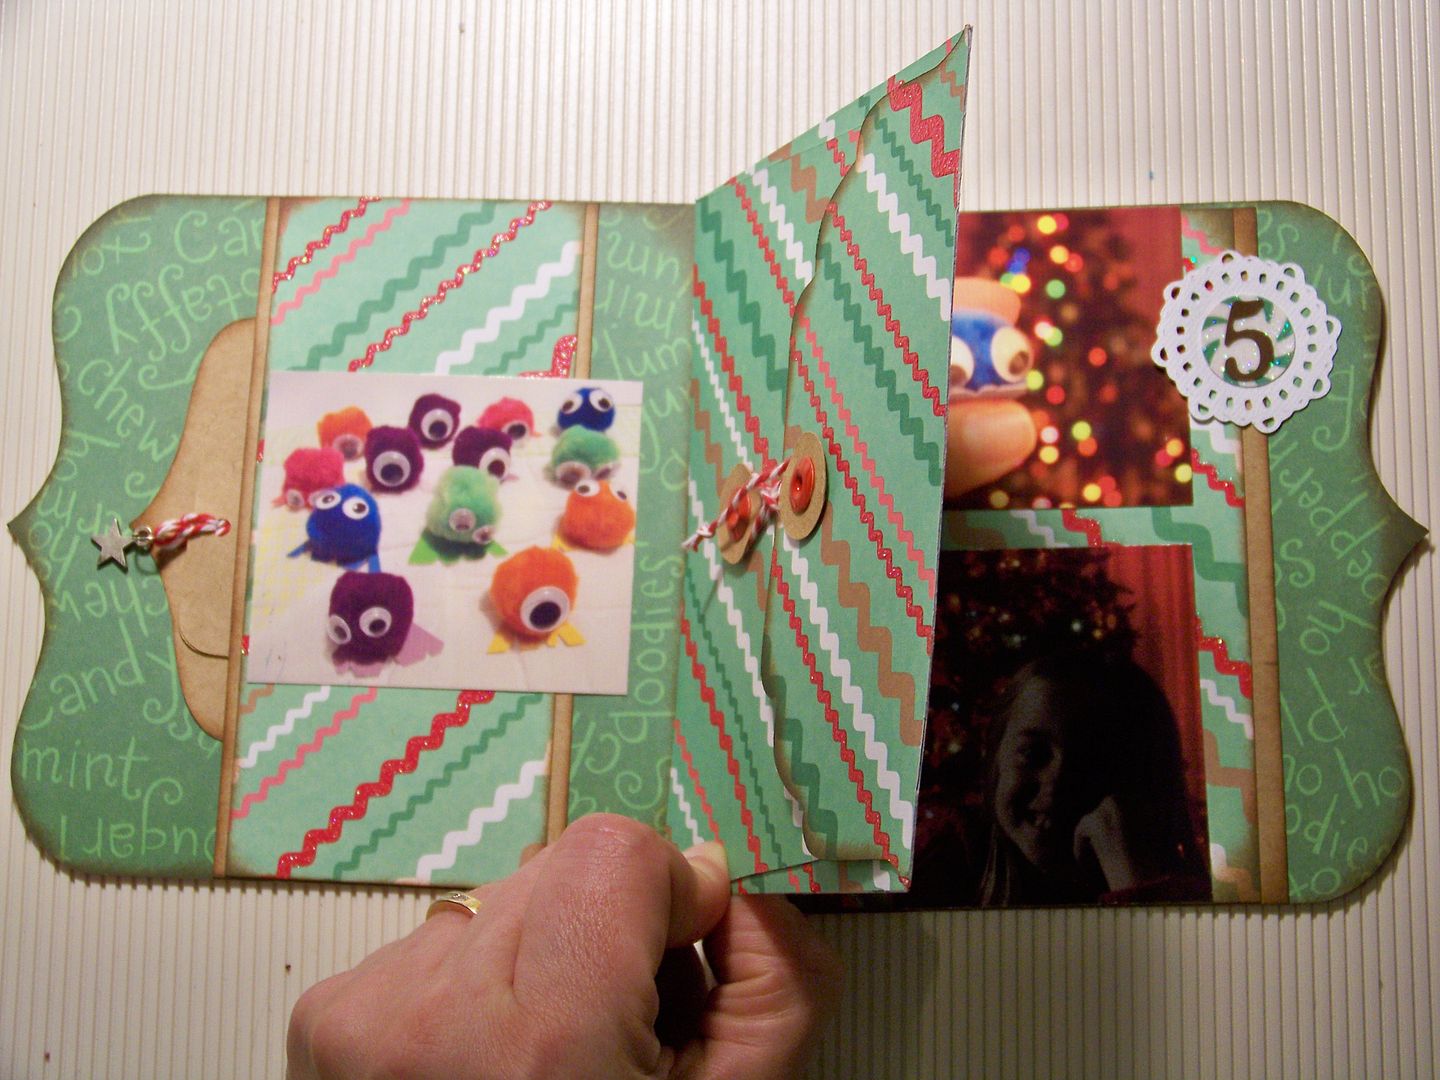
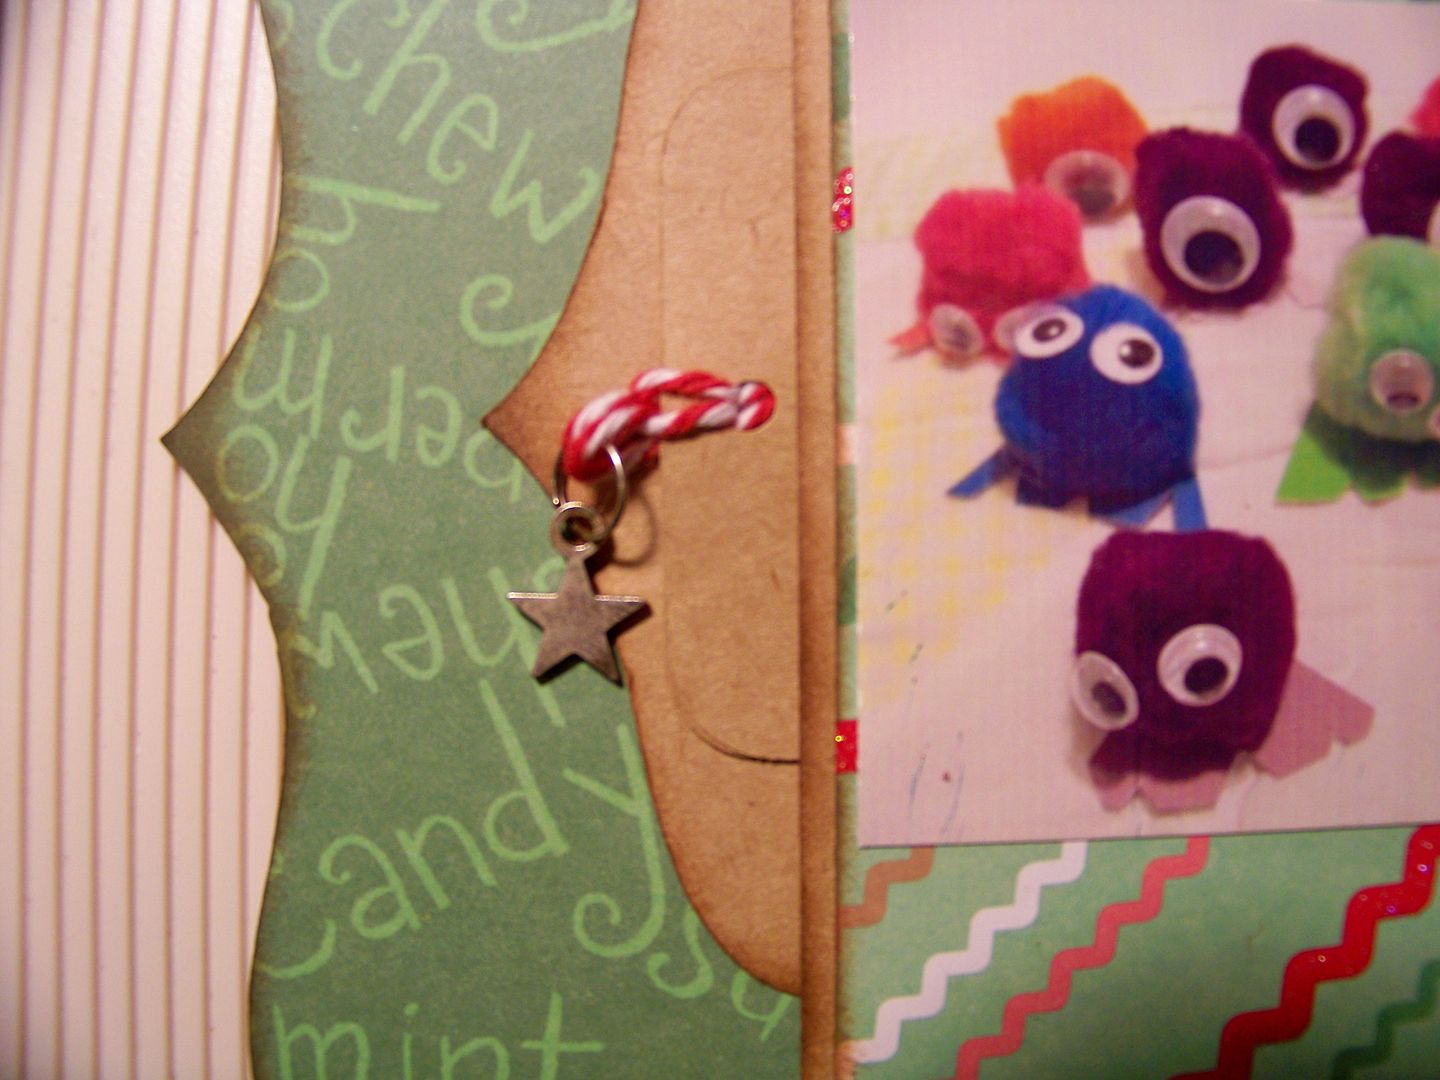
My December 5 entry was just fun, brought to me by my kiddo, Piper.  Her classmates all have some sort of strange love affair with 'fuzzies.'  On that day, she actually made a bunch to share with her friends.  Her teacher also requested one, proof that the whole classroom is Fuzzy Crazy!

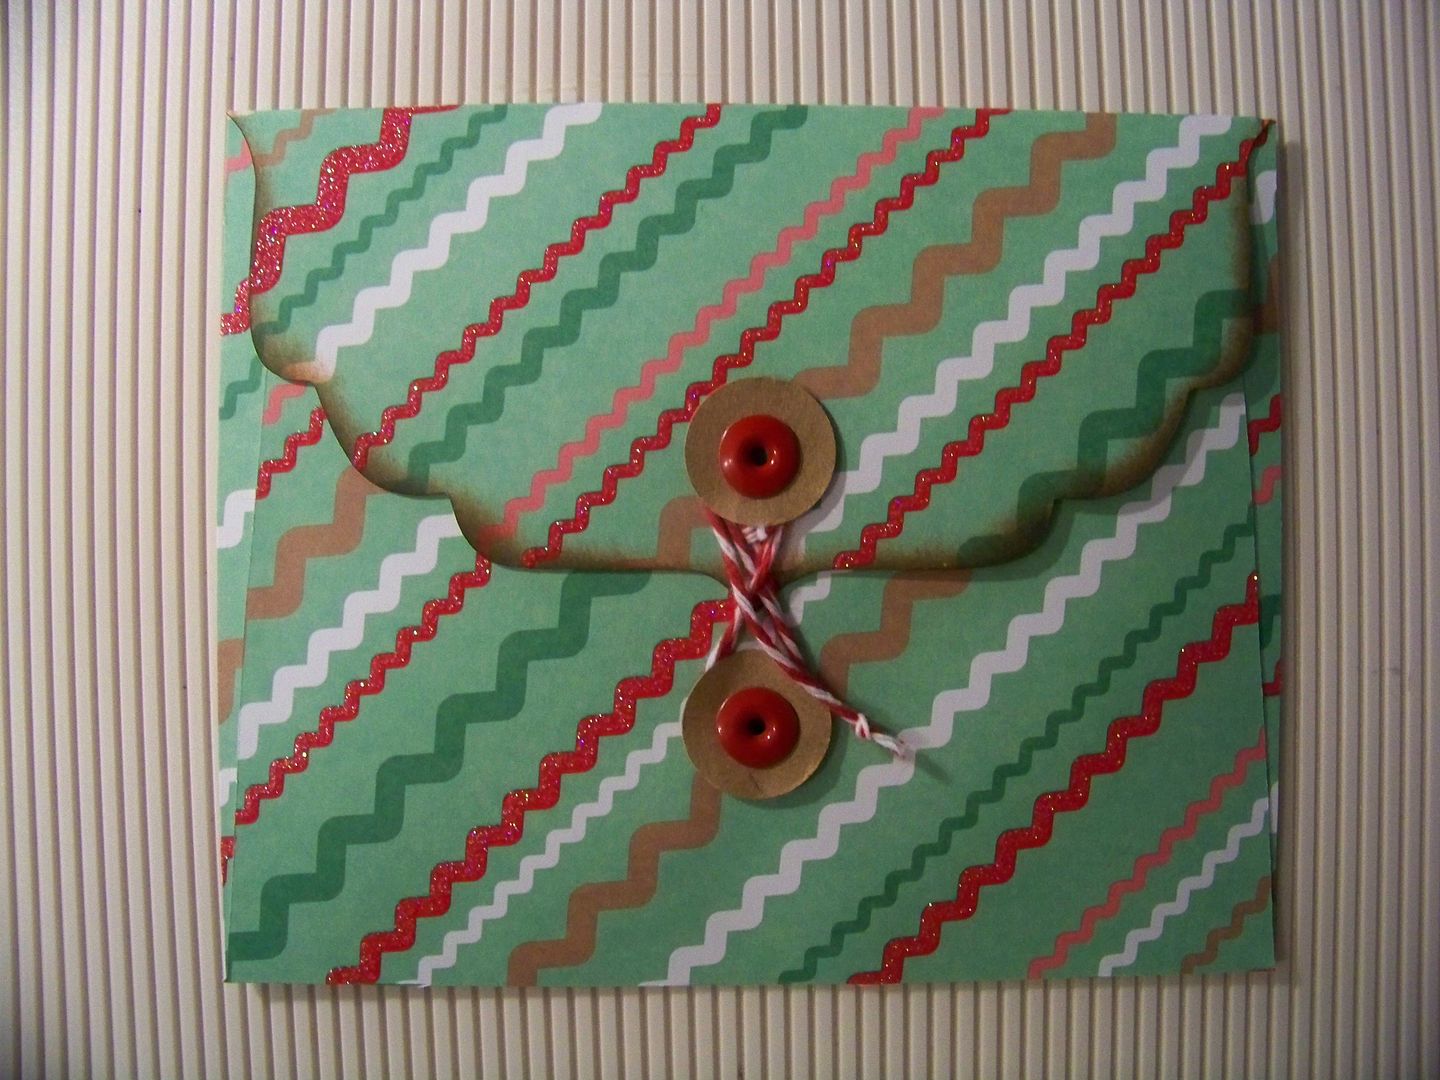
I used Shimelle's photo focus to take that out-of-focus tree in the background and the little fuzzy up close between my fingers.  I also used Shimelle's prompt and wrote a letter to my future self.  I loved that exercise and created an envelope that will be bound with the book pages; it will be between the December 5th pages in the finished book.


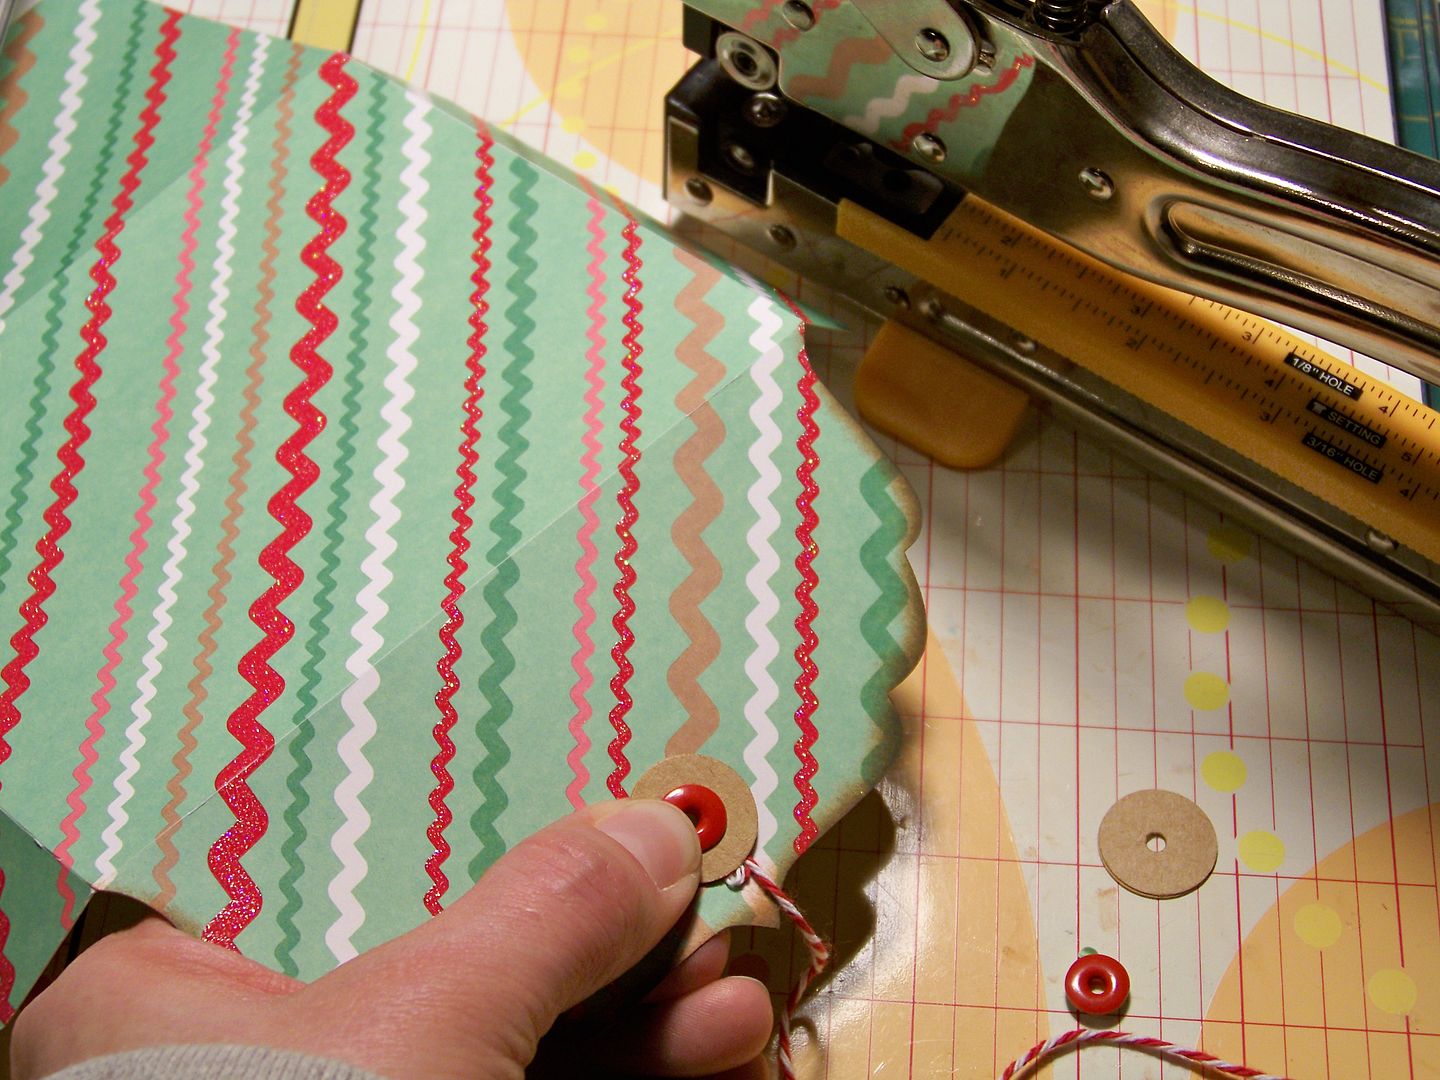
I used punch-cut circles, fancy eyelets, twine, and a Big Bite to make a closure for the die-cut envelope. Inking the edge of the flap helped to make the envelope relate more to the page it faces.

Thank you for checking my blog post today.  This is a busy weekend with a company banquet... and a bittersweet one too as we celebrate the life and mourn the death of the last person of her generation in our family.

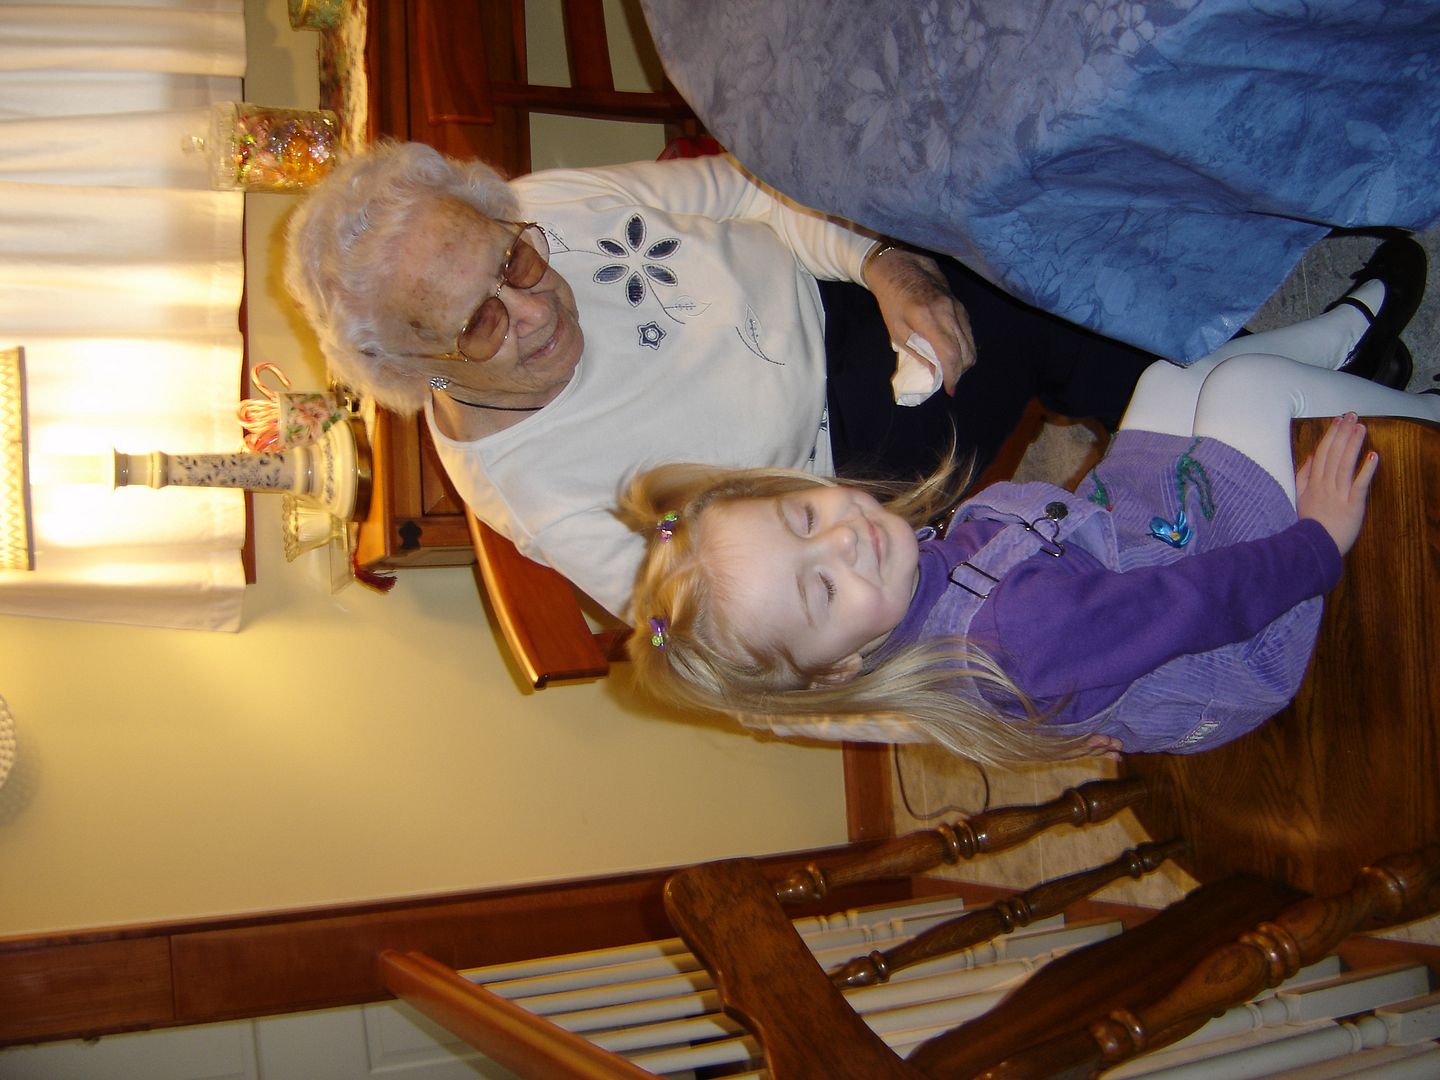
And on a sunny note, this is a photo of a tiny and shy Piper with Aunt Sylvetta when she was a mere 96-years-old.


Wednesday, December 5, 2012

Journal Your Christmas - Dec 3 and 4

I am loving the December Daily project that I have taken on!  These are my December 3 and 4 pages:


For my December 3rd pages, I used the left side for my journaling using a prompt from a class I am taking, Shimelle's Journal Your Christmas, where she suggested the idea of planning your happiness.  I loved that idea.

I used patterned paper and hand-cut the base page to take advantage of the border.  

Since we had a beautiful 74-degree evening (a wonderful surprise in December), we walked around looking at neighborhood lights and talked about holiday plans.  I used her photography tips and actually took photos very different from my usual center focus composition.

The page base, film strip, lights, and date medallion with number are all die cuts.

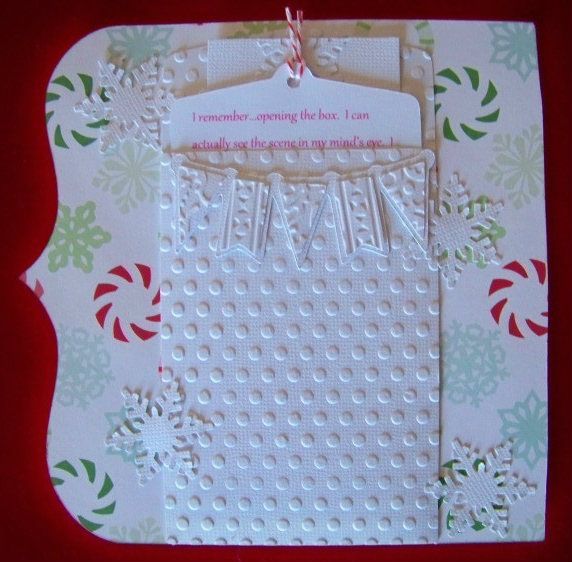
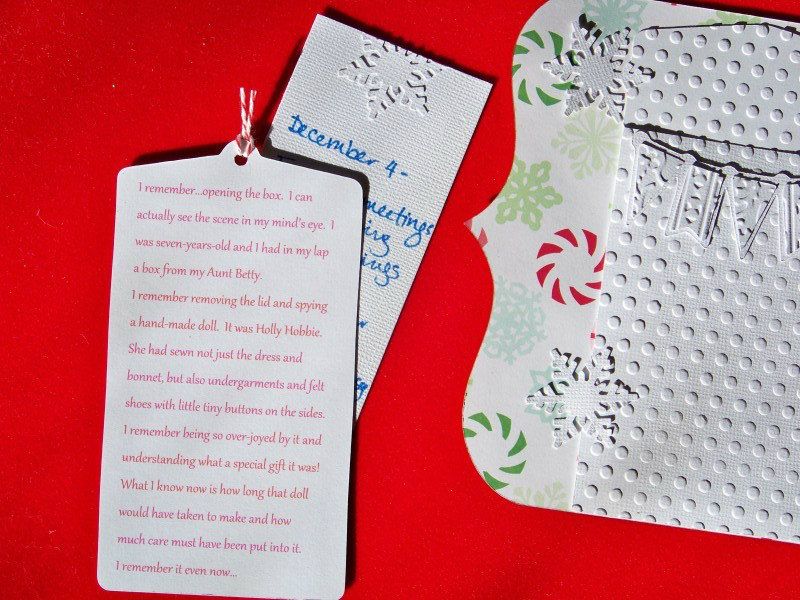
For December 4th, the concept was to focus on a favorite gift from the past.  I still have my favorite childhood Christmas gift:  a doll my aunt made me when I was 7.  We were asked to consider adding the color red to indicate the feeling of Christmas.  I am not sure if I achieved that, but I have to admit I enjoyed using the monochromatic base and all the textures.

I used a variety of die cuts and trimmer-cut pieces that I embossed  for this page.

All elements of this page are die cuts.

I used two tags for the journaling.  The top tag has the journaling about this gift and has red typed text.  I wanted the journaling to peek out.  I added a separate, hand-written tag that noted the actual activities of December 4.


I am having fun changing up the pages for this book!  I am learning a lot as I go!  Lots of mistakes too!
Thank you for checking my blog post today.  You can see my December 1st and 2nd pages by clicking here.  You can see many of my previous projects by clicking My Project Gallery.

Monday, December 3, 2012

Journal Your Christmas - Dec 1 and 2

Happy December!  I have always loved this season and all of the happy memories and the feeling of hope!  It is my favorite liturgical season, my favorite decorating season, my favorite time to cook.  I have finally come to the point that I work hard to make Christmas meaningful and happy, doing everything I can to move away from the material aspect of the season.

So, to focus on the now and on what makes me and my family happy in the Christmas season, I am on the December Daily bandwagon!  I am taking two classes, Shimelle's Journal Your Christmas and Studio Calico 25 Days.  I am using tips and prompts from each to make my own rules as I go!  And I am using my stash-- no special purchases for this project.

Nope, I haven't made the cover yet... or the opening page, but I have the pages for December 1 and 2 to share!

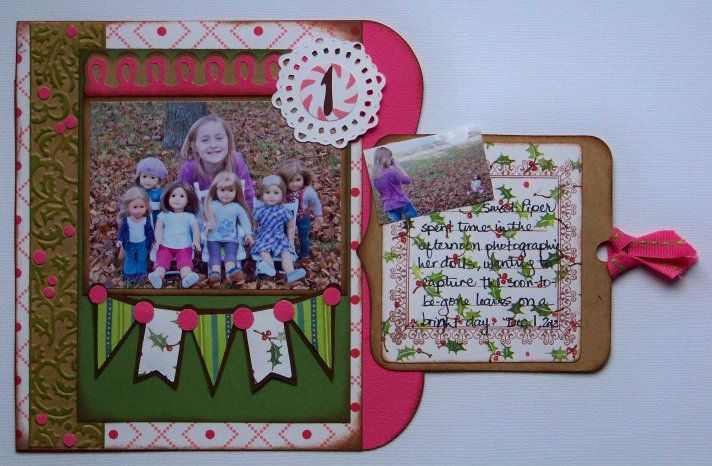
I heavily inked all elements.  The banner, loop border, date medallion, page base, tag and number are die cuts. The holly border on the left is kraft paper that I embossed, inked, and added paper berries.  

 
My journaling for this page is on a tag that pulls out and has a second mini picture from the day...


This page is about what was going on December 1st:  my daughter grabbed her dolls and her camera and took their pictures outside.  It was a sunny day and the autumn leaves were still on the ground.  I asked her to stop what she was doing and I snapped this picture of her with all the the dolls.  Then, I took a picture of her taking pictures!  

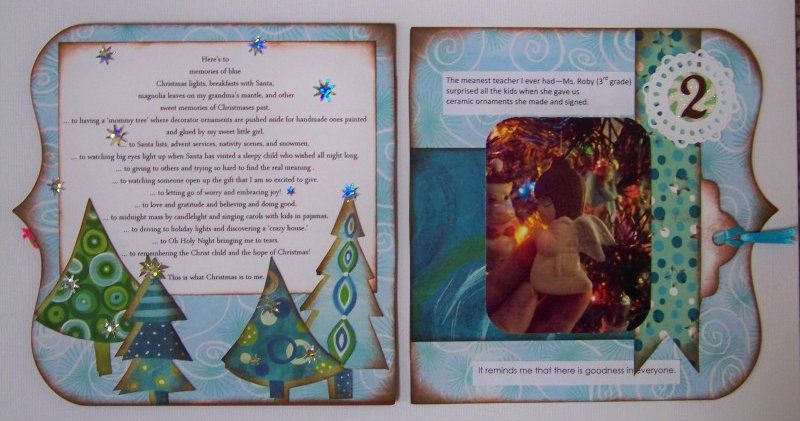
The reverse of my December 1 page is my 'Christmas Manifesto', which I have patterned to go with my December 2 page...


The manifesto is an idea from Shimelle's class.  Mine isn't a true manifesto in the idea of a declaration of what I will make of Christmas or even why I am doing this journal, but more of a 'What Christmas Means to Me' kind of page.

The page base is a die cut.  The trees were hand-cut from patterned paper.  This page was adhered to the reverse of the Dec 1 page-- you can see the pink ribbon peeking out near the point on the left.  Adhering the pages is making them so nicely substantial and heavy!

I really debated the idea of typed versus hand-written elements for this book.  I think hand-written text is more personal and meaningful -- how I would have loved having something like this from my grandma!  But I don't love my hand-writing so I had to come to a compromise.  I kept the hand-written notes on my concealed tags.  I decided that I would type anything that was fully exposed.

My December 2 page was on the theme of a memory.  This is an ornament that I was given by my 3rd Grade teacher, Ms. Roby.  She was, hands down and without a doubt, the meanest teacher I ever had.
At our class Christmas party, however, she handed each child a ceramic ornament that she had created herself.  It was forever a lesson to me that there is some degree of goodness in everyone.

On the concealed tag, I made a note about the day, to keep true to the 'daily' aspect of the ongoing monthly journal.

The page base, date medallion, date number, and tag are die cuts.  I used decorative scallop scissors to round the corners on the photo.  The ribbon element was handcut, embossed, and inked.

I am trying to balance my December Daily to have both photographic elements and journaling.  I am also wanting to use lots of colors and patterns in this book.  I finally figured out that I would probably be using the same page size and shape for each day.  I am using a similar date medallion for each for continuity.  I found great daily sketches that I am using on Got Sketch.

Thank you for checking my blog post today!  I hope to continue sharing as the month continues.  If you are doing a December Daily and posting on your blog, please give me a heads up-- I would love to visit to see yours!

To see many of my previous projects, check My Project Gallery.

Saturday, November 17, 2012

Secret Hollow Book Card! (and a Piper project to share)

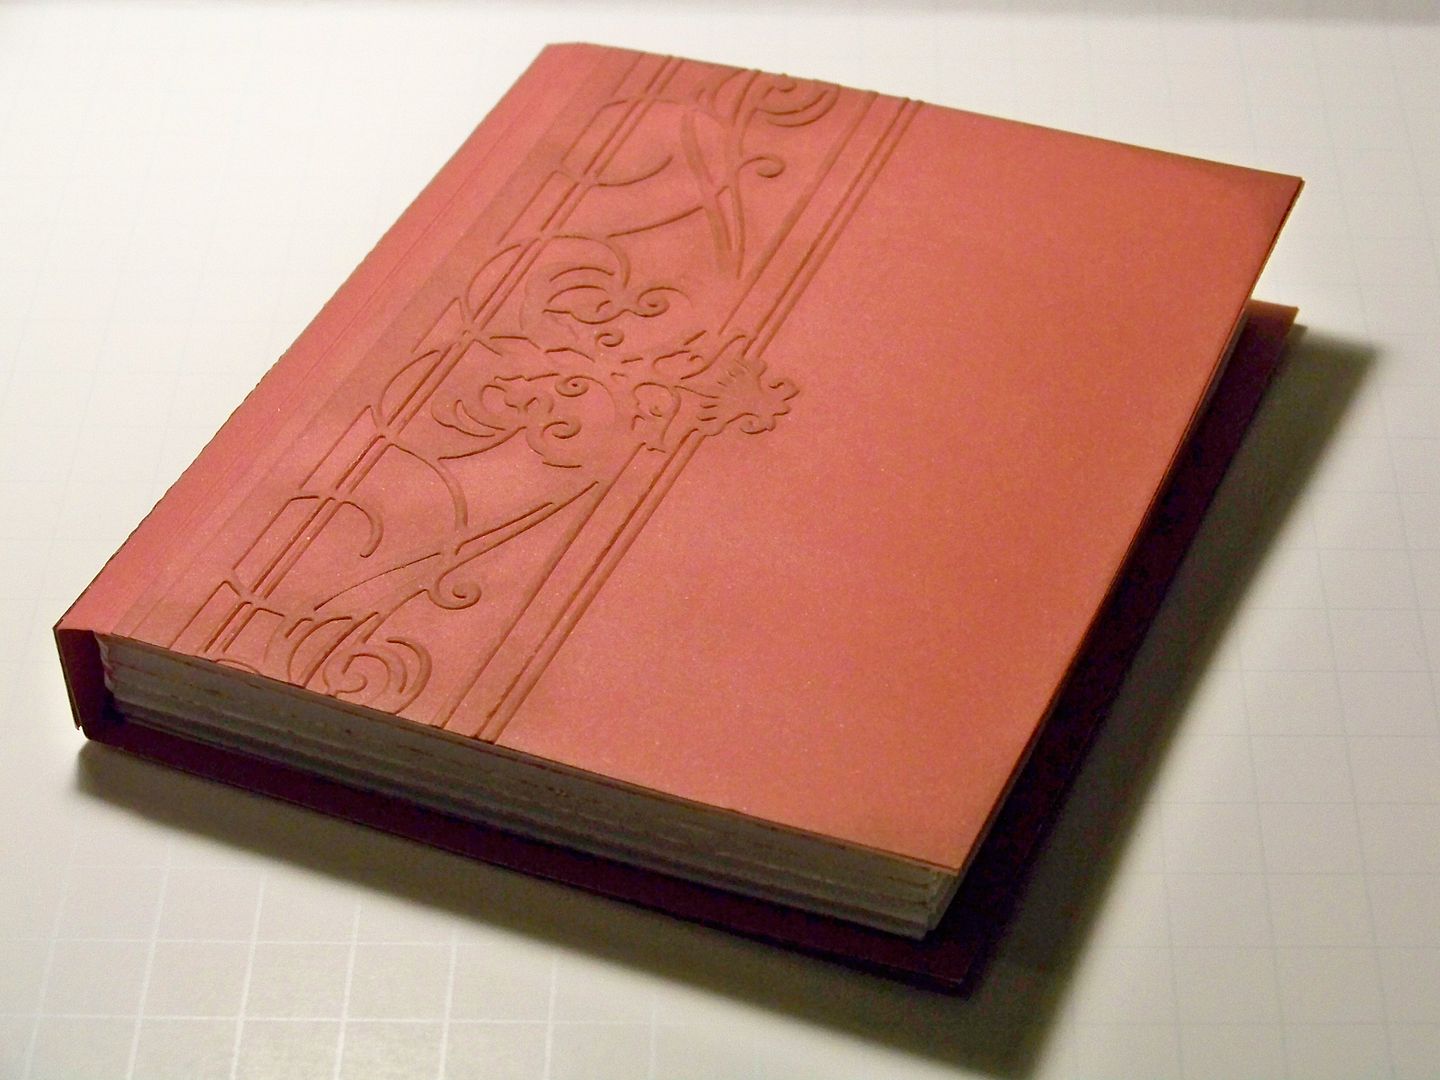
I love hiding spots... old homes with hidden rooms, desks with secret drawers... and I love the idea of a book with a secret hollow!  That is why I fell in love with a tutorial from Tracy of 'I Wanna Build A Memory' blog and her Tracylovestoscrap YouTube channel!  In her video, she said she got the idea from the blog Wenches Kort og Papir.  I made one... and then I changed the size, added a couple of extra score lines, and figured out how to make the cover look like embossed leather!

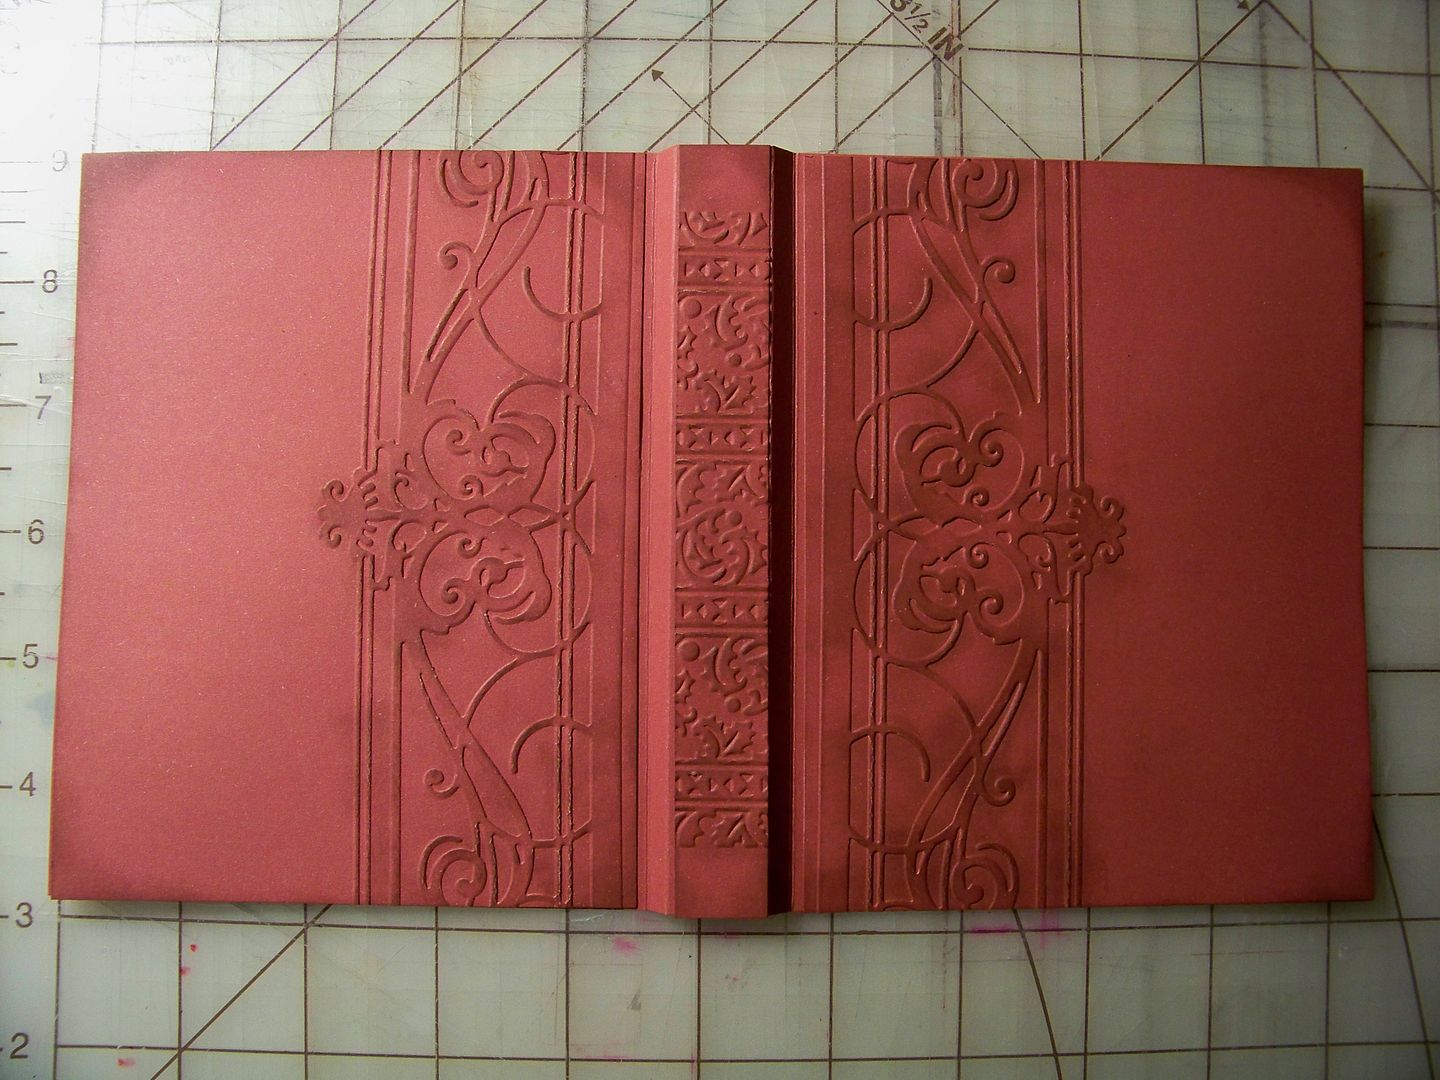
So... on the outside, it looks like this....


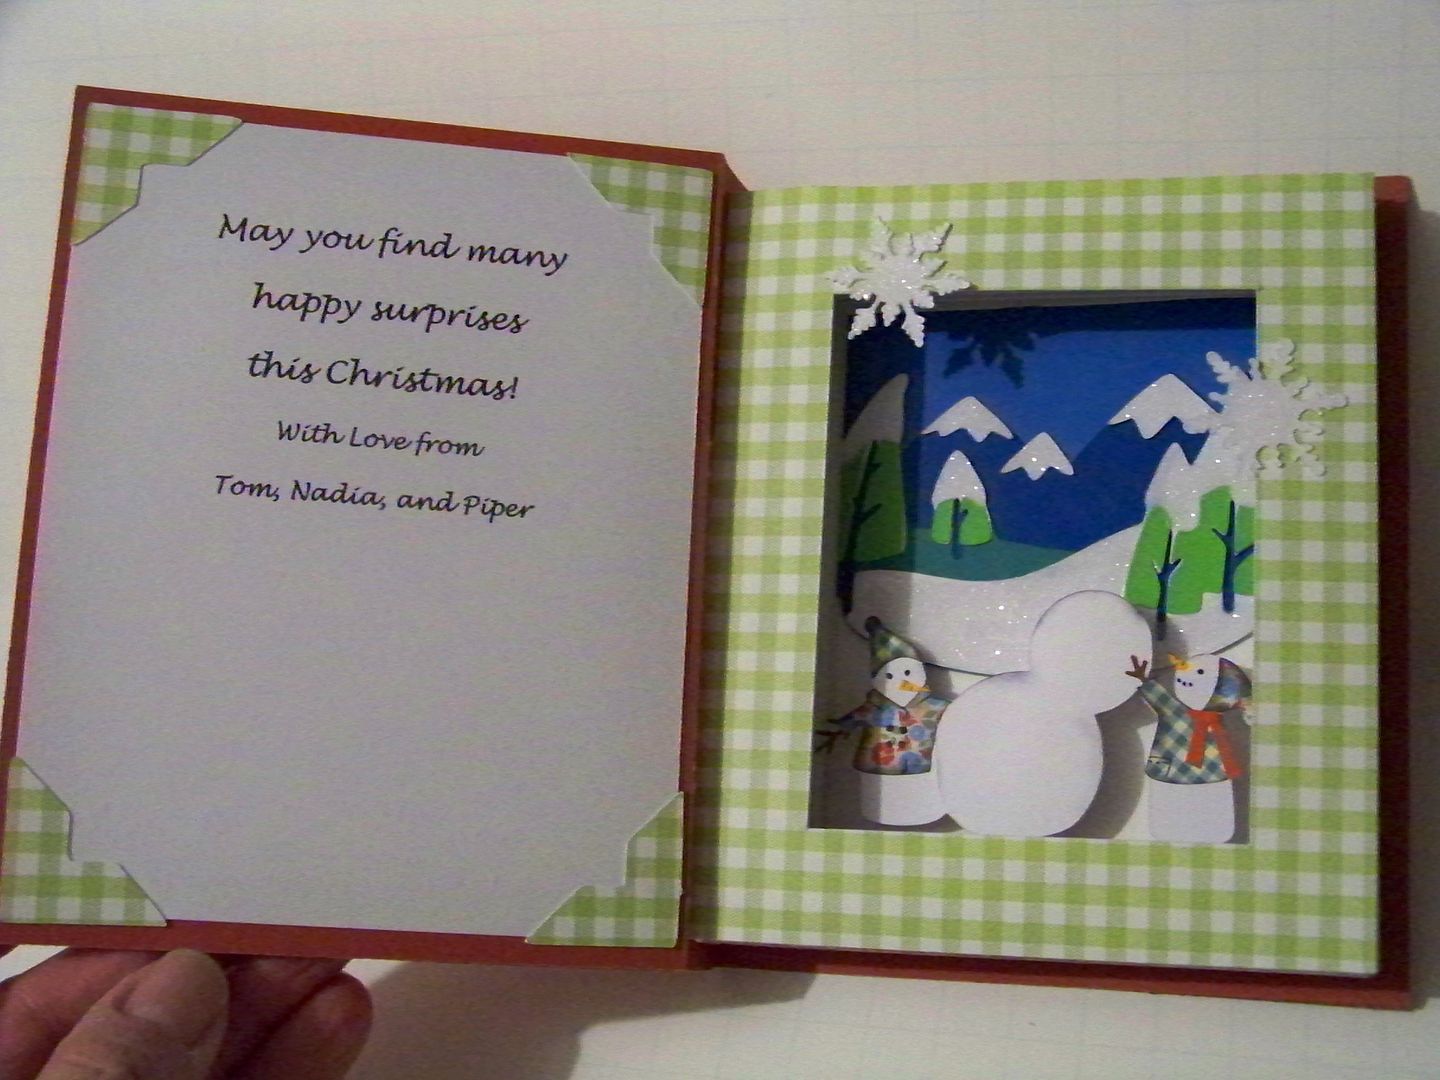
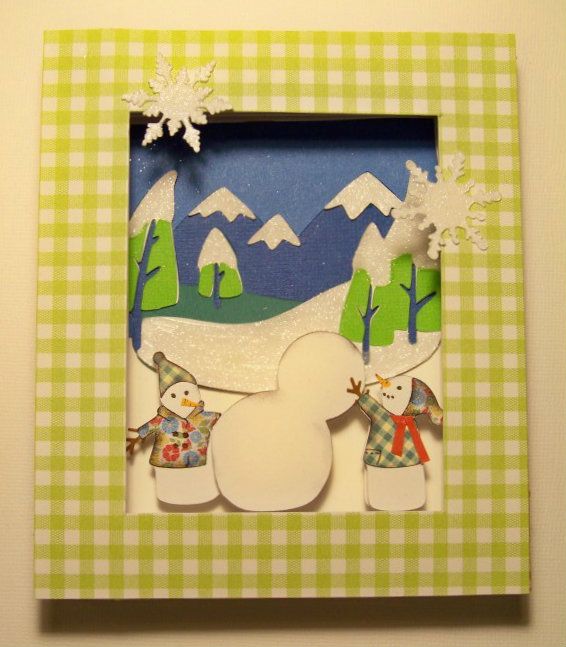
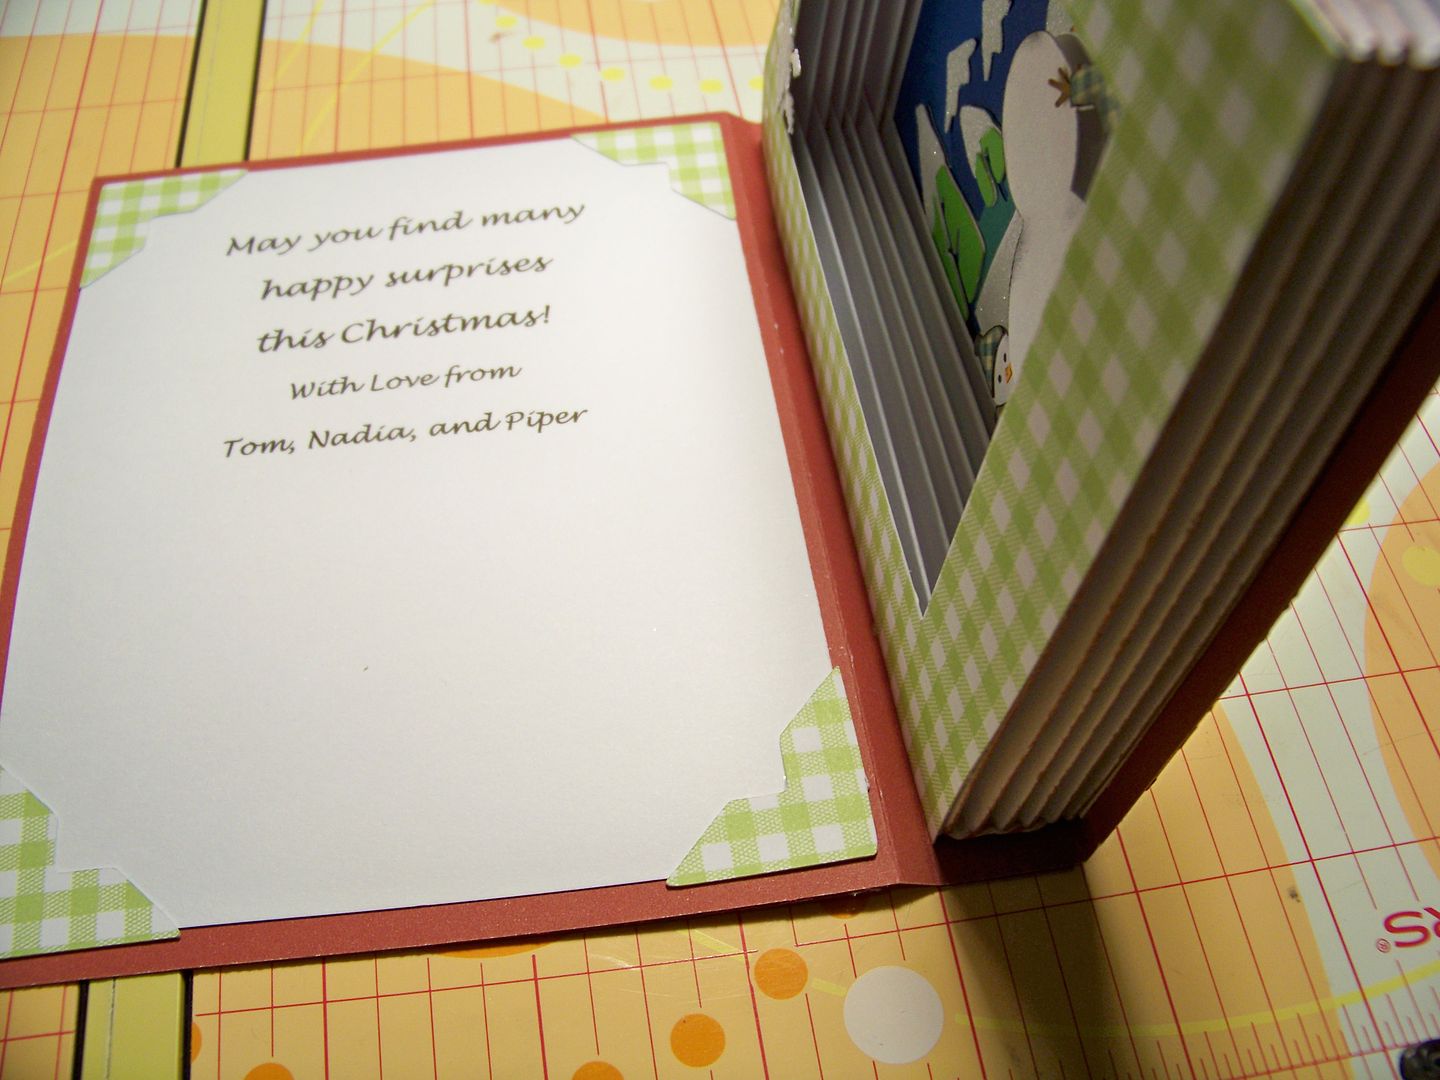
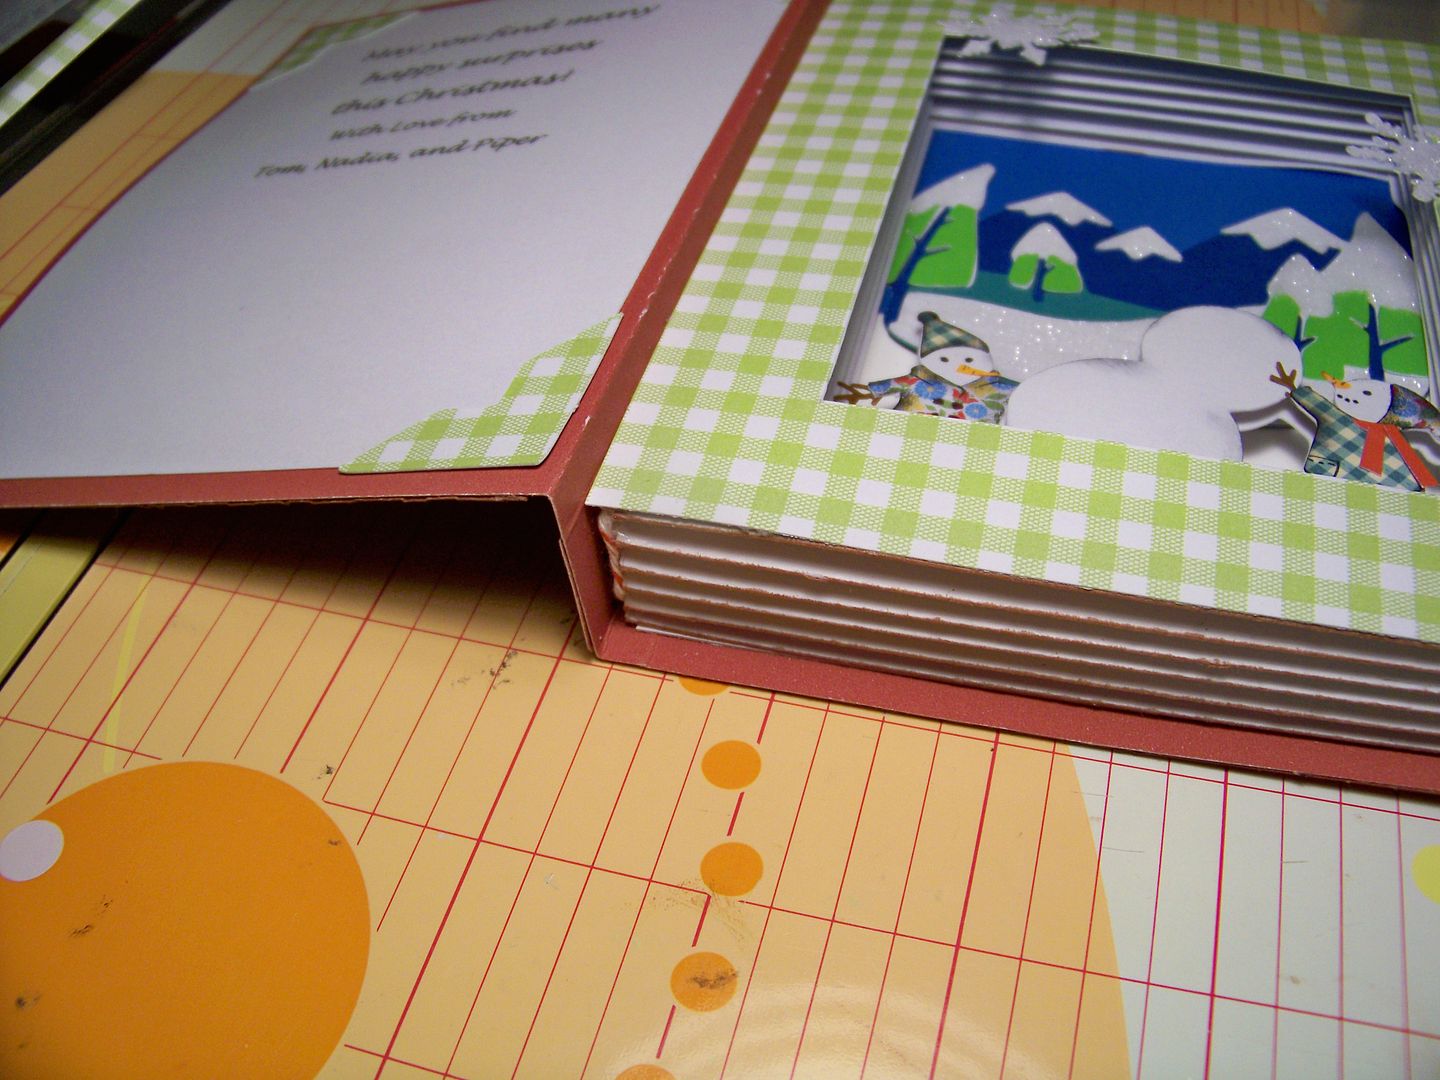
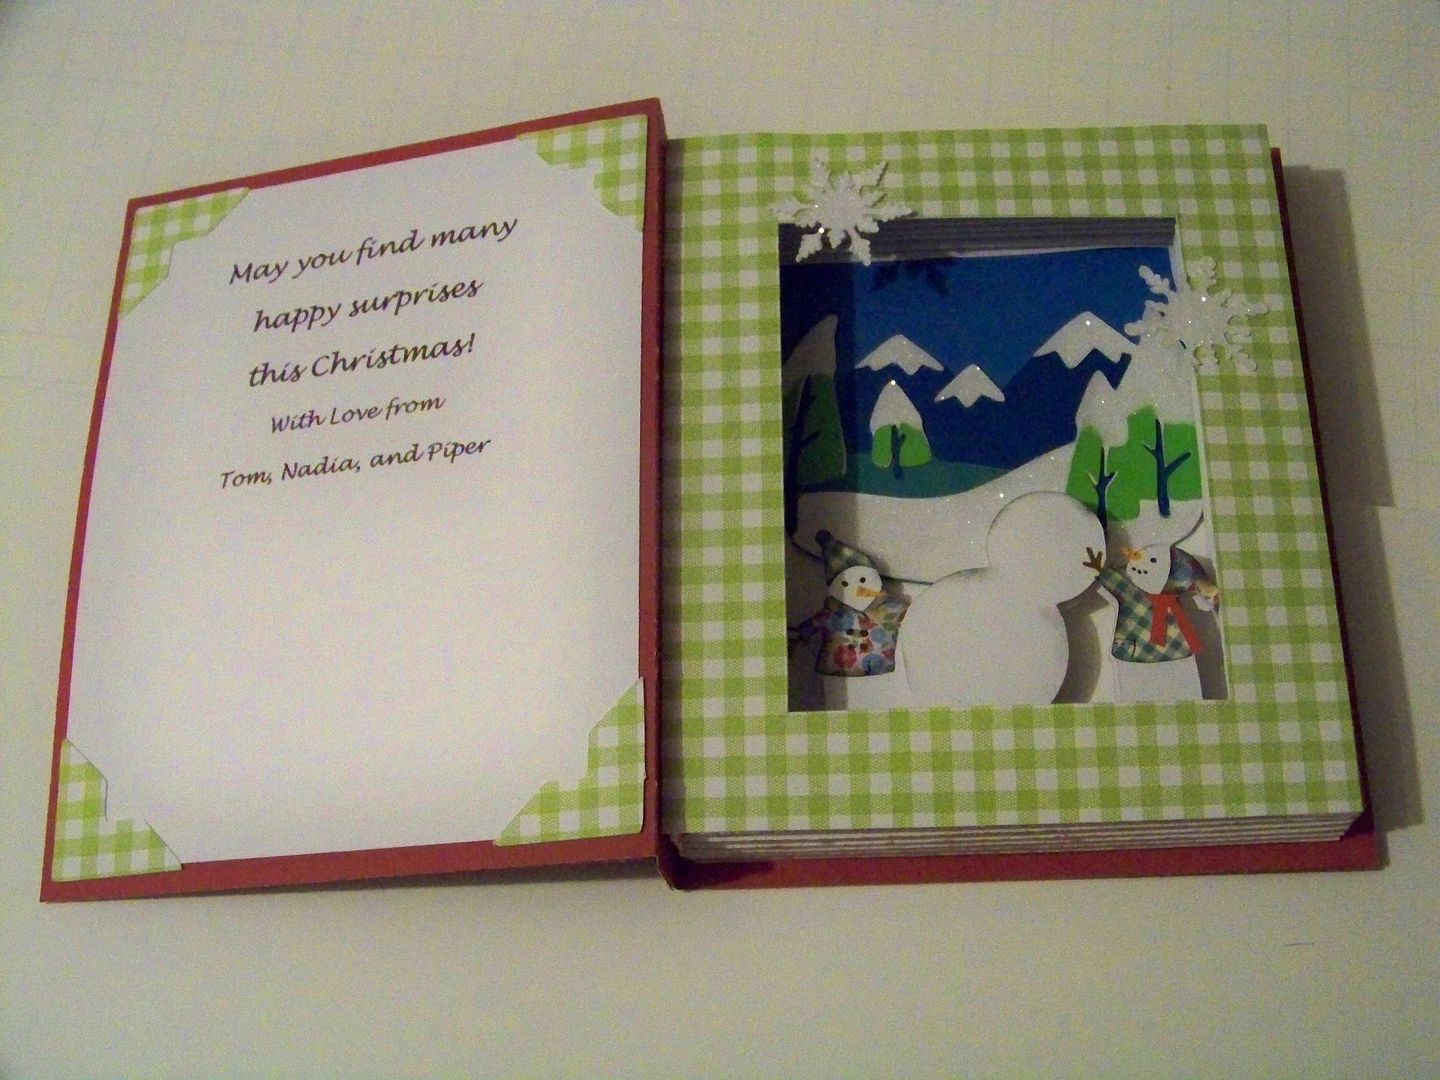
But when you open it up, there's a hollowed out space, perfect for a little paper vignette!


I used my computer to print a sentiment on the end paper.  I printed it high enough to allow for space for a gift card!


I will suggest watching Tracy's video (click here) and following up with a trip over to her blog (click here).  I am also providing you with all of my changes!  My finished  book card is 5-7/8" x 4-7/8".

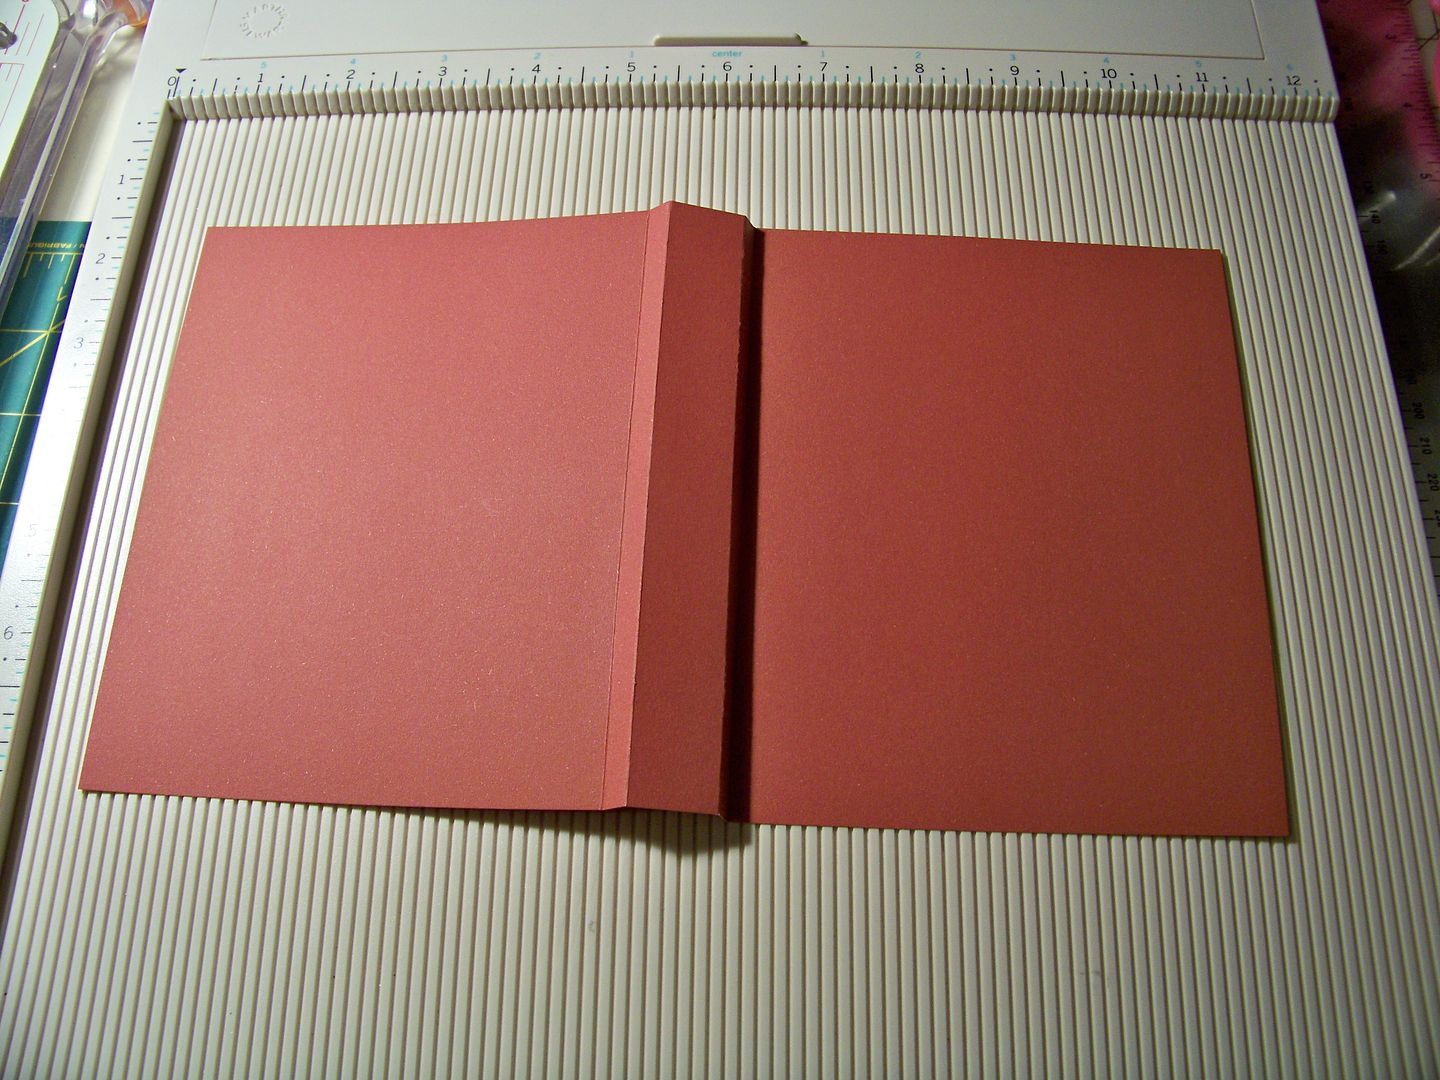
For the cover, I cut a piece of card stock 5-7/8" x 10-1/2".  I placed the 10-1/2" side against the top of my scoring board and scored at 4-5/8", 4-7/8", 5-5/8", and 5-7/8".  You will notice that this adds two more score lines than Tracy's tutorial. I think the extra lines allow the cover to look more like a book and it allows the card to open easily with the spine of the inside "pages" glued to the center (spine) of the cover!  Tracy did not glue her spine to the cover, but I really like mine glued.


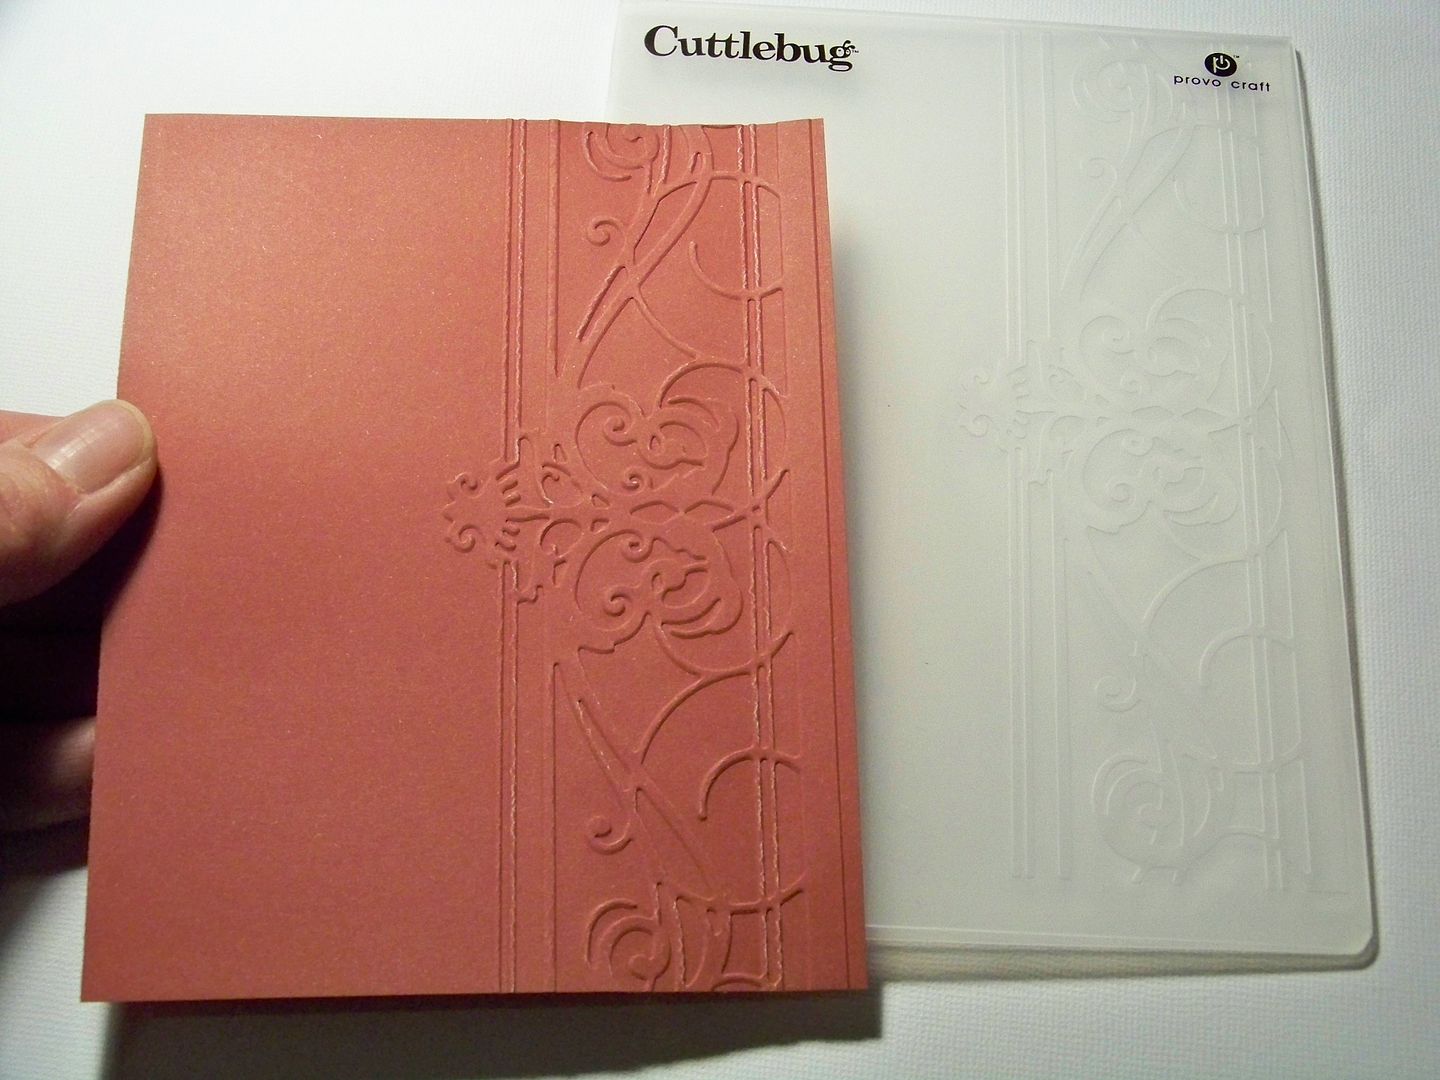
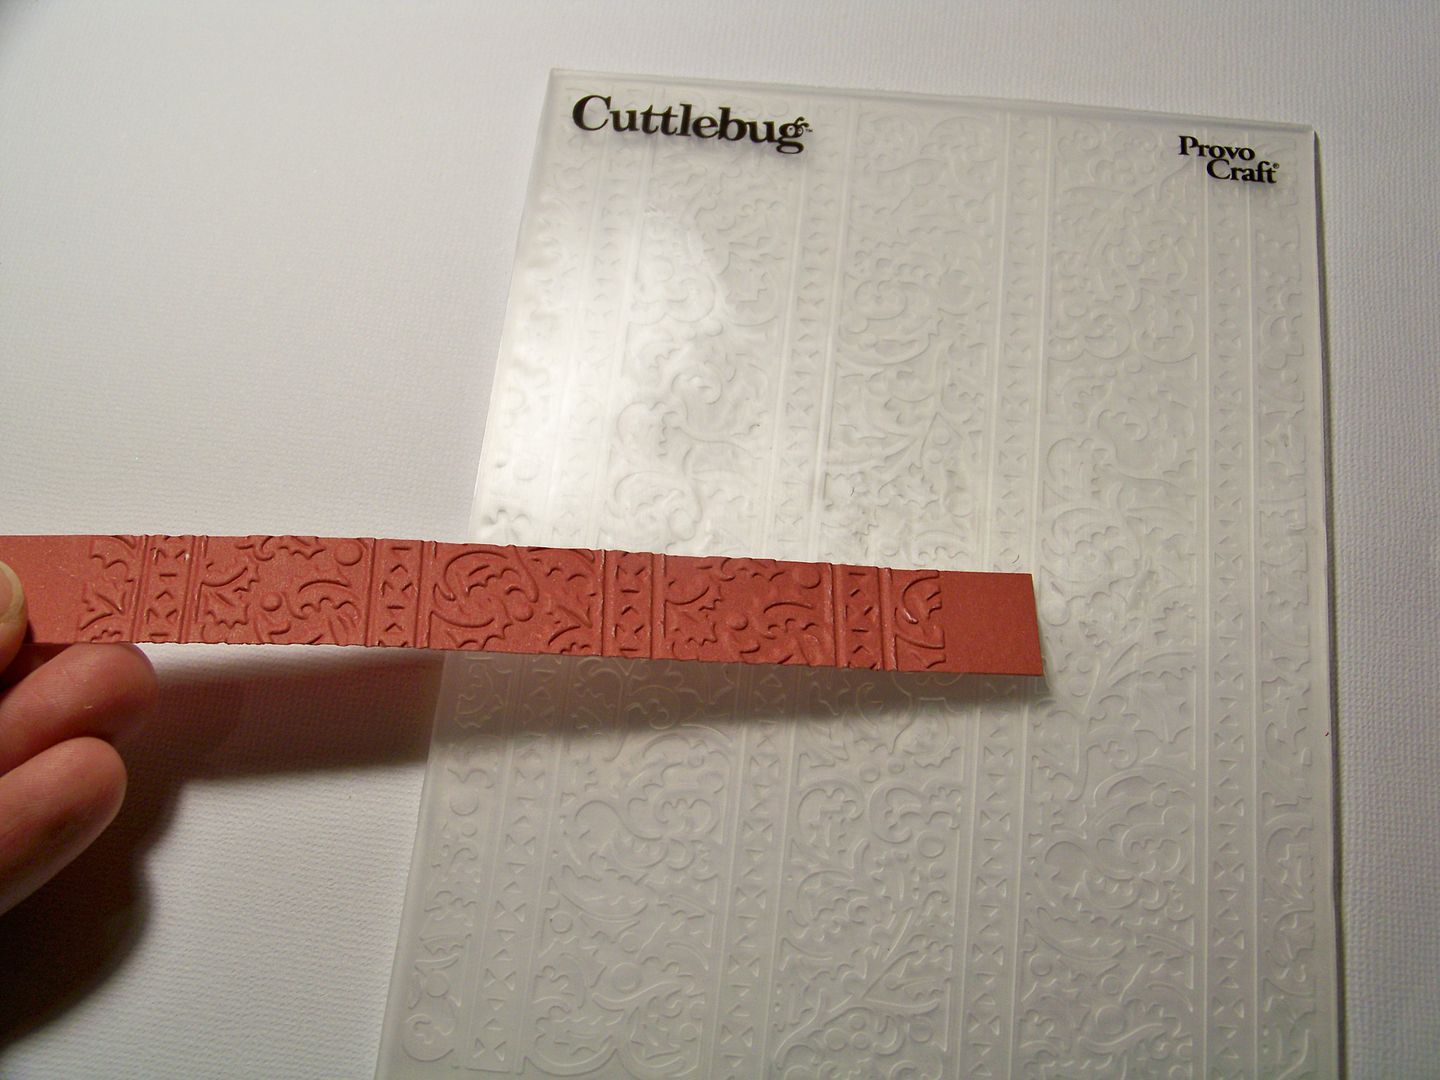
I cut pieces to emboss for the outside of the cover from the same paper.  For each side, I cut card stock at 4-1/2" x 5-7/8" and a piece for the spine at 11/16" x 5-7/8".  I peeked at some old books we had just to get an idea of what older books really looked like and found a couple of embossing folders in my collection that would be good mimics!


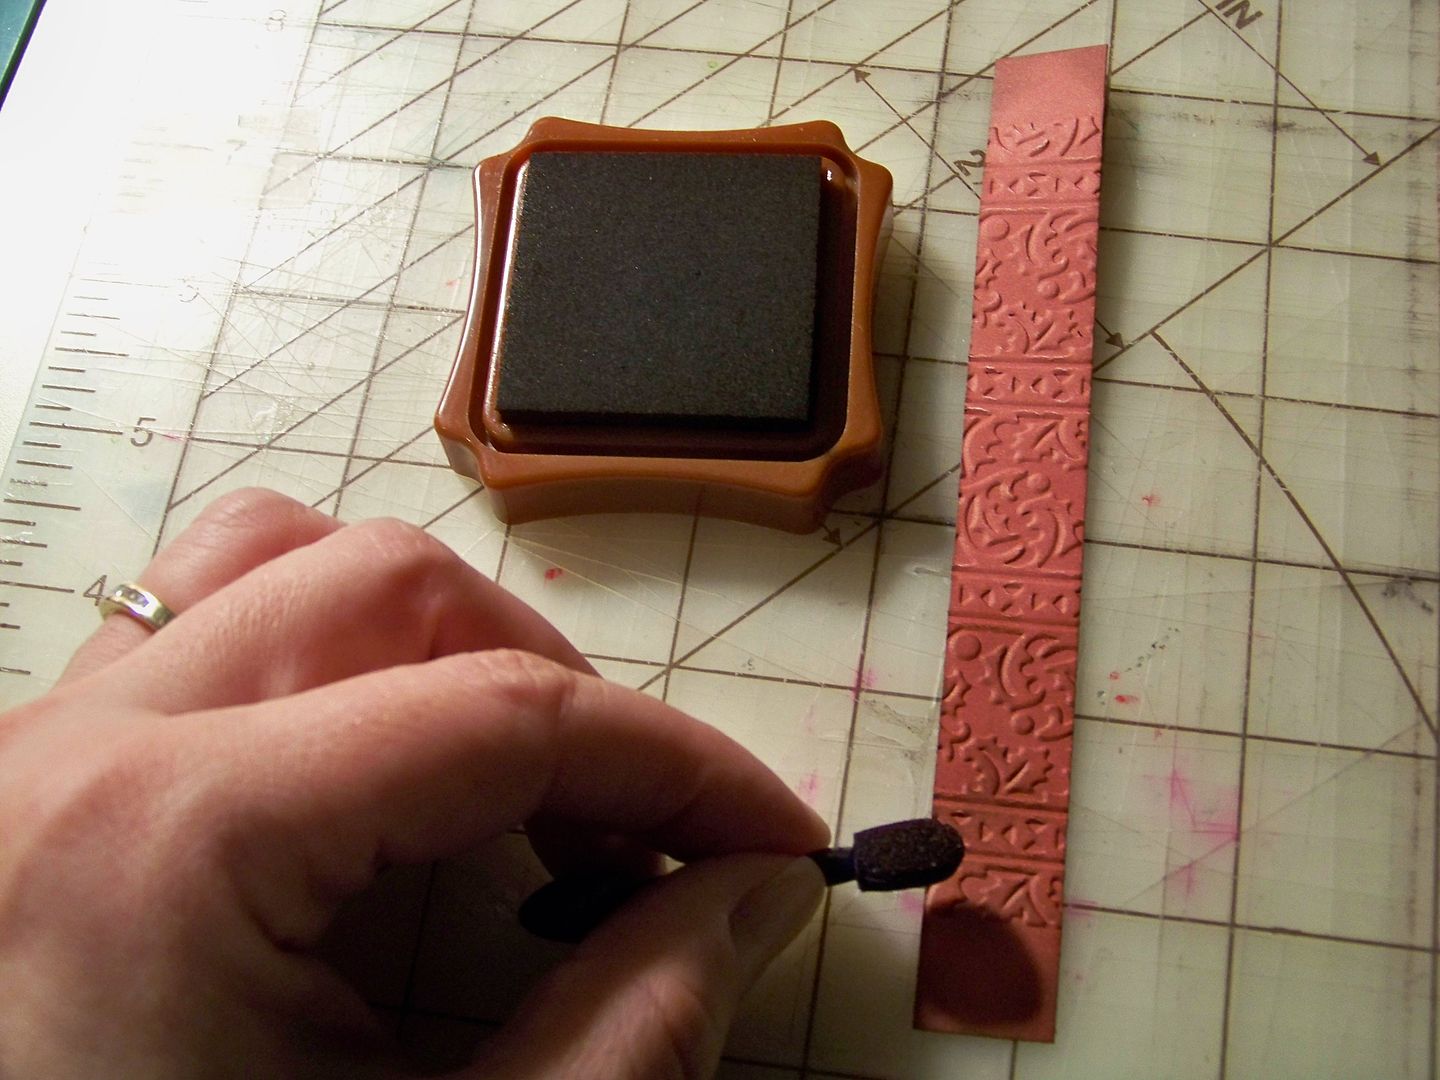
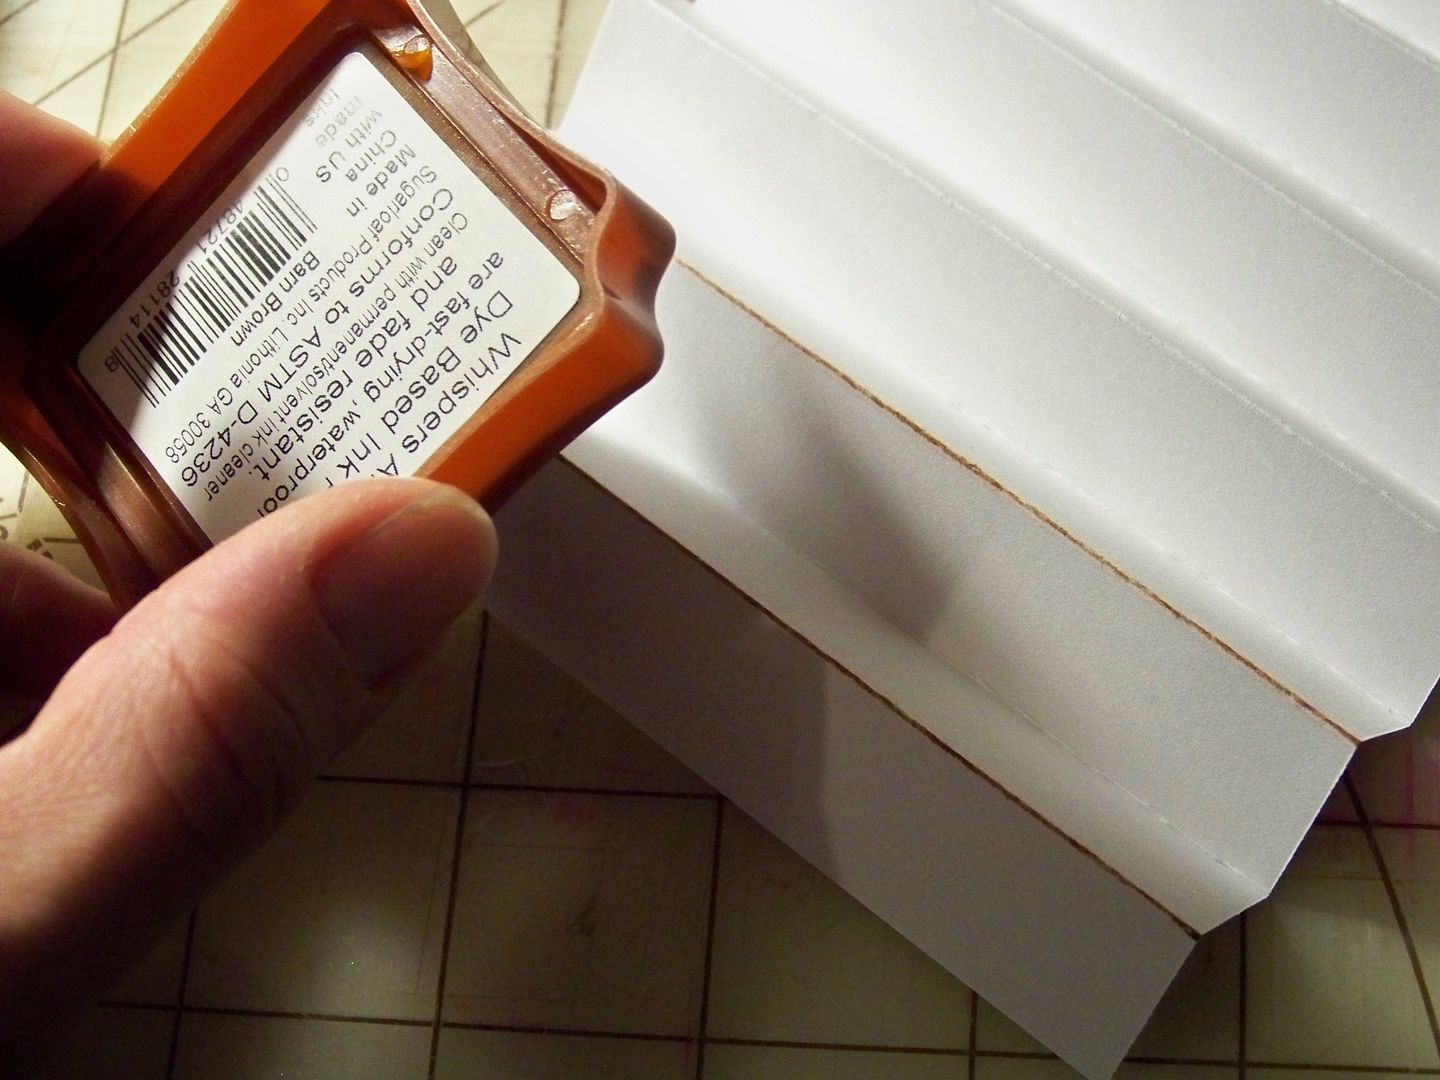
I used a brown ink pad to rub over the embossing and used a sponge applicator to ink the corners and edges.


I glued the embossed pieces onto the cover with ATG tape.  The added layers made the cover more substantial too.


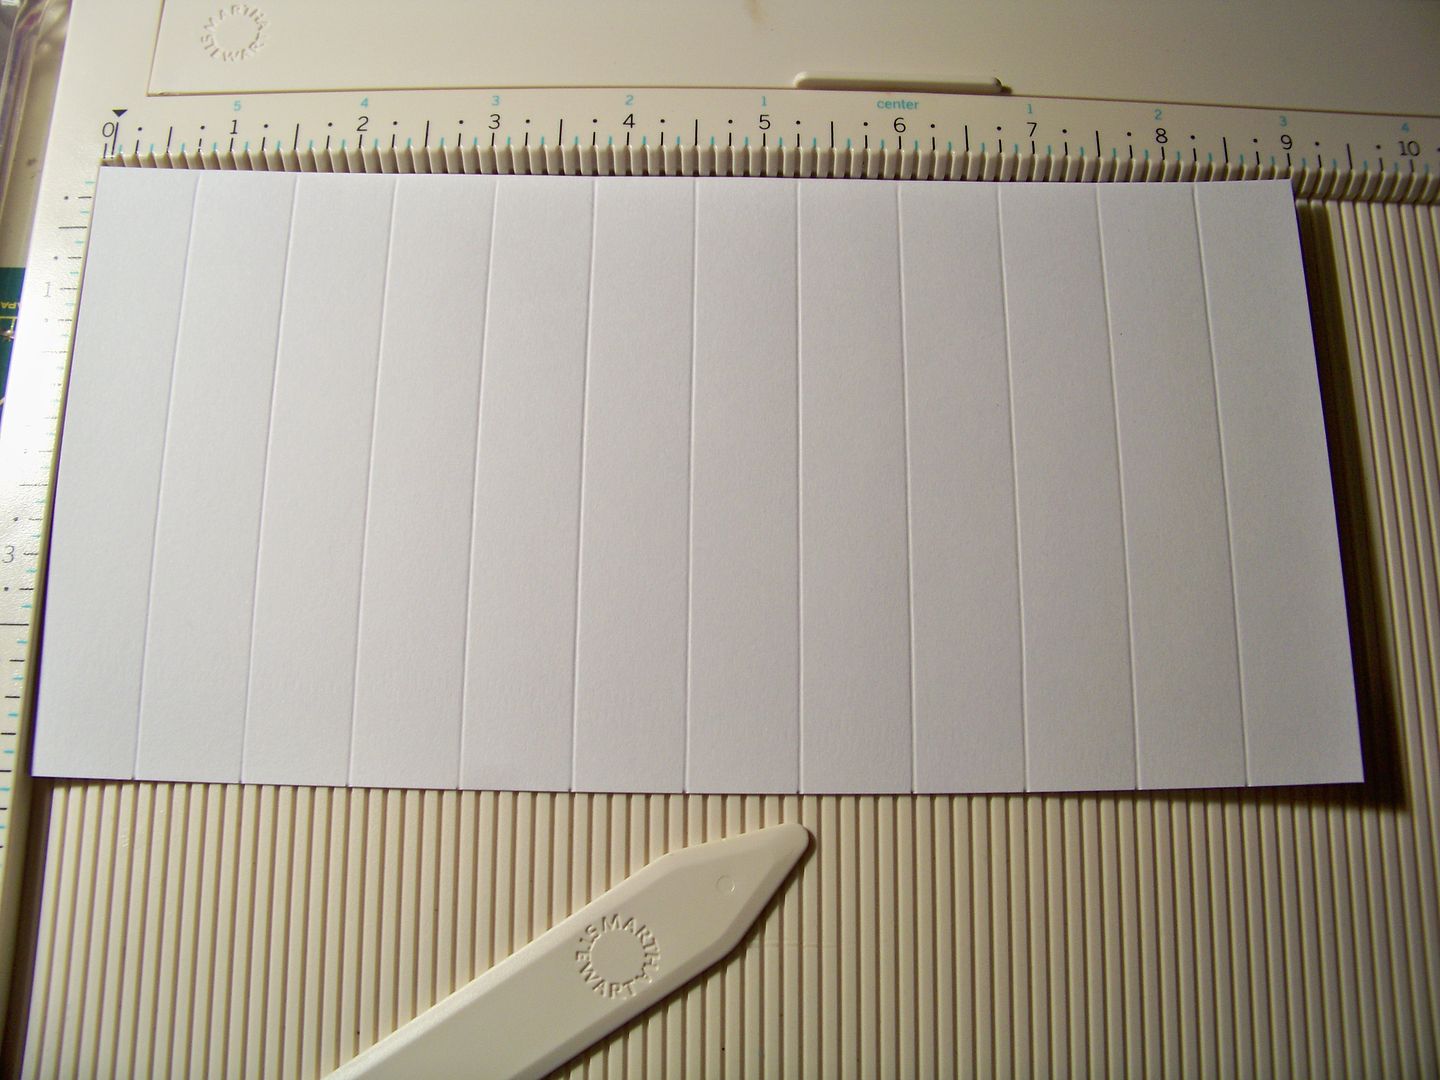
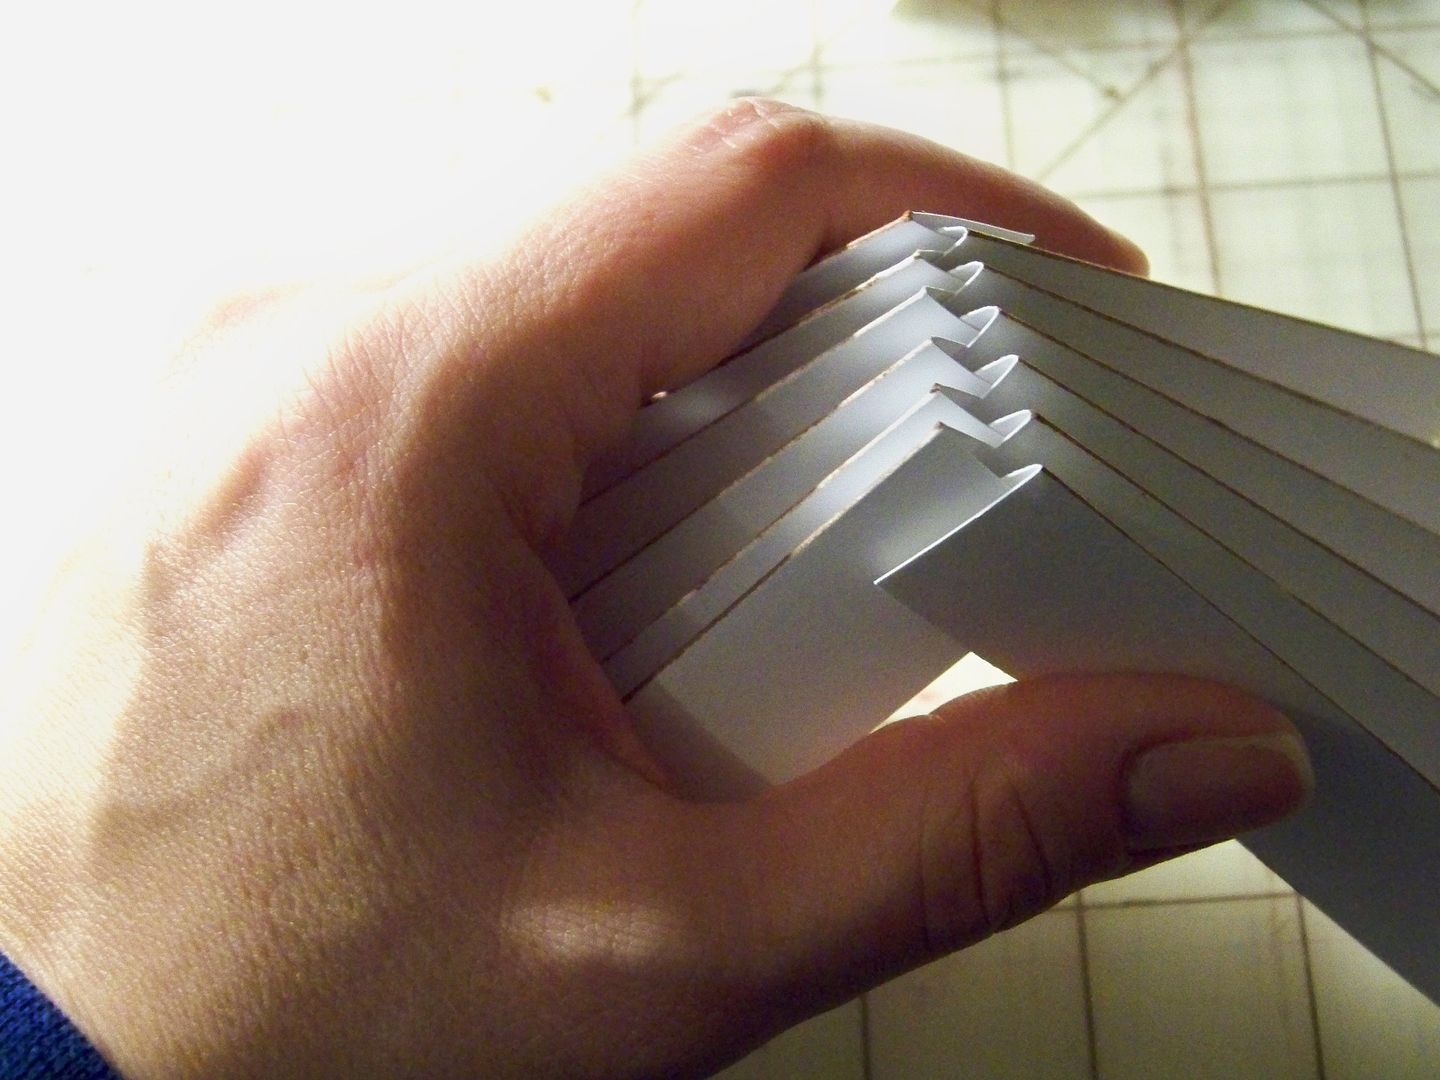
For the inside, I cut two pieces of white card stock at 5-3/8" x 9" and two pieces at 4-1/2" x 9".  I placed the 9" sides against the top of my scoring board and scored at 3/4" all the way across.  This follows Tracy's directions exactly.


I folded them up, accordion-style and inked the edges by rubbing an ink pad over the folds.


I assembled the folded 'pages' just as Tracy instructed and glued in place with Scotch Quick Dry Glue.


I cut a green gingham mat to place over the 'pages'.  This was cut at 4-5/8" x 5-1/2" with the inside cut to allow for a 7/8" border.  This created a frame for my vignette.


These were my cuts:

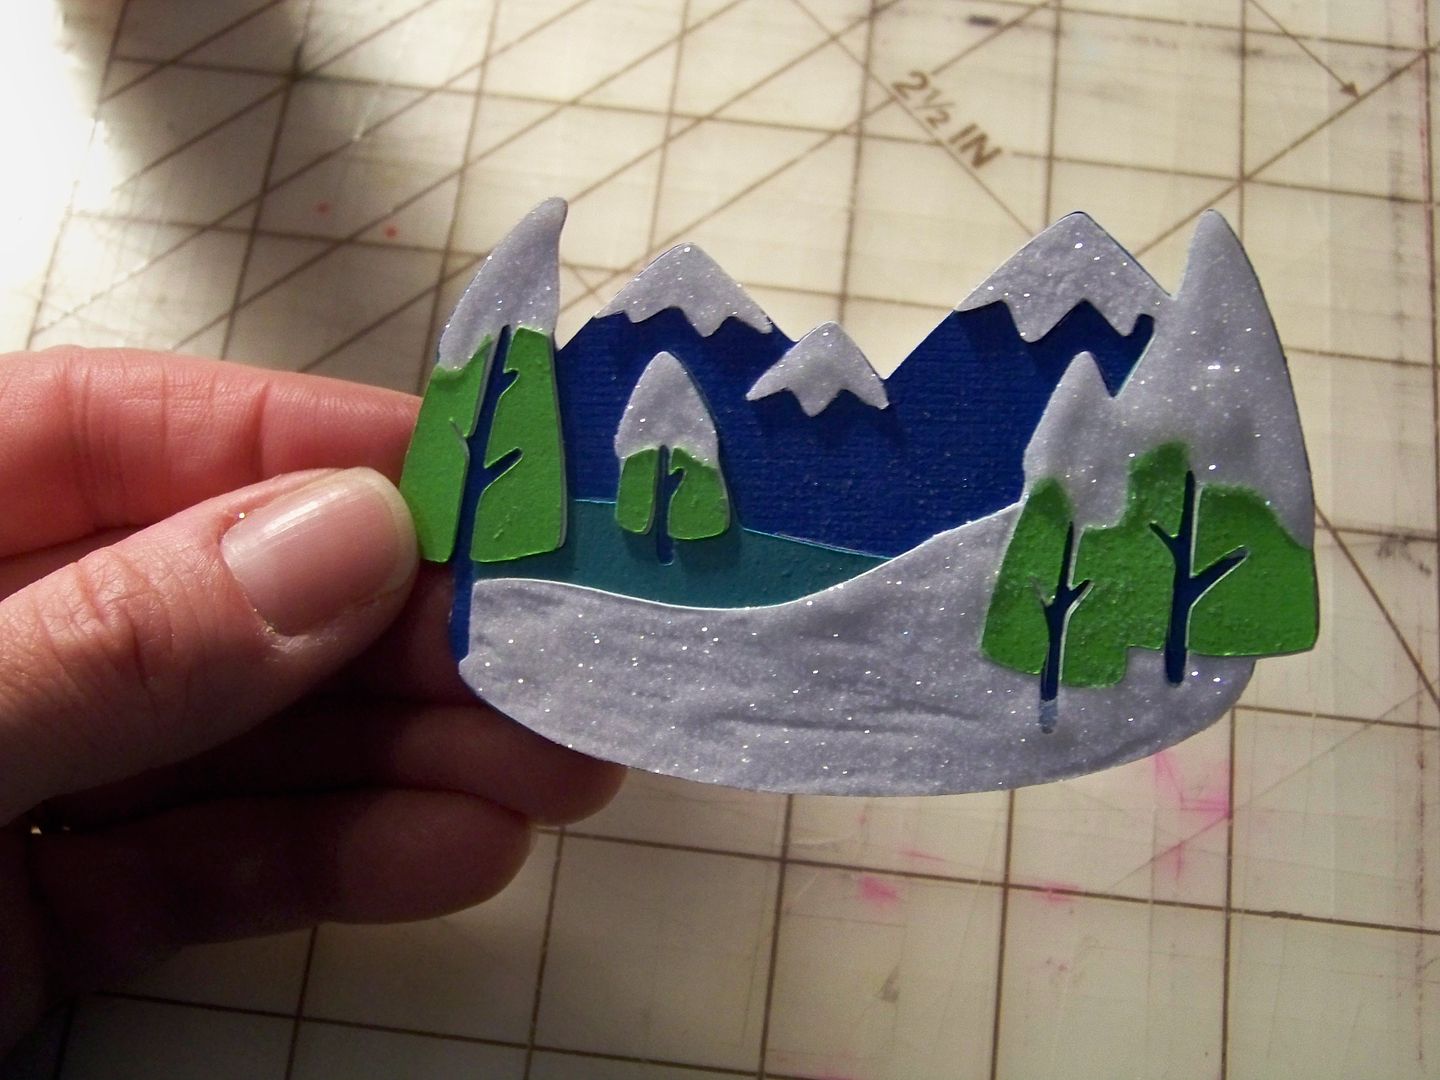
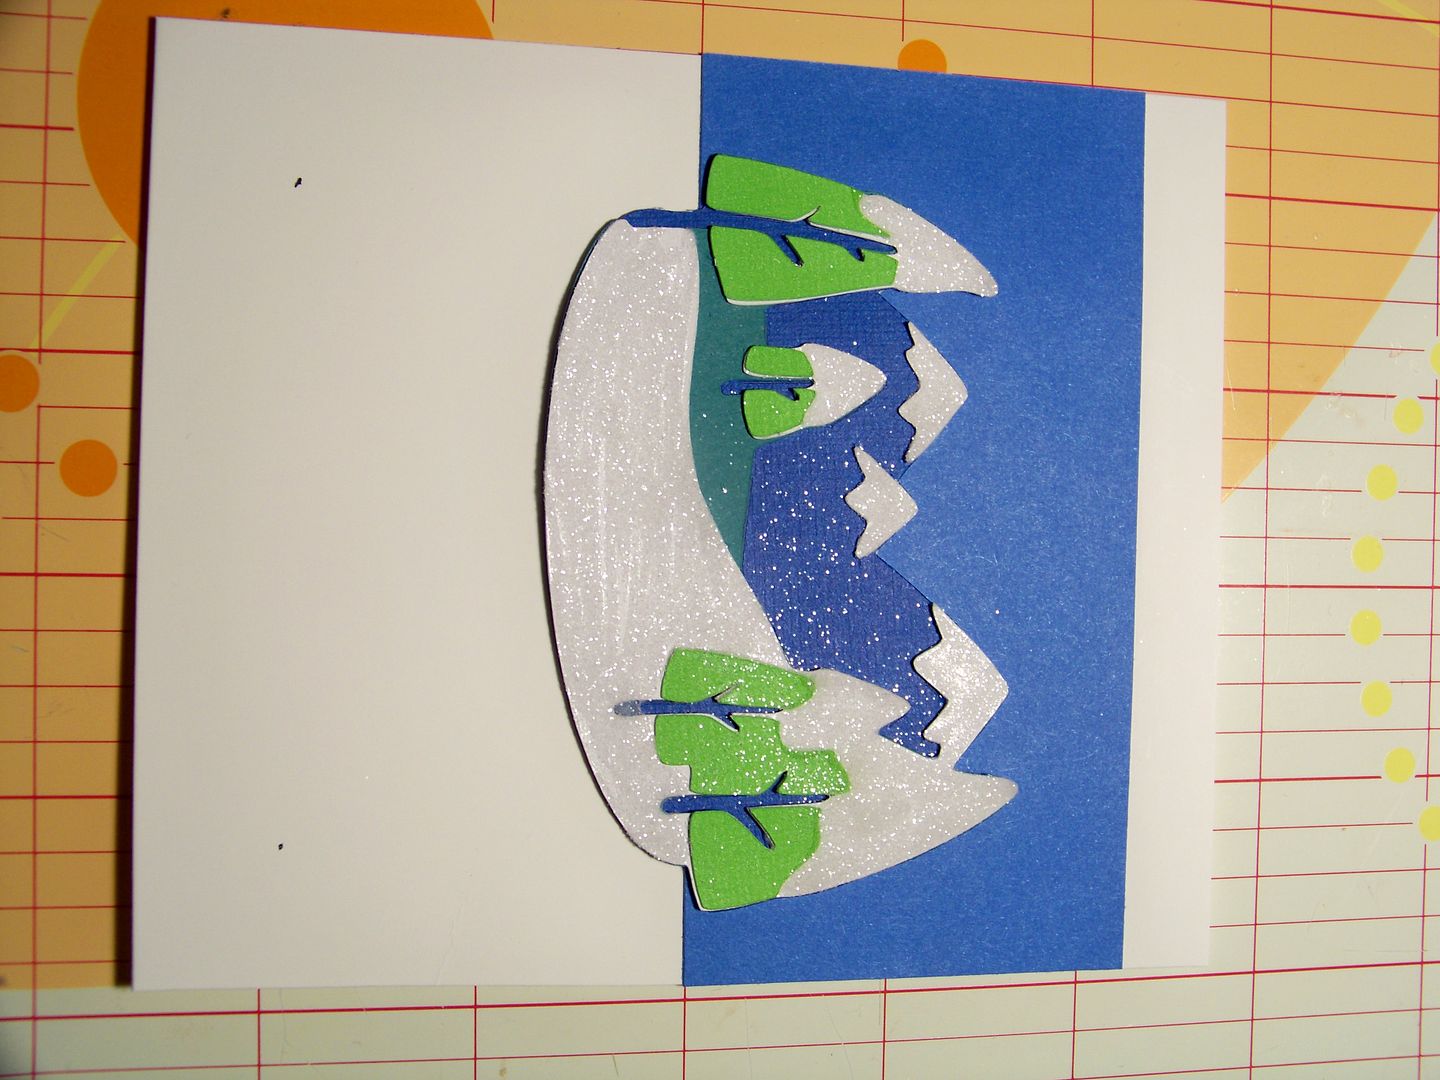
  • Snowy background - Campin Critters (page 66), 2-1/4".  I used Scotch Quick Dry Glue and Martha Stewart fine glitter.
  • Sky - 2-1/4" x 4-1/2" strip.  I applied it to a card stock base.


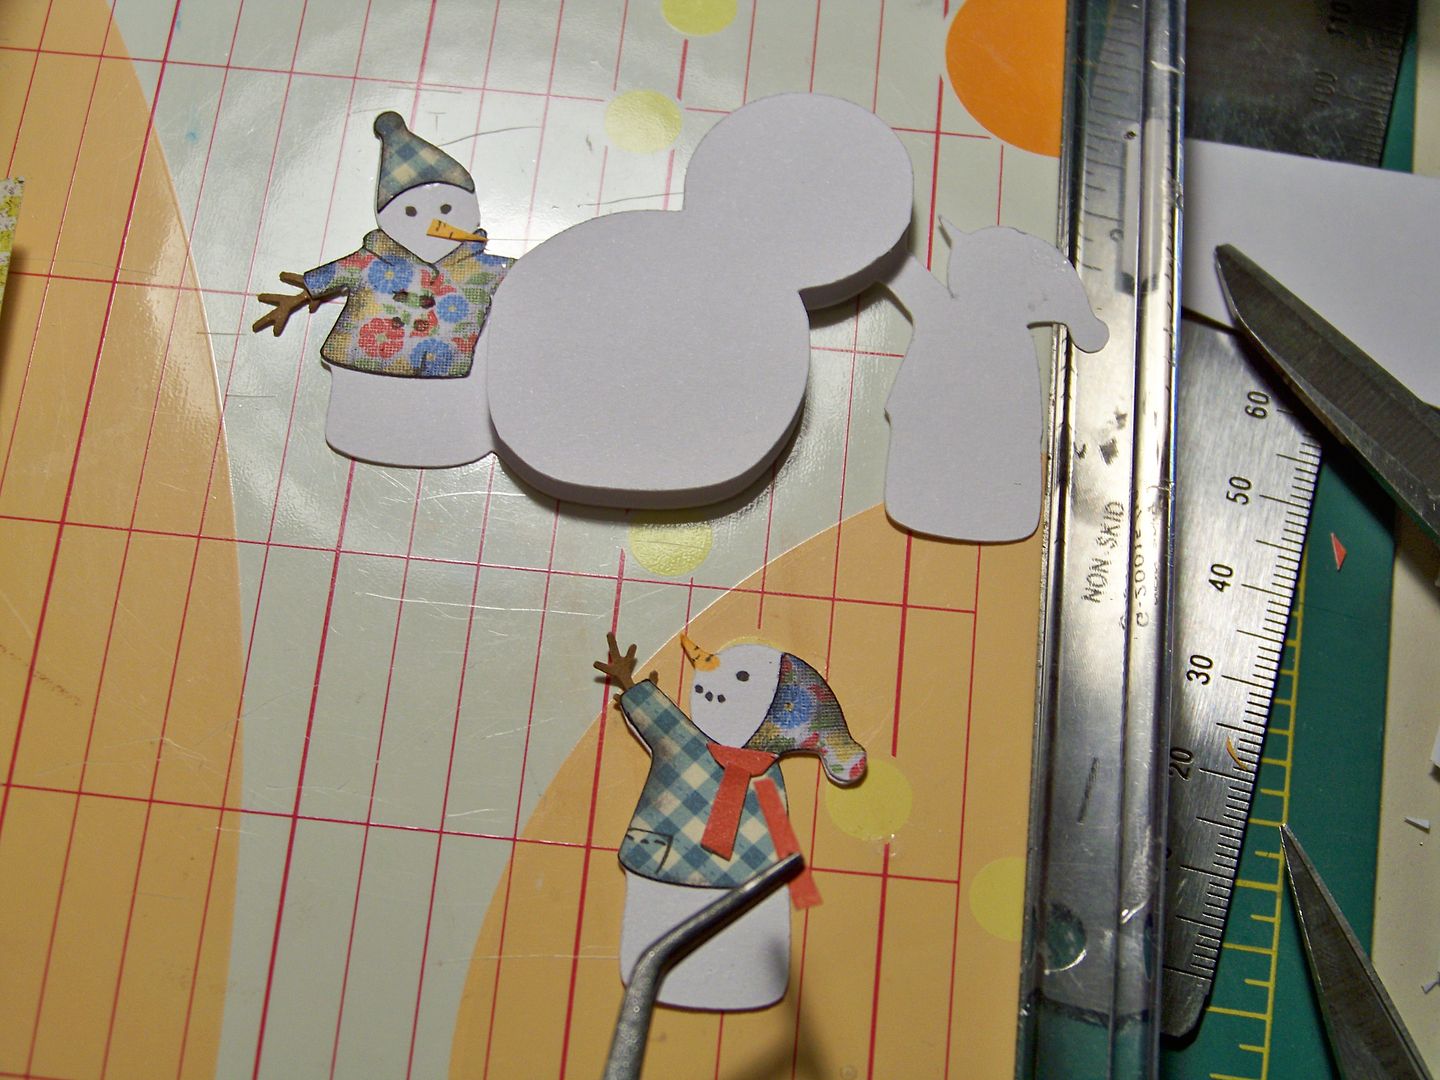
  • Snowmen - Snow Folks, 1-3/4".  I cut two of the base cut in white and used the Martha Stewart branch punch for their hands.  I popped up the snowman they are building and the snowman on the right 1/8" after cutting them free from the duplicate cut.  I inked their jackets and hand-cut a scarf for the snowman on the right.  I hand cut the carrot nose and drew in the eyes for the guy on the left and colored in the nose and eyes for the guy on the right. I inked them in black.  This was popped up 3/8".

  • Snowflakes - When It's Cold Outside, 1".

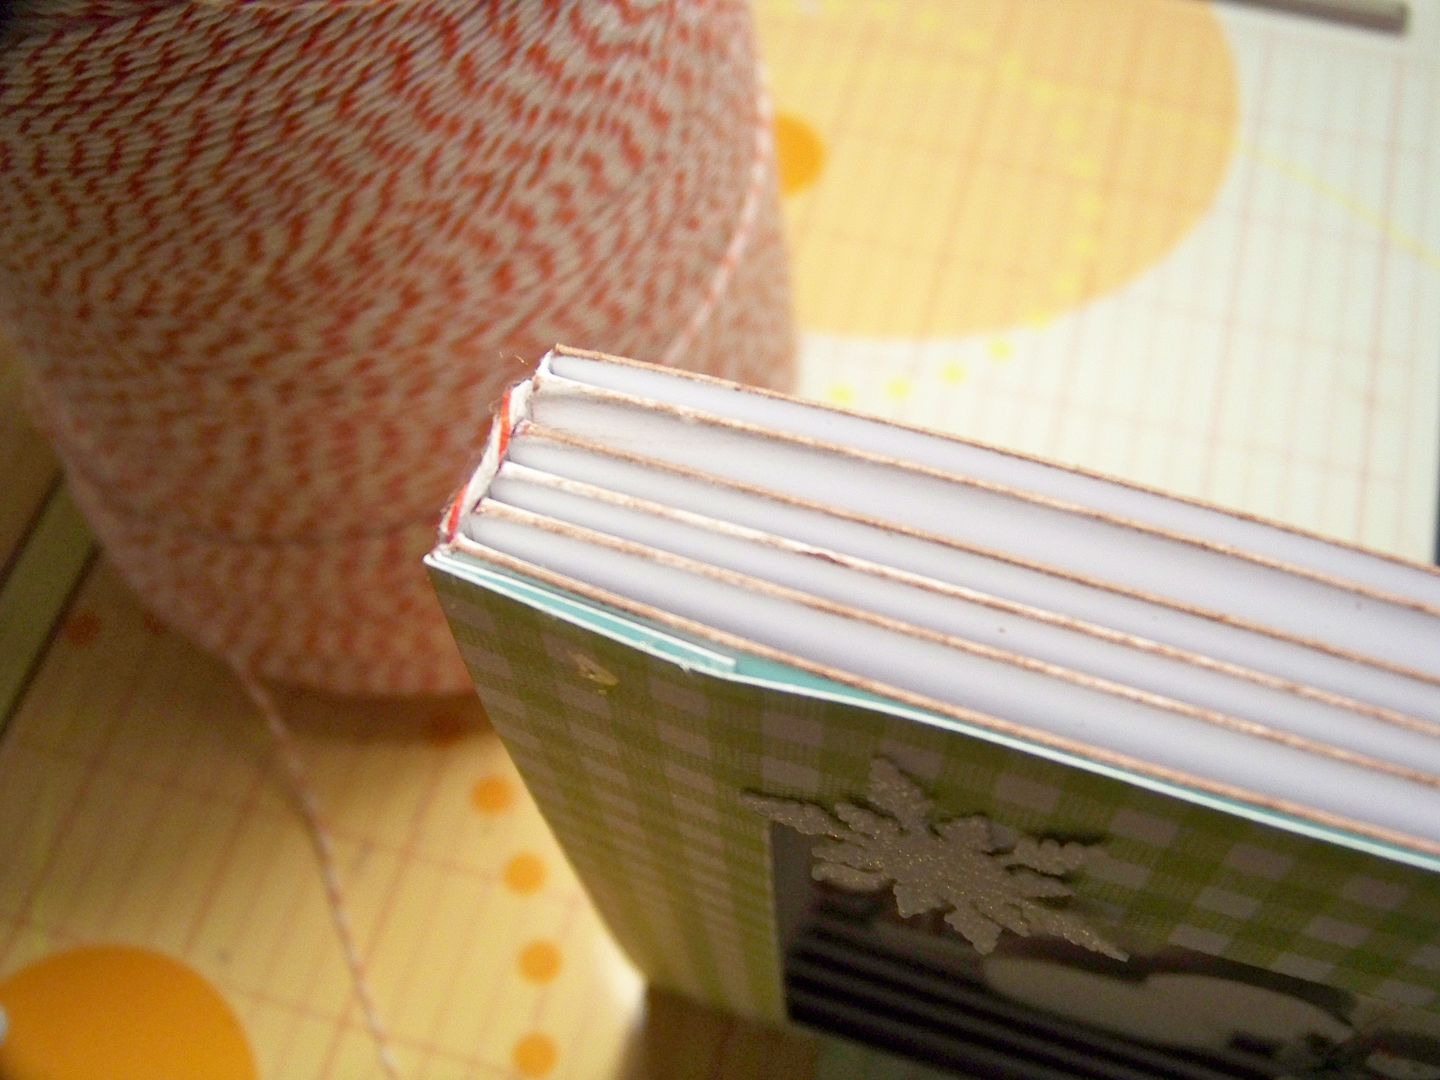
I couldn't find any bookbinding headband on hand (although I know I have some!), so I used bakers twine.  This is a crazy little detail that I added.


I printed the sentiment on my computer.

  • Photo corners - Holiday Frames and Tags (page 44), 4".

I glued the vignette and 'pages' into the cover on the right and the sentiment sheet on the left, adding photo corners.  I glued the cover to the spine.  I used Scotch Quick Dry Glue.


So, all that's left is to apply the gift card....


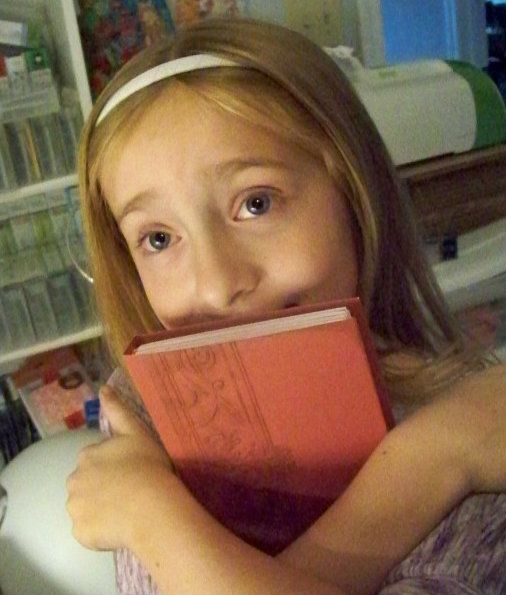
I loved this project.  I have some others planned to do as well!  There are endless possibilities with this concept.  Guess who wanted to keep it for herself.....


Speaking of my little paper crafting buddy, she just finished a project of her own that I wanted to share with you!


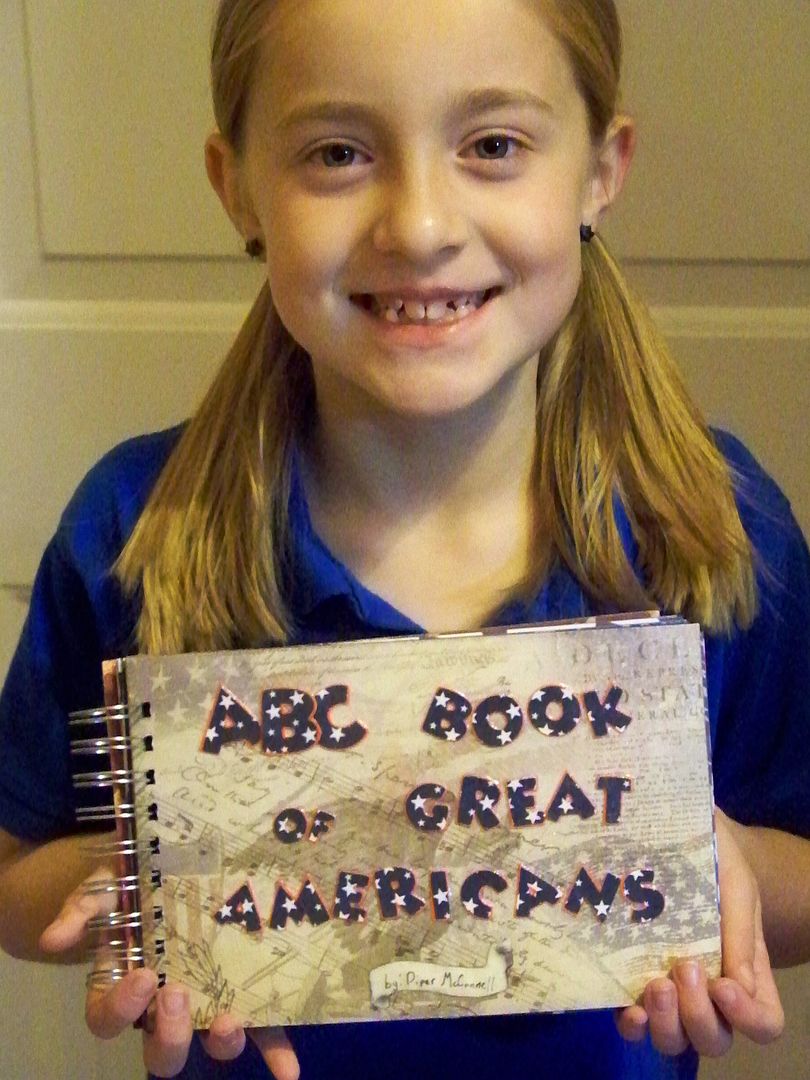
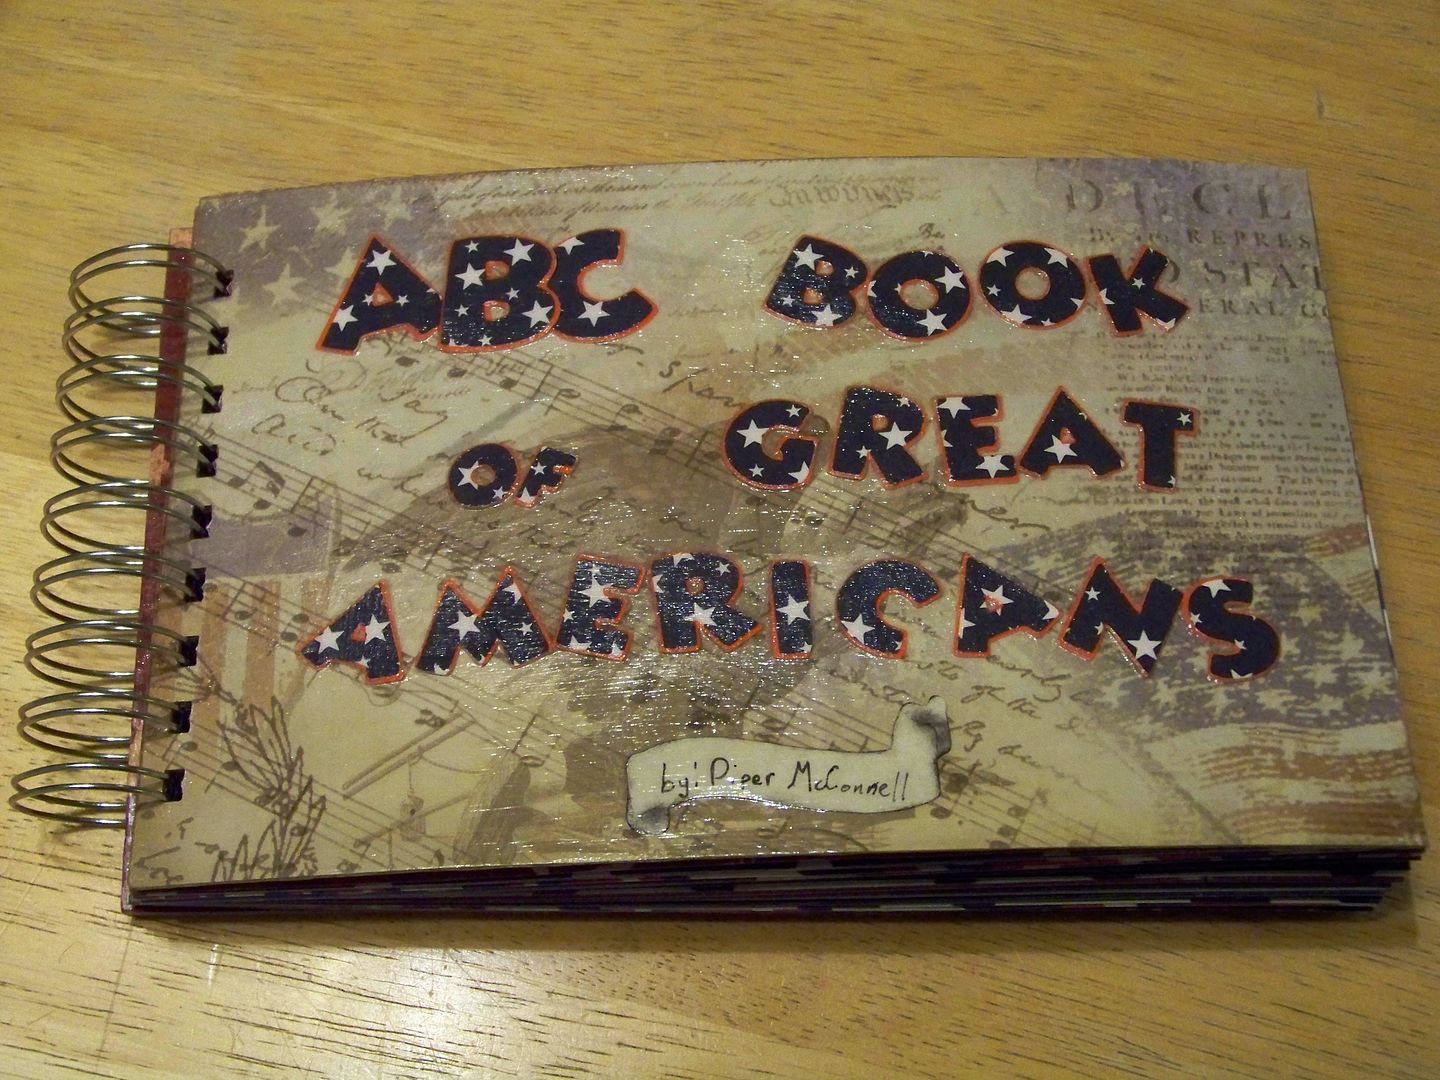
I loved special projects when I was in school... and  if I had the internet, a Cricut, and a Bind-It-All at my fingertips, oh, how much more I would have loved those presentations!  So, when my daughter was given a history project to make a book of Americans that she considered 'great', I decided that this would also be a great time to start teaching her how to use some more of the crafty tools we have in this house.

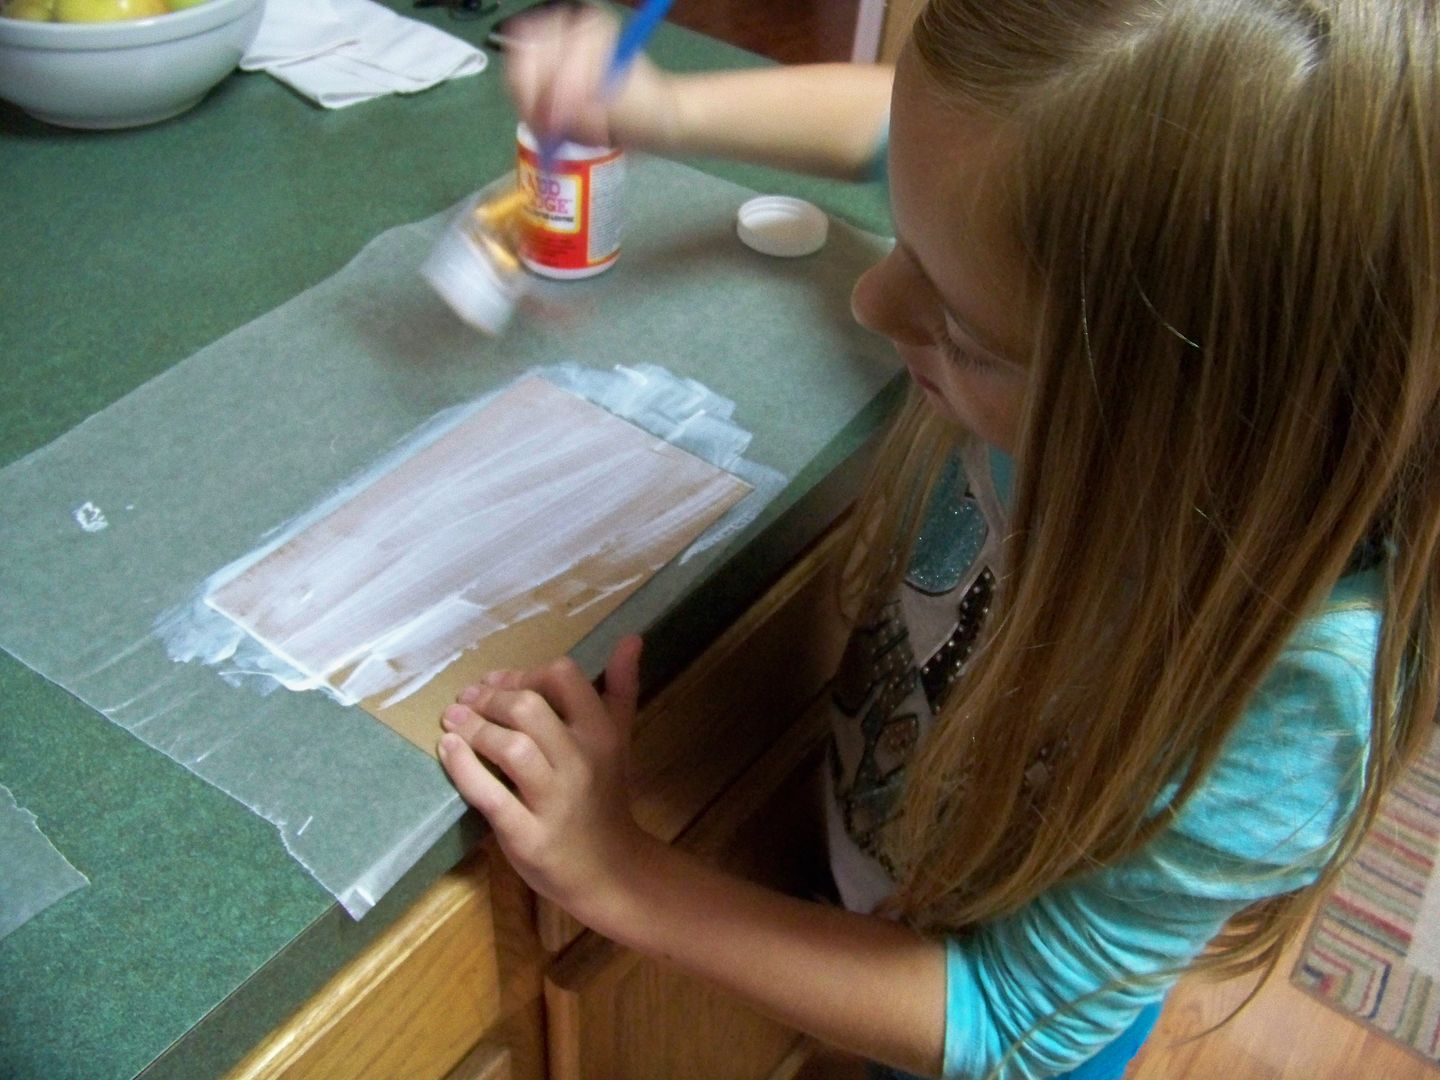
It was the first time that either of us had used Mod Podge, but since it was in the house, and so was some chipboard, I decided that I would teach her to make a cover using those materials with decorative papers.


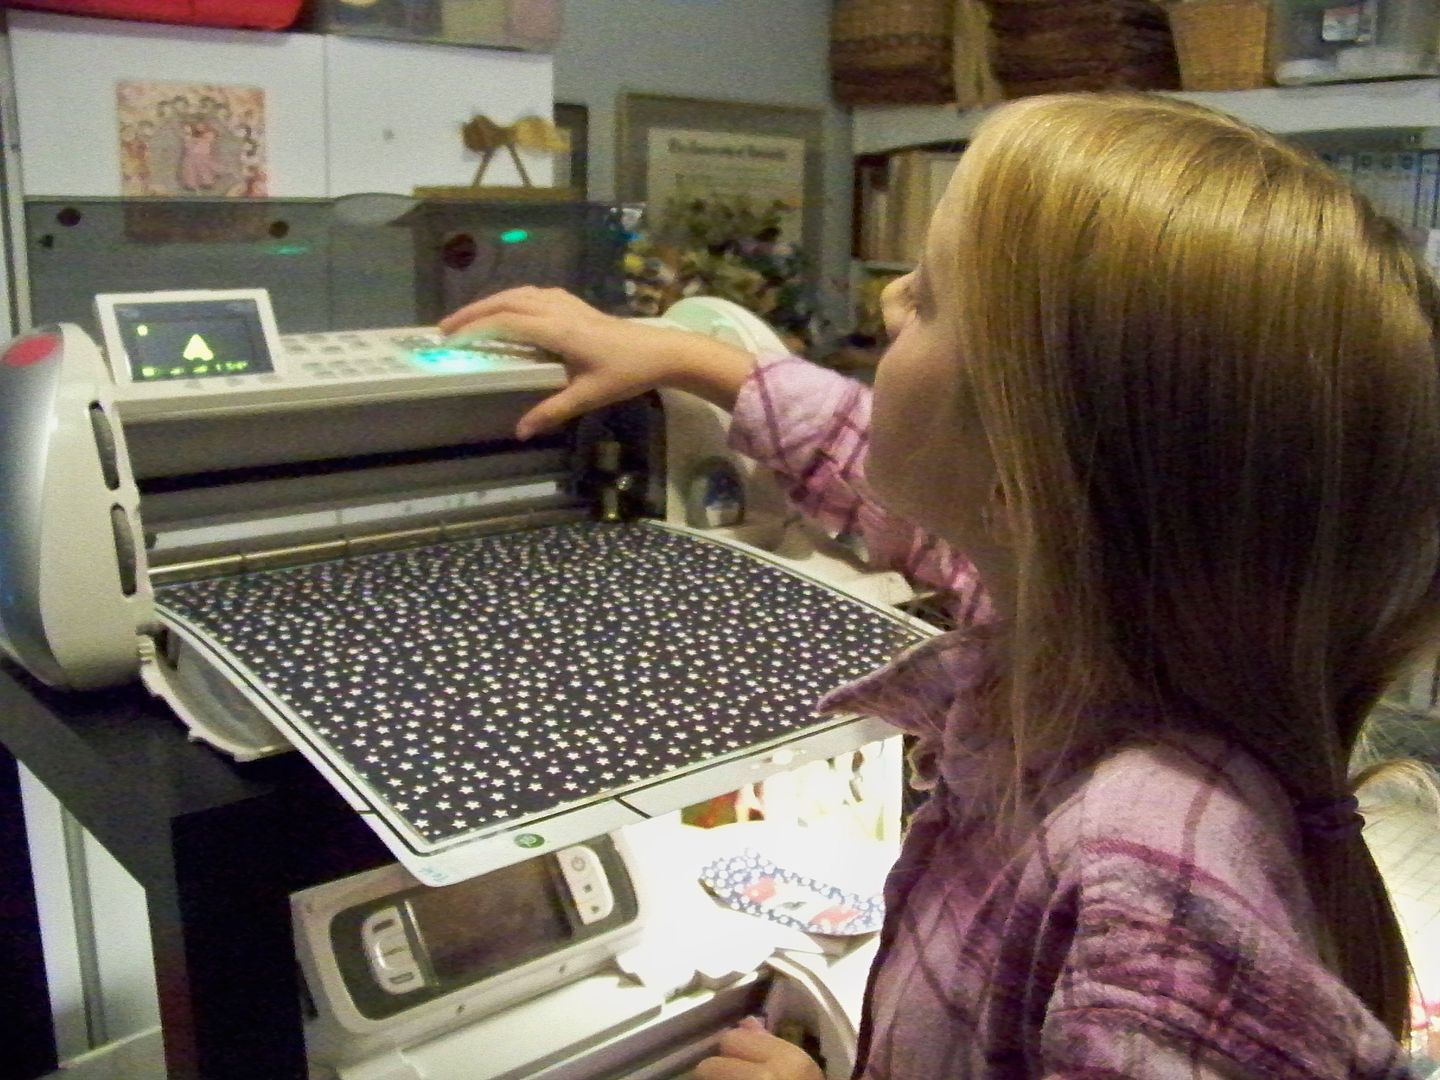
She used a Cricut and Mickey Font to make letters for the front.  The papers were some I won from a challenge back in the summer.  (Piper has used a Cricut many times before.  She actually has a Baby Bug and her own cartridges in her room, but we did this project in my crafty space instead).


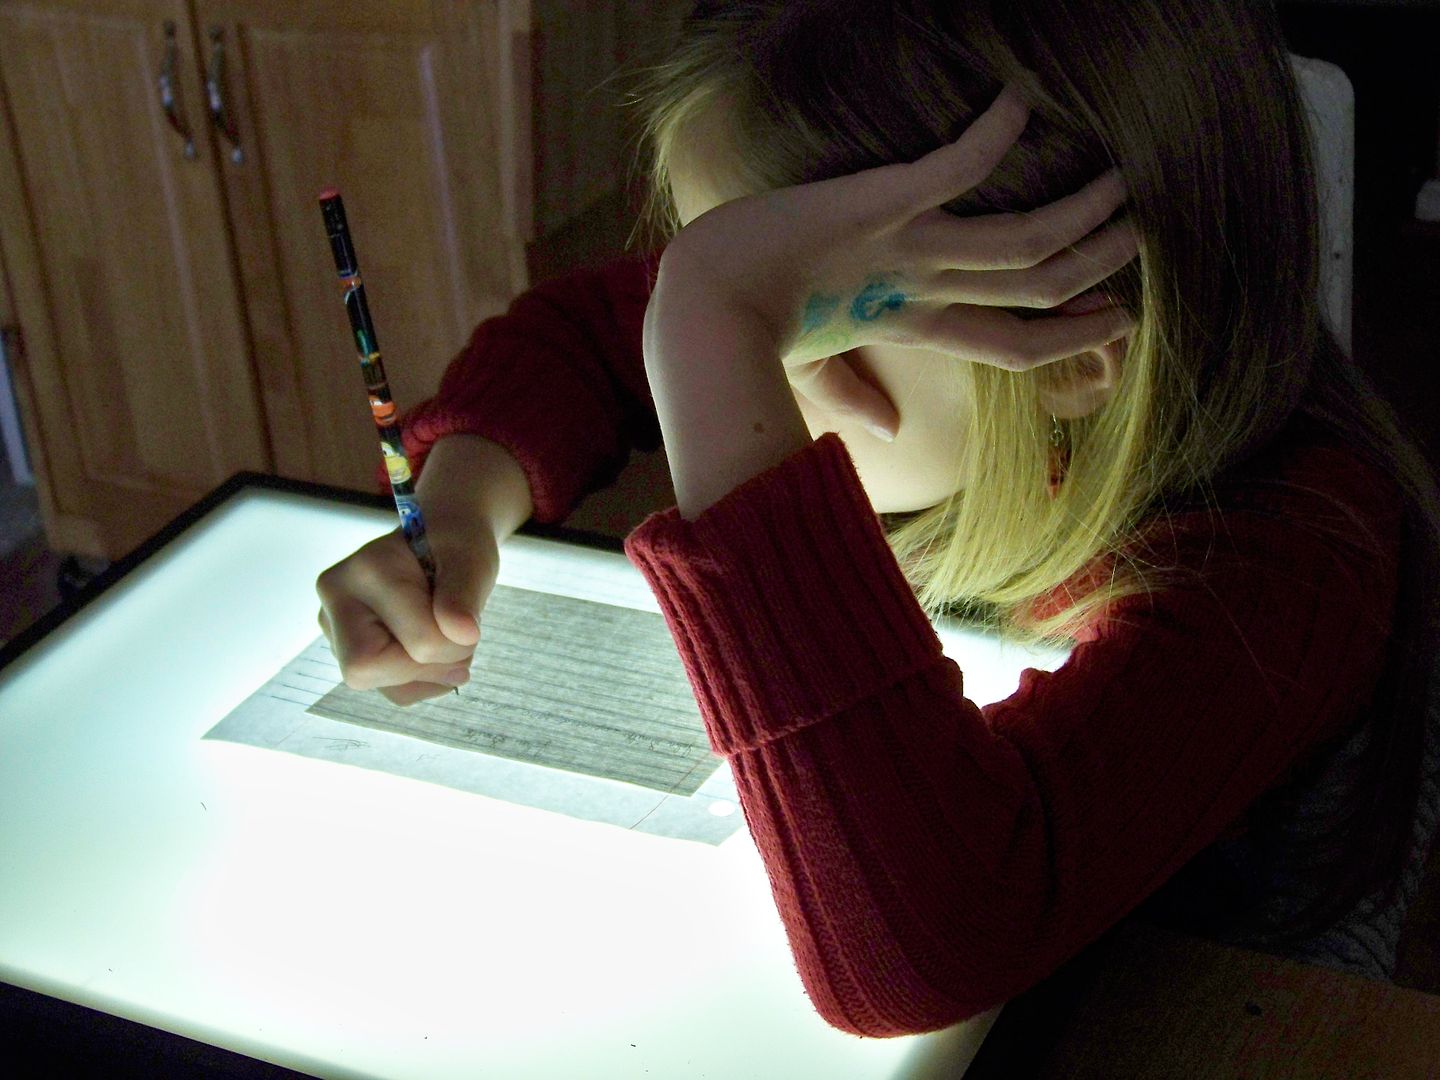
She used my computer, finding facts for her little reports.  She took the notes from that and learned how to use a light box to write straight on linen paper placed on top of lined paper.  (Yes, there is penmanship grade tied into this.)


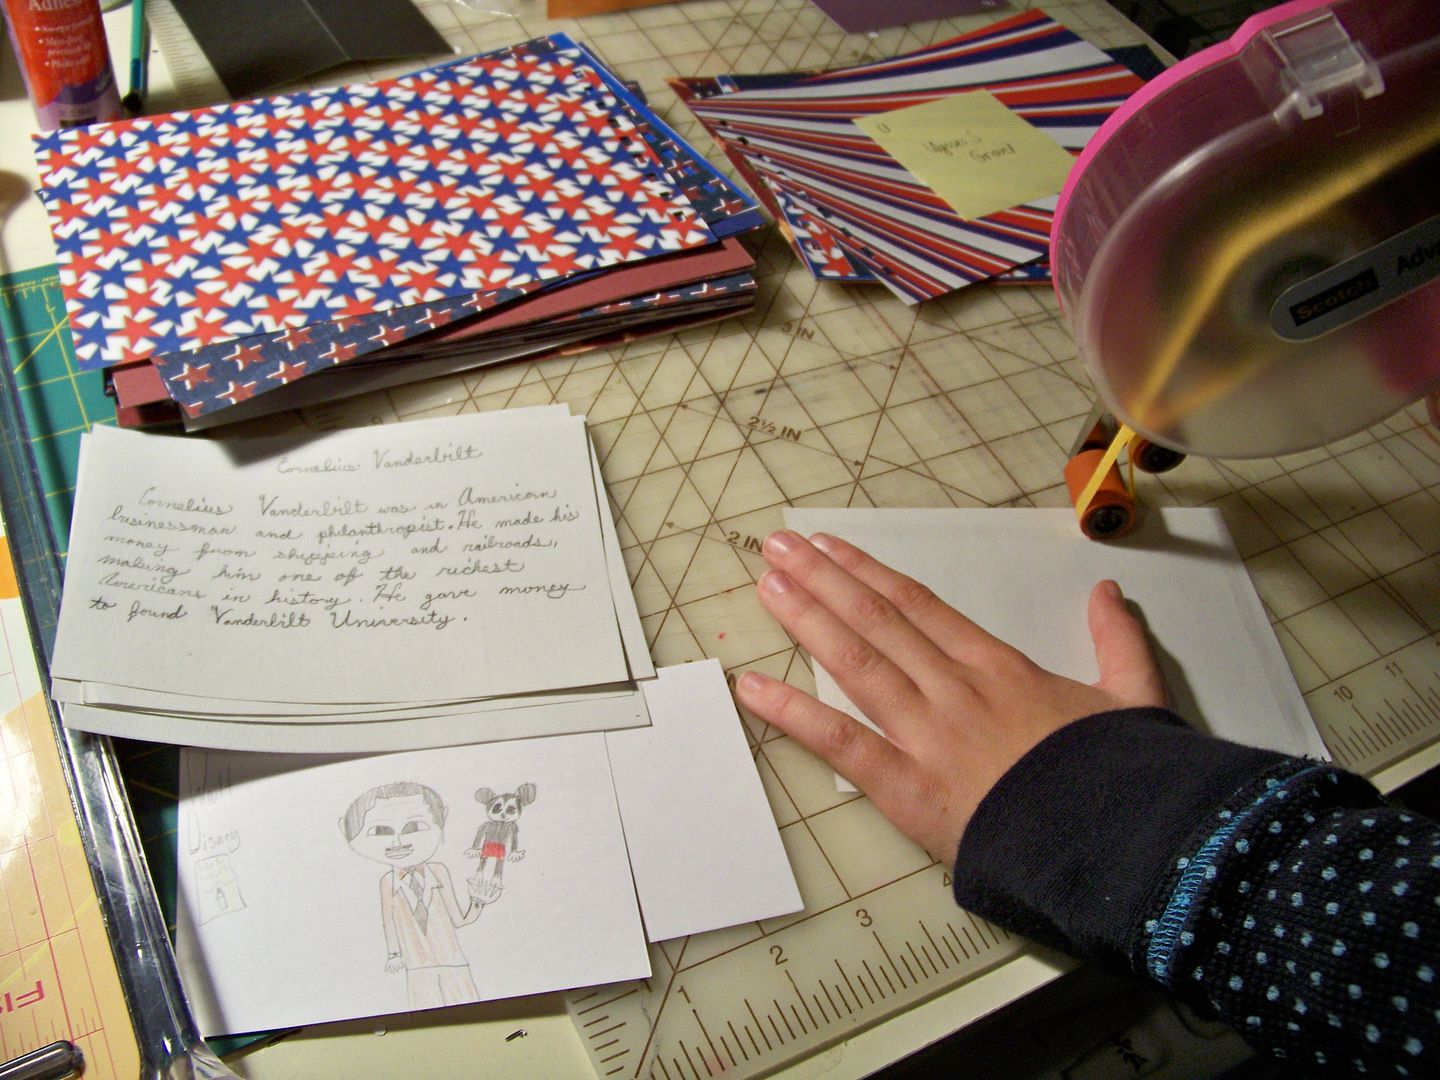
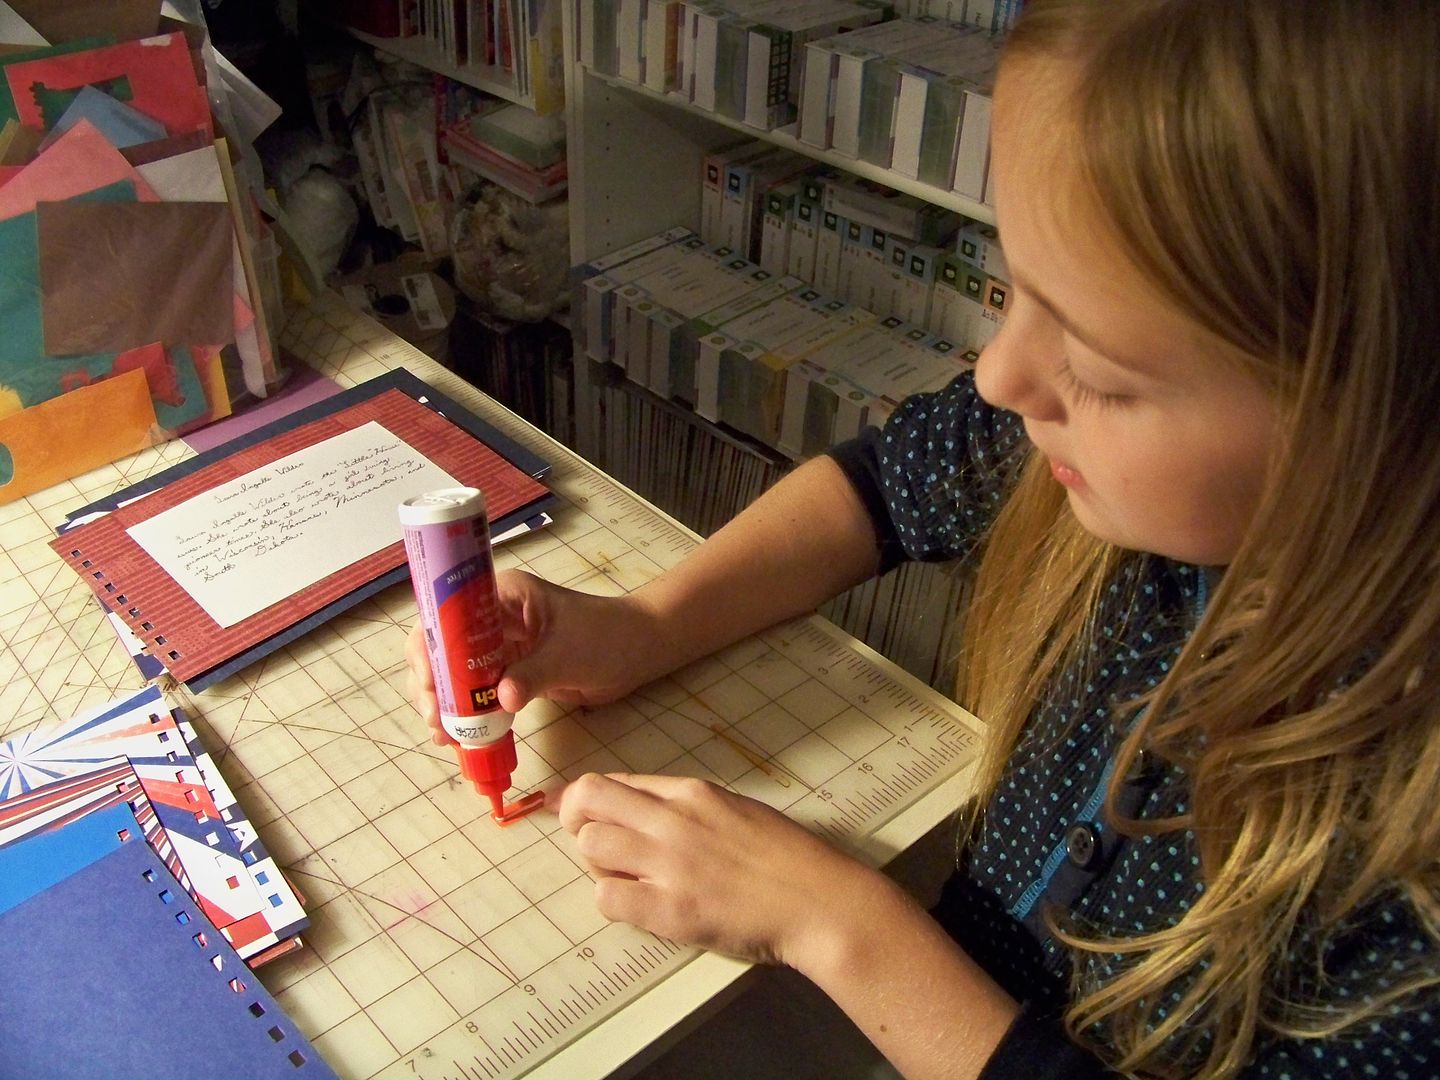
She got really great at using the ATG!  She taped her drawings and reports on the decorative papers.


She learned how to make a font with a shadow, something that she had never done on the Cricut before. She is a master with glue, now that she has learned how to blot off excess glue.


She learned how to punch the holes in her pages with the Bind-It-All, but had me close her o-wires for her.  I think she loved the project, even though it seemed to go on forever, swallowing weekend after weekend... so she also loved when it was done!  (So did I!)


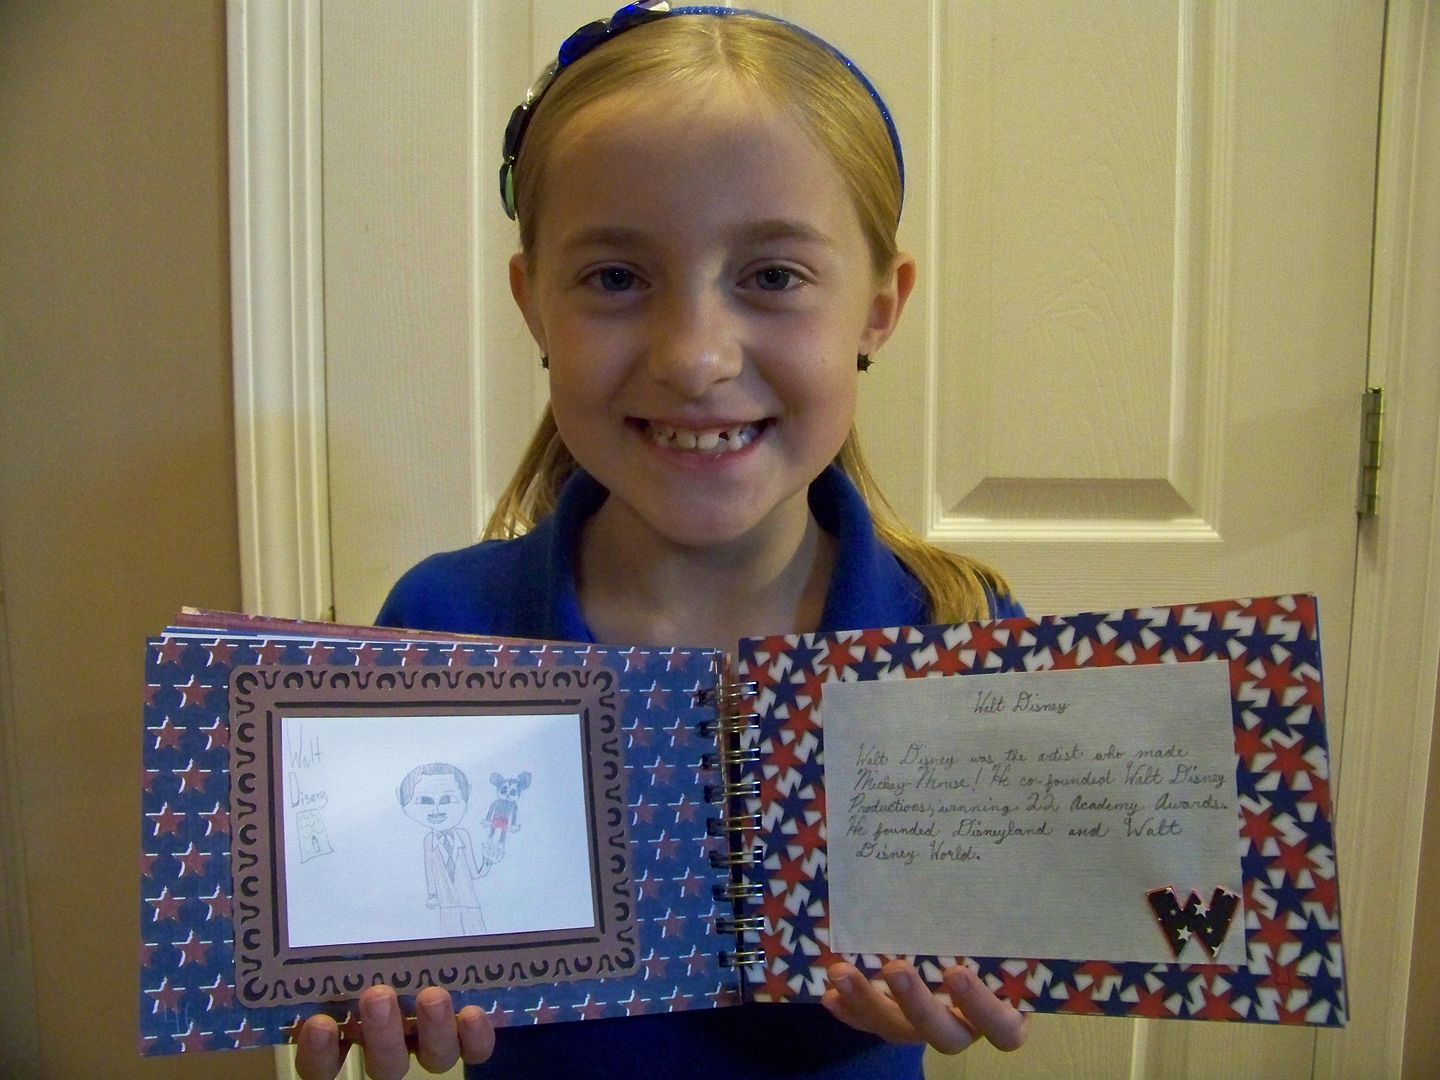
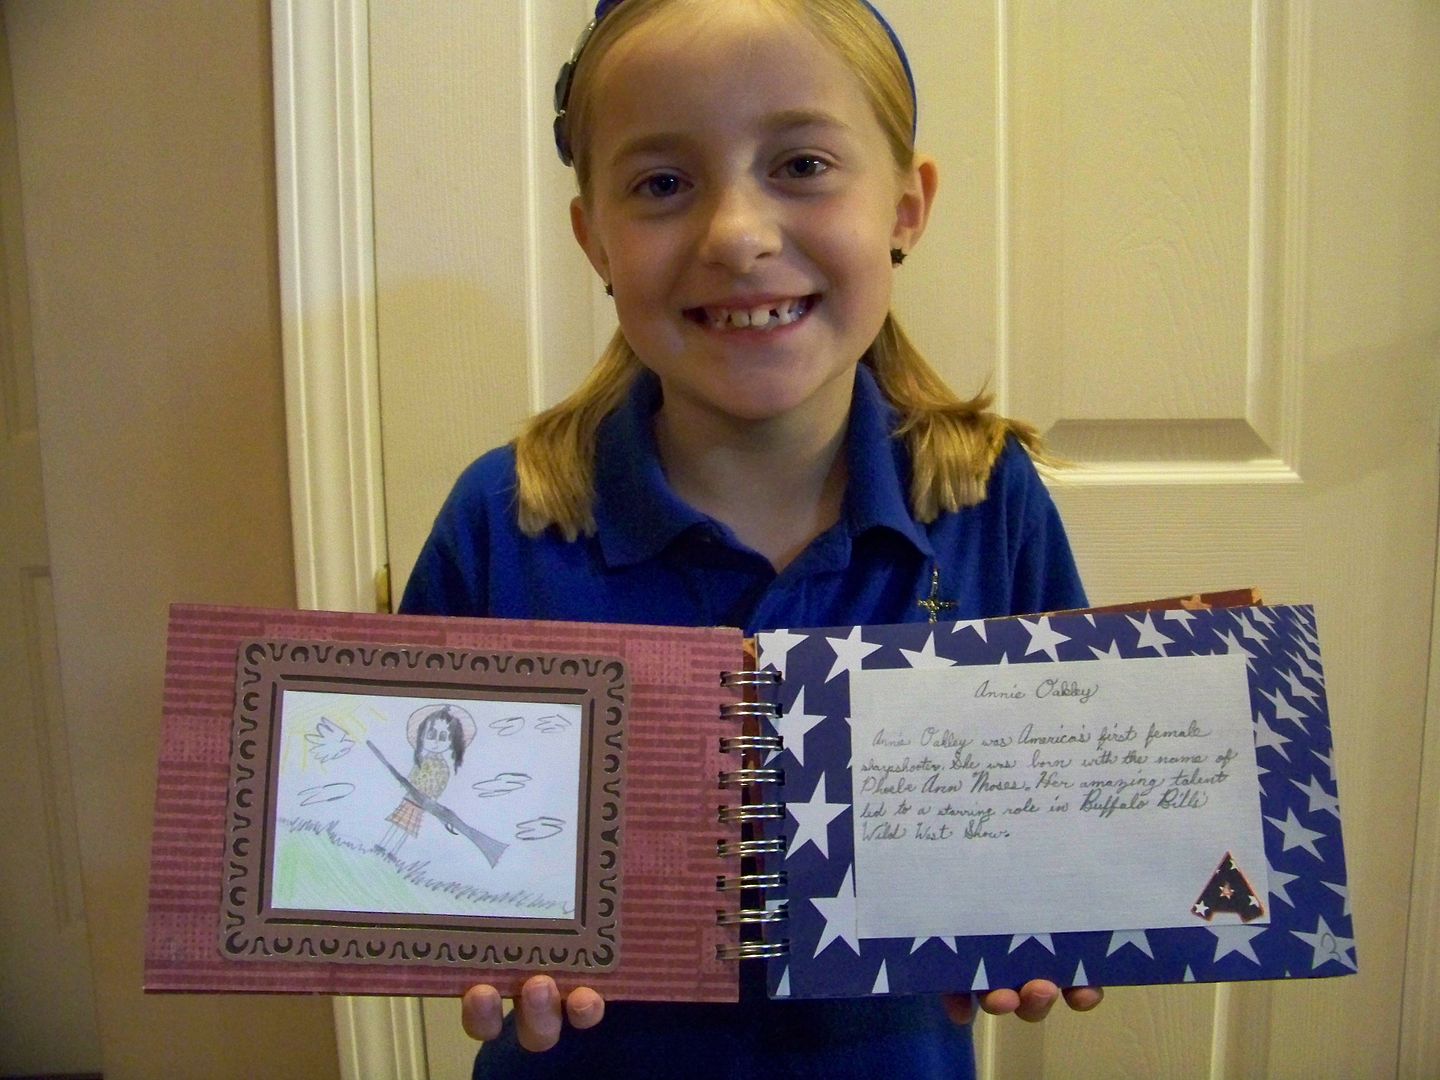
Her great American for "w" was Walt Disney... yep, she's a kid!  After dressing up like Annie Oakley for last year's end-of-term history project, she wanted Annie to be her "a" entry.  (You can see that Cricut project by clicking here.)


Along the way on to "z", she learned a lot that they didn't teach this year including facts about the Underground Railroad and Women's Suffrage.  She also learned to decoupage, how to put patterned papers together, how to  draw creatively from historical photographs without tracing, and how to create elements that are uniform to tie a project together visually.  It was an art assignment as well as a history assignment!


Thanks for letting me show off my kiddo and her 3rd grade history project.  As much as anything, we got to do it together and she was happy with the end result.  It took a lot for me not to take over the assignment and to let her design it and figure it out.  She was so excited when I told her I would put it on my blog.


Have a very Happy Thanksgiving!  
I already have a few more vignettes in mind for other secret hollow book cards... can't wait to show them to you!  For more inspiration on these, definitely visit Wenche's blog -- Google Translator worked great for me!  Start with this one:  click here.  To see many of my previous projects, check out My Project Gallery.

Edited 12/29/2012 to add:  To see a later post with more Secret Hollow Book Cards, click here.

But wait! There's more! Click 'older posts' above!

But wait!  There's more!  Click 'older posts' above!