Friday, May 10, 2013

E-I-E-I-O and Ease On Down the Road Challenges - Mother's Day Card

In a fit of crafty craziness, I got a card done this morning while my husband was in a phone meeting! That may have been the fastest I have ever made a card in my life! But before I get to that, if you are looking for my NSD tutorial on adding dimension to die cuts or for my gift card give-away which ends Sunday, May 12th (Mother's Day), click here!


So my husband and I share a space in our home-- he uses it for his office and I use it for my craft and sewing area.  Although I don't mind working with him in there, he hates it when I am there!  A couple of years ago, I moved my office downstairs just so I could get my work done... why didn't I move the craft stuff too?  Not thinking that day, I guess!  Anyway, the fact that I could learn it and do it so fast  illustrates even better how fantastic and easy-to-follow the easel card tutorial is that Colleen (of Col's Creative Corner) created for a challenge for NSD!  Her challenge started last weekend, but it continues through Saturday so there is still a little time to swing by there!  All you have to do to join the fun is to make an easel card!  Click here to check it out-- and find her great tutorial!

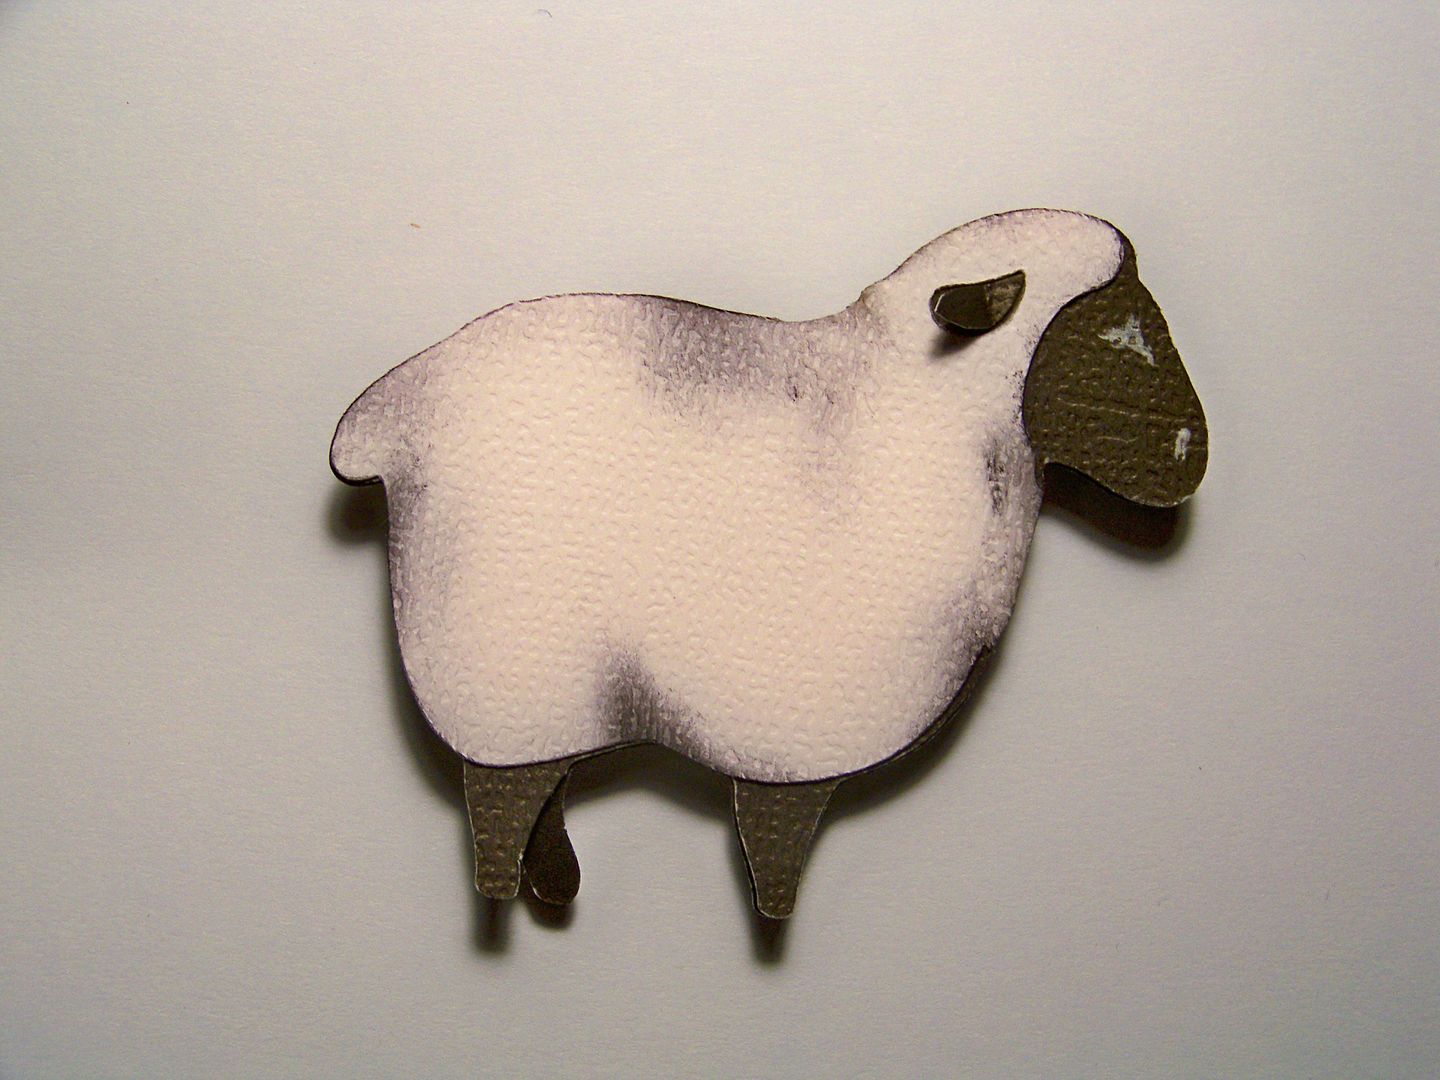
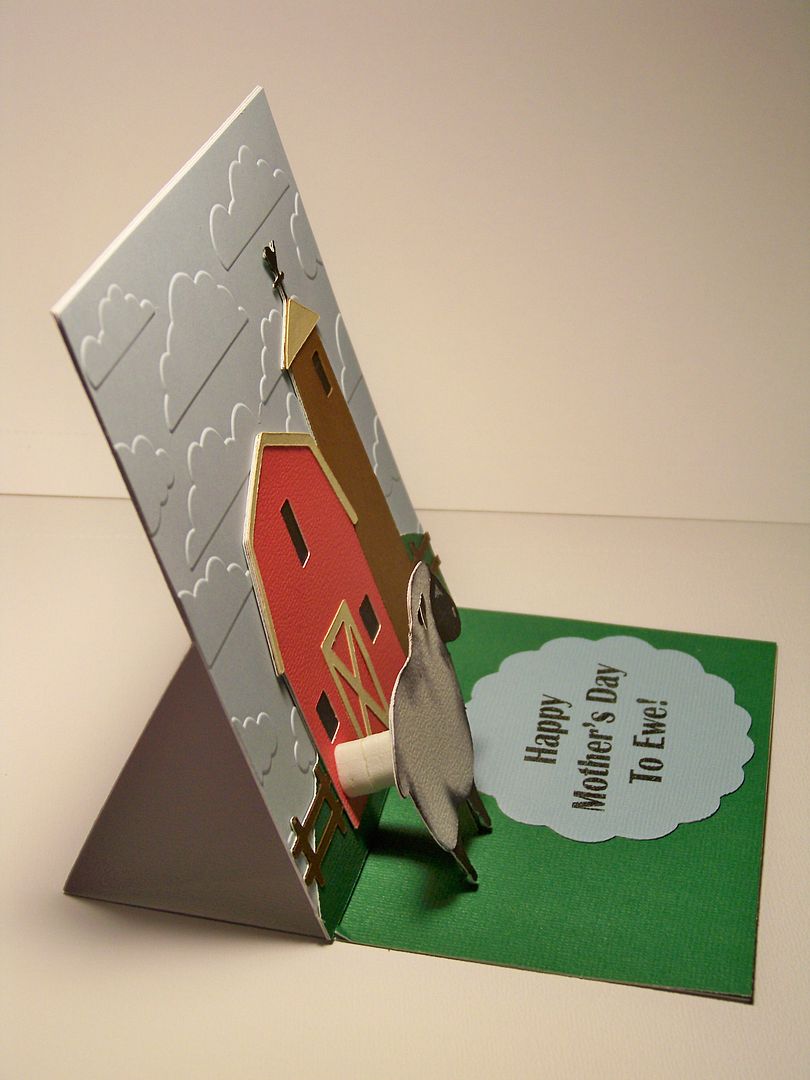
I am combining it with a challenge from Jenny Dennis on the message boards to make a project with a barnyard animal!  Jenny's fun challenge made me think immediately of my mother-in-law who has a farm!  They raise antique tractors on their farm (LOL) but I chose a sheep so that I could get a little punny on her card.  I made it dimensional by cutting two sheep (one flipped) so that the legs were really separated.  I added a separate ear and inked her so that she looked more detailed than the barn and landscape behind her far off in the distance.

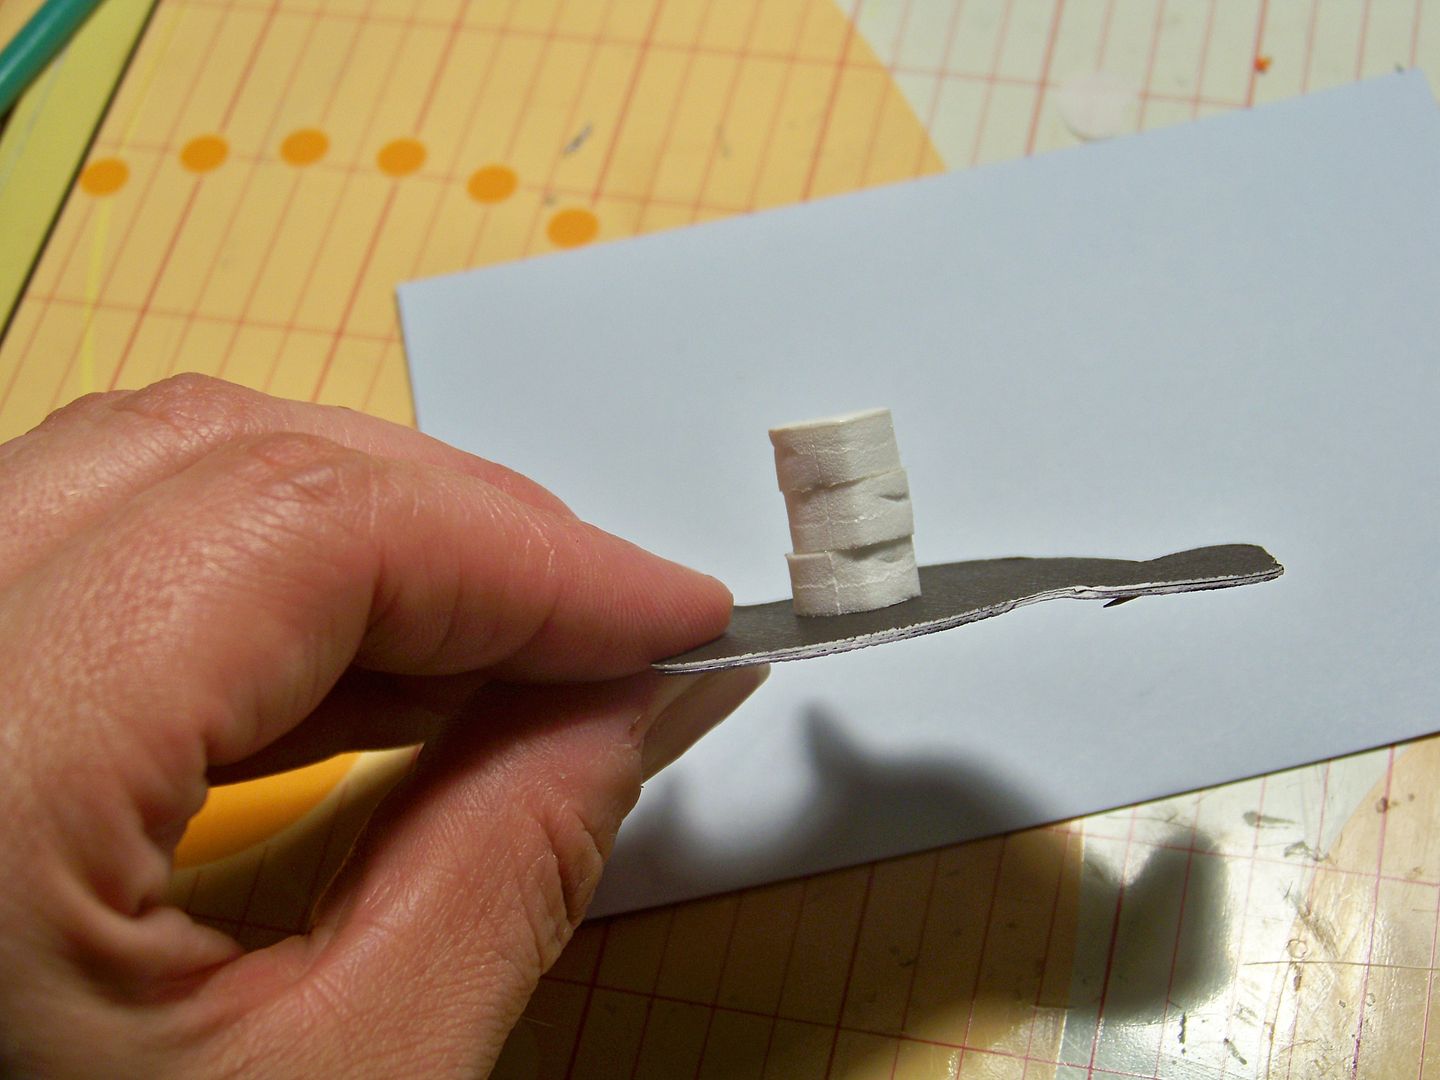
I used layered pop dots to make the sheep pop up about an inch.


The sky was made using a Cuttlebug embossing folder.


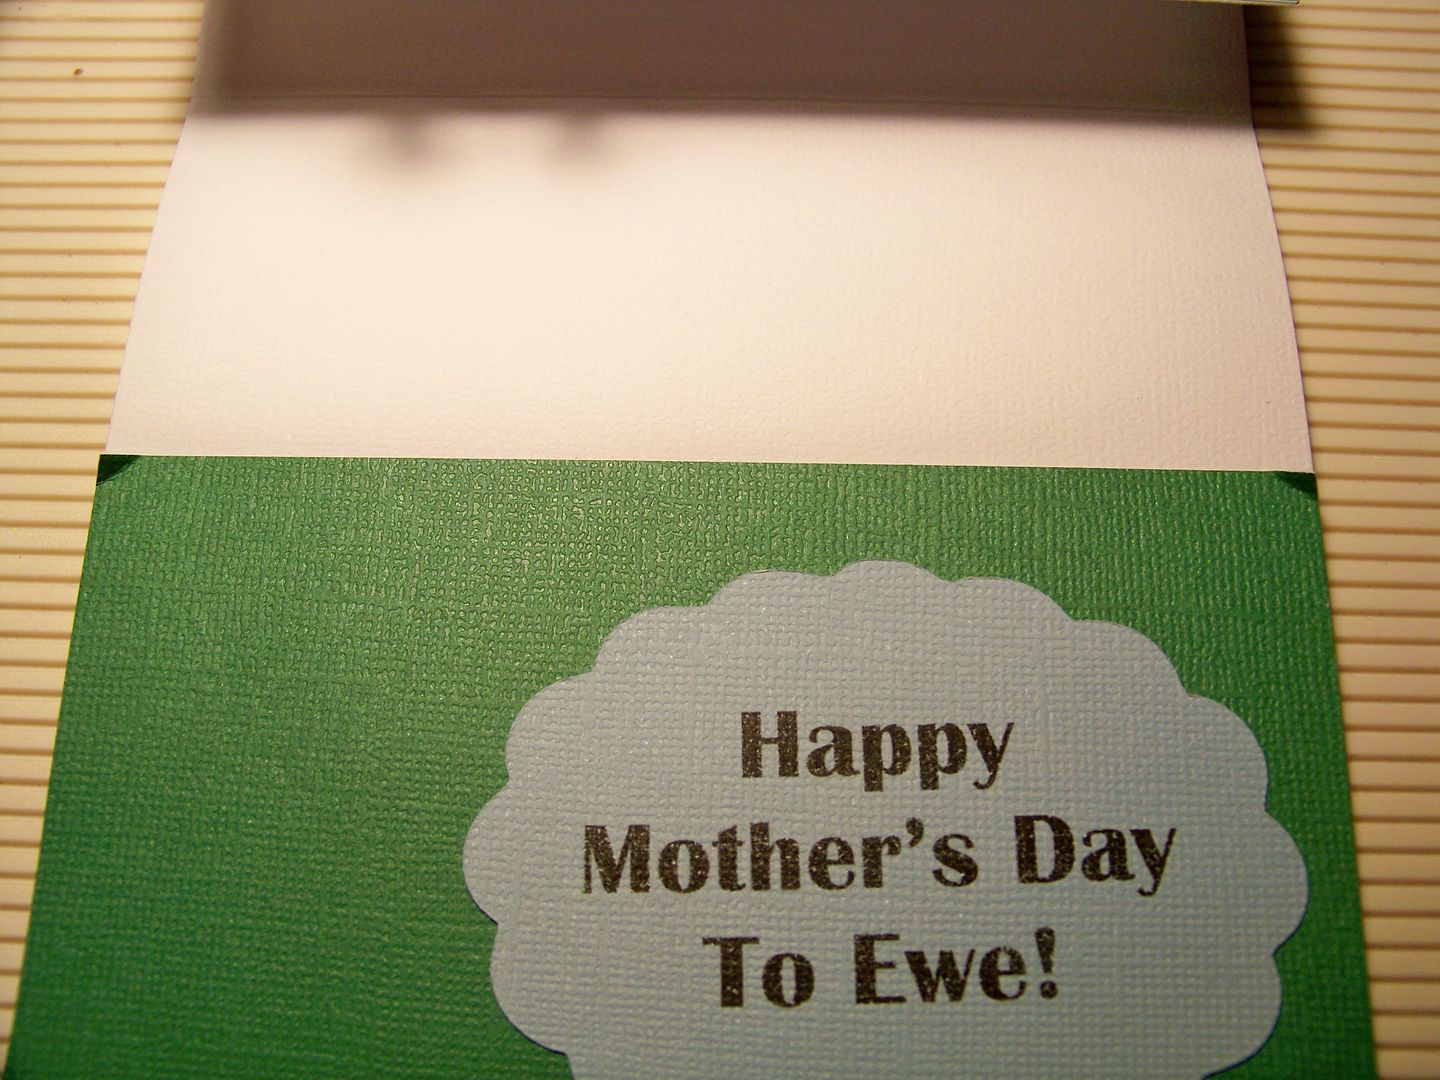
I added a mat with my sentiment that I printed using my computer.  I turned up the corners on the bottom to make it easy for the easel to 'catch' in place.


This card was made using Colleen's measurements from her tutorial so it is the perfect size to fit one of those gift cards from the grocery with all that extra packaging.
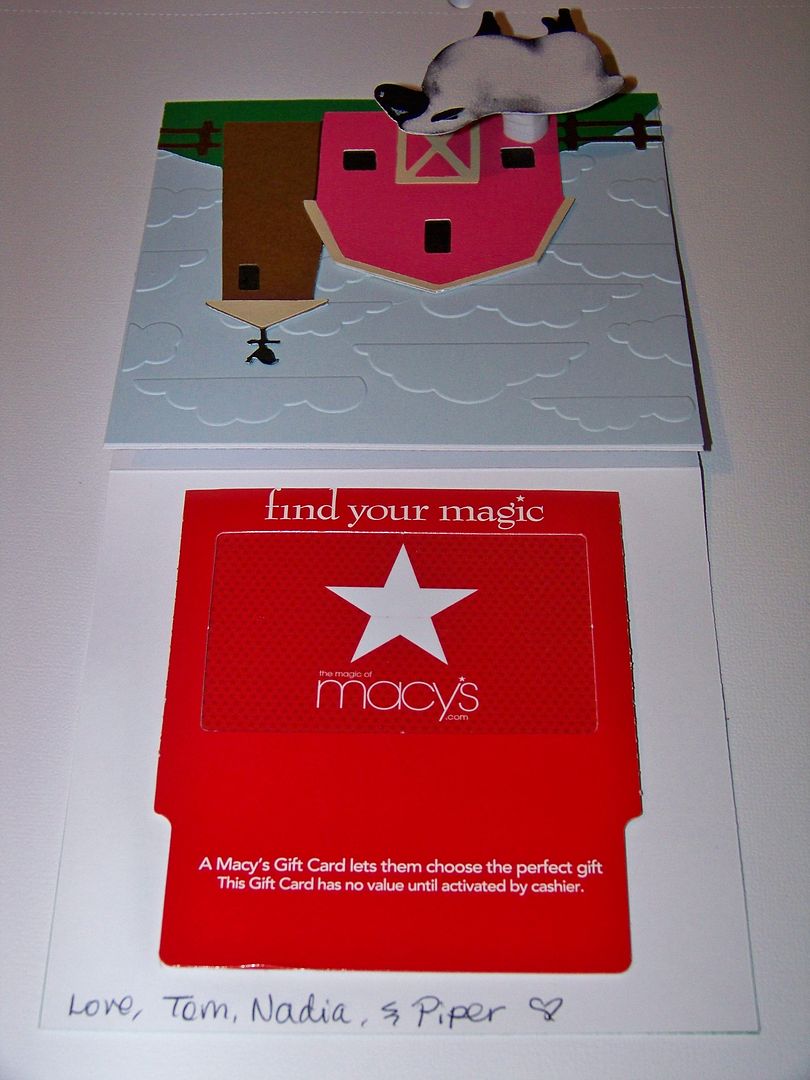


  • The barn scene was cut at 4" from Cricut Country Life (I cropped off the sides to fit the card).
  • The sheep was cut from Cricut Quilted Christmas (I cut off the bell and holly silhouette) at 2".
  • The text mat was cut from Cricut Elegant Edges at 3".


Thank you for checking out my blog post today!  This is a final reminder to swing by my tutorial and leave a comment over there for a chance at a gift card (don't leave it here-- it won't count!).  You can find it by clicking here.

Check out all the Circleville NSD bloggers' posts-- some have challenges, some have tutorials, all have prizes but you need swing by soon because they end by Mother's Day (May 12) so you need to visit before then!  Here's a list:


  • With Glittering Eyes  (that's me!) - "It's All About Perspective" tutorial and $20 Hobby Lobby Gift Card give away.
  • Around the Block with Scrapalette - "Tic Tac Toe Challenge and Blog Prize!
  • Col's Creative Corner -  "Ease on Down the Road" Blog Prize- $15 Michael's Crafts Gift Card!
  • Paper, Craft and Scissors - "On Pins" theme and Blog Prize - $25 Simon Say Stamp Gift Card!
  • Stamp, Cut, Create! blog - "Tin Is In" theme and Blog Prize!  
  • All Scrapped Out - "What's It Owl About" theme and Blog Prize! 
  • The Non-Crafty Crafter - "Let's Split- CCR Tutorial" (Learn to create a split letter monogram) and Blog Prize!
  • Scrappin With The Bug blog - "The Crazy Bs Challenge"  and Blog Prize!
  • Sara W. Andrews blog - "Go Big or Go Home Challenge" and Blog Prize - $20 Hobby Lobby Gift Card!
  • Scrappin With the Bug blog - "Tropical Sunset Color Challenge" and Blog Prize!
  • I Came, I Saw, I Created blog - "Did-I-MENSION???" Challenge and Blog Prize!


  • Wednesday, May 8, 2013

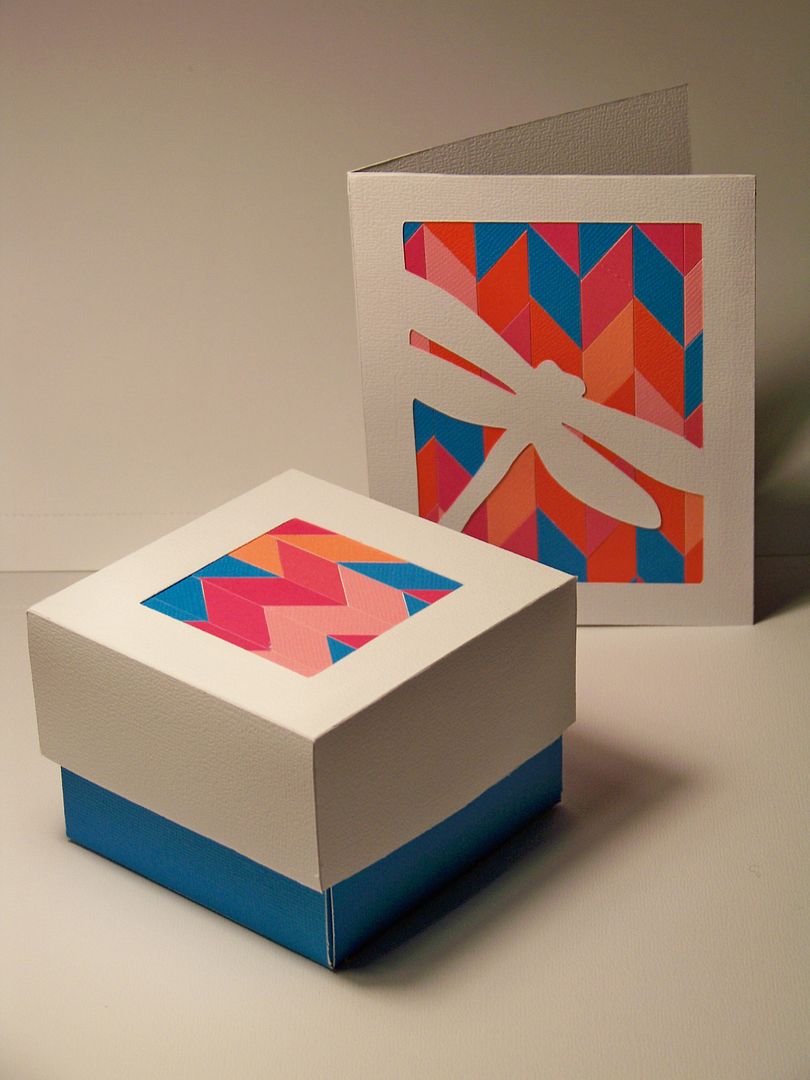
    On Pins and Did-I-Mension Challenges - Mother's Day Set

    The Circleville NSD challenges go on through the weekend and I am still happily on my crafting marathon doing them!  These are my entries in the 'On Pins'  and 'Did-I-Mension' Challenges, but before I get to that, if you are looking for my tutorial on adding dimension to die cuts or my gift card give-away, click here to find it!


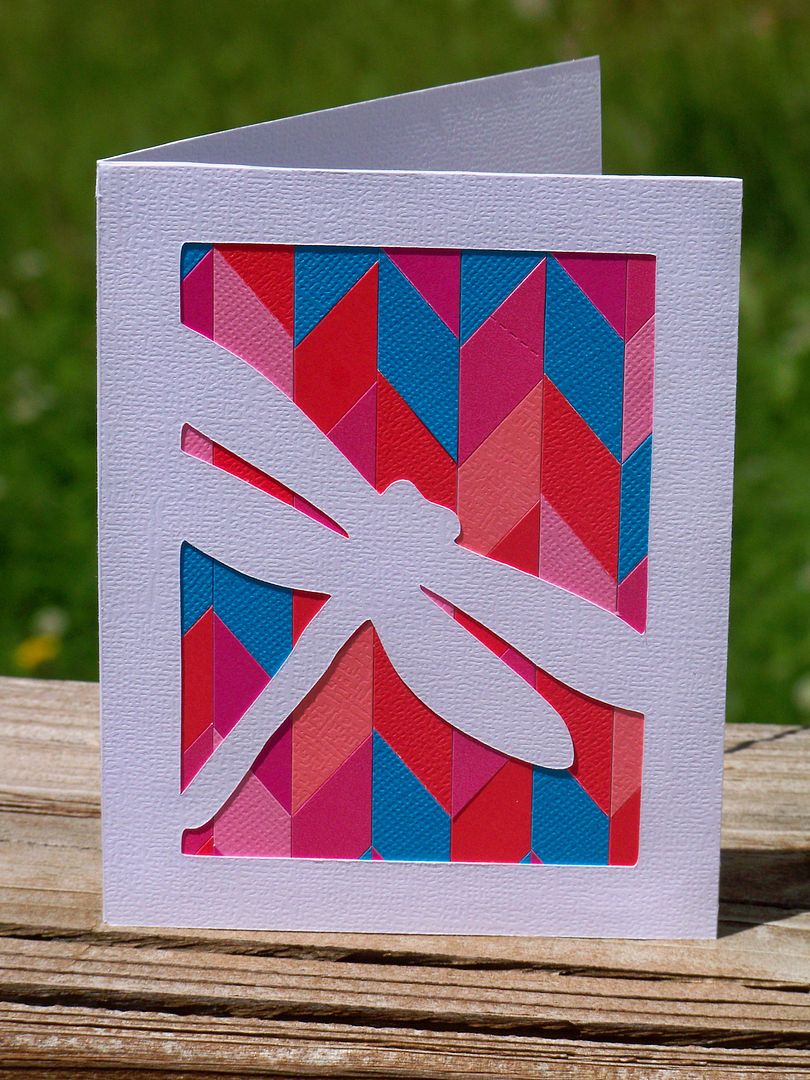
    For the 'On Pins' challenge, Sis (from her blog Paper, Craft, and Scissors) asked us to choose an inspirational pin on Pinterest and create a project from that inspiration.  I chose a project by J.J. Bolton (which you can see by clicking here).  She used a punch to create a chevron, glued them down horizontally, then cut the page into vertical strips.

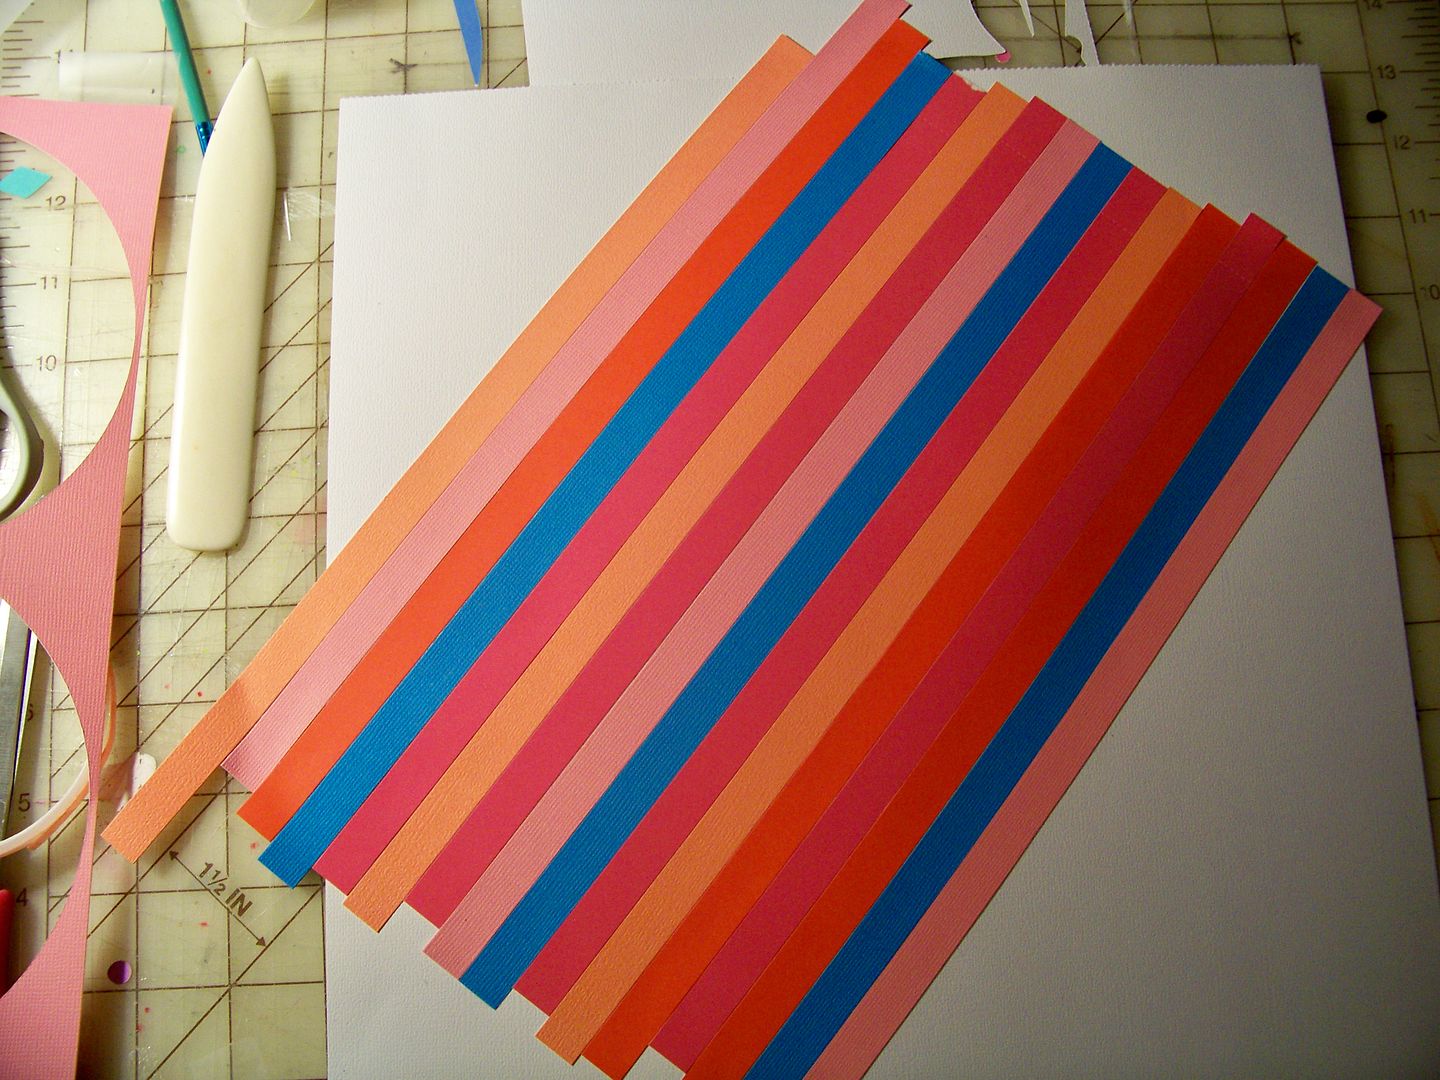
    For mine, I cut colored papers into 1/2" strips, then laid them on a sheet diagonally, glued them down, and cut them into 1/2" strips, forming a diagonal pattern on each little strip.


    I did a second sheet with the strips going the other way diagonally and cut them as above.


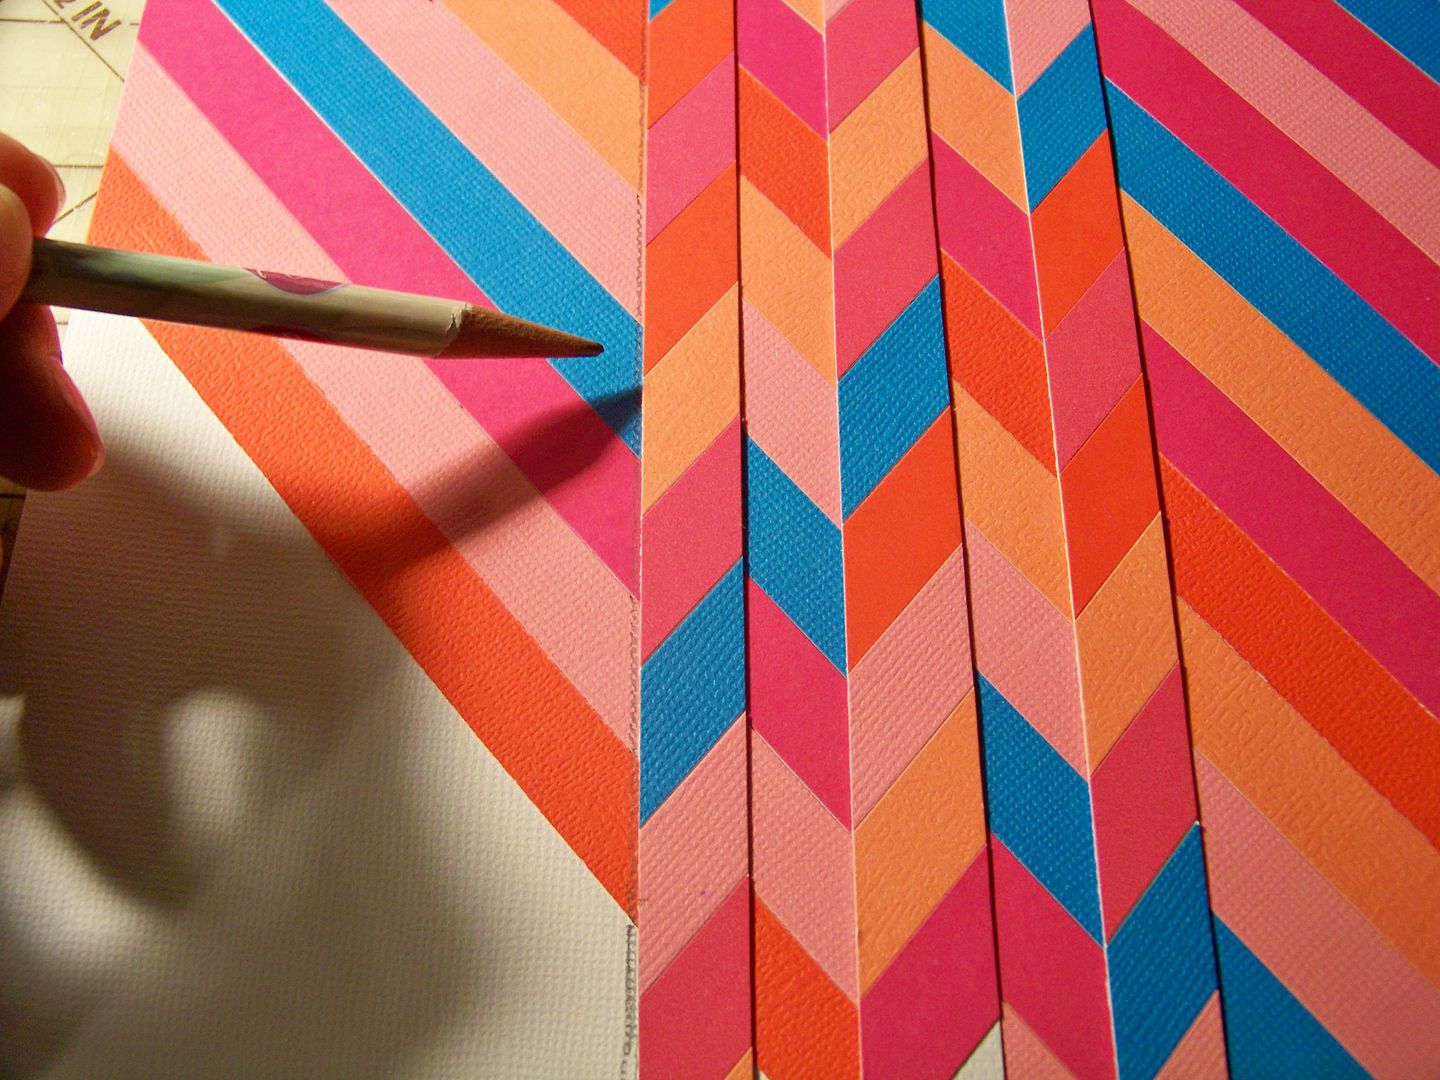
    Because I didn't place my strips in exact 45° angle on the paper, in order to know where to begin cutting strips on the second sheet of diagonals so they would match on the final design, I placed one of the strips from the first pile on top and matched the points.  I drew a line to mark the first cut.


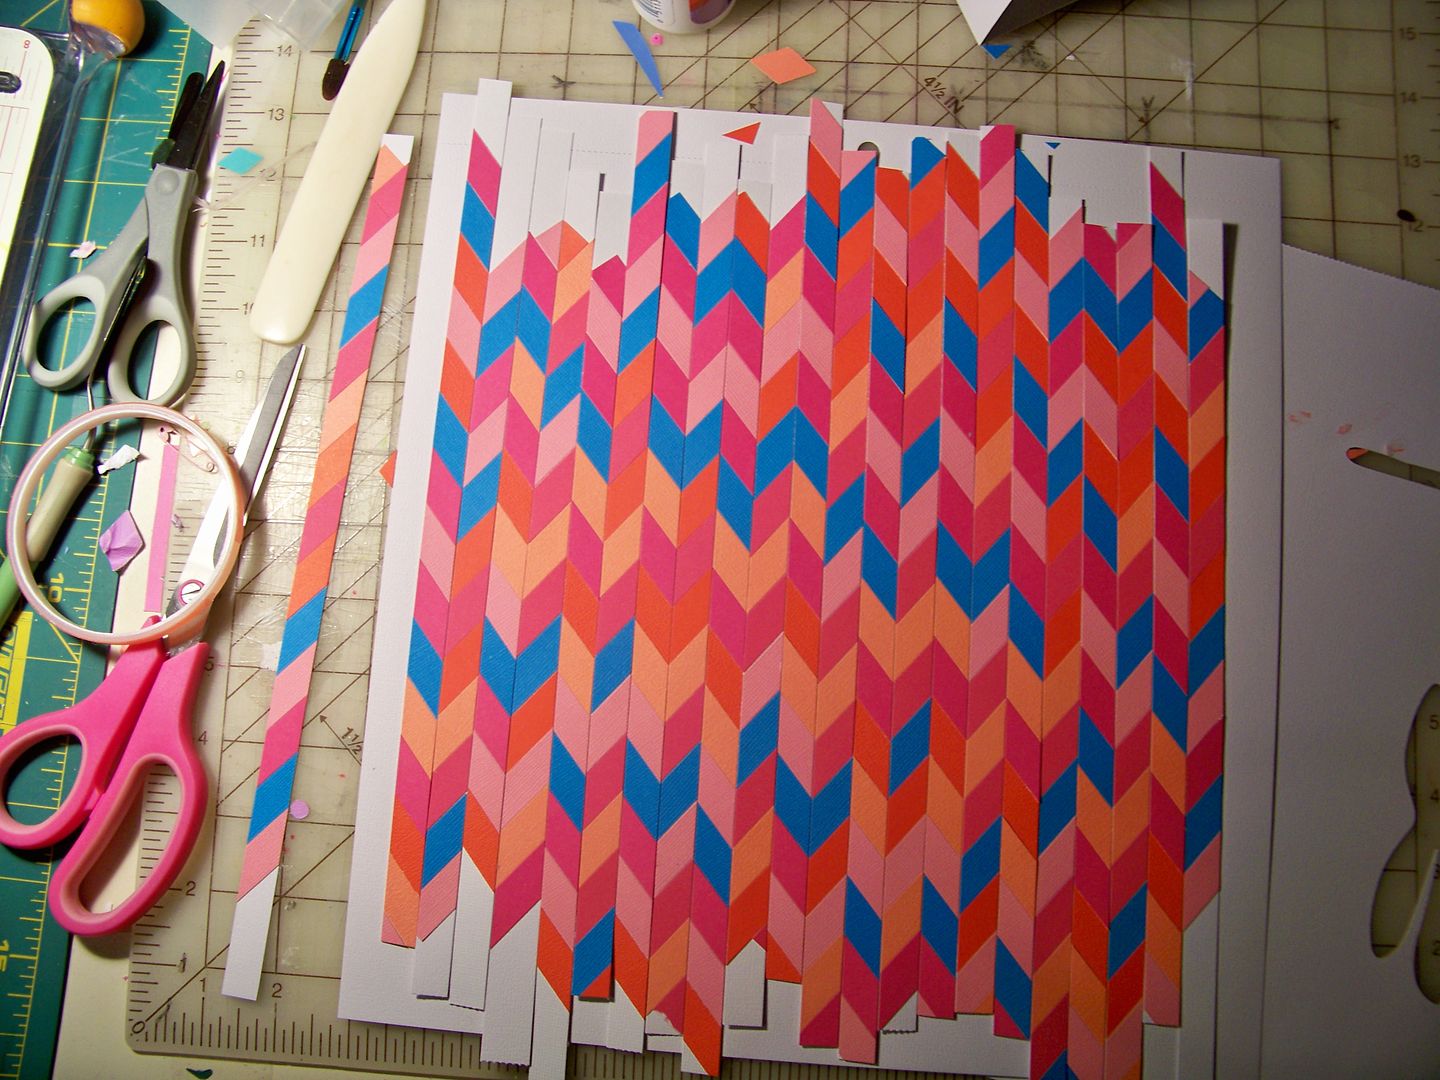
    Then I alternated one strip from each pile to form a new pattern-- kind of like bargello piecing for fabric.  It makes a chevron with random colors.


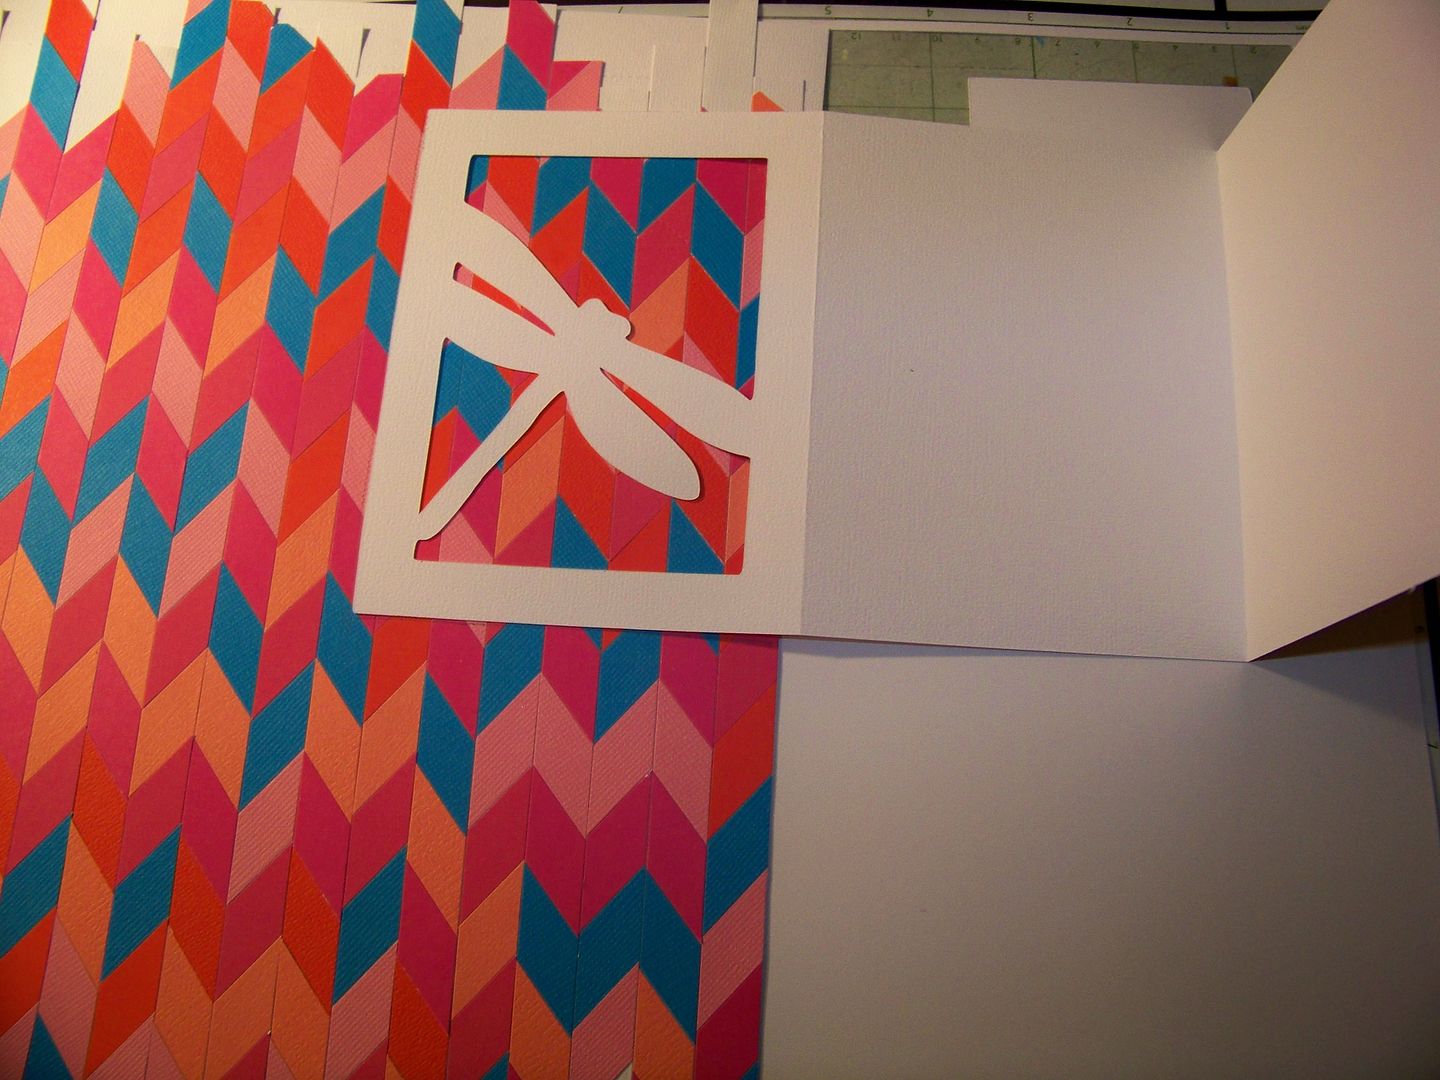
    I chose to make a card for this challenge.  This background was just right for a three-part card on Cricut Picturesque, cut at 4-3/4".  I like that this card has a center section that folds behind the cut-out to hide the wrong side of my chevron pattern!


    I use an Xacto knife to score by cutting lightly to connect the tick marks made by the cutter to avoid those 'pop ups'.

    I placed my mosaic chevron paper behind the window and adhered the frame on top.  I tried to keep the card clean like the pin with no layers or other elements to distract from the pattern.


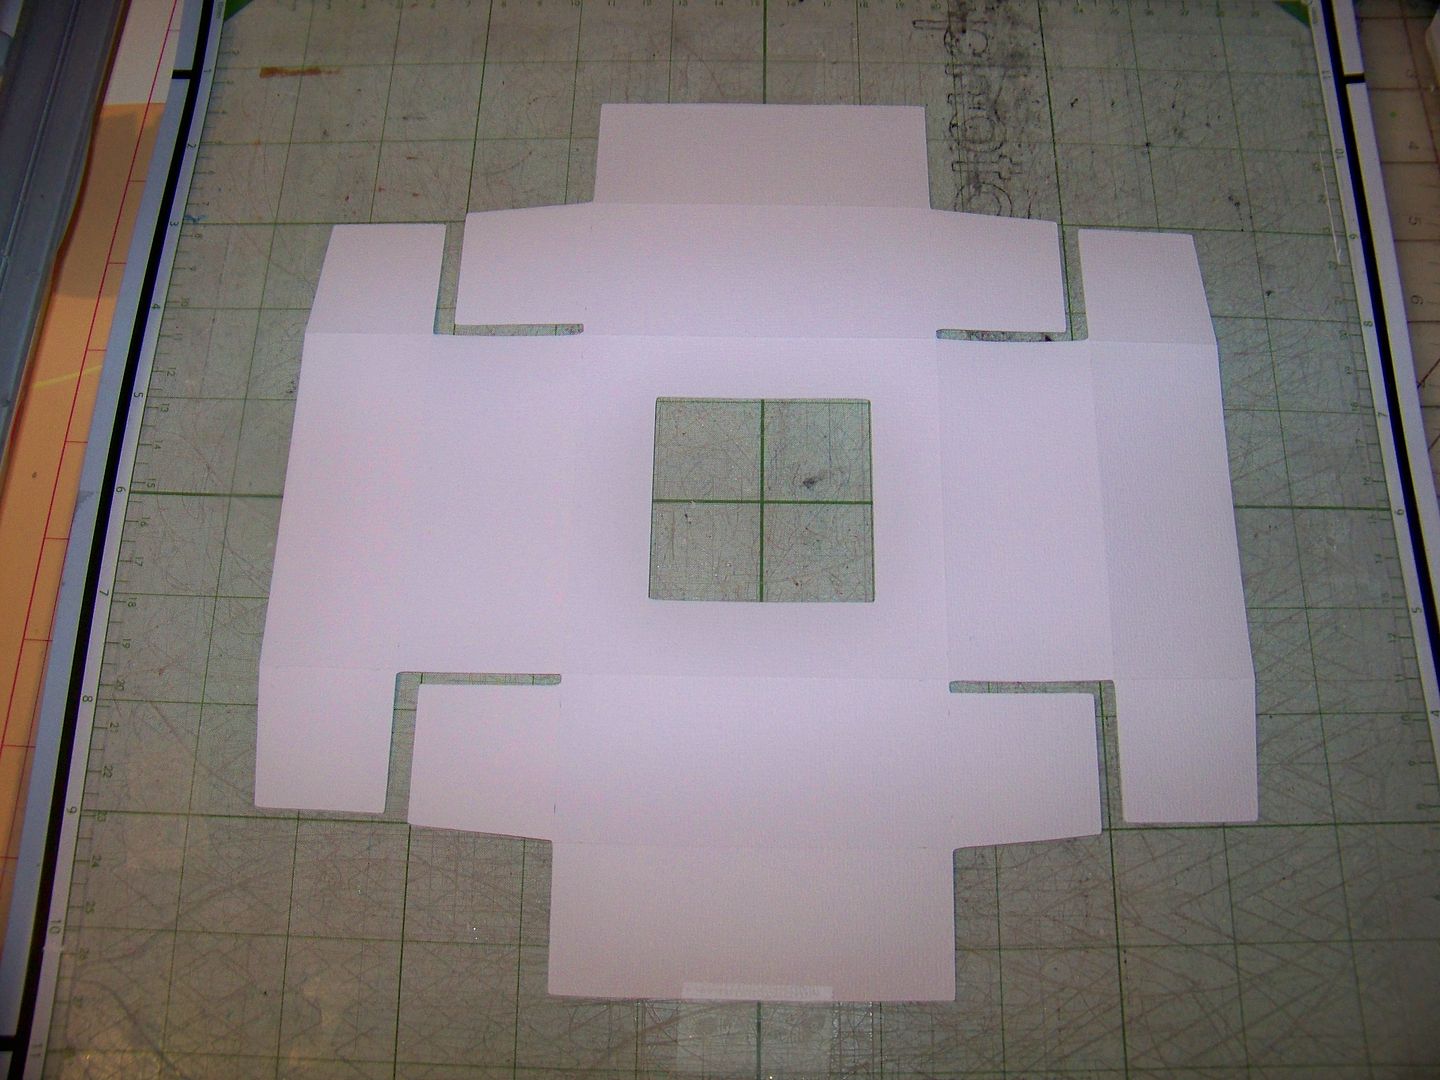
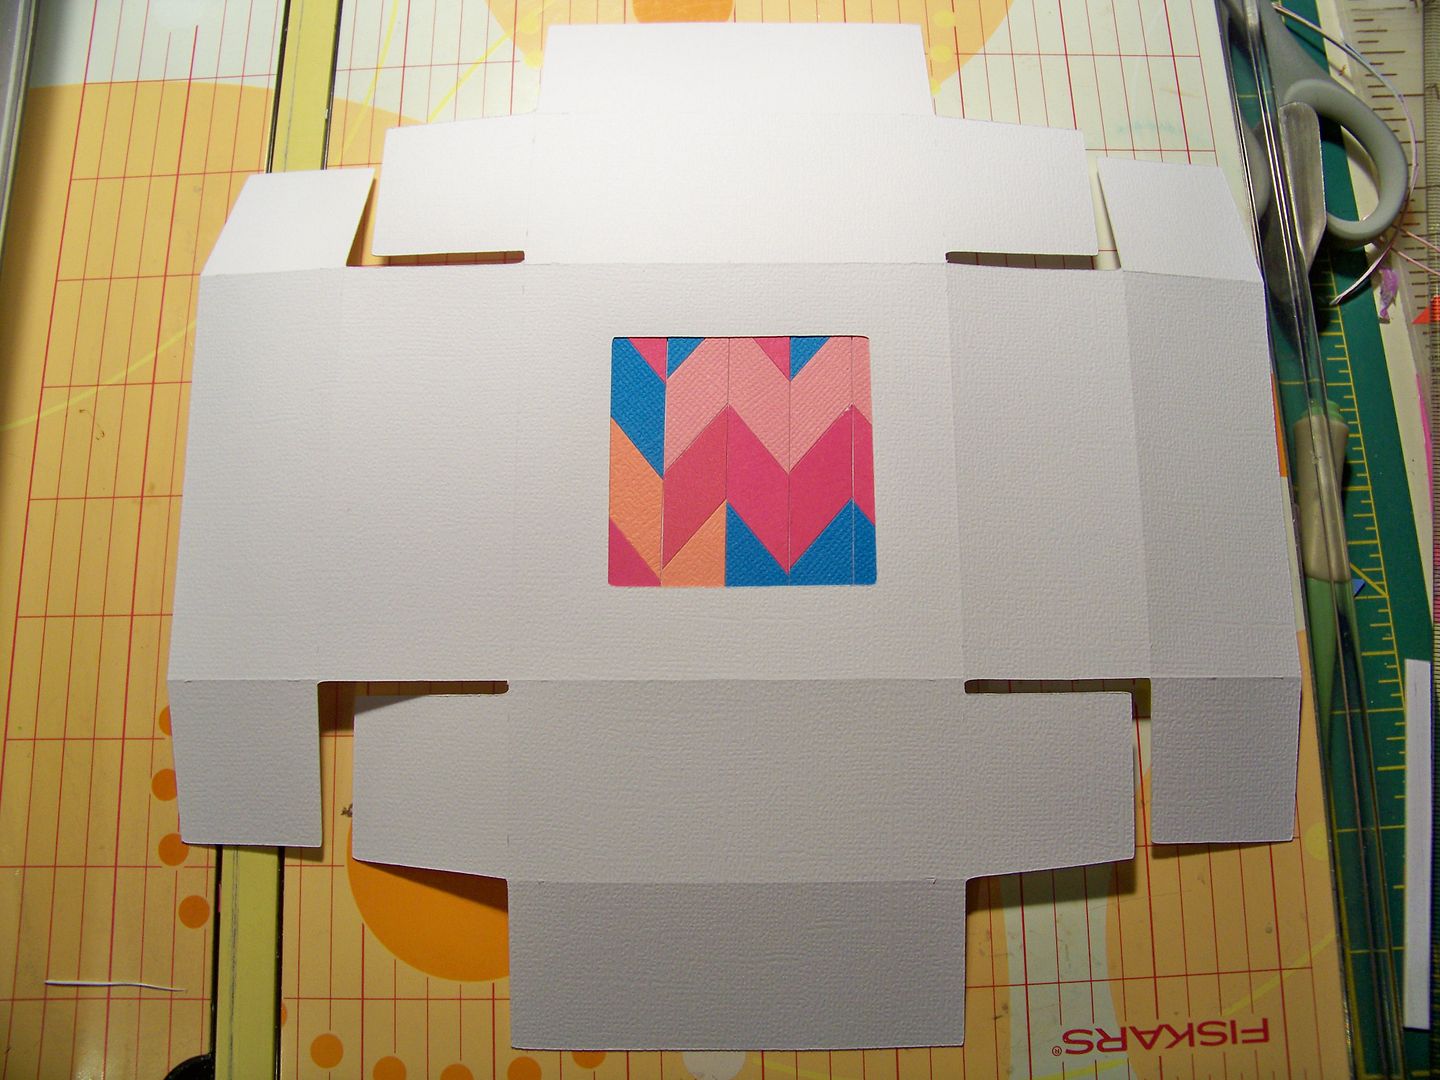
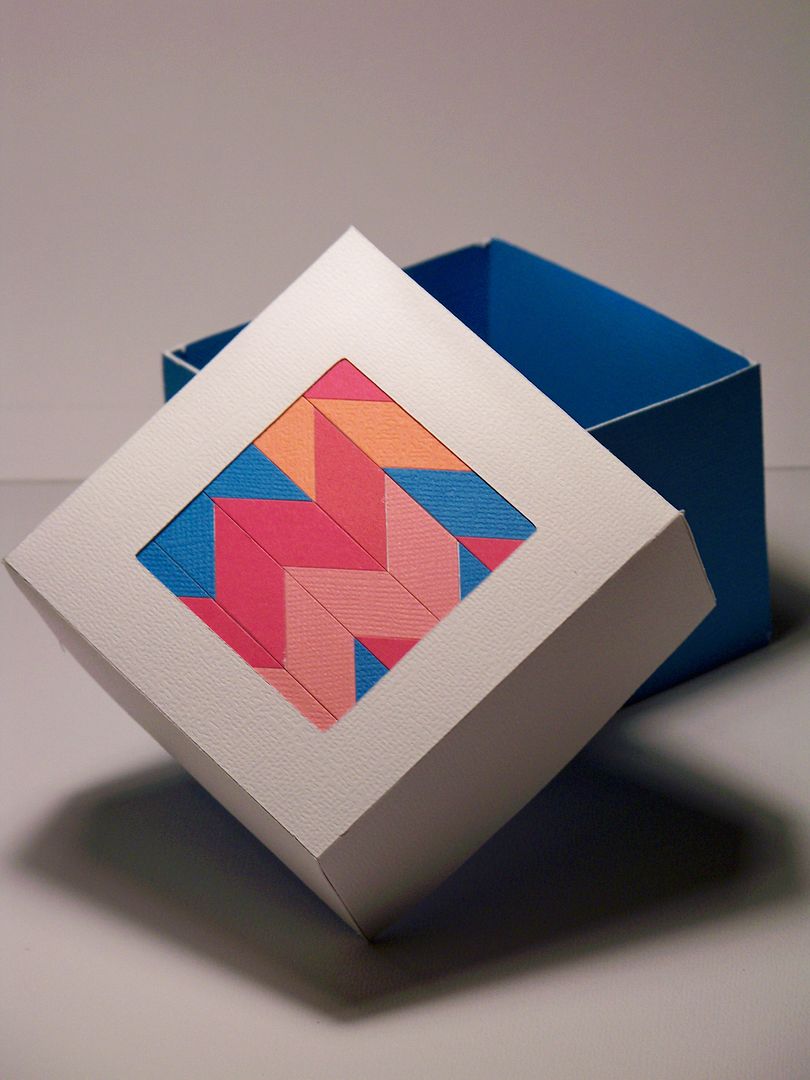
    Next, for the Did-I-Mension challenge, Renee (from the blog I Came, I Saw, I Created) asked us to create a three-dimensional project using a box or bag or other cut.  I chose the box from Cricut Bridal Shower, cut at 11".  I added a window to the lid by cutting a 2" square using the Centerpoint feature.


    It was easy to place a piece of my chevron mosaic behind the window before the lid was constructed.


    I love this box with its extra tabs and fold-overs for added stability!


    Both Sis' and Renee's challenges have prizes and go on until Sunday, May 12, 2013!  They are part of the Circleville Bloggers, who have fun stuff on their blogs through Sunday (May 12, 2013)!


    Monday, May 6, 2013

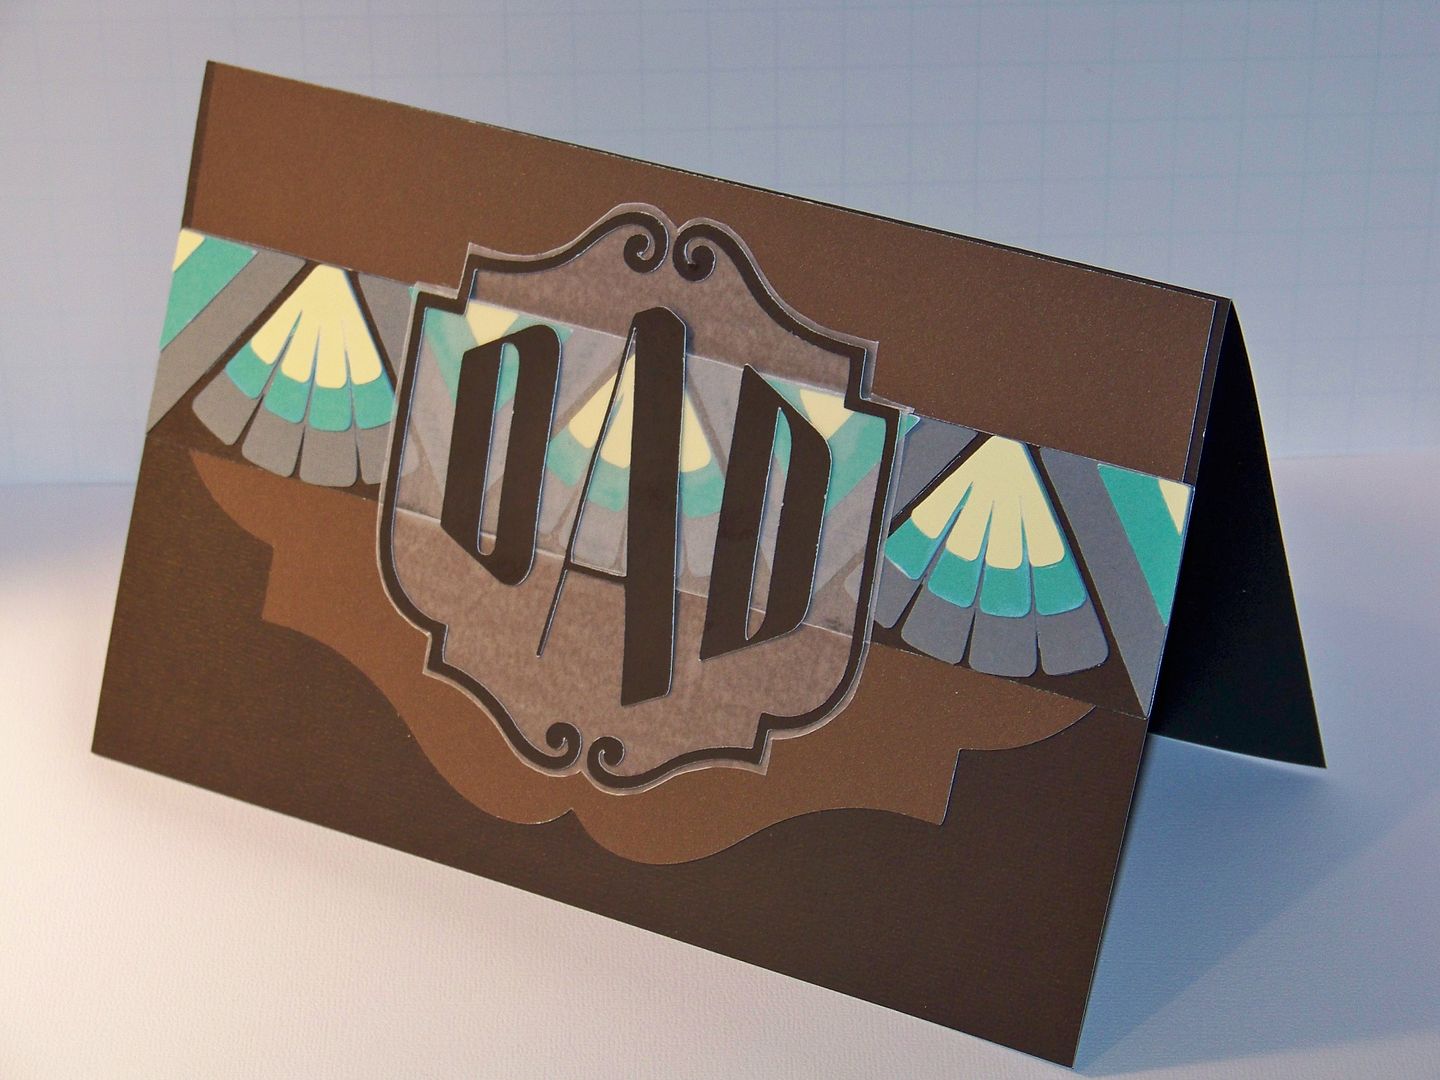
    Oh The Places You'll Go NSD Challenge - Card for Dad

    I am putting in a little late night crafting, still plugging away at the Circleville challenges!  This is my entry for the Oh The Places You'll Go sketch challenge, but before I get started with that, if you are looking for my tutorial on adding dimension to die cuts or for my gift card give-away, click here to find it!


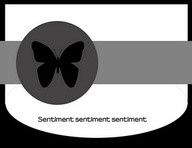
    Marty (aka Eyelet on the message board) shared a great sketch from 'I Create, I Think, I Ink, I Stamp' blog and asked us to use it to create any kind of card for her message board challenge.


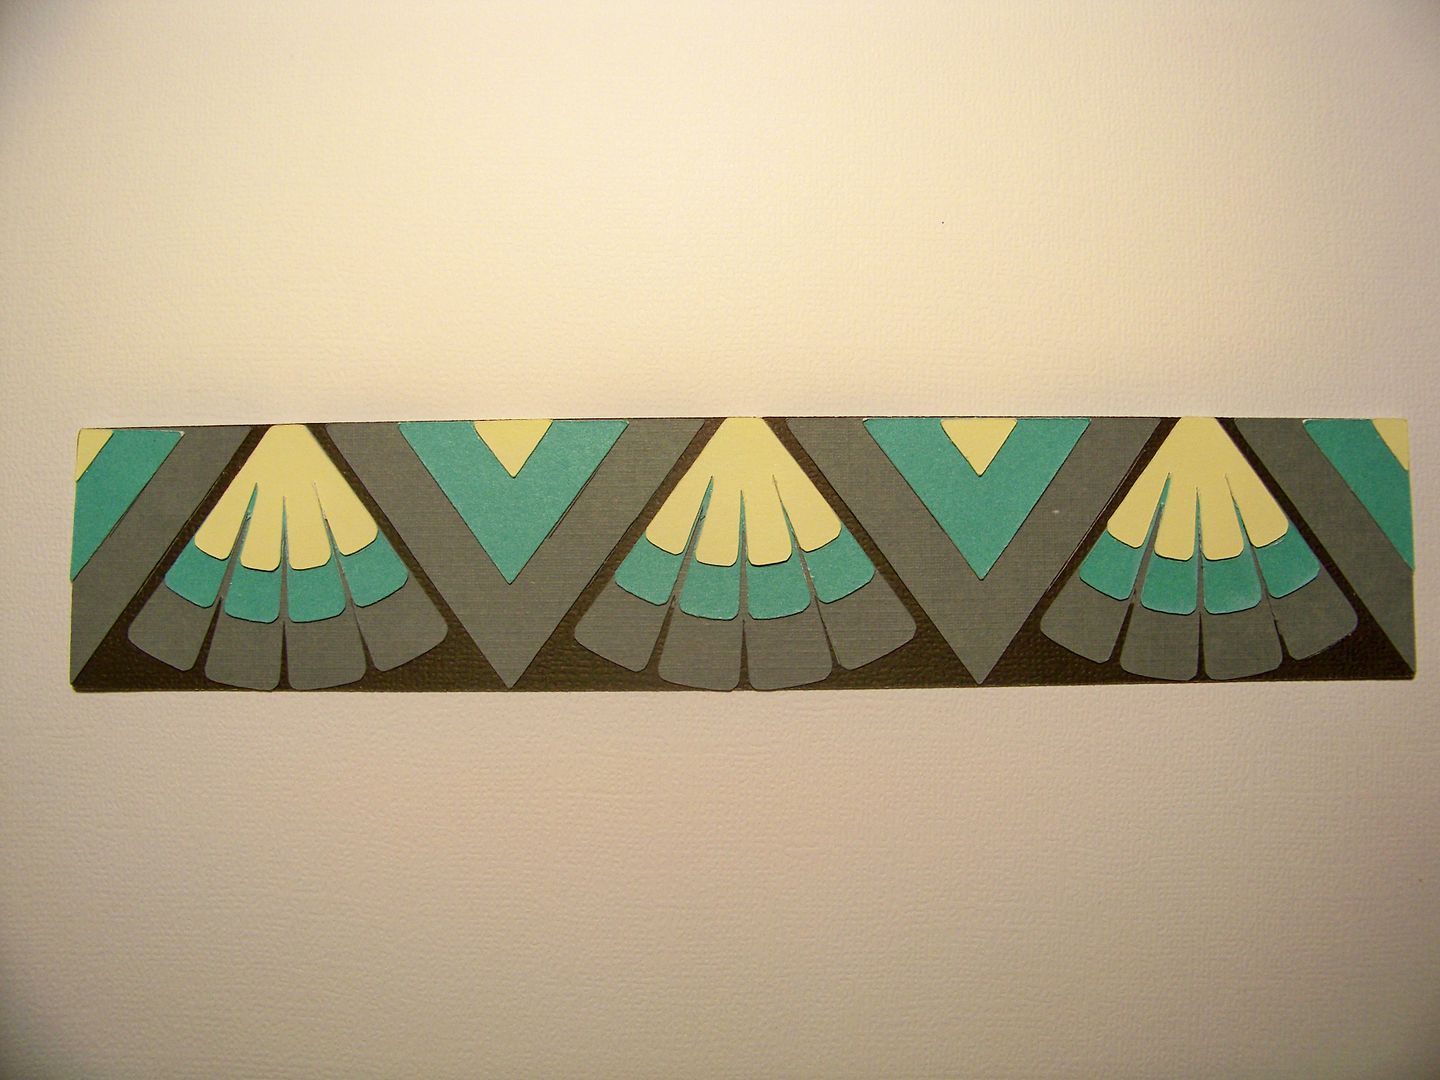
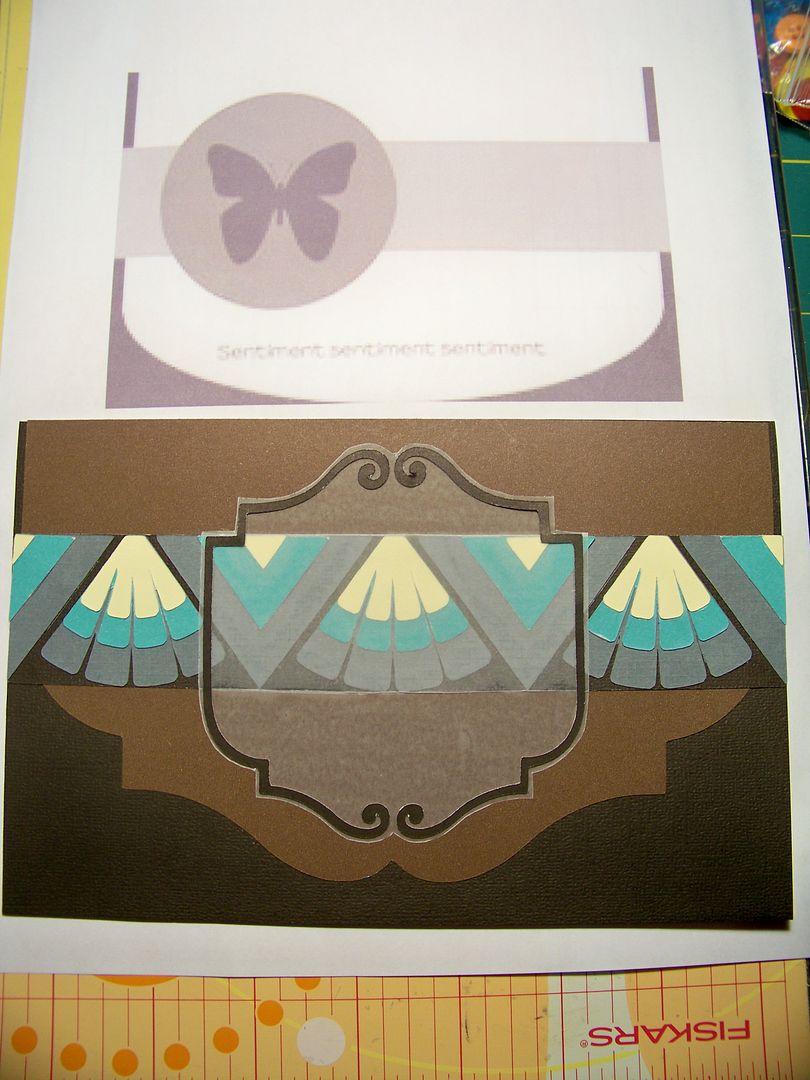
    For my card, I created a border from Cricut Art Deco (page 67), cut at 1-1/2".


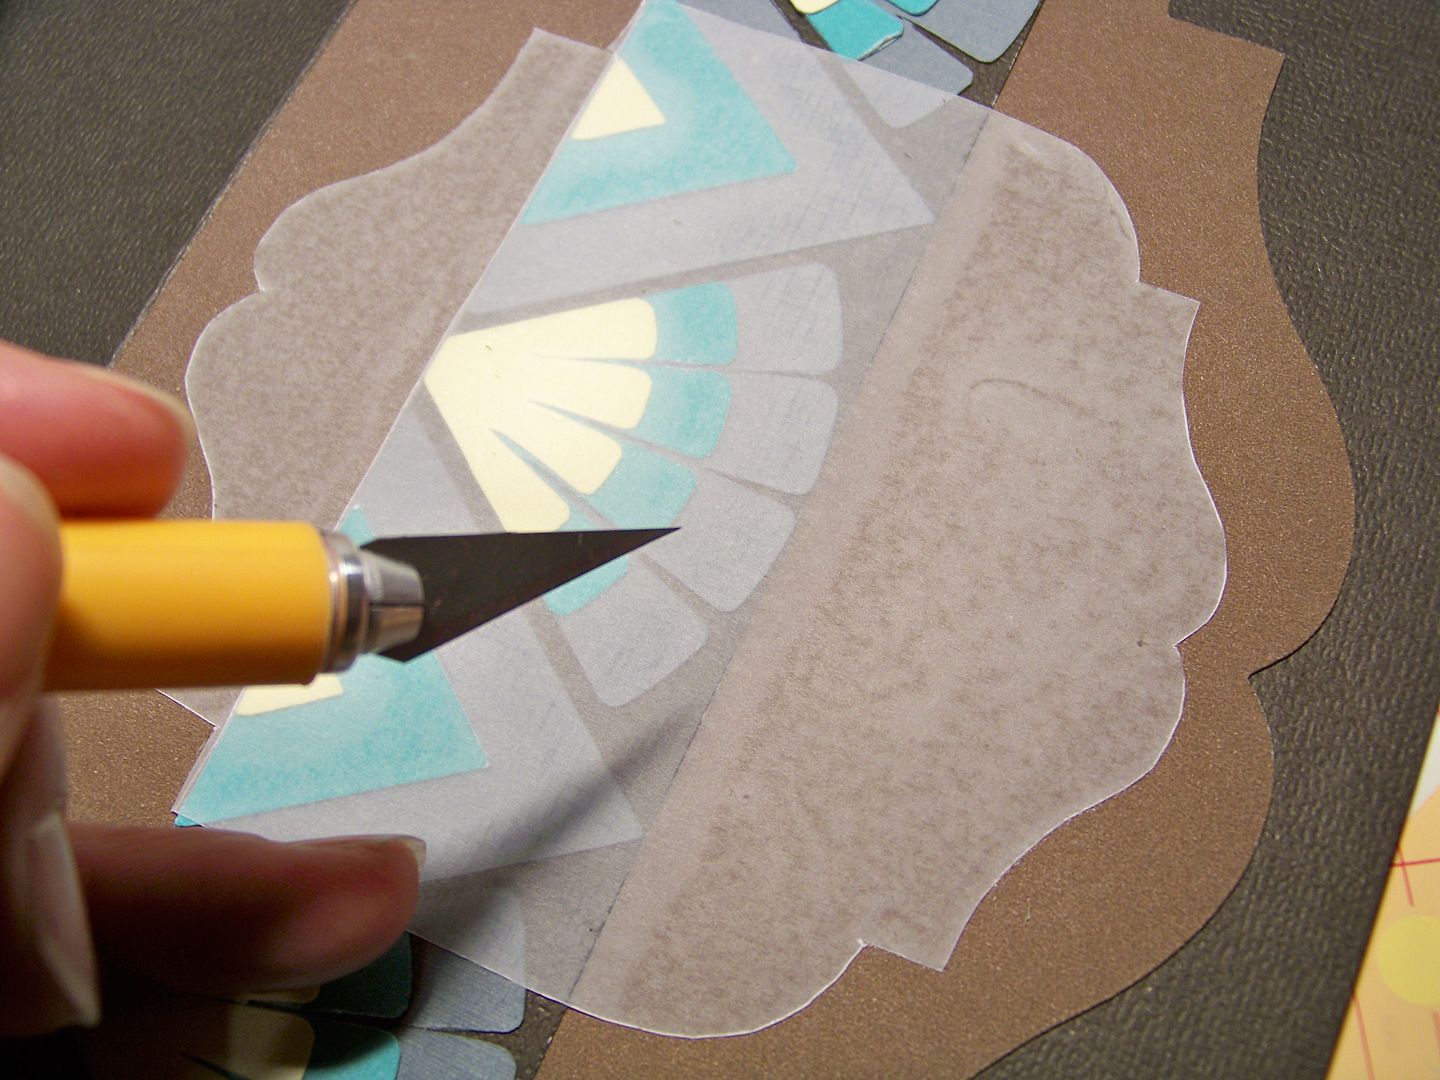
    For the mat under the border, I also used Art Deco (page 62) cut at 5-1/2".  I cropped off the top to mimic the sketch.  I made the same cut from vellum at 4" and also cut the frame at 4".  To apply the vellum shape, I used my Xyron machine.  I used an Xacto knife to cut the vellum where it was applied to the boarder so I could smooth it down to avoid an air channel which would have been very noticeable.


    I used the vellum because I wanted to have a base under the lettering, but I didn't want to incorporate yet another color and I didn't want to cover up that cool art deco border!  I shifted the medallion from the left to the center to work better with the mat.

    The text was also cut from the Art Deco cartridge at 2-3/4".


    Thank you for checking out my project!  I have been doing a crafting and blogging marathon since National Scrapbook Day on Saturday!  I have quite a few challenges to go!  The Circleville challenges continue through May 12, 2013!

    Badge photo IMG_16991_zps3de420e7.jpg

    What's It Owl About NSD Challenge - Circle Card

    The Circleville Challenges continue and I was so excited that I got up extra early on a Monday morning to craft before work!  This is my entry in the What's It Owl About Challenge, but before I get started with that, if you are looking for my tutorial on dimension or my gift card give-away, click here to find it!


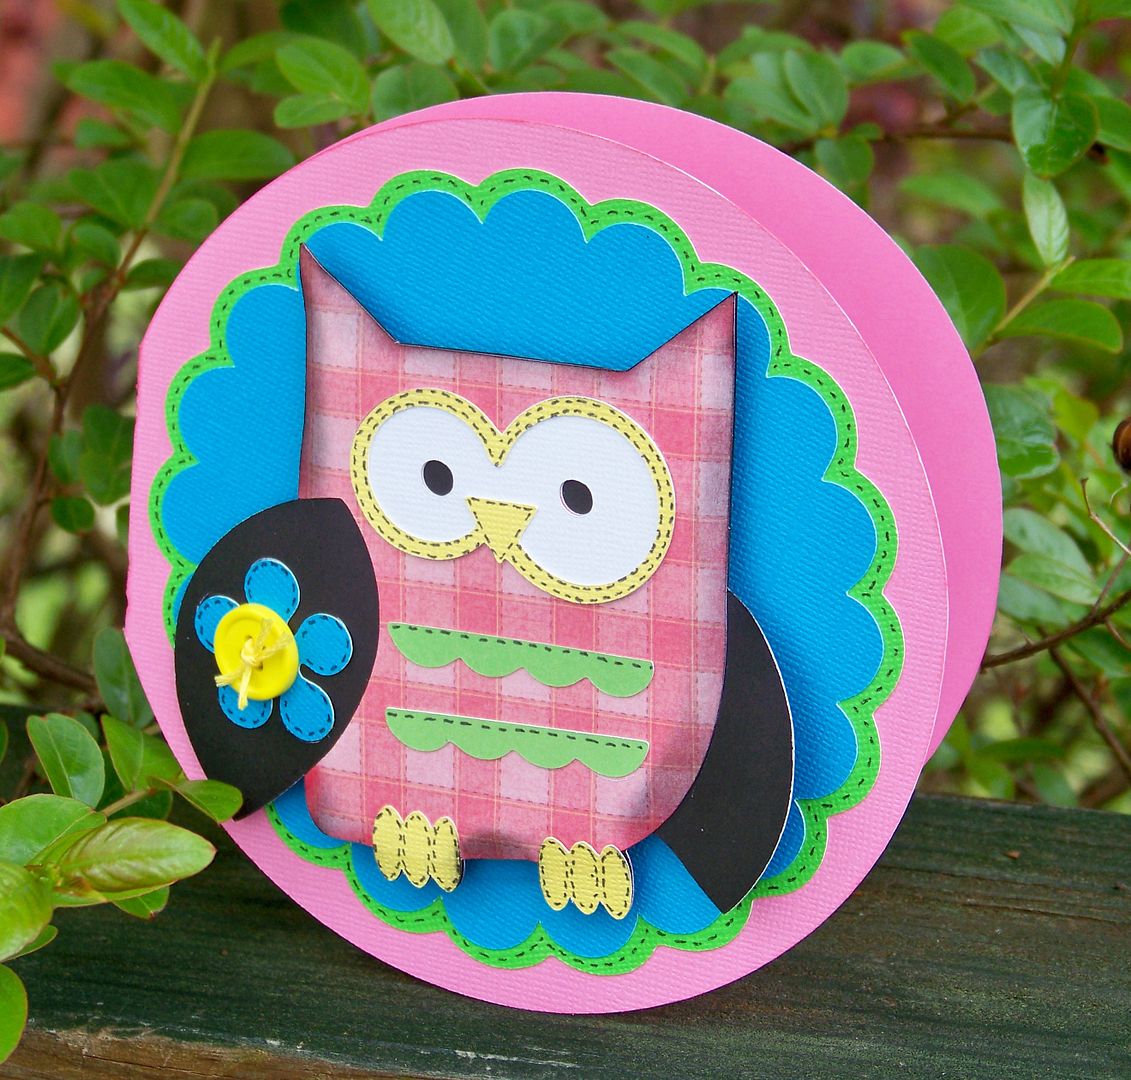
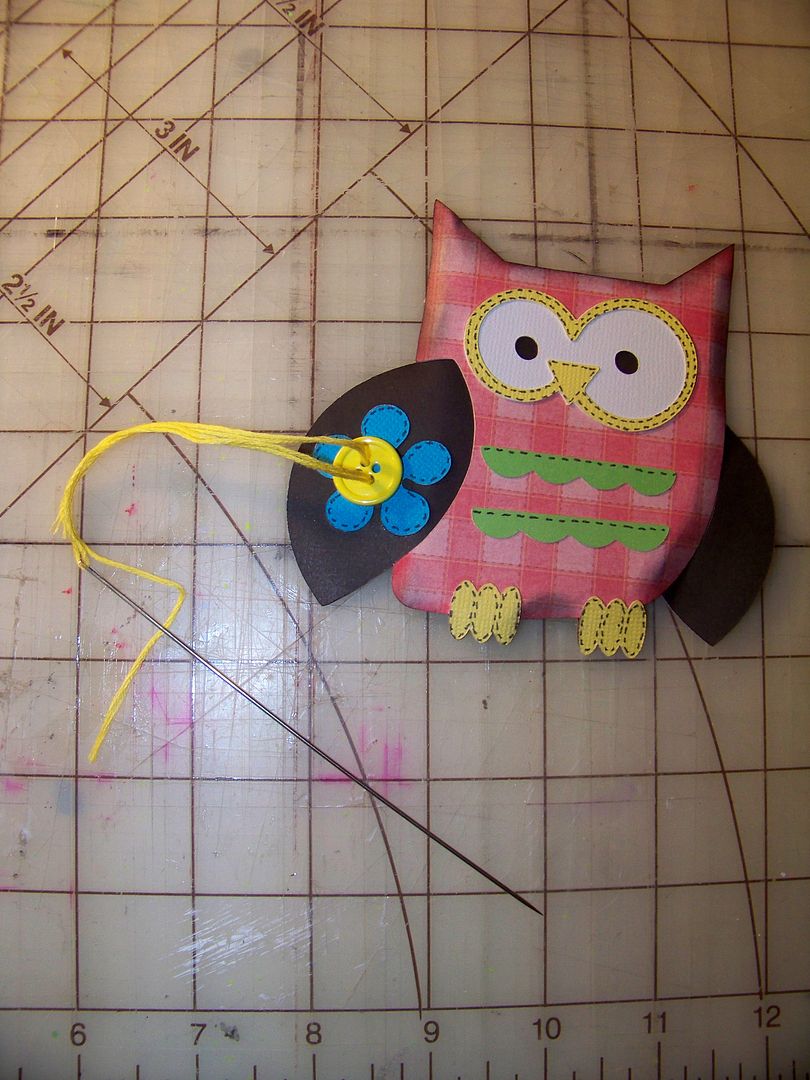
    Linda, from All Scrapped Out, created a message board challenge asking us to use a Cricut owl in a project.  Their owls have been a laughable point of discussion because there are so many on various cartridges and that is why Linda picked them, knowing that everyone could get their hands on at least one!  My kiddo loves owls so I have made quite a few (click here to see the Owl Birthday Party I did a couple of years ago), but I wanted to try one I hadn't made before, so I chose this one from the Cricut Paisley cartridge, cut at 4" (page 42).

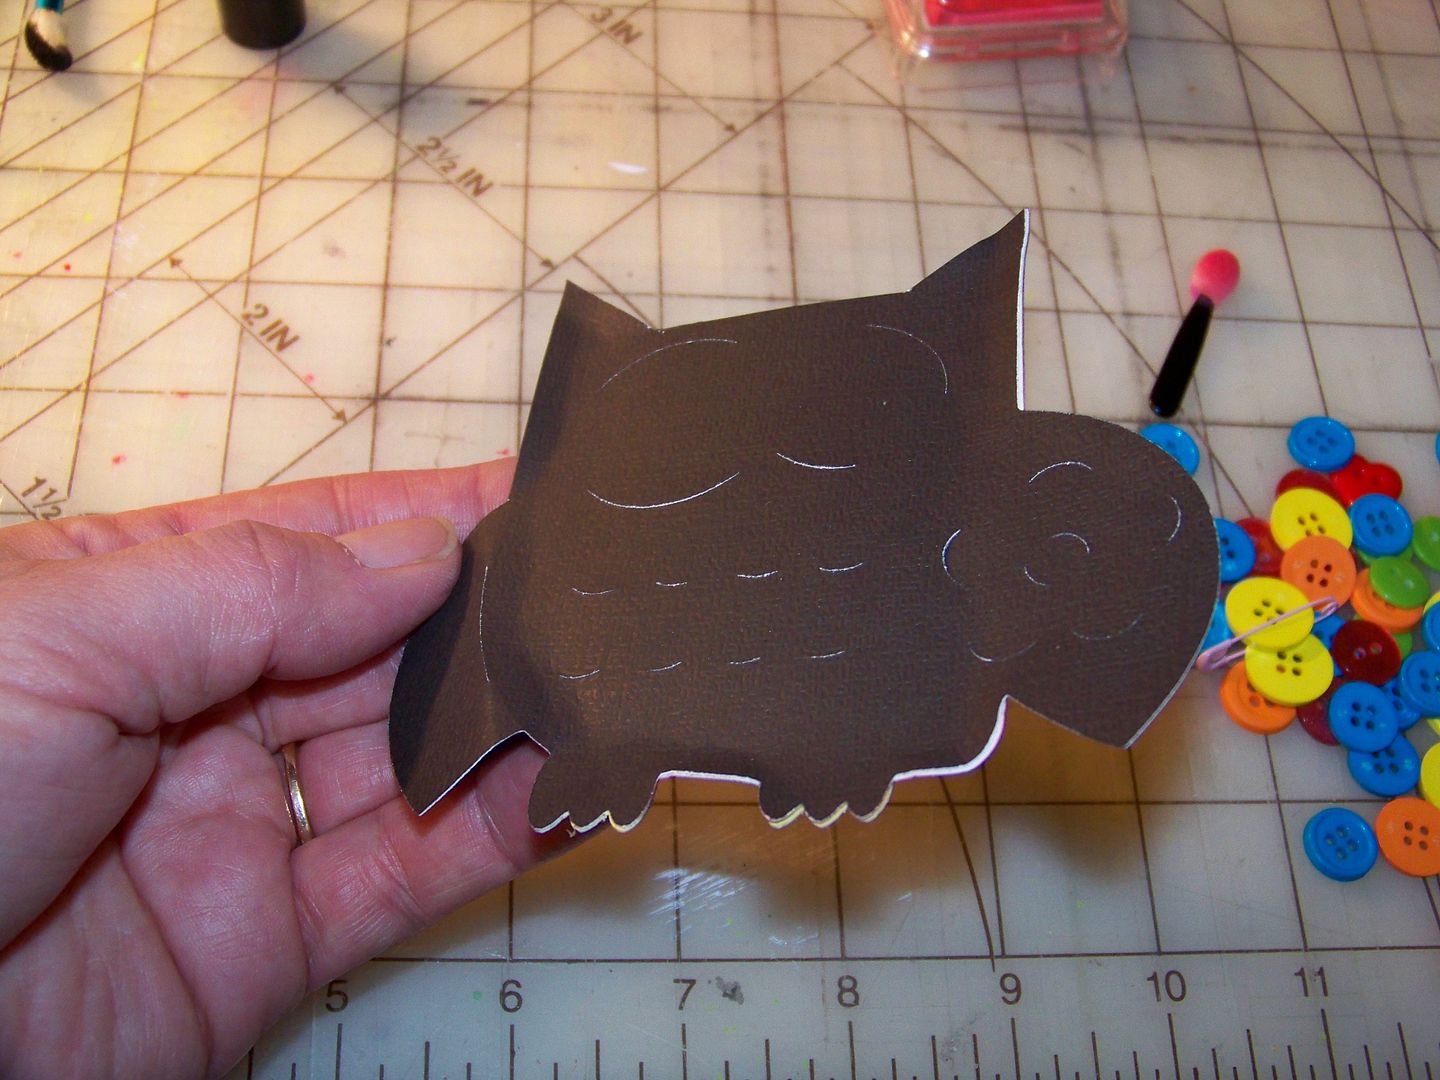
    I bent the edges and inked to emphasize the bent sides.  I was copying the idea of old-fashioned  metal signs.  My grandma used to have some that they hung on their back porch when I was a kid.  Some were advertisements, like a Coca-Cola thermometer, but others were just whimsical.  I don't know that it translates like those, but I liked the effect.


    I added stitching lines with a Microfine pen because the check I used reminded me of fabric.  That is also why I chose a button for accent.  I used a mattress needle to sew the button on so I could use all six strands of embroidery floss.


    For the mats under the owl, I cut a scallop and shadow from Cricut Elegant Edges (page 23) at 4-3/4". I cut the circle card from Art Philosophy (page 21) at 5-1/2".

      
    Thank you for checking out my project!  Linda's blog drawing continues until May 12, 2013, so it's not too late to join in the fun!  To see all the Circleville NSD challenges, tutorials, and prize give-aways (which continue until May 12th as well!), click on the icon below and scroll to the end of my post there!  


    Badge photo IMG_16991_zps3de420e7.jpg

    Sunday, May 5, 2013

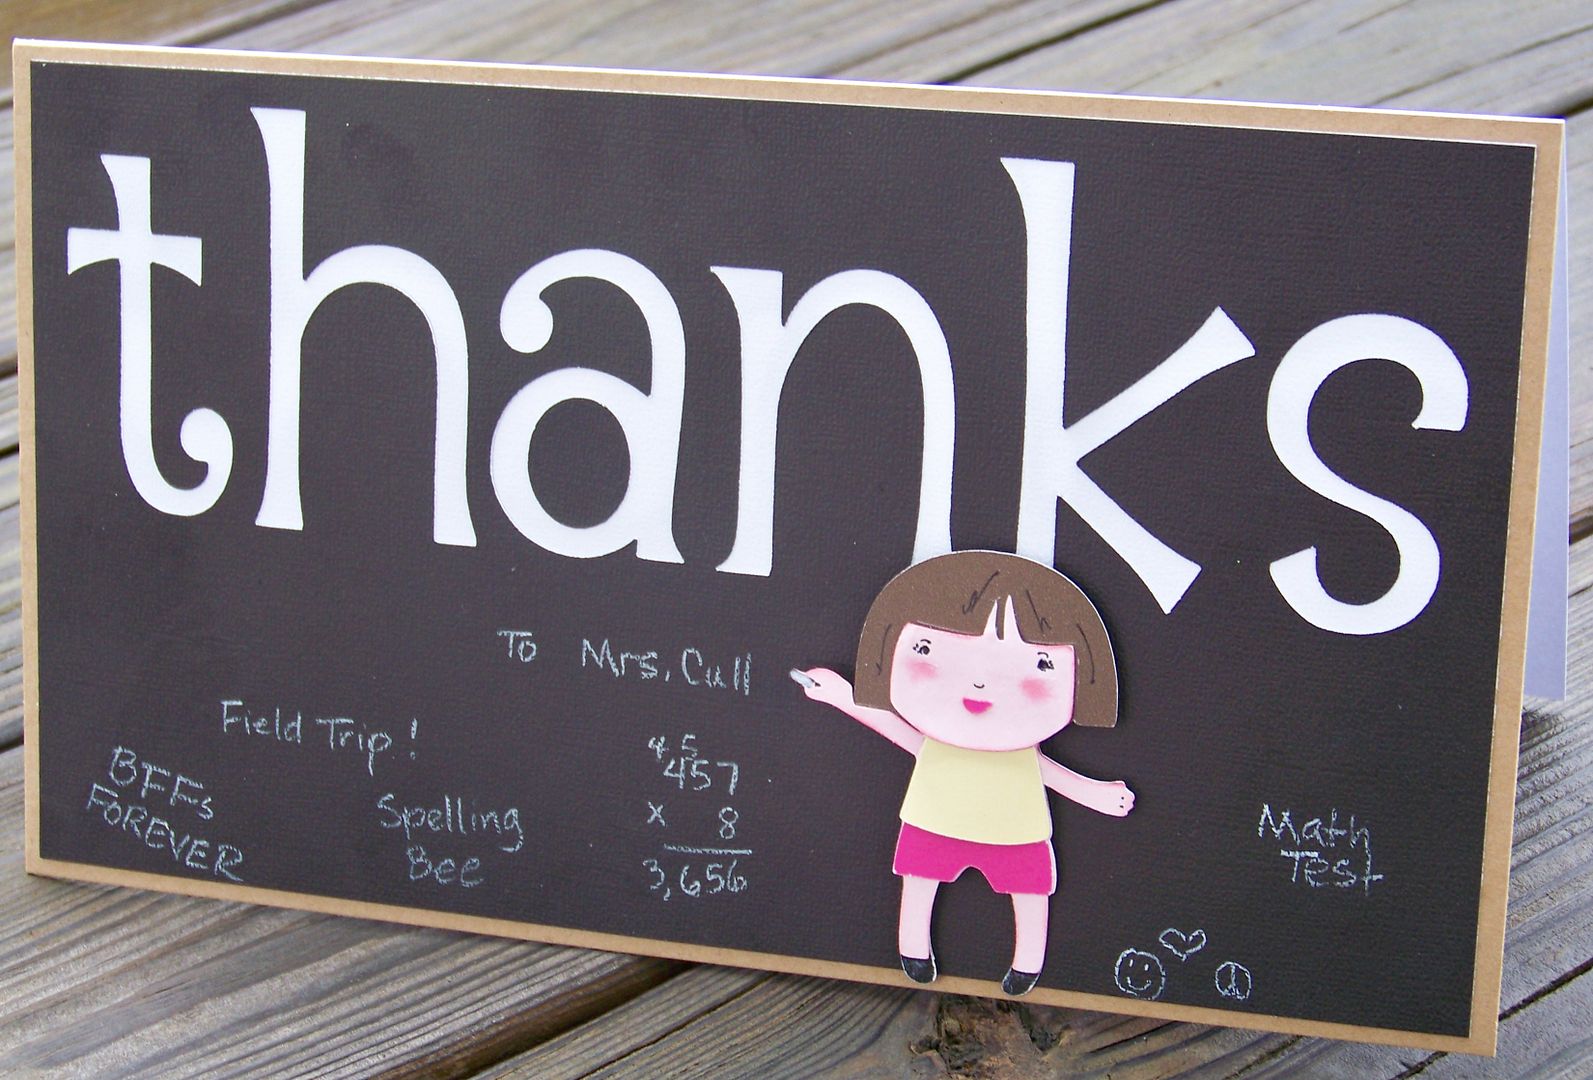
    Go Big or Go Home NSD Challenge: Teacher Appreciation Card
    I get to participate in all the great Circleville Challenges today and this is my entry in the Go Big or Go Home Challenge but before I get started with that, if you are looking for my tutorial on dimension and my gift card give away, click here to find it!


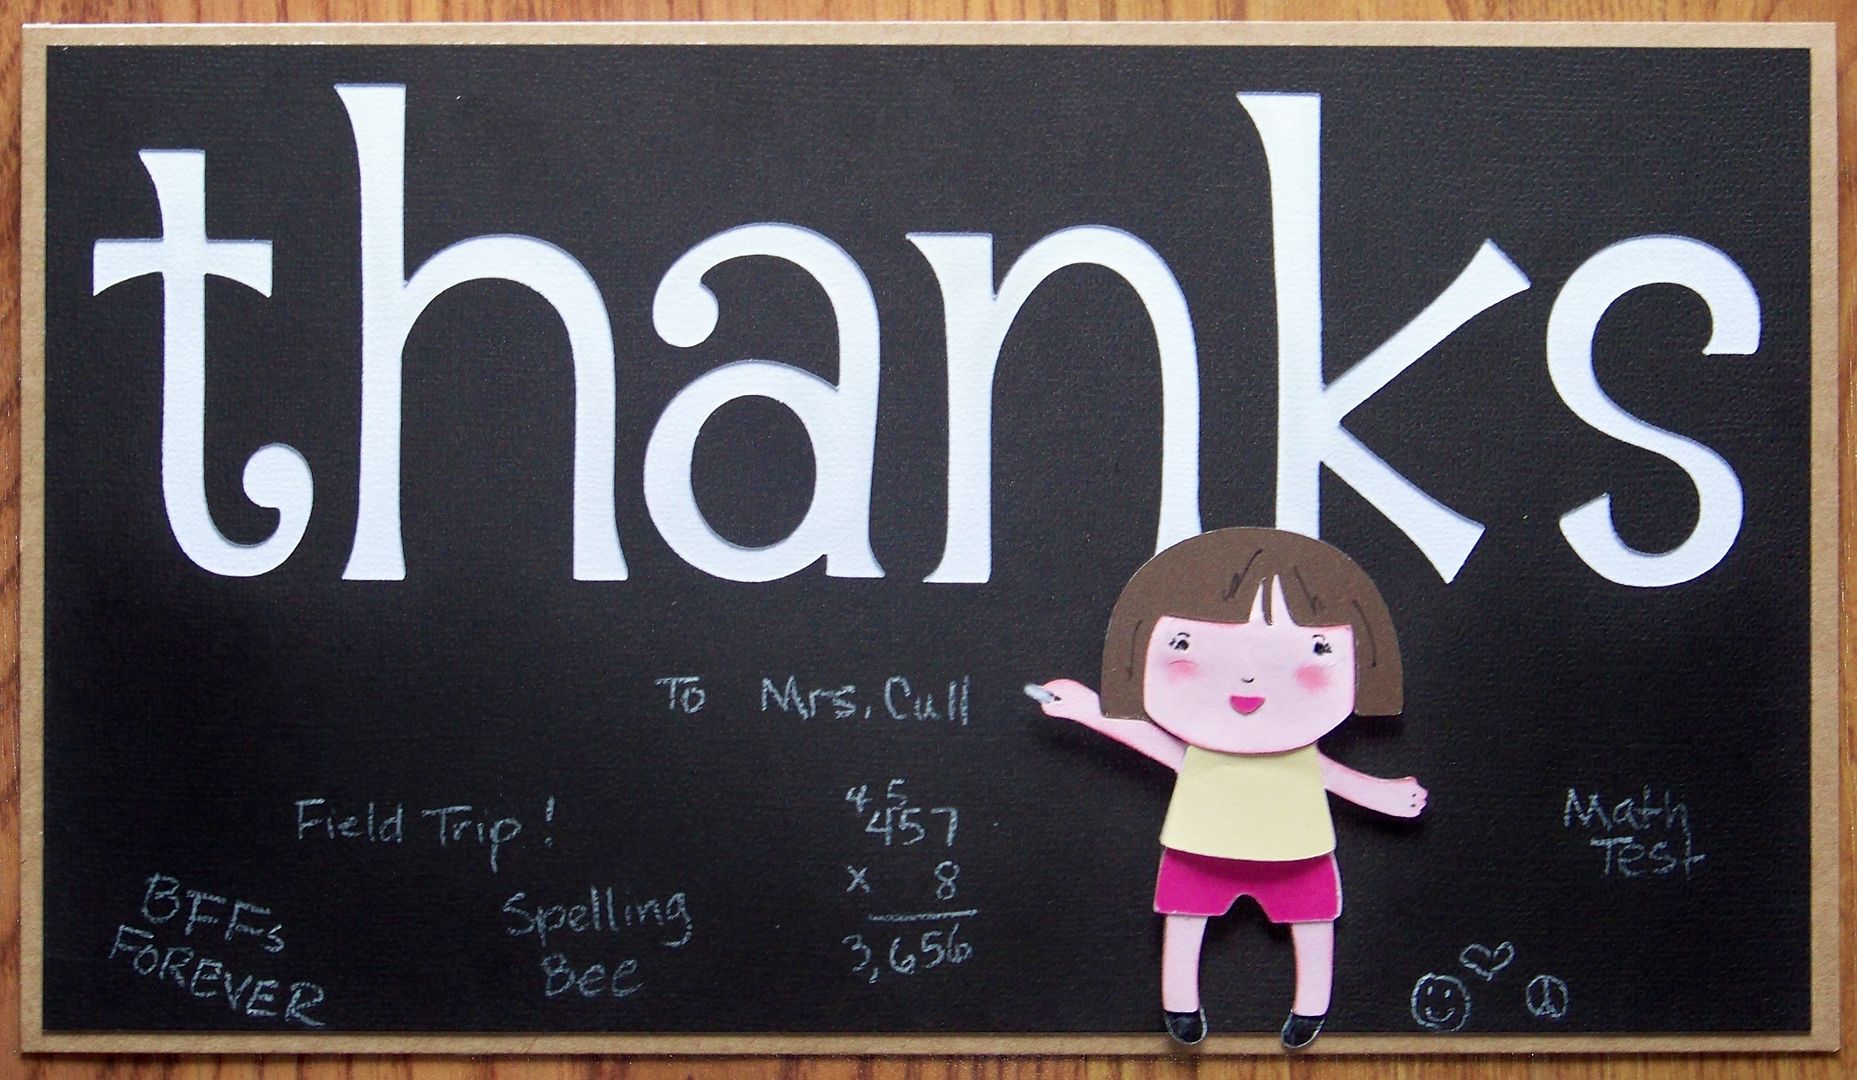
    Sara, from her blog 'Sara W. Andrews', created a challenge asking us to use a big title or big photo on a project.  I love that she provided samples of both layouts and cards!  Her projects are great!  To see the challenge, which is open until next Sunday, May 12, 2013, and her projects, click here.

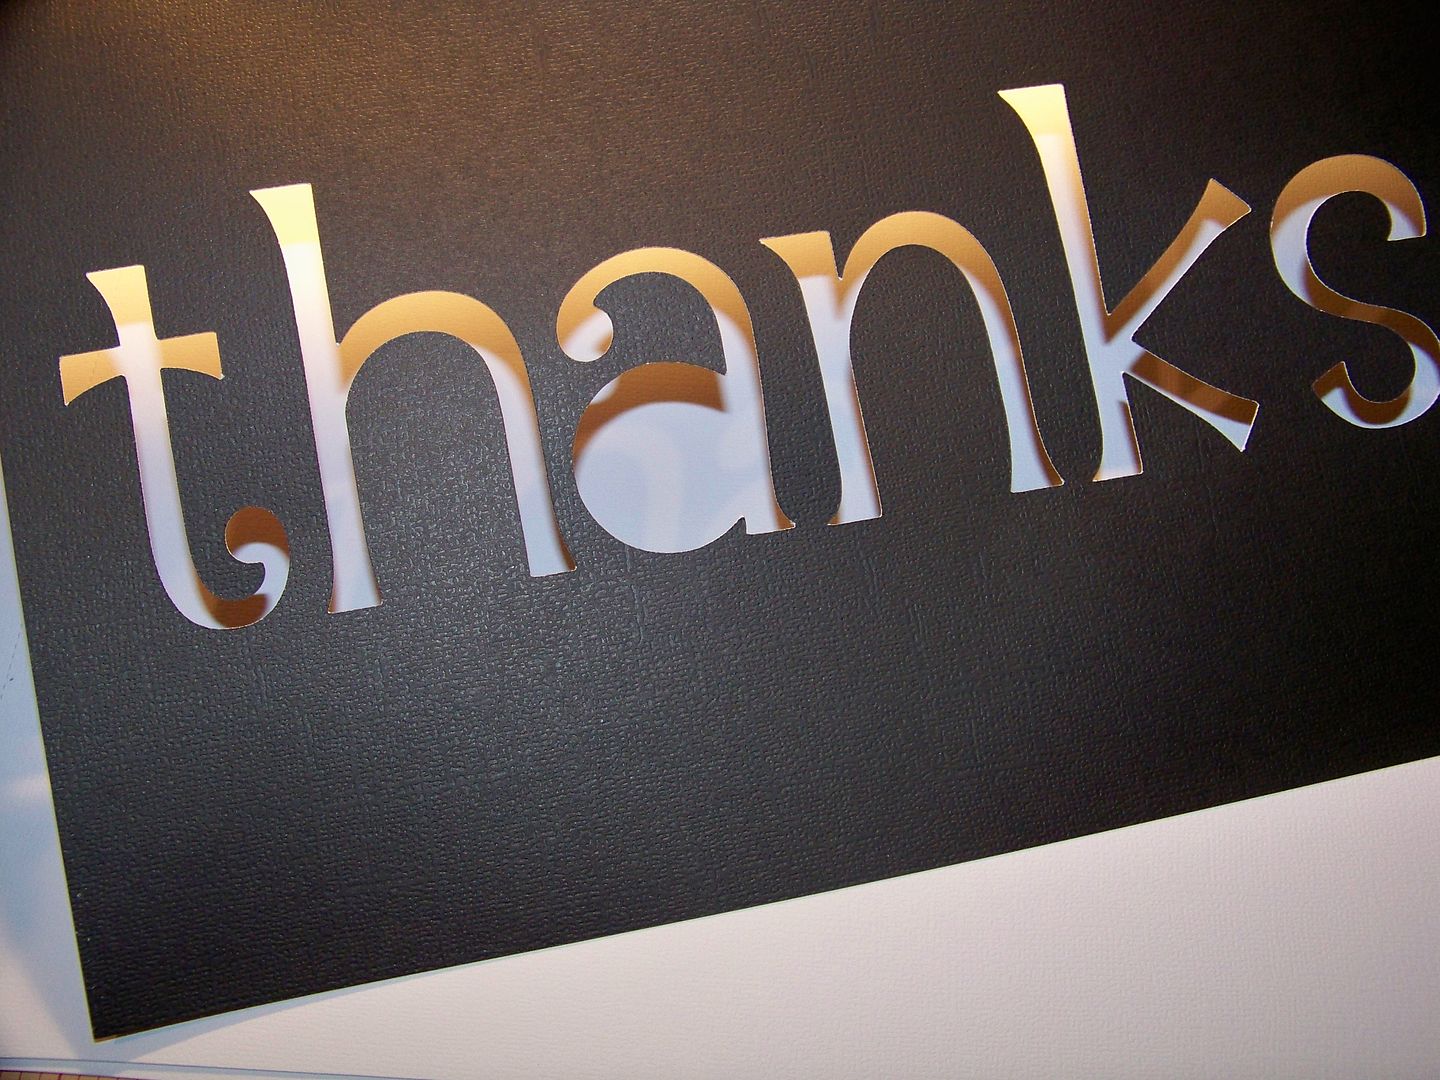
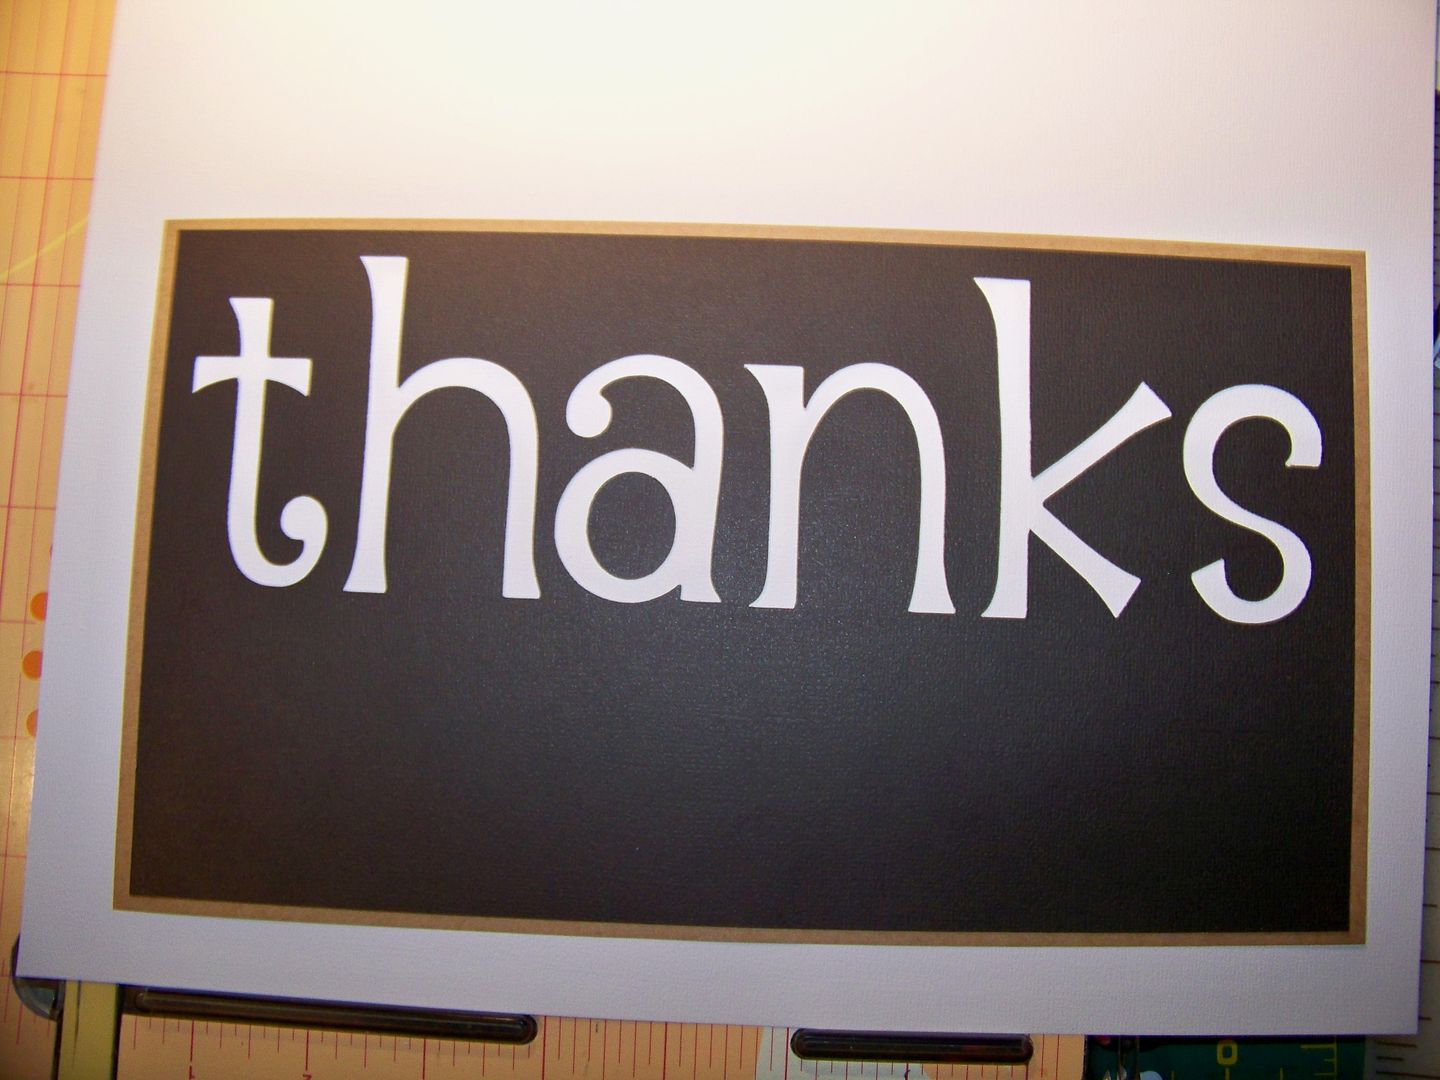
    I loved that Sara used the negative space for her title, so I tried that too.  How much easier it is to put a lettering on this way, rather than trying to line up and glue down lettering!  The text is from Cricut Alphalicious, cut at 3".


    I backed it in white and added a kraft paper mat.  That was then adhered to a card I cut to fit.


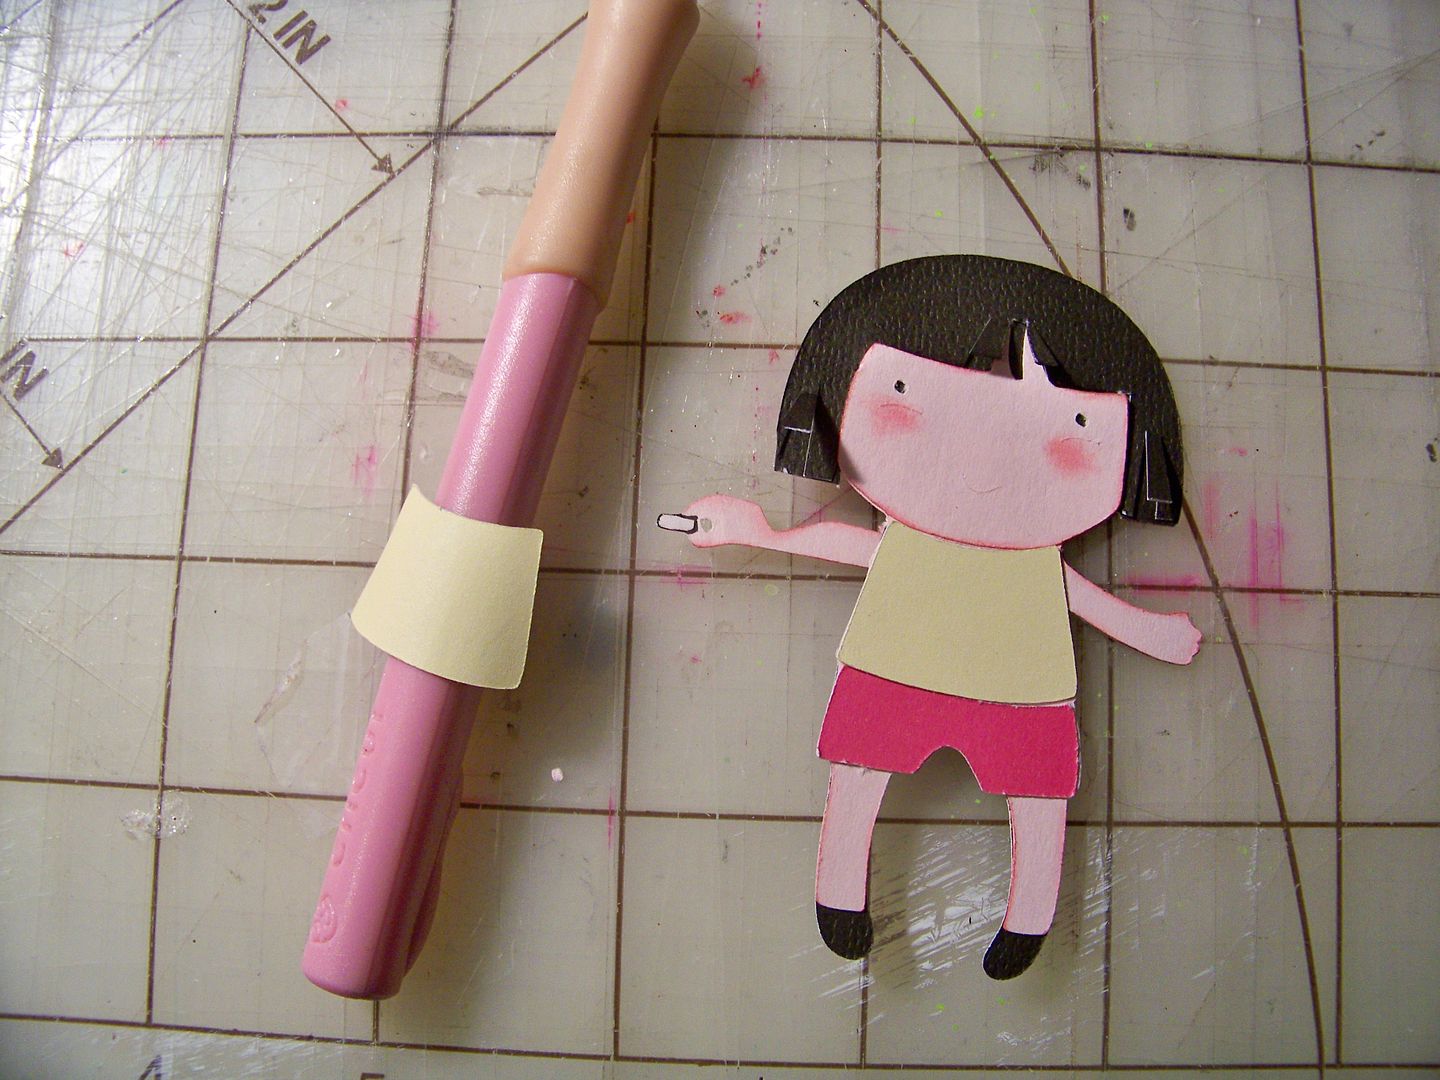
    I recycled a die cut I had made a few days ago that I never used on a tutorial.  You may have seen it pictured on the lead collage on yesterday's blog post, but to shorten the post a bit, she was cut from it so I am thrilled to get to use her here!  She was cut at 3" from the Cricut cartridge Recess.  Her tummy is accentuated with a second top cut and curved to keep her from being so flat.  To use her for this card, I changed her hair color and re-made her arm (since I had glued it so well to the tiny paper chalkboard on the original!)


    I finished the card with silly chalkboard scribble.  This will be a Teacher Appreciation card my kiddo will give her teacher. 

    Thank you for checking out my project!  To see all the Circleville NSD challenges, tutorials, and prize give-aways, click on the icon below and scroll to the end of my post there!


    Badge photo IMG_16991_zps3de420e7.jpg

    The Crazy Bs Challenge!

    I get to participate in all the great Circleville Challenges today and this is my entry in The Crazy Bs Challenge but before I get started with that, if you are looking for my tutorial on dimension and my gift card give away, click here to find it!


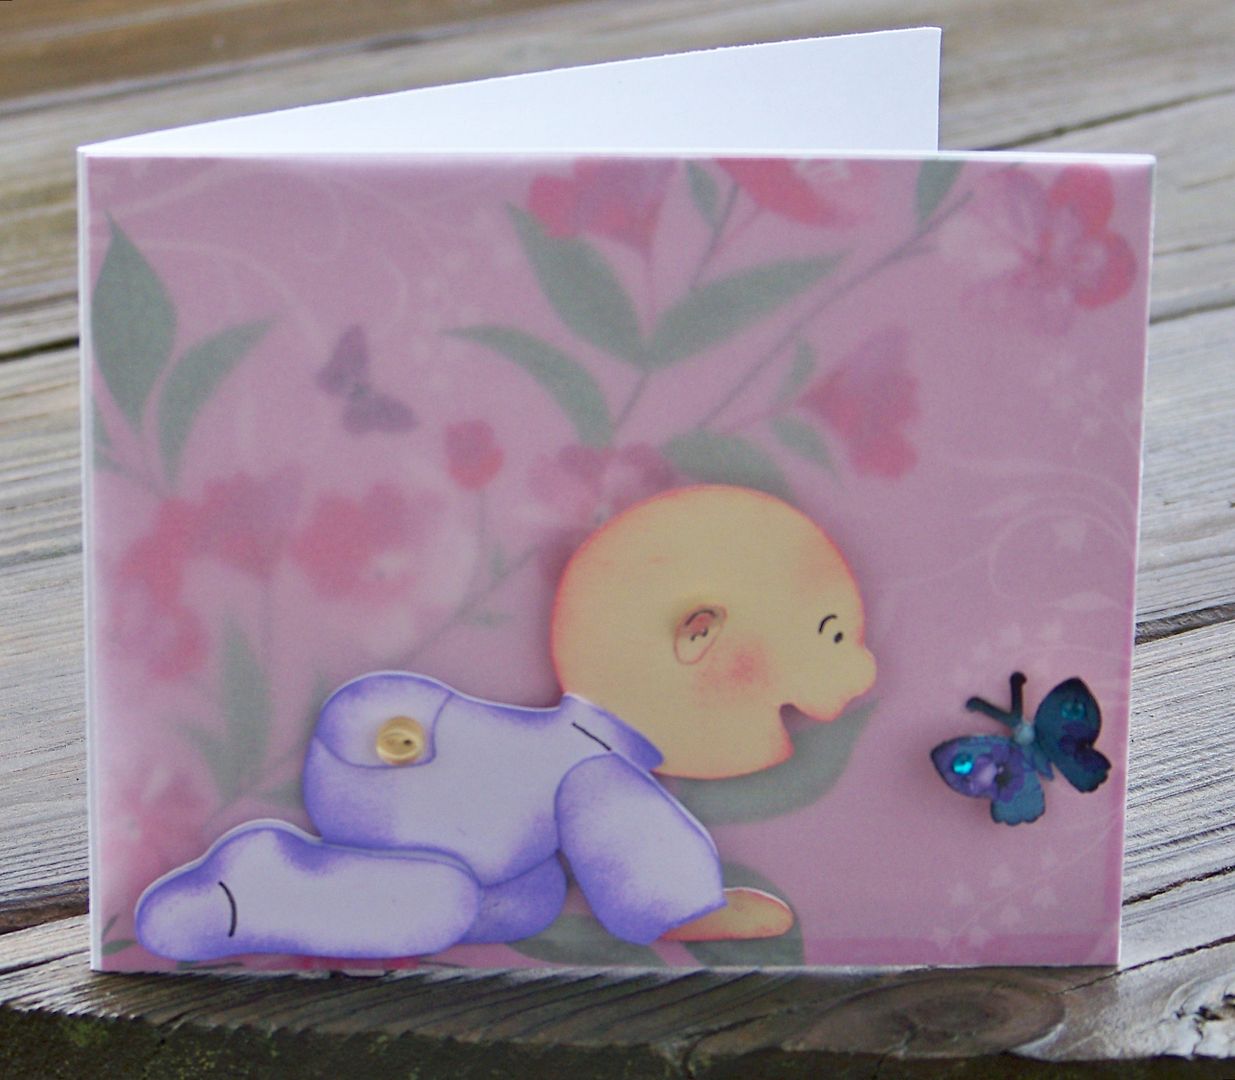
    Terri at Scrappin' With the Bug created a challenge with the rules of using a baby, bling, a button, and a brad.  You can find her challenge, which runs through May 12, 2013, by clicking here.

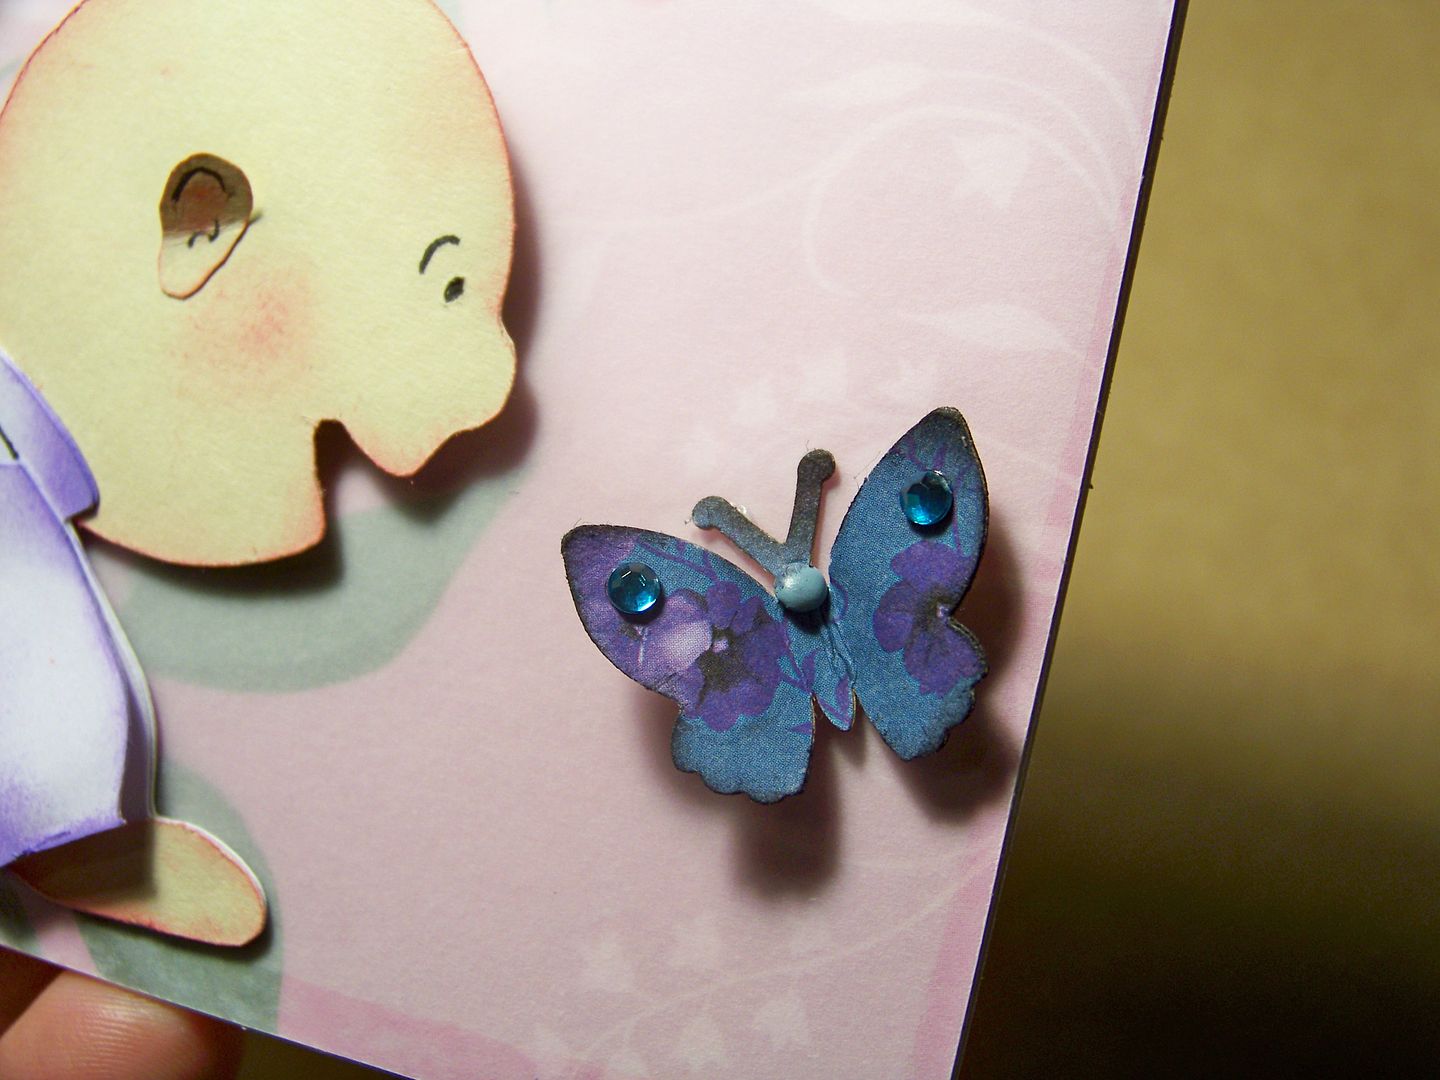
    I used the baby I had left over from my tutorial.  To see how I made the baby by giving dimension to a die cut, click here.  I added a doll button to the sleeper.

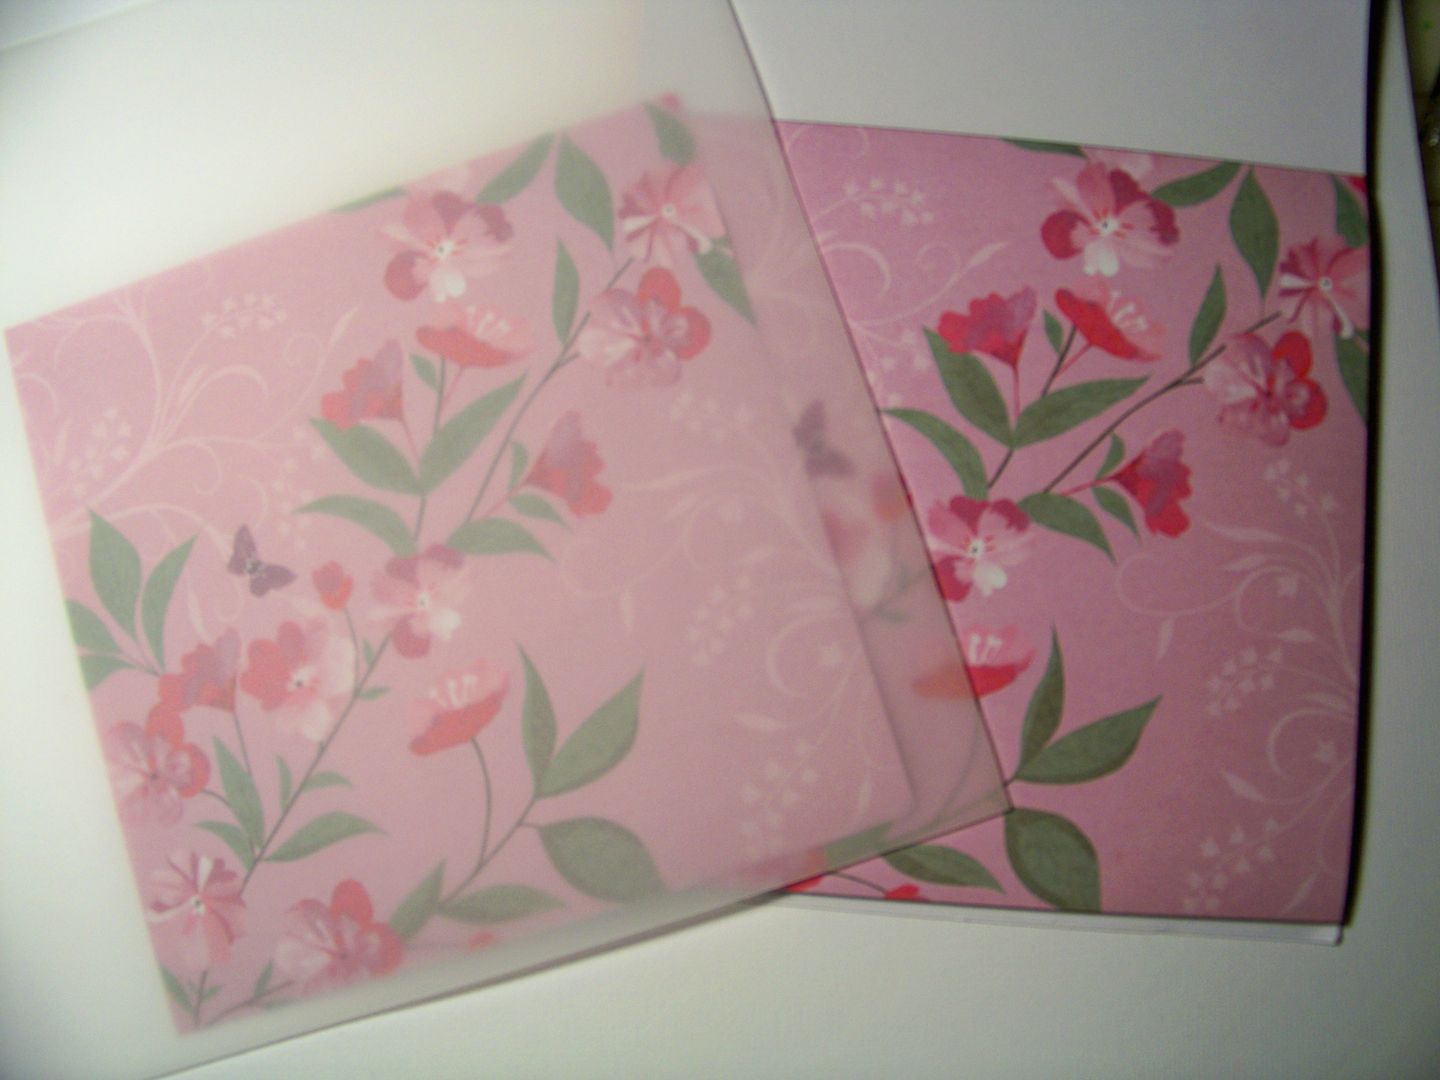
    I found a floral paper and covered it with vellum to mute the colors and pattern a bit so that they wouldn't distract from the baby image in the foreground.


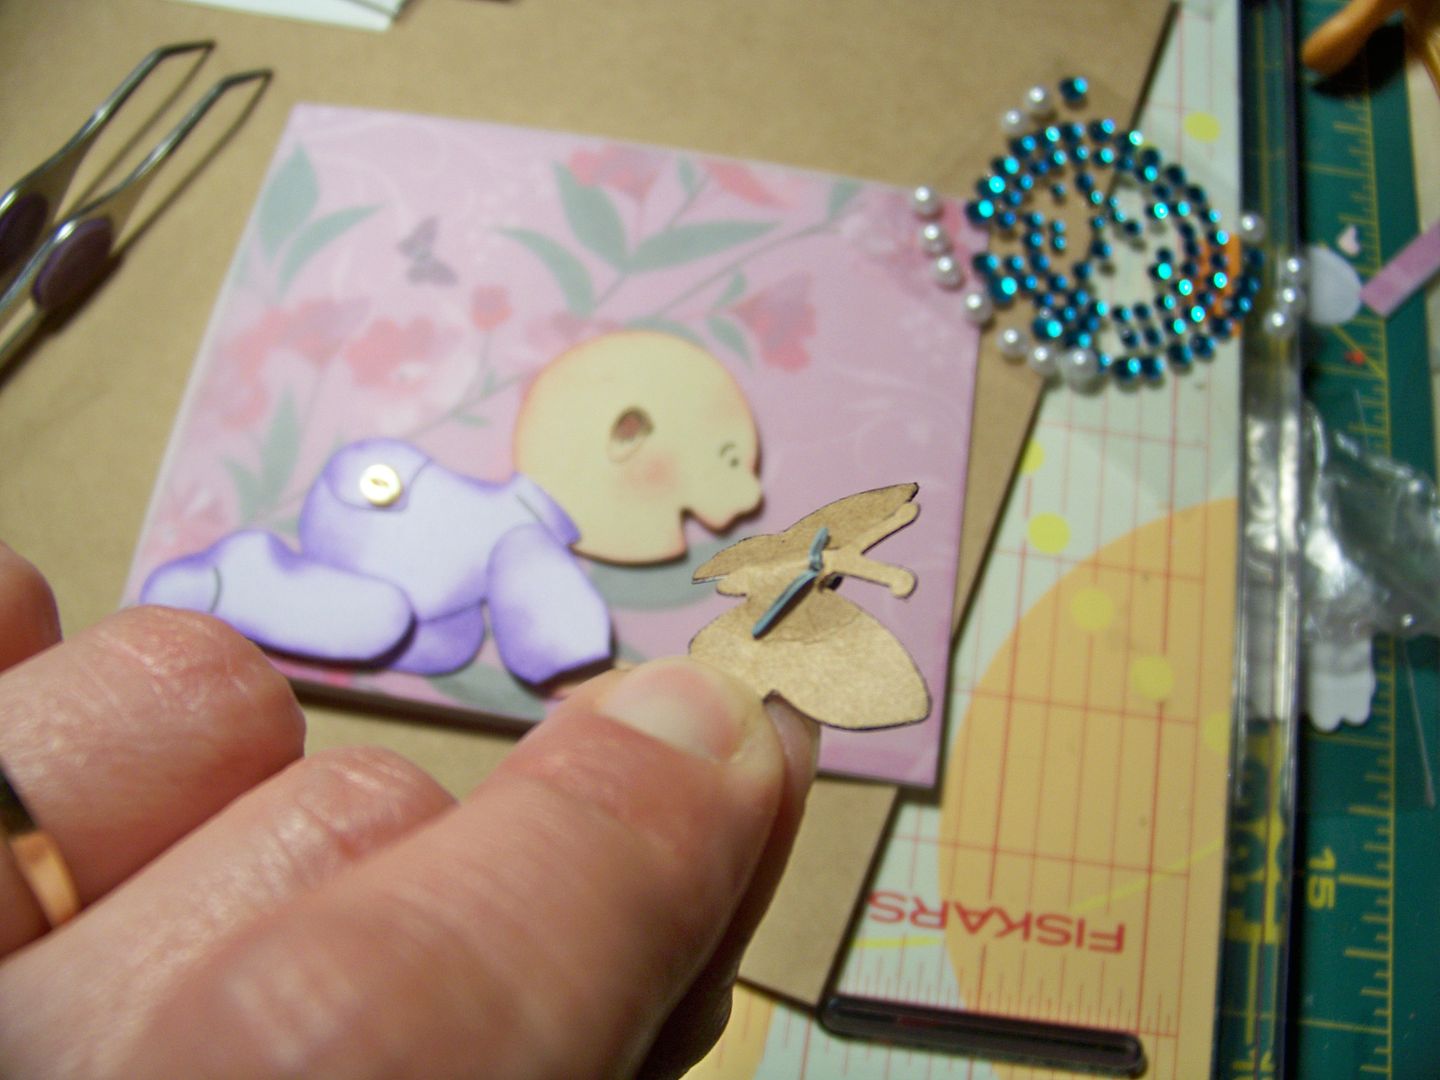
    I cut the butterfly from a punch and added a brad for the head and adhesive-backed stones to the wings.  The cool thing about using the brad is that the prongs on the back served as a support to keep the wings up and off the surface of the base paper!


    I added the layered mat to a card I cut to size to complete it.  To see all the Circleville NSD challenges, tutorials, and prize give-aways, click on the icon below and scroll to the end of my post there!


    Badge photo IMG_16991_zps3de420e7.jpg

    But wait! There's more! Click 'older posts' above!

    But wait!  There's more!  Click 'older posts' above!