Thursday, February 28, 2013

February Sew Along... Swimwear for Dolls


I am part of a Yahoo group for ladies who like to sew clothing for American Girl Dolls.  My daughter is the American Girl doll enthusiast in this house and loves that I participate in the monthly sew-alongs, as you can imagine, since she is the beneficiary!  This month's free pattern links were for a Liberty Jane one-piece and video tutorial for flip flops!  We were on our own to come up with optional cover-ups and beach bags!

Without knowing the theme for this month's sew-along, my daughter requested doll swimsuits on her birthday wish list!  That coincidence was just perfect and prompted me to get her gift done early.

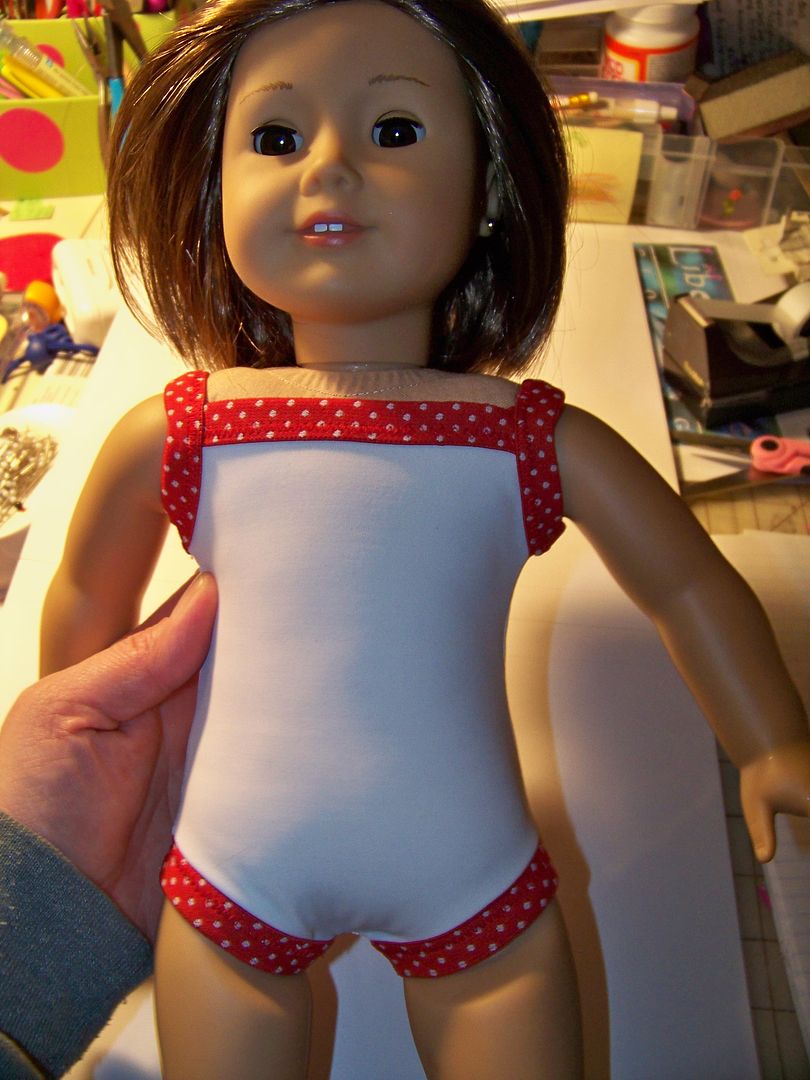
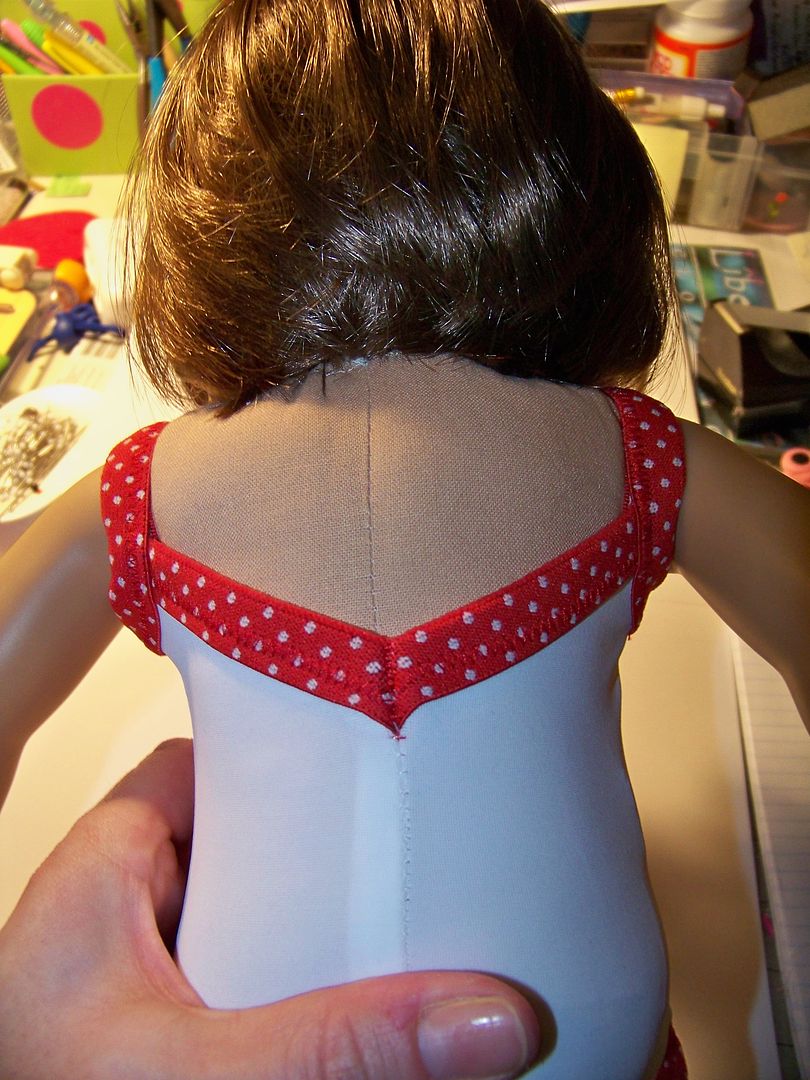
If you just happen to be hoping for a free doll swimsuit pattern, check out this one from Liberty Jane patterns:  click here.    This is a super-quick, super-easy pattern.  You can use Lycra that you buy at the fabric store or even use up-cycled swimsuits from your closet or from a thrift store!  One lady mentioned using an out-grown suit of her little girl's for the fabric.  The only challenge for me was finding fold-over elastic.  There's tons of it on-line very inexpensive, but in my city, I only found it at one over-priced independent fabric store.  The fold-over elastic (FOE) is the key to this project!  I will say that I made one change to the pattern, I added 1/2" to the length of elastic that the pattern suggested for each arm.


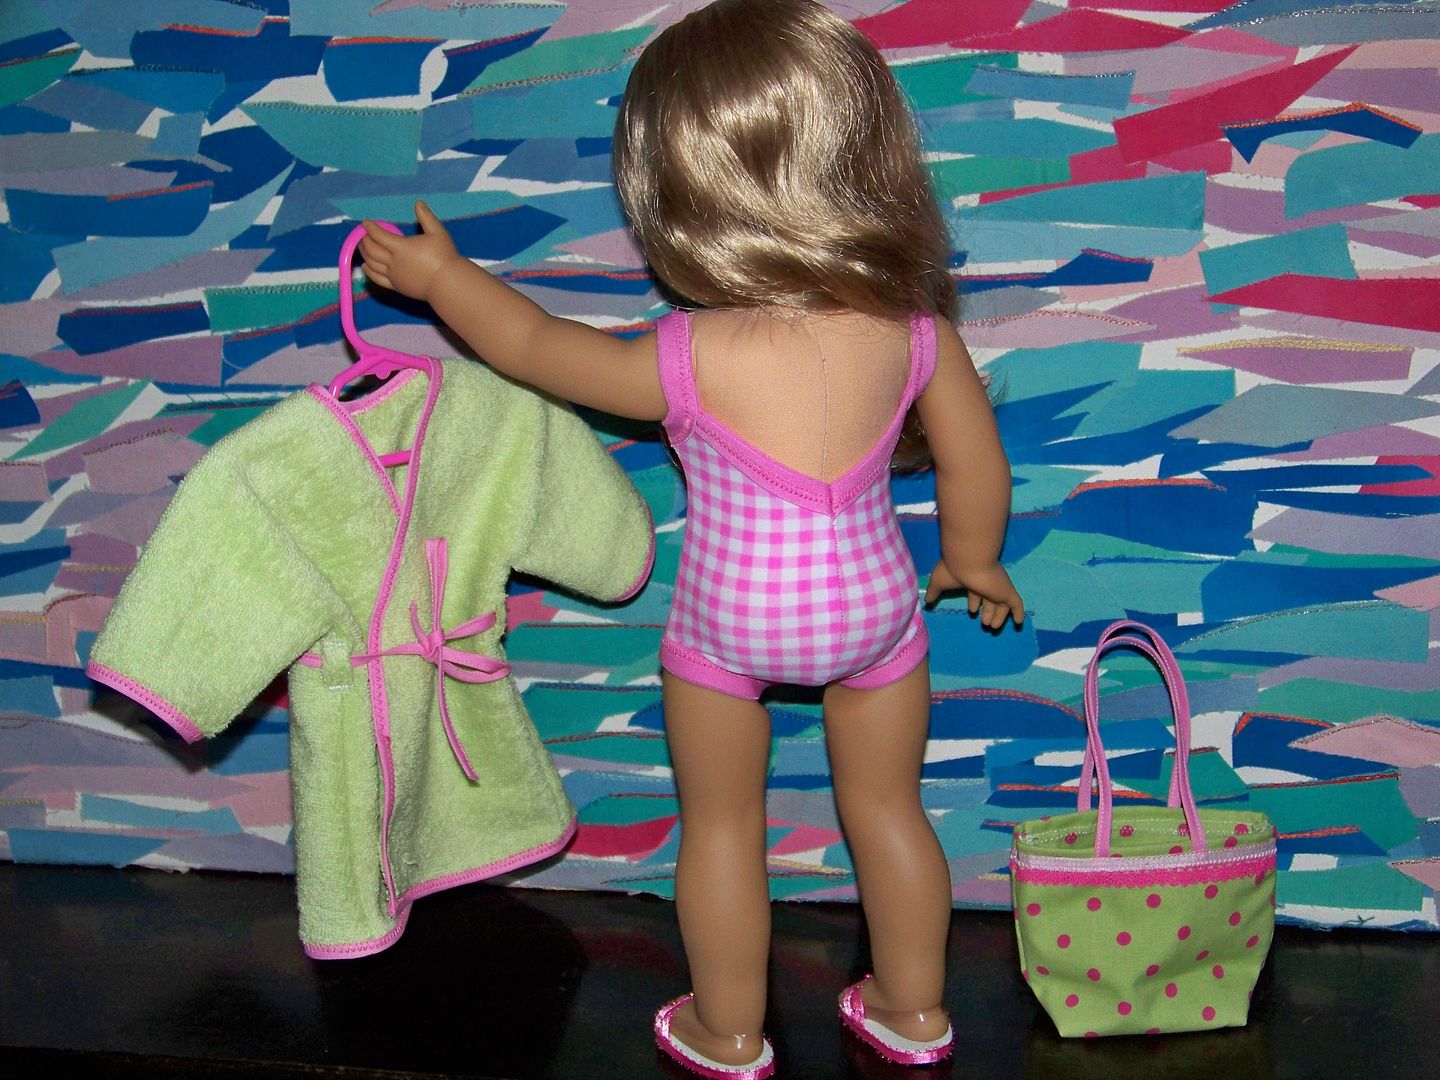
So these are the dolly outfits that I came up with...

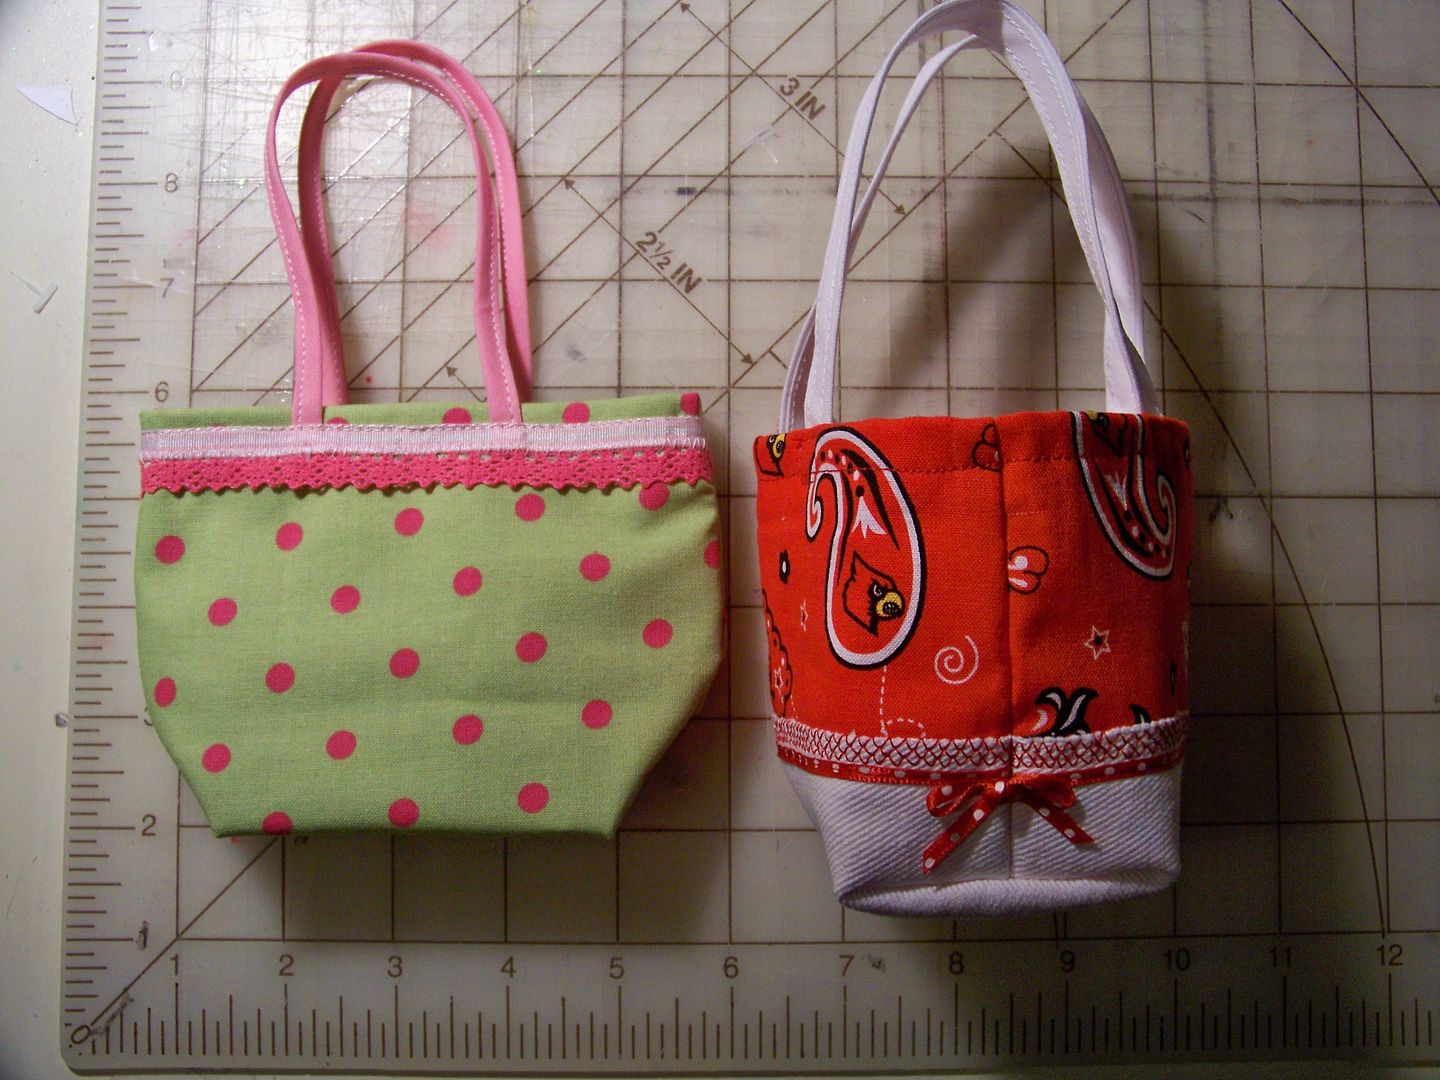
One piece suit with polka dot trim, sparkly sandals, and a beach tote. I made a matching mini skirt cover-up. I used white swim fabric I bought at the fabric store.  For the bag, I used white denim and a UofL mini print.

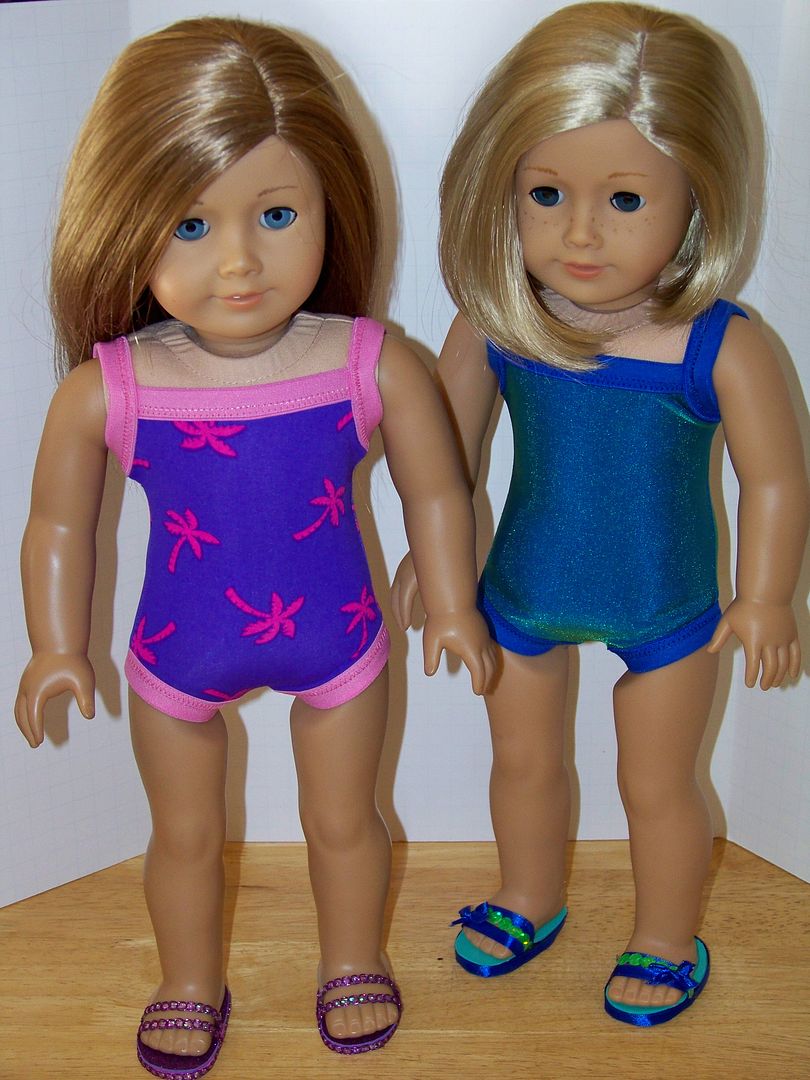
The printed fabric was purchased at the fabric store; the iridescent solid suit was up-cycled from a misses size skirt-style cover-up from a thrift shop.
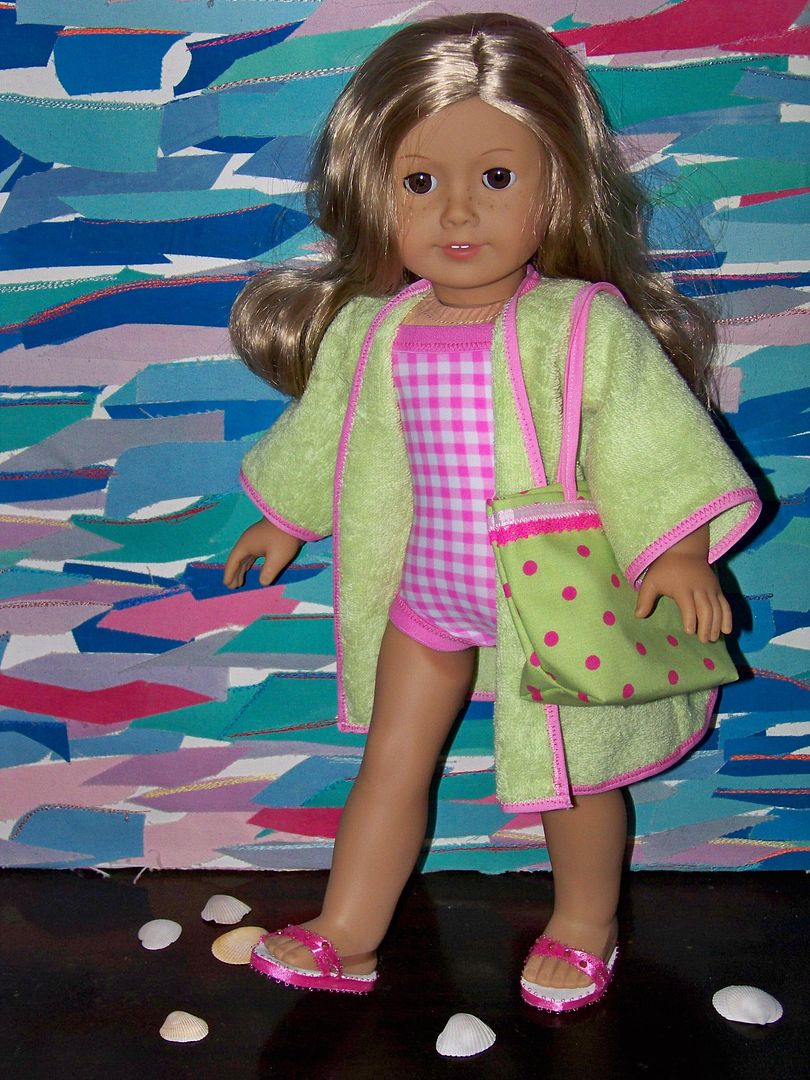
This is the suit, cover-up, bag, and shoes that I submitted to the group for my February sew-along entry:


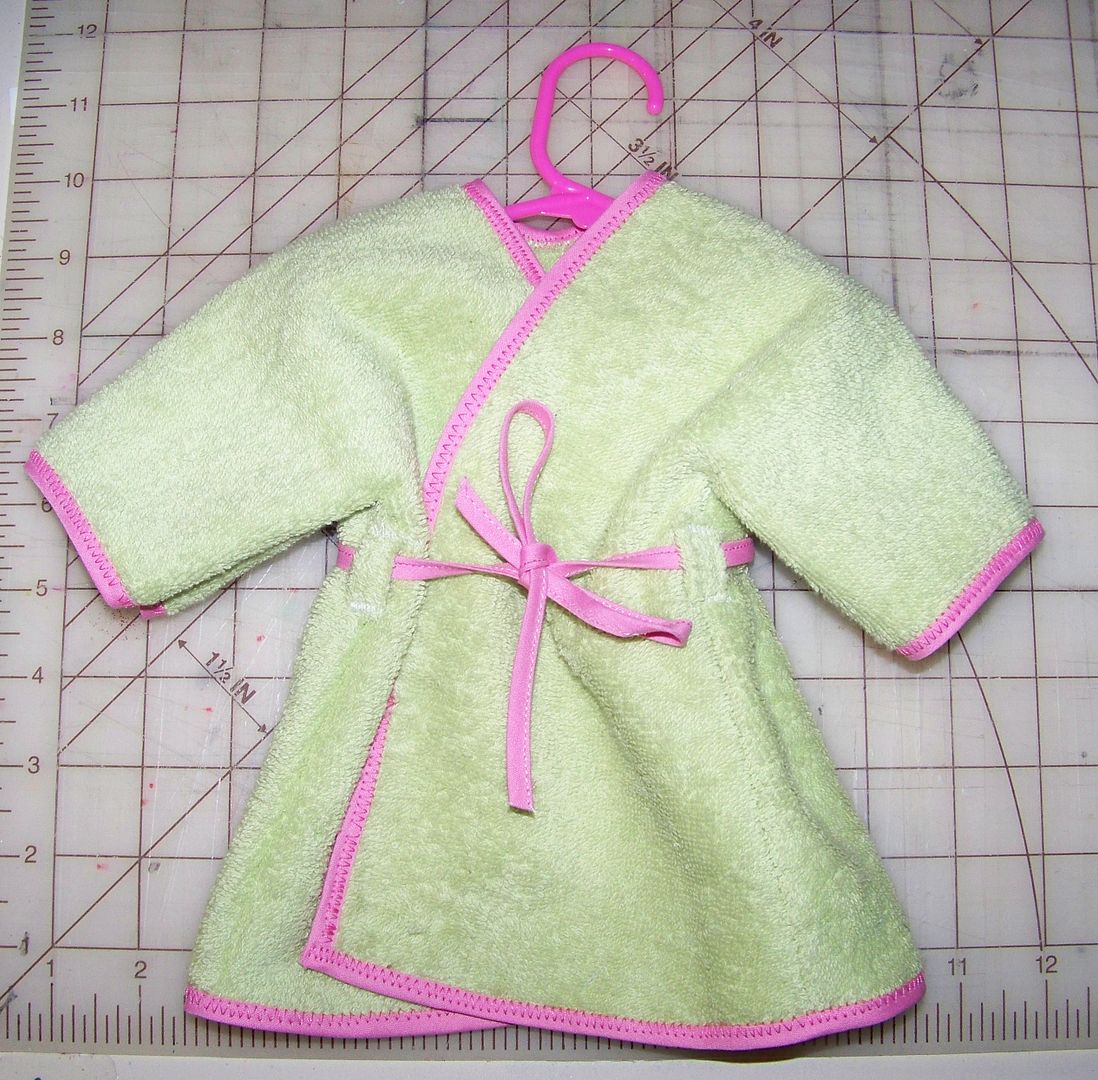
So I have to tell you about the terry cloth beach cover-up... 


This was a pattern created by one of the ladies in the sewing group, Jane Ruhl, who happens to live in my town.  If you are a part of any national or international message board, you know how cool it is to find that someone in the group lives so close!  (I think there are two or three near-by!)  Jane offered her pattern freely and what I love about her clever design is that there are no shoulder seams!  (Actually, the only seam is a side seam that starts under at the wrist and goes to the bottom hem).  I used a Robert Allen fabric sample from my stash of home decor fabrics but Jane mentioned that she used a dish towel for hers!  I finished my edges with single-fold bias tape that I folded over to make a very skinny contrast edge and belt.  I did add belt loops.  You can get this pattern (and another one that a different member generously shared) for free if you join the group.  (How's that for a carrot?)  Here's a link (click here) if you are interested in a monthly doll clothes sewing group-- great inspiration and lots of encouragement to get at least one project done a month for your kiddo's favorite doll!  

Oh-- and if you are looking for a source for ready-made doll clothes, Jane has an Etsy Shop (click here).

So... let's talk more about those flip flops....


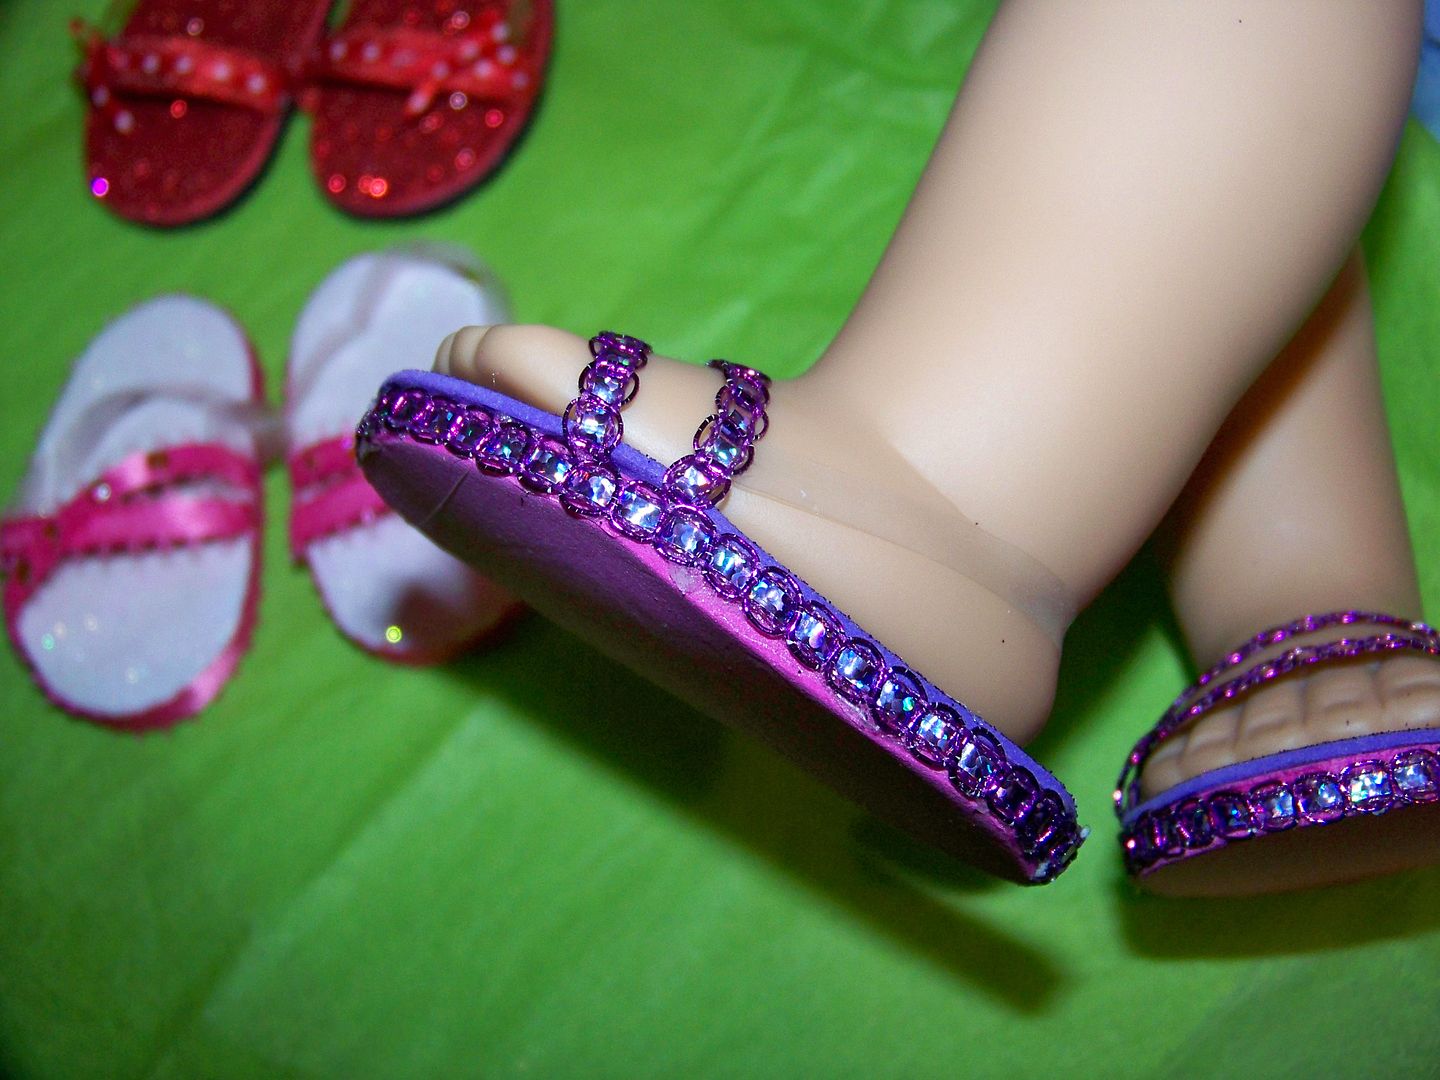
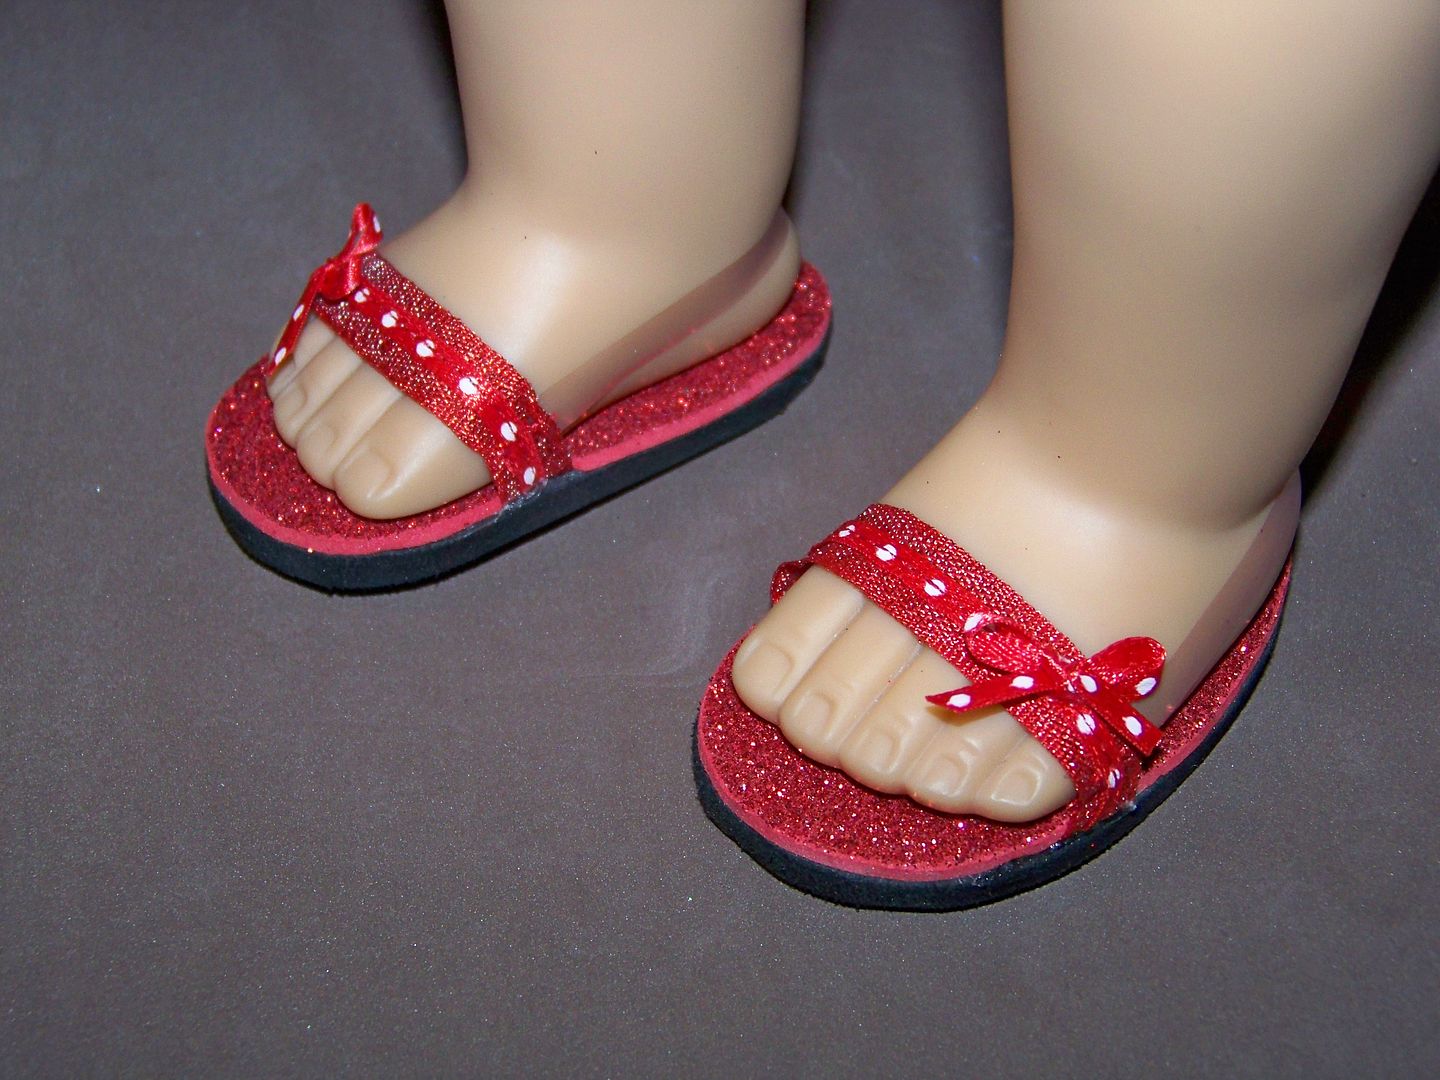
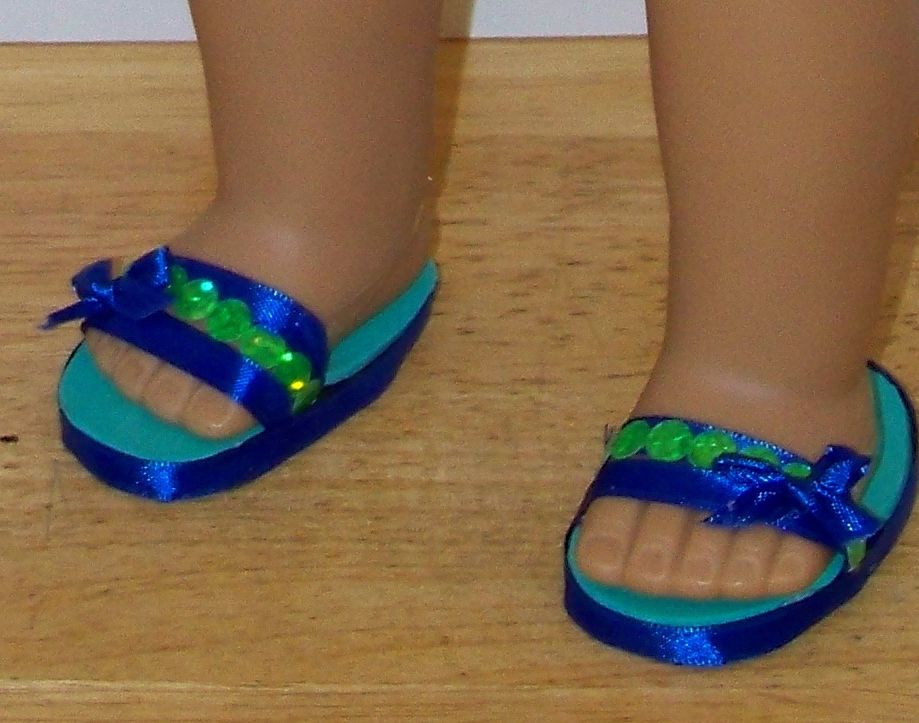
I have been fearful of making doll shoes ever since a particularly awful pair I made last year that caused me to swear off shoe-making.  This challenge changed that and I am so glad it did!  These were so easy and fast and cheap to make!!  Check out this video tutorial:  click here.  It is a great step-by-step tutorial that made these so easy to make!

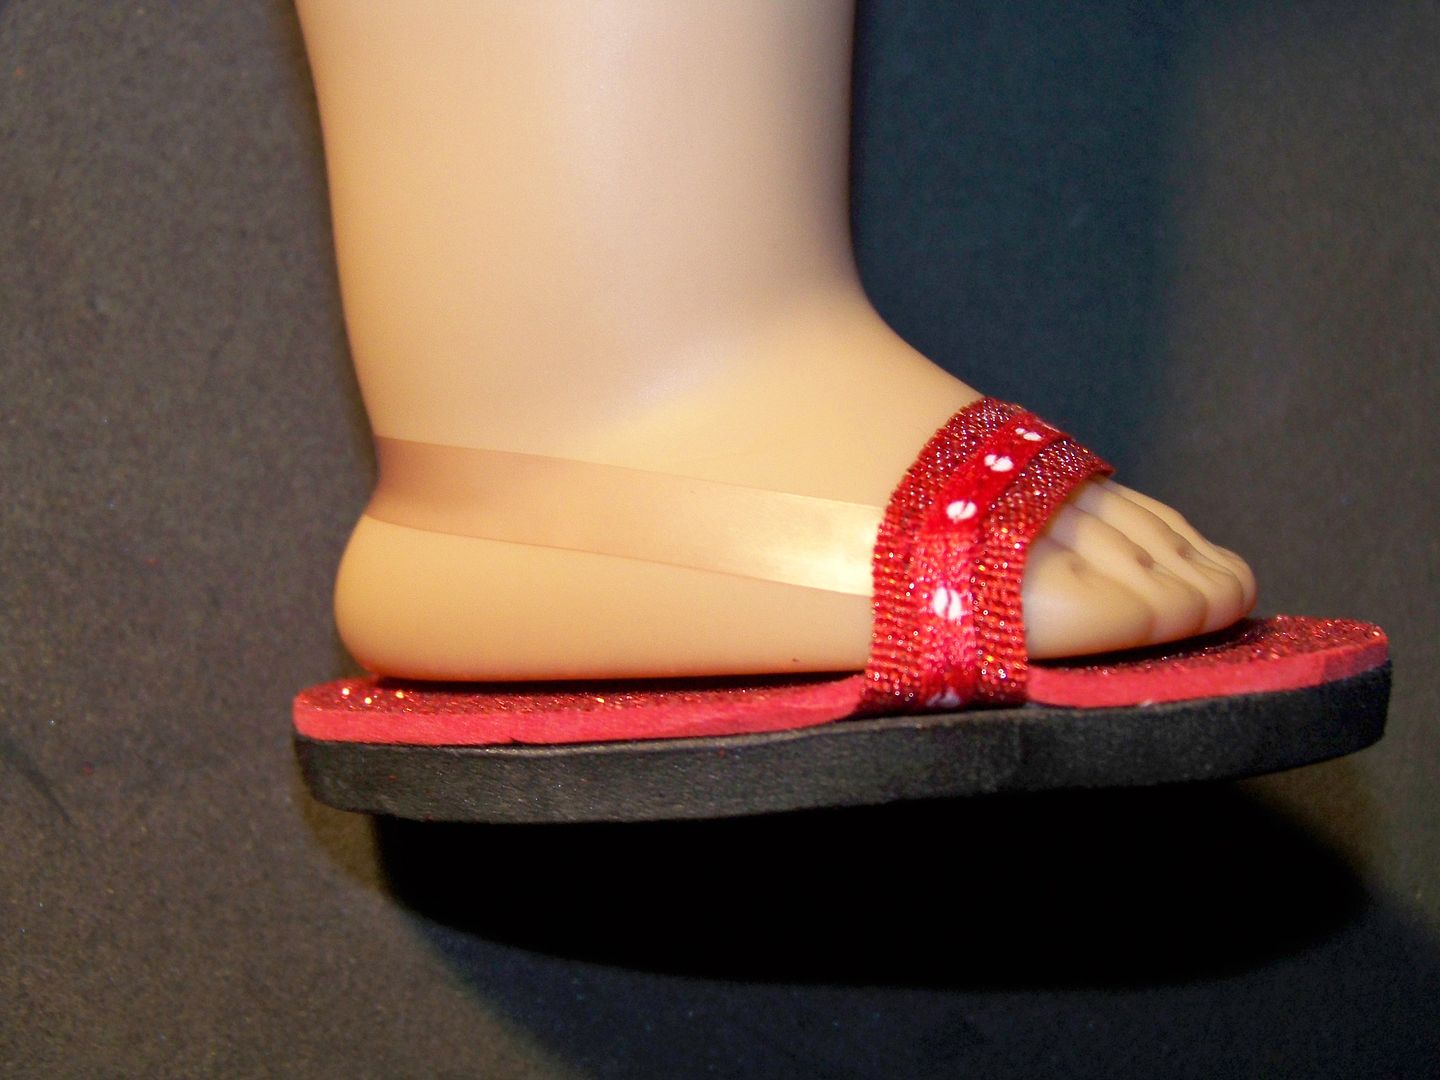
These were made with fun foam from the craft store.  My local Hobby Lobby had 5mm foam for the bottoms and thinner foam covered with sparkly glitter for the tops of the sole.  I used an emery board to file the sides after cutting out to the pattern to make the layers of foam match up exactly.  Layered ribbons and other trims make the straps for the top of the foot and trim for the sides.


I found that you really need to add a strip of clear elastic to the backs of the shoes to keep them on.  I sewed them on at first, but later found that attaching with hot glue worked even better!  This was not part of her tutorial, but without them, I think my kiddo would have been frustrated with the shoes falling off.


What I particularly liked about learning to make these shoes is that I was able to use what I learned to make much easier espadrilles.  You can see those from my Valentine post (click here).

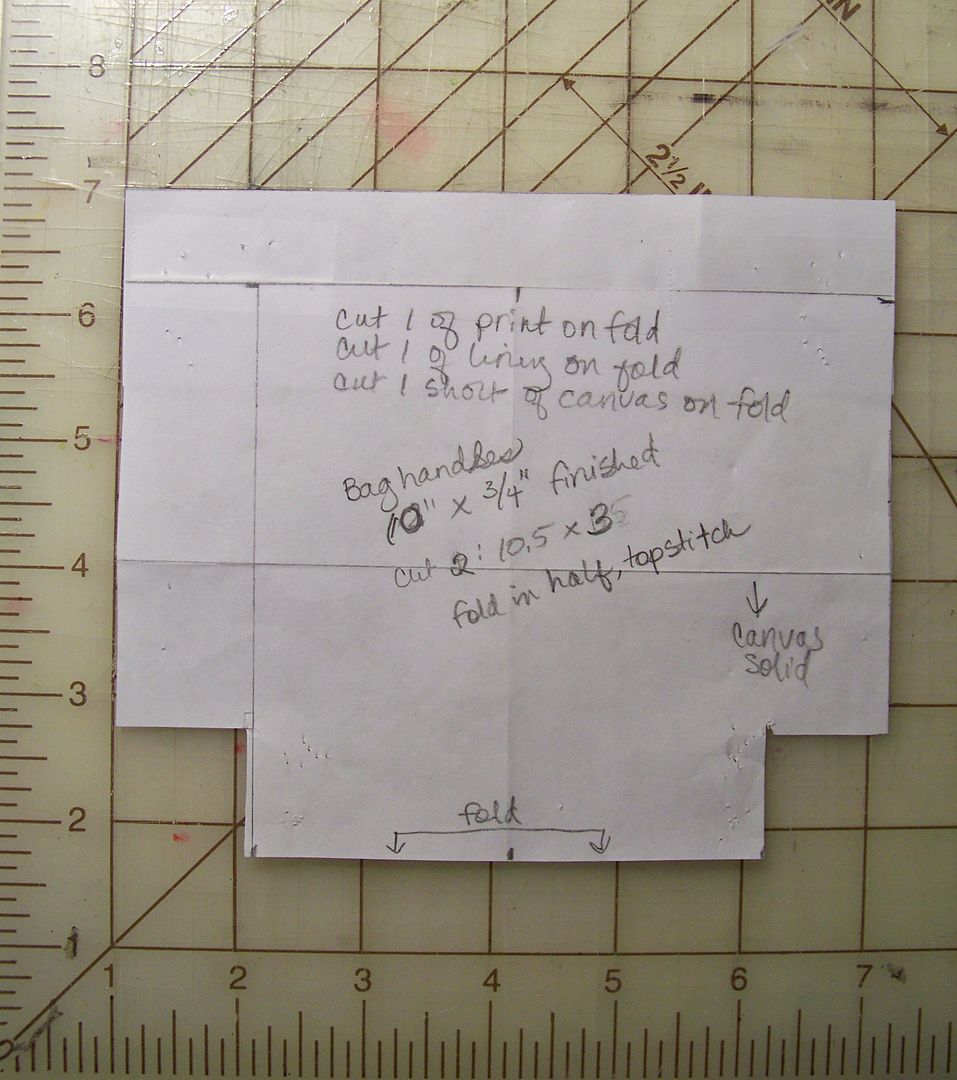
The beach bags I made were just a silly little mini version of any tote bag.  They were fast to make and  fun to embellish to match the suits and cover-ups.


I had so much fun with these and my sweet daughter loved them, which made it all worth the time and effort for sure!

Thank you for checking my blog post today!  To see many of my previous paper projects, check My Project Gallery (click here).  To see many of my previous doll projects, check my Doll Clothing and Accessories page (click here).

Wednesday, February 27, 2013

Cards from Sis and Colleen!

I just wanted to showcase some cards that arrived at my home recently.  What made them extra special was that they weren't even for me.  My crafty friends sent them to members of my family.... and they were so appreciated by them!  I loved their generosity of spirit and kindness that they showed my family!

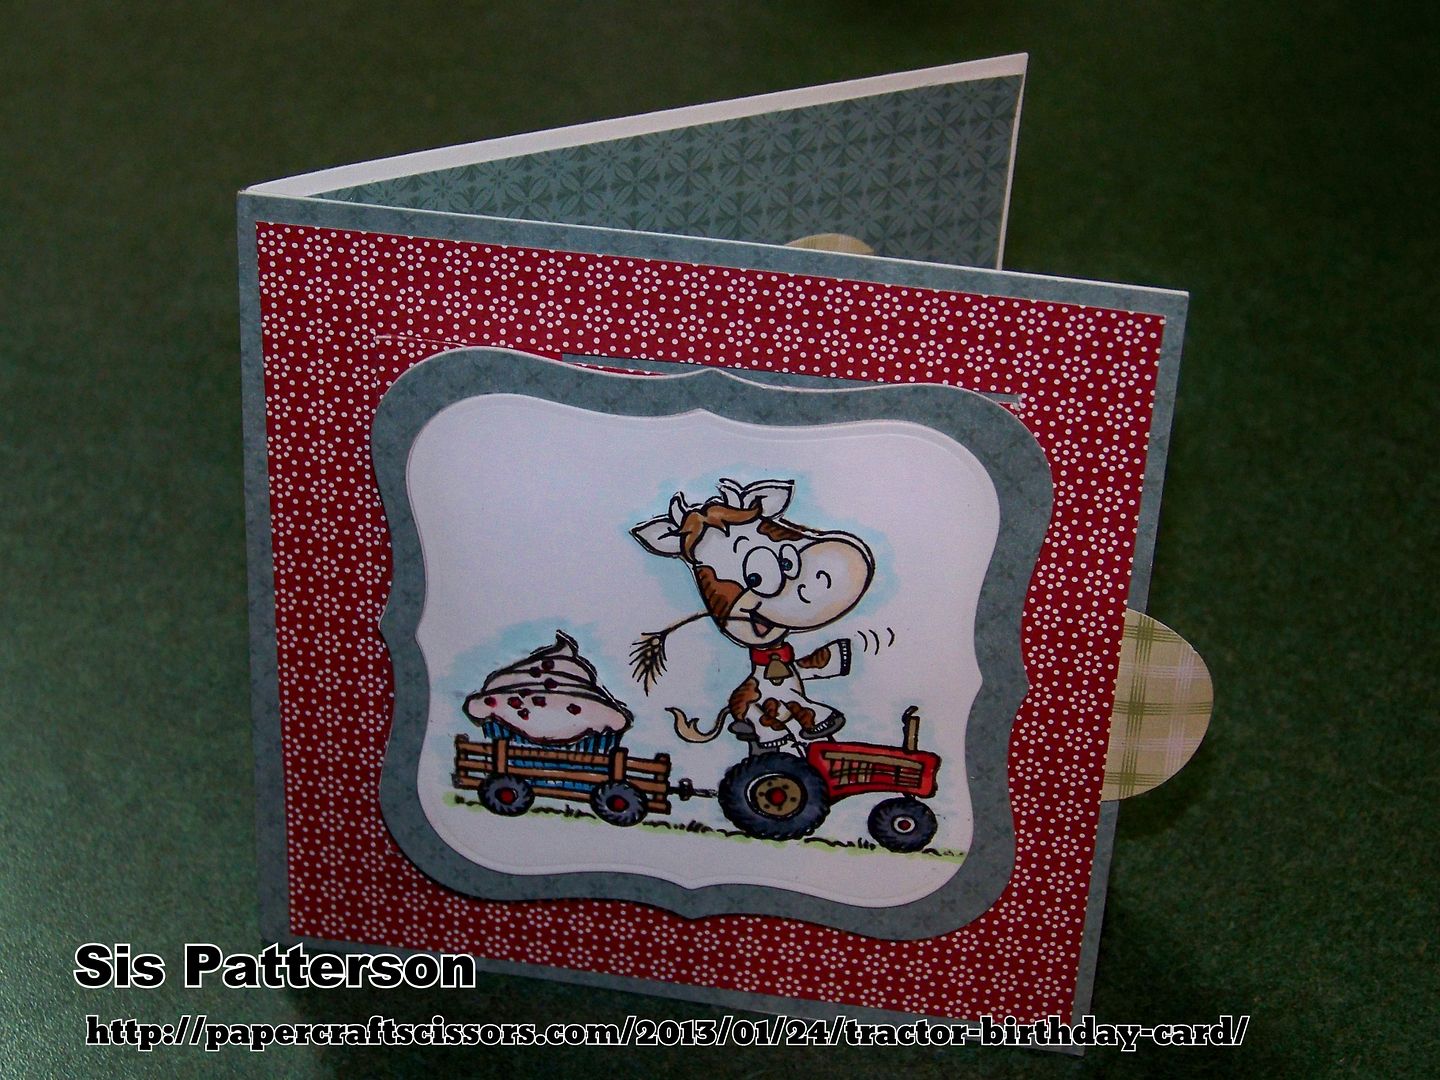
First, back in January, my husband received this card from Sis Patterson of the Paper, Craft, and Scissors blog.  This card features an adorable tractor-driving cow on a slider card!  Everything Sis makes is so well-planned and fun!  I love her imagination and the whimsy she brings to her projects!


When you pull the tab, the artwork pops up and reveals a sentiment.  How cool is that!


A cool thing that Sis does when she sends a dimensional card is to send it in a specially-made box!  I love that touch and it means that her work always comes in perfect condition.  She told me once that her card boxes are made on her Silhouette with a file she purchased.  The boxes are extra sturdy due to  a liner that is cut.


You can see all of Sis' great insights and a link she provides for making this slider card on her blog by clicking here!


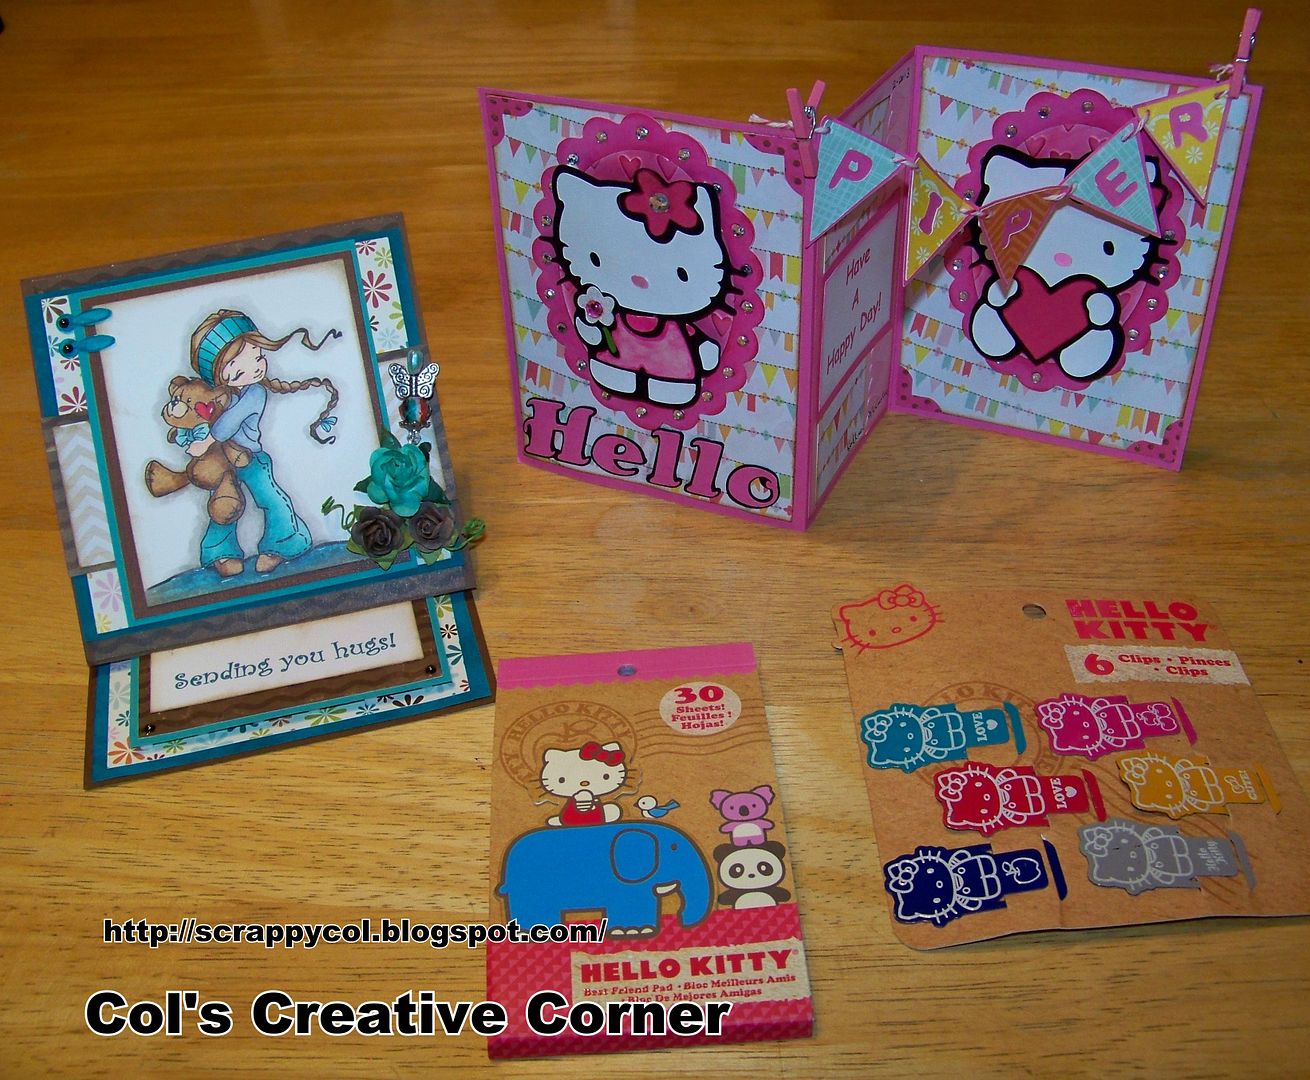
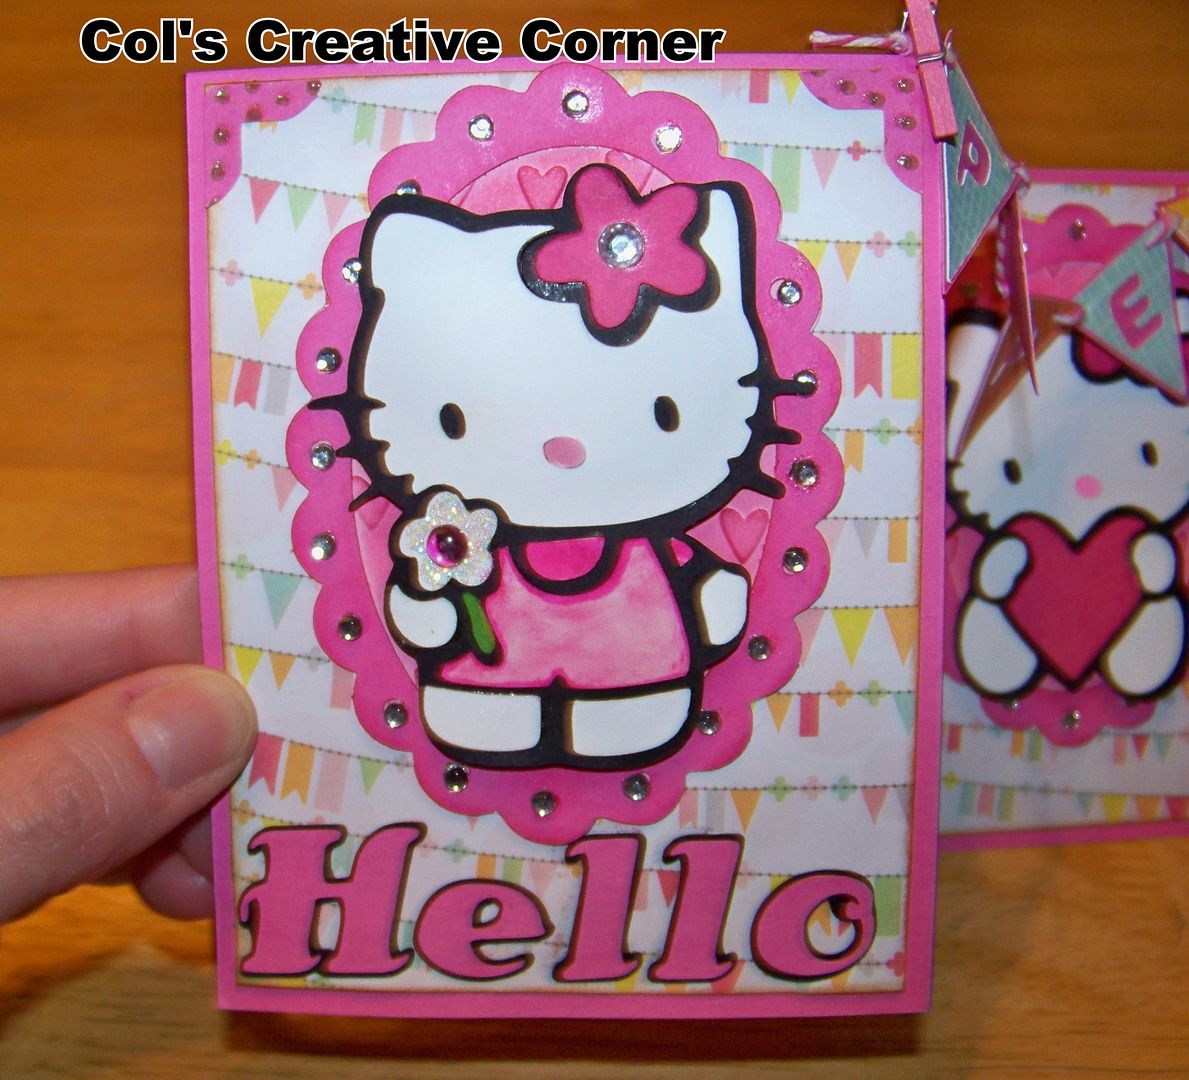
Last week, another package came to the house!  This one was from Colleen McCauley of Col's Creative Corner.  This one had gifts and a card for my daughter... and a card for me too!


The thing about Colleen's projects is that they are not only little works of art, but also so incredibly well-made and sturdy.  This was the first time I had seen Colleen's work in person-- what a treat!

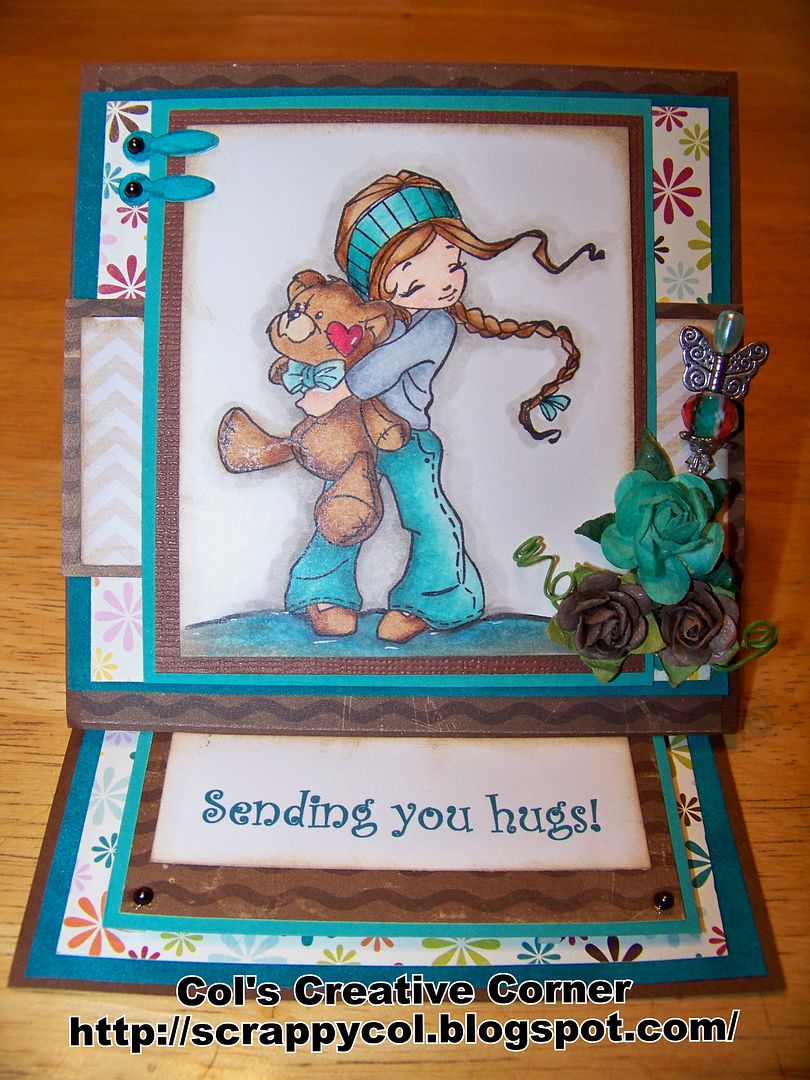
This is the card she made for me.  I just love it!  Look at the coloring on the image-- perfect!


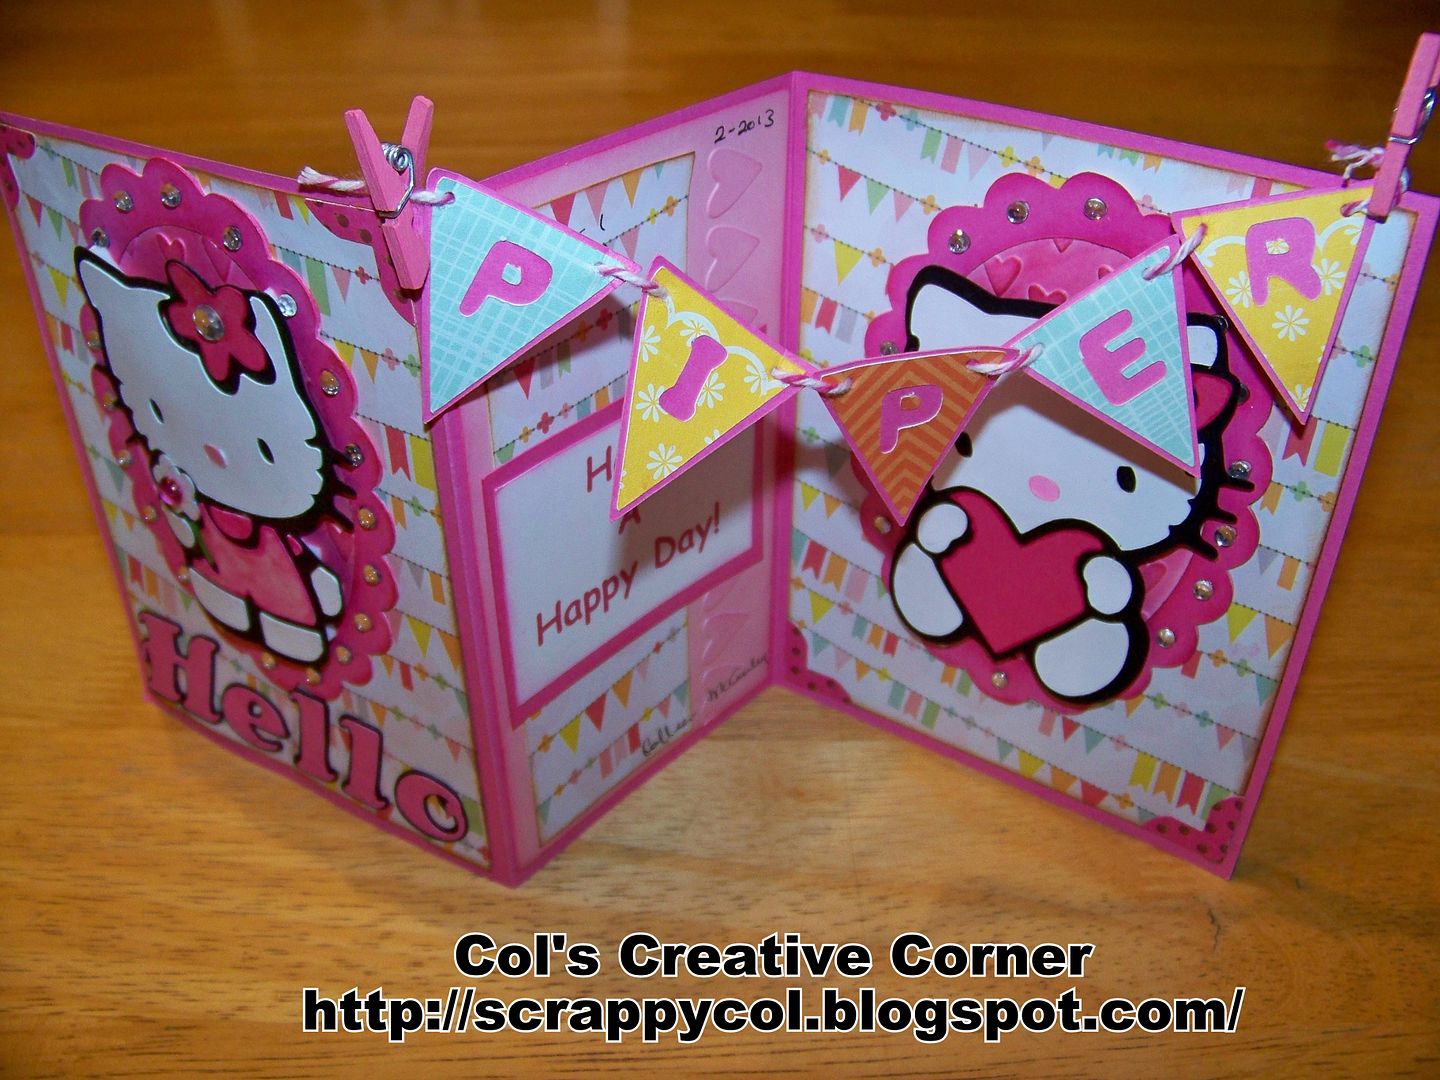
This is the card she made for my daughter... Is this just too cute with the custom mini banner or what!


Piper especially loved the bling!  


These were such lovely testimonials to the generosity and talent of my crafty friends!  I love that they shared their skills and time in this way!  And it is so much fun to see Sis' work in my husband's music room [read: man cave] and Colleen's work in Piper's room!  Thank you ladies, for thinking of us!  

Please visit Sis at her blog, http://papercraftscissors.com/, and Colleen at her blog, http://scrappycol.blogspot.com/!  You will love their crafty inspiration!

Tuesday, February 26, 2013

My new blog address...

So, I was wondering what had happened to my blog!  Had you noticed that it was not accessible?  I lost my custom domain of withglitteringeyes.com (my own stupid mistake) and now I am back to my original blog address:


The only difference is the addition of '.blogspot' in there so I hope it won't be too hard for anyone to find me!  (If you had the custom domain bookmarked, now's the time to edit it!)  It won't affect any of the blinkies and I think that it won't affect anyone receiving updates via email, but it might affect things you have pinned from here for a Pinterest board if pinned during the last year.  I have updated all the links on this blog and on the Cricut Fanatics blog too.  I have also edited all my links on my Pinterest board and on the Cricut Project Center.  Sheesh.... what a pain!

OK, enough of that! Now that my blog drama has settled and I can access my blog again, I am feeling more like myself again!   

Between the changes to Photobucket (YIKES) and my blog challenges, and my kiddo's recent birthday parties, and some work-related stuff, I am ready to share some crafting! 

I have lots to share and hope to have three new posts by the end of next week!!  Here's a preview of coming attractions:

 photo a27e5b0d-3a74-4710-86b4-f21c233b85ef_zpsf59159fd.jpg


One last fun thing....
I have a new Facebook page for this blog!  I always felt like I couldn't really promote my blog or my new posts and projects on my regular Facebook page because I have business-related "friends" and old high school "friends" and church "friends" who I didn't want to bore with my paper and loom crafts and doll projects.  I should have done this long ago and now I am so excited that I will be able to openly discuss my bloggy projects with my friends who really like that sort of thing just like me!!  What can I say, I struggled with self-cenorship!  You can find my new page at  https://www.facebook.com/WithGlitteringEyesBlog.  And if you are not on Facebook, no worries!  I will still be right here of course!
Withglitteringeyes.blogspot.com


Thank you for visiting today!  Off to go get some work done!
To see many of my previous projects, visit My Project Gallery (click here).

Thursday, February 14, 2013

Happy Valentine's Day!


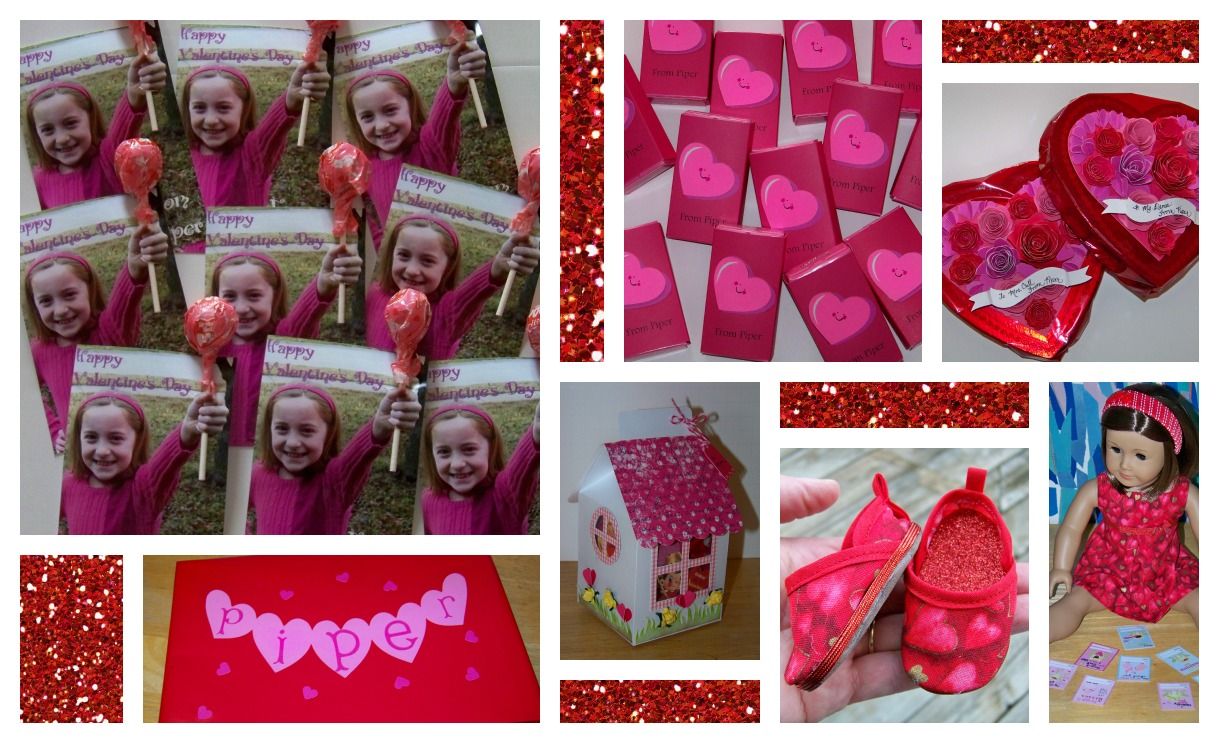
Don't you just love Valentine's Day?  It's such a fun way to overcome the winter blahs!  These are my silly, little Valentine projects.

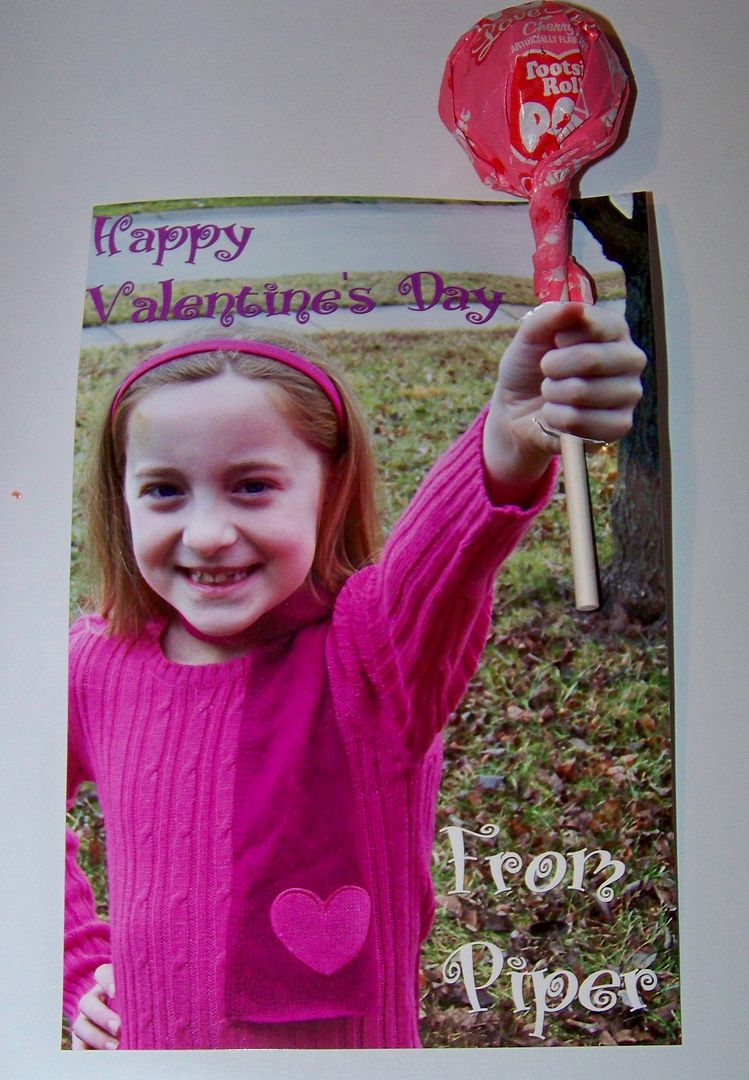
Valentines for Ballet Class


This idea is all over Pinterest.  I have pinned about five different Valentines with this idea; my favorite is on TheFrugalGirls.com.  Click here to see!  These are simply 4"x6" photos with text added.  I used an Xacto knife to cut slits in the photo, on the top and bottom of the hand, for the sucker to fit into.  I love how they really look 3-D.  


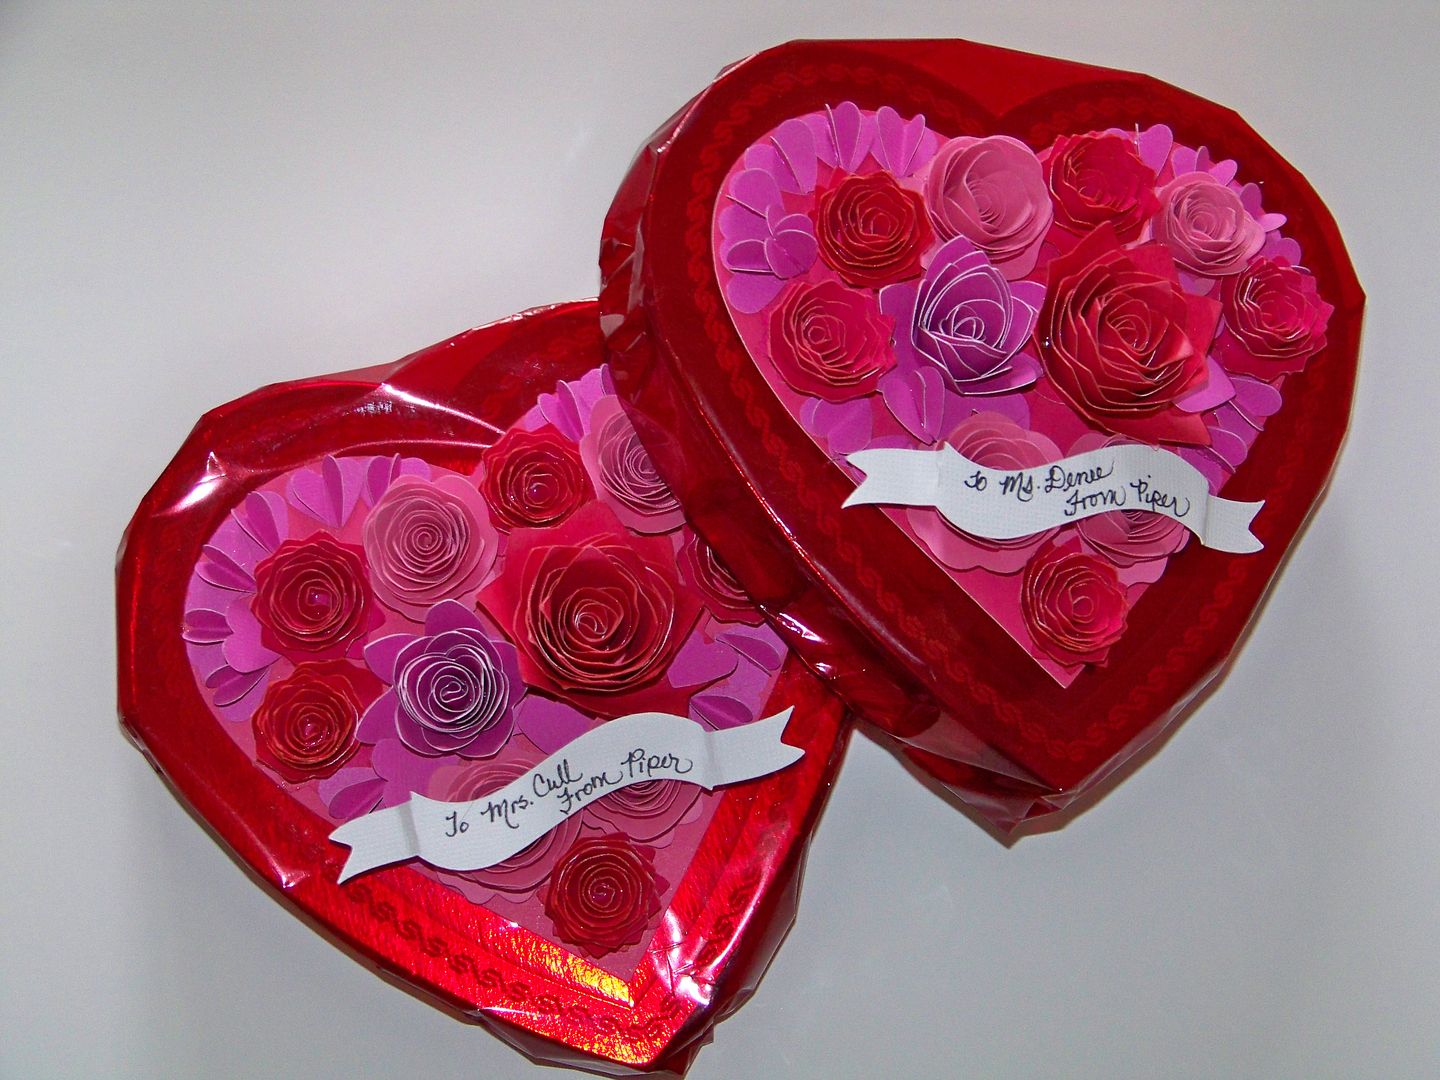
Dressed Up Candy Boxes  


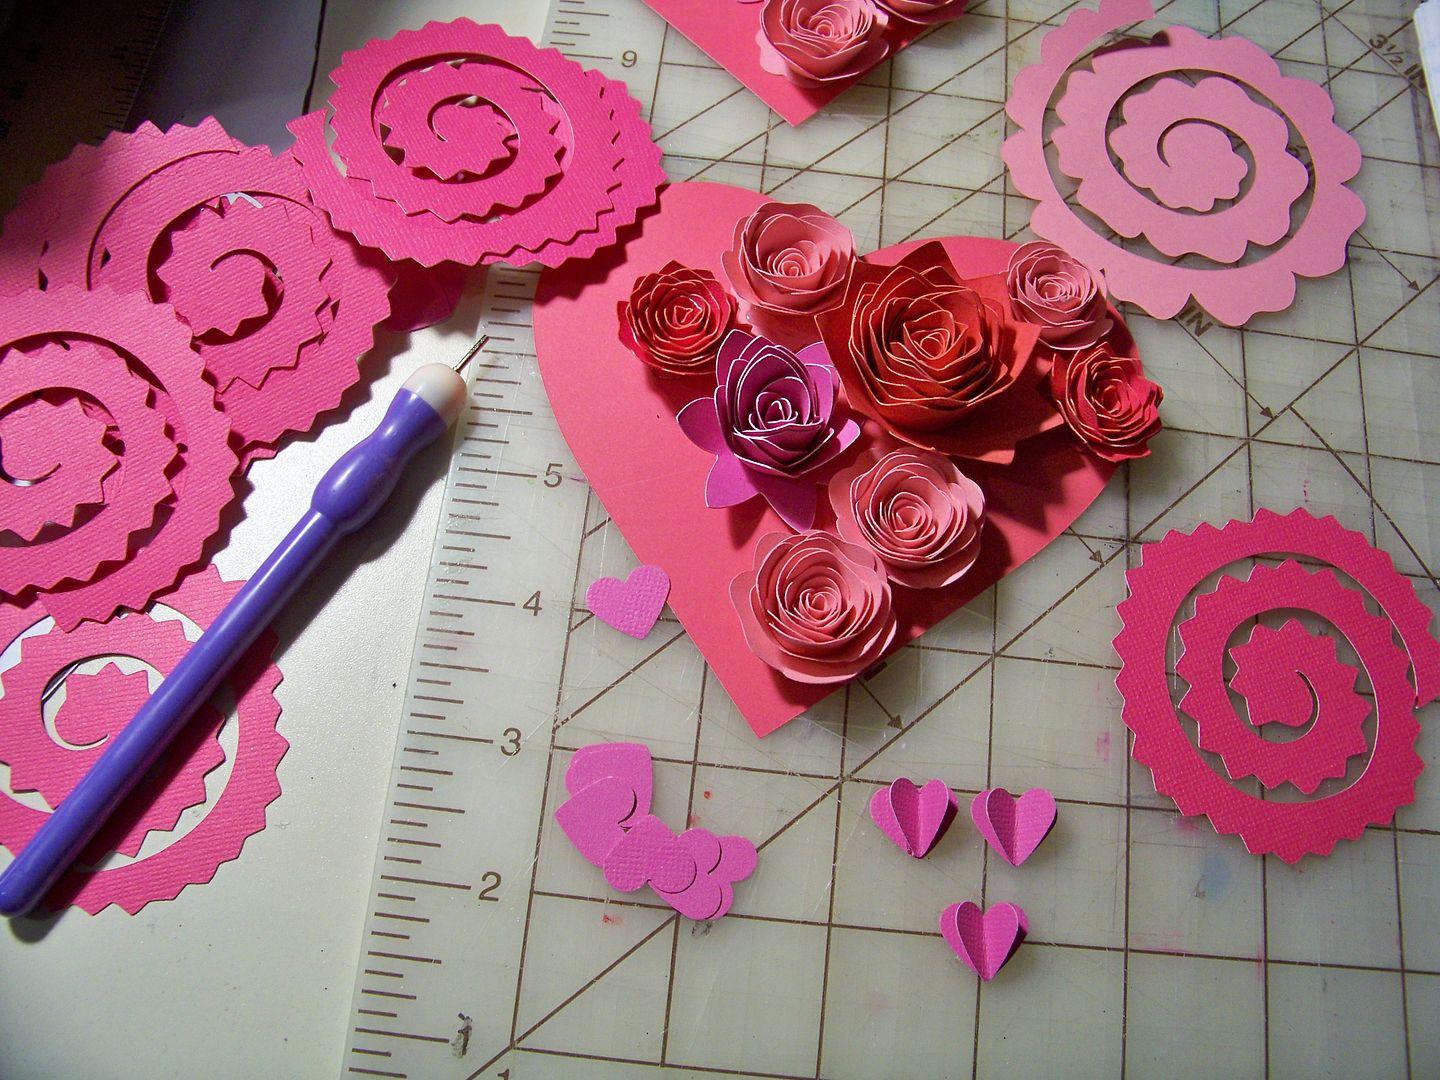
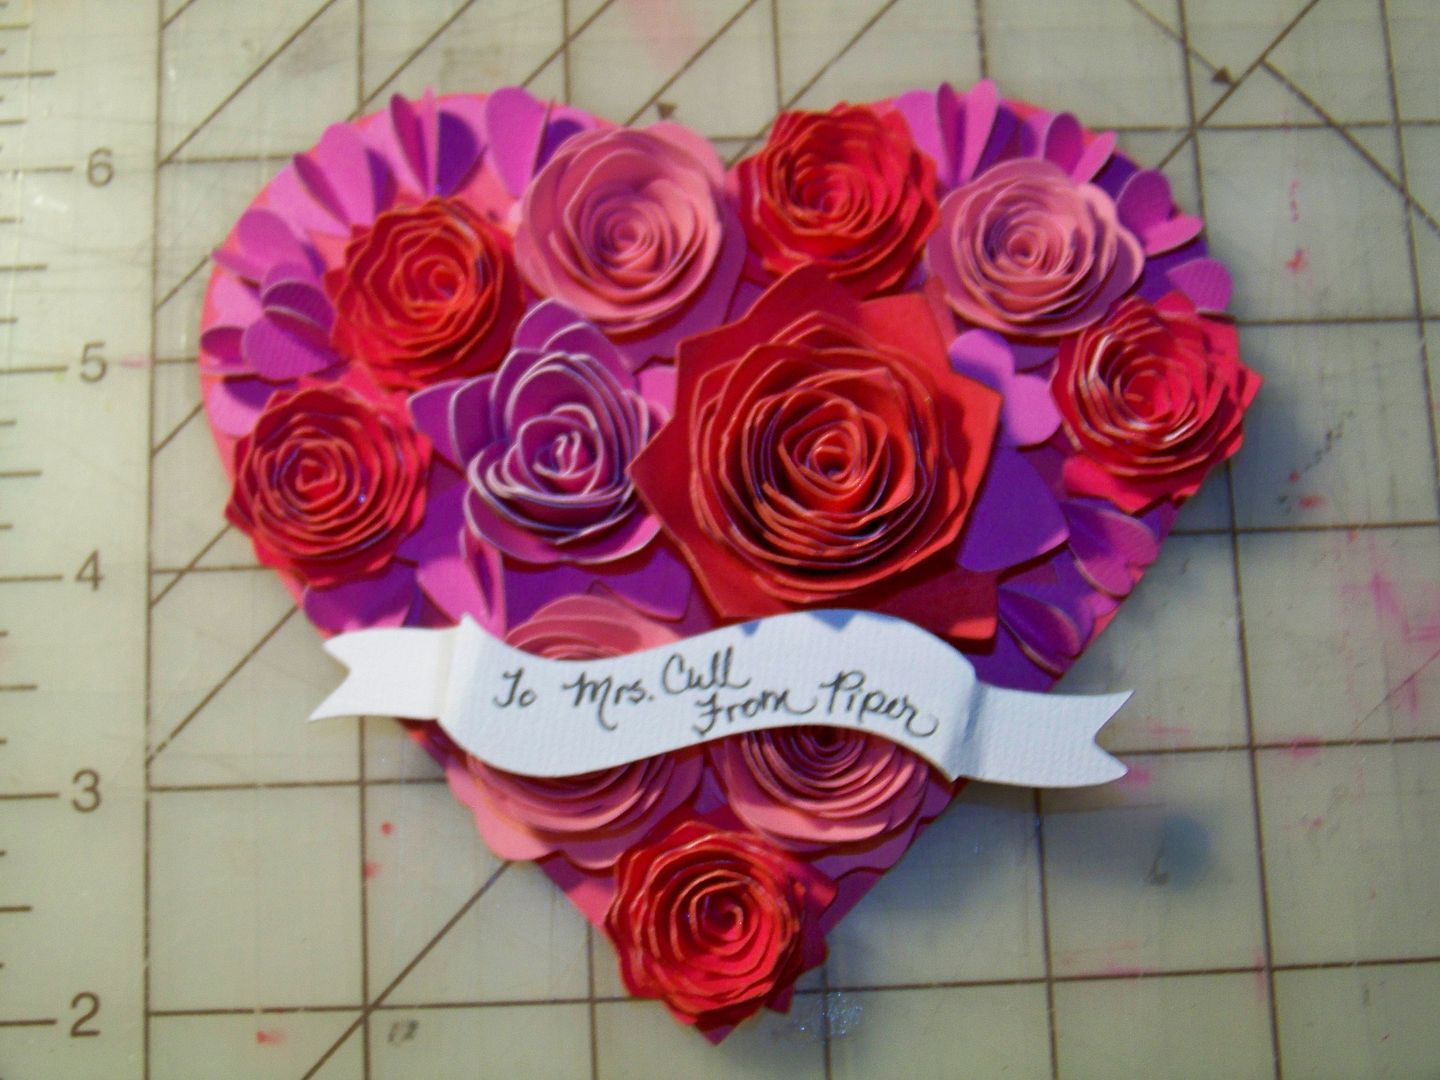
These heart-shaped chocolate-filled boxes are teacher gifts.  The boxes are modest so we needed to dress them up.  
  • The base was cut from Artiste, page 51, at 4-3/4".  
  • The flowers were cut from Artiste, page 54, at 2-3/4" (Accent1-shift), 3-1/4" (Accent2), 4" (Accent 2-shift), and 5-3/4" (Accent1-shift).  
  • The hearts were cut with a punch.  Some were combined to make dimensional by folding one in half and gluing to a flat one.
  • The banner was cut from Holiday Frames and Tags, page 48, at 1".  I folded it at the perforation marks to fake furrowing.
  • All the flowers were hot glued to form and hot glued to the heart base.  The base was attached with Terrifically Tacky double-sided tape.


Religious Valentines for School


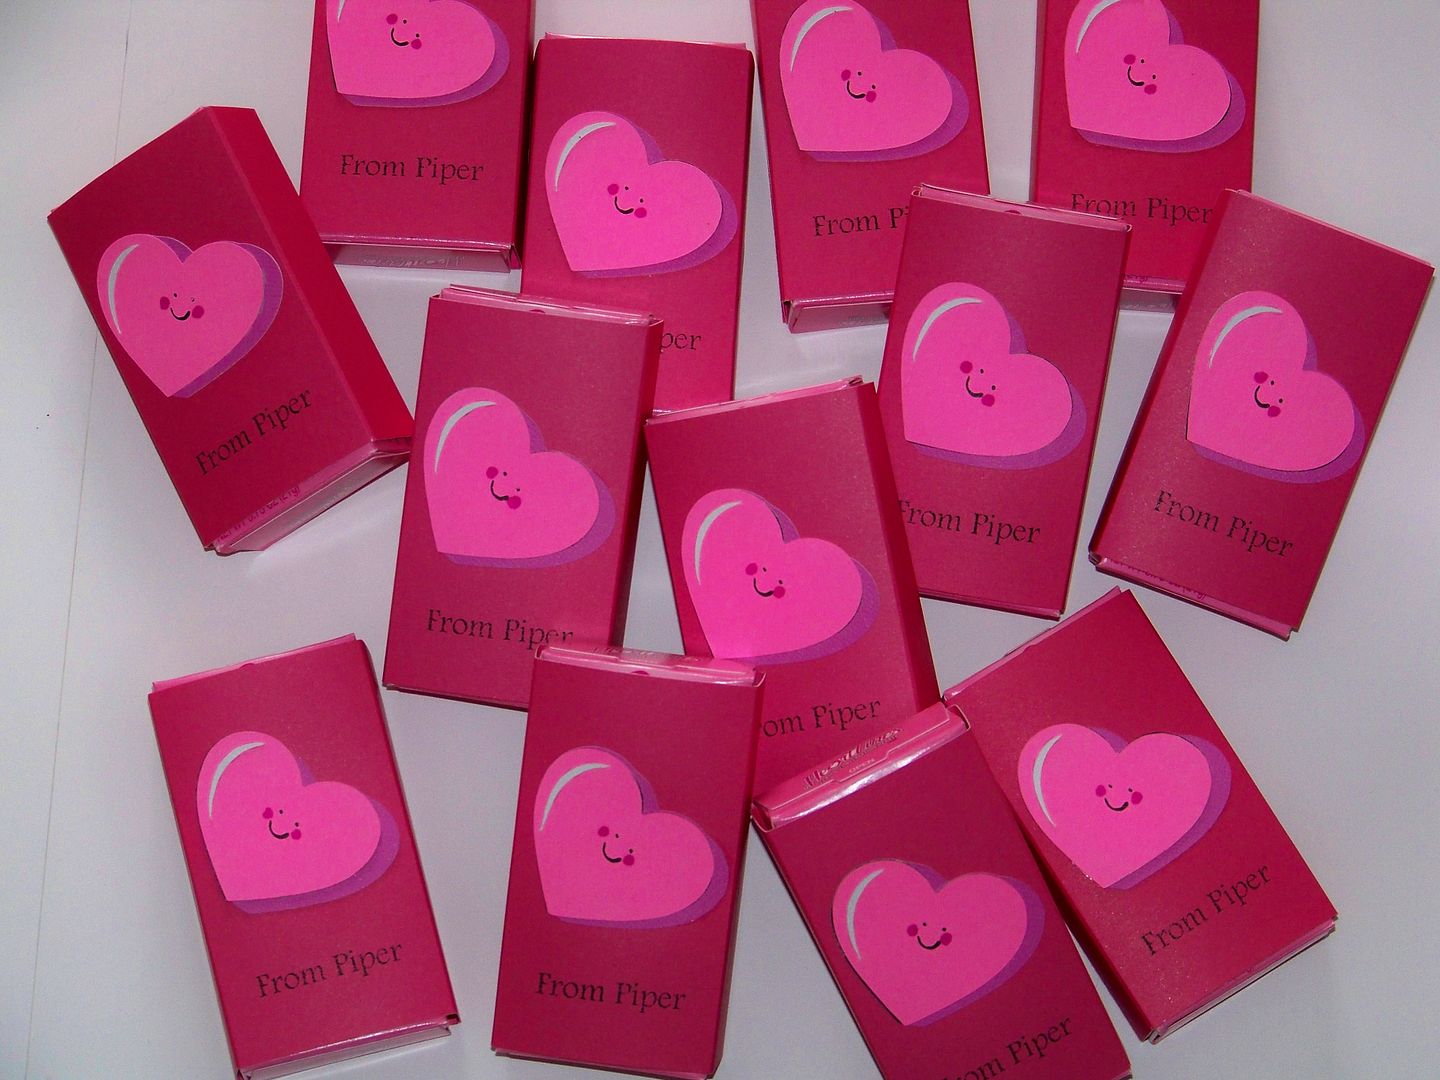
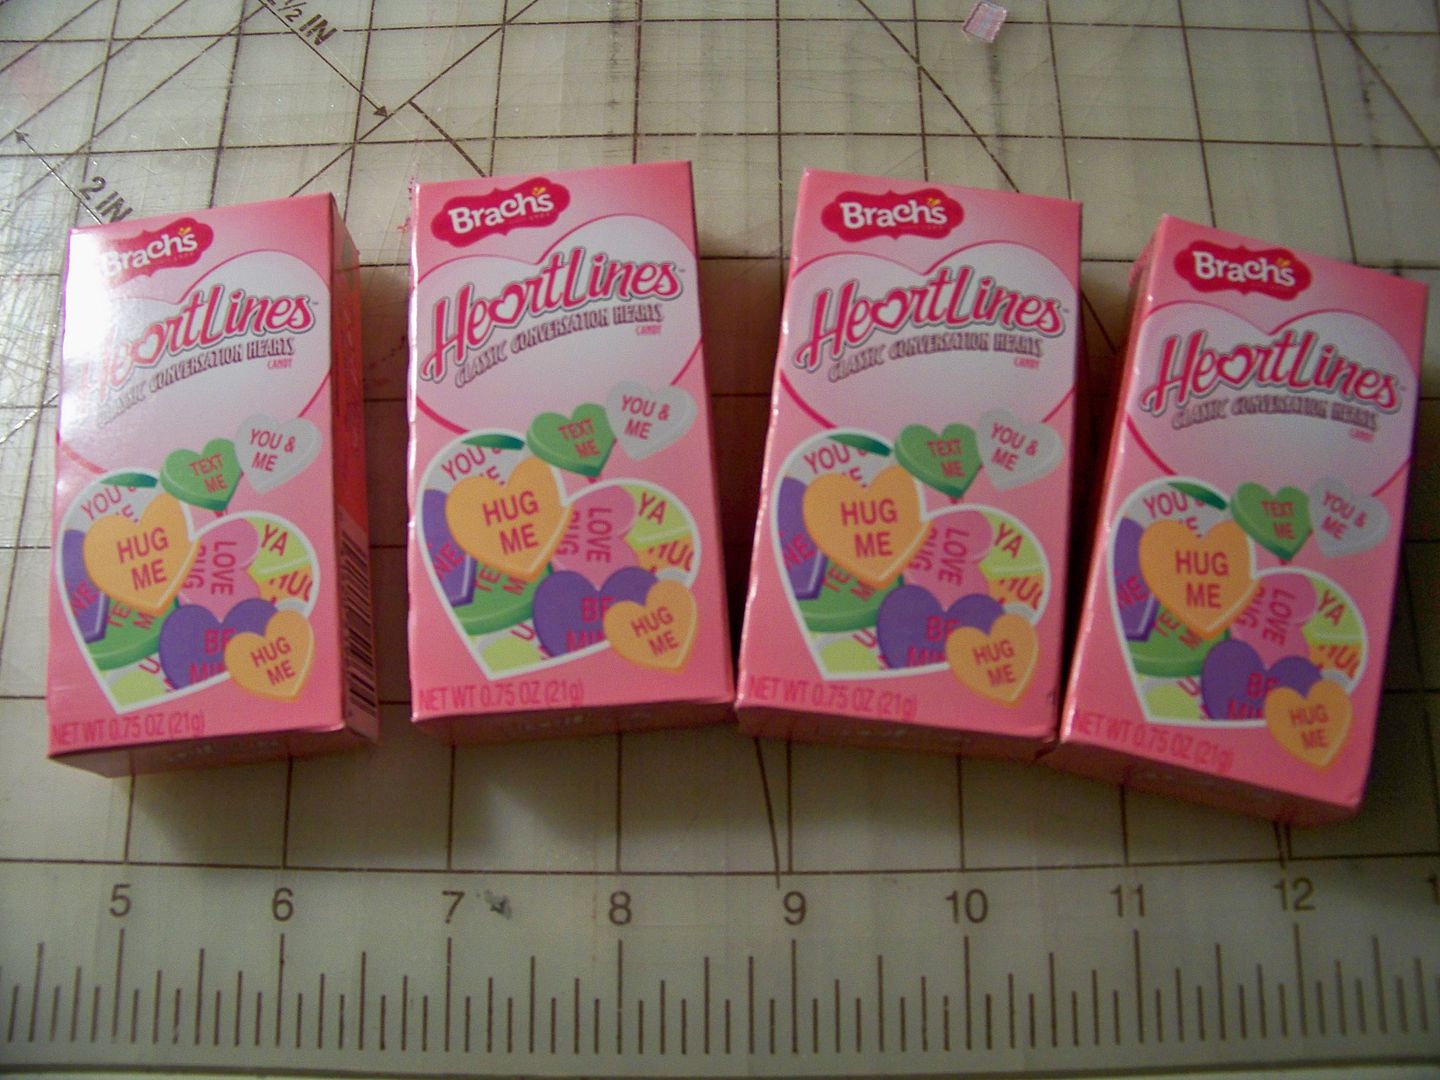
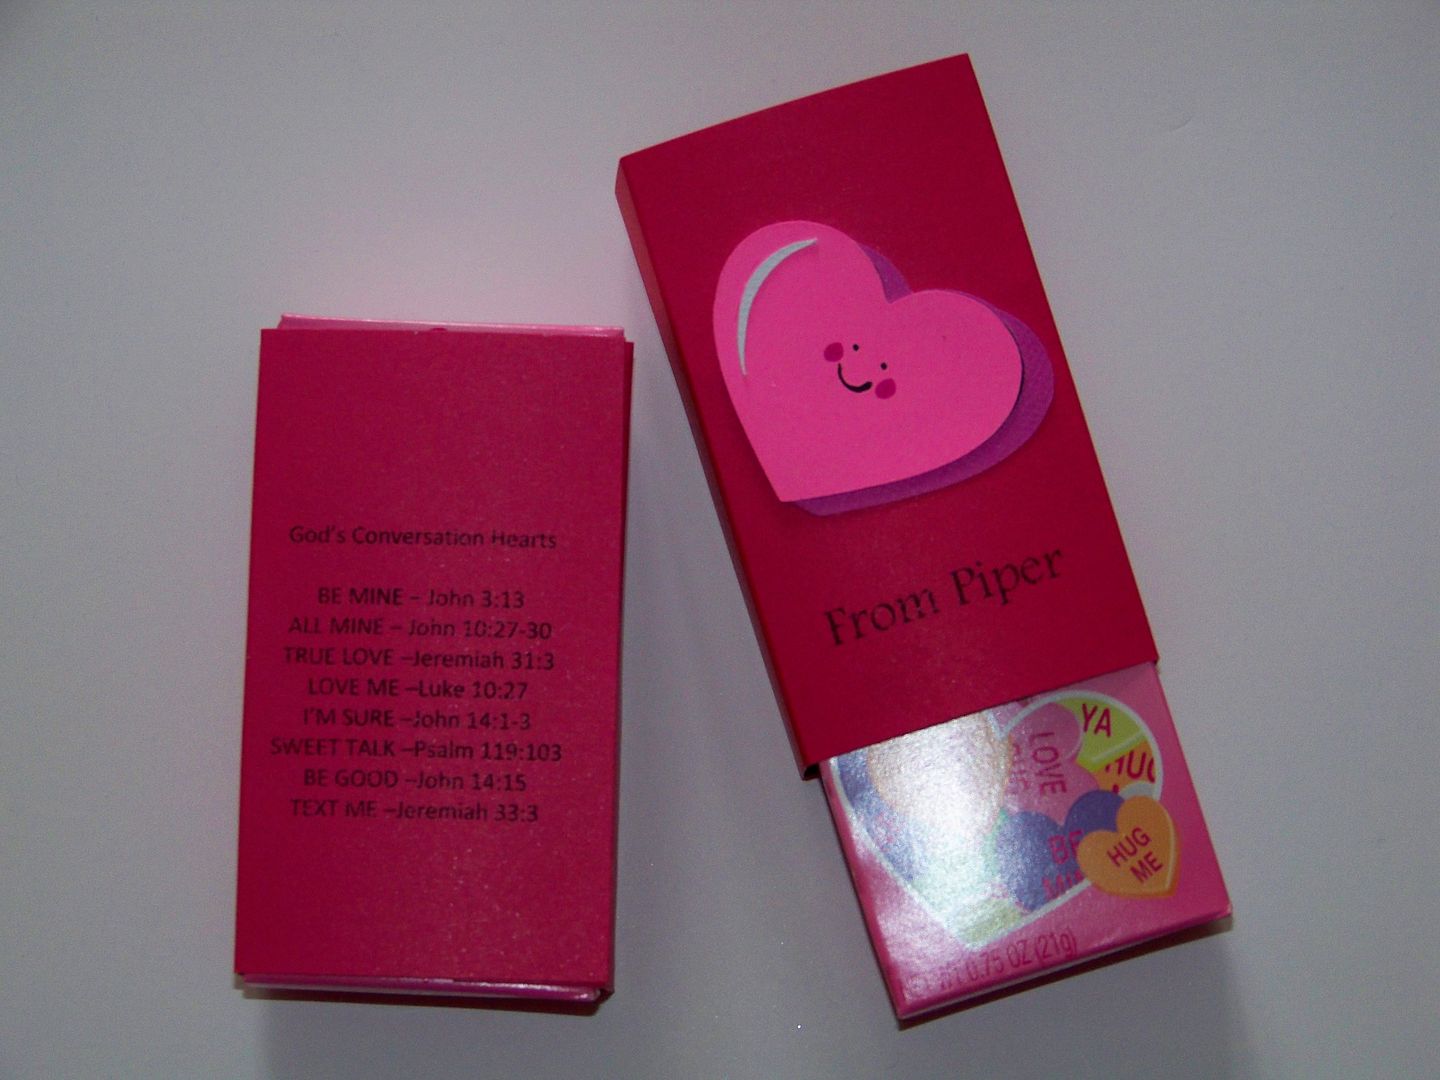
I created a sleeve to dress up inexpensive boxes of Conversation Hearts.  


My kiddo goes to a Christian school so I added Bible verse references to the packaging. 


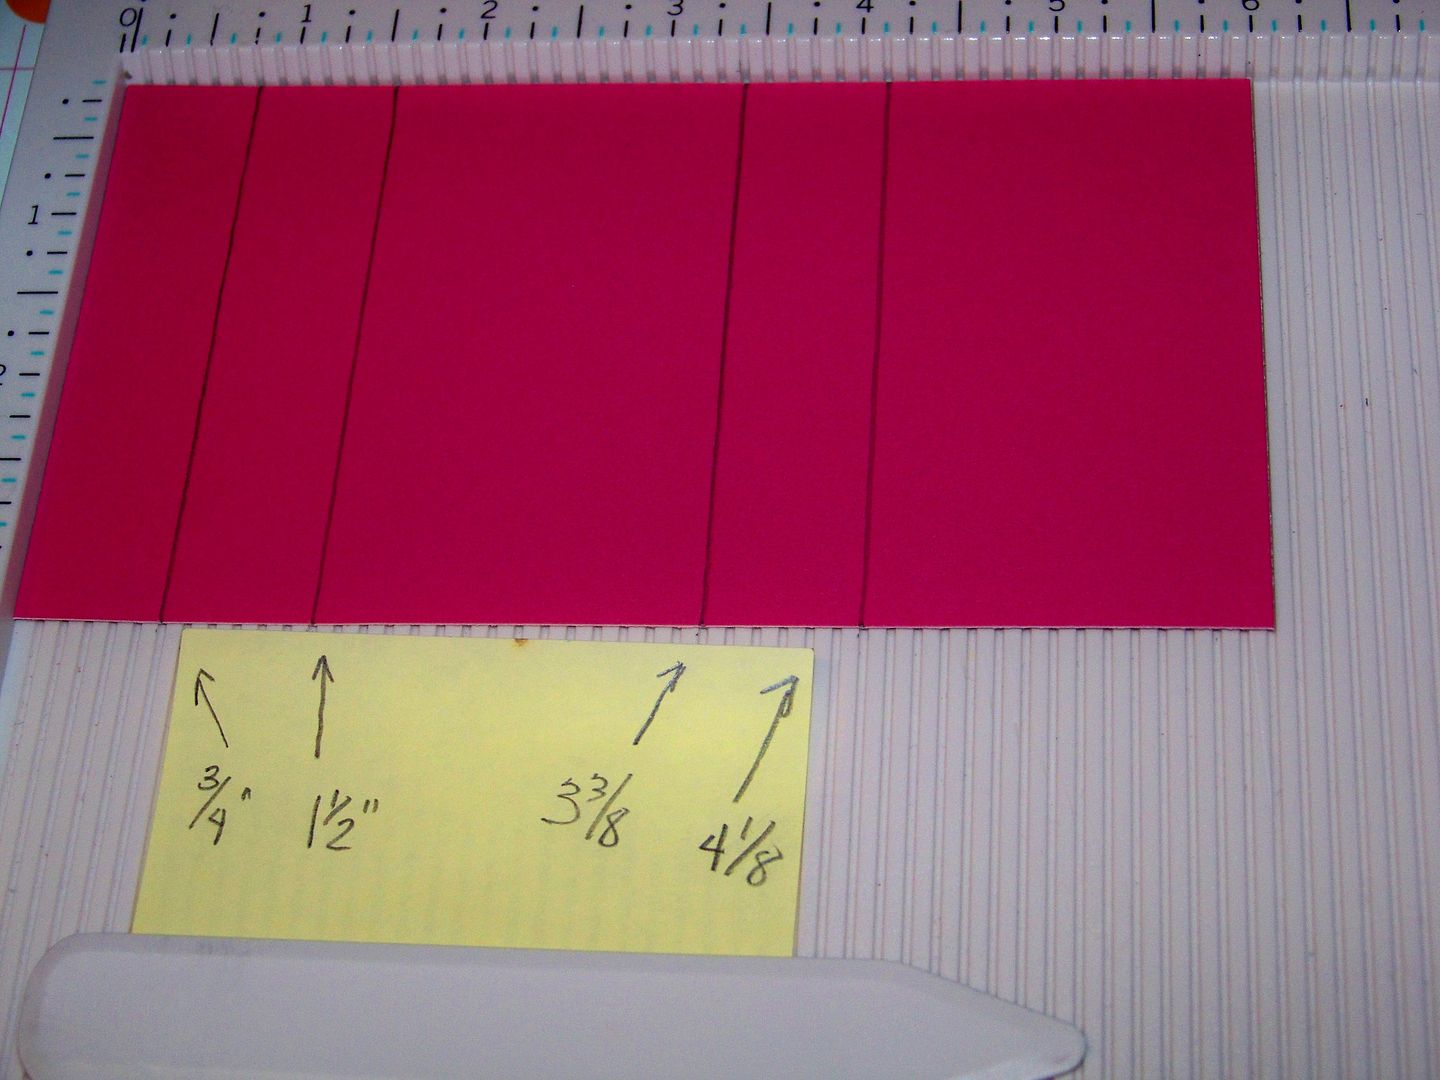
  • The base was trimmer-cut to 6" x 3-1/4".  
  • I scored the base at 3/4", 1-1/2", 3-3/8", and 4-1/8".
  • The smiling heart was cut from Simply Charmed.
  • I printed the Bible references directly onto the base from my computer.  I got the idea from a blog post by Julia Bettencourt that I saw on Pinterest .  You can find her blog post by clicking here.  I changed her "Fax Me" to "Text Me" but otherwise, I used her text.  I thought this was so sweet and clever.  In case you are interested in Juilia's take on how the phrases match up to verses:
BE MINE - John 3:13
ALL MINE - John 10:27-30
TRUE LOVE - Jeremiah 31:3
LOVE ME - Luke 10:27
I'M SURE - John 14:1-3
SWEET TALK - Psalm 119:103
BE GOOD - John 14:15
TEXT ME - Jeremiah 33:3

Dolly Gifts for My Daughter


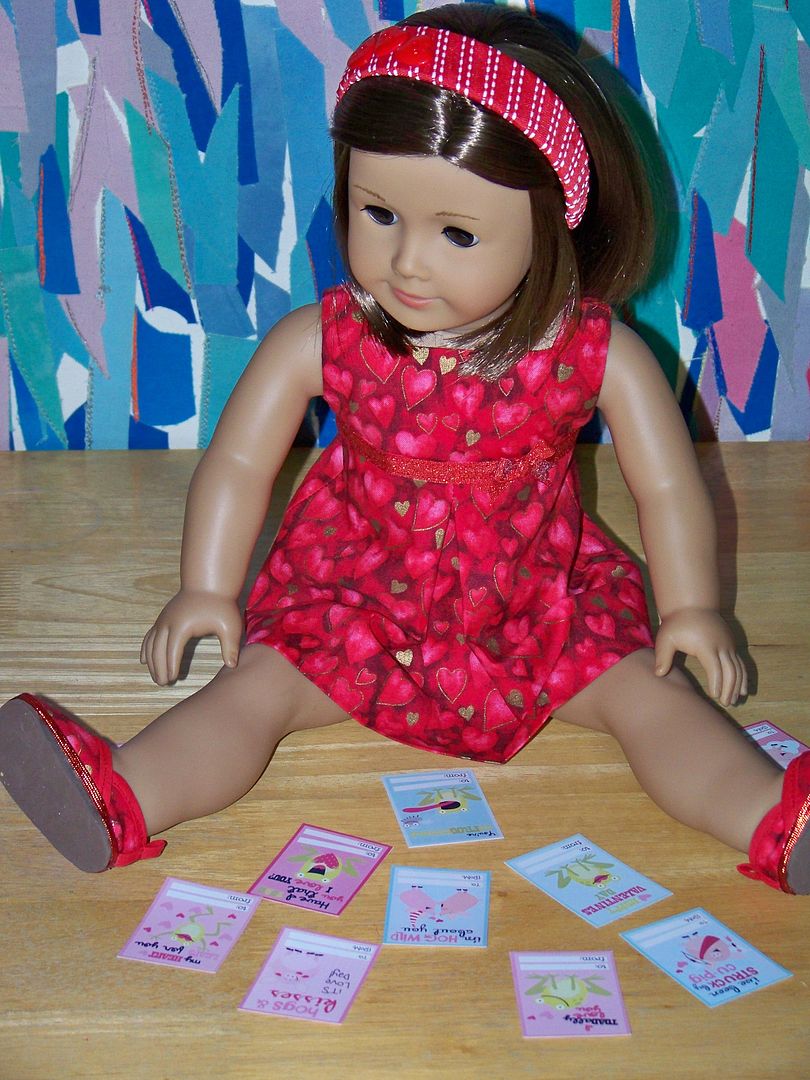
I made a little Valentine dress for my daughter's doll from a pattern purchased from Kotton Candy Doll Fashions.  This is the pleated sundress.  I have made this pattern lots of times.  It has a perfect fit on American Girl dolls and I have gotten it to the point where I can complete it in an hour.  Click here for the pattern on Etsy.  To see more dresses I made previously with this pattern, click here.


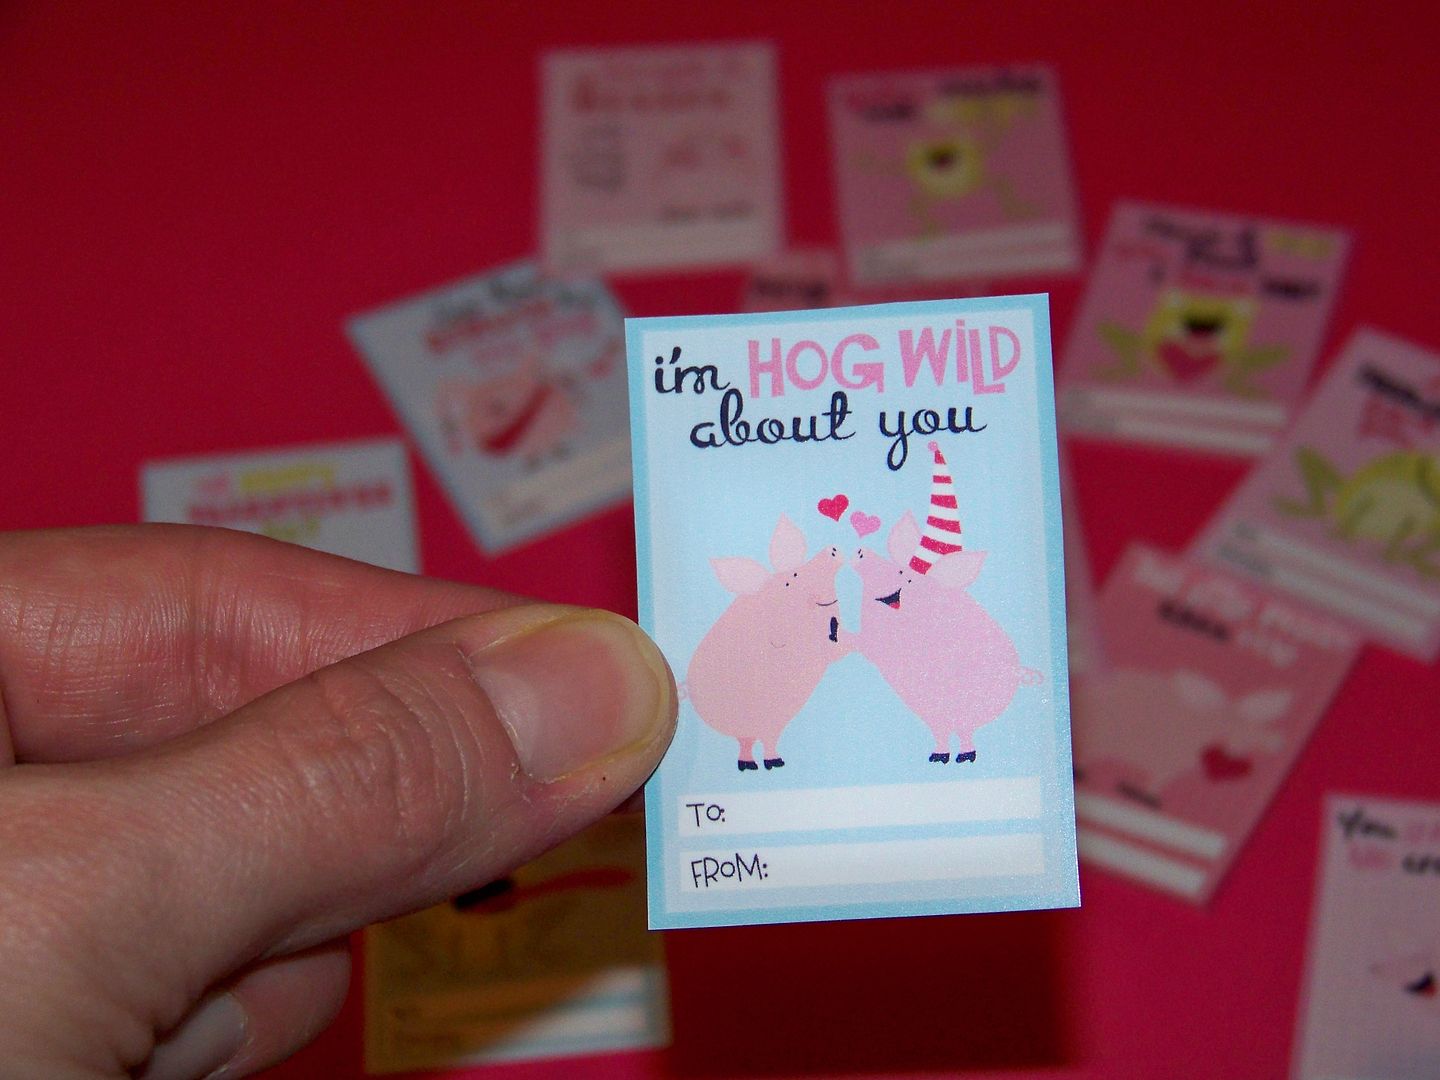
For fun, I purchased some cute "easy peasy" Valentines from Lettering Delights.  I love that I can change the size and print these off in "doll size" for my daughter.  I imagine that she will have her dolls exchange Valentine cards with these.


To get to this mini size, I used the jpeg file and printed each group to fit a 5x7 format.  This allowed both styles to fit on one 8-1/2" x 11" glossy photo paper.  These are the 'Hogs and Kisses' and 'Frogs and Kisses' Valentines.  Click here to see all the styles available.

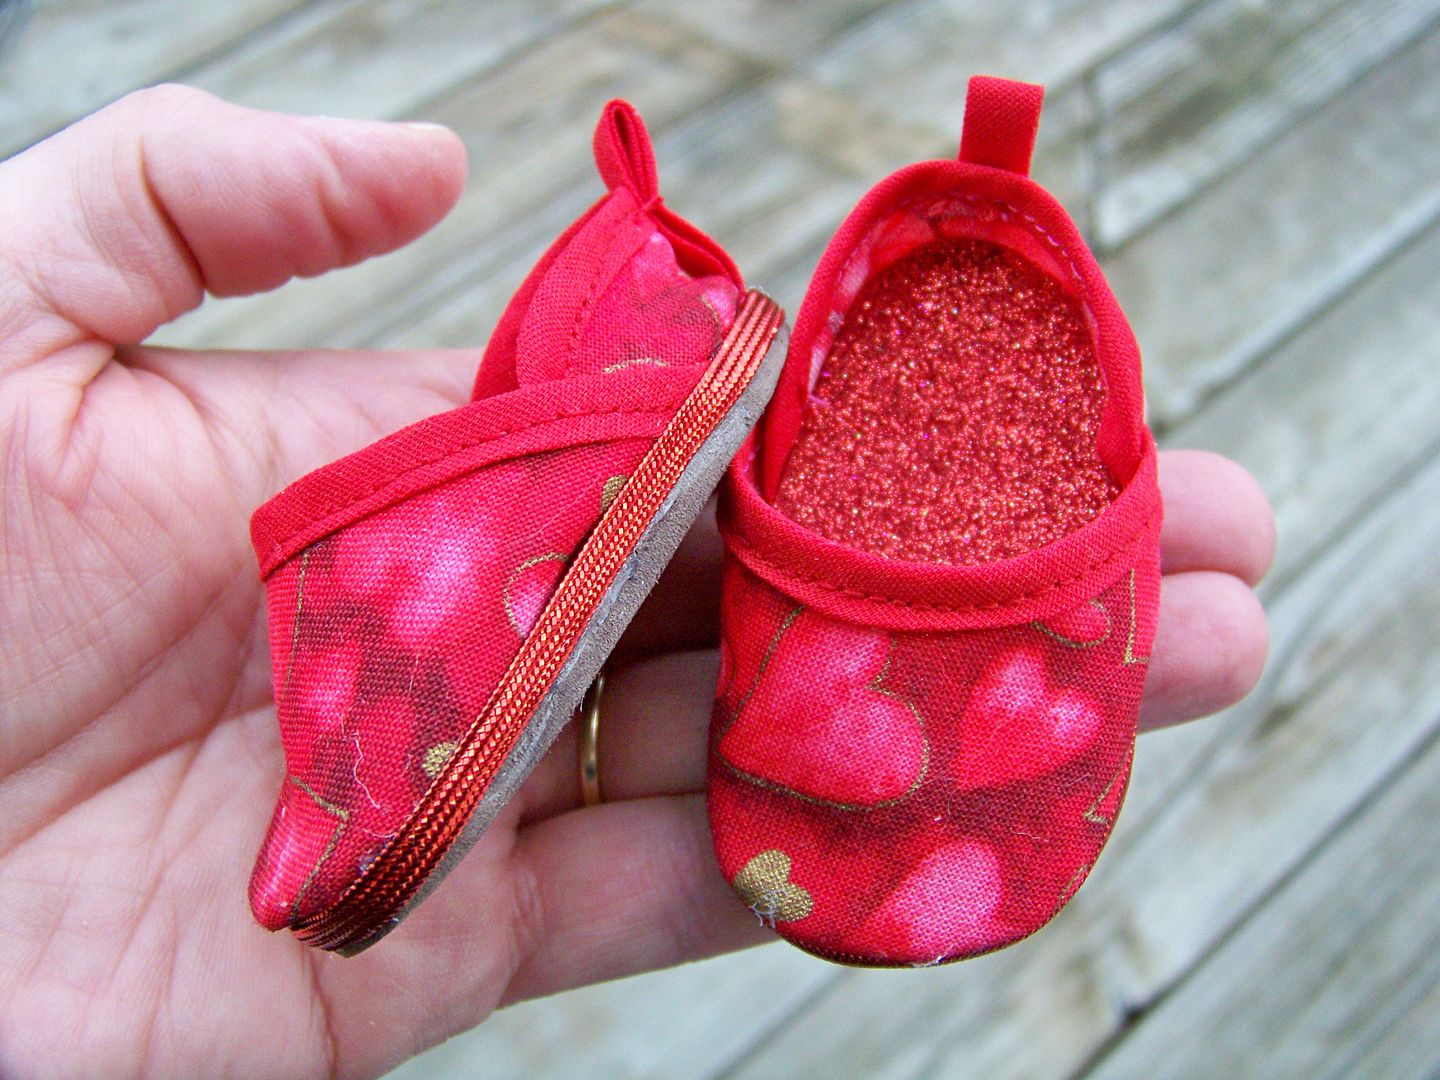
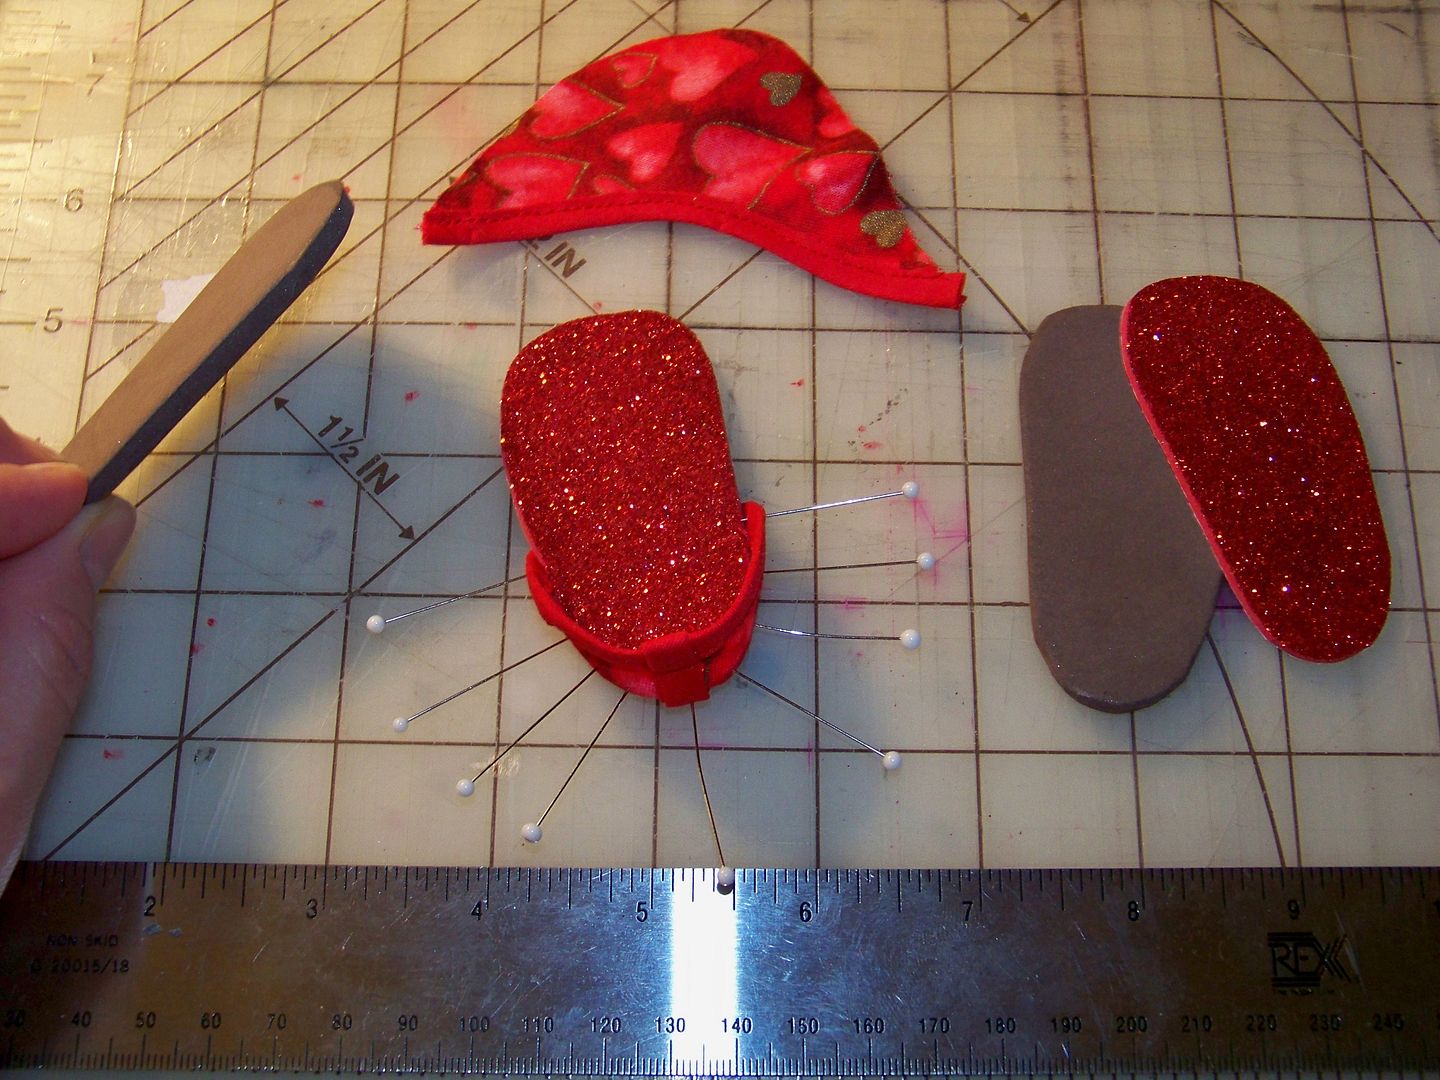
I have been so afraid to make doll shoes.. but a doll clothes sew-along Yahoo Group that I am a part of recently shared a flip flop doll pattern for this month's sew along and I forced myself to try it.  Well, they created a monster because I have made tons of flip flops and gained enough courage to try espadrilles!  I didn't follow the pattern, using what I learned from the flip flops, to make them so much easier!


Instead of covering a board in fabric, attaching that to a secondary layer, and adding cork to the bottoms, I simply used one piece of thin 'fun foam' to attach the fabric upper and heel.  (I found glitter foam!)  I hot glued that to 5mm 'fun foam'.  I attached metallic middy braid to the edges instead of jute trim.  These go together in minutes!!


I used this pattern that you can find on the Liberty Jane site!  Click here to see it.


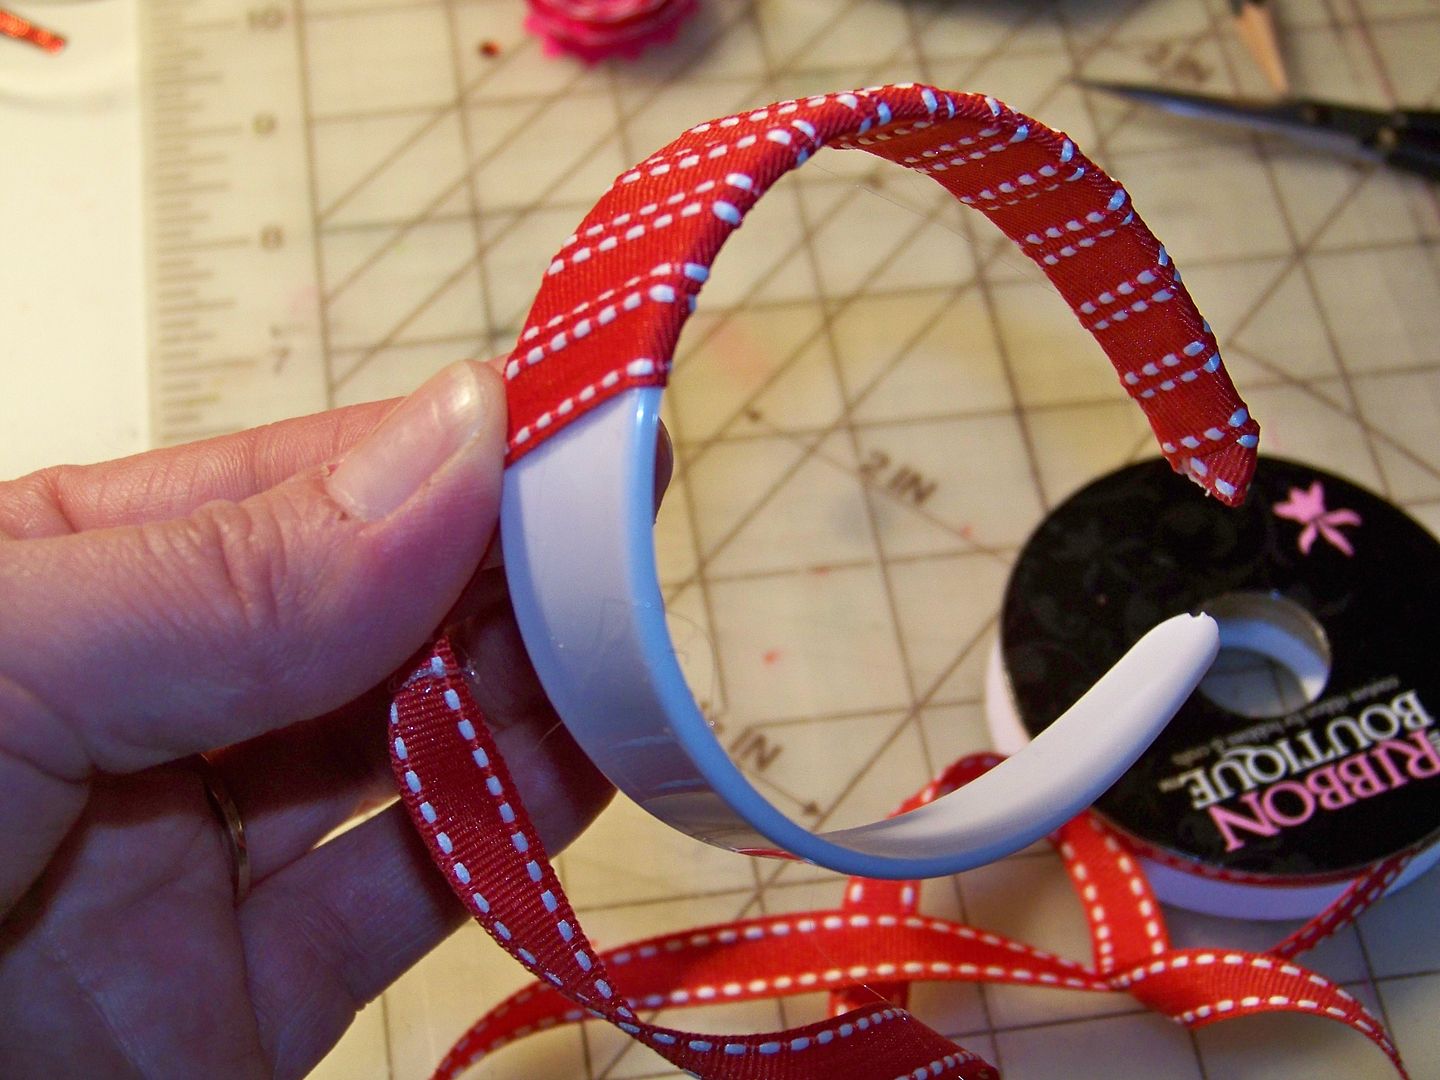
I covered a doll-sized headband blank with 5/32" ribbon, hot gluing to keep in place.  I hot glued a few heart-shaped buttons to the top.  To see the source for the headband blanks, click here.


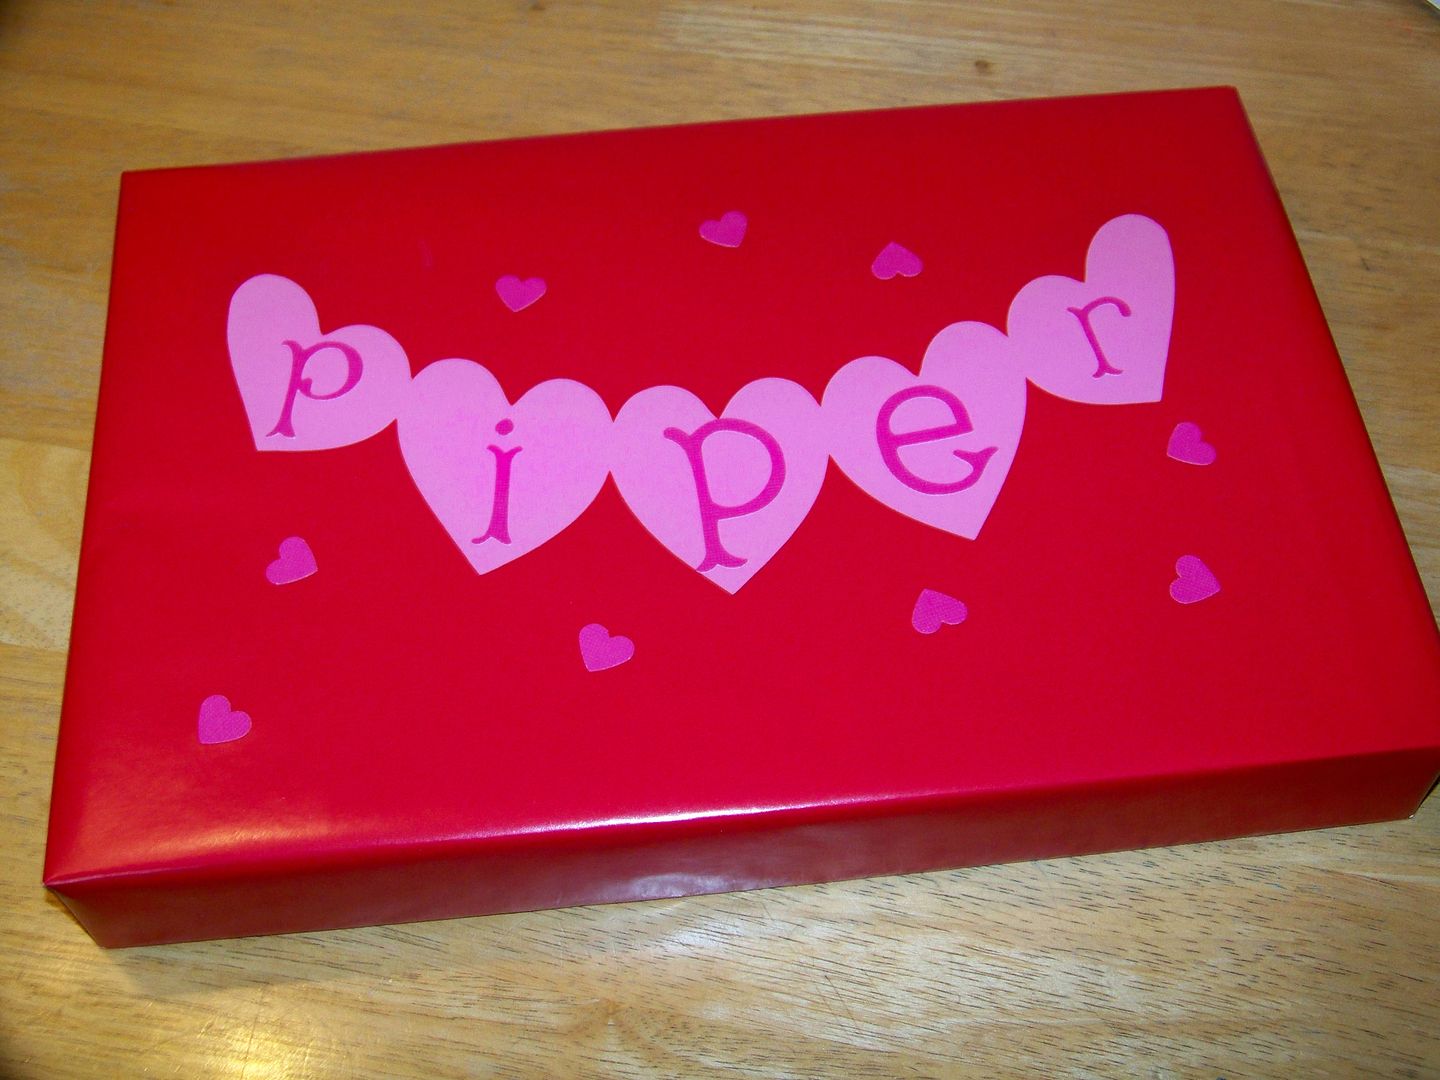
Super simple, super fast gift wrap for this gift used Victorian Romance for the heart banner, cut at 4-3/4" and letters from Holiday Frames and Tags, Nordic Font, cut at 1-3/4" and 2-1/4".


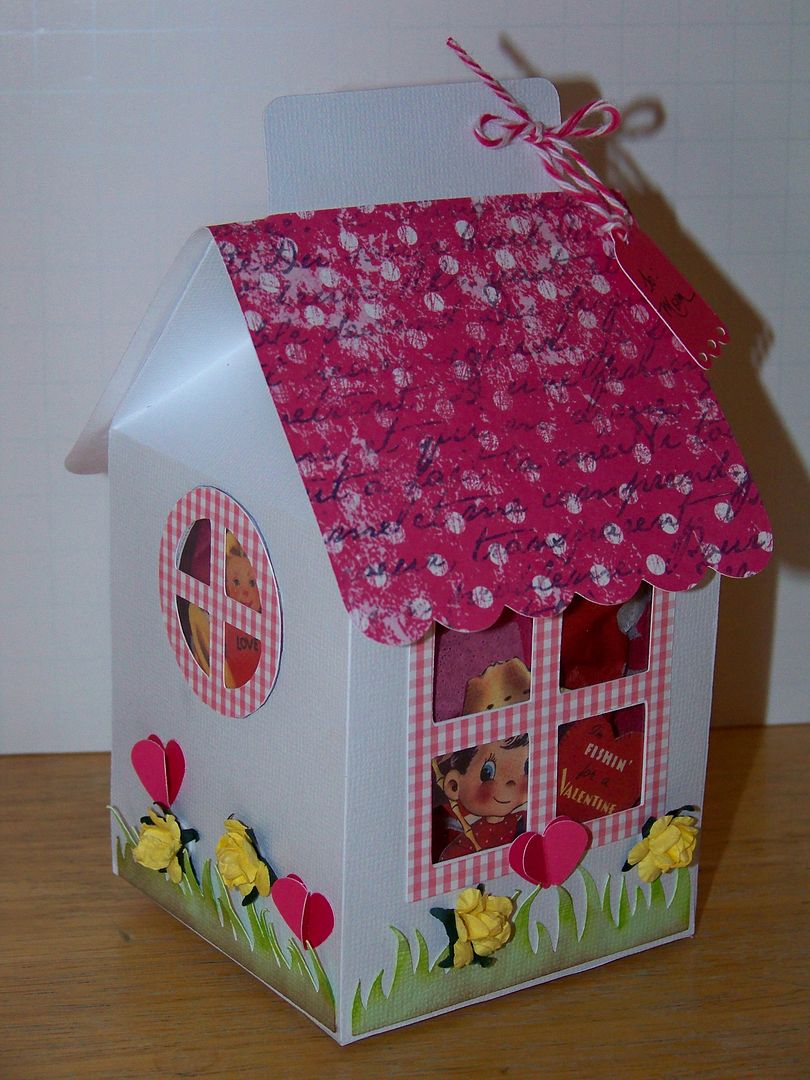
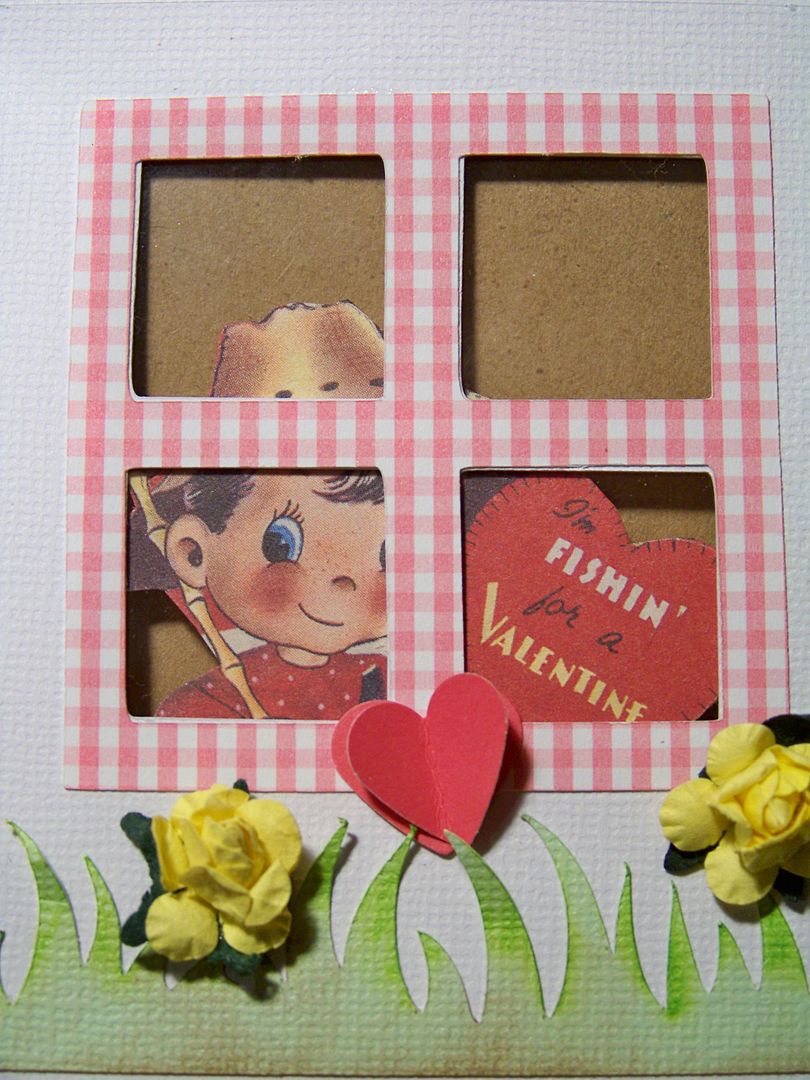
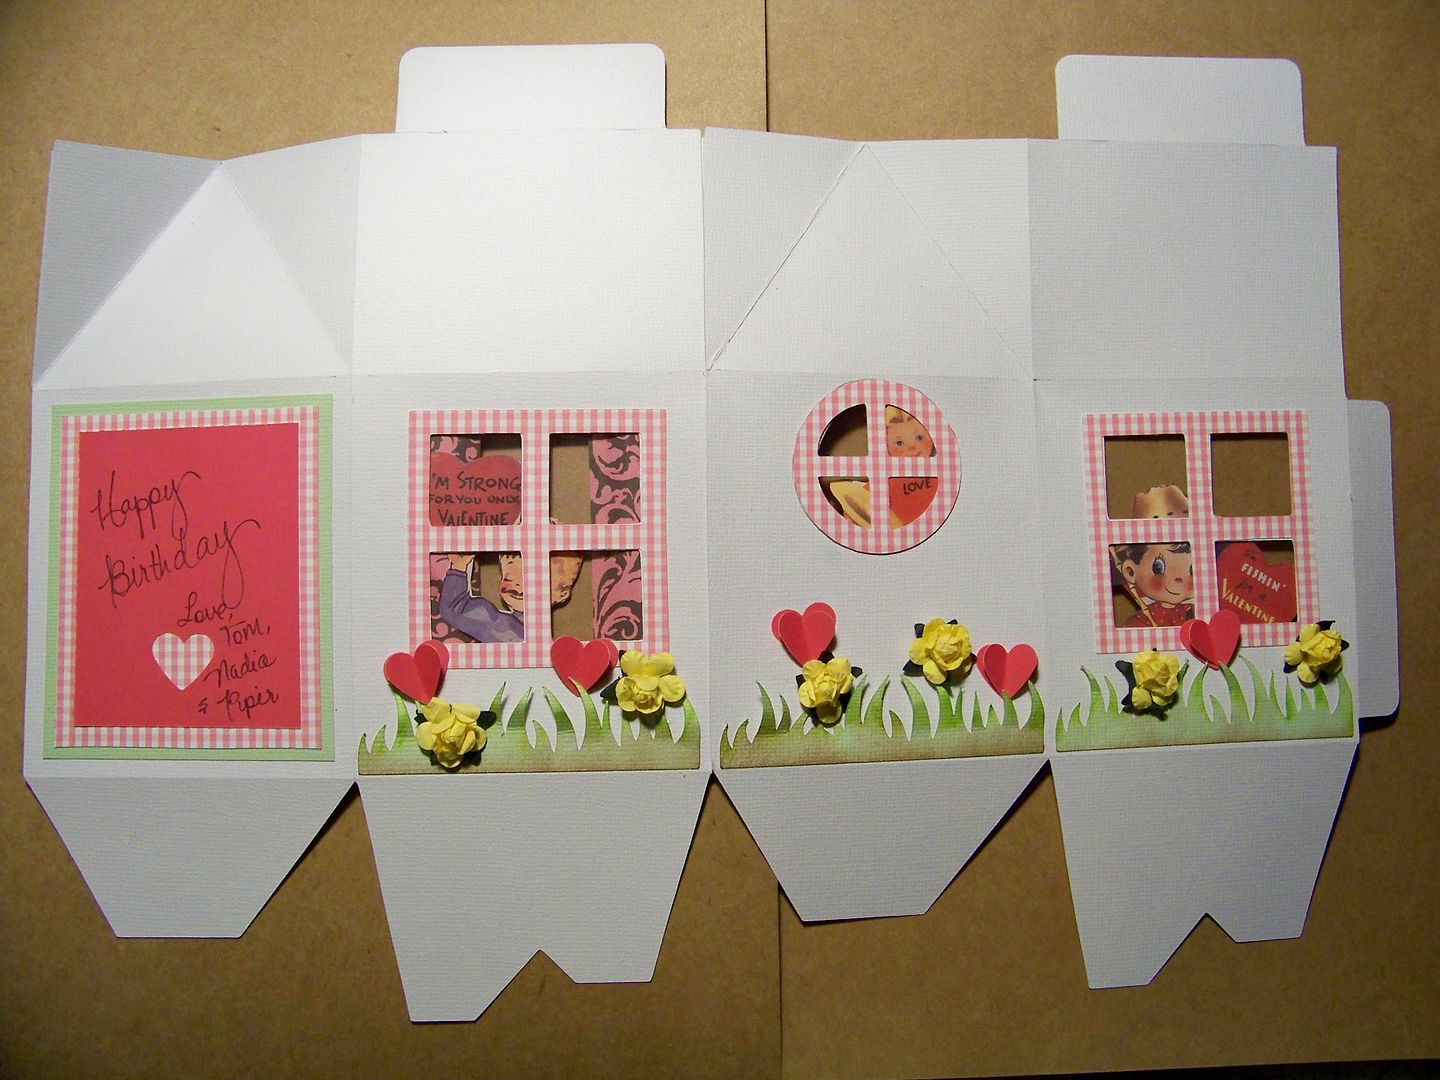
Valentine Birthday Gift Box


One reason that Valentine's Day is celebrated BIG here is that we have a family member with a Valentine Birthday!  I made this box from Sweet Treat Boxes, page 26, cut at 9".  The tiny tag is from Artiste, page 56, cut at 1-1/4".  I used recycled cartridge clamshell packaging for the window glass.  The flowers were straight out of the package and the hearts were cut from a punch.  I used paper that was printed to look like old fashioned Valentine cards and cut characters out from them to peer out from the windows.


Thank you for checking my blog post today!  I hope you are having a fun, happy Valentine's Day with the people you love the most!

To see many of my previous paper projects, click here to go to My Project Gallery.
To see many of my previous doll projects, click here to go to my Doll Clothing & Accessories page.

Monday, January 21, 2013

Sew, Staple, and Glue a Doll Bed!

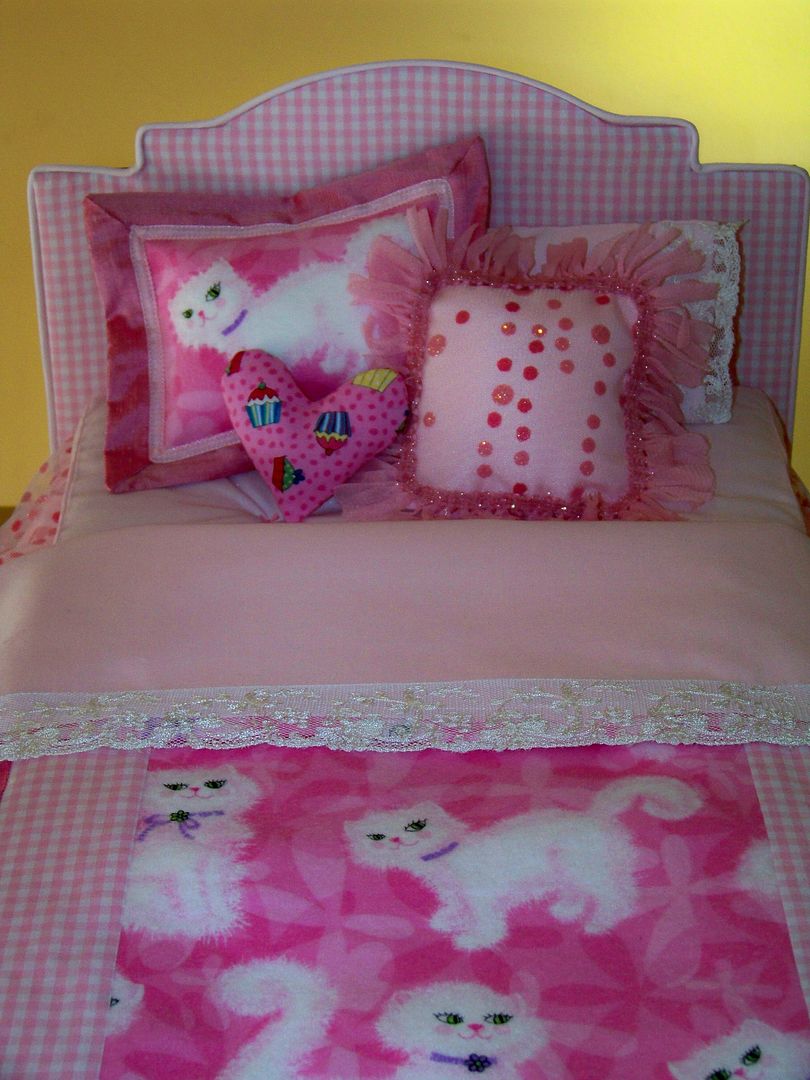
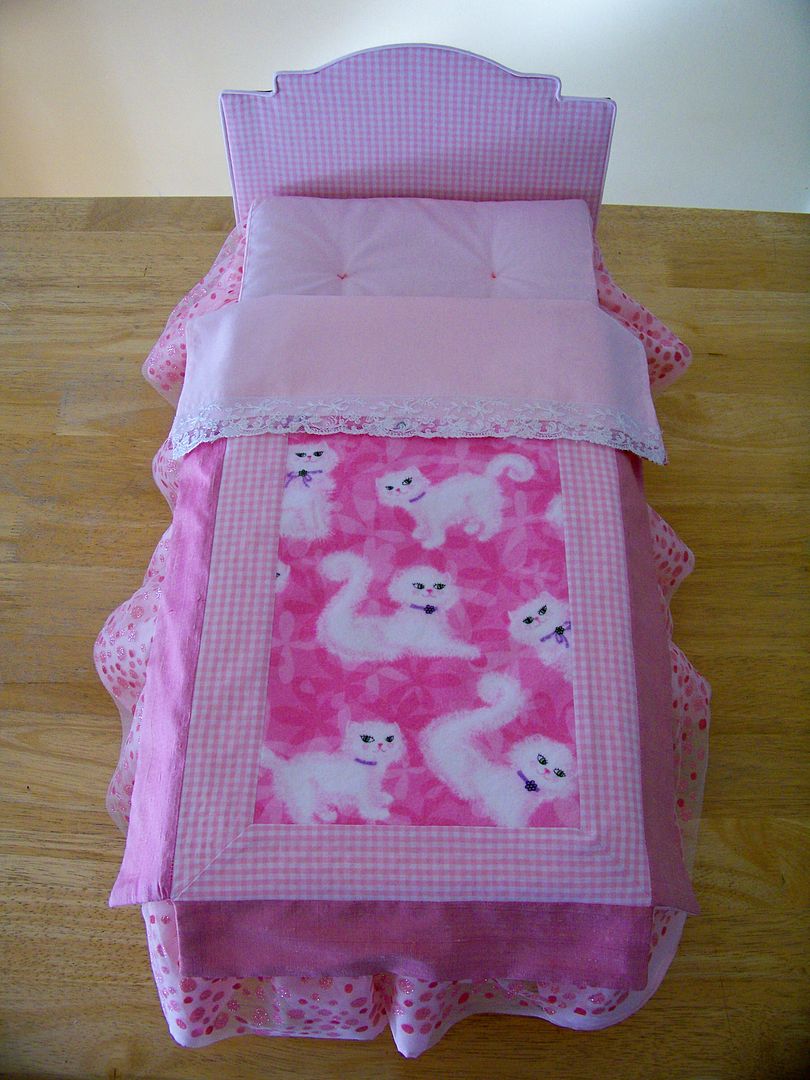
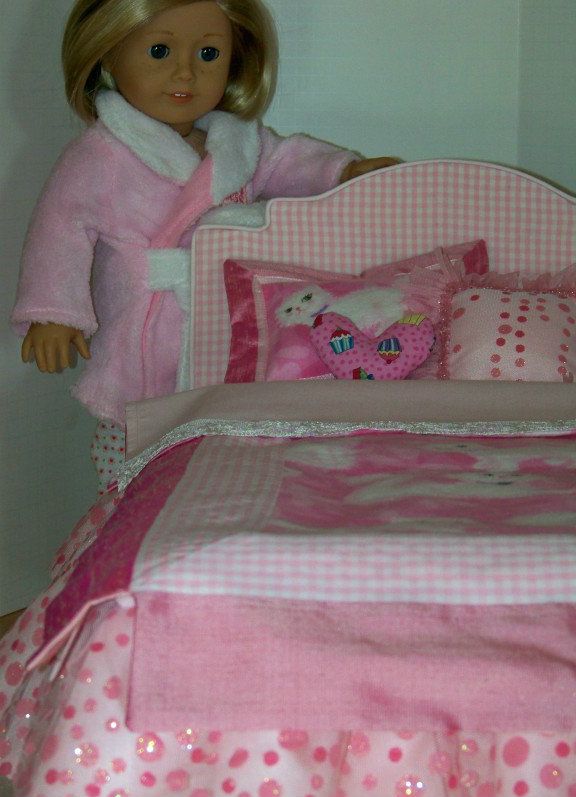
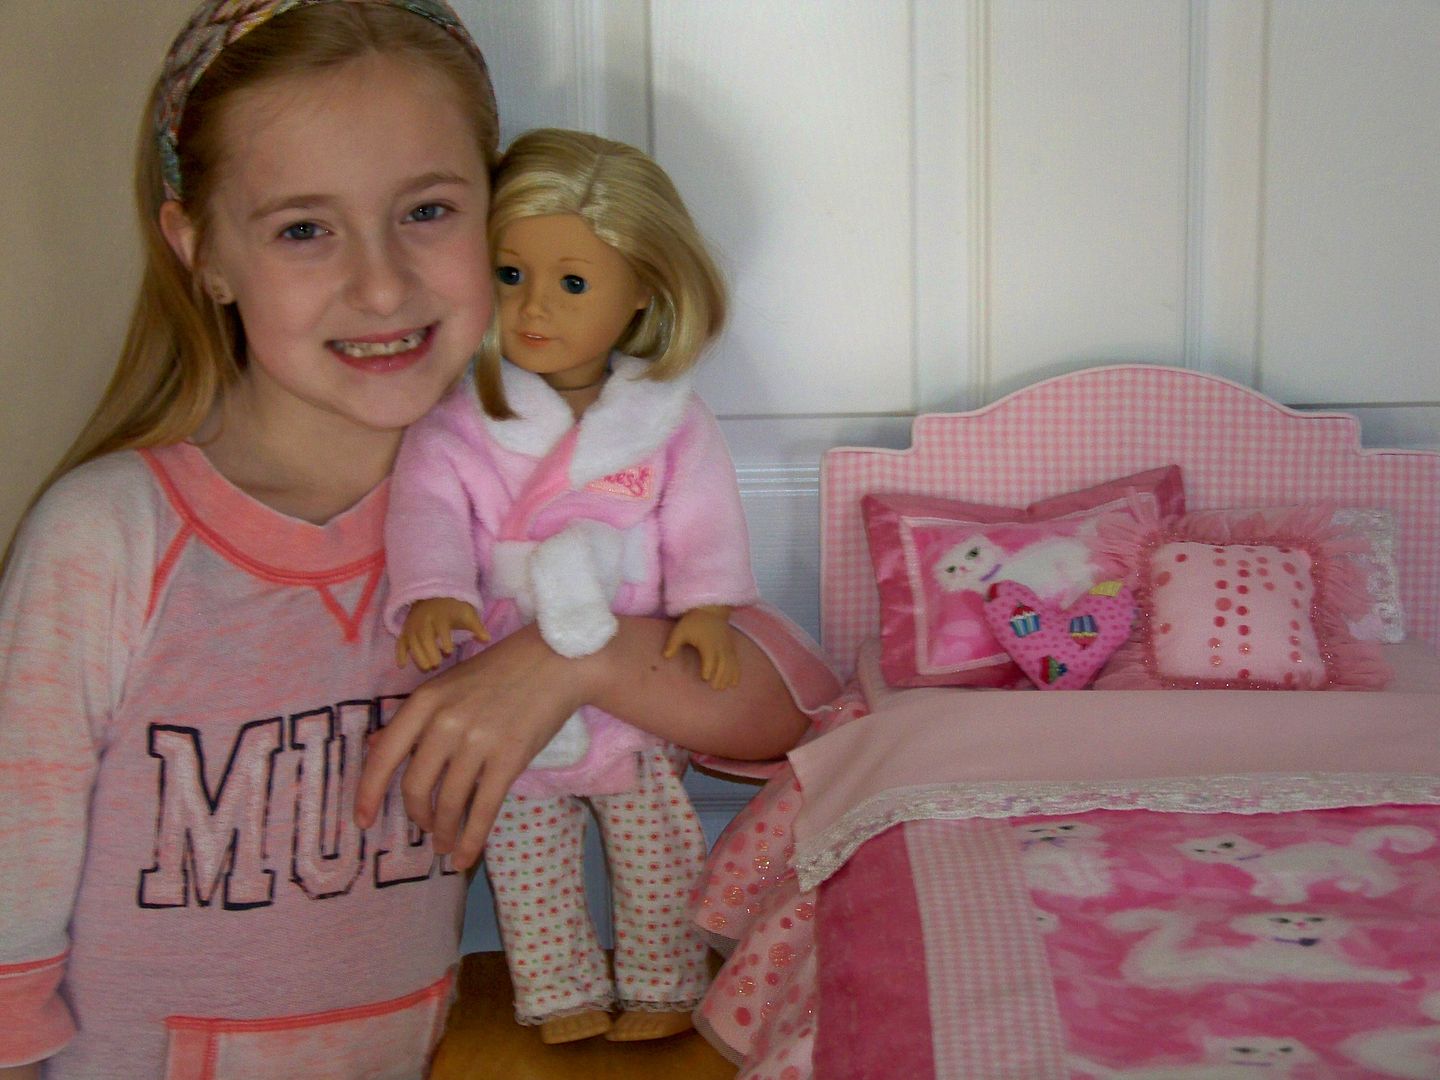
Using my paper-crafting and sewing skills--and my daughter's hand-picked fabrics and trims from my stash-- this is the bed I made.


I have been wanting to make a doll bed for my daughter's dolls for the longest time.  The trouble is that the cutest ones require cutting wood and woodworking.  That's something for which I just don't have the tools or talent.  (If you do, check out the awesome Doll Farmhouse Bed by Ana White by clicking here.)

I did find a great idea on an out-of print pattern that I have had since before I had a child-- always thinking I would need it I guess.  The problem is, it uses a plastic container and a million other little pieces---- it surely is easier to make a bed.  The simple ones looked too simple-- and my daughter already had that kind!  I wanted to make (using the skills I already have!) a bed that would look as good as the store-bought ones.  I recently saw McCall's M6718. This one used a stretched artist canvas as the base!  I loved that idea, but not the use of wooden plaques for the headboard and foot-board and not the idea of gluing together chunks of wood from the craft store to make legs as described by the pattern, but at least it was a place to start.  I didn't buy the pattern because I wanted to make a padded, taller headboard. (The ones on the McCall's pattern were covered up by the pillow.  What's the use of having a headboard if you are going to cover it up!)  I used to do lots of home decor sewing so I had my own ideas on bedding-- and my daughter wanted to try her hand at designing.  All sewn items used a 1/4" seam allowance; cut sizes reflect that.


The bed frame and headboard...
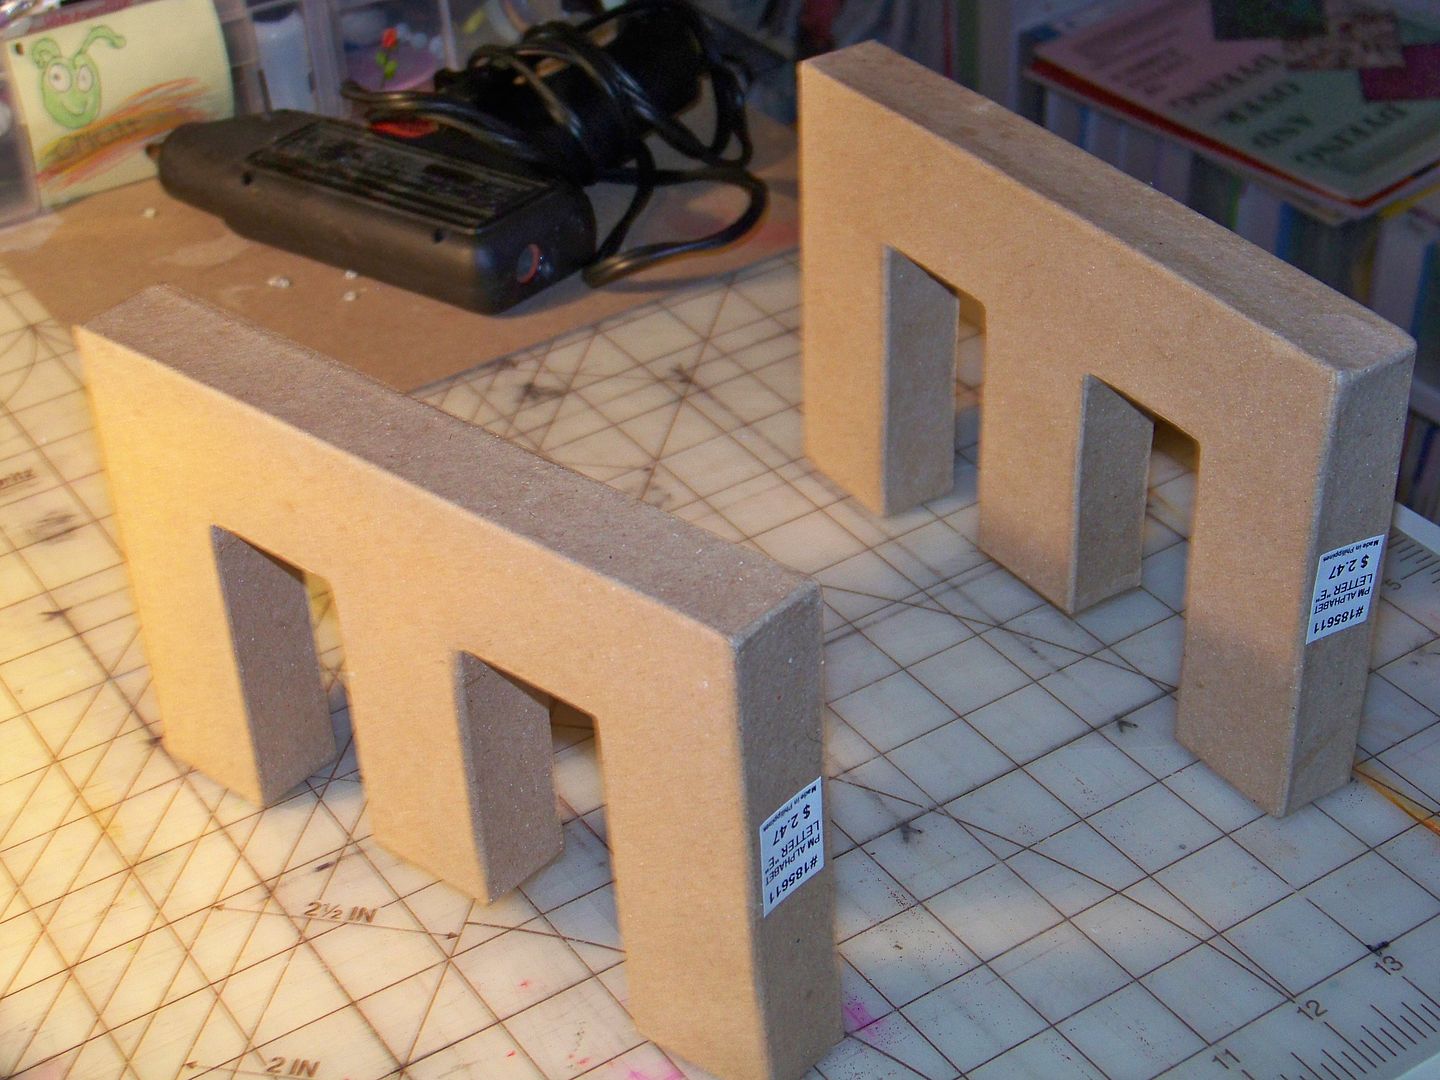
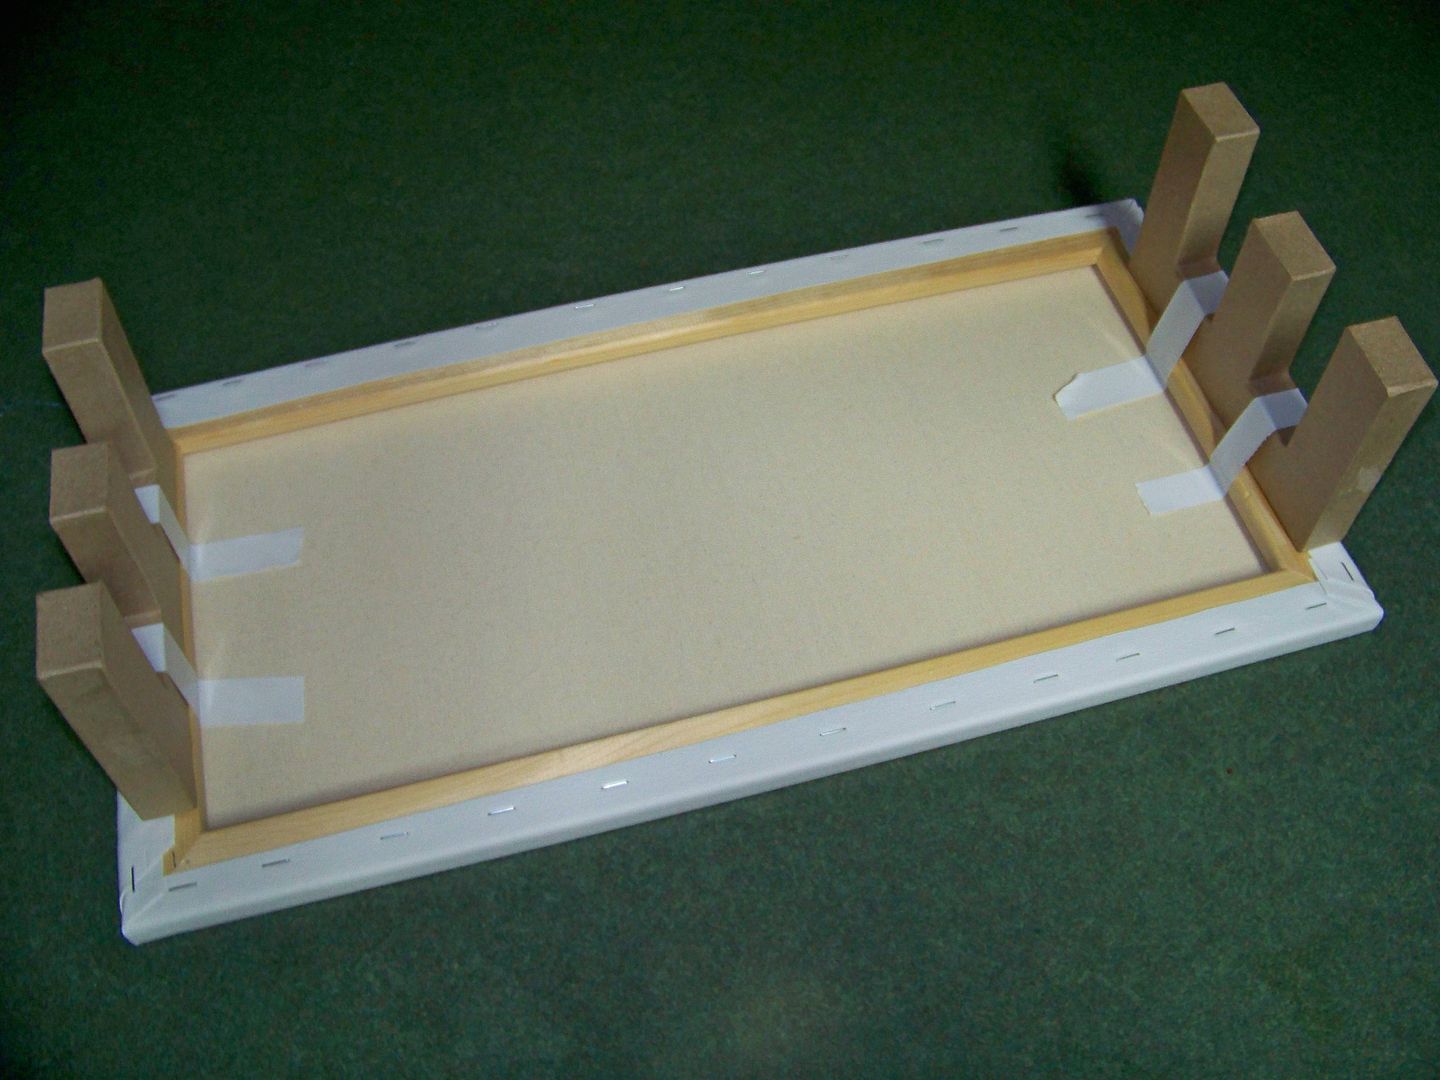
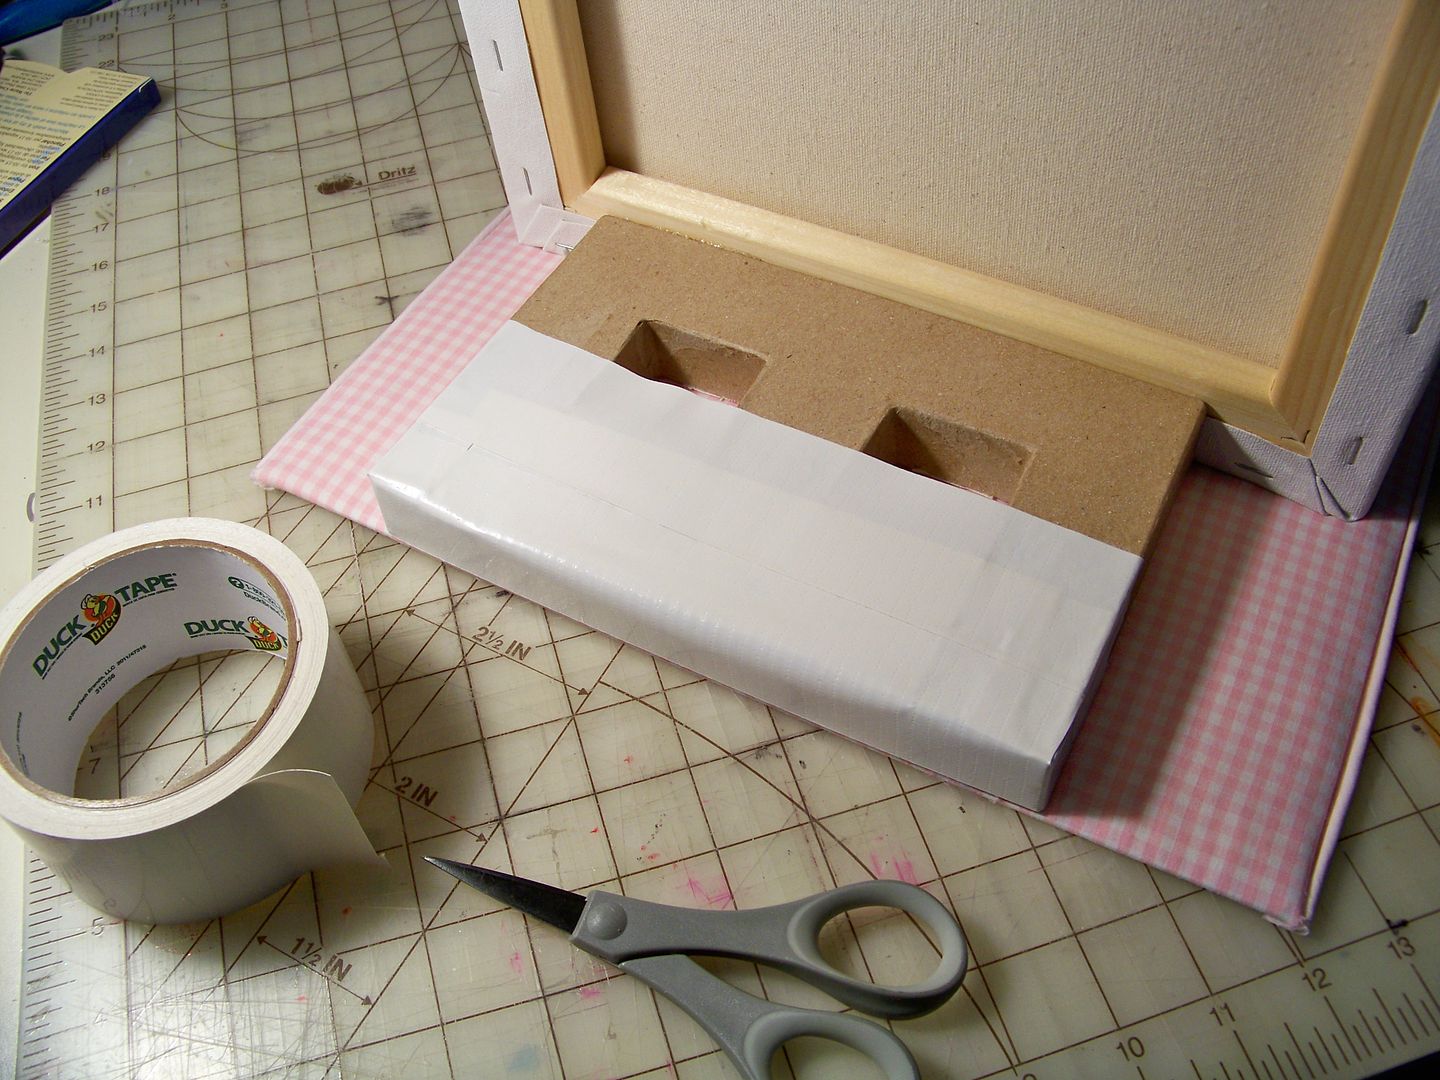
I started with a 12x24 artist canvas.  This was the box springs for the bed!  One of the very few things I had to buy for this project was a pair of paper mache letter Es.  (These were from Hobby Lobby and less than $2.50 each before the coupon.)  They are the legs for the bed!


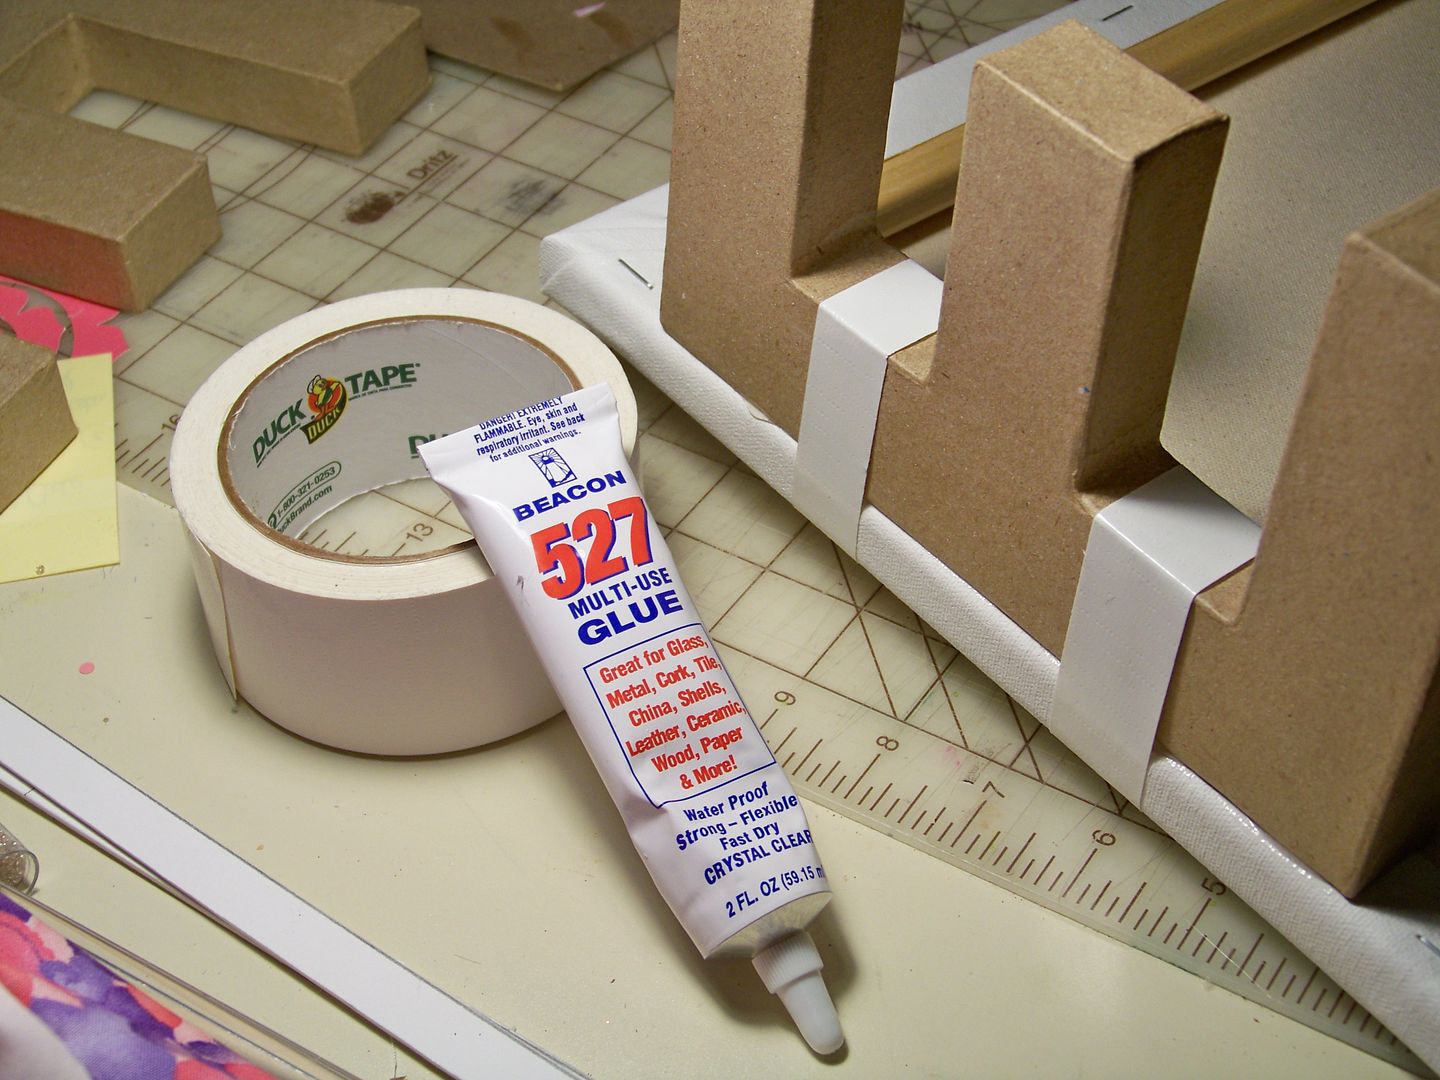
I used Beacon 527 glue to attach the Es to the 12x24 stretched artist canvas.  I used white duct tape to act as clamps to keep them in place while the glue dried overnight.  I made sure that one end had the "E" flush to the edge because I would be attaching the headboard there once the glue was dry.


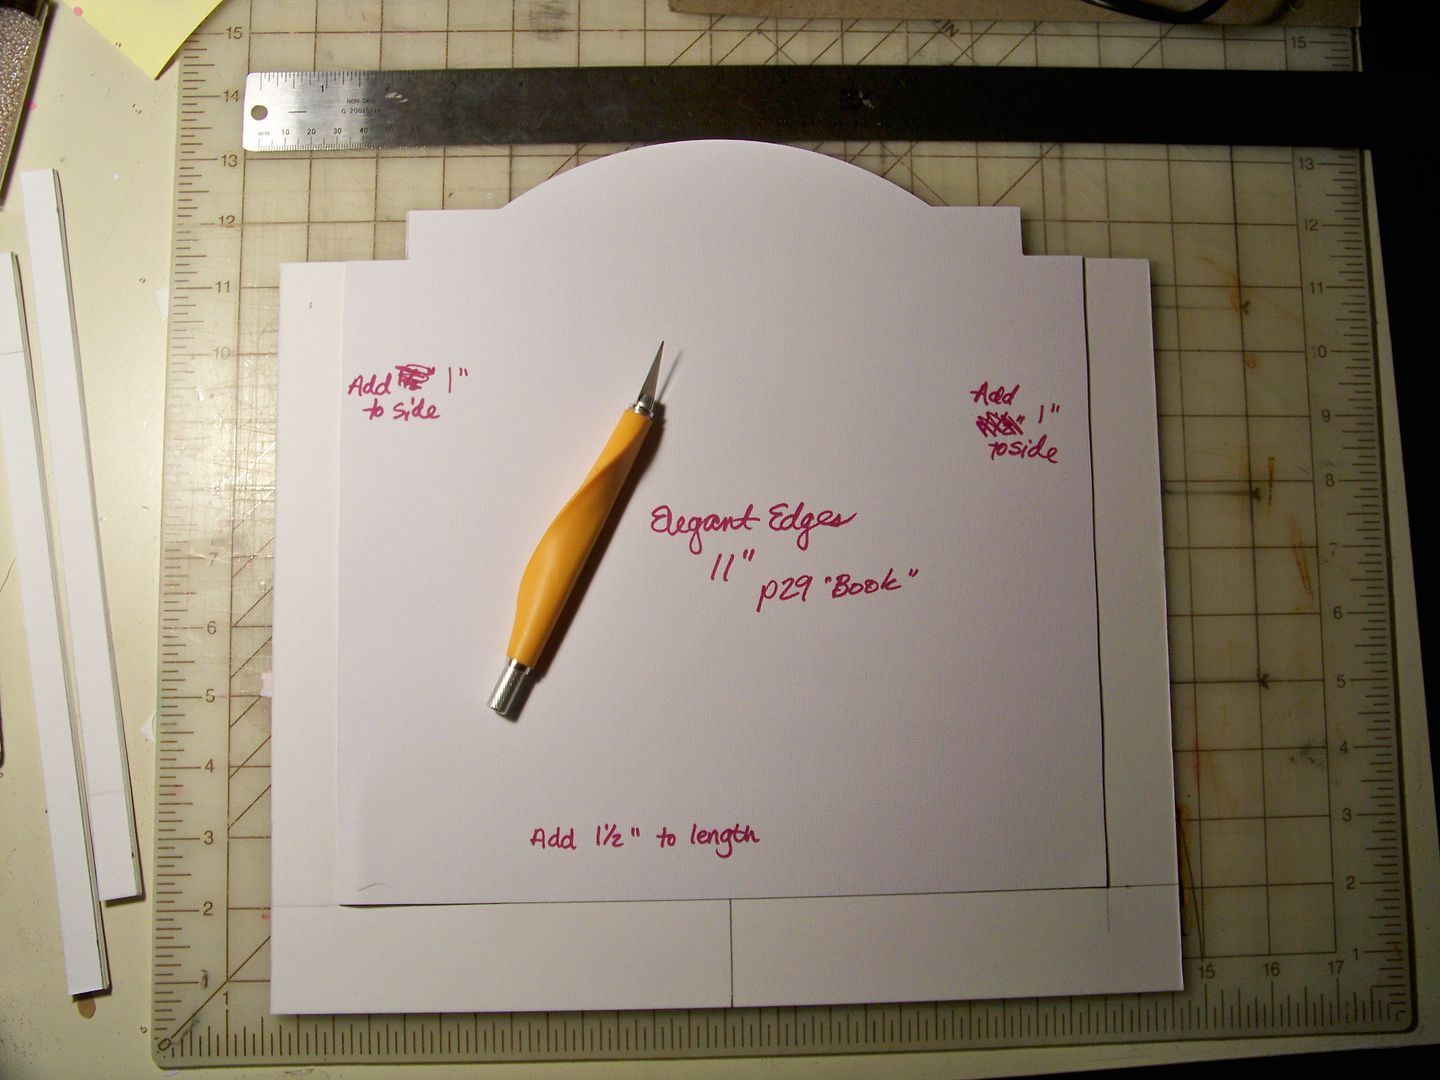
Next, I worked on the headboard.  To get the shape of the headboard, I used Cricut Elegant Edges (page 29 'book' feature) cut at "Fit To Page" to get it as large as possible.  This was my paper pattern.  I transferred the pattern to a piece of Canson Art Board (Drawing).  (This is a very dense, strong board and under $5 for a 16x20 piece.)  I added 1-1/2" to the bottom and 1" to the sides of the design.  I checked the size to be sure I had it about 1/2" wider than the width of the stretched canvas and that it would be tall enough once the canvas was supported by the Es.  The bottom of the headboard touches the floor.  I hand-cut the shape with an Xacto knife.  


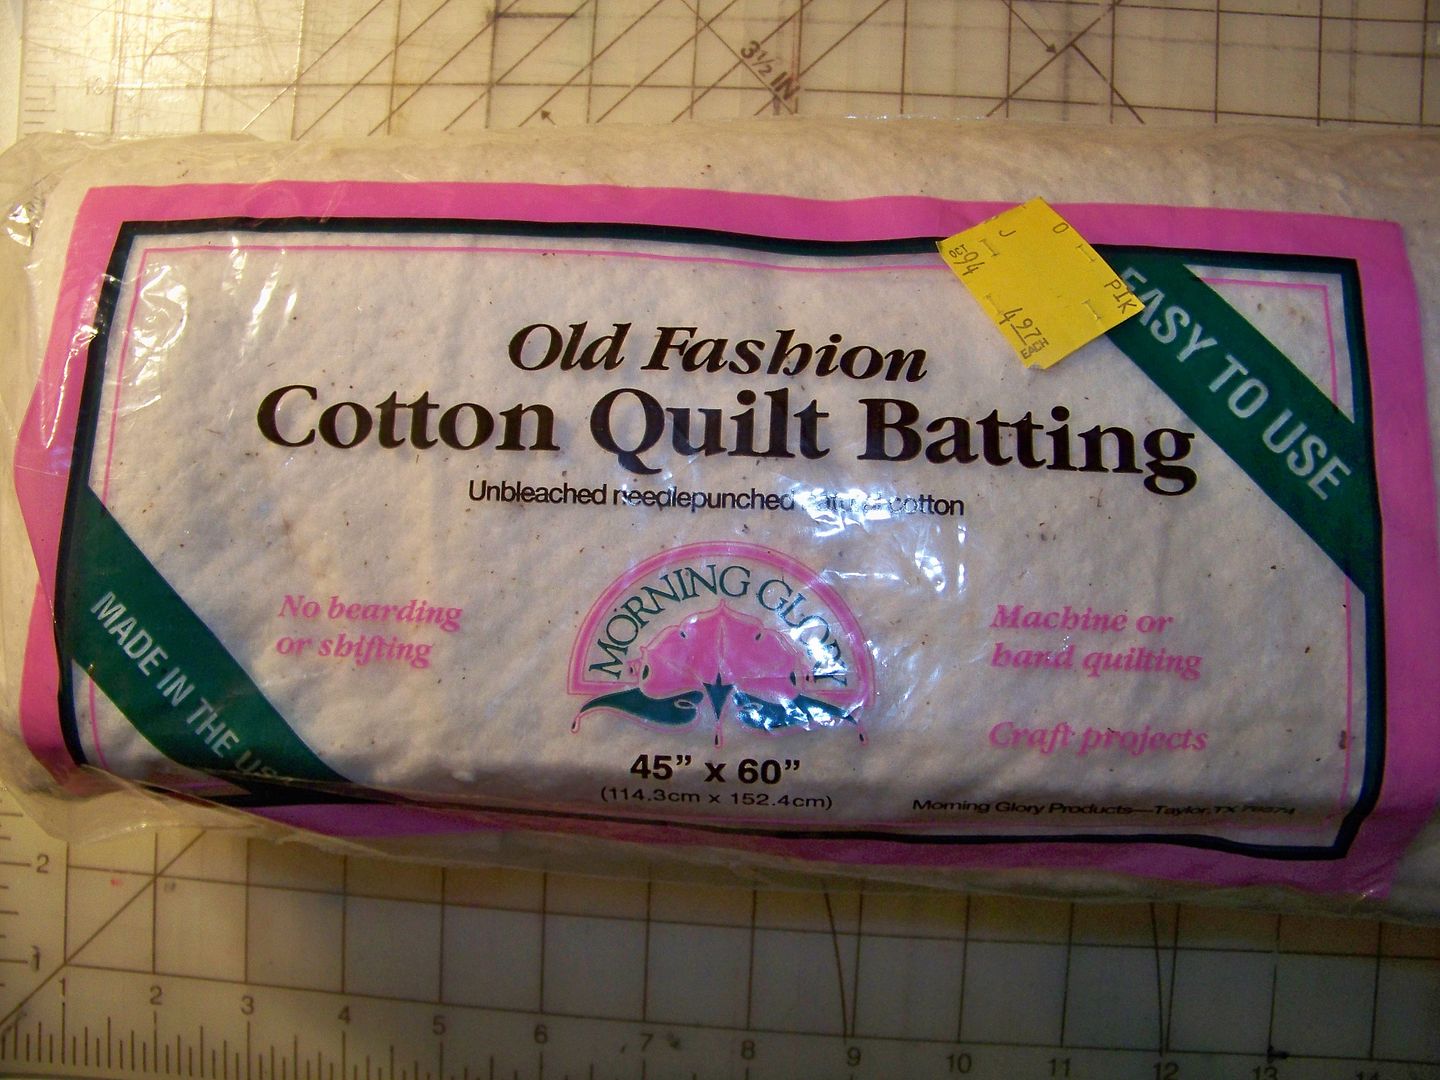
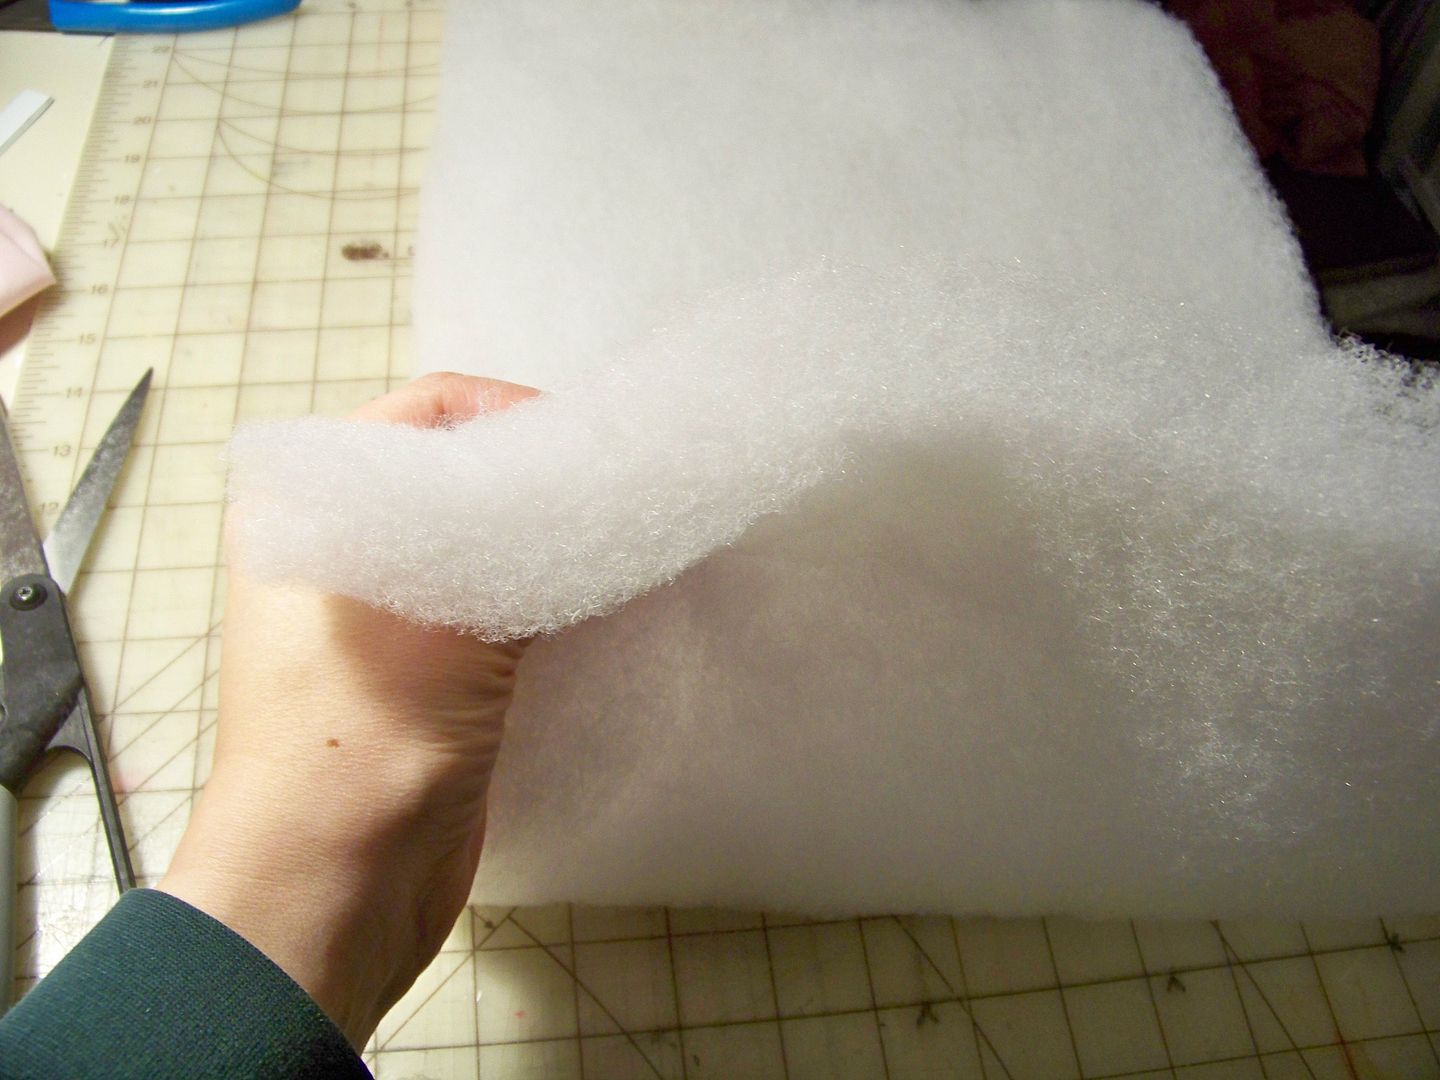
I padded it with cotton quilt batting.  This has been in my stash since 1994 according to the price tag.  I was happy to use it! Ha!


I cut it the same size as my art board headboard.


I cut decorative fabric about 1" larger and clipped at all inside corners and trimmed off all outside corners before hot gluing to attach the fabric.  Then I glued on a little piping to define the edge and to make it look a bit more finished.


I cut a piece of brown paper that I glued to the back to finish it and to hide the raw edges.  

Once the glue was dry that held the Es onto the stretched artist canvas (I allowed it to dry overnight), I used the same glue to attach the head of the bed to the headboard.  I didn't paint the Es but later in the project, I ended up using white duct tape to cover then.  Next time, I will do that before gluing them in place!


I allowed the glue to dry for a few hours, then I used my staple gun to staple the headboard to both the stretched artist canvas and to the legs.


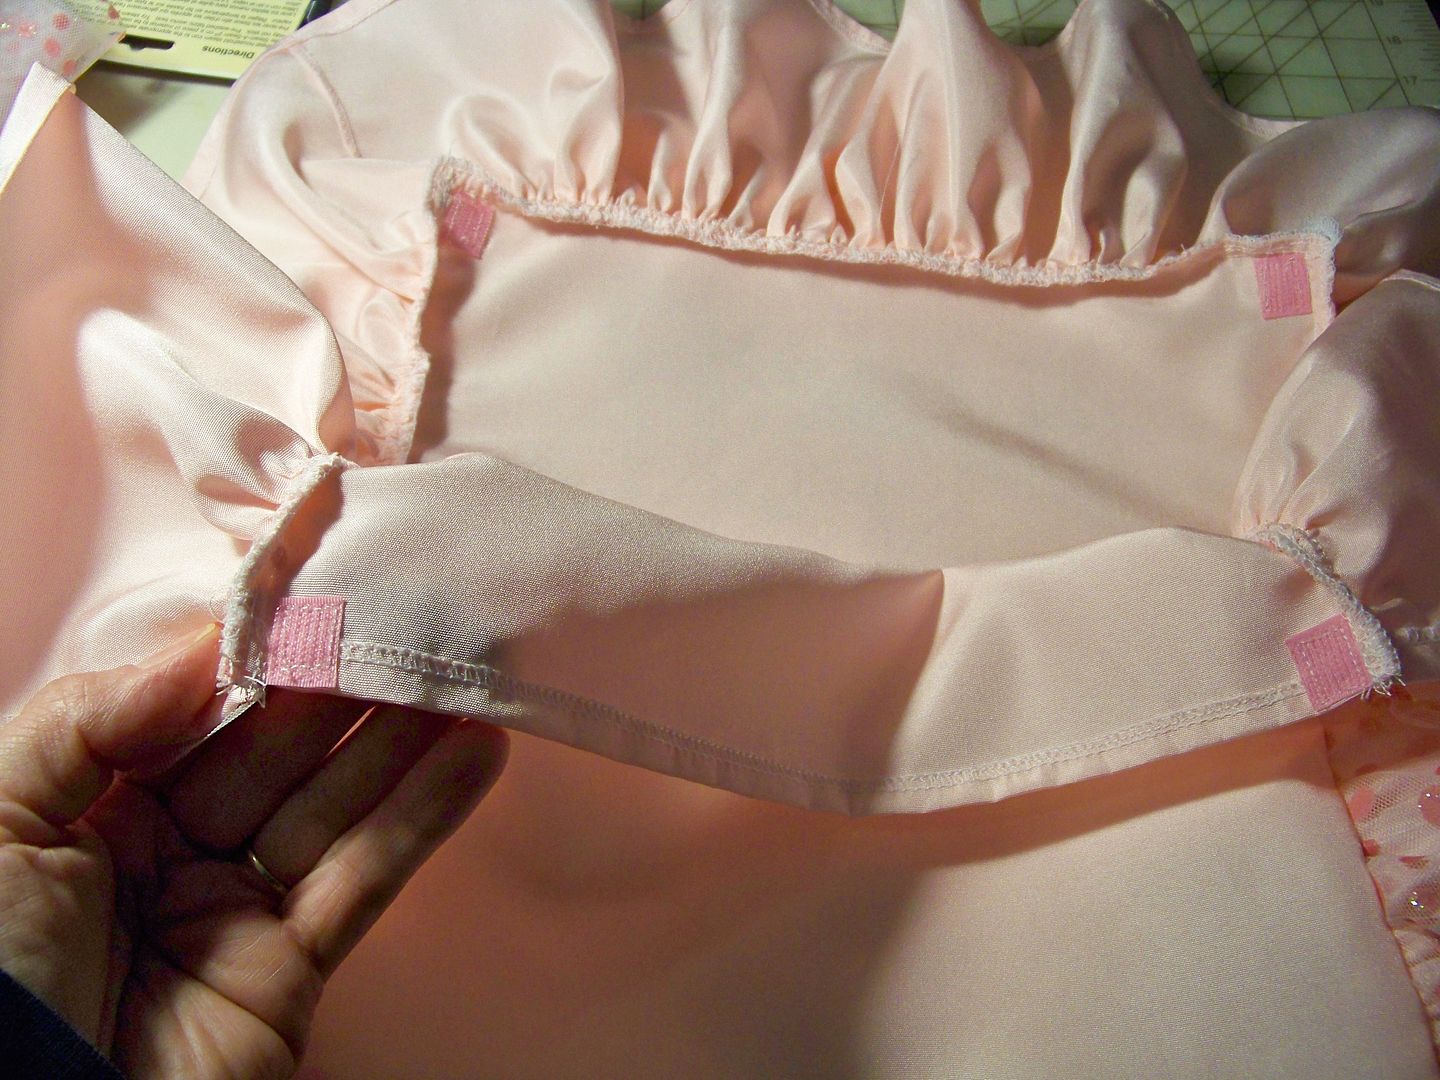
I stapled square pieces of hook-side Velcro to the corners of the top of the canvas.  This will aid in keeping the bed skirt in place-- the bed skirt will be a later step!


The mattress...
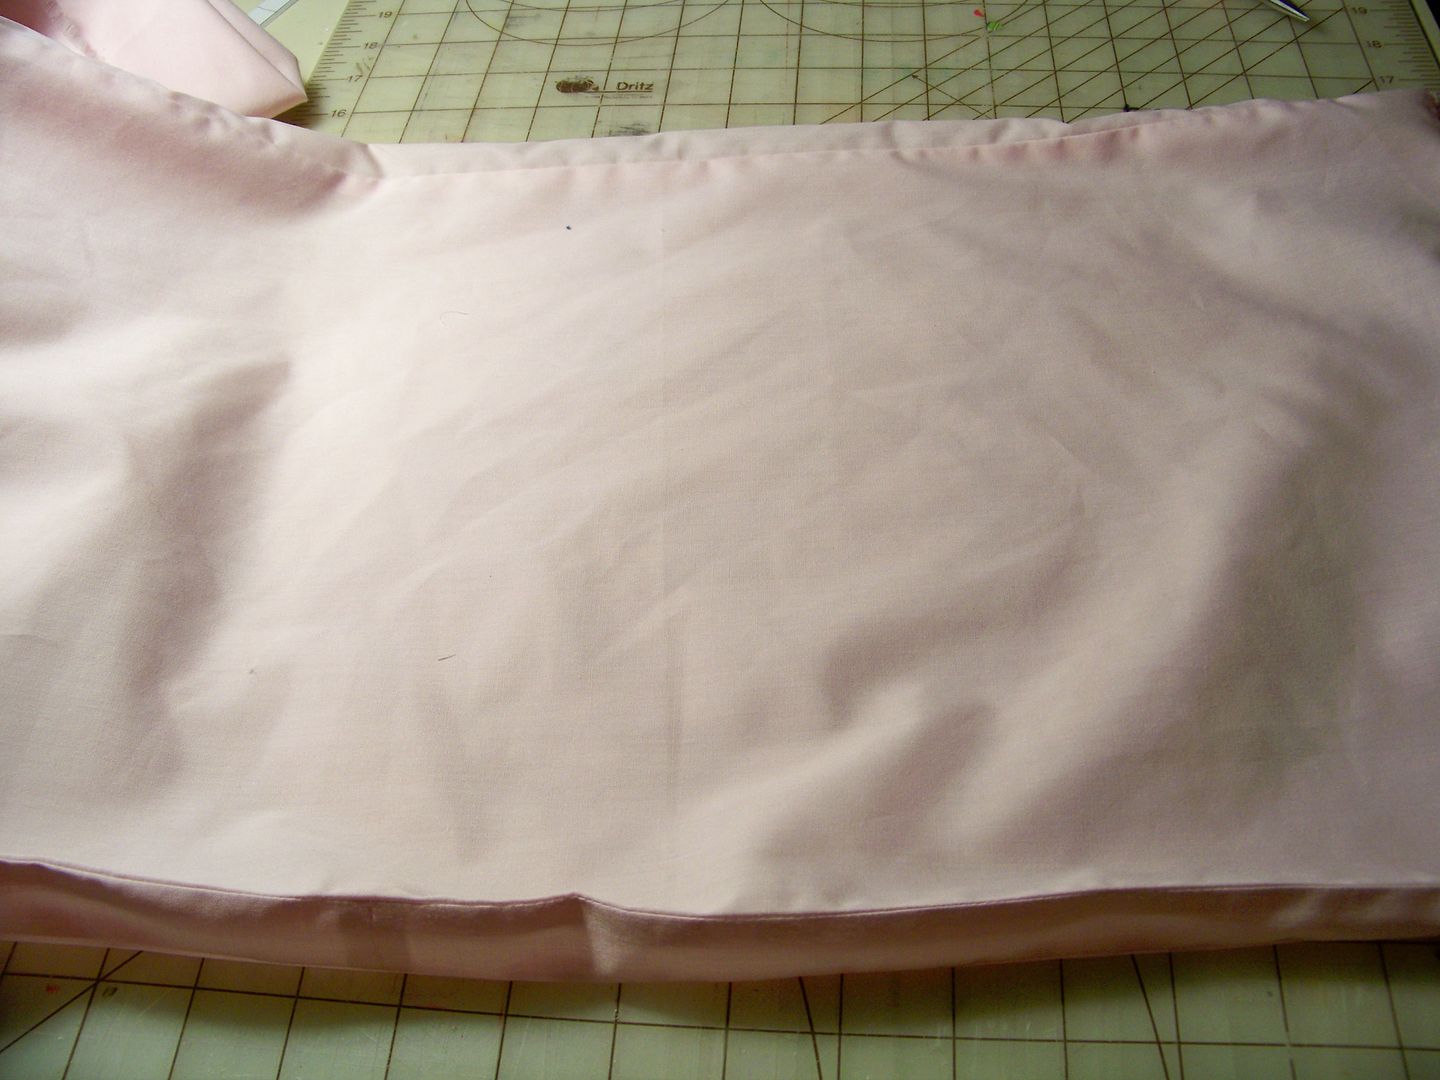
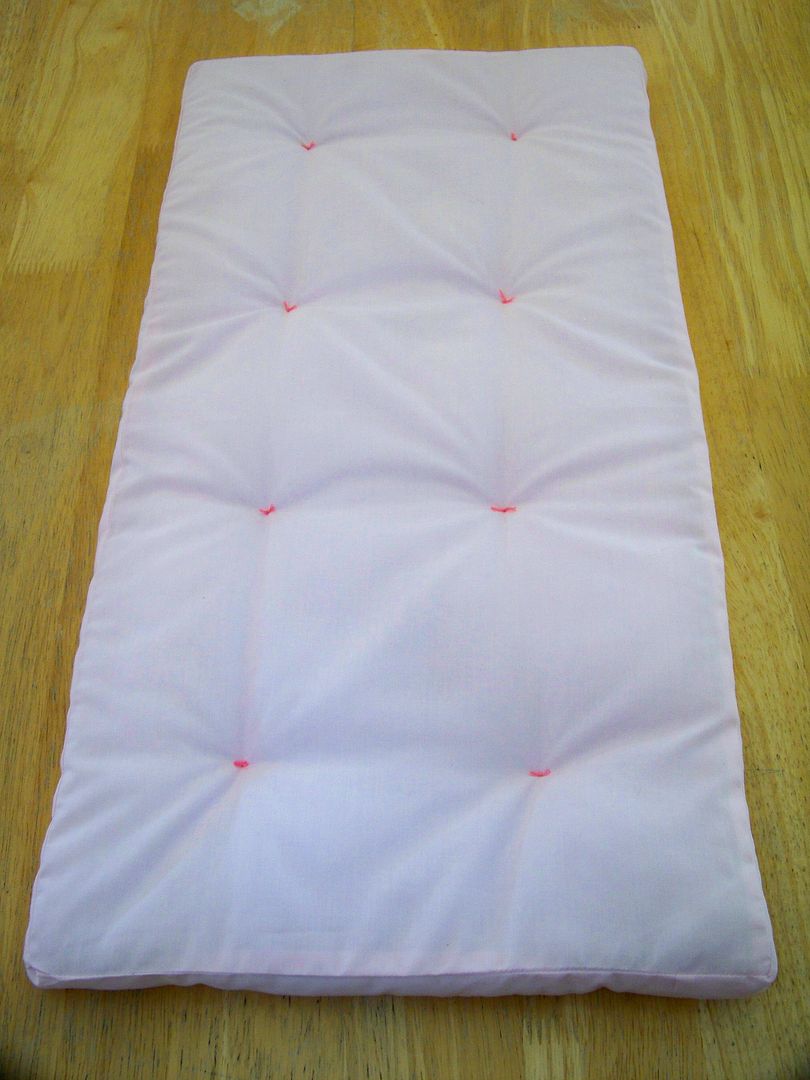
I knew I would just make a box-style pillow for the mattress.  Oh, how I wished I had pink pillow ticking!  My daughter picked a cotton broadcloth from the stash.  I cut two pieces of broadcloth at 12-1/2 x 24-1/2 and pieces to make 1-1/2" x 73" to make the sides.  I used dacron batting for the inside.  Dacron is upholstery batting-- thicker and sturdier than quilt batting.  The batting was cut at 12x24.


I just attached pieces end-to-end to make the long 73" strip.  (Scroll down to the info on the bed skirt to see how I figured our how many pieces-- it is the same method-- if that is of interest to you!)  I sewed the strip to the mattress top, clipping at the corners to turn.  I sewed the mattress bottom on, leaving a 6" area unsewn so that I could turn it right-side out and place the batting inside.  

I find that if I iron to form the corner creases (before putting the batting in), it looks more like a box!


I placed the batting inside, slip-stitched the opening closed, and made thread tacks to keep the batting in place.


The mattress gets placed on top of the bed skirt!

The Bed Skirt...
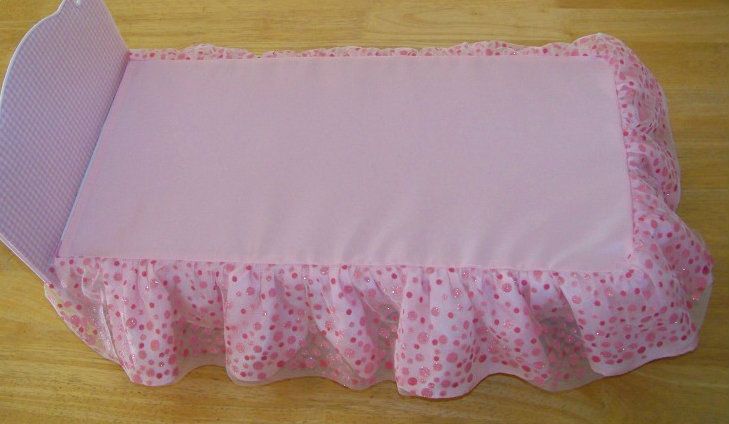
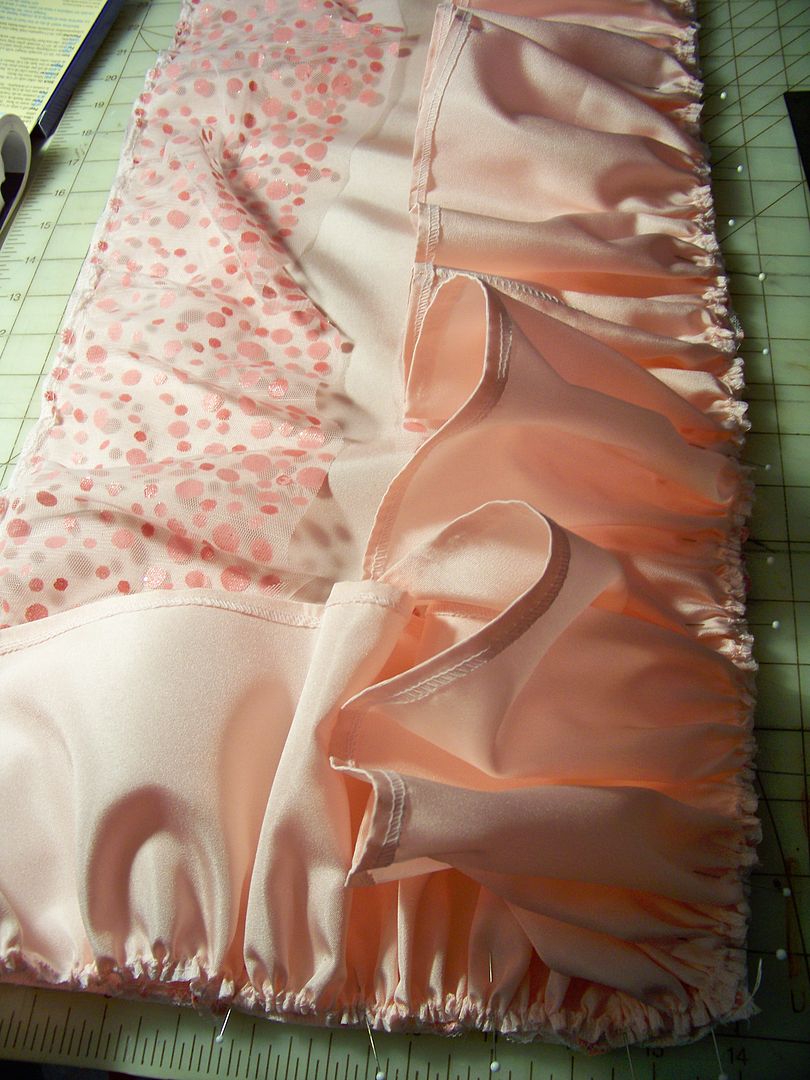
I created a decking and attached to it, a gathered, 2-layer ruffle to make this bed skirt.  The top ruffle is sheer netting; the bottom ruffle is tightly gathered poly taffeta.


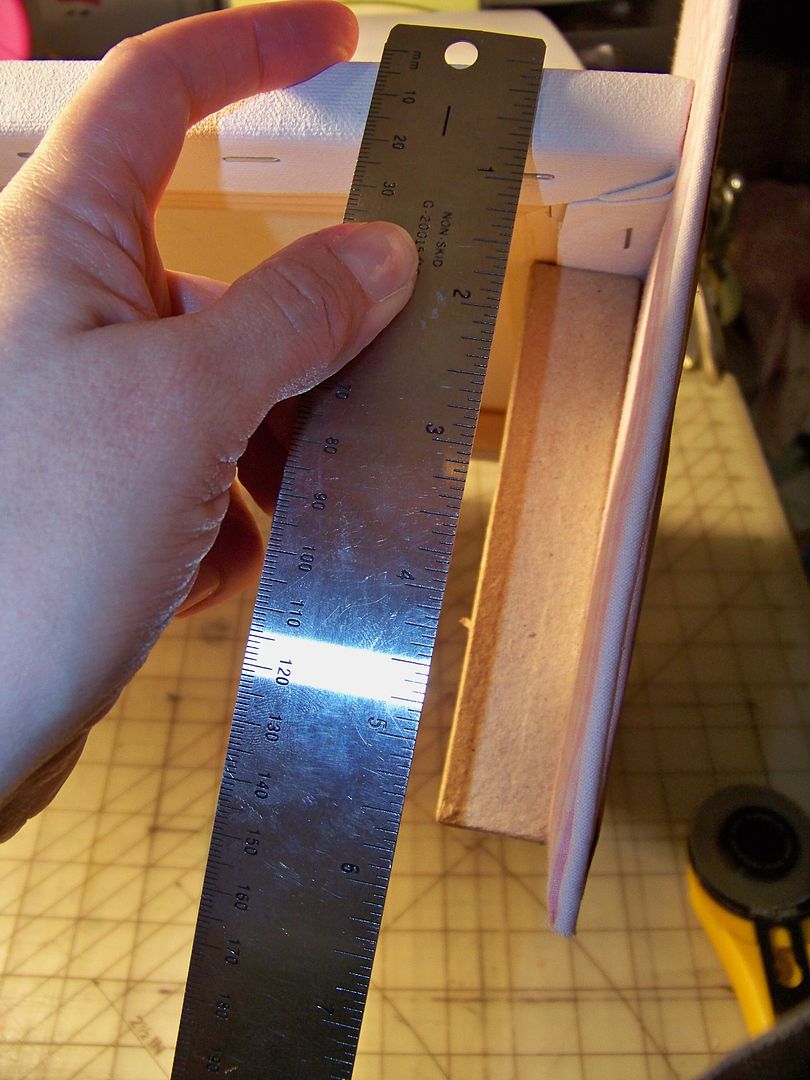
I had planned on a 5-3/4" drop after measuring the height of the bed from the top of the canvas.  

Measuring the drop.
I really could have (should have?) allowed for a longer drop since I was using poly taffeta for the lower ruffle and since I was gathering so tightly!  Live and learn.  Because of this, my bed skirt (dust ruffle) doesn't touch the floor and the bed legs show a little bit..  At the point that I was finished with the bed skirt, I did go back to my bed frame and wrap the Es (legs) with white duct tape.  It was an easy solve, but next time, I will take the body of the fabrics in this tiny size more into consideration (or perhaps do a pleated skirt) so that it will touch the floor!


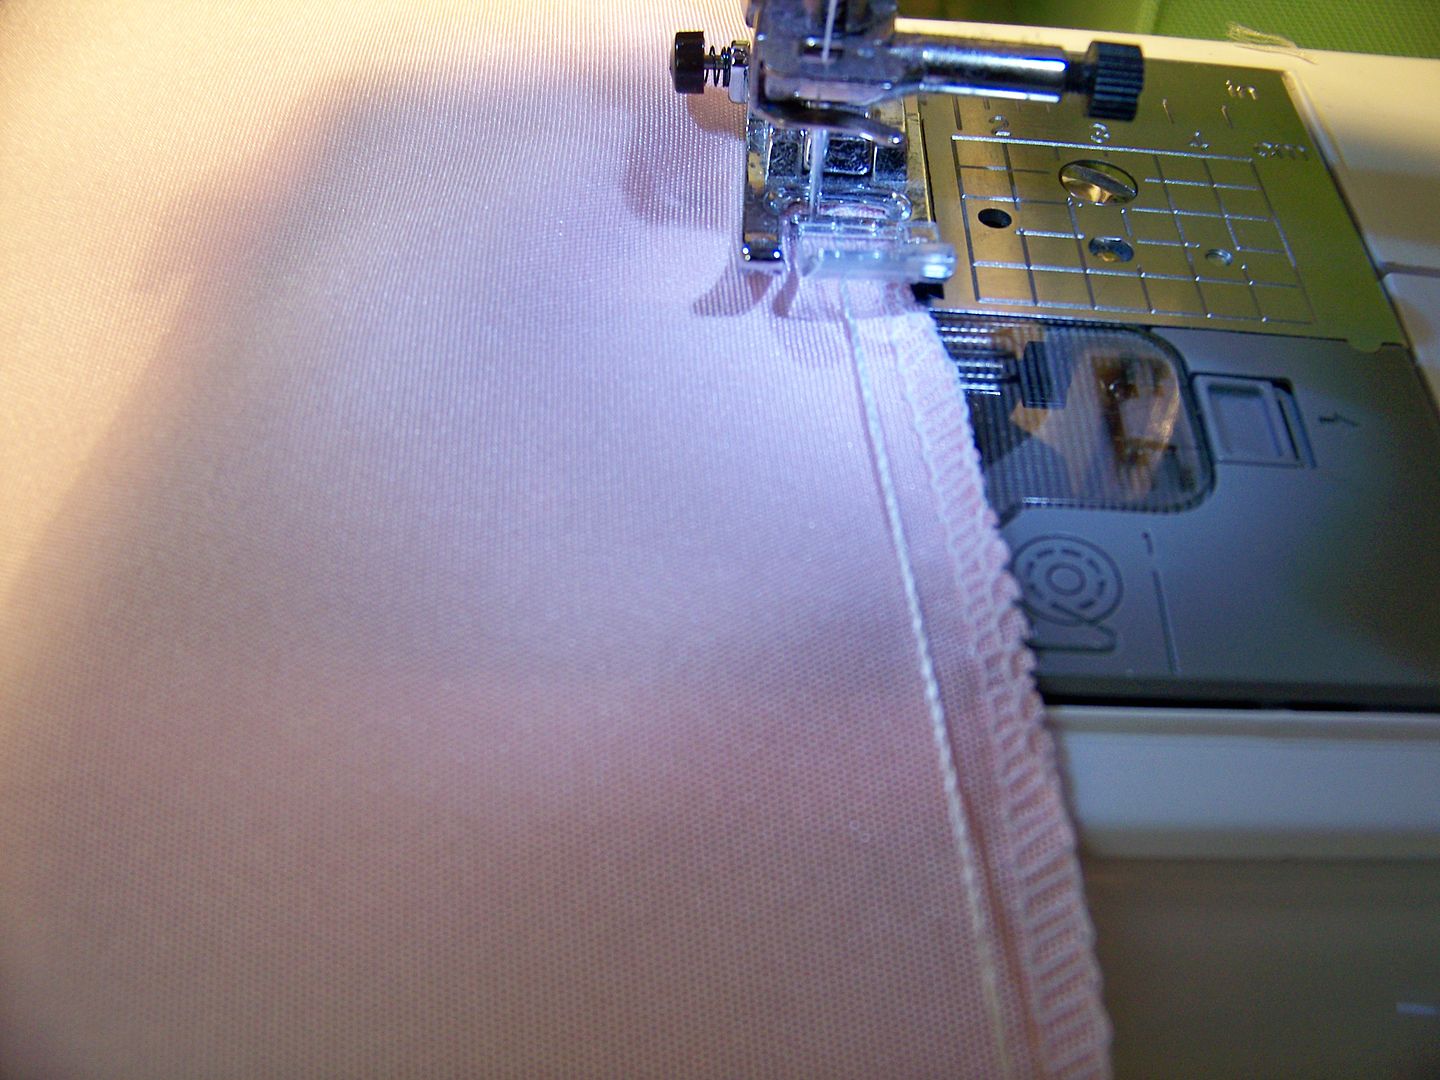
Enough of that... I measured my stretched artist canvas to find that it was actually 11-3/4" x 23-3/4".  Due to that, I cut my decking 12-1/4" x 24-1/4".  I finished the top edge by serging and turning under 1/4" and top stitching.  

I cut strips of poly taffeta (the bottom ruffle) and sewed them end-to-end to create a piece that was 6-1/4" x 150".  I hemmed the bottom edge.

If you are interested in how I figured this size, here's a quick lesson.  I used to do this for a living and loved helping people figure out how much fabric they needed for projects for their dream home!
  1. Add the lengths of the left side, bottom, and right sides of the stretched artist canvas.  (The ruffle only goes on those three sides, not the head.)  For me, that was 24" + 12" + 24" = 60".
  2. Multiply that number by the fullness you want.  The standard for normal home dec is 2.5.  For dolls, I probably should have reduced that number, but I did not.  For me, that was 60" x 2.5 = 150".   Now you have the total length of fabric you need to gather up.
  3. Since you won't want to cut one, big, long piece of narrow fabric (that would be almost 4-1/4 yards), the preferred way to do this is the cut several lengths and sew them together to form the long piece.  So, divide that number by the width of your fabric.  For me, that was 150" / 60 = 2.5.  For decimals, you go to the next whole number so I will need 3 cuts.  Then measure your drop.  For me, that was 5-3/4".  I added 1/2" to this to allow for my upper seam and lower hem to get 6-1/4".  Multiply your drop (with seam and hem allowance) by the number of cuts you need.  For me, that was 6-1/4 x 3 = 18.75".  If I were going to buy fabric.  I would need that much fabric (bump to 5/8 yard since it is slightly over 1/2 yard.)  Since I am using my stash, I knew I needed to make three cuts that were 6-1/4" long.
For the top ruffle, I only had a short piece and I wanted to use the border only.  Luckily, this one had border along both sides of the selvage so I just cut for the drop I needed and gathered what I had (about 60" of border).  This is a netting with ink dots printed onto it and glitter adhered.  I chose not to hem the bottom so that the hem would disappear.  

To gather almost anything, I zig-zag over a thin cord (I have a spool of perle cotton that I use for gathering).  Then I just pull up the cording and voila!  Super easy, super fast gathering.  (For netting, I break my rule and use one row of long machine basting stitches).  


I gathered the top ruffle and put it face-down on the decking (ie. right-sides together) and pinned.  Then I pinned my bottom ruffle, also face-down.  I sewed around all three edges.


I serged the seam to finish and sewed squares of the Velcro loop to the underside of the decking.  


I placed the bed skirt on the bed, catching the Velcro squares to each other.   The mattress was placed on top of the bed skirt decking.  

The coverlet...
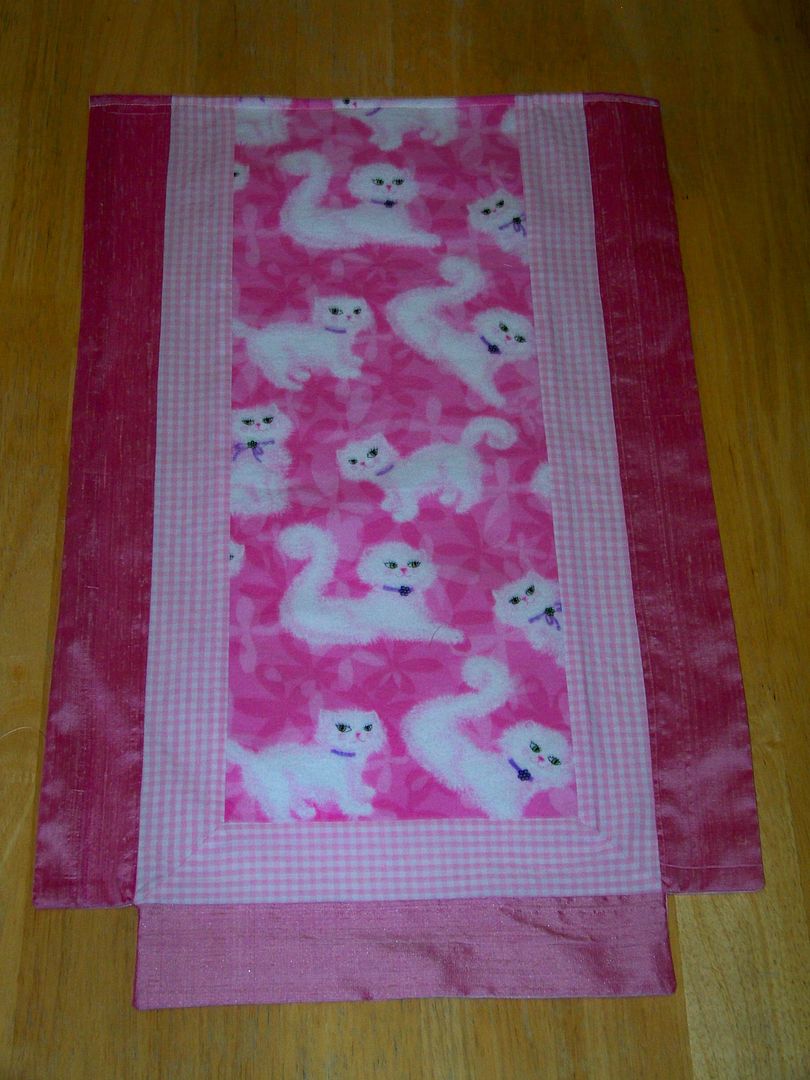
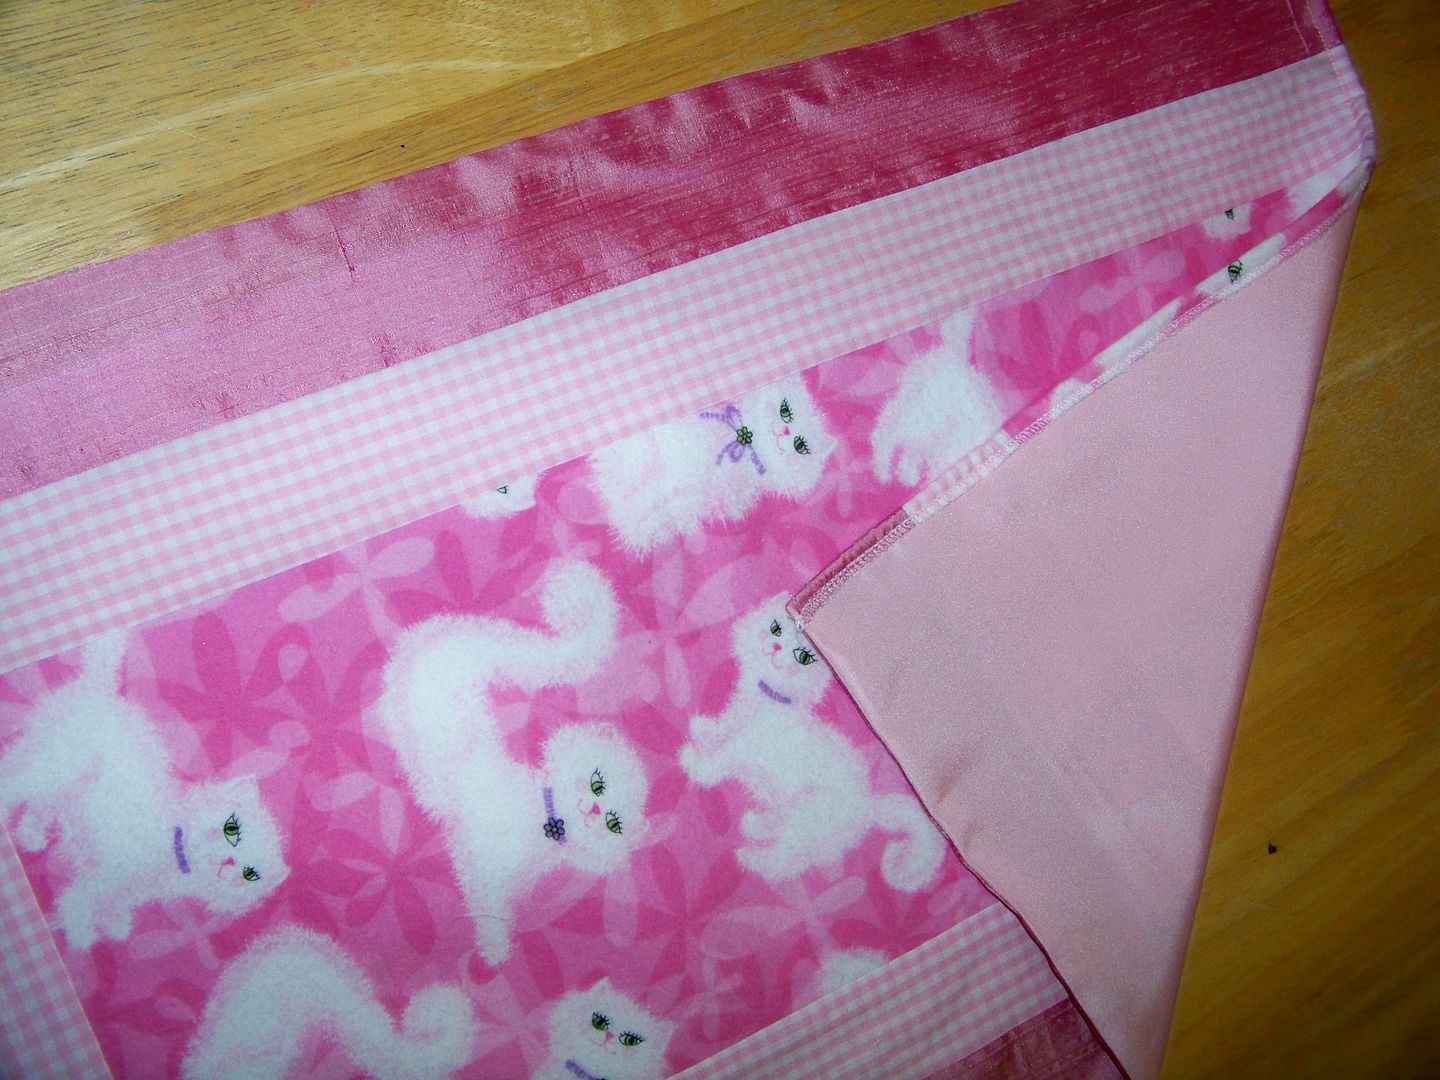
The coverlet I made was a block of a patterned fabric, bordered with a smaller pattern with mitered corners.  I added flaps that hang on the sides from a solid.  I used flannel (leftovers from a nightgown I made my daughter a few years ago), gingham (left over from baby shower table cloths I made), and silk dupioni (from a remnant I bought almost a decade ago).  This is what makes sewing for my kiddo's dolls so much fun!!  You could never get away with those together on a real bed to be used by discerning people!  


The cat print was cut at 22-1/2" x 8-1/2".  The gingham border was cut 2-1/2" x 24-1/2" for each side and 2-1/2" x 12-1/2" for the bottom.  The silk flaps (drops) were cut at 3" x 24-1/2" for each side and 3" x 12-1/2" for the bottom.  I cut a piece of poly taffeta for the bottom by simply placing the pieced and sewn coverlet top face-down on the backing and cutting out.  I did not use a batting with this.  I stitched all sides except for the top edge and turned it right-side out and pressed.  I serged the top and turned it under 1/4" to finish.


Sheet...
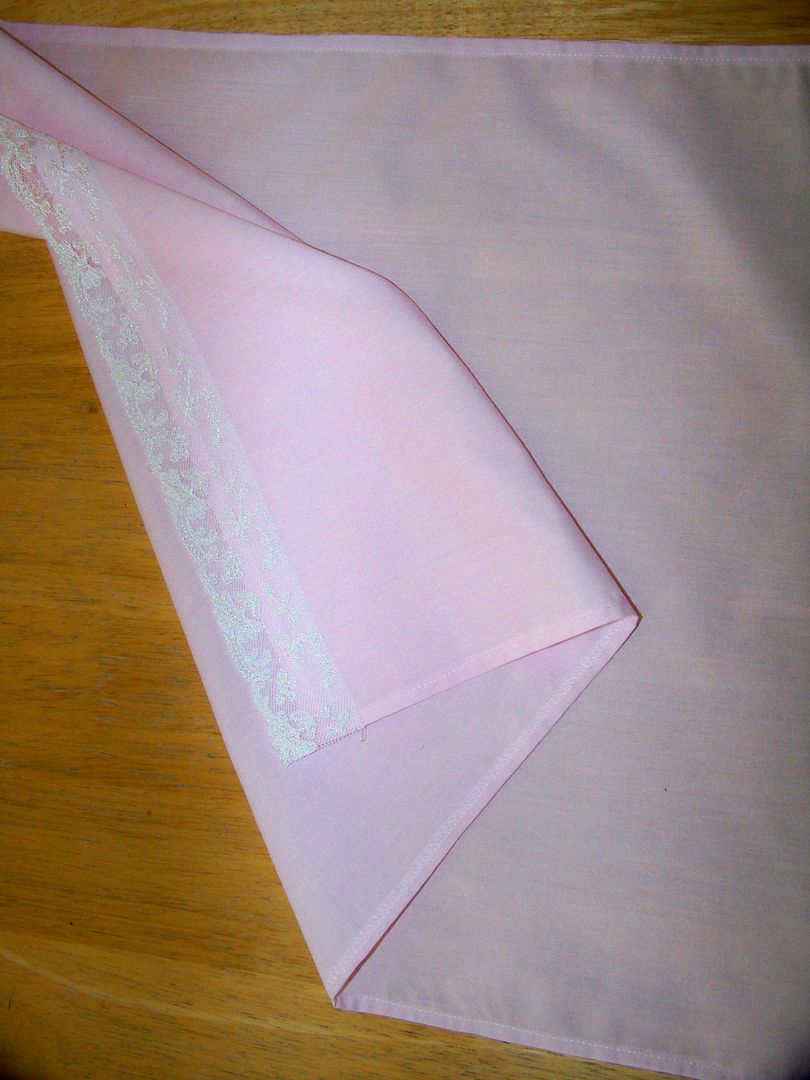
Well, I wanted the bed to be pretty when it was turned down, so I made a quick decorative sheet from broadcloth.  I cut it at 16" x 24".  I serged all sides and turned them under 1/4" and top stitched to finish.  I sewed a piece of Schiffli lace to the top edge, face-down and about 1" from the top.  I folded it up and pressed in place.  (I used to work at a fabric store with a bridal department of imported laces.  They would sell end cuts of Schiffli, Alençon, and Venice laces in grab bags.  I had to have bought that grab bag 20 years ago-- about time to use some of that lace, huh?)


The key to this is to remember to teach your daughter to lay it pretty-side down on the bed (just like you do on your own bed) so that the trim shows when it's turned down.


Pillows!!!
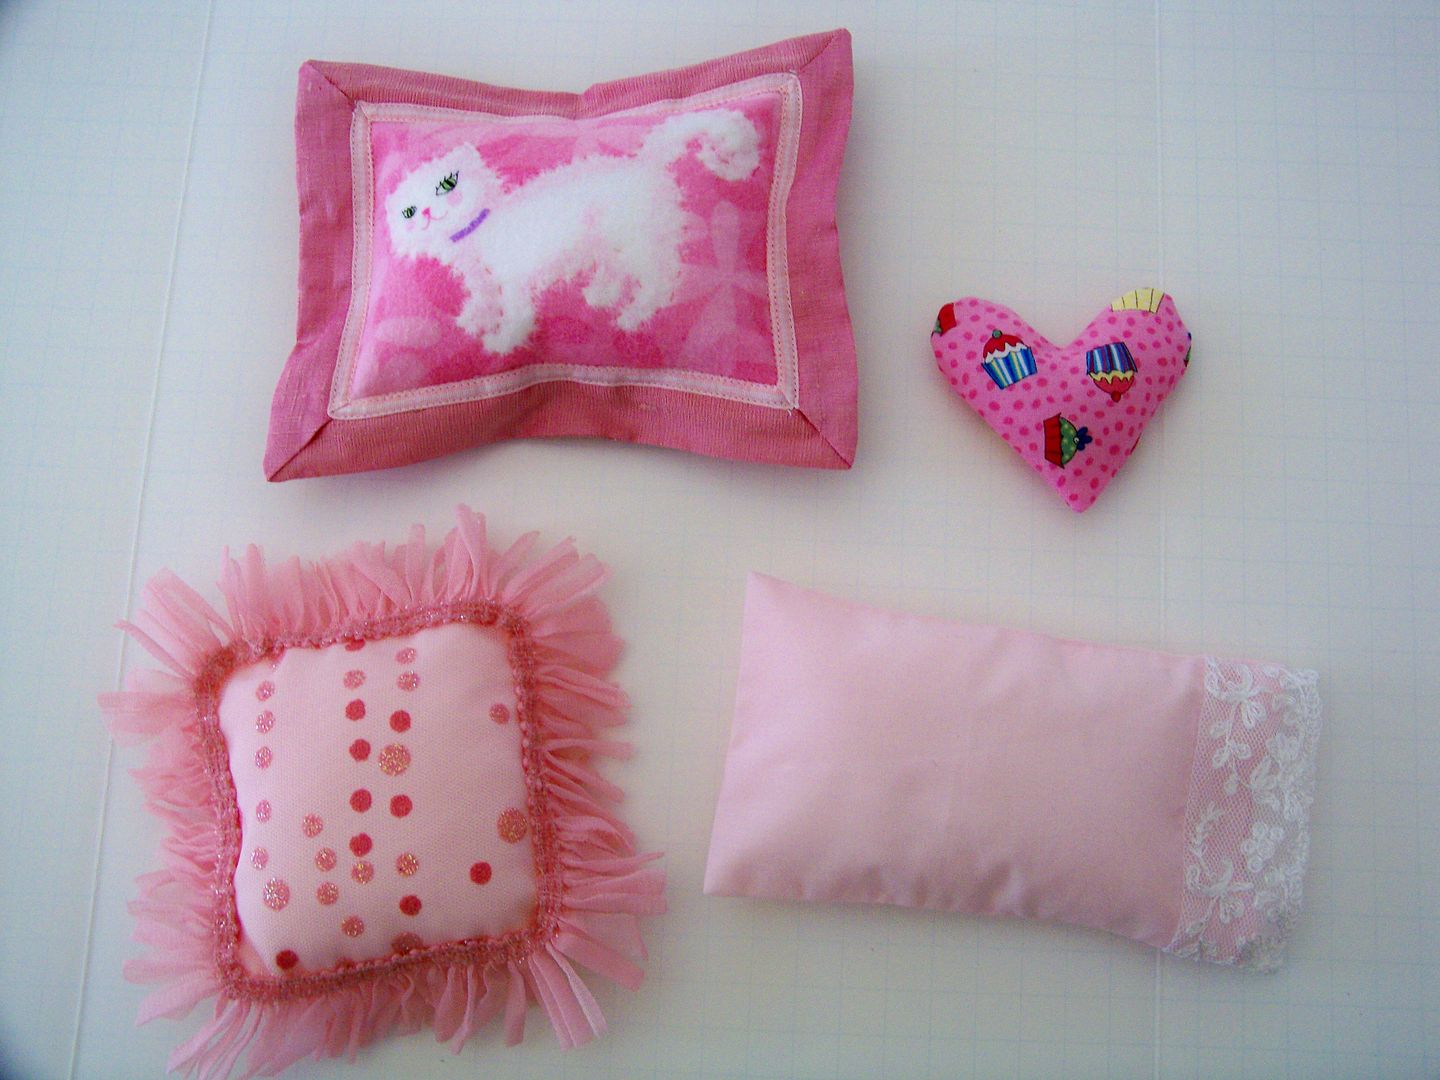
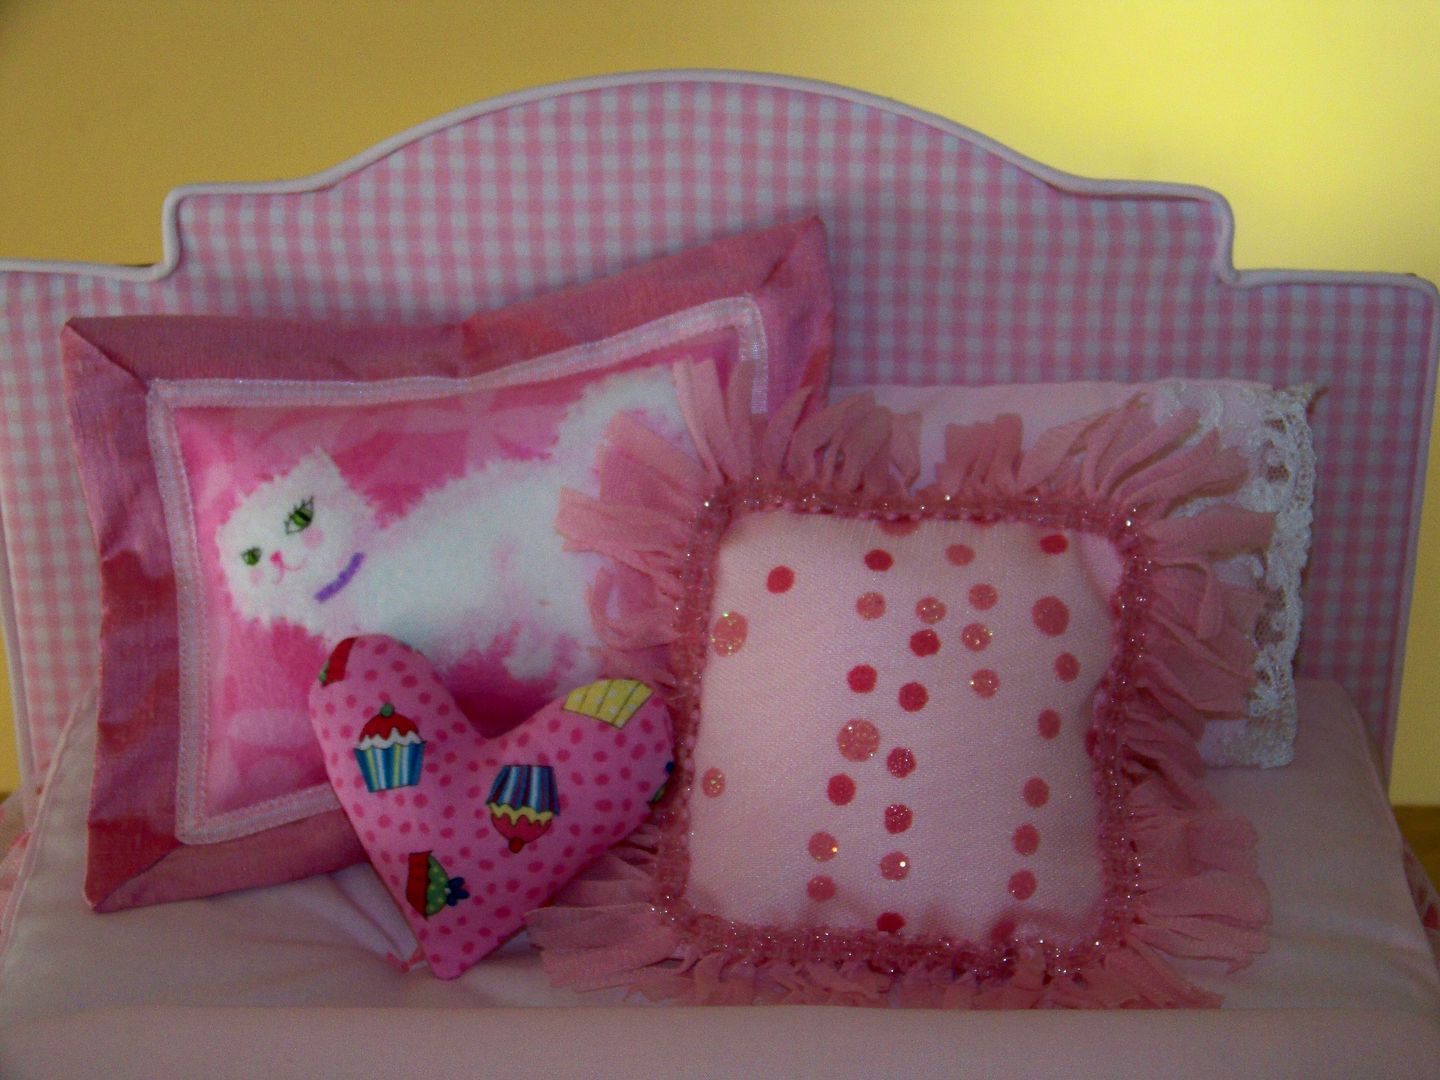
Well, what made this extra fun for my kiddo to design were all the pillows.


Pillow sham...
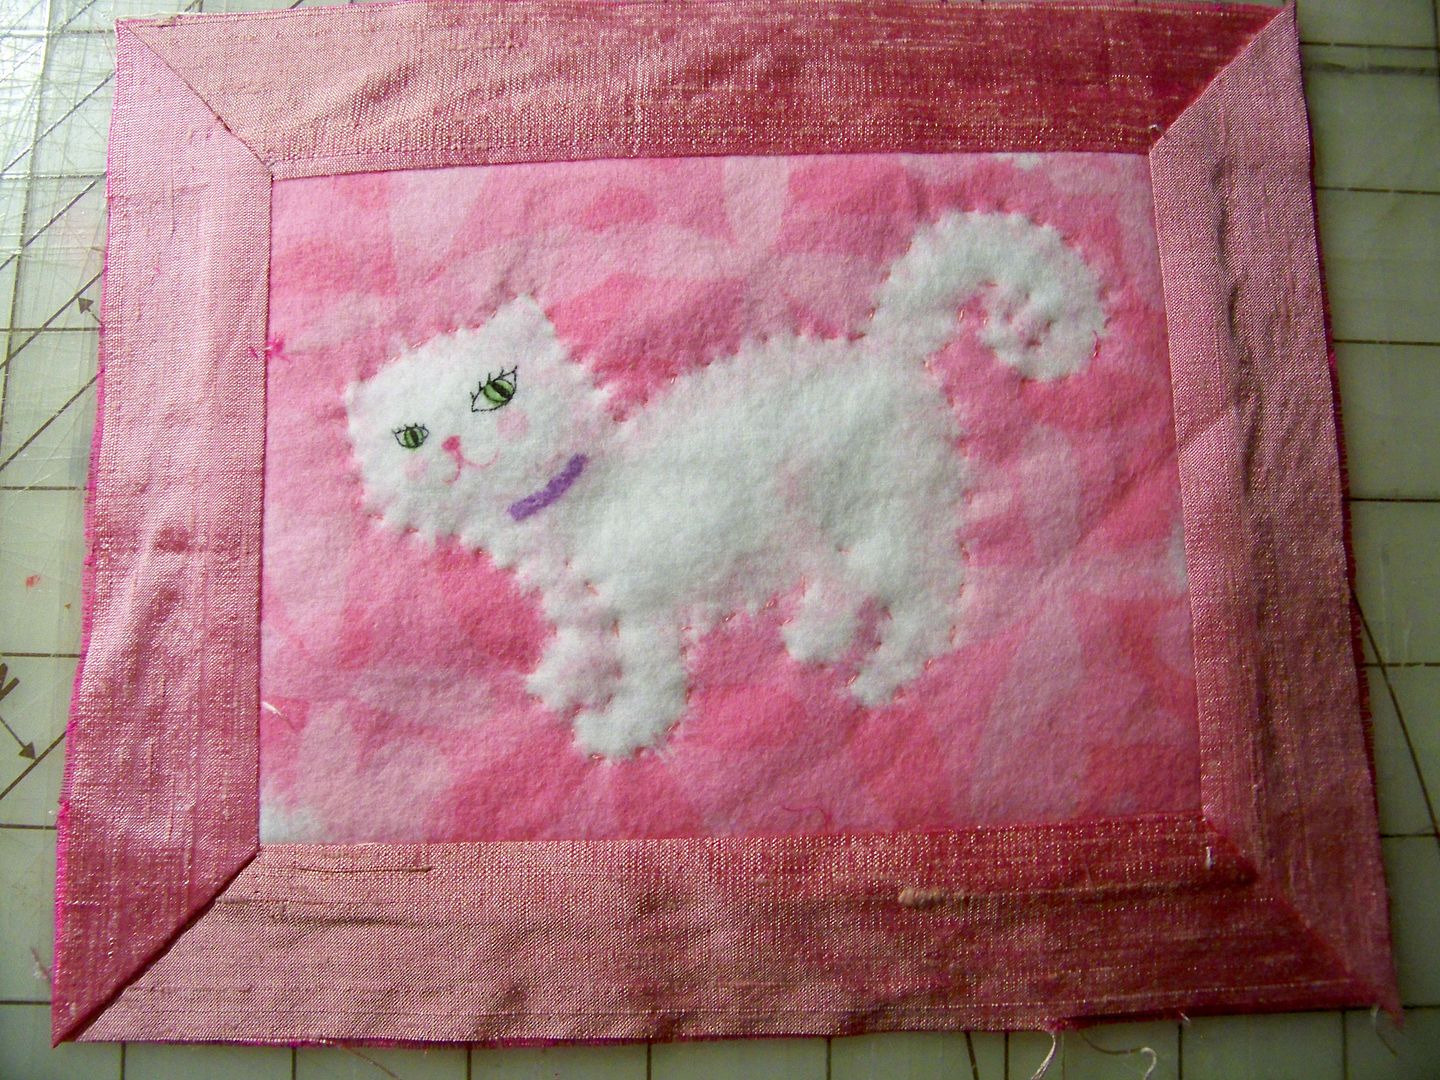
The pillow sham was made with the same flannel (cat print) and silk (solid) as the coverlet.  I used a pink gingham ribbon instead of sewing in a border.  The fun thing about this (and this whole bed project really) is that you can get fancy or keep it simple!  

The center was cut at 6" x 4-5/8".  The flanges were cut at 1-1/2" x 9" for the top and bottom and 1-1/2" x 7-5/8"  for each side.

I hand-quilted around the cat with a bit of cotton batting underneath for a tiny bit of loft before adding the silk border with mitered corners.


I top-stitched the ribbon trim.  I placed it face town on a bit of poly taffeta and stitched around, leaving a couple of inches on the bottom to stuff.  I clipped the corners and turned it right side out.  I sewed around the flange so that a they would stay flat, leaving a small opening for the stuffing.  I stuffed the pillow center and top-stitched the remaining bit on the flange and slip stitched the lower opening closed.  

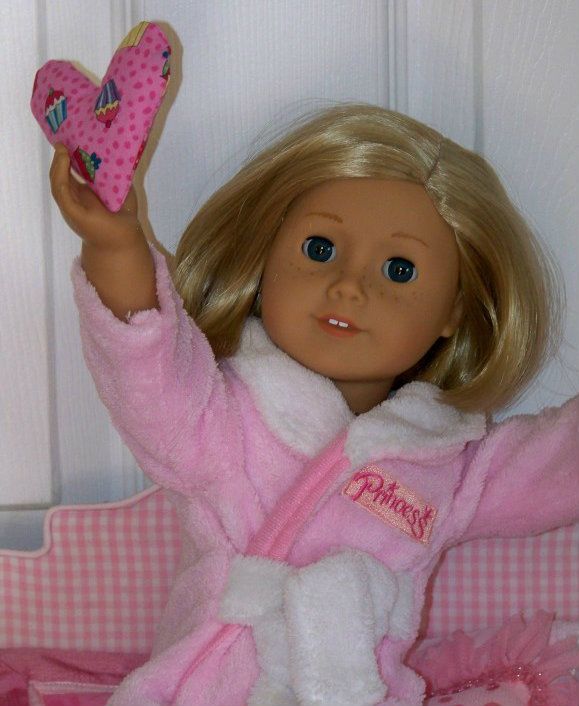
Heart pillow...
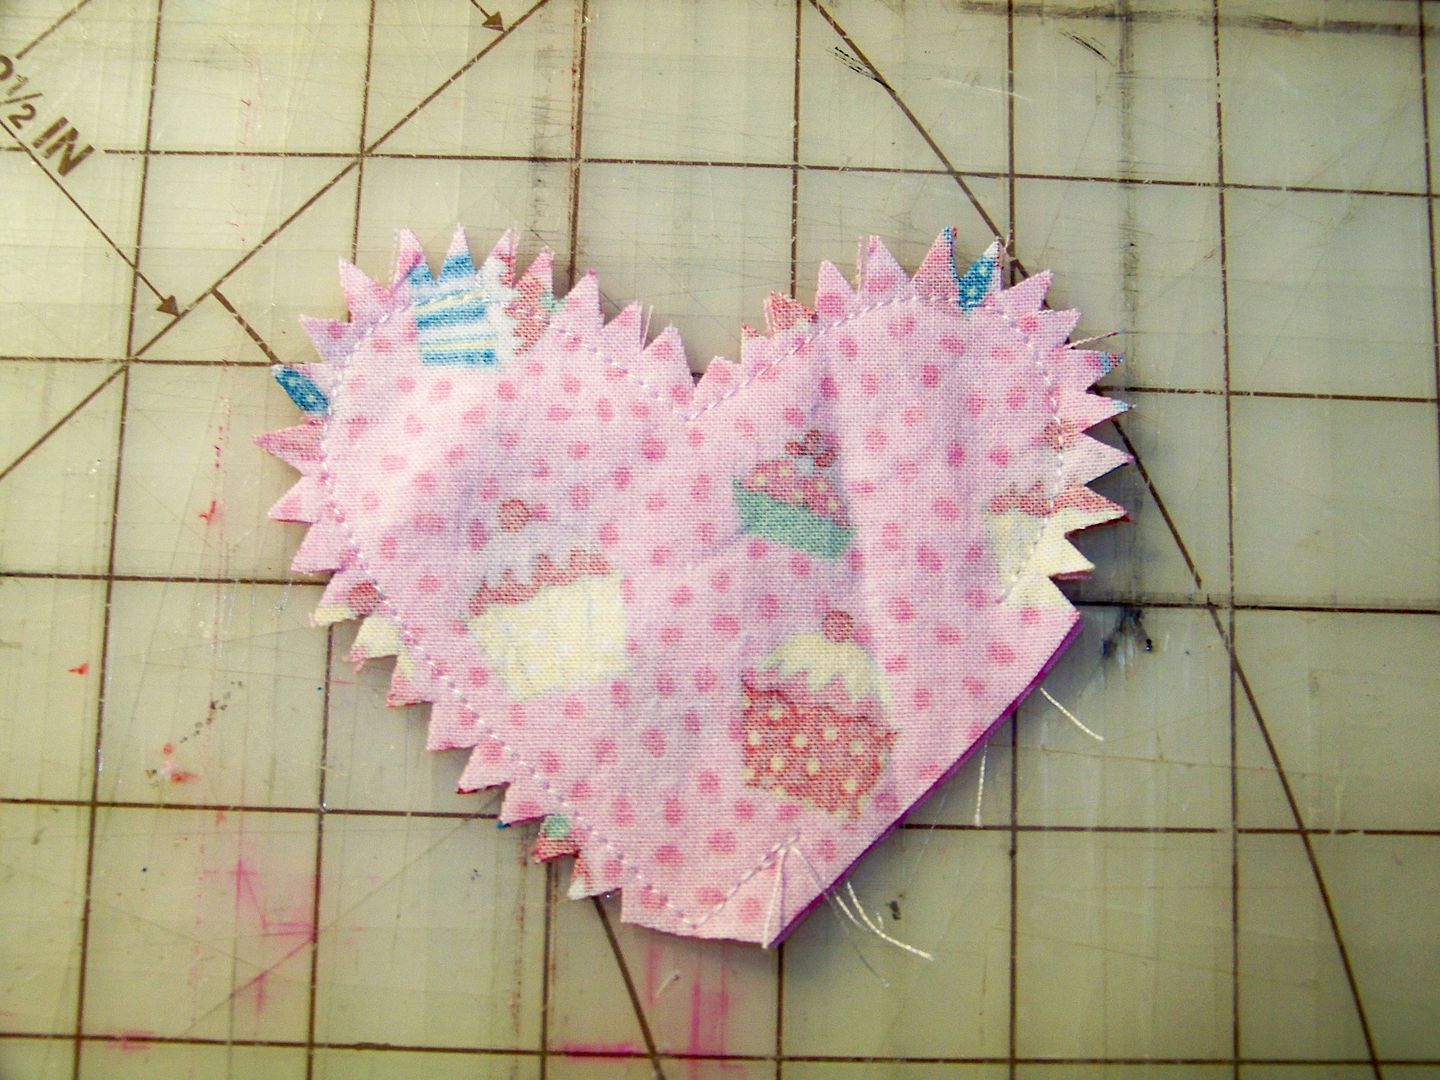
I placed two pieces of fabric right sides together.  I folded them in half and cut a half heart on the fold.  I opened the fold and stitched around, leaving a small space to turn and stuff.  I clipped after sewing.


I turned it and lightly stuffed, then slip stitched it closed.

Bed pillow with pillow case....
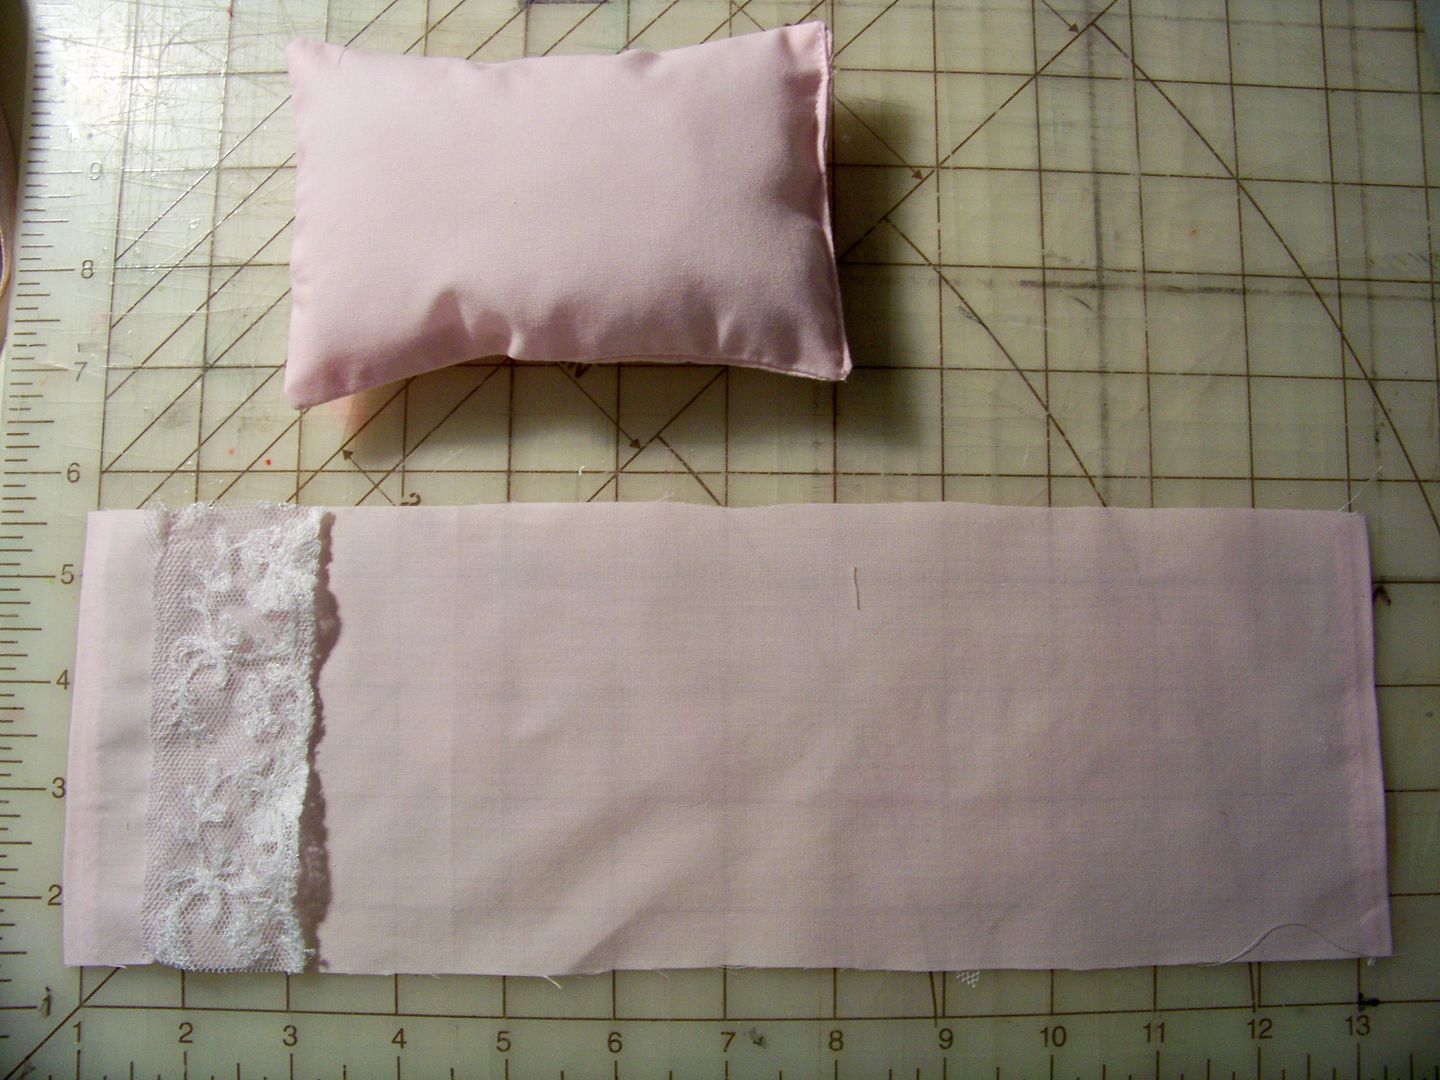
For the pillow, I cut two pieces of fabric at 4" x 6".  I sewed around, leaving one end open for turning and stuffing.  After stuffing, I machine-stitched it closed to finish.  

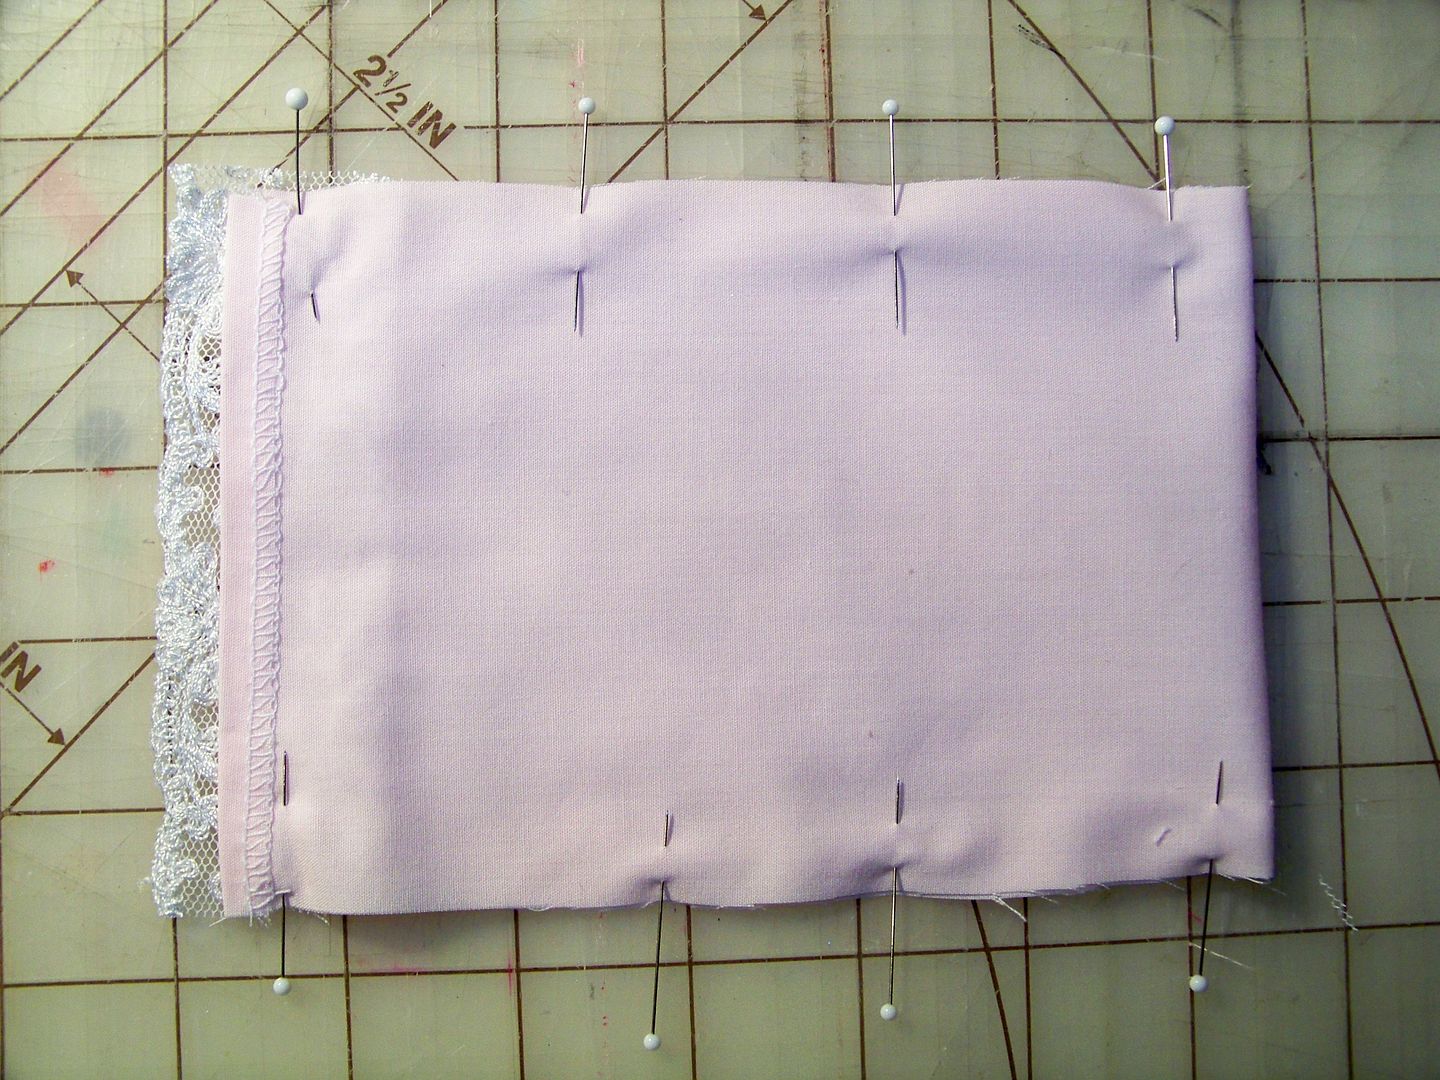
For the pillow case, I cut one piece of fabric 13-1/4" x 4-1/4".  I finished the short ends by serging and turning under 1/4" and top-stitching.  I sewed a piece of Schiffli lace to one end before folding right sides together and stitching the top and bottom seams.  I serged to finish those.

I sewed the lace in about 3/4", right side of lace to right side of fabric.  I trimmed off the excess netting and  folded the lace back and pressed in place before folding the fabric and stitching the top and bottom seams.


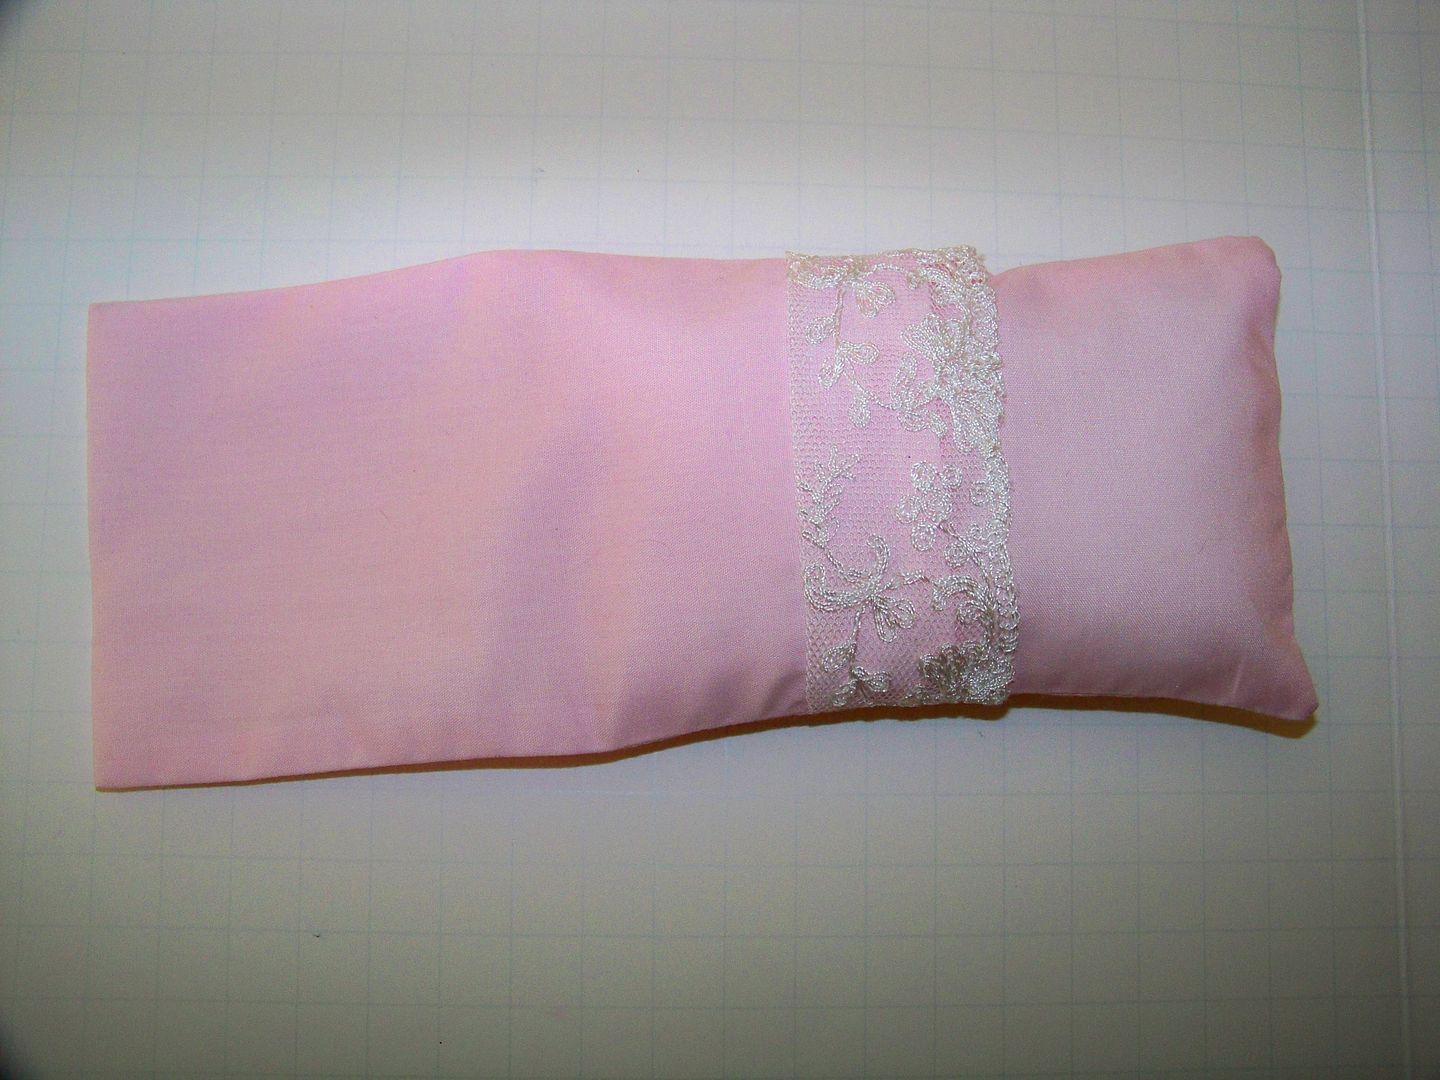
This created a little pillow case for the bed pillow to slip into.  


Euro sham with fringe...
For this pillow, I cut two pieces of poly taffeta and one piece of glitter netting (same fabrics as the bed skirt) at 4-3/4" square.  I stitched along three sides, leaving the fourth one open to turn and stuff.  After stuffing, I whip-stitched it closed.  Because my trim had a decorative, sparkly header, I hand-sewed it to the edge instead of catching it in the seam.


This was such a fun project for my daughter and me to plan together!  I hope that if you were considering making a doll bed or doll bedding that our project was helpful to you!  If you enjoy quilting, check out the mini quilt that 'FromDahliastoDoxies' posted on BlogHer (click here).  


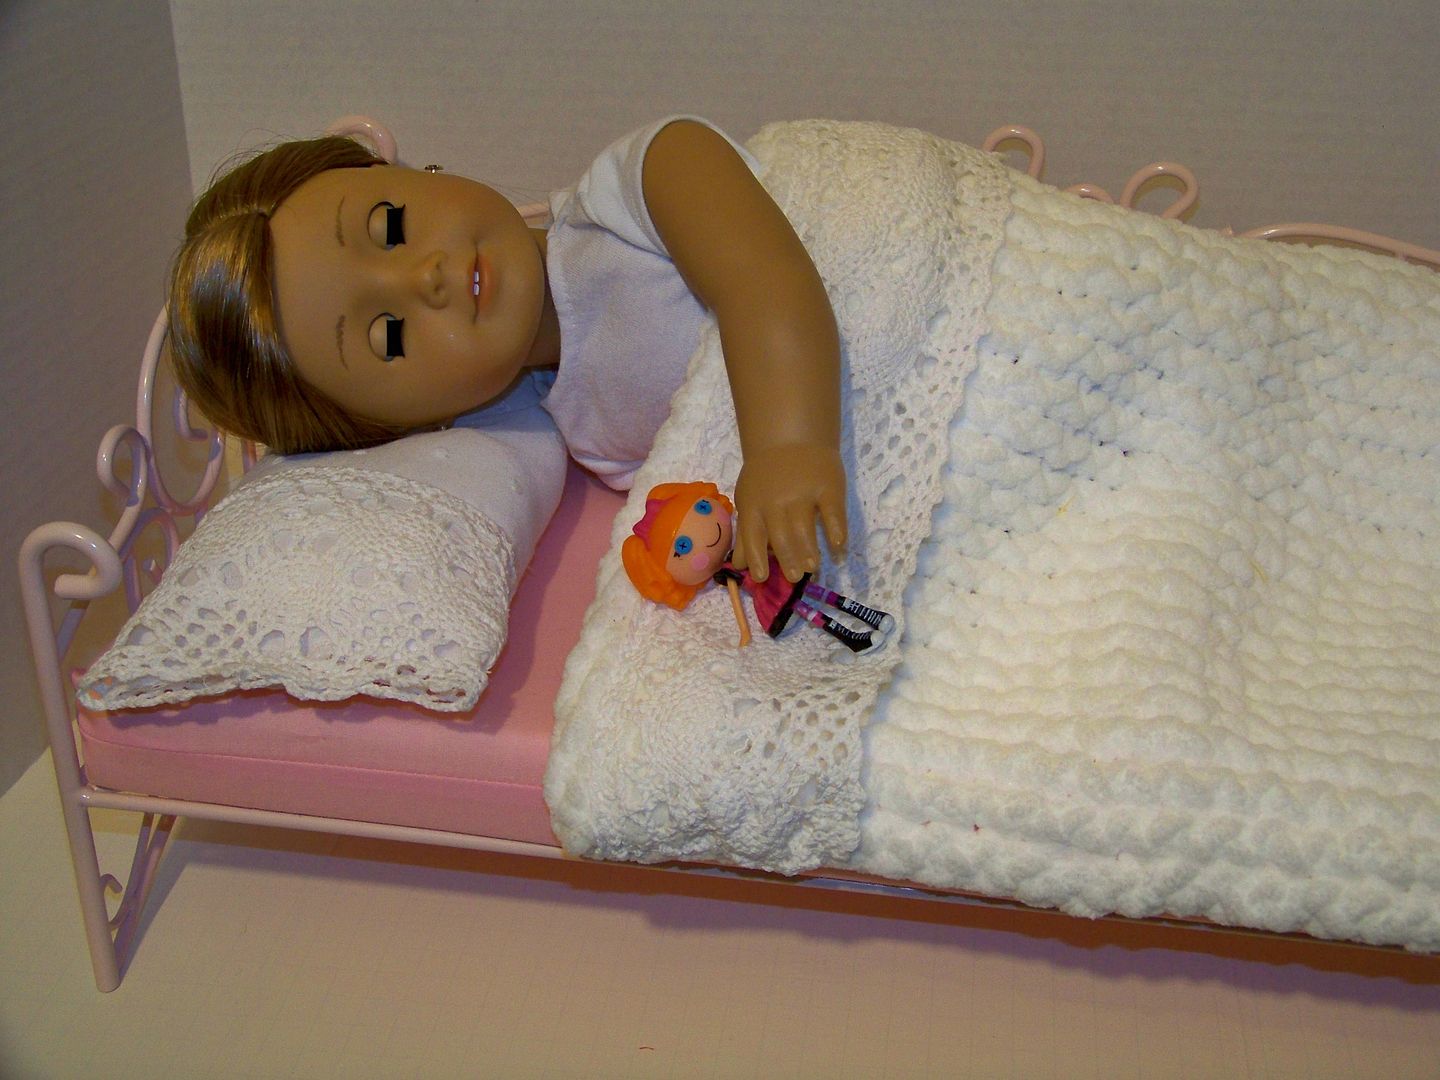
Loom-knitted doll bedding.
To see many of my previous projects, check My Project Gallery (click here).  

To see my previous American Girl projects, check my Doll Clothing and Accessories page (click here).

To see my post on making loom-knit doll bedding (shown to the right), click here.

Thank you for checking my blog post today!
But wait! There's more! Click 'older posts' above!
But wait!  There's more!  Click 'older posts' above!