
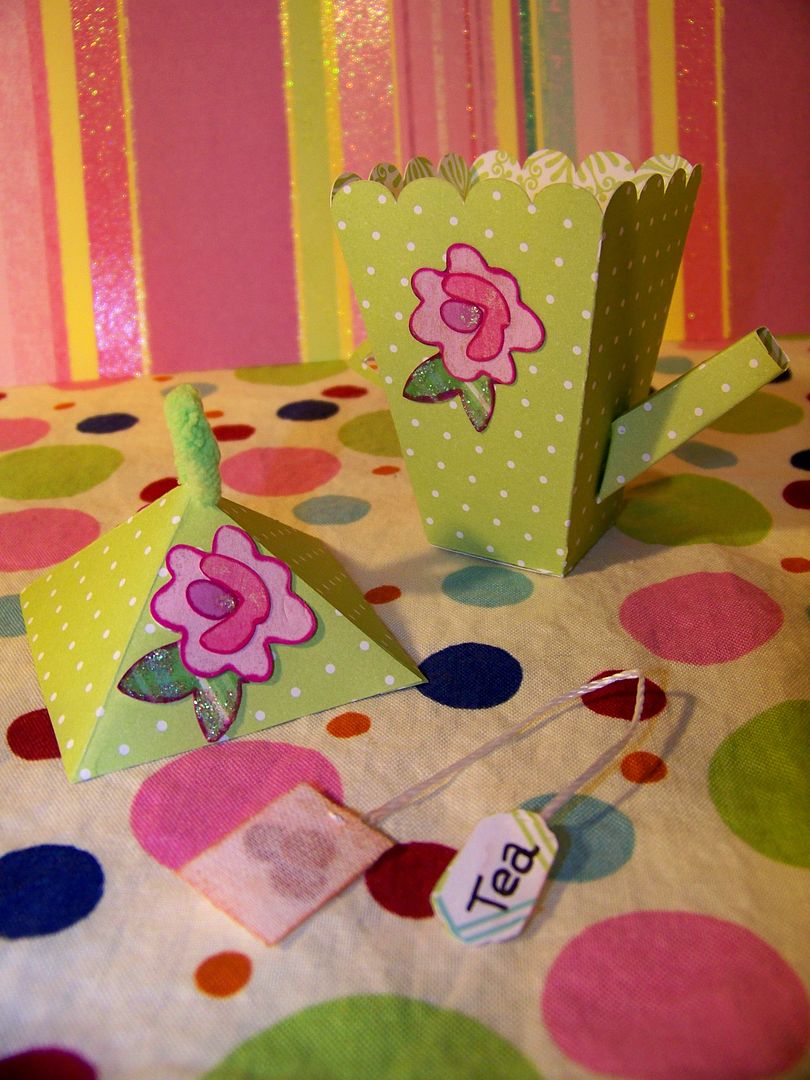
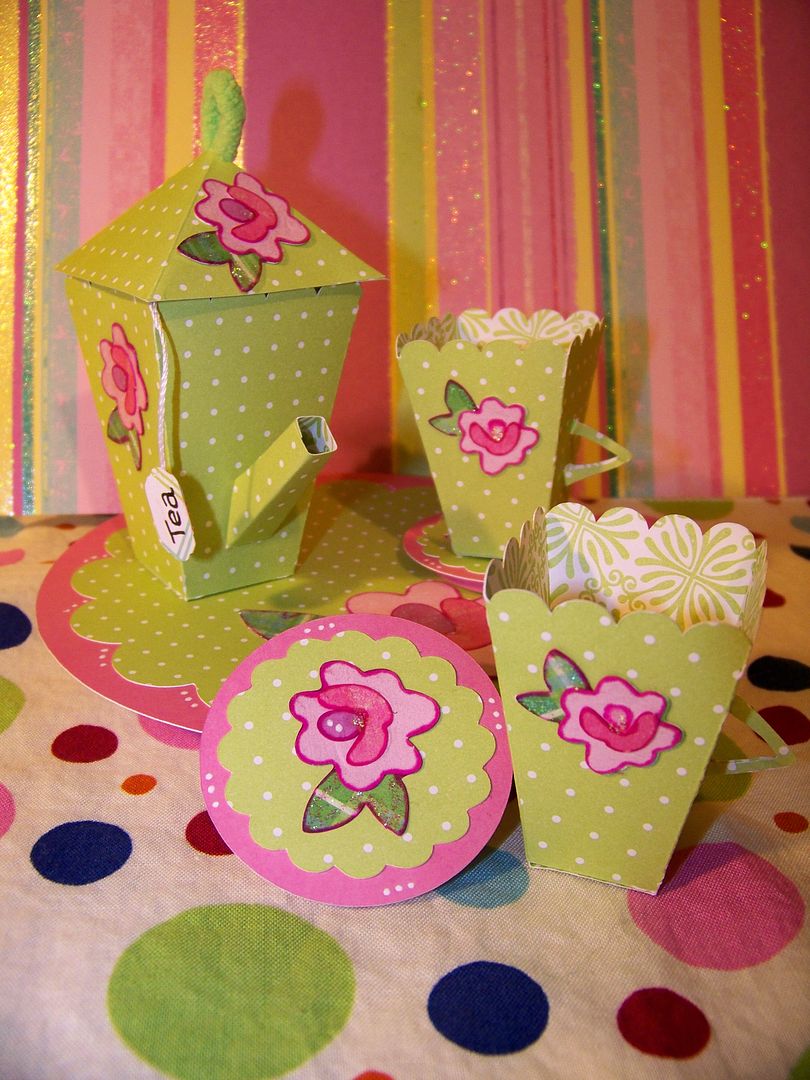
Using the popcorn box on Tags, Bags, Boxes, and More (page 131), I used the blackout feature and cut two boxes at 3" for the teacups and one at 4" for the teapot. I found a square set via PDF from Crafts'nThings. I used the lid and spout, which was sized perfectly once I reduced it by 50% on my printer.
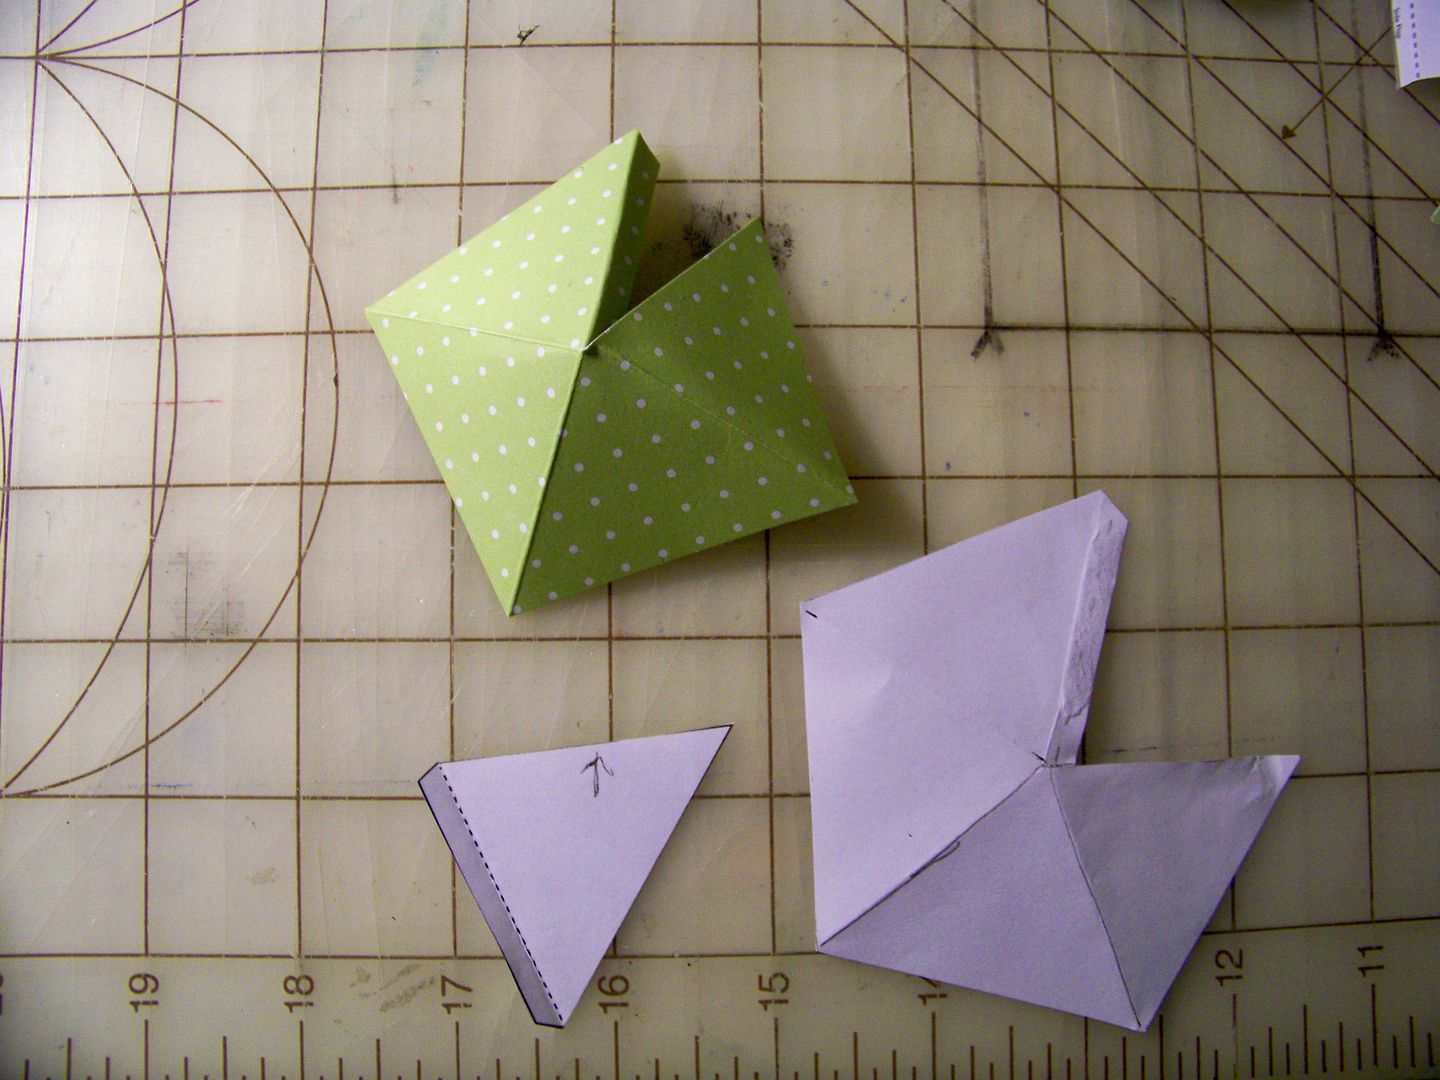
I created a lid using the triangle pattern on the PDF and created a 4-sided lid. I used a loop of chenille yarn that matched my paper to form a handle for the lid. To create side handles, I found Lyrical Letters. I cut out the < and > symbols. They were perfect handles! I cut them at 1-3/4" for the cups and 2-3/4" for the pot.
To decorate the set, I cut flowers from Once Upon A Princess. They were cut at 1" for teapot and saucers, 3/4" for teacups, and 2" for the serving tray.
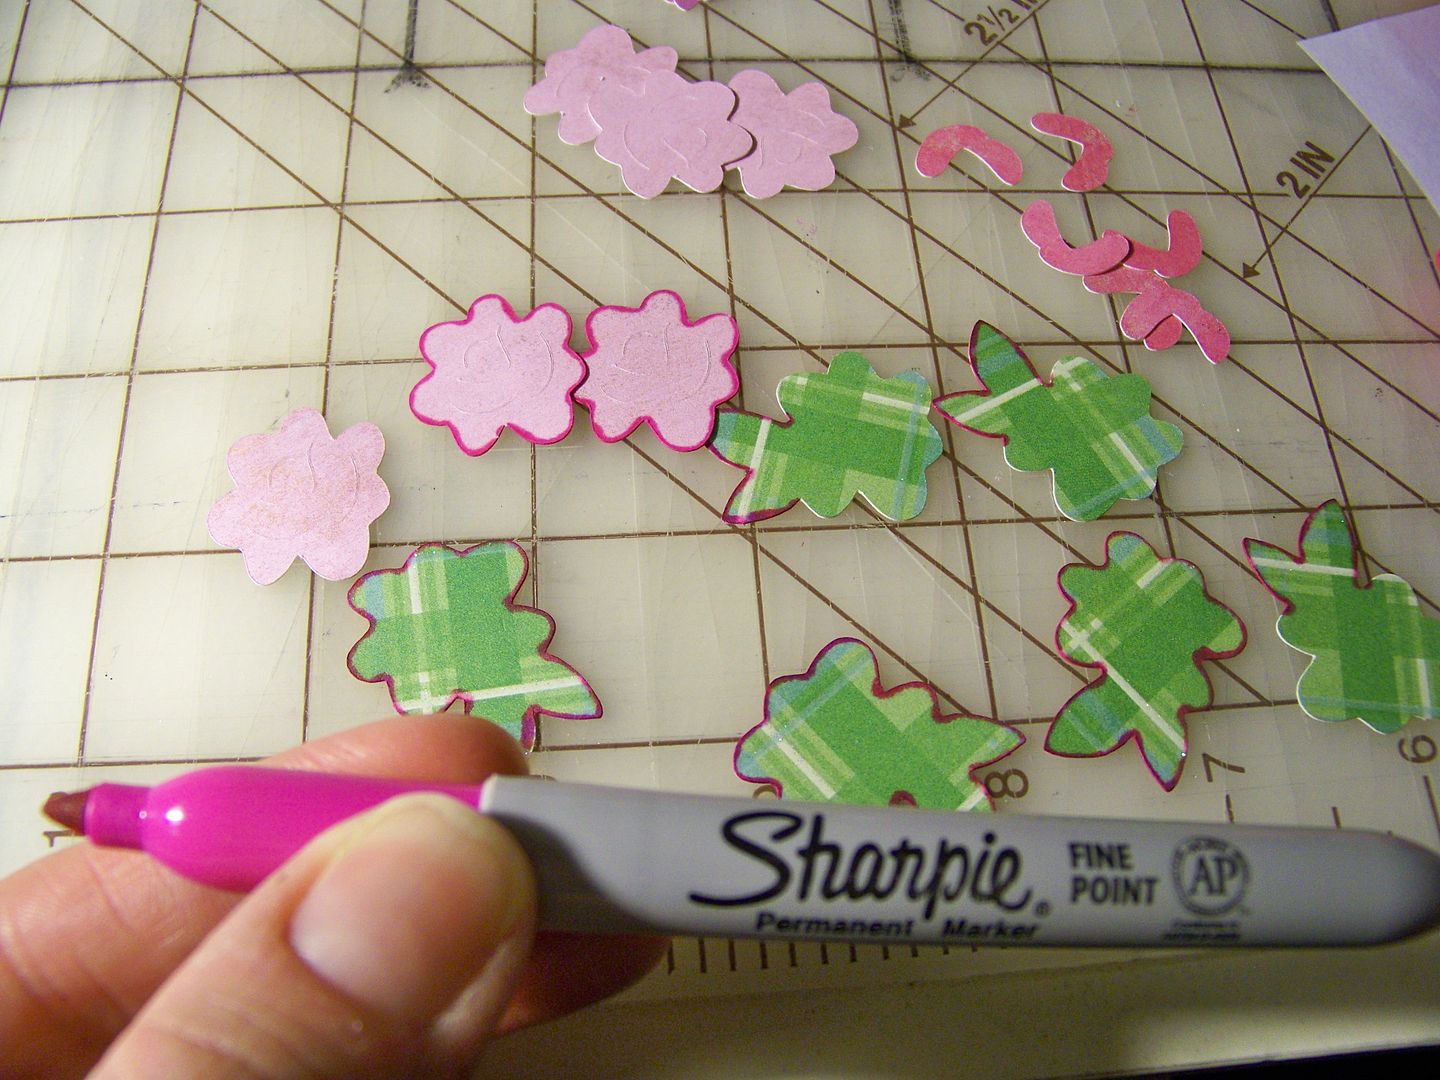
I outlined them with a hot pink Sharpie and added glitter glue for a little girly sparkle.
Before putting the boxes together, I glued on the spout and handles. Then I added my flowers before gluing the boxes together.

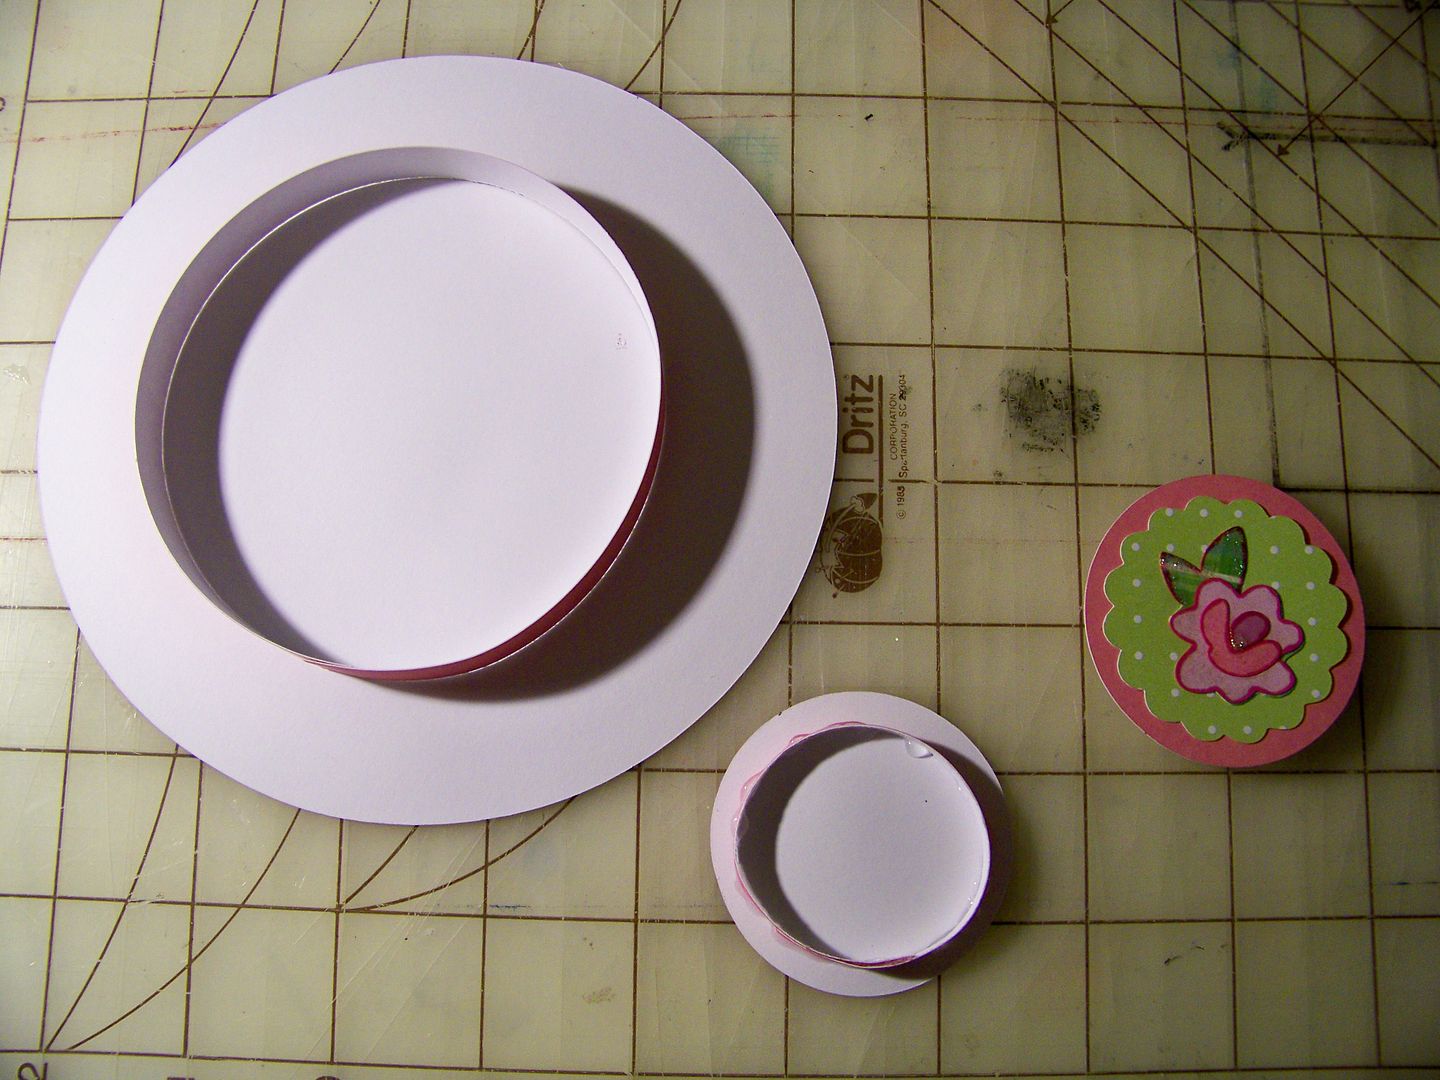
This lifts the plates up off the ground and keep the set from looking like it is resting on pieces of paper.
Next, I created a tea bag.
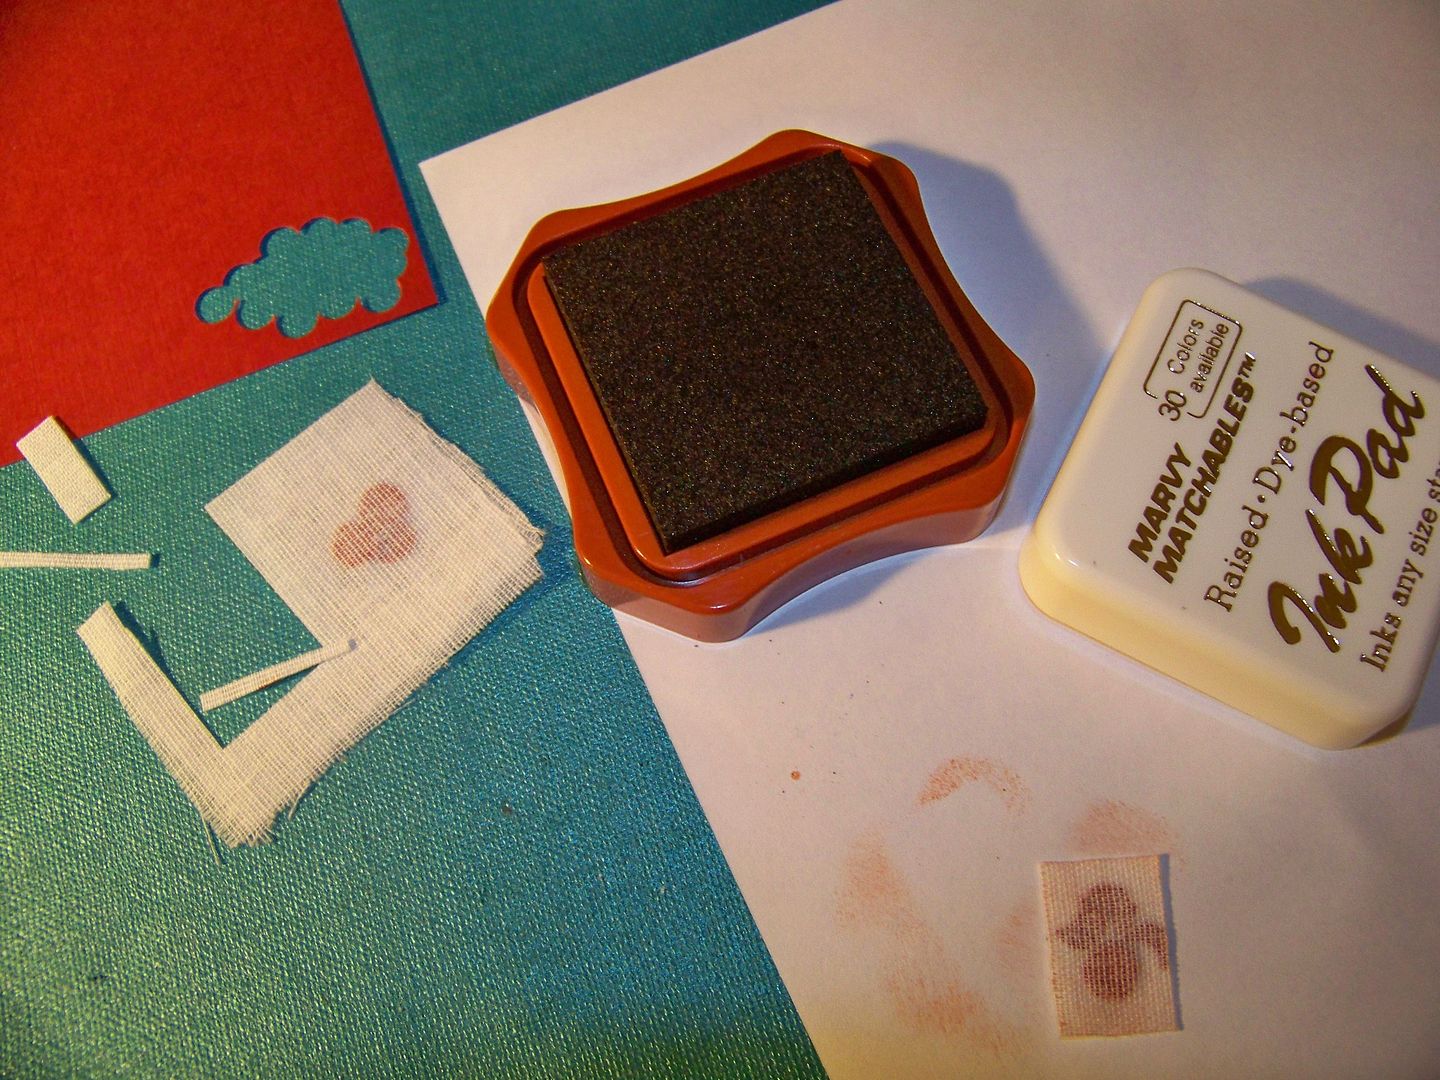
I cut a piece of iron-on woven interfacing, folding to enclose "confetti" created with a whole punch. I ironed the fabric to trap the paper punches, trimmed, and then lightly inked to look tea-stained. I cut two little tags from Wrap It Up using the blackout tag feature, at 3/4". I used a little pearl cotton thread and sewed to the 'tea bag'. The tags where glued together to sandwich the other end of the thread to form the finished tea bag.

Thank you for looking at my little project and visiting my blog!

8 comments:
Nadia,
Oh my goodness I love this. I want to have tea with Piper too! I bet she is just loving this beautiful tea set.
Wow! That is really amazing. I'll bet she's just love this. Thanks so much for sharing it at our linky party.
Nadia, this is wonderful! Piper will love it. You are such a talented crafter, love seeing your creations.
Well, how cute is this?!!! Great job!
You just love to give me a complex dontcha?? I am sooo not showing this to my children for fear they will want one! (have a blog award for you too when you get the chance to stop by!)
This is such a creative idea. I love it!
ADORABLE!! Once again, you have done it. I'm sure that your daughter loved it.
Cricutfarmer
Fabulous! It just goes to show how far an artistic imagination can take you! Good luck in the contest!
Post a Comment