I have been making customized baby burp cloths as part of a gift set for friends who are expecting or who have new babies. It has been a fun way to learn and to get to know my machine. The mommies are always so excited so it really is encouraging! This post shows how I make my burp cloths.
This method uses a cloth diaper as a base. I use Gerber brand that I get in multi-packs. (Other crafters swear by cottonbabies.com but while I learn, I am staying frugal.) This method fully encloses the back side of the diaper (so that none of the back of the stitching is visible) and has decorative fabric ends so that the project is fully finished!
I create my design in Embrilliance and make sure to include a basting box. (The robot I used is from
Breezy Lane and the text is from
Lynnie Pinnie. I made the text circular using Embrilliance software.) I print off a paper version of the design using the software and copy the design on a USB drive and move it to my machine.
Diapers will shrink so the first thing I do is to wash and dry them. I wash them with hot water and no detergent and dry with regular heat. (This project does not use any applique, but when I do applique designs on my burp cloths, I pre-wash and dry those fabrics too. I iron with starch on the fronts and apply Heat N Bond light on the back sides of the applique fabrics).
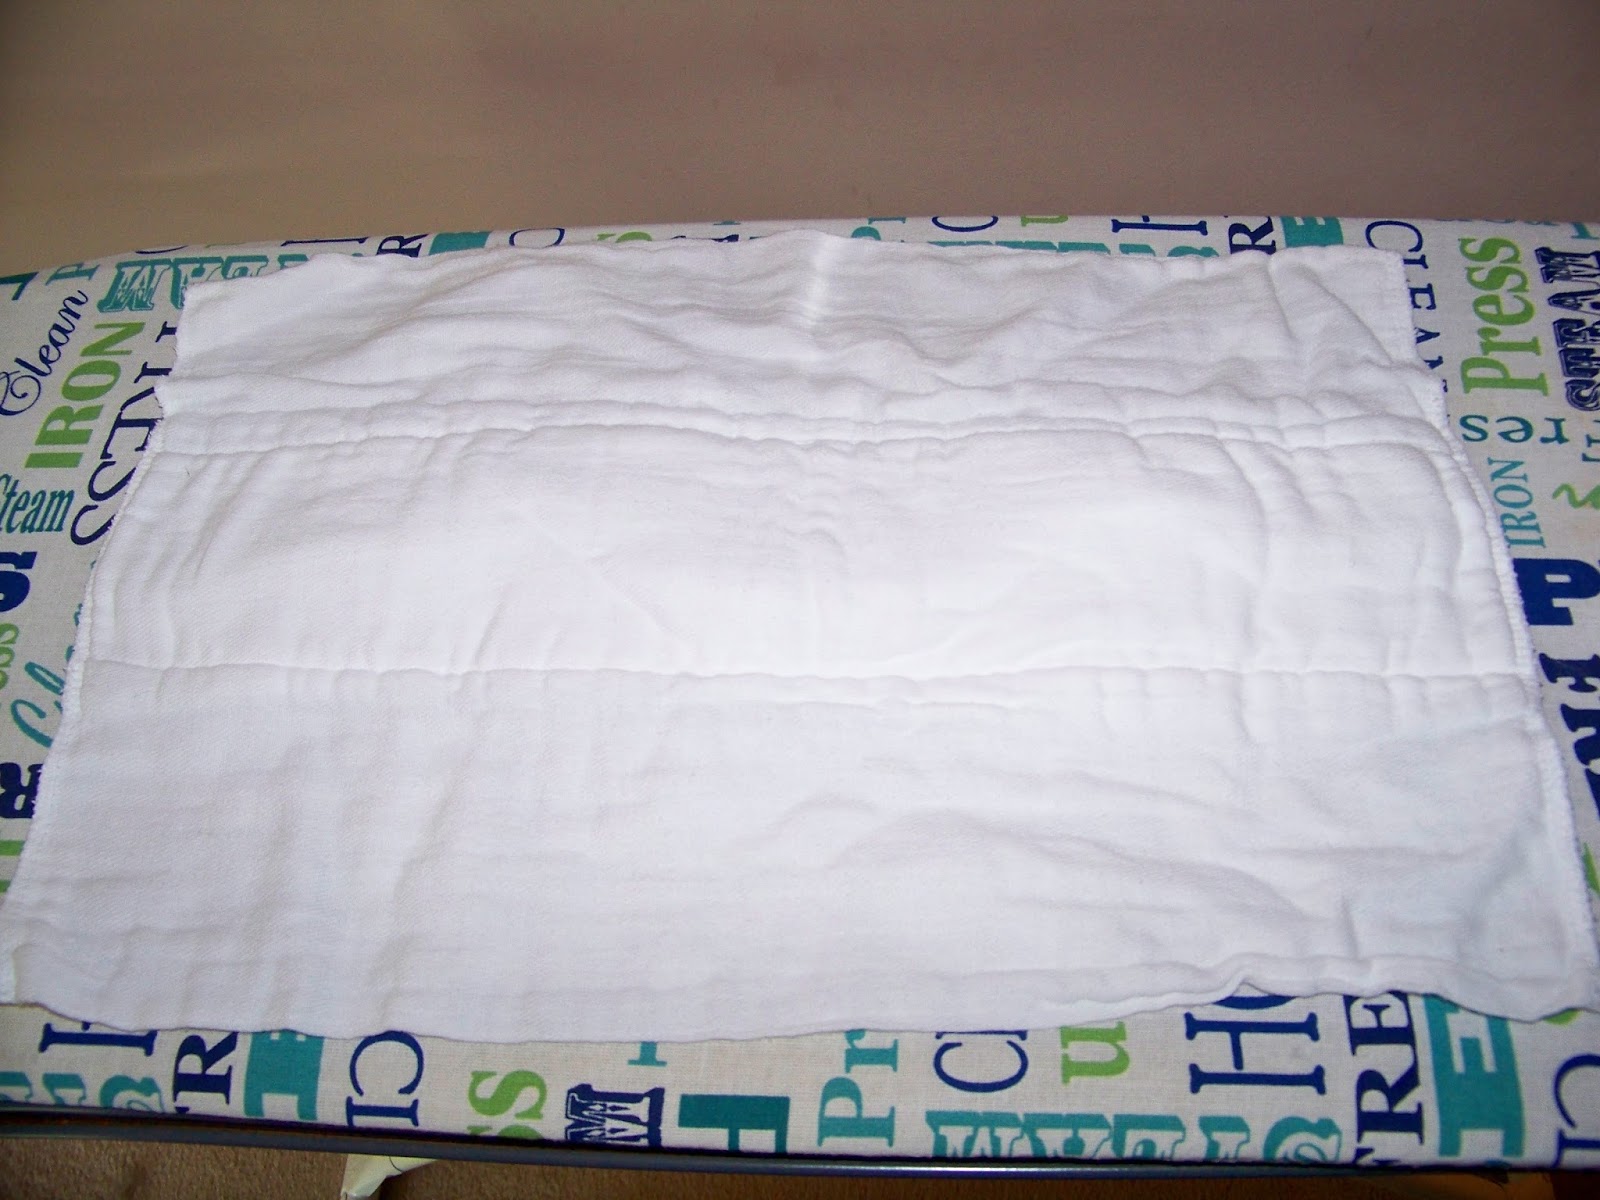
Once washed, I iron the diaper to try to get back to a smooth, rectangular shape, pulling on grain diagonally if needed.
I cut off one end at a 90 degree angle from the sides. Since it won't be straight on the end after washing, this will also help the finished project to be straight.
I flip it over to the back and, using a seam ripper, carefully and quickly remove the two inside stitching lines that hold the padding in place. I like this kind of diaper because the padding adds dimension to the stitching (it is even more fun with applique). I open it enough so that the design will fit. My goal here is to stitch on the front and padding and then re-stitch the backing down to cover the back stitches of the embroidery and/or applique. You most probably will not need to remove stitching all the way down the length of the diaper. Only go as far as necessary. I use my paper pattern to help me decide how much stitching to remove.
I hoop medium-weight cut-away stabilizer. It will be completely hidden on the finished project because it will be enclosed in the diaper. I like using cut-away because the stitching will hold up to even the roughest laundering situations, as is often the case on things made to be covered in messes. This is just my personal preference.
I flip the diaper back over to the right side and determine where I want the applique design to be placed. I use the paper print out to do this.
I use a thumbtack method to transfer the position of my design instead of making marks on the fabric. (I place my paper pattern on the hoop, matching cross-hairs, then I place thumbtacks at the center and on one leg of one axis. The thumbtacks leave marks on the paper pattern. I move the paper pattern off the hooped stabilizer. I spray my hooped and marked stabilizer with textile adhesive. I move the paper pattern to the diaper and place it using a ruler to find the center. I tape the pattern in place and pick up the diaper with taped-on design and lay it on the hoop, making sure the thumbtacks go in the exact same holes as before. I remove my thumbtacks and smooth the fabric on the hoop to best adhere it. (For pictures and more details on how I do this, you can find more on a previous post on my blog by
clicking here.)
My diaper is now floated in place on my hoop and temporarily attached with spray adhesive. I roll up the sides and pin or clip out of the way to prevent them from accidentally getting stitched under the hoop.
I top with the filmy kind of Water Soluble Stabilizer (WSS) because the padding of the diaper can cause the stitches to sink down; this will prevent that. I begin my stitch out, making sure that my basting box is the first sewing step. This holds the diaper on the hoop, as the textile adhesive is only temporary. It is even more important for those diaper burp pads that use applique!
I used my Brother PE-770 to do the embroidery. My machine is a single needle with a 5x7 hoop.
After the design is complete, I remove from the hoop, clip all jump stitches on the front and as many as possible on the back. The back won't show so it is not imperative to do this perfectly on the back, but long threads should be clipped.
I remove all the WSS. I use the end of my Stitch Fix seam ripper or the end of a Frixion pen. (When appliqueing, I press the design to adhere the Heat N Bond Light.)
I trim the cut-away stabilizer close to the the design. I don't trim between words; just trim around the outside perimeter.
I straighten out the diaper and place the back pieces in their original places so that it looks like it did at the beginning.
I use a 1/2" Steam A Steam fusible webbing to replace pinning to hold the backing together before sewing. (This is the only brand that really works for me for this application.) I press and fuse the backing closed. Then I take the diaper to the sewing machine and stitch up the inside lines that I had removed previously, skipping over areas that have machine embroidery or applique.
To make the decorative fabric ends, I fold a piece of cotton fabric along the grainline, making sure that I follow the print, if any, so that it appears to be straight. (If the fabric is printed off-grain, I always follow the pattern, not the grainline). I cut the folded fabric to make a thick strip, usually around 2" - 4" but sometimes I vary that based on the pattern or how much fabric I have. This one is 2-1/2". Cutting a 2-1/2" strip of folded fabric makes a 5" strip unfolded just to be clear!
I turn the diaper over so that I am looking at the BACK of the diaper. I open the strip and place one thickness of fabric face down, making sure I have 1/2" over overlap on each side of the diaper.
I stitch in place using a 1/2" seam. (Here, I flipped it over so you can see that the fabric was sewn facedown to the BACK of the diaper, just to be clear!)
I press the fabric so the seam is flat.
While at the ironing board, I press the long, unsewn edge of the fabric up 1/2".
I pick up the strip and sew the sides, right sides together, with a 1/2" seam allowance.
I clip off the corners to remove bulk.
I turn and push out the point. I use a bone folder but only because I can't find my point turner!!
I turn the diaper to the front. I use a piece of Steam A Seam 1/2" fusible tape to fuse the strip in place by lining up the fusible tape just under the stitching line. The folded fabric should be right on top of the stitching line. Fusing is a substitute for pinning only! This must be sewn to hold up!
I press in place, using steam.
Using an edge foot or being careful to stitch on the very edge of the fabric, I sew all the way down the strip.
On the other end of the diaper, again, I trim off the end of the diaper and follow the same steps to add a decorative fabric trim to that end as well.
The finished front of the burp cloth...
...and here, you can see that the back is completely finished and the stitching is enclosed.
For presentation, I fold the burp cloths in thirds and then in half.
I have read lots of posts on message boards that warn not to use these inexpensive Gerber diapers, that it will ruin the burp cloth after laundering. I couldn't figure out why so I washed this and dried on high heat. Wrinkling is the only thing I see, as I imagine will be the case with all 100% cotton diapers. Just sharing in case you were wondering about this too. By pre-washing and using a cut-away stabilizer, I think I have prevented the majority of foreseeable disasters.
These are some of the baby gifts I have made. I plan to share my tutorials on door hangers, bibs, onesies, and teddy bear rattlers in future posts!