
In the midst of all the ladies on all the embroidery and Silhouette Facebook pages putting names on bunny ears in preparation for Easter, I worked instead on a crocodile for a birthday! This is a Kohl's Cares plushie and book that I bought for my niece but I wanted to personalize it for her. My daughter suggested making him a t-shirt instead of using embroidery or heat transfer vinyl on his body. I loved that idea!
I have made the free Liberty Jane t-shirt pattern a gazillion times over the years for my daughter's dolls! I knew the pattern pieces would not fit but I used the same sewing instructions that are used for that pattern. Using that guide, gift wrap tissue paper, quarter inch seam markers, and my dedicated tissue paper scissors, I drafted a t-shirt pattern for Cornelius.

I drafted a sloper for him first. That just means that I used tissue paper to create a fitted top, focusing on half of the front of him and half of the back of him. How handy that he has seams down the front and back centers! The sloper doesn't have seam allowances or hems; it is just the pieces made to fit, using pencil and scissors to alter it.
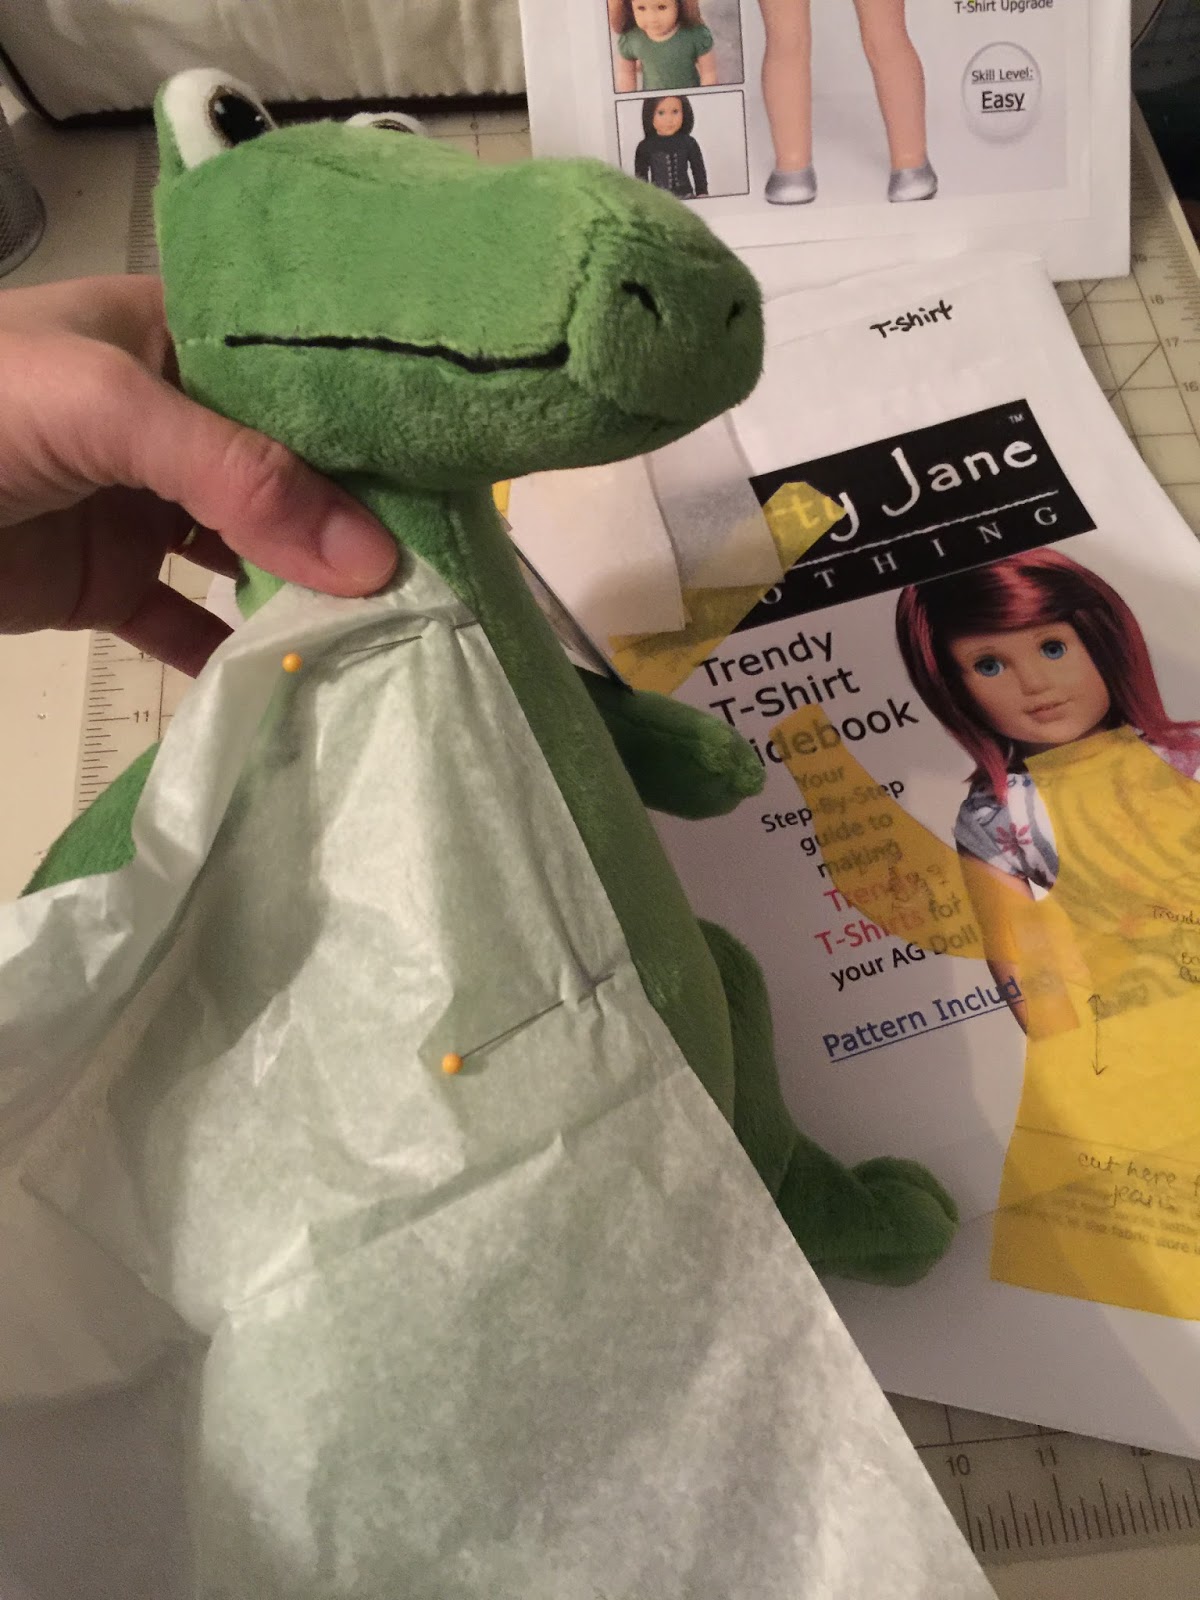


This was nice and easy because I could pin it right to him.
I traced those sloper pieces onto more tissue and added seam allowance and a hem. The Omnigrid Quarter Inch Marker is very handy for this, but even a clear grid ruler works just fine.

I wasn't sure how to handle the sleeve. I ended up using the doll pattern sleeve, pinning it to the armscye, only to realize that I needed to remove some of the width of the pattern. I adjusted the pattern and re-cut the sleeve to that size.

I also added a bias strip to make a neckband. I measured the sloper (no seam allowance) to figure the length and cut it on the bias. This was a feature from the Liberty Jane t-shirt variation pattern that I used. Cut on the bias, it will stretch to fit, stabilize the neckline, and look more like a real t-shirt.

All pieces were cut and stitched, using the same construction as detailed in the Liberty Jane t-shirt pattern.

I stitched the neckline first then added one sleeve to test it. This pattern sets in the sleeve BEFORE the sides are sewn. Next it was time to do a pin fitting to make sure it was sized correctly.

The other sleeve was added and they were hemmed. With the sides still un-sewn, it was the perfect time to embroider the t-shirt. I used Embrilliance Essentials to add text (Itch2Stitch Pinky Swear) and merge in a mini alligator from Lynnie Pinnie.

In the software, I simply clicked the Add Lettering button three times to have "Read," "with me," and "Avery" as separate objects so that I could change the colors. I clicked the Merge Files button to add the alligator. I selected the alligator in the Objects Pane and right clicked it, selecting the 'move earlier' option until it was under the word "Read" since I had colored them with the same green.
I stabilized the crocodile's t-shirt just like I do for all knit garments: fused poly mesh on the back of the garment and floated over hooped tear away. I sewed down water soluble topping with the basting box. For complete instructions with pictures of this stabilizing process, check out my Onesie tutorial on this blog or click here. I used the paper printout from the software to place it perfectly on the hoop.


I tore off the tear away and water soluble stabilizer, clipped threads, and trimmed away the poly mesh.

I sewed the side seams, tried it on the plushie again to make sure it was okay, and then hemmed the bottom. For the sleeve and bottom hems, I stabilized the t-shirt knit by fusing the hem in place before stitching with Steam-A-Seam 1/4" tape. This prevents the rippled stitching that can occur when stitching on the cross-stretch.

I sewed velcro to the back.


The t-shirt was complete!

I am happy with my little project and I like that it adds value to this inexpensive gift! You may have noticed that I used an alligator image on a crocodile's shirt. I found it difficult to tell the difference between the two until someone shared this with me. That clears it up!

Links from this post (none are affiliate links):
- Kohl's Cares Crocodile plush animal: click here.
- Kohl's Cares Cornelius book: click here.
- Liberty Jane doll t-shirt pattern for instructions: click here.
- Liberty Jame doll t-shirt variation pattern: click here.
- Embrilliance Essentials embroidery software: click here.
- Font - Itch2Stitch Pinky Swear: click here.
- Mini Alligator from Lynnie Pinnie: click here.
- Onesie tutorial for info on how to stabilize knits: click here.
- Steam-A-Seam2 1/4" fusible tape: click here.
Thanks for checking my blog post today. To see all my embroidery resources and links to my other project posts, check out my Embroidery Page on this blog, or click here.

No comments:
Post a Comment