
Not until recently did I realize how annoying that decision must have been for the people at my two baby showers! Ha! So, when my husband's cousin announced her pregnancy and that she too would be waiting to learn the gender, I knew she would be getting my {personalized} baby gift after her baby was born. I remember how I felt with all those neutral colored and themed clothes and baby items... I went on a pink shopping trip the first time I headed out the door with my new little girl. I bought the girliest stuff you have ever seen! Those were the days before having a die cutter and having an embroidery machine. If my child were born today, everything would have her name or monogram on it. So that was on my list for Baby Margaret!
I started with a Nate Berkus lovey from Target that I embroidered using a file from Itch2Stitch, Magnolia Sky. I float the item over hooped tearaway and top with WSS. I pin the item in place and stitch a basting box to hold it in place. The basting box, as always, also has a secondary function: it helps me to make sure that the text will be centered and placed just as I envisioned it. The basting box is removed before the WSS and tearaway. For a great article all about basting box usage (in case you were wondering), check out the blog post by Lisa Shaw.


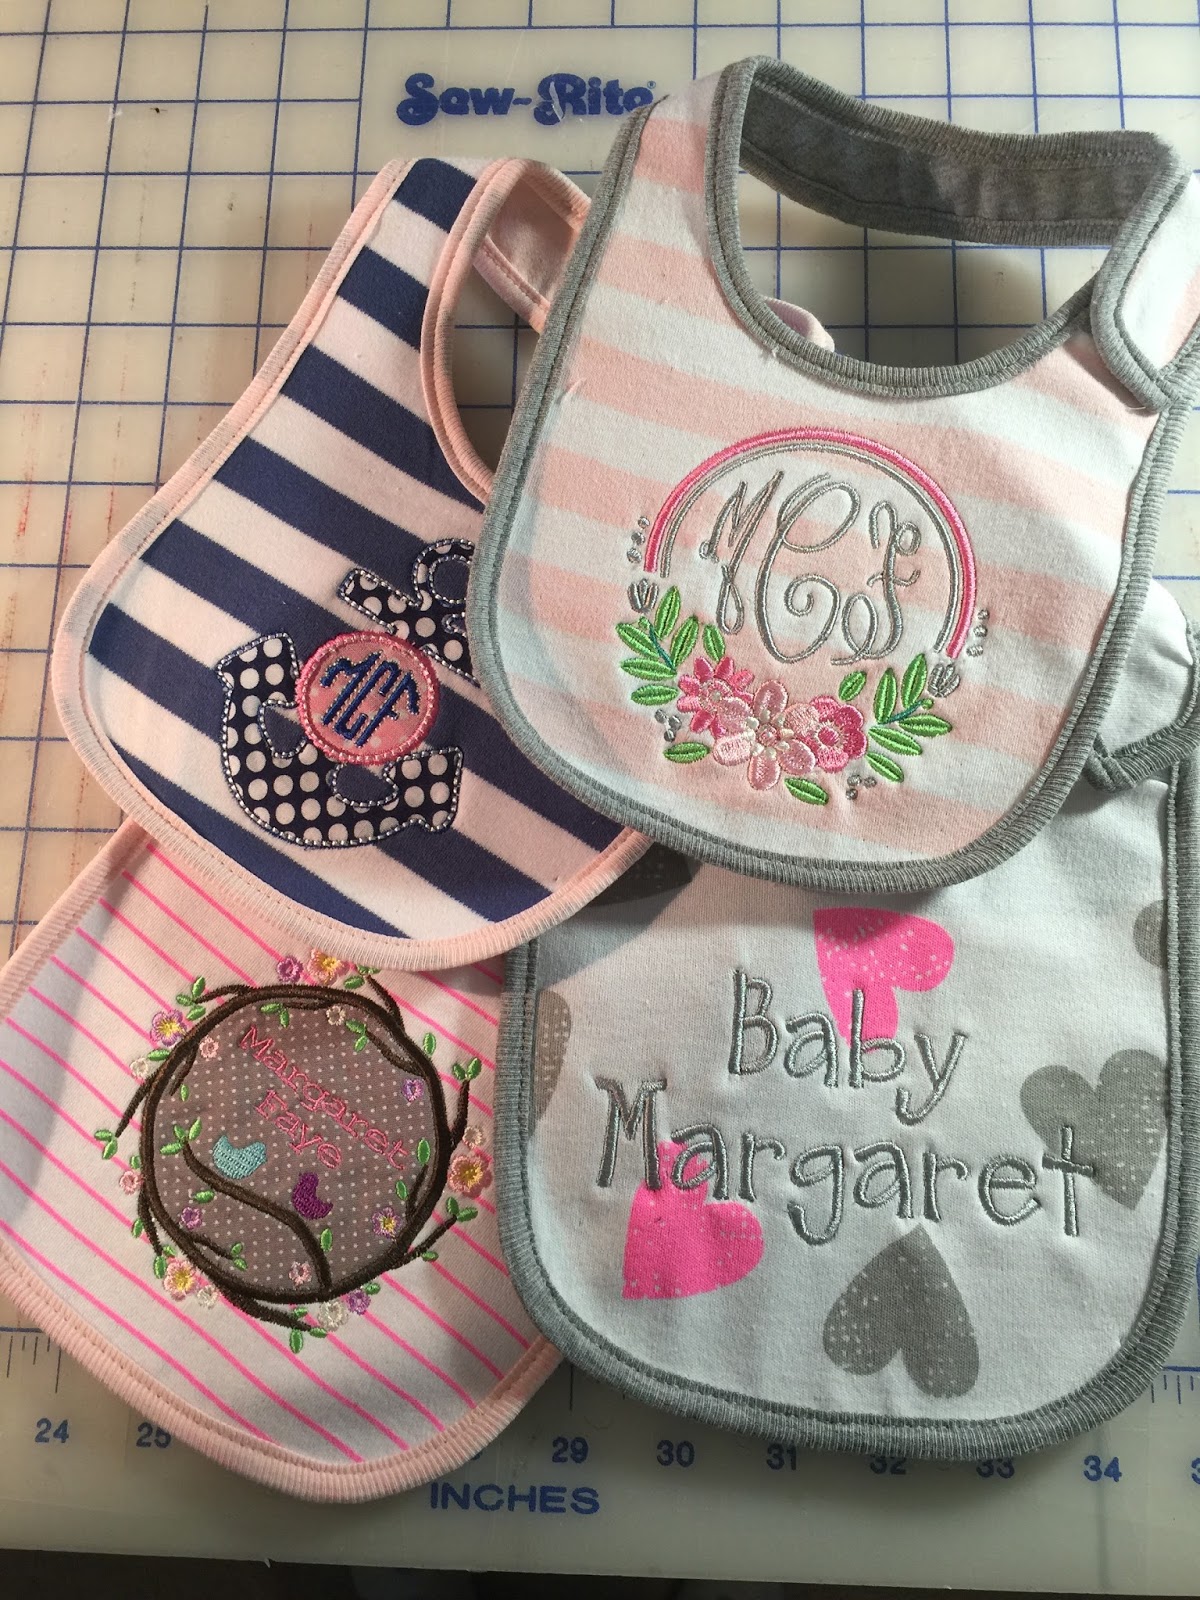
I picked up a pack on PUL lined baby bibs. (Avoid the plastic lined ones at all costs!!)
This one was embroidered using Itch2Stitch's Frame and 8ClawsAndAPaw Infinity monogram (the 8 Claws website has been taken down at the time of writing this, but they are setting up a store on Etsy if you are wanting to search for this monogram font).


What to do with a bib with a big print? Just add text!
This is Itch2Stitch Barnyard.


I really needed a tiny monogram for this (the 4x4 size was chosen for the anchor so the monogram space is really small. This is my pinky next to the monogram.) My favorite thing is the tiny outline around the monogram letters. I loved that detail.

Next, I worked on the birth announcement bunny. This is a bunny I found at Kroger. I tried the appliqued bunny ears last year for Easter and my last blog post (click here) shared all my notes on how to embroider on bunny ears. I show how to do it through the closed ear as well as by opening the ear, embroidering, then sewing the ear back. That second method is how I treated this bunny project. I anticipate that this bunny will be kept for a long time so spending a few extra minutes is time well spent on this keepsake!


I placed the baby's name on a coordinating baby blanket. This is Circo brand from Target. This was particularly thick and without a way to open it up, I was forced to allow the wrong side of my stitching to show, a real pet peeve of mine on keepsake blankets. ...But I liked the look of the set so I used it. Like the lovey embroidered first, this is also Itch2Stitch Magnolia Sky.


List of links noted in this blog post:
- Itch2Stitch Magnolia Sky font: click here.
- Lisa Shaw's blog post all about basting boxes: click here.
- Itch2Stitch's floral frame: click here.
- Lynnie Pinnie's flower and birdie frame: click here.
- Applique Corner Rodney font: click here.
- Itch2Stitch Barnyard font: click here.
- Hang to Dry anchor frame: click here.
- Hang to Dry scalloped circular mini monogram: click here.
- How to embroider bunny ears (both methods) on this blog: click here.
- Embrilliance Essentials embroidery software: click here.
- Embrilliance Enthusiast editing module: click here.
Thank you for checking my blog post today! I think the new mom will like this set; I know I would have loved stuff with my little girl's name on it and some pink and purple to go with all the yellow and green and cream stuff that I received at my gender-neutral showers!
To see all my project notes, tutorials, links for resources, you are invited to check out my Embroidery Page on this blog: click here.

2 comments:
Excellent job! I am now following your blog so I can see and learn from you!
Love it all Nadia.
Post a Comment