Thursday, July 14, 2011

Cricut Kentucky Pennant


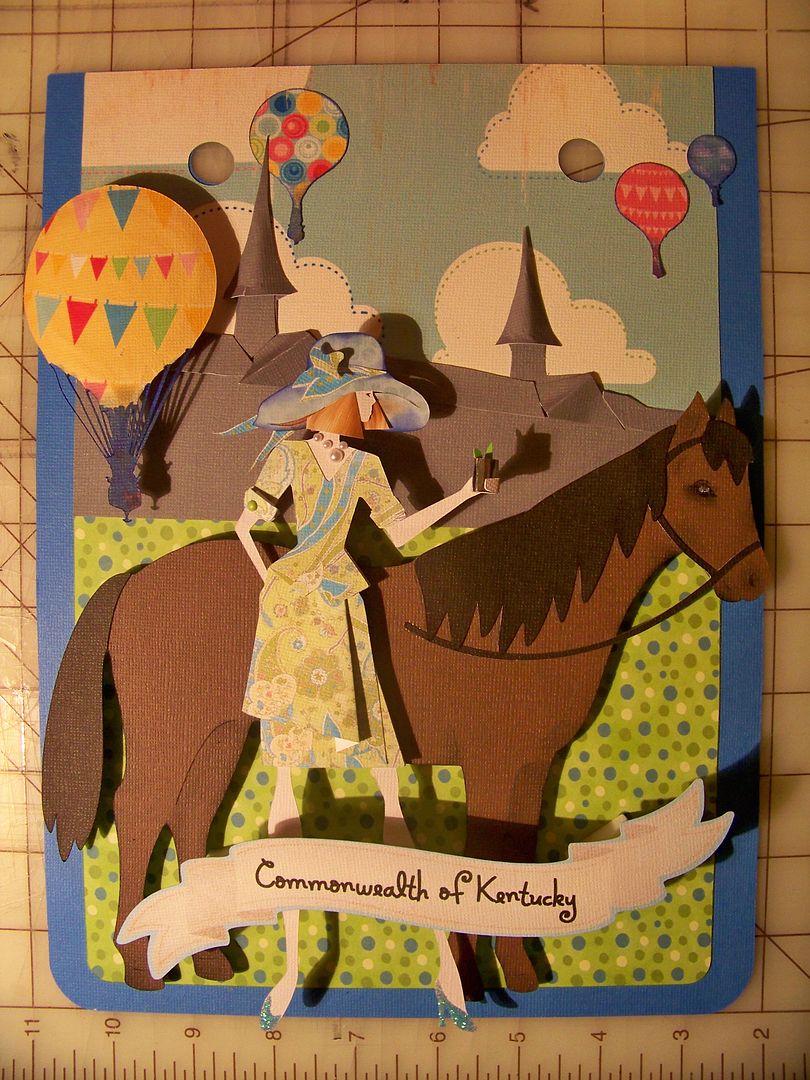
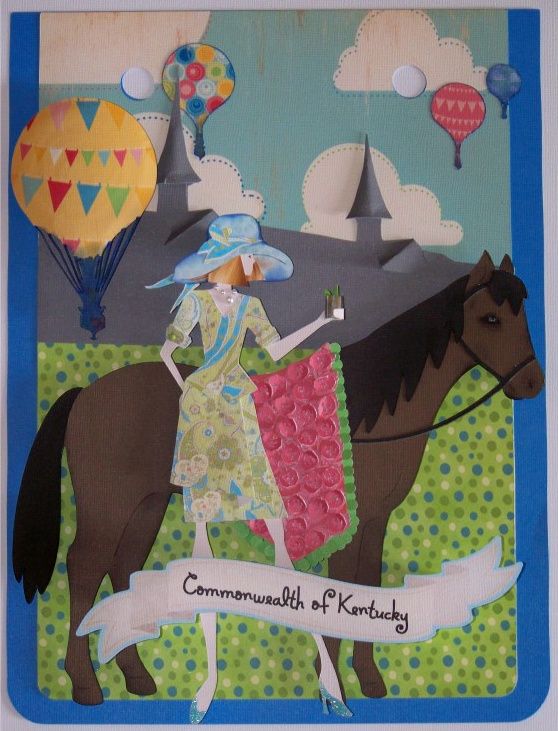
According to the popular saying, "Kentucky is known for good whiskey, fast horses and beautiful women." ...And I would add:  the Kentucky Derby, bluegrass, and Derby hats on ladies at Churchill Downs!  I used those images on my Kentucky pennant for the Roadtrip to CHA pennant contest!

Requirements of this contest were to use the Birthday Bash cartridge for the pennant, cut at Fit to Page for 12x12 paper size.  We were given choices from all of the pennants on pages 58-70 which is every shape of pennant possible!  All entered pennants will be joined together for a beautiful banner to decorate the room at the up-coming Circle event in Mason, Ohio. 

I chose a rectangular pennant so that I could focus on a standard space for my composition. 

I chose a cloud paper from Hopscotch that I had printed for another project but never used, a solid blue for the outer pennant, and a blue and green polka dot from my stash.  The outer pennant was cut on the Expression at Fit to Page, which was 11" on this machine.  The others were cut at that size relative to the outer pennant.  I cut across the green polka dot paper and placed it to create a horizon line.

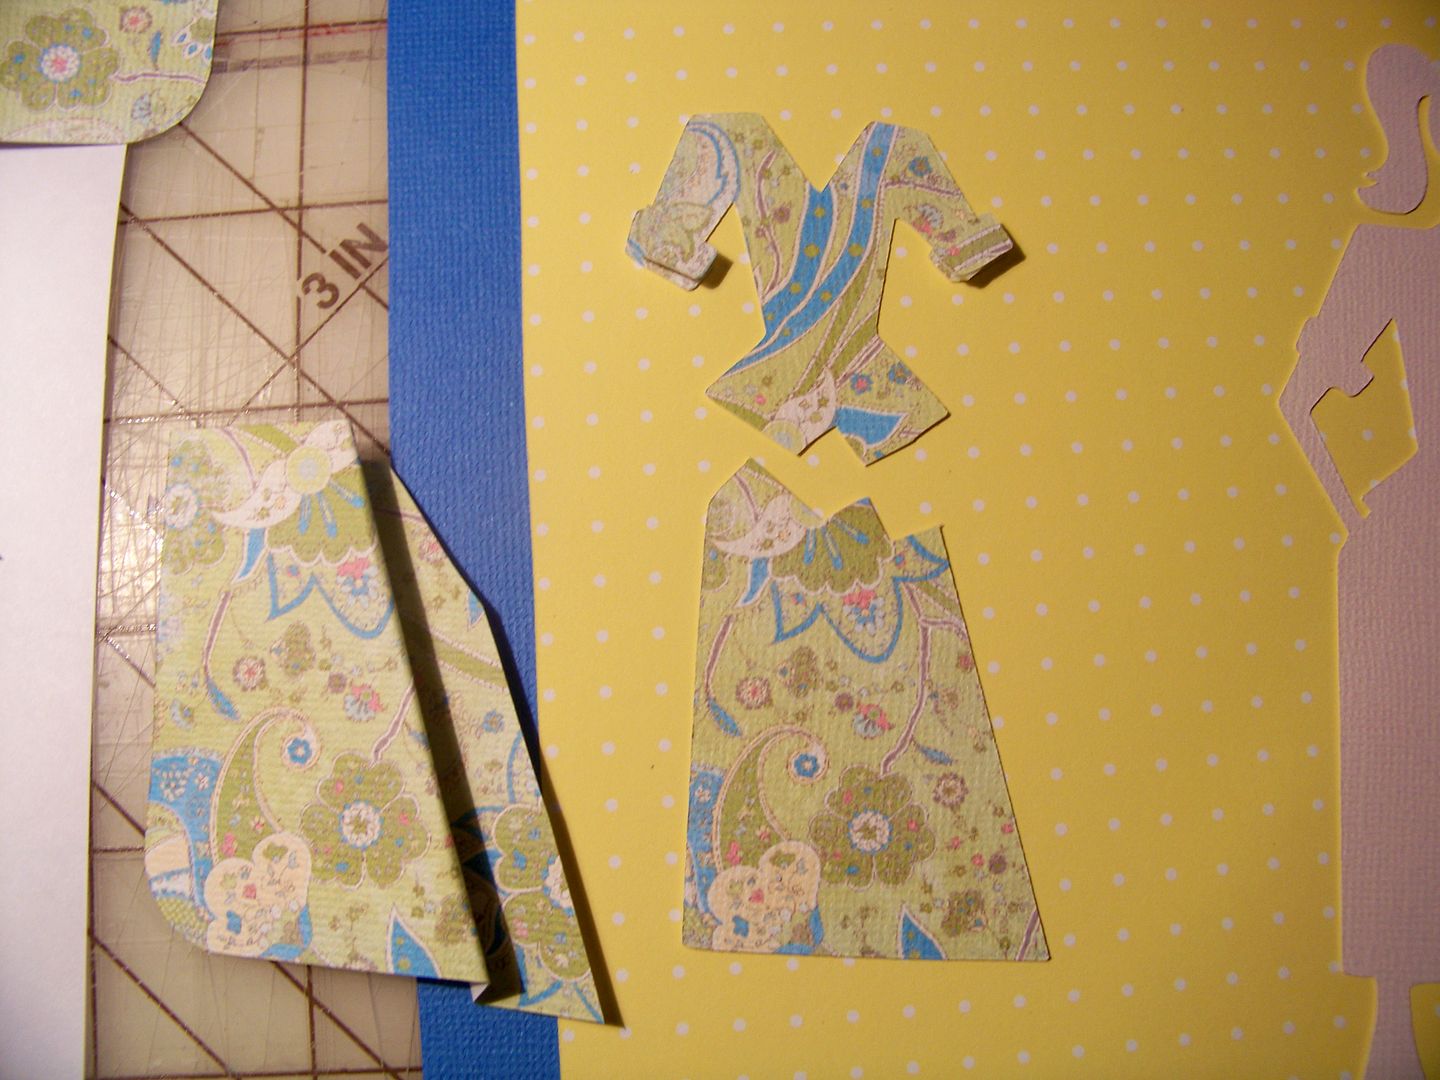
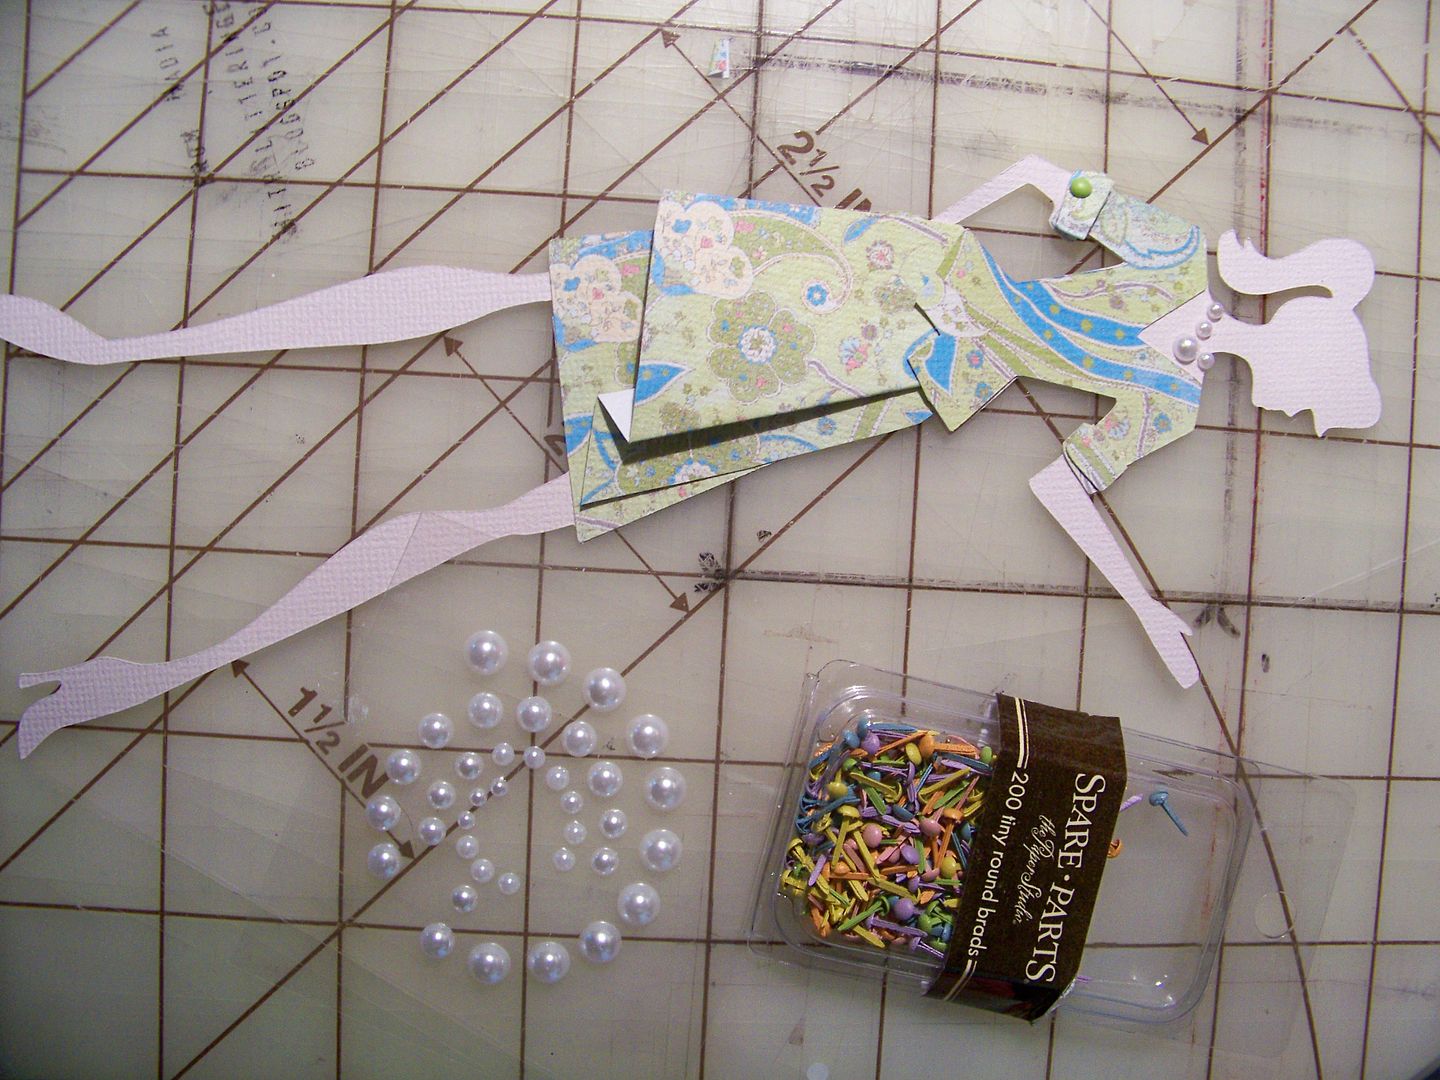
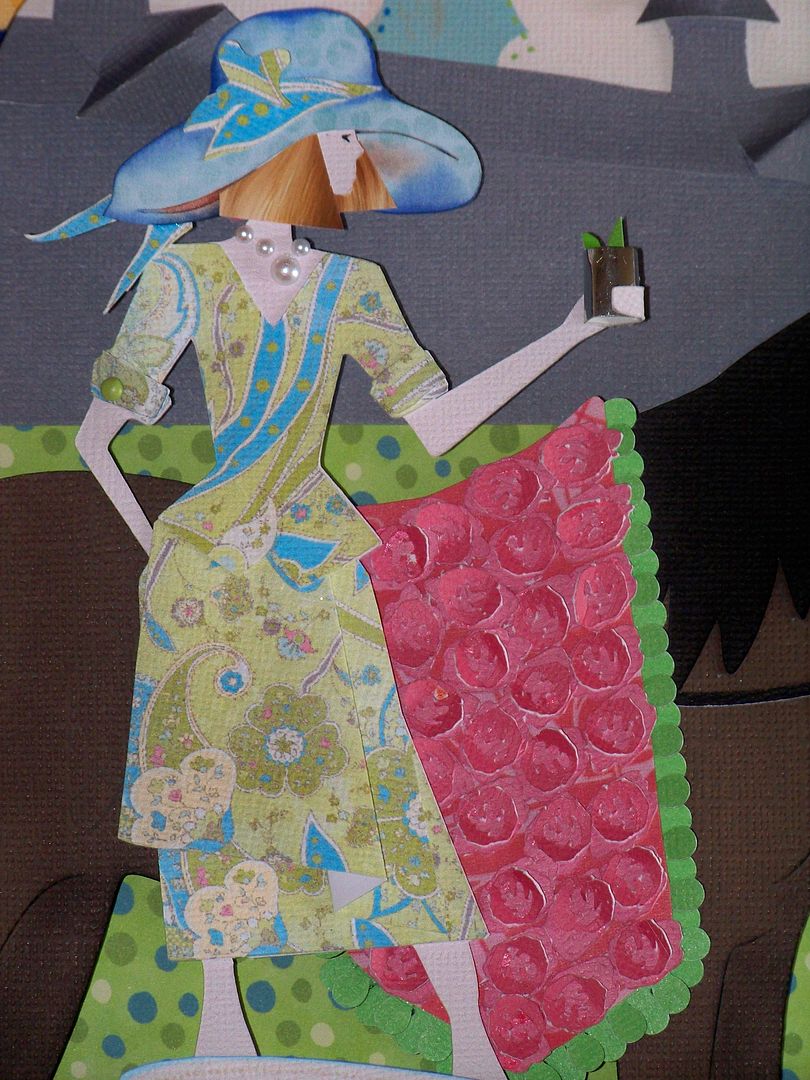
I started with the figure, since getting her to work out would be pivotal for this project.  I used Forever Young, cutting her on the Imagine at 8", using RGB 250, 229, 210 for her flesh color.  I cut her dress using Blossom for the print.  I actually cut two dresses and a 4" square.  The extra dress and square were cut just to give me extra "fabric" to use so that I could alter her dress, making it a bit more couture.  I used a 4" square so that the fabric print scale would be similar to the dresses. There is no formula for that, by the way, I just looked at the screen and adjusted the size of the square until the scale of the print matched the flood-filled dress. 
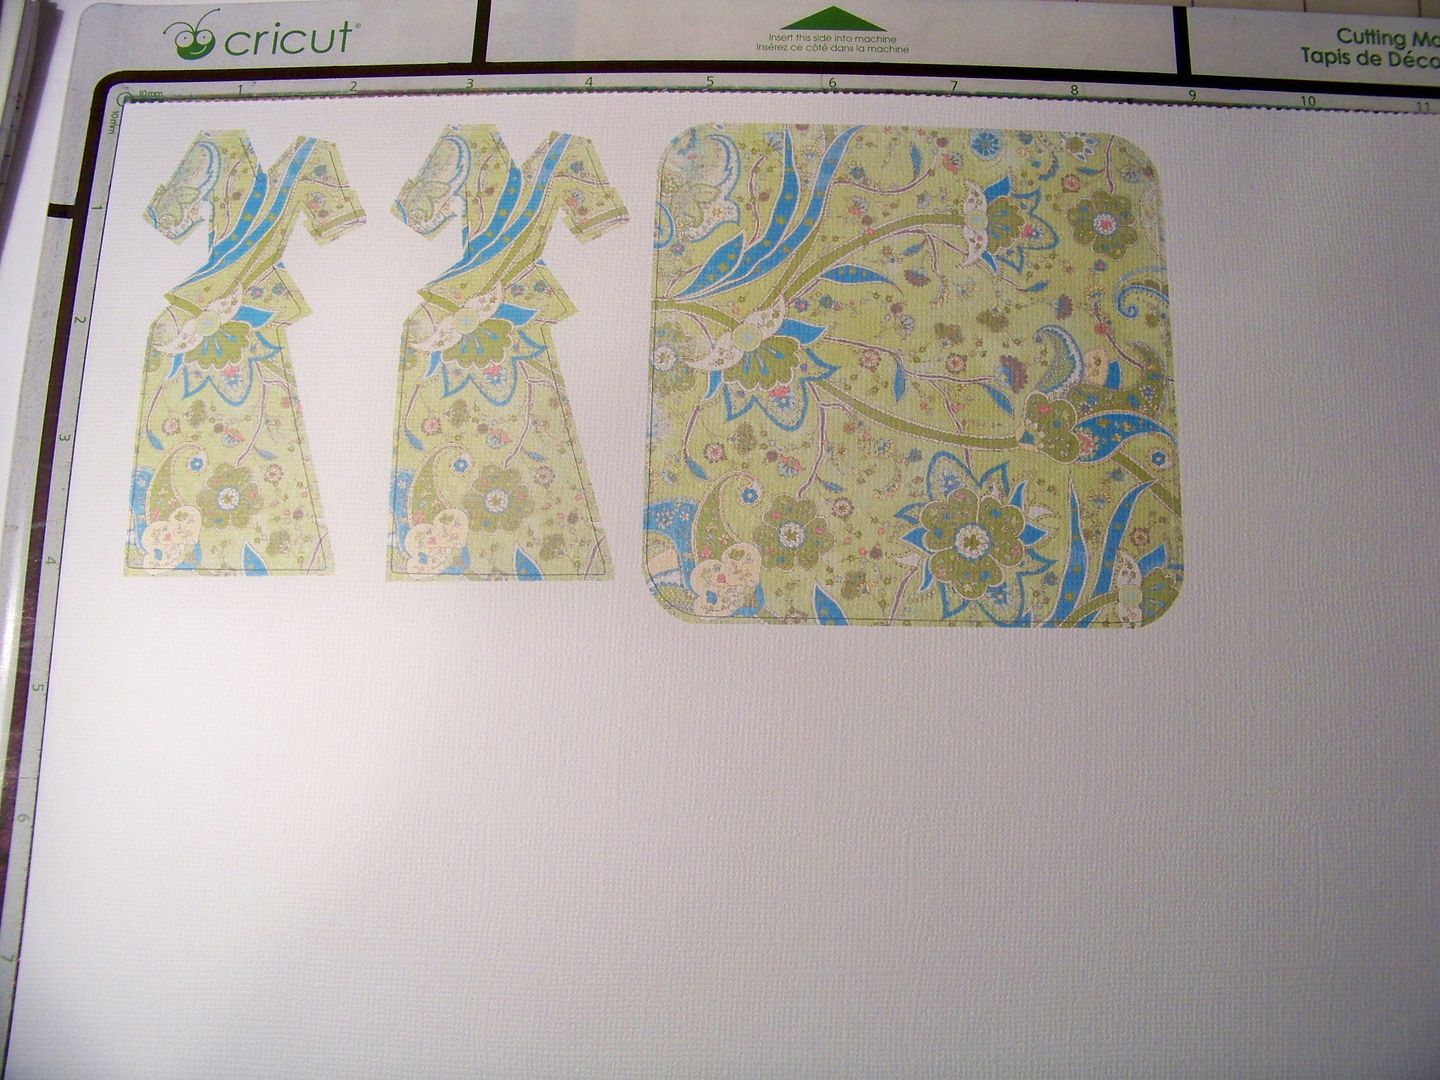


I cut extra cuffs, then embellished the figure with adhesive pearls and a mini brad.  I used glossy accents and glitter to make her shoes.  I created a mint julep cup by hand-cutting metallic paper (traditional julep cups are sterling silver, not the novelty printed glass that they sell as collectibles!), rolling and gluing to make a mini tube and adding a little "sprig of mint" by cutting a couple of tiny green leaves and gluing them to the inside of the cup.
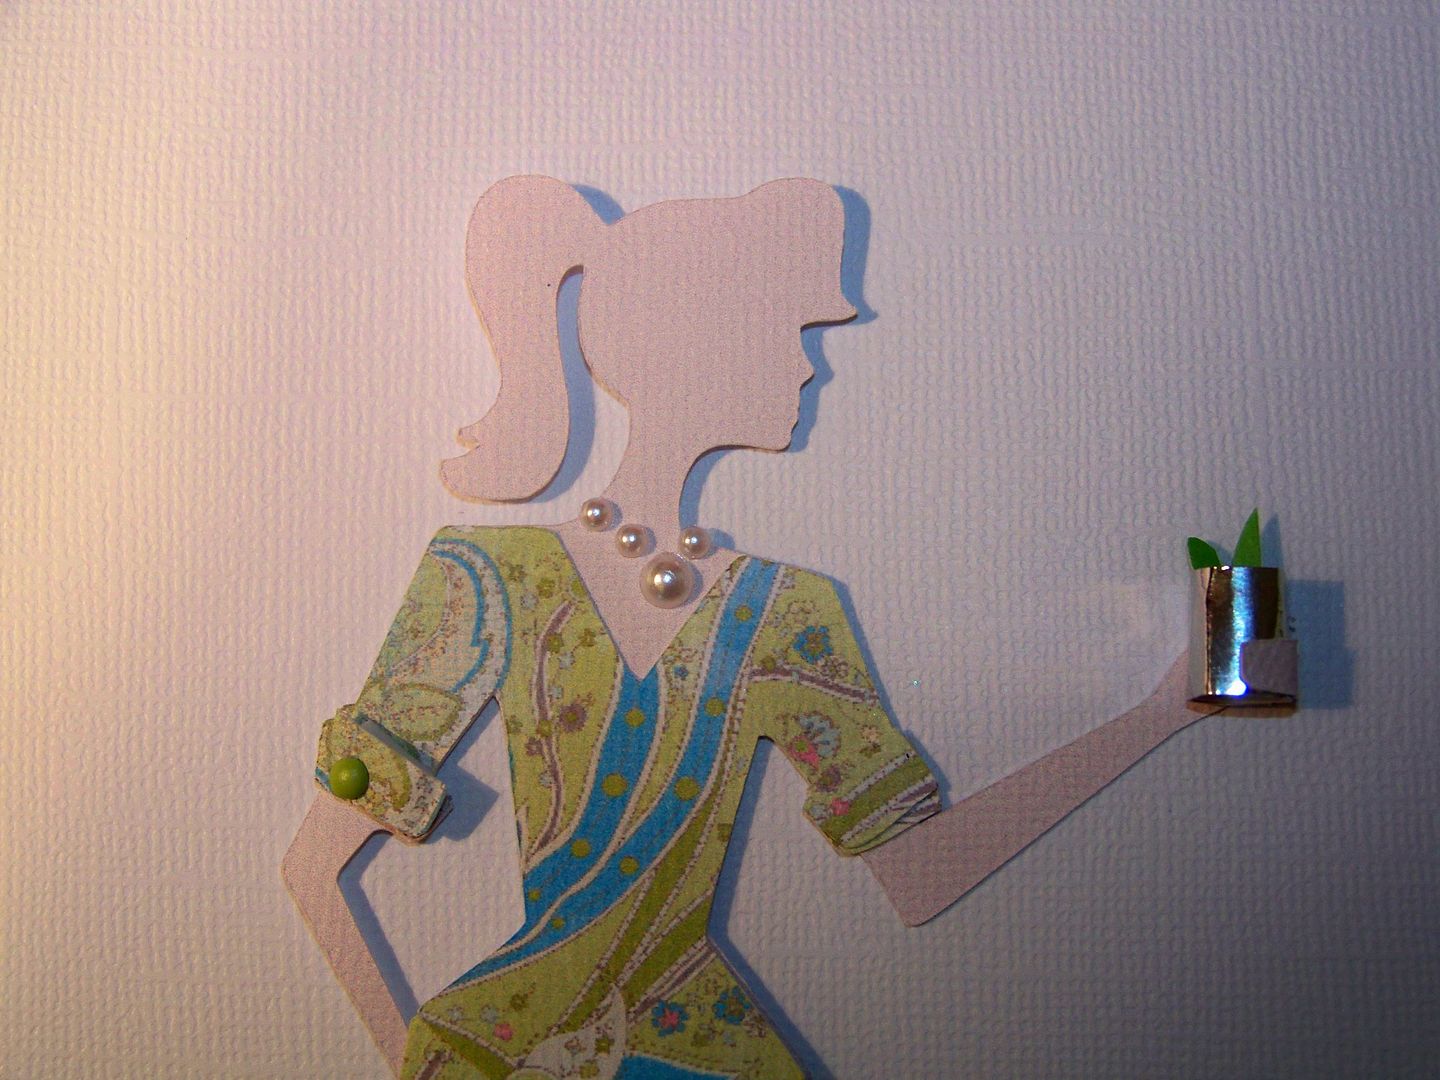
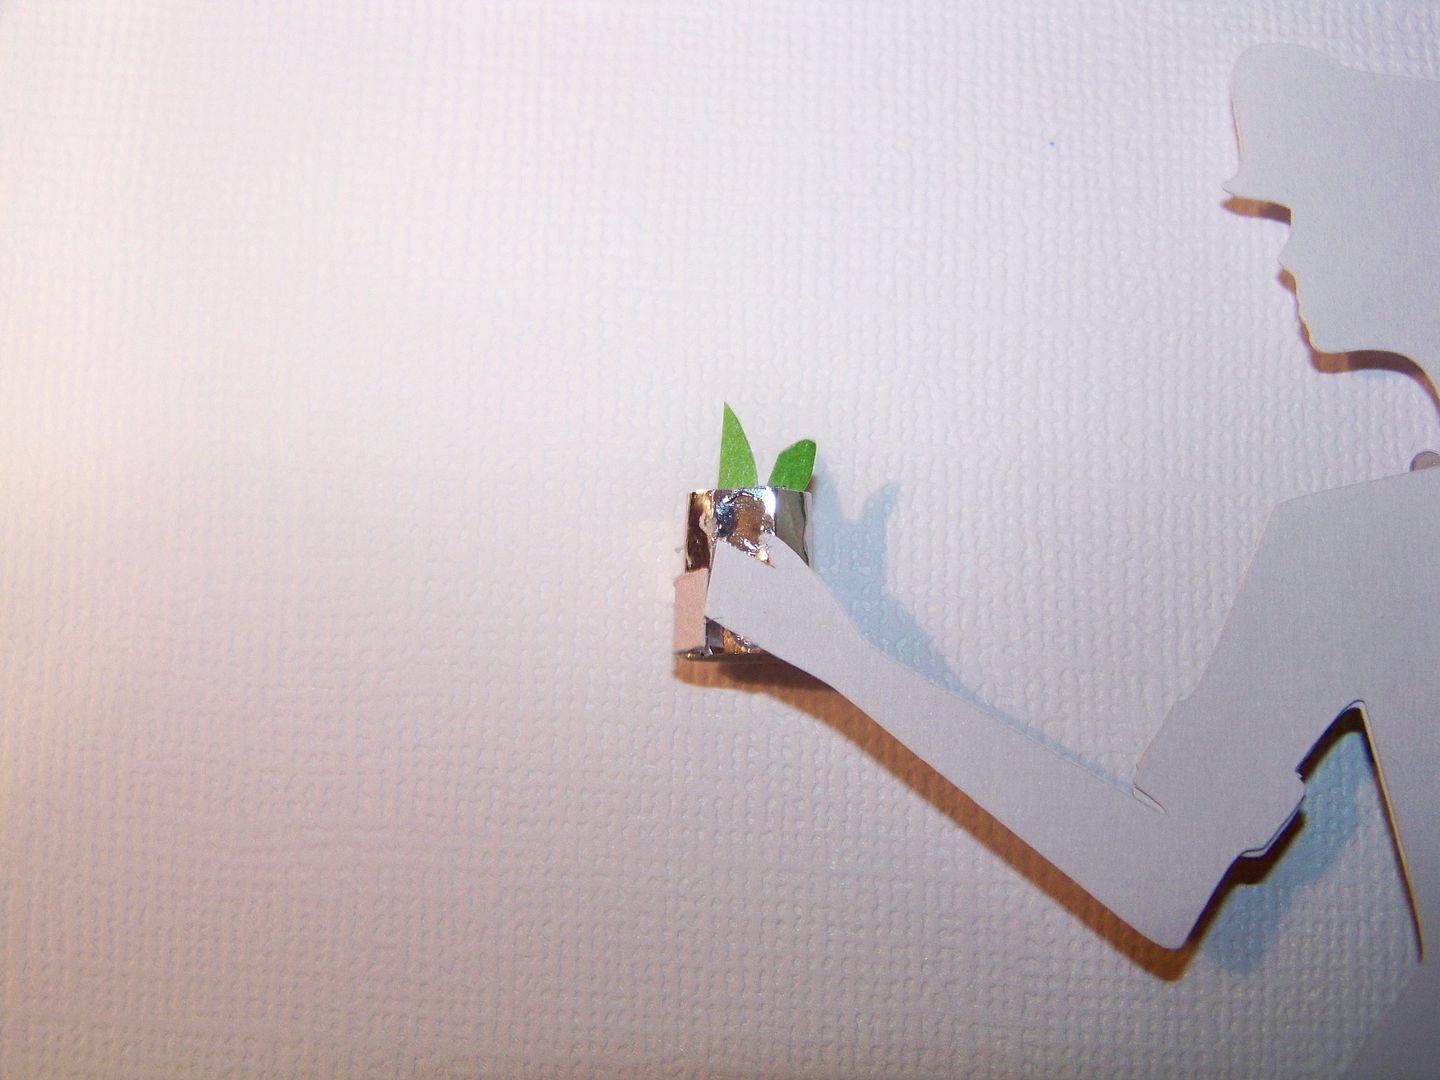
I cut her hand, flipped it, and glued it to the front of the cup to look like her hand is wrapped around it.


I cut her ponytail off and made a Derby hat for her to wear by cutting the hat on Heritage at 2" on the Imagine, flood filling the shape with a pattern from Enjoy the Seasons. I trimmed off the hat stand and shaved the top of the hat off a bit.
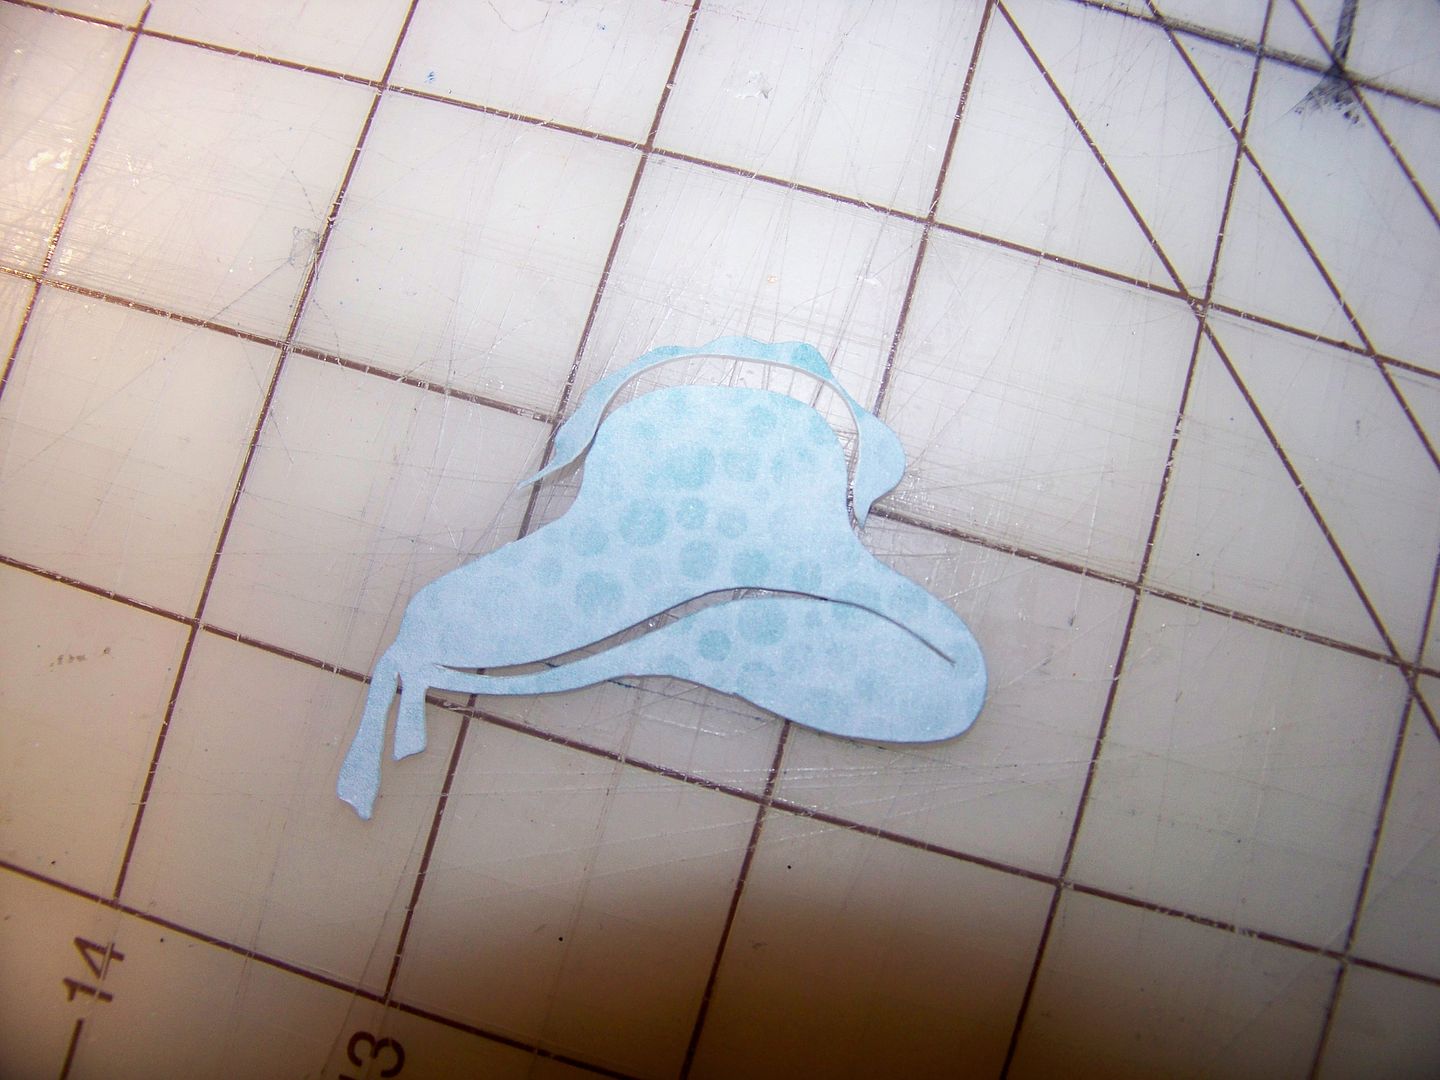
I inked the hat heavily and used some of the leftover dress "fabric" to cut some hat embellishments, gluing some flat and popping up some elements.  I had planned to leave her without hair or facial features, like a fashion drawing, but my husband and daughter made enough comments to change my mind.  (Everyone is a critic these days, I guess).  Her hair was cut from a leftover birthday invitation -- that is printed on hair from a Tangled invitation!  I chopped it up and tucked on under the hat and glued in place.  The tiny indication of an eye was added with a Zig fine pen. 


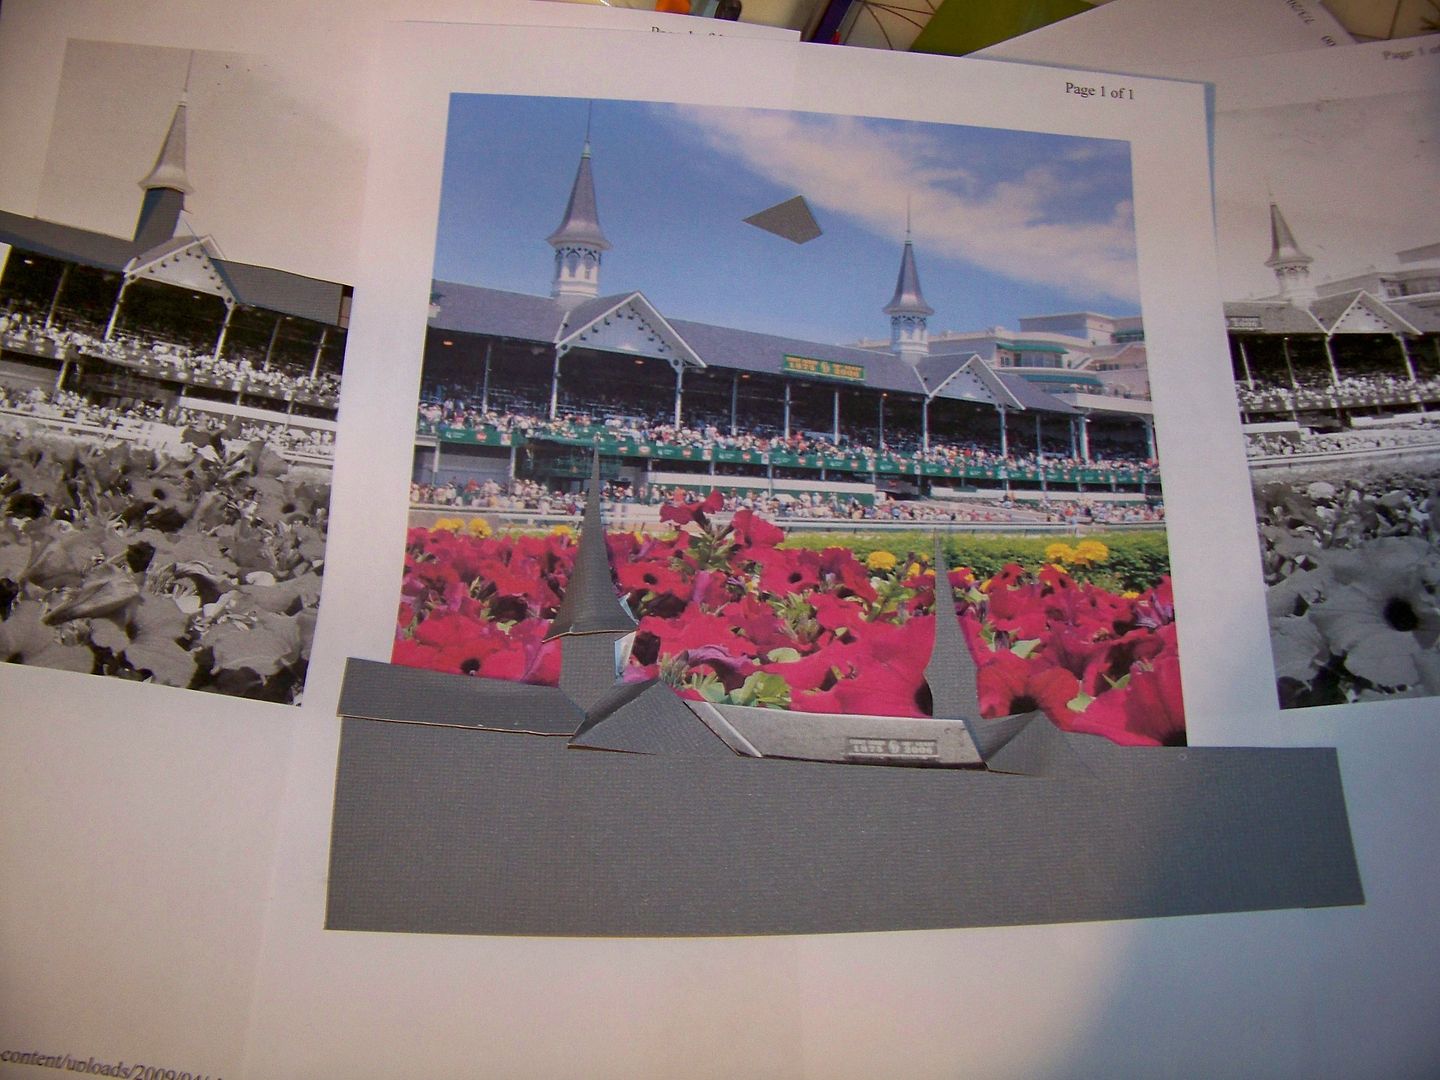
I knew I wanted Churchill Downs represented and checked to see if there were any spires on any cartridge.  Failing to find one, I used Google Images to print off a picture of the landmark and then copied it in black and white to cut it apart for a pattern.  I used those pieces to cut the building from gray textured cardstock.  I duplicated the cuts for the roof and spires, folding and bending to create the 3D effect, and gluing right on top of the original cut.

One of my favorite things each year is the Hot Air Balloon Race during Derby Week.  We also go to the Balloon Glow the night before.  It is such a magical view of the sky that I wanted to be sure to include balloons on my pennant!  I cut hot air balloons from Summer in Paris at 4", 2", 1-1/2", and 1", flood filling each image with patterns from Hopscotch.  I inked the balloons heavily.  The rope detail was too fine for the Imagine to cut and maintain on the small balloons, so I trimmed the balloons smooth.  This worked out well since you don't see that kind of detail in real life when balloons are that far away anyway!  Again, I used Google Images to be reminded how balloons look as they cluster and hang in the sky so I could place my balloons correctly.

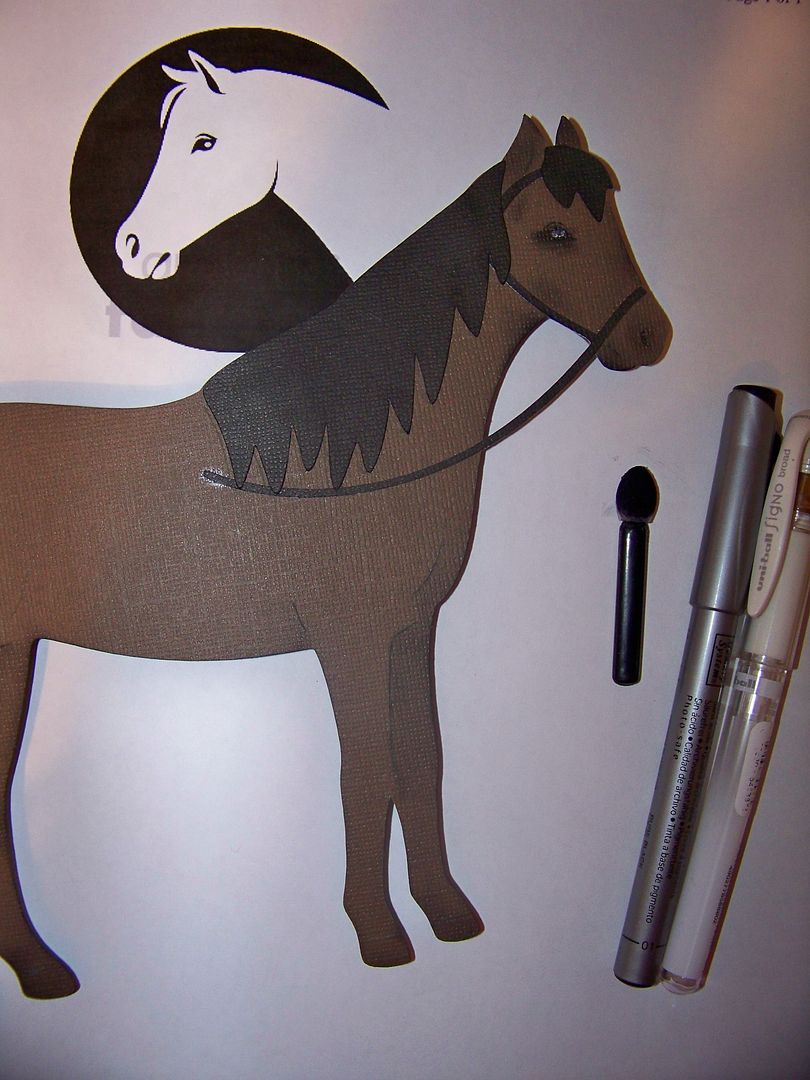
The horse was the image I was putting off cutting!  I knew we didn't have a race horse or thoroughbred on a Cricut cartridge.  (I actually requested that a future cartridge be developed with a racing horse and jockey from Provocraft's Shannon Lerner at the Louisville Circle event!)  I knew I wasn't prepared to hand-cut a horse so I used one of the horse cuts from Old West (page 46), hoping that folks "in the know" would forgive me and accept this as artistic license!  This horse was cut on the Expression and flipped.  I inked it in black and had to draw in an eye since I had that detail on the lady.  I used Google Images again to answer what a horse's eye looks like!

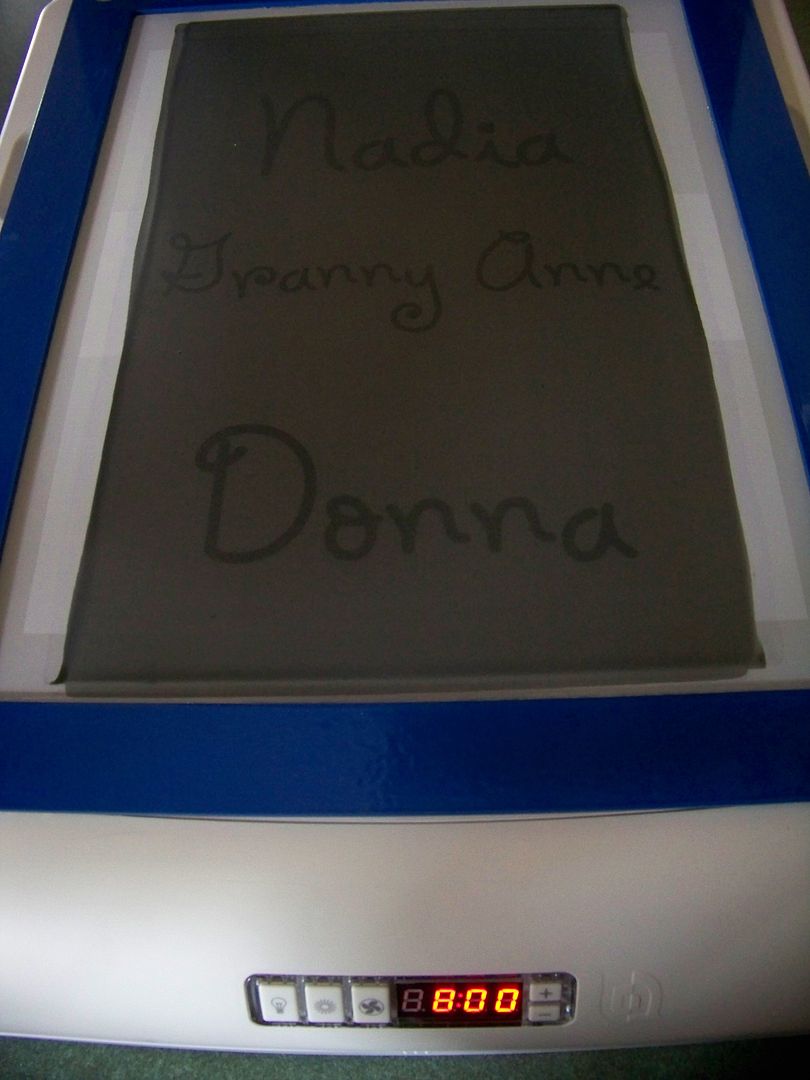
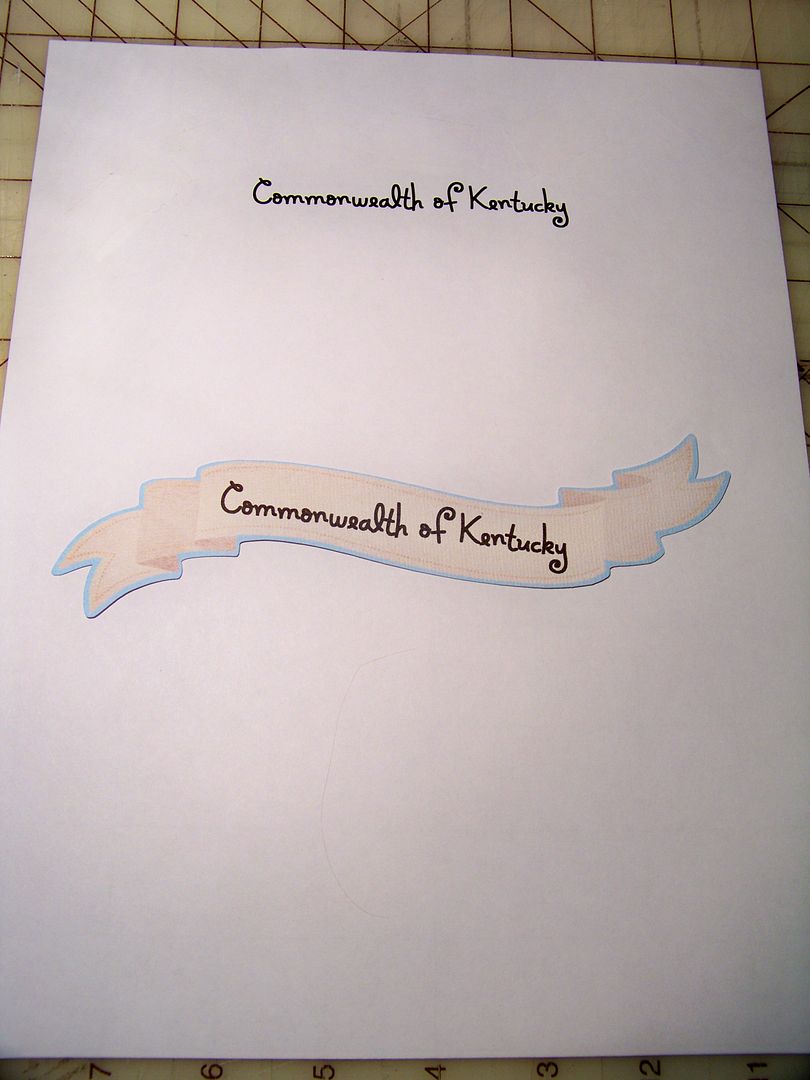
I cut the banner from Enjoy the Seasons (page 12) on the Imagine at relative size 10.5".  I used my Yudu as a light box (since it was already out and plugged in) to place the cut over text I had printed on the computer (Microsoft Holiday Springs BTN font in bold at 32 point).  

I taped the cut over the text and ran it through the printer again to get it printed on the banner. 
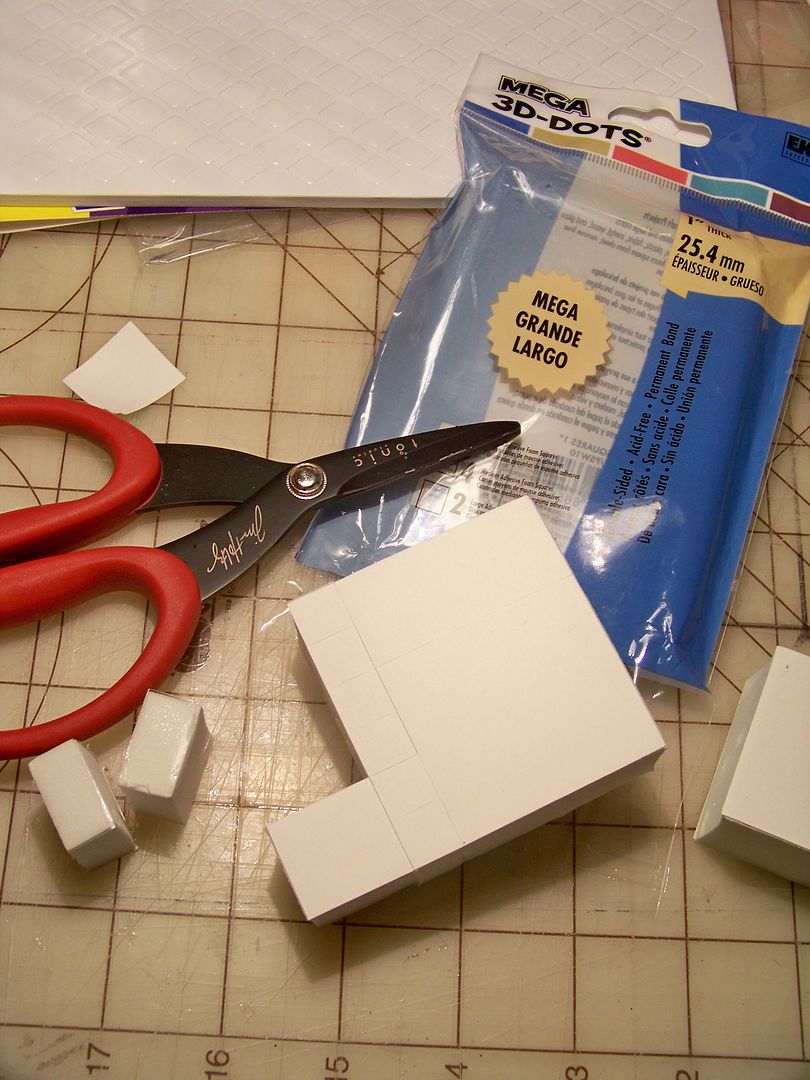
I popped everything up to add a little depth-of-field to the elements.  I popped up the banner 1"; the figure at 1/2", the horse at 1/4", and the 4" balloon at 1/2".  All other elements were glued flush to the page.  The 4" balloon had been curved a bit to get a 3D effect.  Because of this, the 1/2" pop dots only raised it 1/4".
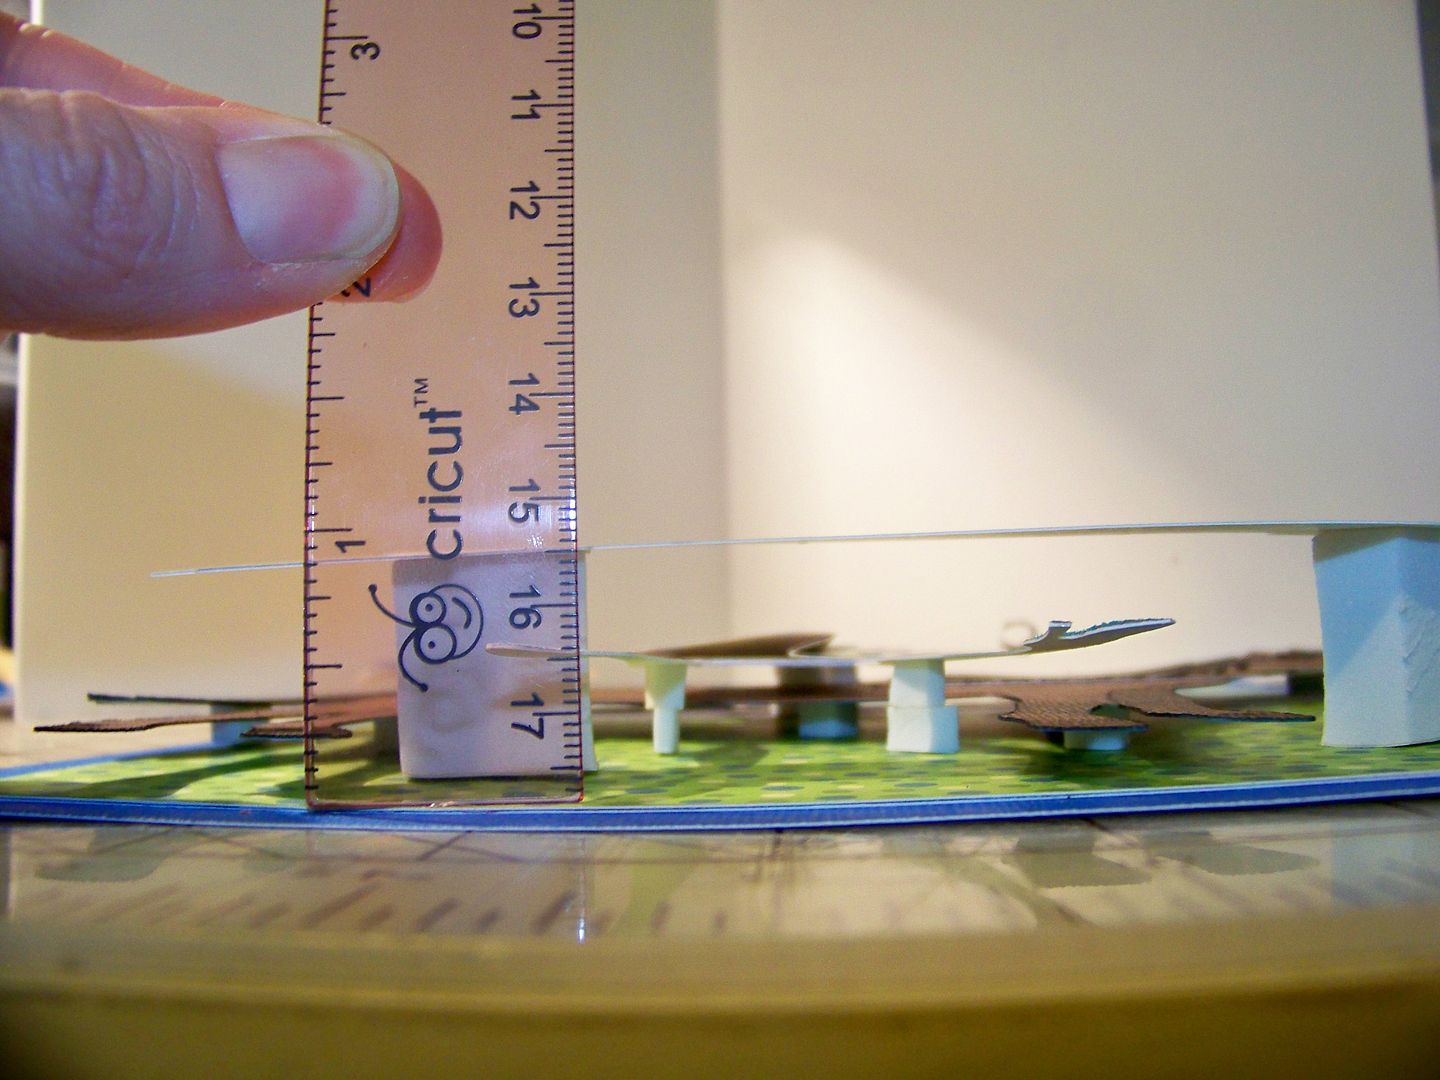
You can see the kind of height achieved from the use of pop dots. 

I used non-stick scissors to cut the foam pop shapes to fit my die cuts.  I found that if I adhered the foam to the die cuts but not to the page, I could see how the elements would work at final height, but still have the flexibility to move the elements as I created new things!


This was very helpful when I decided to add the blanket of roses!  I hand-cut the base in a color similar to the red in the hot air balloons.  Not only did I want another icon for Kentucky representation, but I also wanted to pull that color down the composition.  I used the leaf die from the Daisy Quilling Kit to cut the leaf border for the blanket.
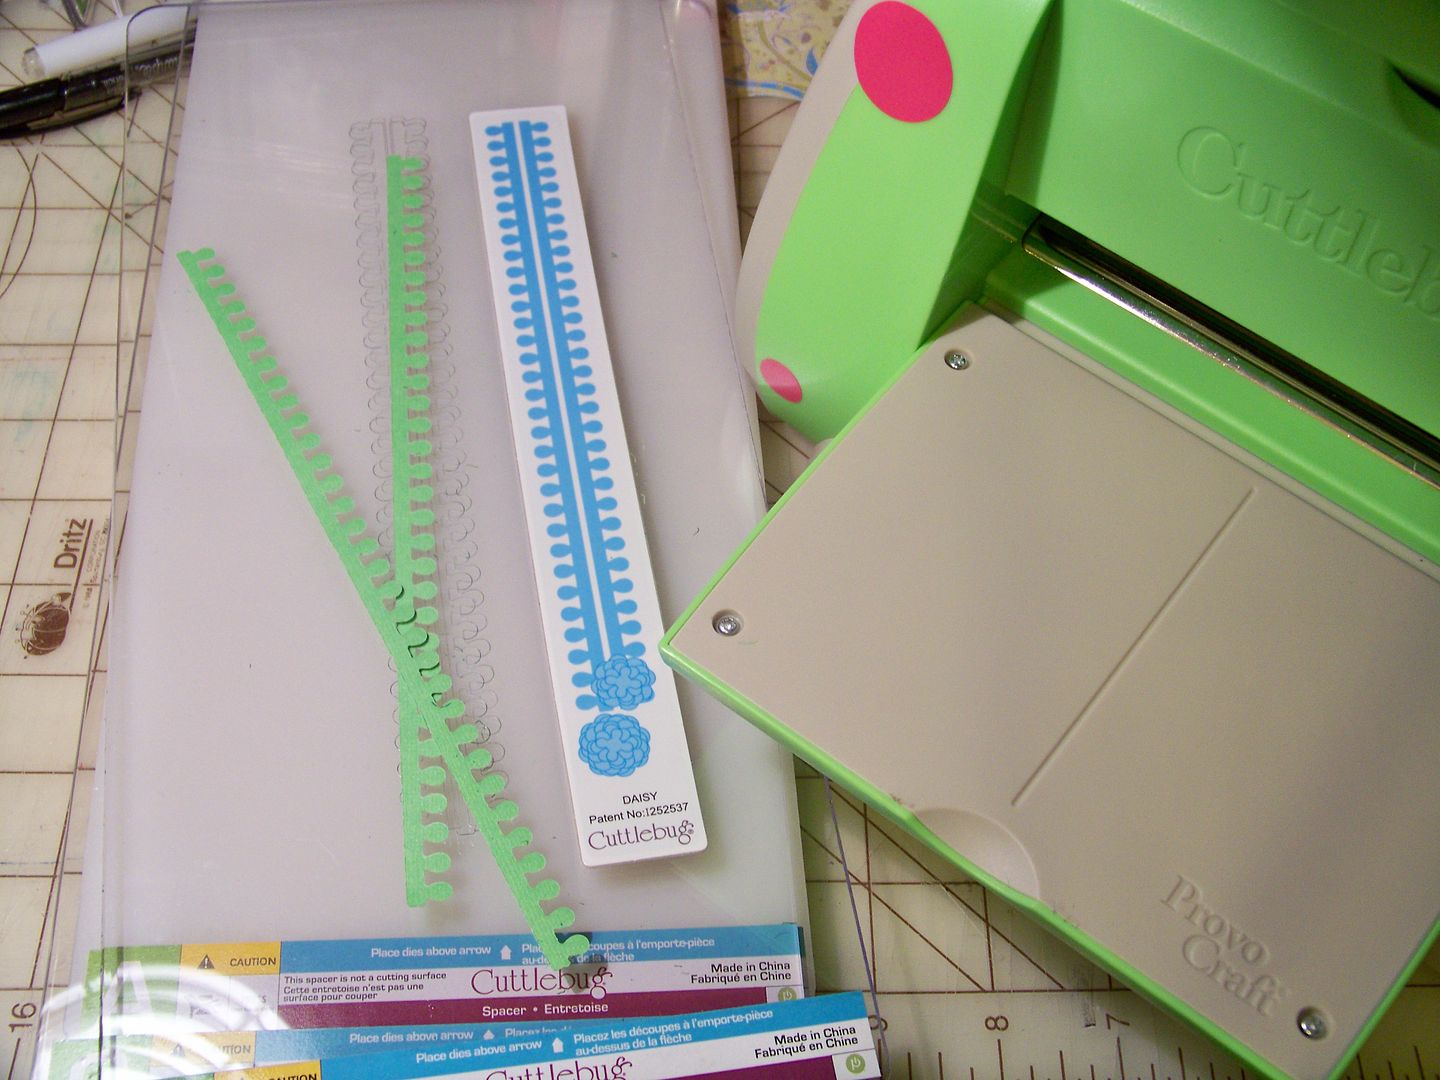

I placed two layers of leaves as a border, staggering them and adhering to the back of the blanket.  I cut my roses from Rock Princess (page 49) at .4" on the Imagine and used tweezers to glue and place on the blanket.
Because this was a teeny cut, using the layers as you would for a larger cut simply would not work.  I chose instead to use the base cut and the shift to get two shapes for my roses.  Then I bent the shift cut and glued the center to the base cut to create these little 3D-effect flowers.  (A bit more artistic license since the roses on the actual blankets are tight in the bud).
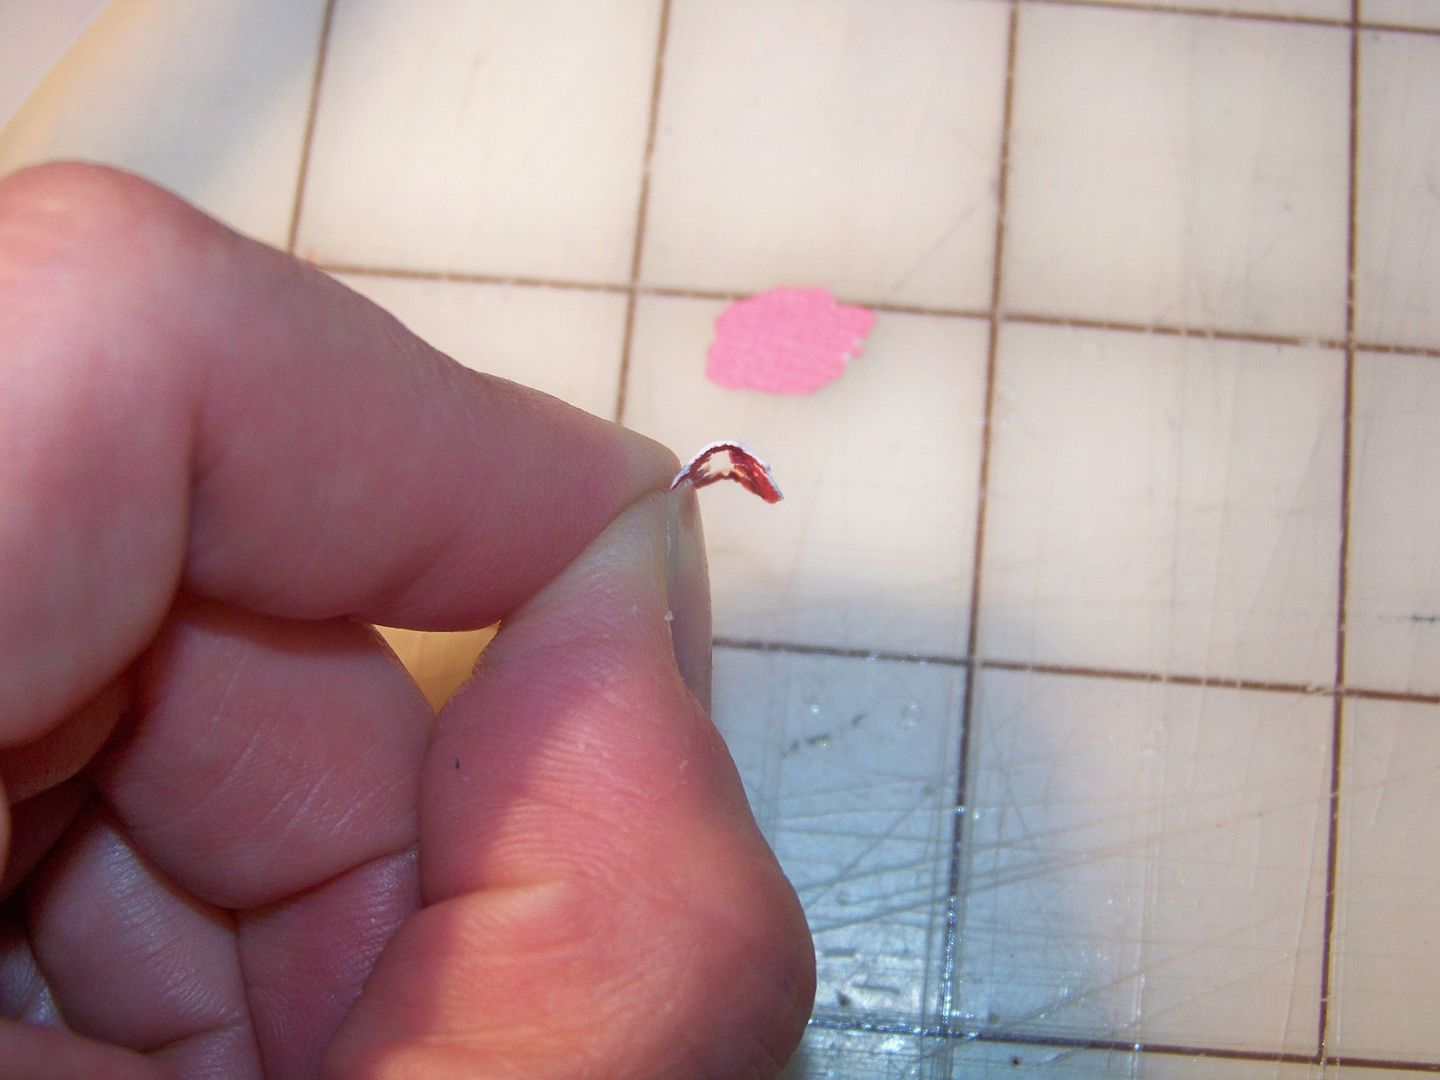


I did not place roses on the space hidden behind the lady.  I placed and glued the blanket on the horse and adhered all the pop dots for all the elements onto the paper, finishing my pennant!


There are so many rich images in my mind of Kentucky.  Quilts, food, town squares, rolling hills, rich farmland, the Louisville skyline, our Thunder Over Louisville fireworks display, the State Fair, the building-sized Louisville Slugger bat, bluegrass music, Owensboro BBQ, the St. James Court Art Festival, the Cathedral of the Assumption, Actors Theatre, the Ohio River fossil beds, Mammoth Cave, the Belle of Louisville Steamboat, My Old Kentucky Home in Bardstown, the flower gardens in front of  the Capitol building in Frankfort, the Kentucky Horse Park in Lexington, our Louisville Originals eateries and stores... I could go on and on.  I love the rich history, the colors, and the people of the Commonwealth!  I wish I could have used all of these images on my pennant!   

My favorite element that I made on this pennant was the mint julep cup.  As a teetotaler, I have never had a glass of bourbon, but I put it in my meat marinade, brownies and fudge!  All of this has me thinking of my bourbon balls.  I thought I would share my recipe as a little Kentucky gift from me to you!

Bourbon Balls
(for printer-friendly version, click here)

Melt 6oz semi-sweet chocolate .  Add 1/2 cup bourbon and 3 tablespoons corn syrup. 

Combine 2-1/2 cups vanilla wafer crumbs, 1/2 cup sifted powdered sugar, and 1 cup finely chopped pecans.  Add to chocolate mixture.  Mix well.  Let stand 30 minutes.  Form into 1" balls.  Roll in powdered sugar.  Let stand in a covered container several days to mellow.  A fair warning:  the liquor is not cooked out of these.  Enjoy!

Thank you for visiting my blog! 

MyFreeCopyright.com Registered & Protected

Saturday, July 9, 2011

Dying Bakers' Twine!

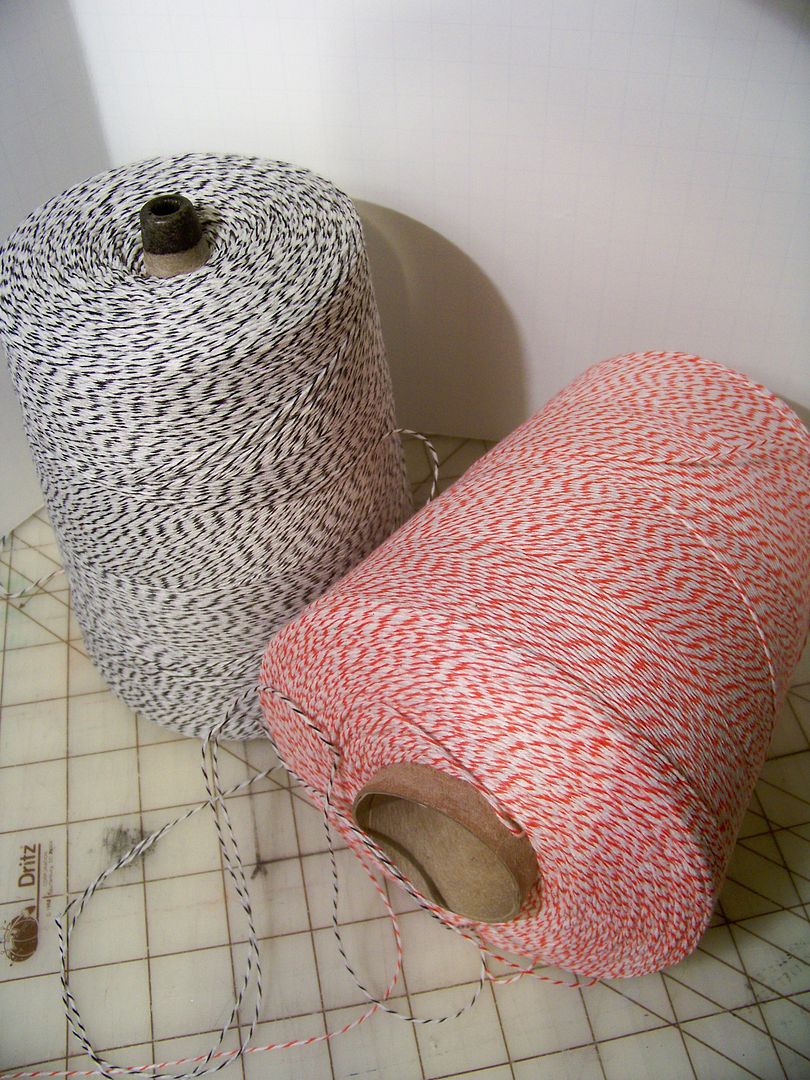
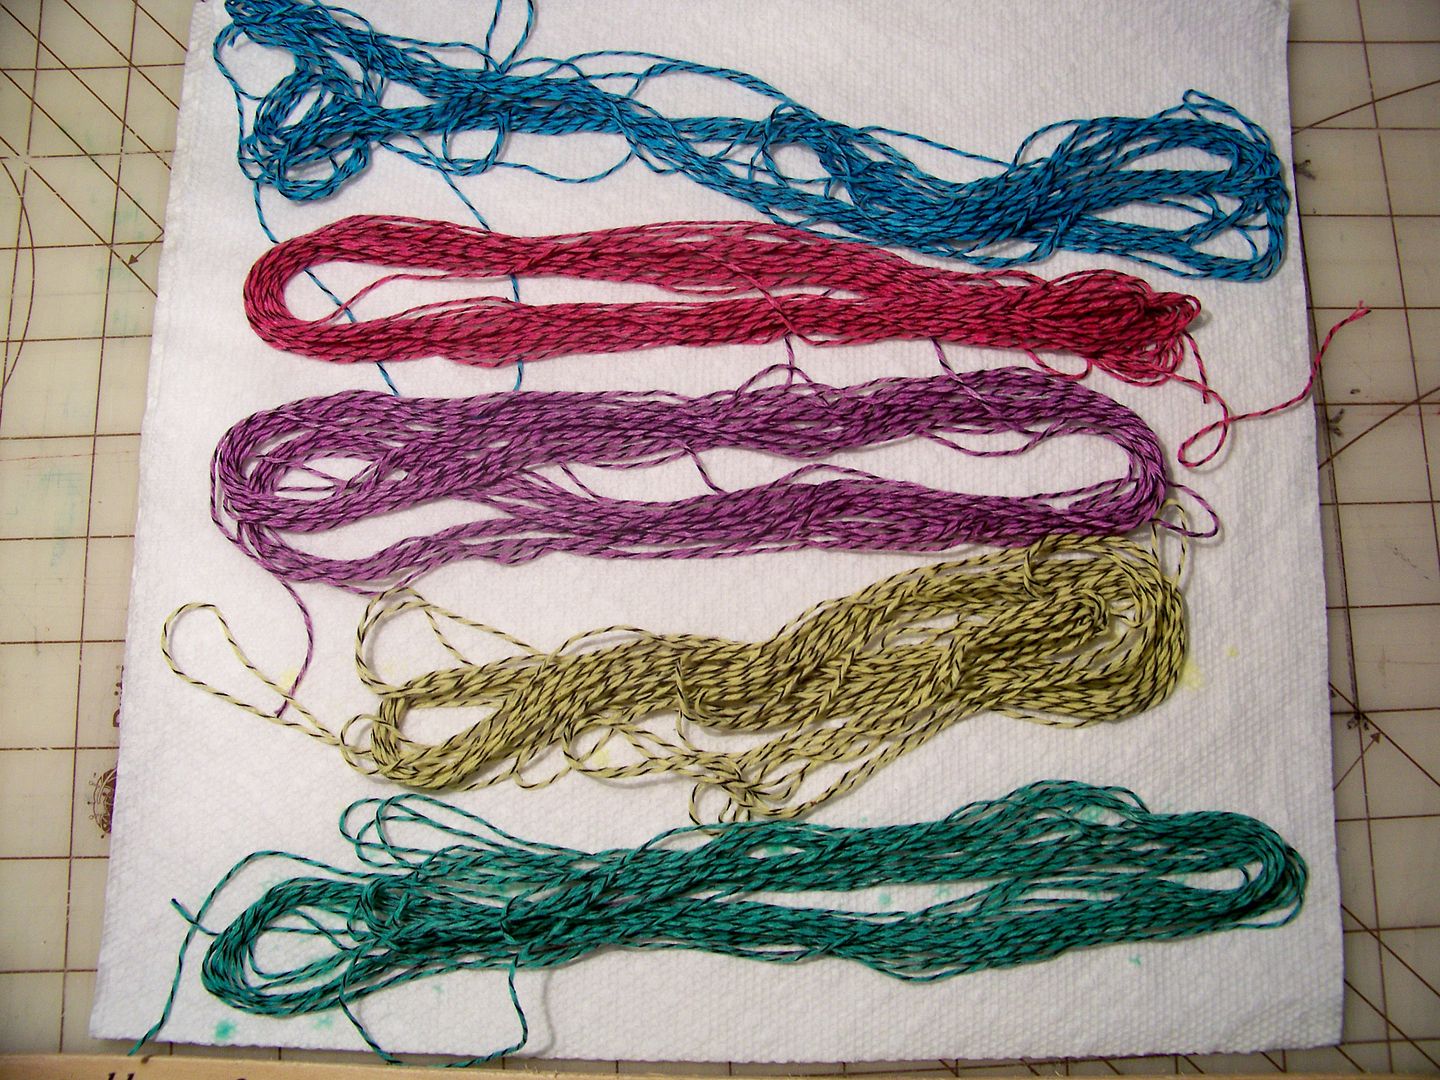
I recently bought cones of bakers' twine for some summer fundraising bake sales at my daughter's school from Country Clean Paper Supplies.  I think cookies, brownies, and mini loaves sell better when they have cute wrappings!  Buying the twine by the cone is so much cheaper than from shares and samples sets!  So... two cones later, I am overwhelmed with thousands of yards of twine!

I have decided to have a little fun and try a bit of dying.  I worked at a fabric store for 17 or so years and learned how to dye lace, shoes, and fabrics.  I used to do a fair amount of batiking too, so dying the twine seems like a natural thing to do! 

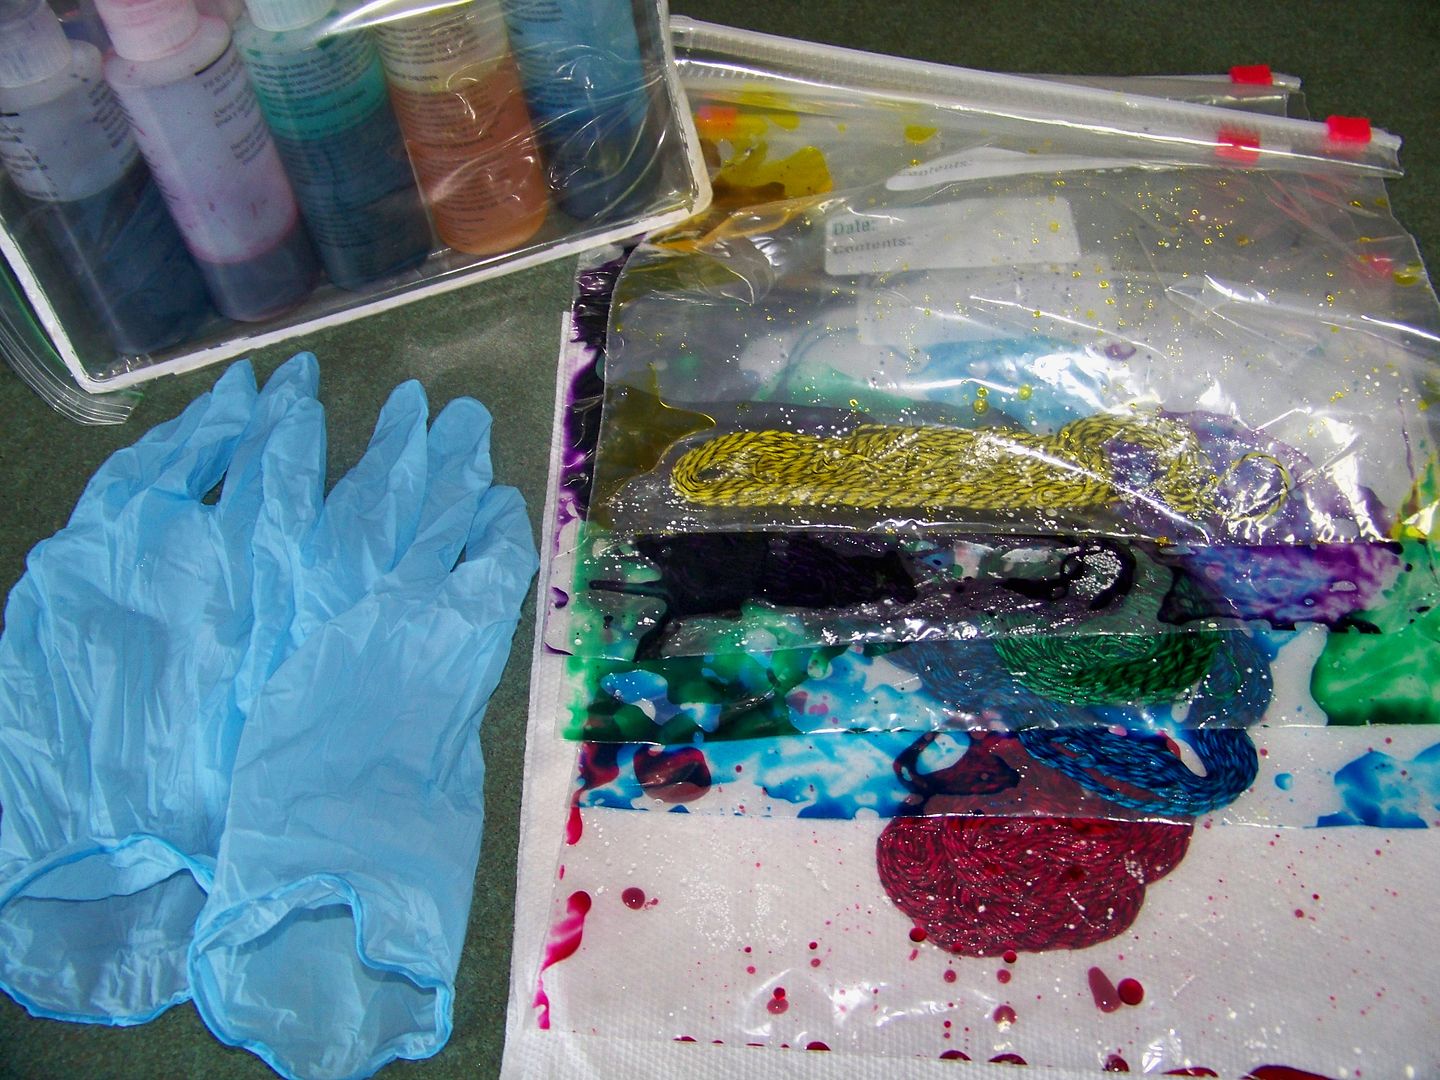
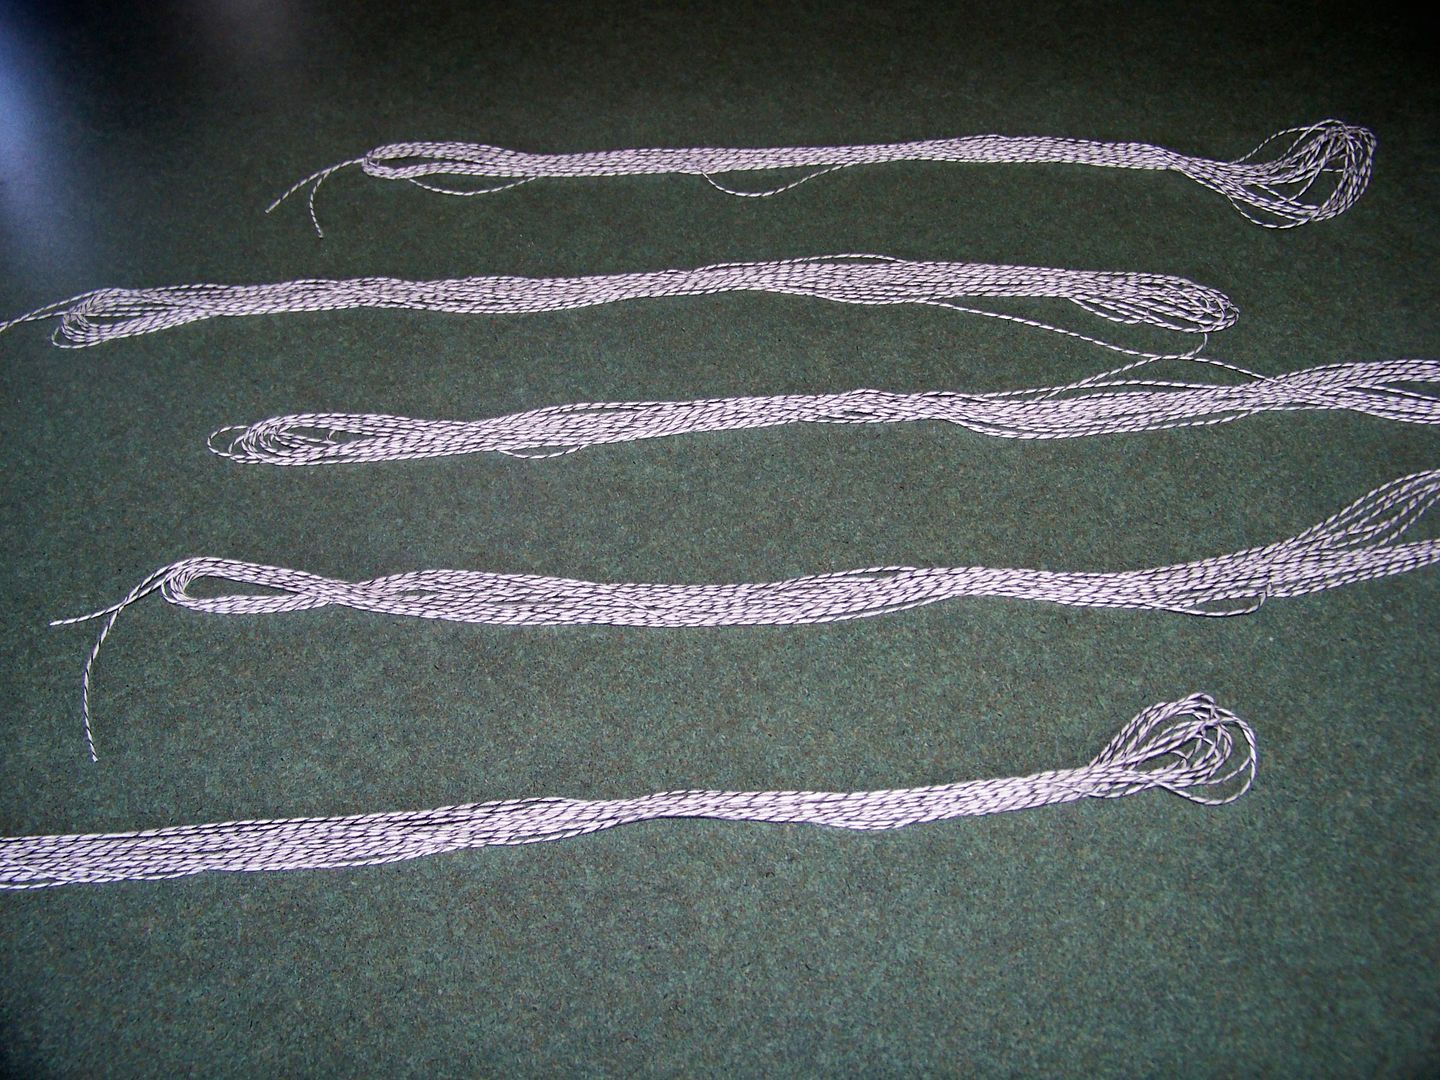
I found some old tie-dye supplies left over from last summer.  They warn that age will distort the colors, and these have been around for a year.  I decided to try out my project using 10-yard hanks of twine. 


Step one:  Measure off the twine and keep it as neat as possible to prevent tangling.  I have a hard time dying with this kind of thing when it is longer than 10 yards.  (That is to say, I have a hard time keeping it from tangling!)
Step two:  Wet the twine with water to help the dye penetrate.

Step three:  Place the twine in a zipper-seal plastic bag.  Squirt the dye in.  Through the plastic bag, massage the dye into the fibers.


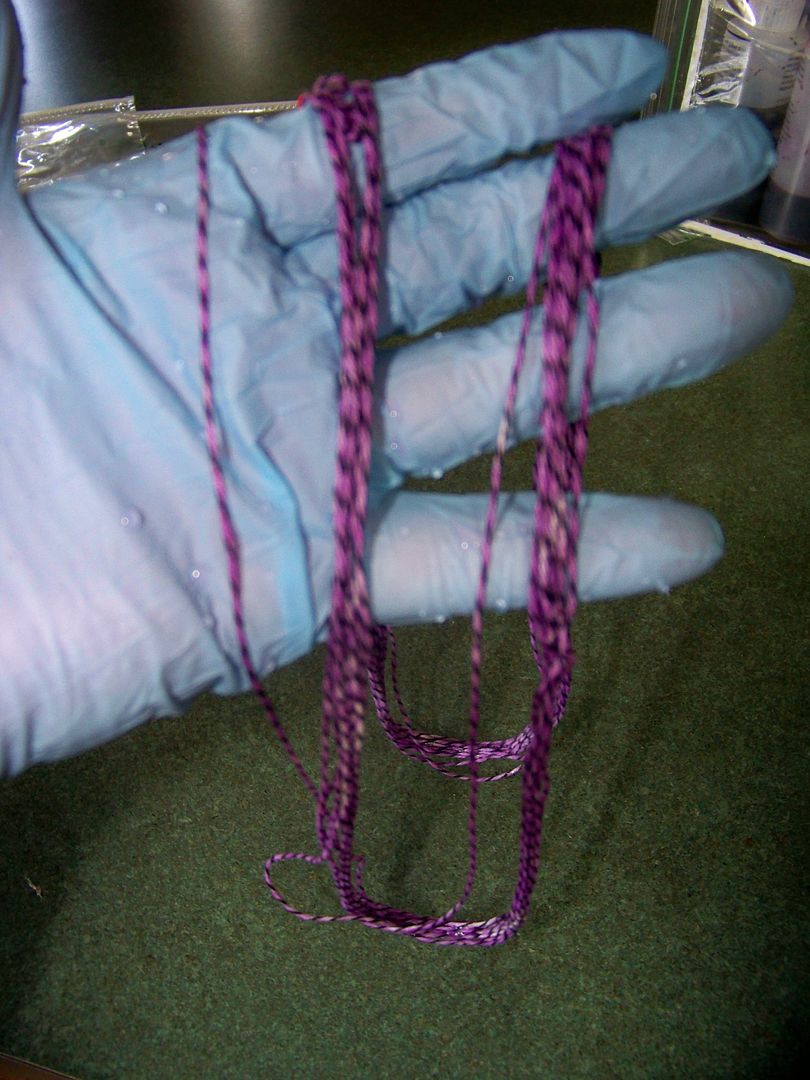
Step four:  Let it set.  I wanted to pull one out, so I chose the purple.  I removed it after 20 minutes.  All others were left to set in the dye for about 4 hours. 


Step five:  Through the plastic, squeeze out the dye, allowing it to puddle at the bottom of the bag.  Using gloves, remove the twine and immediately drop it into distilled white vinegar.  (This is the cheap kind of vinegar that you buy at the grocery for a couple of bucks a gallon and is useful for cleaning and deordorizing around the house.)  Let it set for a few minutes to help set the color. 

Step six:  Rinse the twine.  Allow to dry.  Do your best to avoid aggitating and tangling the twine! 


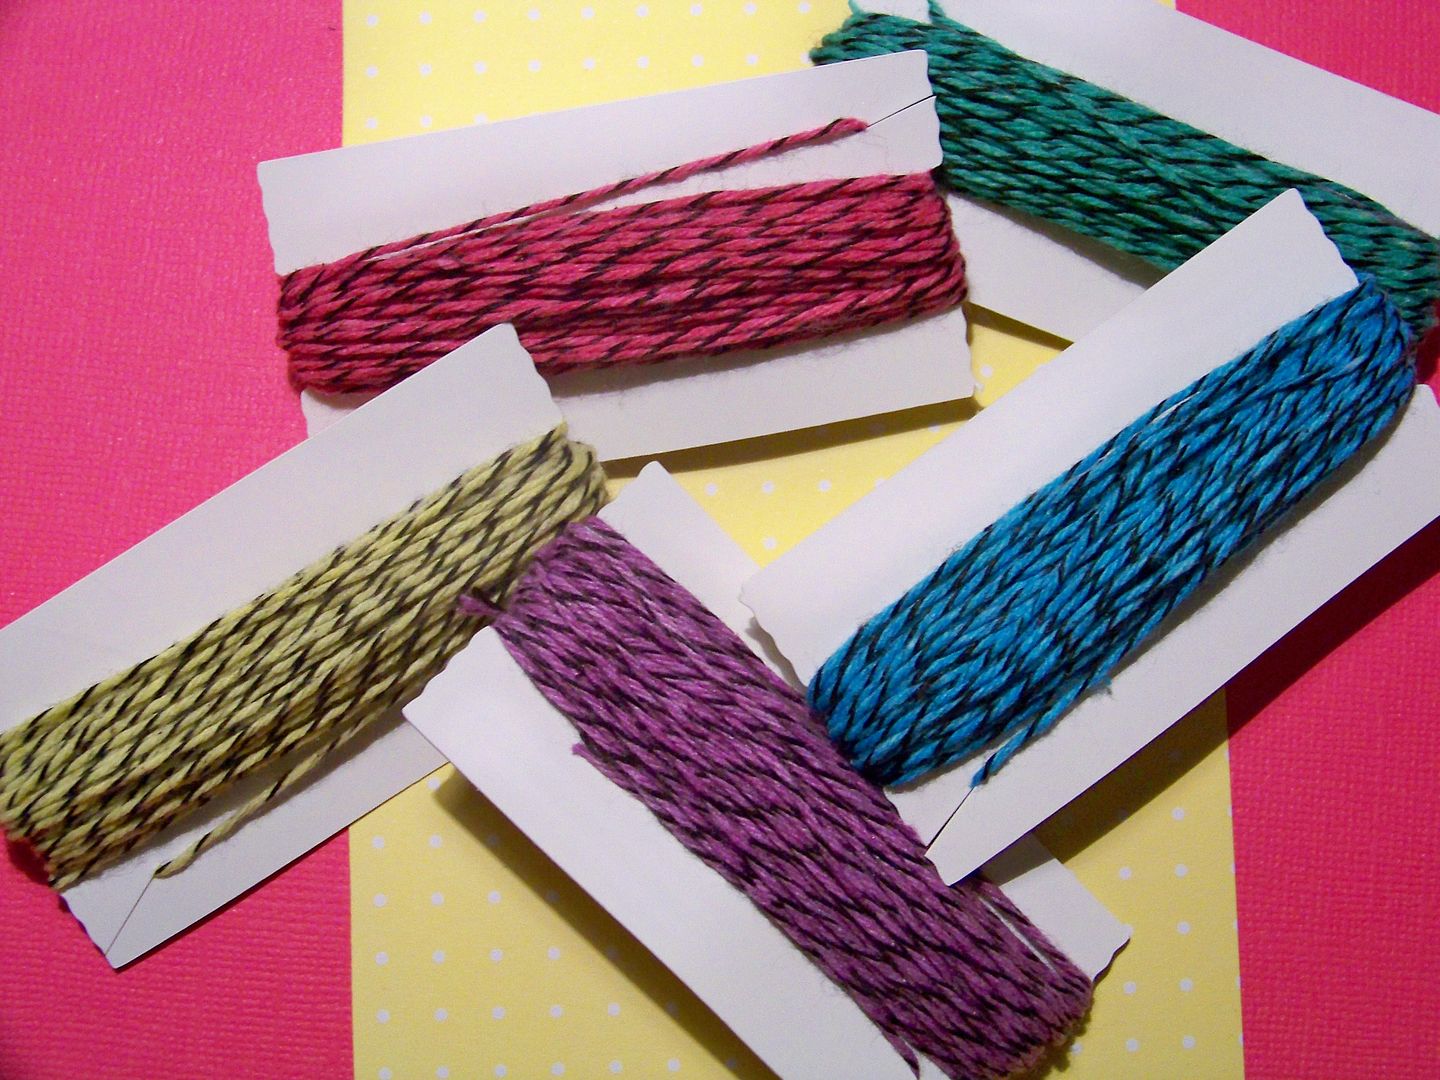
I used the Mickey Font ticket, cut at 1-1/2" on my Expression to make these poster board cards for the twine I dyed.
Thank you for visiting my blog!

Wednesday, July 6, 2011

Cricut Circle T-shirts on the Yudu!

Oh, I love my Yudu!  I am working on more projects for the Cricut Circle "Road to CHA" Crop and today is the day for t-shirts!  Ever since I saw the heat-transfer-vinyl shirts that a Circle member made for the Northern California meetup in May, I have wanted to try a two-screen Yudu project with her design.  You can see Cindy's shirts pictured on her blog, Scrap-Obsessed, by clicking here

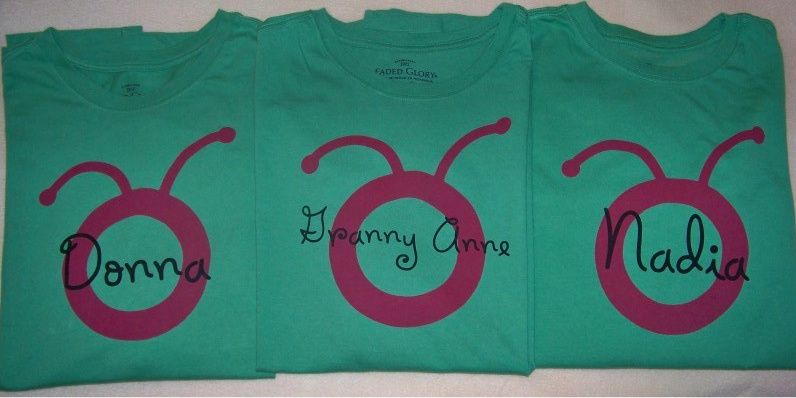
I liked this design because it would allow me to experiment with two screens without worrying with registration and lining up the design.  I loved that Cindy used a green shirt and knew that is what I wanted to do too.  The pink Circle logo is a darker color than the green, so I didn't worry about having to screen it twice.  Topping with our names in black worked well for the same reason. 

I started with the design.  I used the Cricut Everyday cartridge and cut the logo at 9-1/4" on my Expression out of black cardstock.  As I mentioned in my last post, you will need to use care to change that size if you are using an E2 or Imagine, as the sizes are not comparable to the Expression.  If you measure your emulsion after applied to the screen and subtract 1", you will get the largest size recommended for your design.  You can then set paper area on your Cricut to that size and use the fit-to-page feature to obtain the largest size possible for your screen!

I am now only using direct emulsion for my screen printing.  This is the liquid kind of emulsion that is applied to both sides of an upright screen.  I love this method of applying emulsion because it is so much cheaper and easier than the capilary sheets.  The liquid emulsion is also light-sensitive and available in formulations for water-based inks, like the Yudu-branded inks that I love.  The direct emulsion I use is the SWR-3 by Ryonet.  This product looks purple before adding the diazo, then turns a gray-green.  Unexposed dried emulsion at this stage is army-green.  After it is exposed to light, it looks indigo-blue.

Yuduing is like cooking with a wok; you need to have everything ready before you start!
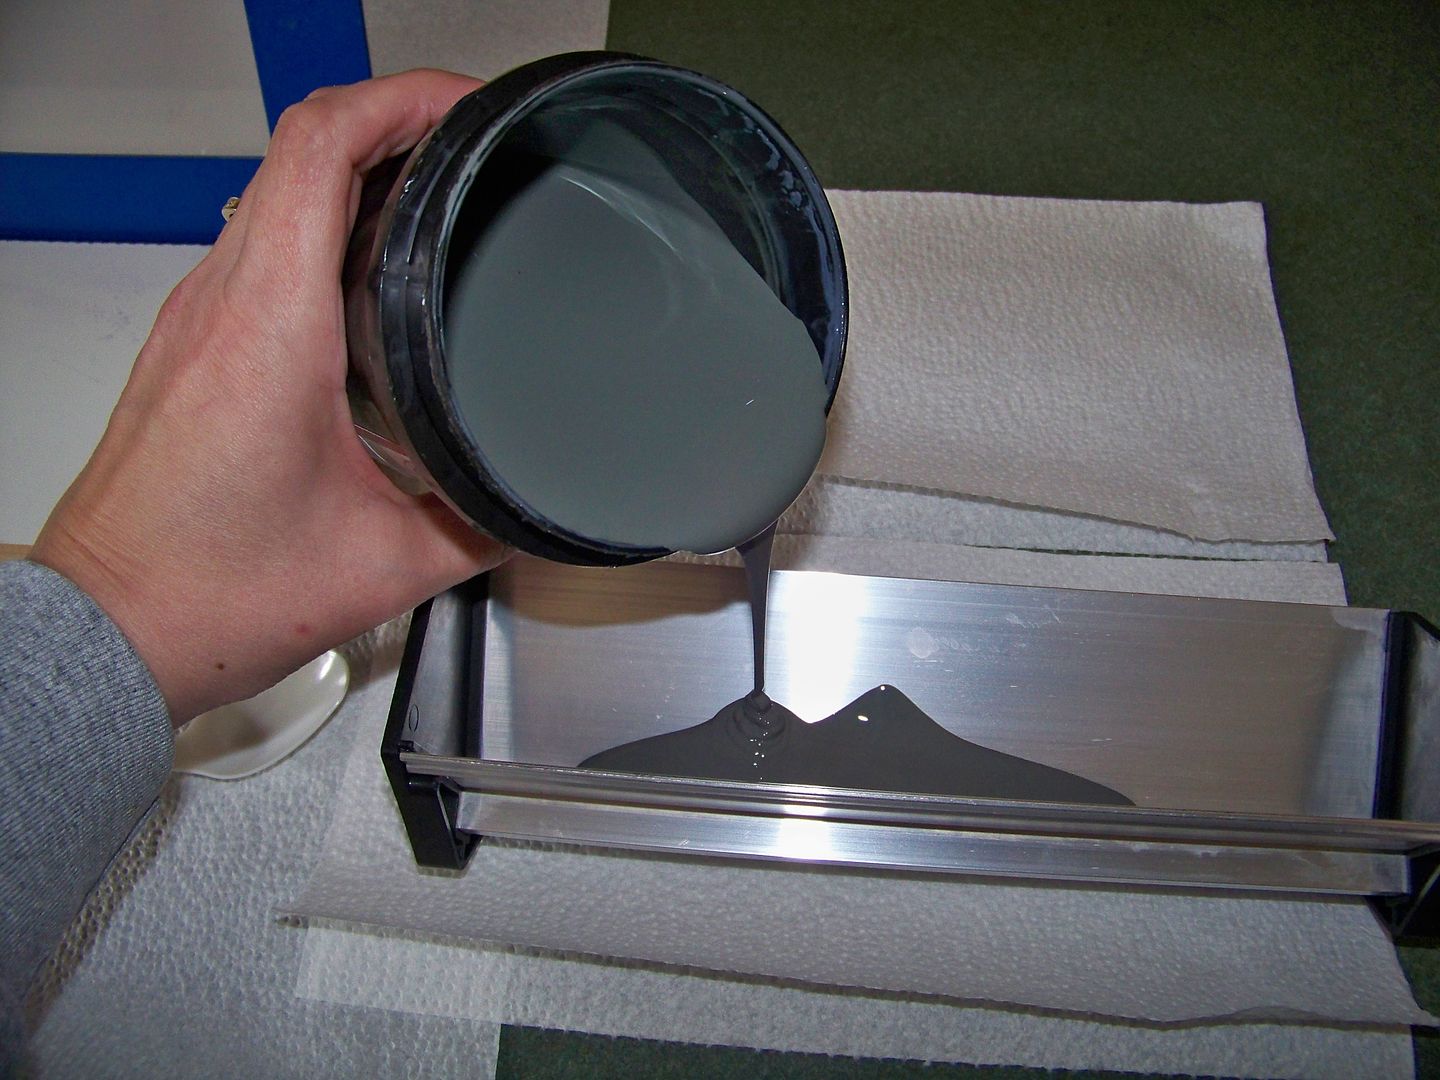
Basically, you pour the emulsion into a screen coater...
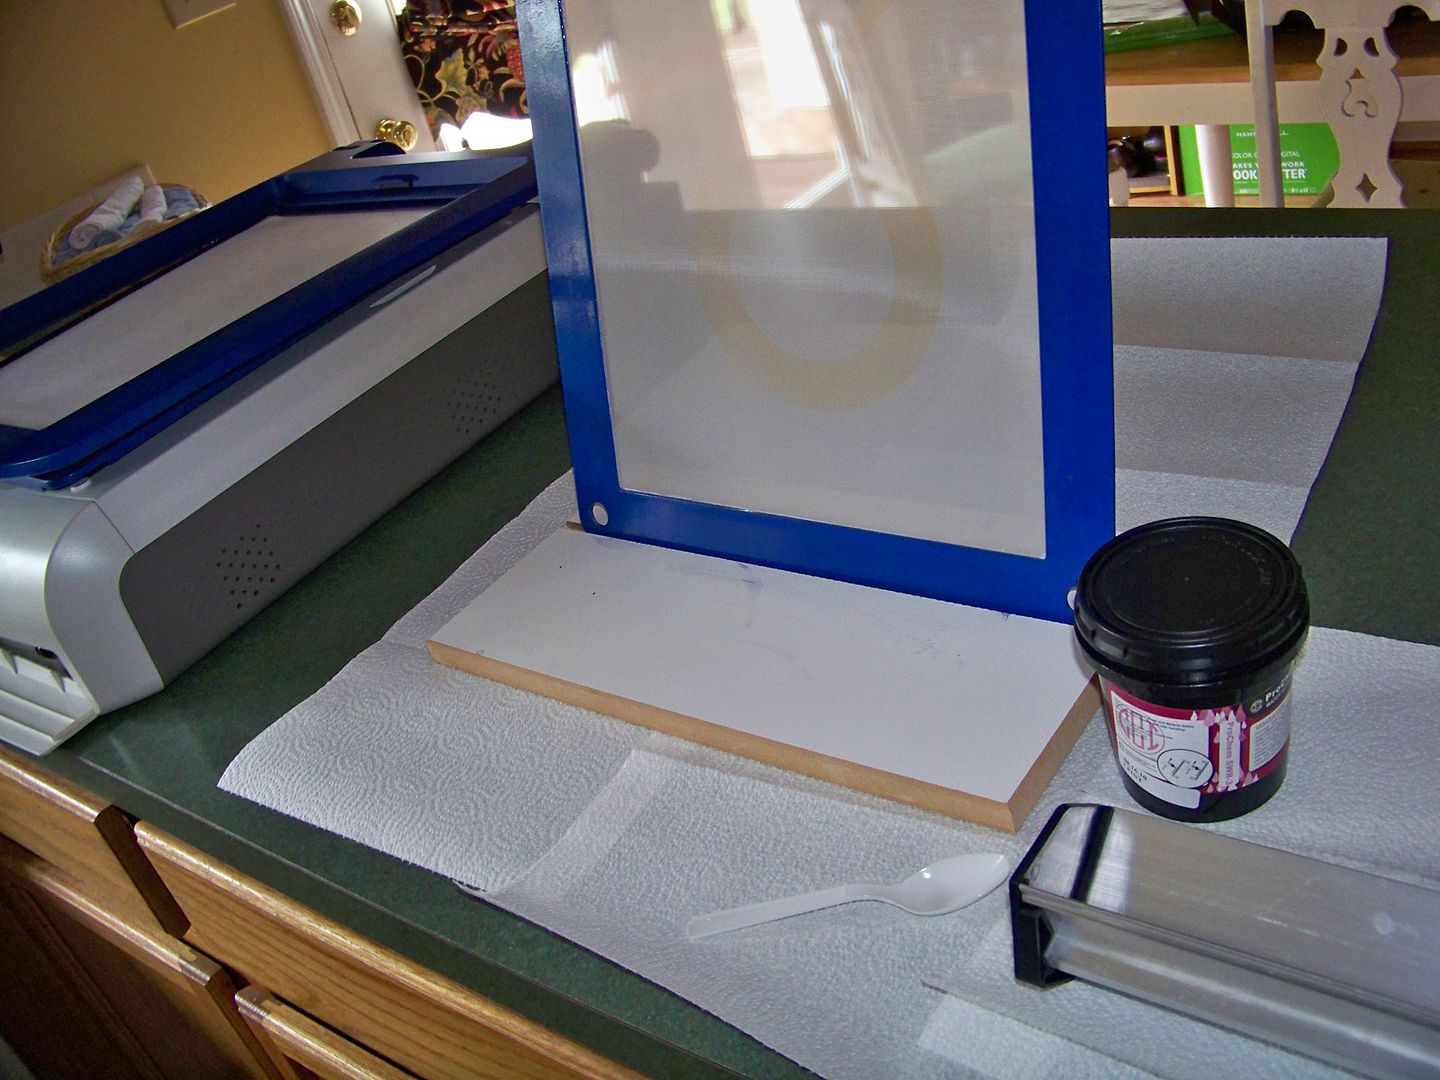
...place the screen onto a screen stand, tip the screen coater against the back side of the screen (also known as the shirt-side), starting at the bottom and working up.  You are placing a thin layer of emulsion on the screen and will hear a 'zip' sound as the screen coater glides up the screen to the top.  Then, you flip the screen over and do the same thing on the front (shirt side).  I learned how to do this application by watching a video (click here) on the Ryonet website.  It is so easy to do, but you must watch the video to see the process in action!

I pop the screen with the freshly-applied emulsion into the Yudu drying rack to keep it in a dark, safe place...


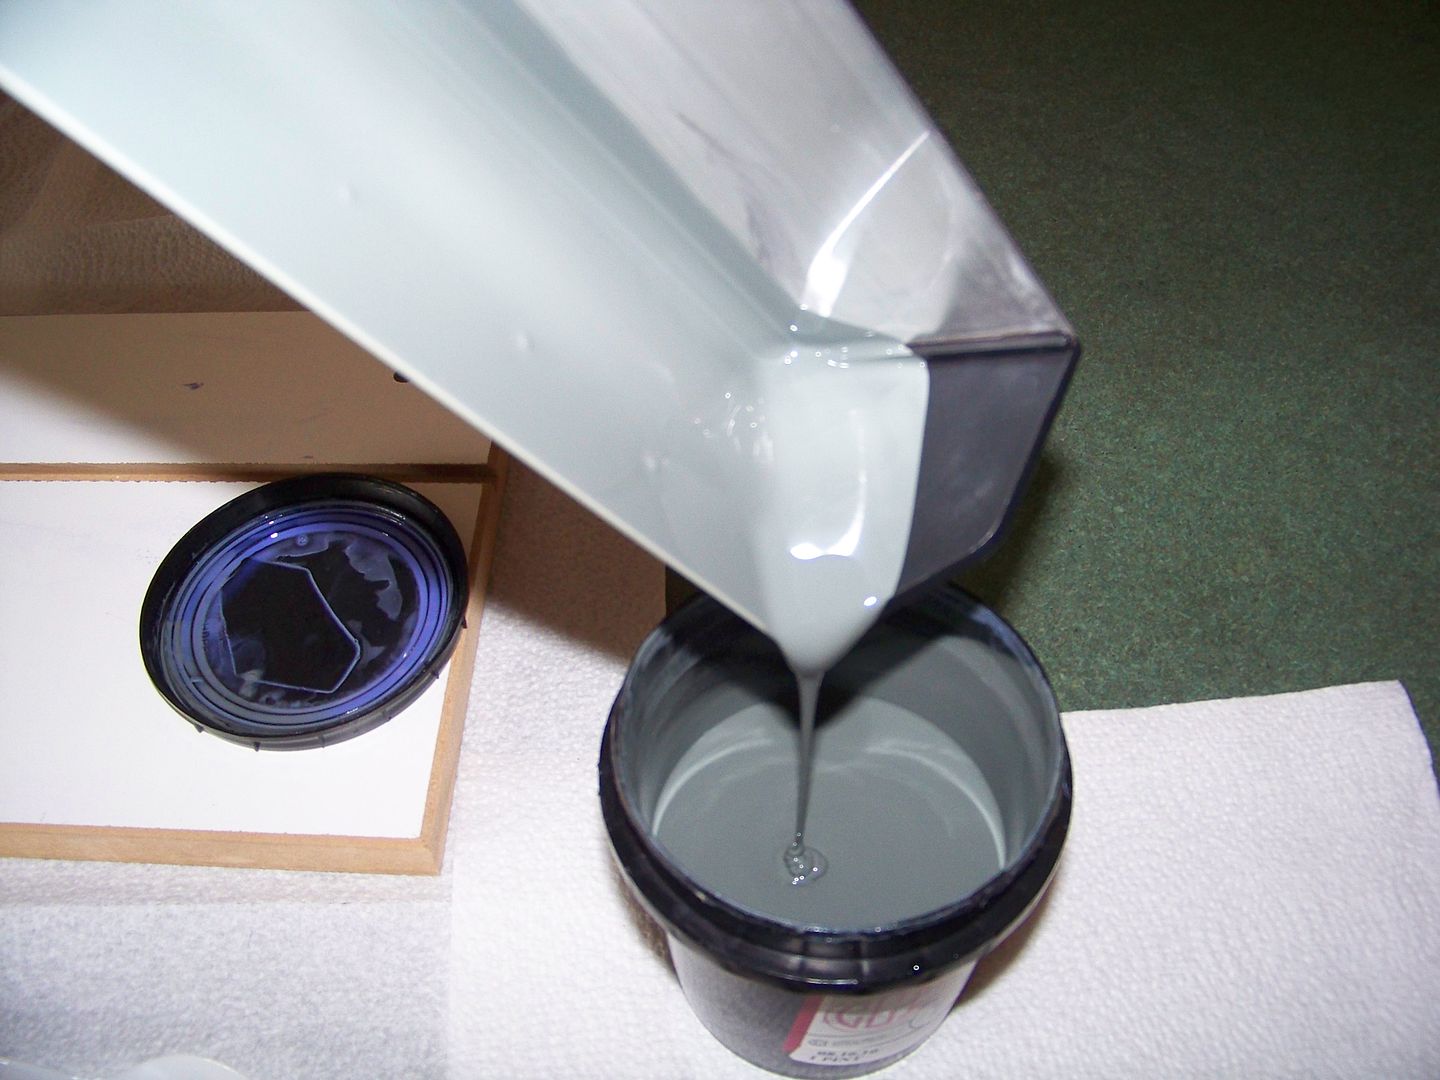
then I clean out the screen coater, using a plastic spoon to pour back any unused emulsion.

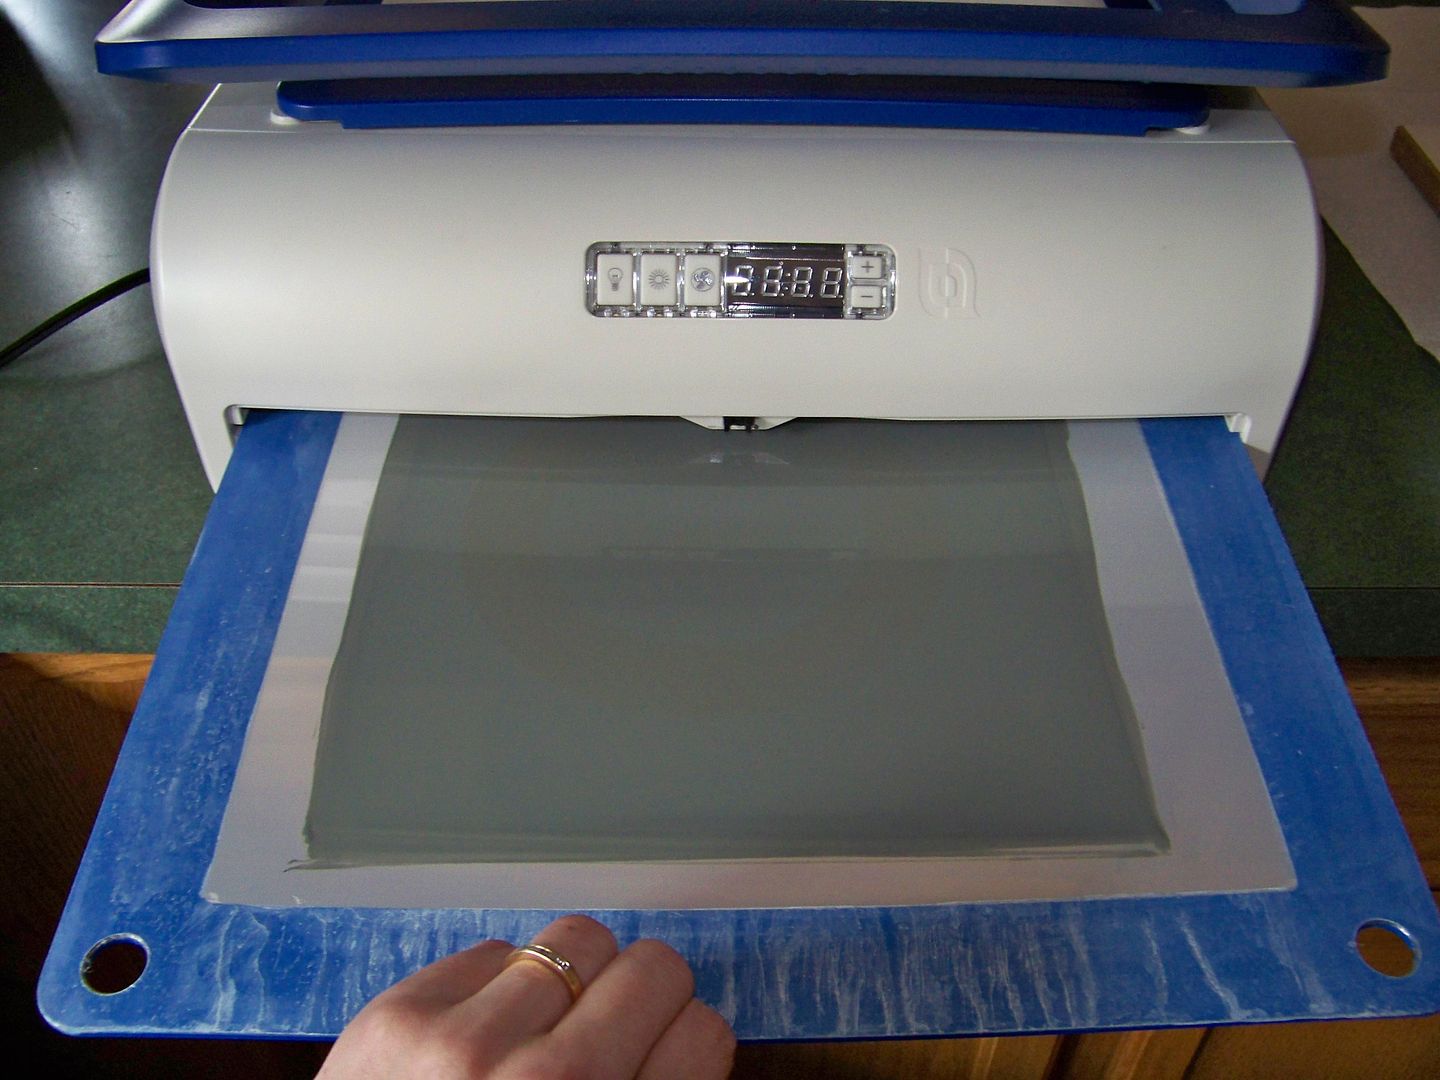
Then I pull the wet screen back out and use a hair dryer to dry the emulsion on the screen.  I use the 'cool' button on my hair dryer.  I can tell you from experience that a screen dried with a blow dryer on the HOT setting is very, very difficult to reclaim.

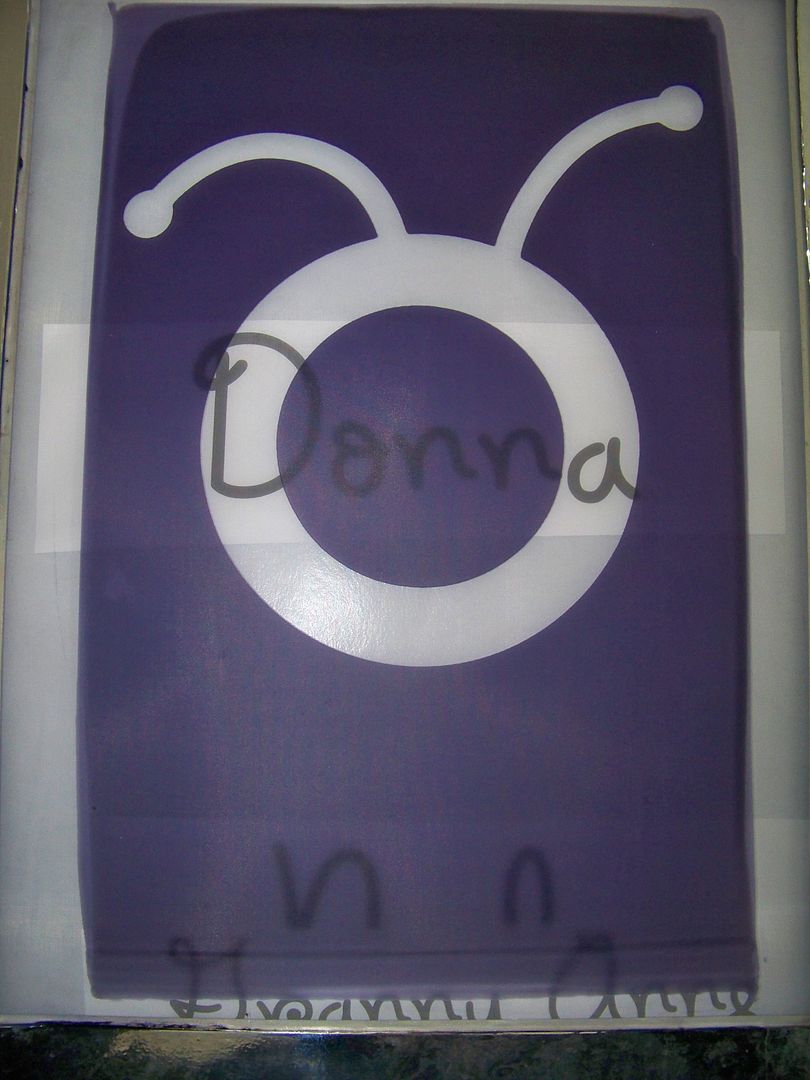
I burn the logo image in the screen as usual and rinse the emulsion off of the unexposed (green) areas.

Afterwards, I use a hair dryer to dry the screen.  Again, I use the 'cool' button.

Next, I worked on the screen for the names.  I applied emulsion as described above and dried it.  I placed it in the Yudu for safe-keeping while I created the names that would be burned into it.  (Letting the Yudu dry the screen works fine if you are doing other projects.  If you are ready to use it and it is still not dry, you can always shoot it with the cool air from a blow dryer!)

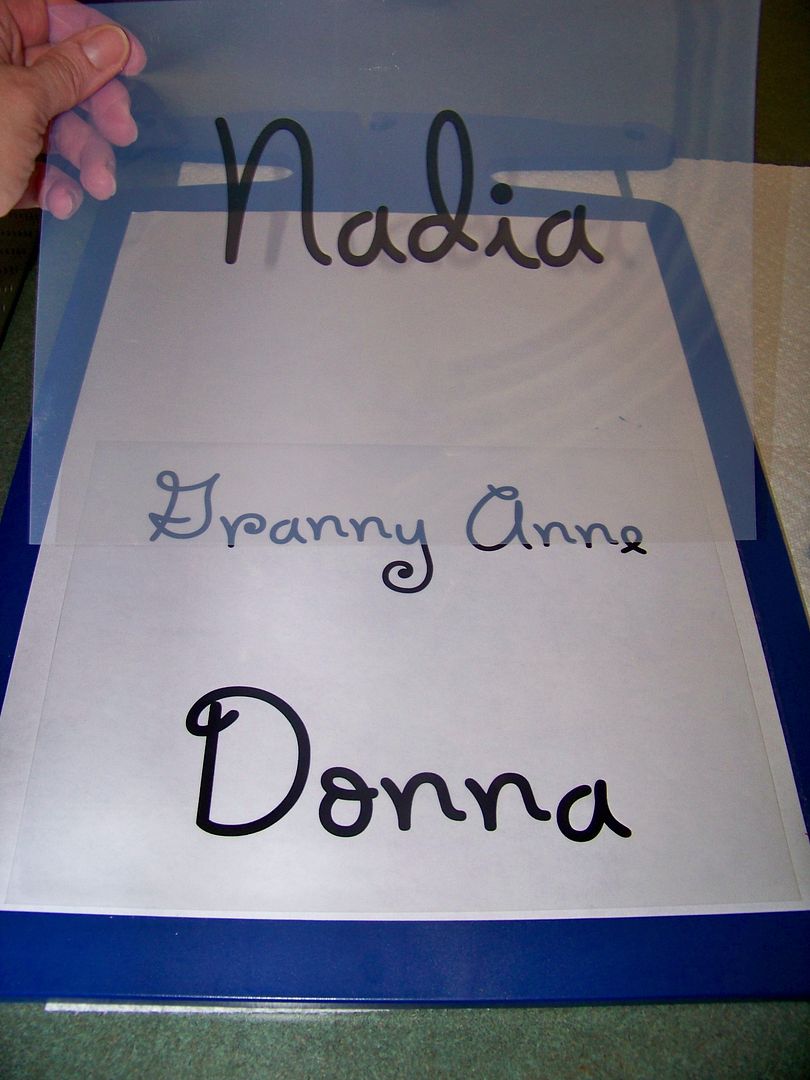
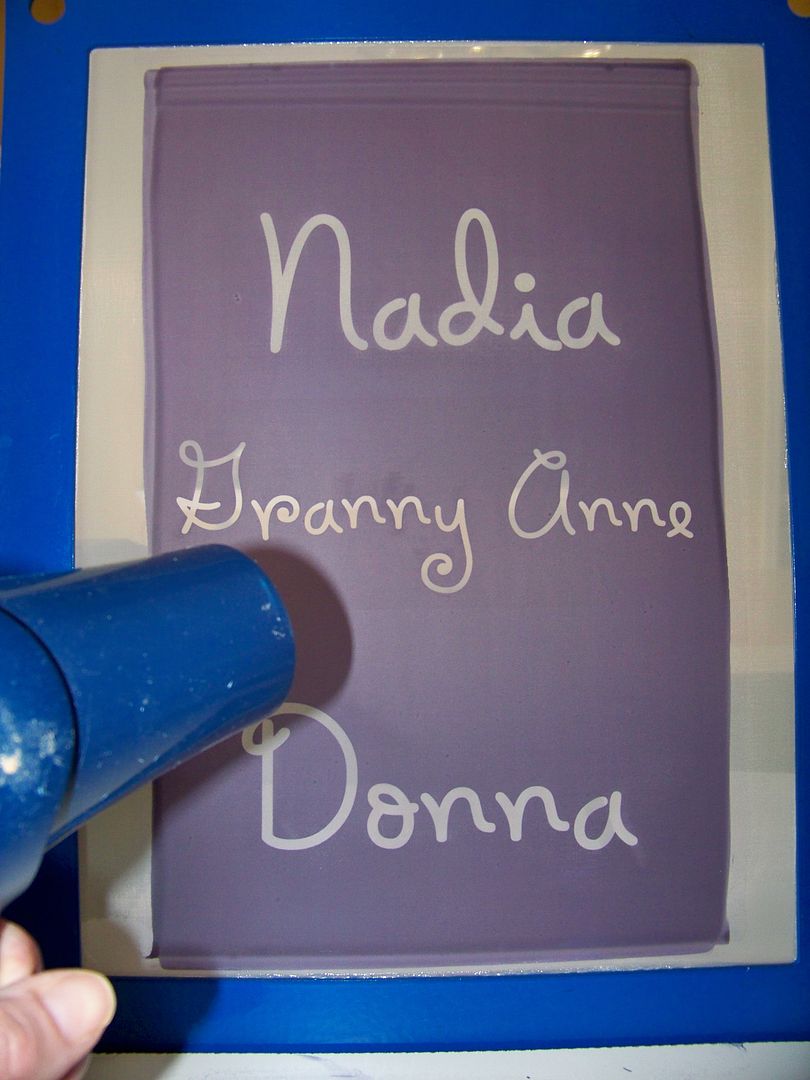
I created the names by printing them on the computer using Microsoft Holiday Springs BTN.  The names "Donna" and "Nadia" were printed at 250 point; "Granny Anne" was printed at 150 point.  I printed them first on regular paper and checked them against the Circle logo to be sure I like the two scales together...

..then I printed them on transparencies, setting my print quality for photo paper and 'high print quality'.  My goal was to get all three names on one screen, and since these are transparencies, even if they don't fit on one 8-1/2"x11" transparency, I was able to slide them around on the space to fit them within my emulsion-covered screen.

I used transparencies I purchased through Ryonet for this project.  They work just like the Yudu-branded ones-but quite a bit cheaper.  You can lightly wet a finger and touch each side of a corner of the transparency.  The side that sticks is the side to print on! 

I repeated the process outlined above for applying emulsion and burning the image, followed by rinsing and drying the screen.

I move the transparencies around to use the length of emulsion while not getting too close to the edges.  If you have to squeege over a taped area, you will not get a good application of ink on the shirt; for this reason, try to keep your image at least 3/4" from the edges!

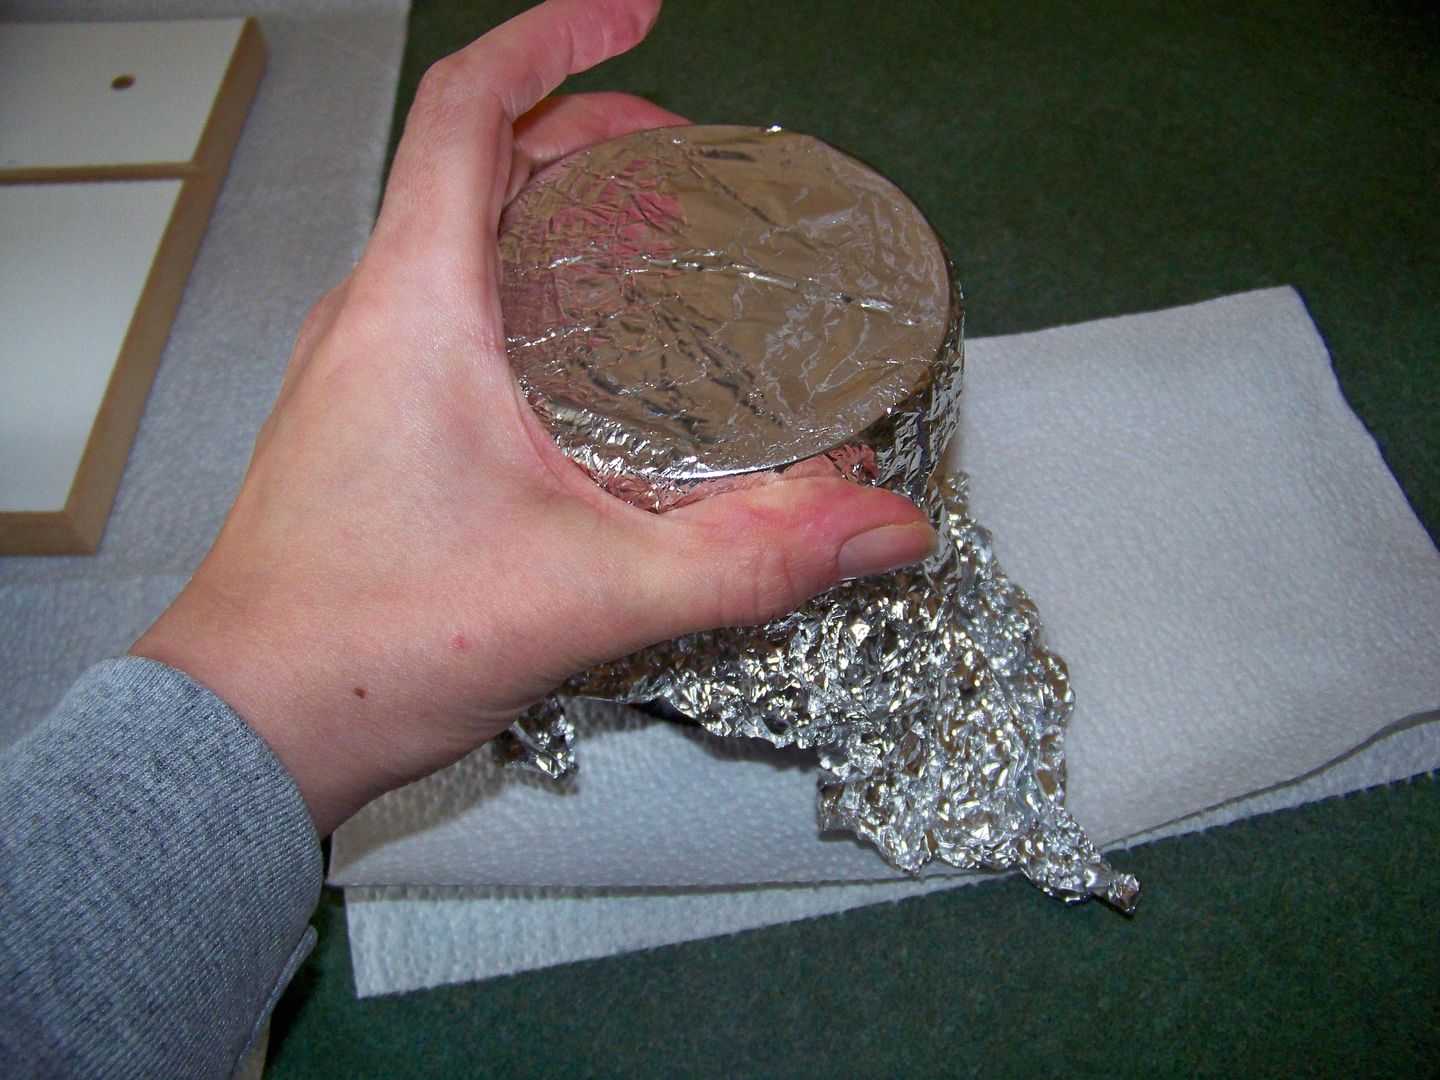
I keep aluminum foil over my pint of emulsion to be absolutely sure that no light gets to it.  That, my friends, is called over-kill!

I Yudu in my kitchen so my food processor is my weight to keep the lid down while burning the image on the emulsion!

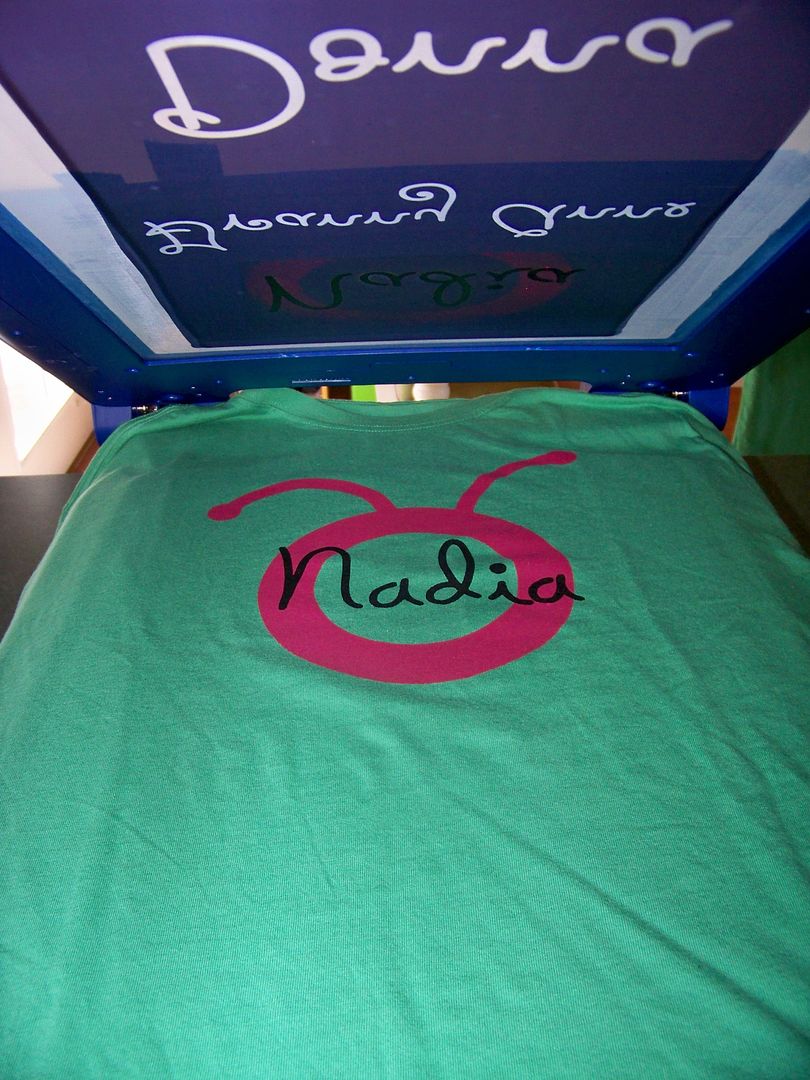
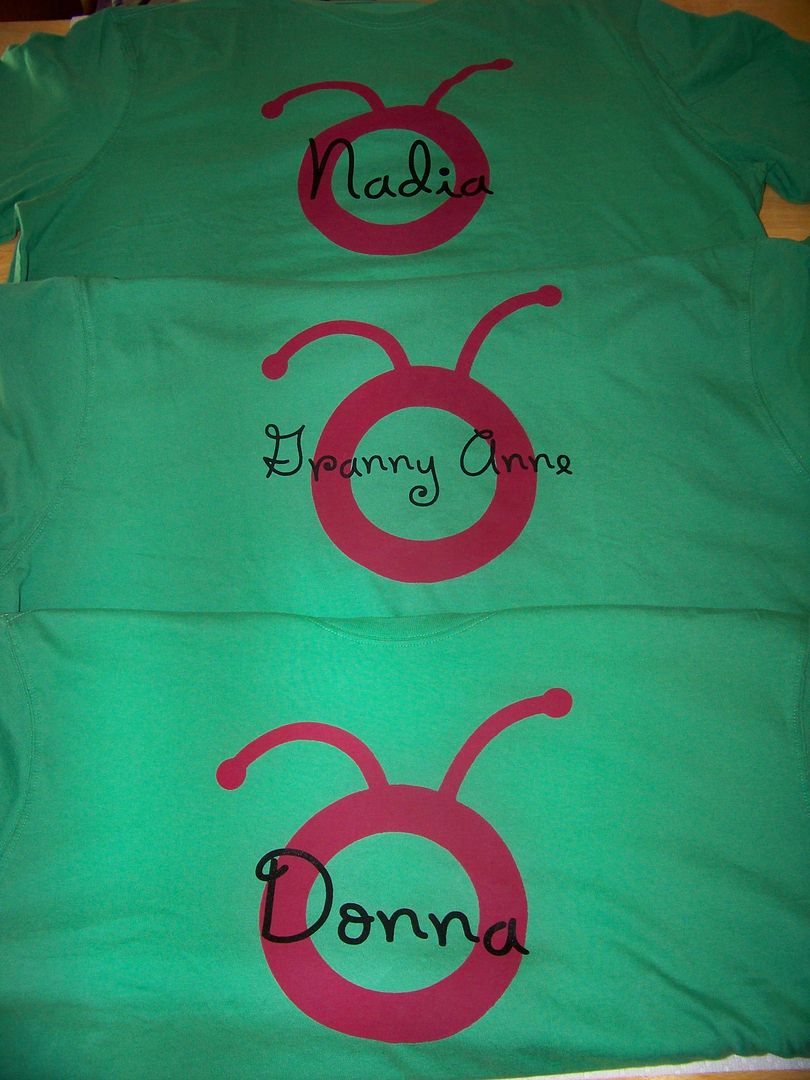
I screened the logo on each of the three shirts.  I do not place the platen inside the shirt.  When we were at the Cricut Circle crop in Louisville, Shannon Lerner of Provocraft told us that, unless we were screening tissue Ts, we could simply lay the t-shirts on the platen and that is how I have done these and my previous Yudu t-shirts.  This means that I do not need a platen for each shirt I screen and that I can move the shirt around on the platen to get it where I need it -- this is especially important for the second screen of this project since the names are in different places on the screen!

I was careful to floodfill the logo after each screening to prevent the ink from drying on it-- I do this even for the last printing.  I used my hair dryer again to partially dry the ink on the shirt while still on the platen. 


I lifted each shirt off and laid it aside and prepared the next. 

After the logos were screened on all of the shirts, I washed out paint on the logo screen and dried it with cool air. 

I started prepping the screen with our names on it.  I decided that the safest way to play this was to tape off one name at a time, screen it, wash out the screen, and dry it with cool air, change shirts, and tape the next name.

Cleaning off the ink after each name did mean that I had to take extra time rinsing and drying, but I had the peace of mind that I wouldn't accidentally get ink from a previous name on the next shirt!

Drying the screen with cool air made short work of drying it so I could do the next name!  Use a back-and-forth motion when drying the screen, just as you would when drying hair!

I allowed the shirts to dry for a while and once they were 'bone dry', I heat-set the ink with an iron (no steam), using a piece of printer paper as a press cloth. 

I chose not to remove the emulsion from my screens just yet, thinking that I might play around a bit with some other inks and these screens.  For your notes, however, you should know that once the emulsion is removed from the screen, you can use hot air on the screen to quickly dry it; it is the emulsion that you are protecting from the heat!

For my notes from the Shannon Lerner demo on using capilary sheets, for my notes on using direct emulsion, and for my sources, including a link to Ryonet, please check out my Yudu page (see the tab above) or click here!

These turned out just as I had them in my mind-- that rarely happens!  I hope Donna and GrannyAnne like them!  Thank you for visiting my blog!  My next Yudu project involves glitter!!!! 
Sunday, July 3, 2011

Cricut Magnet Swap!

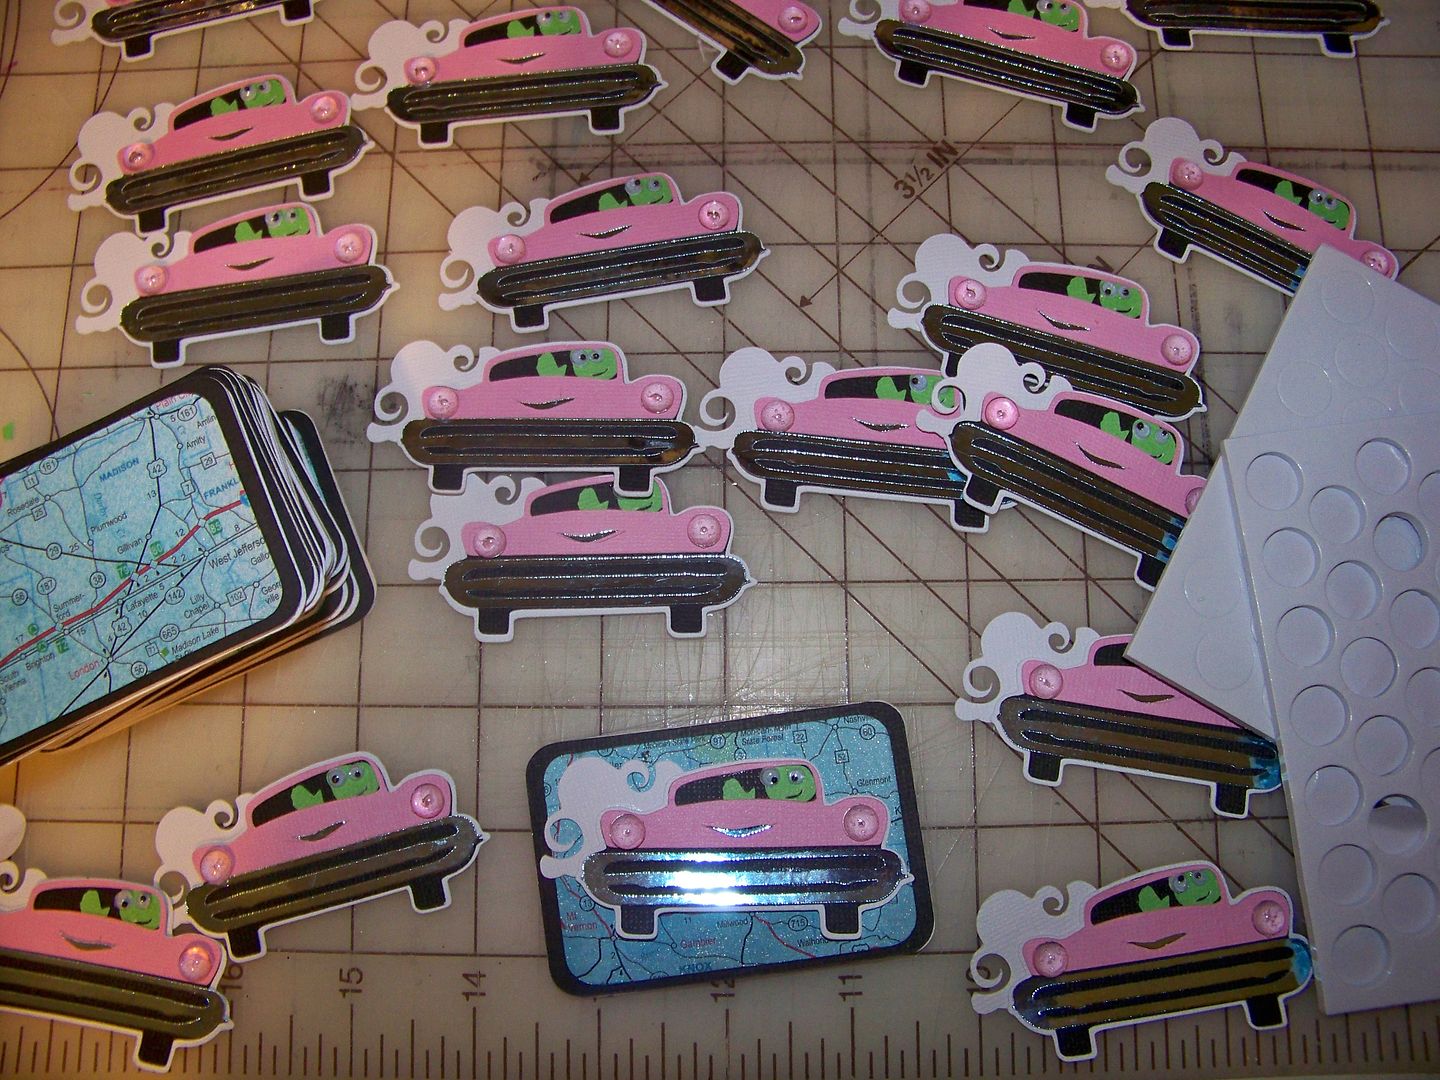
I am busily crafting in preparation for the Circle Crop in Mason, Ohio, that is fast approaching! It is the Roadtrip from CHA for the Provocraft folks so that is the theme of the event. One fun thing we are doing is a magnet swap. I just finished mine and wanted to share them with you.

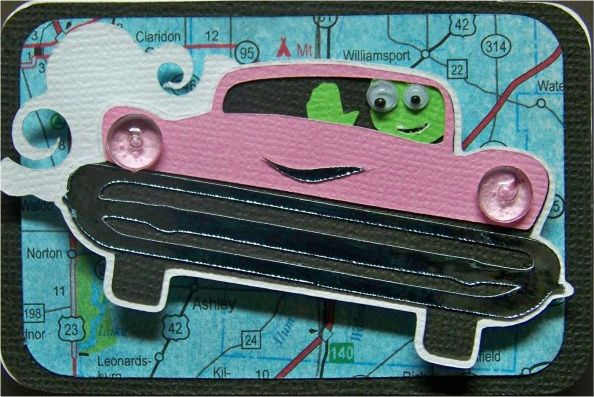
When I think of 'road trip', I think nostalgia. That is because when I was a kid, we called them 'vacations' and now I call them 'traveling for work' but I remember my grandparents referring to 'road trips' so I immediately get a picture of the 50s in my mind! I decided to run with that and use the car icon on Nifty Fifties. I copied the concept from a card I made last year. You can see that post by clicking here.

I decided on a rectangular shape, using the George cartridge on page 112, cut at 3". 

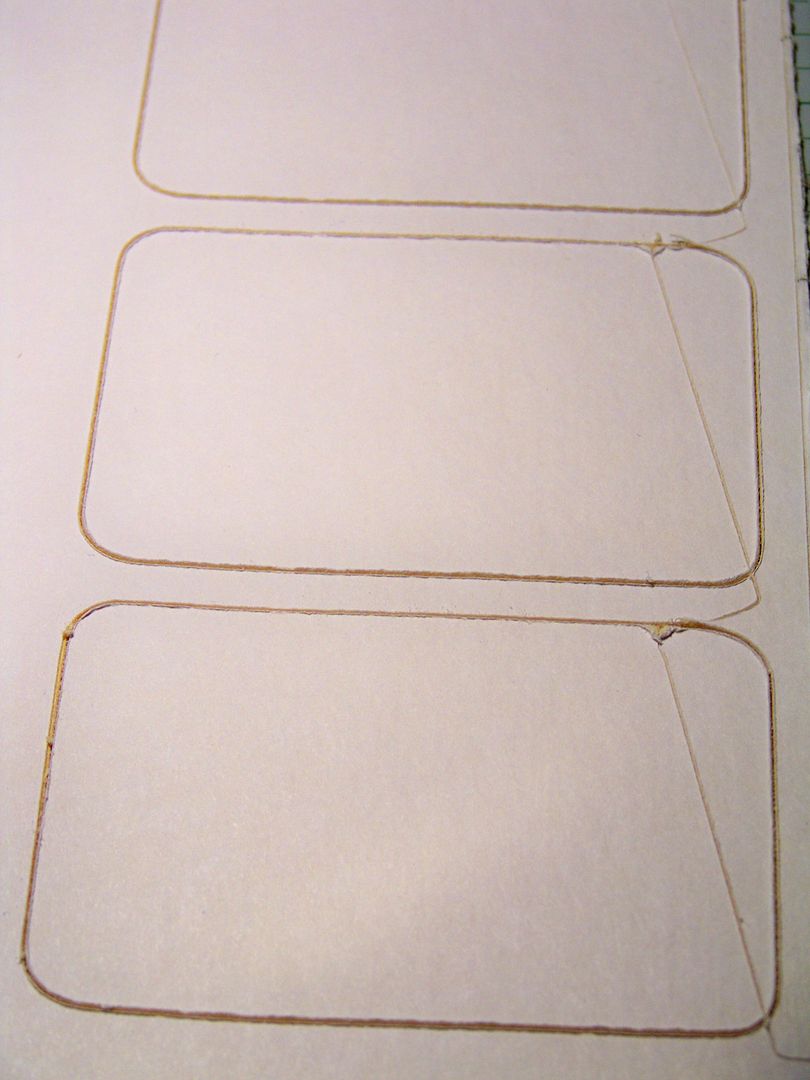
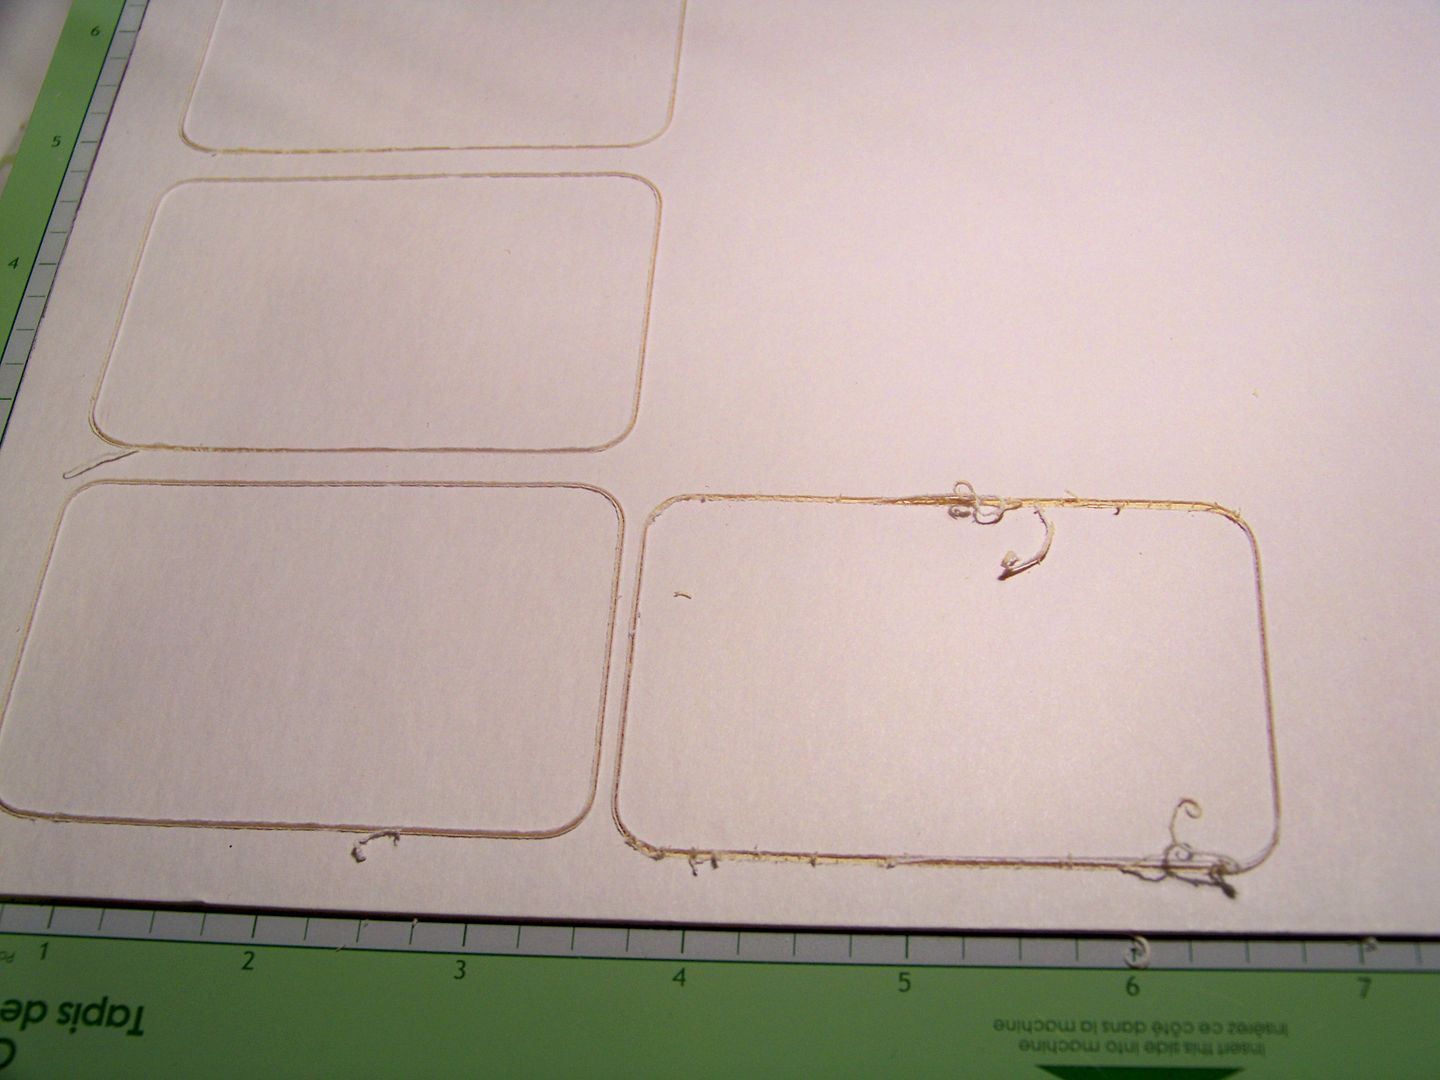
I knew I wanted my finished magnet to be very sturdy.  I decided on magnetic discs for the backs (instead of sheets of adhesive magnetic material) and wanted the base to be strong enough to be handled as it gets pulled on and off of a magnetic board or fridge.  I used an artist board that I found at Hobby Lobby with the drafting supplies.  It was #918 and such a wonderful learning experience;  I found something too thick and hard to cut properly on the Expression!  I got out my deep-cut housing and blade, I used multicut 4... still too thick.  I found that a new (very sticky mat) was a true requirement!  I learned that the high pressure setting does not work with the deep blade!  I used a new blade for this project.  I did find that it did a better job of cutting when each shape was cut individually, not with autofill.  Autofill caused the blade to drag and mar the surface.

I also found that the machine handled it better on the sides.  Middle cuts were especially poor, and the machine often could not duplicate the cut for the multicut process when cut in the middle of the mat. 

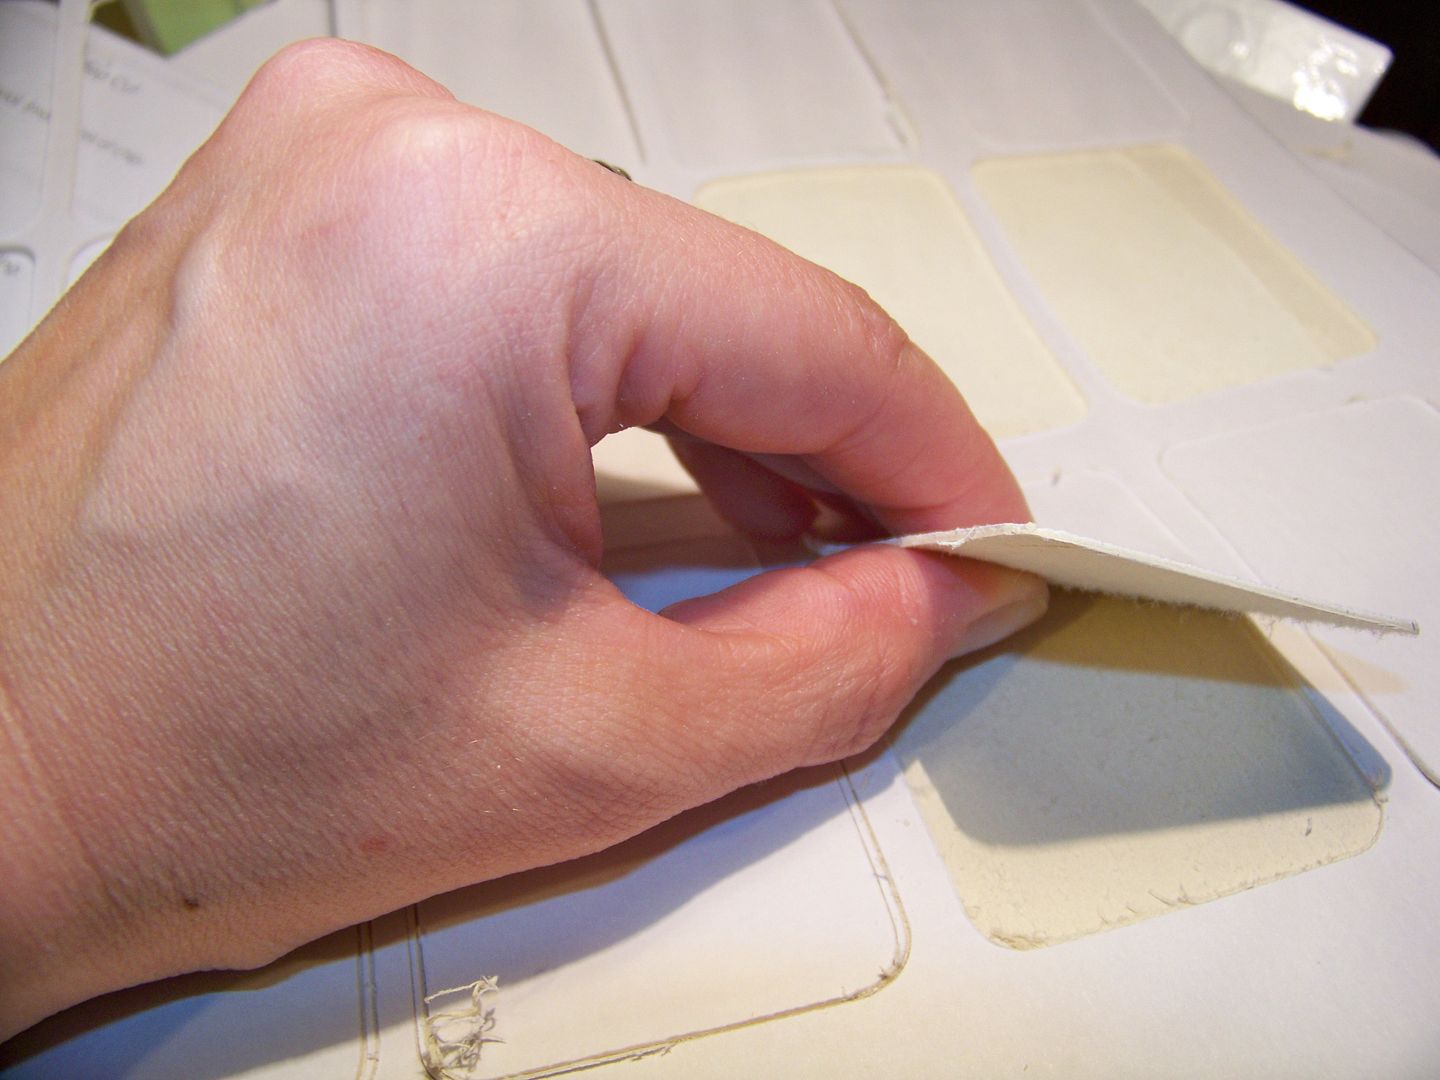
Multi-cut 4 did not cut all the way through the material, but I knew I was testing my Expression and didn't actually need the backing for this project, so I was happy to peel away the majority of the cut, leaving the backing behind.


A thinner chipboard would have been a better choice, but I was happy with the core that I now had to use!  I cut a backing for my project out of white cardstock using the same cut and size from the Geoge cartridge and applied it with double-sided tape with my ATG.

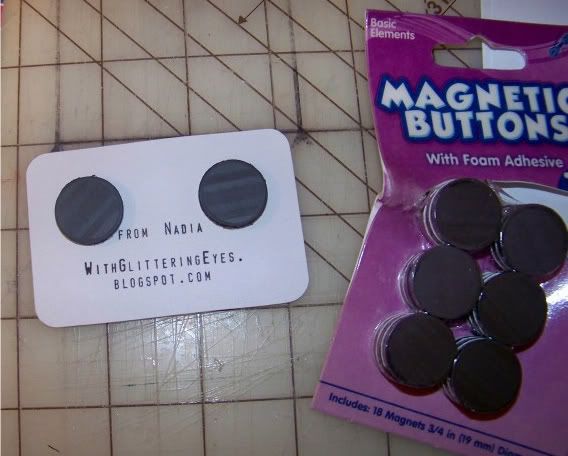
I bought one of those 'create-your-own-stamp' kits at Walmart to put my name and blog address on the back of the magnets.  Although I usually print this kind of info on my computer, I thought this would have an old-fashioned look.  It was super-easy and kind of fun.

Using that same cut/size/cart/machine again, I cut a front from black cardstock, applying it in the same way as the back, with ATG tape.

I wanted a blue background for my car image like my original card had, but I also wanted a map to emphasize the road trip theme, so I picked up a couple of maps at AAA, cut them on my Expression machine (same shape on George but cut at 2-3/4"), and spritzed them with Tattered Angels Glimmer Mist in Electric Blue.  This makes a sunny blue that I really like.  I over-saturated the papers to get a nice overall color.

I attached these over the black, leaving a border. 

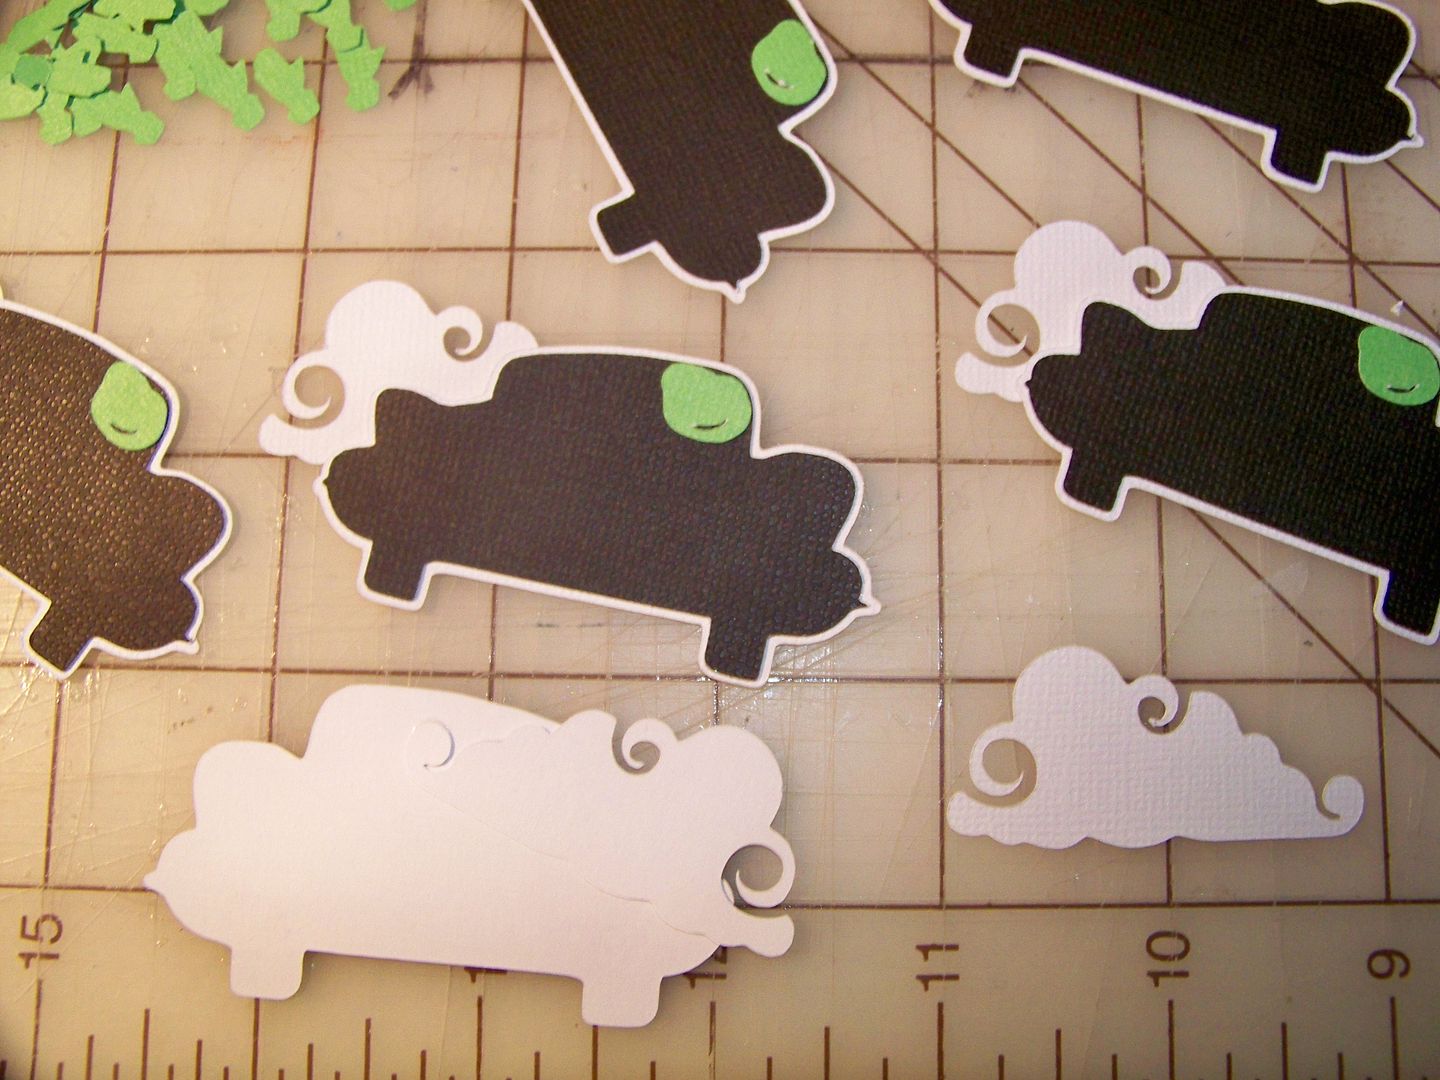
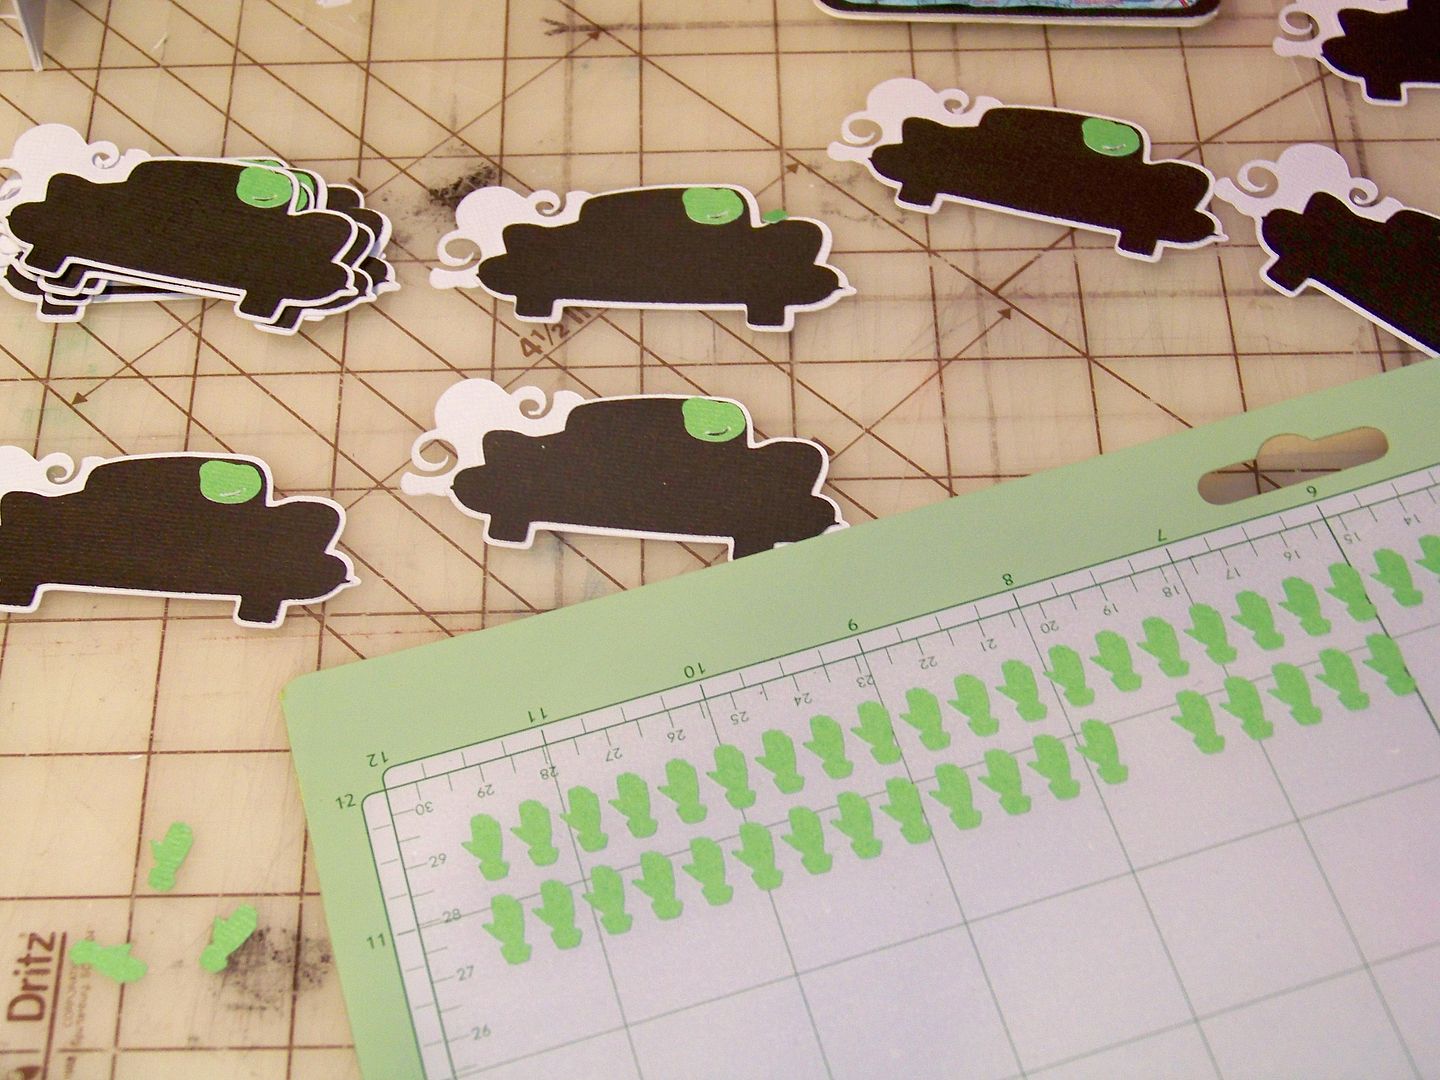
My car was cut from Nifty Fifites on my Imagine at 1.4".  I omited the windshield and headlight layers to simplifiy it since it was cut so small.  I used colored cardstock.  I created a plume of smoke by cutting a cloud from Serenade at 1" on the Expression. 
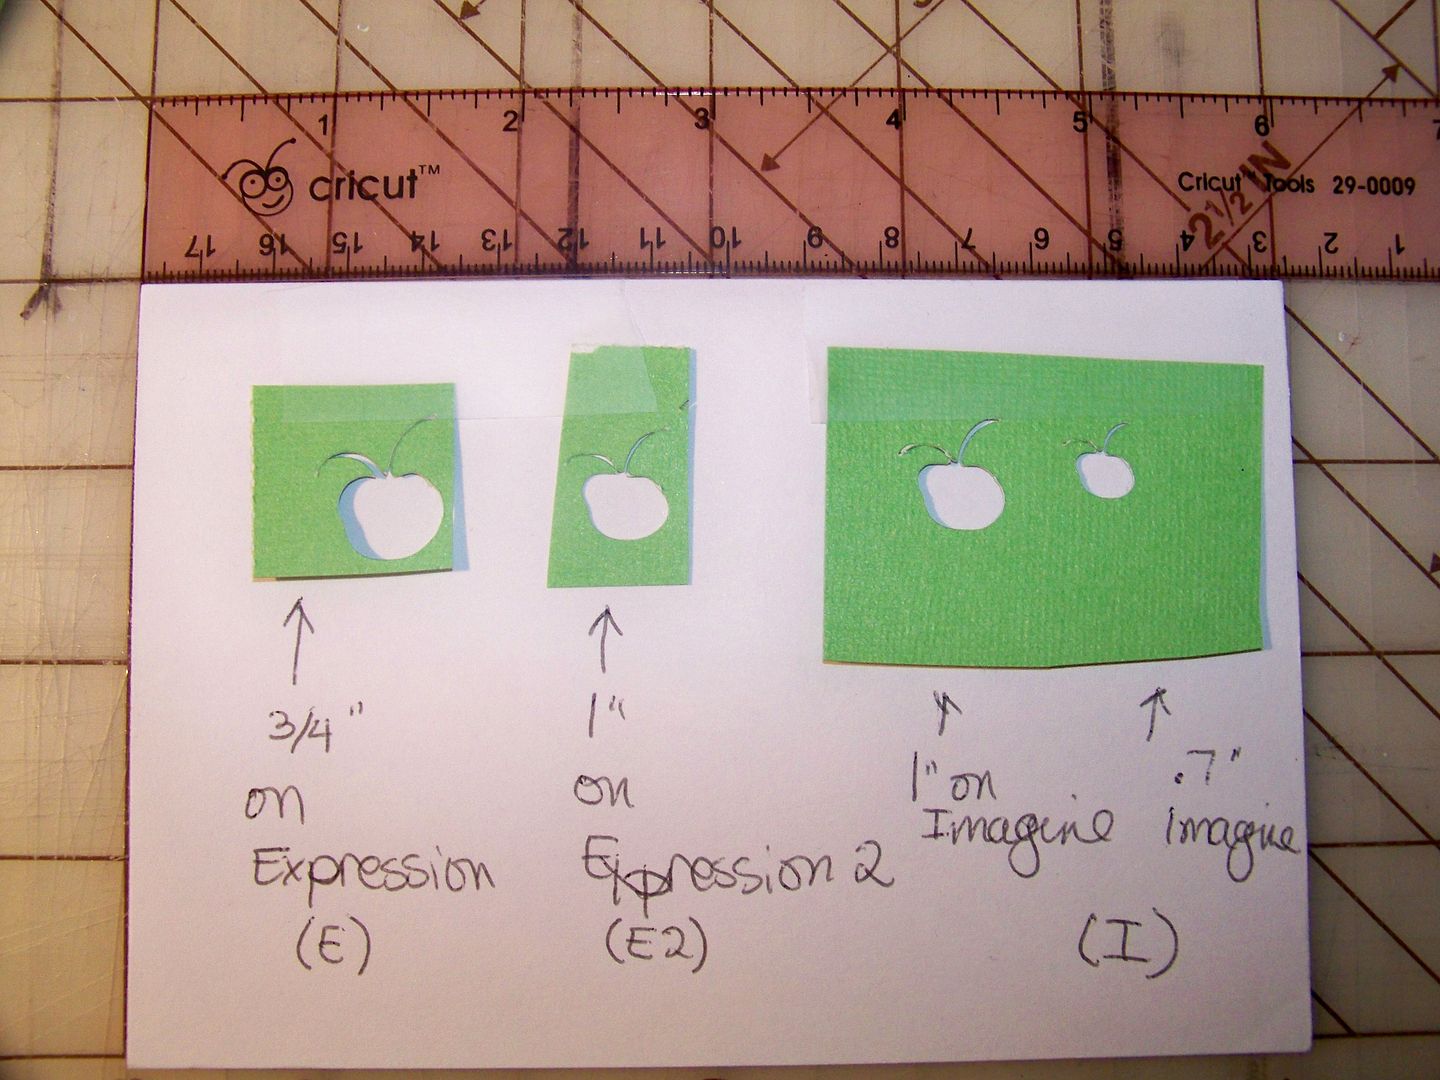
I cut a bug head from Cricut Everyday.  This was another lesson learned!  I discovered for the first time that 1" on my Expression is not the same as 1" on my Expression 2 (E2) or my Imagine.  As often as I use my Imagine and Expression on the same projects, I have never had the need to duplicate the same cut on each macine.  Check this out:

You can see that the cut from the Expression at 3/4" is larger than the shape cut at 1" on the E2 and the Imagine.  You can also see that 1" on the E2 is the same as 1" on the Imagine.  A few folks on the Circle message board confirmed for me that their machines copy this model!  I had no idea!  This and all future posts from me will include not only the cut sizes, but also from which machine my cut was made.  I like to have all the machines humming when I can so knowing this info is very important to me!

I evenutally decided on the 3/4" cut on the E2 for my bughead.  I didn't need his antennae since he would be driving the car, which is fortunate since the cut at this size was too small for that detail!  I cut a hand for him from the Sentimentals cartridge, page 25 shadow feature, on my E2 at 1/2".  I trimmed off the cuff and tucked the hand inside the car to make my bug look like he is waving.
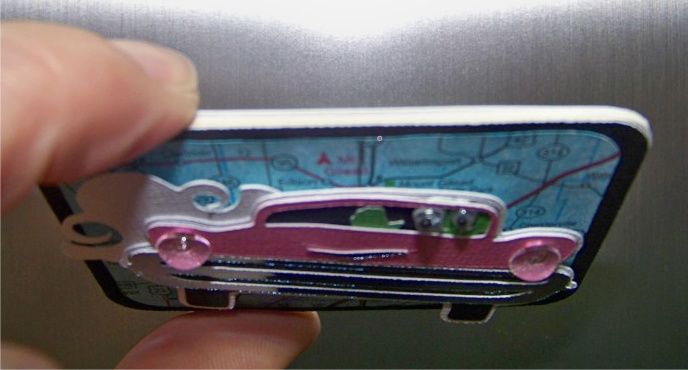
I finished the projects by applying the remaining layers for the car.  I used Dew Drops clear flat-back embellishments for the headlamps and googly eyes (3mm and 4mm) to the bug head, applying them with E6000 plastic adhesive to ensure that they wouldn't pop off the finished magnet.  The finished cars are popped up with 1/8" pop dots. 
I attached the magnetic buttons to the backs.

I learned so many things from this project!  Even with peeling away the backing of the core material, my swap magnet finished very sturdy and substantial.

I was so glad to have these done for the crop!  I popped them on a magnetic board to store them until the event.  I think this will be a fun way to take them to the event as well!
Thank you for visiting my blog!

MyFreeCopyright.com Registered & Protected

But wait! There's more! Click 'older posts' above!
But wait!  There's more!  Click 'older posts' above!