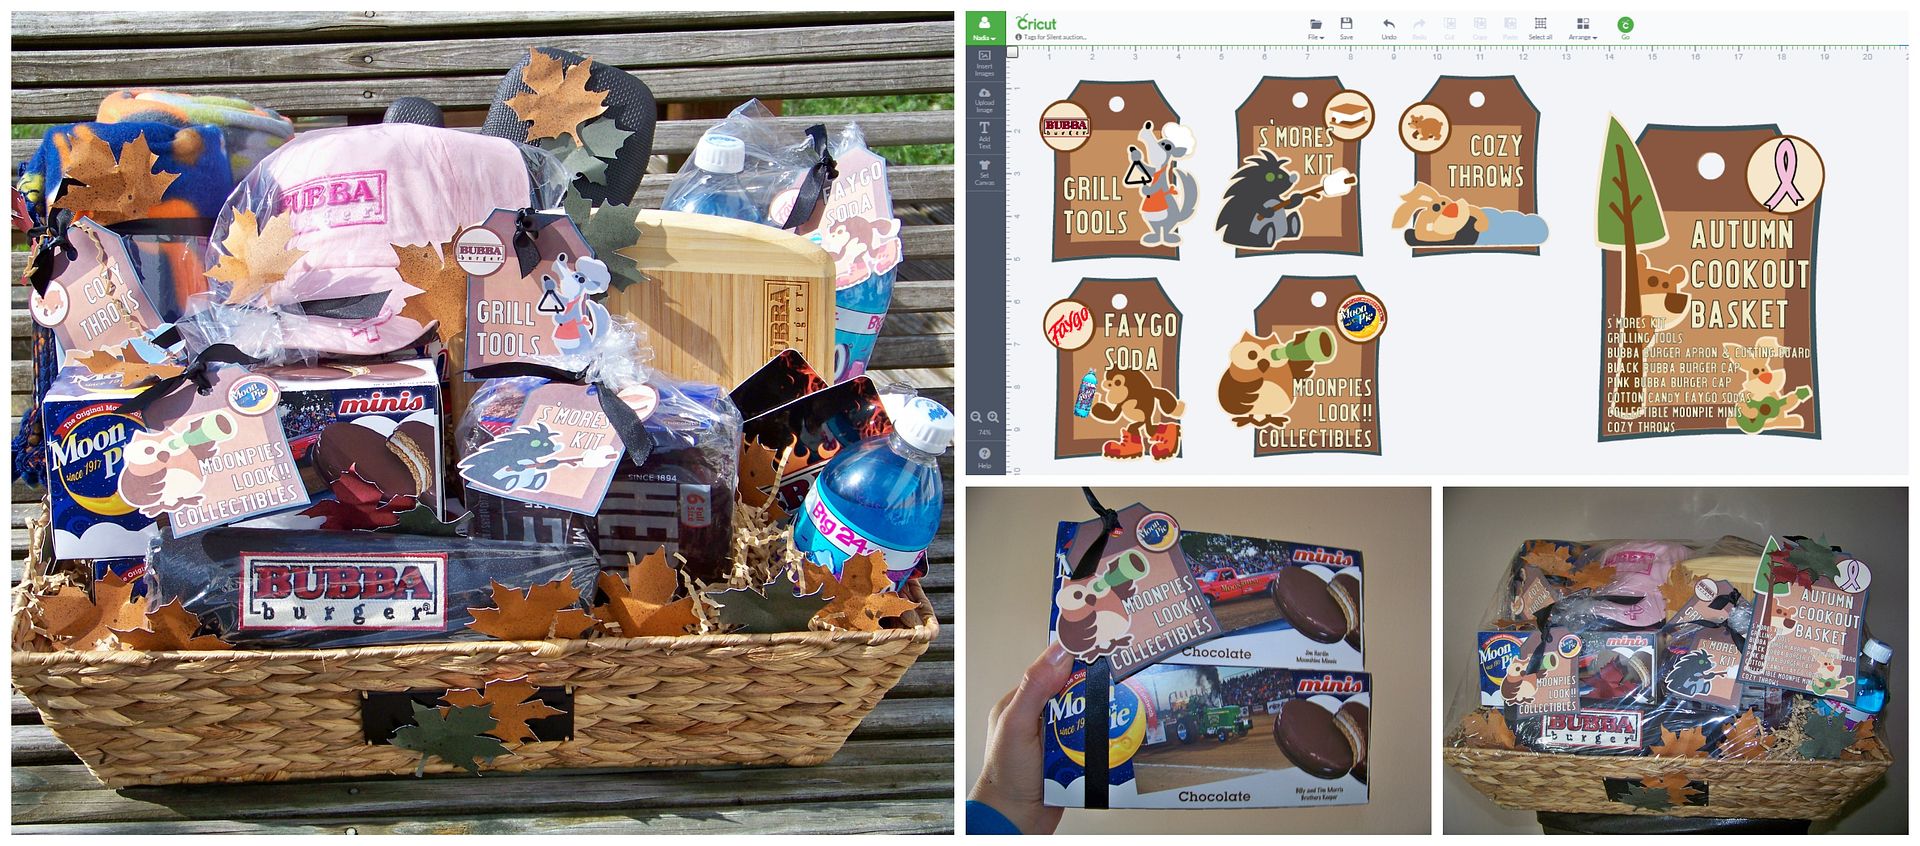

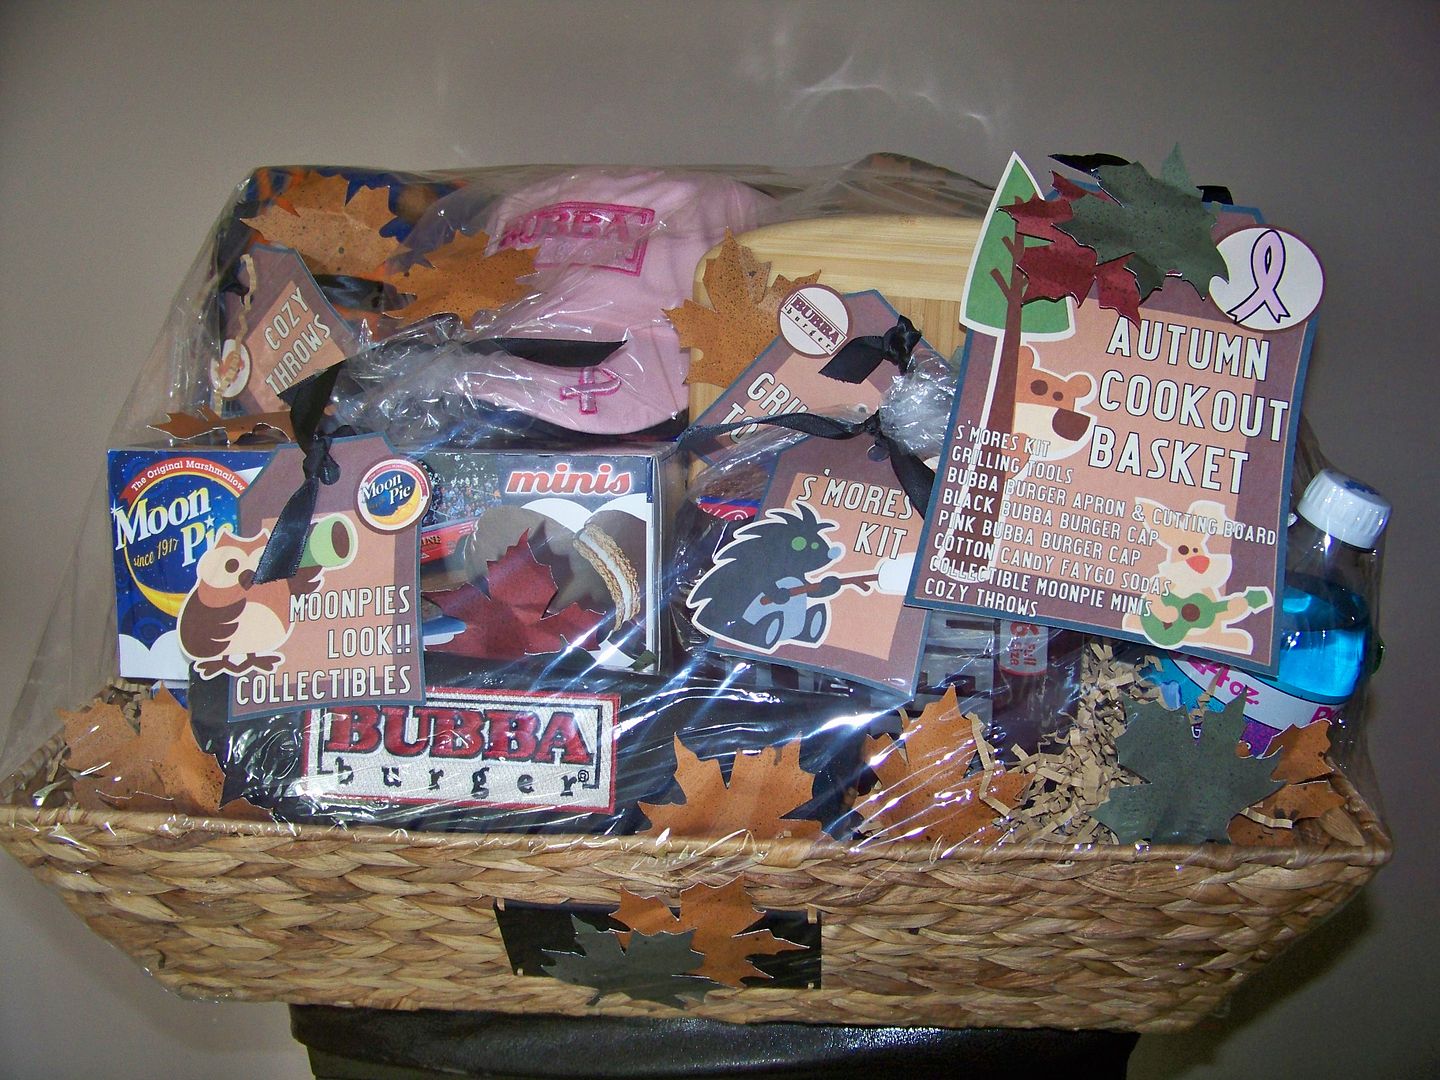
I was able to do some crafting this weekend in preparation of a Susan G. Komen for the Cure fundraising event. One of the events is a silent auction at a truck and tractor pull so I decided to put together a Cookout Basket for a personal (non-company) donation. I bought some items and I used some sponsor swag that I had in the office that I have been hoarding for months to use. The items were kind of uncoordinated in color and style so I wanted to create a theme to make them work together in this basket. Fall colored throws, a pink hat, bright blue soft drink bottles, wood and metal grilling tools... you get the point.
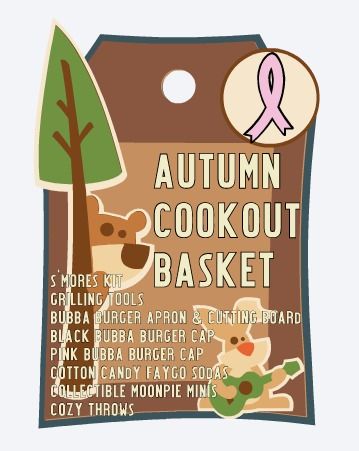
I decided on an autumn theme and used a natural colored basket. I created tags to group the items and give them a "fall and outdoorsy brand".
The tags were created in Design Space. I was thrilled to be able to use a website that created palettes for me and offered hex codes for each color. By having the code, I could change the color of the tags to fit my theme! There are tons of websites for doing this. I used this one: http://www.color-hex.com/color-palettes/ .
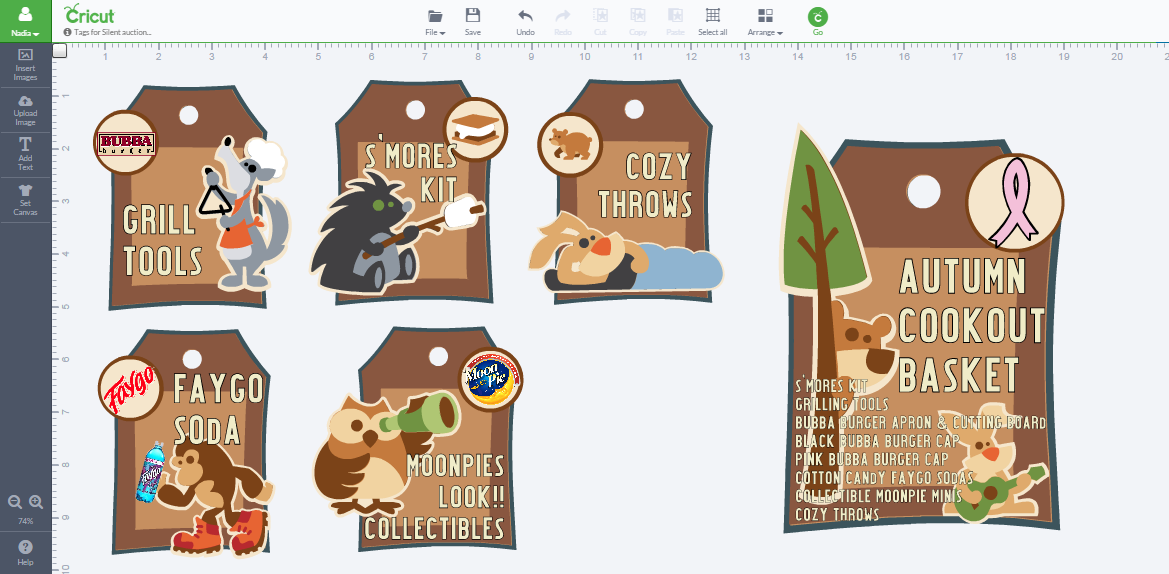
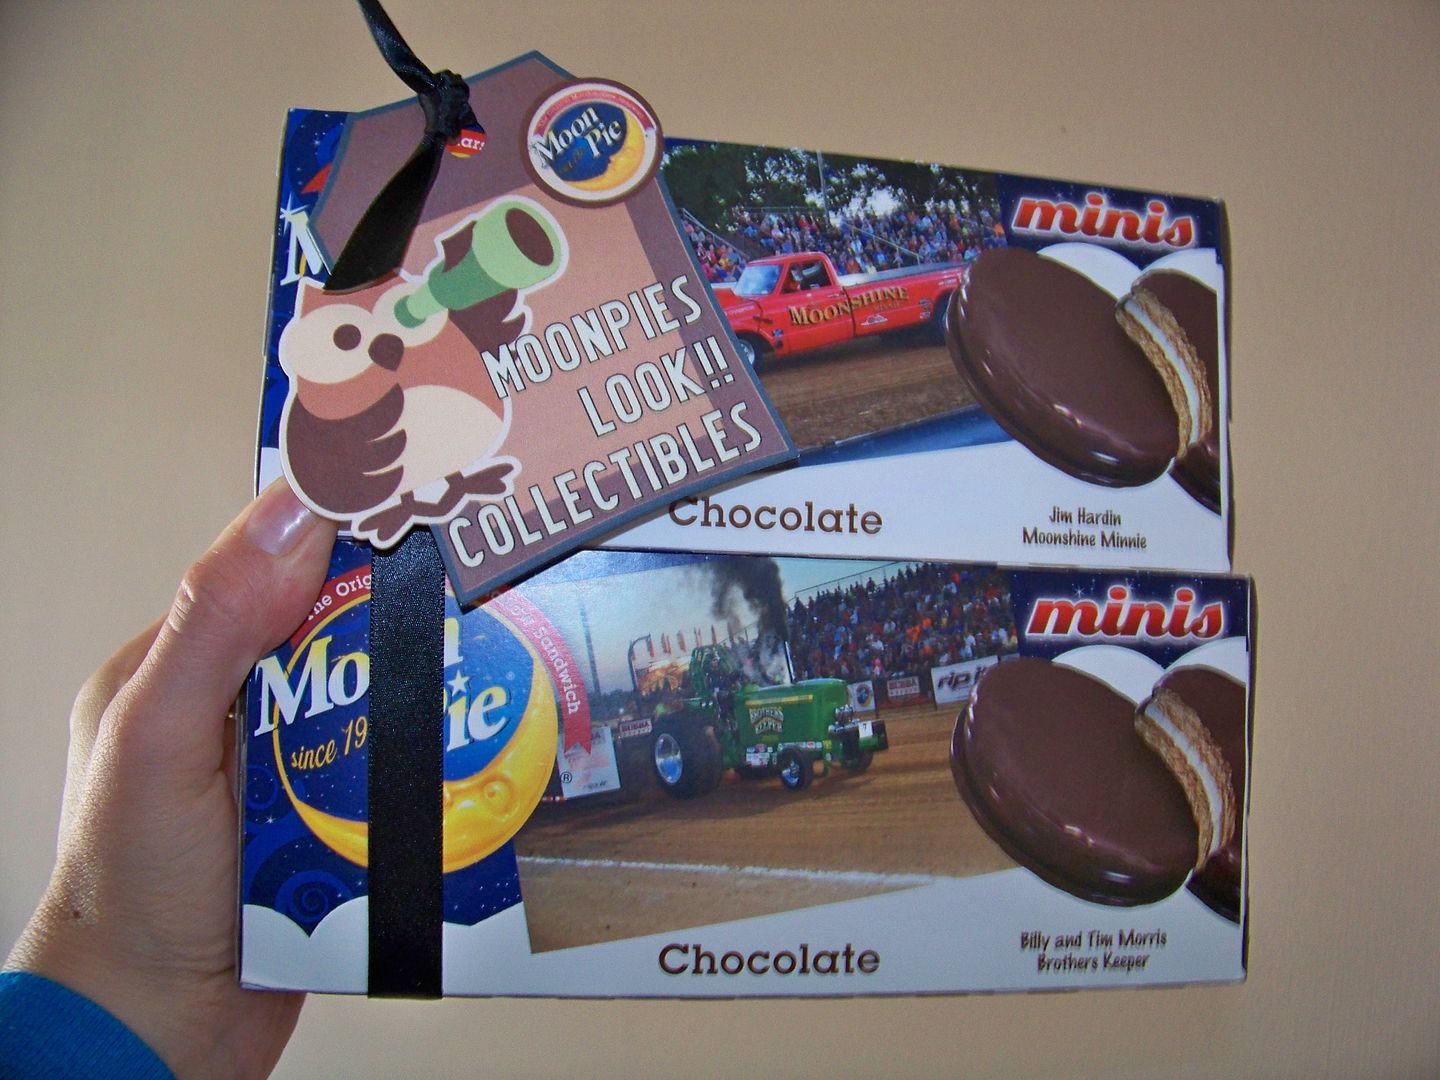
I used the artwork from Campin Critters. The ribbon image was from Pink Journey. I was able to use the animal characters and badges from the cart, changing the badges to include imported logos that I created from PNGs. Because I could insert a circle from one of my images and change the color to match the other badges, I was able to make my own custom badges that matched the others in size and color. I loved using RGB color codes with my Imagine so getting to use hex codes with Design Space felt familiar and freeing! And getting to combine imported images to personalize something along with the ease of using Cricut artwork made this such an easy project to do! What made this extra simple though was the fantastic Cut Then Print feature, which eliminated any need to piece die cuts. Not only was I able to customize the colors, but I was able to have the image flatten and print. Then the Explore simply cut around the outer perimeter for me.
Now, I will say that this was not a fast project... and not because I couldn't figure it out or had trouble searching for something or was slow at making decisions. No... it was slow to use Design Space. Each step required a bit of waiting with the worst of it being the insertion of text. As you can see, I used a lot of text.
My font is from the Southwest cartridge. That's a cart I don't own but I bought this font because it was the closest to a system font I wanted to use, and system fonts sometimes don't save (for some reason on some fonts which you aren't warned about ahead of time). At these unpredictable times, DS can't "find" the font and it replaces it. Since this was an important project that I knew I would want to save for future reference, I chose instead to use a Cricut font. I do look for these issues to be corrected with future Design Space updates. I mention it here for full disclosure in the event that you are planning a similar project!
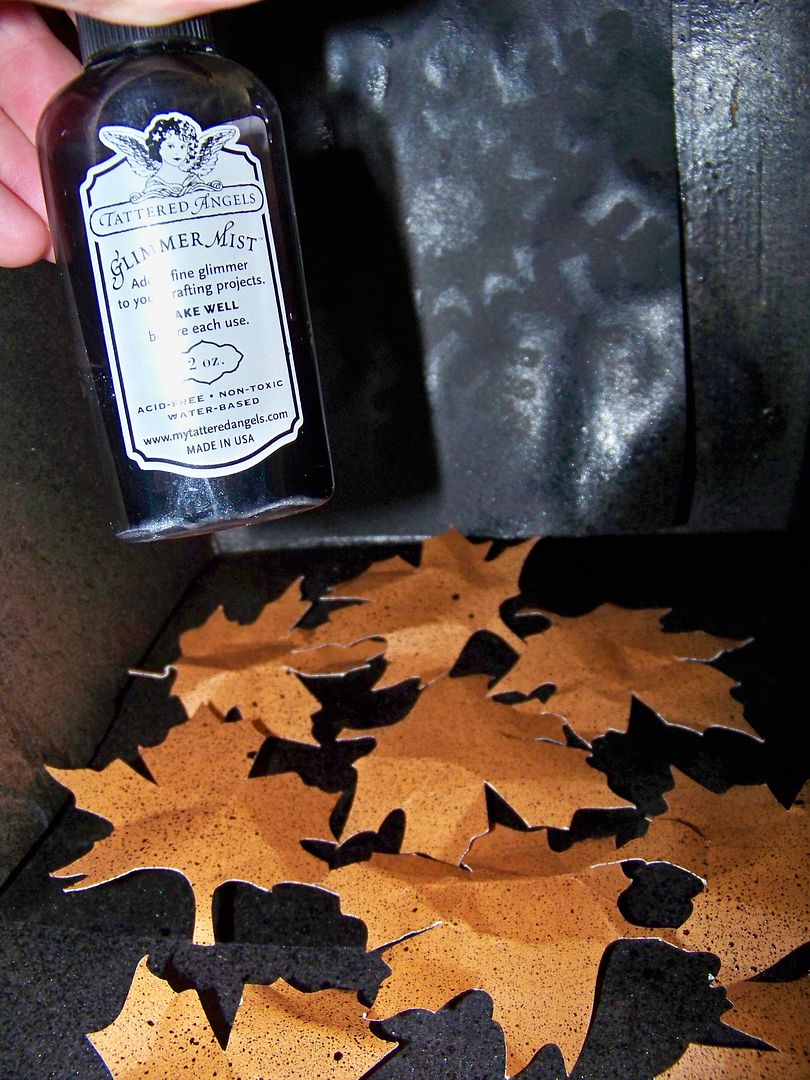
I used dacron to raise certain elements in the basket and natural colored shred to hide the dacron and add to the fall coloring. To bring more fall colors in, I cut a ton of leaves from Designer's Calendar, crushing then spritzing them with black ink.
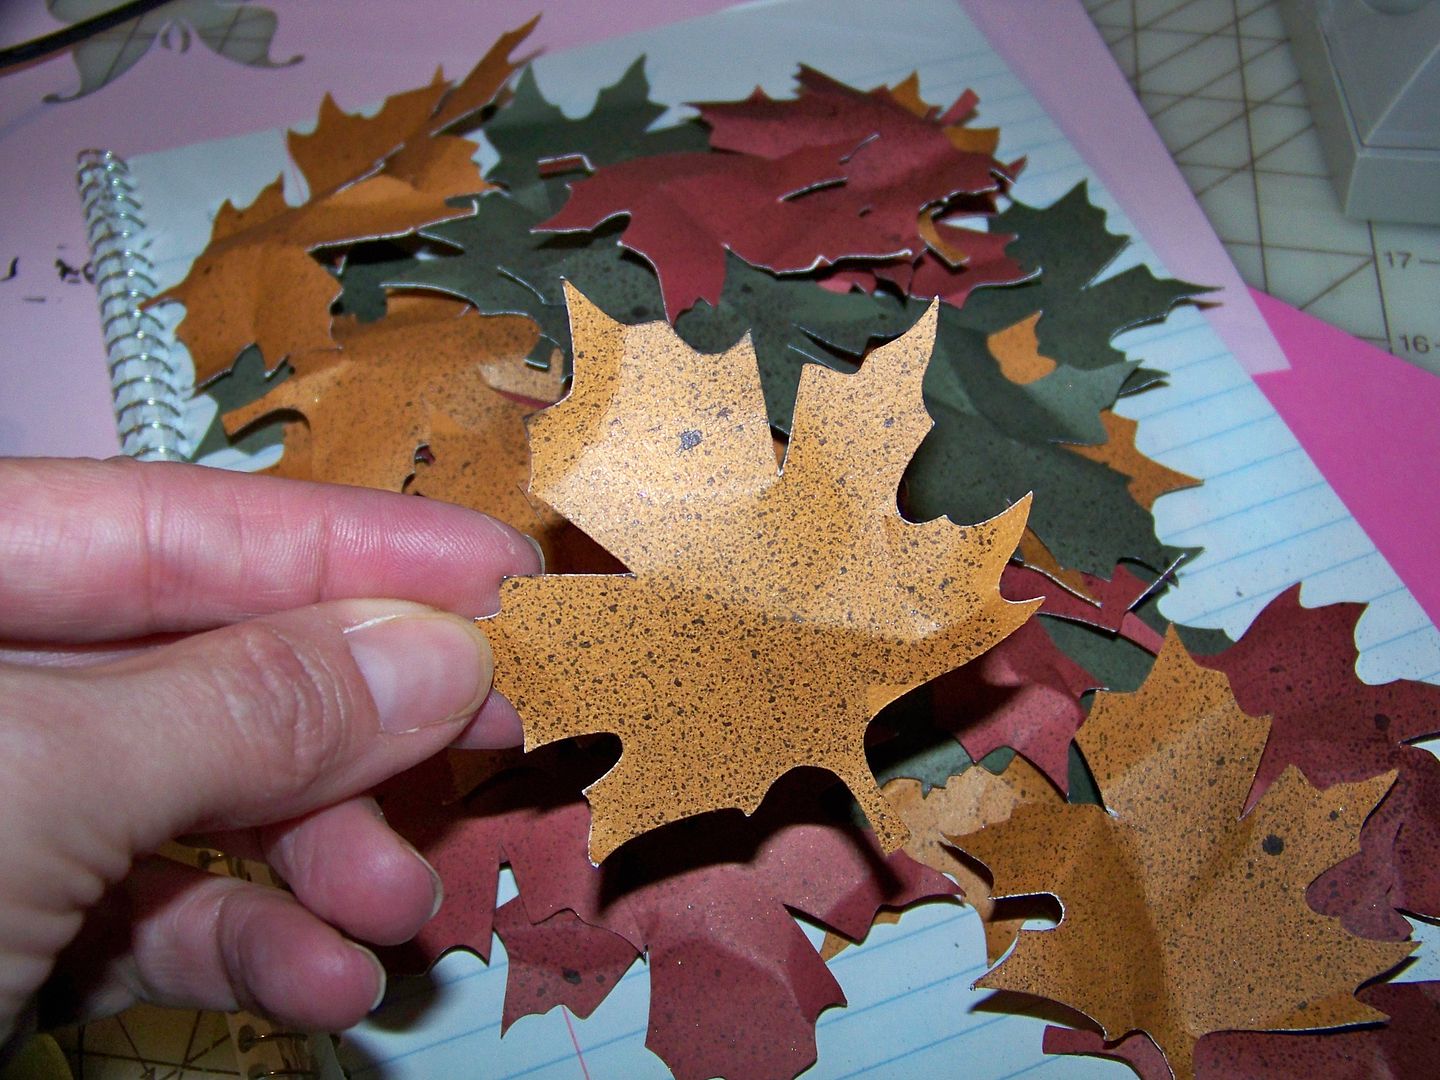
I added them in and attached leaves to some of the items.
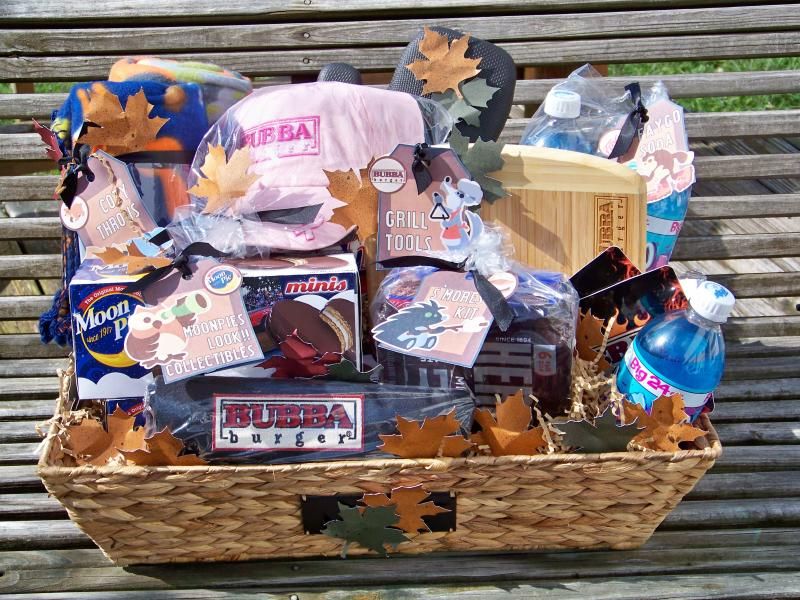
And once I added heat shrink wrap, and the large outside tag, my basket was ready to donate. The heated wrap, if you are not familiar with it, uses the heat of a hair dryer to shrink it down tight around the object it covers. This holds all the basket items in place and keeps those leaves from floating away as well. At this outdoor fundraiser, it is a must! I found it in a roll at Michael's crafts.
Hopefully the guys will bid on it!

No comments:
Post a Comment