Tuesday, August 2, 2011

Blue Skies! (Gifts and Ice Cream too)


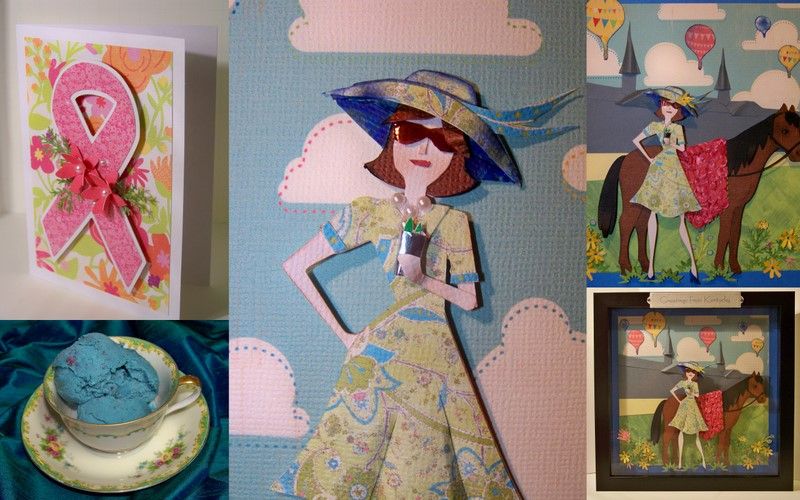
I like making gifts!  I wanted to share a few gifts I have recently created for friends and family:  a shadow-box vignette, homemade ice cream, and a card.

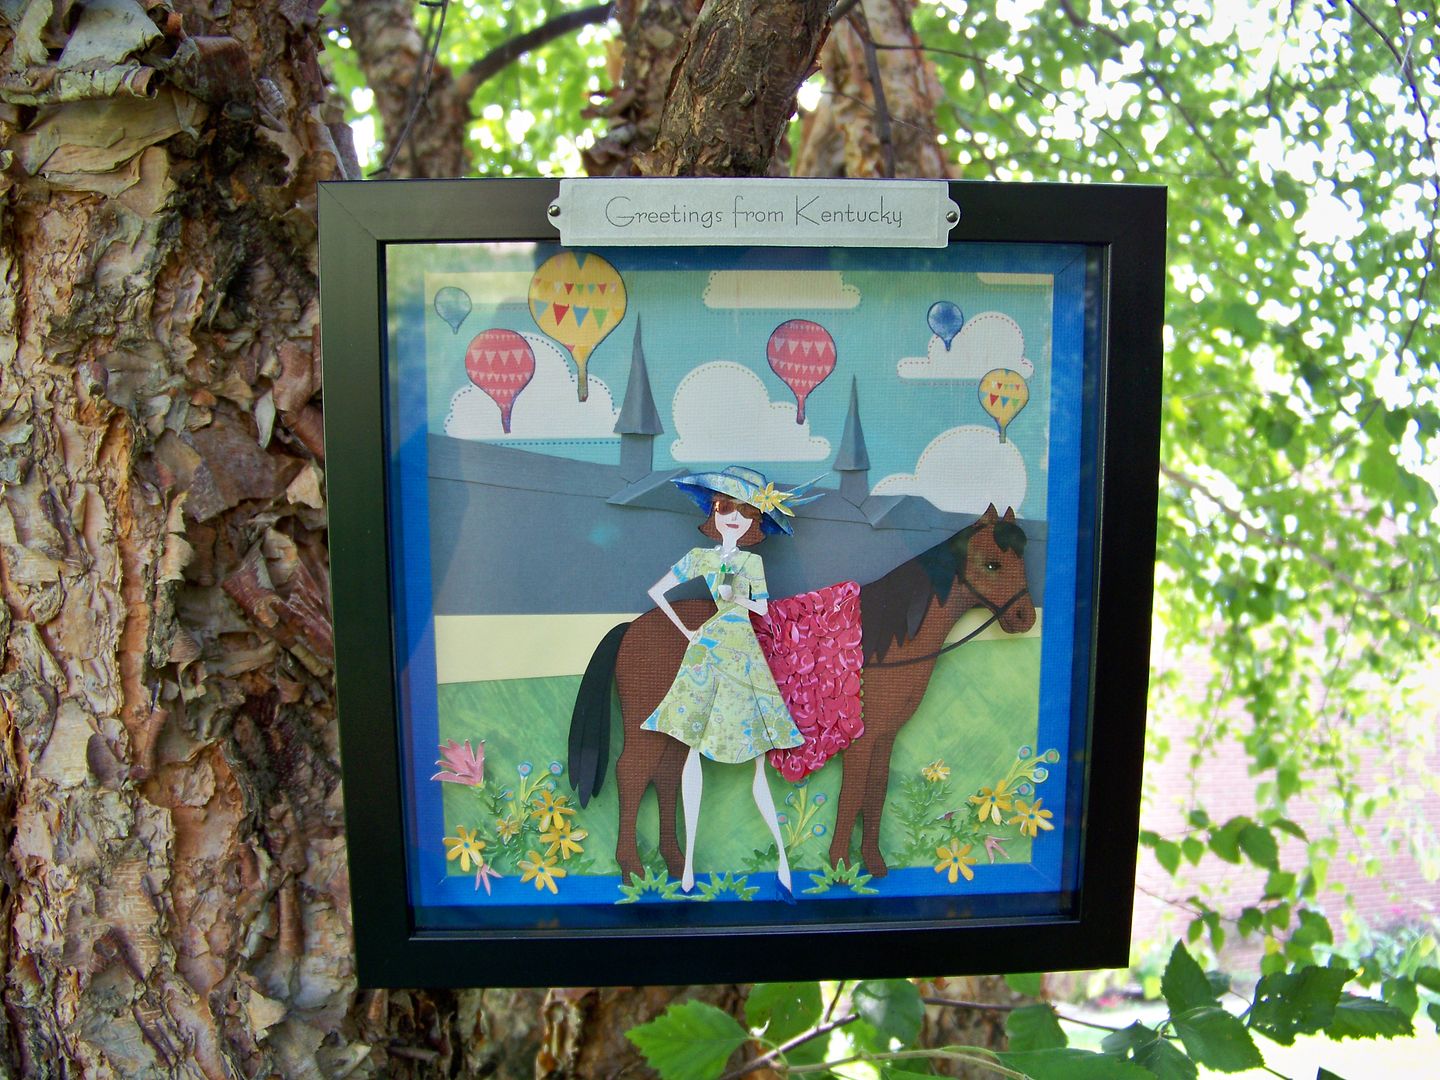
The first gift is a shadow box that I created inspired by a pennant I made for a crop.  You can see the pennant from a previous post by clicking here
Yep, I hung it in a river birch to photograph it!
I learned so much from making the pennant, but I wished that I had created a forward-facing figure.  For this gift, I did.


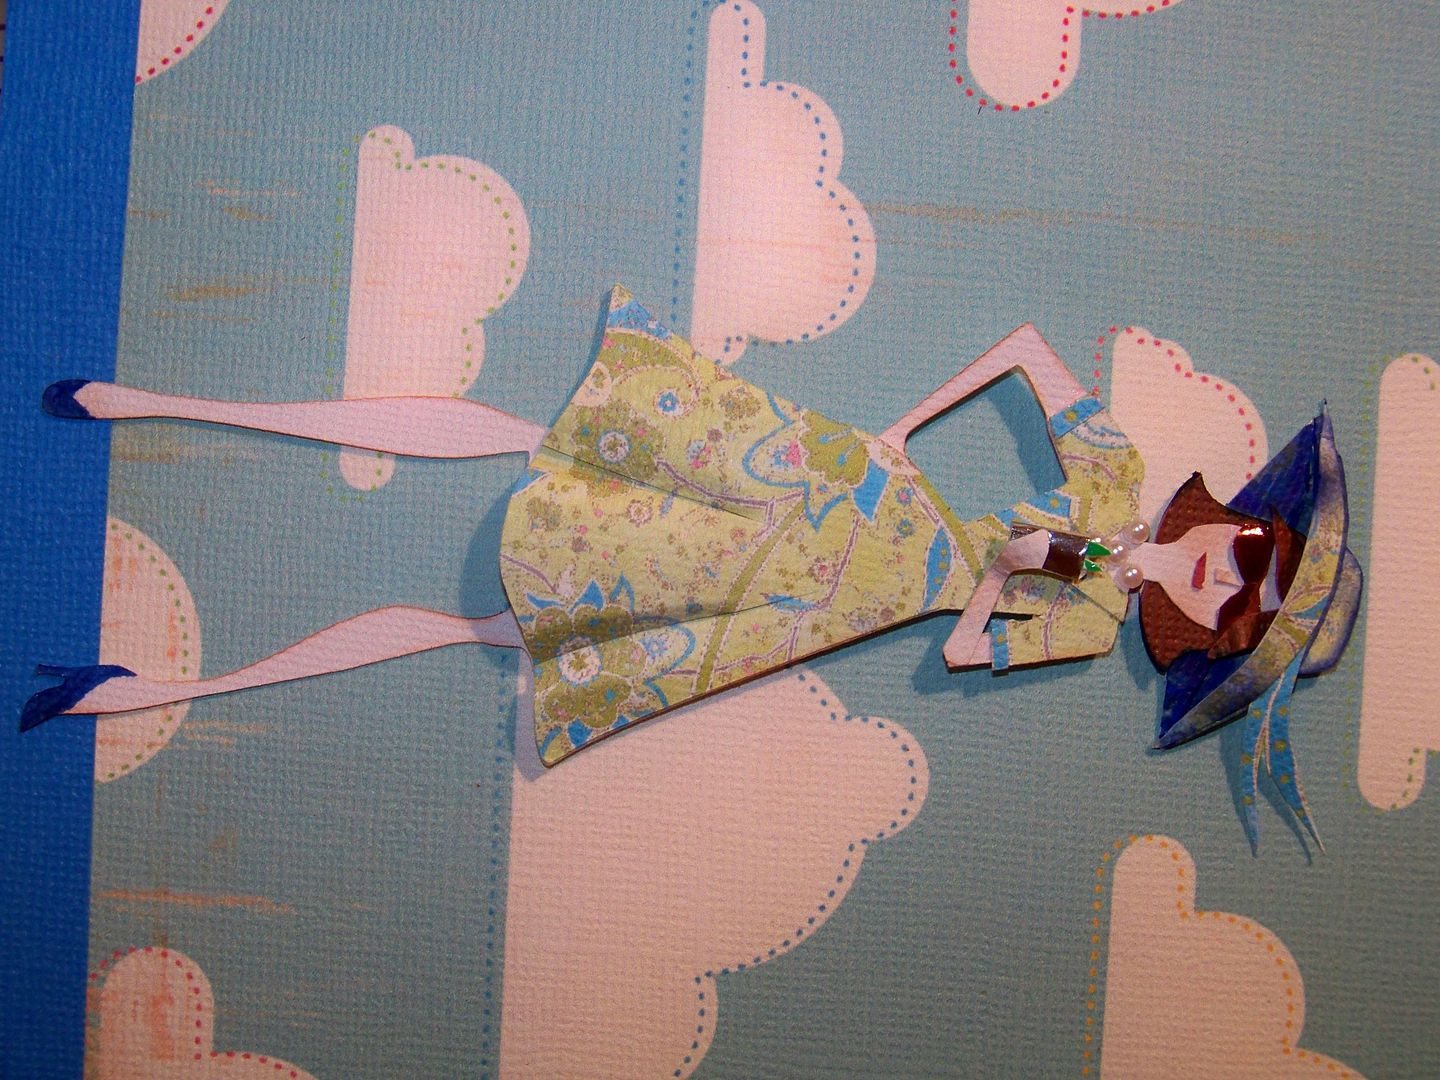
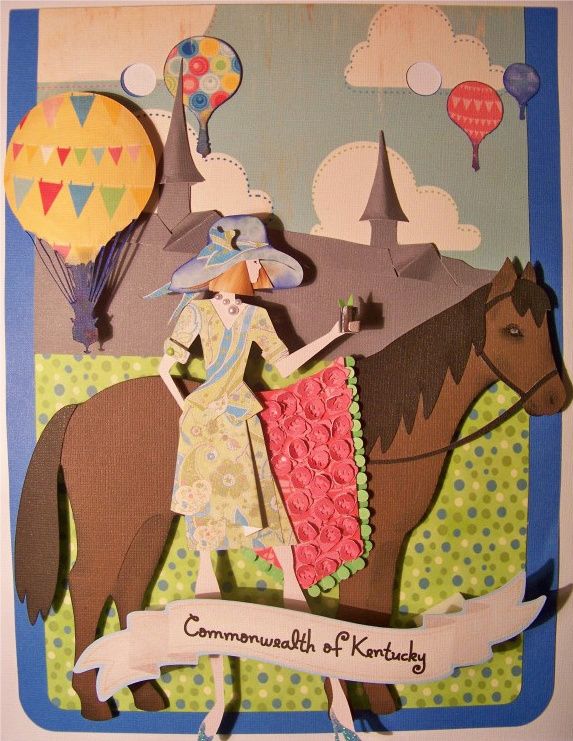
I cut the figure from Forever Young, cut at 5" on the Imagine, adding a face, hairstyle, sunglasses, and changing up the dress a bit.  The dimension in the skirt came from cutting two dresses.  Using only the skirt on one, cutting and bending at the drapes.


I hand-cut her hat to accomodate her new posture.  I hand-cut her nose, mouth, and sunglasses.  She is lightly inked; her hat is heavily inked.  I cut off her arm at the elbow and extended the cut into her leg to allow for a hand (since the body would be covered by her dress).  I shifted the arm into position and glued it back at the elbow.  This allows for the bend in the elbow and a curve in her hand to 'hold' her drink.  You can find details on the mint julep cup in the original pennant post.


The horse, balloons, and Churchill Downs cuts are sized down from the original pennant.  (The spires for Churchill Downs were much trickier on this smaller version because the smaller paper cuts were much harder bend!!)  This time, the horse is 4-1/2" from Old West.  The balloons are .7", 1", 1.3", and 1.8" from Summer in Paris.  The flowers on the original blanket of roses were open, in full bloom.  I wanted to have them tight in the bud, so I used a loop punch to change the way they look by cutting and layering them.


The flowers were hand-cut from printed bouquets on Enjoy the Seasons.  I cut them at 1.6" and 1".  I trimmed the parts I wanted, inked in green when necessary to hide the white that I couldn't cut away, and glued them to the branches.


I used a Martha Stewart sunburst edge punch to create tufts of grass at their feet.  I used the branch punch to give the flowers a way to have height. 
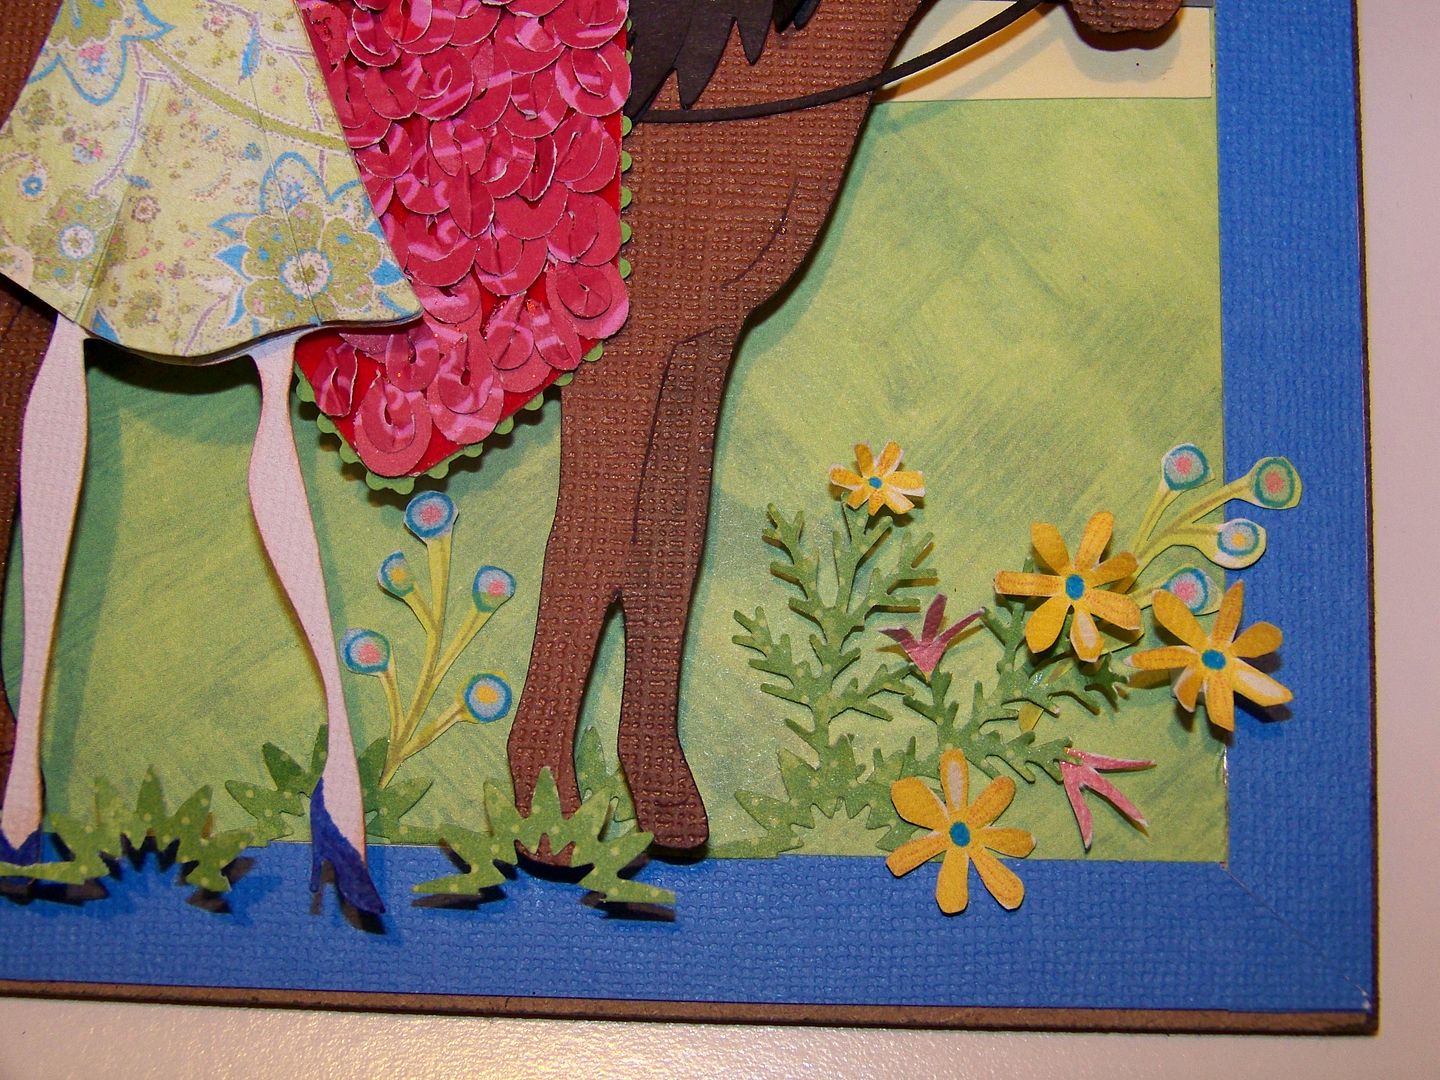
This is the finished vignette before going behind the glass:

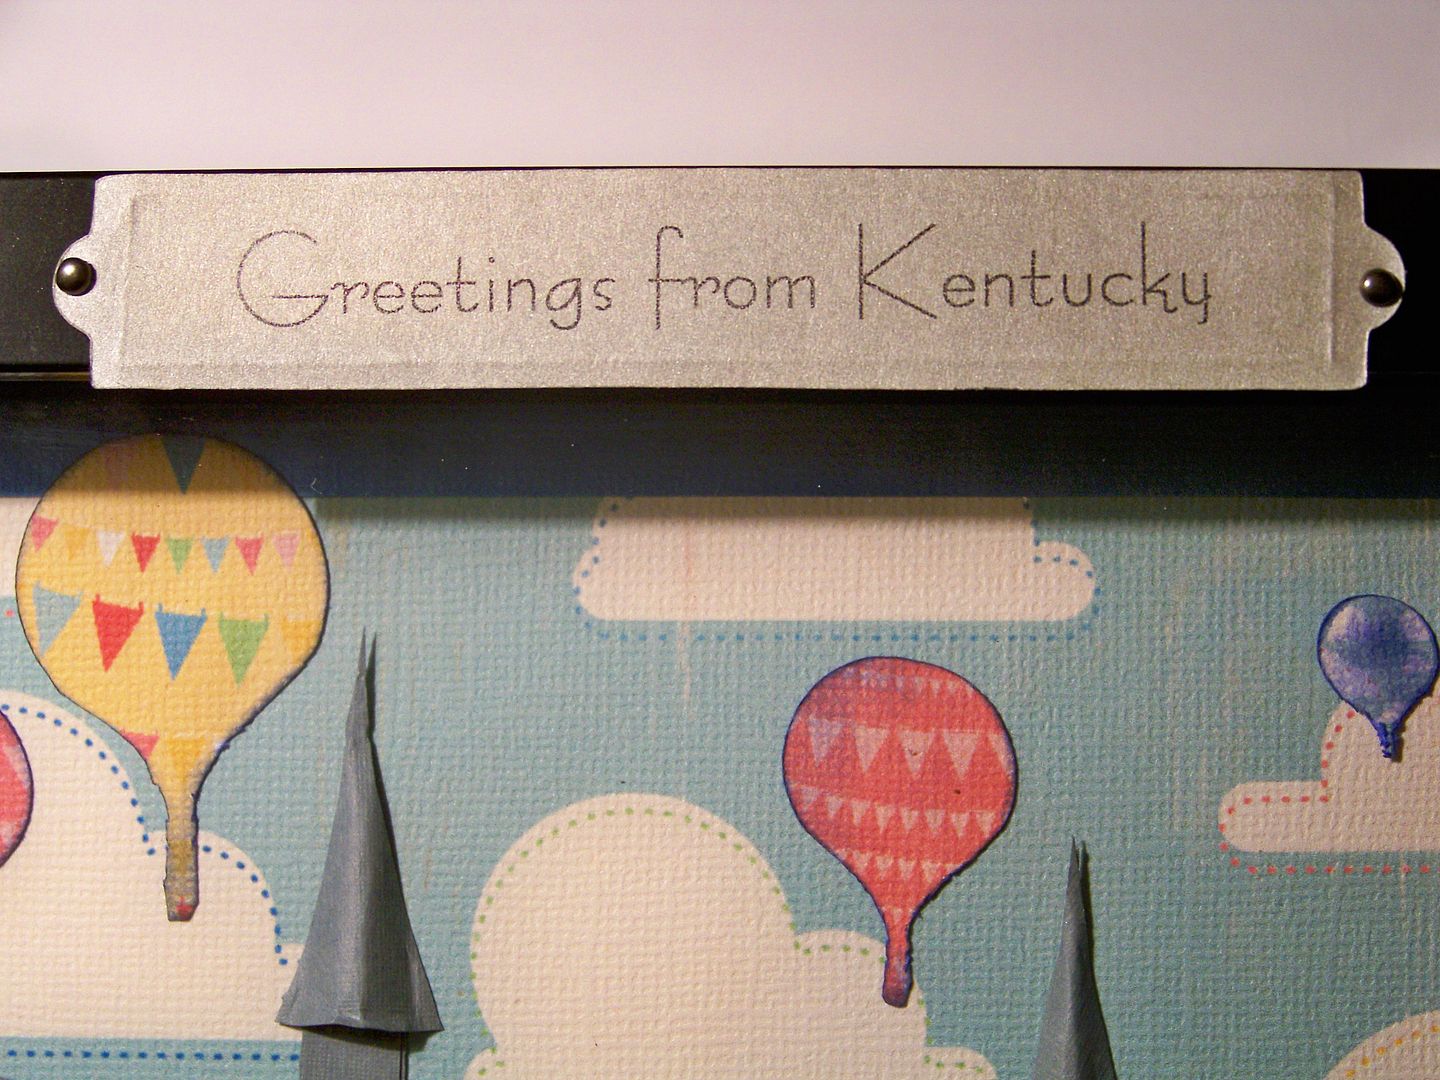
I found a black-frame 8"x8" shadow box and created a nameplate from Fabulous Finds (page 82, stretched), cut at .7".  I used a pen to draw a frame on the back while the nameplate was on a flower-making mat to emboss it lightly with a rectangle.


I flipped it over and ran it through the computer printer to add my text using Bernhart Fashion BT font at 24 point.    I added mini brads, bent as close as possible before being glued to the frame with plastic adhesive.


My next gift was ice cream!

I had never made ice cream with my daughter.  I surprised myself when I realized that!  As a child, I used to make ice cream all throughout the summer with my grandparents using their old hand-crank ice cream maker.  My strawberry ice cream was a hit when I presented it as my final chemistry project in high school.  I have been making ice cream for years, but for some reason, not this past seven!  I use a digital, automatic model now:  no hand-cranking, no ice, no rock salt... it does still taste good, but I am not sure how that can be. 
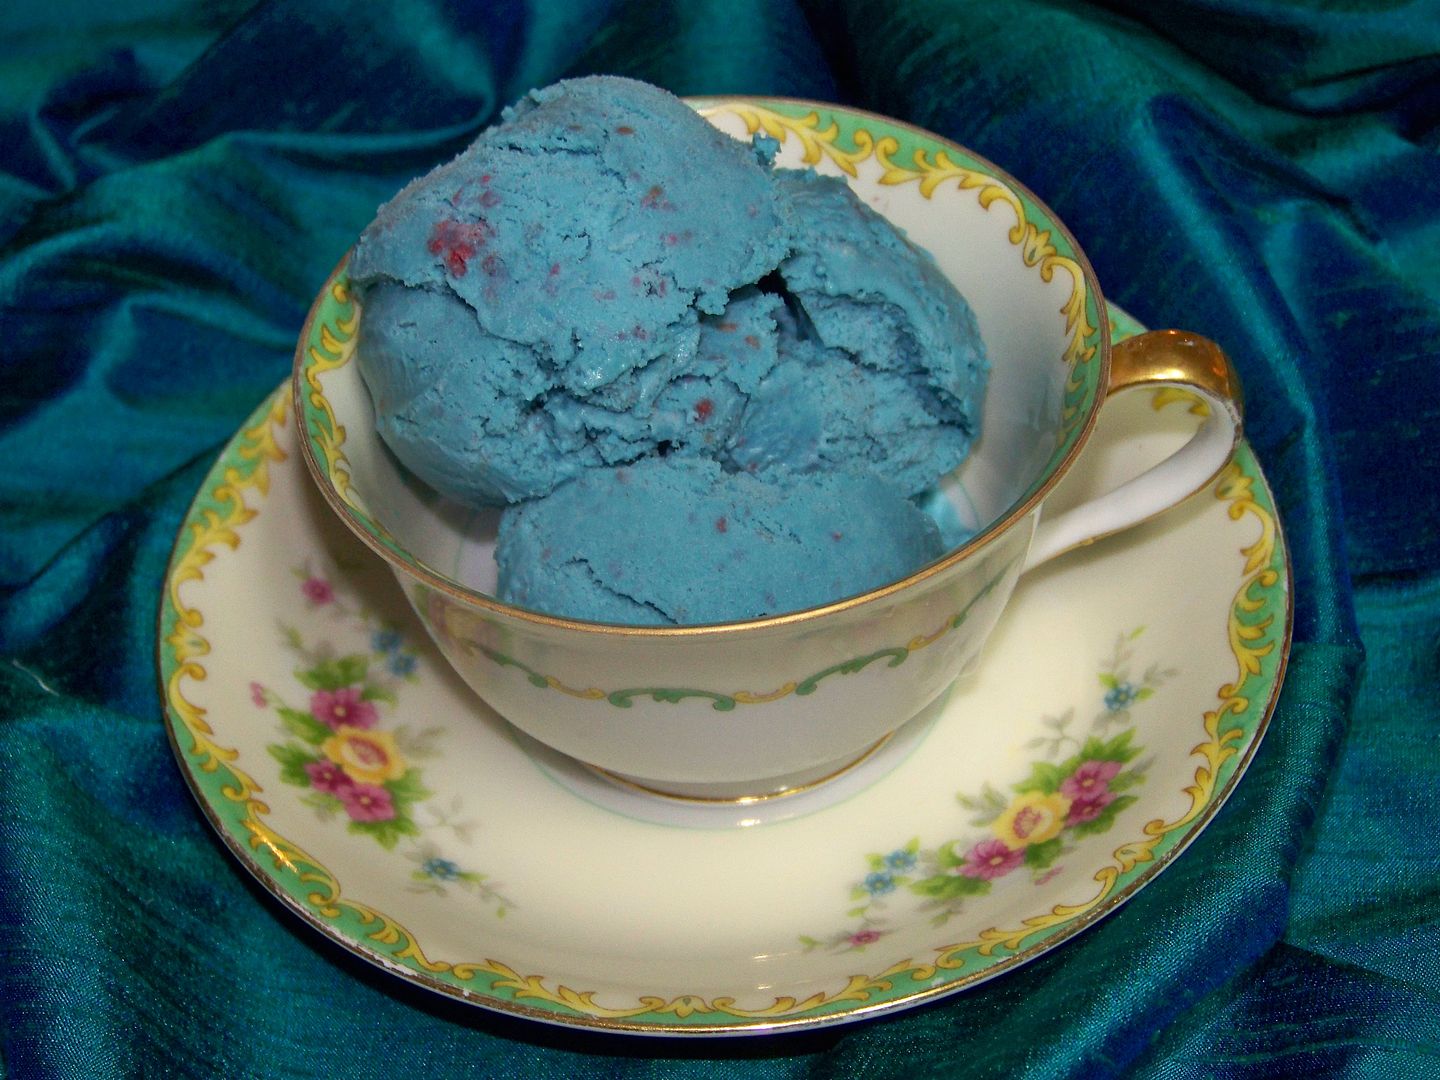

Piper's favorite flavor is blue raspberry, so we made a batch to take to my in-laws for a little 'cheer up' kind of gift to share.  The secret to this is using semi-frozen berries so that you don't have to chill the mixture and lots of blue food coloring, adding until it goes from purple to smurfy blue.

Piper's Blue Raspberry Ice Cream
(for a printer-friendly version, click here)
2 cups heavy cream
1 cup whole milk
1 cup sugar
4 oz eggs (this is 3 eggs for me)
1 teapspoon vanilla
1 cup raspberry puree (I use semi-frozen berries in a food processor)
blue food coloring (I use the liquid kind at the grocery)

Combine eggs, sugar, and vanilla.  Beat well.  Beat in raspberry puree.  Add cream and milk.  Beat well.  Add food coloring until you get the desired color- it will take a lot to overcome the pink from the berries!  (If you use fresh or thawed berries, you will need to chill thoroughly at this point!)  Follow the instructions on your ice cream machine for 1-1/2 quart recipe.  Once it is at the soft-serve stage, remove from machine and place in container for full freezing to get nice and hard.

Last, I made a card for a message board friend recovering from surgery.  This was part of a weekend challenge in her honor. 
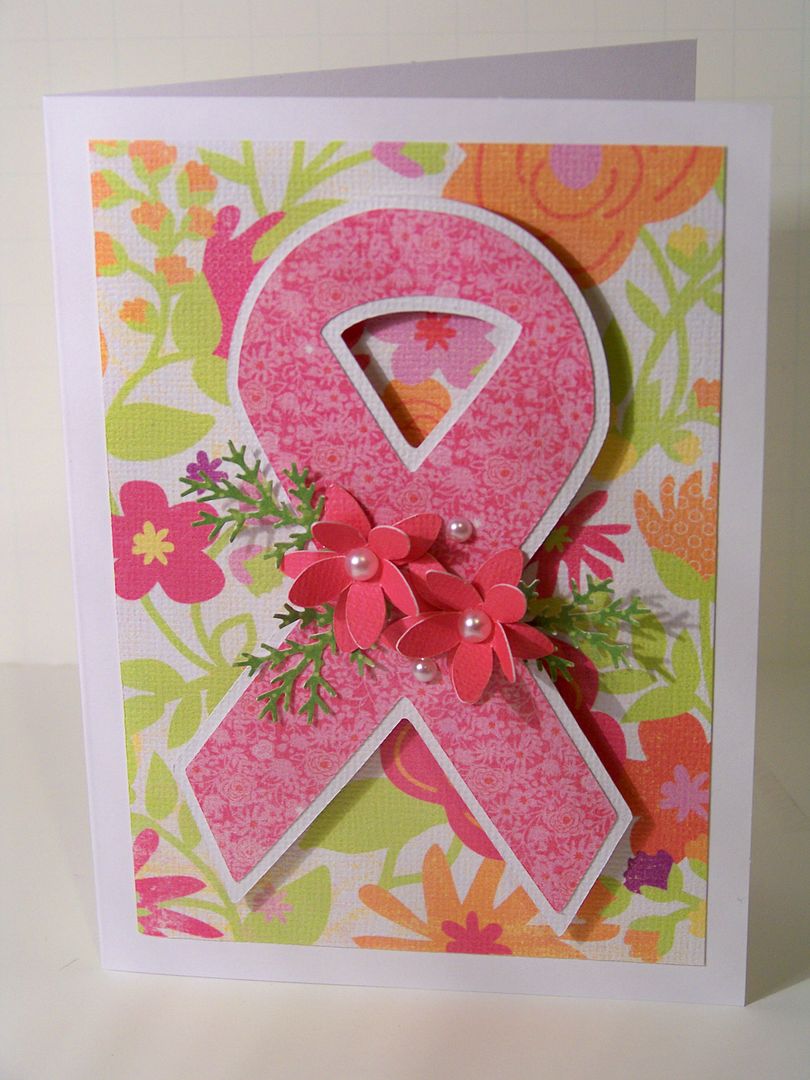

This is a simple card, using Stand and Salute, cut at 4.3" on the Imagine, with shadow.  The floral papers are from the Berries and Cream Imagine cartridge.  I cut a 5.7" square to floodfill with the large print in order to cut it down to size for my card.  The flowers are from Mother's Day Bouquet , cut at 1" and layered.  The greenery was made using the Martha Stewart branch punch.

Thank you for visiting my blog!  Don't you just love to make gifts... and hand-made or homemade gifts are my favorite to receive as well.  They just make me feel like blue skies and green lights!

Monday, August 1, 2011

Shrinky Dink Charms on the Imagine!

Ready for a Christmas project?  Well I am not ahead of the game; I am being prompted by a Christmas Charm swap.

I have wanted to try Shrinky Dinks on my Imagine since before I even owned one.  I have only played briefly in the past with Shrinky Dinks -- using my Expression.  You can see the charms I made for little girls by clicking here from a previous post on this blog. 

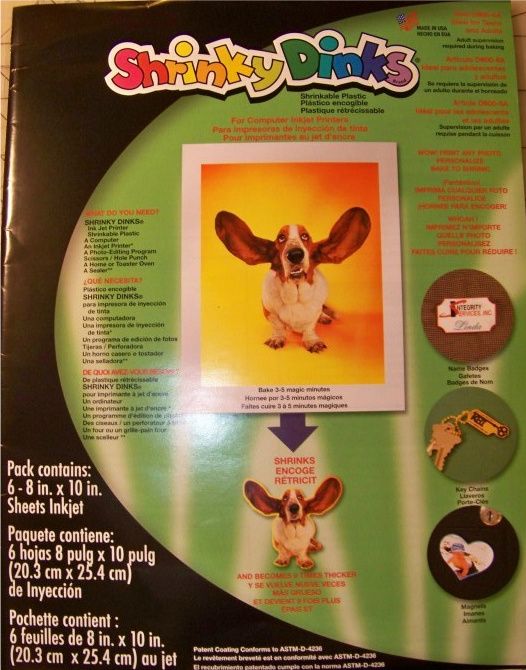
I had to make 26 charms and I chose the Imagine Snow Angel cartridge for my design.  Using a layer from the ornament on page 27, I printed it and cut it at 2.7" true size on Shrinky Dink brand film made for inkjet printers.  (Autofill allows for 6 per sheet). 


I found that my Imagine cut this differently than did my Expression (plus I used a different brand on my previous project!).  As I am finding for most projects, I like a barely sticky mat and a sharp blade.  (Use Scotch Magic tape to tape the corners of the material to the Imagine mat).  I used the following cut settings to cut the Shrinky Dink film on my Imagine: 
Blade - 6
Speed - 3
Pressure - 5
Multicut - 2

I punched the cuts with the 1/8" hole with my Crop-a-dile Big Bite.  I wanted a hole that would just allow for the jump ring. 
You can set your printing to 'draft' to get a lighter result, but I did not do this, leaving it instead at 'best quality'.  I liked the more intense coloring!

The baked (shrunken) charm is on the left.  You can compare that to the pre-baked die cut on the right.  Baking changes not just size and color, but also the shape.  My finished charms were not symetrical and not round.  I like this-- it looks like something created --not manufactured!  Since I was using a printed scene, this was a bonus to me!  Yay for happy accidents!

The Shrinky Dink package called for preheating the oven to 300 degrees.  I placed my die cut shrink film on a parchment paper-covered cookie sheet. 

I had to bake my shapes for much longer than the 3-5 minutes noted on the directions; I baked them for 6 minutes (using a timer to keep me reminded of them), then checked on them and baked for 3 minutes more.  Some batches required a bit longer, up to 3 additional minutes!  They will buckle and curl, but you know when they are ready when they are small and mostly flat.  (I kept the oven light on so I could look at them through the door to check on their progress).  I used my oven-mit-covered hand to lightly press down the centers of finished ones, while still in the oven, to make sure they were perfectly flat.
Imagine ink is not waterproof and I wanted to seal them, not knowing their end use.  (The ink will run when it comes in contact with sweat or water).  I have been told that you can use a spray sealant to prevent this (like Krylon or Plaid), but I wanted to try using embossing powder.
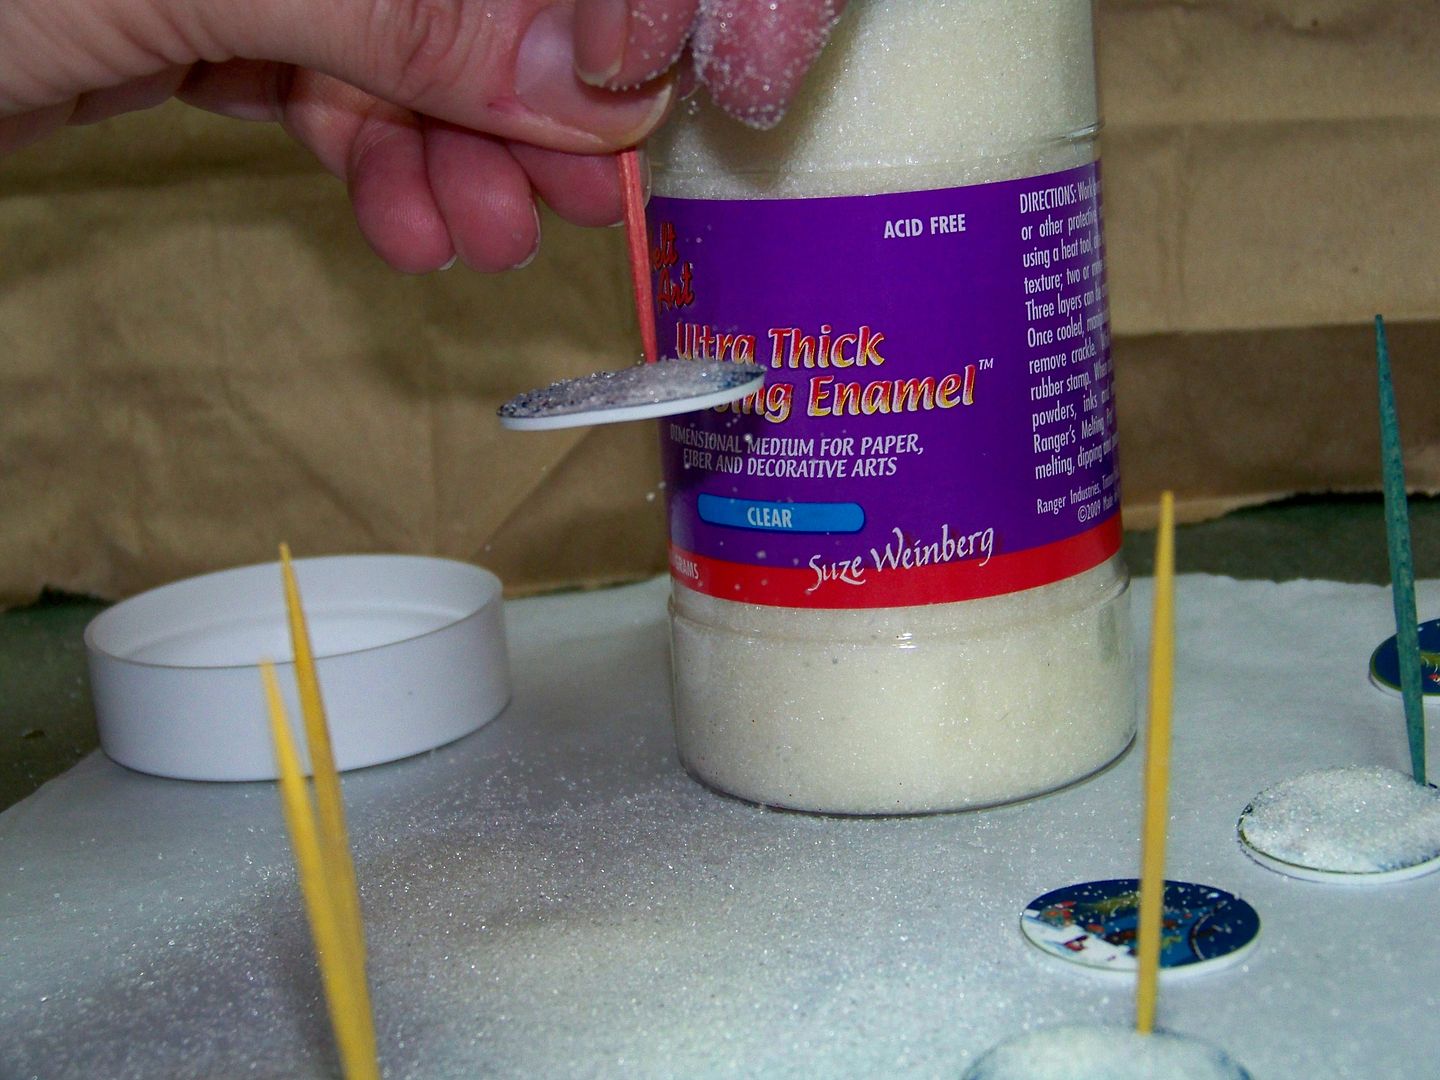
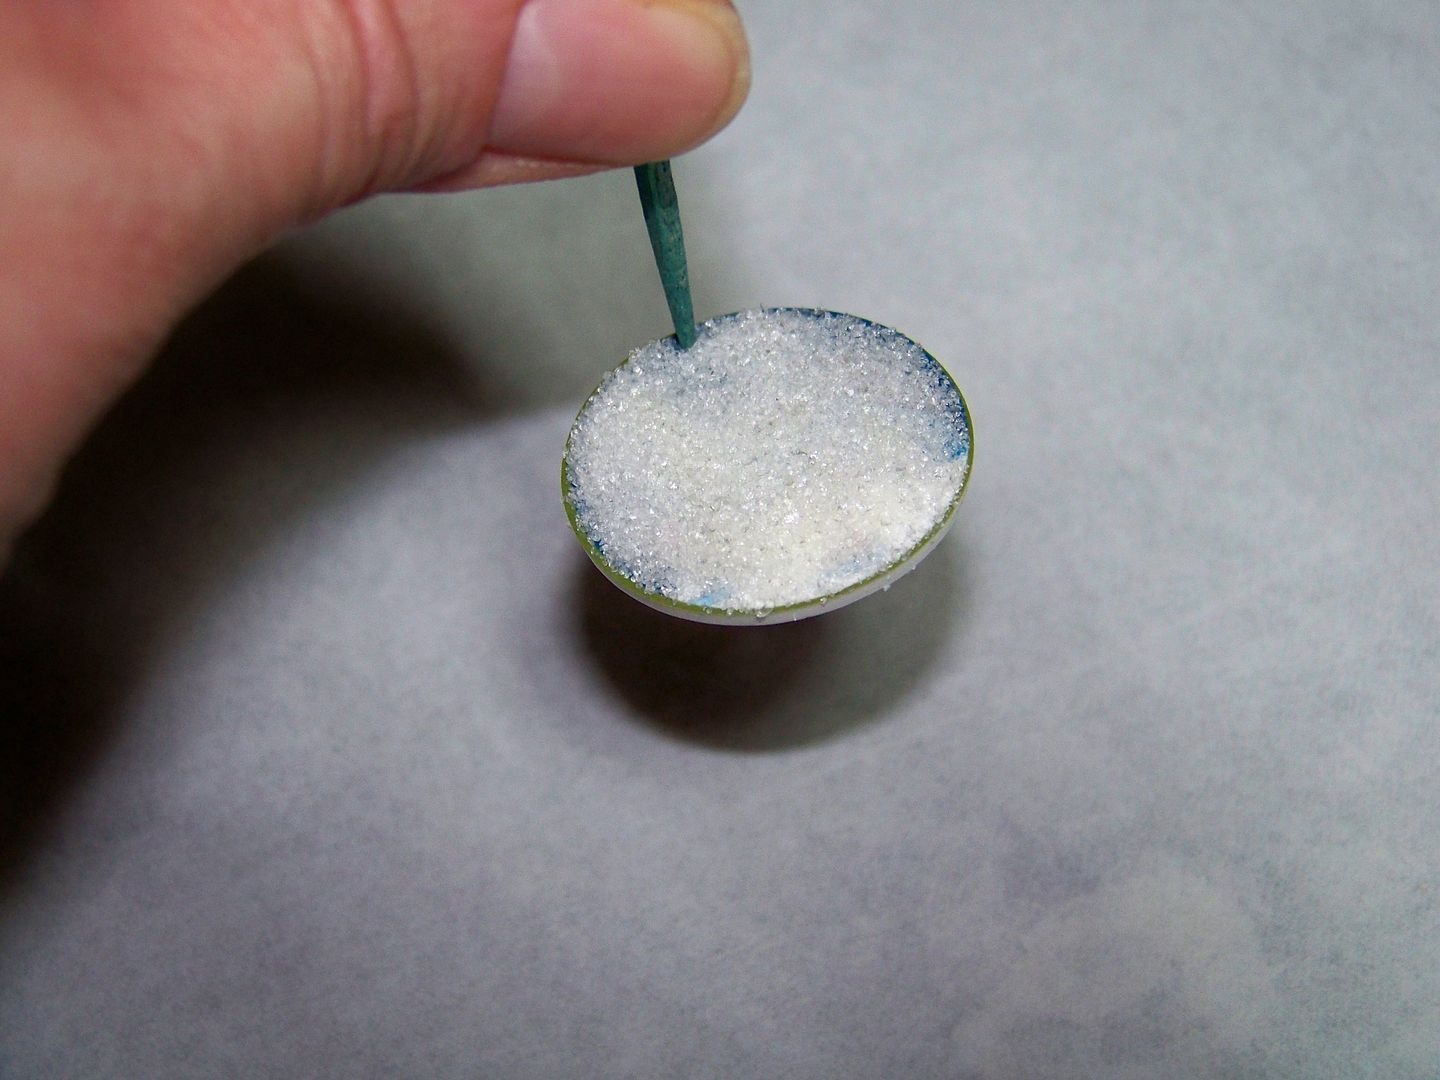
Because you cannot wet the surface of the charms, the Extra Thick Embossing Enamel that I was using flew everywhere when I tried to shoot it with a heat gun so I ended up popping them back in the oven.  I found that I could poke a round-tipped toothpick in the tiny hole of the charm and pile on a layer of the UTEE powder.  The toothpick served as a handle and kept the hole from getting clogged. 


I removed the toothpicks and  placed them back in the oven for 6 minutes (still at 300 degrees).

Once out of the oven but still hot, I moved them off of the parchment paper and onto a paper Chinette plate to cool.  (The charms come out of the oven with a gooey surface.  I accidentally flipped one upside down when removing it from the parchment paper.  This ruined the smooth, perfect surface.  To fix it, I simply placed it on a protected surface and used my heat gun to melt it again.  It smoothed itself out perfectly once again-- you can add more embossing powder or not.  I did this the next day so no worries.)


Glossy and so pretty!  I instantly knew that I would be re-visiting this technique to make sweater buttons this fall -- love the finish!

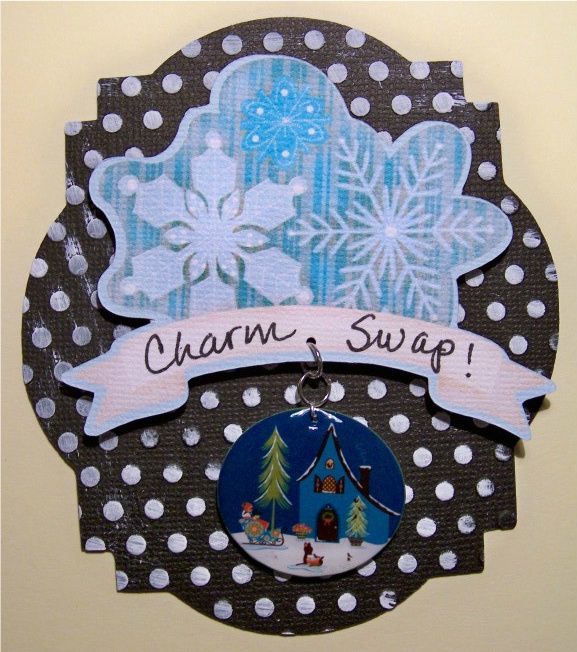
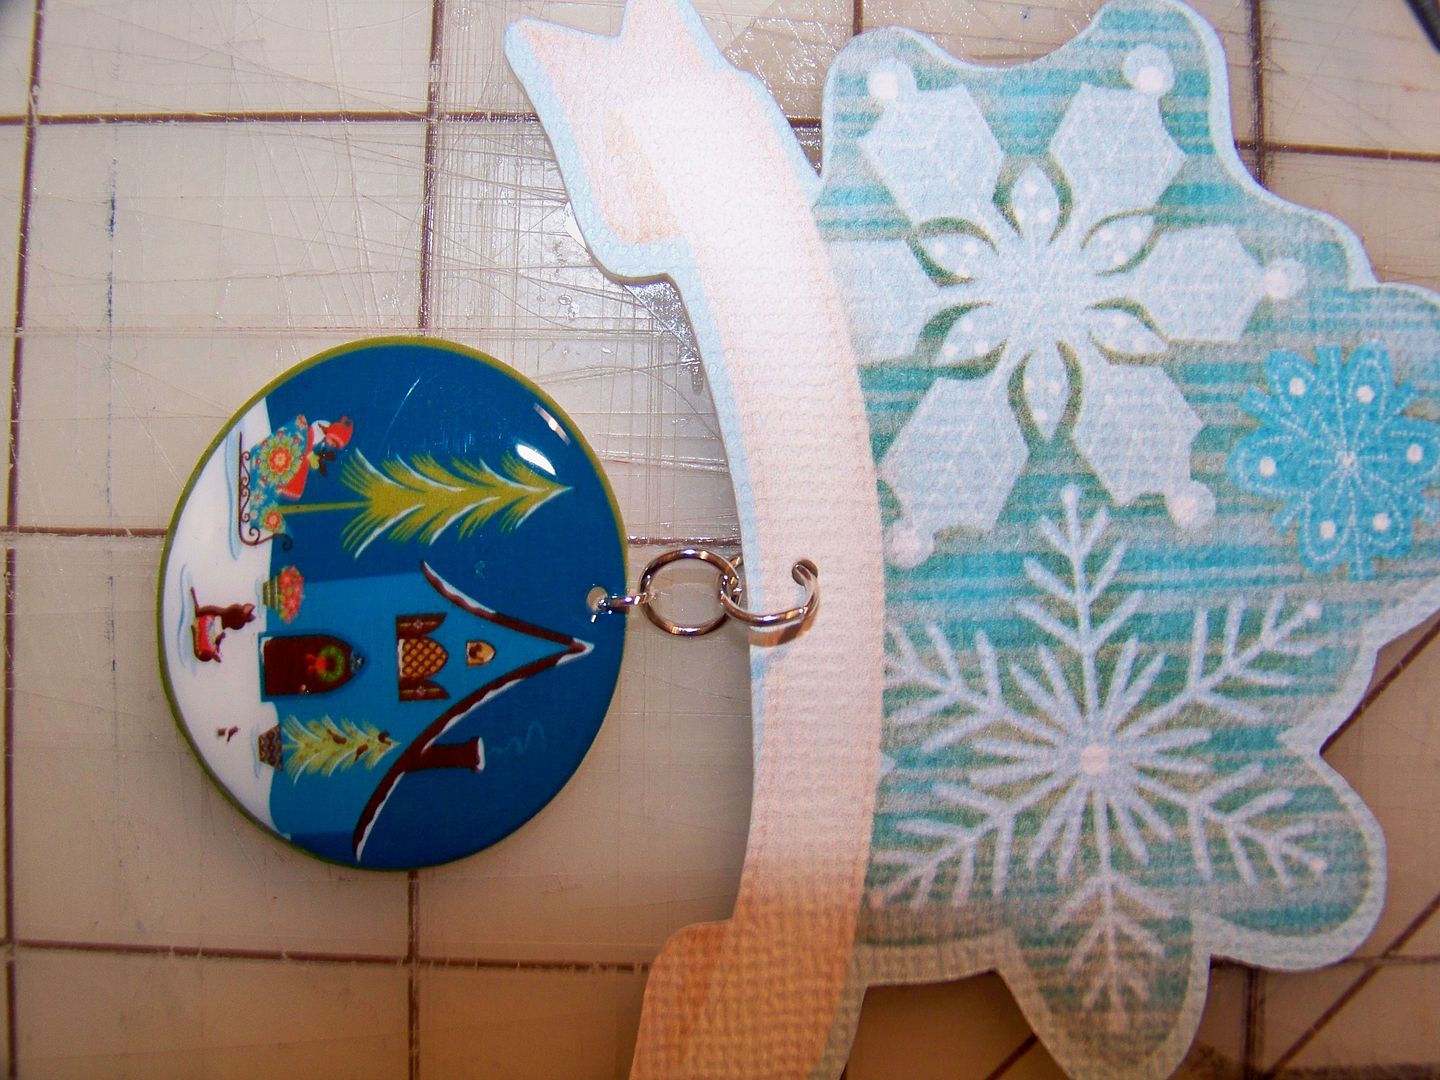
I used 4mm and 6mm jump rings on each and attached them to a snowflake banner cut from Enjoy the seasons cut and printed at relative size 2.4".  I reinforce the back of the banner with a foil sticker and then use the tiny Martha Stewart hole punch.


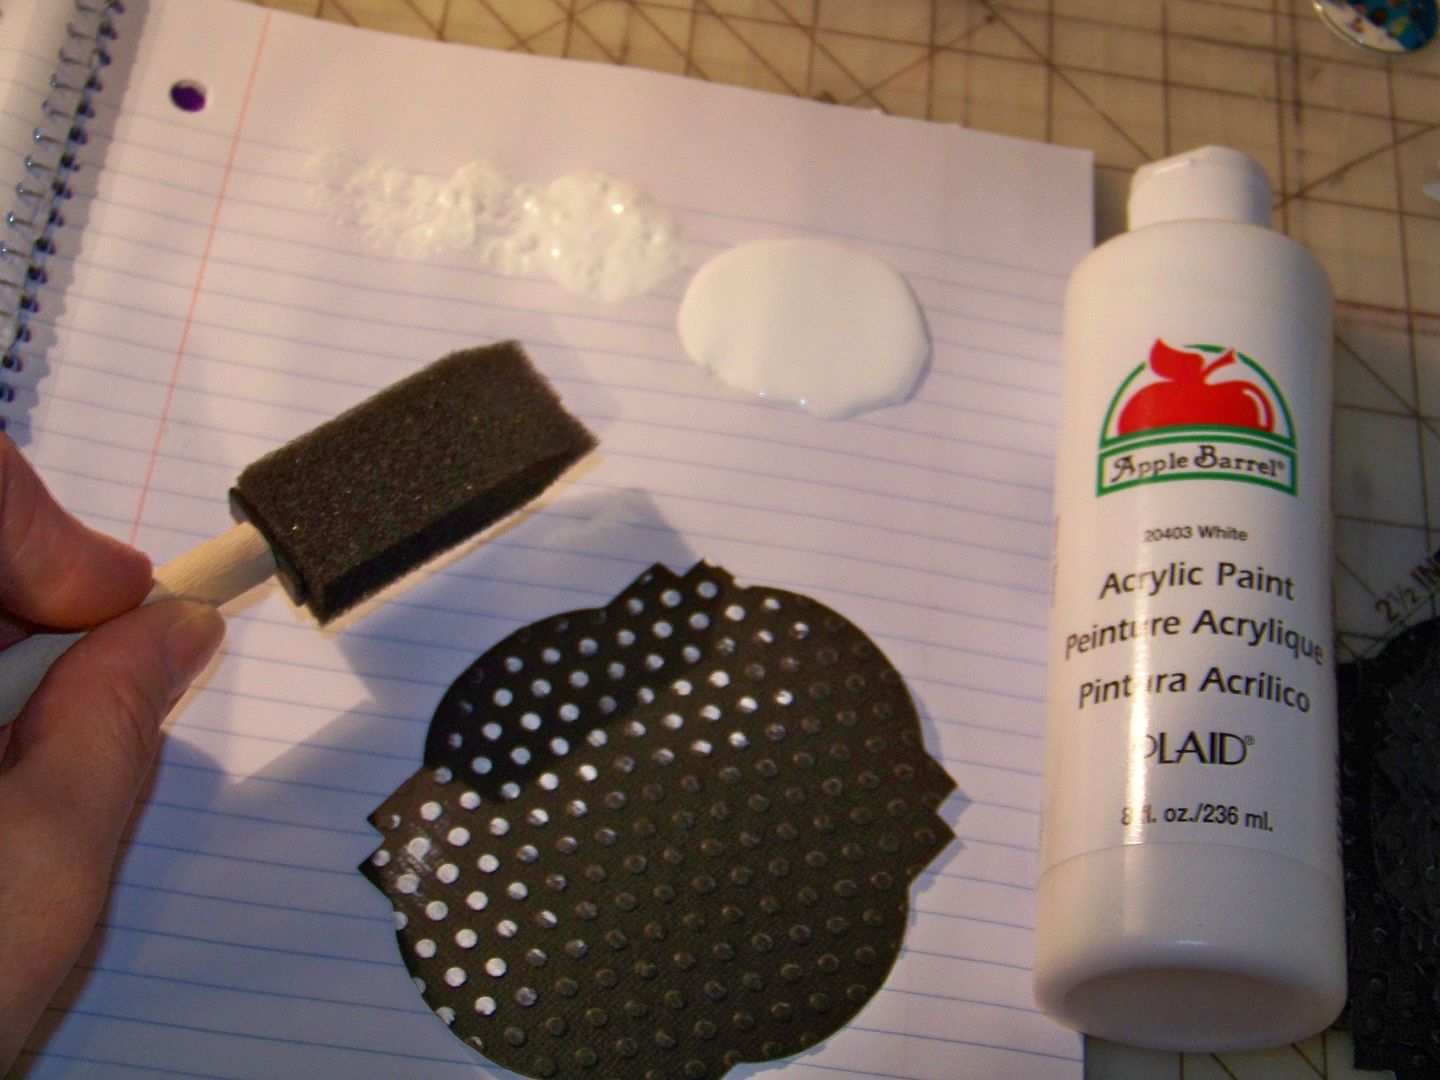
The card base is cut from Lacy Labels (#4) cut at 3.5" on the Imagine.  I used black card stock and then ran each through the Cuttlebug.  I used a dry sponge brush to apply white paint to the raised dots.  The snowflake banners with charms were attached to the cardstock base with pop dots.  I applied my calling card info to the back with double sided tape.

I packaged them in clear bags to protect the charms and they are ready to be mailed! 

Thank you for visiting my blog!  I love the potential of using Shrinky Dinks and the Cricut Imagine--- so many fun ideas coming to mind!

Saturday, July 30, 2011

The Resident Princess Chooses a Winner!

It is time to draw for the winner of the 3" Cricut Collectible!  While others like Random.org for their drawings,  I like doing it the old-fashioned way.

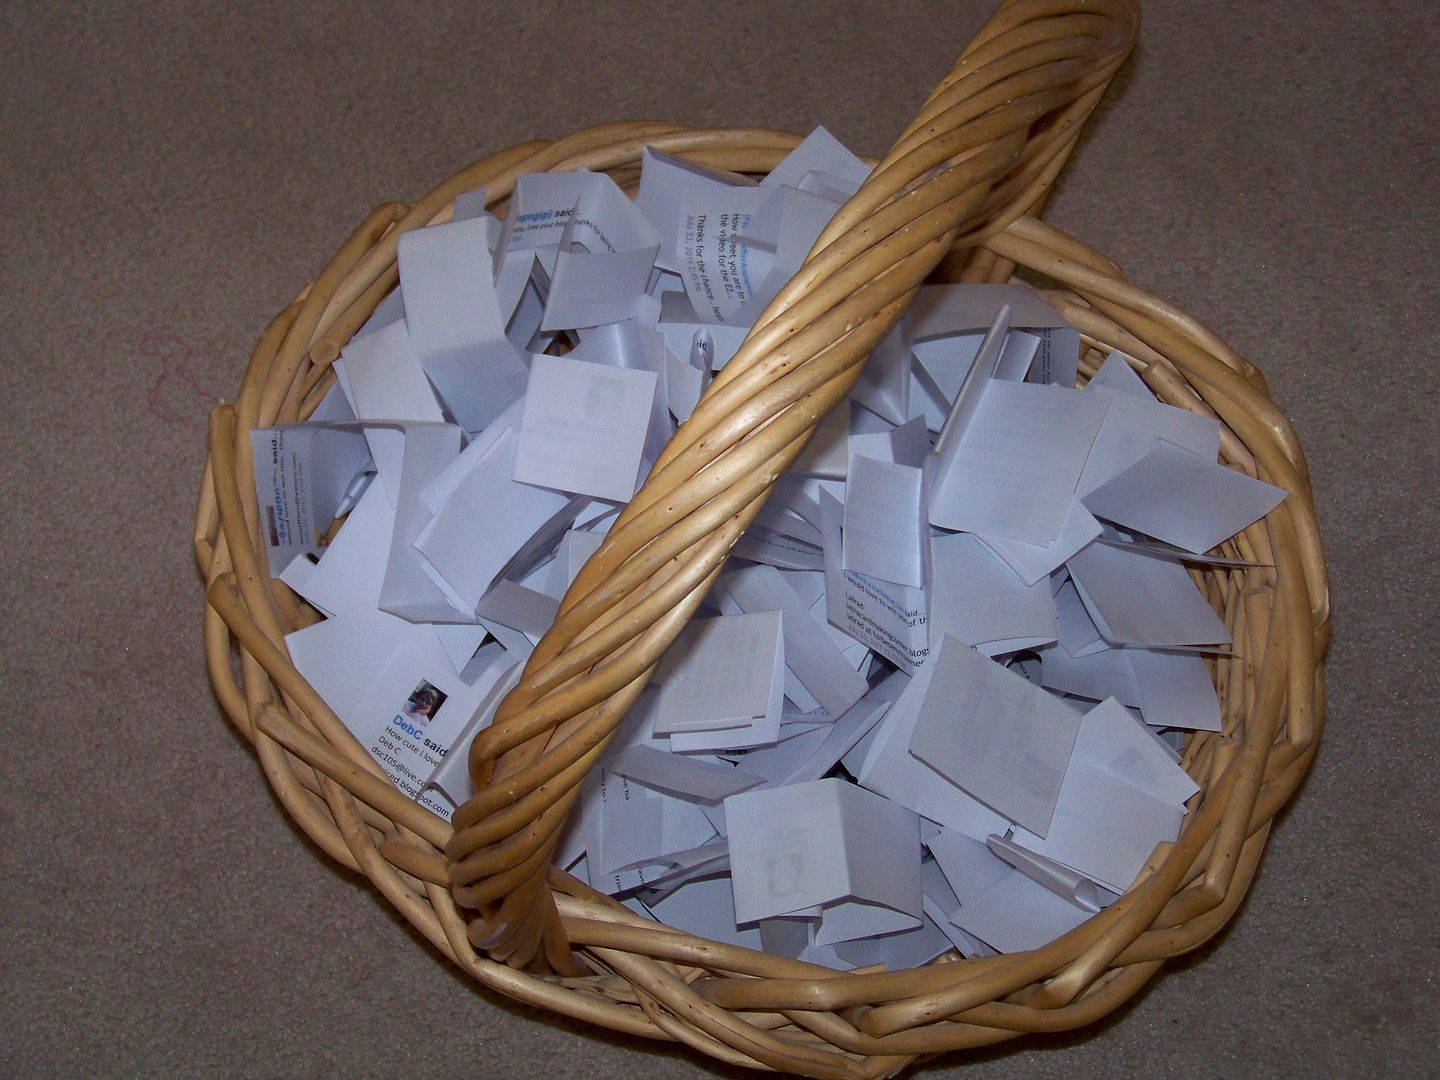
So... without further ado... allow me to introduce the lovely Princess Piper.  She will be picking a winner from the basket of entries! 

Thank you, Gina Piazza, for the lovely boa! 
Wow!  So many entries...


She swirls around the entries, using her princess powers to find a winner...


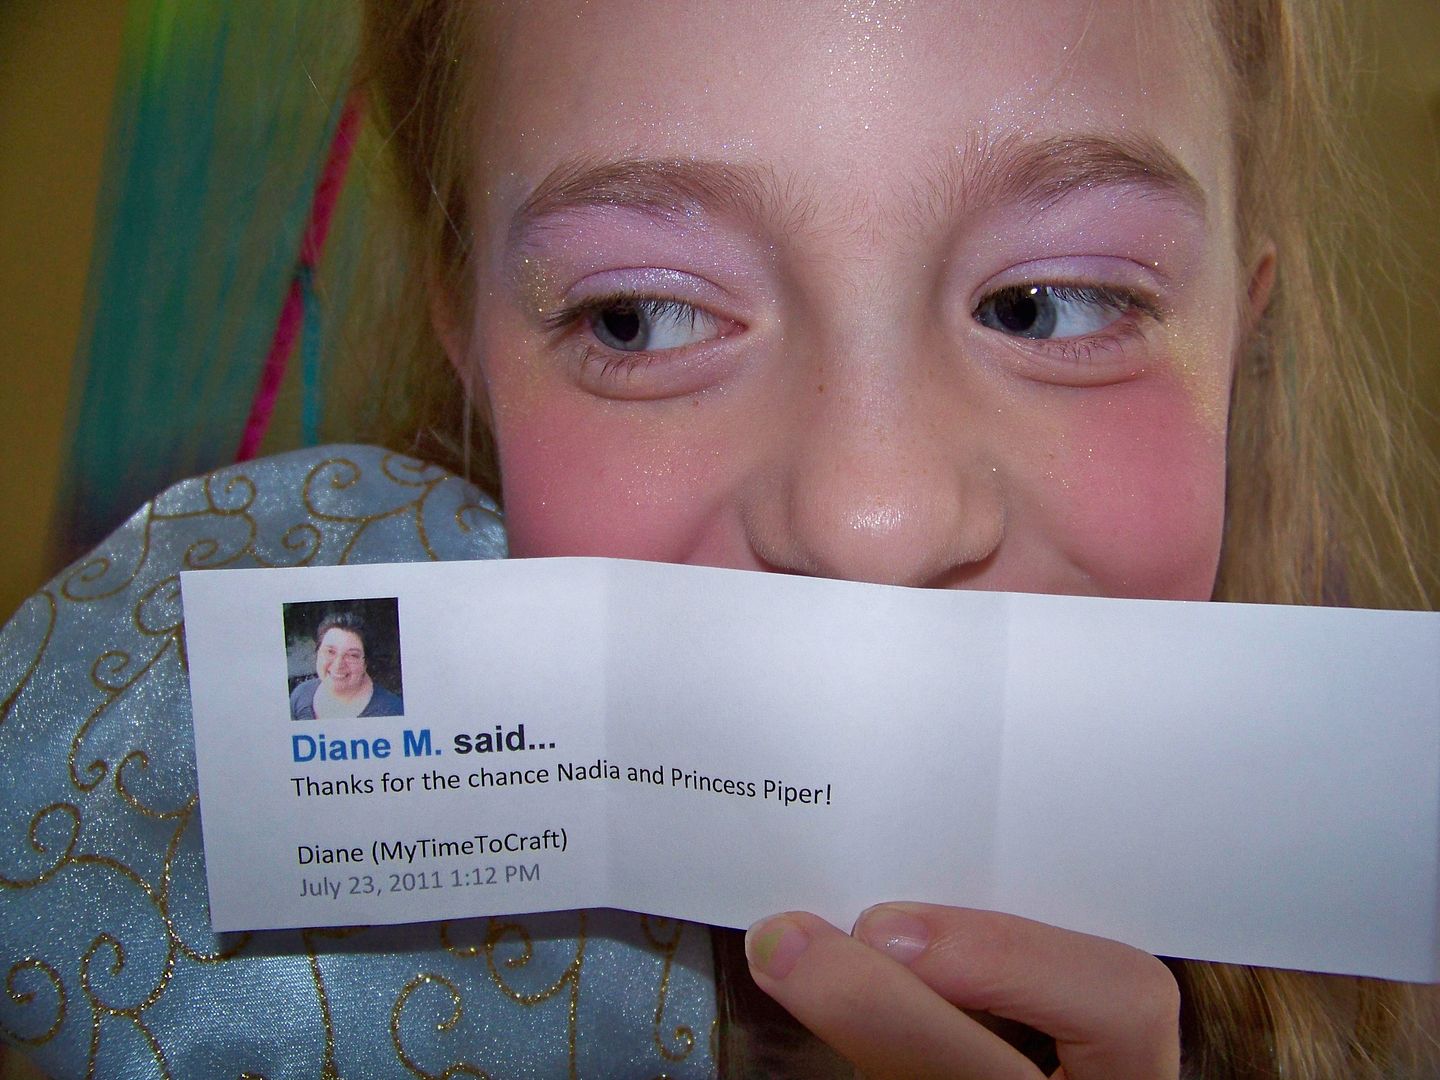
...and she chooses...


Woot!  Woot!  Congrats, Diane!!! 

Thank you all for visiting my blog!  A new project is coming soon!

Wednesday, July 27, 2011

Keith in a Pickle...Costume

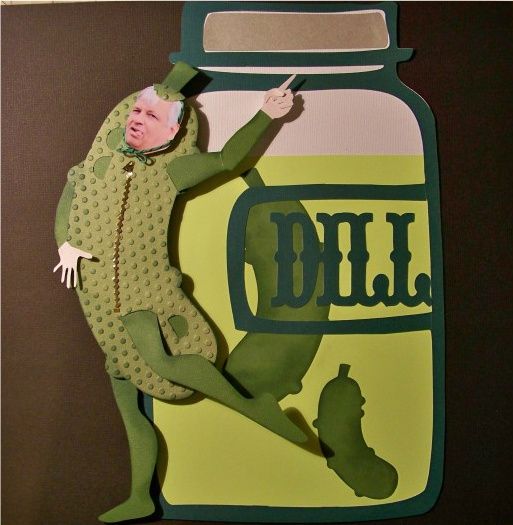
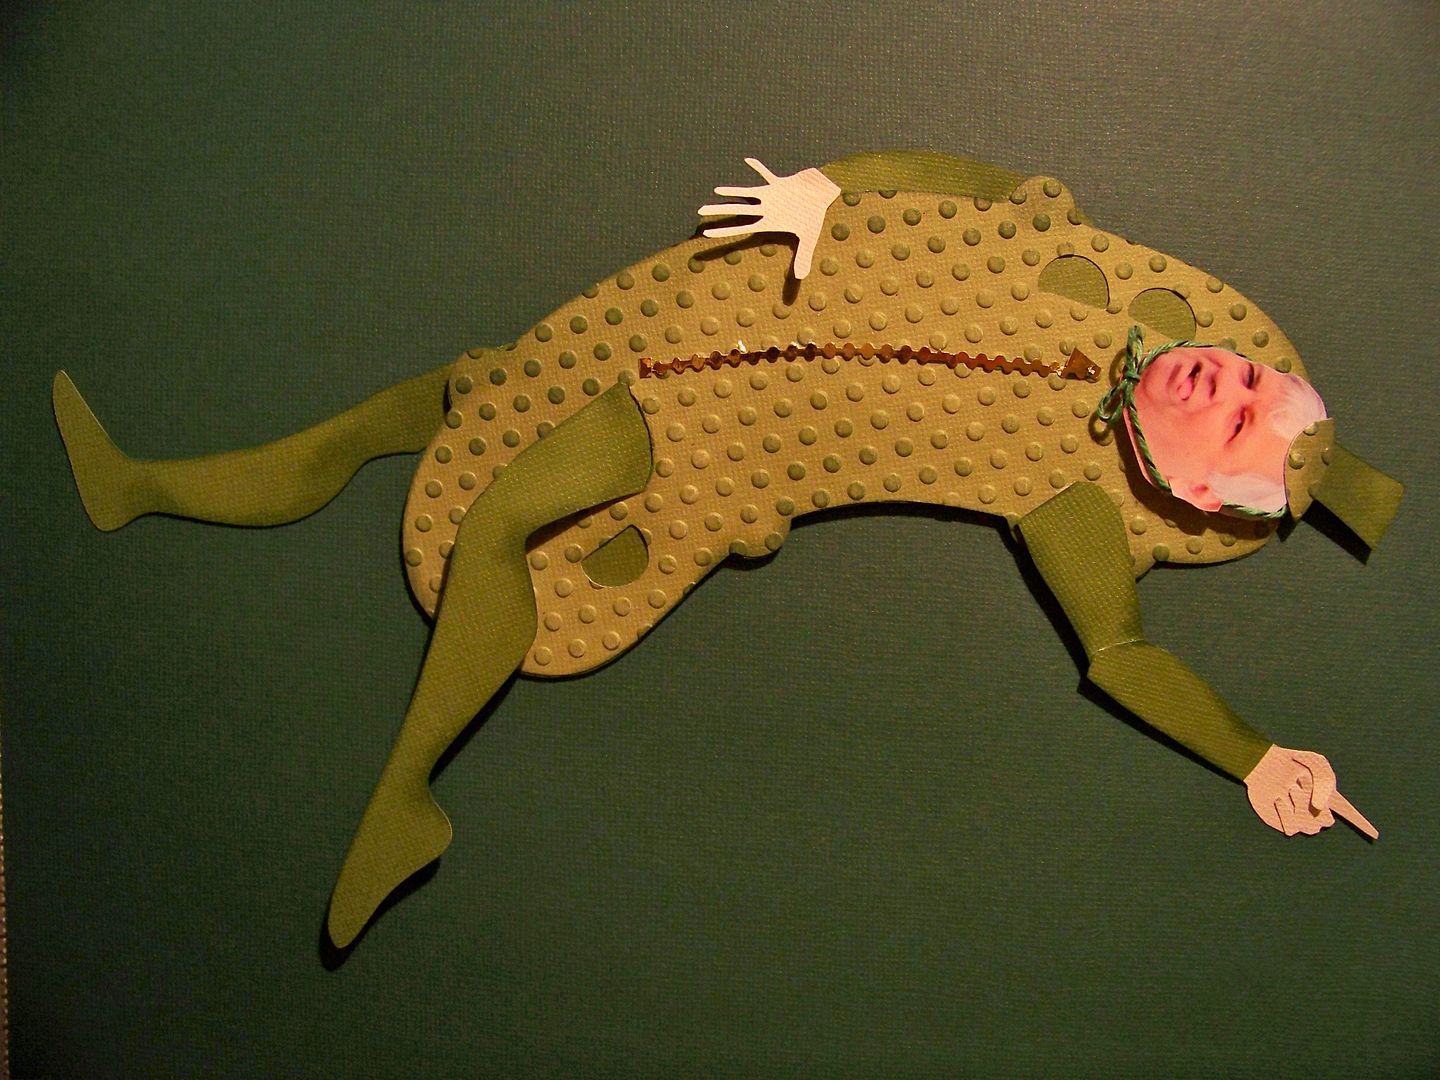
Some say the pen is mightier than the sword. I say the Cricut trumps 'em both. Never mess with a paper crafter!   Today, revenge comes with a little paper and my Cricut. I call this 'Keith in a Pickle...Costume.'


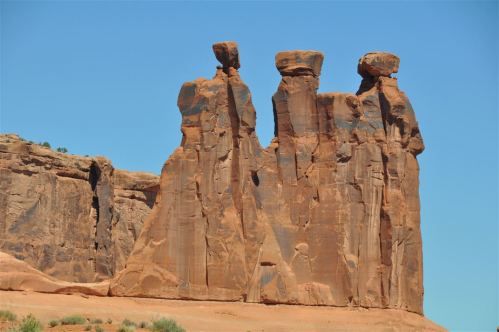
In case you don't know, my friend Donna's husband has called me out!  (You may know Donna as Scrappymama on the Cricut message board).  In his travel blog, Keith recently renamed The Three Gossips formation in Arches National Park in his post.


He said, "I nicknamed them Donna, Rebecca, and Nadia. Names are purely fictional. Any resemblance to real people is well deserved." You can see the post for yourself -- click here

That my friends, says he's ichin' for a fight!  I knew that Keith would be my helpless victim on paper.  Oh, the power!

Amazingly, there was a lot to learn in doing this!  First, I had to figure out how to use the pun 'in a pickle' to see my revenge.  That bit of genius was provided by the lovely Donna, my co-Gossip.  I wanted him to be a pickle, but I wanted to make it clear that this was Keith, so I opted to put him in a pickle costume.

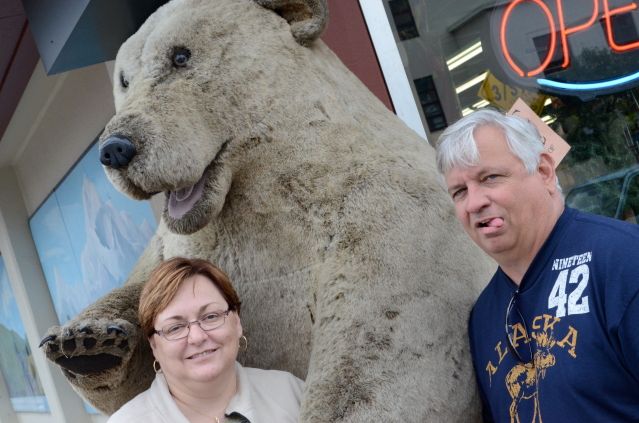
I had asked for pictures of Keith so I could make a paper portrait of him.  I had learned to do that in a previous post.  You can see that by clicking here.  After I received a perfect photograph of him with his tongue sticking out, I knew that I was going to use the actual photo instead!  (How could I top this?!)


The cut I used for the pickle costume is from Just Because Cards cartridge, page 26, cut at 10-1/2" on my Expression.  (The other pickles in the jar were my test cuts.)  I needed the costume pickle to look a bit different from the 'real' pickles in the jar--the way real costumes look different from the objects they depict.  I opted to ink the real ones and only use the base layer.


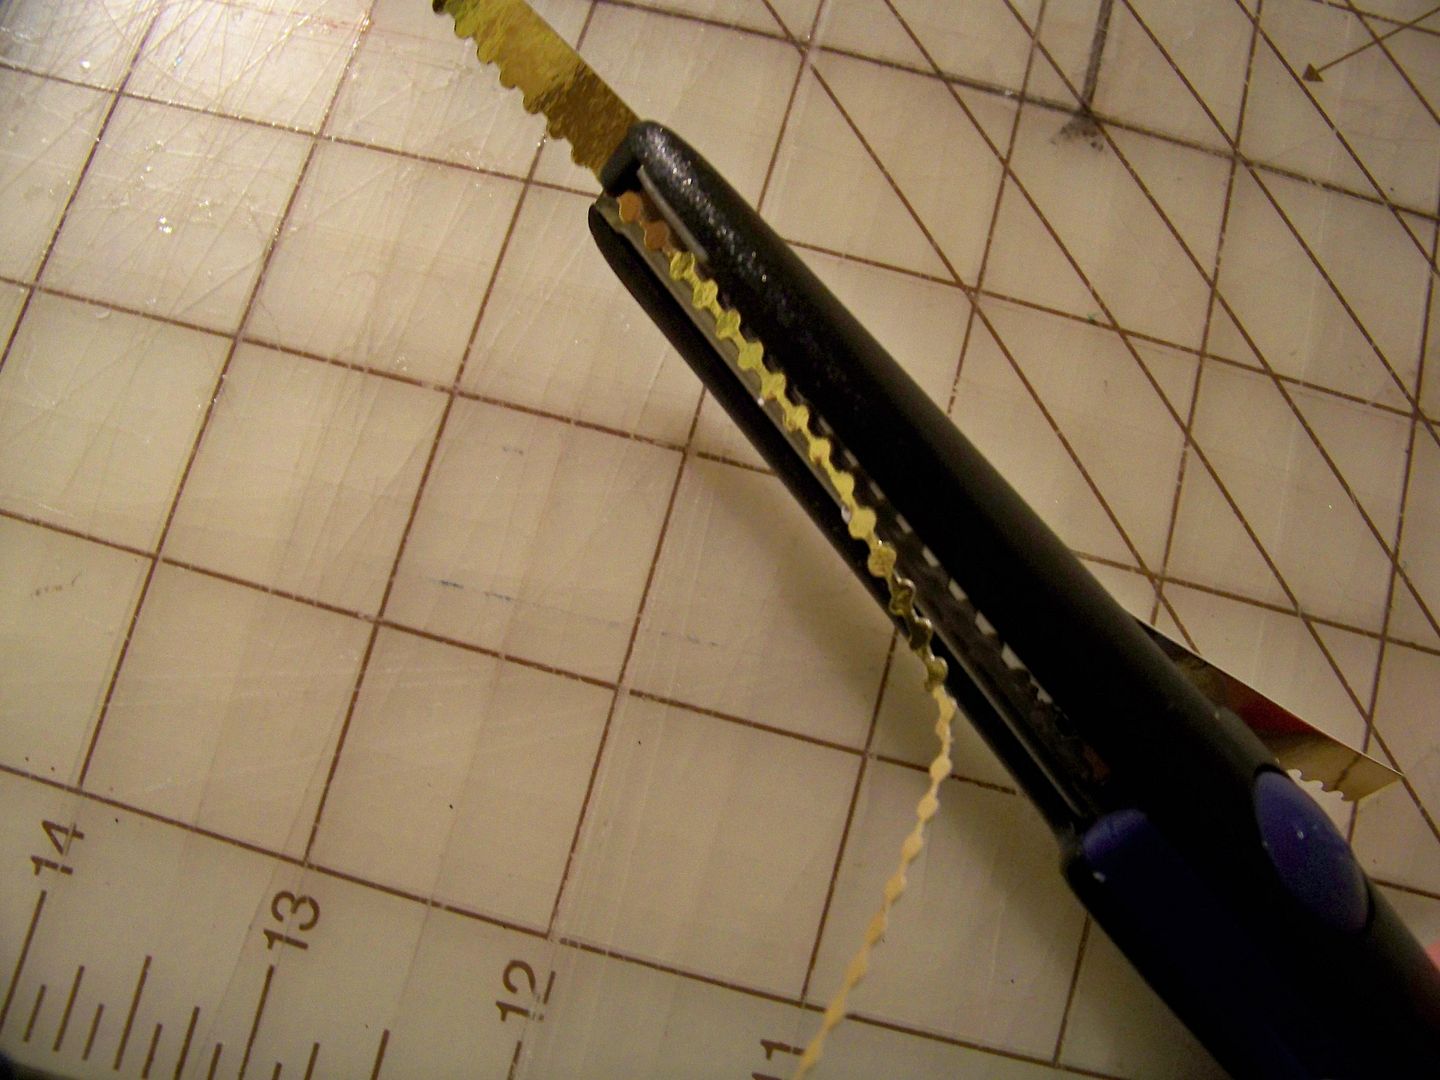
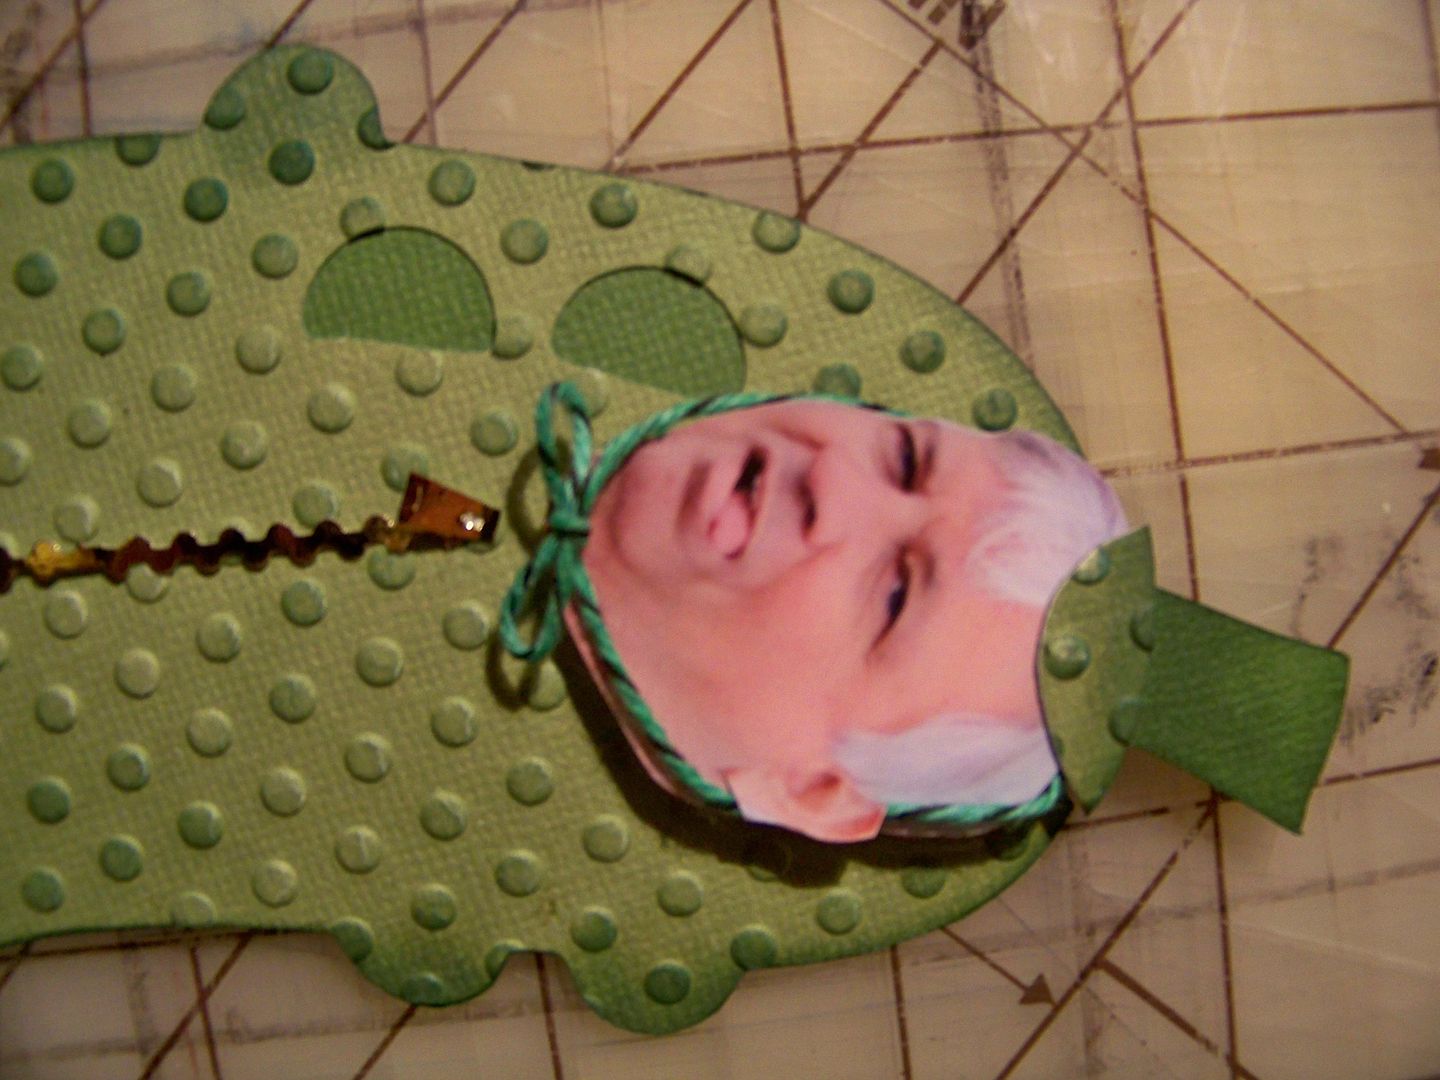
For the costume pickle, I used a top layer, pressed it through the Cuttlebug for fakey pickle bumps, and inked over them.  I created a zipper using decorative edge scissors and metallic paper.  I hand-cut a little zipper pull.


I cut out Keith's head from the photo.  (It seemed like he was actually sticking his tongue out at me once I did that, which propelled this project, giving me the little boost I needed to continue... or maybe it was just late and I was getting weird.)


I popped his head up with pop dots and cut off the top of the pickle so I could make him a hat.  Don't you just love the chin strap!!  (Chin straps, beanies, and clown noses all have the same goofiness to me).  I made little slits at the top and bottom of his ear so the twine would tuck behind the ear.  The twine I used was some that I had dyed recently.  You can see that post on how to dye twine by clicking here

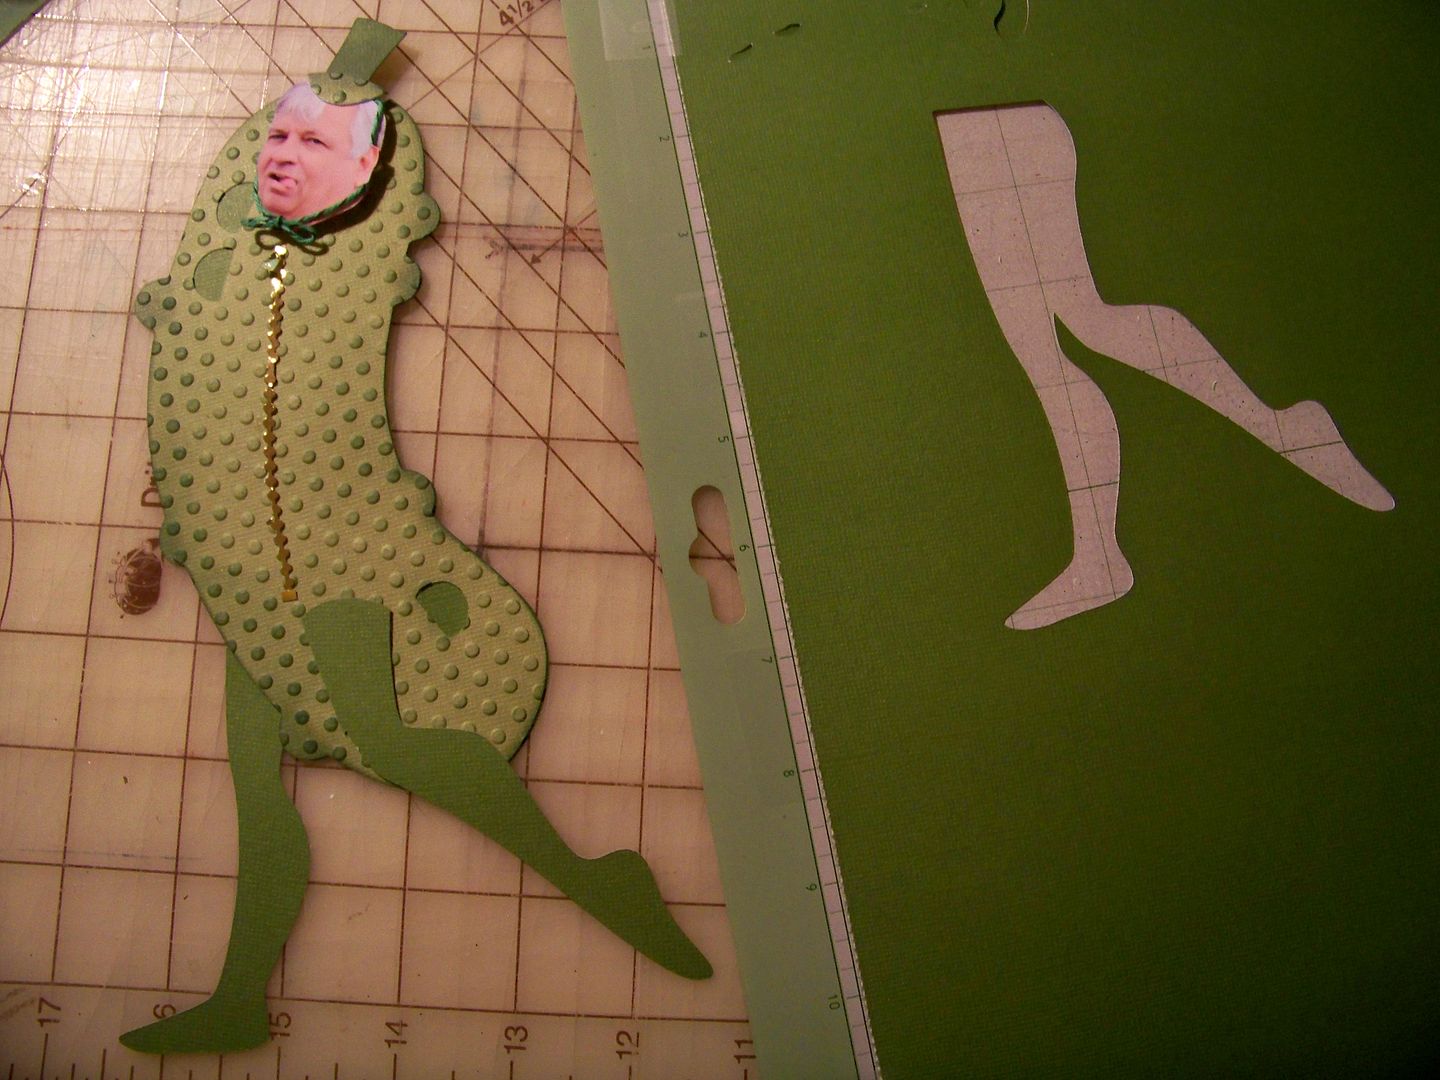
Next, his legs.  I don't care what you say about the Shall We Dance cartridge; boy, was I glad to have it on this project!!! Where else would I have found men's legs in tights????  I loved this!  (I never, ever thought I would use this particular cut, so thank you Keith!)


The legs were cut at 9", flipped using shift and the layer feature, from page 49,  I  cut them apart, creating a thigh for the top leg and inked the edges.  Nice calves, huh!  I used an X-acto knife to cut a slit just above where the top leg would be positioned.  I wanted it to look like it was coming from a leg hole in the costume.  I tucked it into the slit and glued it flush at the top, but used a pop dot at the knee to pull his leg into a little kick.  The bottom leg is attched with a pop dot to build a little depth.


So, the legs made him look like he is dancing.  Seeing that is when I knew he needed to be giving us disco hands.  There's nothing like a pointed finger in the air to say 'look at me shake my pickle booty.'  That was the next element!  The Feeling Groovy cartridge would not cut the arms to the scale I needed on a 12x12 mat, so I decided to make custom hands and arms.


I used the search words 'hand sihouette' in Google Images to find these great hands.  They were already the perfect scale!  I simply used the hands I wanted as patterns and hand-cut around them and the flesh-colored paper at the same time.  (I used paper that I had printed on the Imagine for the flesh, using RGB code 250, 229, 210). 


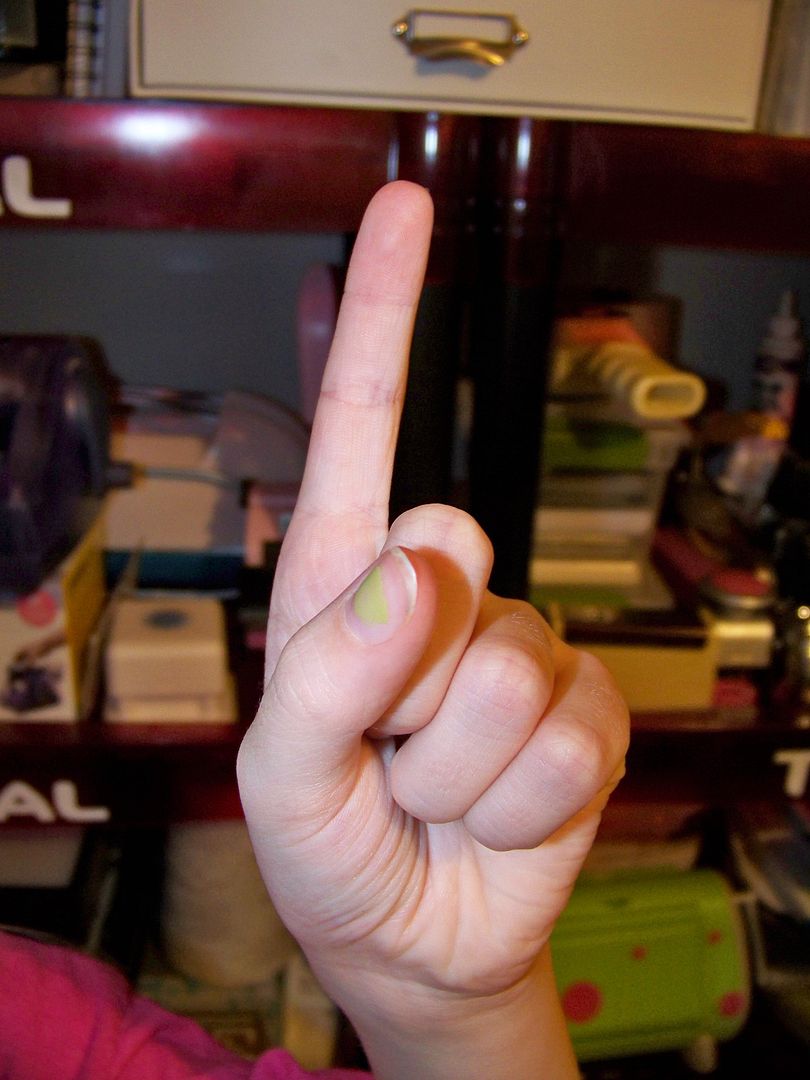
That worked just fine for the open hand.  For the pointing hand, I had to create fingers and a thumb.  I took a picture of my daughter's hand in that position.  Then I cut a second pointing hand, cutting away all but the folding down fingers, and a thumb shape that matched what I saw on Piper's hand.

See how the thumb overlaps?  That is the key!

I glued only the top edge of the fingers and side edge of the thumb, bending the ends slightly. 

For his extended arm, I found one just like I found the hands, by searching 'arm silhouette'.  For the arm close to the body, I just cut a simple shape and attached it behind the body.  I adhered the hands to complete the figure after inking the arms heavily.


All along I had kind of thought he would be in a jar of pickles.  I had envisioned that I would use acetate that I colored pale green to be the water.  The error in this thinking is in forgetting how dimensional I made Keith.  I would lose some of the dimension and have to pop up the acetate layer.  At this size, I opted instead to keep the jar behind him for reference and have him doing his little dance in front.

For the jar, I used the Savory cartridge, cutting at 11-1/2".  I altered the cut somewhat, cutting away the pickles on the original, since I had made my own pickles.  I cut the base twice;  cutting once in white for the jar and once in light green (cutting off the top to adjust the level of liquid) for the pickle juice. 

I mounted the jar and the costumed Keith on a piece of 12x12 black cardstock. 


Thank you for looking at my blog today!  I hope you enjoyed my paper revenge! 

Edited 7-29-11 to add:  As the pickled gentleman that he is, Keith created a follow-up post on his blog where he showcases Donna's beautiful mini book.... and has an answer to my 'pickle post'.  I also get the honorable title "Cricut Whisperer," which I vow to make into a Yudu project!  You can see his follow up post by clicking here.  Thank you, Keith, for being such a good sport!

If you are viewing this before July 30, 2011, it is not too late to have a chance to win a Cricut Collectible!  You can do that by clicking here to go to that post! The collectible I am giving away is not yet for sale anywhere!  (How exciting is it to win something that you can't even buy yet!!!)  It is unopened so the secret of which color is inside is still in tact!!  Check it out


Saturday, July 23, 2011

Cricut Collectible GiveAway!!!!!!

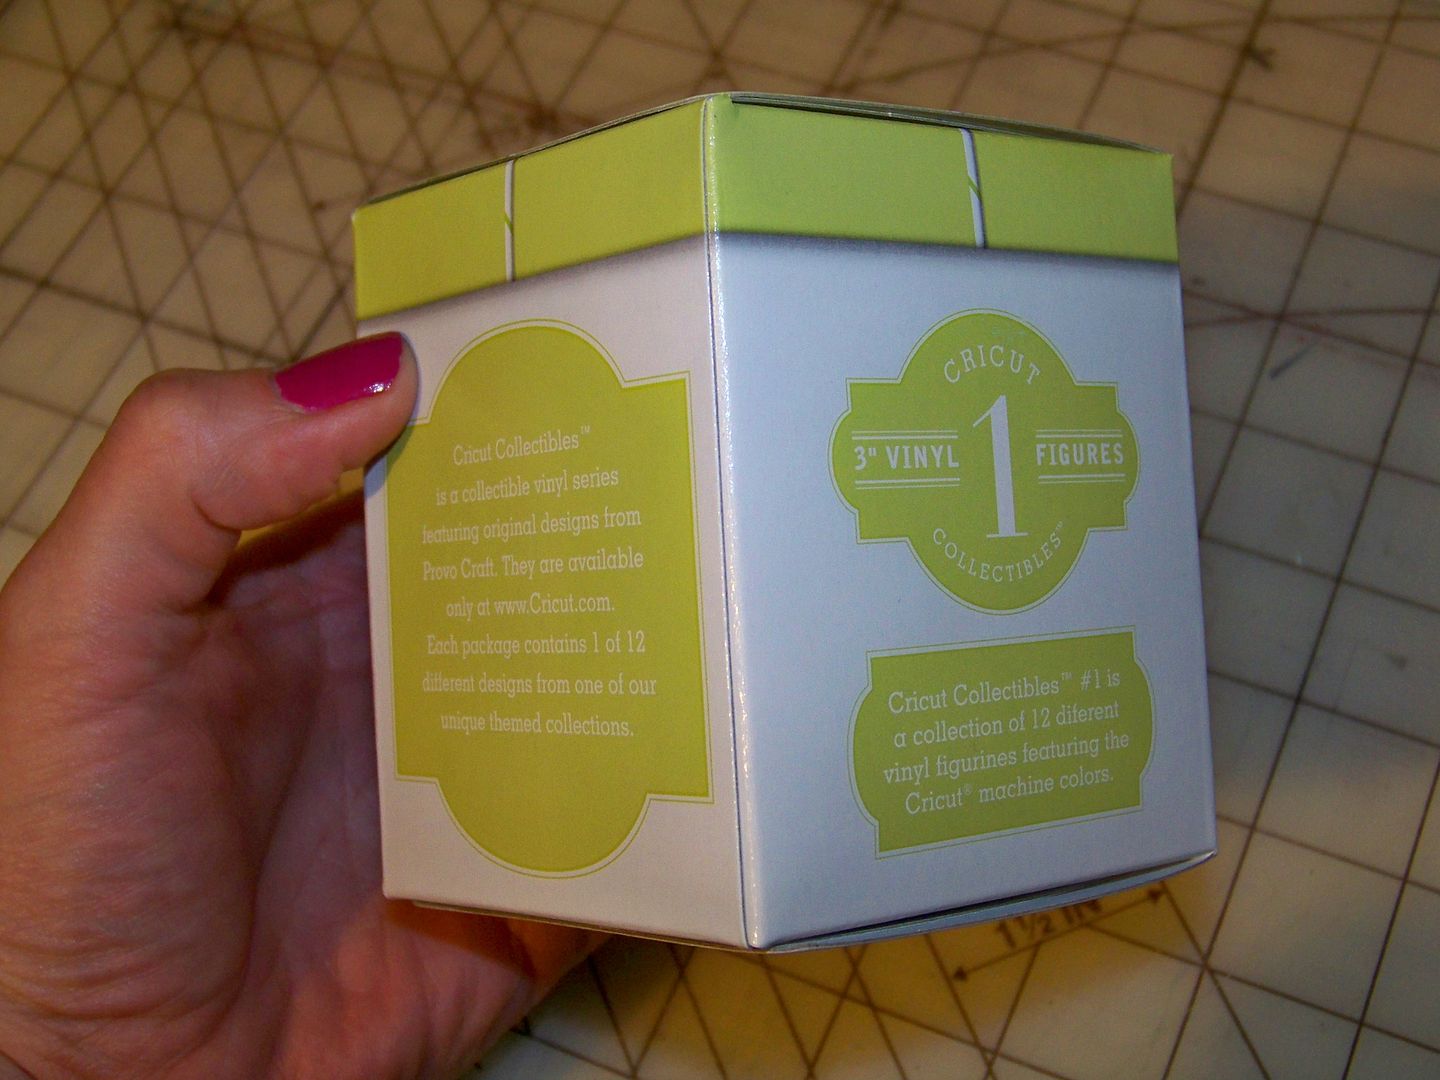
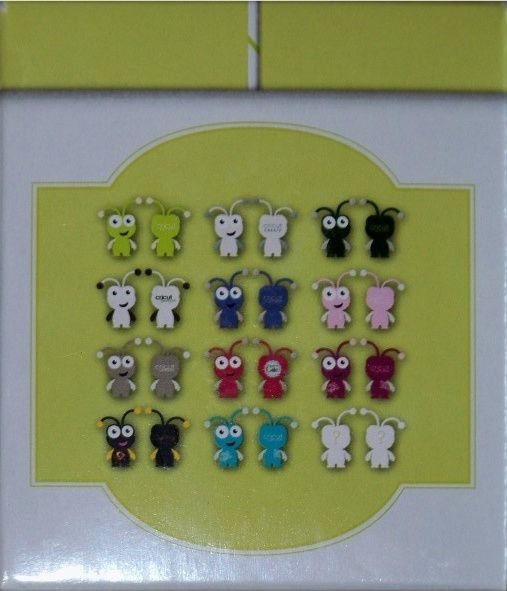
I bought a Cricut 3" Vinyl Figure collectible at the Cricut Circle crop in Mason, Ohio just to give away to someone!  These are cute little bug characters that come in different colors, but you don't know which color you have until you open the box and then open the special inner bag and look!  This one is still sealed to keep the surprise!


Each package contains ONE Cricut Collectible.  There are 12 different designs!  Which one is in this box is still a surprise!
Soon, you will be able to buy these little guys on cricut.com but I wanted to share a bit of the fun from the crop and give this away.  All you have to do to get a chance to win is to leave a comment on this post with a way to get in touch with you if you win, and to become a follower of my blog (if you are not already following).  Princess Piper will randomly draw a name out of all those who entered and I will post the winner next Saturday, July 30. 

I have also donated one of these guys to the on-line swarm on the Circle messageboard that Caroline (Doxieluv) is hosting.  If you are a Cricut Circle member, check out her thread there to see how to participate in her event!

Thursday, July 21, 2011

My Circle Projects for the Roadtrip to CHA -- Mason or Bust!


When I was a kid, Kings Island in Ohio was the summer destination if your family wasn't going to make it to Orlando.  It was nearby (just a few hours from home) and had that magical Eiffel Tower replica right in the center!  Hanna Barbera Land was the place I remember most and the Flintstones TV ride was my favorite.  I love that the Cricut Circle has made the Kings Island Resort one of its summer hosting spots this year!  I knew I had to go!

For this event, I decided to re-do my calling cards


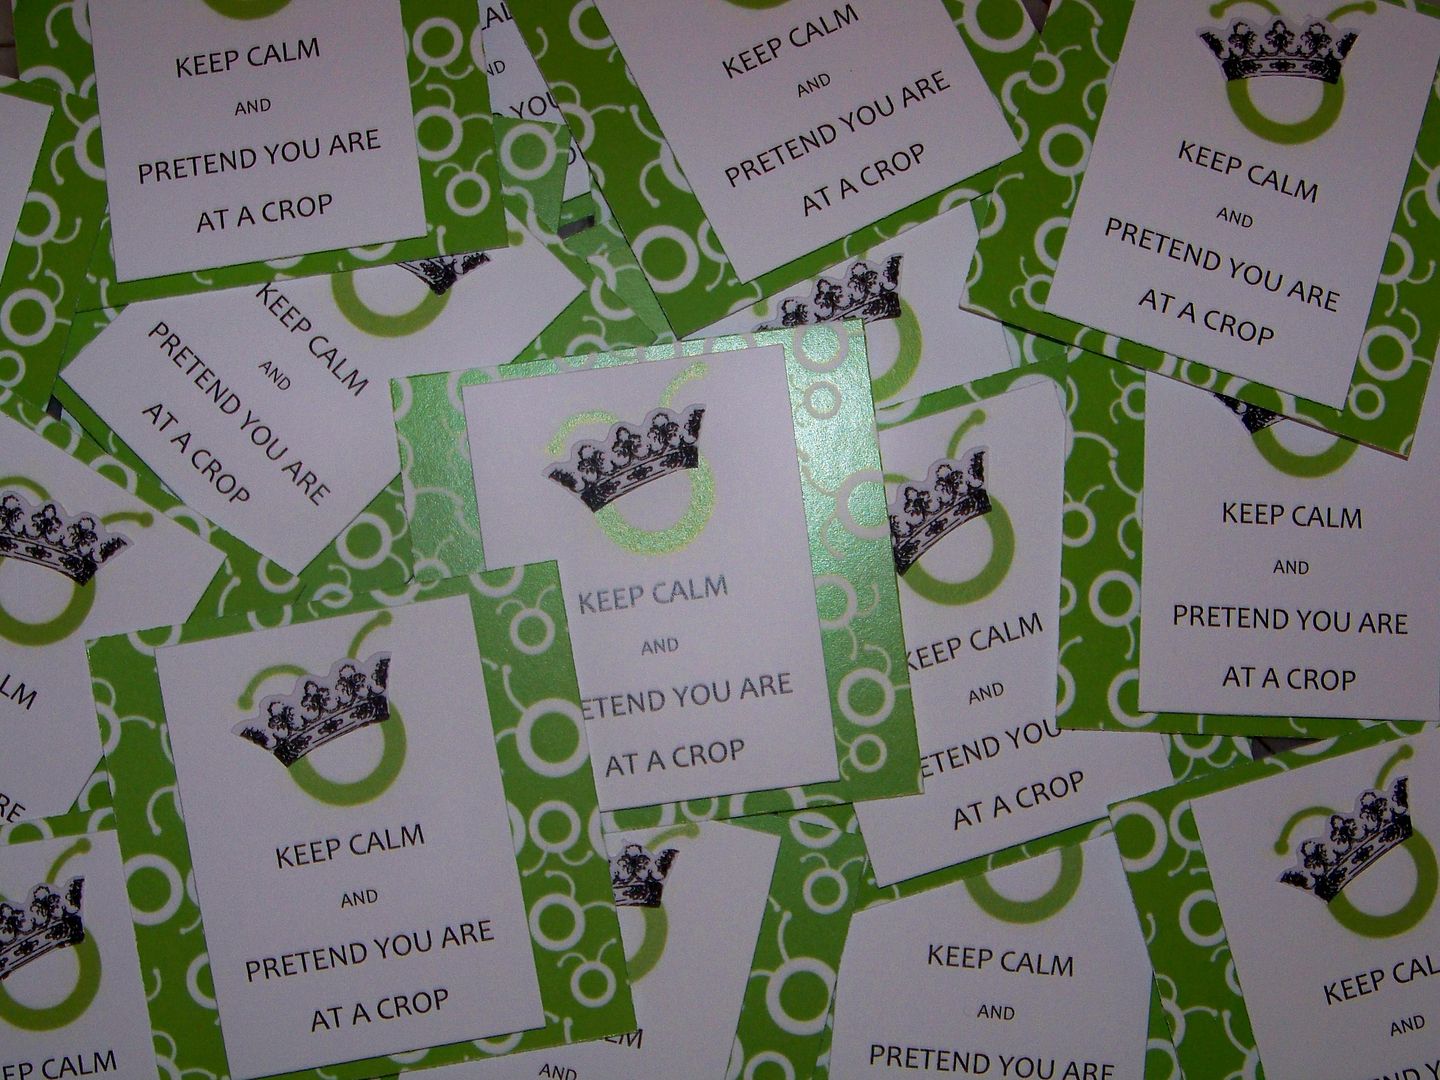
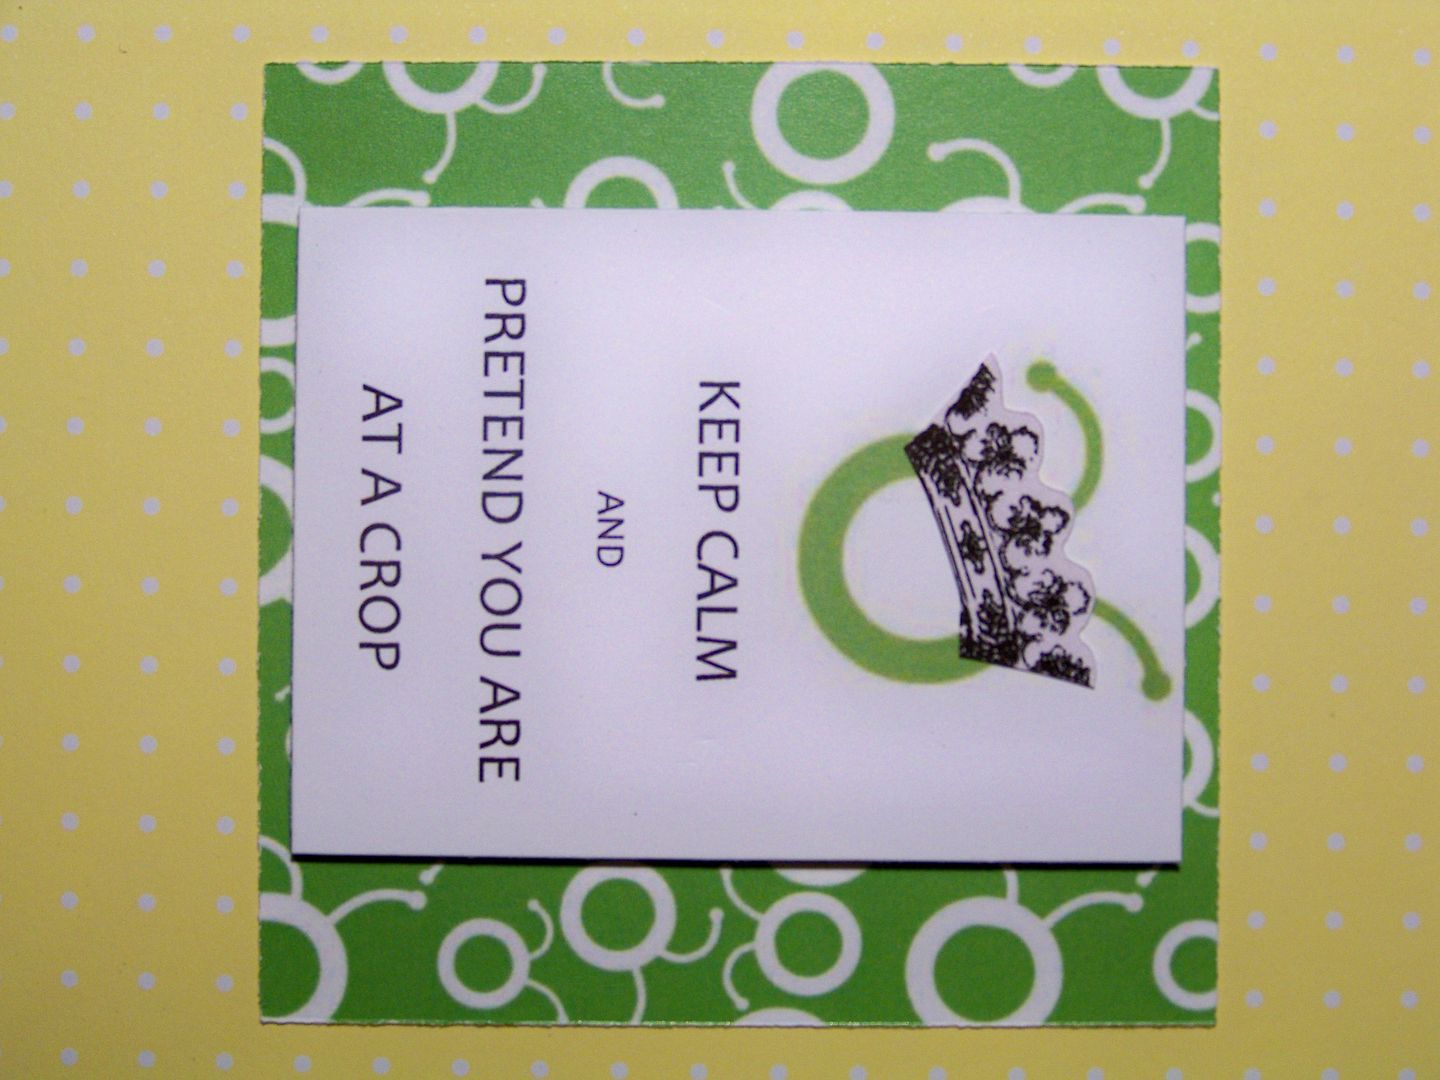
I had to make 110 and knew that I wanted to use the "Keep Calm and Pretend You Are At a Crop" design that I had figured out for my candy bars for the Louisville event.  You can see those by clicking here.  I worked out most of the design on the computer and sent the file to my favorite local print shop to help me out and print all on cardstock.  All I had to do was trim everything down!!!  I used the Cricut Circle logo paper from a file that Kay (Kut-n-Print on the messageboard) offered to us on the Circle.  Her awesome gift has come in so handy!  (You can check out her other projects and brilliant solutions on her blog, Clever Someday).  I popped up the Keep Calm text card with foam tape and added a crown from the Baby Boutique Imagine cart, cut at 1.6 after separating it from the other layers.


On the reverse side of the cardstock printed with the Circle paper, is printed my personal info and a mini avatar picture:  one layer and no gluing it together.  Then the text layer is applied with foam tape for a nice, sturdy, and clean finish.


My magnets were my next project.  This was made for a magnet swap that hostess Kim Hamilton has organized for us.  You can find details, cut sizes, and my notes on the original post by clicking here.


My state pennant for the contest was next!  Provocraft opened the contest up to everyone in the Circle and thus required us to mail in our entries.  How fun it will be to see all the pennants together, forming a banner of the states and countries of the Circle members!!  I cannot wait to see it.  You can see my original post for this project with the cut sizes, carts, and technique how-tos here.


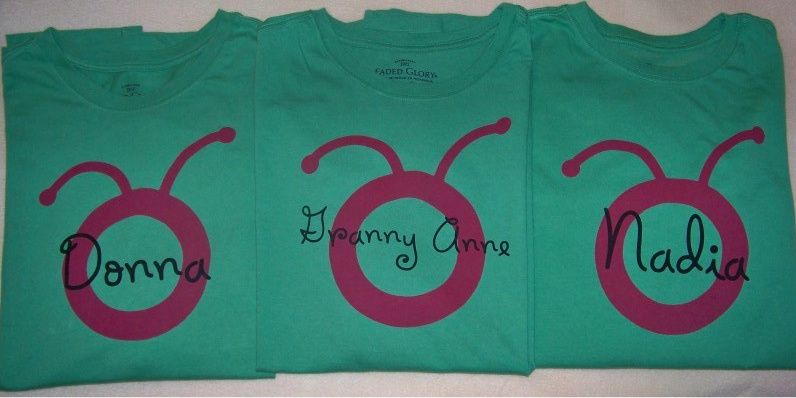
Next, I worked on t-shirts!  I learned how to use my Yudu at the Louisville Cricut Circle crop and knew I wanted to make a t-shirt for myself.  A couple of other Circle members asked me to do shirts for them too.  I love a challenge and thought this would be a great learning experience on the Yudu!  I decided that the design I wanted to use was from Cindy, who attended the Northern California Cricut Circle event, so I contacted her.  You can check out her awesome shirts made from heat transfer vinyl here.  For all of my details for making the shirts with lots of pictures and a liquid emulsion tutorial, click here.


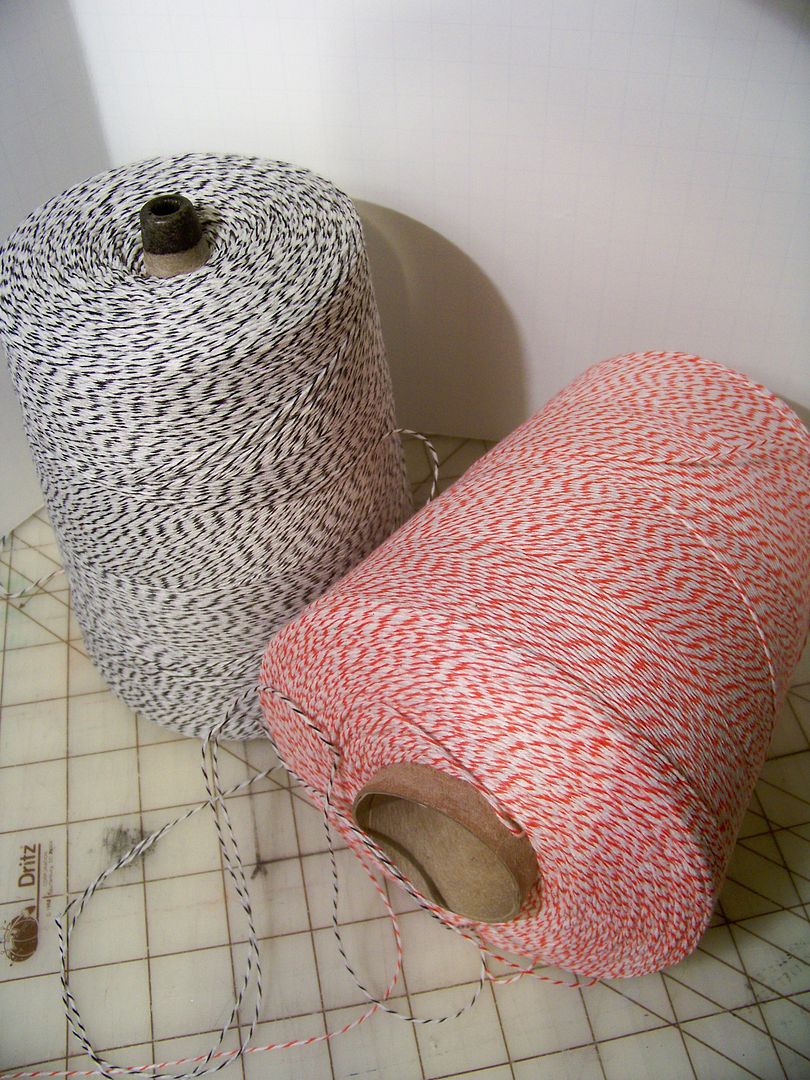
My next project was bakers' twine RAKs!  I just ordered a couple of cones to decorate my baked goods for fund-raising donations to my daughter's school.  With that, I can see that I will never bake and wrap enough cookies to use 6800 yards.

With bakers' twine, you can pay $2 and get 15 yards, or pay $15 and get 3400 yards... so I now have two 3400-yard cones!    I found a great source, thanks to Debbie (Scrappydoo on the messageboard),  Country Clean Paper Supplies.
At the Louisville crop, DianaC, one of the Circle members, brought cones of bakers' twine and allowed us to take whatever we wanted.  I thought that was such a kind and fun thing to do!  I decided to do the same thing with some of the overstock of twine I find myself with!  I wanted to make it easy to give it away and decided to make little cards with 10-yard hanks to hand to the ladies at the crop as we trade calling cards.  I used the ticket from Mickey Font (page 123), cut at 1-1/2" on my Expression, to make the cards.  I used some leftover posterboard (that cheap kind you find at Walmart) and was so pleased to find how nicely it cut on my Cricut! 

Autofill on 12x12 on the Expression will cut 21.  For posterboard, I used these settings:  Multicut 1, pressure 4, speed 3, and blade 5.  I like a sharp blade and an unsticky mat-- look how nicely that combination worked as the tickets pop right up!  I used the ticket cut that is found on the Mickey Font to make these.  I cut it at 1-1/2" for the 10-yard pieces.  I also made a couple of 50-yard RAKs and cut those tickets at 4" for the 50-yard pieces.

If you are a Cricut Circle member and can ever get to a meet-up or crop, I highly recommend it!  It enhances the Circle in so many ways.  For someone like me who has no one around who is "into" this stuff like I am, getting to know other paper crafters is a pure delight!  Everyone is so kind, funny, smiling -- fast friends right away!

Thank you for visiting my blog!

But wait! There's more! Click 'older posts' above!

But wait!  There's more!  Click 'older posts' above!