Monday, November 21, 2011

Meet Me Over on the Paper Boutique Today!

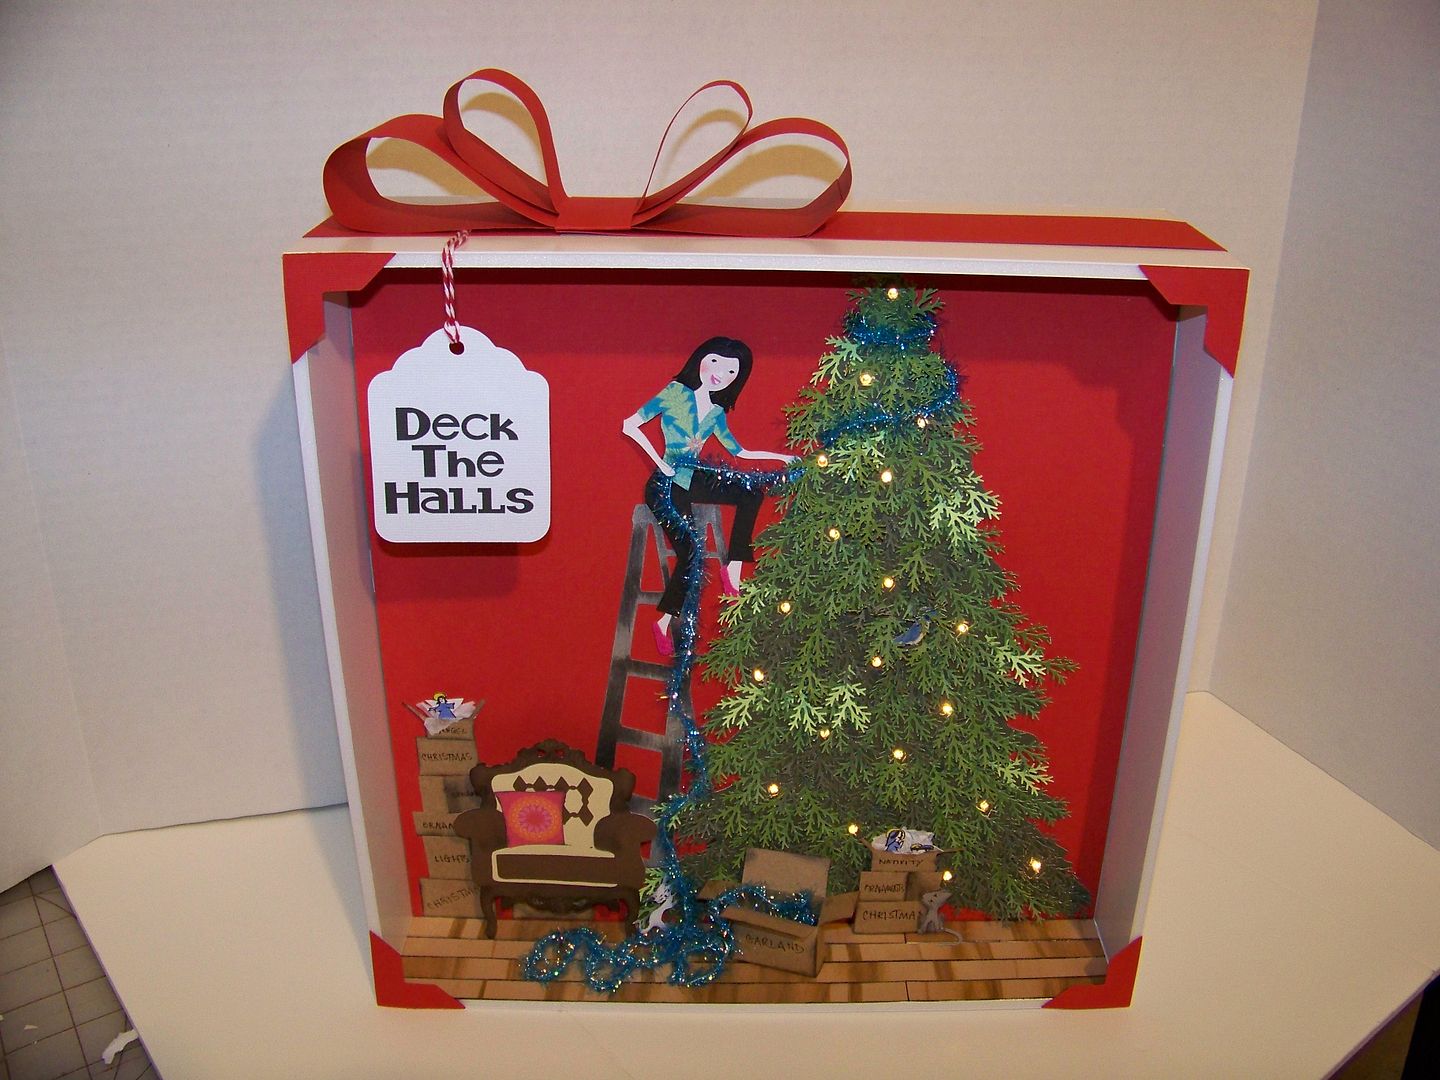
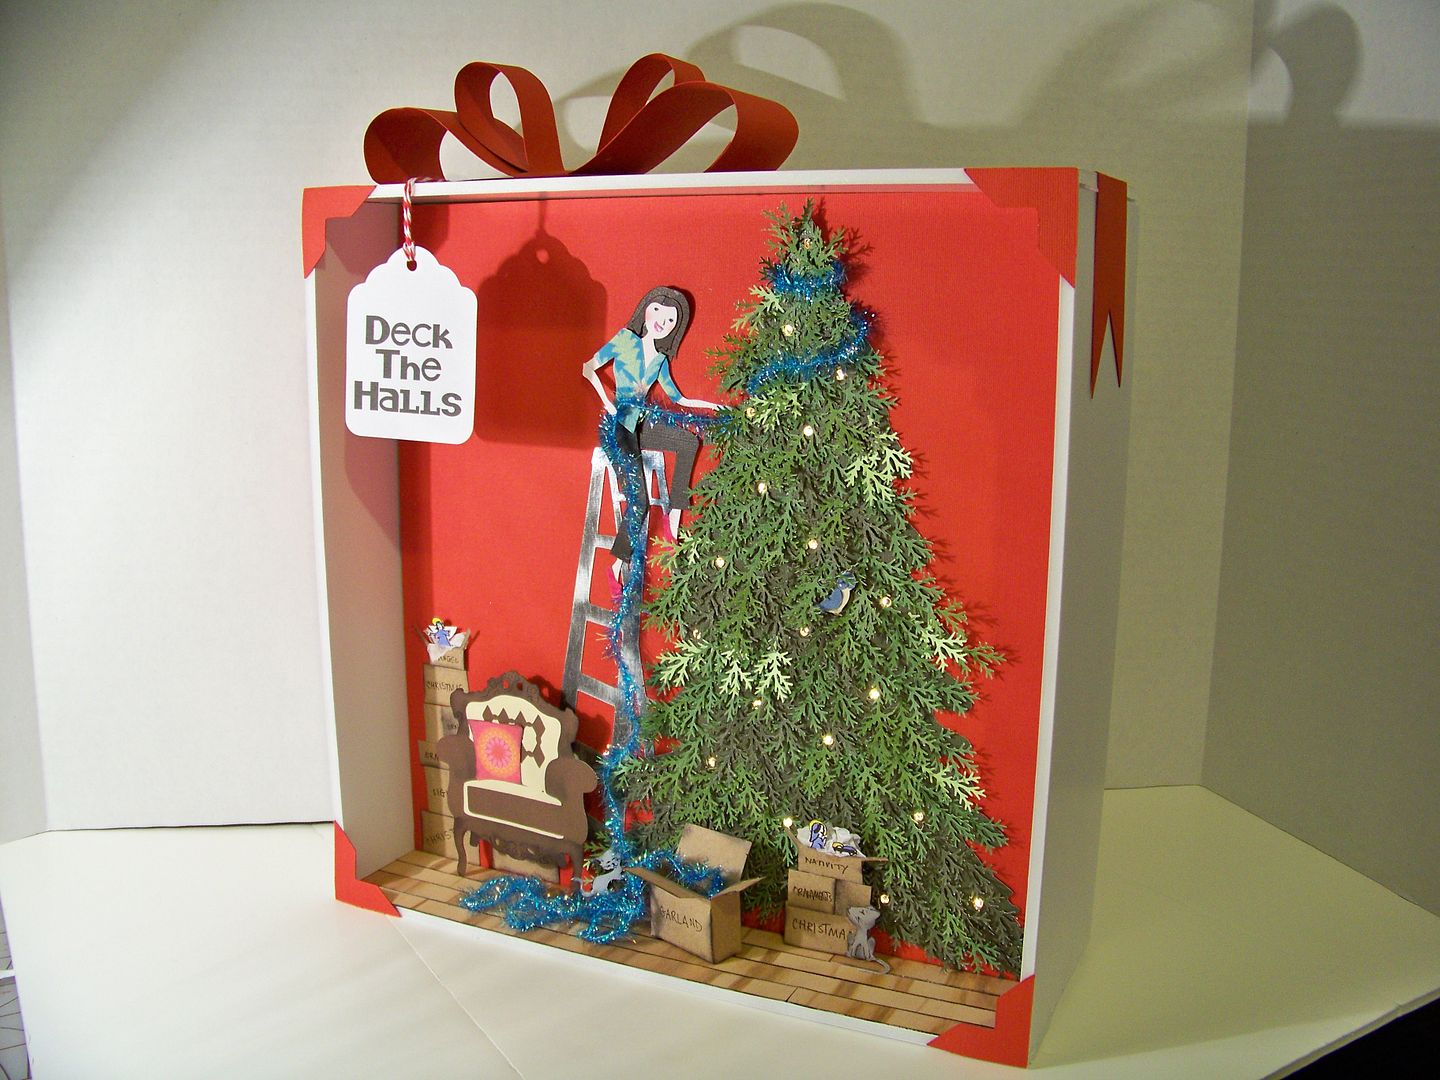
Wow!  How did it get to be Thanksgiving Week so fast?!  After celebrating (and eating!) with family, we like to decorate for Christmas.  In honor of that, I have put together a project for Linda at the Paper Boutique blog.


The Paper Boutique


I created a shadowbox (made to look like a gift) that features a light-up vignette inside!  I hope you will join me over there to see my project.  As always, I provide cut sizes and how-tos, including how to make a shadowbox, how to create a wood floor, how I created this custom figure, and how to add lights!


Just click on the button below to take you directly to my project post!


The Paper Boutique


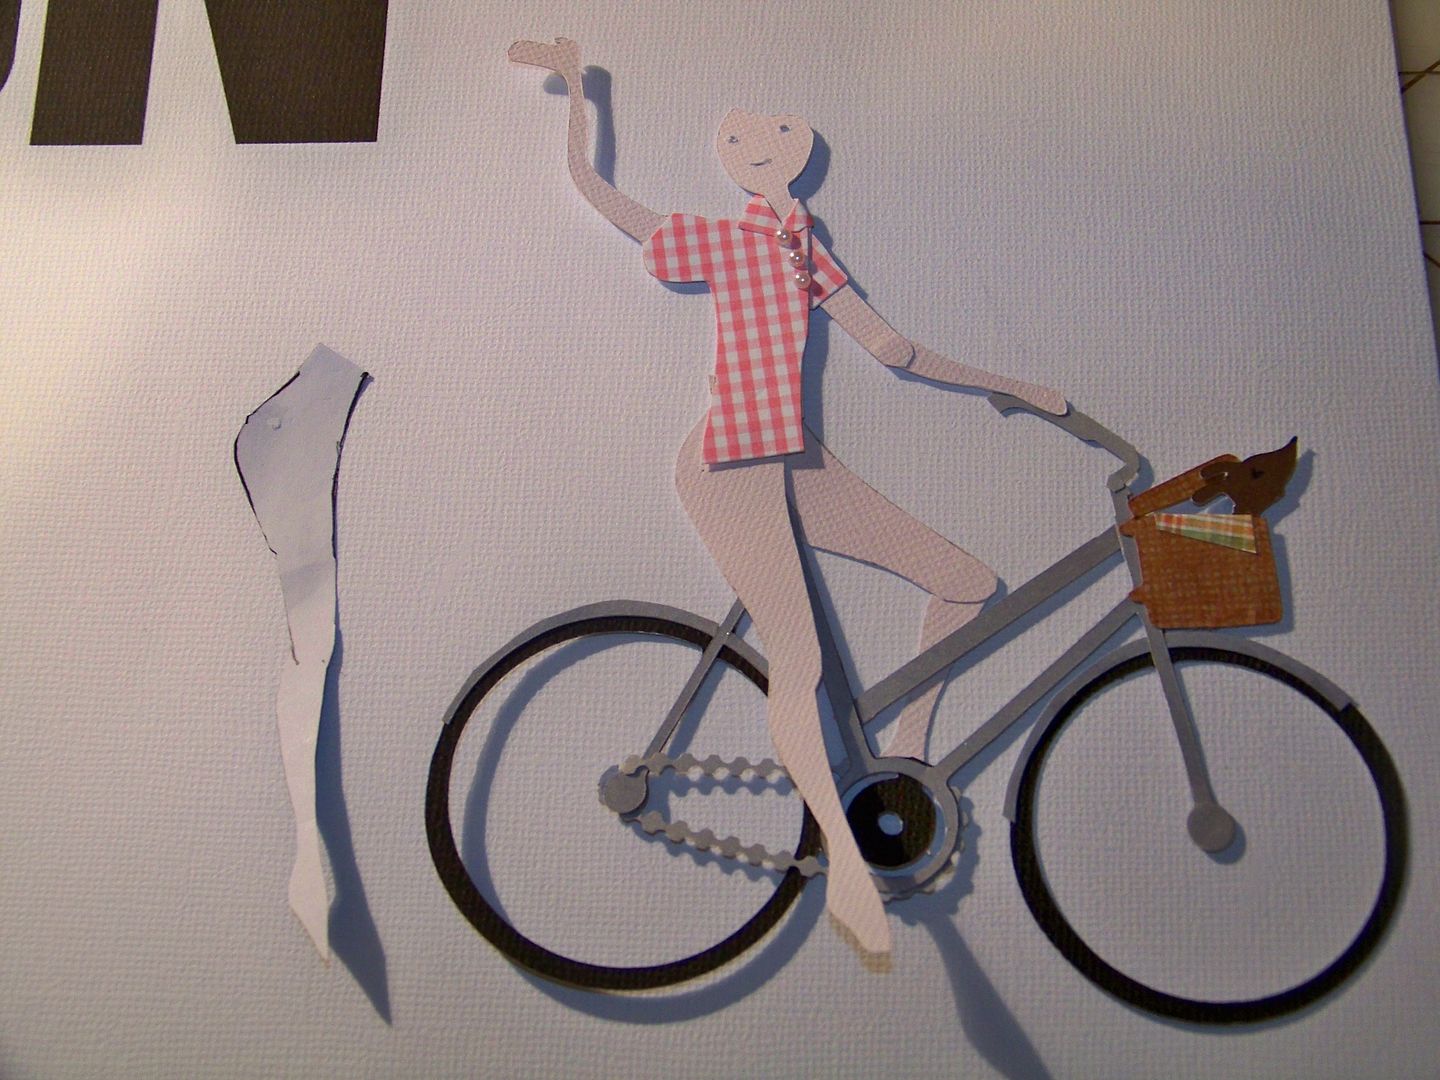
And exclusively on my blog...because I have gotten several emails from crafters wanting to re-create my projects, but stressed over the hand-cutting, I have provided a pattern for the legs.  This includes the finished shape for my lady on the ladder, as well as the single leg I used to create that and the bicycle-riding lady from a previous project.  Click here for the leg pattern for hand-cutting.  This is sized to work with Country Life (page 32 layer 2) cut at 7-1/2" relative size on the Imagine or E2. 


Best wishes for a very
Happy Thanksgiving!

Saturday, November 19, 2011

Gift Donation Placards

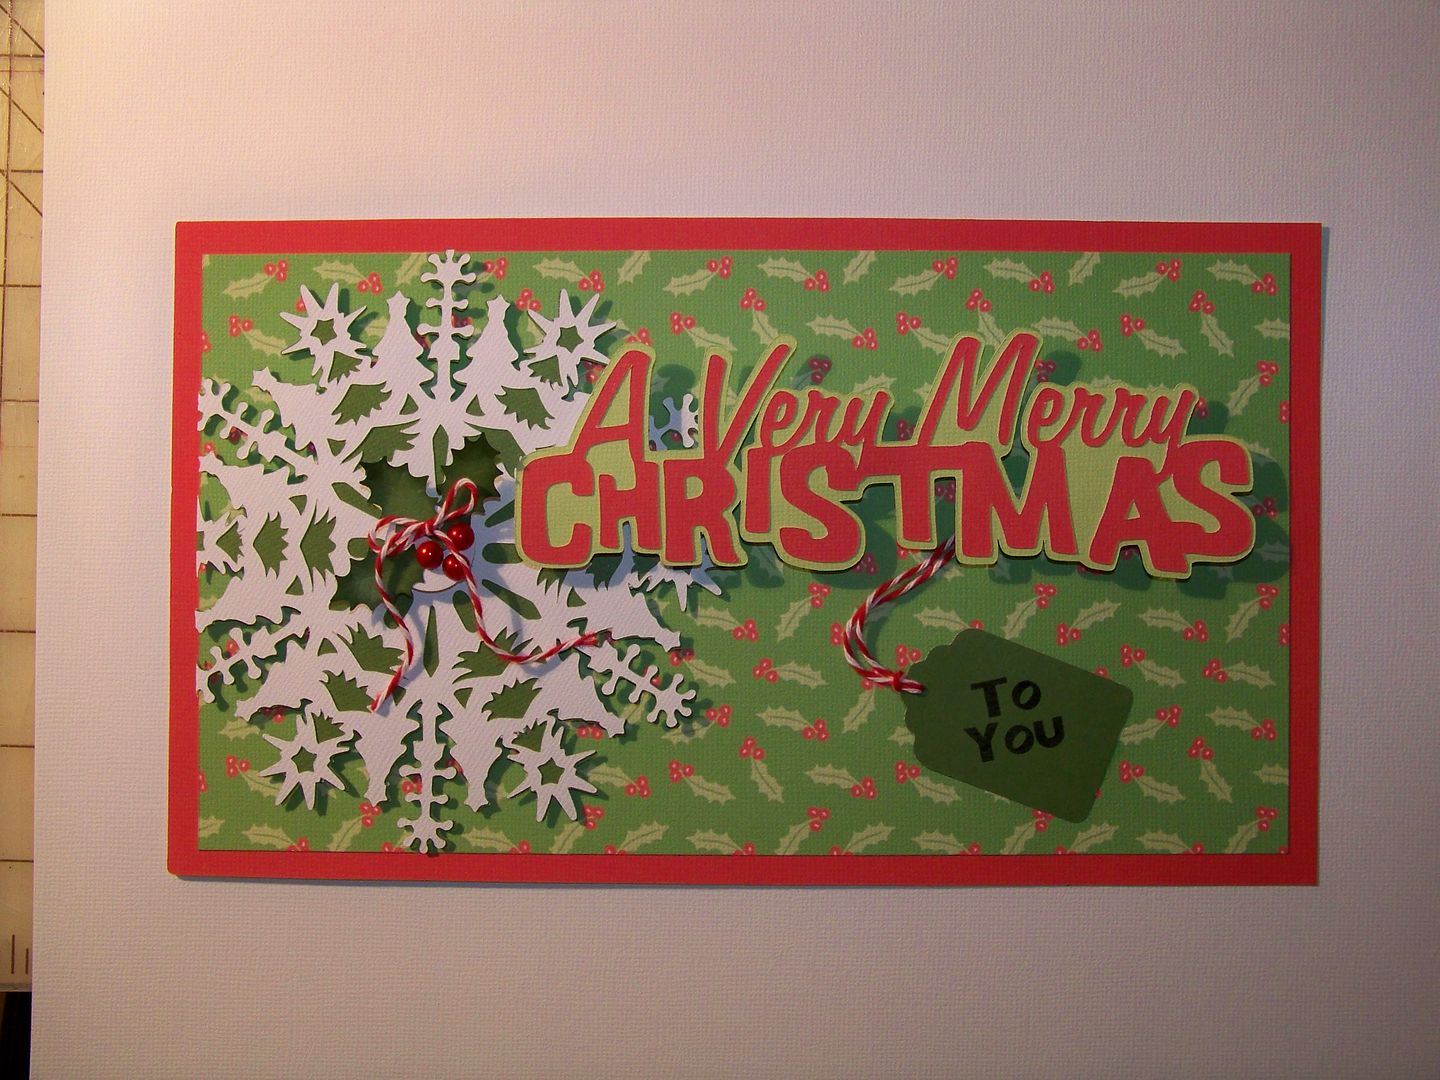
One of my favorite holiday traditions is providing angel gifts.  This year, unlike in years past, I have decided to include a placard with each bag of gifts I turn in with my Be a Santa to a Senior gift donations.  My placards are kind of like a post card, but not signed and with no note-- just a little papercrafting to put a personal touch on  the gifts I donate.  (Like Salvation Army Angel Tree donations, these too are given anonymously, but the gifts purchased are for seniors in nursing facilities). 


These are the placards for this year's donations.

  • Expression machine:  Snowflake and shadow were cut  from When It's Cold Outside at 5".  (I trimmed the snowflake on one side so that it would drift off the edge of the paper.) It was popped up with 1/8" pop dots.
  • Imagine machine:  5-1/2" rectangles flood filling with Snow Angel cartridge (print on page 41 and solid red). The print was trimmed down to 9" x 5"; the solid was trimmed it down to 9-5/8" x 5-1/2".
  • Imagine machine:  "A Very Merry Christmas" text from Winter Frolic (page 46) cut at 2" and flood filled with red and light green from the solids on Snow Angel.  Text with shadow was adhered with 1/2" pop dots.
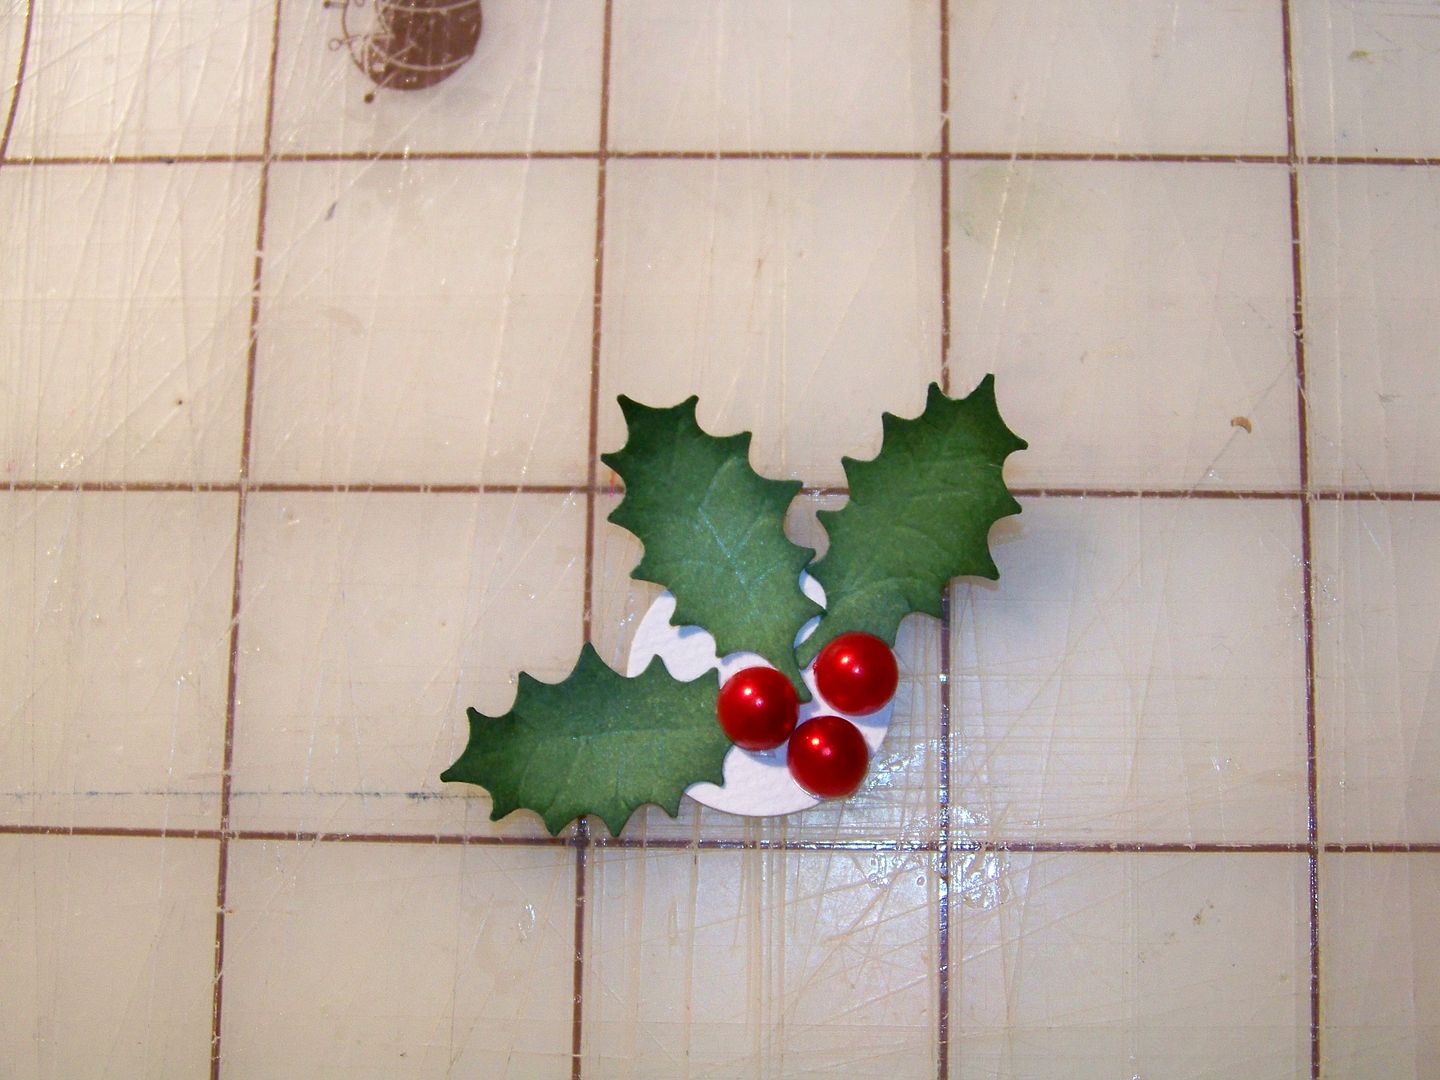
  • Punches:  tag was cut with a punch and the text was printed on using Microsoft Alcohol Licks at 24 point.  The holly accent was cut from a Martha Stewart holly punch.  I used McGill flower-making tools and mat to add veins and curl the leaves.  I added twine and adhesive pearls.  They were positioned on a 3/4" punch-cut circle and applied with a 1/4" pop dot.


Click here to learn about "Be A Santa to A Senior" and to find a donation location near you.  

To see all of my projects, click here to visit My Project Gallery or click the tab at the top of my blog.

Sunday, November 13, 2011

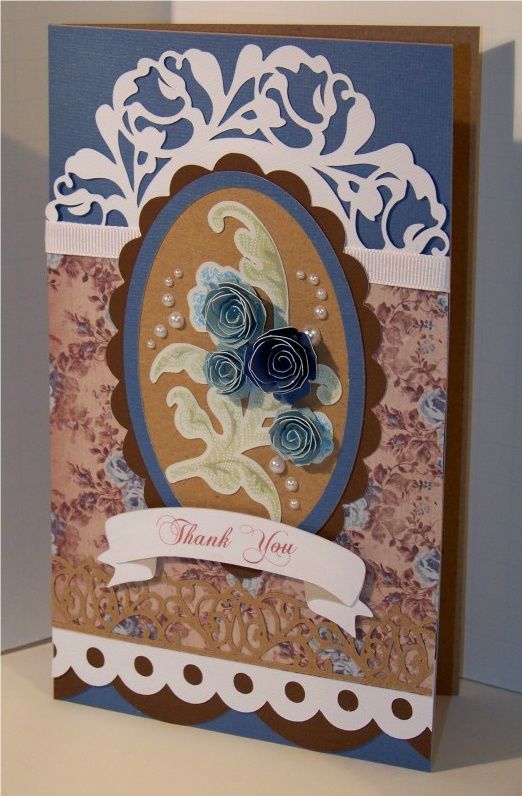
Border Challenge: Thank You Card


I have a friend who has been so generous and so I wanted to create a card for her.  I have been wanting to try a different style of card design and found just the push I needed when I found the current Circle challenges; this is my entry for Weekly Challenge #45. 

For the details:
  • Doily:  5" cut on Expression using Sophie (page 23)
  • Oval with border:  3" cut on Expression using Art Philosophy (page 42)
  • Scallop behind oval:  3-1/2" cut on Expression using Art Philosophy (page 52)
  • Floral square: hand-cut 5" x 5"
  • 1/2" grosgrain ribbon applied
  • Blue background solid:  hand-cut 8-1/4" x 5"
  • Kraft paper lace border:  1" cut on Expression using Art Philosophy (font layer page 66)
  • Brown scallop border:  1-1/4" cut on Expression using Art Philosophy (font shift page 66)
  • White circle scallop border:  1" cut on Expression using Art Philosophy (page 64)
  • Base flower for center of oval:  3" cut on Imagine using Lori's Garden, trimmed to fit (page 15)
  • Dimensional roses: 2" and 1-1/2"  cut on Expression using Art Philosophy (font shift page 69)
  • Banner:  1-1/4" cut on Expression using Formal Occasion (page 34).  Adhered with 1/8" pop dots.
  • Text printed directly on banner using Microsoft Chopin Script at 28 point in brown.
  • Self-adhesive pearls were applied in an improvised pattern.
  • Card base is Kraft paper hand-cut 8-1/4" x 10"; folded to finish at 8-1/4" x 5". 

Thursday, November 10, 2011

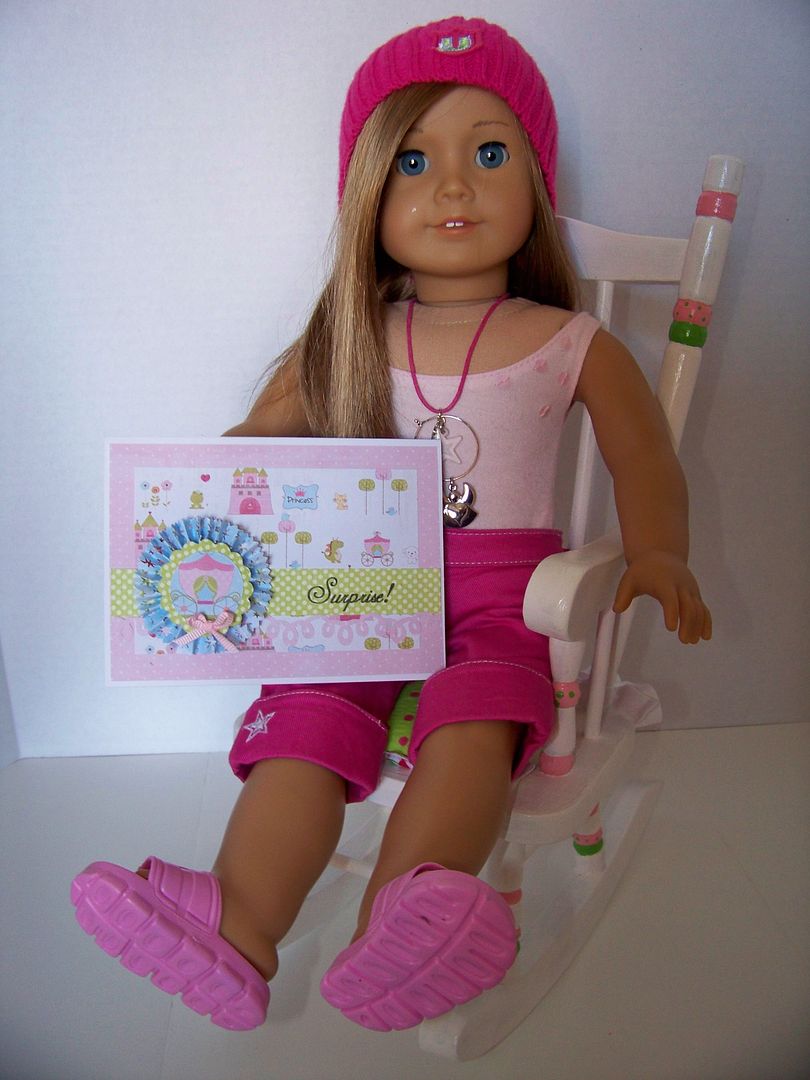
Surprise Card and Revamped Doll Rocker


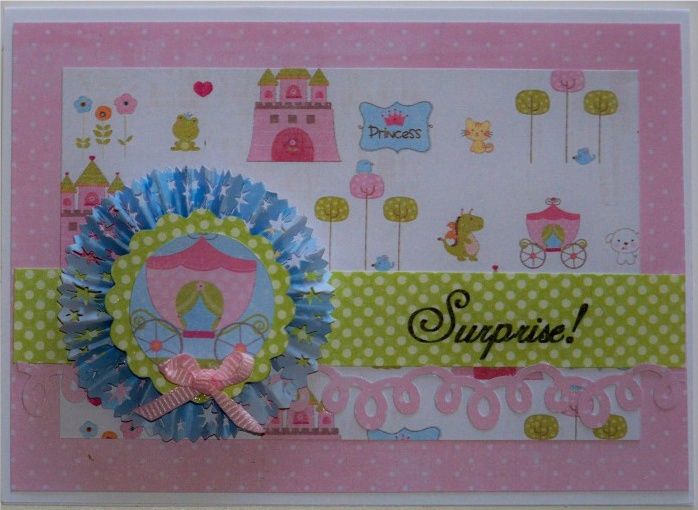
I discovered a great card sketch on the Bo Bunny Blog.  As a person who doesn't often use design sketches, I loved the simplicity of the one designed by Gabrielle Pollaco and wanted to try it.  You can see it here.  I thought it would make a great 'Surprise' card for my daughter who asked me to revamp a doll rocker we just picked up super cheap at a consignment store. 


I used a star edge punch to put a design in the edge of a 12" x 1-1/2" strip of paper to make the rosette.  The paper was scored at 1/4" increments and I used Mini Monograms to make the center circle and scallop shapes.  The sentiment was printed using Microsoft Andine Kirnberg font at 48 point, bold.  The loopy edge was also from an edge punch.

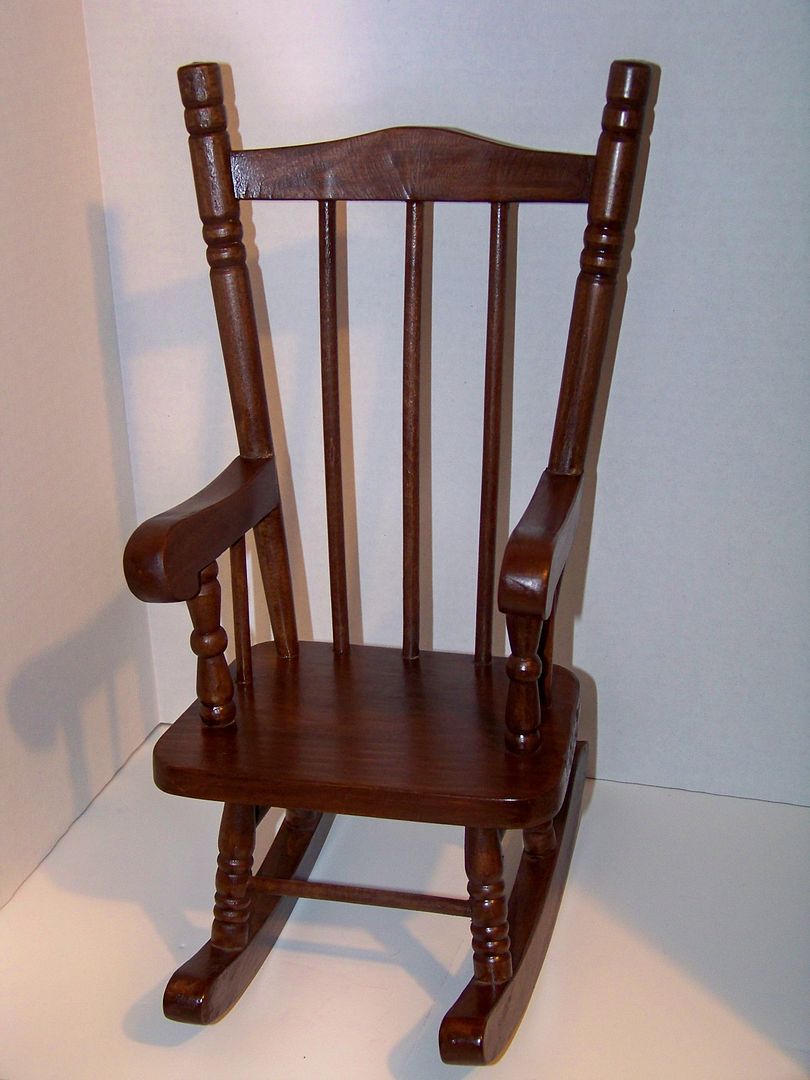
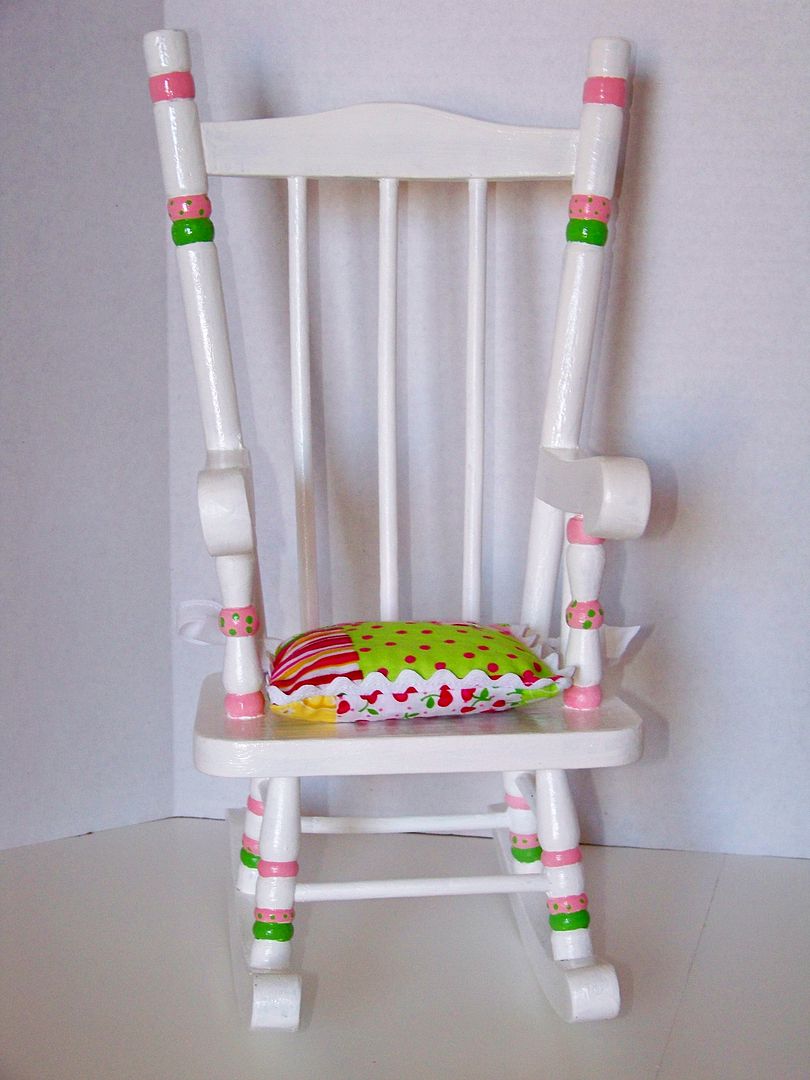
So, for the doll rocker, here is the "before"....


My daughter wanted it painted to match her other doll furniture with a cushion.  I am sure she thought it would never get done... so here's her surprise...


Happy Thursday!  Thanks for looking at my little projects.

To see all of my previous projects, please check out My Projects Gallery by clicking the tab at the top of my blog or by clicking here.

Wednesday, November 9, 2011

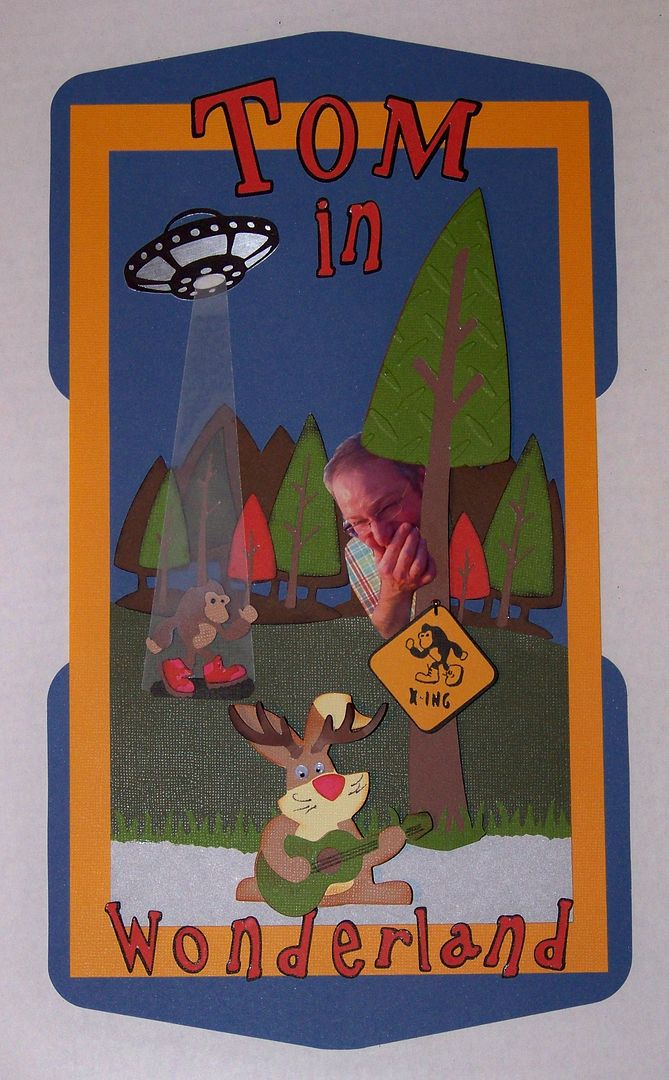
Tom in Wonderland


As soon as Campin Critters was released, I grabbed it for my husband... no, he isn't interested in Cricut or papercrafting or camping.  He does however, have an interest in Big Foot.  I often purchase a cartridge for one image, finding other treasures once it is in my collection.  On this one, I fell in love with the animals and the old fashioned trailer-style camper!  I used the marshmallow-roasting porcupine for some last-day-of-school s'mores kits for my daughter's class last year.  If you missed it, you can click here to see that project.

When I saw the Campin Critters challenge on Curt Jensen's Typecast Creative blog, I was thrilled to have another excuse to use it.  As you may have read on a previous post on my blog, Curt Jensen is an illustrator for Provocraft.  This challenge was my opportunity to also make something for my husband, who lately has complained that I never make anything for him...so this Cricut project is ALL ABOUT TOM!

I started thinking that Tom would be in a Big Foot costume (as in my Keith in a Pickle project--click here to see that) but decided it would be more fun if he had stumbled upon his favorite silly things as himself.

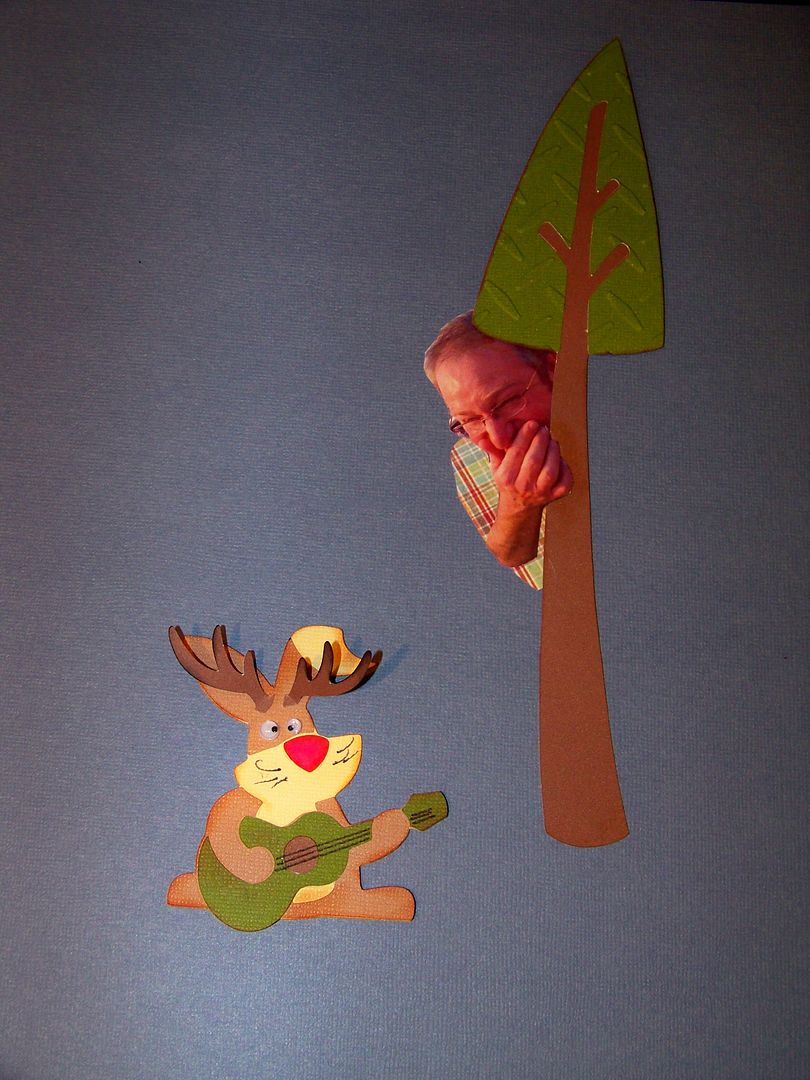
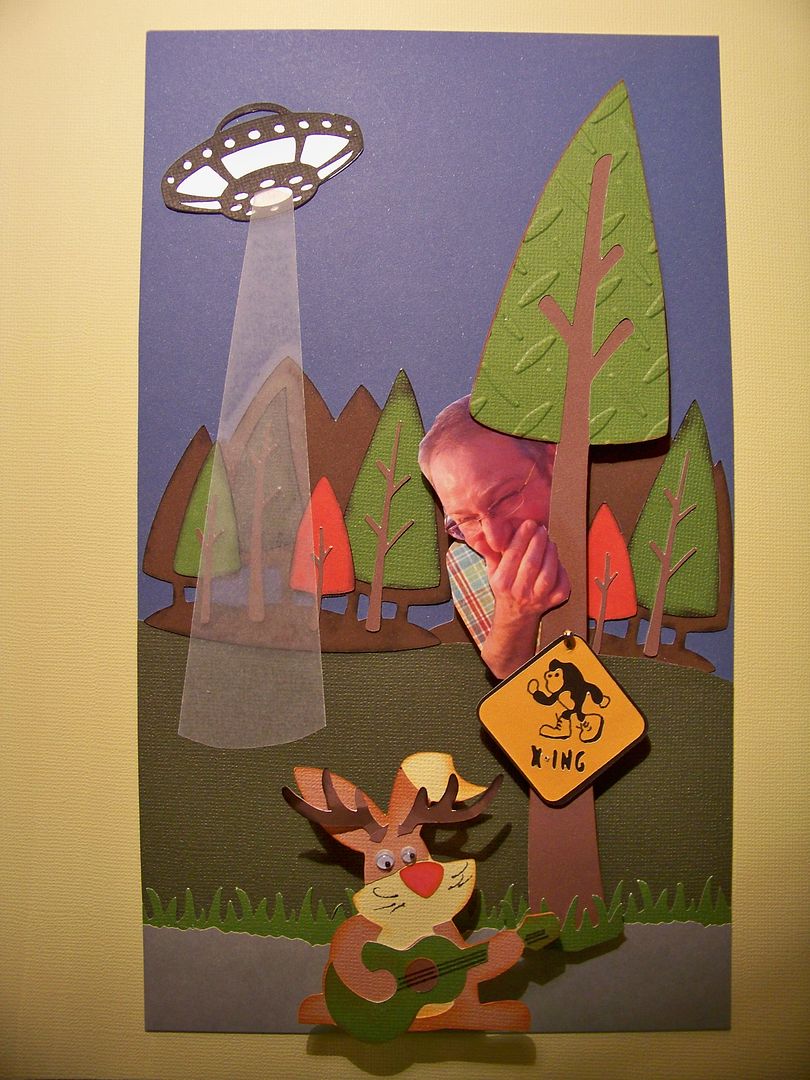
I started with one of the trees with the animals poking from behind it.  This cut is from Campin Critters (page 60), flipped and cut at 9".  (All cuts for this project were made on my Expression).  I found a photo I took of Tom at a drag race.. I don't know what he is doing... looks like an impersonation of Dr. Smith from Lost In Space to me.   (He tries to entertain me and our daughter when we give up our Saturday afternoons for those kinds of venues).  After I printed it, I checked it against the cut to be sure of the scale.  It is supposed to look like those old cartoons where the large-scale critter hides behind the too-skinny tree and I didn't want to lose that with Tom's picture!


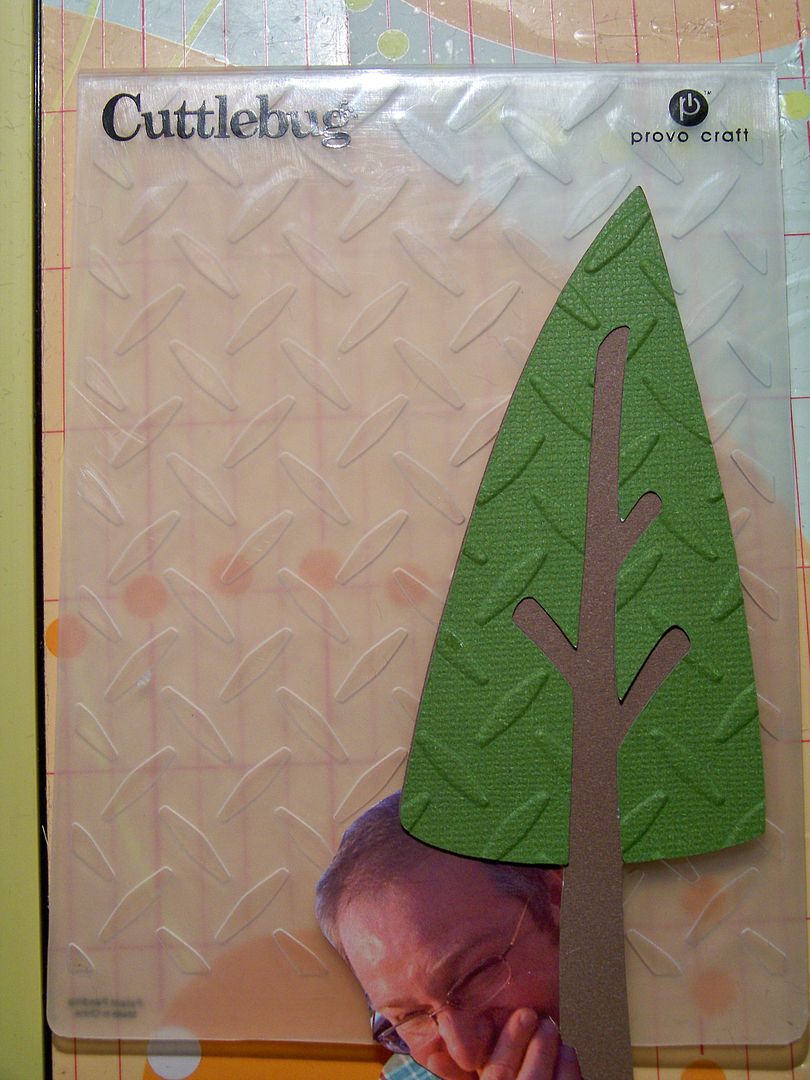
I trimmed off the bear's silhouette and replaced him with the picture of Tom.  I added a hand-cut shape to give him a shoulder.  I embossed this tree with a Cuttlebug Diamond embossing folder to give it texture and help it pull away from the trees that will be in the background.  (I thought this was a fun choice since you see this pattern stamped in metal on truck toolboxes.  I bet he notices that.)


My husband loves Big Foot sightings... has seen lots of UFOs... and adores jackalopes.  Where do I start to explain this to you?  Well, let's start with jackalopes.  This is a big topic in our home and even the word is common here as an alternative to swearing, as in That guy was a real jackalope today.  I pointed out a stuffed jackalope on the wall of the music store where our daughter takes piano lessons and sure enough, Tom had to take a picture of it with his phone and started convincing the drummer behind the counter that jackalopes were real and, in fact, vicious.  The true fun in this is Tom's amazing talent of persuasion.  The guy believed it just as readily as Tom's cousin who was convinced that Elvis really did have 11 toes ...but that's another story.


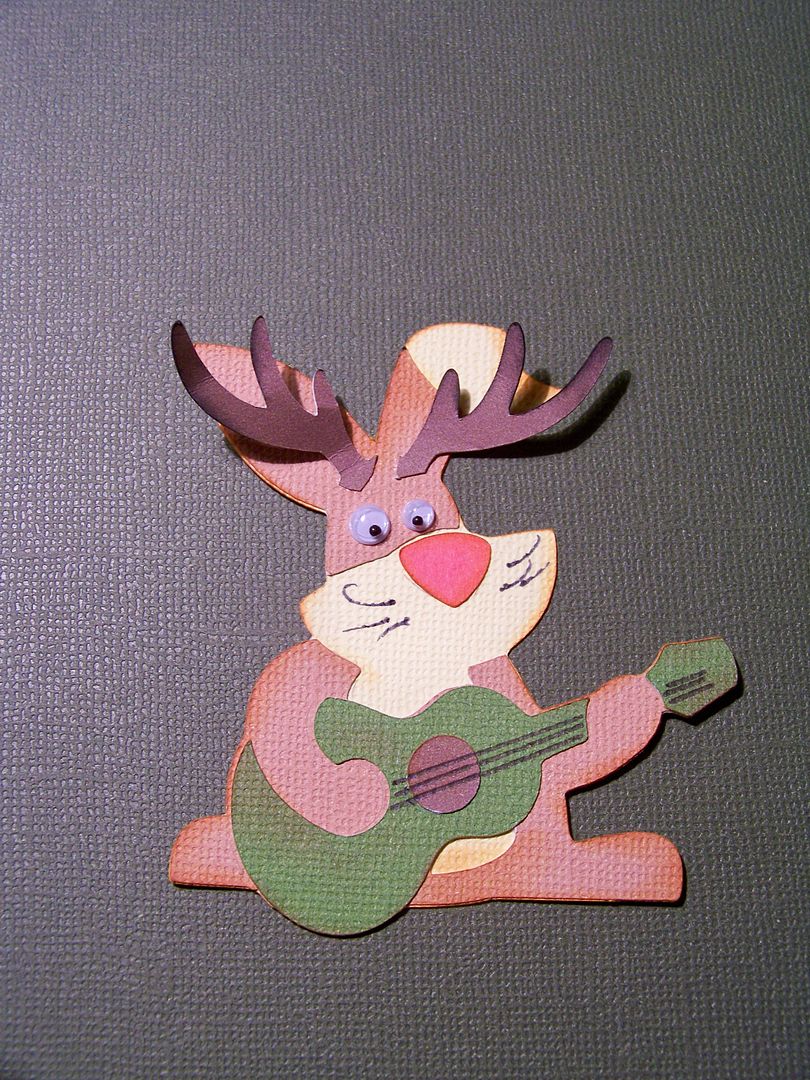
I knew that guitar-playing bunny could easily be turned into a fabulous jacklope.  (The guitar is a "Tom thing" too as my husband loves to play so I knew he would like that!)  For my jackalope, I cut the rabbit from page 32 at 3".  I added google eyes at 4mm and 5mm in lieu of die cut eyes.  The antlers are from the moose on page 29, cut at 5".  (I stopped the Cricut once the antlers were cut since that is all I needed from that image).  You can see I tape my papers onto my mat-- I like a barely sticky mat and adore the way that works to help my die cuts pop right off-even intricate ones!  (Scotch Magic Tape works even when using the Imagine and taping over the back lines!)


Once I had the jackalope and Tom, I had to start thinking about the composition...


Big Foot has been a fun diversion for Tom since he was a kid.  I first made a sign for the tree from the image on page 30, cut at 1-3/4".  To make it look like it was nailed to the tree, I bent a small brad and inserted it only to the bend.  Then the sign was applied with an 1/8" pop dot.  A bit of grass cut with an edge punch finished the tree element.


Next, UFOs... well, have you ever listened to Coast-to-Coast in the middle of the night?  This is a ritual for us as we often travel in the wee hours of the morning after working weekends out of town.  Coast-to-Coast, if you don't know, is talk radio where intelligent-seeming adult persons actually call in to discuss things like UFOs, Big Foot sightings, aliens, elves, and other things that most of us quit thinking seriously about after age 9.  If you are half-asleep, as I was the first time I heard it, you may mistake it for a regular show with impassioned callers... that is until you hear something like, "So how many elves tall was he?"  (That was an actual line that I heard.)  One night, I am sure I will be awakened by the sound of Tom's voice calling in to the show.  (Tom put himself through college as a radio DJ and by doing singing telegrams so you can imagine that he would be a perfect animated caller to that show!)  Tom sees UFOs all the time from our back deck.  I have never seen them, but then again, I don't drink... but I digress...


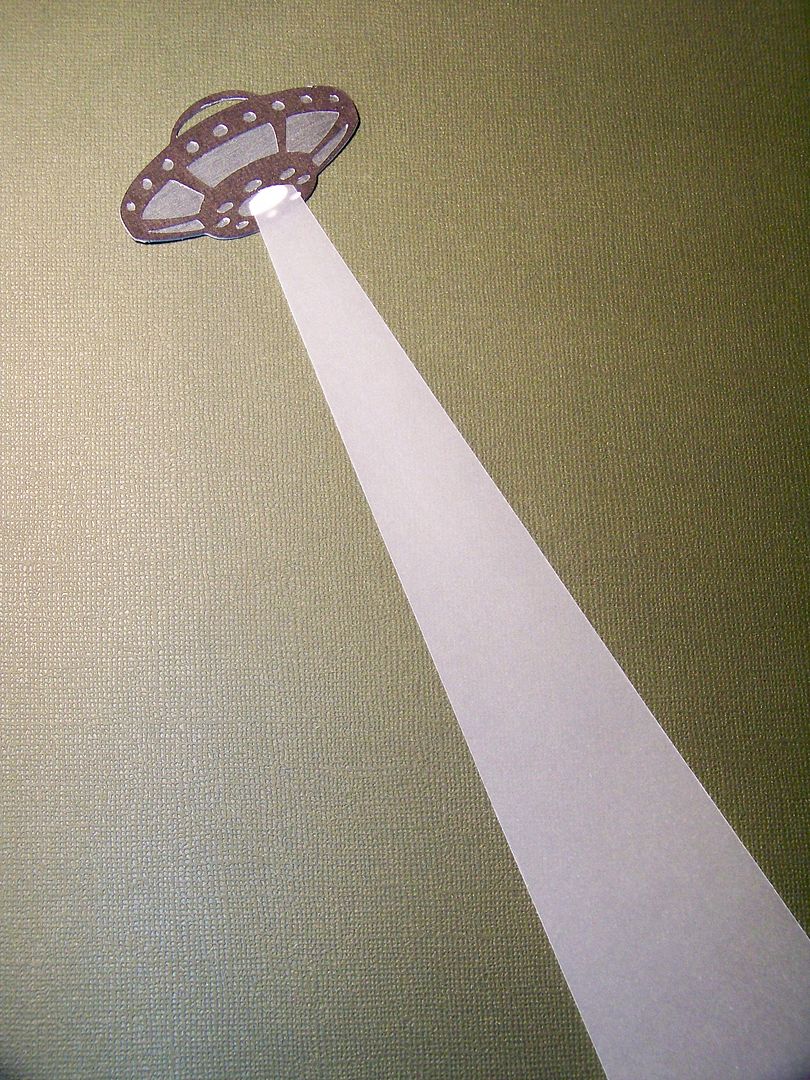
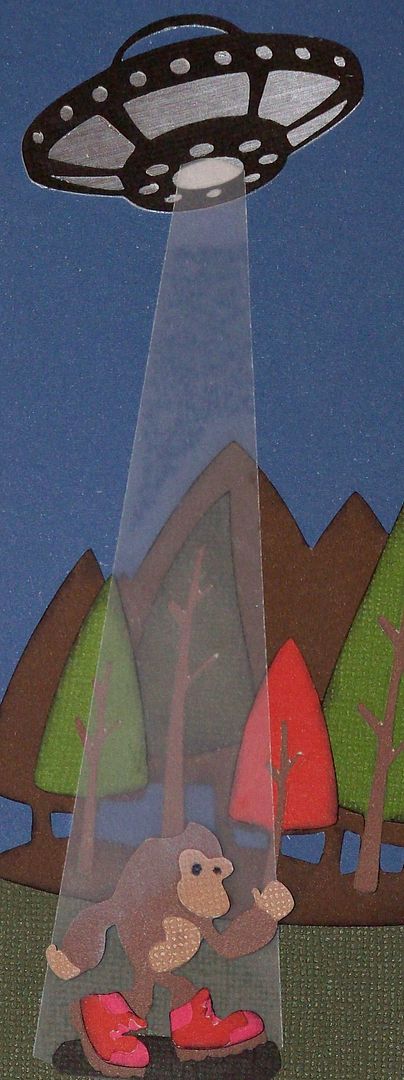
My flying saucer was cut out of metallic cardstock from Space Party at 1-1/4"... it is another of Curt Jensen's cartridges that I bought for Tom.  I hand-cut the beam of light from vellum.

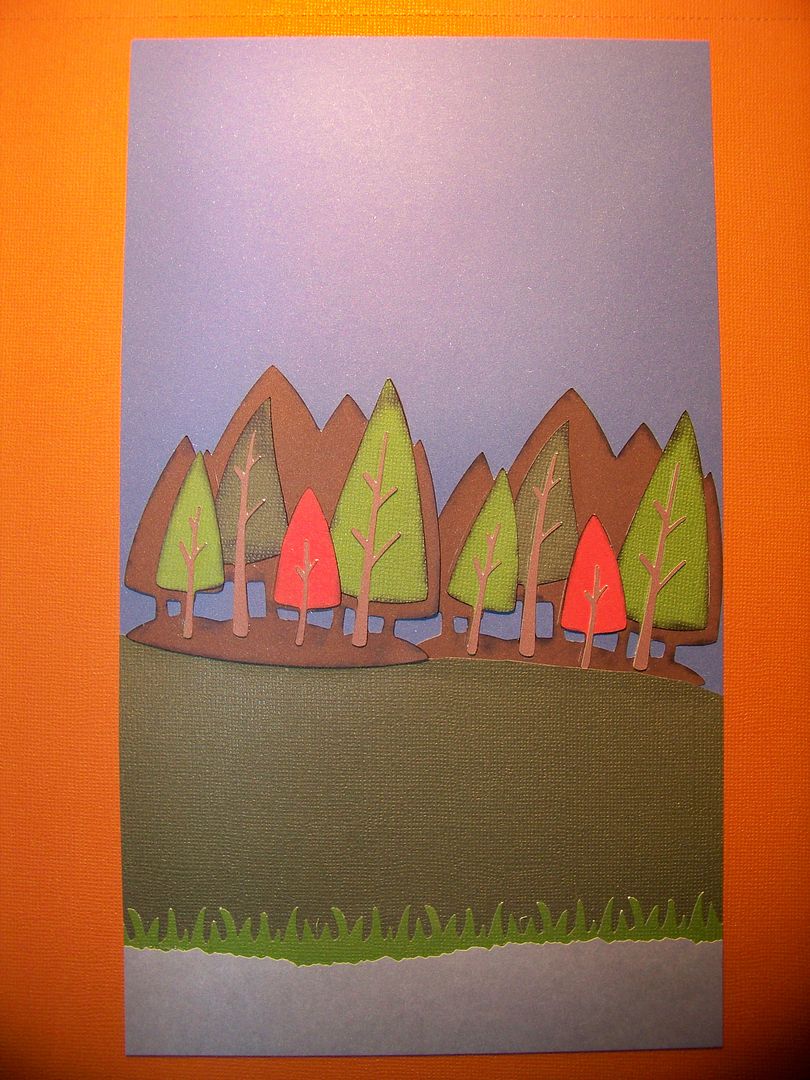
Next, I worked on the background.  The gravel walkway was deckled with decorative scissors and the grass was cut with the same edge punch as before for the base of the tree.   I cut two wooded areas with the image on Campin Critters from page 62 at 3" and adhered them for the horizon.


I adhered the jackalope with 1/2" popdots; the tree and Tom were adhered with 1/4" popdots.  The flying saucer was adhered flat.  I adhered the vellum that formed the beam of light by running it through the Xyron so that it would be somewhat transparent, totally fixed in place, and not curl.


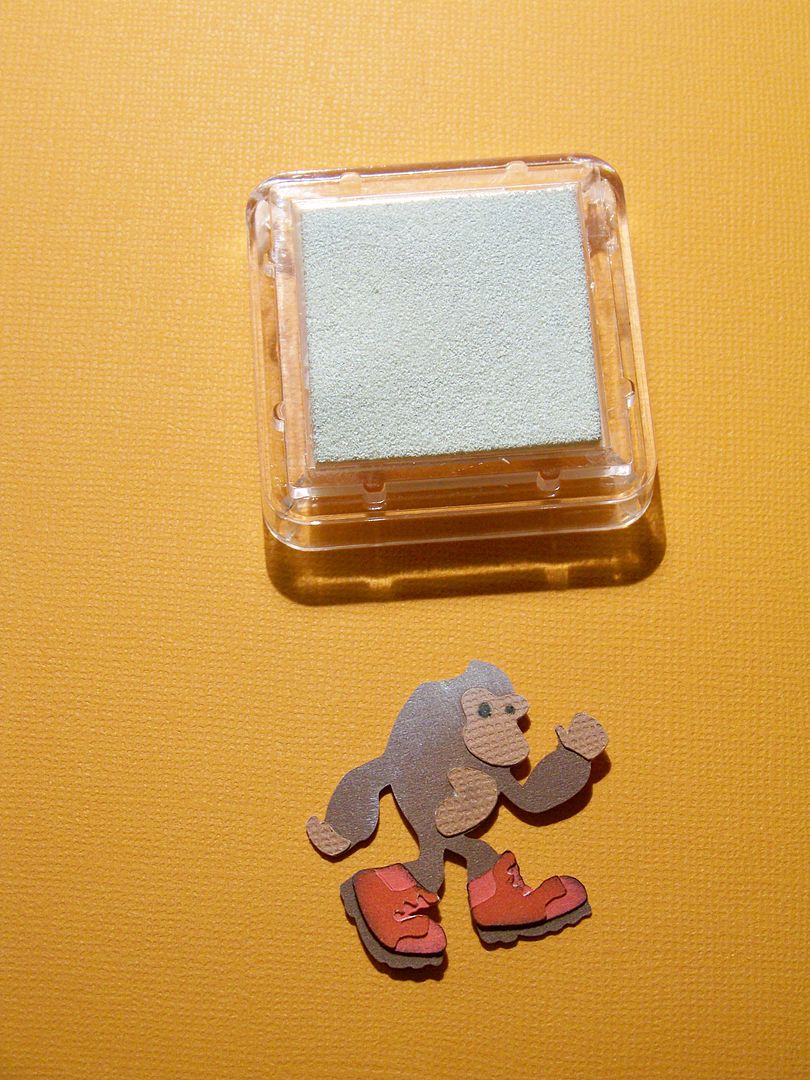
I originally thought the 'hint' of Big Foot with the sign would be enough, but I decided that I wanted the flying saucer to pursue Big Foot in the background so I cut him at 1-1/2", flipped, so he would fit inside the beam of light.  I used a white ink pad to lighten his head and shoulders to look like he was being showered with light. 


I hand-cut a small shadow for him to stand on. His feet were adhered flat; his head and shoulders were lifted with an 1/8" pop dot.


To finish, I hand-cut a mat and then two plain sign shapes from Campin Critters (page 66) at 5-3/4" to form a frame.  The lettering was cut from Feeling Groovy with shadow.  "TOM" was 2"; "in" was 1-1/2"; "Wonderland" was 1-1/4". 


It was so much fun to do this project for Tom.  It is one of the goofiest projects I have ever made, but I think he will get a kick out of it.  Just so you know (and because I couldn't let you leave without knowing), Tom is a creative and brilliant entrepreneur.  His fixation on this silly stuff makes him a super fun dad and a pretty cool travel companion on all those late-night weekend work trips.  He has some not-so-much-fun interests in things like history, geology, and politics, but gee, they just aren't as much fun to cut out of paper!  As a serious art lover (read: edgy), he tends to stay clear of my whimsical craft blog, so I am sure my project will remain a secret to him until I present it. 

Be sure to check the Typecast Creative Blog November 14 to see all the entries and links to the projects using Campin Critters.  It should be fun to see everyone's take on this challenge!  The two I have seen so far on blogs have been so creative and fun!

To see all of my projects in My Project Gallery, click here.
Monday, November 7, 2011

Right Here Having Fun

 
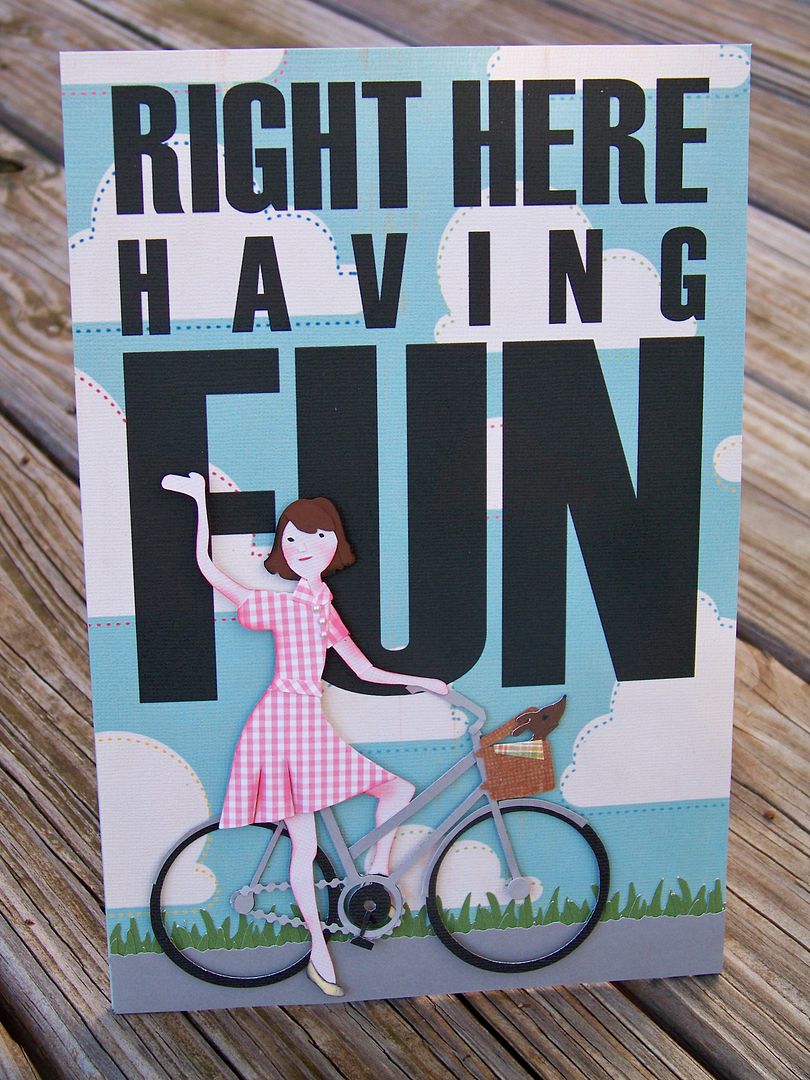
I recently had so much fun with the car cut from the Traveler cartridge that I wanted to try altering the bicycle.  I really liked the results when I added details.  I imagined the bike having a basket with something peeking out.    With business travel stealing from the time and planning of pleasure trips, the past couple of years have been all about finding fun right here at home!  Bicycles and blue skies were on my mind while I did my latest Obsessed with Scrapbooking Design Team project-- a plaque.

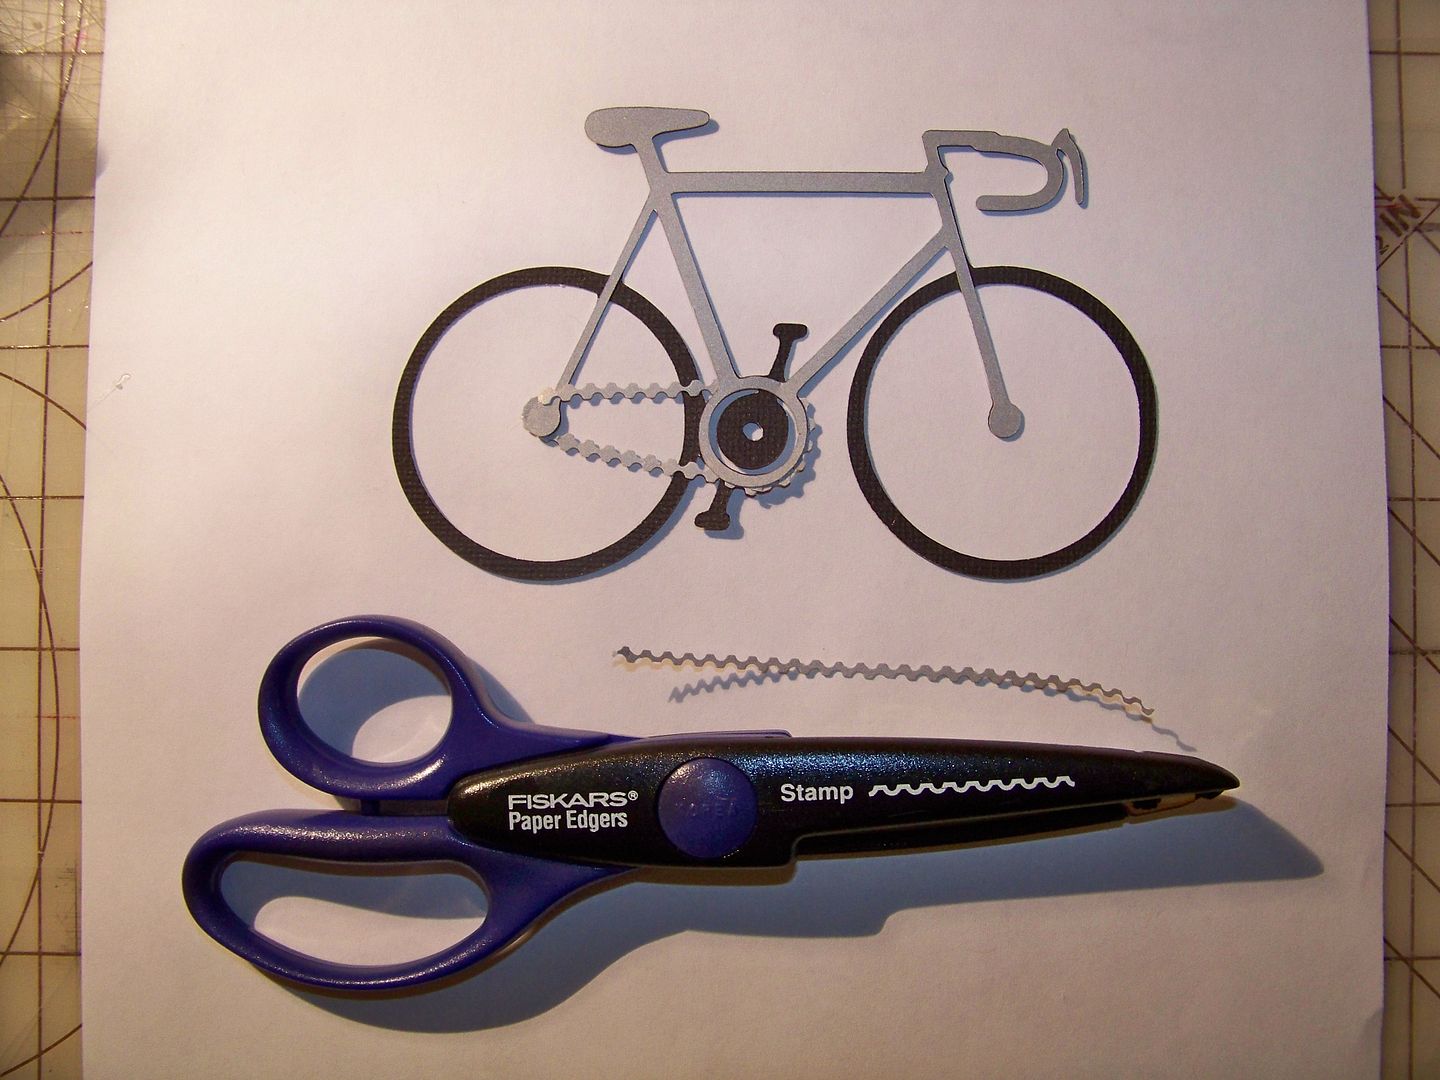
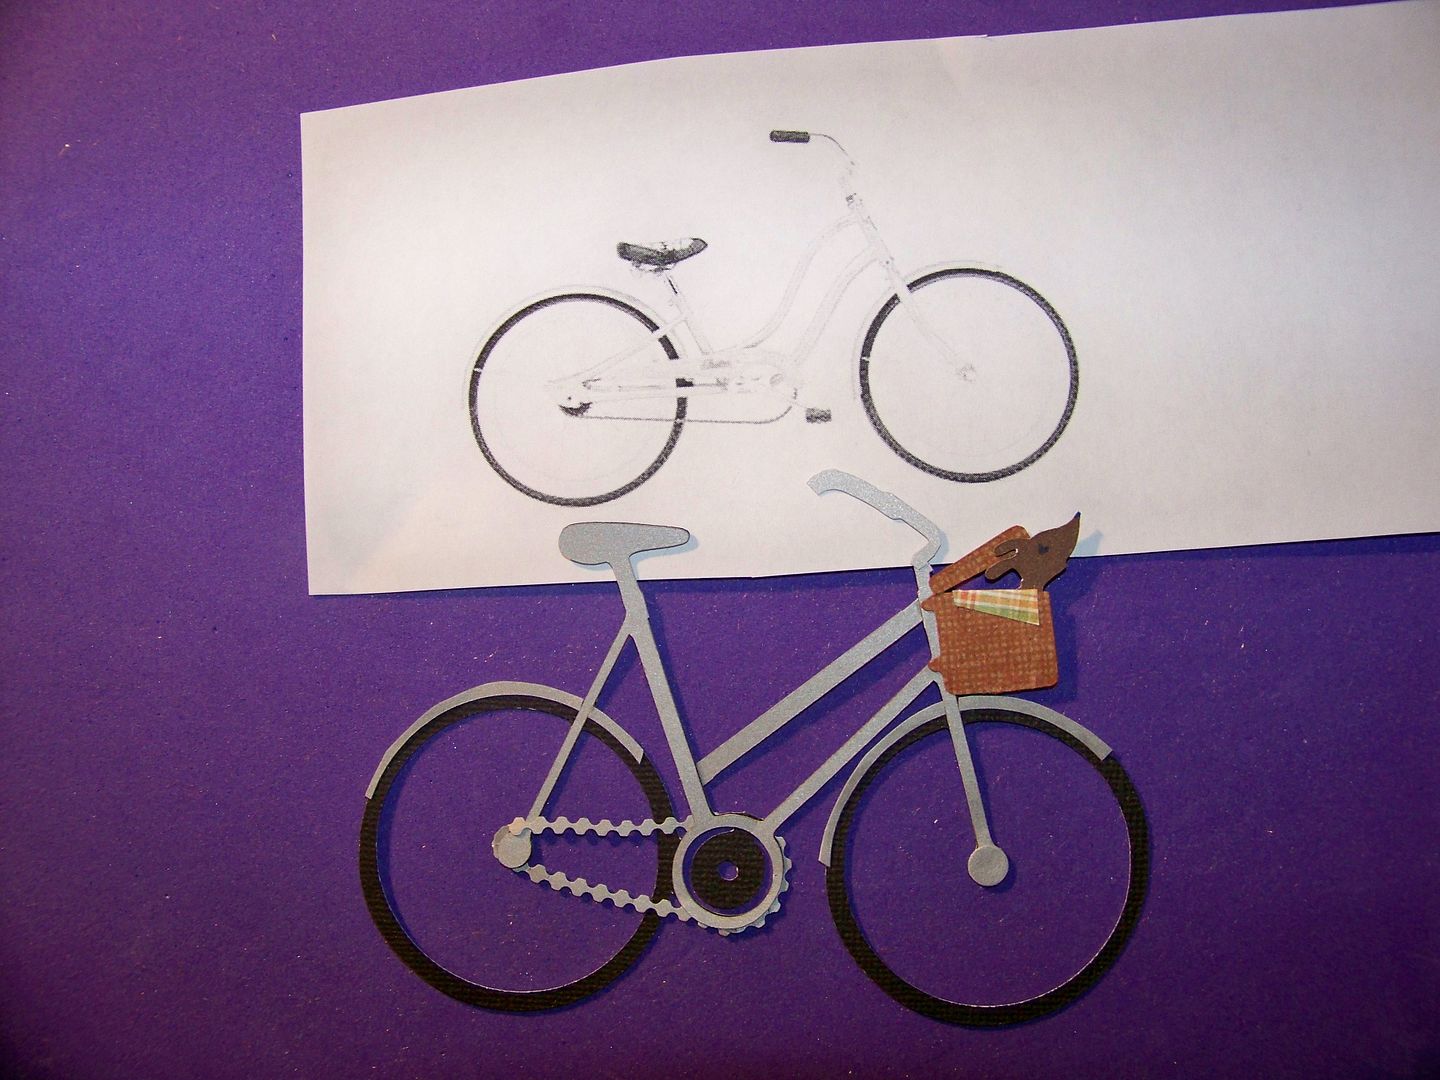
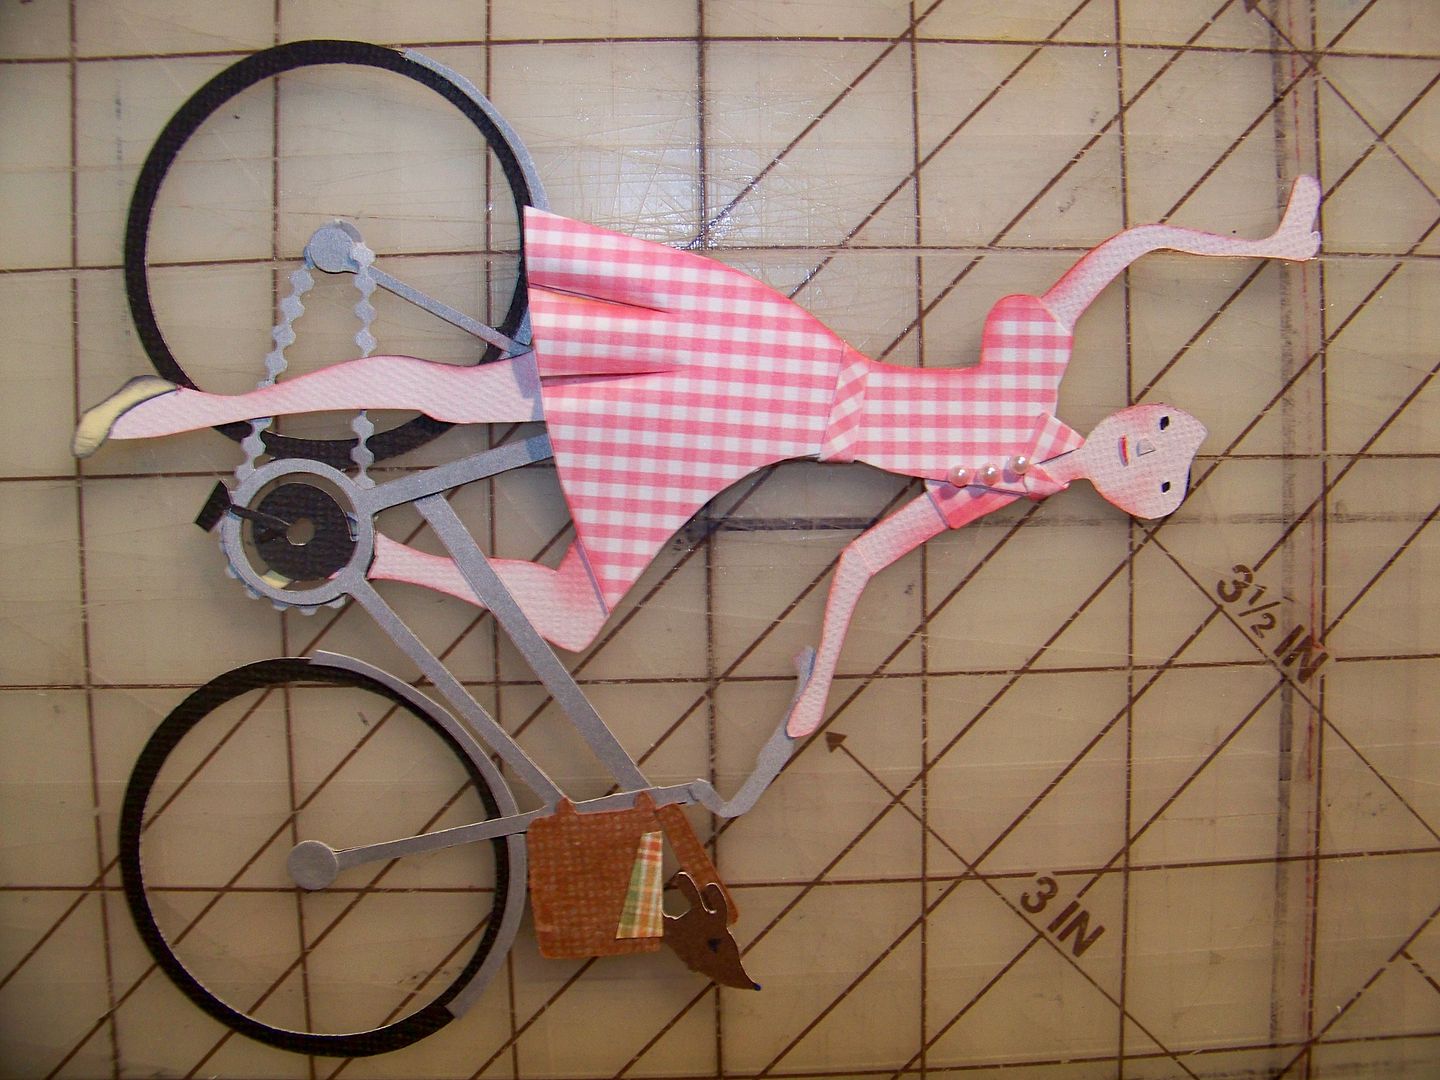
I started by cutting the bike on Traveler at 3" on the Expression.  I cut the full bike in both gray and black, and then the shift image of the frame only in gray.  For the details, I needed extra parts and these extra cuts allowed for that.  I looked up "girls bike" on Google Images to know what a bike really looked like so I could add my details properly.  I added a chain using decorative edge scissors.


I changed the angle of the top tube to look more like a touring bike than a racing bike, changed the handle bars (by cutting away the hand-brake and flipping the trimmed down handlebars), and added fenders. 

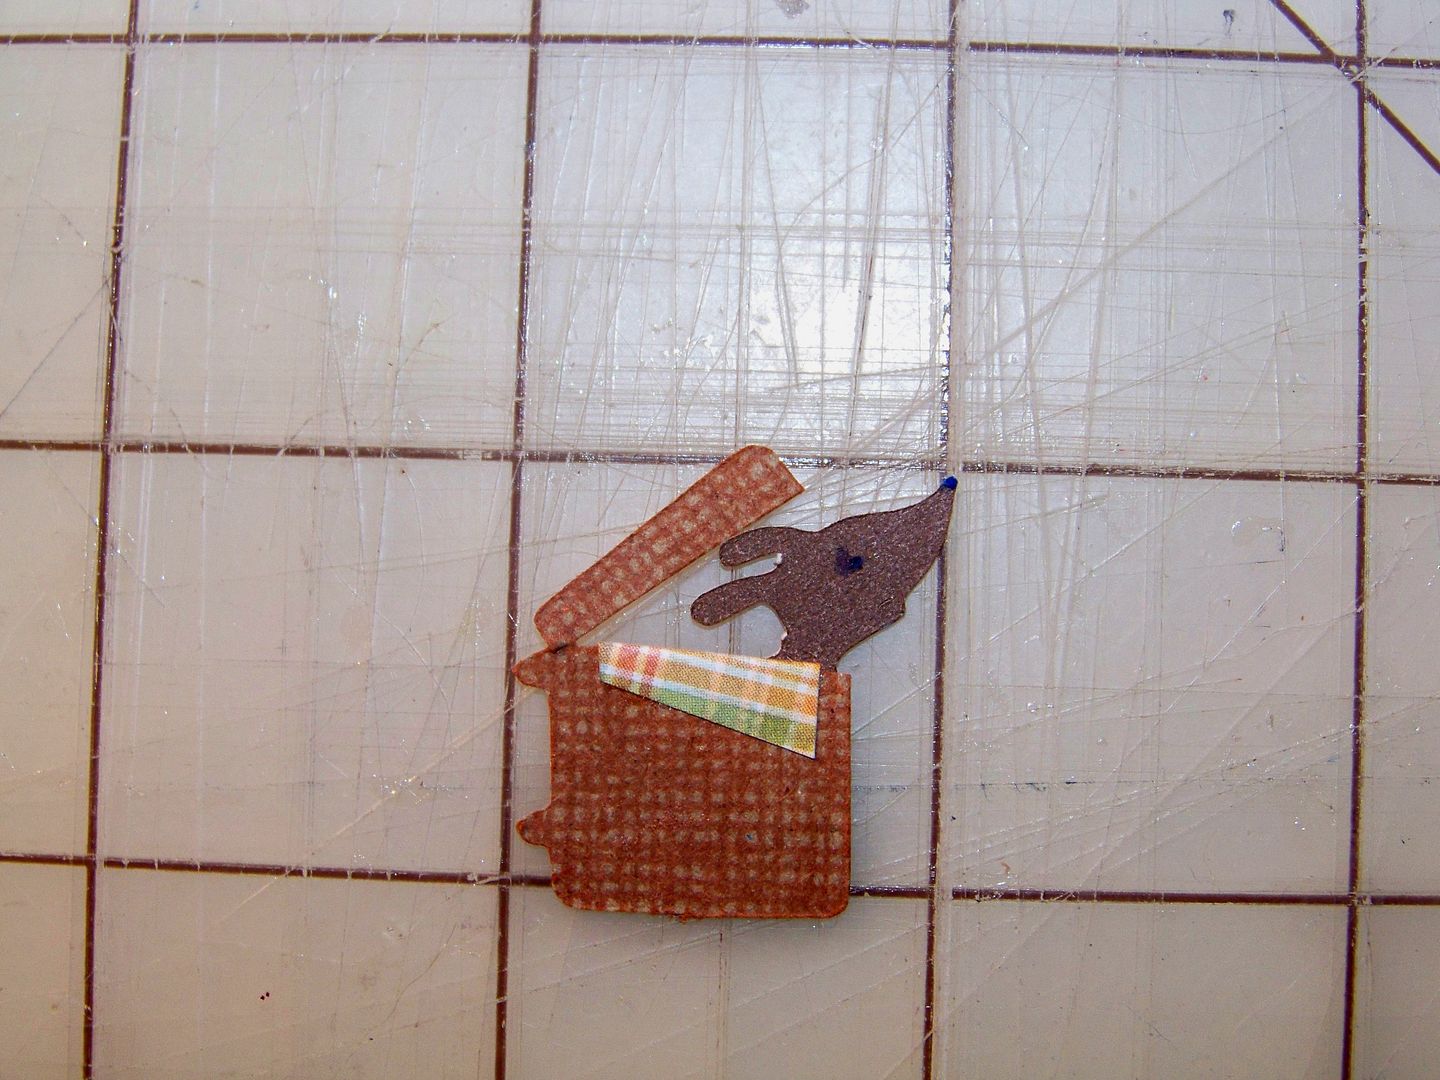
I created a basket by cutting the shape from Traveler (page 58 -icon shadow) at 3/4" on the Expression.  I stamped a woven design on it and made a cut near the top to create a lid. 


I added a "cloth" liner folded over the edge.  The puppy was cut from Paper Pups (page 87 solid) at 1/2" also on the Expression. 


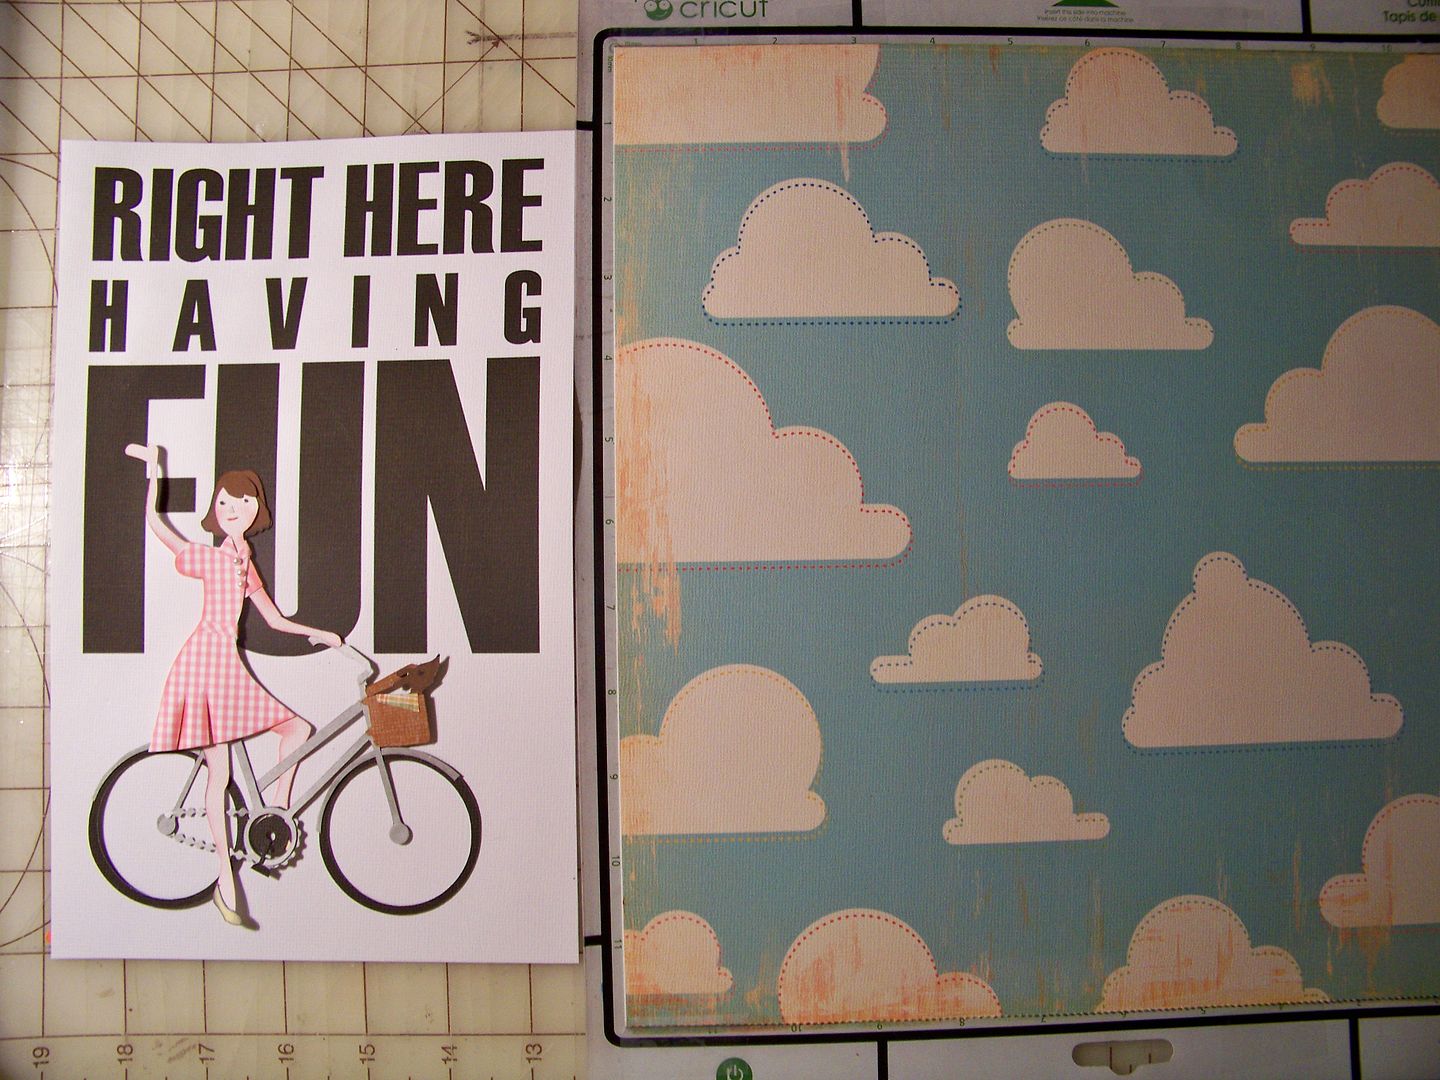
I knew I wanted the background to be the text "Right here having fun" from Traveler (page 49).  I changed the settings on the Imagine to 'print only' and printed it on white paper so that the figure with bike could be completed while keeping the background in mind.


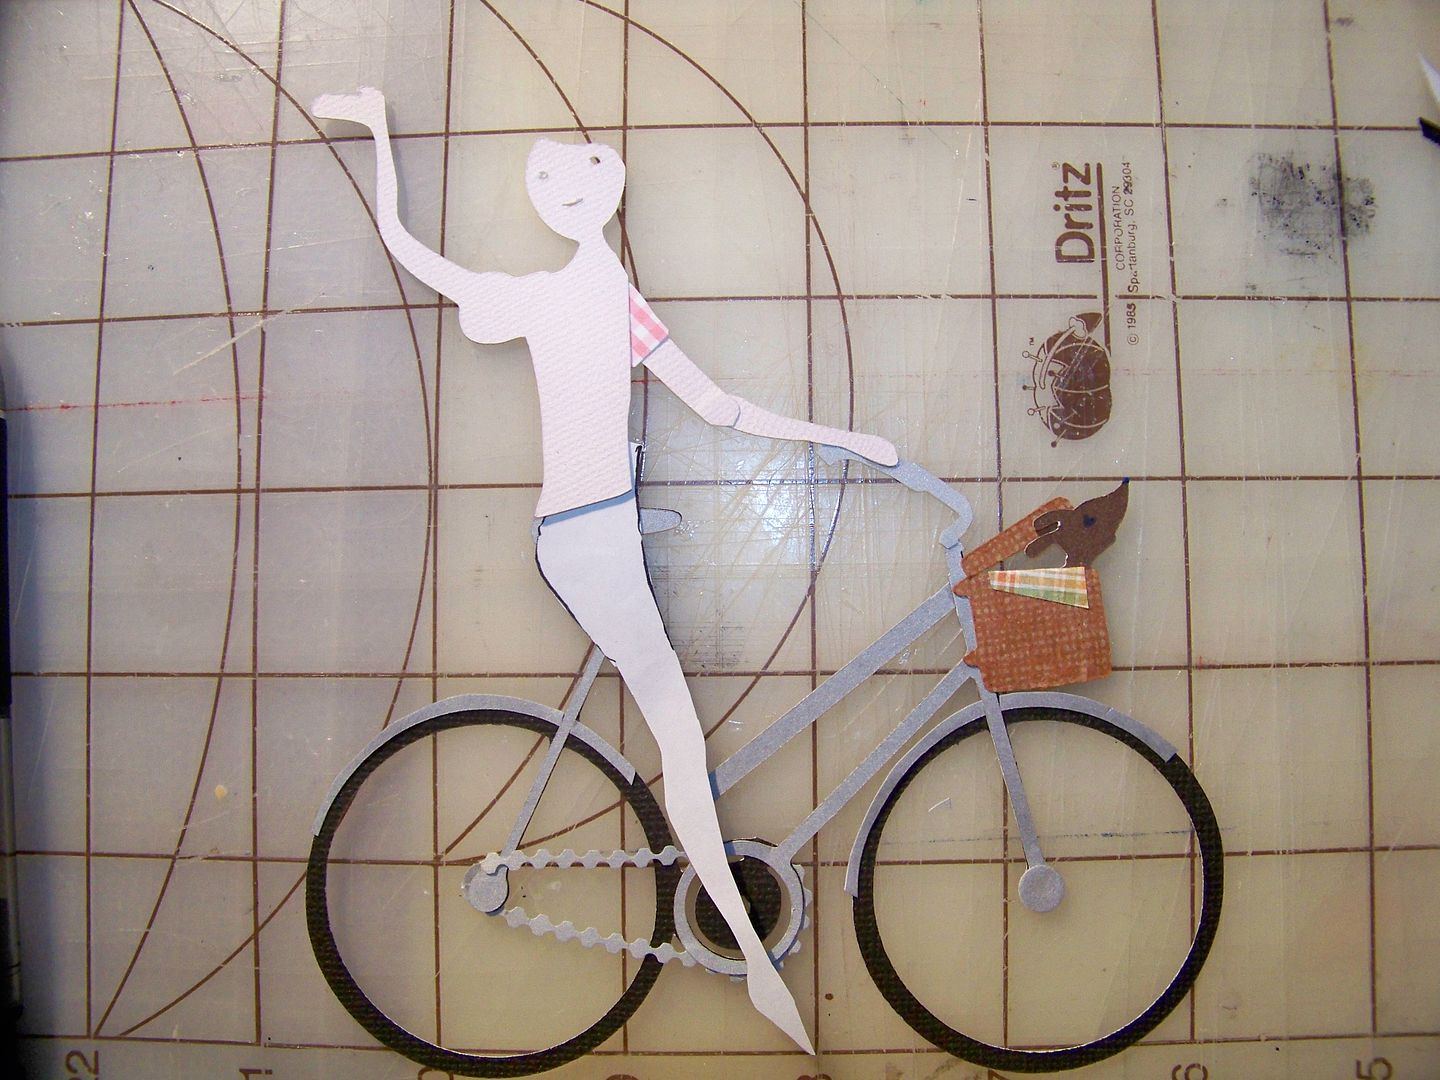
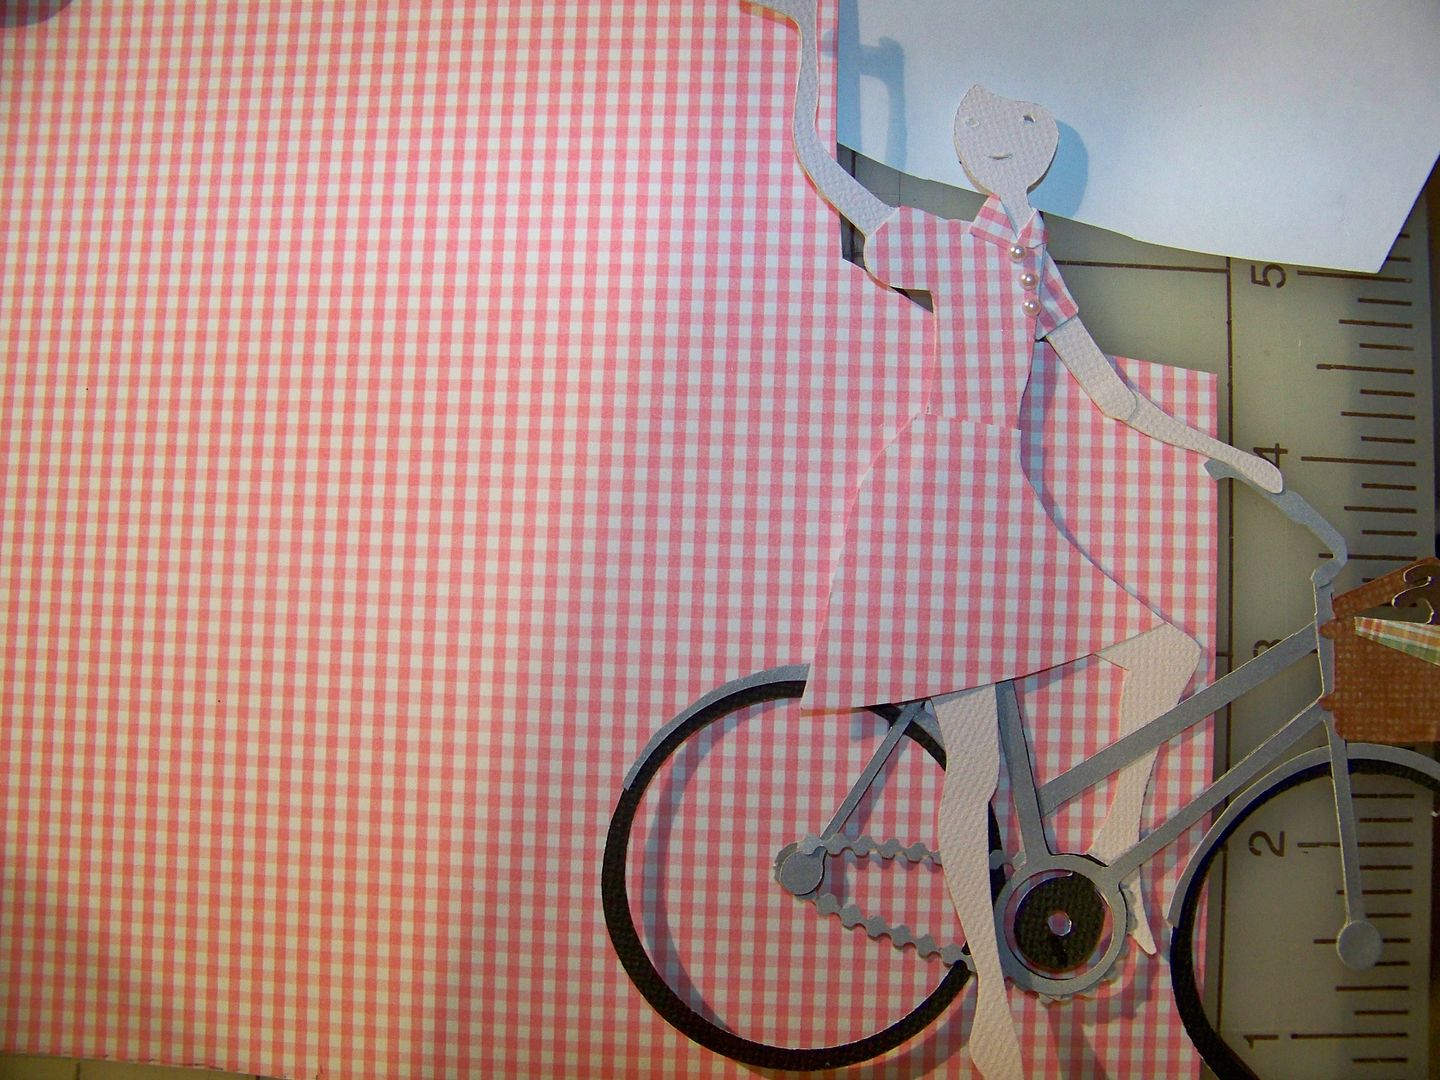
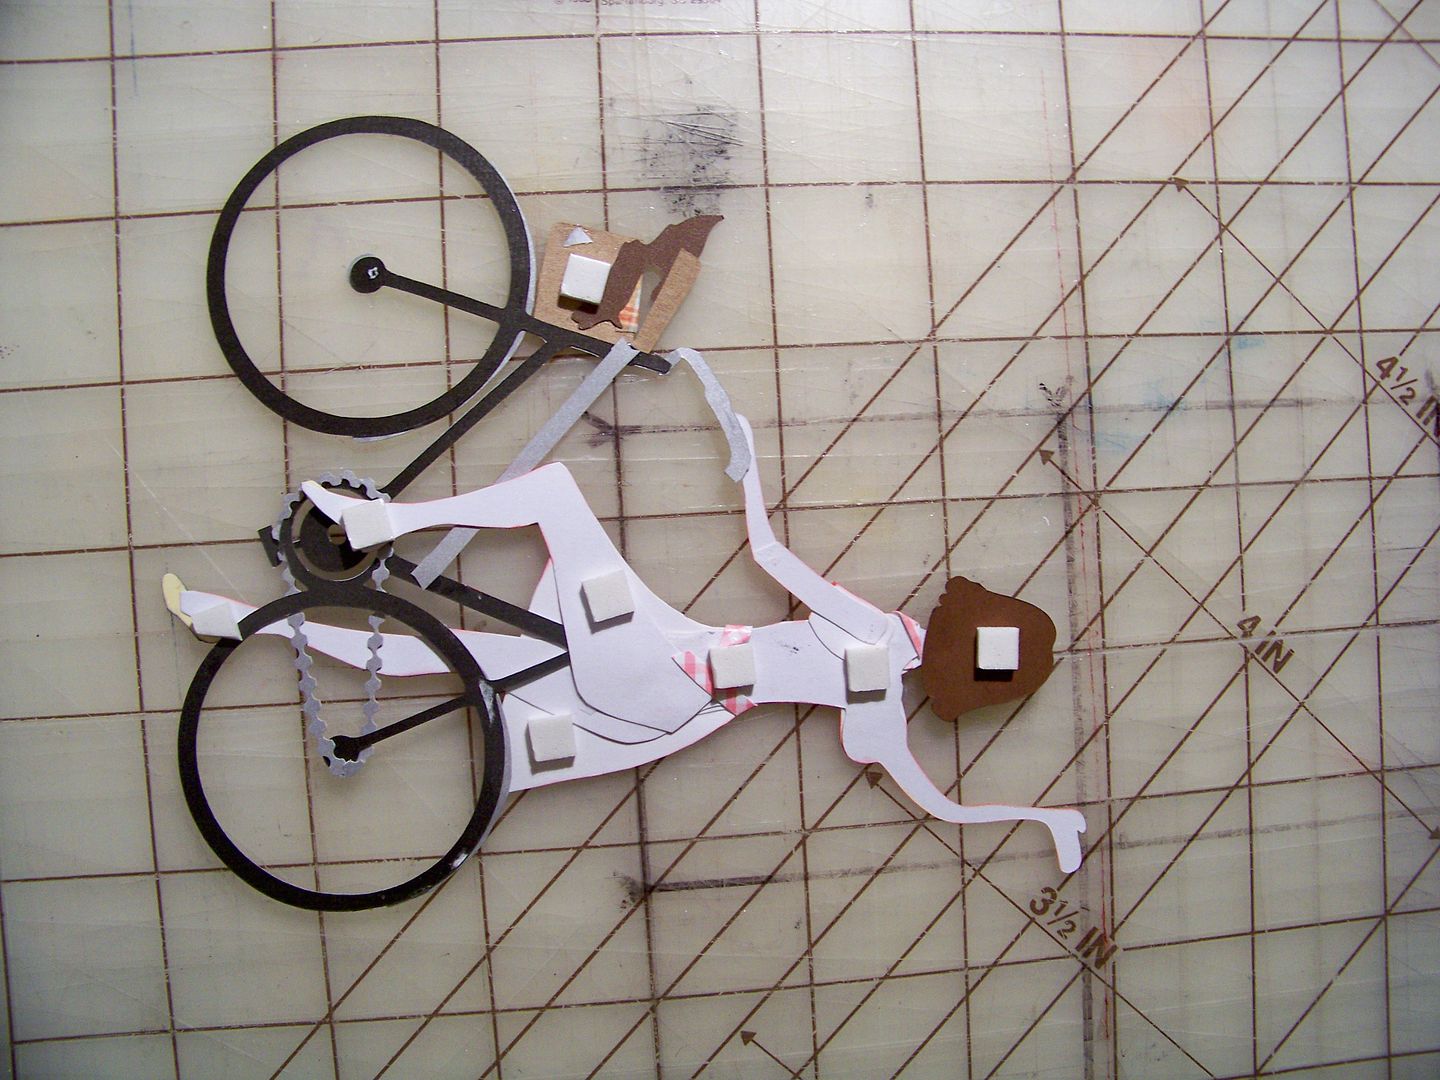
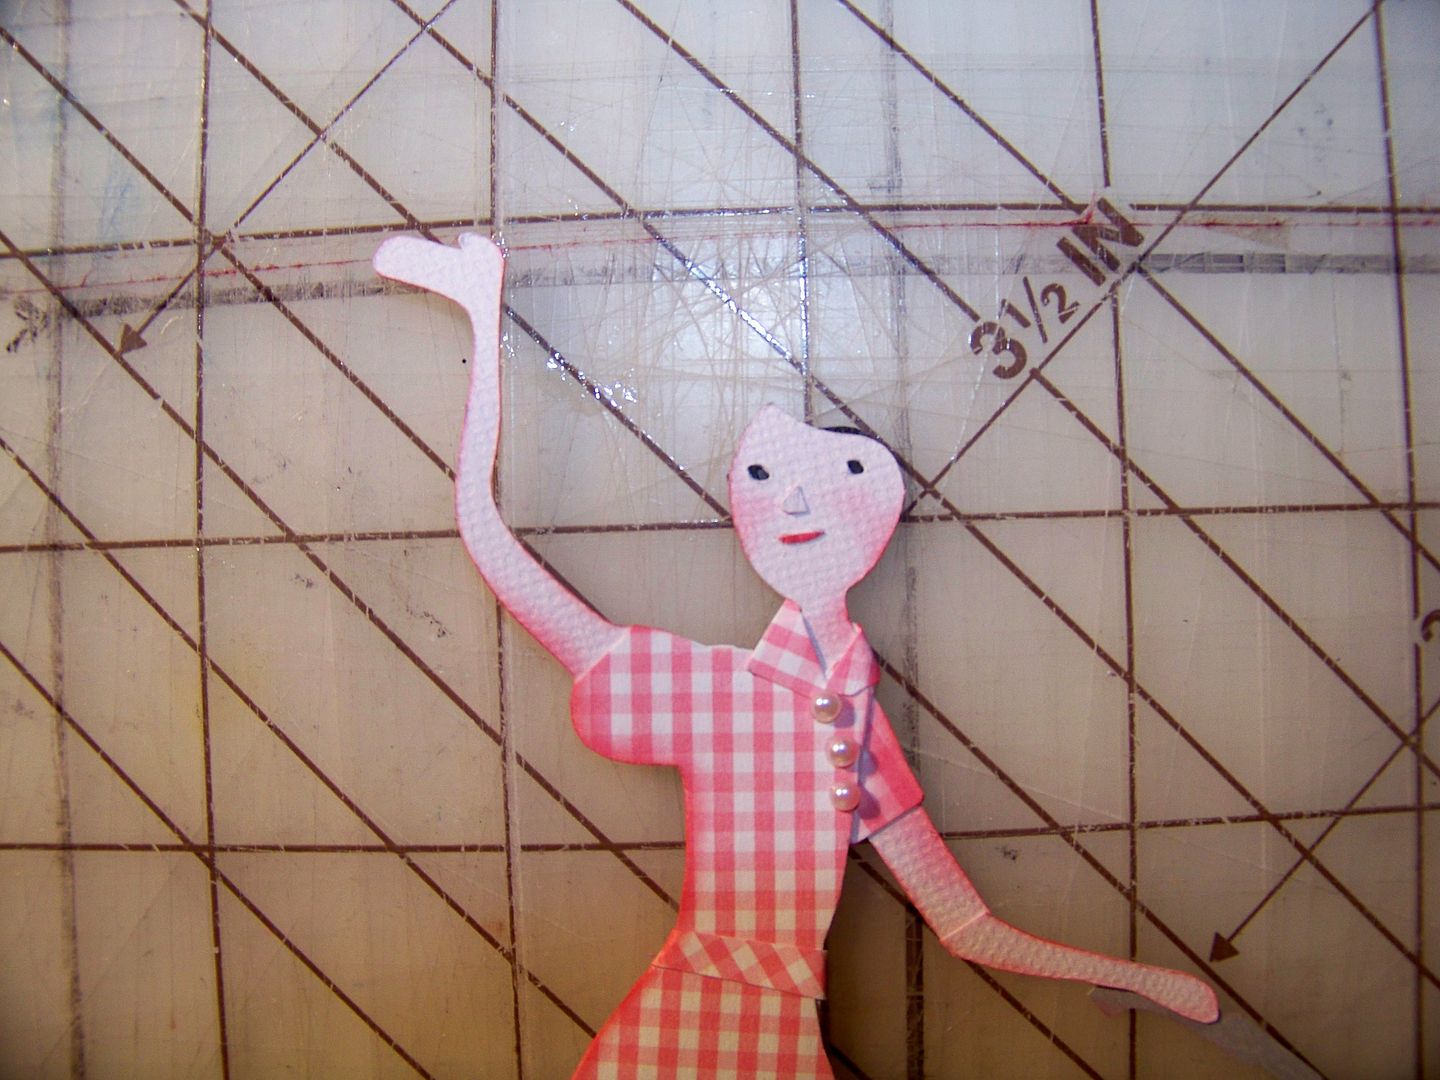
For the lady, I cut her upper body from Country Life (page 32) at 7-1/2", flipped.  (Funny, I bought Country Life just for this cut and as much as I use this cartridge, I have NEVER made that cut--until now!)  I used my Imagine to cut her and floodfill the shape with RGB 250, 229, 210 for flesh.  I also floodfilled a 6" square with the same flesh color so I could make her legs.  I hand-cut one leg to make her lower body.  I traced one leg straight and cut that.  I had to cut her arm at the elbow to change the angle in order for her to hold the handlebars.


I used the same leg pattern to trace and cut to create a bent back leg.  I didn't know if I wanted her riding the bike or stopped and I wasn't sure of the angles of the legs so I just pivoted them until I liked the positions.  I started adding clothing by tracing and cutting... and cutting away parts of the girl's torso a bit.  I added a shirt collar and adhesive pearls to emphasize the twisting of her torso.


I had been troubled by the look of the cut joint of her knee so I traced the bent leg and hand-cut so that it would be solid.  I created a skirt but after it was adhered, I decided to add an extra layer so that I could cut in a couple of "fabric" folds.  I re-cut it by matching the pattern and simply tracing it again, then cutting it out.  I cut in a couple of slits and rolled them toward the back, then inked.


I added a layer of black behind the cut of the face to finish her eyes.  I inked her face and added a paper mouth and nose.  I added a bias cut waistband.  I also cut the elbow to change the bend to be right at the inside of the elbow.  I inked her body in pink. 

I traced her feet to cut out little shoes and inked those in black to be sure they visually looked separate from her feet. 


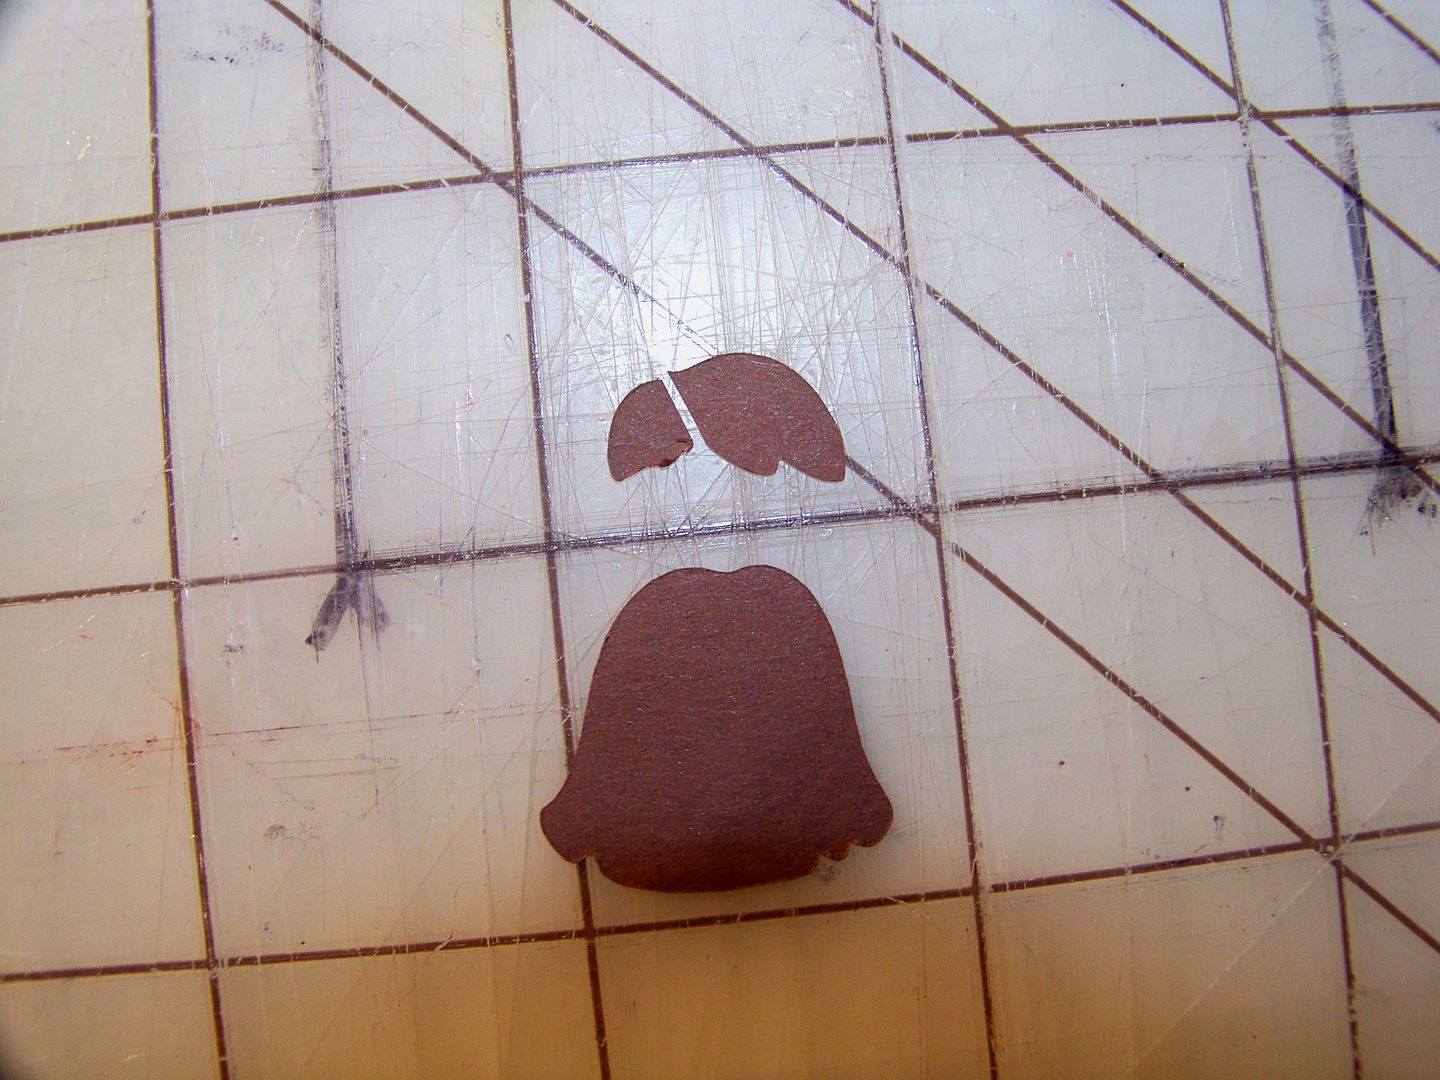
I created her hair by using two cuts at 1-1/2" from Paper Doll Dress Up:  page 44 and page 47.


My figure was complete!


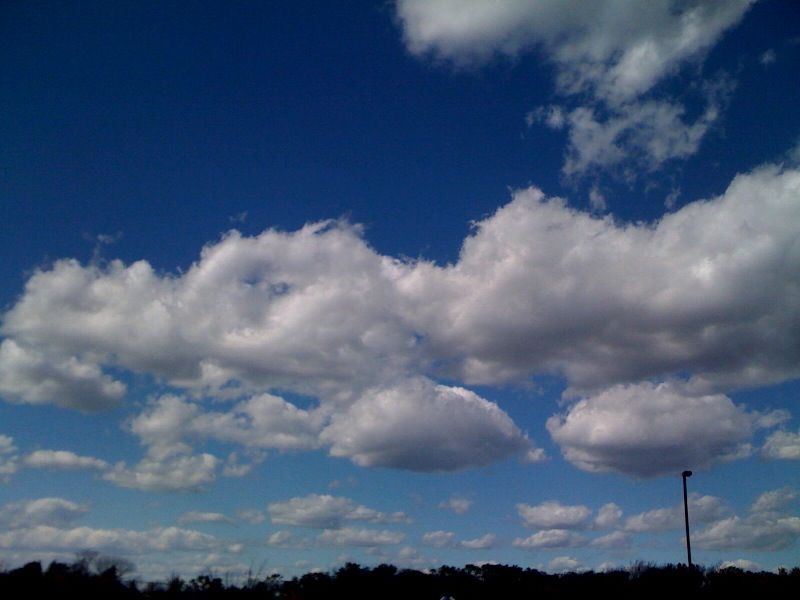
I had been thinking about the background...  I have been noticing the skies around my neighborhood the past few weeks-- puffy white clouds and beautiful blue skies.  I took this picture with my phone a couple of weeks ago while sitting in the pick-up line at my daughter's school.  What an unexpected gift that day! 


Clouds just had to be in the background!  I printed a page of clouds from Hopscotch on the Imagine.  I double checked the scale next to the paper printing I did earlier and to the figure.

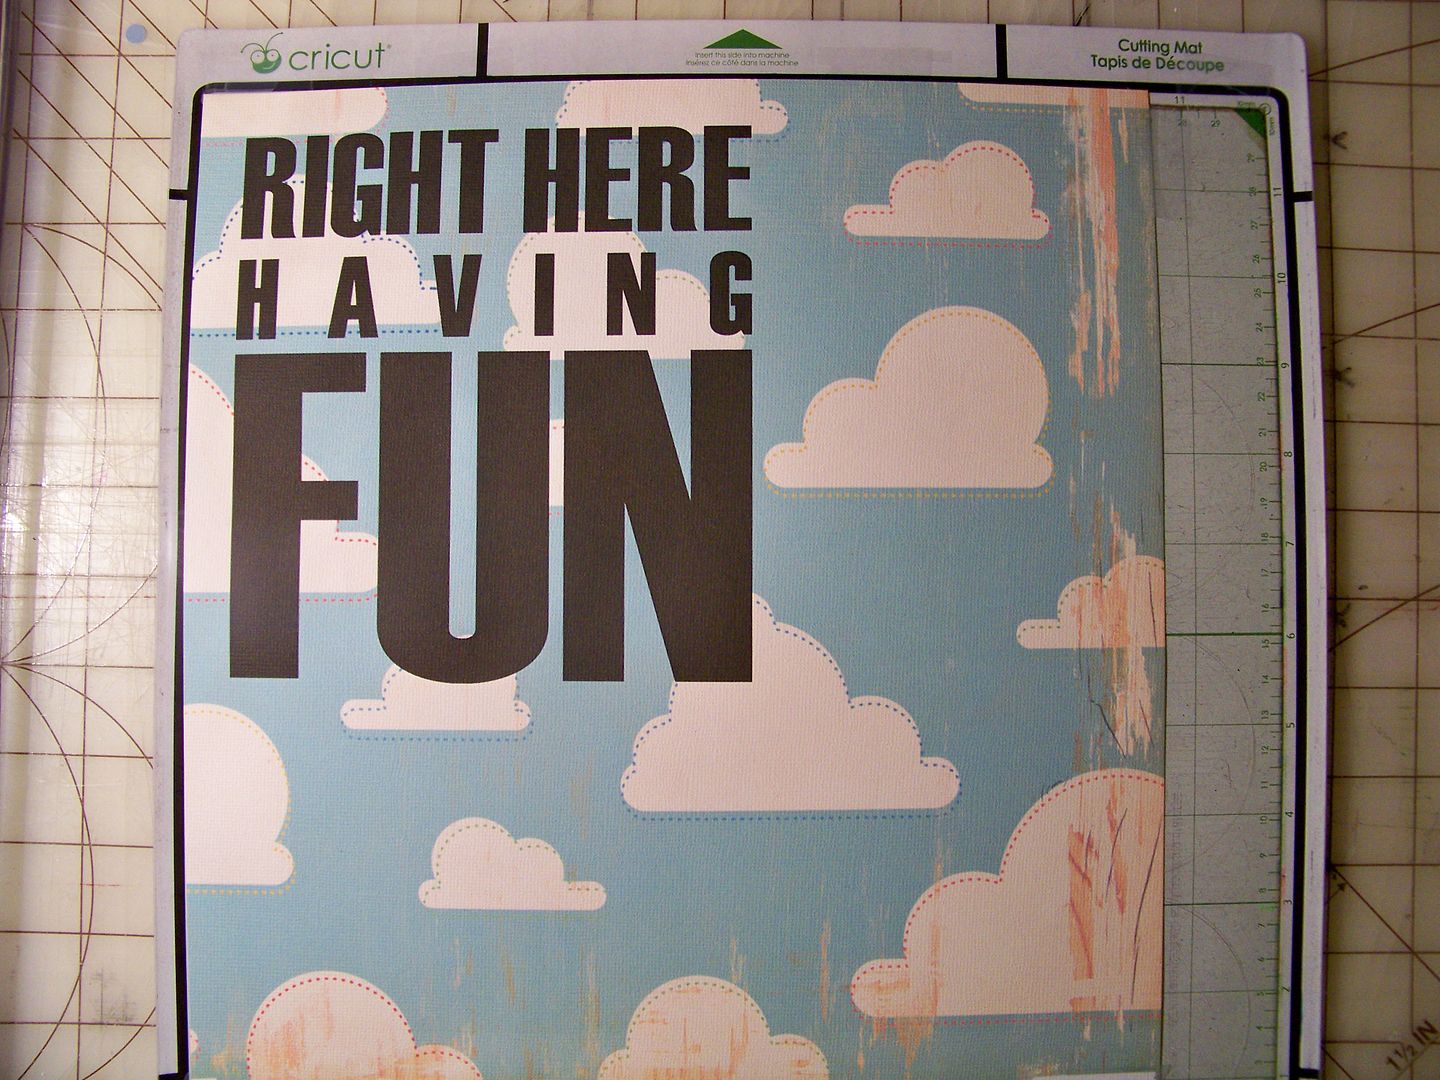
I trimmed off the top and sides a bit to remove the stylized scratches and scrapes from this printed paper so that my text would be on "cleaner" clouds.  I put the cloud paper back through the Imagine and used the Traveler cartridge again to print my text directly on the clouds-- with the machine set at 'print only.'  Again, I printed it at 7-1/2".


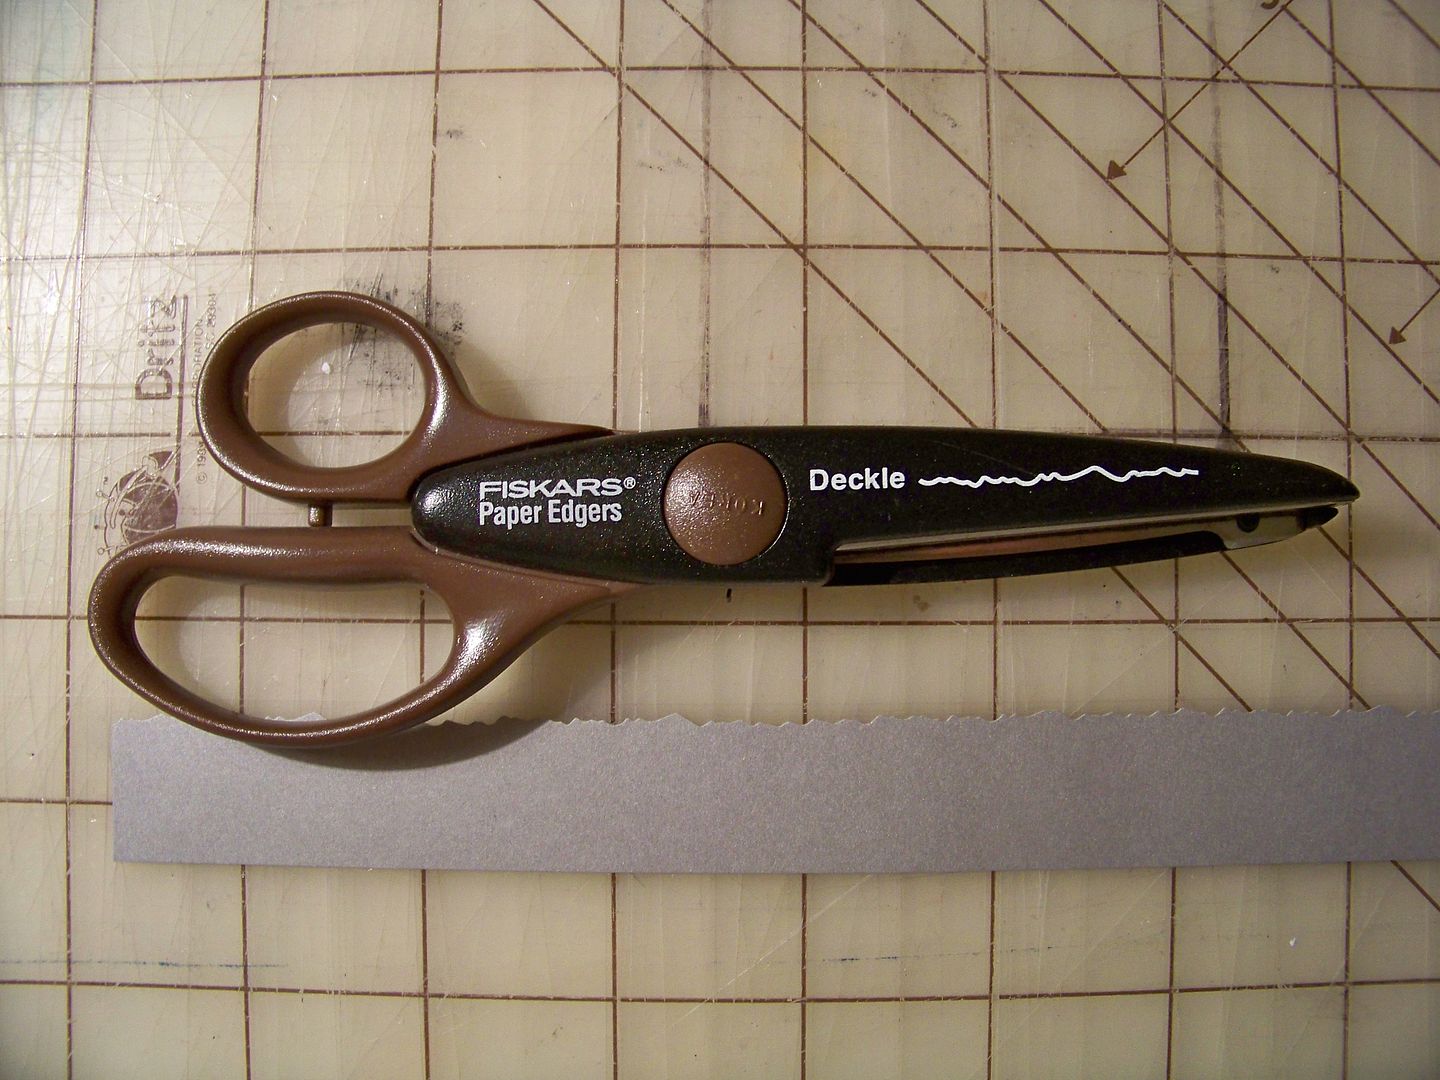
To ground the figure and bike, I cut a strip of gray paper and used decorative scissors to deckle the edge a bit. 


I used an edge punch to make two layers of grass and applied the grass behind the gray strip to look like the side of the road.  This was applied to the background paper.  I mounted the background paper on Crescent Illustration Board that I cut to size.
I used pop dots to apply the figure and bicycle to the plaque. 

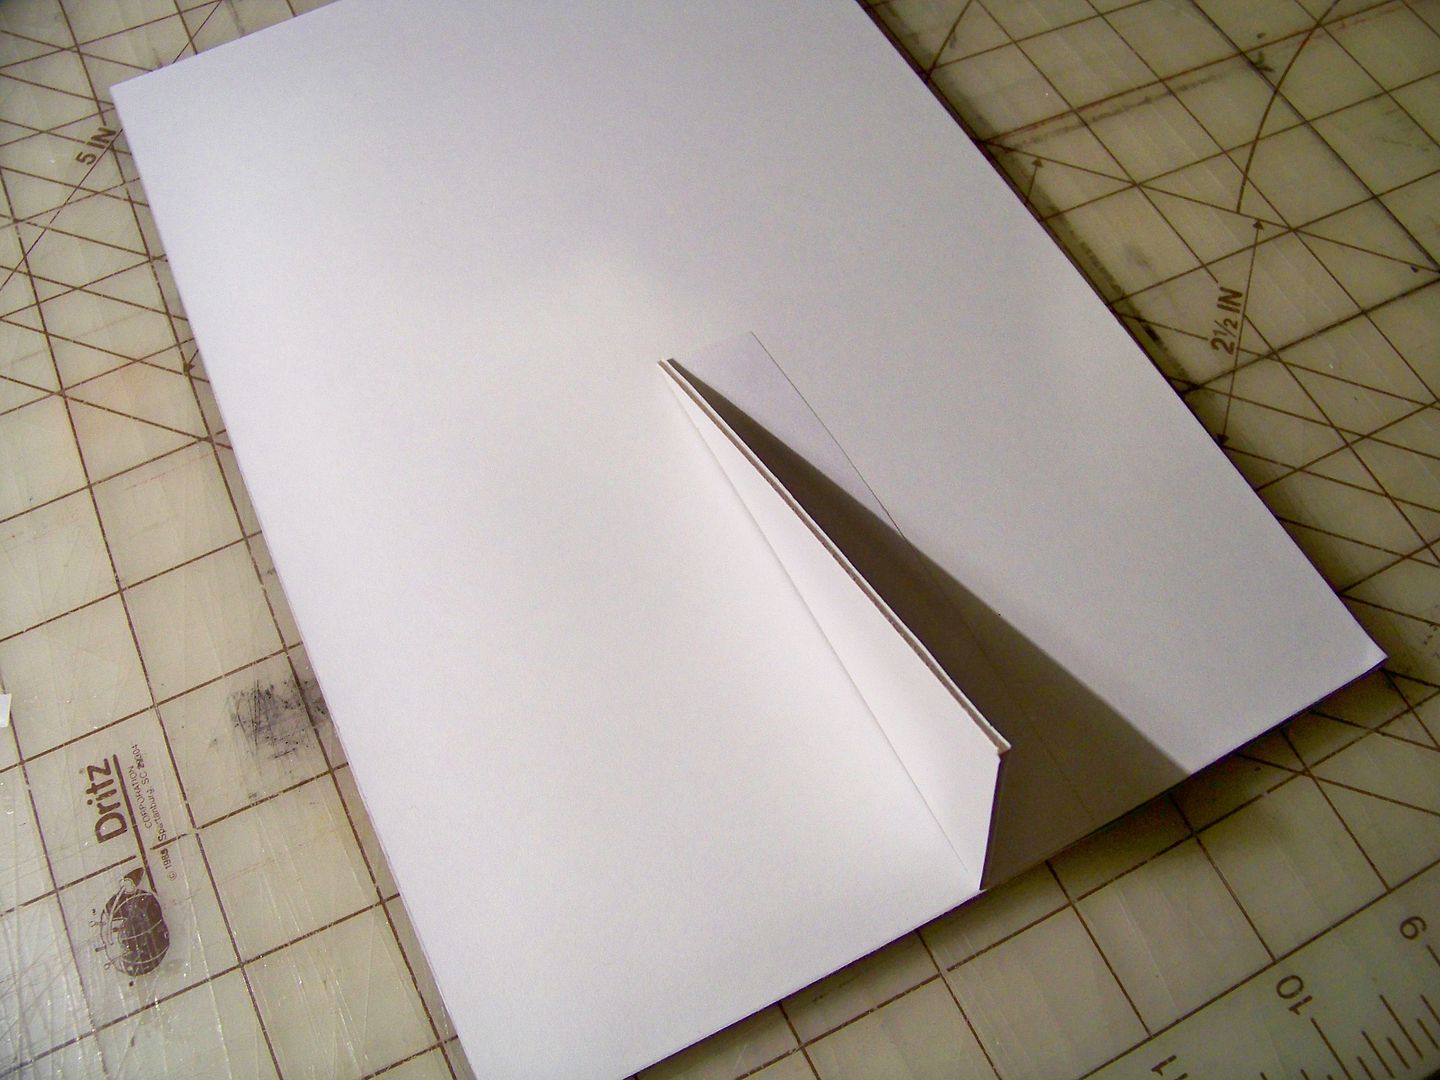
I cut a bit more illustration board to create a prop behind the plaque so it would stand up.


Finished!


This was so much fun to put together!  (I know, I always say that-- but it is always true!) 

If you missed my previous Design Team posts and want to check them out:
  • Click here to see my project featuring the orange cut on a gift set, which features printing the cut as a repeating motif to make custom paper, using printable vinyl, and customizing a face by turning the vertical axis. 
  • Click here to see my card featuring the car cut, which features adding details to look like a VW Super Beetle and adding a simple altered figure!  
Thank you for looking at my project!  You can find all of my Cricut and Yudu crafts by clicking here to go to My Project Gallery, or by clicking the tab at the top of my blog.  I hope you are having fun right there wherever you are!

Sunday, November 6, 2011

What? Announcements without a project??!!!

I just wanted to share some info while I am in between three projects-- just some news I thought you might find helpful!

First of all, check out Gina Piazza on the Cricut Blog!  OMGosh she shows us how to make realistic looking feathers from paper.  I have a "thing" for Mingo (Ed Ames from the old Daniel Boone television series) and this puts me a bit closer to figuring out a Mingo-inspired project.  (Ok- maybe my Mingo love isn't news you needed to know but definitely check out Gina's Caught Our Eye feature!)

Second, check out Curt Jensen's blog!  Wow!  Finally a blog not from a stylist, but from an actual illustrator who designs the images on Cricut Cartridges!  Fun insight and a great blog!  He has a challenge up through November 11 featuring one of the cartridges he designed, Campin Critters.  I have to thank Sis Patterson for emailing me about this blog! 

Next, a creative and smart crafter, Bonnie (known as GypsyBoricua on the message board) has contacted Ryonet (the aftermarket Yudu-compatible supplier that many of us use for inks, screens, and liquid emulsion).  Bonnie, my new hero, has convinced them that they need to manufacture specialty mesh screens for the Yudu Cardshop!!!!  Holy cow, crafters!  This is awesome!  Bonnie has requested Ryonet to provide meshes like 40 for using glitter inks!  She gave me her contact at Ryonet, Ashley Rudolph.  Ashley responded to my email on Saturday (same day I sent it) and has told me I can order from her by calling her directly.  Bonnie has already placed her order and I plan to order 40, 86, and 220 screens on Monday.  This is so new that none of this is printed on their website (so be sure to verify pricing if you plan to place an order in the event that changes have been made):
  • The company is Ryonet Corporation (silkscreeningsupplies.com)
  • To place an order for Yudu Cardshop screens, call Ashley Rudolph at Ryonet Corp 1-800-314-6390 ext 133.  To ask questions, you can email Ashely at arudolph@ryonetcorporation.com
  • Price for 24-110 mesh $13.00 each
  • Price for 125-180 mesh $13.50 each
  • Price for 200-280 mesh $14.50 each
  • Price for 305-355 mesh $15.50 each
  • Price for 380-420 mesh $17.00 each
  • There is a two week lead time for the screens since they are a new product -per Ashley in her email to me.  This is good to know for anyone who is used to Ryonet's usually super speedy delivery.
  • Note:  These are blank Yudu Cardshop screens.  You will need a regular Yudu or other device to burn your images into the screen! 

*****************Edited December 28, 2011 to add: 
I received my Yudu Cardshop screens!  It took six weeks to them, which is longer than I was originally told, but they are FANTASTIC.  They have metal frames just like the other Ryonet screens for Yudu and they are just perfect.  I just wanted to pass on the lead time change!***************


Last bit of news, I have revamped my blog a bit to make the home page load faster by adding pages at the top of my blog to remove some images and text from the sidebar... and I have a few new things up there too!  Check out the tab Art From Friends to see some of the beautiful works of art that have been sent to me from the crafty geniuses I know!  I have also added some info on altering figures as well as pages that feature answers to questions I receive the most.  I hope the new features are interesting to you and help to make my blog work more efficiently.

Best wishes... and I promise, my next post (tomorrow) will feature a project!!

But wait! There's more! Click 'older posts' above!

But wait!  There's more!  Click 'older posts' above!