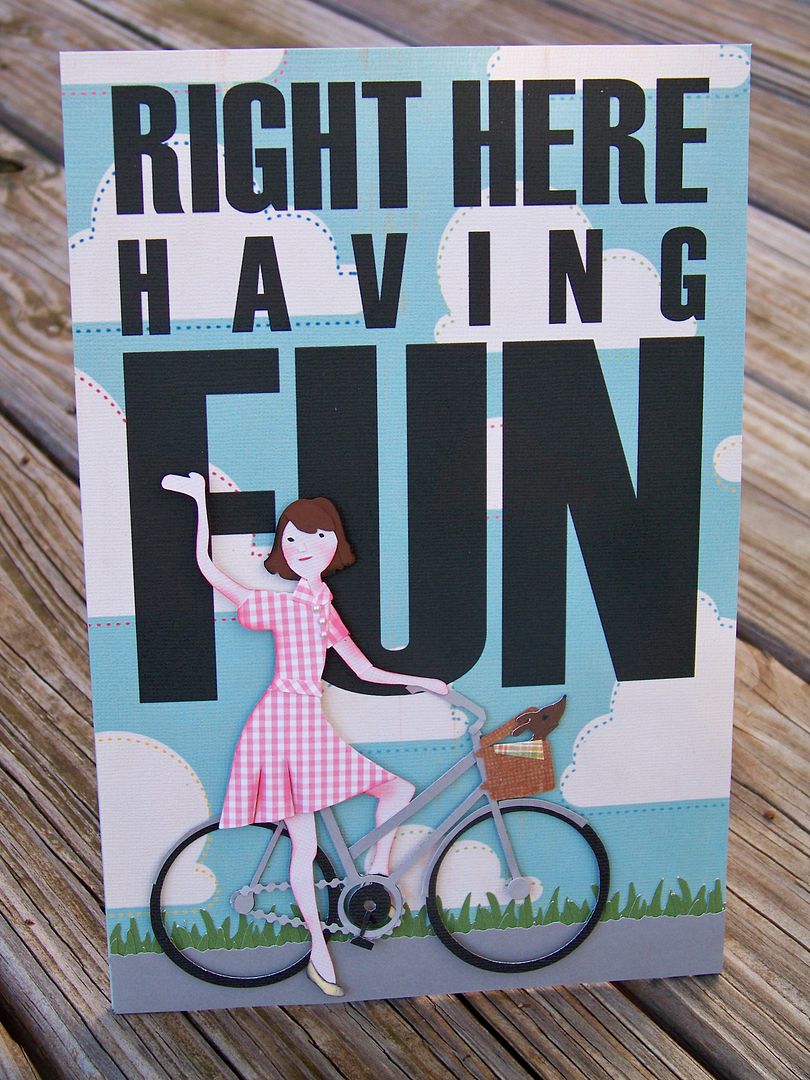
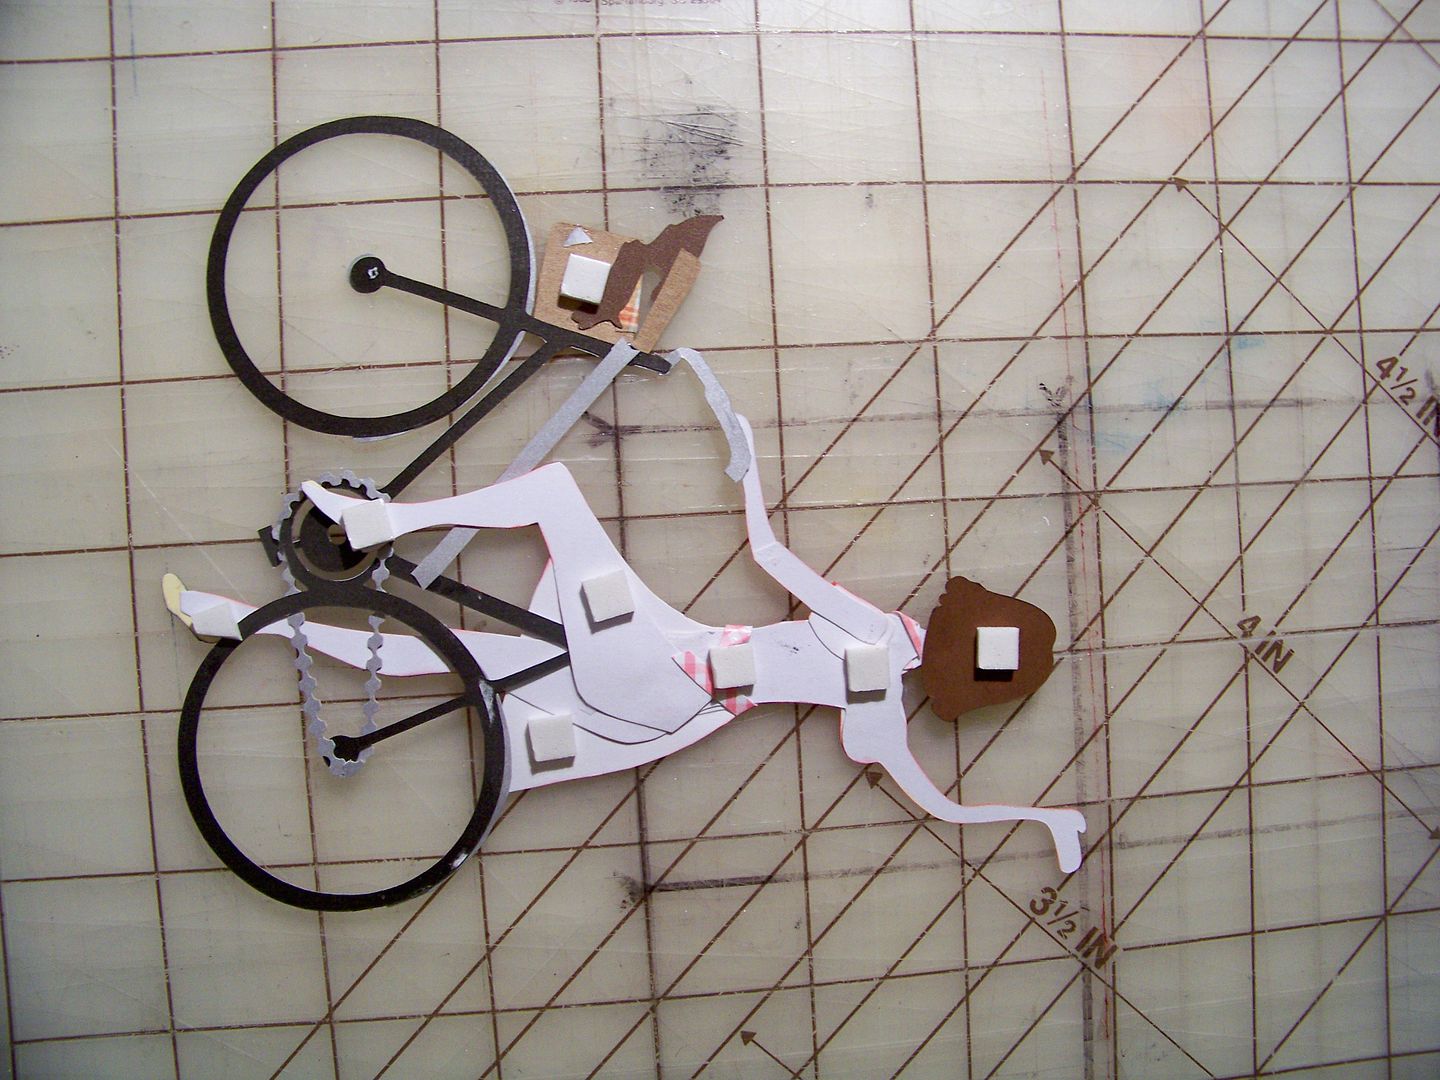
I recently had so much fun with the car cut from the Traveler cartridge that I wanted to try altering the bicycle. I really liked the results when I added details. I imagined the bike having a basket with something peeking out. With business travel stealing from the time and planning of pleasure trips, the past couple of years have been all about finding fun right here at home! Bicycles and blue skies were on my mind while I did my latest Obsessed with Scrapbooking Design Team project-- a plaque.
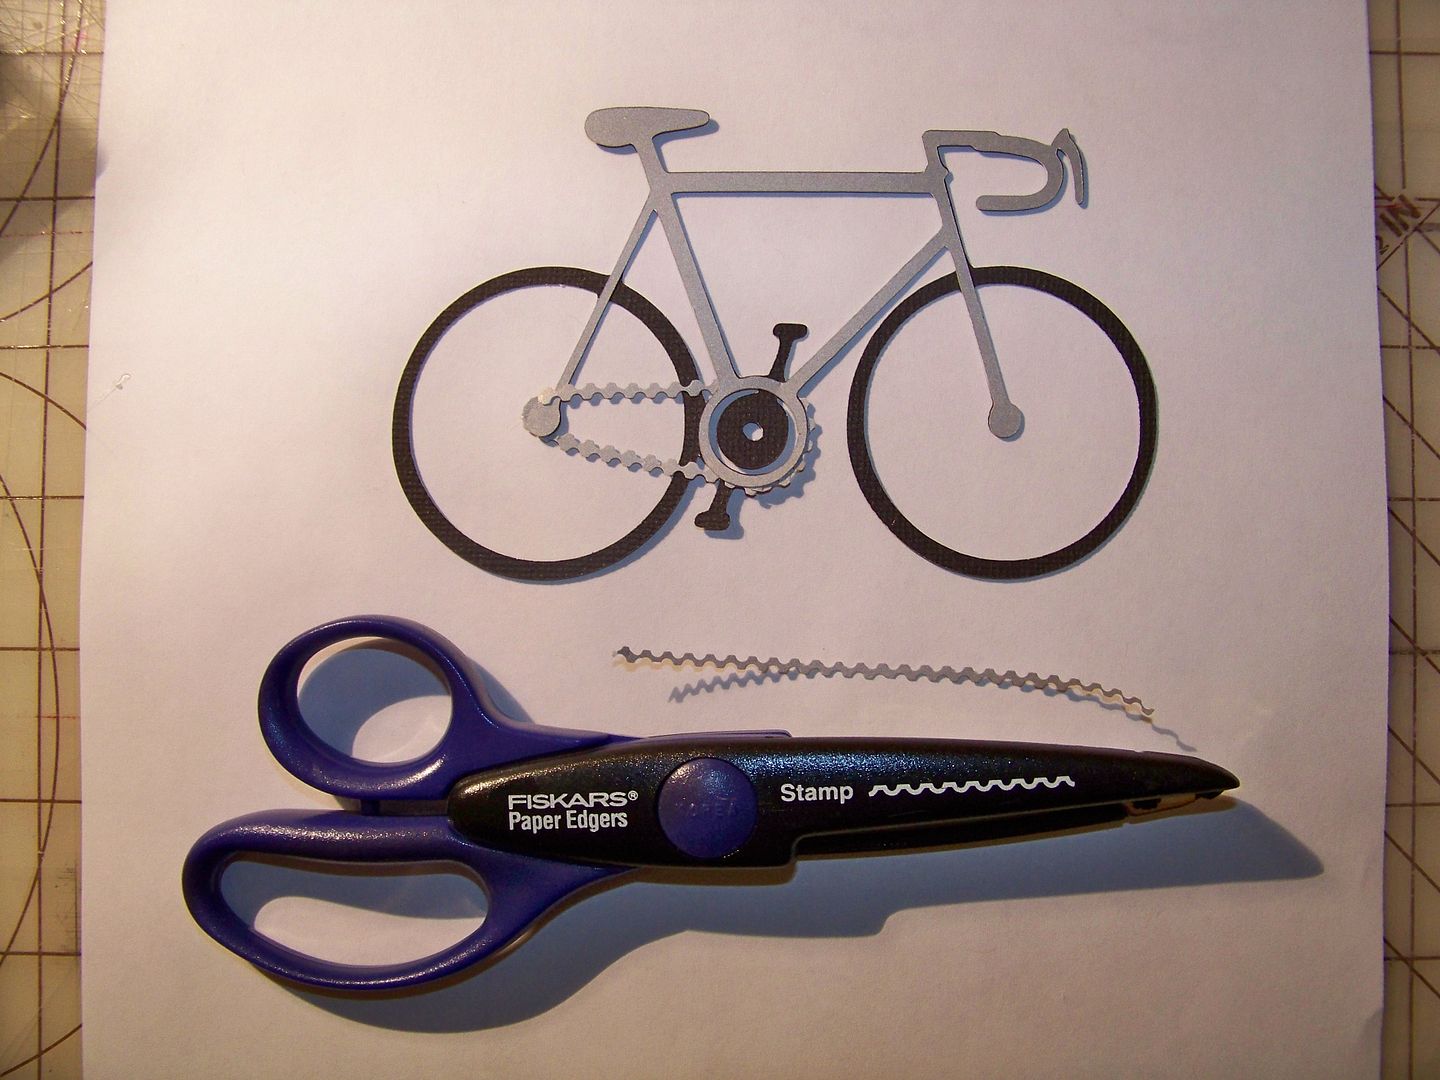
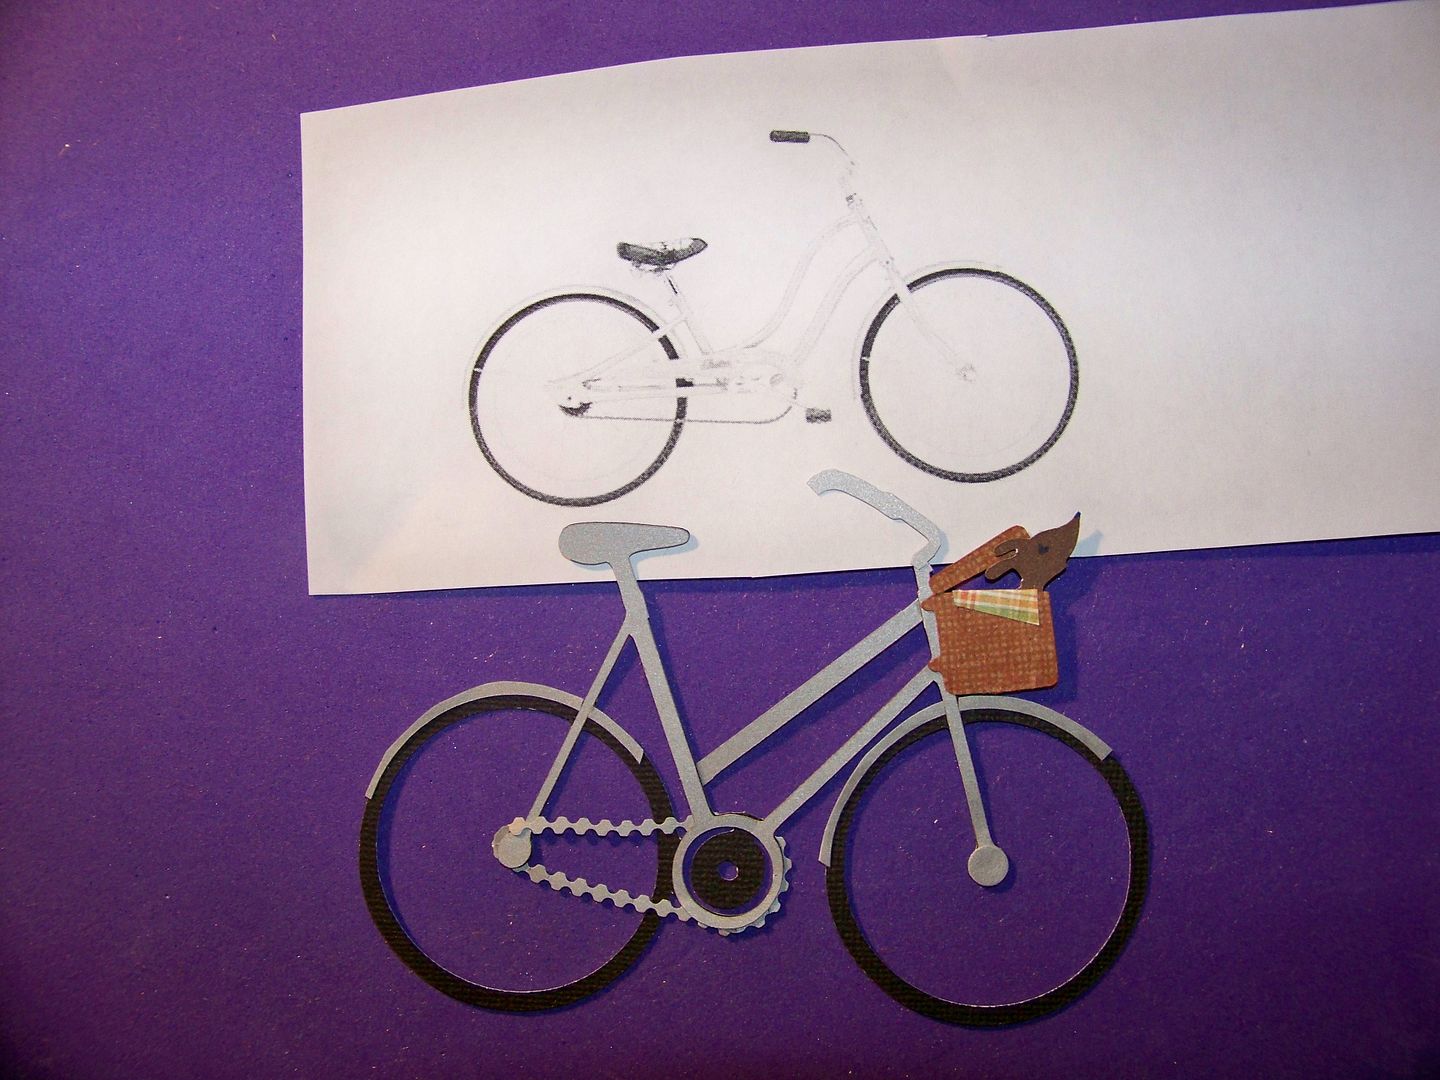
I changed the angle of the top tube to look more like a touring bike than a racing bike, changed the handle bars (by cutting away the hand-brake and flipping the trimmed down handlebars), and added fenders.
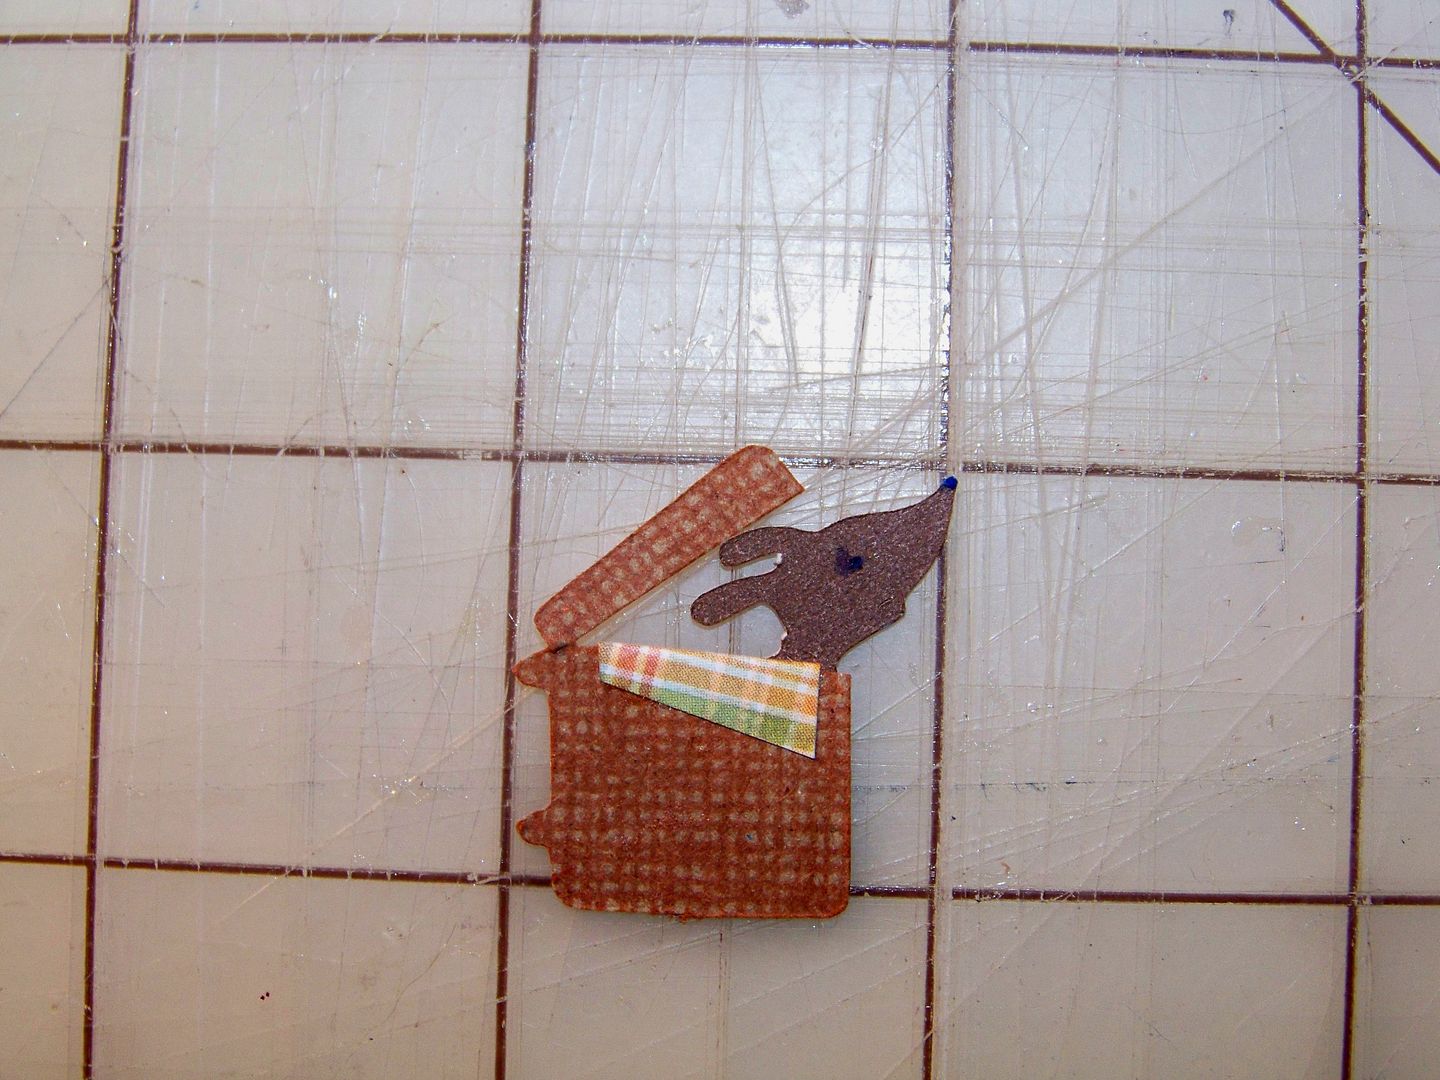
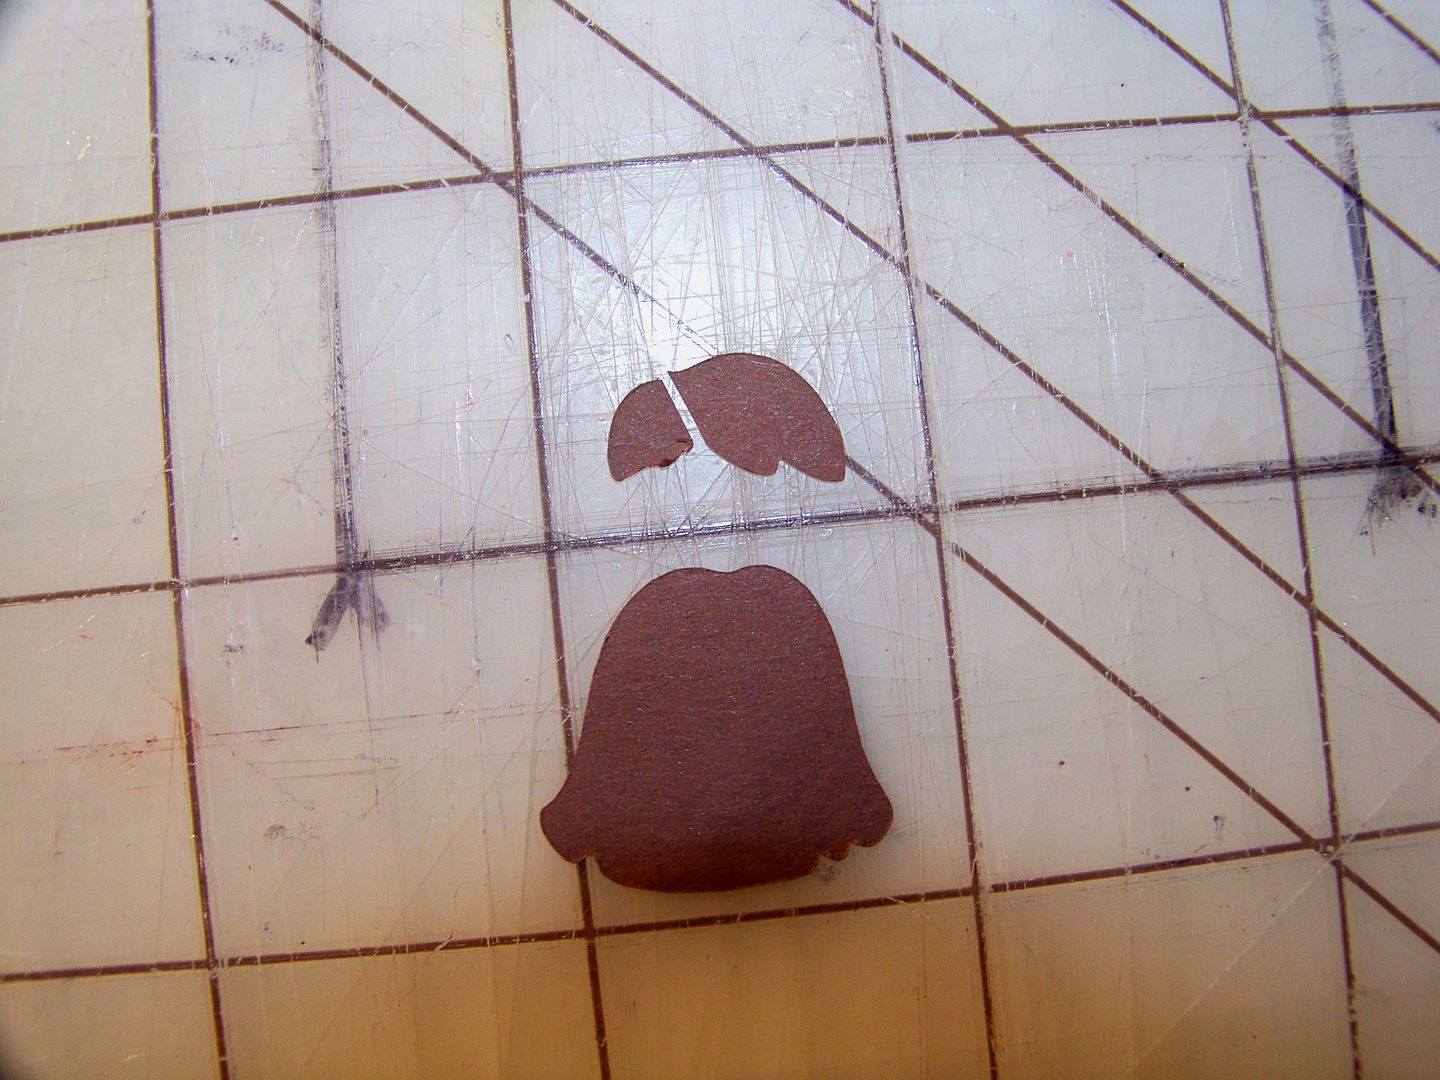
I created a basket by cutting the shape from Traveler (page 58 -icon shadow) at 3/4" on the Expression. I stamped a woven design on it and made a cut near the top to create a lid.

I added a "cloth" liner folded over the edge. The puppy was cut from Paper Pups (page 87 solid) at 1/2" also on the Expression.
I knew I wanted the background to be the text "Right here having fun" from Traveler (page 49). I changed the settings on the Imagine to 'print only' and printed it on white paper so that the figure with bike could be completed while keeping the background in mind.

For the lady, I cut her upper body from Country Life (page 32) at 7-1/2", flipped. (Funny, I bought Country Life just for this cut and as much as I use this cartridge, I have NEVER made that cut--until now!) I used my Imagine to cut her and floodfill the shape with RGB 250, 229, 210 for flesh. I also floodfilled a 6" square with the same flesh color so I could make her legs. I hand-cut one leg to make her lower body. I traced one leg straight and cut that. I had to cut her arm at the elbow to change the angle in order for her to hold the handlebars.
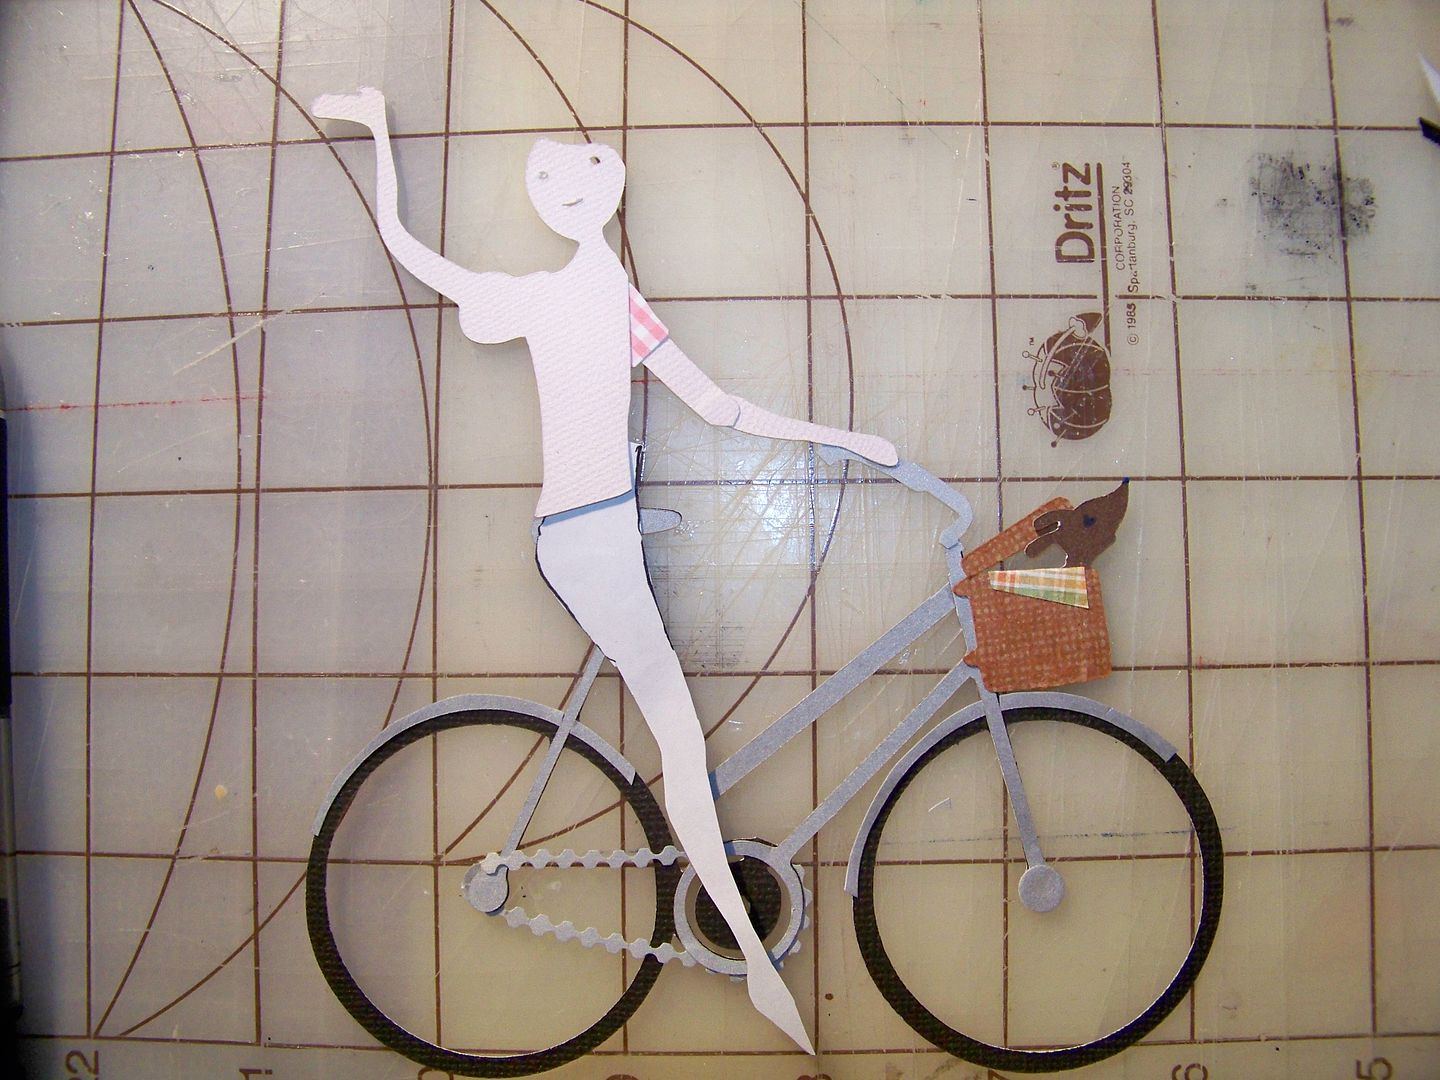
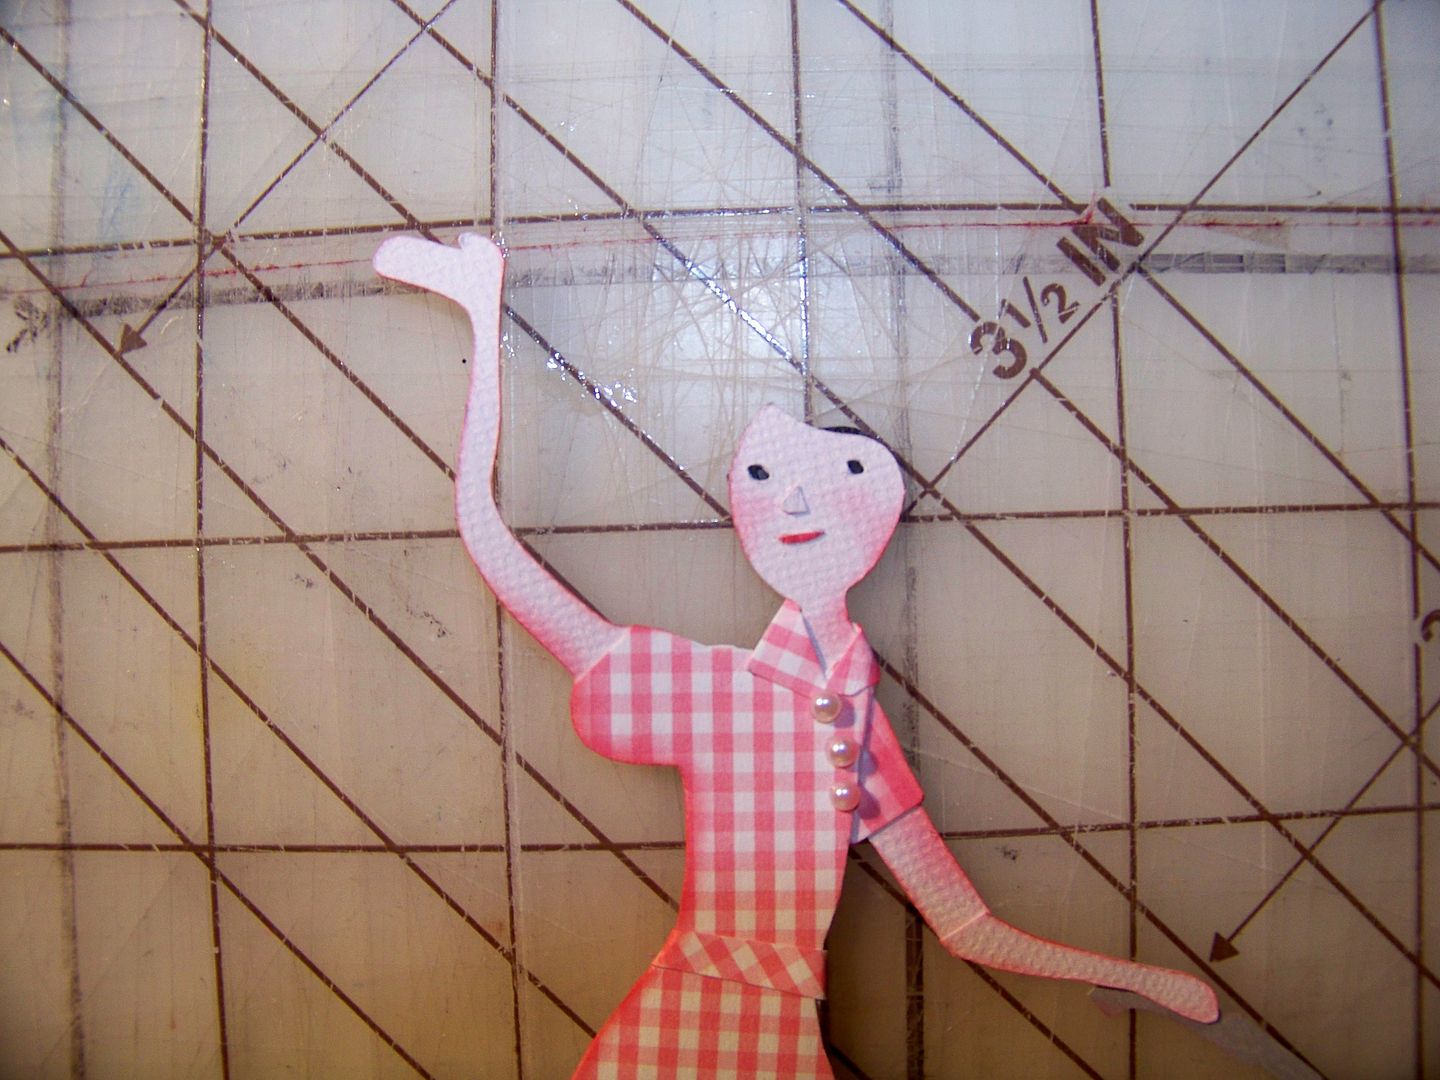
I used the same leg pattern to trace and cut to create a bent back leg. I didn't know if I wanted her riding the bike or stopped and I wasn't sure of the angles of the legs so I just pivoted them until I liked the positions. I started adding clothing by tracing and cutting... and cutting away parts of the girl's torso a bit. I added a shirt collar and adhesive pearls to emphasize the twisting of her torso.
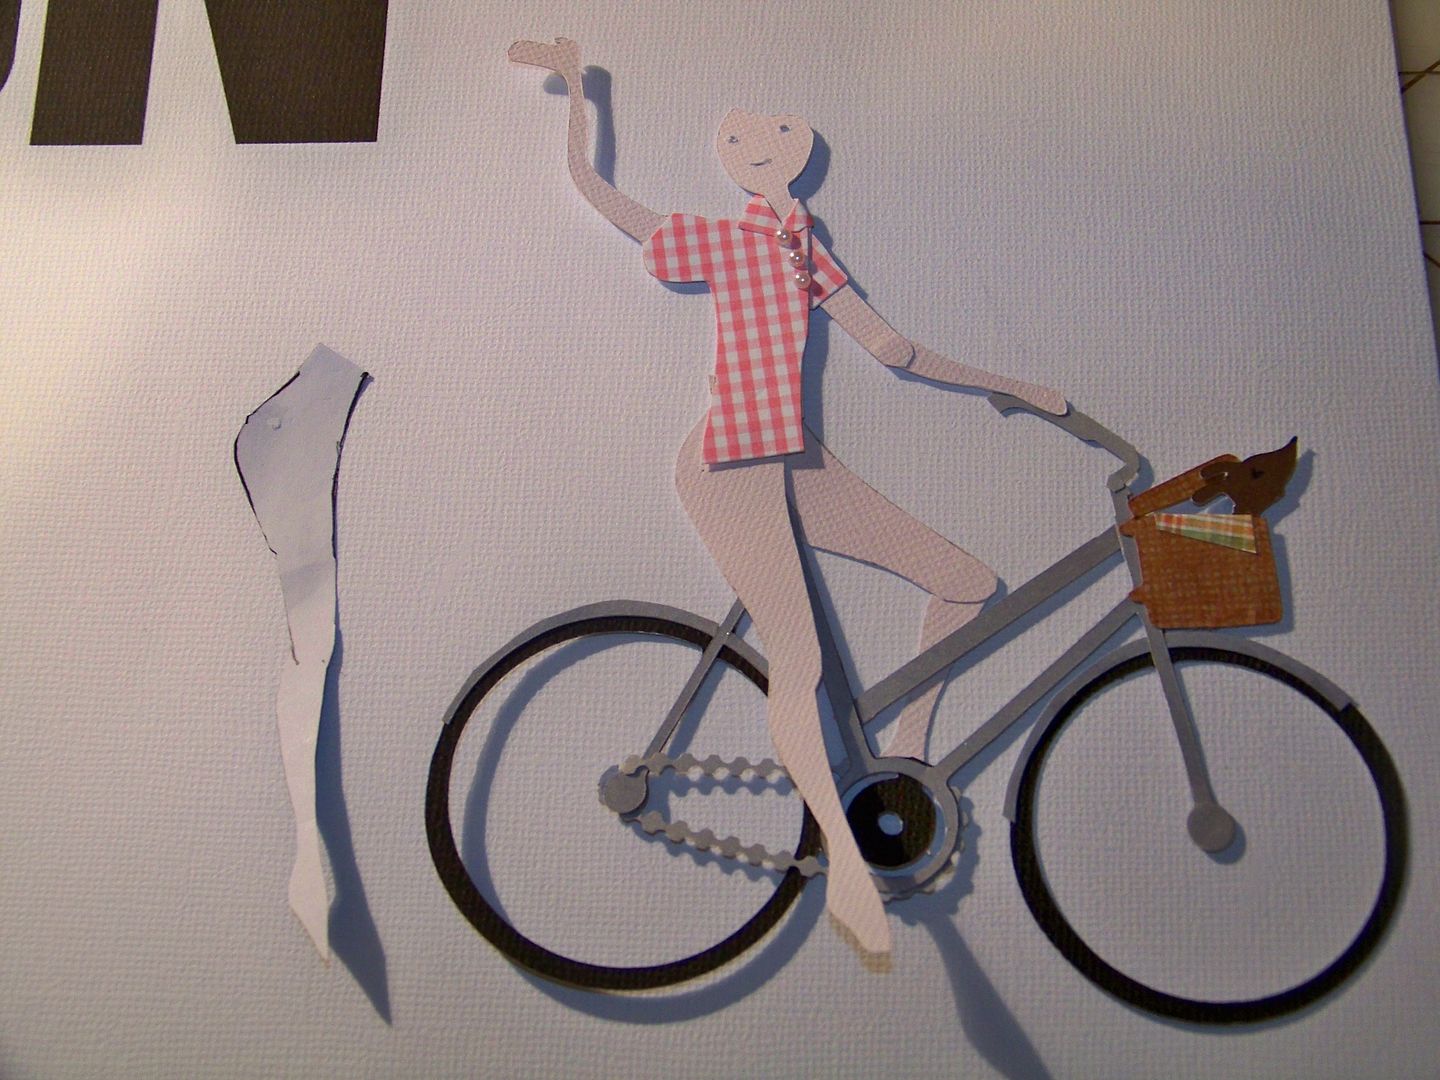
I had been troubled by the look of the cut joint of her knee so I traced the bent leg and hand-cut so that it would be solid. I created a skirt but after it was adhered, I decided to add an extra layer so that I could cut in a couple of "fabric" folds. I re-cut it by matching the pattern and simply tracing it again, then cutting it out. I cut in a couple of slits and rolled them toward the back, then inked.

I added a layer of black behind the cut of the face to finish her eyes. I inked her face and added a paper mouth and nose. I added a bias cut waistband. I also cut the elbow to change the bend to be right at the inside of the elbow. I inked her body in pink.
I traced her feet to cut out little shoes and inked those in black to be sure they visually looked separate from her feet.
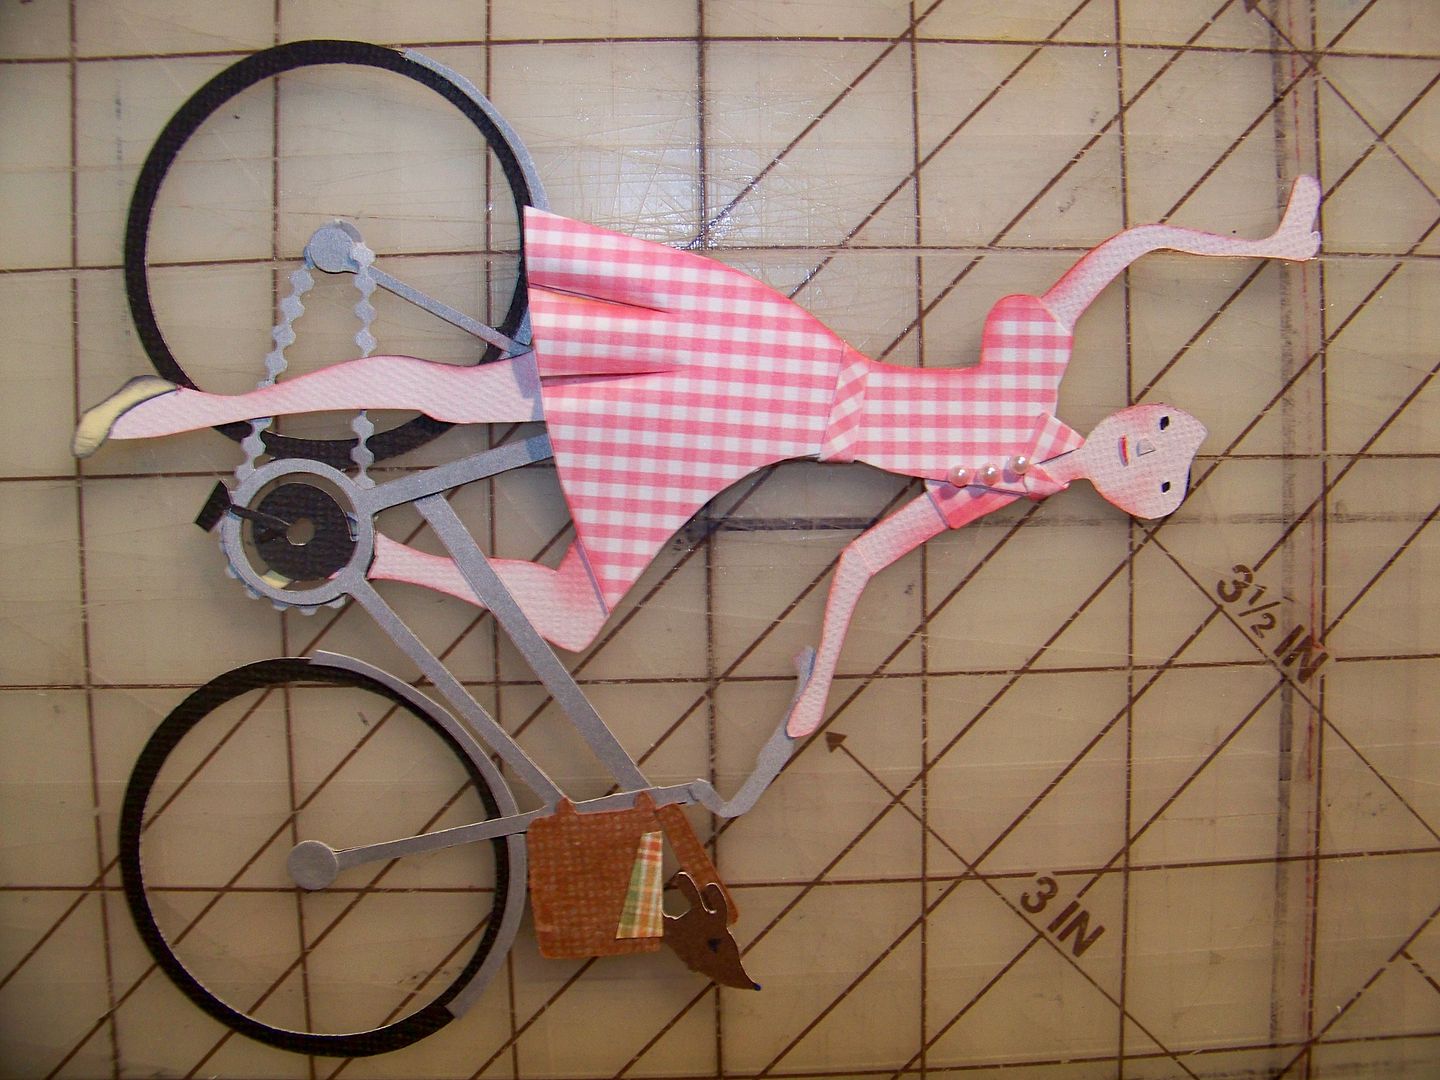
I created her hair by using two cuts at 1-1/2" from Paper Doll Dress Up: page 44 and page 47.
My figure was complete!

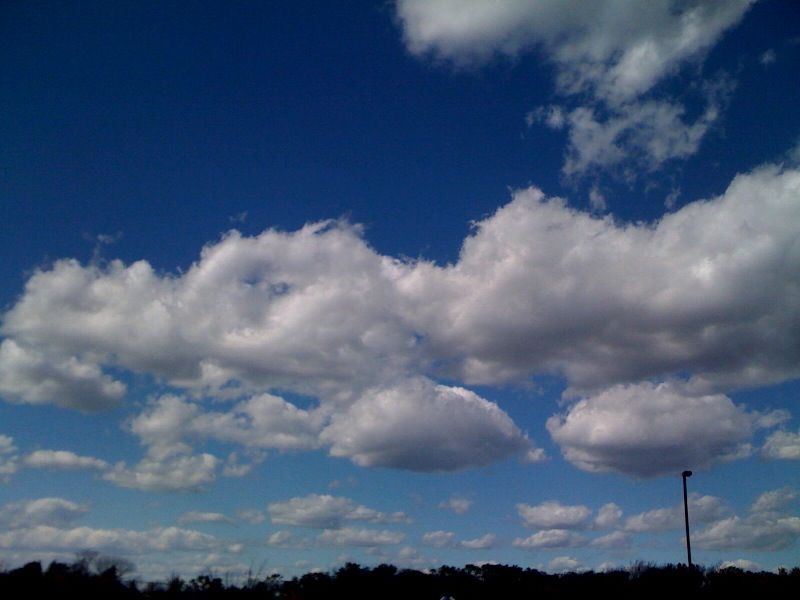
I had been thinking about the background... I have been noticing the skies around my neighborhood the past few weeks-- puffy white clouds and beautiful blue skies. I took this picture with my phone a couple of weeks ago while sitting in the pick-up line at my daughter's school. What an unexpected gift that day!
Clouds just had to be in the background! I printed a page of clouds from Hopscotch on the Imagine. I double checked the scale next to the paper printing I did earlier and to the figure.
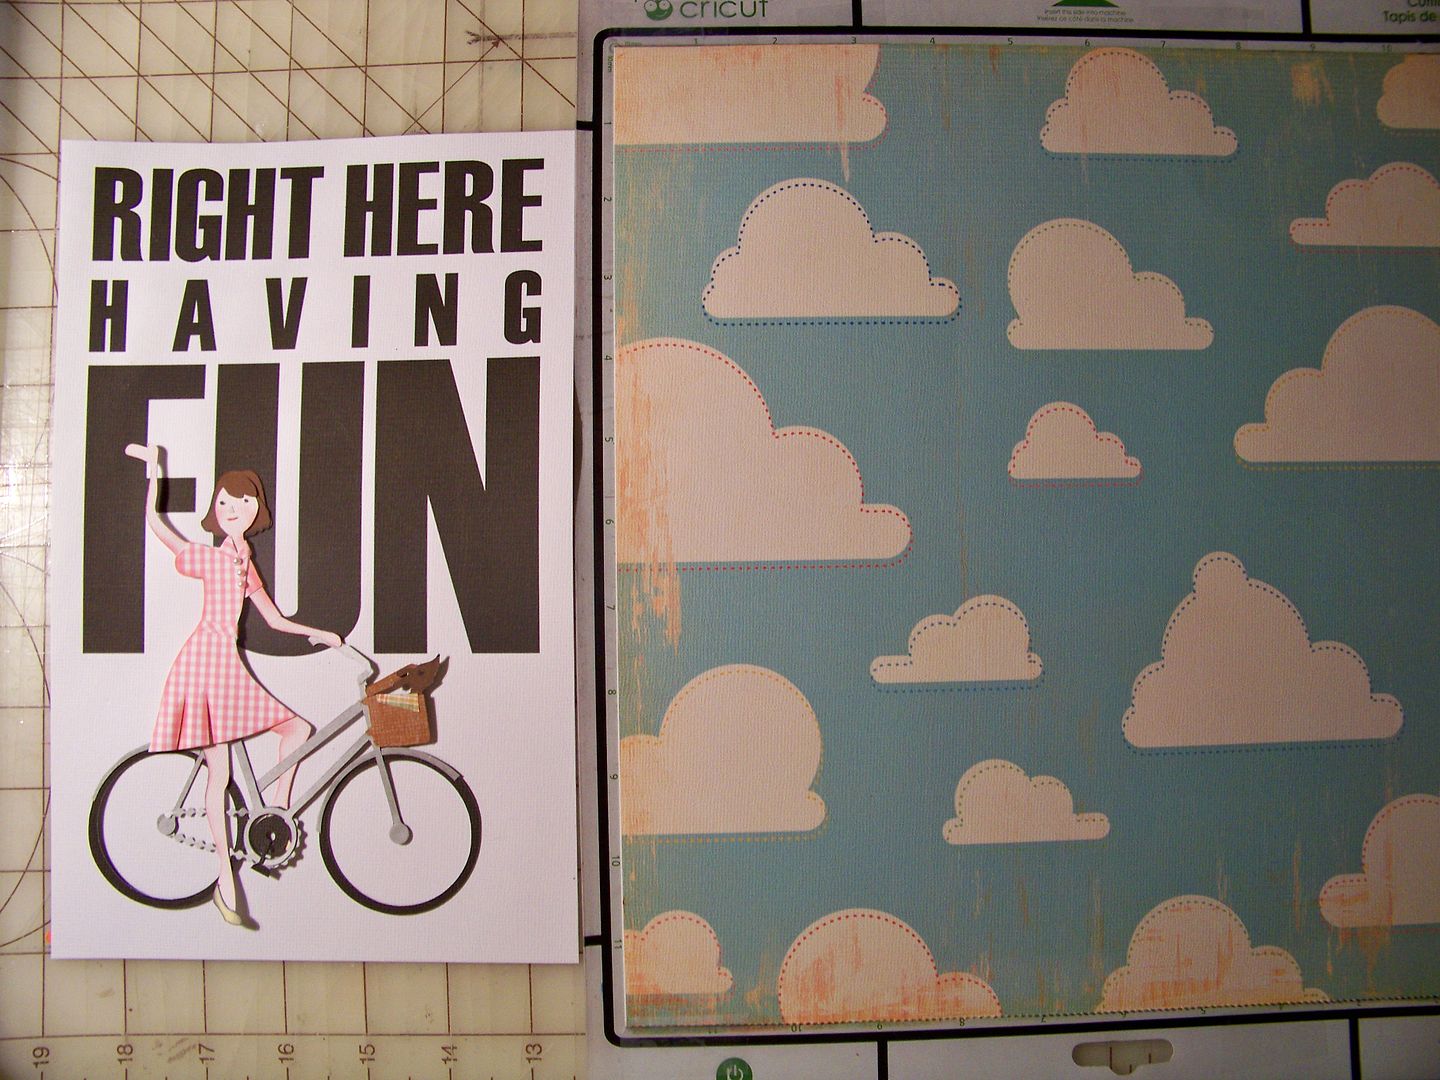
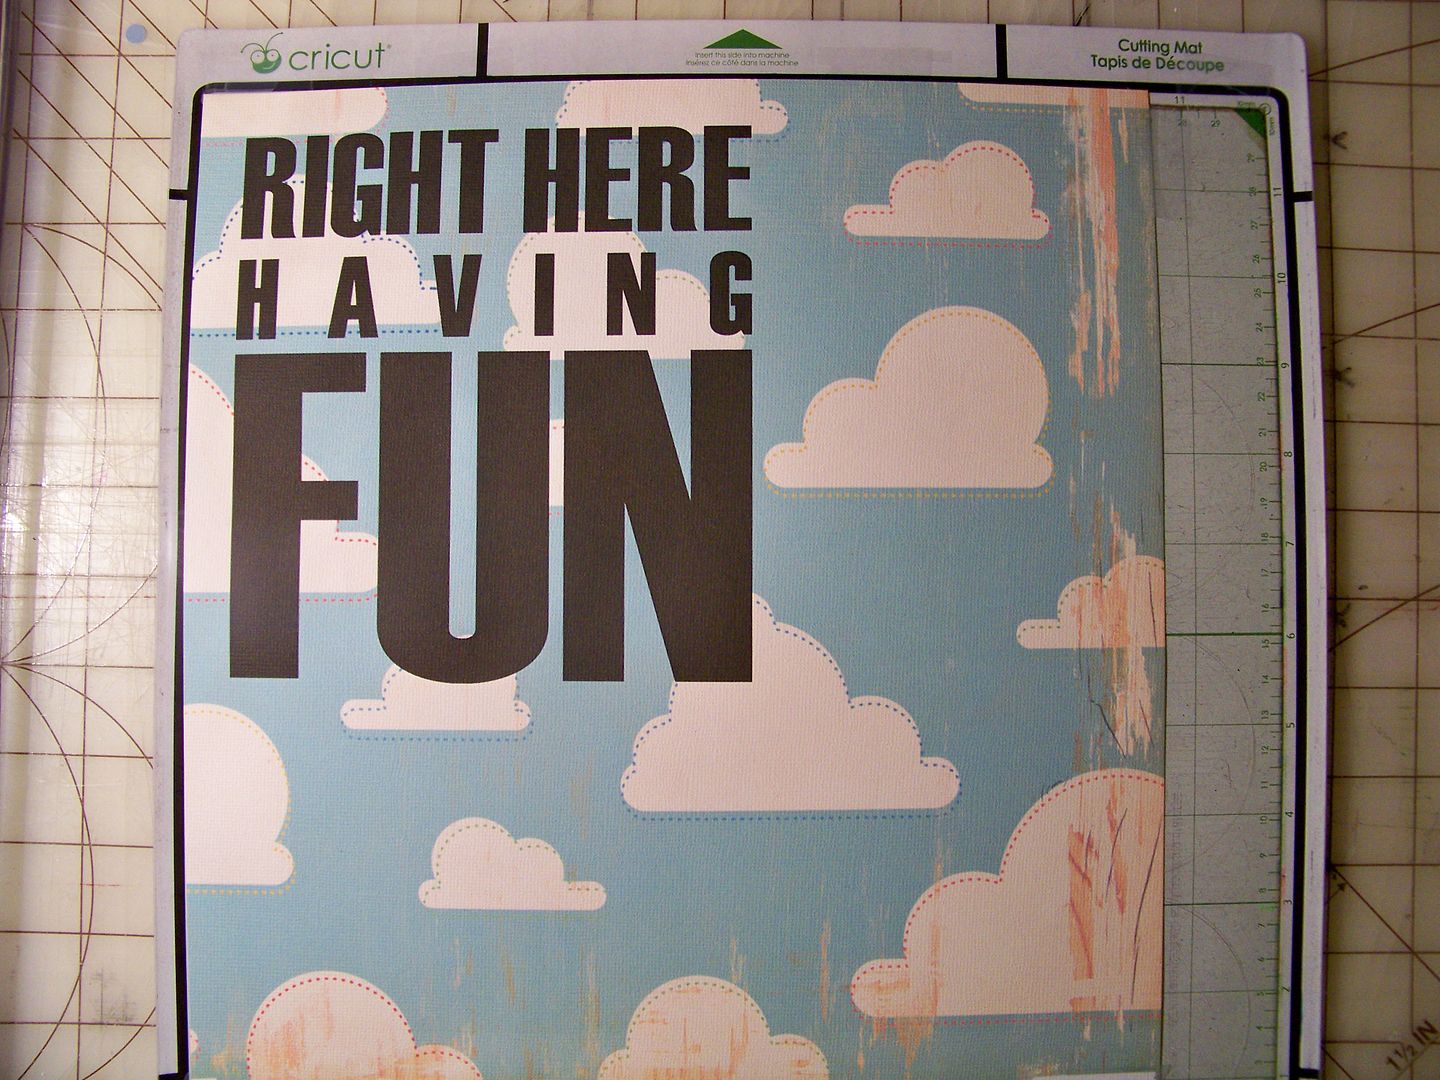
I trimmed off the top and sides a bit to remove the stylized scratches and scrapes from this printed paper so that my text would be on "cleaner" clouds. I put the cloud paper back through the Imagine and used the Traveler cartridge again to print my text directly on the clouds-- with the machine set at 'print only.' Again, I printed it at 7-1/2".
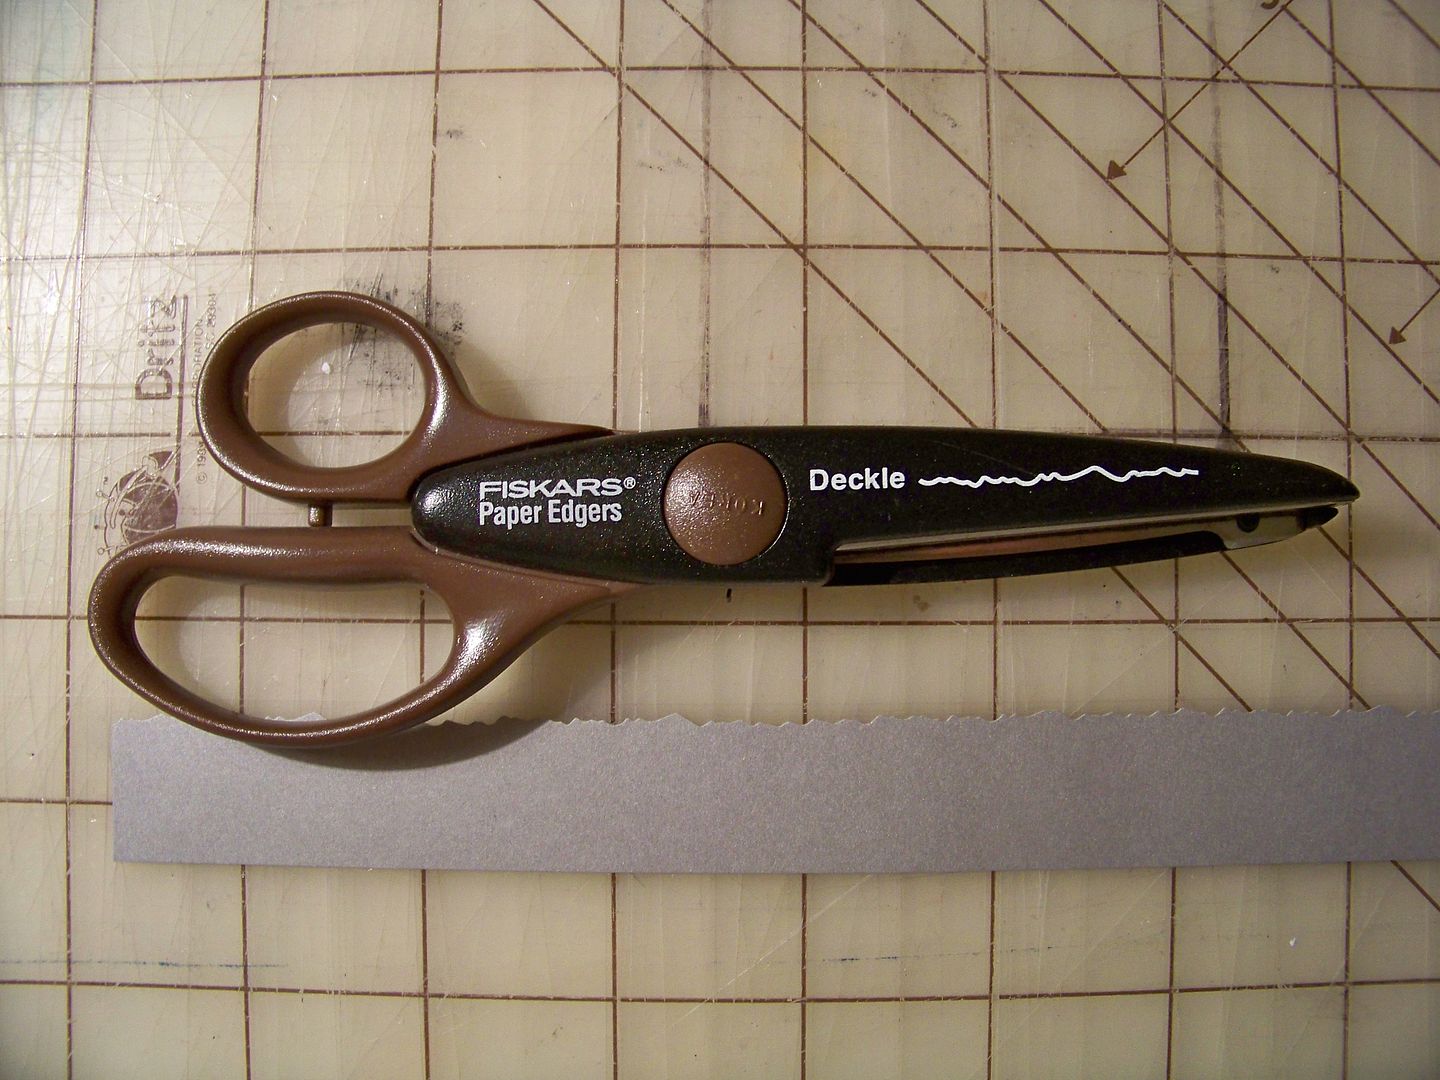
To ground the figure and bike, I cut a strip of gray paper and used decorative scissors to deckle the edge a bit.
I used an edge punch to make two layers of grass and applied the grass behind the gray strip to look like the side of the road. This was applied to the background paper. I mounted the background paper on Crescent Illustration Board that I cut to size.
I used pop dots to apply the figure and bicycle to the plaque.
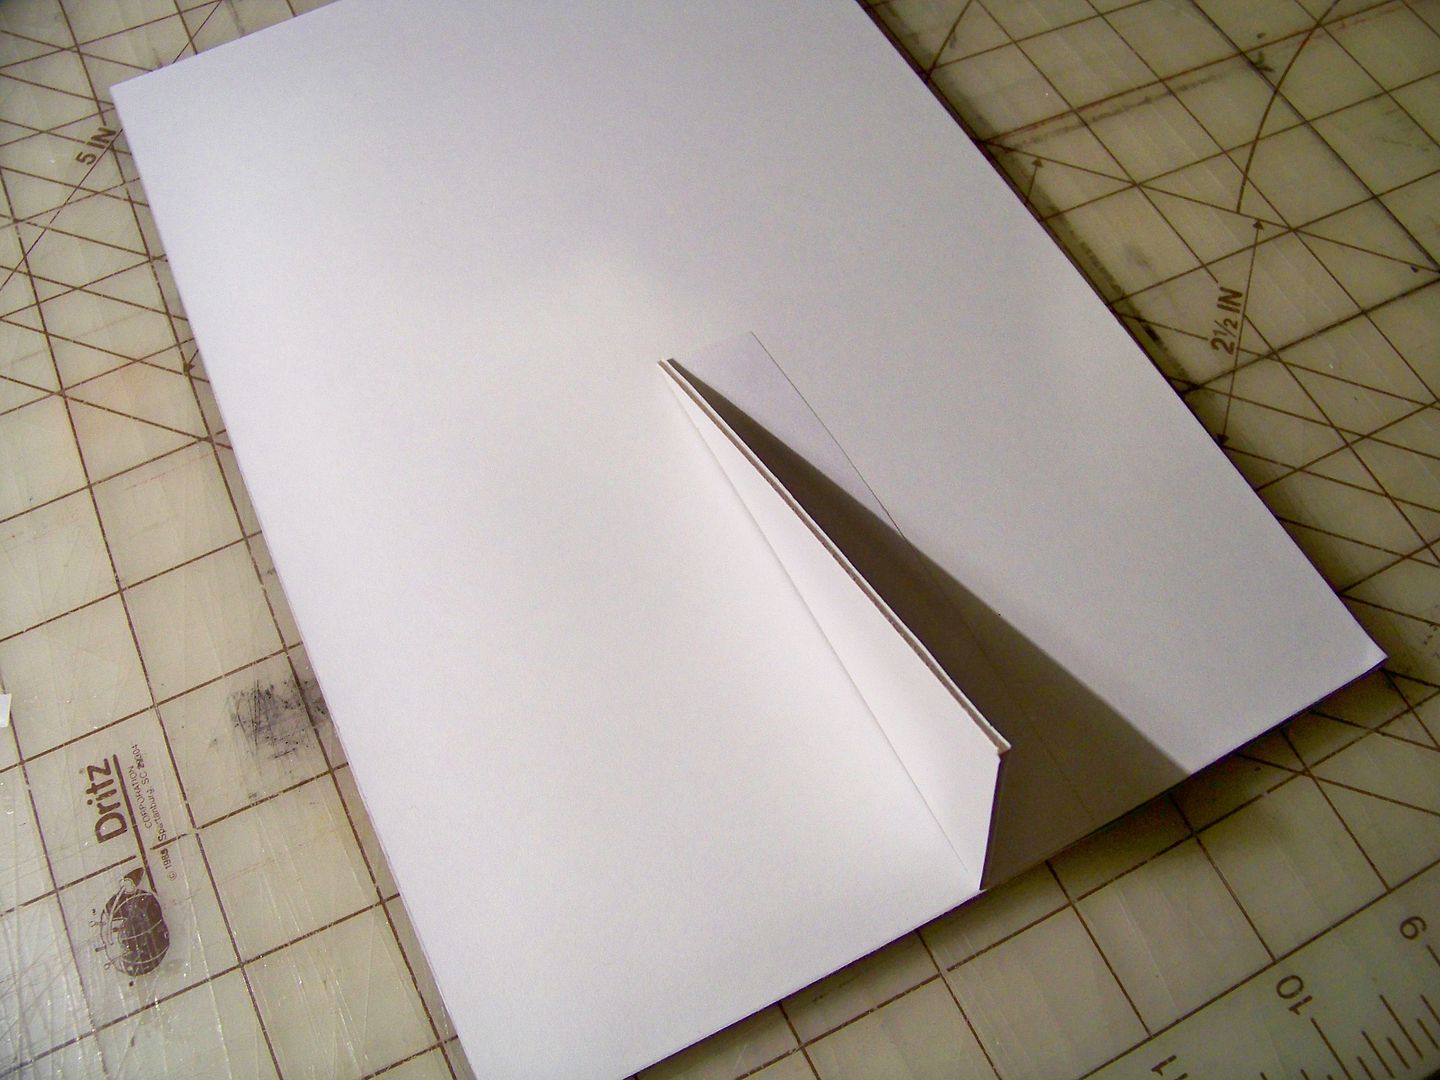
I cut a bit more illustration board to create a prop behind the plaque so it would stand up.
Finished!

This was so much fun to put together! (I know, I always say that-- but it is always true!)
If you missed my previous Design Team posts and want to check them out:
- Click here to see my project featuring the orange cut on a gift set, which features printing the cut as a repeating motif to make custom paper, using printable vinyl, and customizing a face by turning the vertical axis.
- Click here to see my card featuring the car cut, which features adding details to look like a VW Super Beetle and adding a simple altered figure!
Thank you for looking at my project! You can find all of my Cricut and Yudu crafts by clicking here to go to My Project Gallery, or by clicking the tab at the top of my blog. I hope you are having fun right there wherever you are!
19 comments:
Oh my! I thought it couldn't get better than the VW, and it did!
This is so stunning - the bike chain, the bias cut belt, the lovely face, and all of the other elements.
You are the master of alteration, the queen of imagination, and a true friend.
I wish I had more words!
Oh My Bug! That is awesome!! That is just brilliant and what a great reminder to be Here and having fun :D.
Wow! Amazing as always Nadia! I love all those teeny-tiny details that you add to everything you create. Such a beautiful, carefree, happy scene...love it!
I always love seeing your altered figures (so inspiring), but more than that, I love seeing your thought process as the figure evolves into the final fabulous product. THank you so much for sharing!
I have to take the time to say that your alterations inspire me more than anything I've seen online about the Cricut. I like to be more creative than just cutting out cuts with our carts. Thank you for sharing and inspiring my creativity.
You are so ridiculously good at this that it's crazy. Fabulous creation again...love that peeking puppy with his ears blowing in the breeze. Wonderful project!
Wow another great project, you are amazingly talented.
Love the bike - can you send it to me? LOL LOL LOL
perfect for a layout I am working on re: travel the country roads!
thanks for such great inspiration, but I don't even come close. LOL
Jackie
www.inspired-by-scrapping.blogspot.com
Stunning work! Simply stunning! Can I be you when I grow up? ;0)
Kris in Alaska
funamom at yahoo dot com
Wow, Nadia! You freaking amaze me. Figuring this stuff out would be akin to torture for me, but you enjoy it so much. And we enjoy looking!
beautiful work, you are super talented
Nadia, I love, love, love this project! You are AMAZING! Thank you so much for sharing your wonderful art.
Oh Nadia this is just awesome. Thank you for taking the time to share your amazing talent... hugs from ukiah
oh - I found some more words when I looked again -
fabulously fun fenders!
AMAZING!
Wow I found you over at obsessed with Scrapbooking and I am glad i did, you are very talented!! Love this project. i am a new follower
Kristan
sierrababy08 dot blogspot dot com
WOW WOW WOW, talk about talent. That is amazing. Love how you see things, that was an awesome tutorial. Thanks for sharing your creativity.
Oh Nadia, you are AMAZING!! LOVE this. It could be an advertisement!!!
Sooo sorry you missed Greenville - I wanted to meet you in person. Maybe next year???
xx Susan
AMAZING!!! I can't believe the patience you must have for all the detail in this card!!! Absolutely AMAZING!!!
You are just amazing at altering images in the most wonderful fresh way! Love the details on the bike (the way you made the chains was brilliant!)and the body parts to make them move a certain way - you are like a paper surgeon!
OMG, how did I ever miss this post.
Nadia, you are the Queen of Detail!!! That bicycle chain is just toooooo much! The whole creative project is just toooo much, just like you!!! :-)
You never cease to amaze me w/ all of your creativity! One in a mil!!!
Post a Comment