Showing posts with label AG Doll Accessories or Clothing. Show all posts

Wednesday, July 31, 2013

American Girl Crafts Party!

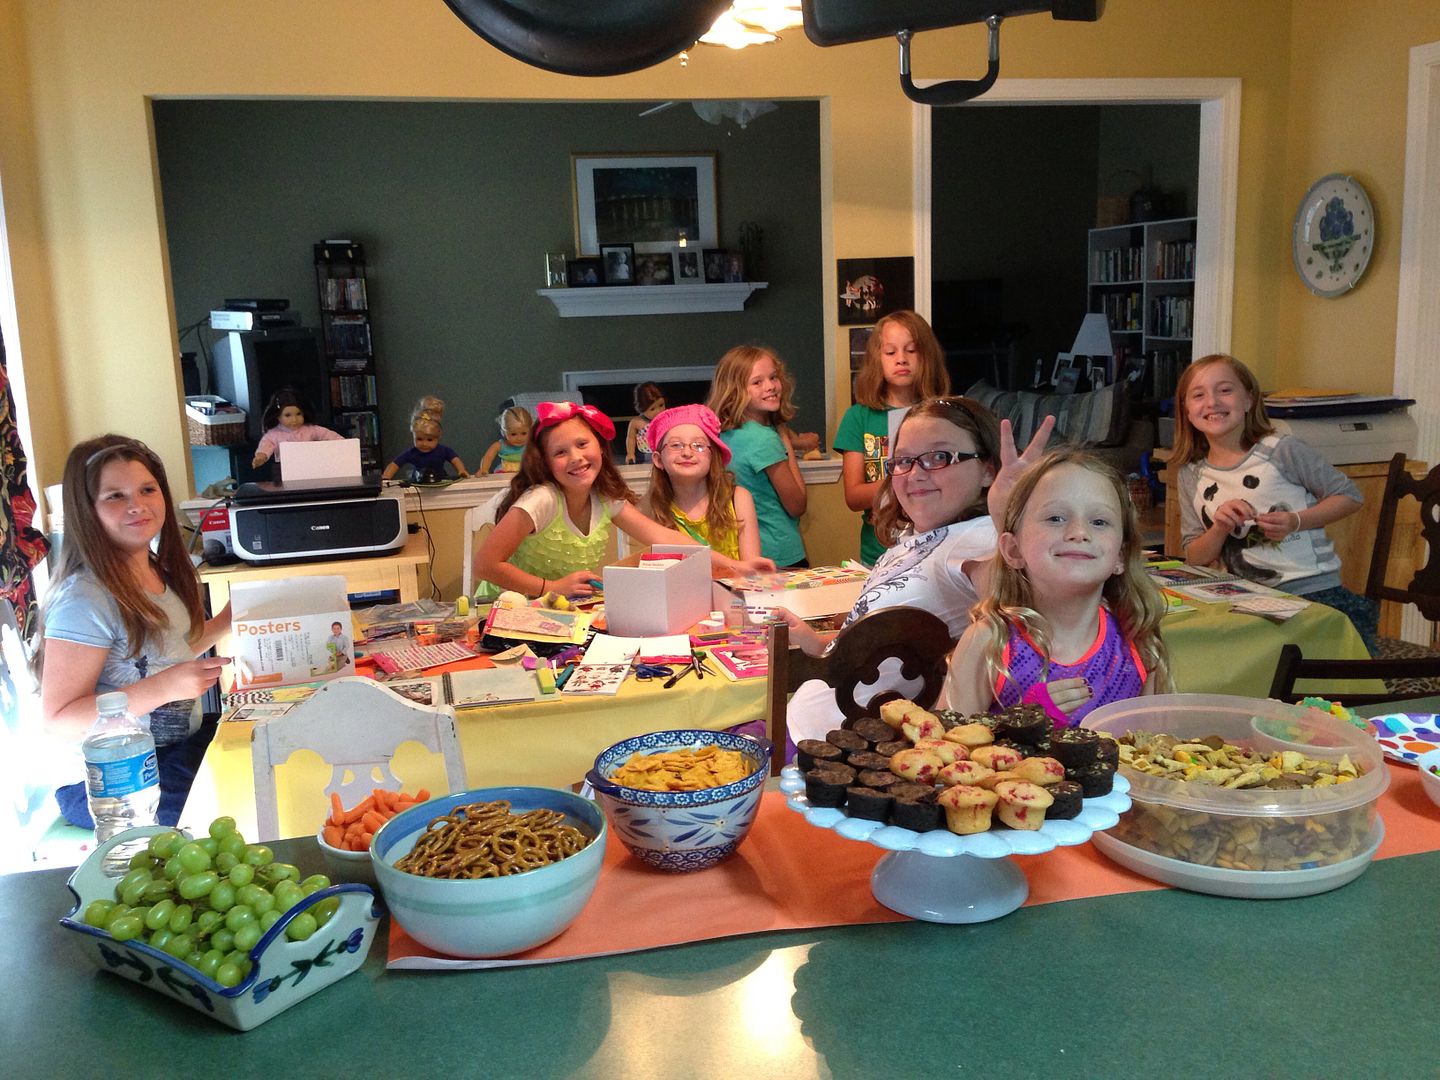
Today was the day for our American Girl Crafts party!  We had girls who ranged from 2nd grade to fifth, with the majority going into 4th grade.  I have mentioned this party in my last two blog posts--it has been my favorite upcoming project and has given me something really fun to look forward to when work has been so overwhelming!  It required a little bit of prep during my absolute busiest time of year as well as coordination of little girls' busy schedules, but we had so much fun!


To tell you about the process: I had to submit an interest in hosting a party to houseparty.com.  Once I was accepted, I had only 30 minutes to email invitations to at least ten guests.  That was a bit tough and I got a little creative, but we did it and received our party pack-- a huge box of American Girl My Life scrapbooks and oodles of stickers, pockets, stamps, tapes, and other embellishments.  It was fantastic and so generous!
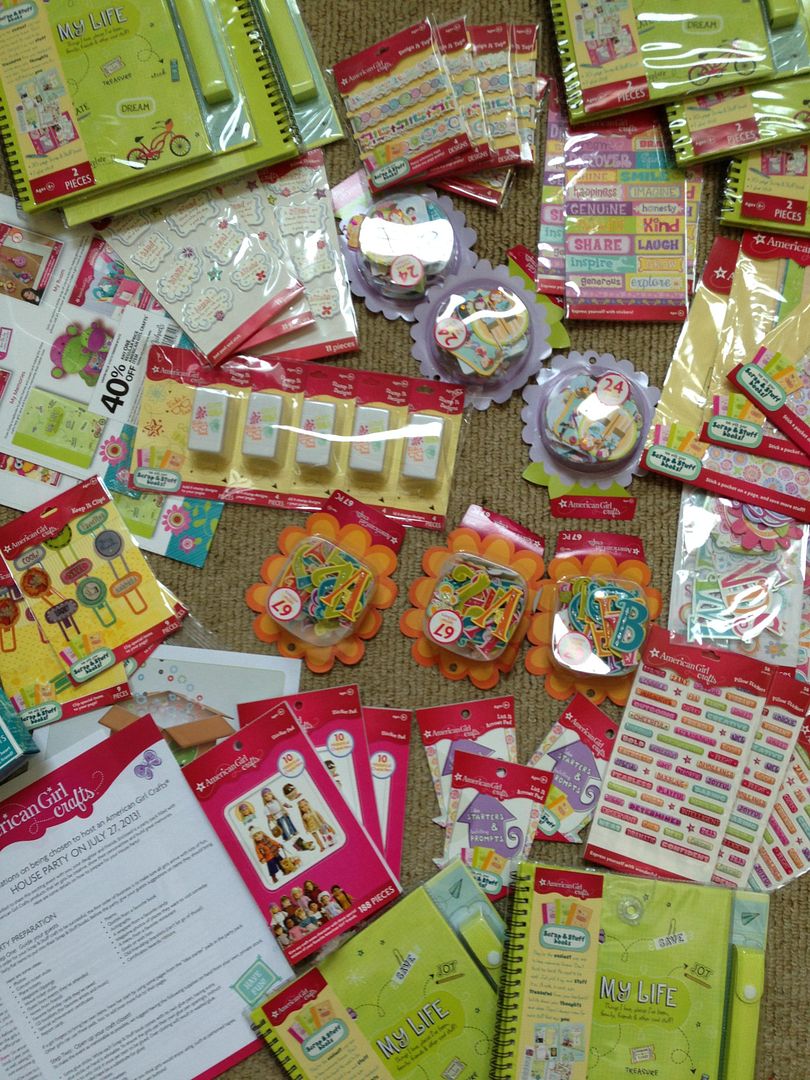

I took advantage of back-to-school time and picked up glue sticks, Teflon scissors, markers, colored pencils, Sharpie no-bleed fine writing pens all at bargain prices.  I added in some stamps and stamp pads, patterned paper, paint chips (for illustrating favorite colors), and punches!
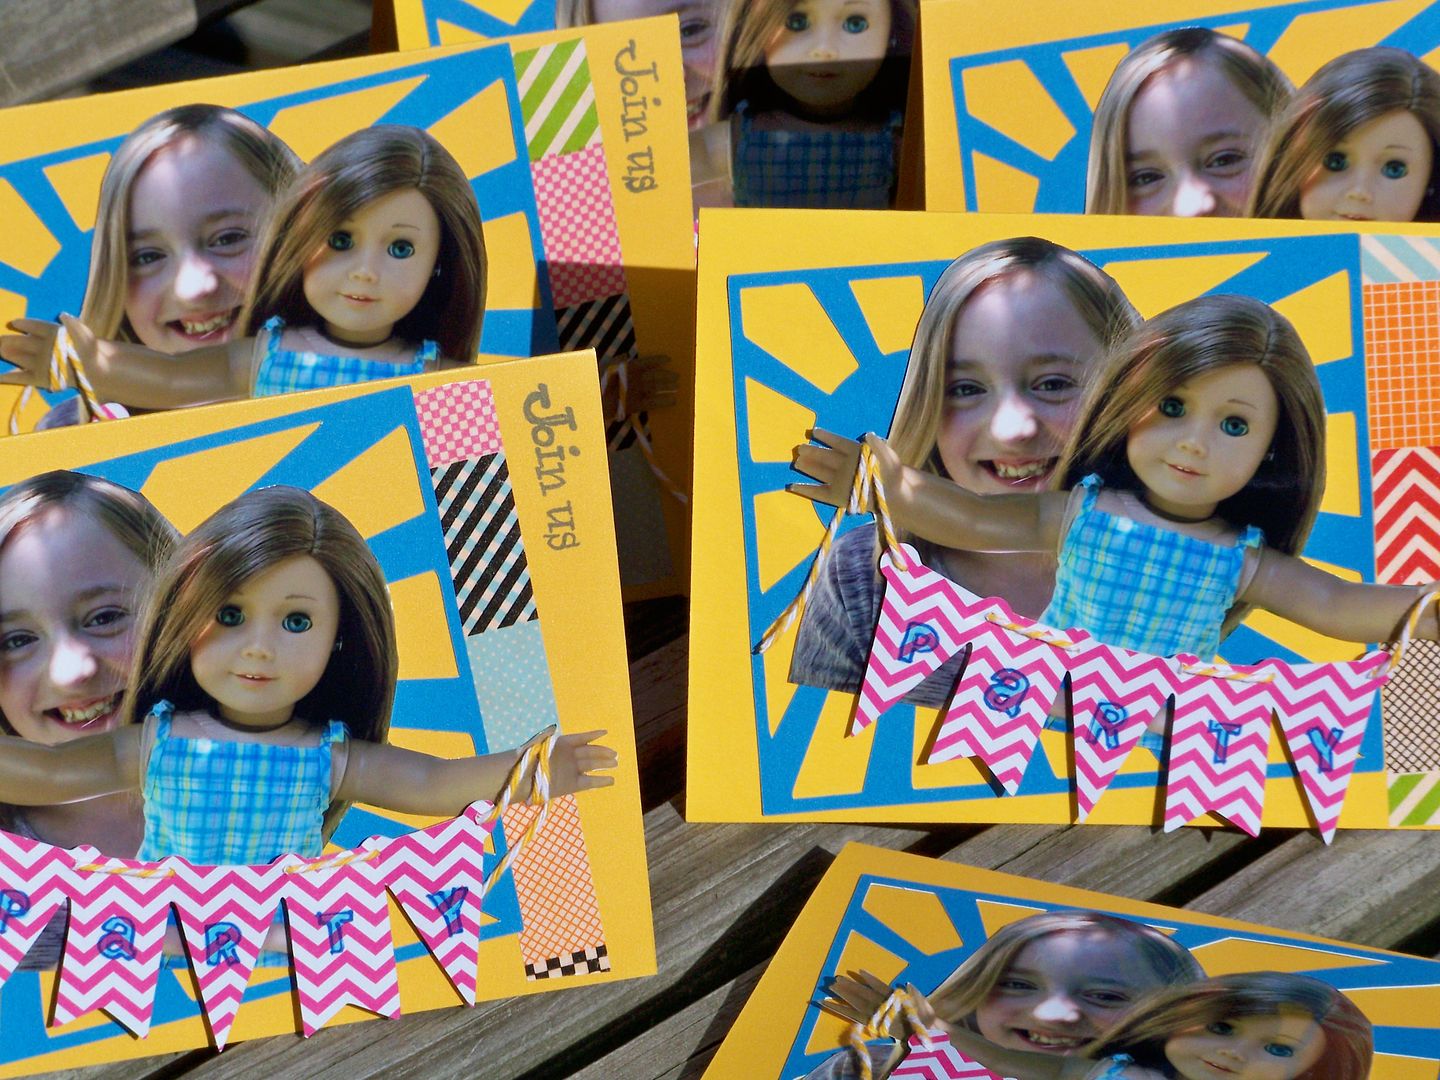


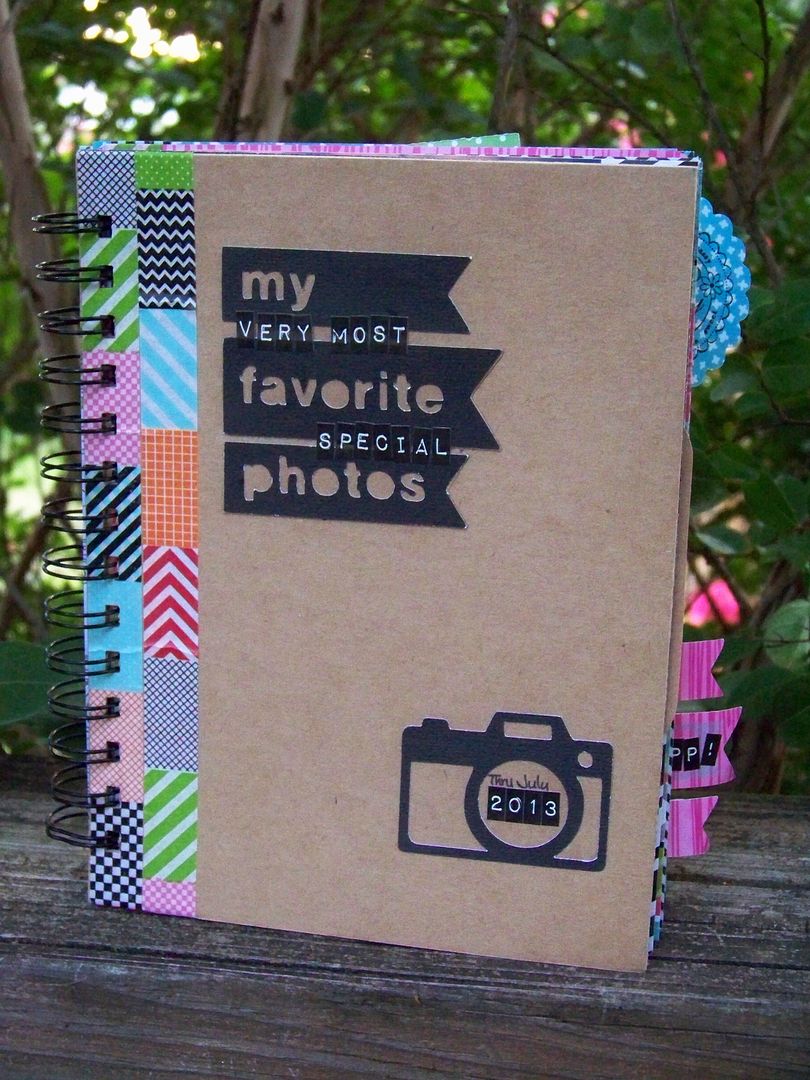
I created real invitations.  You can see the post for those by clicking here. I also made my own little photo journal to try out the style of scrapbooking the girls would be doing, although they needed no instruction from me and went to town on this!  You can see my post with my journal by clicking here.

Piper and I made simple favor bags using Close to My Heart stamps, the same Smash Tape I used on the invitations and my journal, and some American Girl Crafts stickers from Piper's stash. That Tiny Attacher courtesy of Sara Andrews really came in handy!
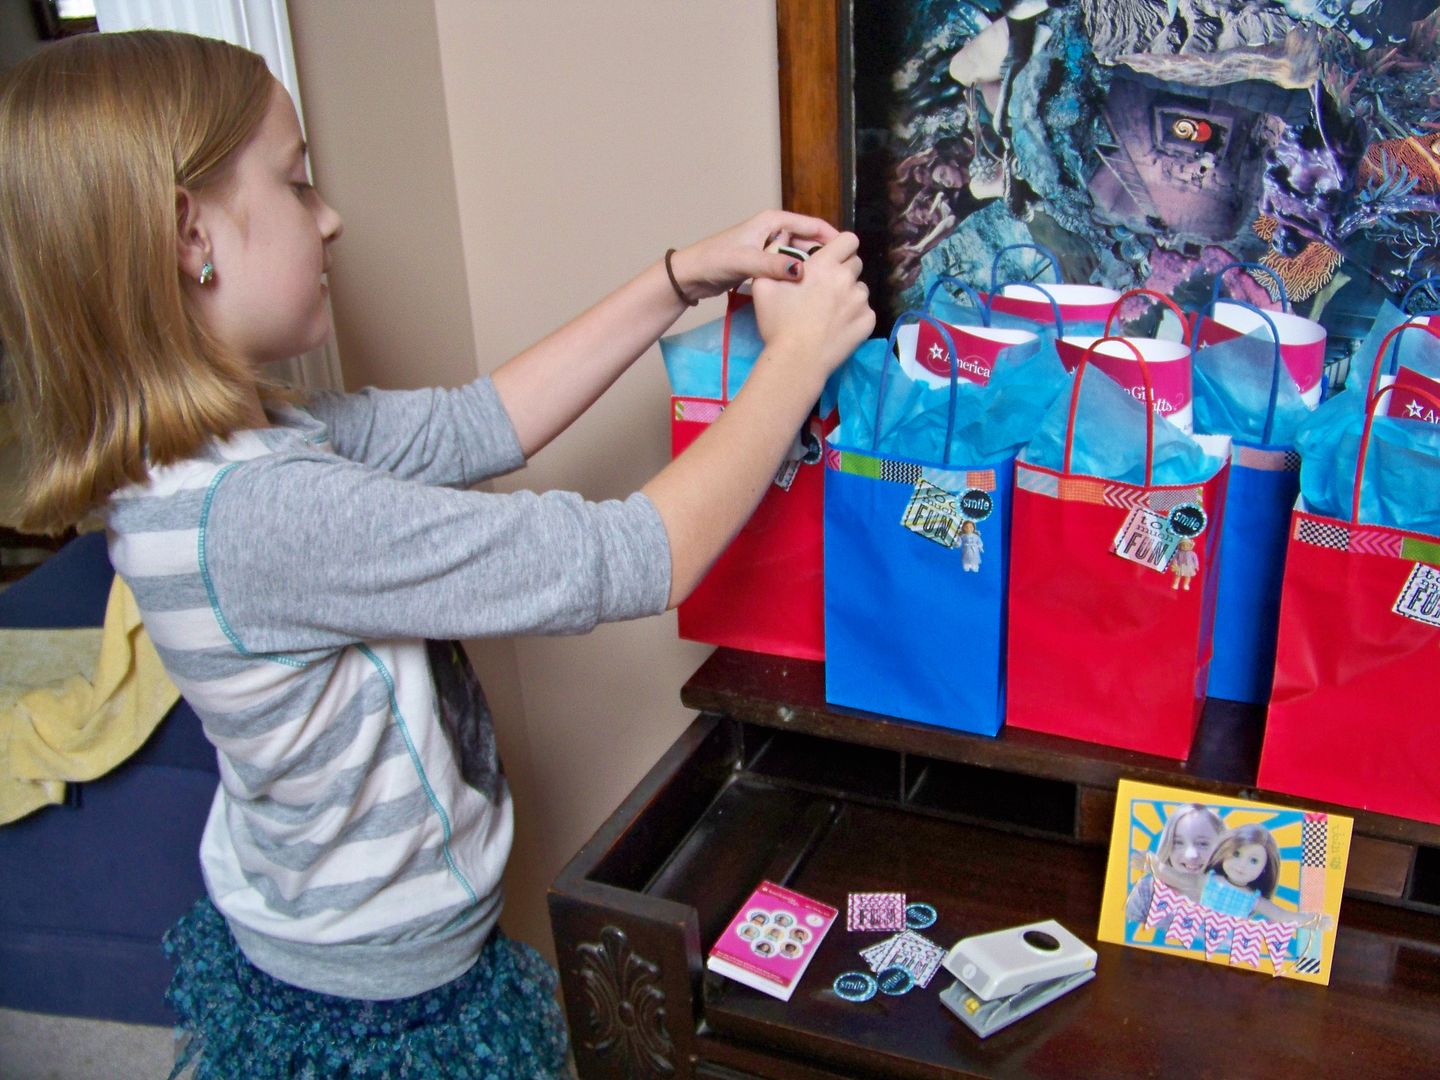
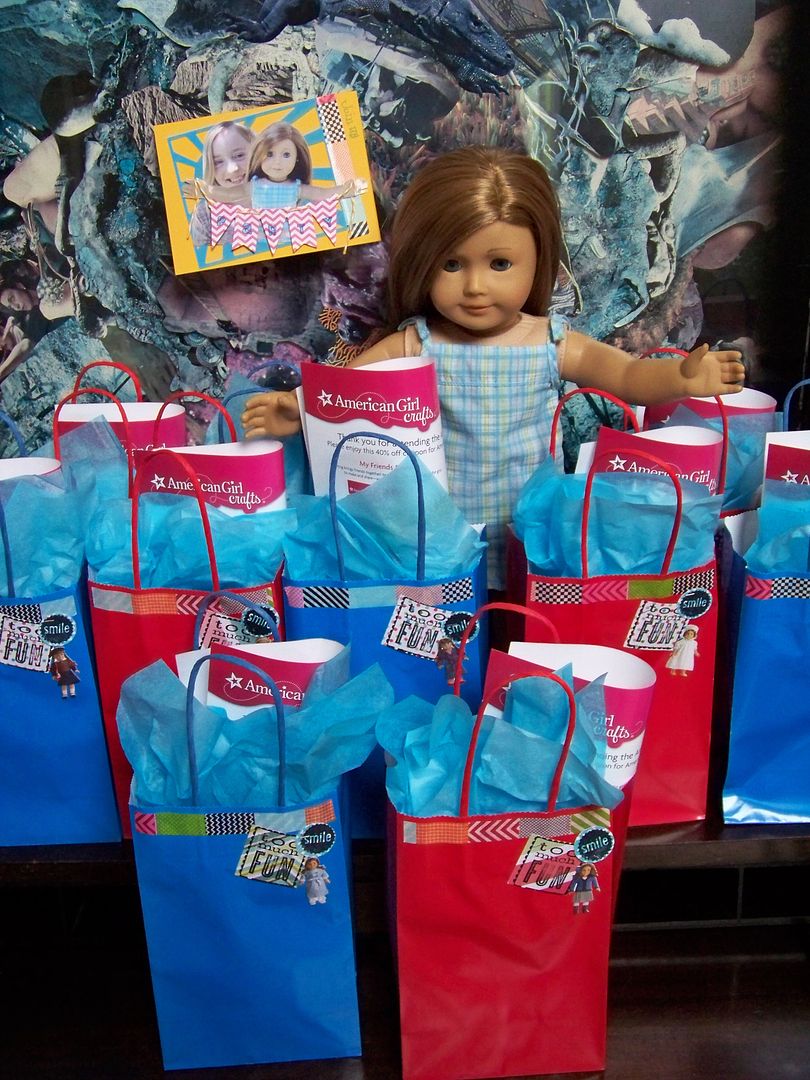
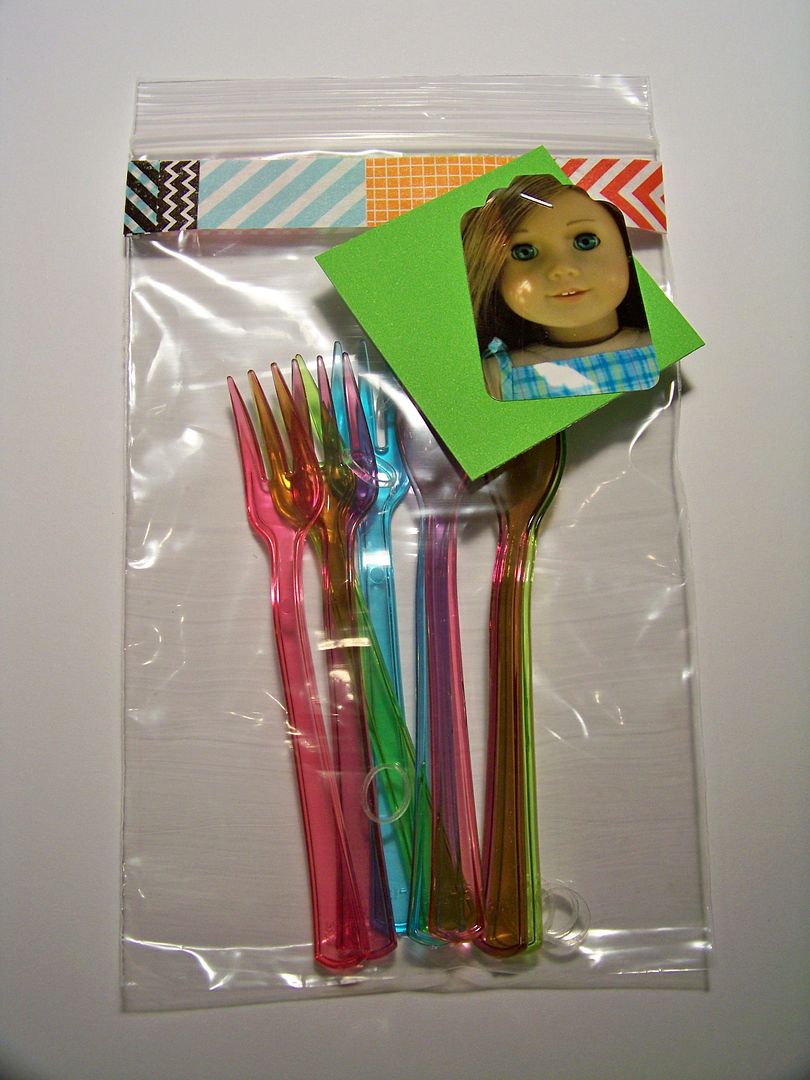
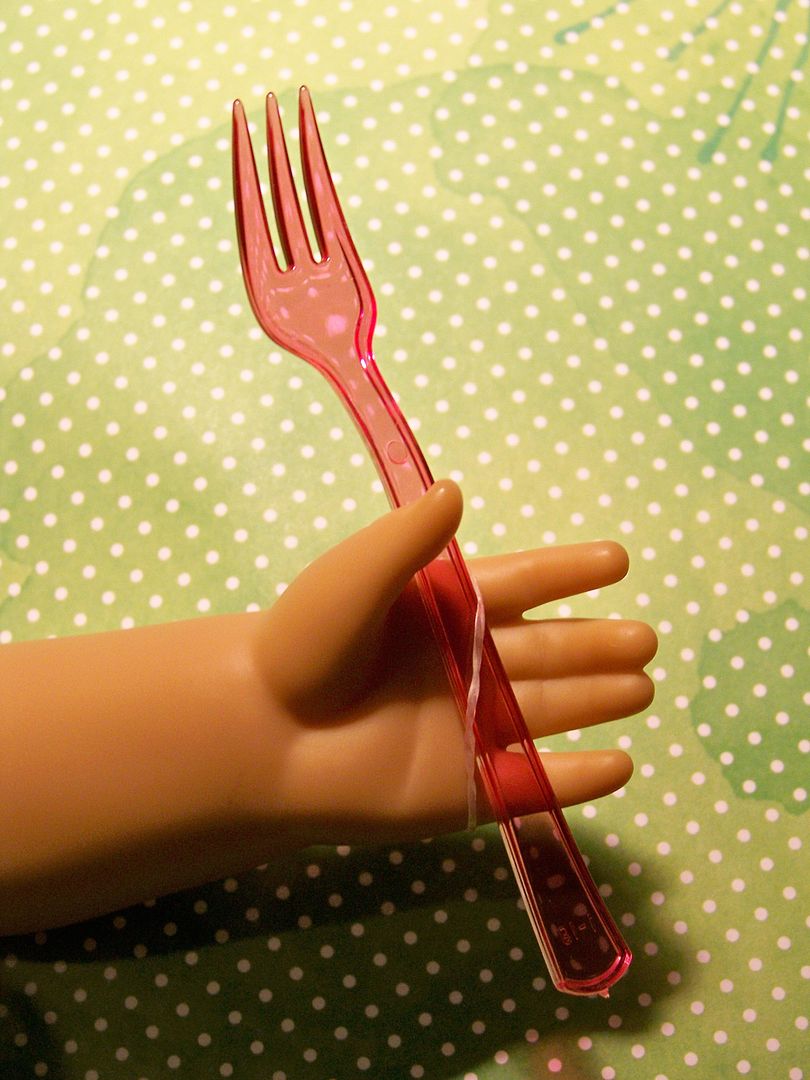
Inside are colored pencils, markers, doll-sized forks and knives, a notepad, candy, and a coupon that we were asked to give to our guests.  I found the doll-sized forks and spoons in the party department at Walmart.  They are supposed to be for appetizers but with clear mini ponytail holders that we included, they are perfect for dolls!


We picked up some fun, kid-style finger foods-- white grapes, baby carrots, brownie bites, strawberry mini muffins, Cheez-its, mini pretzels, M&Ms, and Sour Patch Kids.  I was going for non-staining foods so the girls could craft and eat without getting their papercrafts soiled.   We were trying to think things through but that pesky detail about table space... not so much... I did add a card table to the end of our kitchen table, but we were still pretty crowded!
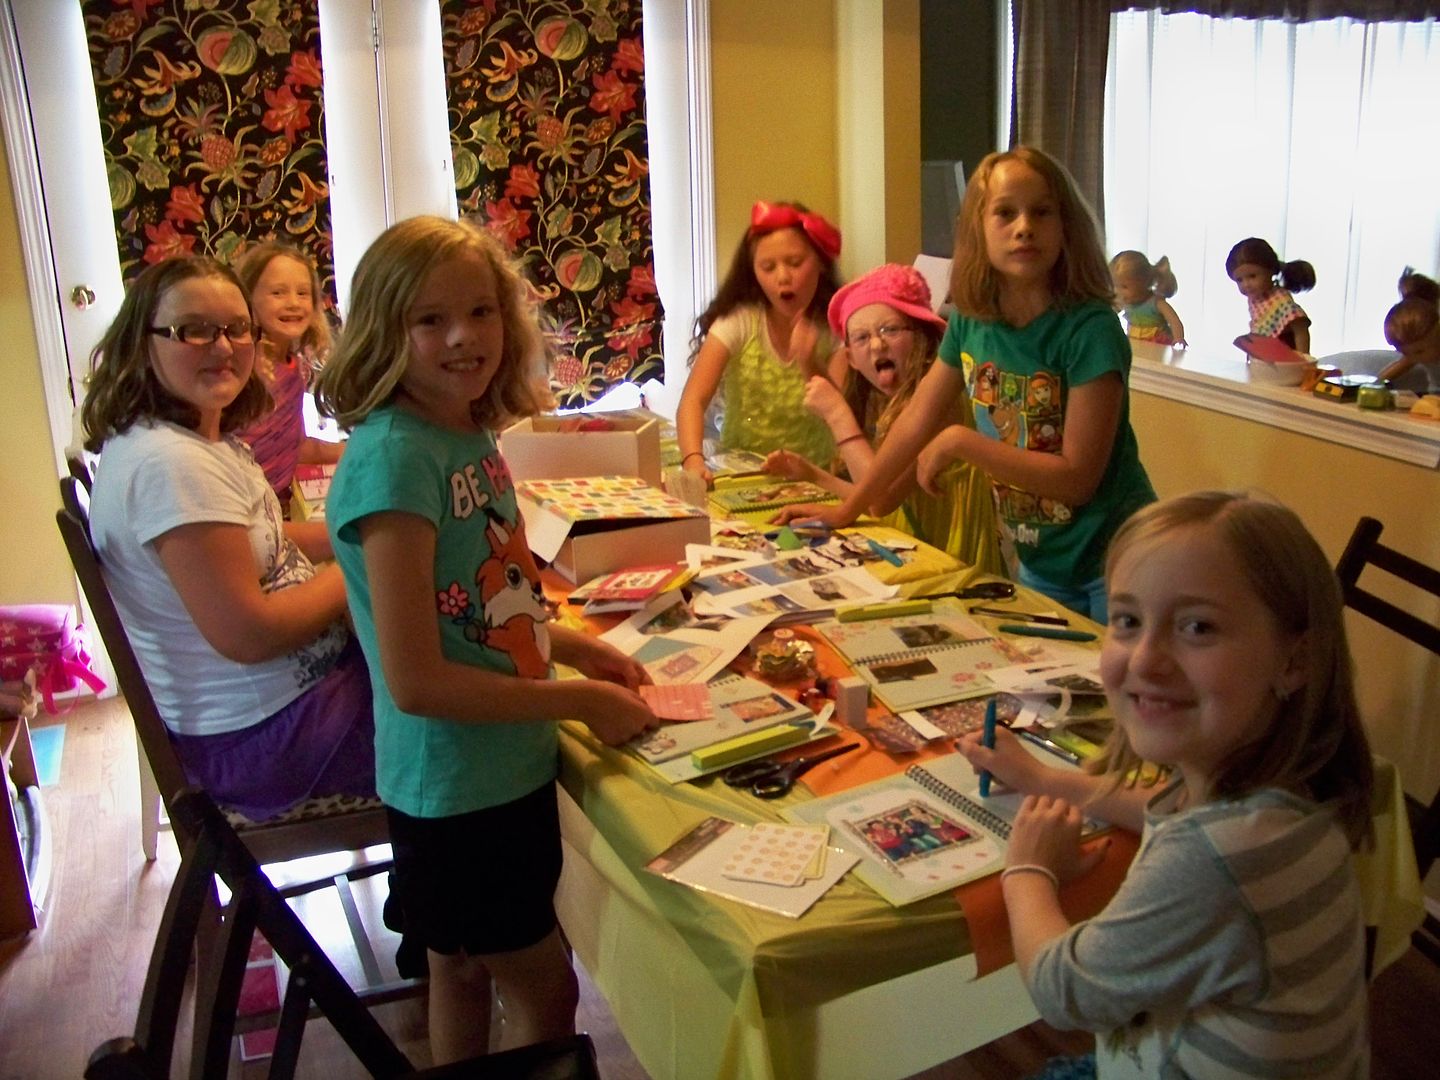
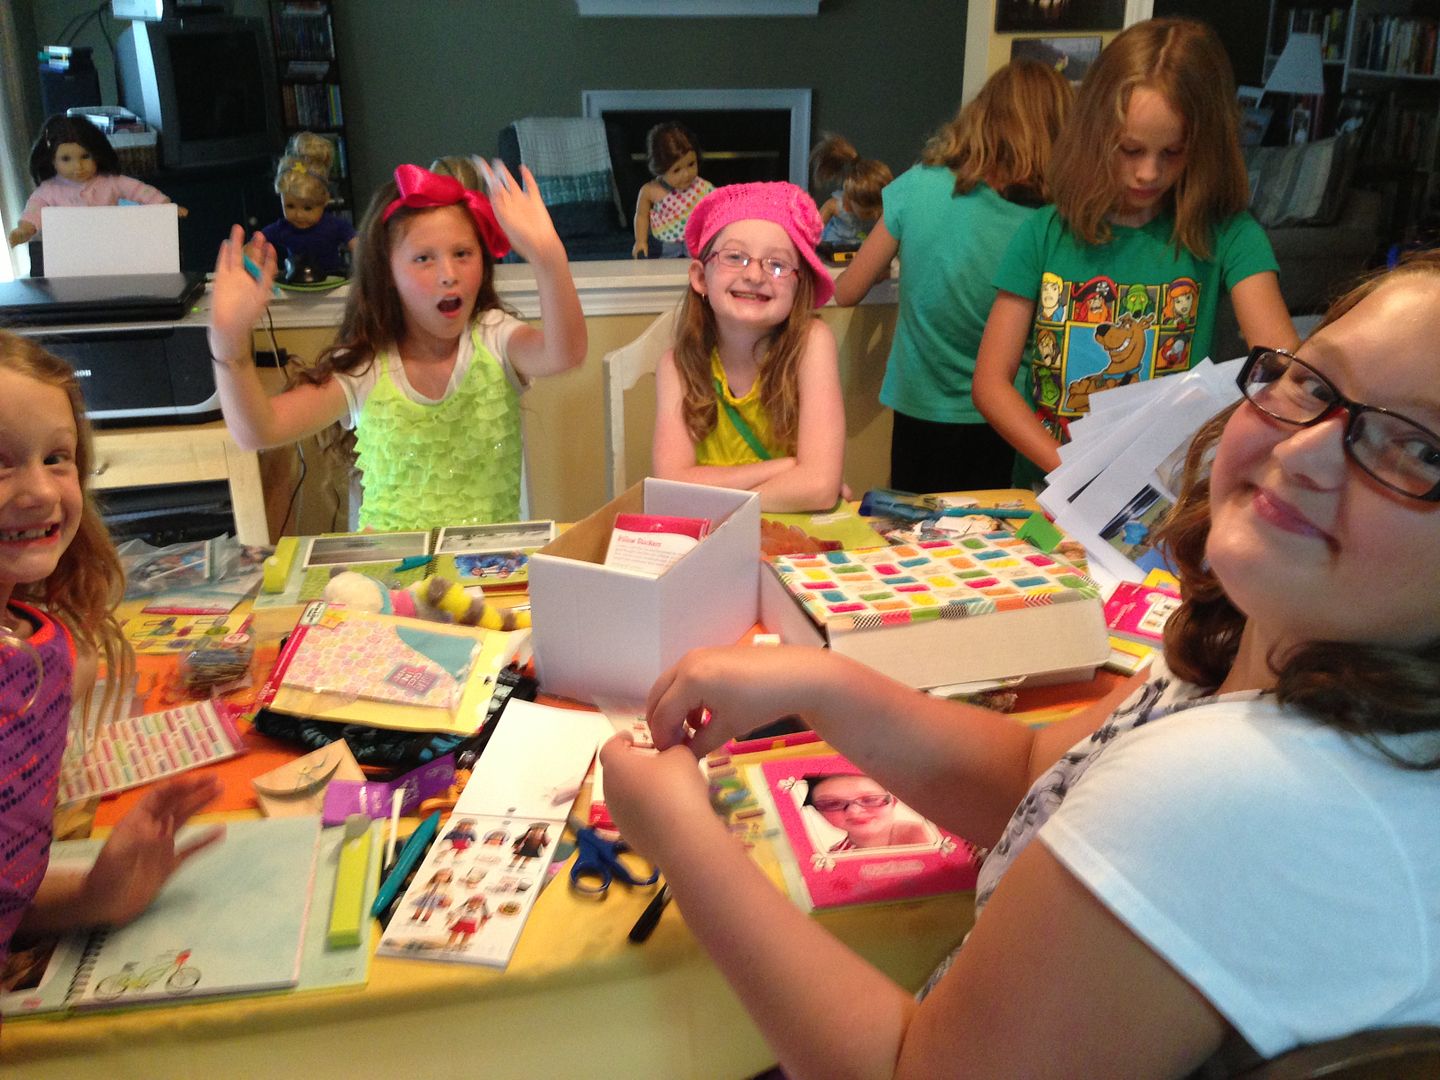
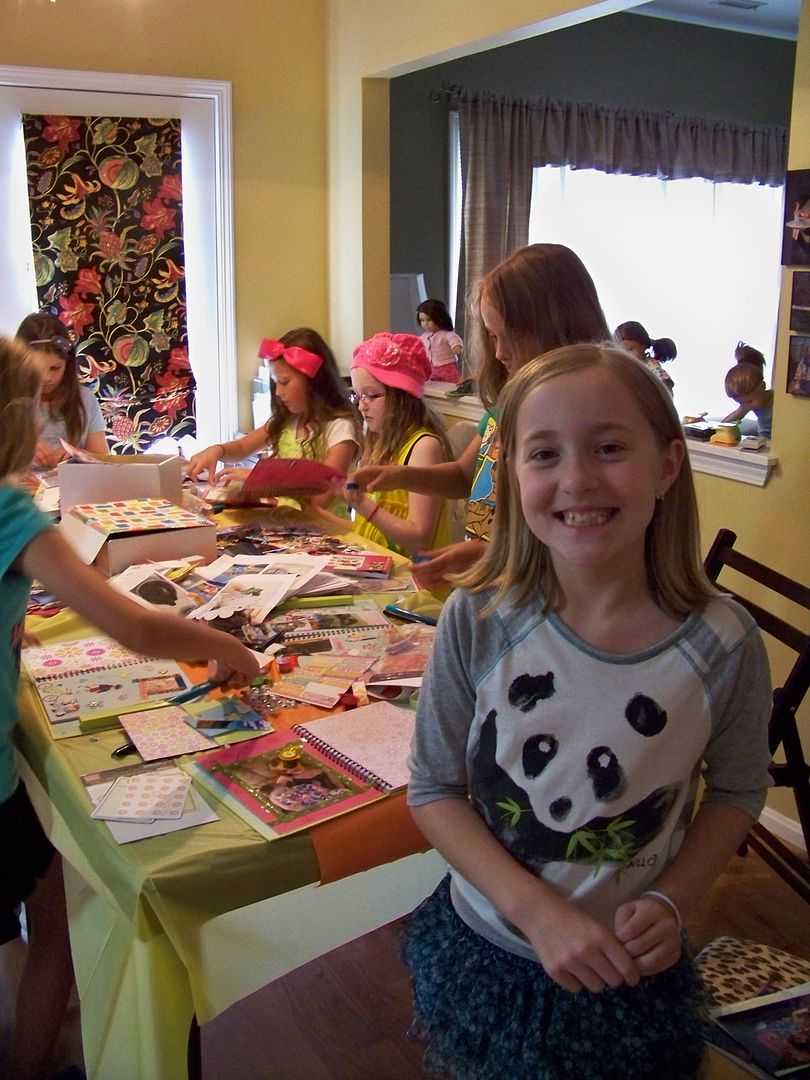
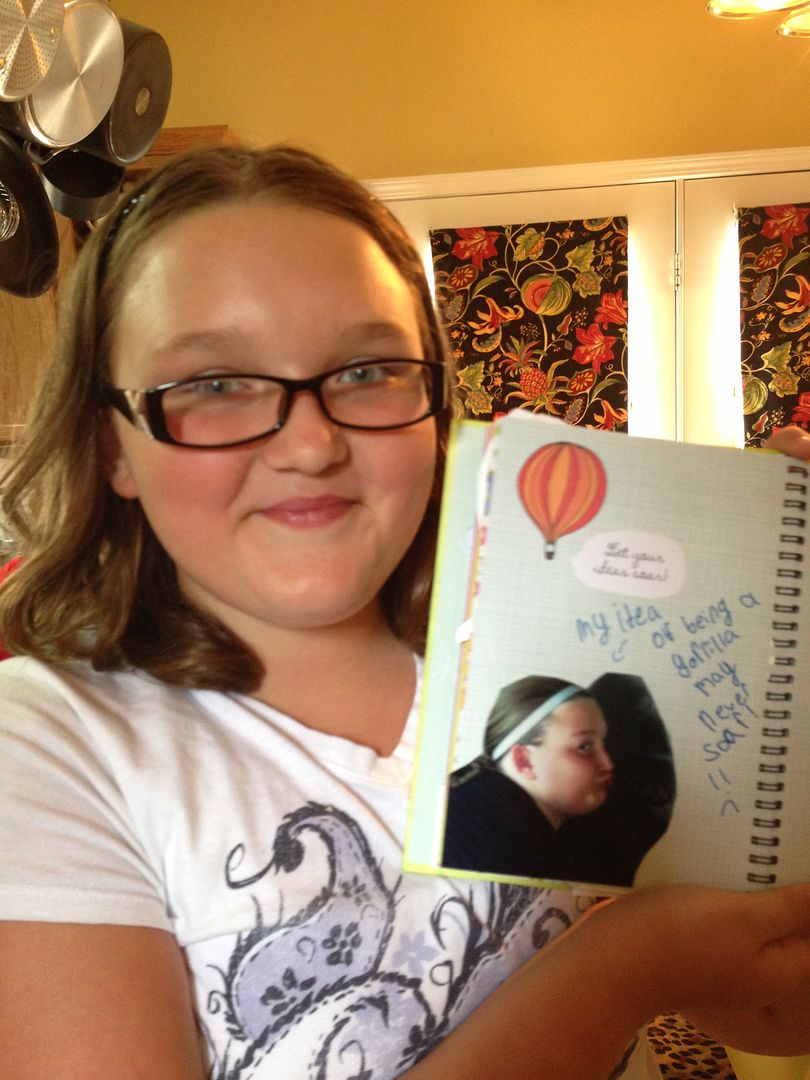
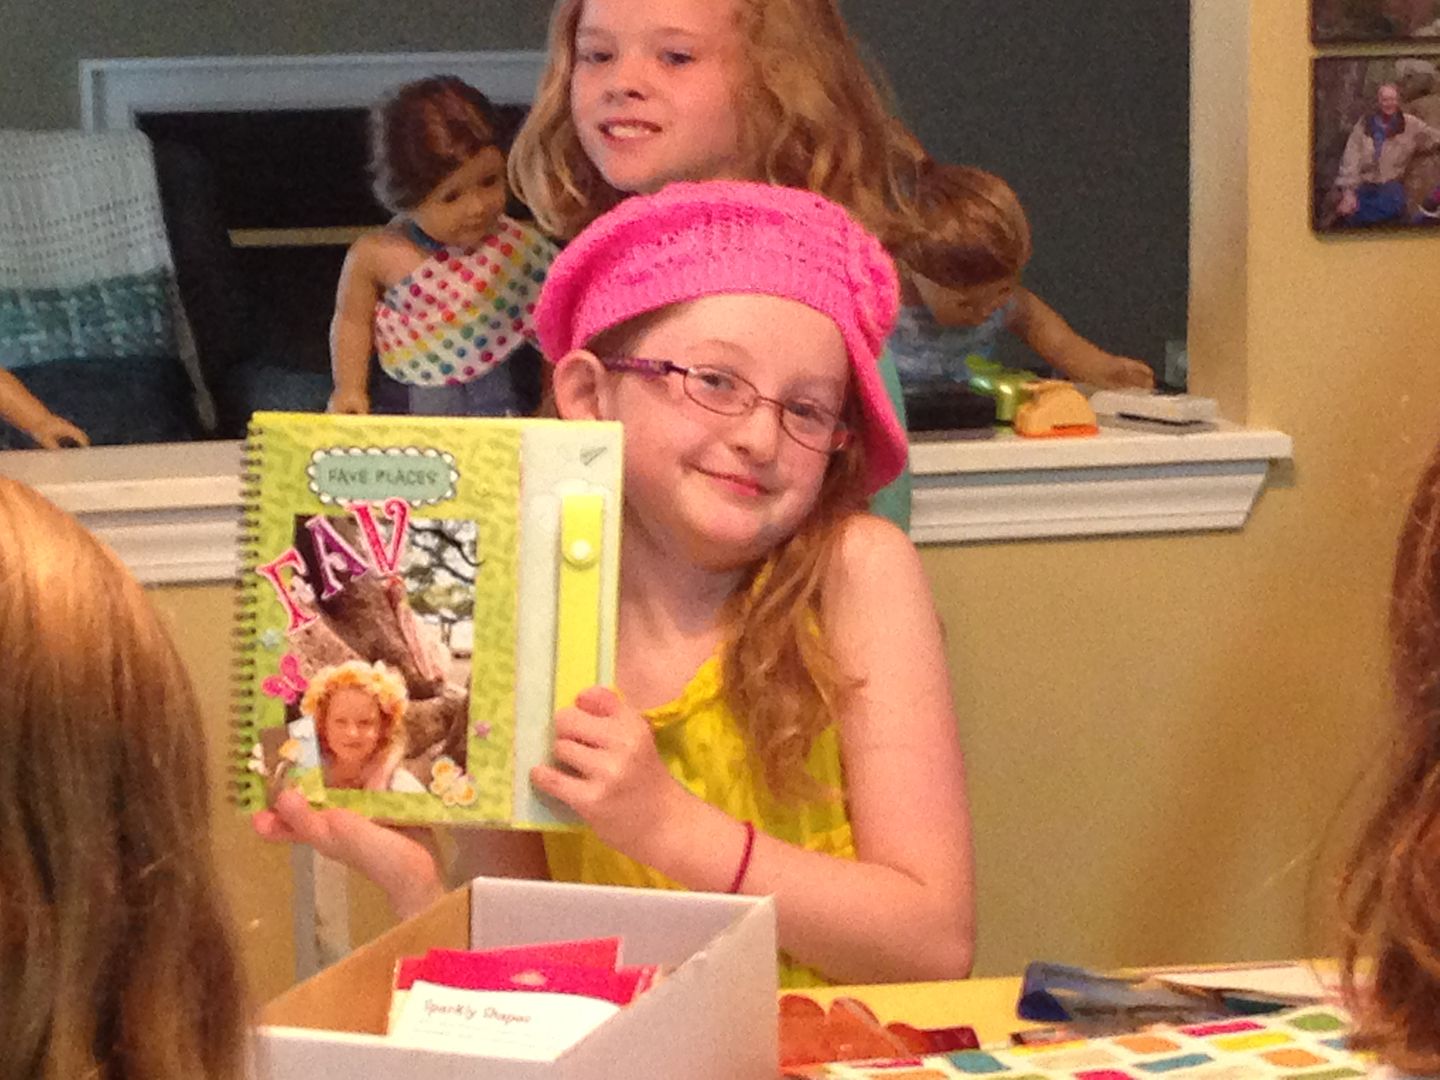
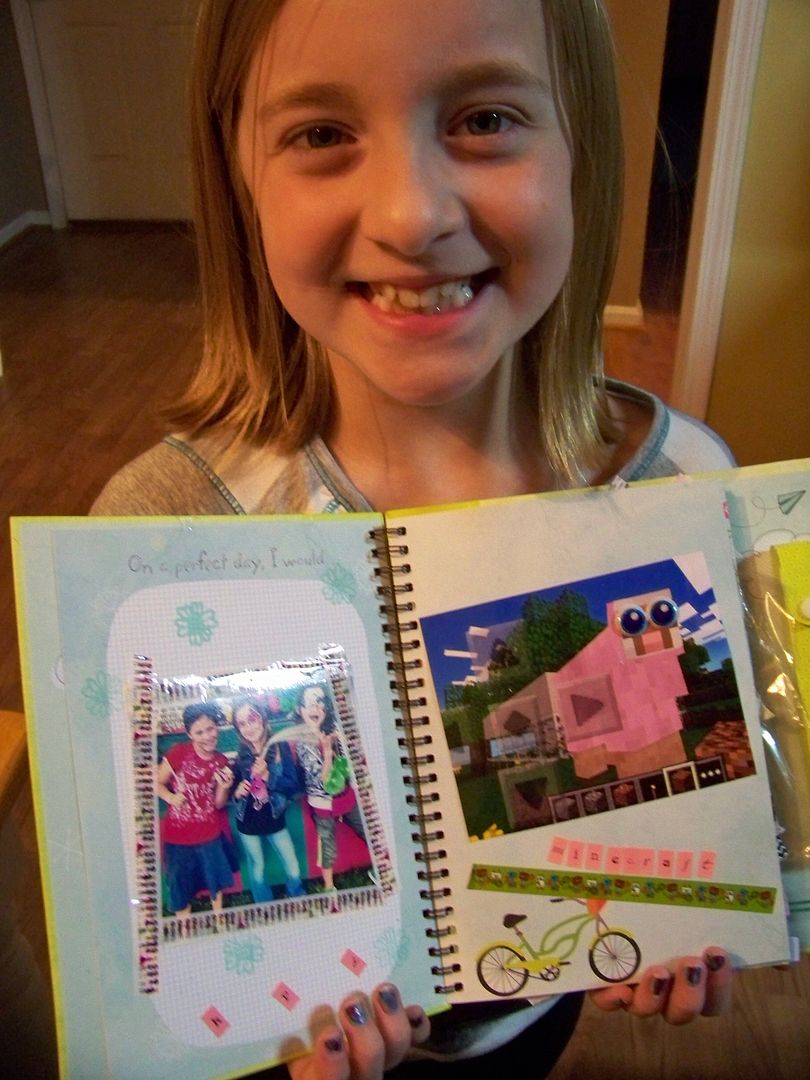
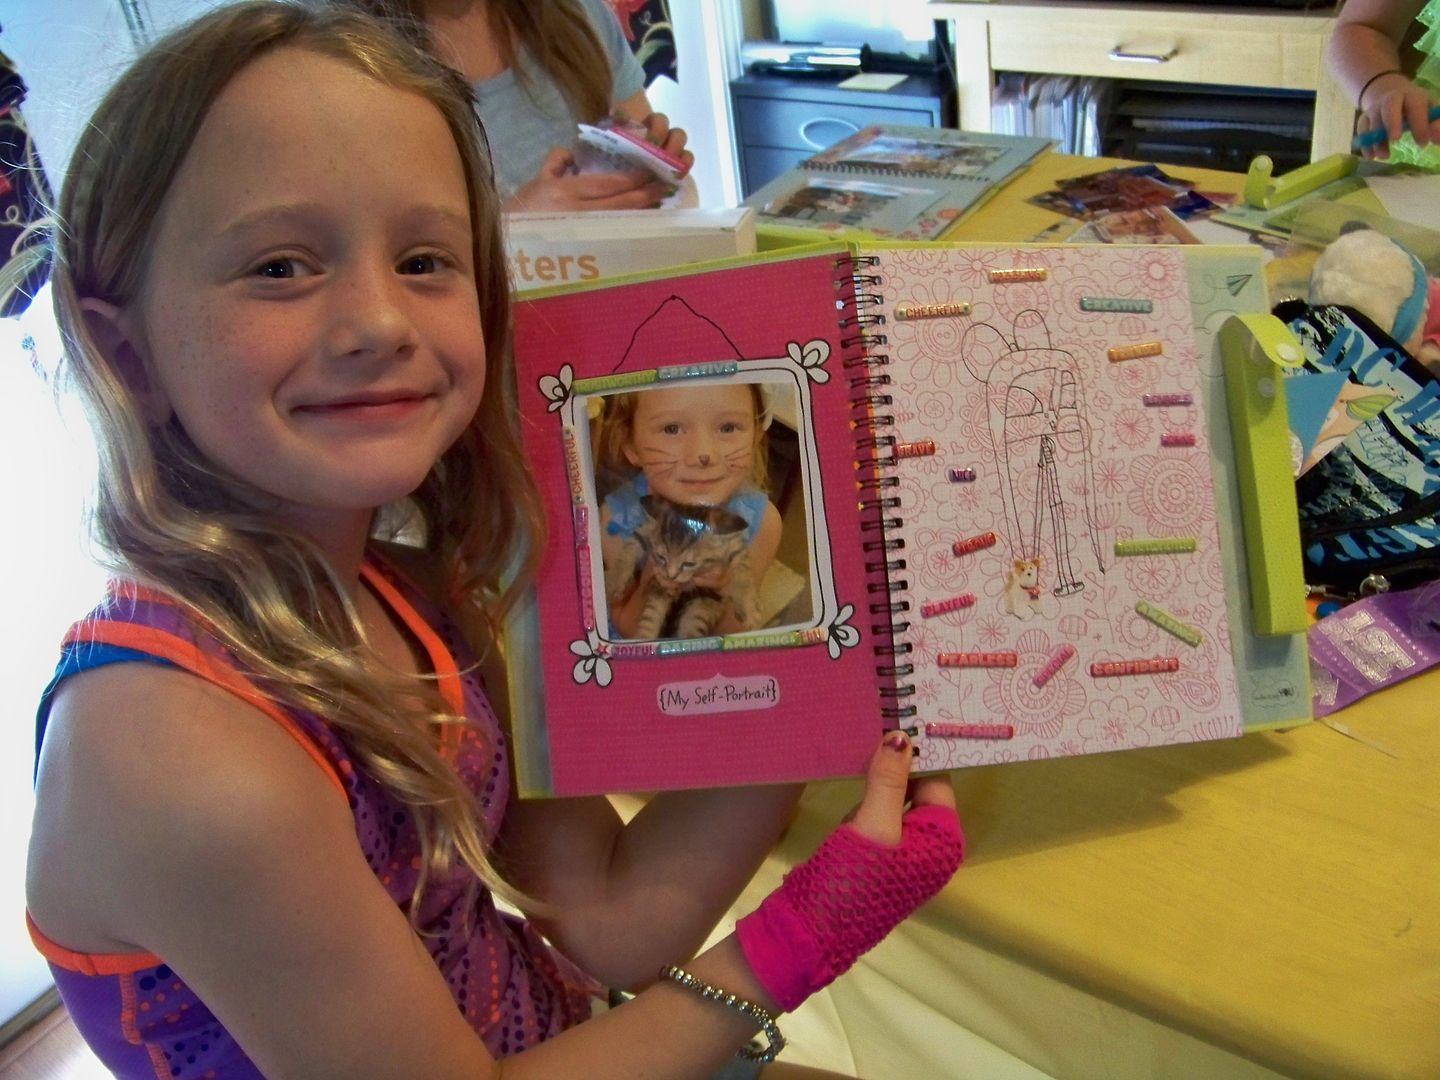
Even so, those girls were so creative and made some really fun pages!


At some point, the girls were ready to just play and goof off.  A couple girls kept crafting but my kiddo couldn't resist time with friends and dolls!
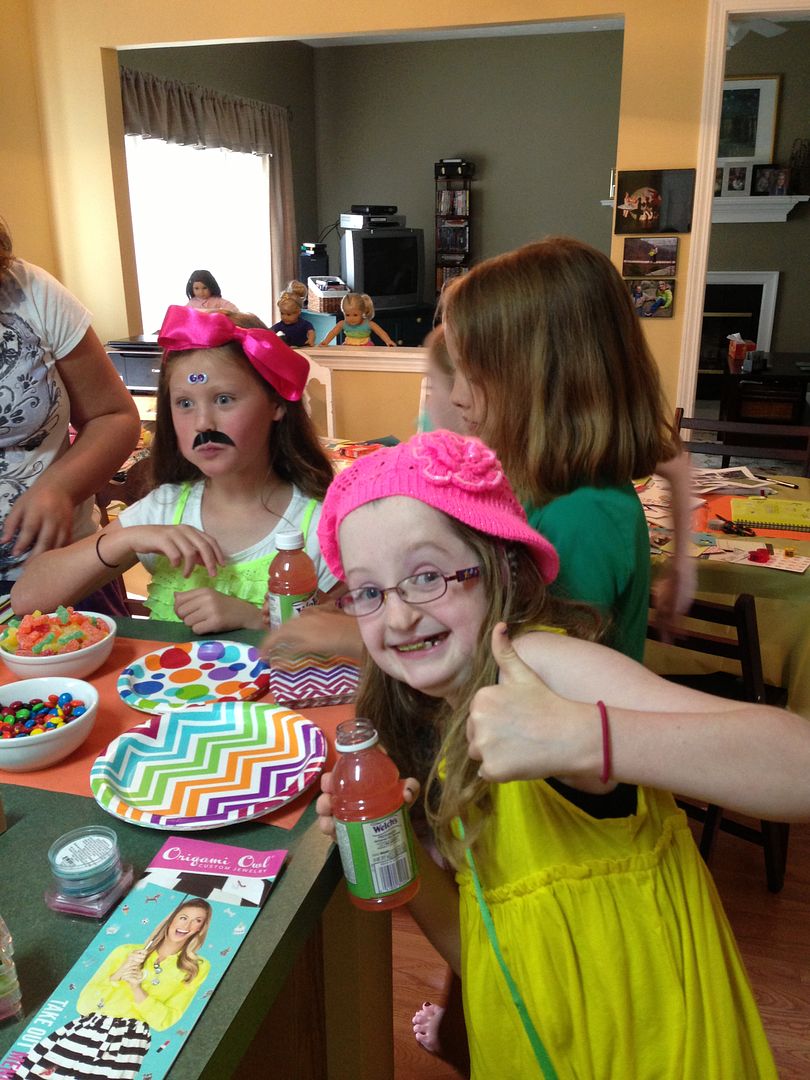

In the end, after all of her sweet friends left, as I was picking up the house, she told me, "I want to finish my book now!"

I got messages from two moms that their girls crafted again when they got home too!
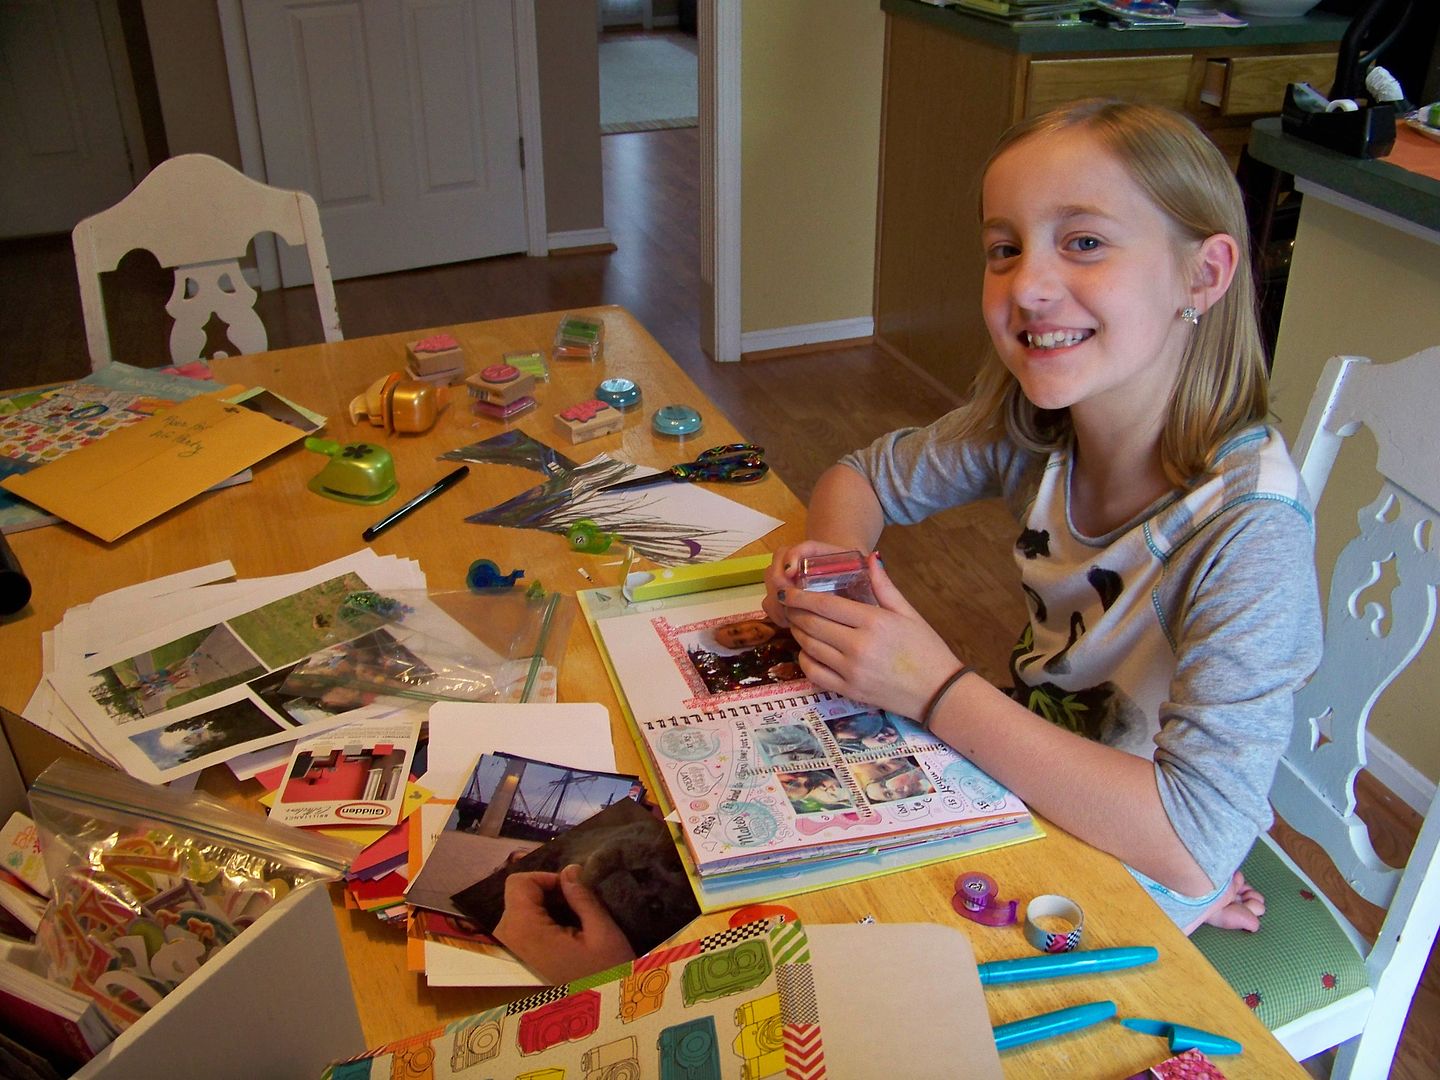

And the funny thing is that recently my kiddo told me she didn't like paper crafts.  After today's party, she told me she loved this.  I think her new love of photography really played into this too and crafting with friends is always fun, right?  She actually told me she finally understood why I like memory-keeping!  How about that!?

OK, moms, for a little personal critique of the American Girl Crafts:  The 'My Life' journal's size and writing prompts on the pages seemed pretty perfect for these girls.  The glue pen that came with the journals was okay but it was a problem if a girl "over-dialed" the size.  Unlike regular glue sticks, the glue couldn't be pushed back down and because it was skinny, that could be a mess!  I was glad I had regular glue sticks for them to use!  The embellishments were much-loved!  The hottest stickers were the ones with descriptive words they could use on pictures of themselves.  The individual chipboard letters were also very popular!  One little girl really rocked the 'Keep It Clips' but most of the girls seemed to be unsure of how to use them, gearing more toward tapes and stickers.  The Design It Tape was not as popular as the washi tape I provided.  (They LOVED washi tape, by the way!) The sticker pad that featured photo images of dolls, pets, and accessories were fun for all of the girls! They also seemed to love the self-inking stamps and the 'Stuff It' pockets they could add into their books!  My kiddo loved the dimensional stickers but I think she was the only one who used them.  Overall, I think this line is really great for girls and makes it easy for them to create something fun!

This project created a really fun 'snapshot' of my daughter's interests and insights at this age-- and I like that because it is more true to her than anything I could scrap or journal about her.  This is really a special scrapbook for that reason!  I like how fun and fast this was for the girls to put together!

Thank you for checking my blog post today!  This was such a fun break to a super-busy summer!


Tuesday, June 25, 2013

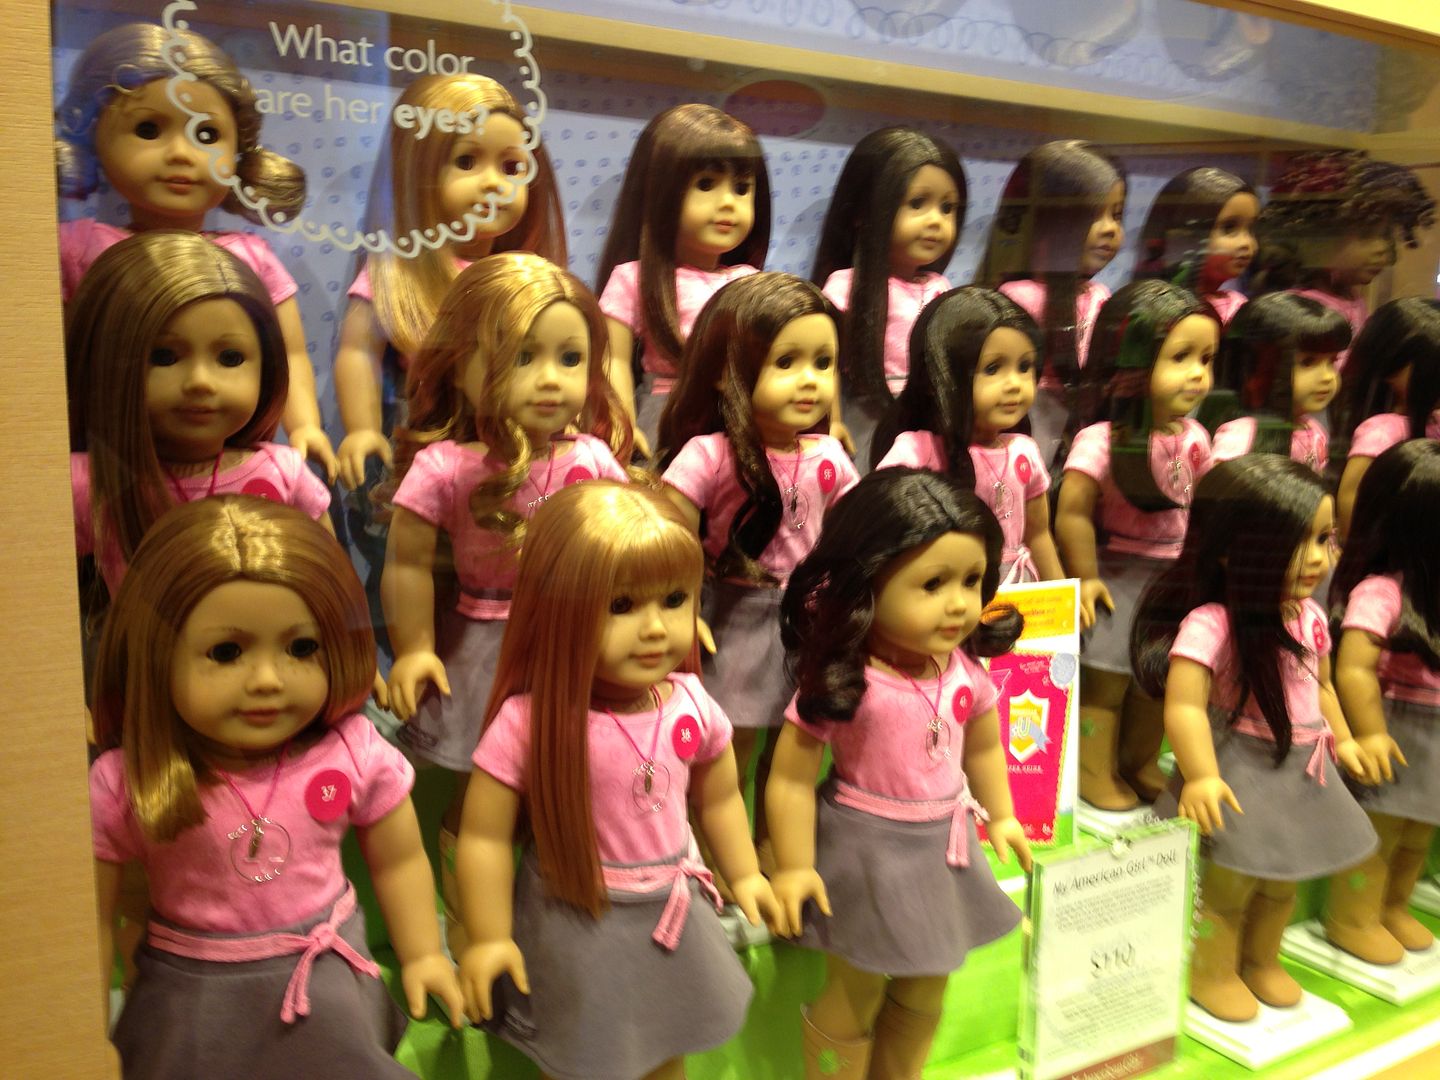
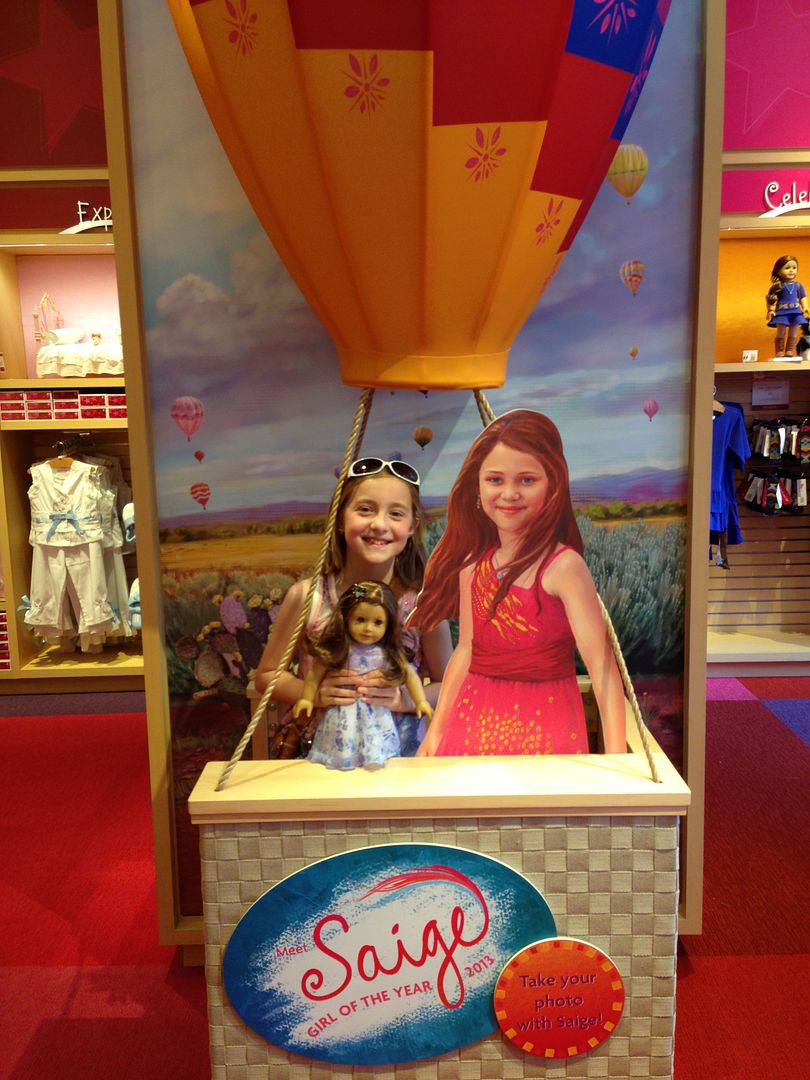
Day Trip to the New American Girl Store!

This time of year is the very busiest for my family and for our family-owned businesses.  No summer vacations for us but I do try to fill the days with some fun for my sweet kiddo, Piper, usually in the form of camps, classes, and an occasional day trip!  This past Sunday, I gave her a whole, precious summer day!  A whole, free day is hard to come by for me until autumn but with a smartphone, I was able to do some of my work away from the office so we could go to the new American Girl store that opened this past weekend at Easton in northeast Columbus, Ohio!


Let me first say that we have never been to a Grand Opening at an American Girl store, and my nine-year-old has never been to any AG store, despite her doll love!  I was going to surprise her with a trip, but she regularly visits americangirl.com and saw the announcements months ago!  She has been saving her money for this trip, even working as a MoonPie mascot at one of our outdoor events (not her favorite job)!

I had gotten in around 2AM after working out-of-town Saturday and got some much-needed sleep before I picked Piper up from a sleepover.   Not an early start, but off we went, the two of us, having no idea of the kind of adventure we would have, but knowing that no matter what, we were going to have fun with this special day!


Driving by myself is never a problem and this was only about a four-hour drive from where we live. We arrived around 3:00.  My GPS only got us to the Easton Town Center, an outdoor mall of sorts set up in city blocks.  The flowers and 'mood' of the area was a treat in itself!  Streets were closed off for an art fair they were having and for the store opening!  Finding a parking spot was only tough because I had no idea how close we were to the actual store!  A miracle happened though and we were only about a block from the ticket tent.

TICKET TENT????

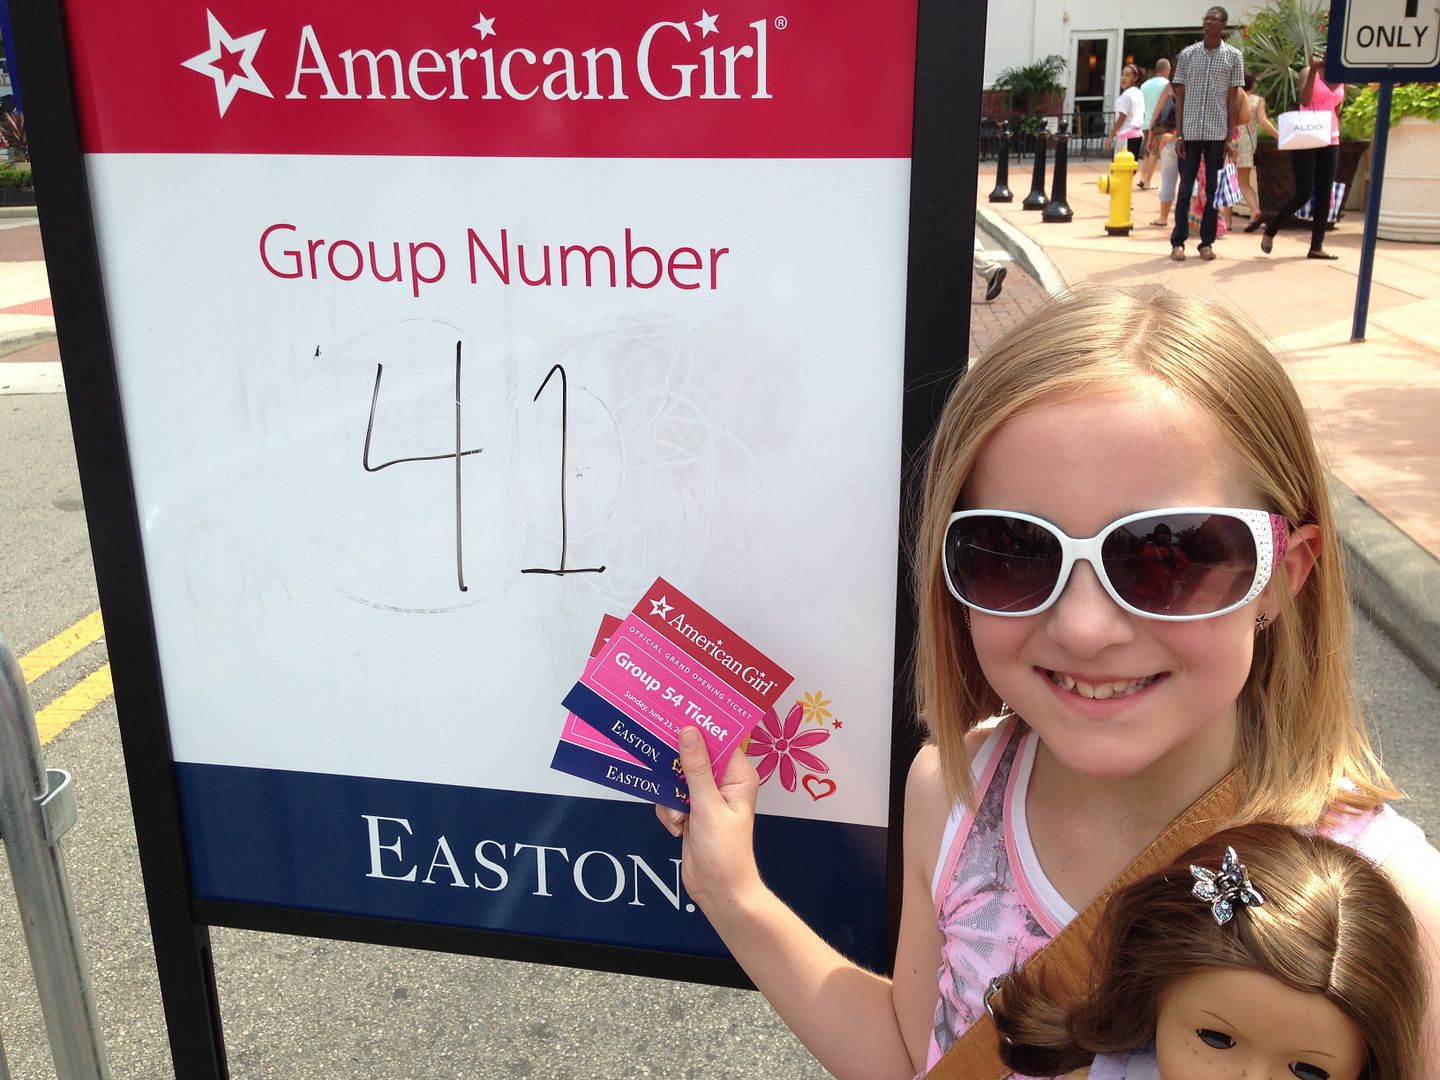
Well, yes.  They have so many thousands of girls and their families attend these that they set up large groups of tickets and entry is only permitted when your ticket group is called.  Happily, they text you as the group entry number is updated so waiting shoppers can go to other stores, eat, or even leave and return later!  (We checked out the Lego store!)


The fun thing is that all the nearby stores and restaurants were in on the fun!  A lady on the street overheard Piper and me talking about what to do while waiting for our number.  She told us a horror story about the day before:  apparently her family got there at noon and weren't permitted to enter until 7PM.  Holy cow.  She pointed us toward the California Pizza Kitchen for lunch, where they had doll chairs!  (That's a favorite place for Piper.  As she says, the taste of the pizza matters more to kids than to anyone!) The restaurant was filled with girls and their dolls, like the whole area.  That really made it even more fun!

The horror stories from Saturday, happily were not repeated on Sunday, and our ticket number was texted to my phone just as we were leaving the restaurant!  Perfect timing!  We got in line and waited to be allowed in.


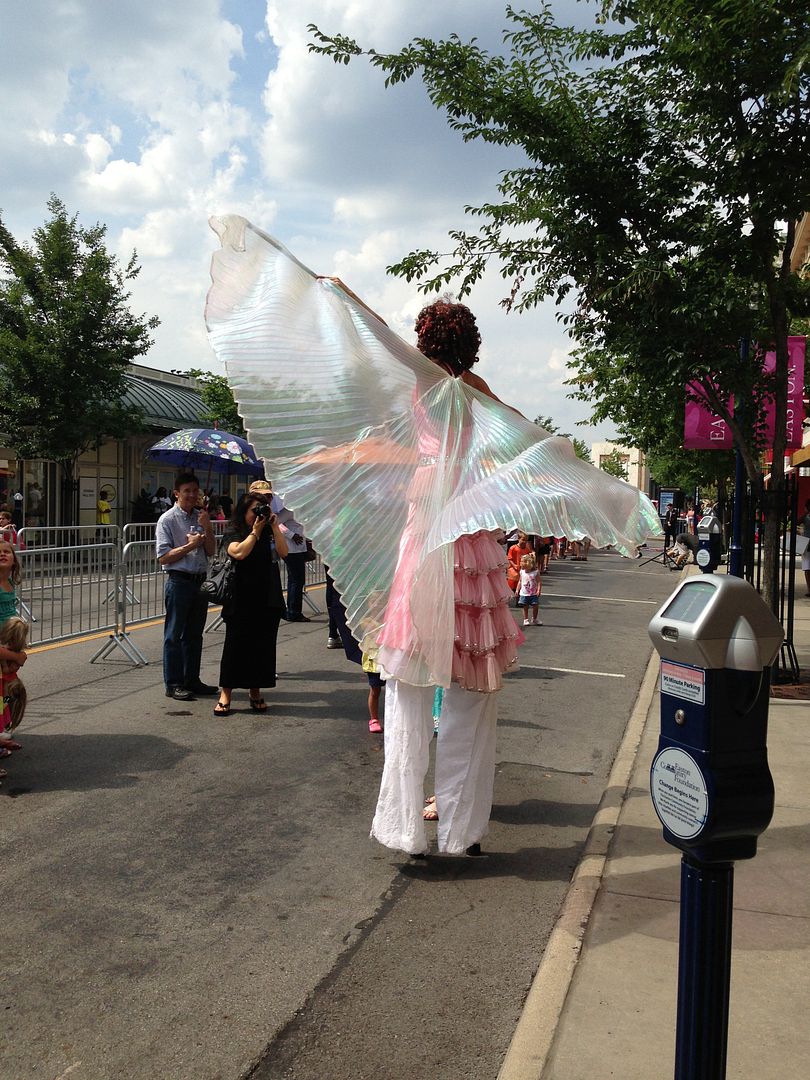
While we were in line, they made everyone as comfortable as possible on a hot, sunny day by offering umbrellas and handing out cold, bottled waters.  We were entertained by a lady on stilts and a juggler.


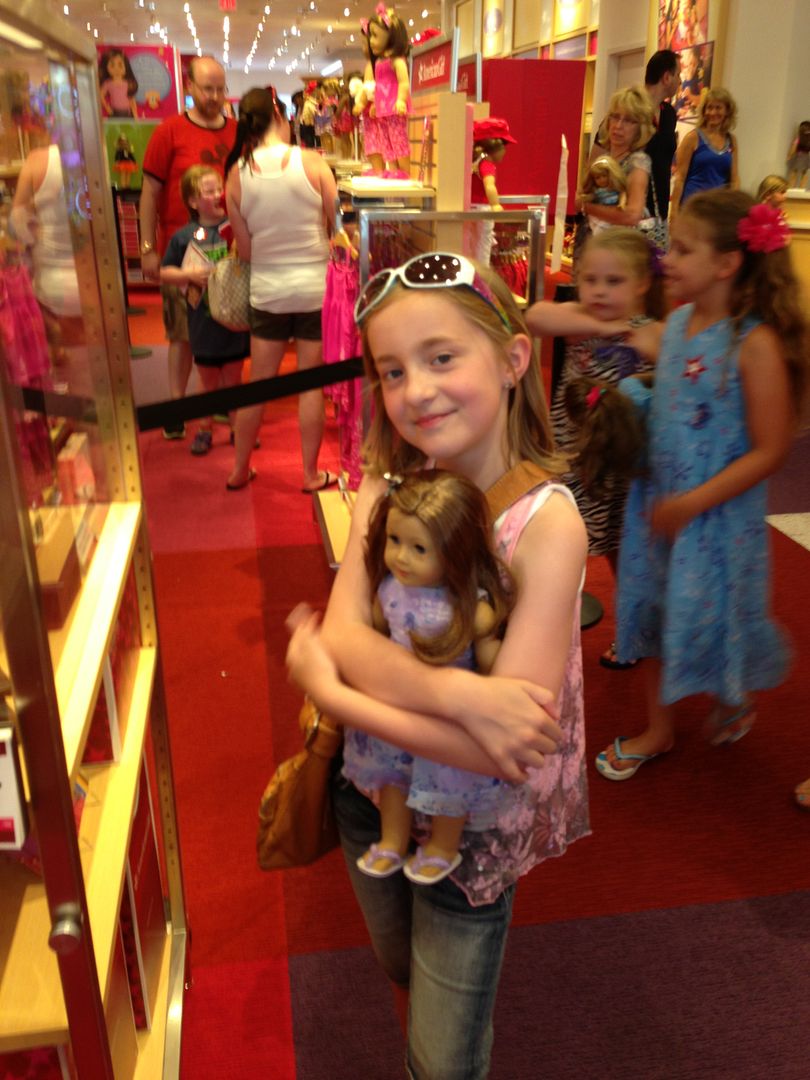
Once inside, it was like little girl heaven...


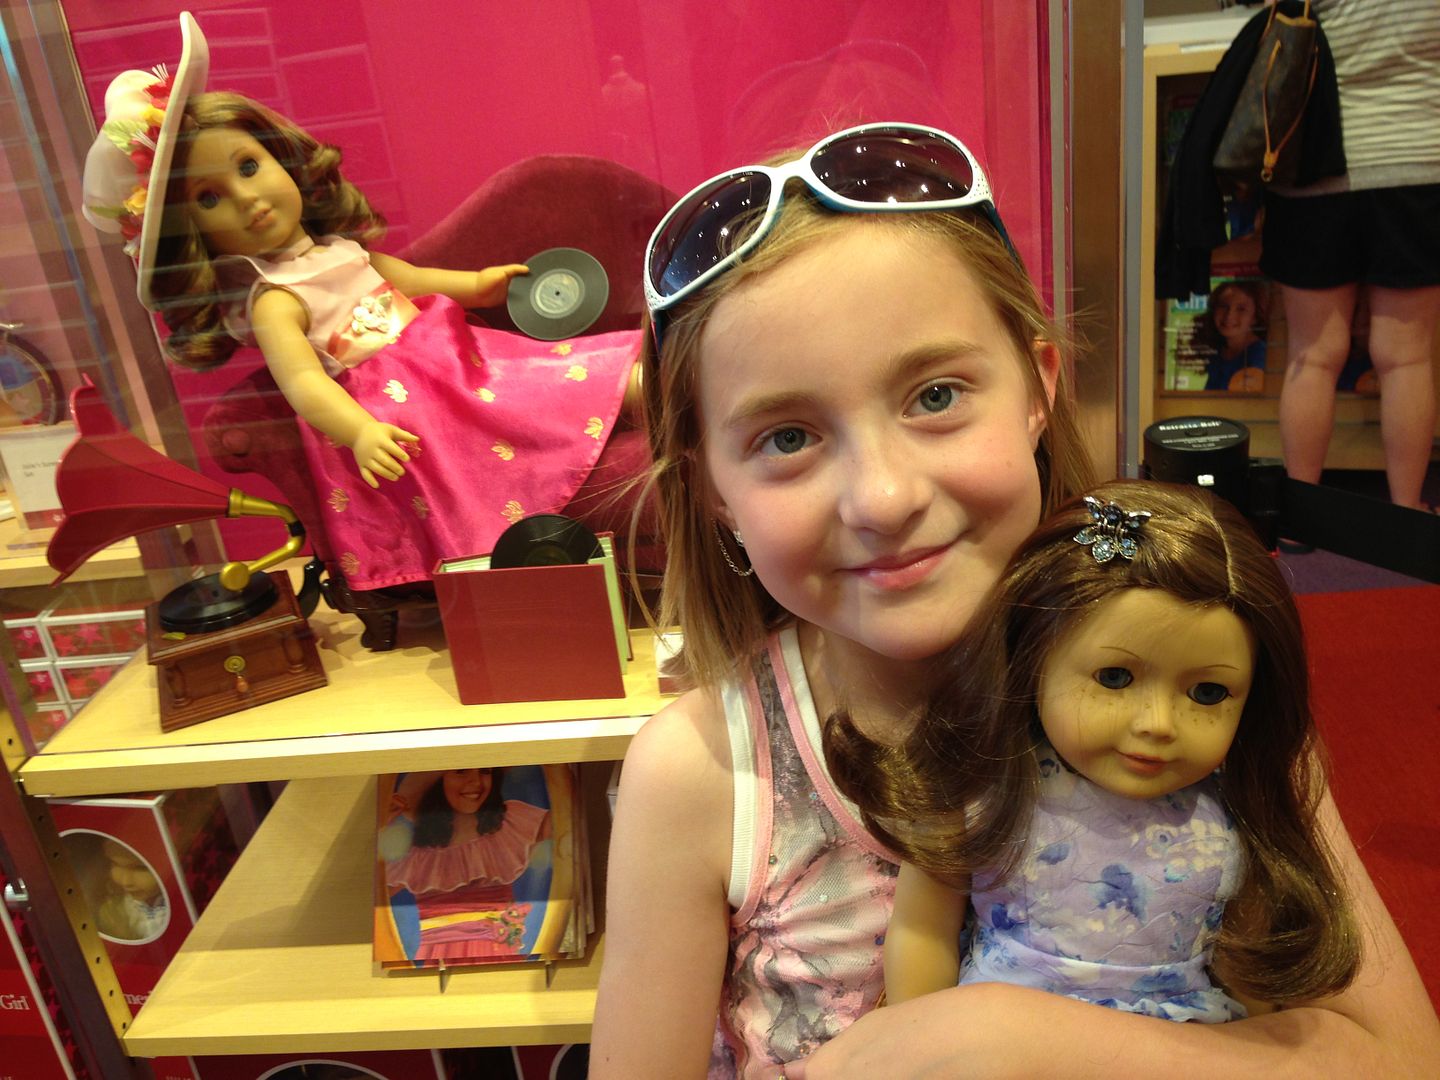
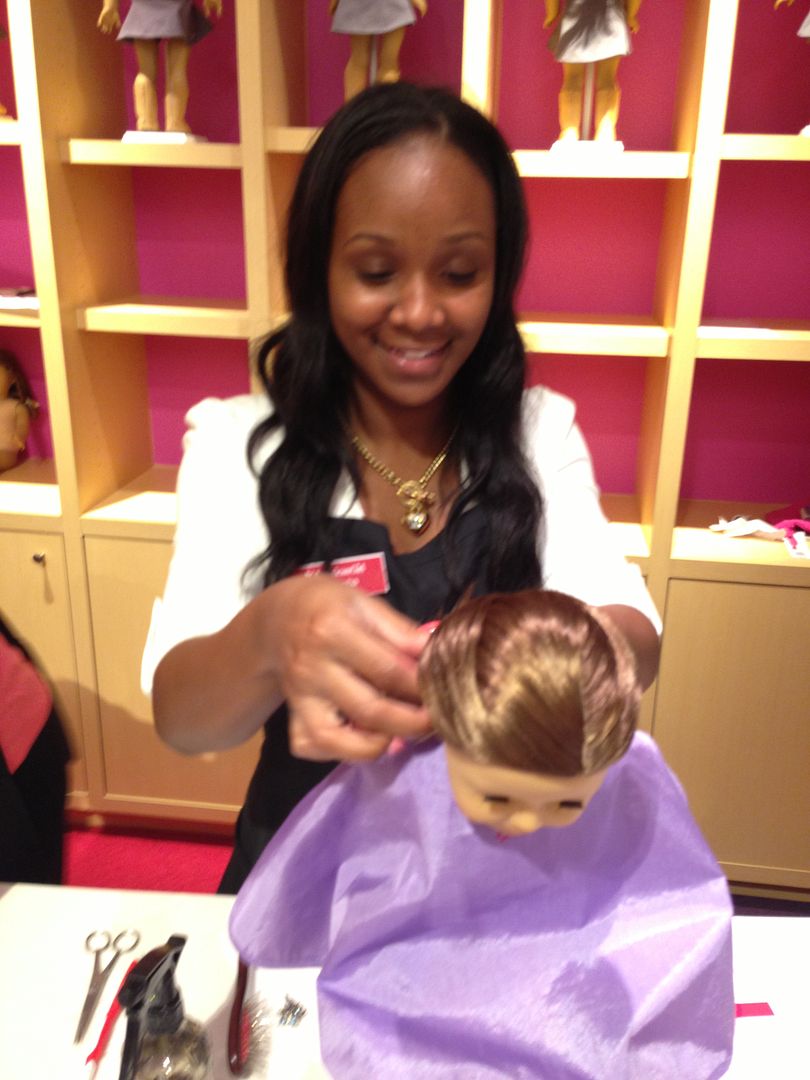
Piper brought one of her own dolls to experience the doll salon.  Her doll's stylist, Natasha, gave her all kinds of tips, like using a toothbrush to smooth doll hair and how to make a doll beauty treatment using baking soda.  We also learned that you should never get doll eyes wet... because they RUST!!  (Who knew?)


They gave all the girls who came for the Grand Opening a book.  (Nice surprise!)  Piper had a custom doll t-shirt made, picked up lots of accessories, and left with a spa kit to use at home on her dolls... which she did first thing the next day!


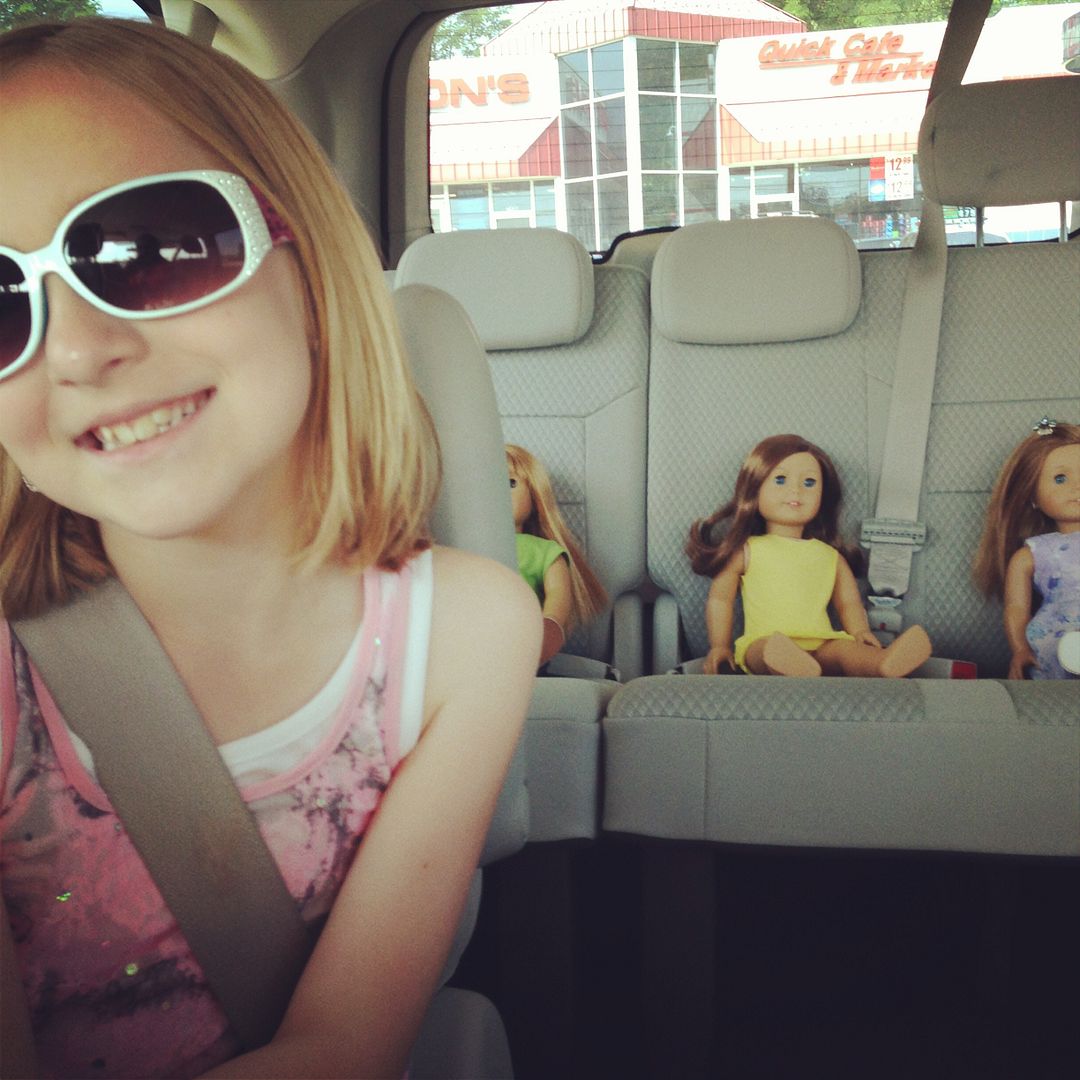
It was a fantastic day that had us home around midnight.  Piper thanked me all day long and we really loved our adventure together!  Definitely time well spent!  I made her pose for one last photo... here you can see the corporate folks, sweating it out in dark suits, guarding the front door of the store after closing--- still full of excited young shoppers and their parents inside!

Thank you for letting me share our adventure!  This week is supposed to be digital photography camp for Piper, but there has been a change of plans so she has lots of time to play with dolls!  Next up, a jewelry-making class she is taking Wednesday.  She will be entering her project in the 4H Fair, something I had no idea we even had here!  Back to work for me!  Hope your summer is filled with family time ....and more crafting than mine!


Thursday, February 28, 2013

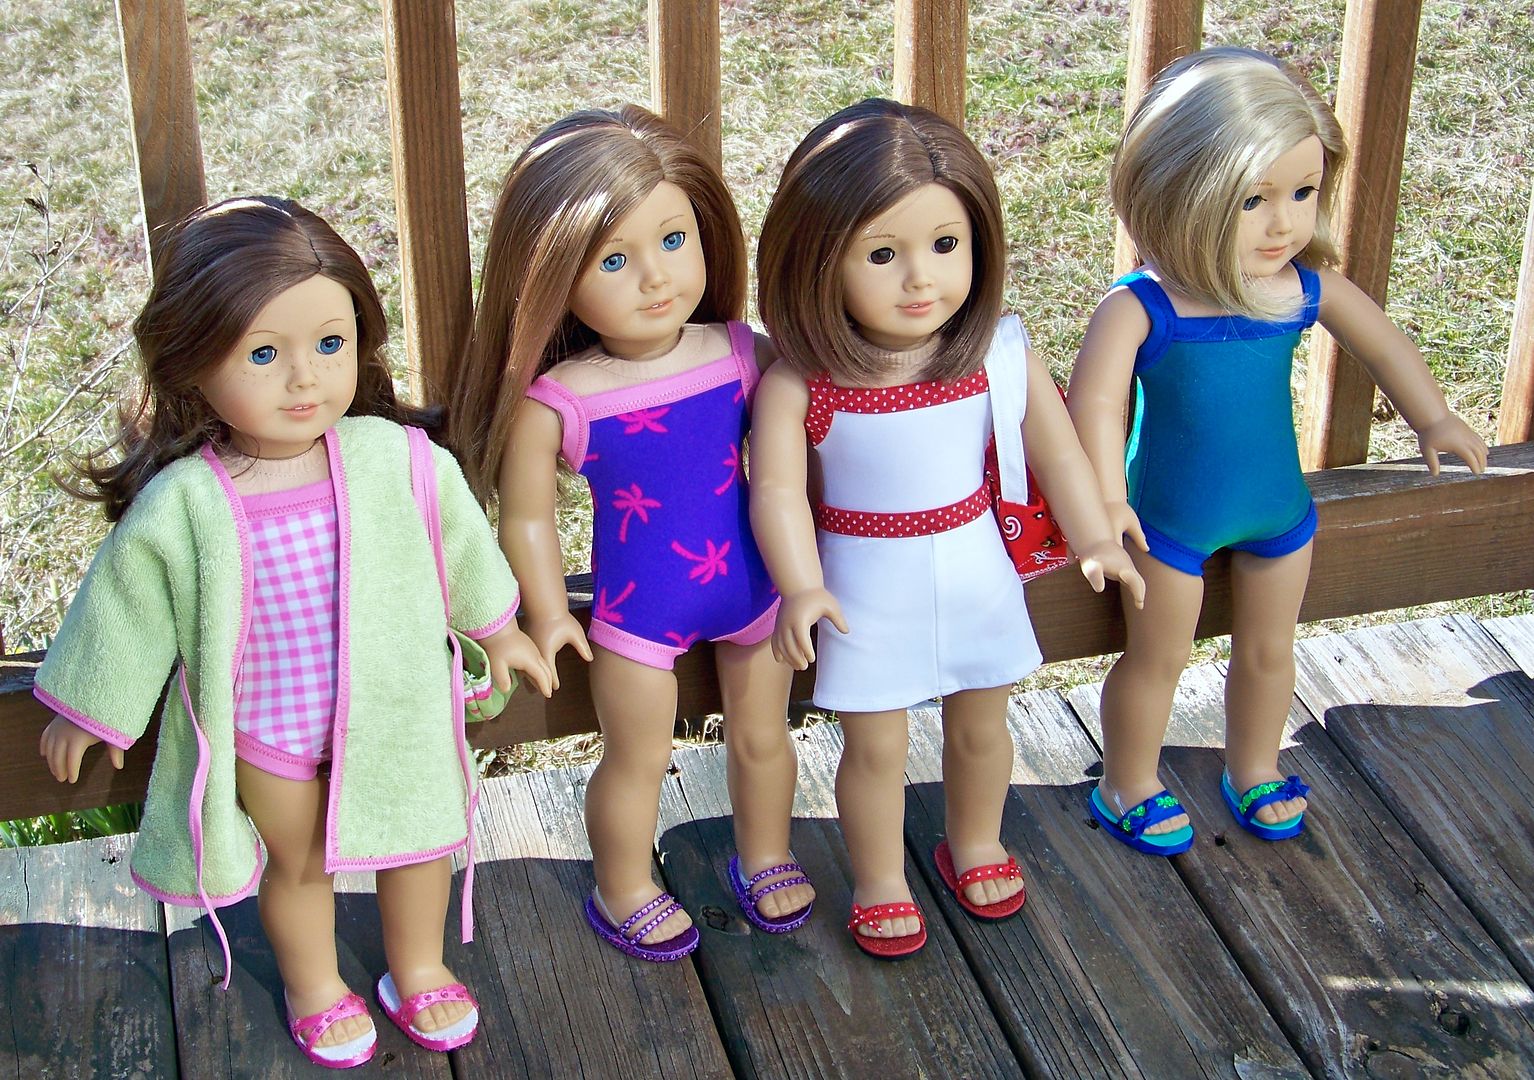
February Sew Along... Swimwear for Dolls


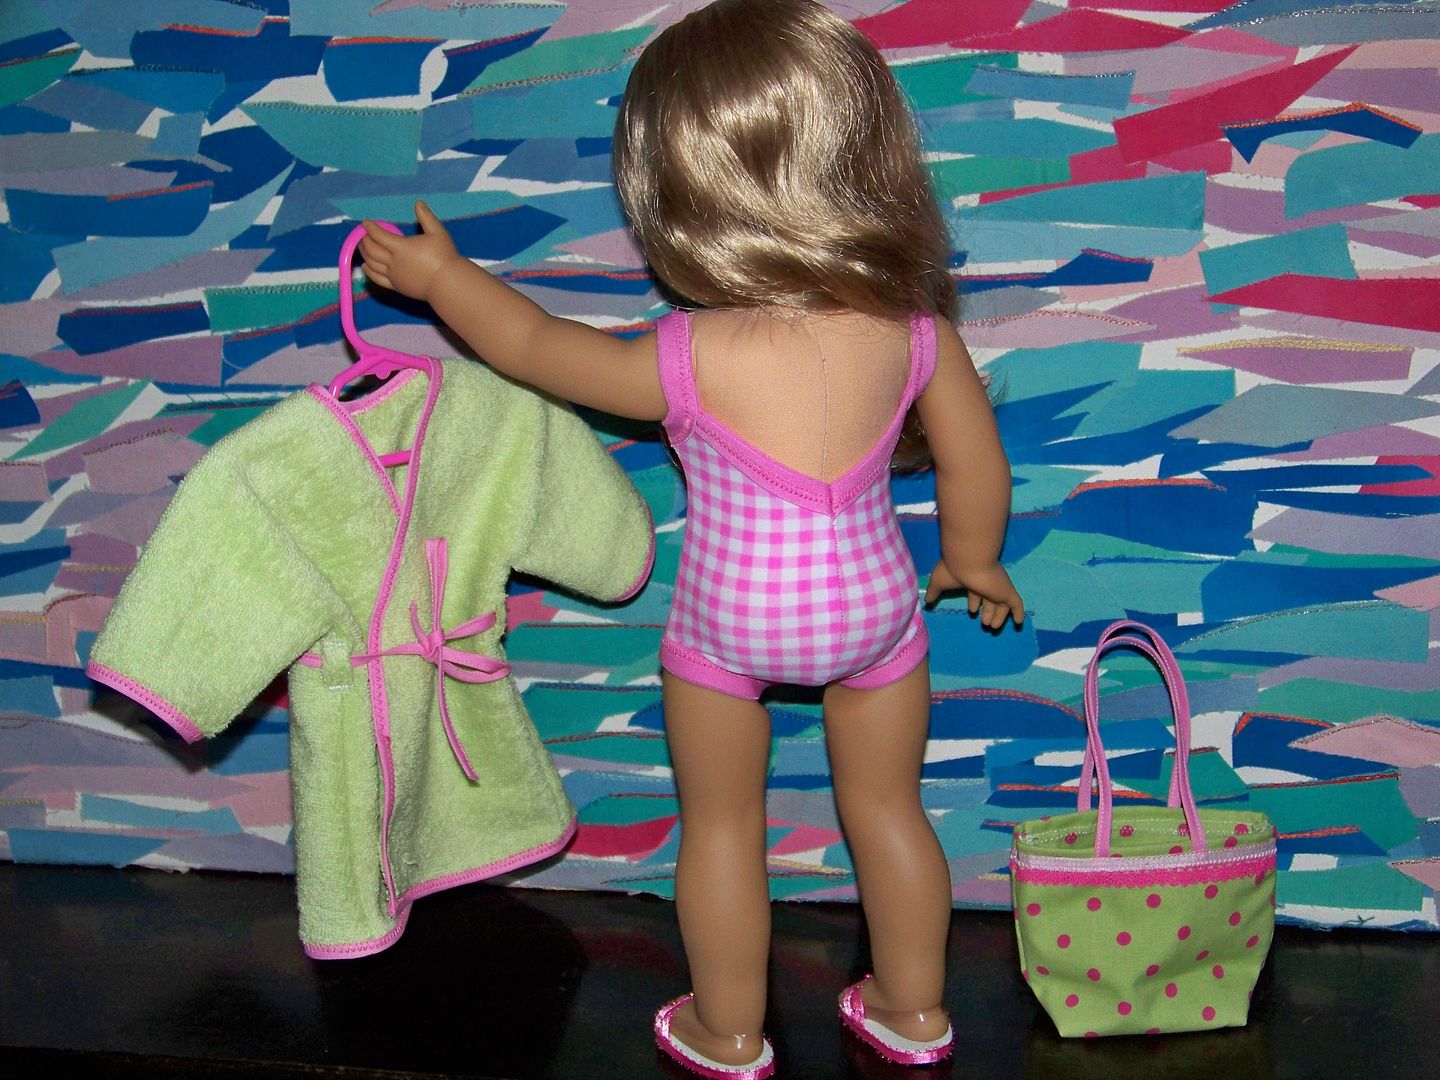
I am part of a Yahoo group for ladies who like to sew clothing for American Girl Dolls.  My daughter is the American Girl doll enthusiast in this house and loves that I participate in the monthly sew-alongs, as you can imagine, since she is the beneficiary!  This month's free pattern links were for a Liberty Jane one-piece and video tutorial for flip flops!  We were on our own to come up with optional cover-ups and beach bags!

Without knowing the theme for this month's sew-along, my daughter requested doll swimsuits on her birthday wish list!  That coincidence was just perfect and prompted me to get her gift done early.

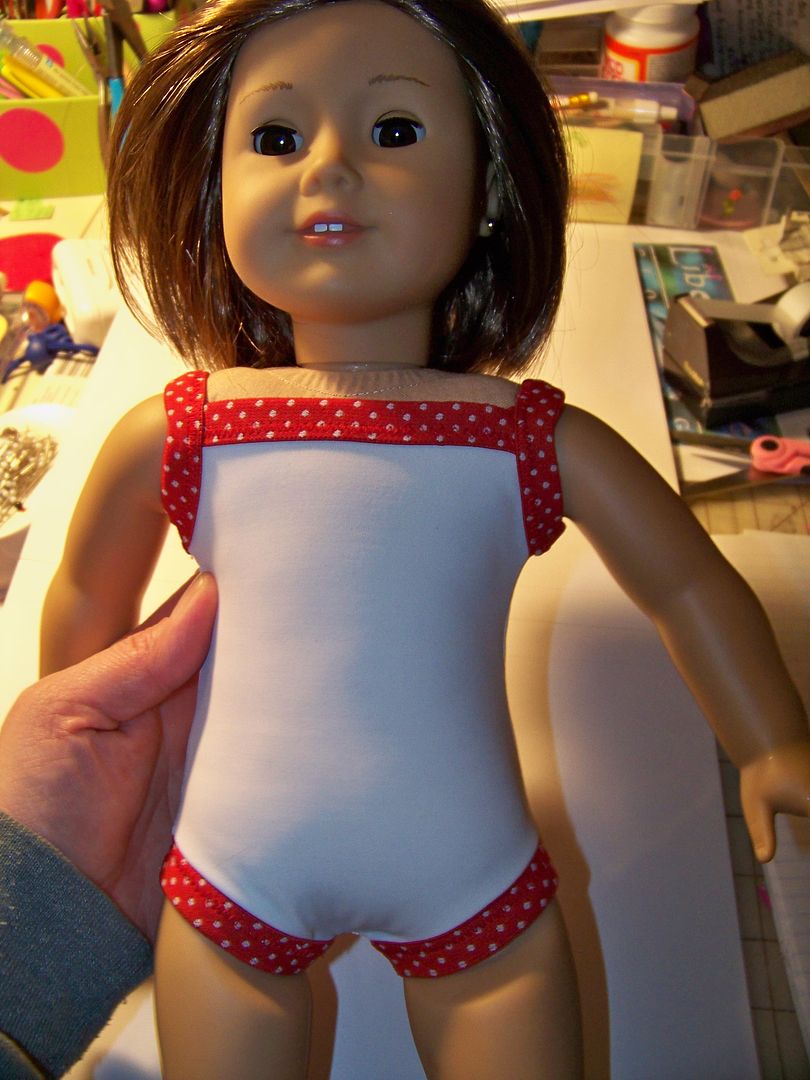
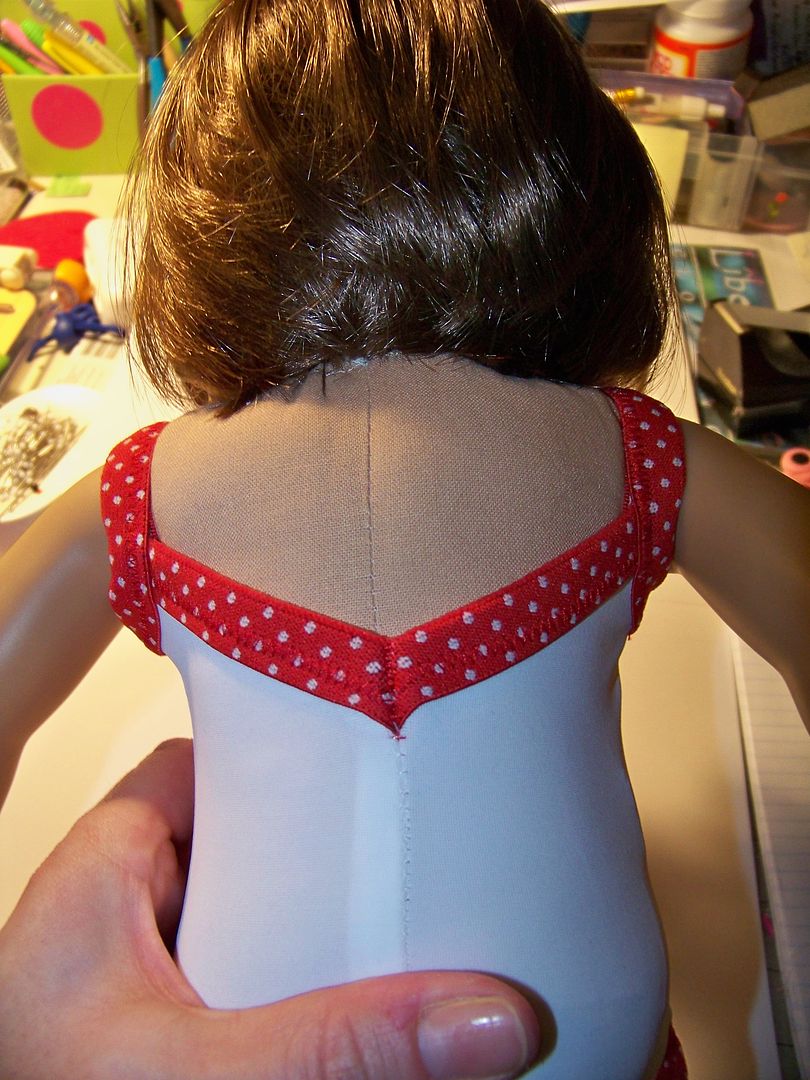
If you just happen to be hoping for a free doll swimsuit pattern, check out this one from Liberty Jane patterns:  click here.    This is a super-quick, super-easy pattern.  You can use Lycra that you buy at the fabric store or even use up-cycled swimsuits from your closet or from a thrift store!  One lady mentioned using an out-grown suit of her little girl's for the fabric.  The only challenge for me was finding fold-over elastic.  There's tons of it on-line very inexpensive, but in my city, I only found it at one over-priced independent fabric store.  The fold-over elastic (FOE) is the key to this project!  I will say that I made one change to the pattern, I added 1/2" to the length of elastic that the pattern suggested for each arm.


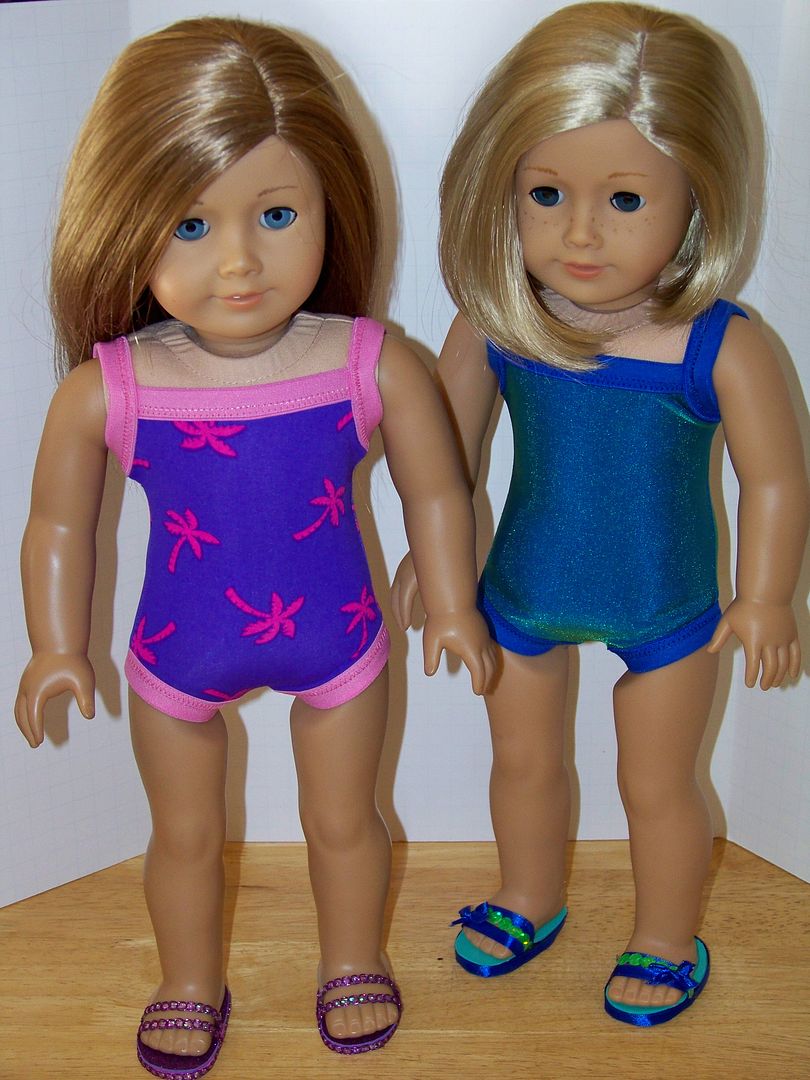
So these are the dolly outfits that I came up with...

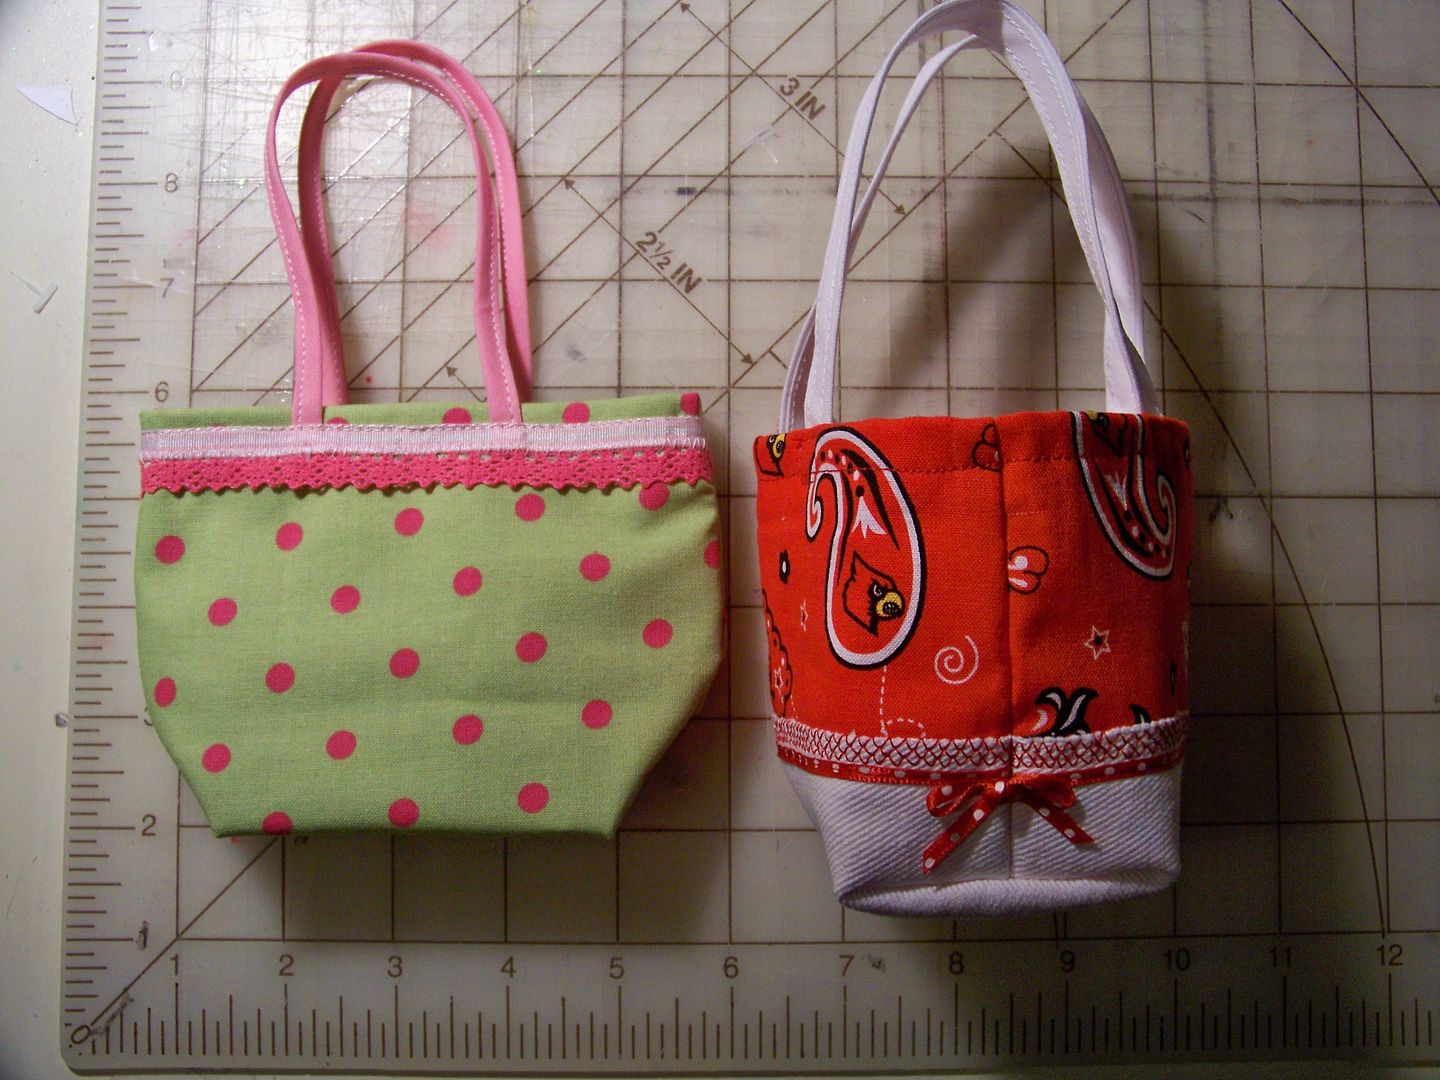
One piece suit with polka dot trim, sparkly sandals, and a beach tote. I made a matching mini skirt cover-up. I used white swim fabric I bought at the fabric store.  For the bag, I used white denim and a UofL mini print.

The printed fabric was purchased at the fabric store; the iridescent solid suit was up-cycled from a misses size skirt-style cover-up from a thrift shop.
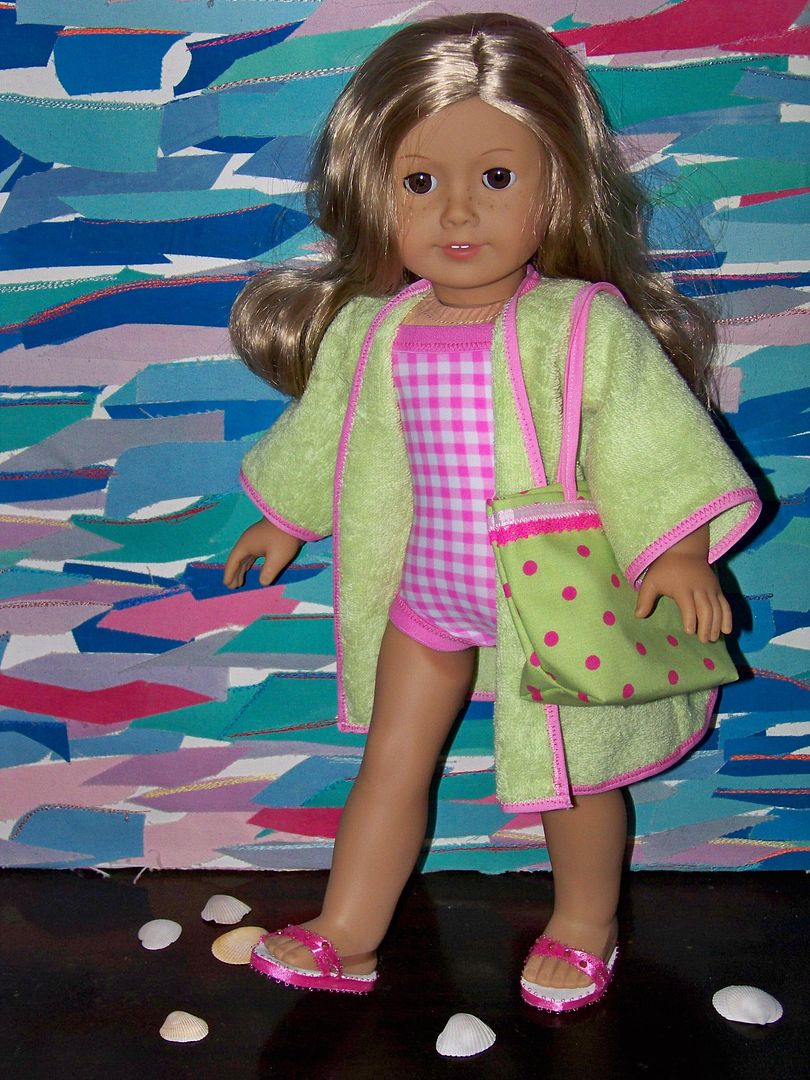
This is the suit, cover-up, bag, and shoes that I submitted to the group for my February sew-along entry:


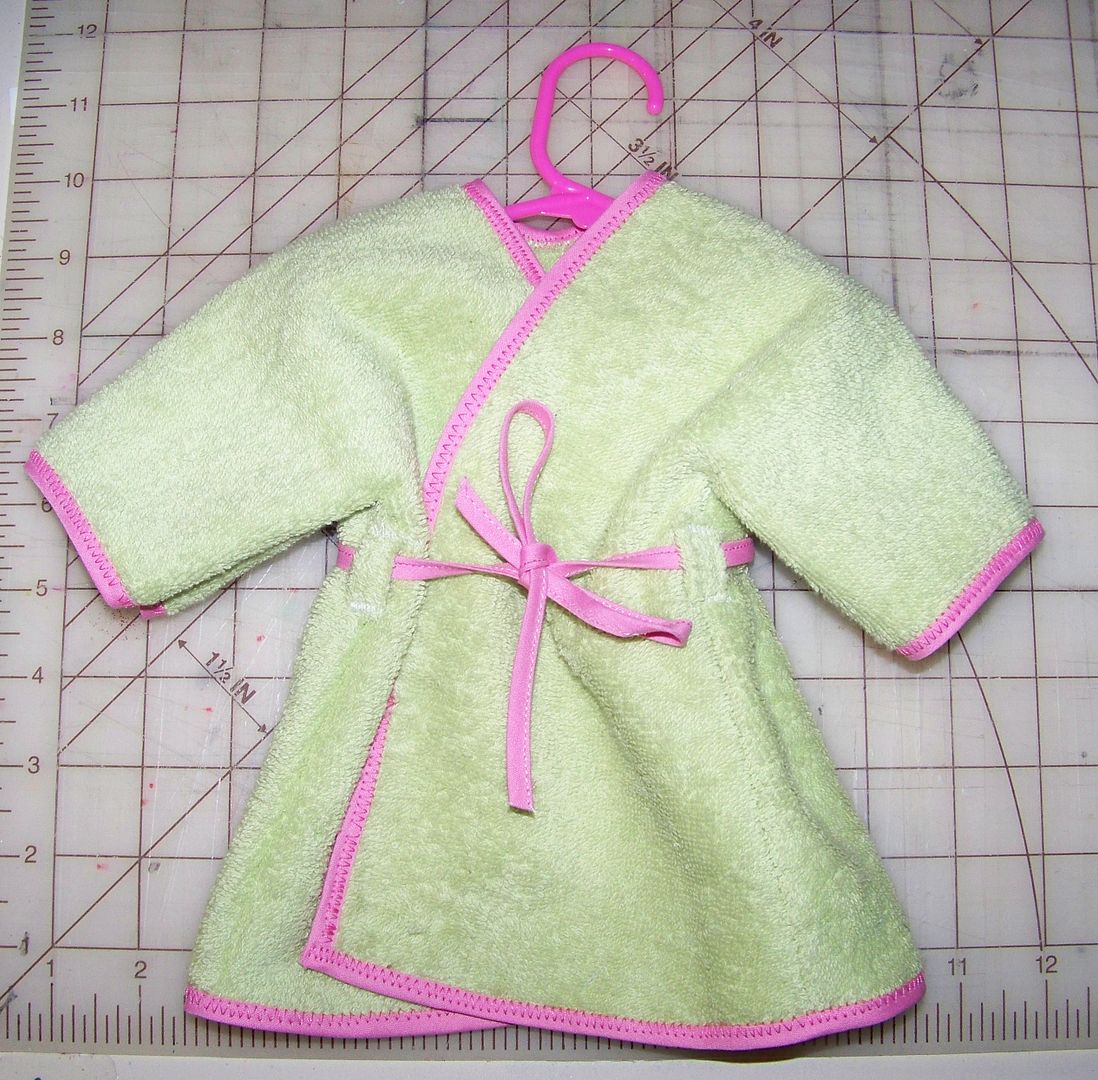
So I have to tell you about the terry cloth beach cover-up... 


This was a pattern created by one of the ladies in the sewing group, Jane Ruhl, who happens to live in my town.  If you are a part of any national or international message board, you know how cool it is to find that someone in the group lives so close!  (I think there are two or three near-by!)  Jane offered her pattern freely and what I love about her clever design is that there are no shoulder seams!  (Actually, the only seam is a side seam that starts under at the wrist and goes to the bottom hem).  I used a Robert Allen fabric sample from my stash of home decor fabrics but Jane mentioned that she used a dish towel for hers!  I finished my edges with single-fold bias tape that I folded over to make a very skinny contrast edge and belt.  I did add belt loops.  You can get this pattern (and another one that a different member generously shared) for free if you join the group.  (How's that for a carrot?)  Here's a link (click here) if you are interested in a monthly doll clothes sewing group-- great inspiration and lots of encouragement to get at least one project done a month for your kiddo's favorite doll!  

Oh-- and if you are looking for a source for ready-made doll clothes, Jane has an Etsy Shop (click here).

So... let's talk more about those flip flops....


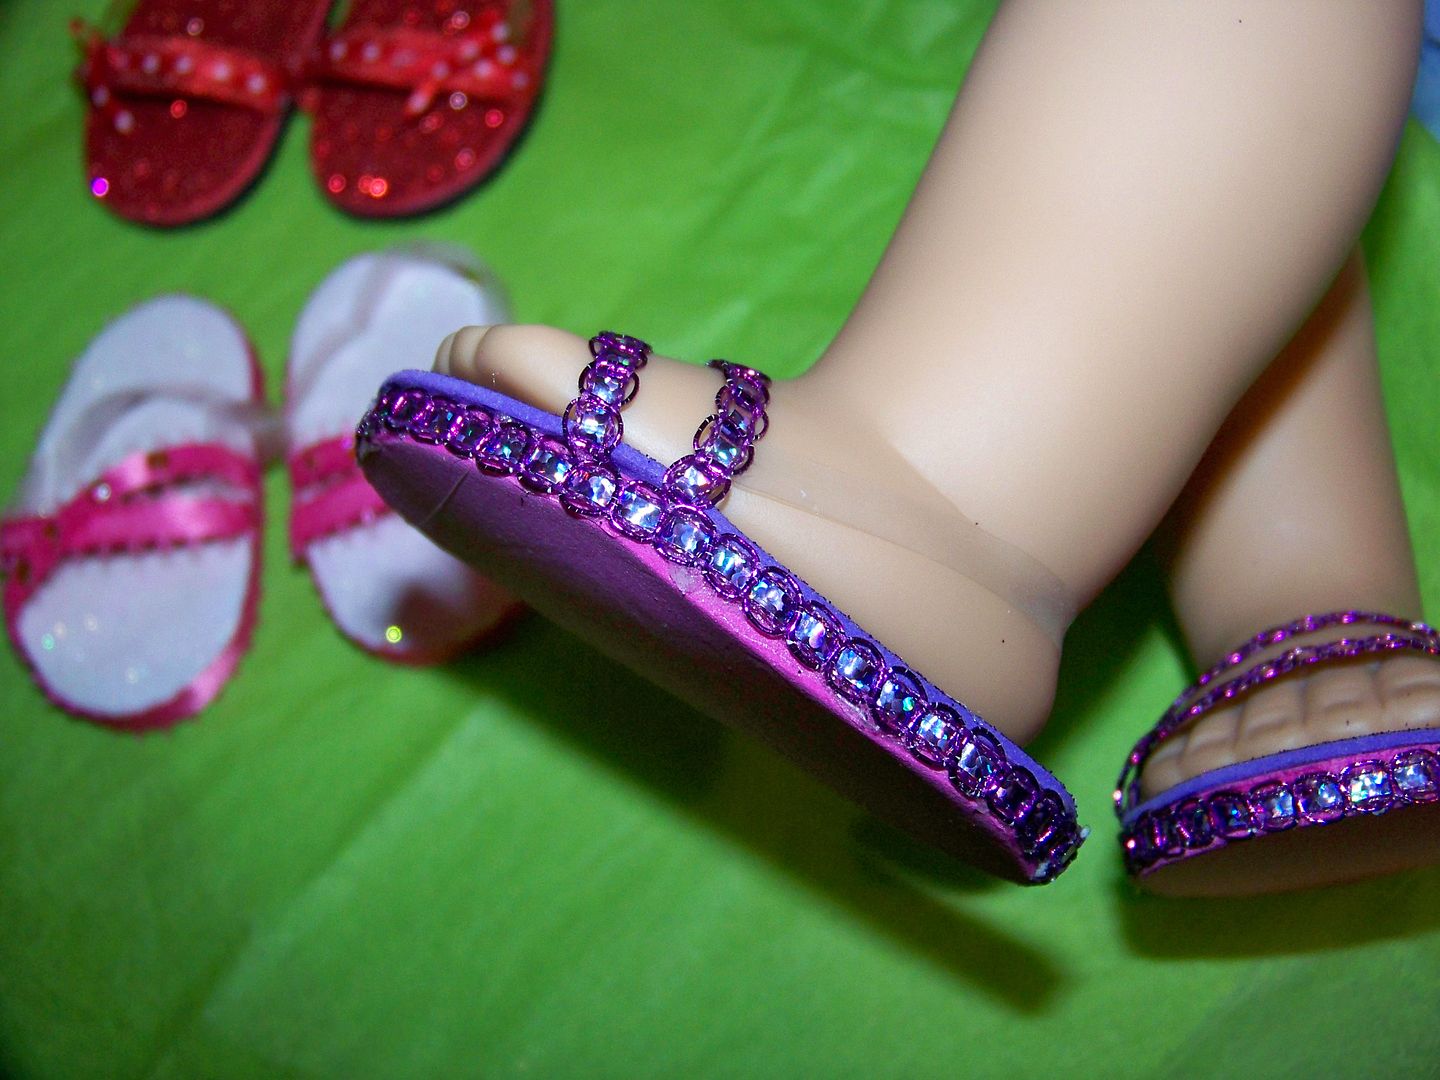
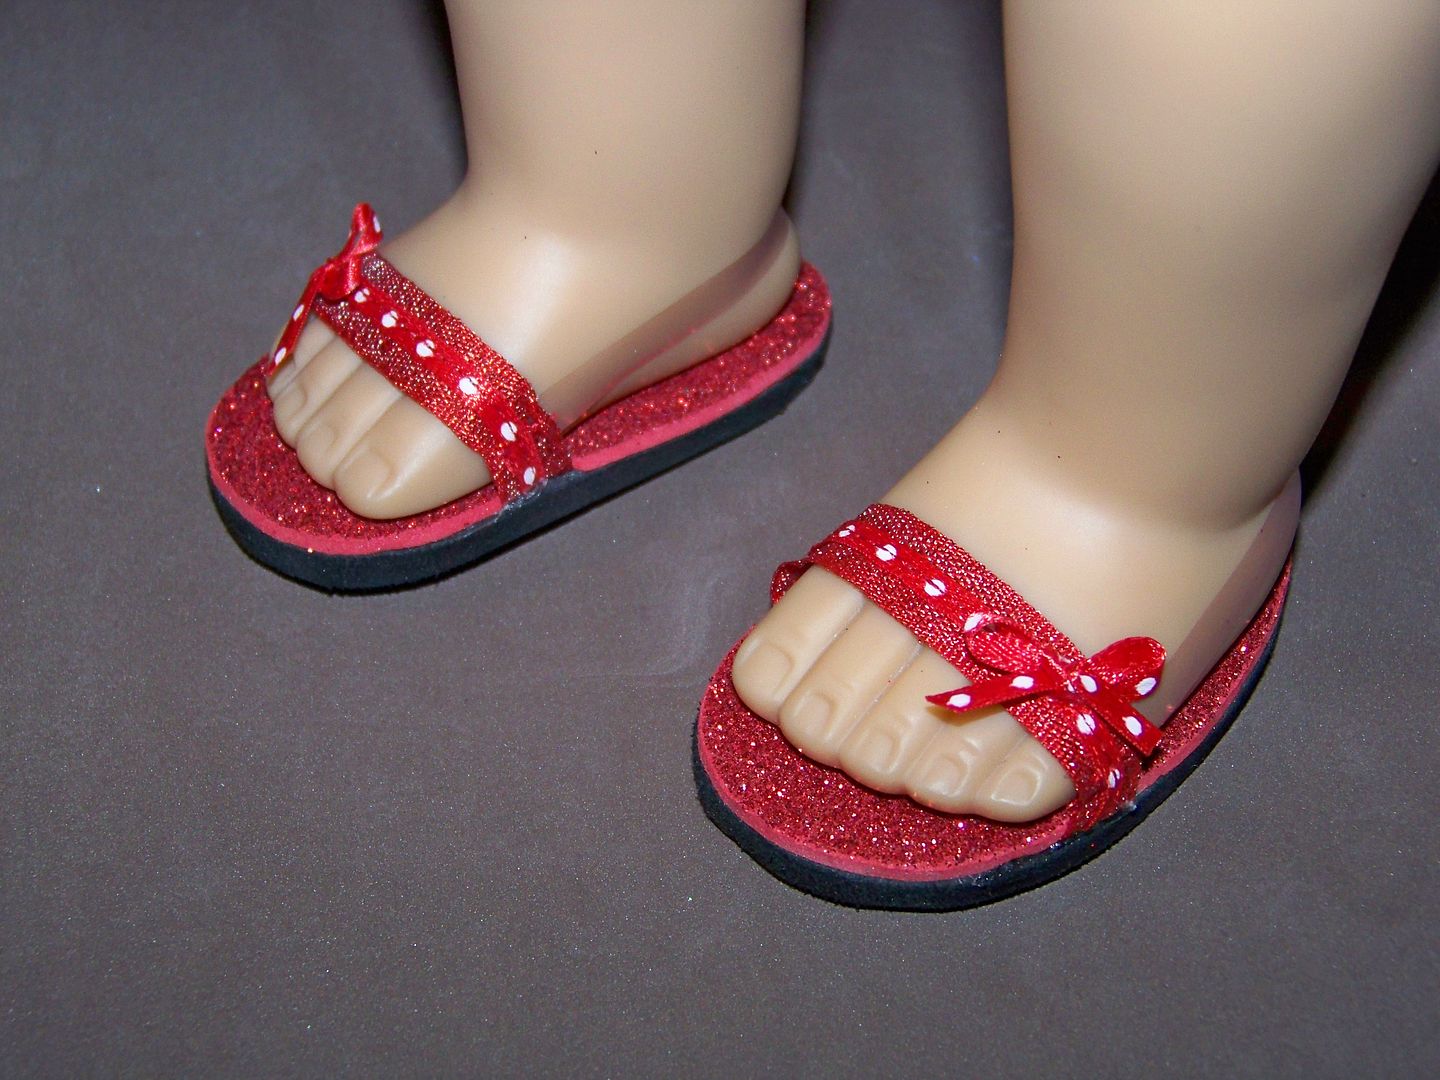
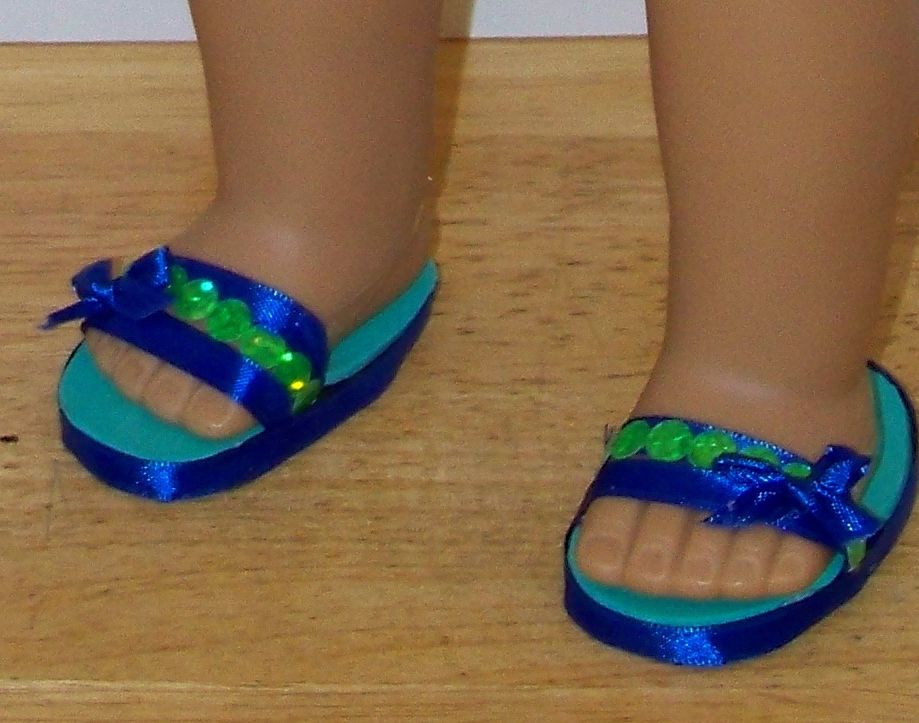
I have been fearful of making doll shoes ever since a particularly awful pair I made last year that caused me to swear off shoe-making.  This challenge changed that and I am so glad it did!  These were so easy and fast and cheap to make!!  Check out this video tutorial:  click here.  It is a great step-by-step tutorial that made these so easy to make!

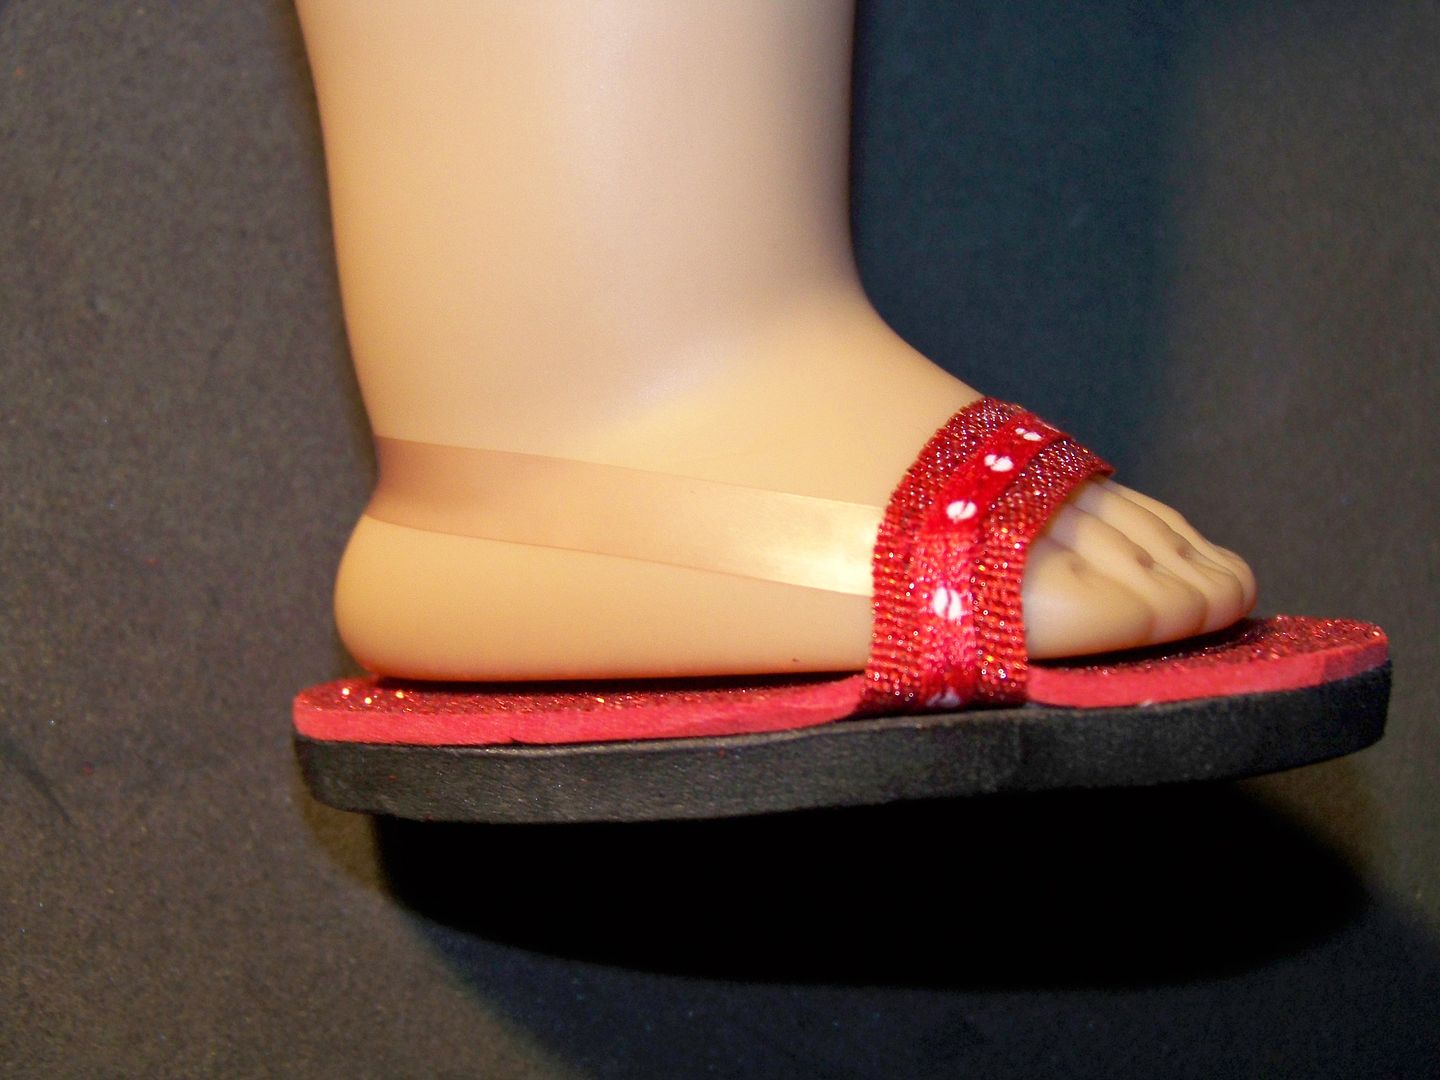
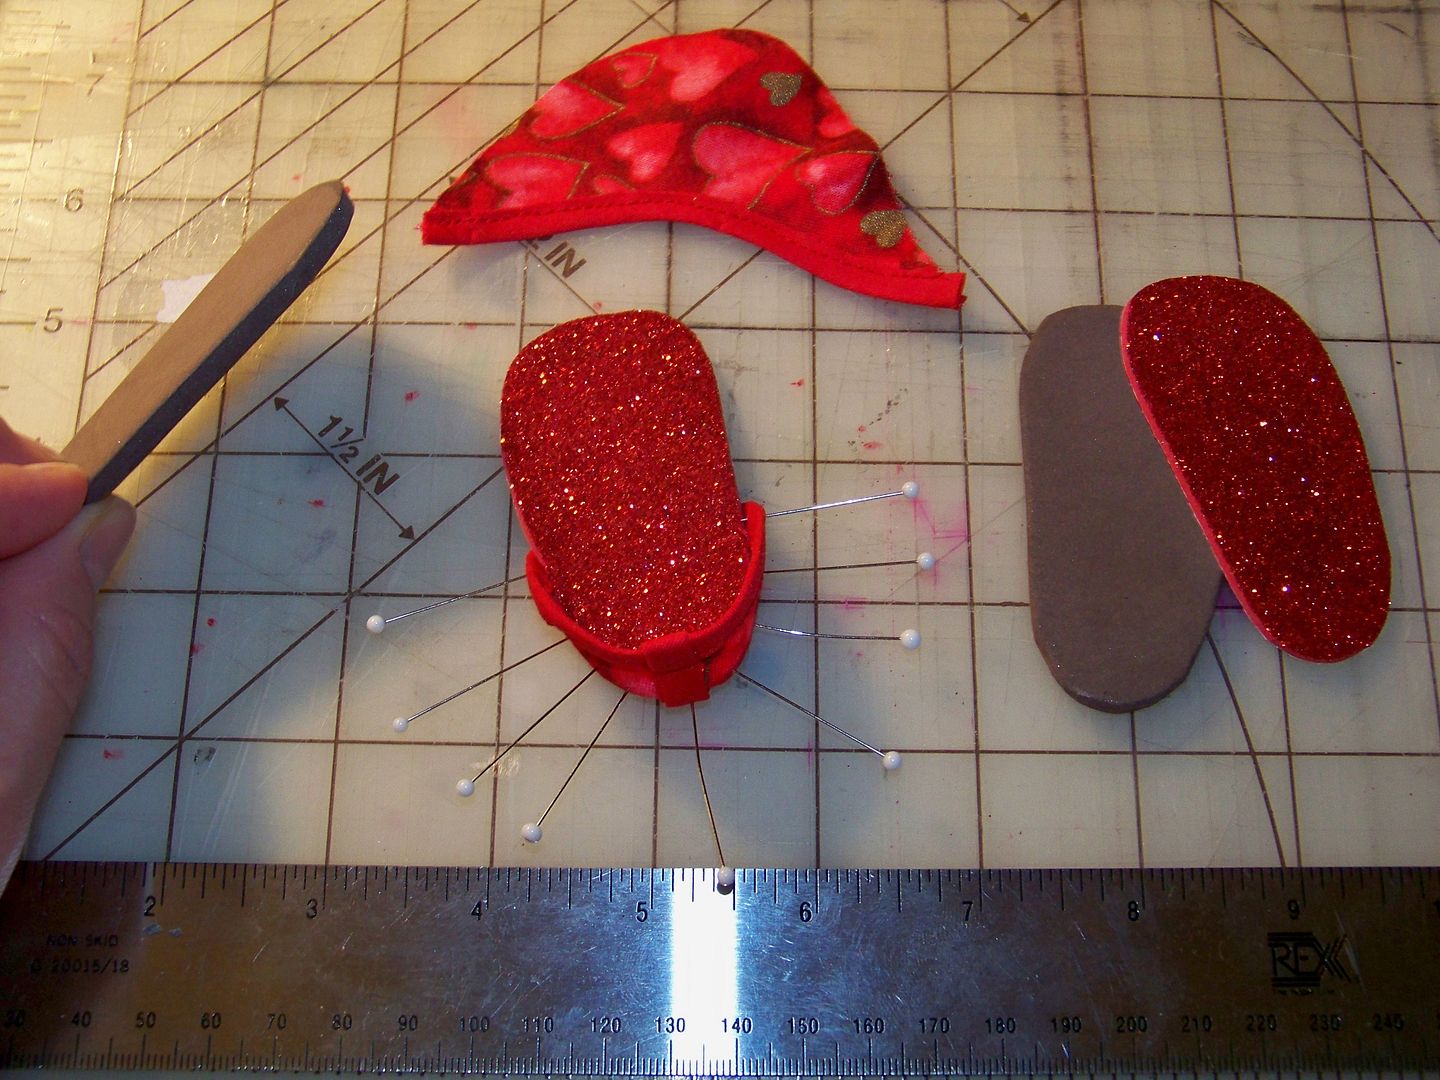
These were made with fun foam from the craft store.  My local Hobby Lobby had 5mm foam for the bottoms and thinner foam covered with sparkly glitter for the tops of the sole.  I used an emery board to file the sides after cutting out to the pattern to make the layers of foam match up exactly.  Layered ribbons and other trims make the straps for the top of the foot and trim for the sides.


I found that you really need to add a strip of clear elastic to the backs of the shoes to keep them on.  I sewed them on at first, but later found that attaching with hot glue worked even better!  This was not part of her tutorial, but without them, I think my kiddo would have been frustrated with the shoes falling off.


What I particularly liked about learning to make these shoes is that I was able to use what I learned to make much easier espadrilles.  You can see those from my Valentine post (click here).

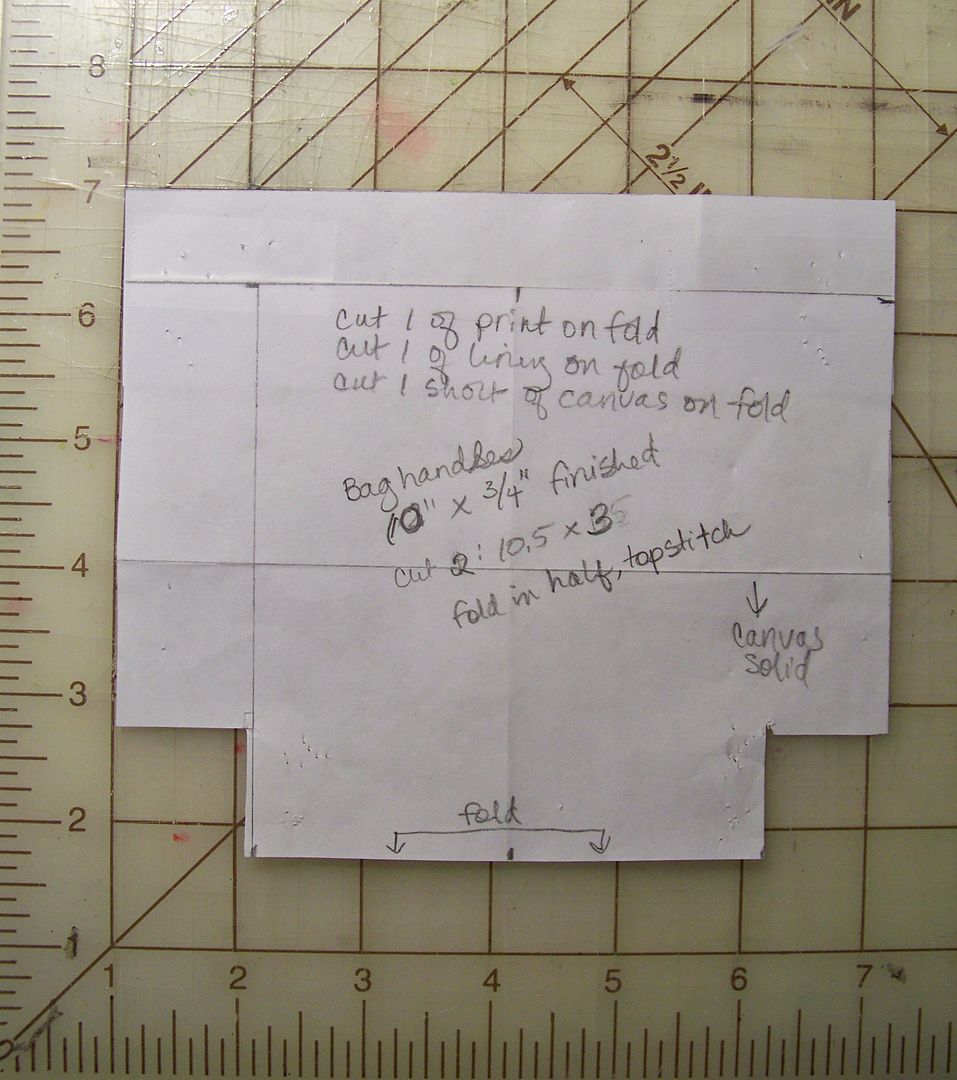
The beach bags I made were just a silly little mini version of any tote bag.  They were fast to make and  fun to embellish to match the suits and cover-ups.


I had so much fun with these and my sweet daughter loved them, which made it all worth the time and effort for sure!

Thank you for checking my blog post today!  To see many of my previous paper projects, check My Project Gallery (click here).  To see many of my previous doll projects, check my Doll Clothing and Accessories page (click here).

Thursday, February 14, 2013

Happy Valentine's Day!


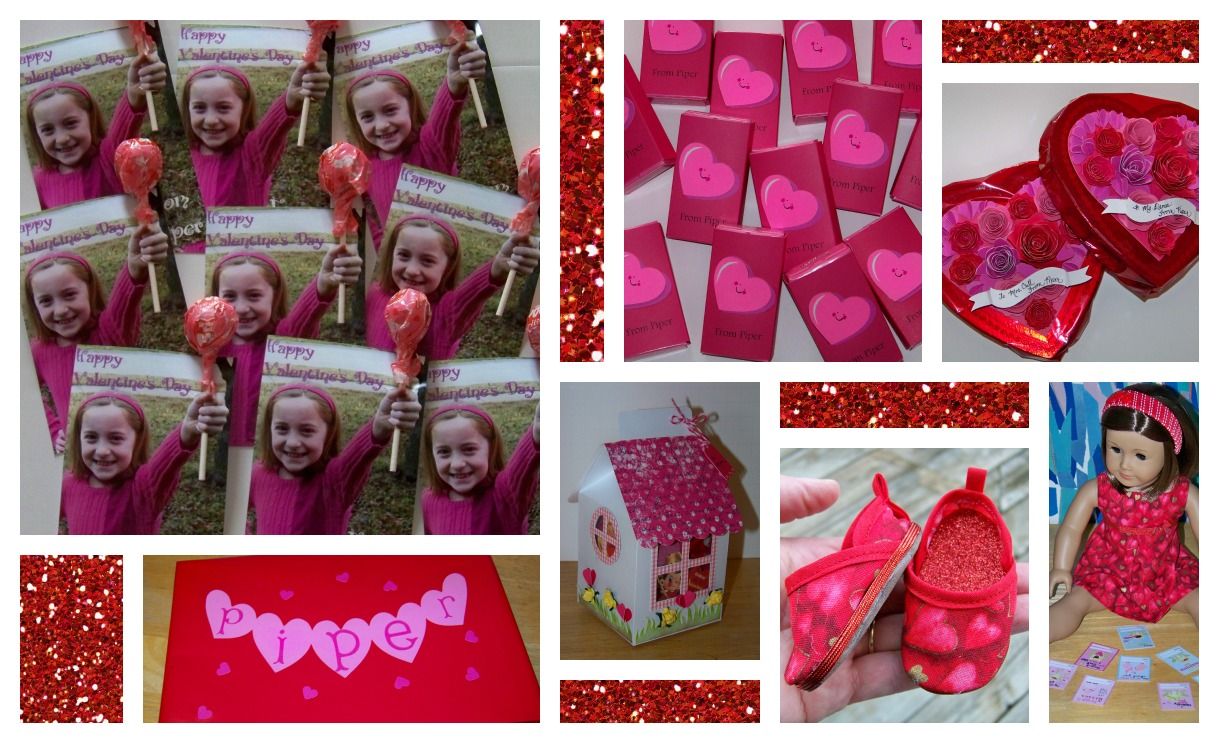
Don't you just love Valentine's Day?  It's such a fun way to overcome the winter blahs!  These are my silly, little Valentine projects.

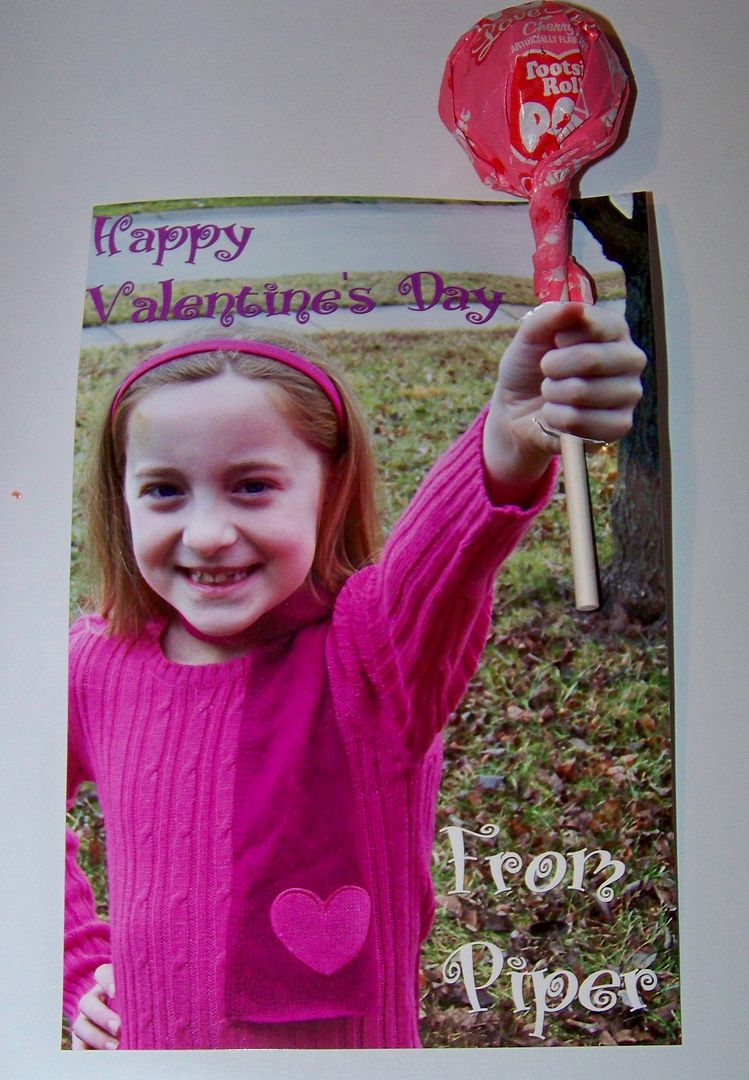
Valentines for Ballet Class


This idea is all over Pinterest.  I have pinned about five different Valentines with this idea; my favorite is on TheFrugalGirls.com.  Click here to see!  These are simply 4"x6" photos with text added.  I used an Xacto knife to cut slits in the photo, on the top and bottom of the hand, for the sucker to fit into.  I love how they really look 3-D.  


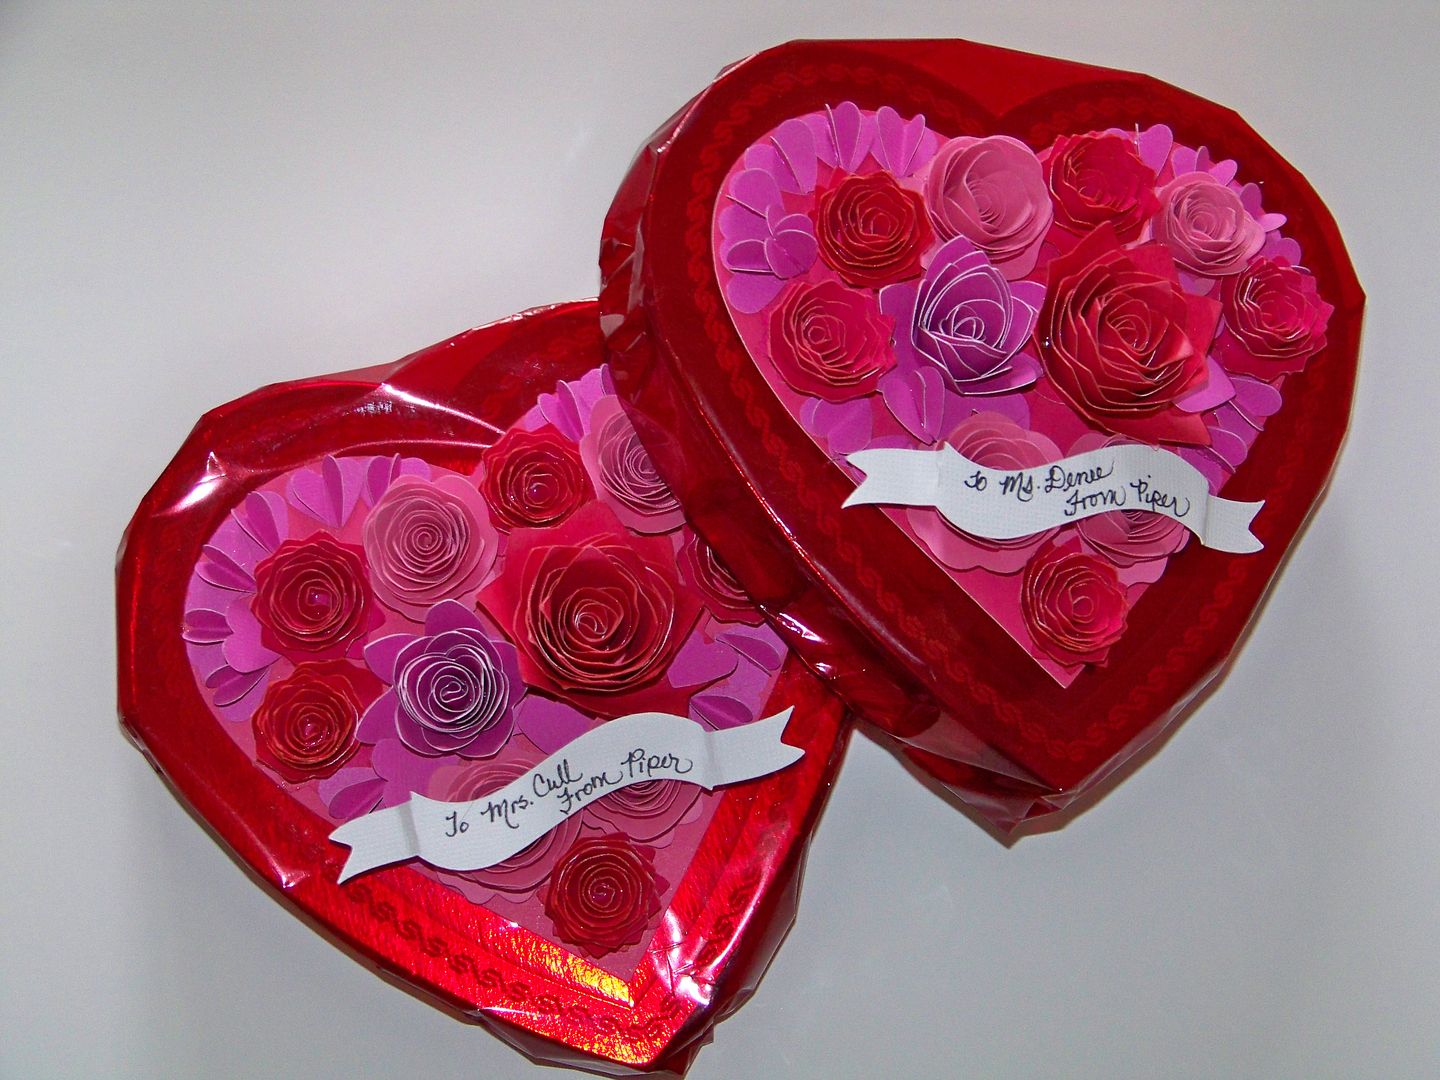
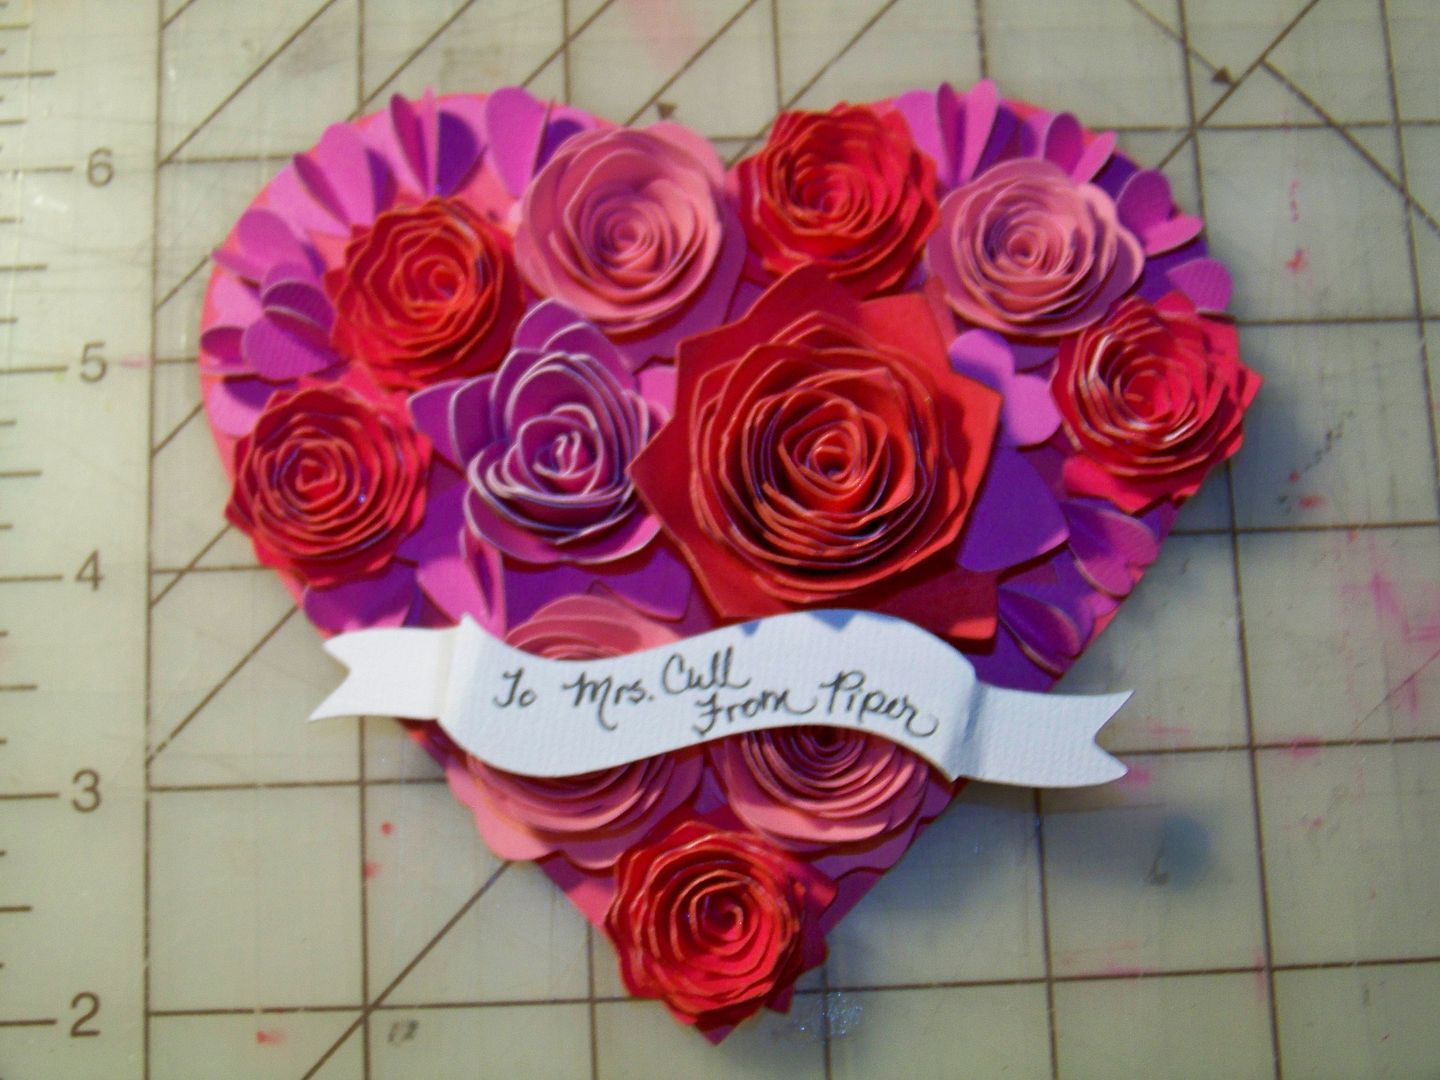
Dressed Up Candy Boxes  


These heart-shaped chocolate-filled boxes are teacher gifts.  The boxes are modest so we needed to dress them up.  
  • The base was cut from Artiste, page 51, at 4-3/4".  
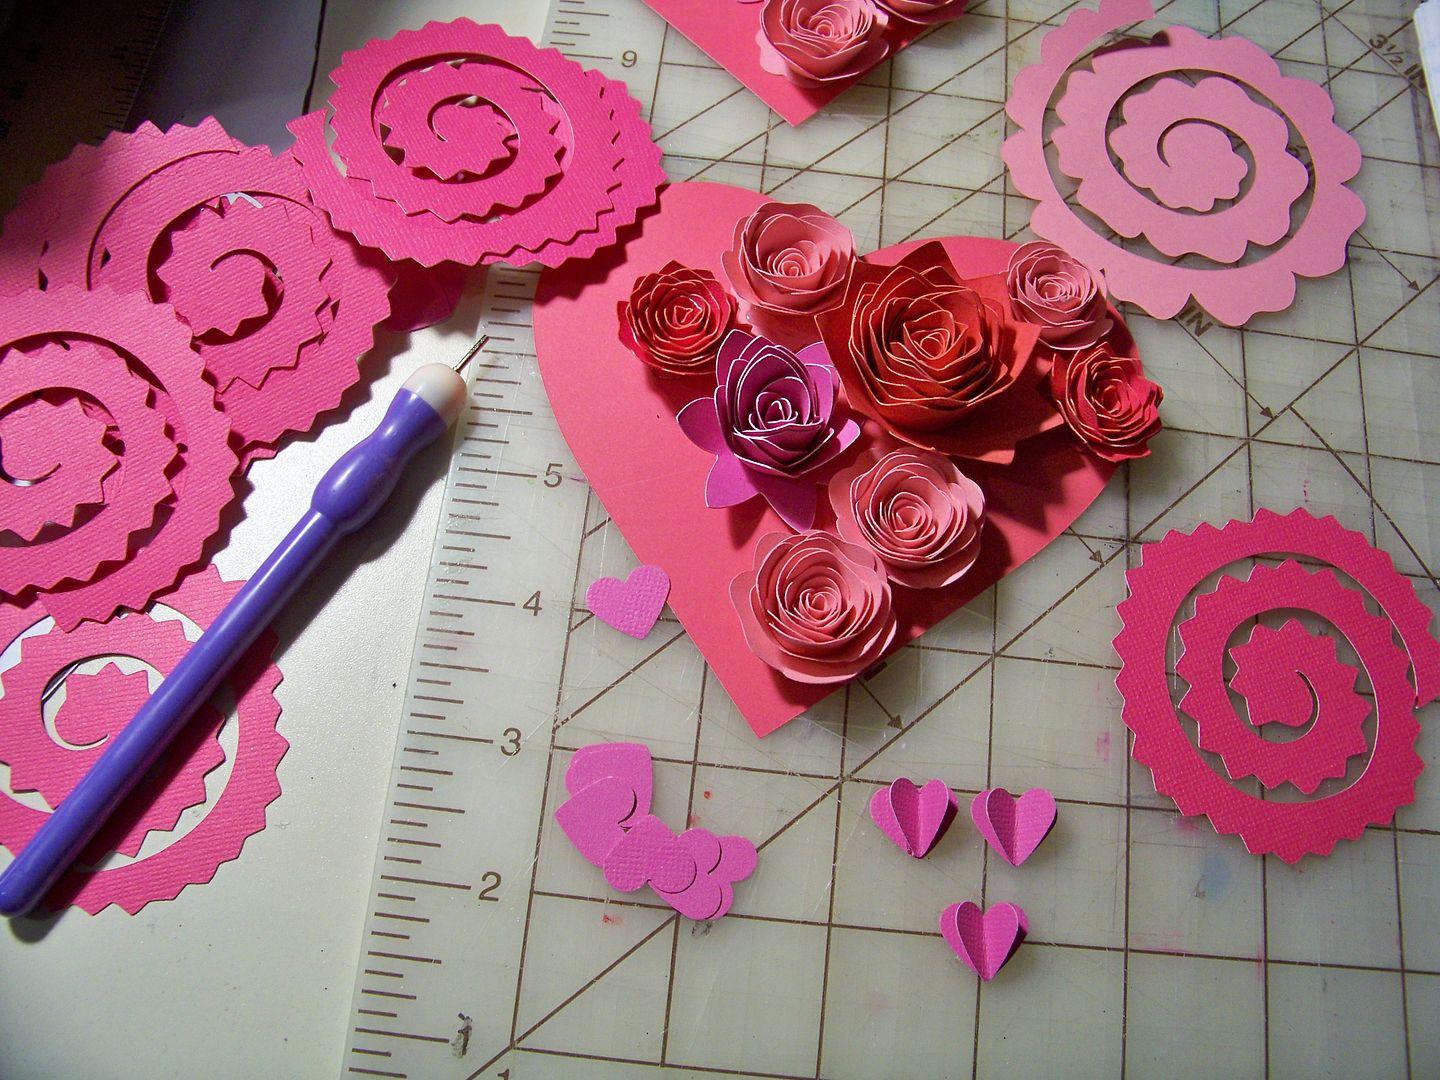
  • The flowers were cut from Artiste, page 54, at 2-3/4" (Accent1-shift), 3-1/4" (Accent2), 4" (Accent 2-shift), and 5-3/4" (Accent1-shift).  
  • The hearts were cut with a punch.  Some were combined to make dimensional by folding one in half and gluing to a flat one.
  • The banner was cut from Holiday Frames and Tags, page 48, at 1".  I folded it at the perforation marks to fake furrowing.
  • All the flowers were hot glued to form and hot glued to the heart base.  The base was attached with Terrifically Tacky double-sided tape.


Religious Valentines for School


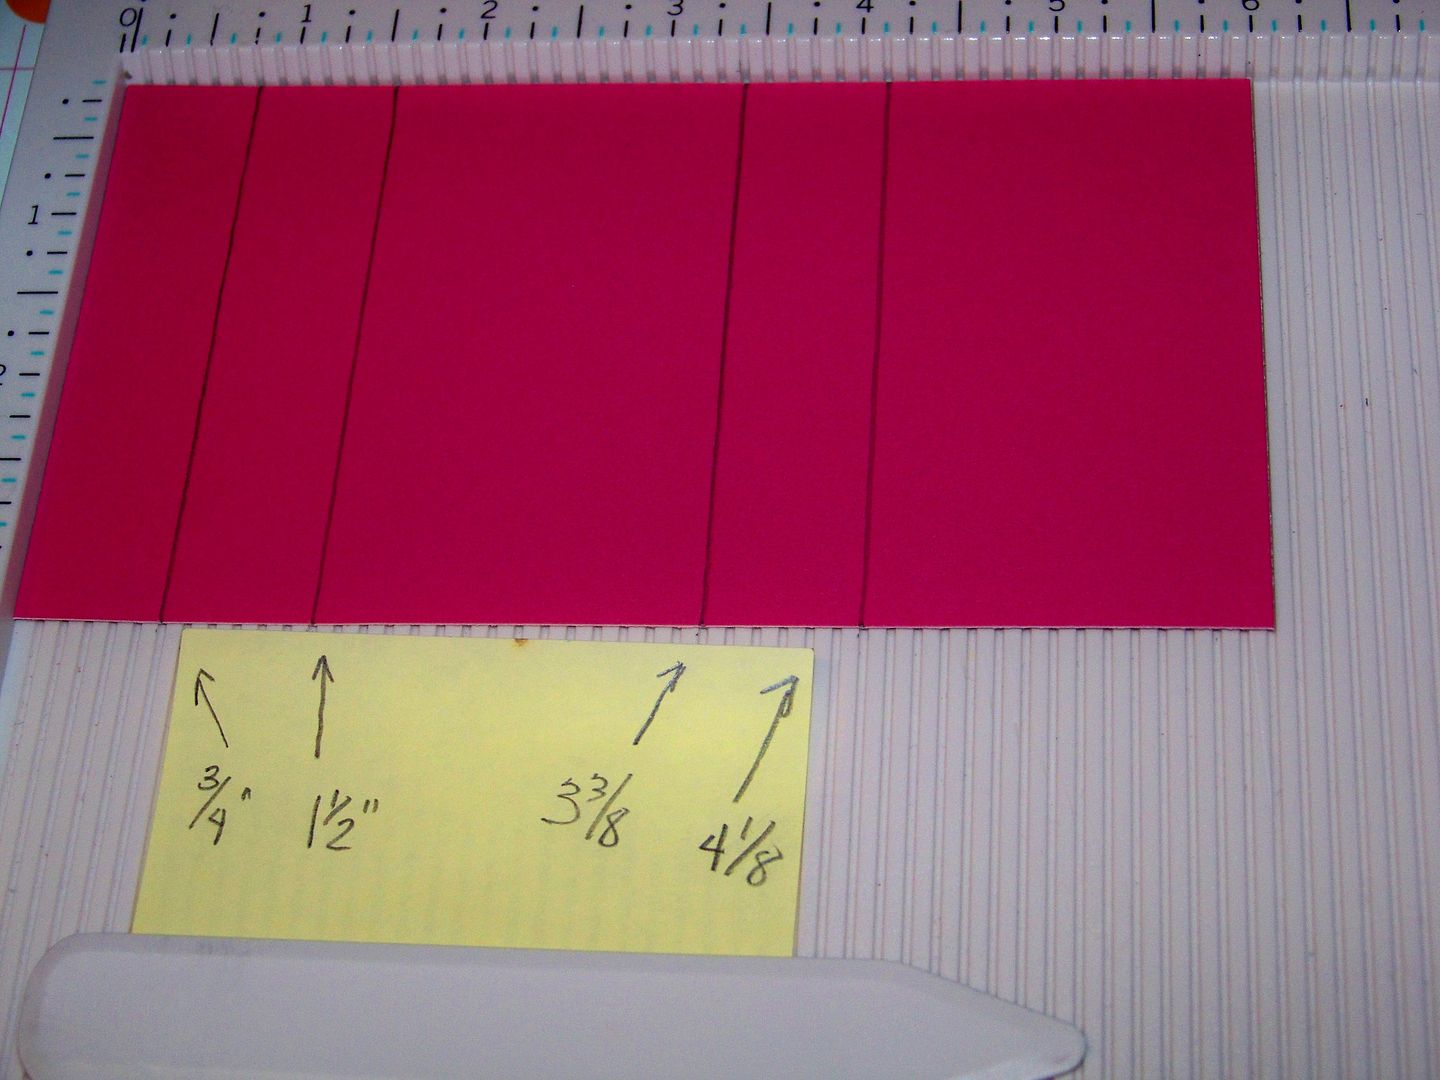
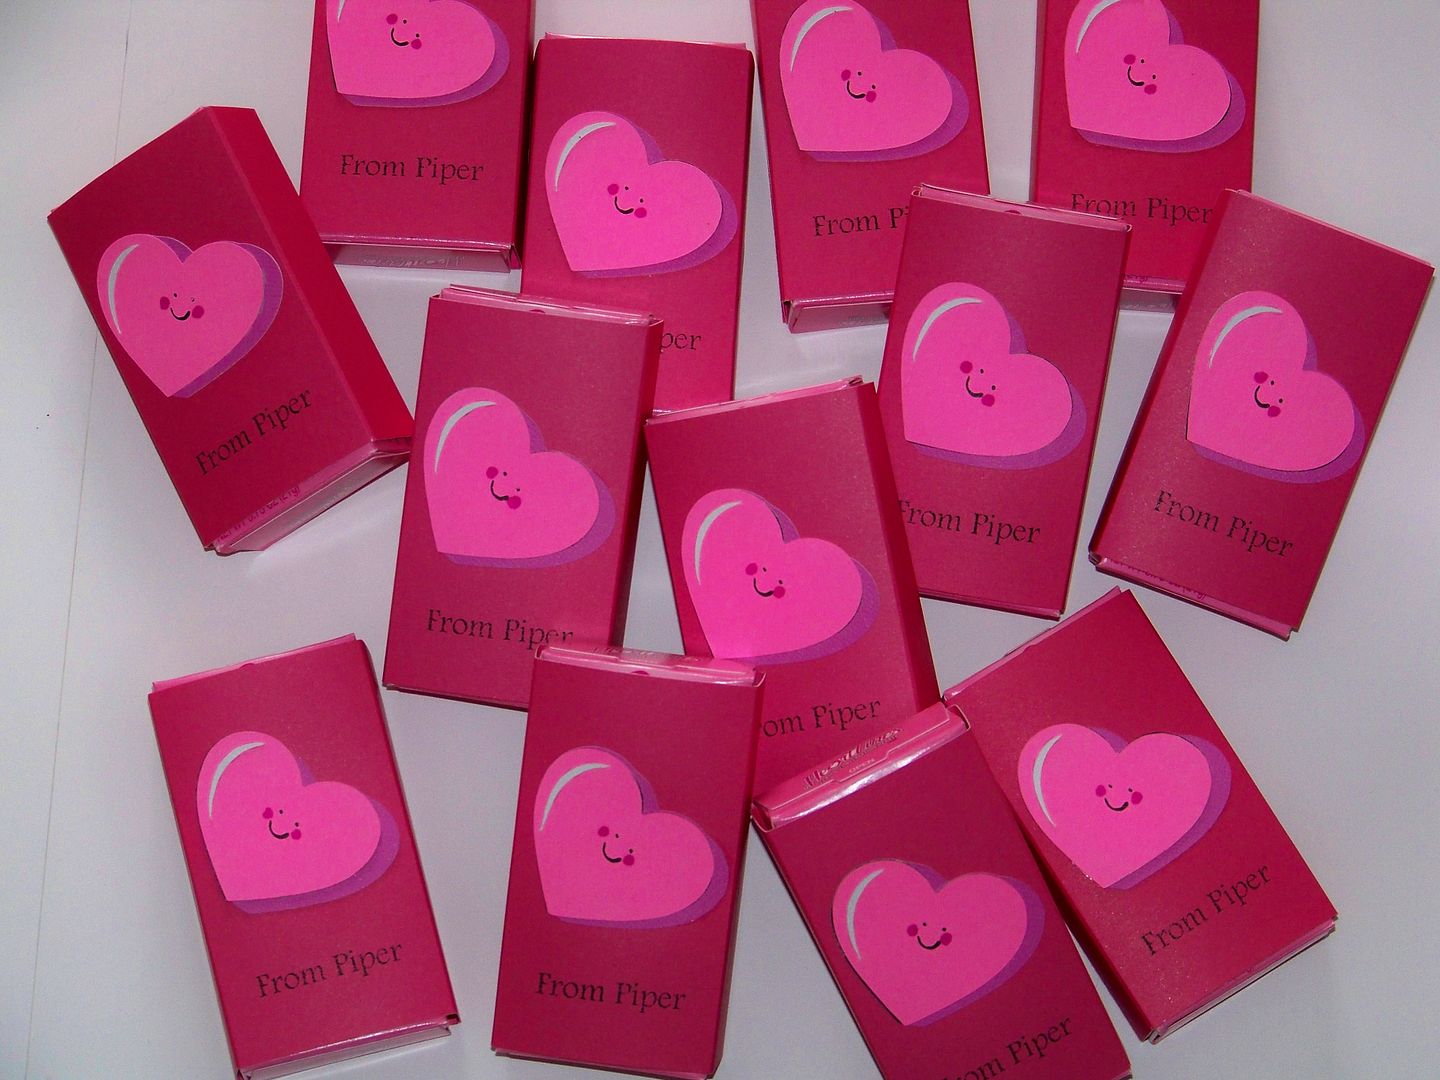
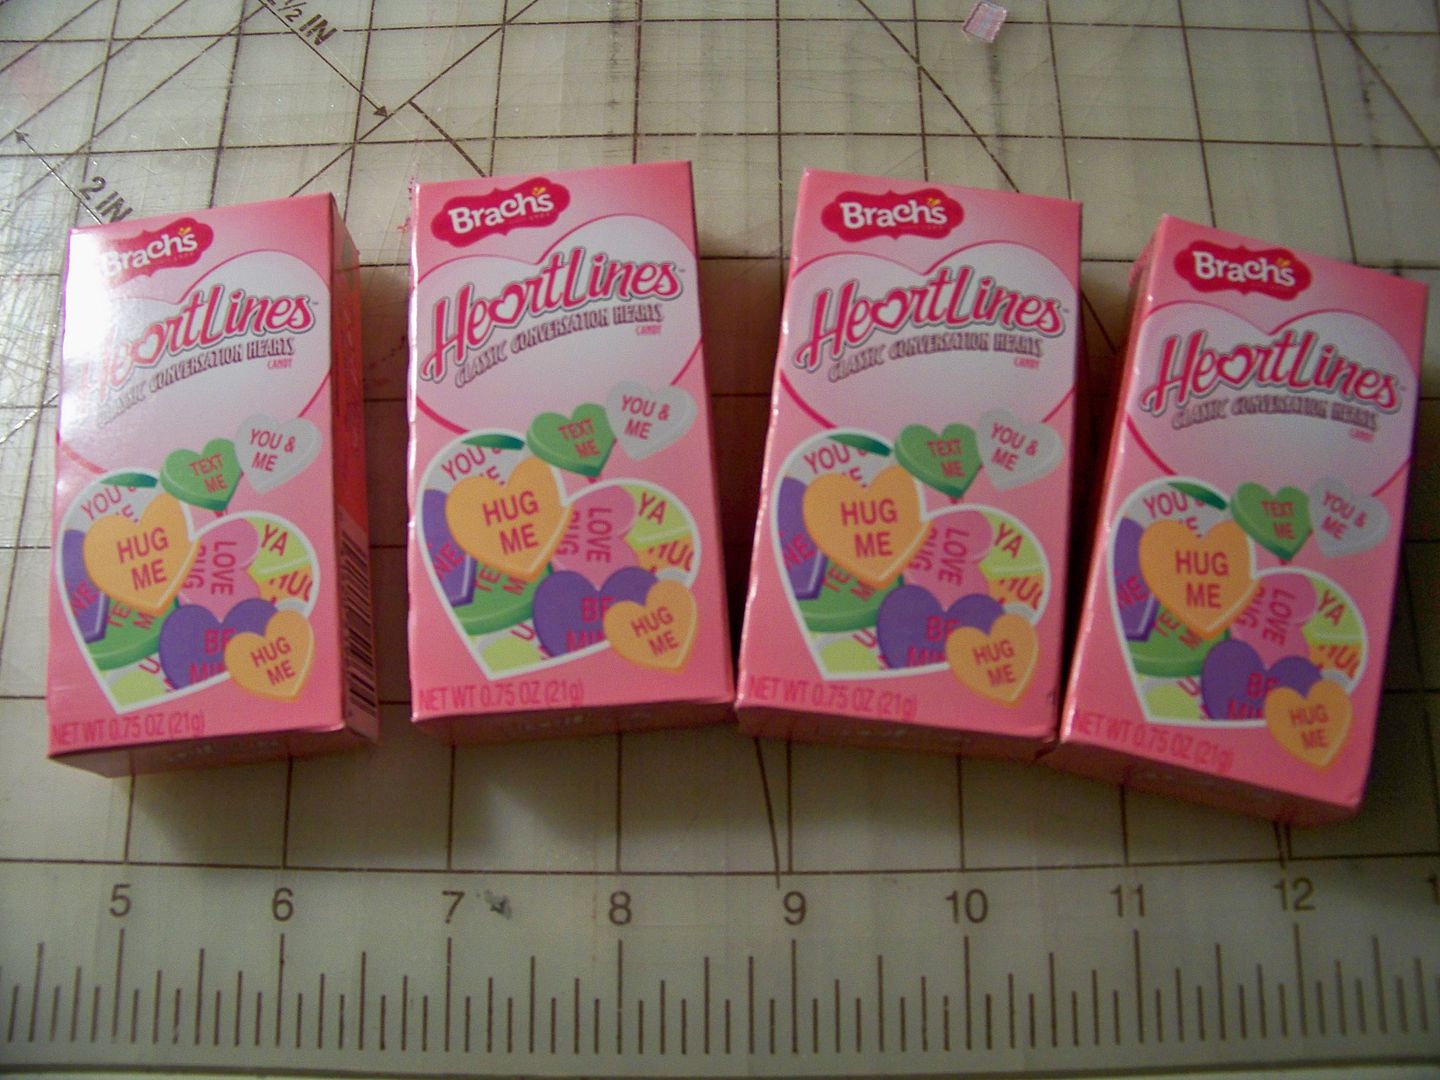
I created a sleeve to dress up inexpensive boxes of Conversation Hearts.  


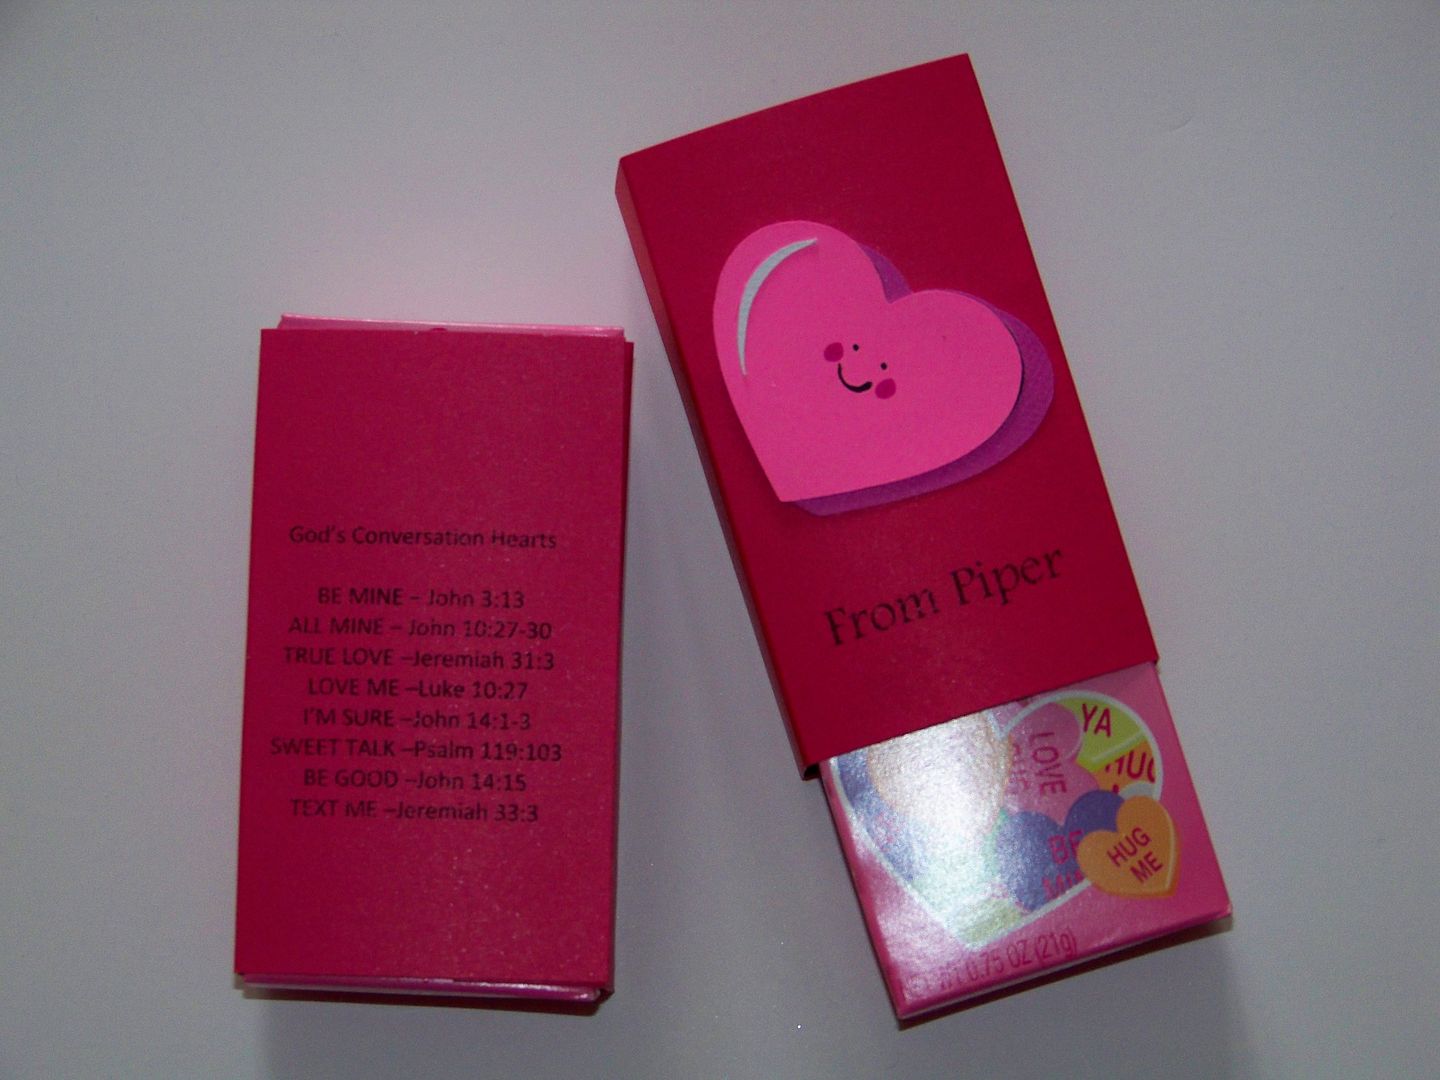
My kiddo goes to a Christian school so I added Bible verse references to the packaging. 


  • The base was trimmer-cut to 6" x 3-1/4".  
  • I scored the base at 3/4", 1-1/2", 3-3/8", and 4-1/8".
  • The smiling heart was cut from Simply Charmed.
  • I printed the Bible references directly onto the base from my computer.  I got the idea from a blog post by Julia Bettencourt that I saw on Pinterest .  You can find her blog post by clicking here.  I changed her "Fax Me" to "Text Me" but otherwise, I used her text.  I thought this was so sweet and clever.  In case you are interested in Juilia's take on how the phrases match up to verses:
BE MINE - John 3:13
ALL MINE - John 10:27-30
TRUE LOVE - Jeremiah 31:3
LOVE ME - Luke 10:27
I'M SURE - John 14:1-3
SWEET TALK - Psalm 119:103
BE GOOD - John 14:15
TEXT ME - Jeremiah 33:3

Dolly Gifts for My Daughter


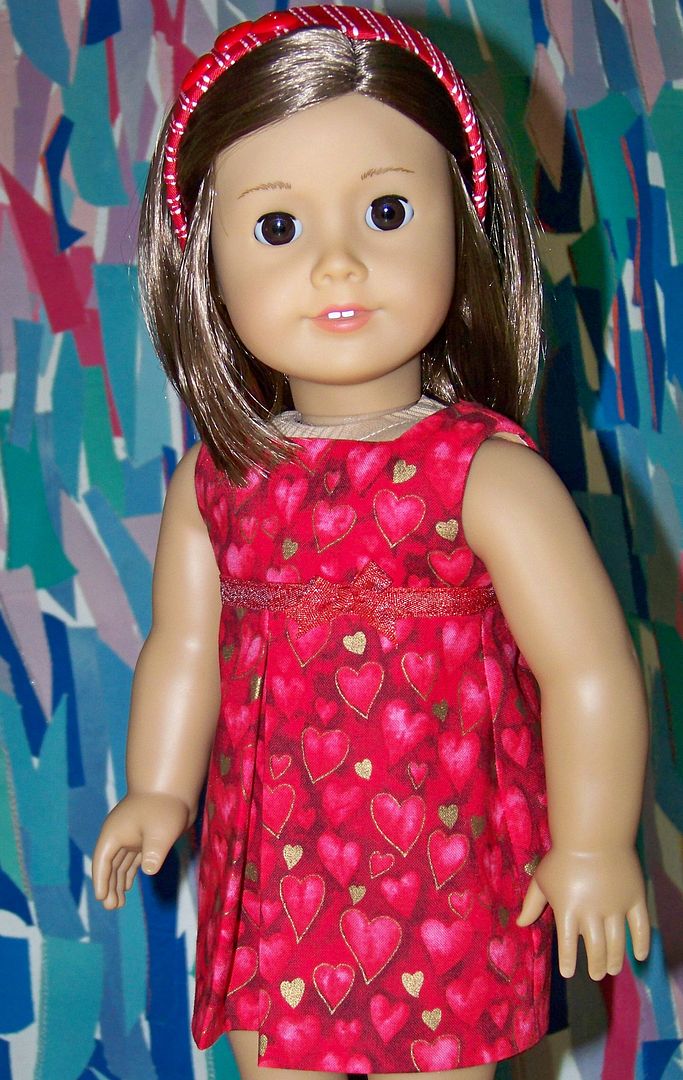
I made a little Valentine dress for my daughter's doll from a pattern purchased from Kotton Candy Doll Fashions.  This is the pleated sundress.  I have made this pattern lots of times.  It has a perfect fit on American Girl dolls and I have gotten it to the point where I can complete it in an hour.  Click here for the pattern on Etsy.  To see more dresses I made previously with this pattern, click here.


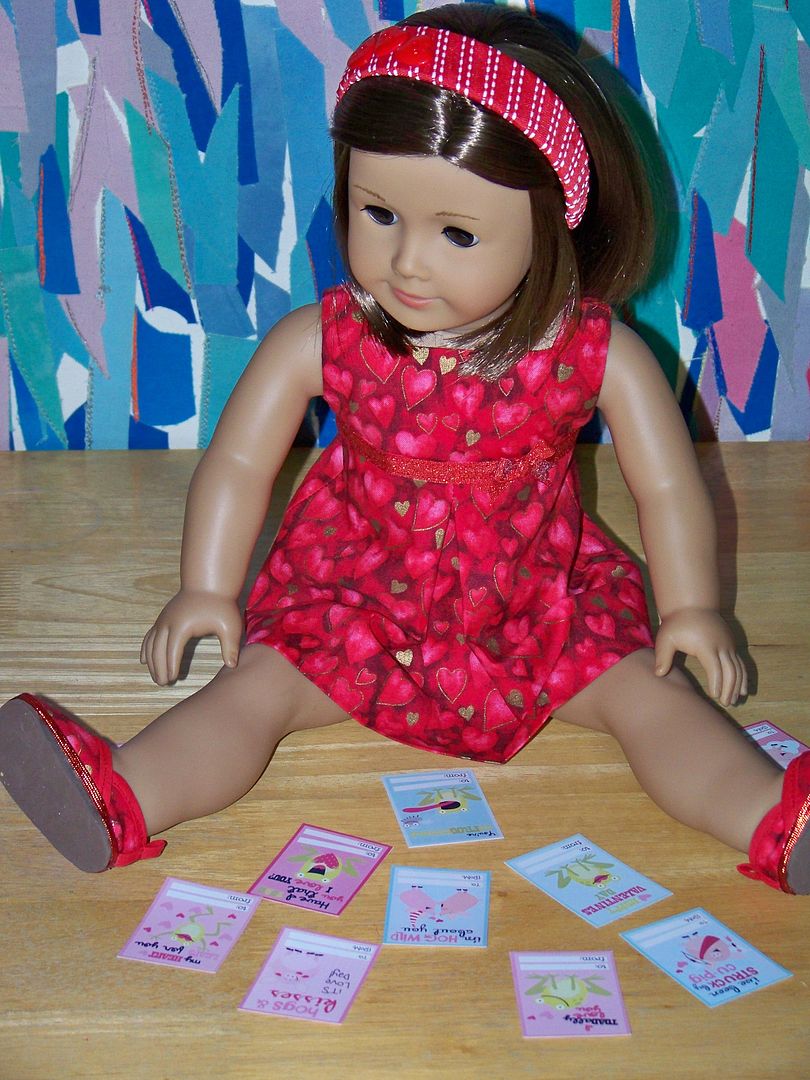
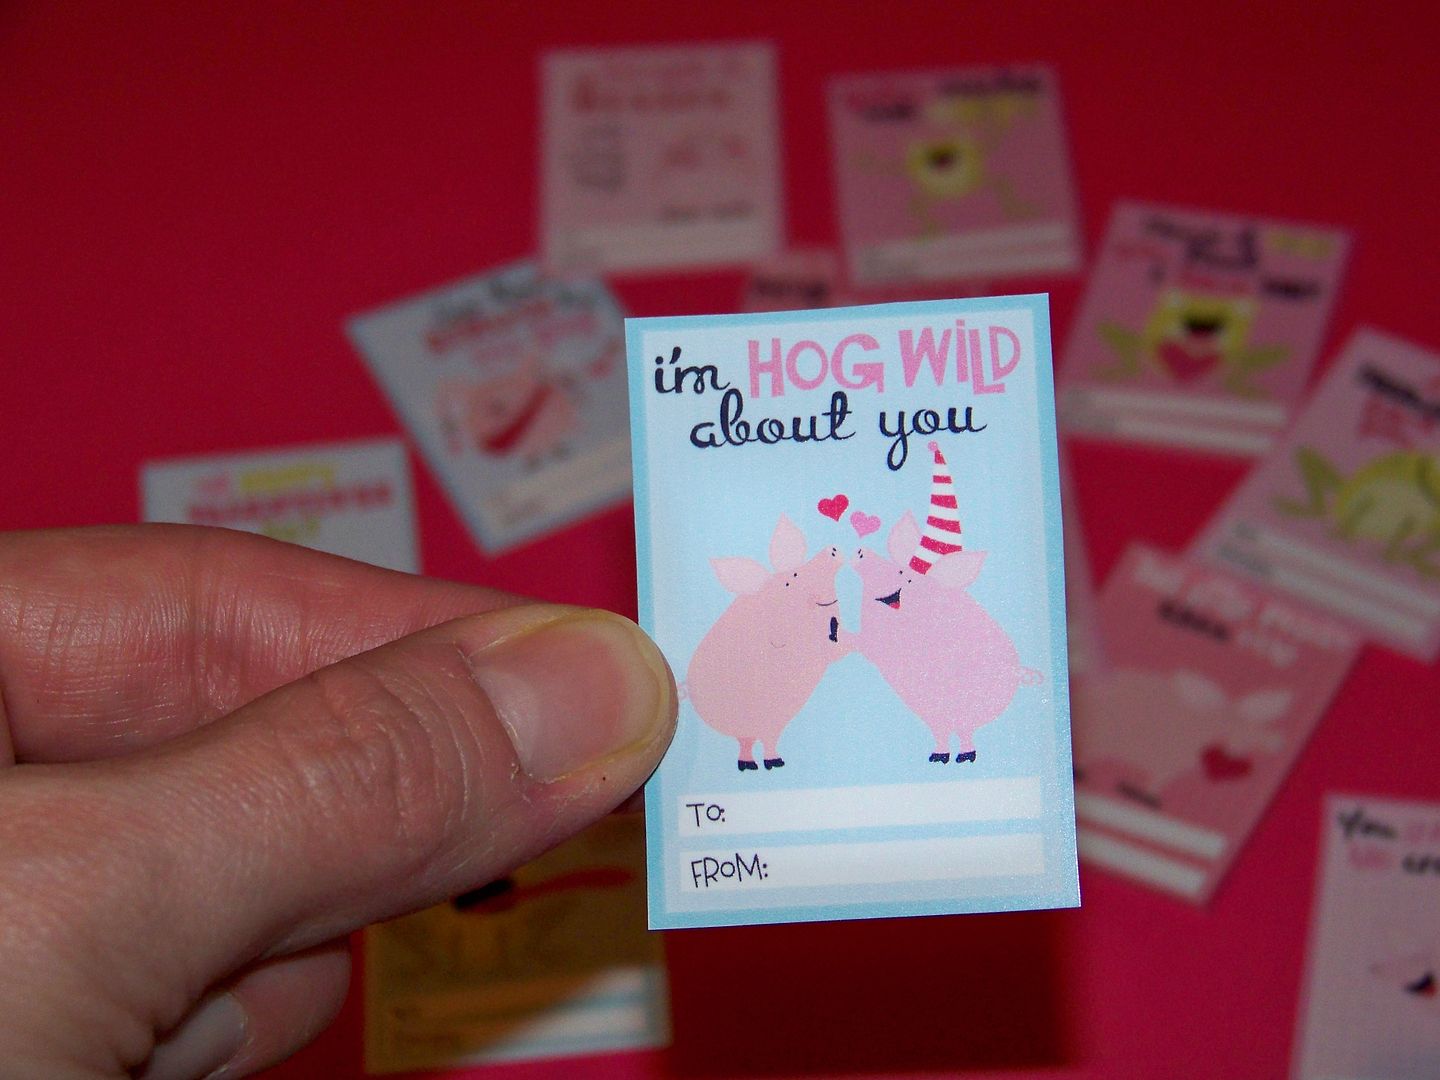
For fun, I purchased some cute "easy peasy" Valentines from Lettering Delights.  I love that I can change the size and print these off in "doll size" for my daughter.  I imagine that she will have her dolls exchange Valentine cards with these.


To get to this mini size, I used the jpeg file and printed each group to fit a 5x7 format.  This allowed both styles to fit on one 8-1/2" x 11" glossy photo paper.  These are the 'Hogs and Kisses' and 'Frogs and Kisses' Valentines.  Click here to see all the styles available.

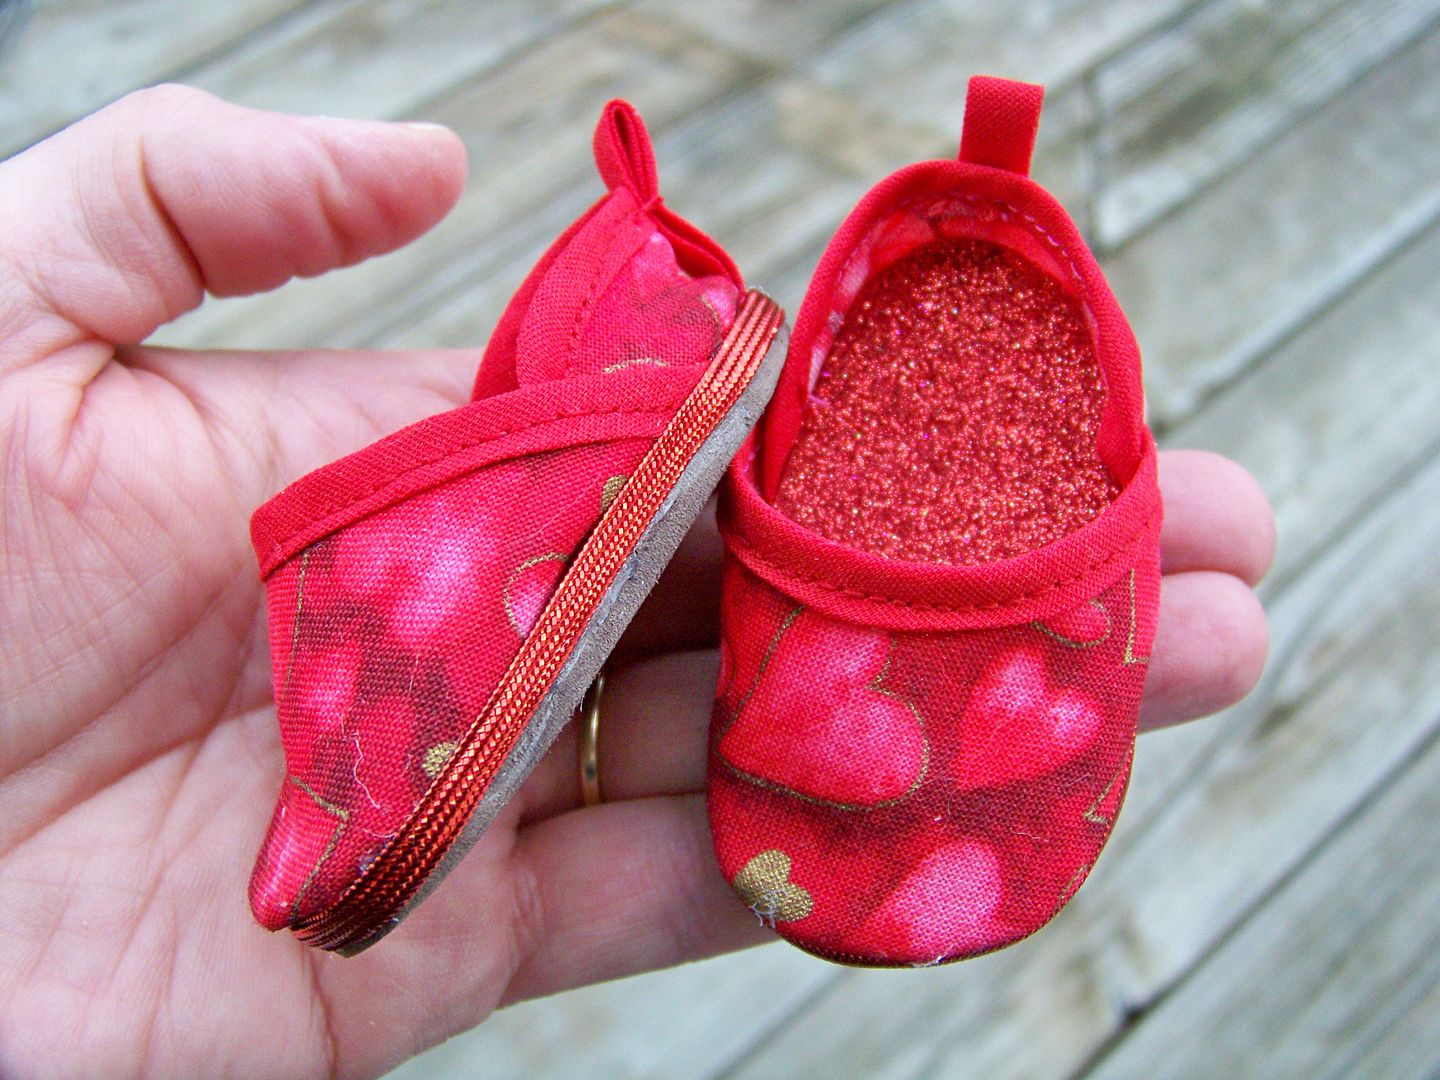
I have been so afraid to make doll shoes.. but a doll clothes sew-along Yahoo Group that I am a part of recently shared a flip flop doll pattern for this month's sew along and I forced myself to try it.  Well, they created a monster because I have made tons of flip flops and gained enough courage to try espadrilles!  I didn't follow the pattern, using what I learned from the flip flops, to make them so much easier!


Instead of covering a board in fabric, attaching that to a secondary layer, and adding cork to the bottoms, I simply used one piece of thin 'fun foam' to attach the fabric upper and heel.  (I found glitter foam!)  I hot glued that to 5mm 'fun foam'.  I attached metallic middy braid to the edges instead of jute trim.  These go together in minutes!!


I used this pattern that you can find on the Liberty Jane site!  Click here to see it.


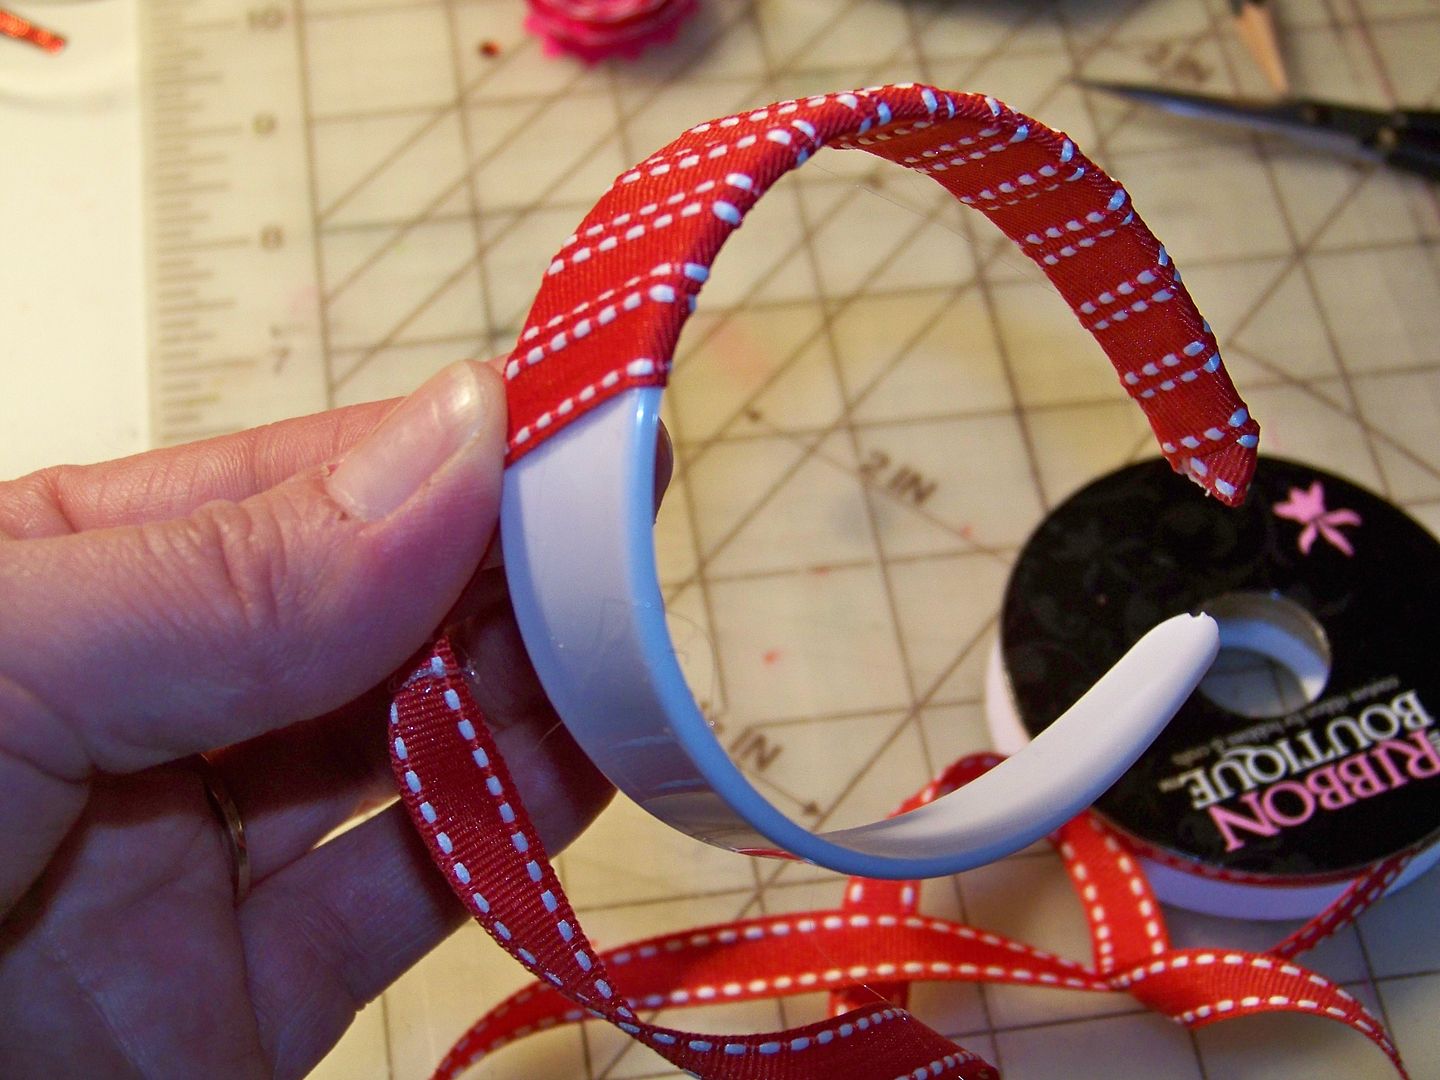
I covered a doll-sized headband blank with 5/32" ribbon, hot gluing to keep in place.  I hot glued a few heart-shaped buttons to the top.  To see the source for the headband blanks, click here.


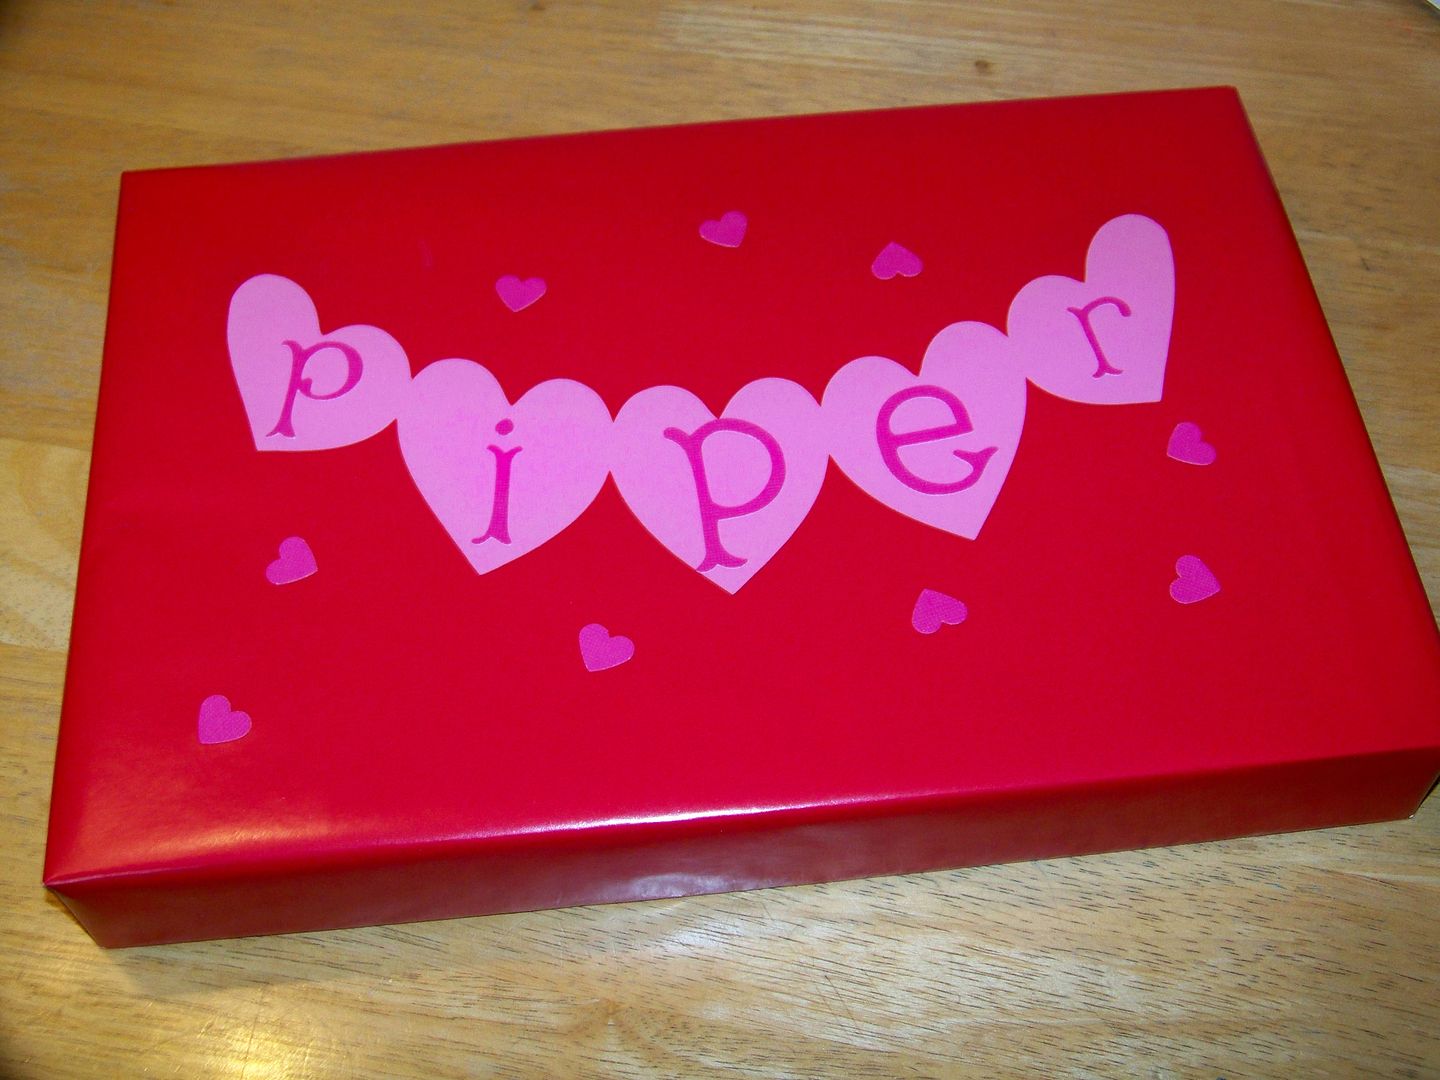
Super simple, super fast gift wrap for this gift used Victorian Romance for the heart banner, cut at 4-3/4" and letters from Holiday Frames and Tags, Nordic Font, cut at 1-3/4" and 2-1/4".


Valentine Birthday Gift Box


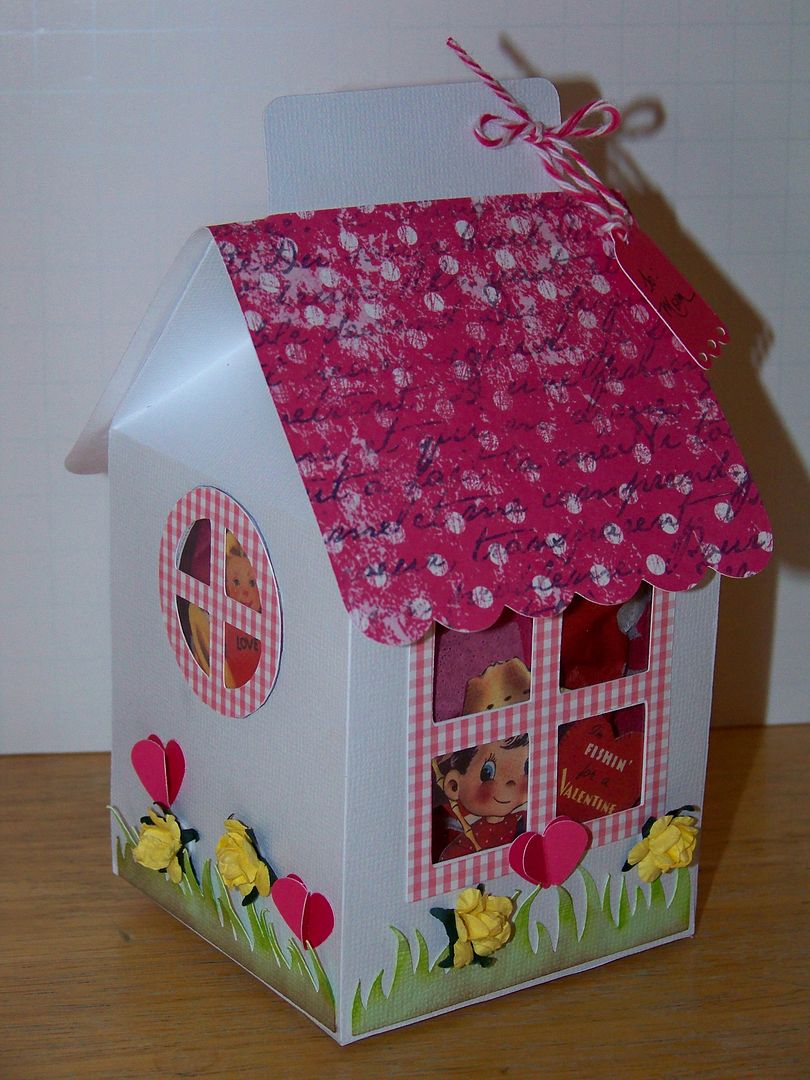
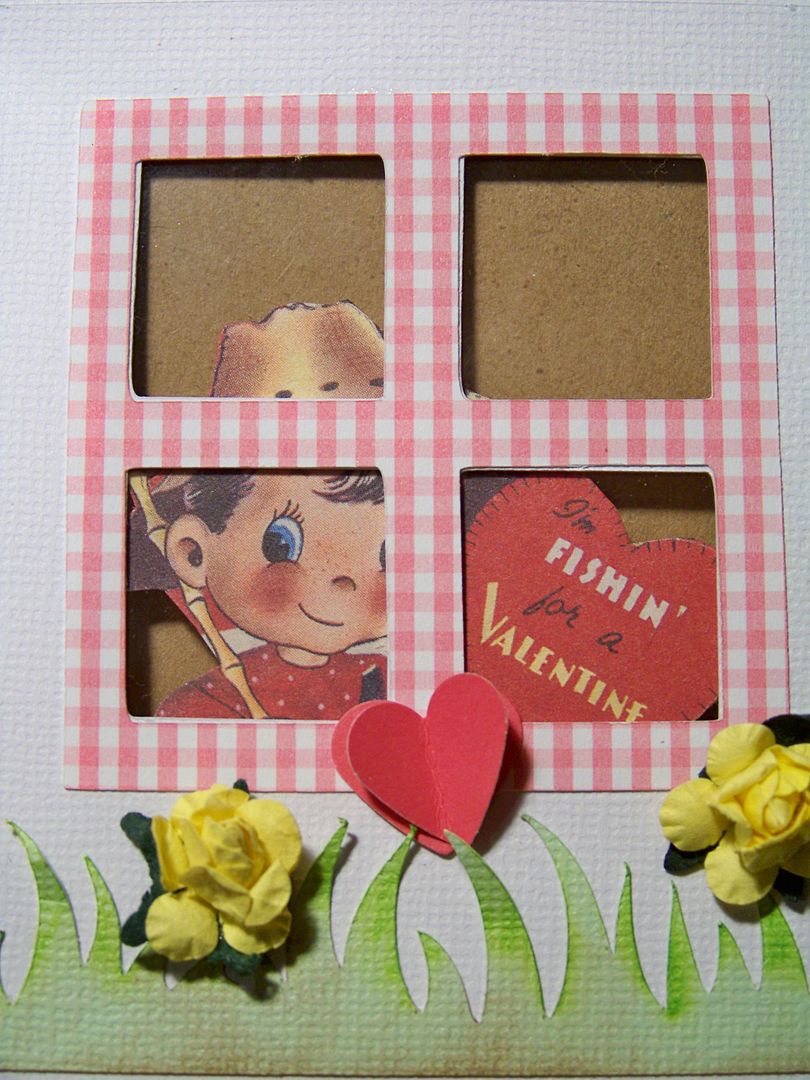
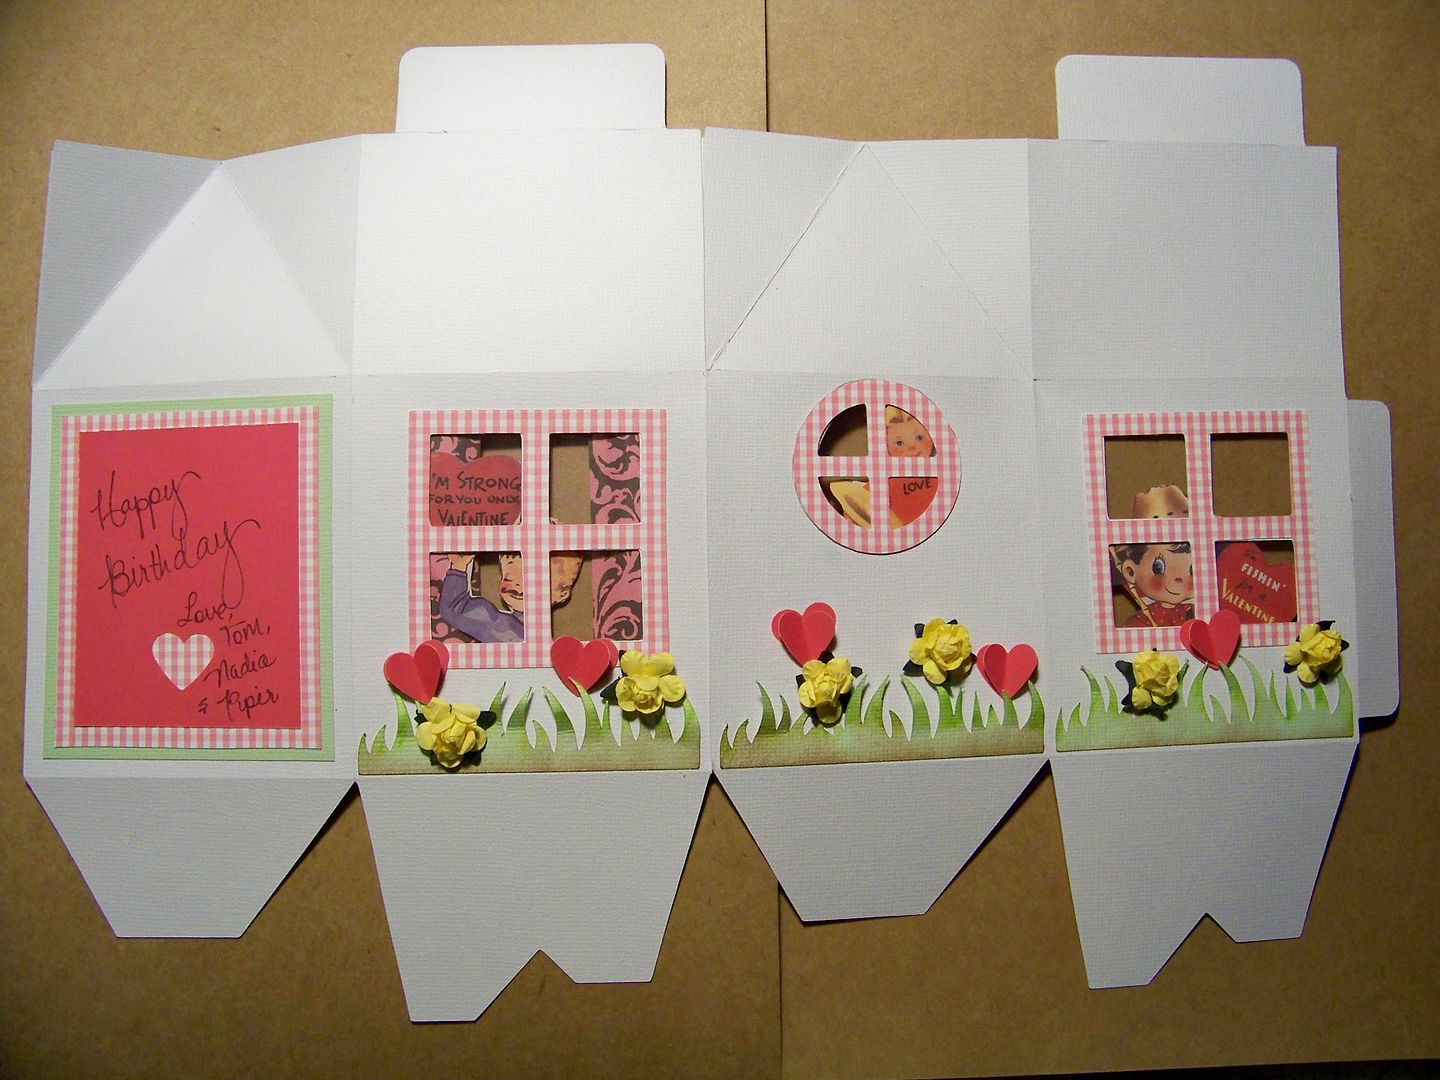
One reason that Valentine's Day is celebrated BIG here is that we have a family member with a Valentine Birthday!  I made this box from Sweet Treat Boxes, page 26, cut at 9".  The tiny tag is from Artiste, page 56, cut at 1-1/4".  I used recycled cartridge clamshell packaging for the window glass.  The flowers were straight out of the package and the hearts were cut from a punch.  I used paper that was printed to look like old fashioned Valentine cards and cut characters out from them to peer out from the windows.


Thank you for checking my blog post today!  I hope you are having a fun, happy Valentine's Day with the people you love the most!

To see many of my previous paper projects, click here to go to My Project Gallery.
To see many of my previous doll projects, click here to go to my Doll Clothing & Accessories page.

But wait! There's more! Click 'older posts' above!

But wait!  There's more!  Click 'older posts' above!