Showing posts with label Kid Stuff. Show all posts

Saturday, December 20, 2014

Piper's Owl Pinecones- Kid Crafted Christmas Gifts


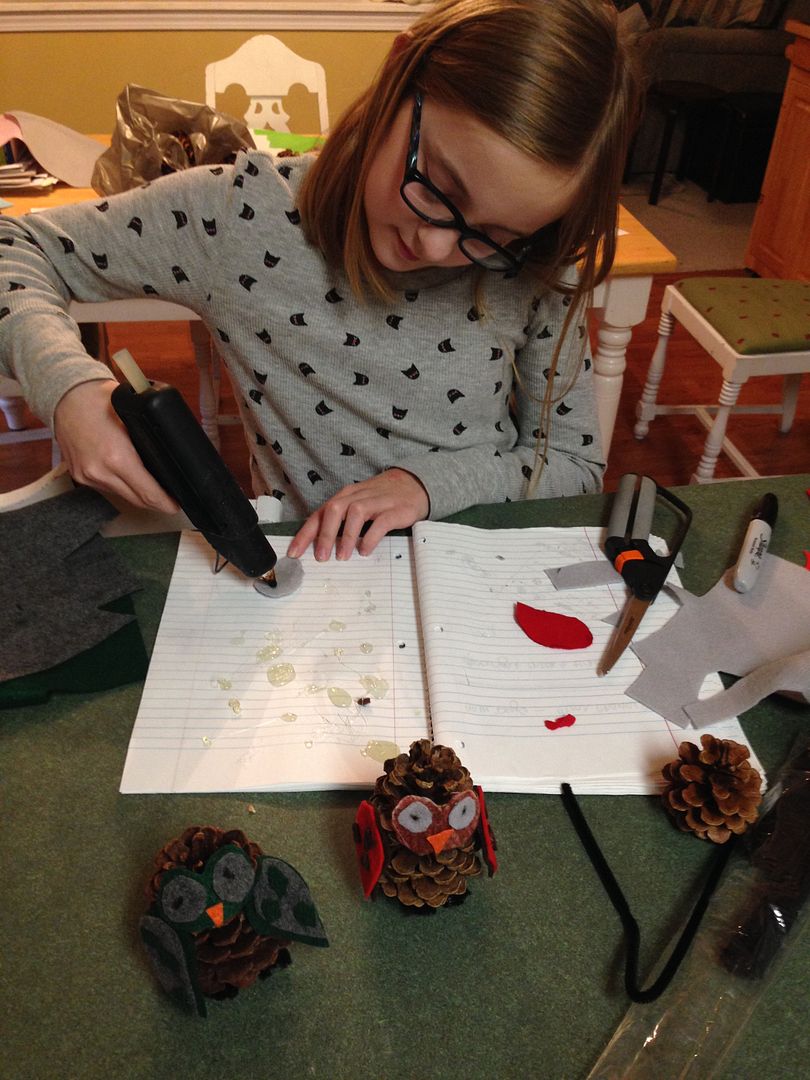
Again this year, my kiddo, Piper, has made gifts for classmates for Christmas.  I thought I would share her project here with you!

I have been enjoying Lia Griffith's woodland felt creatures on her blog.  When I saw her pinecone owls, I shared it with my ten-year-old daughter and she instantly fell in love with them, deciding that this would be a perfect crafty gift project for her to make.  You can find the project complete with pdf pattern and step-by-step photo instructions on Lia's blog by clicking here.

The cool thing about Lia Griffith's blog is that she so often shares her files for free!  I did use the snipping tool on the pdf patterns and uploaded them to Cricut Design Space, thinking Piper would prefer a crafty shortcut, but she emphatically told me she would be hand-cutting her felt owl features.  I was shocked but I love her love and appreciation of all things hand-made!  (I told her at one point in this process that I loved that she was making hand-made gifts and how much I loved hand-made stuff myself.  To that, she responded:  Everyone does!  


She packaged them in clear treat bags and made tiny tags for each student.


At the end, she made one for herself too.


To see Piper's ornament gift last year with her tutorial on making boxed glitter ornaments, click here. Are you crafting with your kiddos this Christmas?  

Thank you for checking out my post today!

Sunday, June 15, 2014

All Beauty and No Beast!


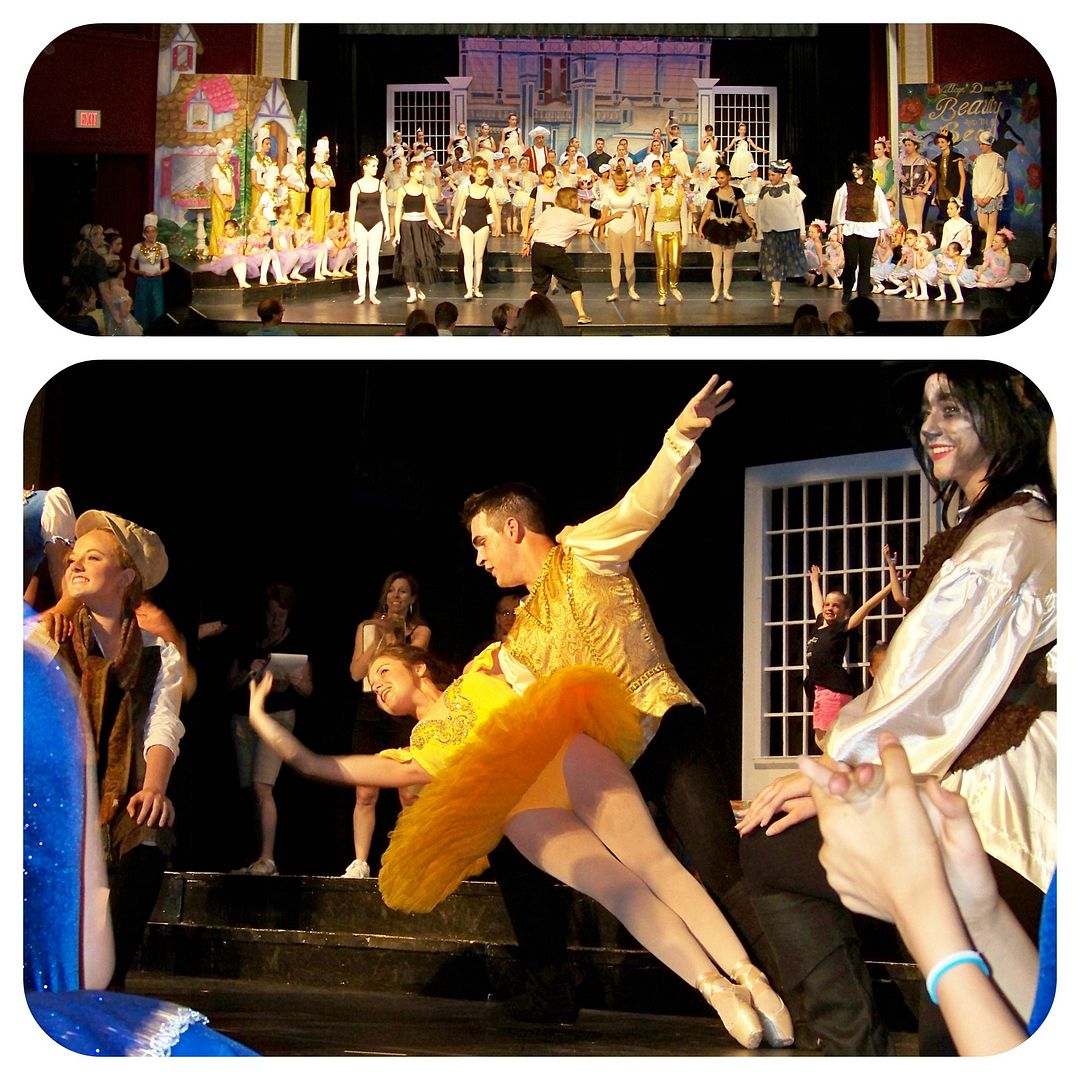
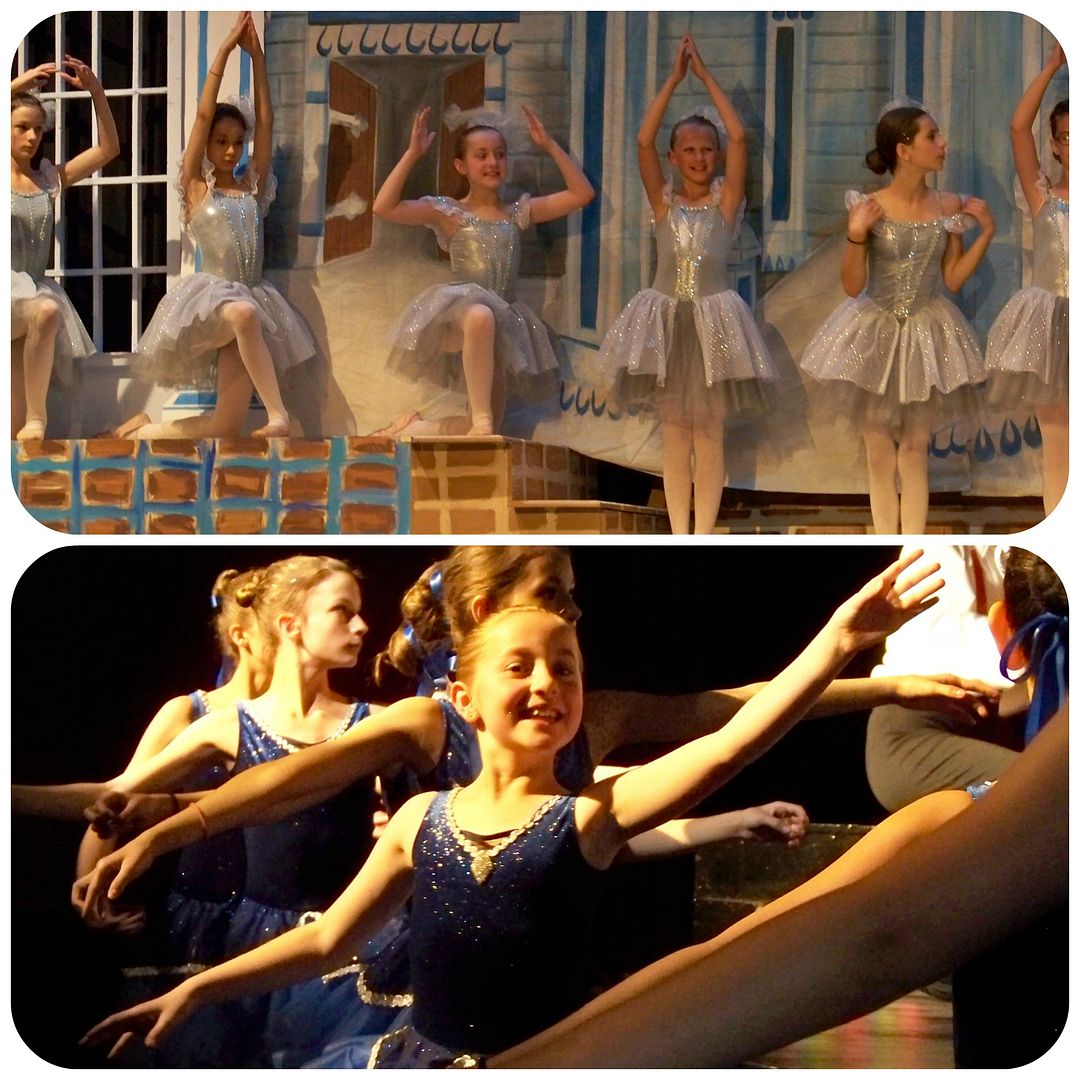
We just marked the start of summer at our house:  completion of dance recital performances!  My kiddo's ballet school has a special way of doing recitals:  they do a full ballet with two performances in lieu of a standard recital that includes all the students from age 5 to age 18 in the show!  The high school seniors and advanced dancers have the starring roles; the younger classes have supporting roles.  My daughter's class performed as the Silverware and the Dream Belles. The parents do the set design and creation, make costumes, do lighting, stage management, house management, handle tickets, props, sound, and keep the kids ready for their parts! Some dads even have roles in the performances!  It is such a huge production and undertaking!  I took off two weeks of work to help and I needed an extra week to recover, but that didn't happen!  (My daughter always seemed so surprised that I was tired when she was the one dancing.)
Rehearsal for the Finale
Each year, at the December Mother-Daughter Tea, we learn which ballet the girls will perform in June so we have known for a bit that this year would be Beauty and the Beast.  The two employees (and that includes the owner!!) of the school choreograph the show and teach the girls their parts.  I find it incredible that they do this all with parent volunteers and only two employees.  It really is remarkable!  This is the 30th year for the school and the current owner is the daughter of the original owner.  It is a family affair in many ways! And it is so much more...they make all the little girls feel important and like they are part of something BIG!  My daughter told me, "Whatever the year, my class always has important parts in the ballet!"  (And that from a salad fork, her role in one of her dances!)  They make it fun, using a blend of the traditional music from the ballet as well as some from the Disney movie.  It seamlessly works together like magic.

Each year, my daughter gives Opening Night gifts to the ballerinas in her class.  For the past couple of years, I have made the gifts and tried to make them as wearable keepsakes that represented the ballet for that year.  You can see last year's post on the Cinderella Ballet by clicking here!  

Last year was Cinderella!
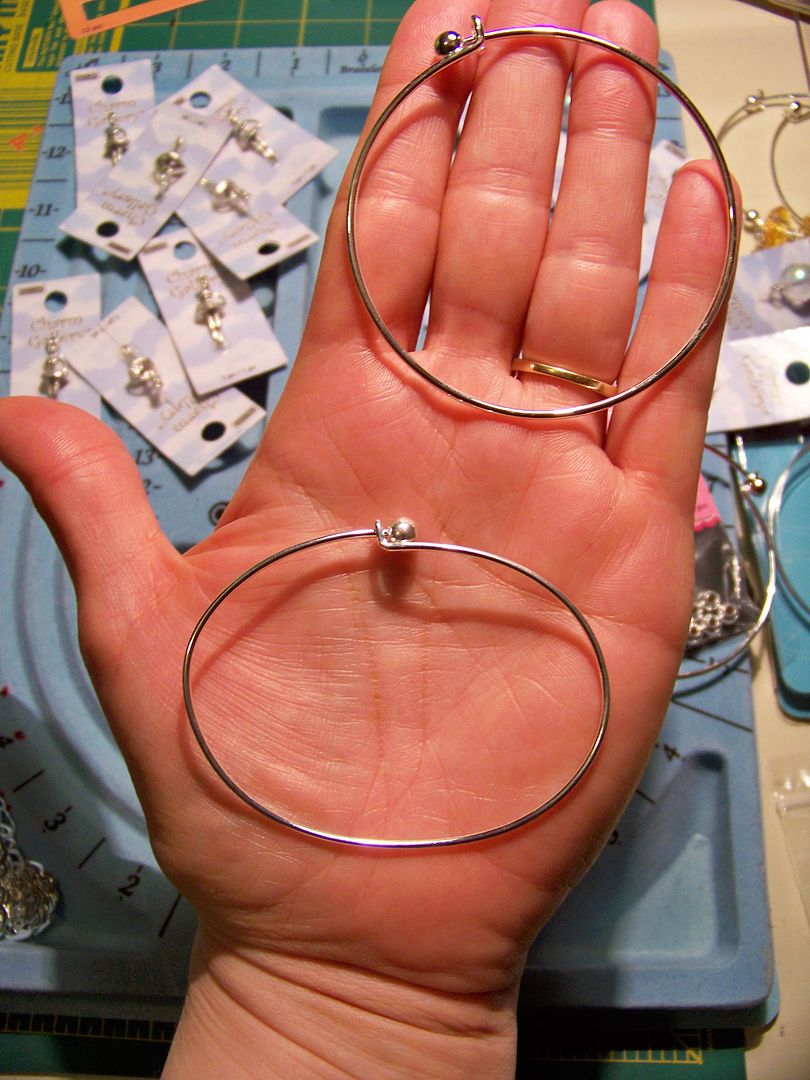
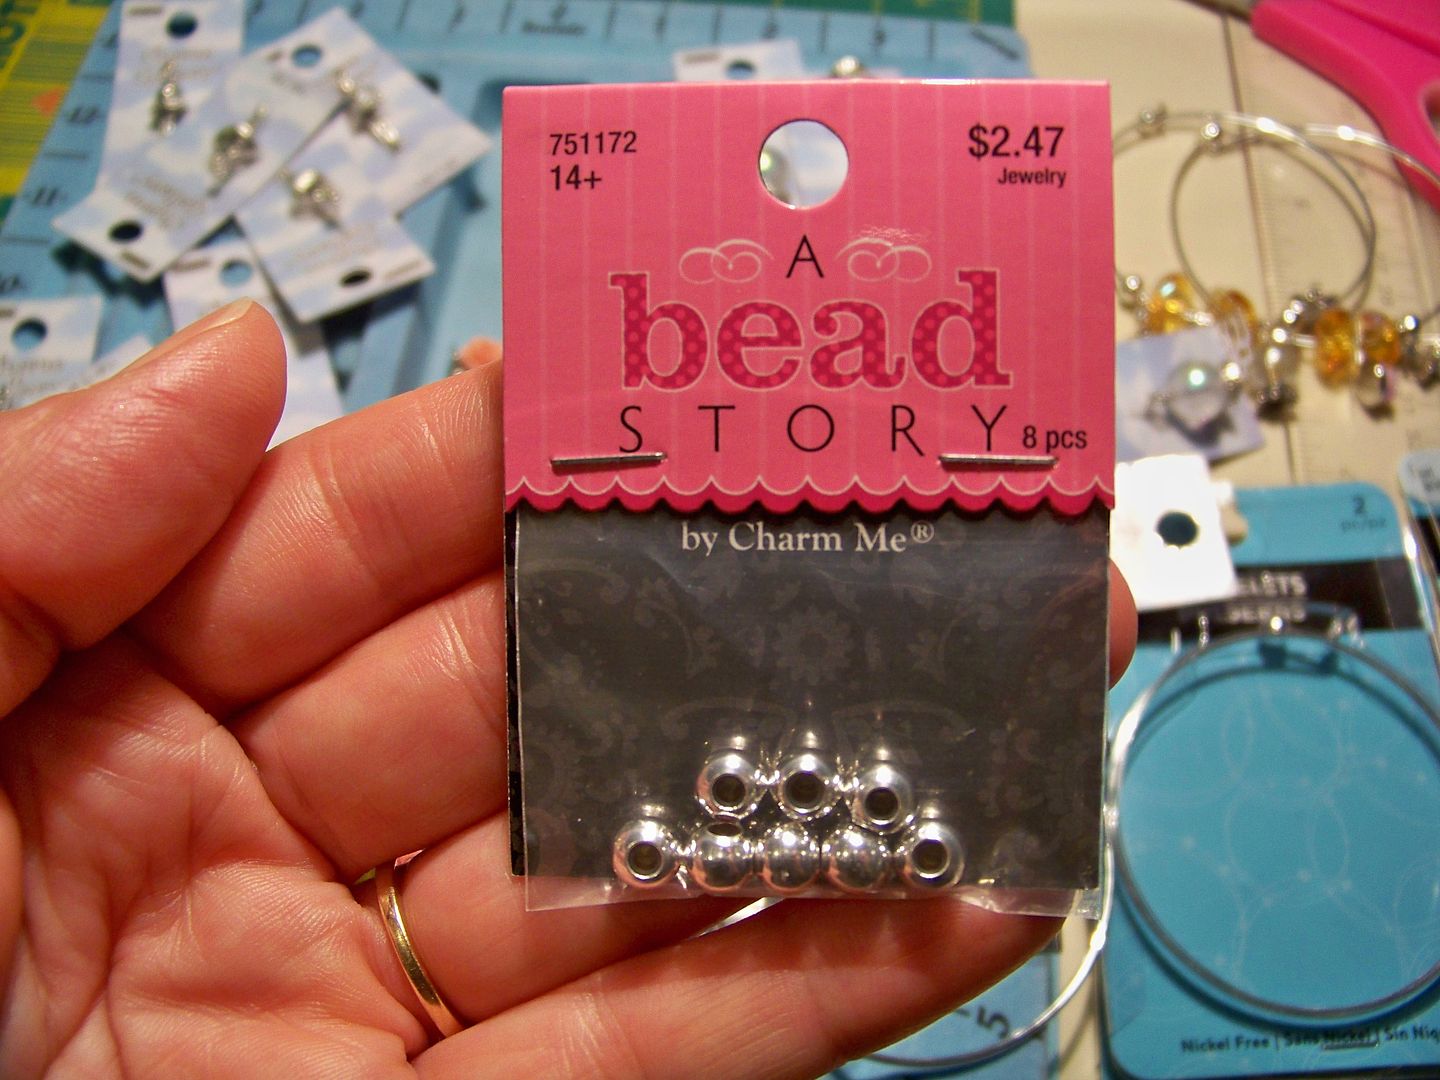
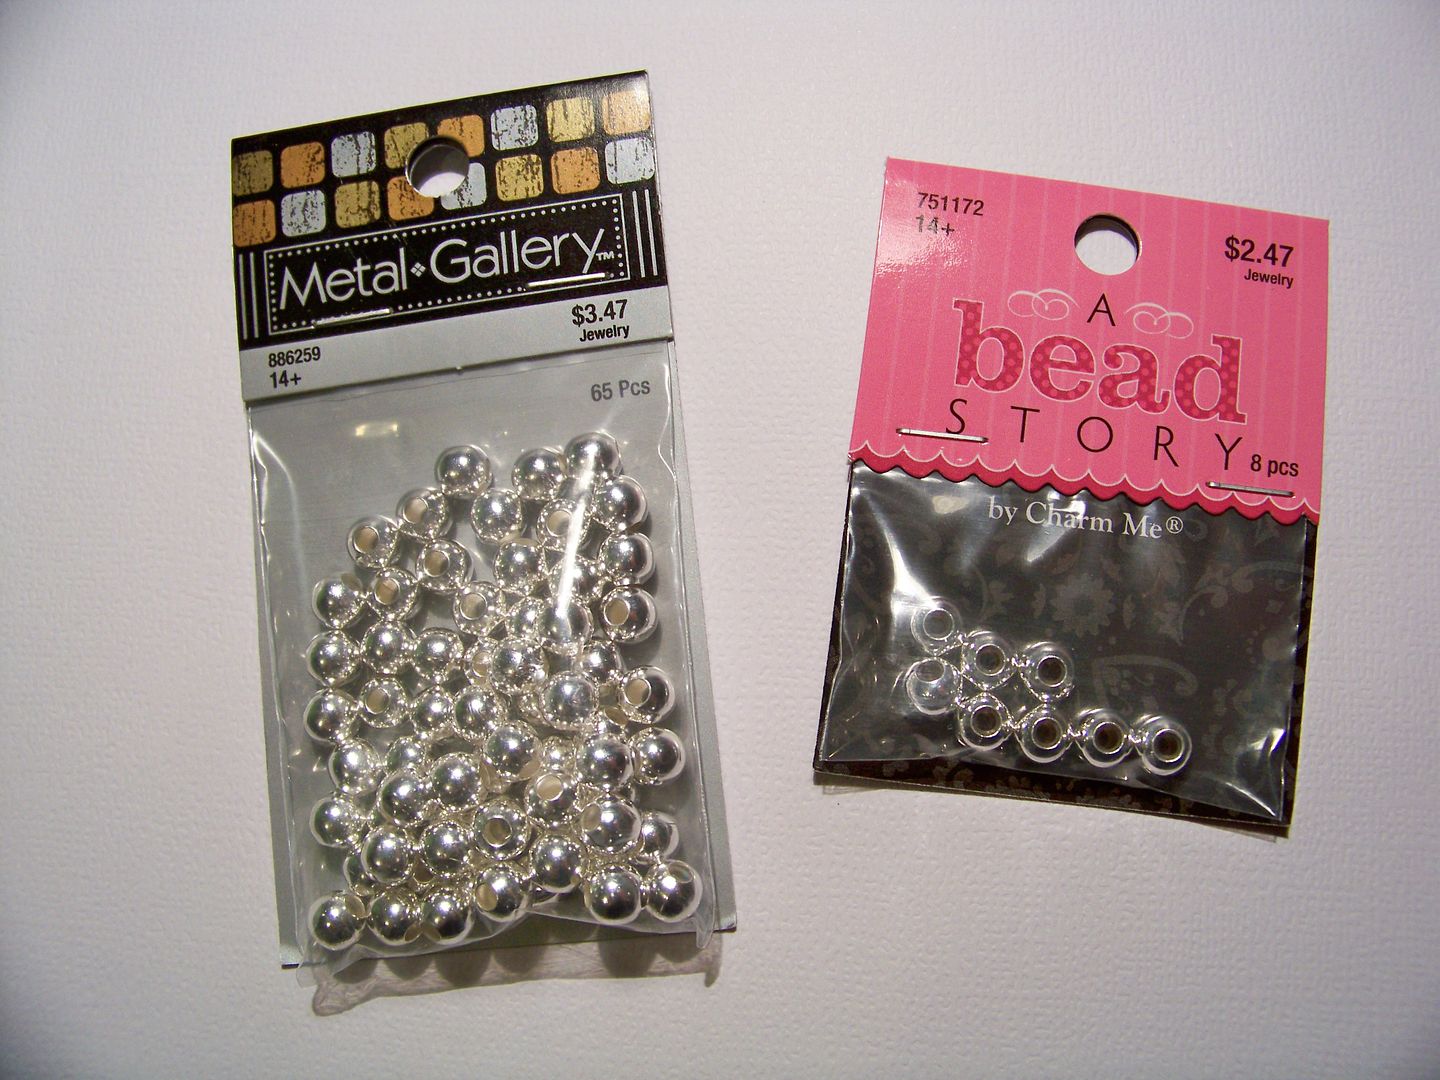
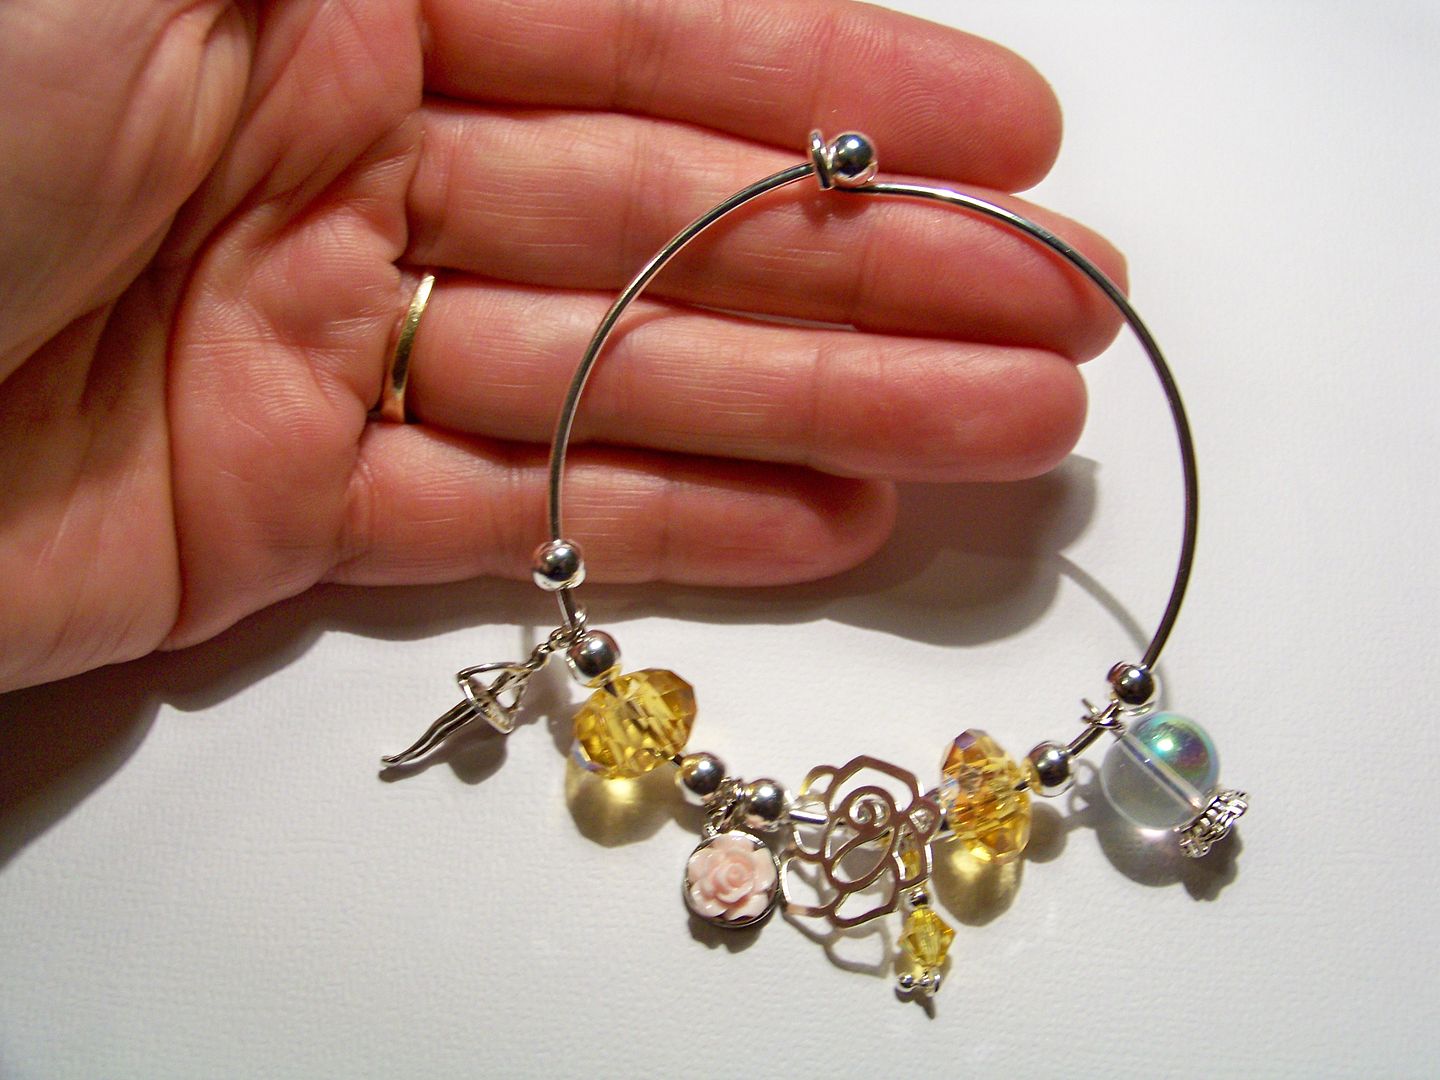
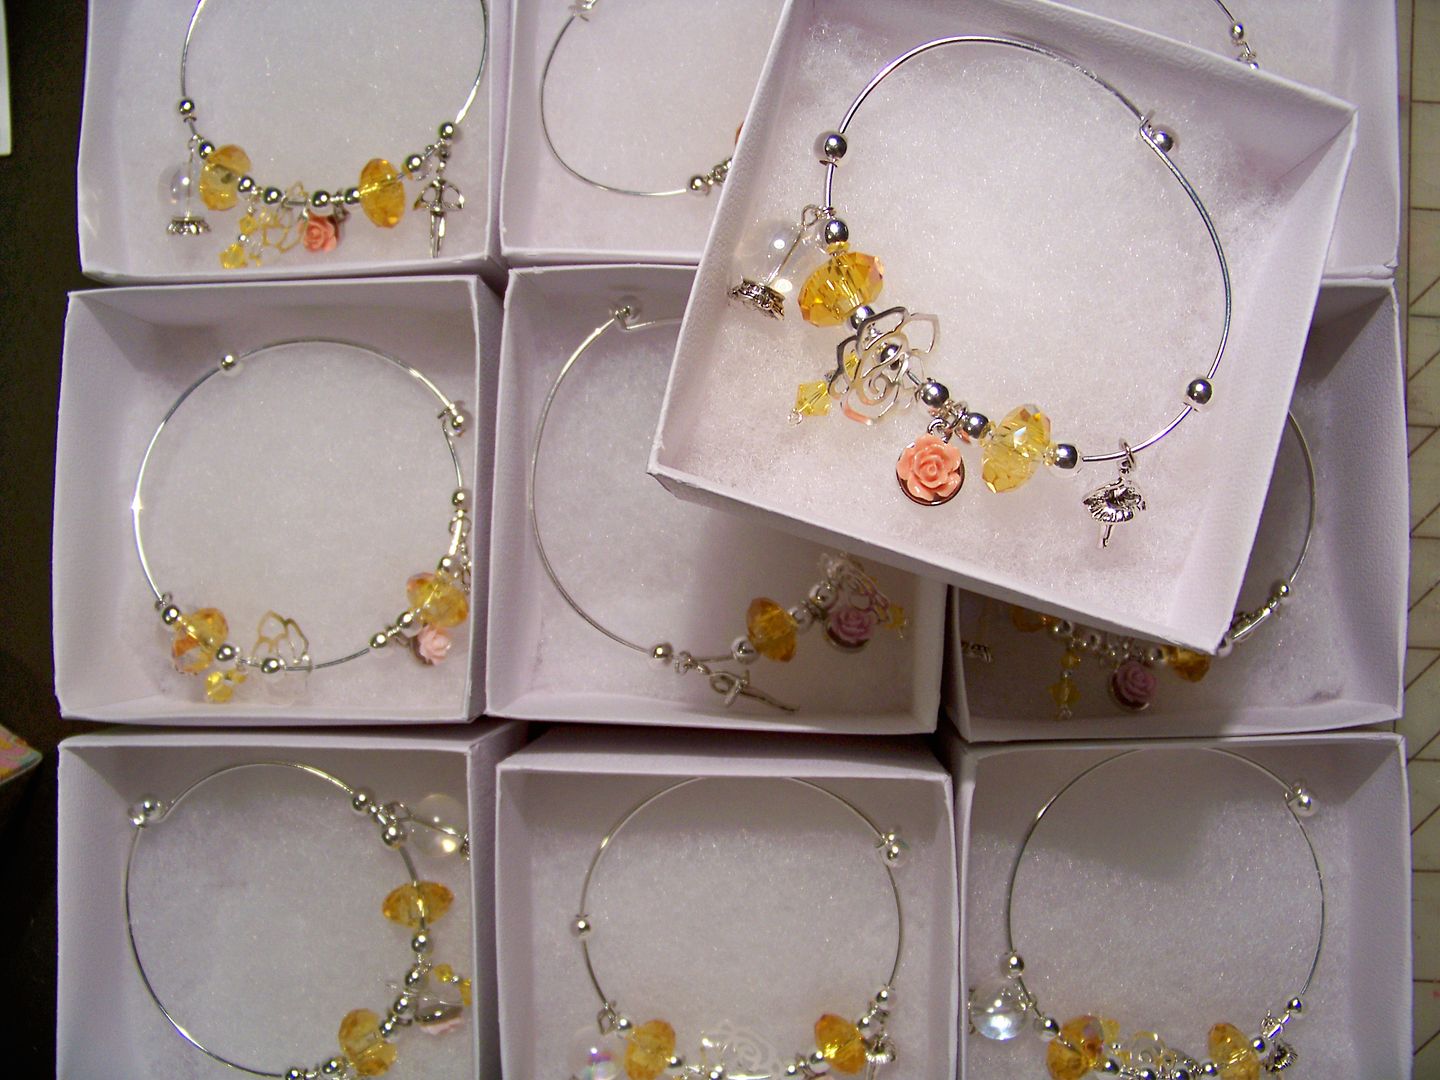
Each year, it seems a little harder to think of something that the girls would enjoy.  My daughter, at age 10, is one of the youngest in her class.  Students in this pre-pointe class go all the way to middle school.  I thought silver bangle bracelets might be the way to go this time around and my kiddo approved.  I fell in love with Alex and Ani bracelets but needing eleven meant I had to come up with something that wouldn't break the bank! I found so many great options with A Bead Story brand!  Their round bangle bracelets feature a screw-off bead on the ends which makes adding and changing beads a snap!  This is so easy! Their spacer beads have what I suppose is a silicone liner that keeps the beads from sliding too much.  After depleting the supply of bangle bracelets at the store nearest me, I went online and found slightly different oval bracelets, a different brand.  They worked just fine and my daughter actually liked those better for her small wrist!


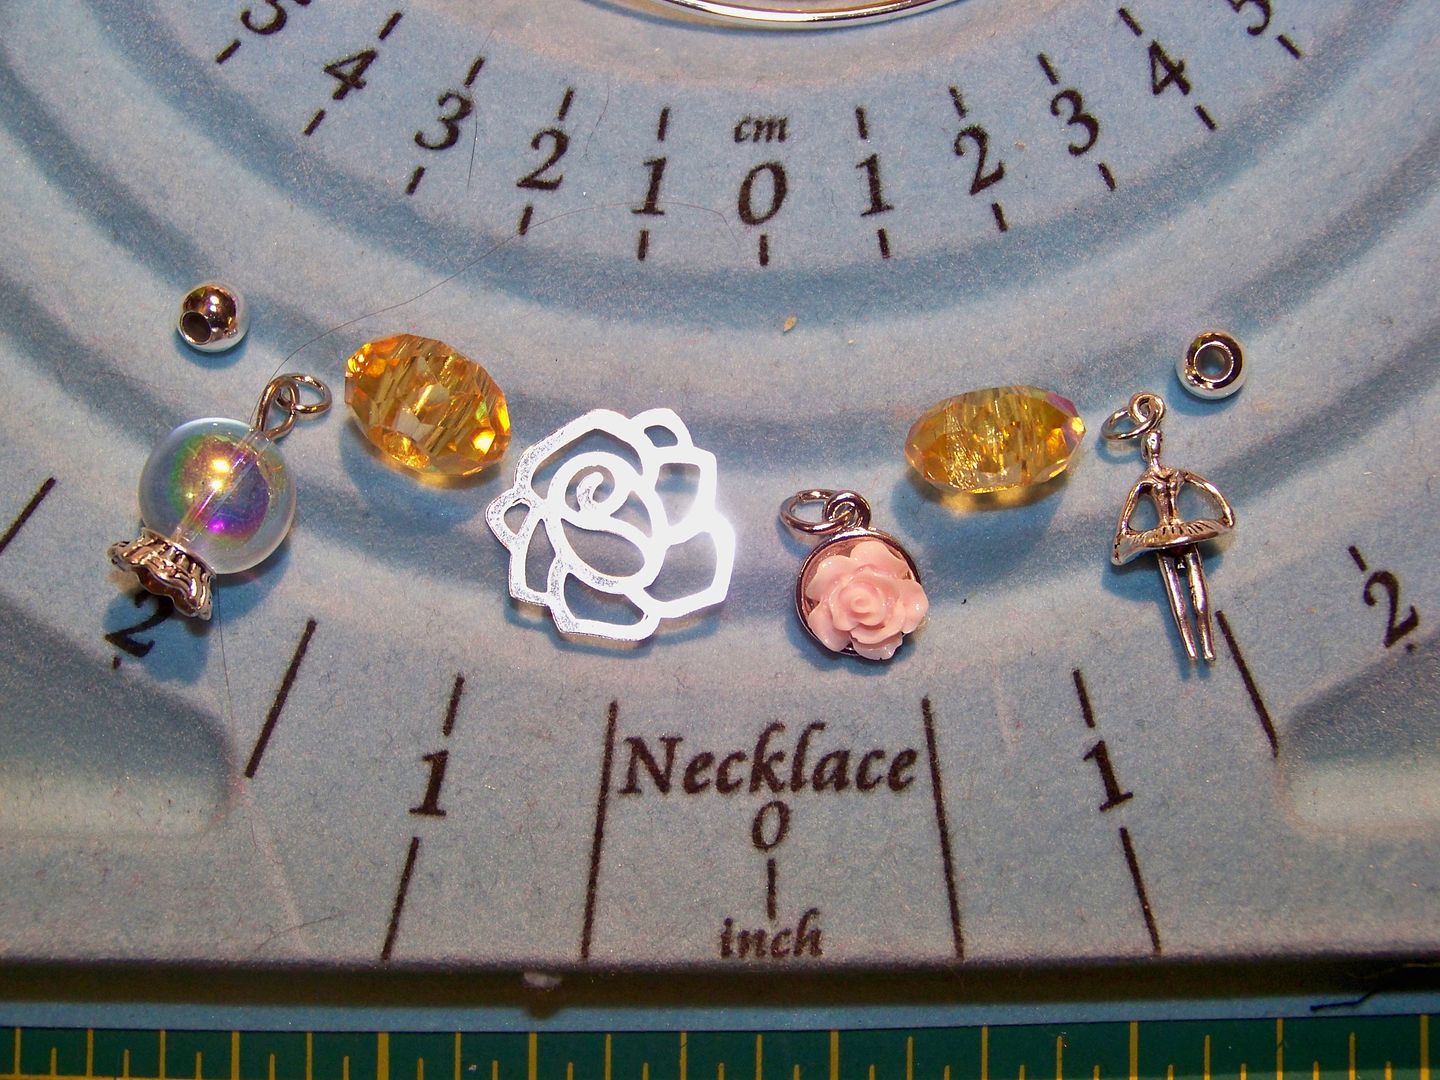
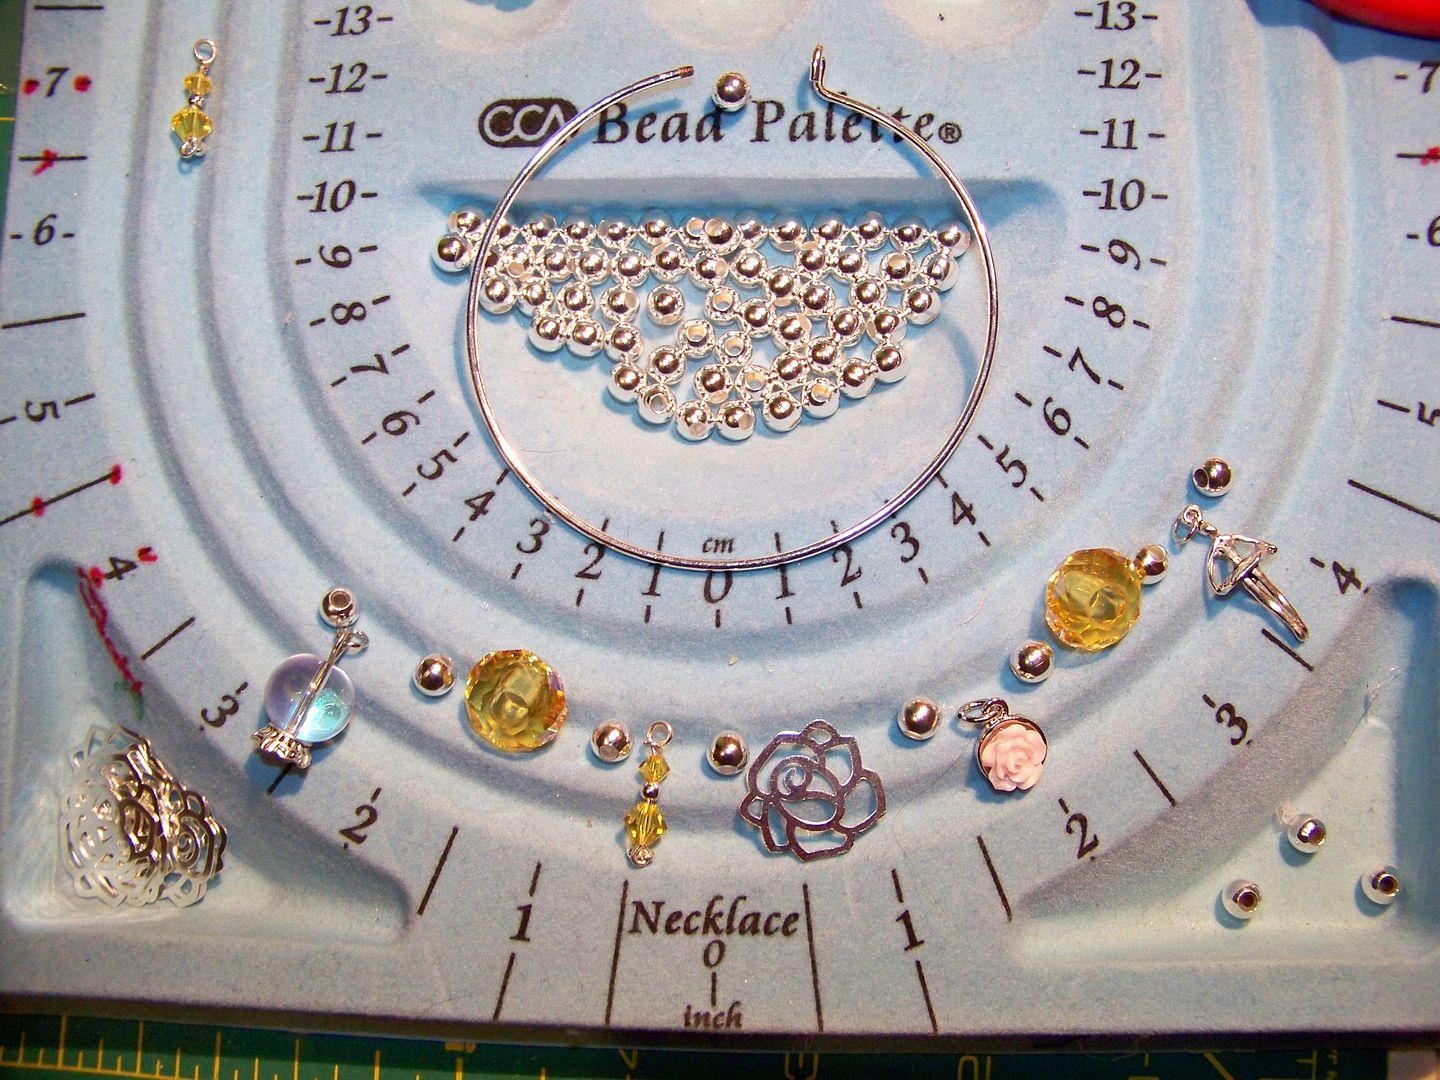
I chose beads that represented elements of the story:  the rose, the yellow dress, the dancers, the dome over the rose.  These girls have all out-grown the Disney Princesses and so those icons were not an option for this project.  


I added spacer beads between the charms.  These made the various charms seem to be more integrated with the whole bracelet, though admittedly, less like the style I had originally been trying to copy.


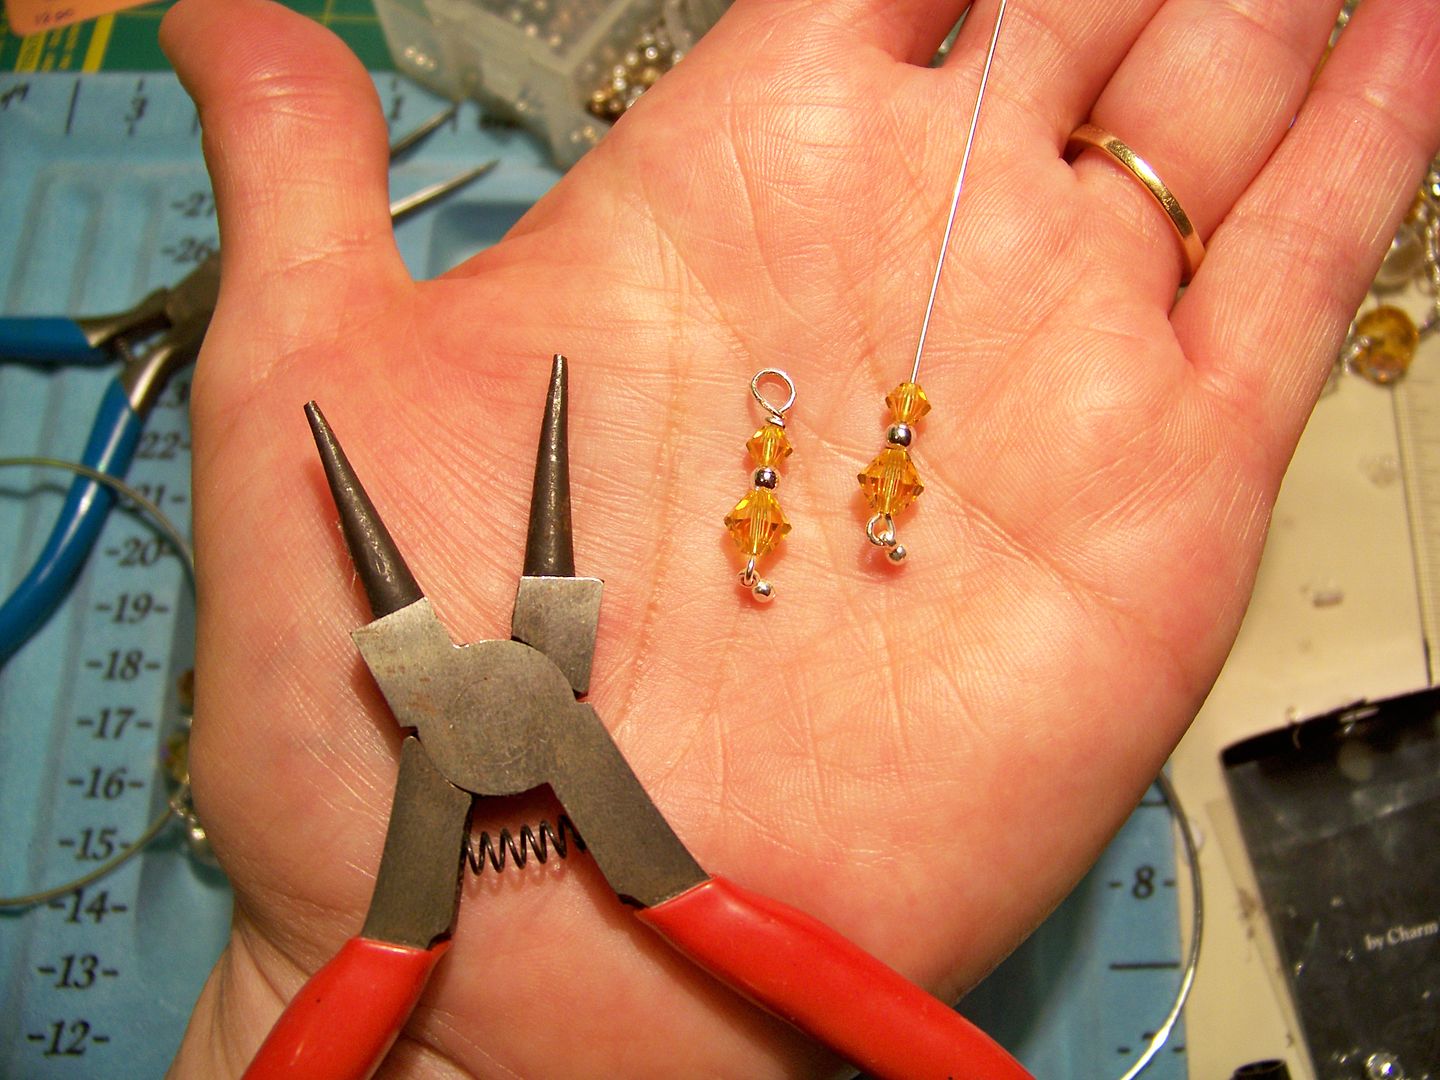
I also made some drop charms using head pins, crystals, and smaller silver beads.


I found my supplies at Hobby Lobby for the A BEAD STORY round bracelets and all siver beads.  The oval bracelets were from ebay.  I found the crystals at Michaels.  The ballerina charms and the crystal ball charms came from both michaels.com and Hobby Lobby.  The 3D flower charms came from Michaels physical store.  The flat siver roses and the large amber rondelles were from Fire Mountain Gems.  The small crystals and head pins came from Michael's. 


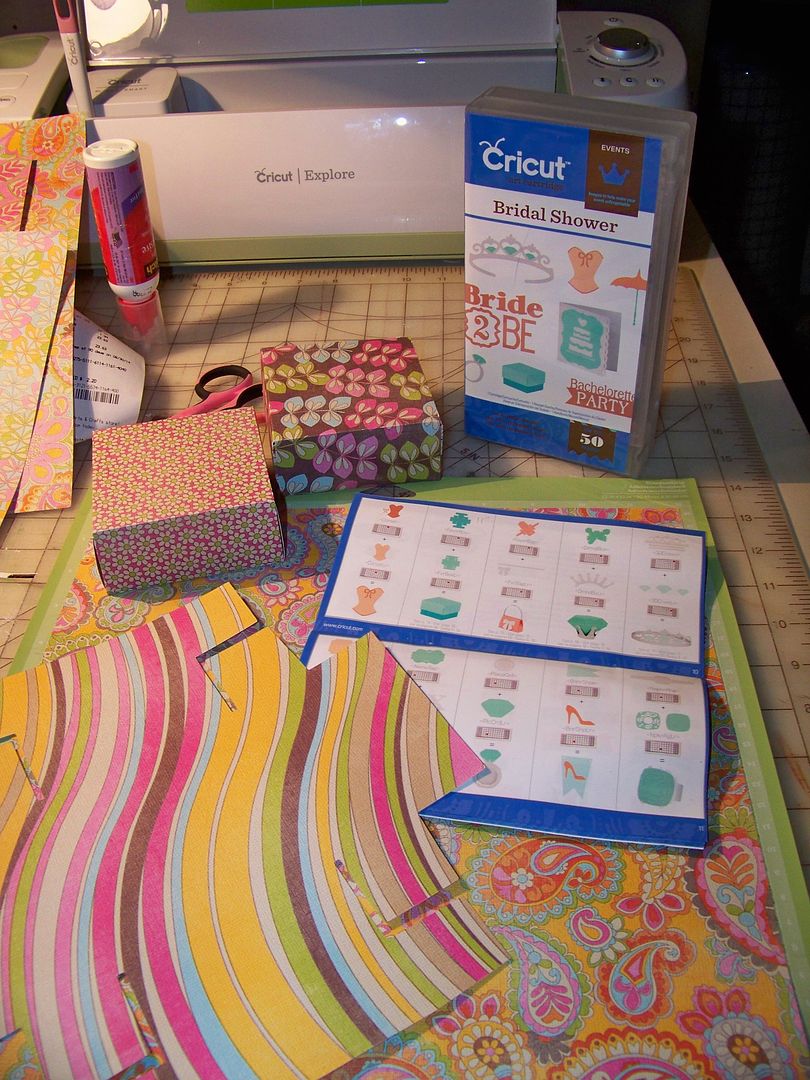
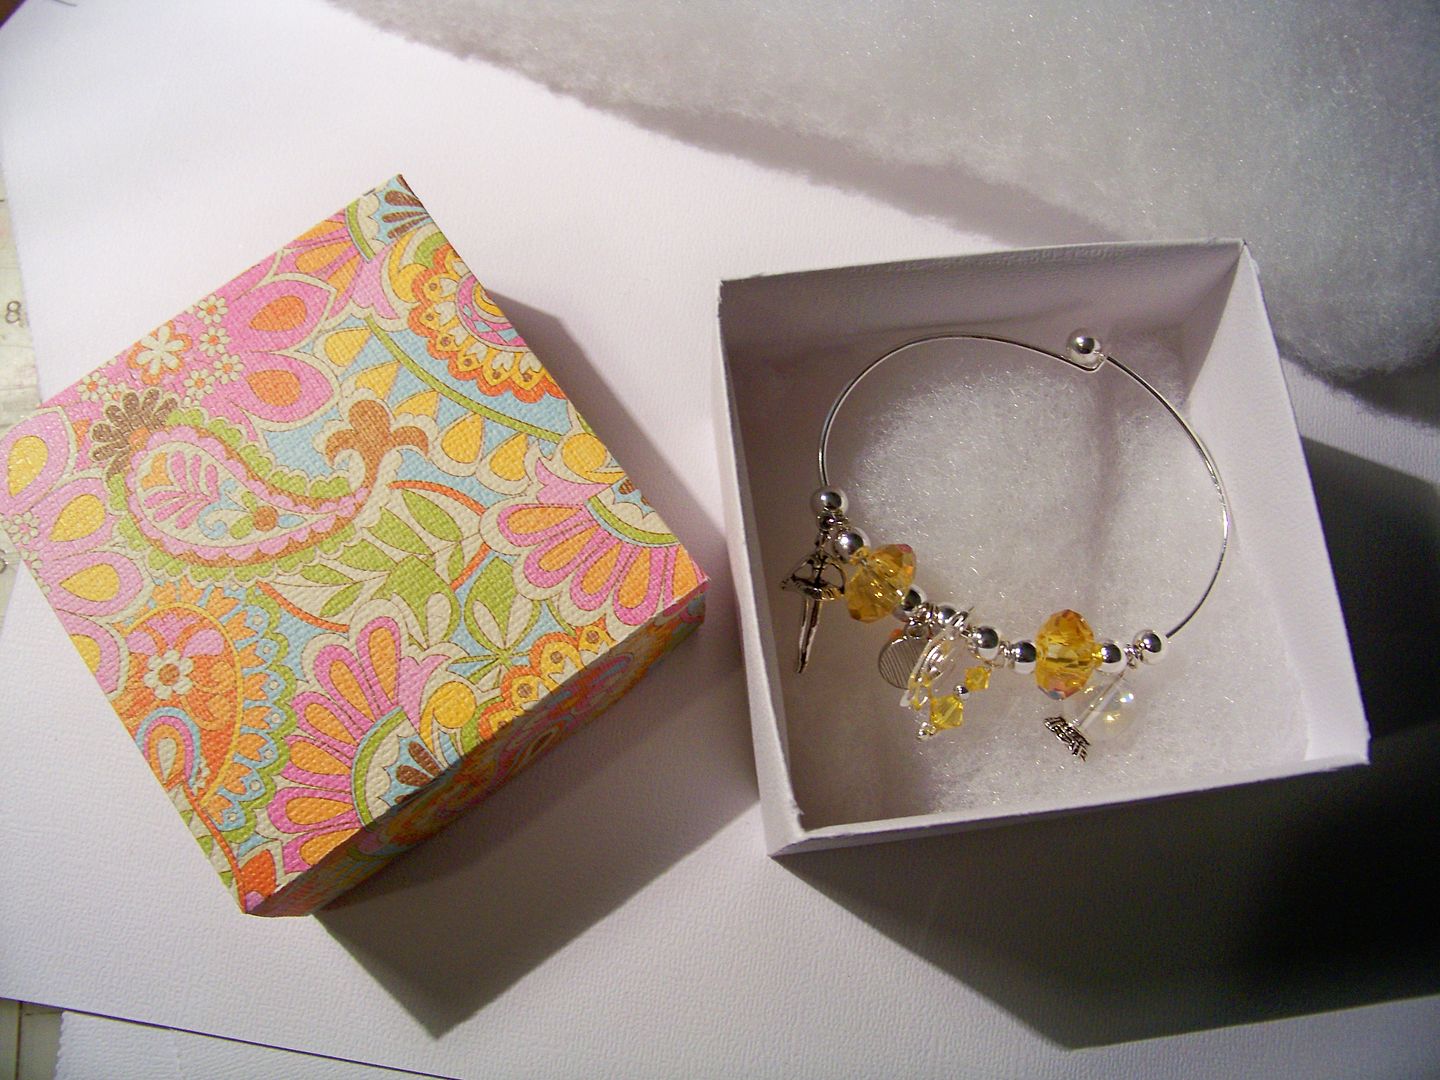
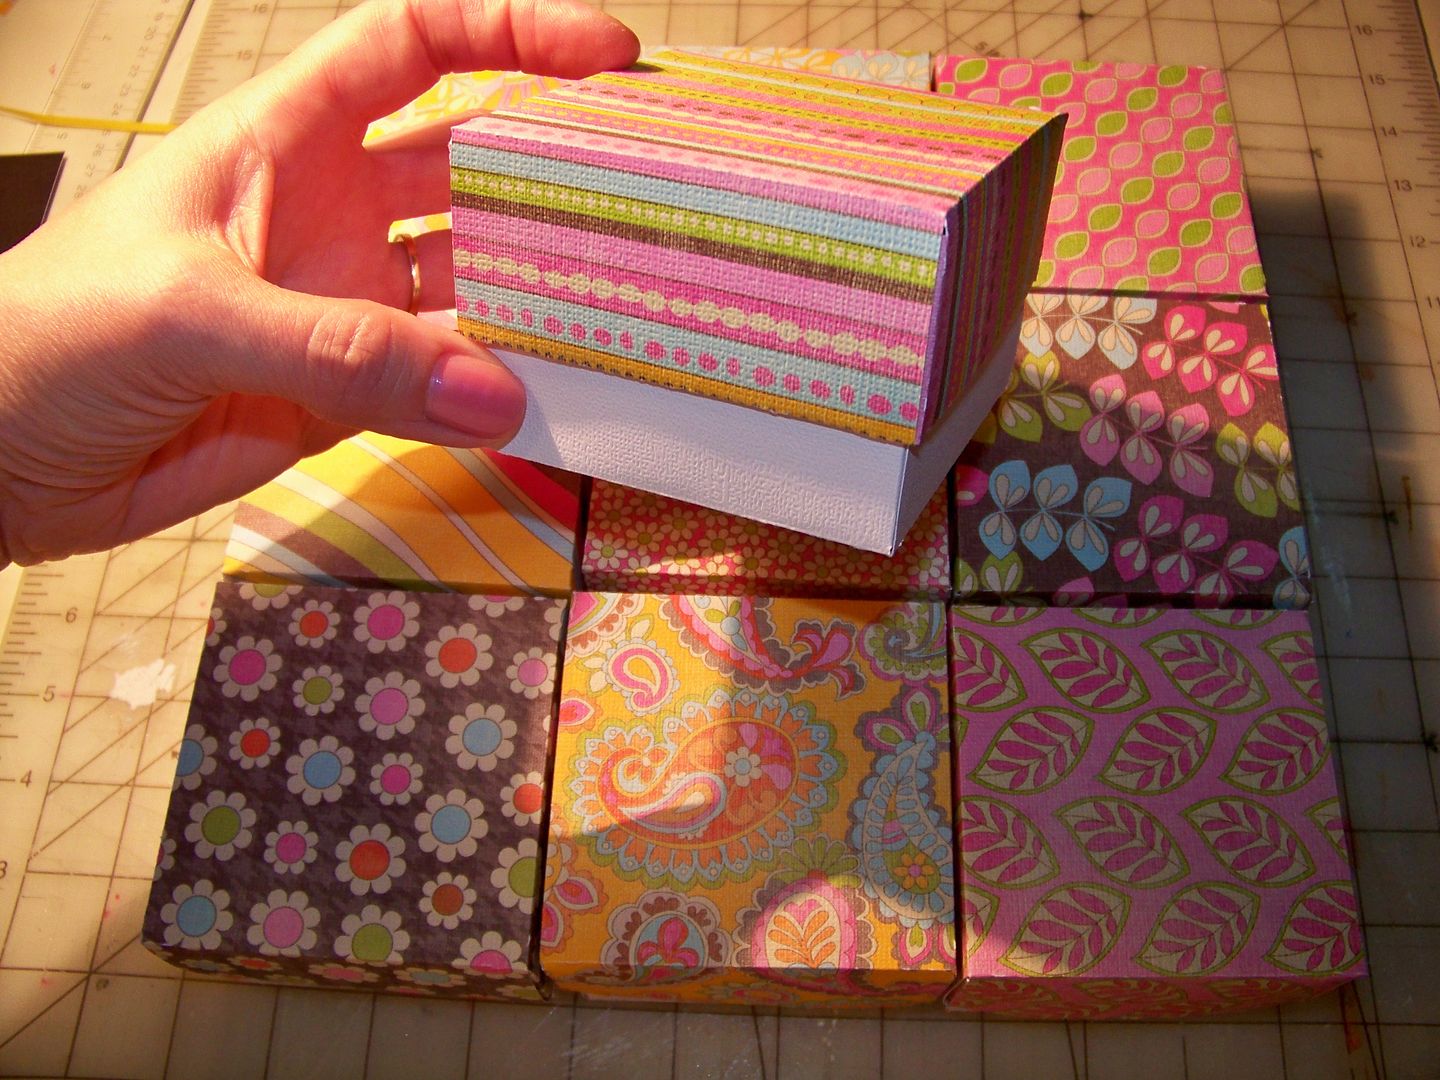
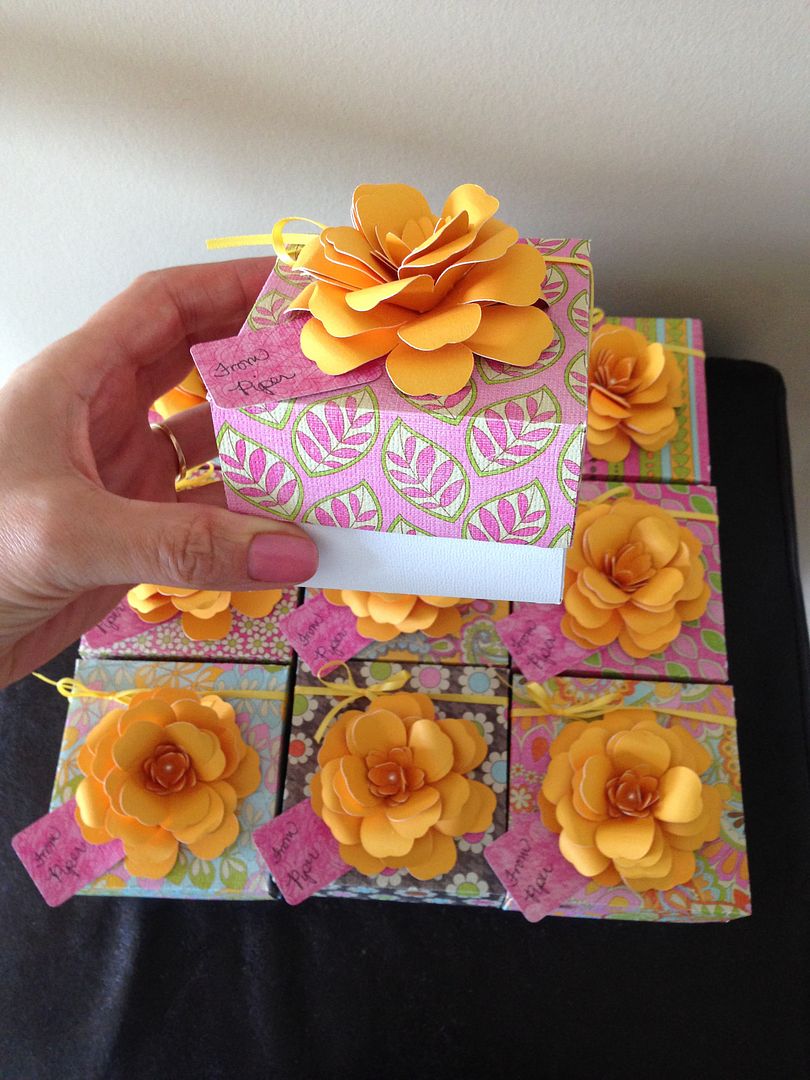
To package them, I used my favorite gift box:  the jewelry box on the Cricut cartridge, Bridal Shower (page 14).  I cut it at 11".  


I use upholstery batting (dacron) for the inside padding.  


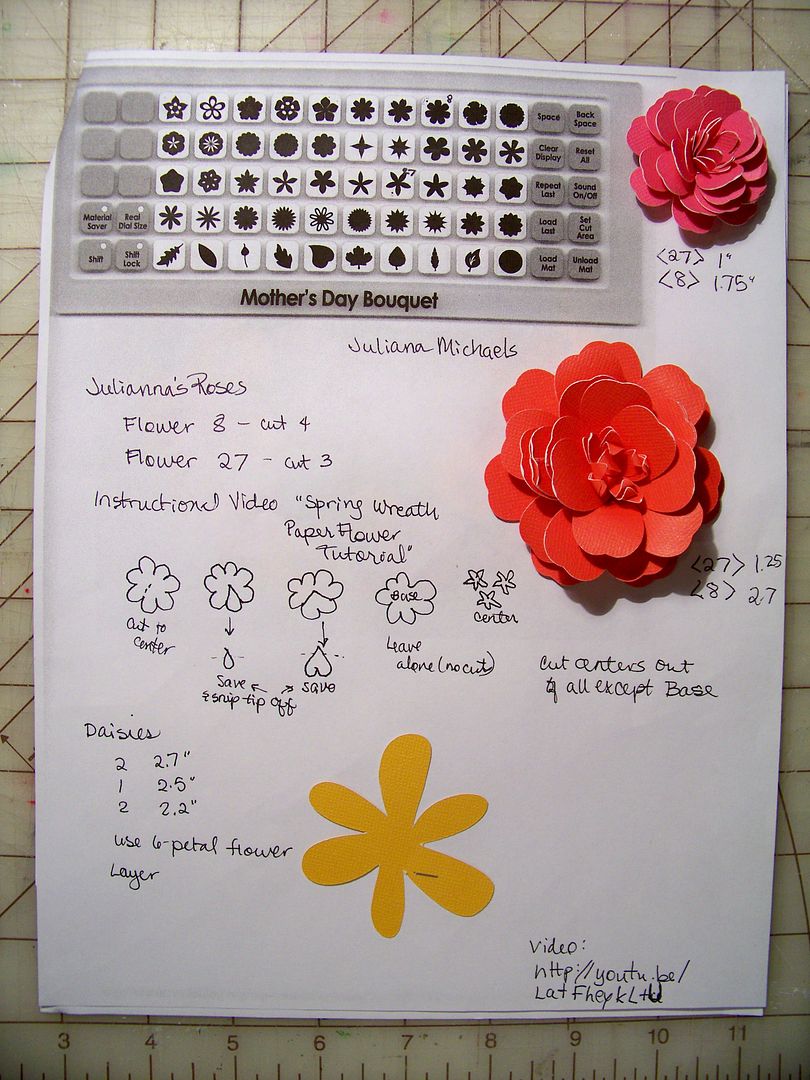
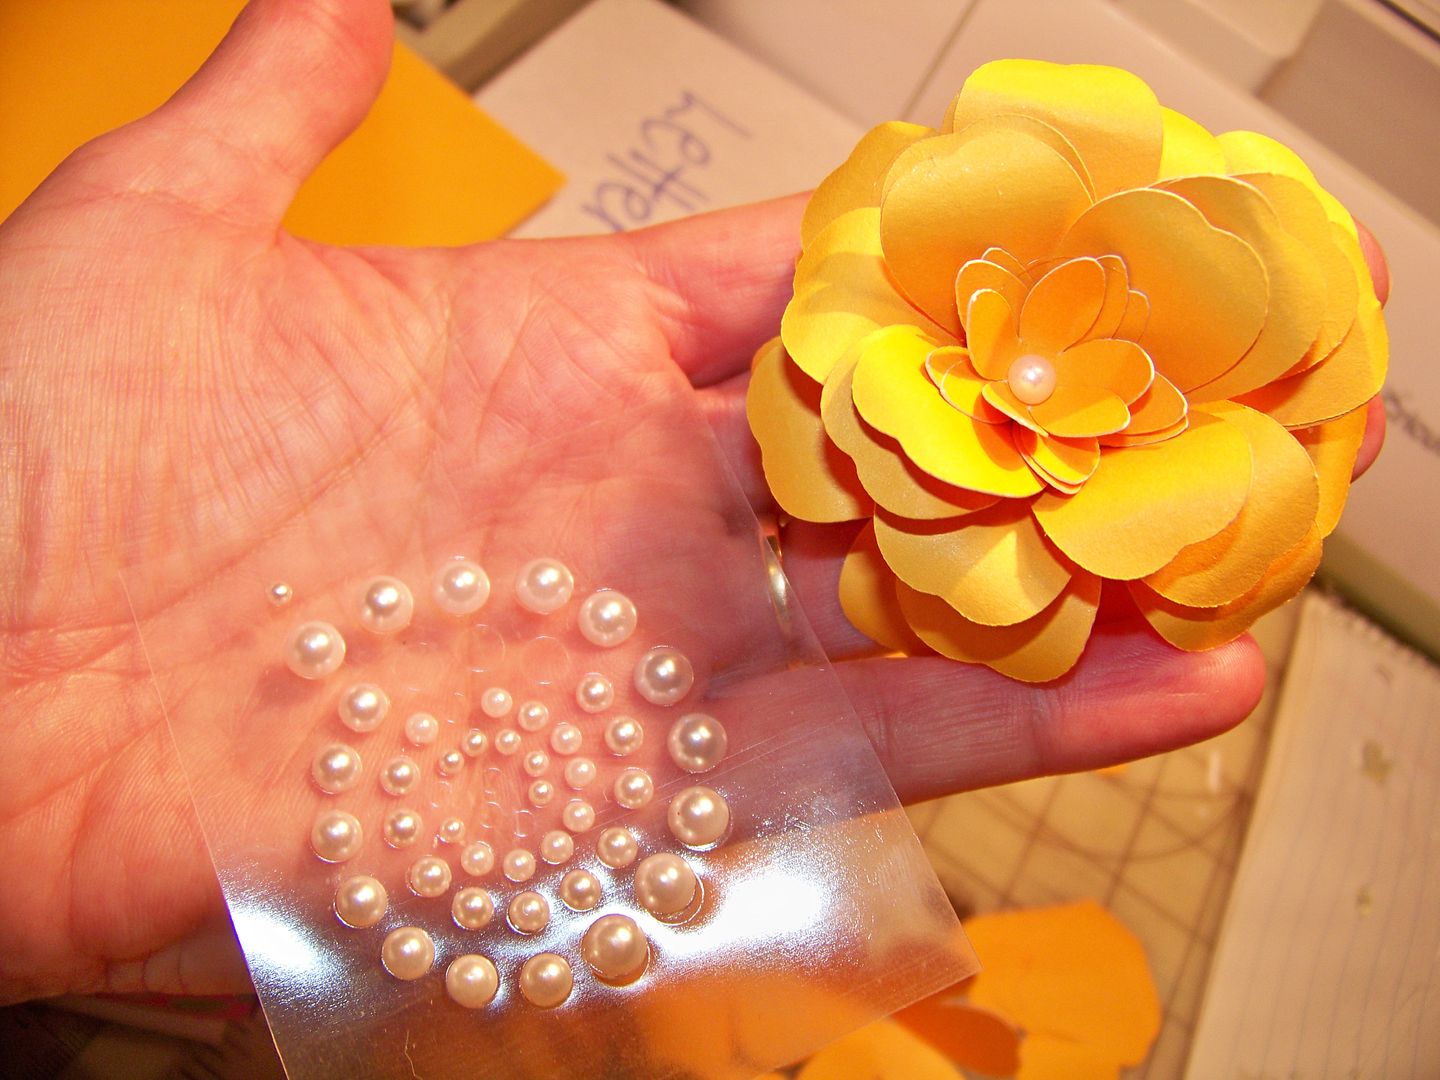
I decorated the tops with yellow roses.  I learned to make these from Juliana Michaels when she was part of the fantastic Circle Design Team.  You can find her video on how to make them here.  She uses Mother's Day Bouquet to make them.  They are fabulous!  For the sizes, I have a cheat cheat based on the sizes I make them:

I cut the ones for my boxes using key 27 cut at 1.25" and key 8 cut at 2.75".  Juliana shows how to make them on her video (link above).  

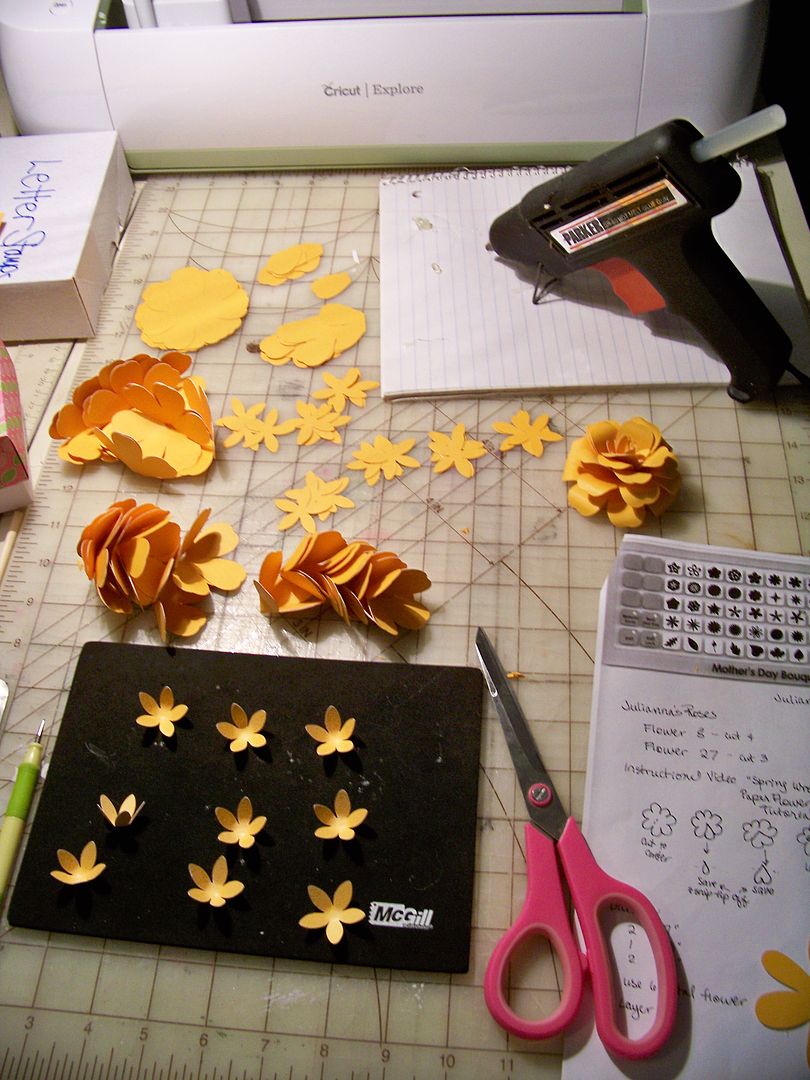
After cutting the floral pieces, I assemble them using hot glue.  The nice thing about having an Explore and an Expression is that you can cut the same thing on both machines since you can use the physical cart in the Expression and the digital version in the Explore.  For projects with lots of duplication, it really makes the cutting go fast!


Wrapped with yellow ribbon and tagged.  
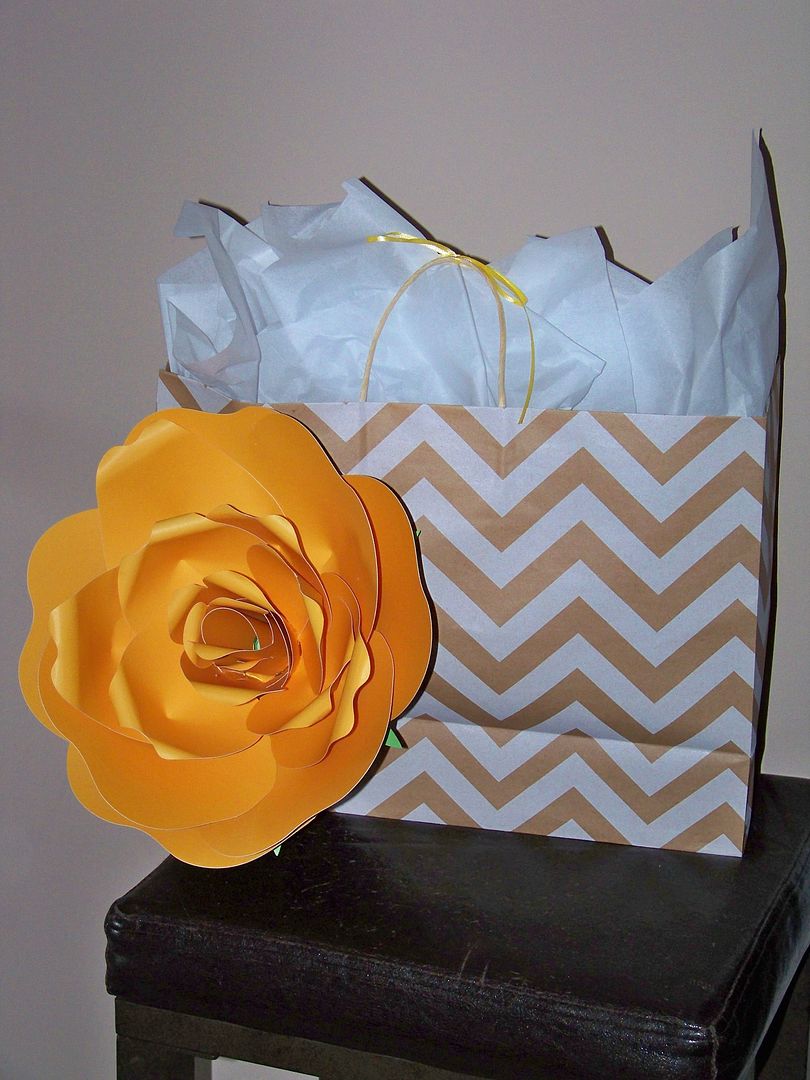
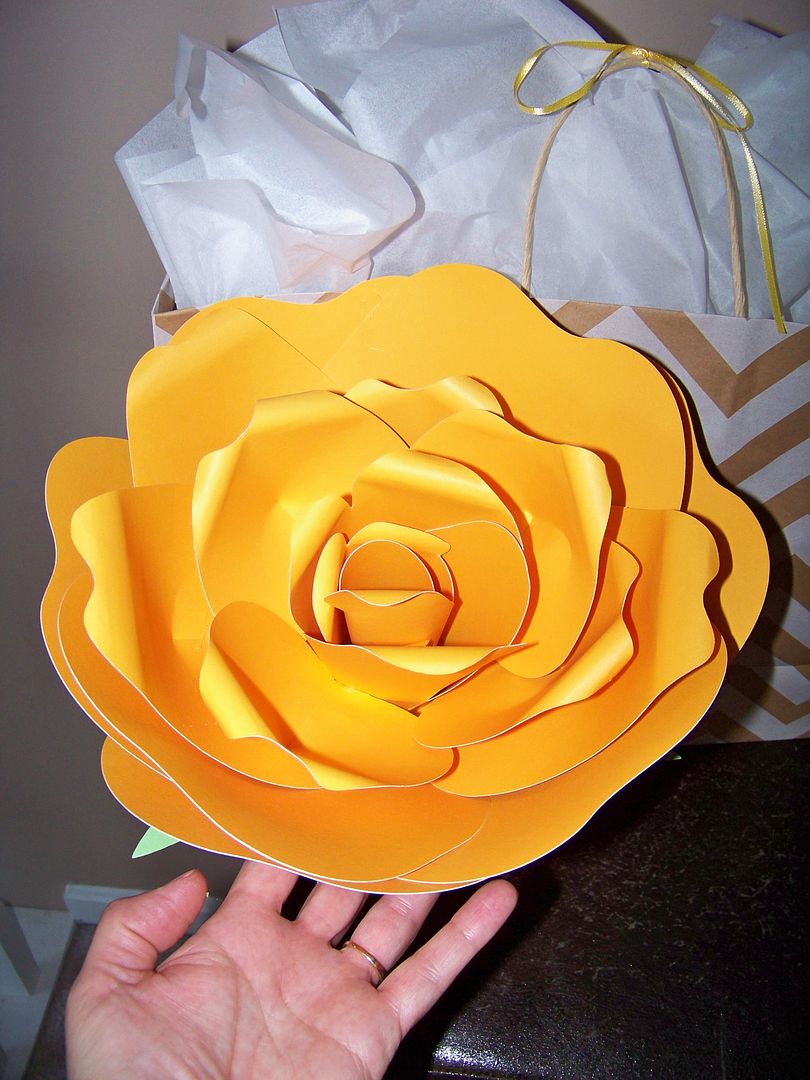
Of course my kiddo gets one of the bracelets, and all of the ballerinas receive flowers from their families on opening night, but I also get her something special.  I decorated her gift bag with another yellow rose, but I wanted to go overboard on size so I made one from the Cricut cartridge Giant Flowers, cut at 10.5"  


She kept it and put it on a shelf.  It is a fun decor piece!


They were a hit (always a relief!) and it's always fun on opening night with all the energy and excitement.  Gifts just add to the fun.  I will say that this is my daughter's fifth ballet, but the first one where she smiled during all of her performances.  She really looked like she was having fun.  

Thank you so much for letting me share my project and photos of my kiddo!  

But wait!  There's more! On a totally unrelated note, I wanted to give a big shout-out to my friend, Danita, and suggest you go look at her blog.  She has been ramping-up glass etching and she doesn't use etching cream.  She does what she calls "Air Erasing" and I was so impressed (and scared) that I think you need to see this!  She always does great work and has made several blog posts of her projects, but this time, she shows us a tutorial and all of her tricks!  Check it out:  Danita's Designs.  And if you need a little more of a nudge, she says that it is easy, cheaper after the initial set-up, and you get a much nicer effect than by using etching cream on your glass items!  True, high quality etched glass items that look like high-end boutique gifts!!  Ooooo...maybe next year's ballet will feature etched glass pendants!  I'll be driving to Danita's house for help with those!


Thursday, February 6, 2014

Owl Band With You, Valentine!


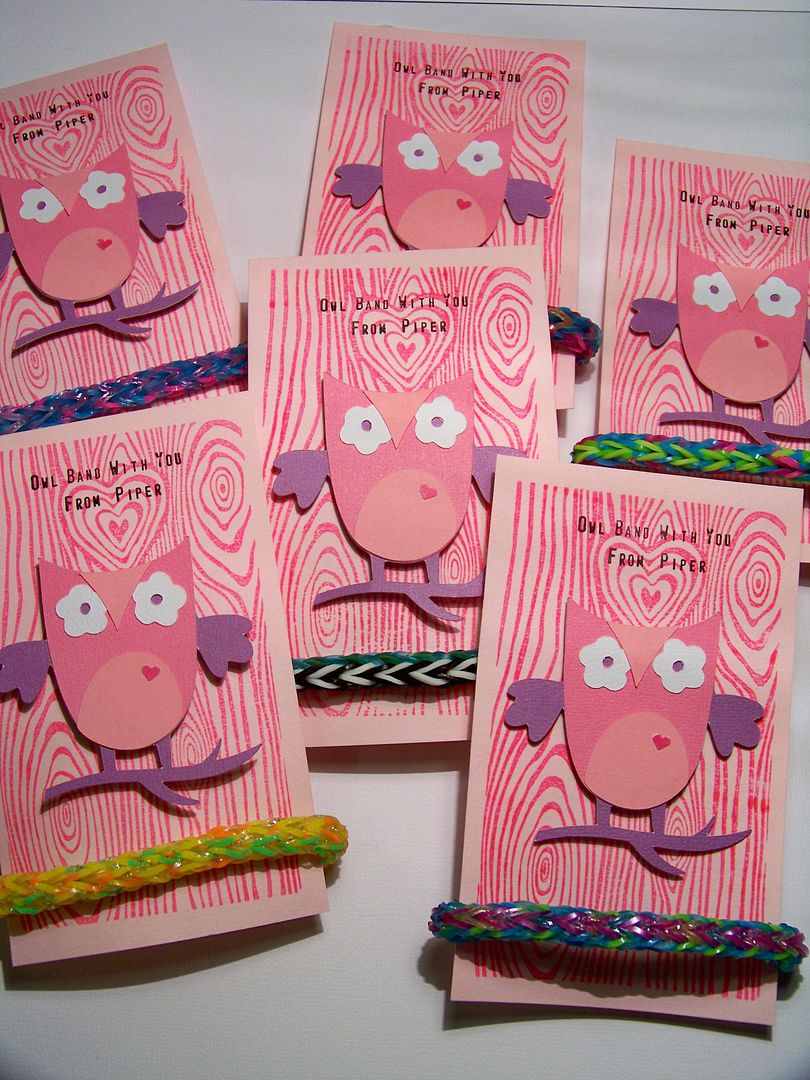
My kiddo and I took advantage of the recent snow days to create her class valentines.  She wanted to make Rainbow Loom bracelets for the 'treat' part of the valentine so that became our theme.

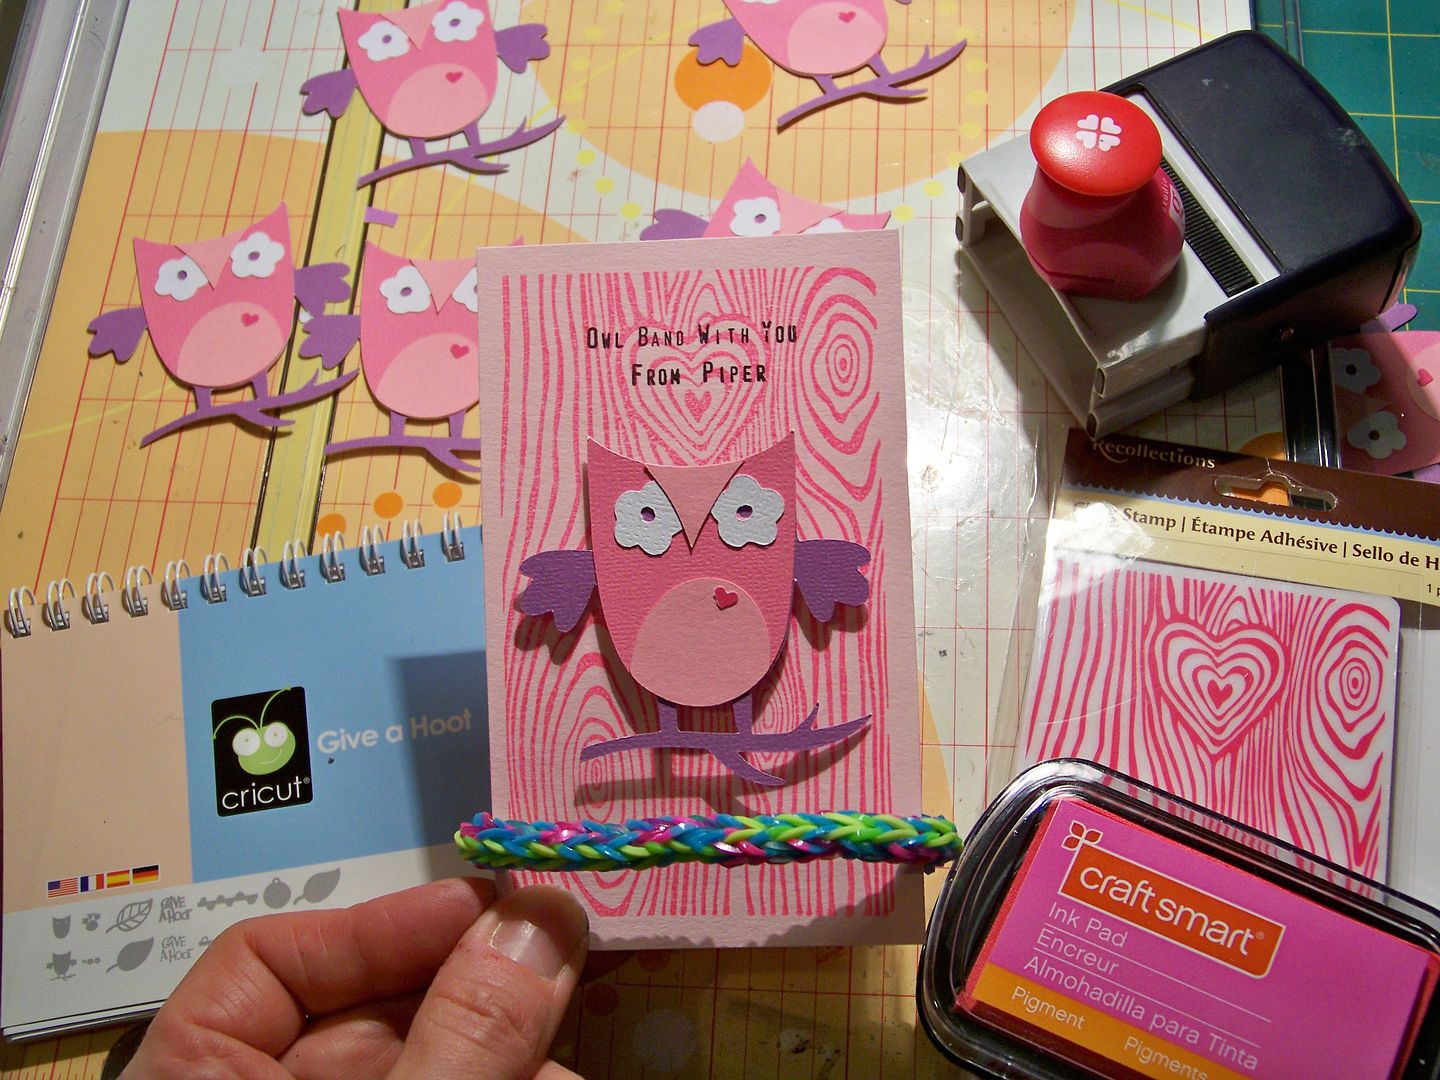
We learned to make these bracelets by watching a video found on the Loom Love blog (click here to see it).  It says "challenging" but is is not-- I promise! (It is the first bracelet I learned to make, in fact, after my daughter got her Rainbow Loom!)  She banded until 7" of rope formed (usually she makes bracelets 6" but these are stiff and structured so 7" fit my almost-ten-year-old perfectly).


I found a few different Valentine ideas on Pinterest that used the "band with you" text, but we wanted a cute theme too... so we went with a little pink owl image...and we got a little silly with the play on words.  I think that's a rule on Valentines, right?


To make the Valentines, we cut cardstock to 3" x 5" and stamped with a fabulous little Recollections faux bois stamp.  (I fell in love with this stamp!)  The owl is from Cricut cartridge Give a Hoot, page 28, cut at 2-1/2".  I used a teeny tiny Studio G punch for the micro heart on the owl.  I used a 'make your own stamp' kit that I found at Walmart for that campy font.  The benefit of using a stamp for the text over just printing it using a computer is that it is easy for kids to do it quickly.  We added letters to spell out:

Owl Band With You
From Piper

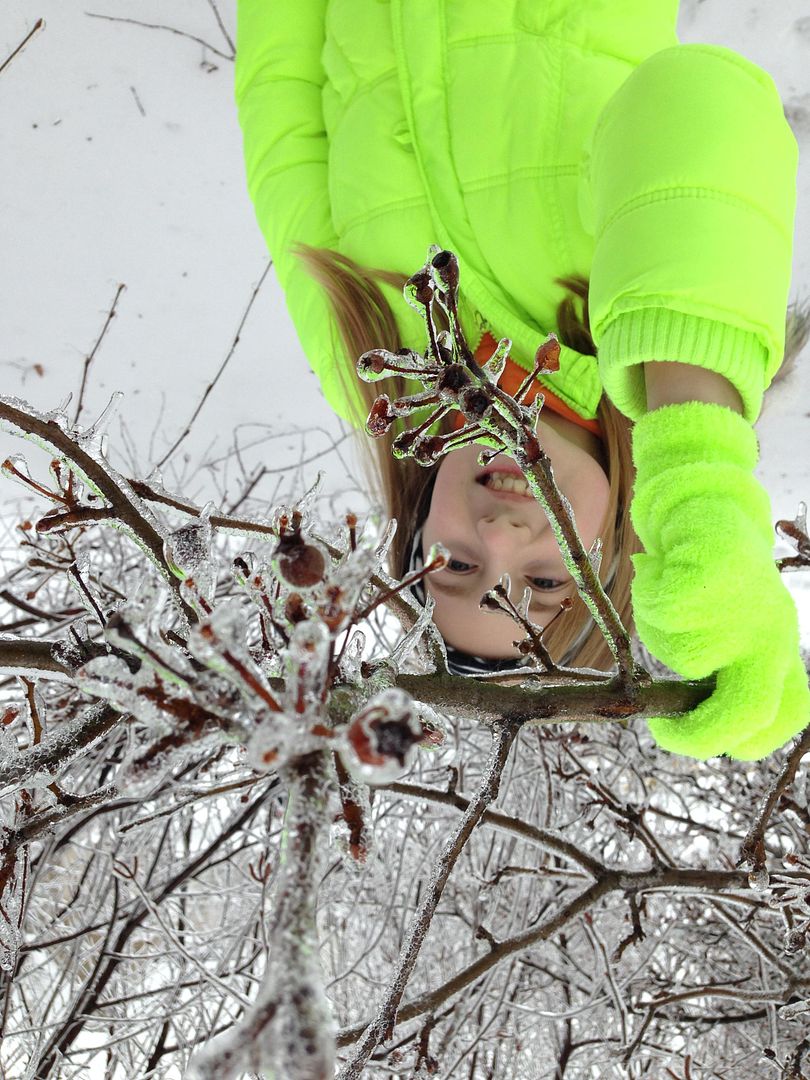
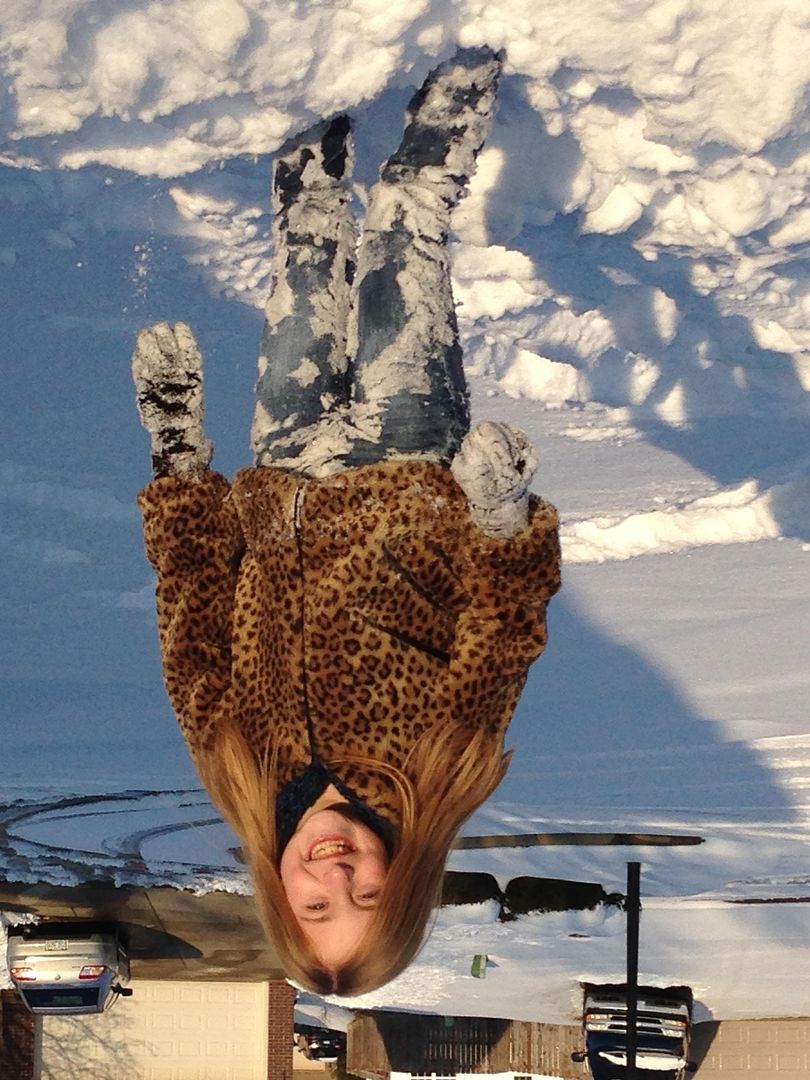
We are making the best of this super-long winter by crafting, spending time together, and taking lots of wintery pictures.  I know we will appreciate them more when it is a scorching July day though!  


Hoping you are safe and warm wherever you are!  Thanks for checking out my post today!

Sunday, December 8, 2013

My Kiddo and Her Ornament Gifts... and a Tutorial from Piper to You!


My daughter, Piper, is nine this Christmas and, for the first time really, she expressed concern that she wanted to give everyone something nice for Christmas but couldn't afford to do so.  When she was little, she was known to draw pictures to give away to her grandparents and cousins, but this year, she was a little upset that she had spent her summer earnings and didn't know how to come up with real gifts that were special and just from her.

The obvious solution to any crafter is to make gifts, so I showed her how to make glitter globe ornaments.  Heck, I have been storing tons of clear, glass ornaments since I bought them 70% off at Michael's a couple of years ago.  I welcomed a way to move those out of my crafty space!  If you have never made these with your kids, I will tell you it is a great project.  No drying time for the glitter since the mess is inside and, if you have a Cricut and Sweet Tooth Boxes, you also have the perfect way to protect and wrap them!
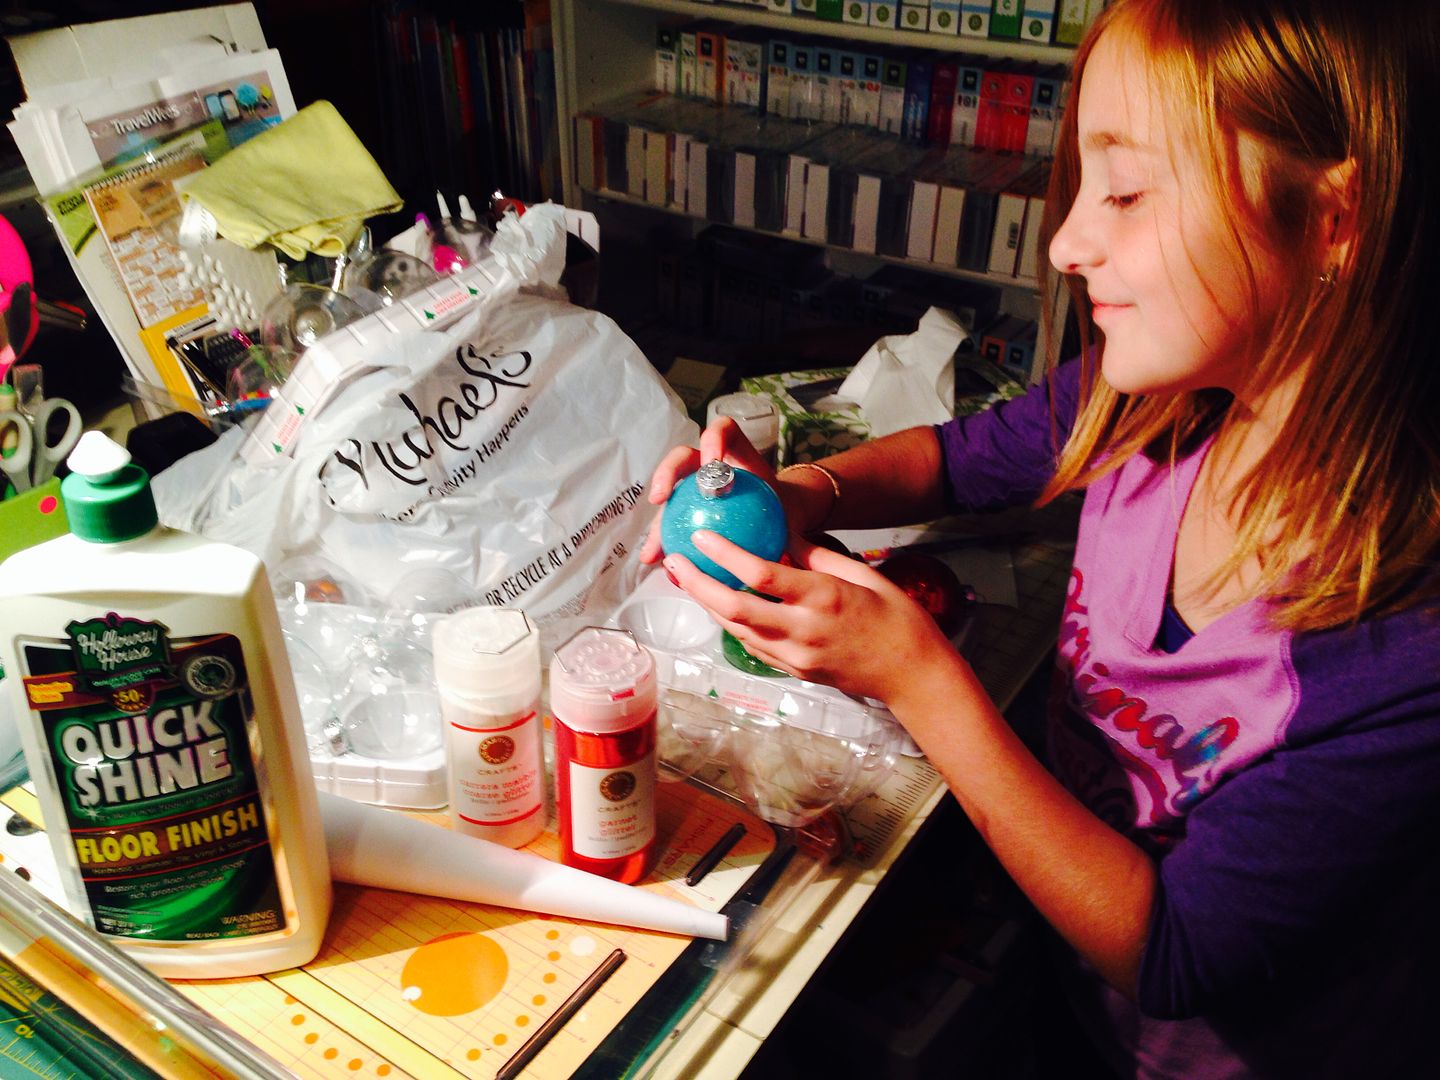

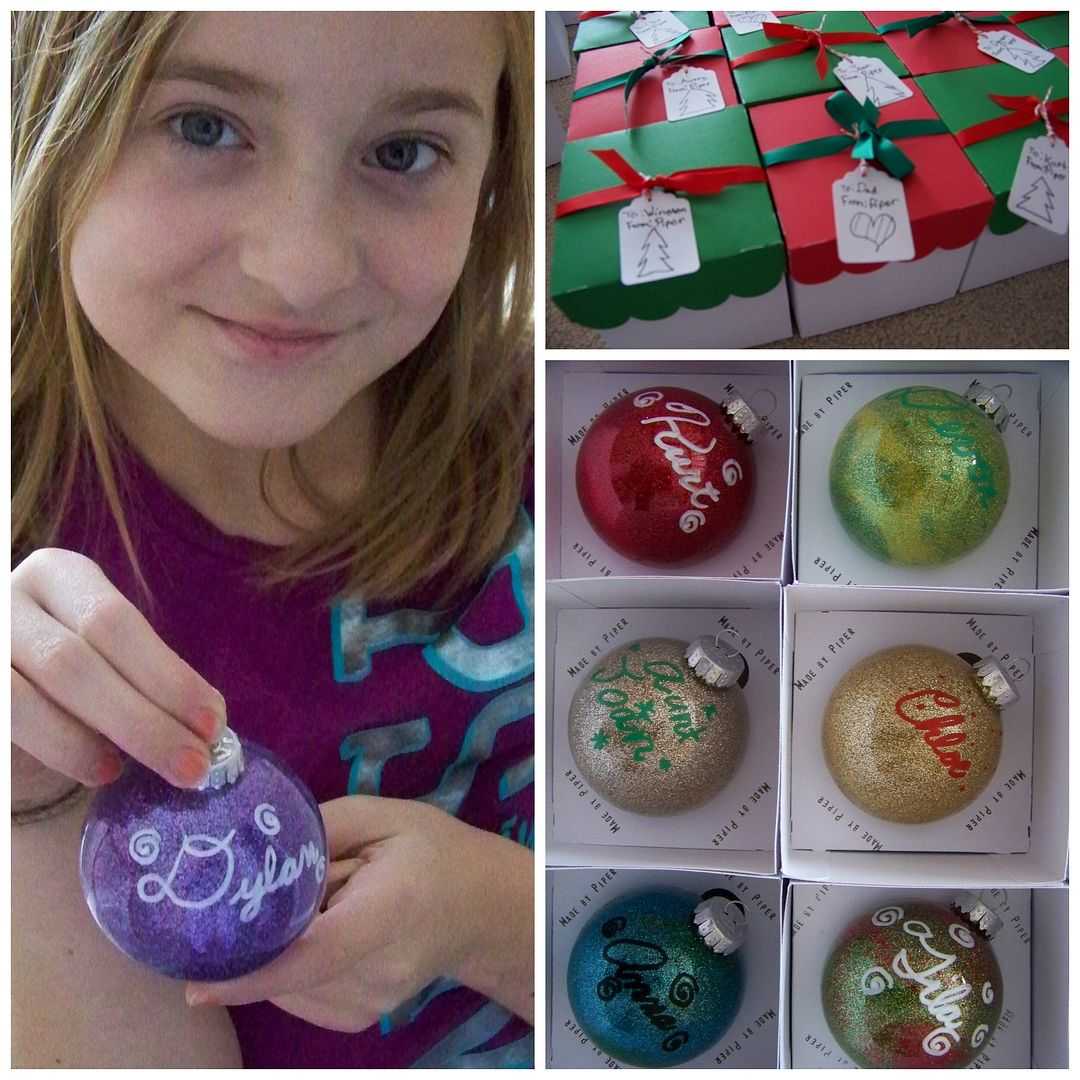
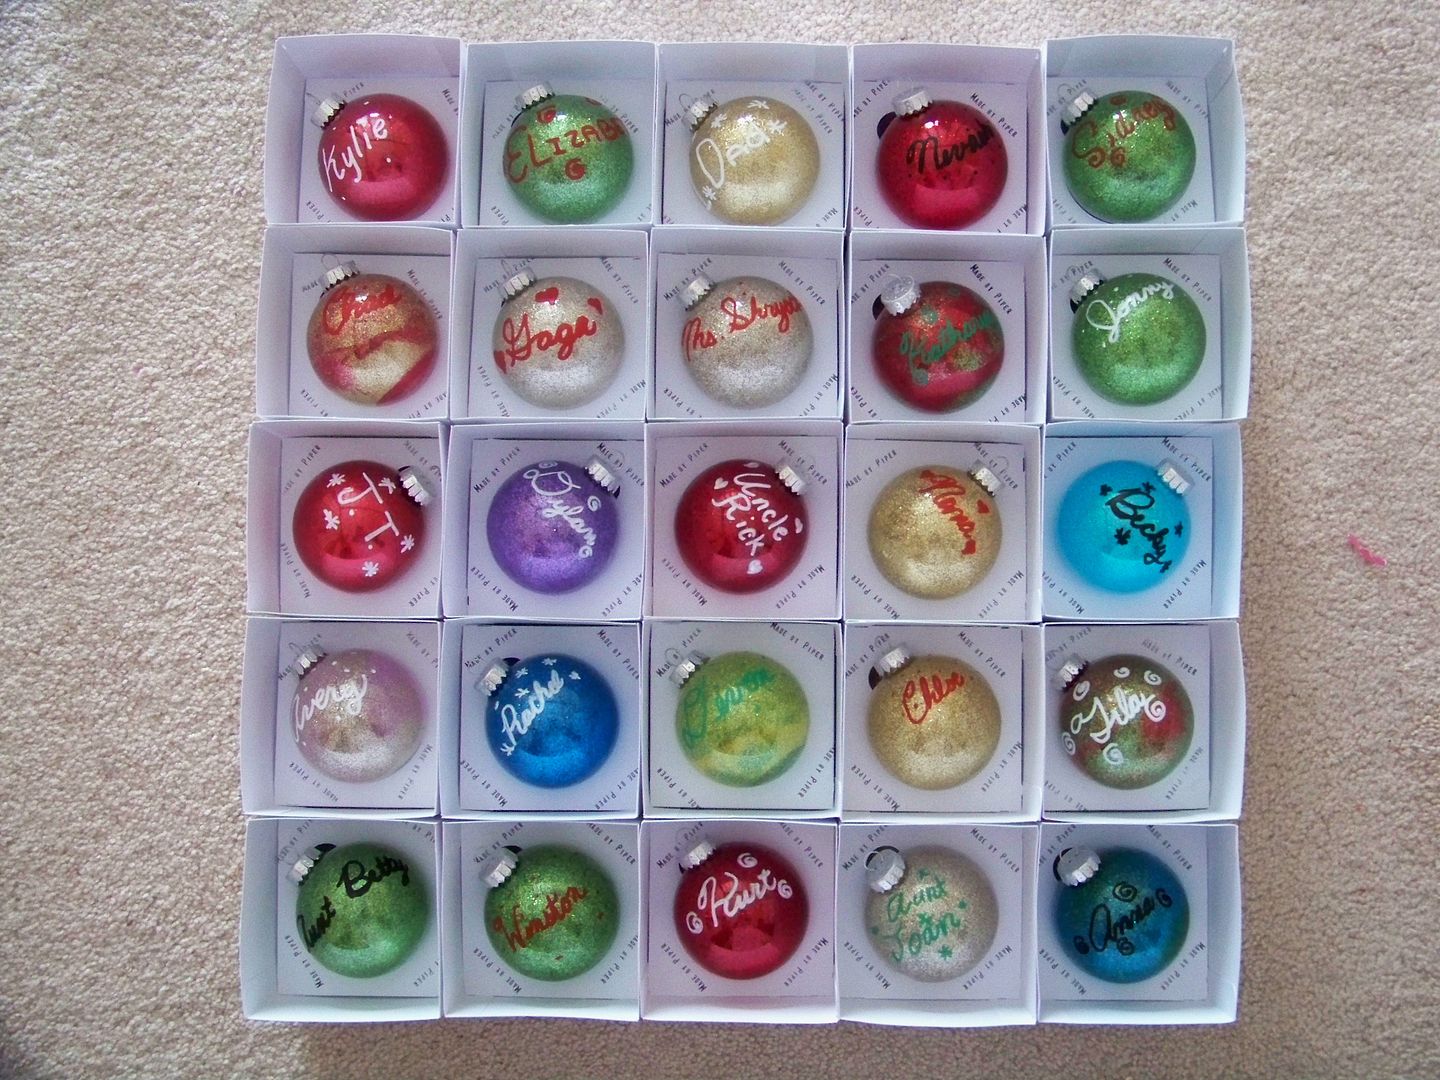
The funny thing is that last year, her teacher tried to do this craft with the class but missed the detail about the glitter going INSIDE the glass globe.  It was a dangerous mess with elementary school students trying to apply Elmer's glue, glitter, and stickers to the outside of fragile glass. Bloody, cut hands, broken ornaments, and not one successful ornament in a class of 12.  (There were several crafty moms available last year; still not sure why none of us was called to help!)  Piper was thrilled to learn the correct way to do this project and we both thought they really looked special!  She personalized them with paint pens and (with a little mom-help) made boxes to present them in.

She was pretty proud of herself!  She just finished the last of them today. She told me, after the experience with her class last year, that she should present a tutorial on the correct way to do this... (Honestly, that cracked me up and really emphasized what a disaster it was with her poor teacher last year!)

Piper's Ornament Tutorial


You will need:

  • Clear, glass ornaments.  You don't want the plastic kind that pull apart in halves; you need continuous glass globes with metal tops that pull off.
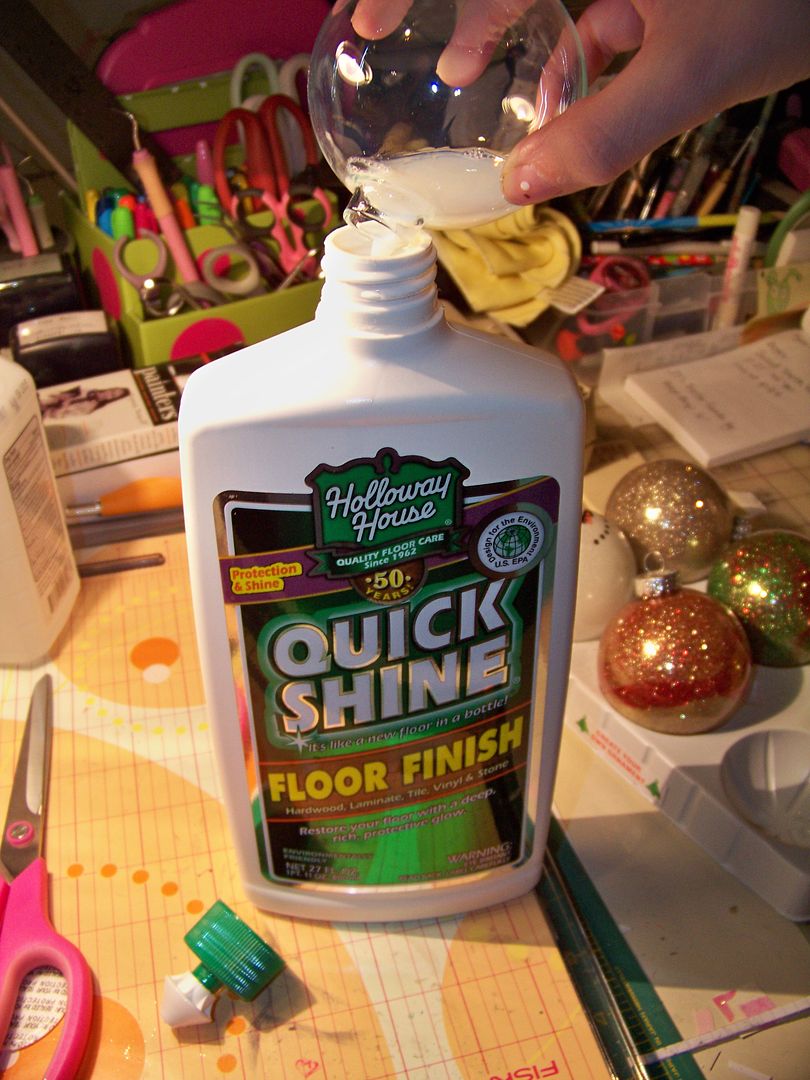
  • Floor wax (I found Holloway House Quick Shine Floor Finish at Walmart).
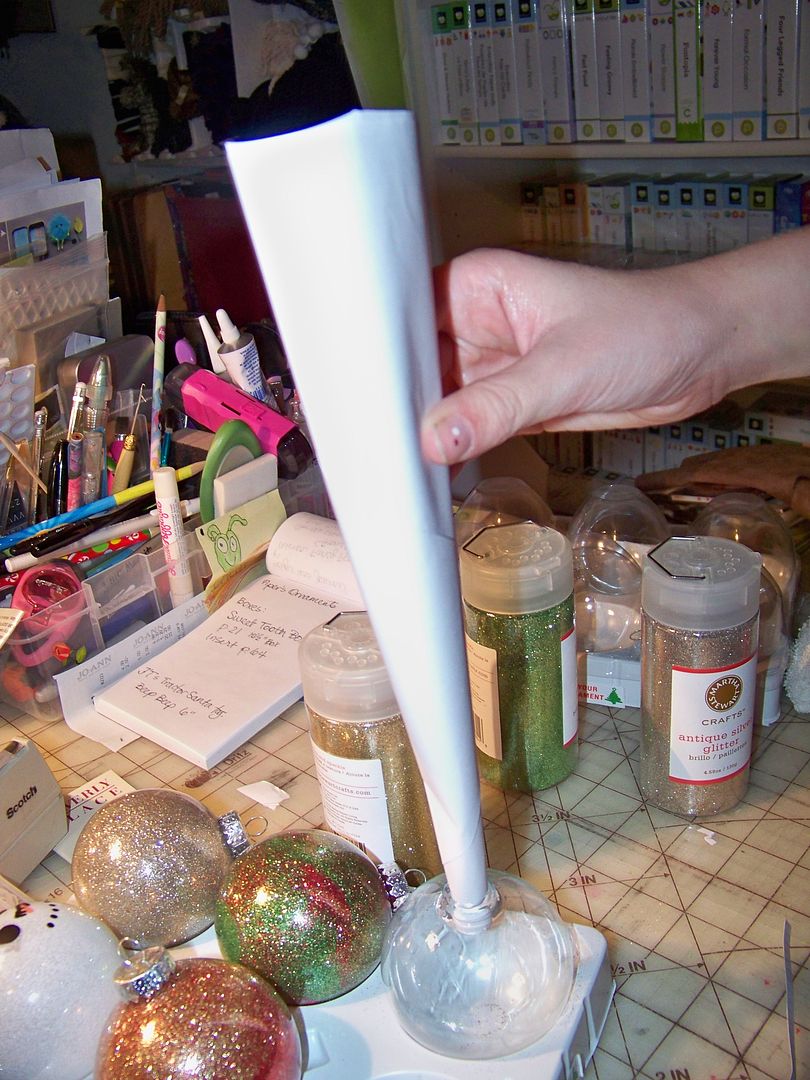
  • Funnel (we made a paper one) to help the glitter neatly get inside the globes.
  • Glitter (I keep Martha Stewart glitter on hand, but any kind of fine or super-fine glitter will work.  We also found that darker colors and highly reflective or metallics work best for complete coverage.)
  • Isopropyl Alcohol (rubbing alcohol) and paper towels.
  • Damp rag for sticky fingers and floor wax drips.
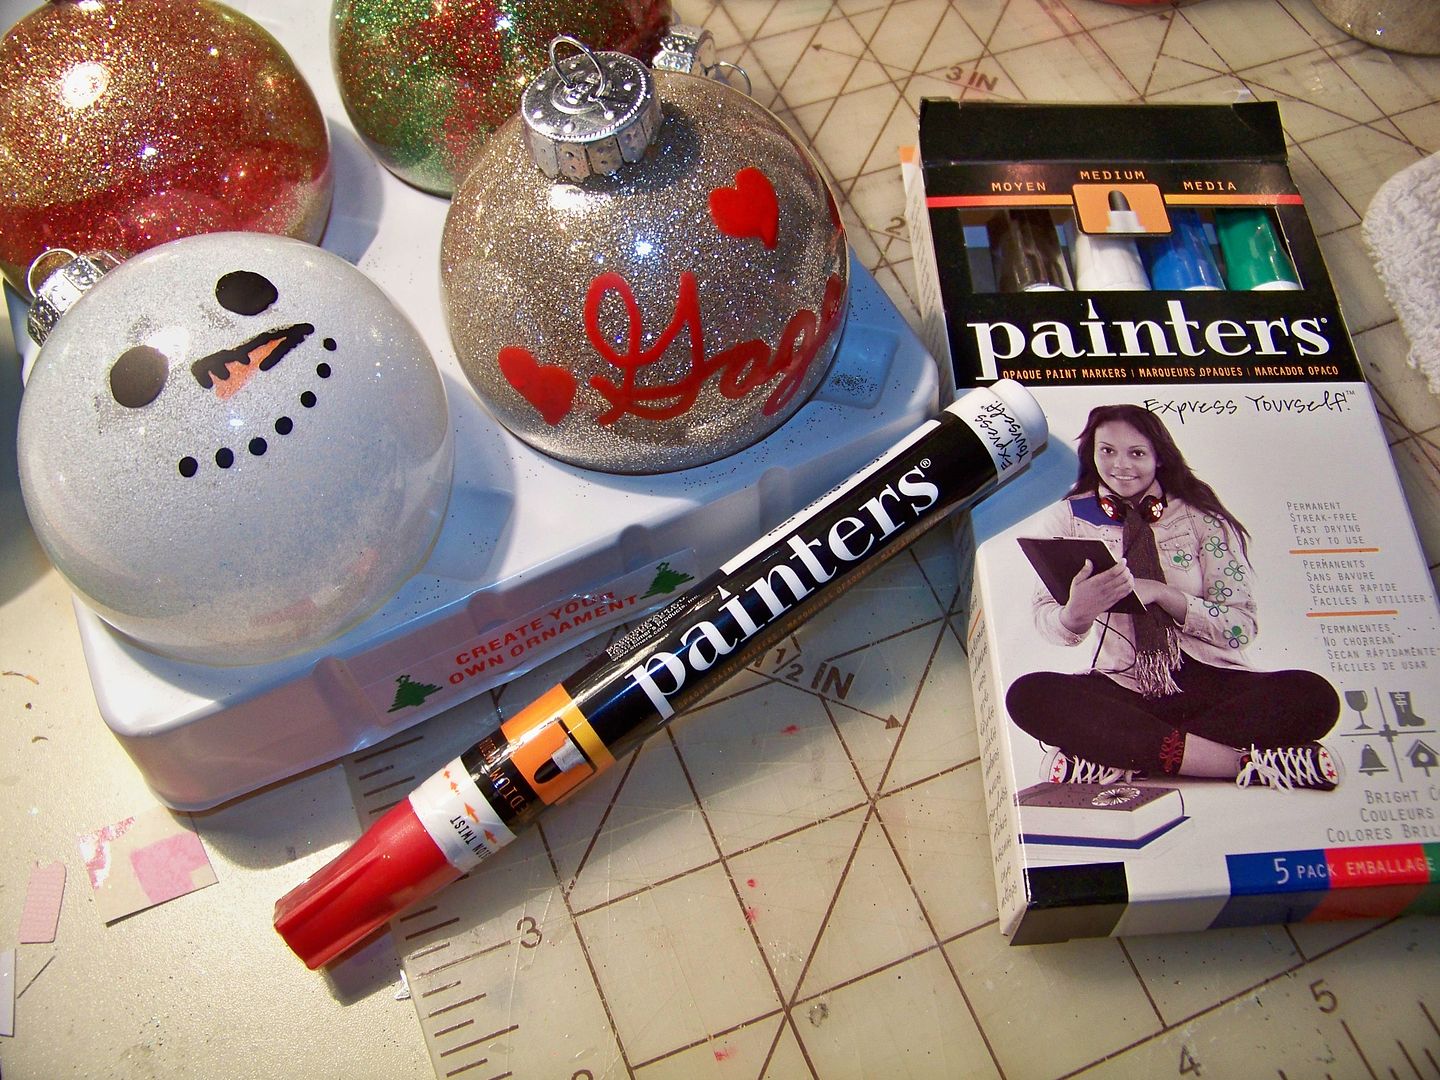
  • Painters Opaque Paint Markers (I found these at Walmart.  They are made for writing on glass and were about $10 for a pack that included white, black, blue, red, and green.  These made it possible for Piper to personalize the ornaments super fast and mistakes can be wiped off easily when wet or rubbed off with alcohol if dry).
  • Sweet Tooth Boxes, card stock and ribbon for wrapping.  We used a punch to make the tags.
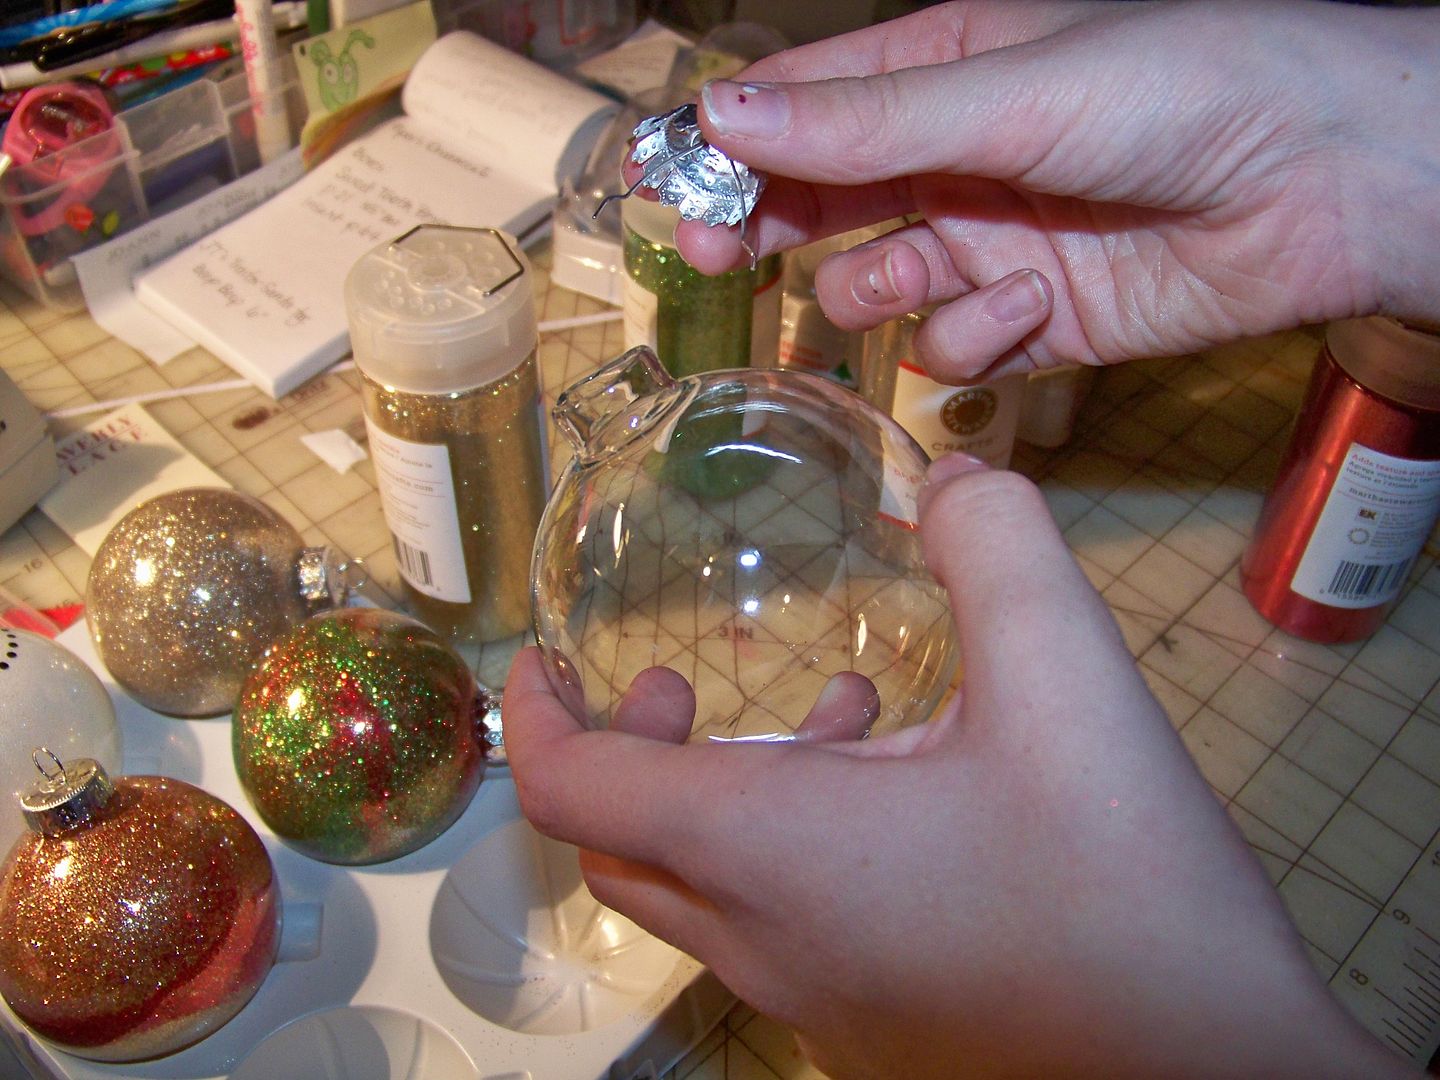
Pull the tops off your glass ornaments.  


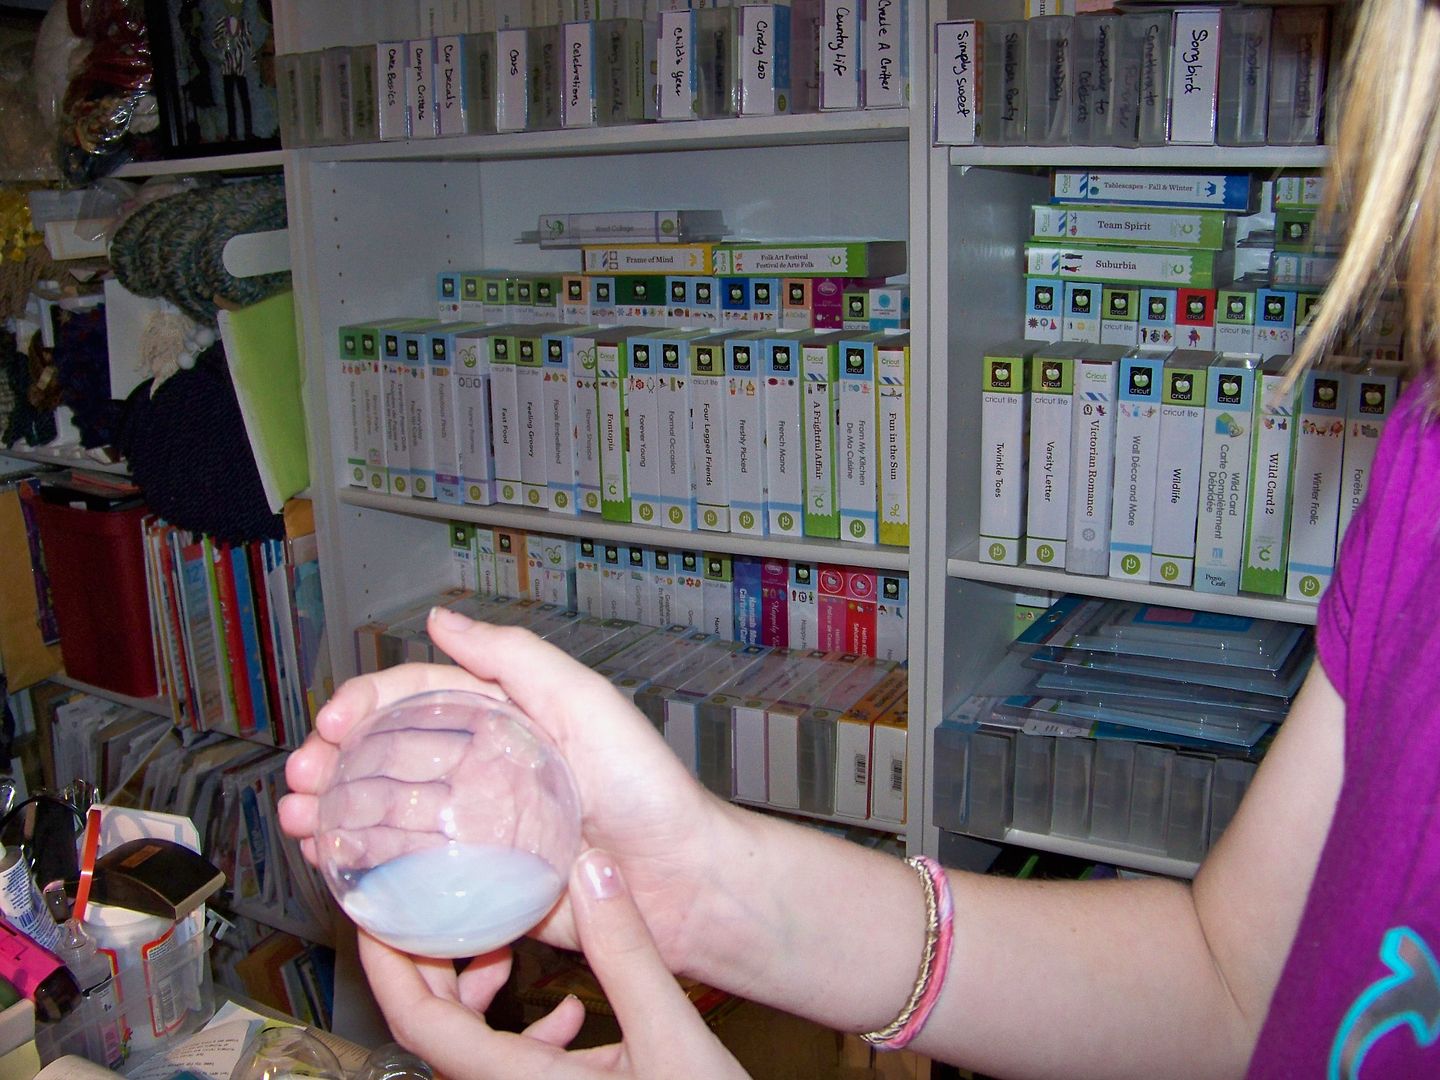
Pour in a little floor wax and swish it inside gently (to prevent bubbles from forming), covering the hole with your hand.


Pour the excess floor wax back in the bottle.


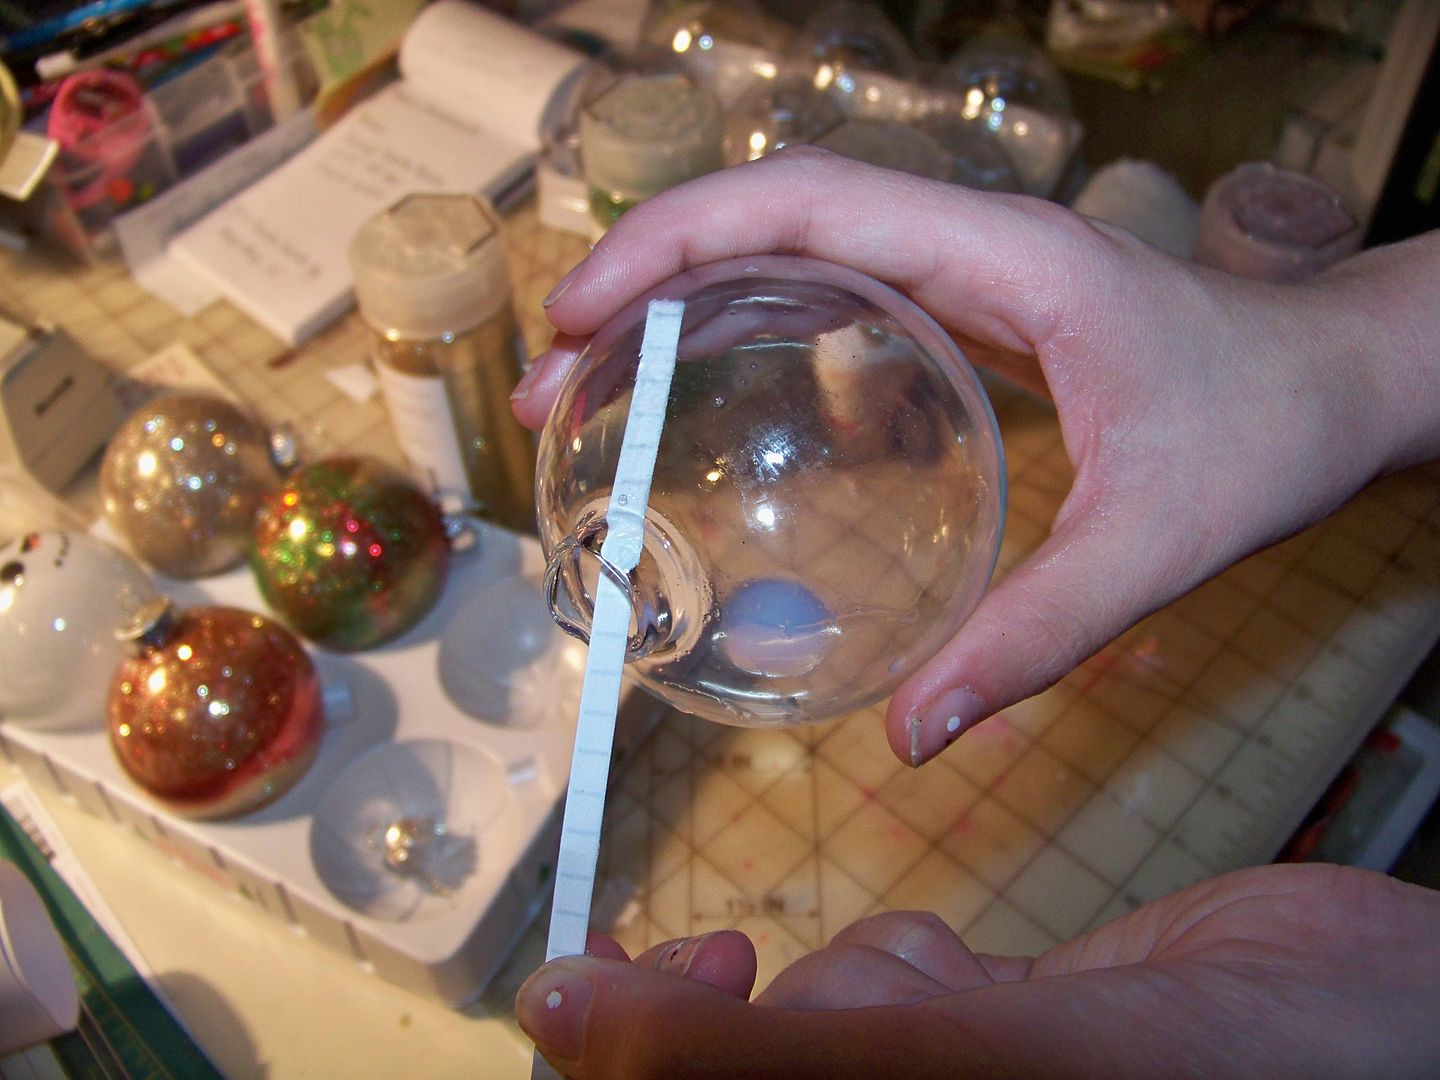
If you created bubbles, you can stick a skinny piece of paper in the hole to pop them.


Using a funnel, pour glitter in the ornaments.


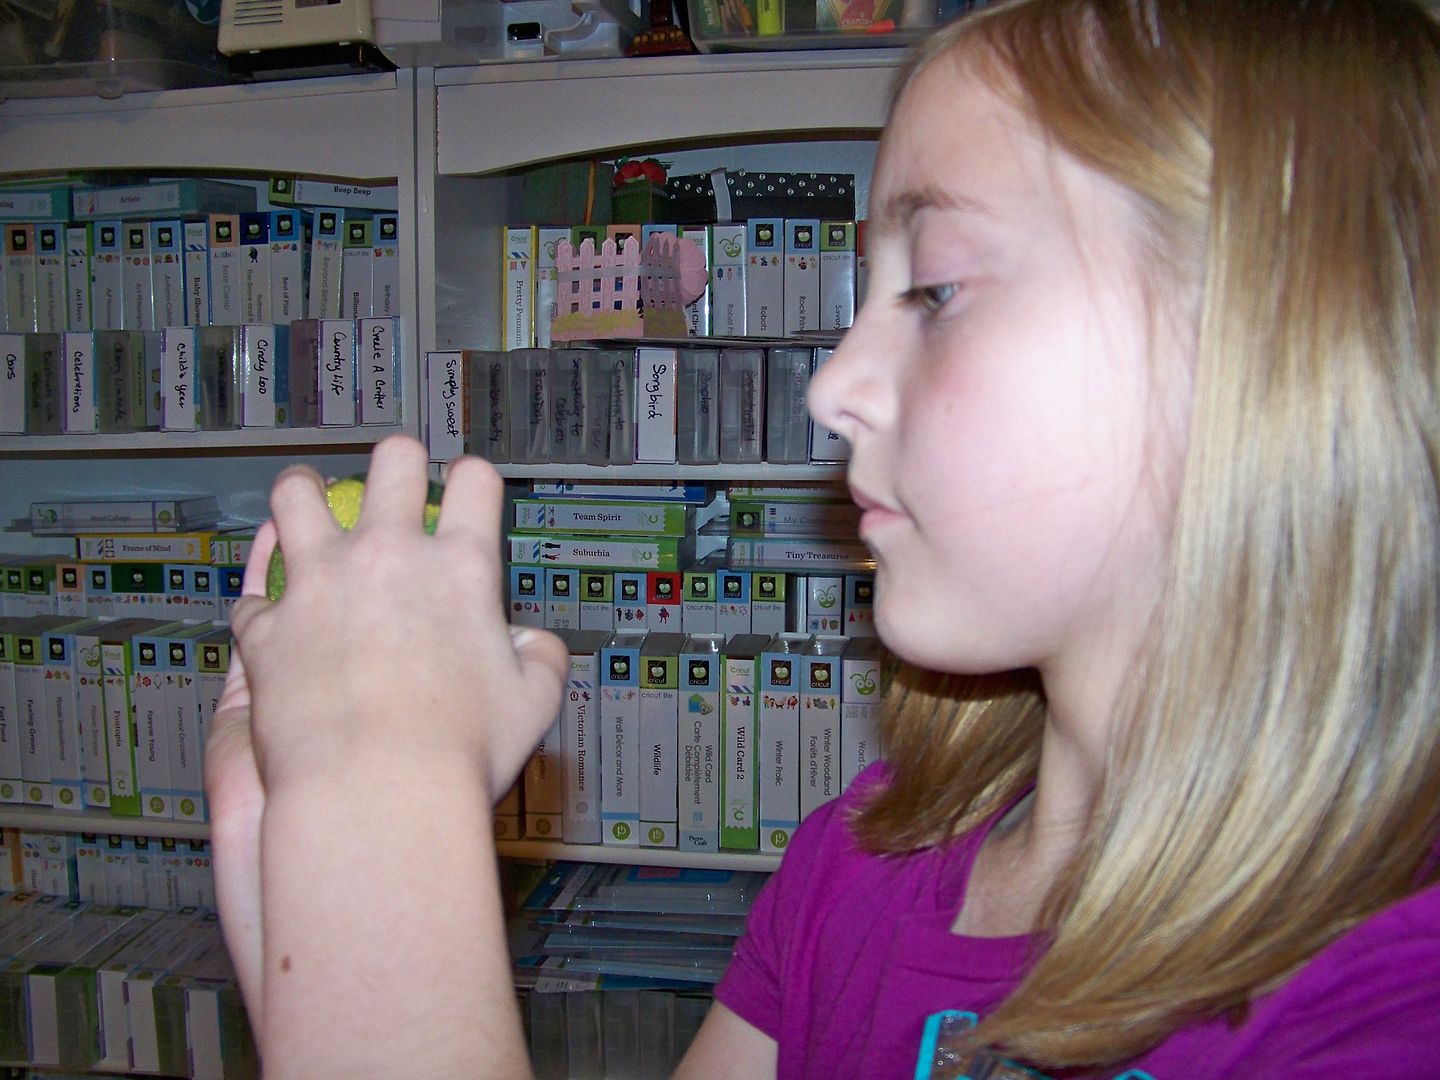
Use your hand to cover the hole.  Turn the glitter in the globe to coat the entire inside.


If you mix multiple colors of glitter, dump excess in the trash, otherwise you can reclaim any excess glitter back in the bottles.  Resist the urge to keep the glitter in the globes.  If you do, Piper says you will get the nickname Glitter Bomber.  Just so you know!


Put the tops on the ornaments.  Clean the outside of the ornaments with rubbing alcohol and paper towels to remove oils from your fingers and any glitter or wax.  This step will ensure that your paint from the paint markers will adhere.  If you miss a spot and the paint seems to act like it is over a resist, simply wipe it off and clean the glass with the alcohol again.  (Piper says, you know, do a better job of it this time... not that we had that problem or anything.)


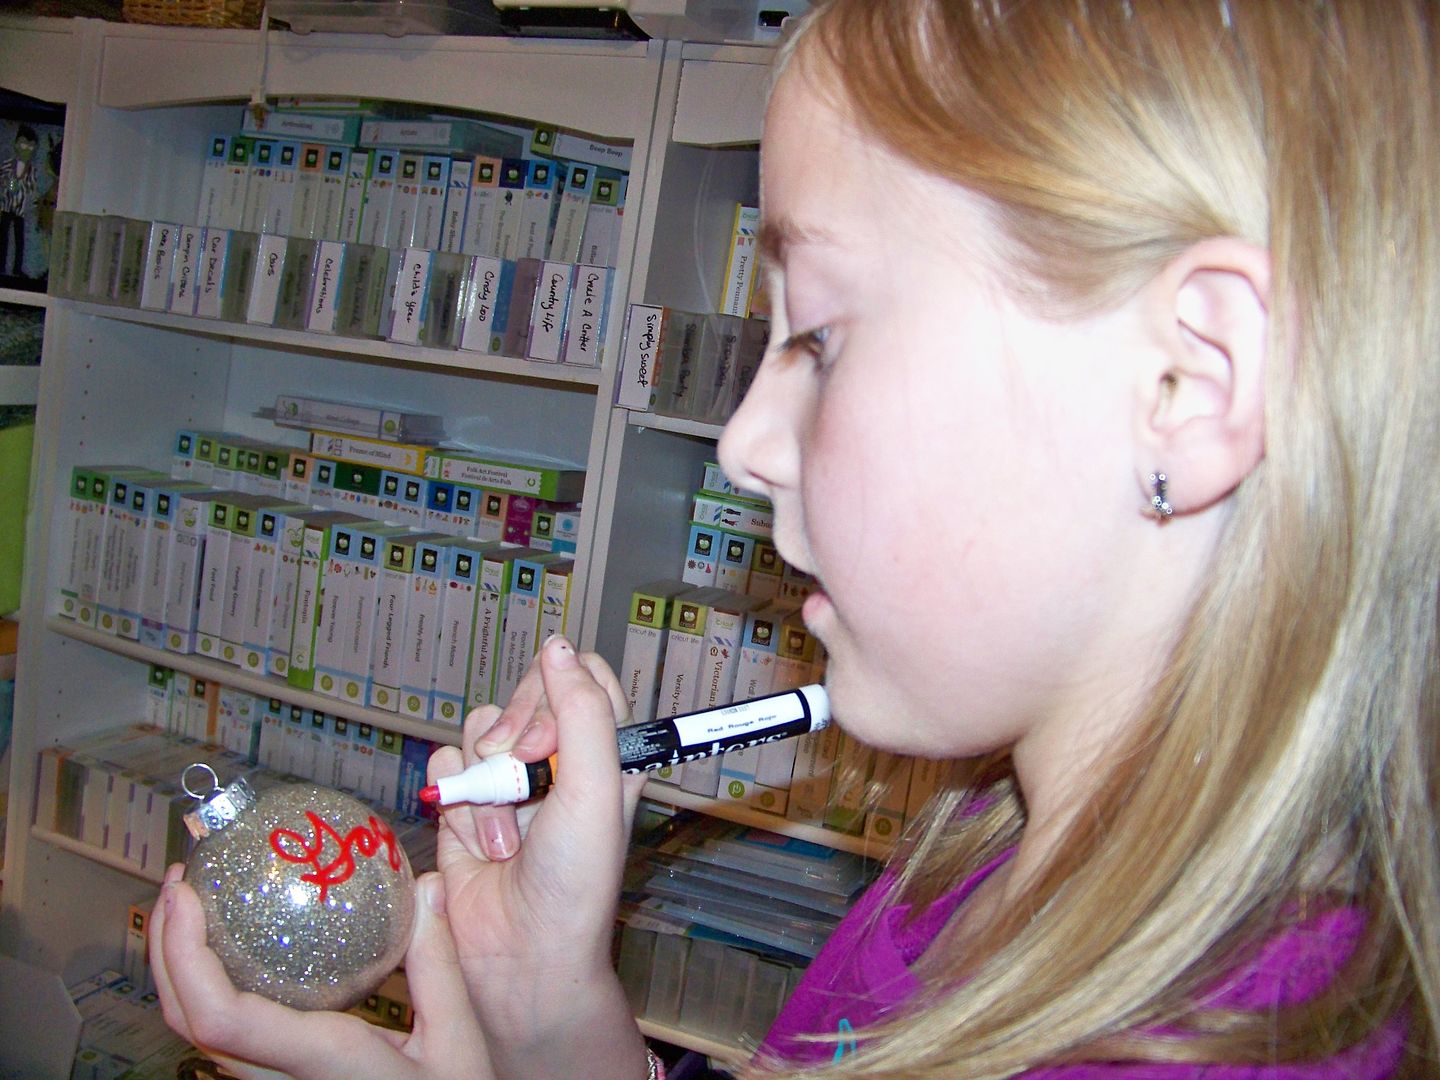
Use Painters Markers to personalize the ornaments.  I considered letting her personalize them with vinyl and the Cricut, but applying vinyl on a round form can be tricky and this was so much easier for her!  I wanted her to be able to do as much of this project herself since these were her gifts.

Piper loved the way that cursive looked on these and also started asking me which font she should write in. She was getting pretty fancy with it.  I made a snowman with the white one-- white doesn't really do well but if you cover it up with paint, it looks okay.  Ha!


Allow the paint to dry.  To make boxes for them, I found a great box with an insert to hold the ornaments safely in the centers of the boxes using Cricut's Sweet Tooth Boxes.  The box and lid are on page 21 and we cut them at 10-1/2".  The inserts are on page 64 and were cut at 6".  They were glued together using Scotch Quick Dry Adhesive.

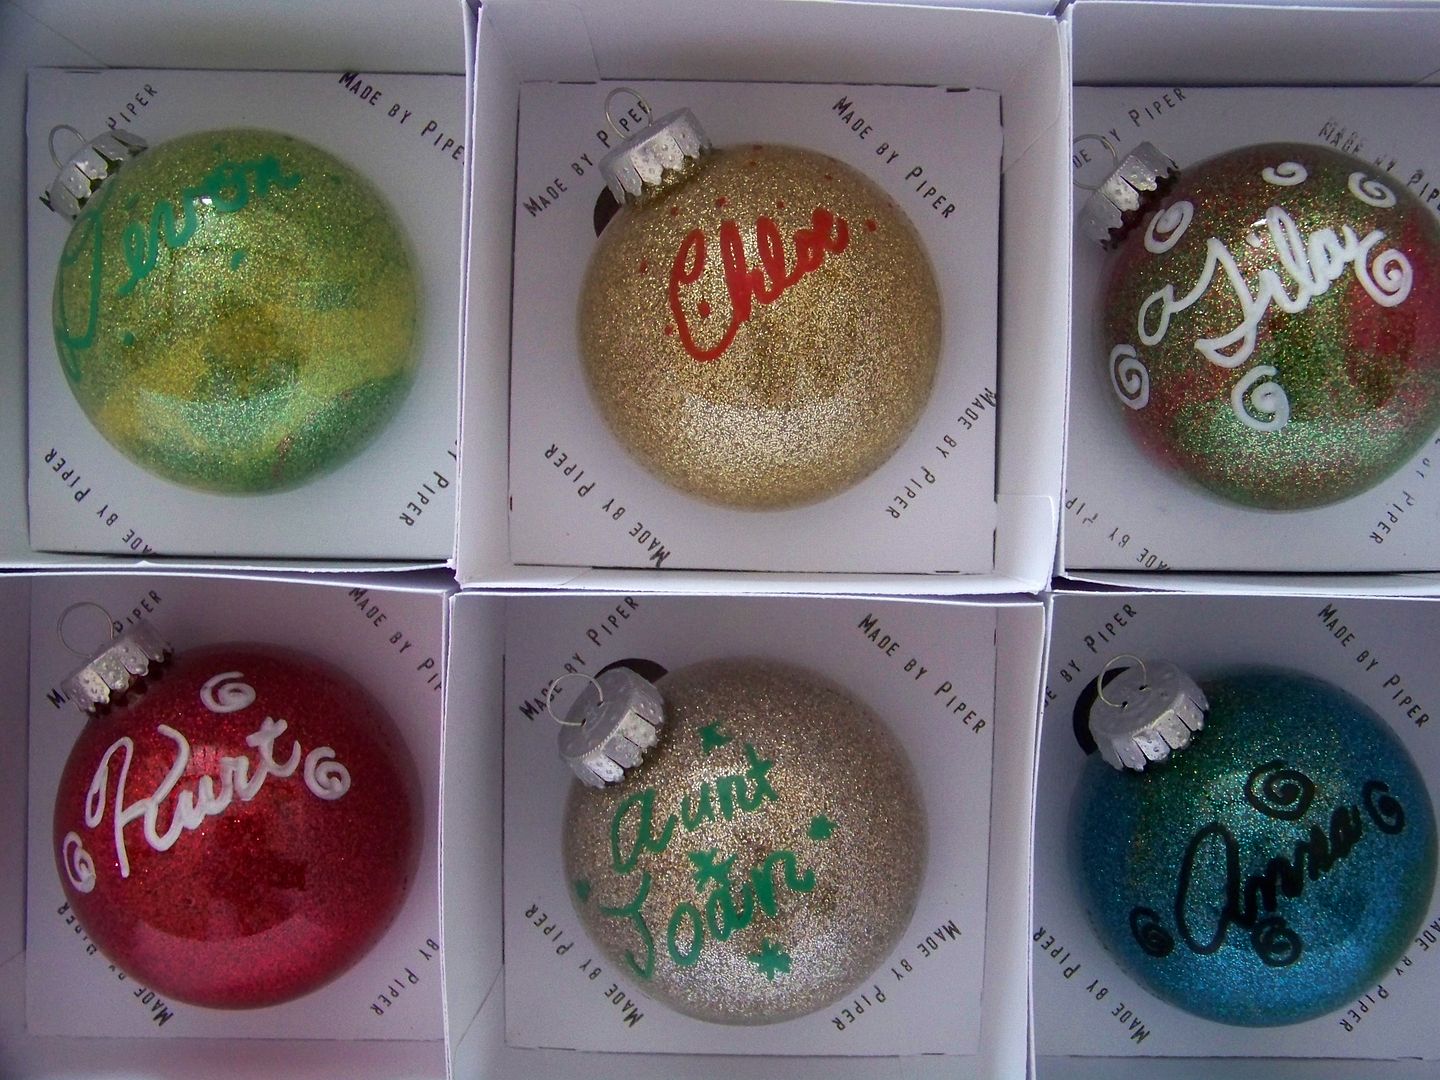
I had one of those stamps that you can customize with movable letters to make the "Made by Piper" that she stamped on the inserts while they were flat.  It is important to her that her recipients know that she made them!


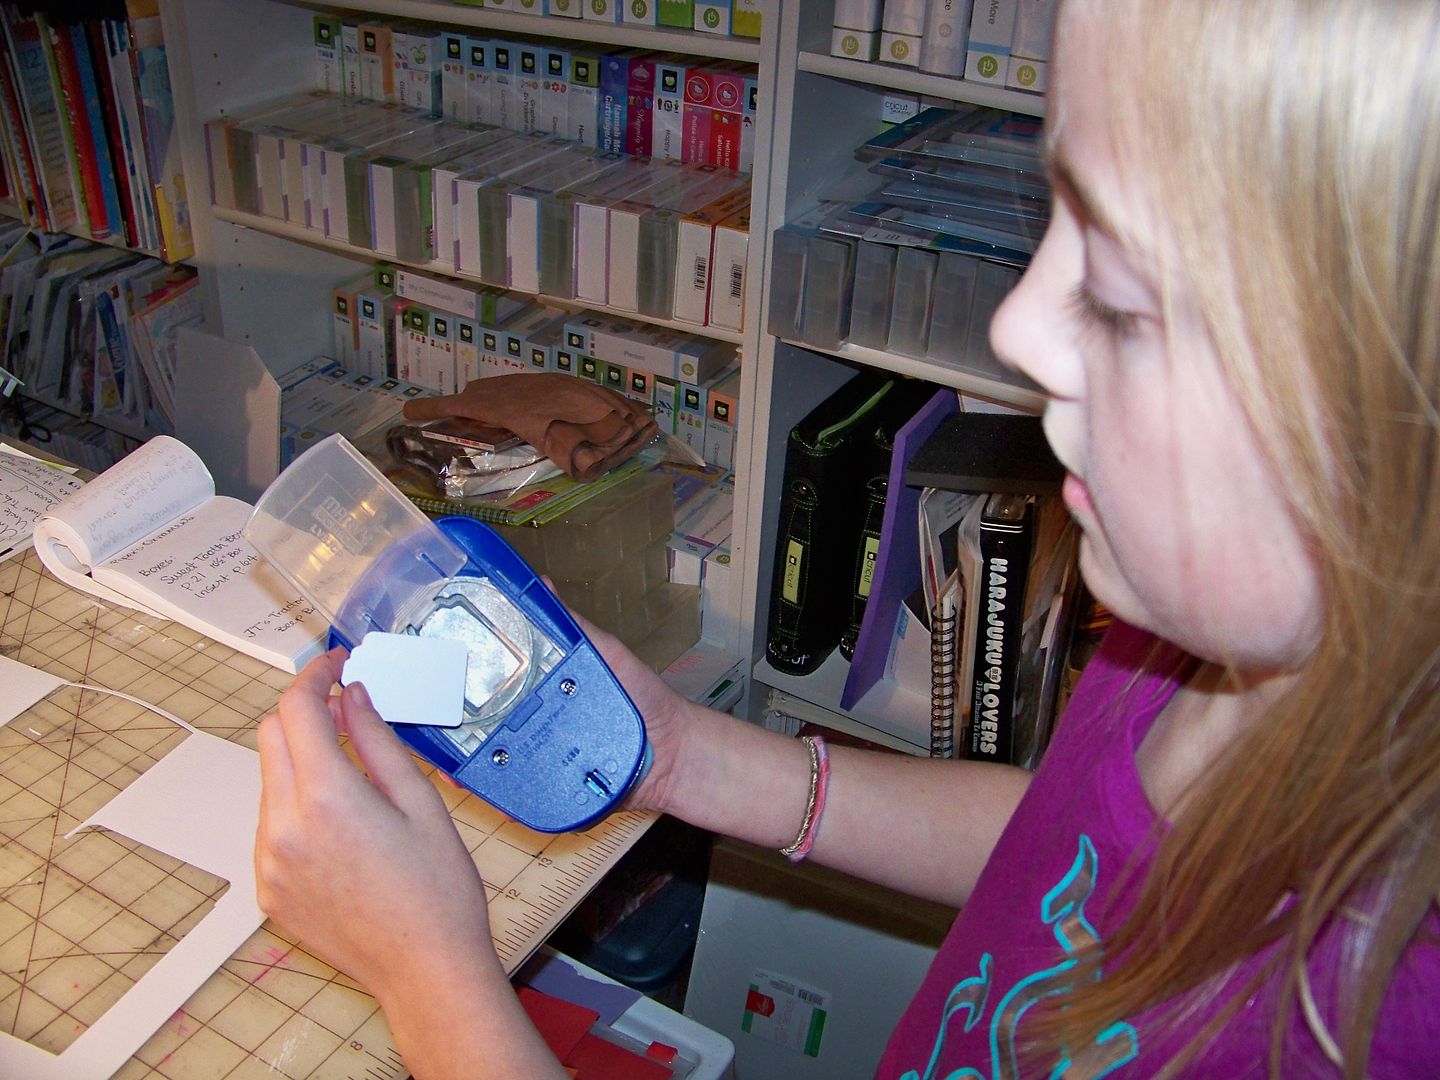
Piper made her tags using a punch and drew on them to make them special.


Not making bows, but rather simple knots, made it easy!


Piper's gifts are under the tree and ready for school parties, playdates, and family Christmas gift exchanges! So proud of her and so happy that she appreciates the joy of giving!

Thank you for visiting my blog.  My shopping and wrapping are complete as well so I am getting to journal and craft this month!  I have a felt-mouse-making factory going on here right now!  Hoping to share some of those soon!  What are you working on this week?

But wait! There's more! Click 'older posts' above!

But wait!  There's more!  Click 'older posts' above!