I received Embrilliance Stitch Artist earlier this month and have been learning some of the many features by watching videos. The first project that I have figured out myself and have shared on the embroidery Facebook groups is a custom snap tab design. After posting it, I was asked by stitchers on two groups how I did certain parts so I am sharing all my notes here. This photo tutorial explains how I use True Type Fonts with bean stitching to create snap-tab-style key fobs and tags. Near the end, I also share my notes on doing this with a purchased font. I highly recommend watching the BriTonLeap (official Embrilliance YouTube) videos on the
Stitch Artist playlist before doing this. They are very helpful for explaining so many of the basic controls and features.
I will preface this whole tutorial by saying that I am really, really new to Stitch Artist and these are just my notes on what I have figured out. There are most probably better ways to achieve this, but as a newbie, this is what I have to share. I highly suggest being familiar with your embroidery machine and having had the experience of stitching out professionally-designed snap tabs before doing your own because it helps to know what the normal, standard snap tab design is all about. Free ones are available on Facebook pages for
Buggalena and
Bean Stitchers. I have links to my materials and any sites I reference at the bottom of this post.
I start by opening Stitch Artist in Embrilliance.
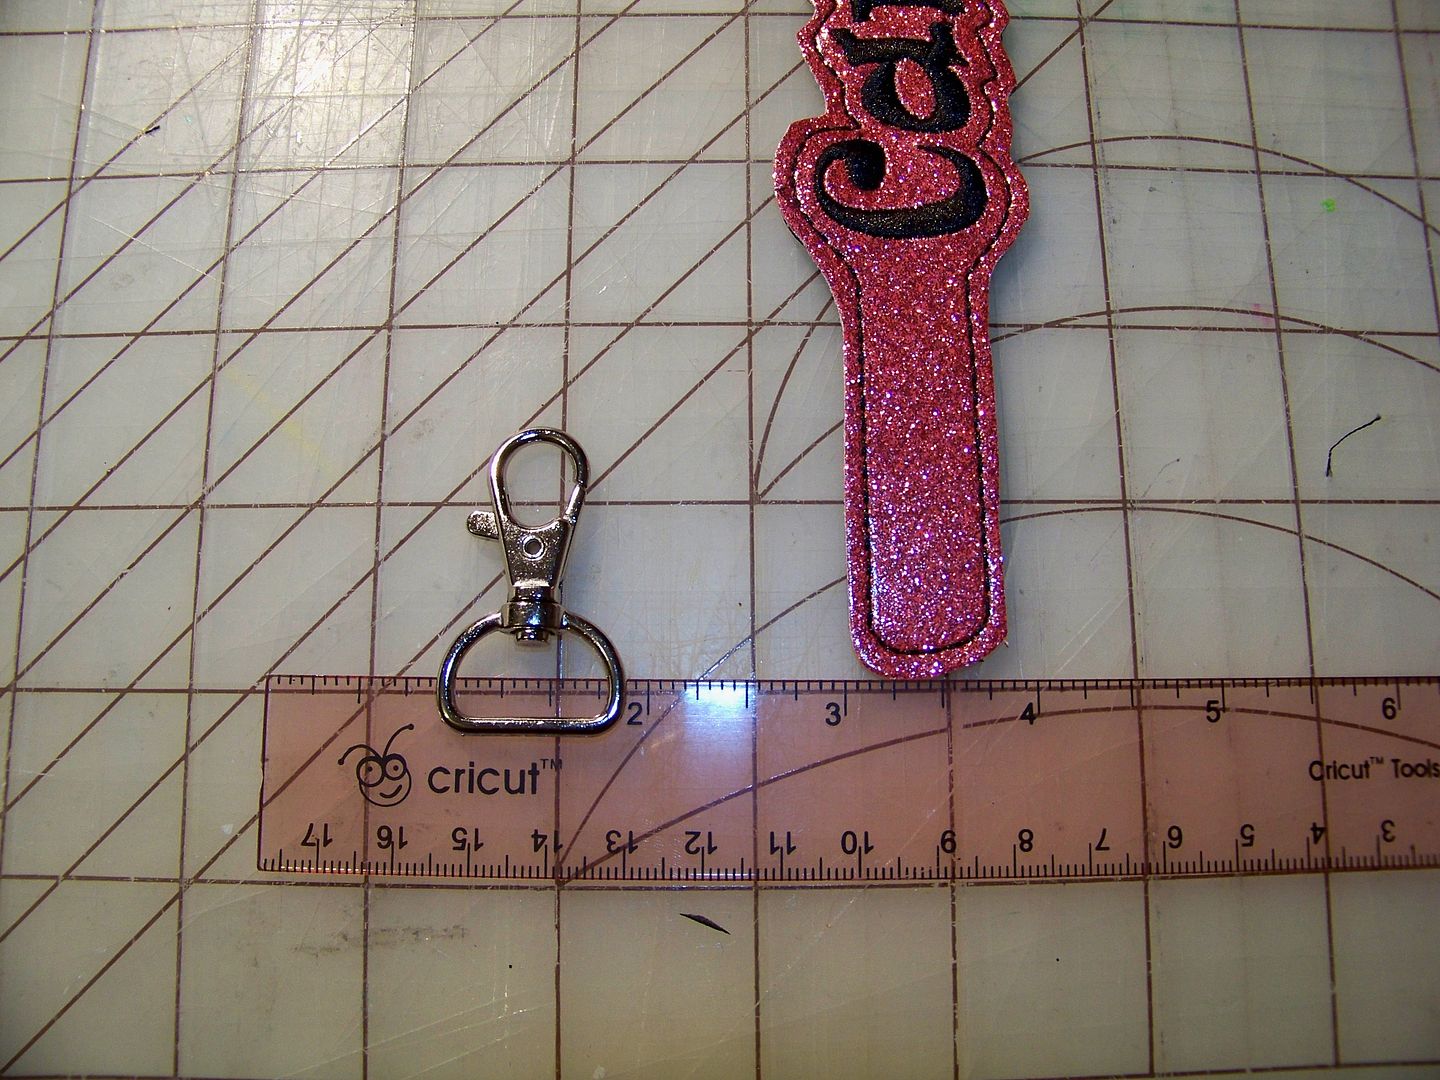
I originally drew a tab shape with points after measuring my hardware so that I had a shape that was 2" by 5/8", but I soon realized that the easiest way to duplicate this project with a set "tab" top was by saving an image that I could trace each time. I took a screen shot and saved it. (If you don't know how to do a screenshot, you can learn how to do that on a PC by clicking
here to access a post I did that includes that info.)
With this saved, I can then select the image button to bring the picture to the virtual mat and have my own standard size that fits my hardware every time.
I find my image that I have saved and click open. This will just give me something to trace easily.
The captured image appears on the virtual mat.
I size it by grabbing the lower right sizing handle and I drag it diagonally until it is 2" tall. That handle will enlarge both the height and width proportionately. This will make a tab that is 2" x 5/8". (After it is stitched and trimmed, it will be 3/4" which is the size of the inside dimension of my 1" swivel clips that I will be snapping these around. The tab can be sized to anything. For instance, I will be making them larger for luggage tags in the future!)
Next, I add text. I click the Add True Type Art button. This allows me to choose any font on my computer to make a name. (There are other ways to add lettering but this is how I did it for this example). I can always add new system fonts by going to sites like Dafont and installing them. (If you need info on how to do that, you can
click here for instruction from a post I did related to paper crafting.)
The TrueType Art box opens. I type in a name and select a font. I hit OK...
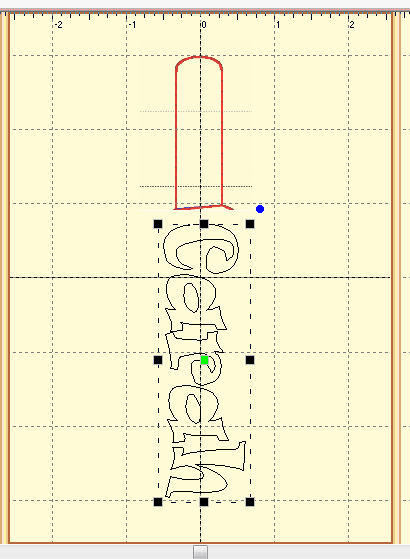
And the name appears on the screen as an outline. I size using the handles and rotate. (The blue dot allows for rotation). I move the name to the right location using the picture of the tab as a reference.
I fill the TrueType artwork using the Satin Column button.
The letters are filled automatically but I can still adjust the satin column stitching and the outline as I want. In this case, I did not.
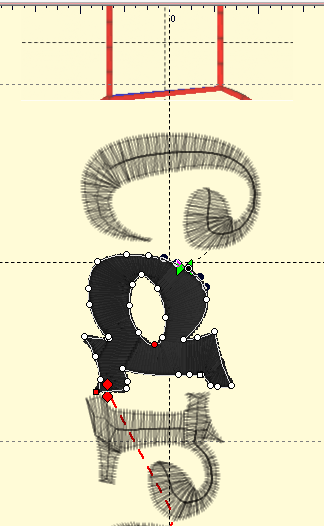
The dotted red lines show me the jump stitches that will happen upon stitch-out. I click on the first letter to see the red and green bowtie icons. The green bowtie will be where the machine will start stitching this letter. The red bowtie is where the stitching will end. I move the bowties so that the end of one letter's stitch-out is very near where the next letter's stitch-out will begin.
I have moved the green bowtie to where I want the stitching to start for the name. The red is where that letter will stop stitching.
I can see that I will want to move the start of the letter 'a' near the end of the letter 'C' to shorten that jump stitch.
I can see that the line (now black) between the 'C' and the 'a' is short. I can see that the 'r' needs to have its start and stop changed too.
I continue this for each letter all the way to the end of the name.
After I change all the letters' stop and start points the way that I want them, I work on the outline of the name and tab. I click on the Draw With Points button.
I begin to trace my drawing of the tab. I start at the botton and use the control key as needed to make straight lines or curved lines. Whenever I make an error, I use my keyboard's backspace button to remove the last point or points. Once the tab is drawn with points, I start outlining the letters of the name, leaving a little space.
Once I travel all around the name and am close to the point where I started....
I click the Close-Open Outline button.
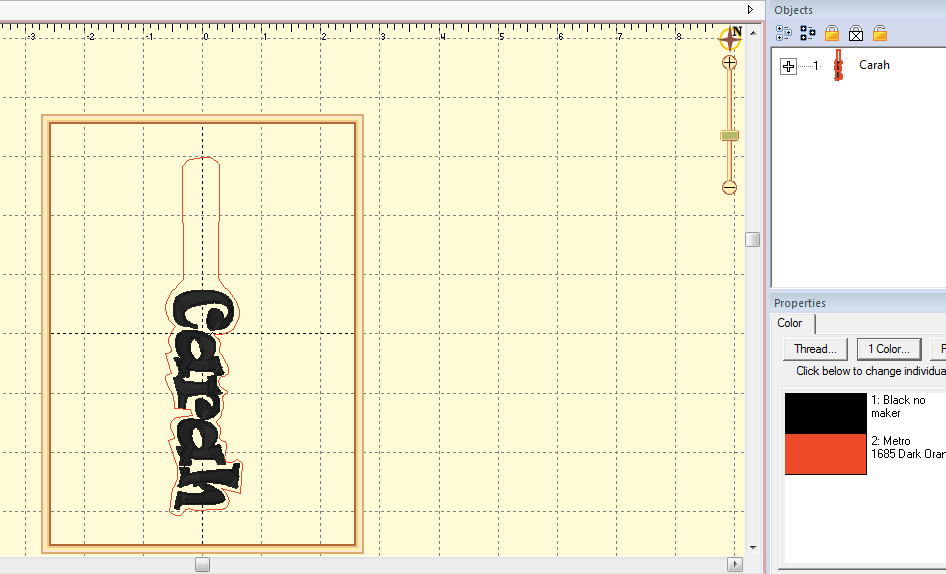
And now my name and tab are outlined by a closed shape.
I no longer need that picture of the tab so I look over at the Objects window to the right...
And click on the word 'Design'. This only selects the picture, not the outline I just drew.
I click the delete button on my keyboard and the design picture is removed. I am left with just the stitching of the letters and the drawn outline.
I can click on the outline if I see something that needs an adjustment and move the line by moving the points.
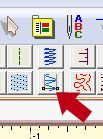
Next, I change my drawn outline to a stiched line by clicking the Run button.
Ta-da!
I click the Run tab on the Properties box to get options for my run. Next to the top Type, I select: Bean. For length, I chose: 3.2mm. For the second Type field, I choose "3-passes."
At this point, I have letters that will stitch and an outline, but I want to make a fabric placement line. I do that by adding a basting box. I click Utility then "Baste Design" (NOT Baste Hoop).
Embrilliance automatically makes this the first stitched out element. It is only temporary, meant to use to hold the fabric in place.
Next, I think about that bean stitch and where I want to start and stop the stitching. I don't like it when the stitching starts and stops on the tab. Somehow it tends to "show" to me. I like it near the bottom. Since the lettering will also end near the bottom, it makes sense to use it for a starting place.
This is where I have moved the start and stop bowties.
I look at a virtual stitch-out to check my work.
I am happy with this. Note: this design is in two colors even though I will be stitching in only one color because I want the stitching to stop so I can place a piece of vinyl under my hoop before the bean stitch is done.
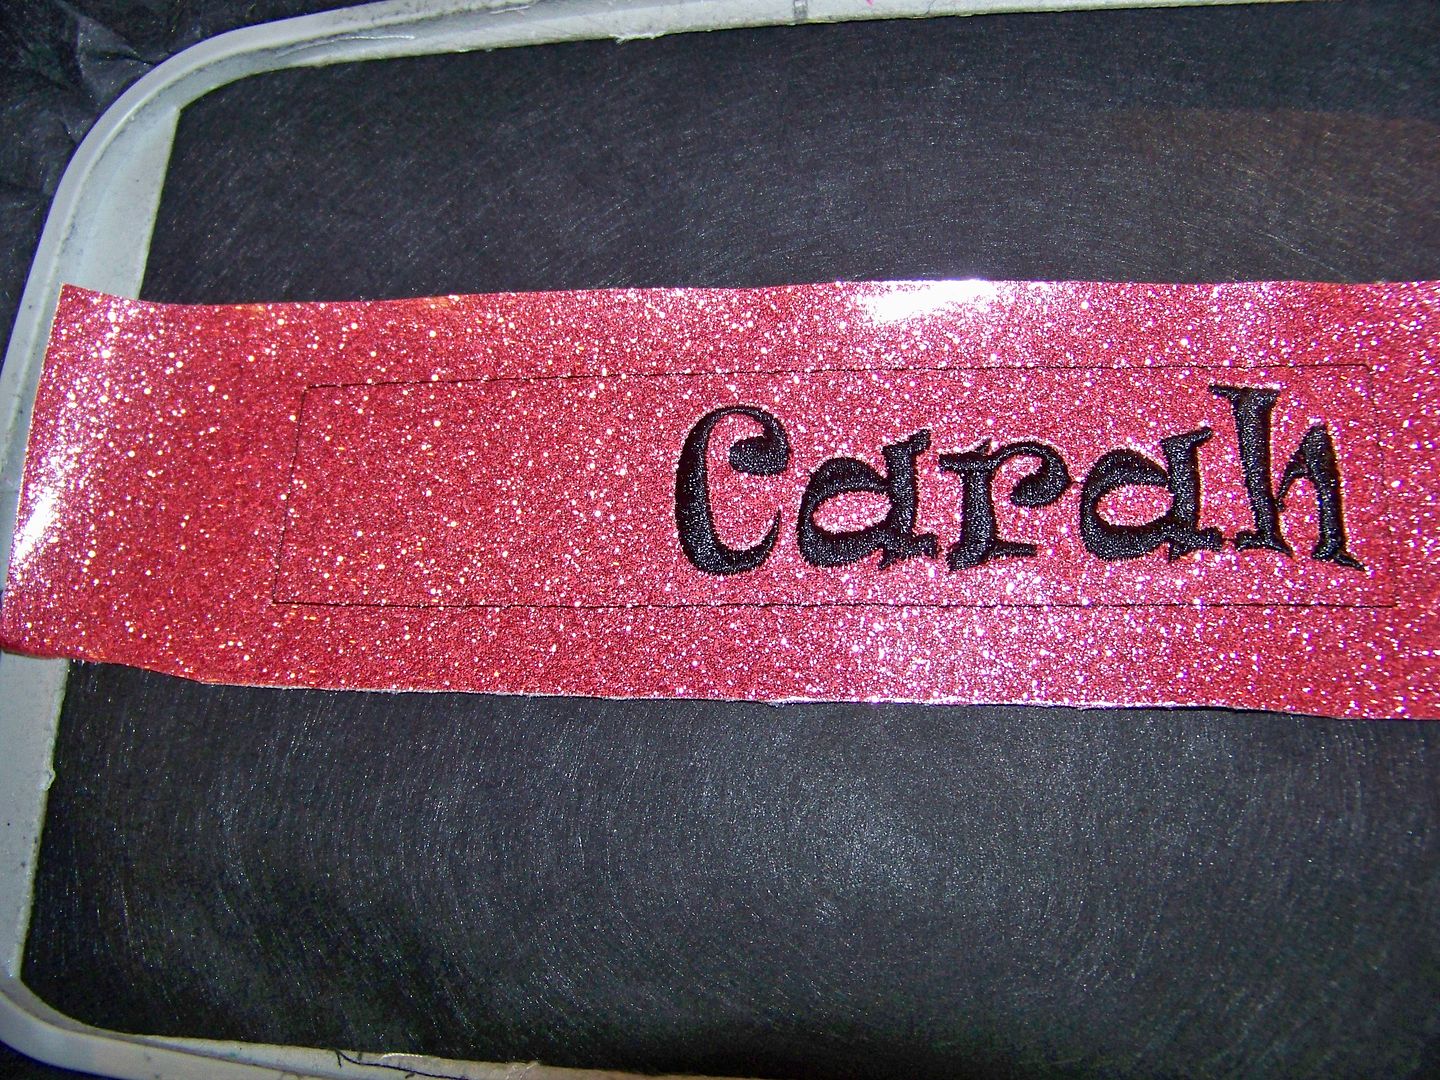
I save and print it. (I like a print out to use at the embroidery machine.) I move the file to my machine and stitch out the basting box and lettering. (I hoop black tear-away and plan to float the vinyl I am using for the top of my snap tabs. I am using black vinyl for my finished back).
I only have planned for one basting box in my file. I know where my fabric will be placed on the hoop based on the print out but I can stitch the basting box to use as a fabric placement on the stabilizer and then stitch it again to hold the fabric in place by manually doing that on my machine if I want to. I allow the lettering to stitch out. I remove the hoop from the machine....
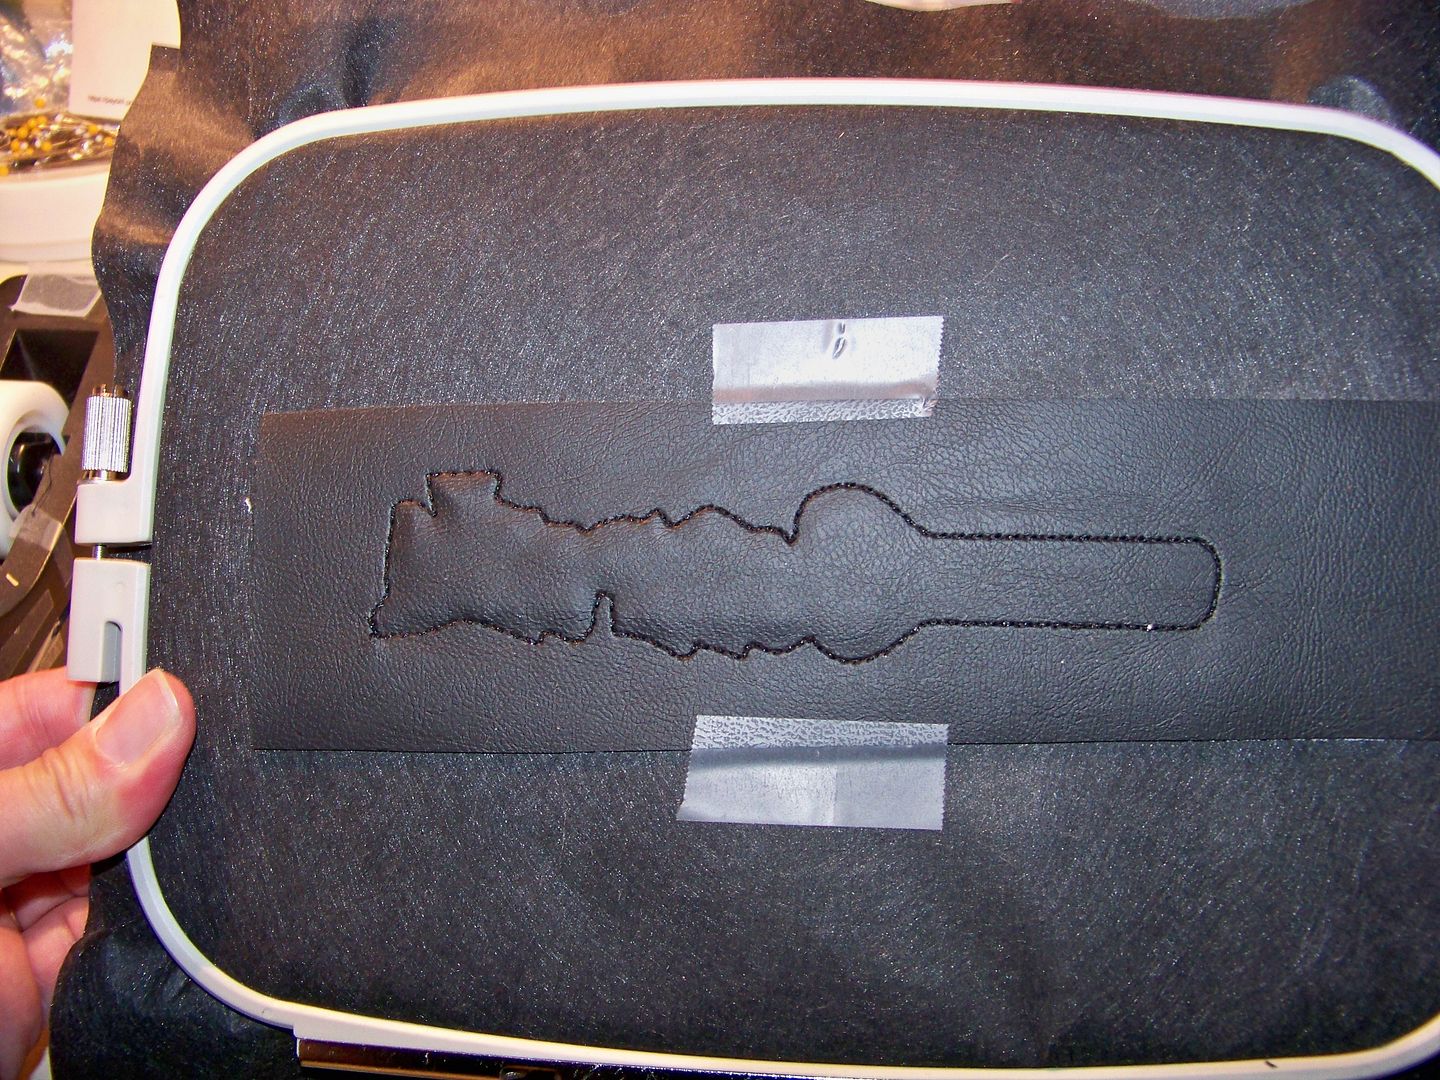
I use a textile spray and tape to put a second piece of vinyl on the back of the hoop to cover the back of the stitches.
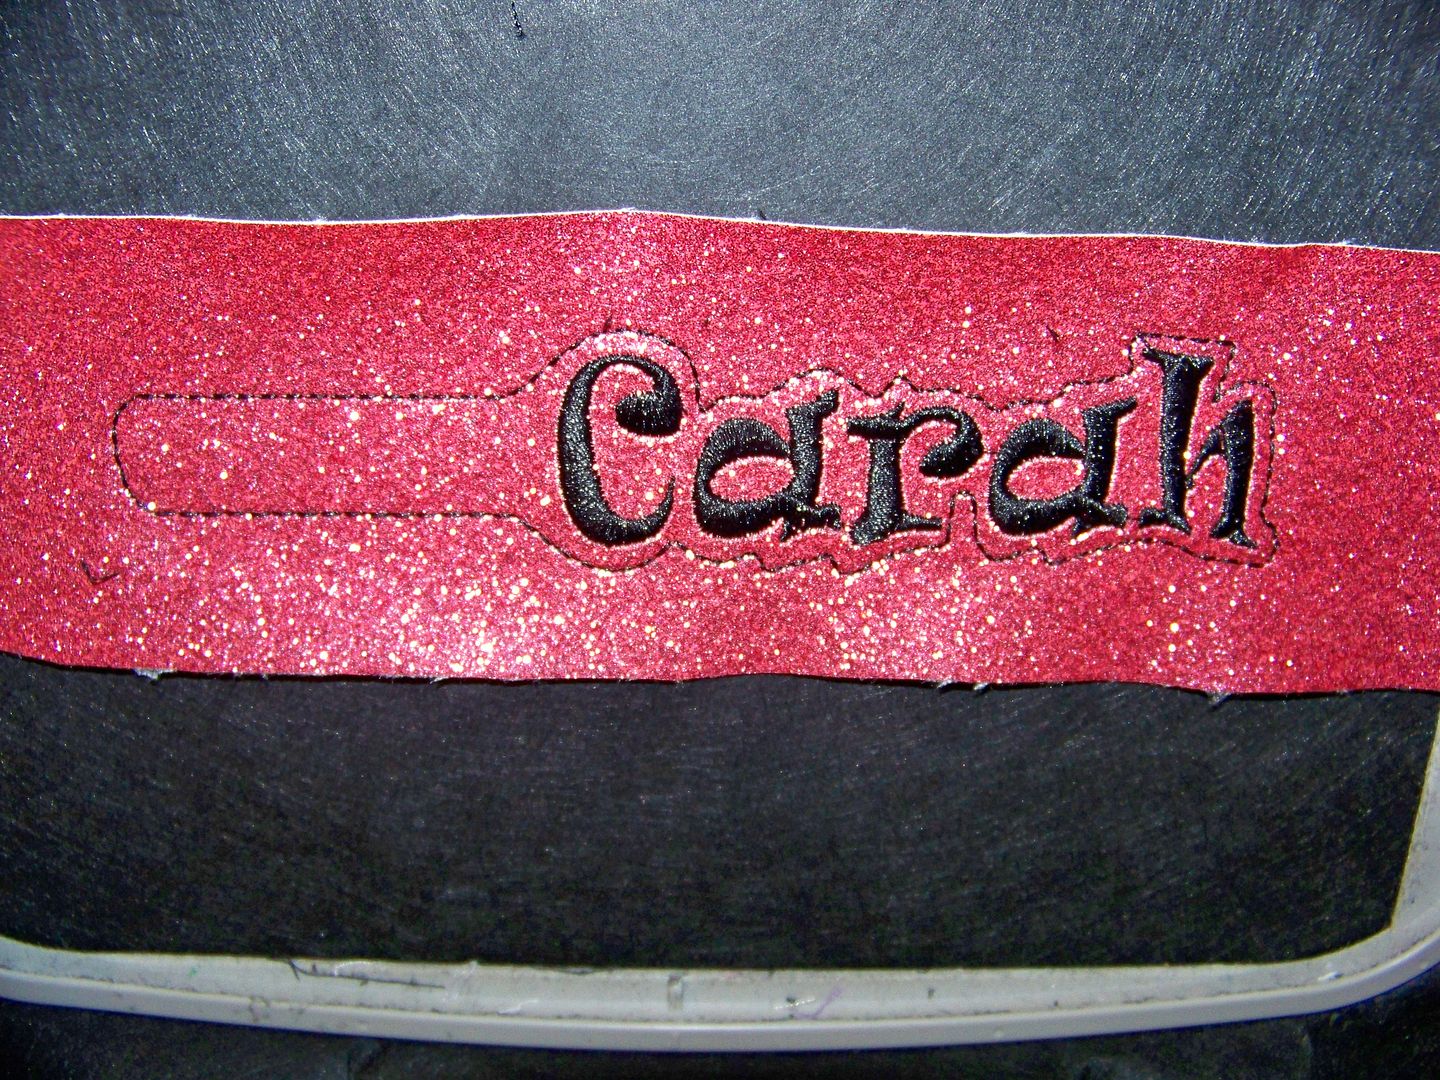
I place the hoop back in the machine and allow the bean stitch to stitch out. Once complete, I remove the basting box. This is the front.
This is the back.
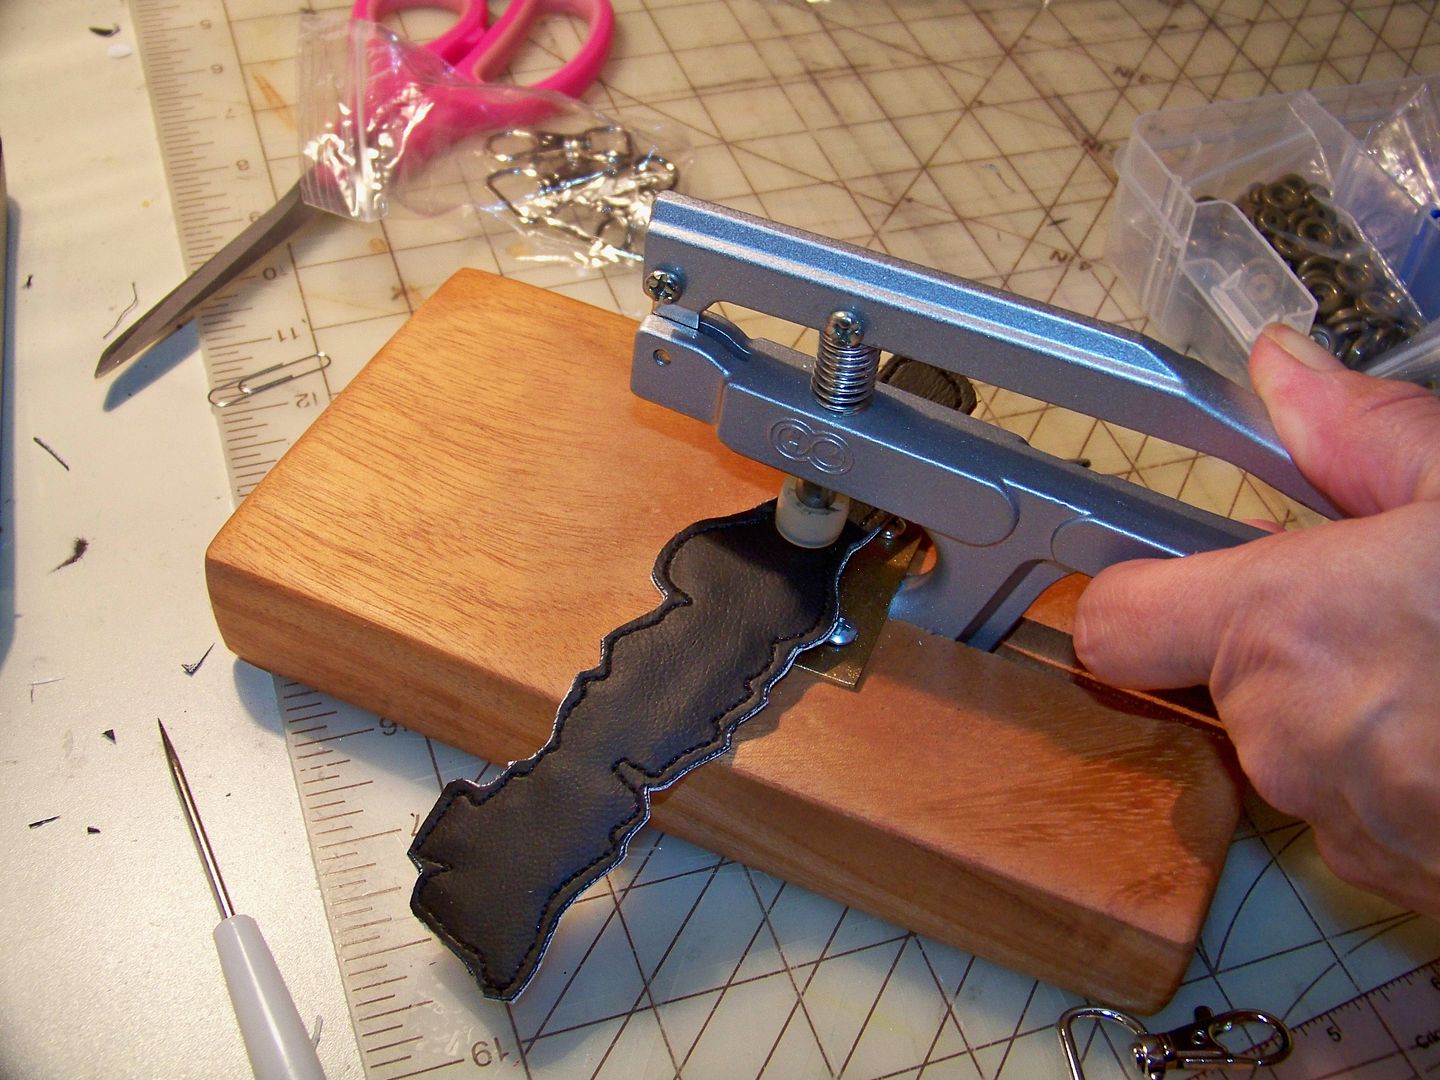
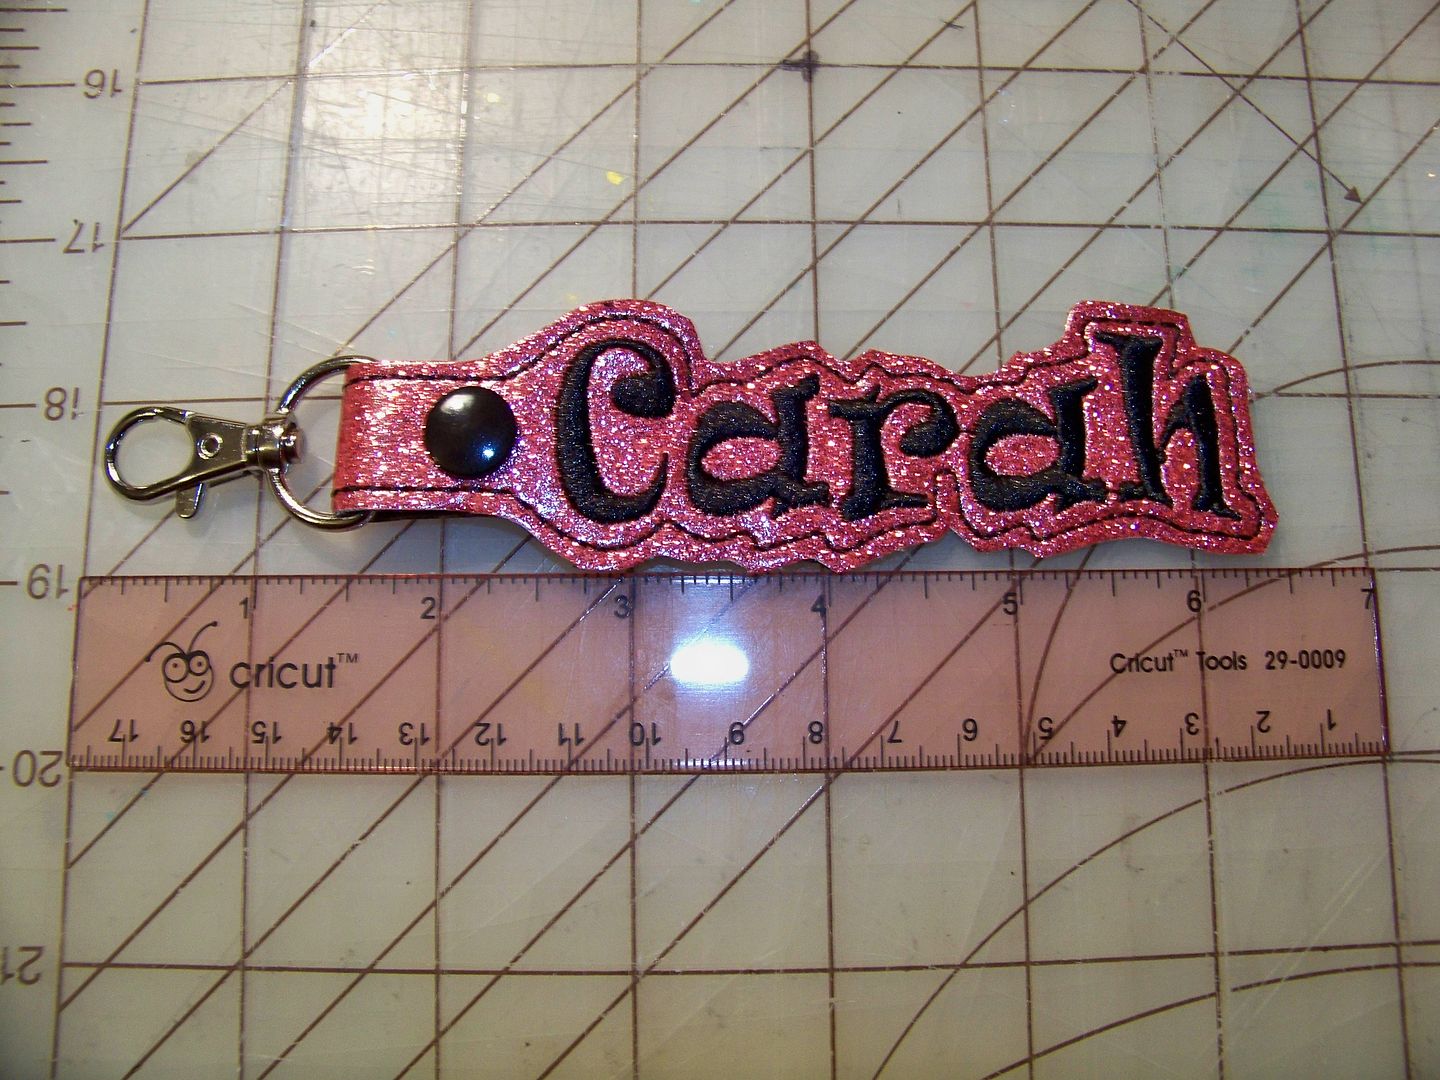
I trim around the bean stitch and add a Kam snap and hardware.
For info on how to apply a Kam snap, click
here.
I wanted to try a snap tab with a purchased font too. I have tons of those and choose
Stitchtopia Mayah. Again, I bring in the image of the tab top. Then I click the Create Letters and type in the name. Stitchtopia has .bx files for all of the fonts they sell so it is very easy to make this name. I adjusted the letters so that they were touching like script.
 |
| The kids in our family call my mom Gaga. |
I follow the steps above to create an outline, remove the image, and add a design basting box. I made the length of the bean stitch on this as 4mm, just to experiment.
My stitch-out made me think of the options for using this technique for making custom luggage tags.
To explain this outlining bean stitch, this was also a 3-pass bean stitch, but I stitched it before adding my vinyl backing so I re-stitched it after the backing was placed.
I hope these notes are helpful to you!
Links to products and information shared on this post:
- Embrilliance Stitch Artist: click here.
- BriTonLeap (Embrilliance official Youtube channel) Stitch Artist video playlist: click here.
- Dafont site for free fonts to add to your computer: click here.
- Marine and glitter vinyl, metal swivel lobster claw clasps, and Kam Snap source (MikriWorld): click here.
- Kam Snap installation video: click here.
- Black tear away and black pre-wound bobbins (World Weidner): click here.
- Stitchtopia Mayah font: click here.
- Buggalena closed Facebook page for free designs in their files: click here. Buggalena also has a website with great designs to purchase: click here.
- Bean Stitchers closed Facebook page for free designs in their files: click here. The Bean Stitch also has a website with great designs to purchase: click here.
 |
| Name snap tab that I created with Stitch Artist and a ballet snap tab from a file I purchased from The Bean Stitch. |
Thank you for checking my blog post today. For all of my notes on machine embroidery and Embrilliance, links to my resources, and photo links to my previous embroidery-related projects, check out my Embrilliance and Embroidery page at the tab at the top of the blog or
click here. For my paper projects, check out my Paper Project Gallery or
click here.