Showing posts with label Cards. Show all posts

Friday, May 9, 2014

Cheery Gifts for Mom.. And a Contest Winner!


One of my favorite people to make things for is my mom.  She appreciates hand-crafted gifts and home-made treats!  She keeps every card.  Is your mom like that too?  

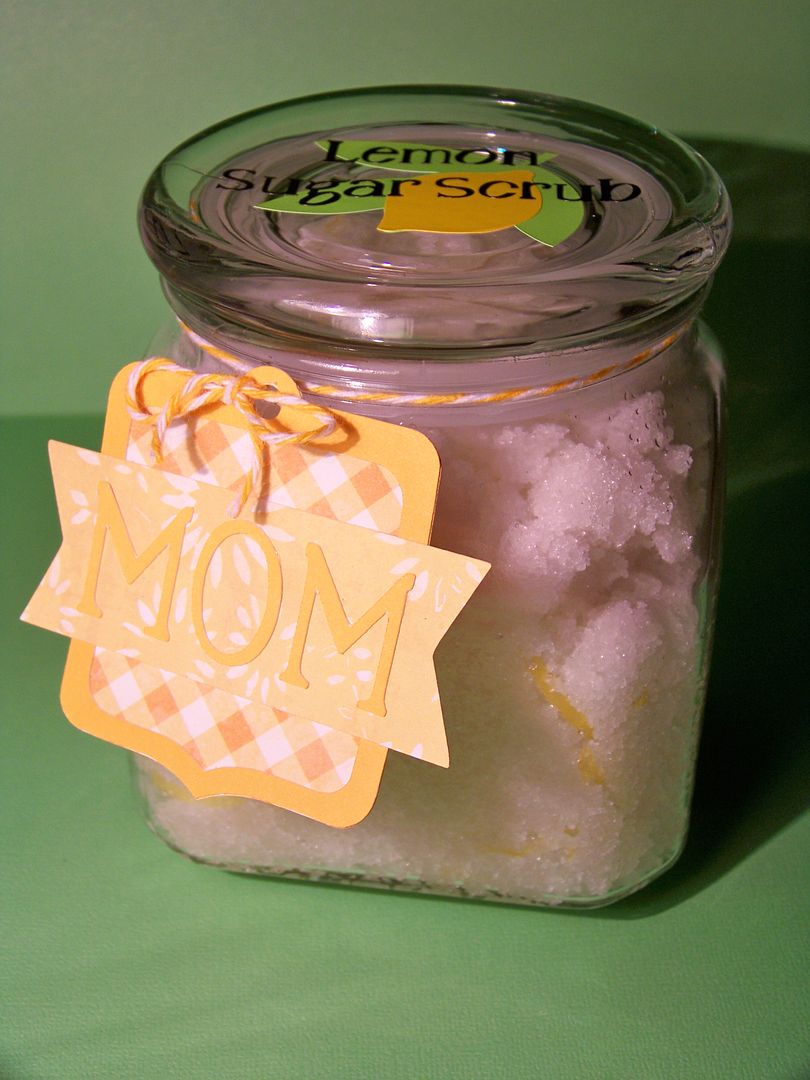
Because my mom is a diabetic, I wanted to make something made in kitchen and sweet but without affecting her diet. A sugar scrub is perfect!  

This gift set features a lemon sugar body scrub in a decorated glass canister, a dimensional card that holds a store gift card, and a large tag that will go on fresh flowers to be picked up the day before Mother's Day.

I started by contacting a fellow crafter, who you might remember from the Sweet Sassy Diva blog, Bobbi Jo Henke.  A long time ago, I was a guest designer on that blog a couple of times.  She is also a distributor for Young Living Essential Oils.  Bobbi Jo suggested a scrub recipe that I altered a small bit for my gift.  If you are looking for a trust-worthy person to buy essential oils from for home spa projects or dietary uses, contact Bobbi Jo at bobbijo@thelemondroppers.com or (262)498-3107.  

This is the recipe I used for my scrub.  
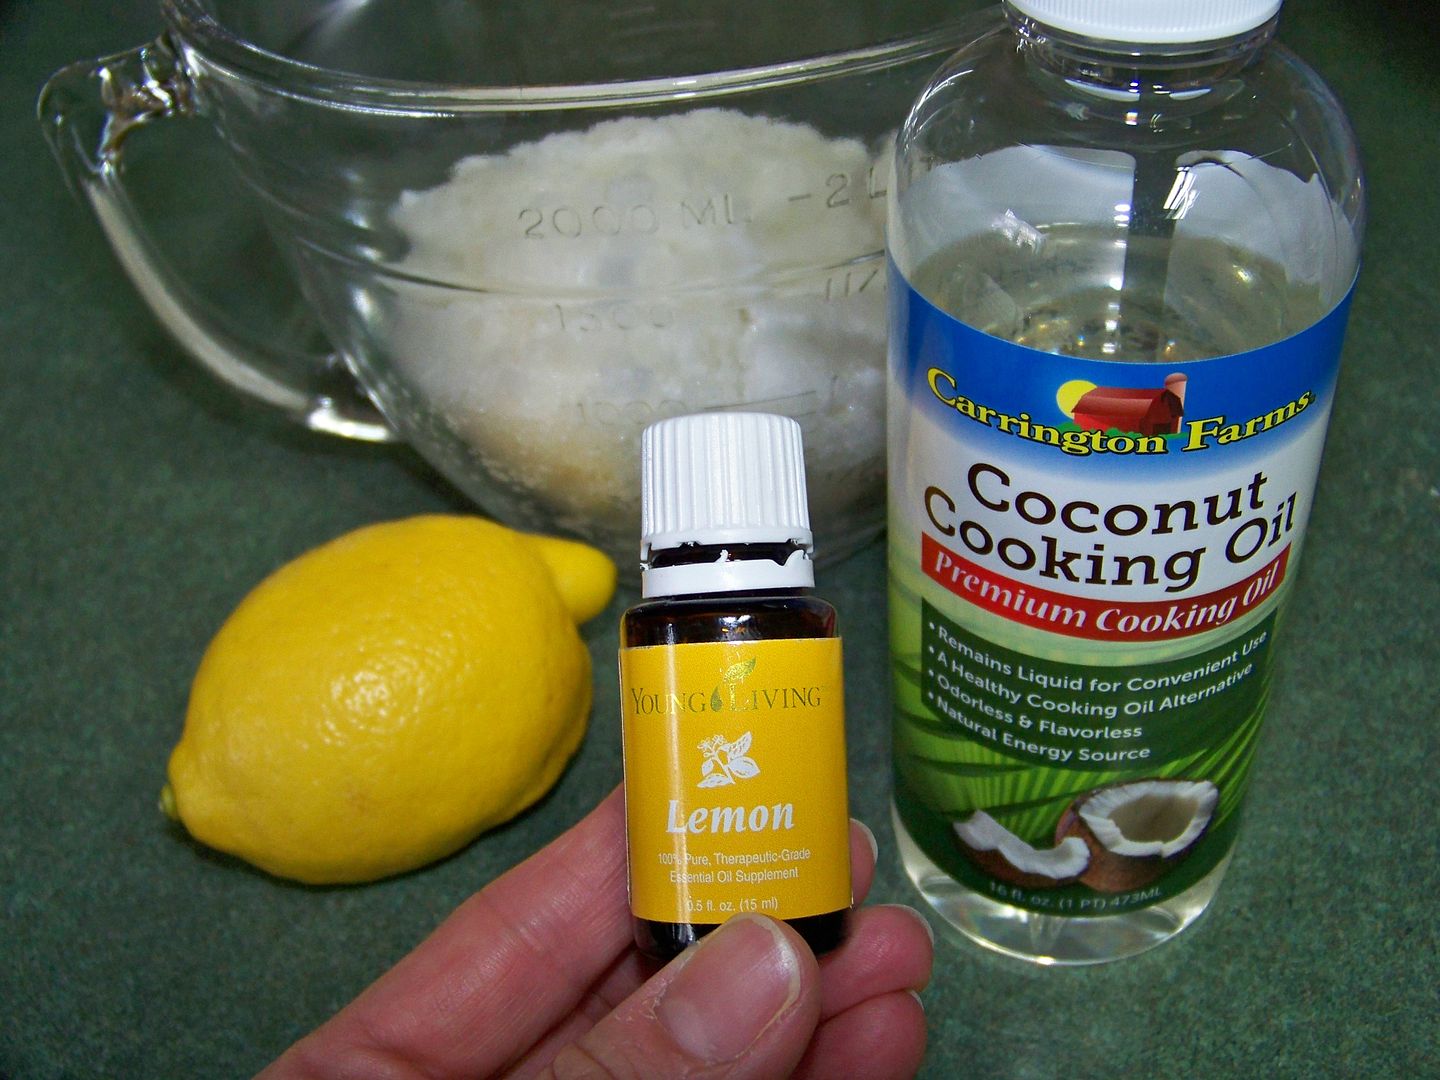

Lemon Sugar Scrub

1/4 cup  plus 2 tablespoons liquid coconut oil (found in the baking section of the grocery store)
2-1/2 cups granulated sugar
2 tablespoons fresh lemon juice
16 drops lemon oil
zest of one lemon

Mix thoroughly by hand in a glass bowl and place in a clean and dry glass jar to store.

I used small scraps of vinyl and cut a decorative lid design.   
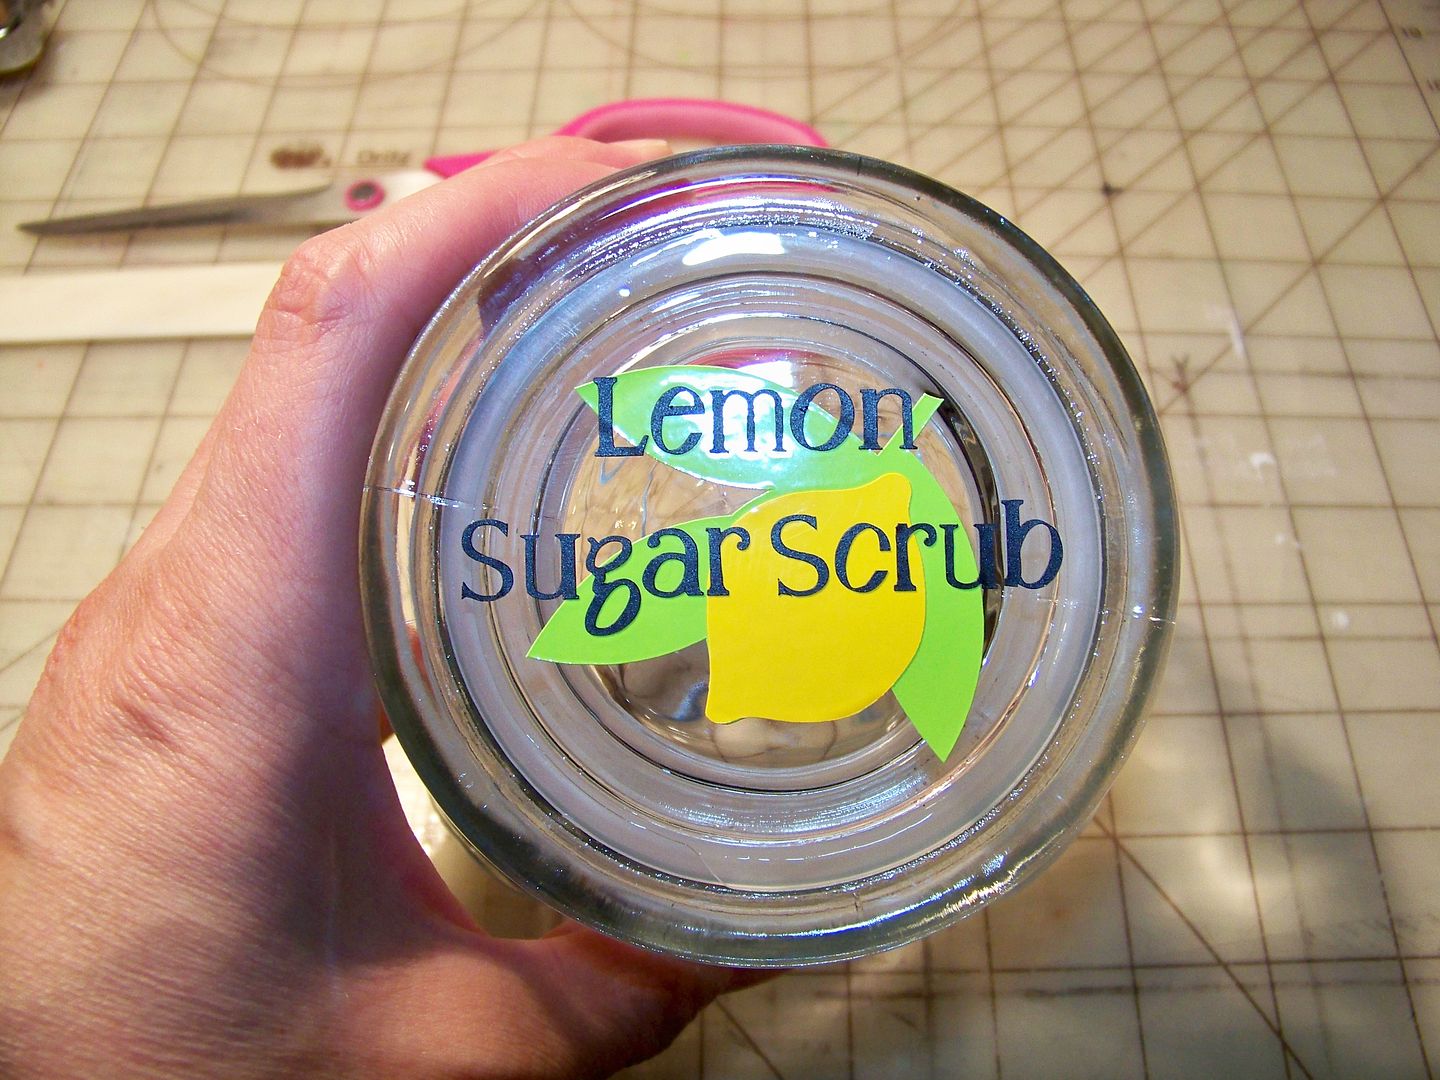

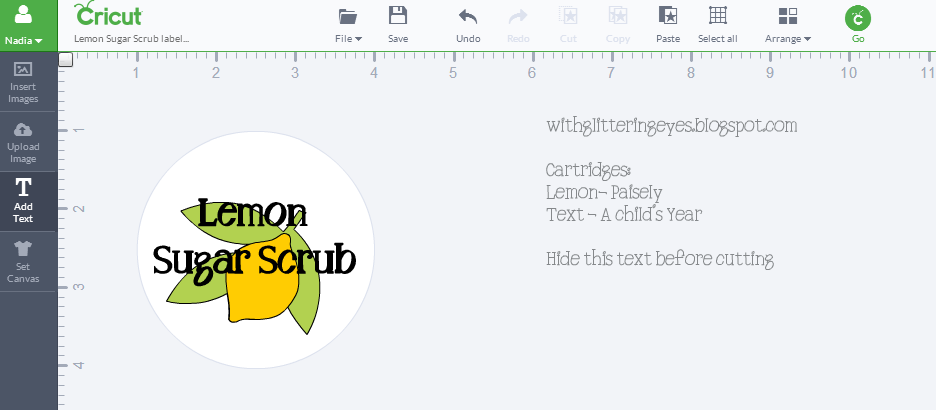
I made this on my Cricut Explore.  The design uses Paisley for the lemon motif and A Child's Year font for the text.  This is my Design Space file for this part of this project:  https://www.cricut.com/design#/canvas/project/17114410  

The small tag for this was made with  Cricut cartridge Holiday Frames and Tags (page 67, cut at 2.5"). "MOM" was cut using Cricut cartridge A Child's Year (at 1") on my Cricut Expression while my Explore was cutting vinyl.

I made a tag for flowers that will also be part of this gift.
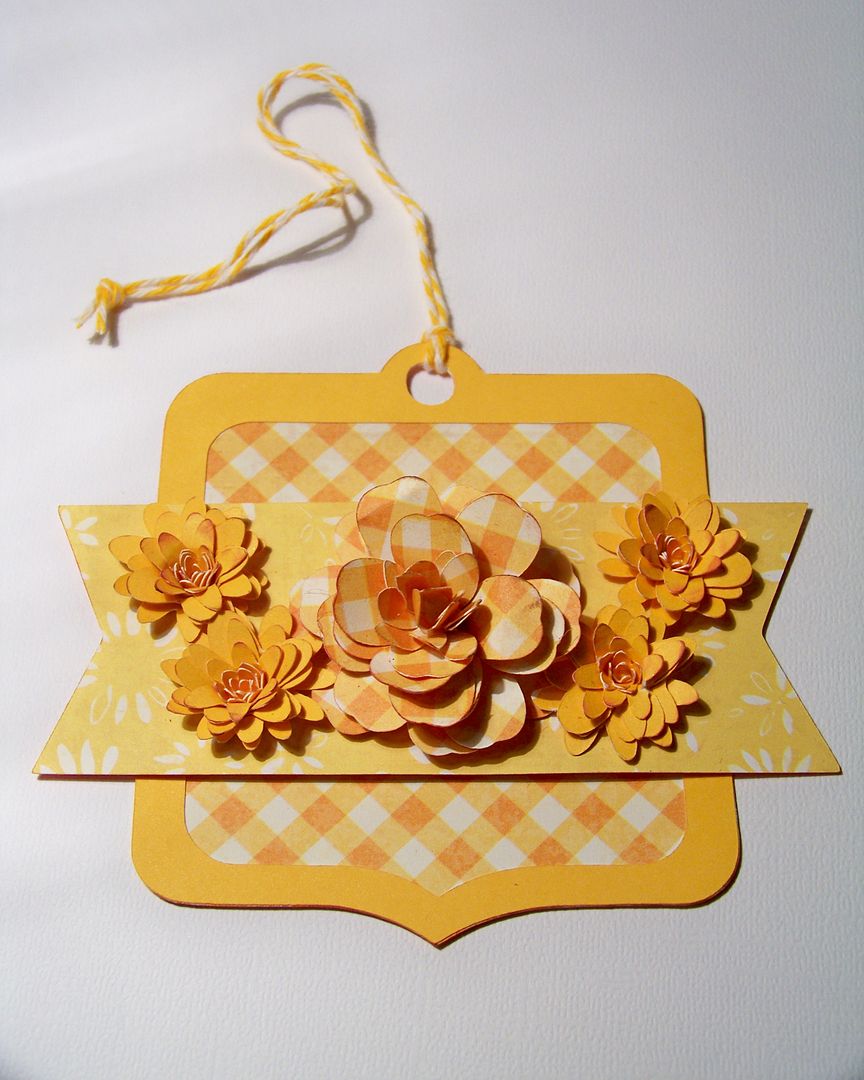

This was also made using Cricut cartridge Holiday Frames and Tags (page 67, cut at 4").  The small quilled flowers were cut from Art Philosophy at 2" (page 68).  The large gingham flower is one I learned to make when it was featured on a wreath on the old Cricut Circle Blog.  The good news:  Juliana Michaels made a construction video so you can make these too.  Here's a link to her video tutorial:  click here.    
Sizes for Juliana's rose for this tag:  
Mother's Day Bouquet key 27 cut 3 at 1" 
Mother's Day Bouquet key 8 cut 4 at 1.75"  

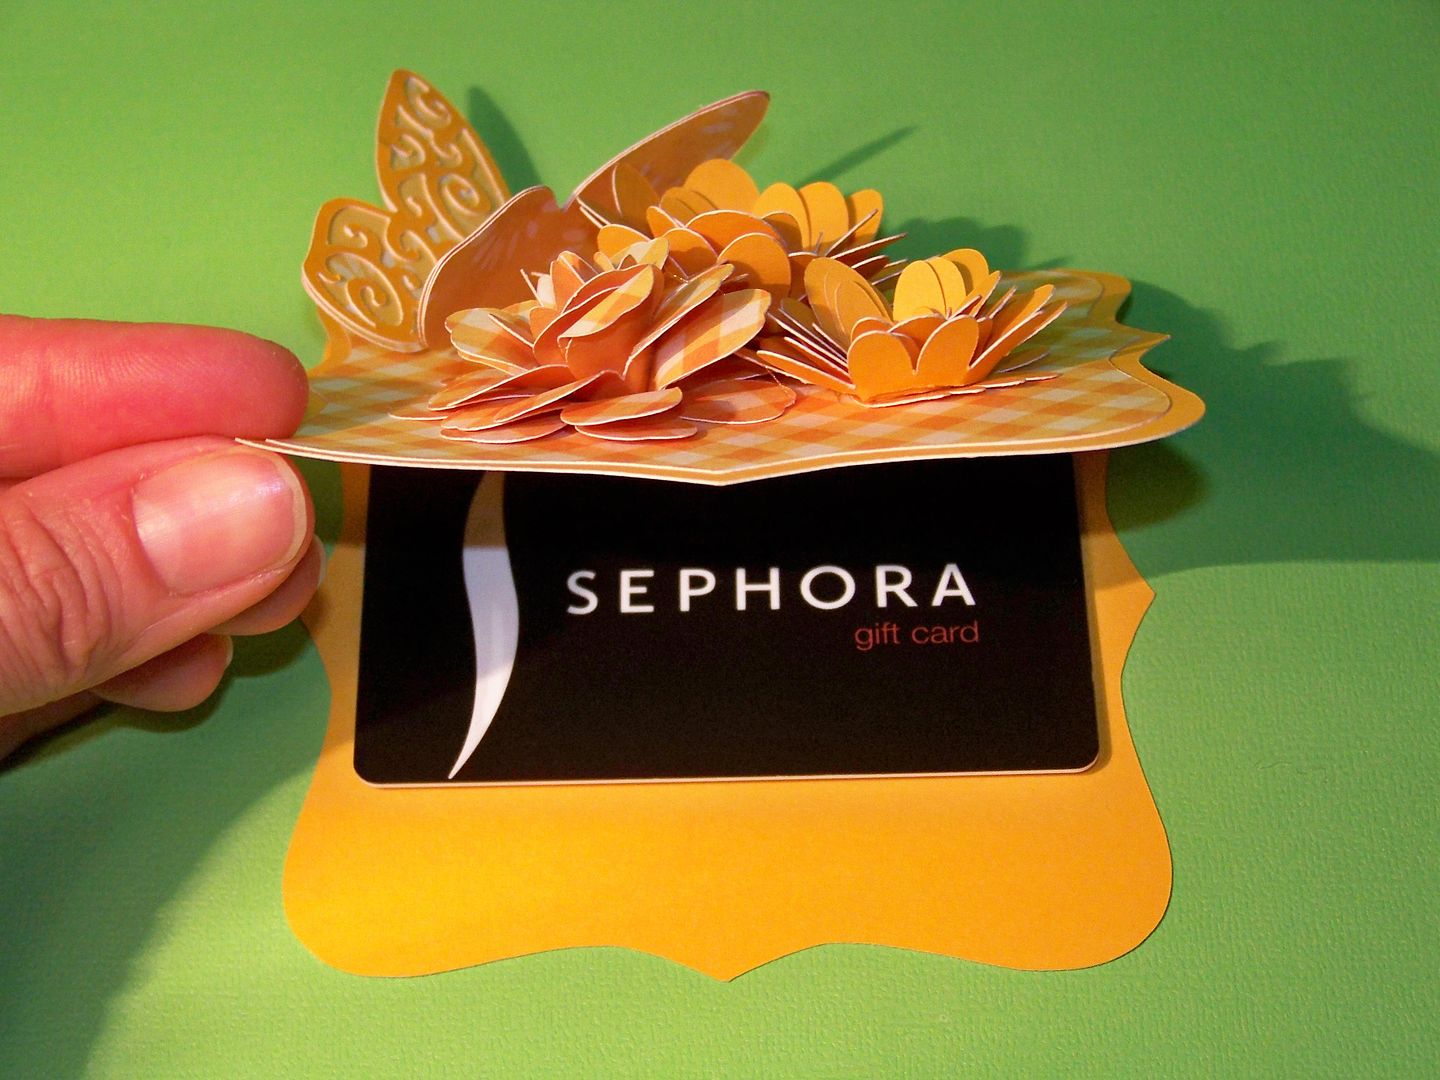
I also made a coordinating card to dress up a store gift card.  


The card base was cut from Cricut cartridge Art Philosophy (page 53 at 4").  The gingham mat was cut at 3.75".  The butterfly was cut at 2" (also from Art Philosophy, page 55).  I used the same rose from Juliana Michaels that I used on the tag above.
Sizes for Juliana's rose for this card:  
Mother's Day Bouquet key 27 cut 3 at 1.25" 
Mother's Day Bouquet key 8 cut 4 at 2.75"  

I also made a gift card holder for my mother-in-law as part of a different gift set for her.
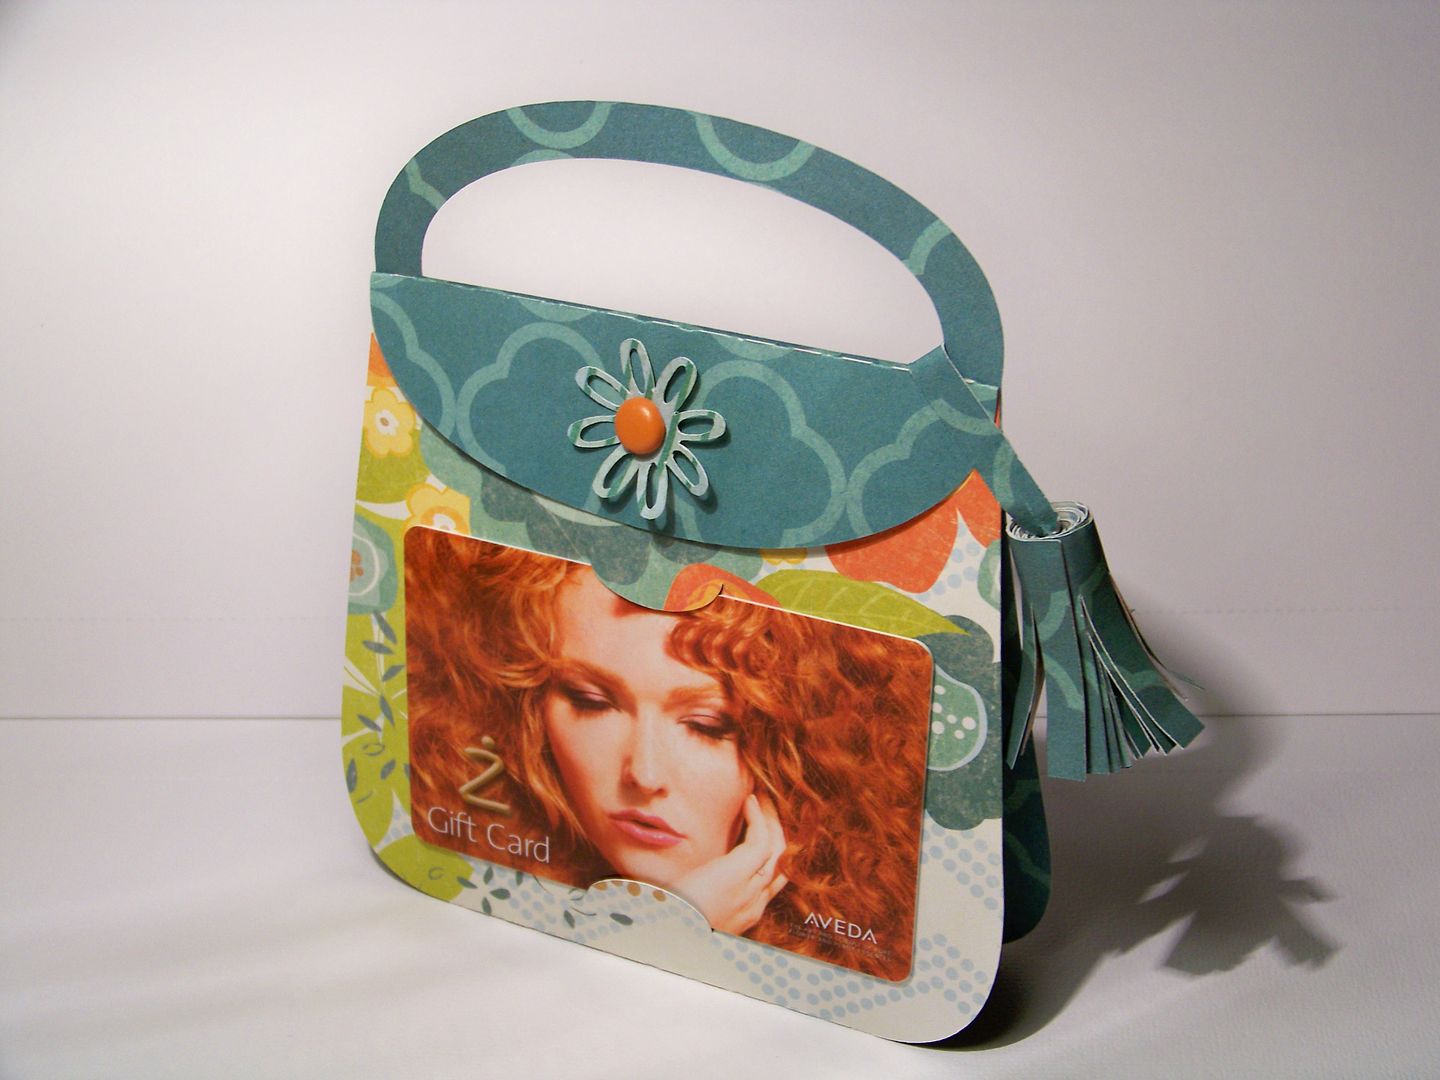

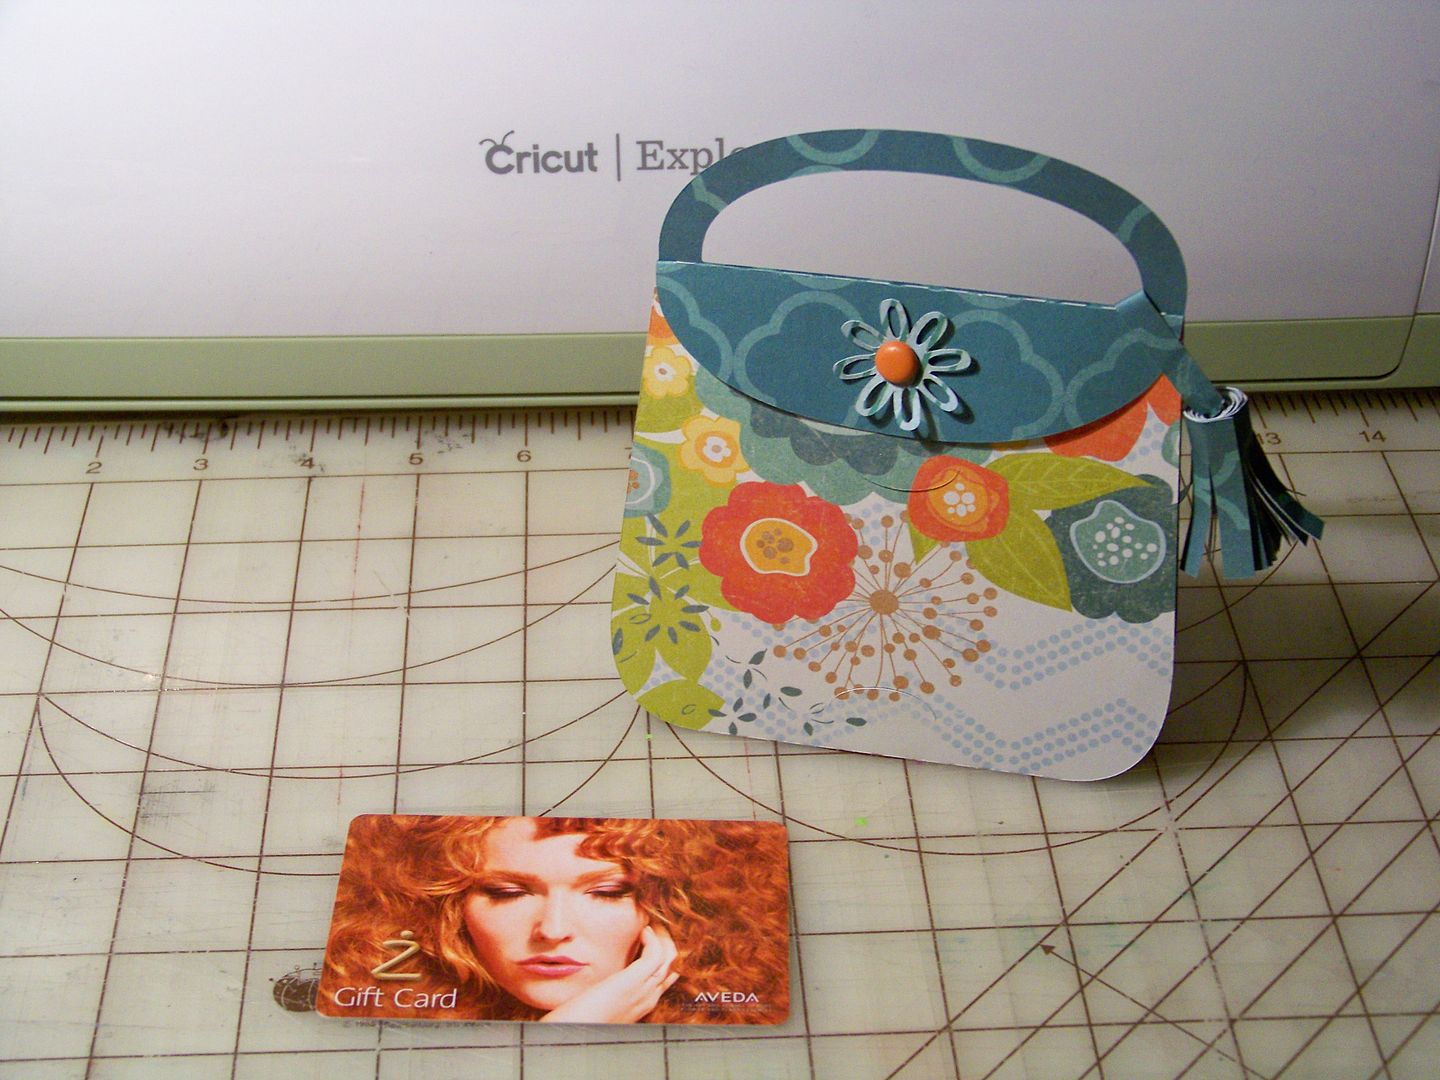
This is the easiest project ever!  The little purse is one-piece cut from SVGcuts Luxury Handbags collection. The little paper tassel is from a different purse in that same collection.  I think this is so sweet and such a pretty way to dress up a gift card!  The flower under the brad is from Mother's Day Bouquet cut at 1".  (I cut the paper tassel at 10" width, a bit smaller than the cutting menu suggests for the other purse).

I took advantage of the pattern placement when cutting the purse.


Baked goodies and a flower will accompany this gift. She is not a crafter and hand-made stuff is not her thing, but she is a wonderful person and Mom and I always invite her to our Mother's Day lunches and brunches!  (I love that they get along so well!  They usually also exchange Mother's Day gifts with one another.  Of course, my mom gives my kiddo a Mother's Day gift because she says she is the mother of her dolls.)

And... We also have a contest winner for the $25 Michael's Gift Card from my Circle NSD post (previous post on this blog).  

This is my lovely assistant, Piper. 


And she has drawn out a name.....
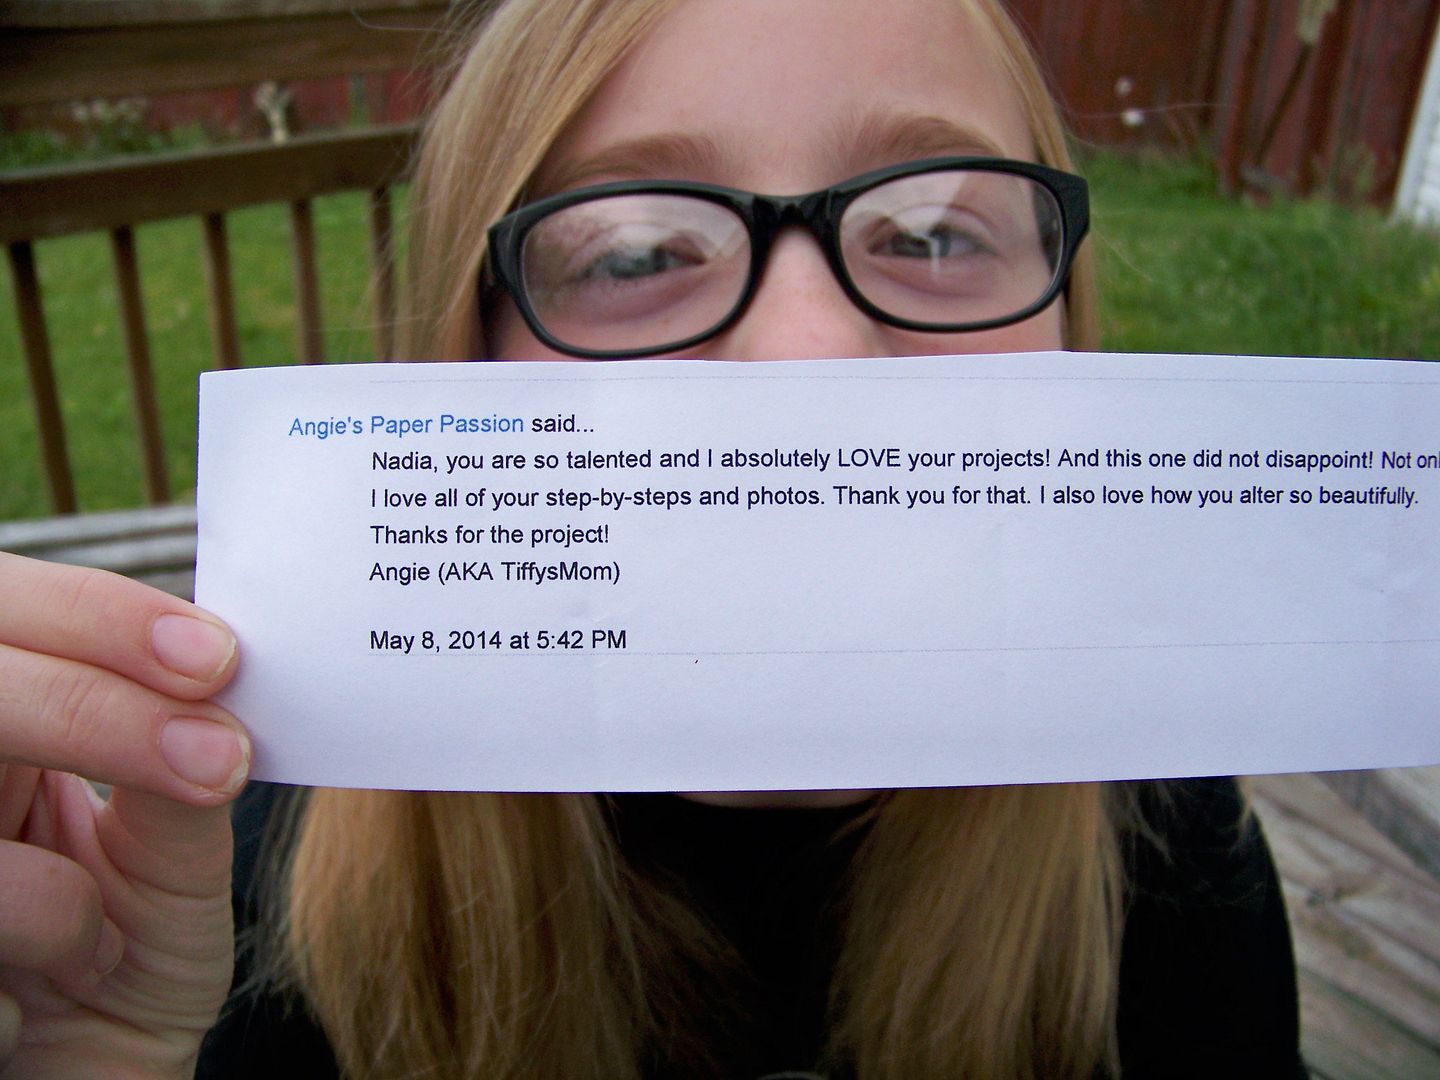


And the Winner is....

Angie (AKA TiffysMom AKA Angie's Paper Passion)


Congrats to you, Angie!  Contact me so I can mail your gift card!

Thank you for checking my blog post today!  To see many of my previous projects, check out My Project Gallery!

Tuesday, July 2, 2013

With Liberty and Justice for All....card, product review, and links to holiday freebies!


This is one of my favorite times of the year!  We are a family that loves summer and history and fireworks!  Independence Day is always ripe with all of that, wrapped in patriotism and family celebrations.  We have lots to celebrate, especially since this is a busy time for our family businesses!

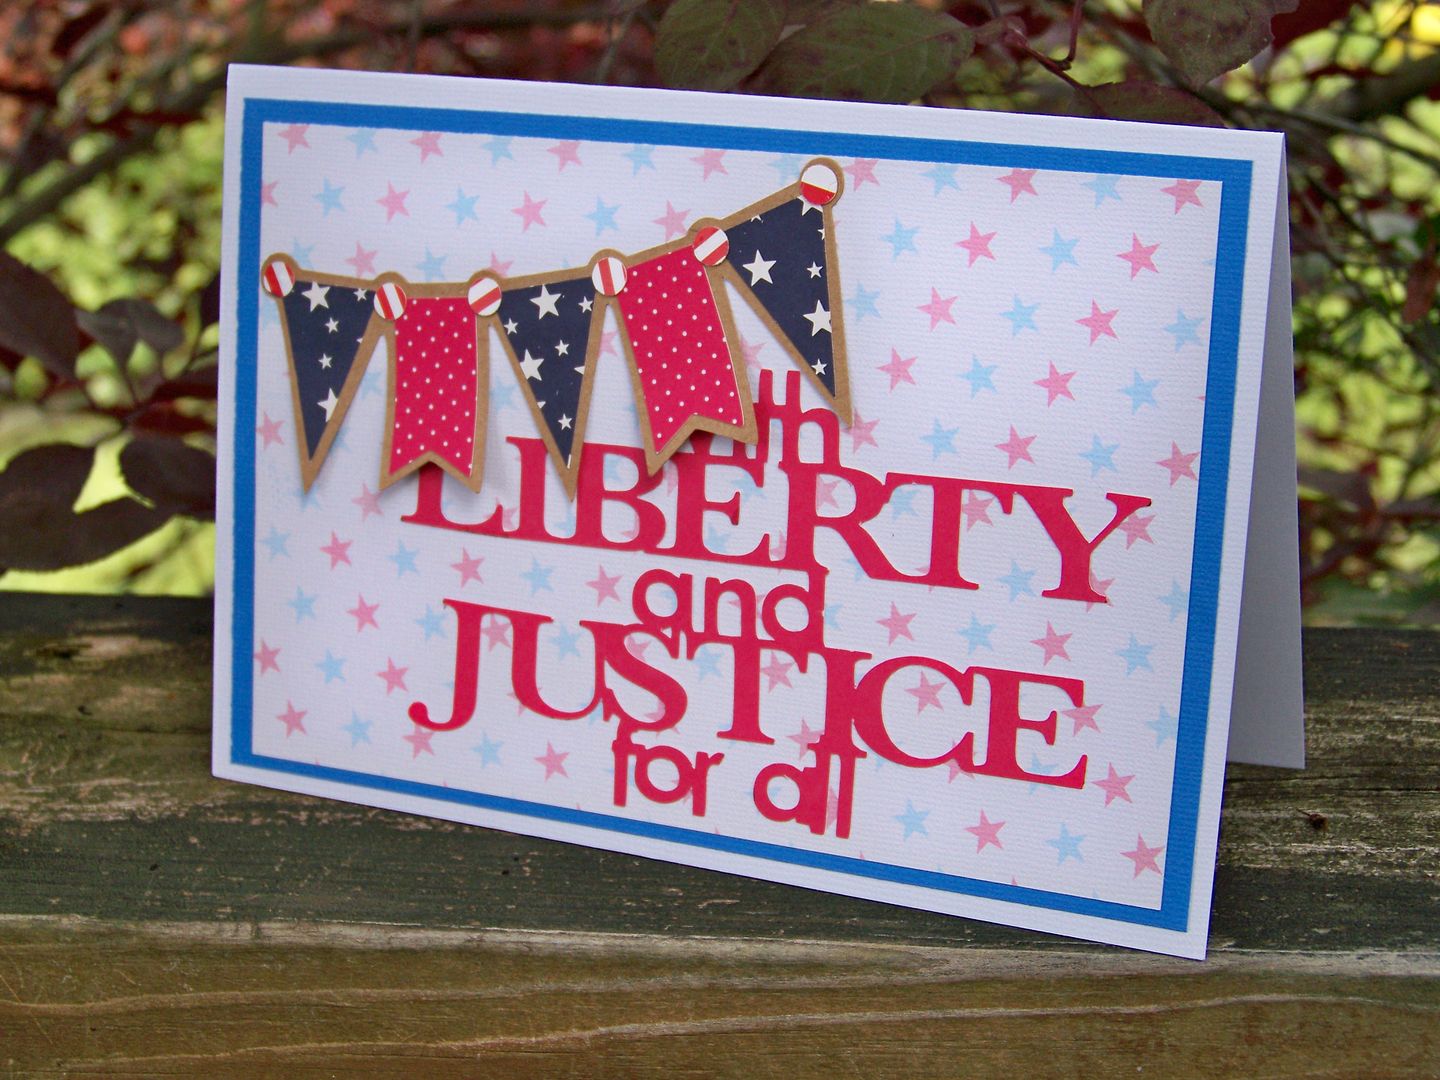
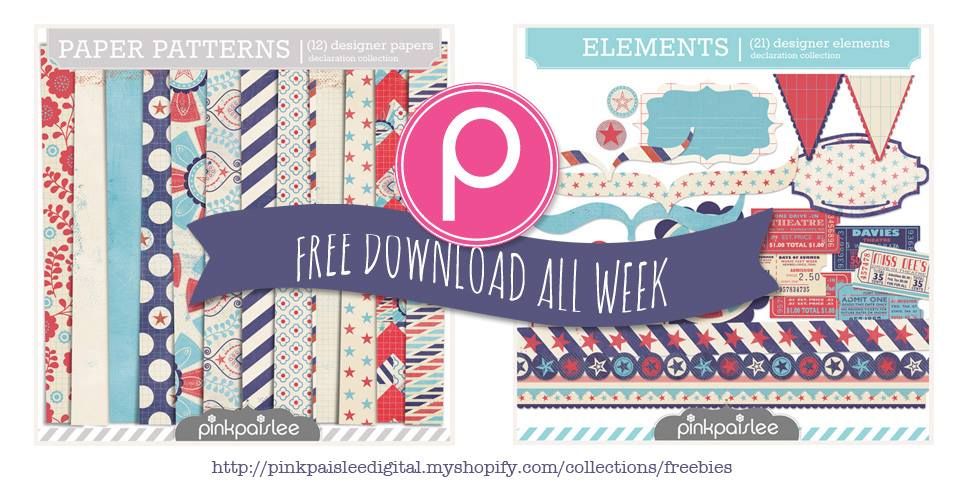
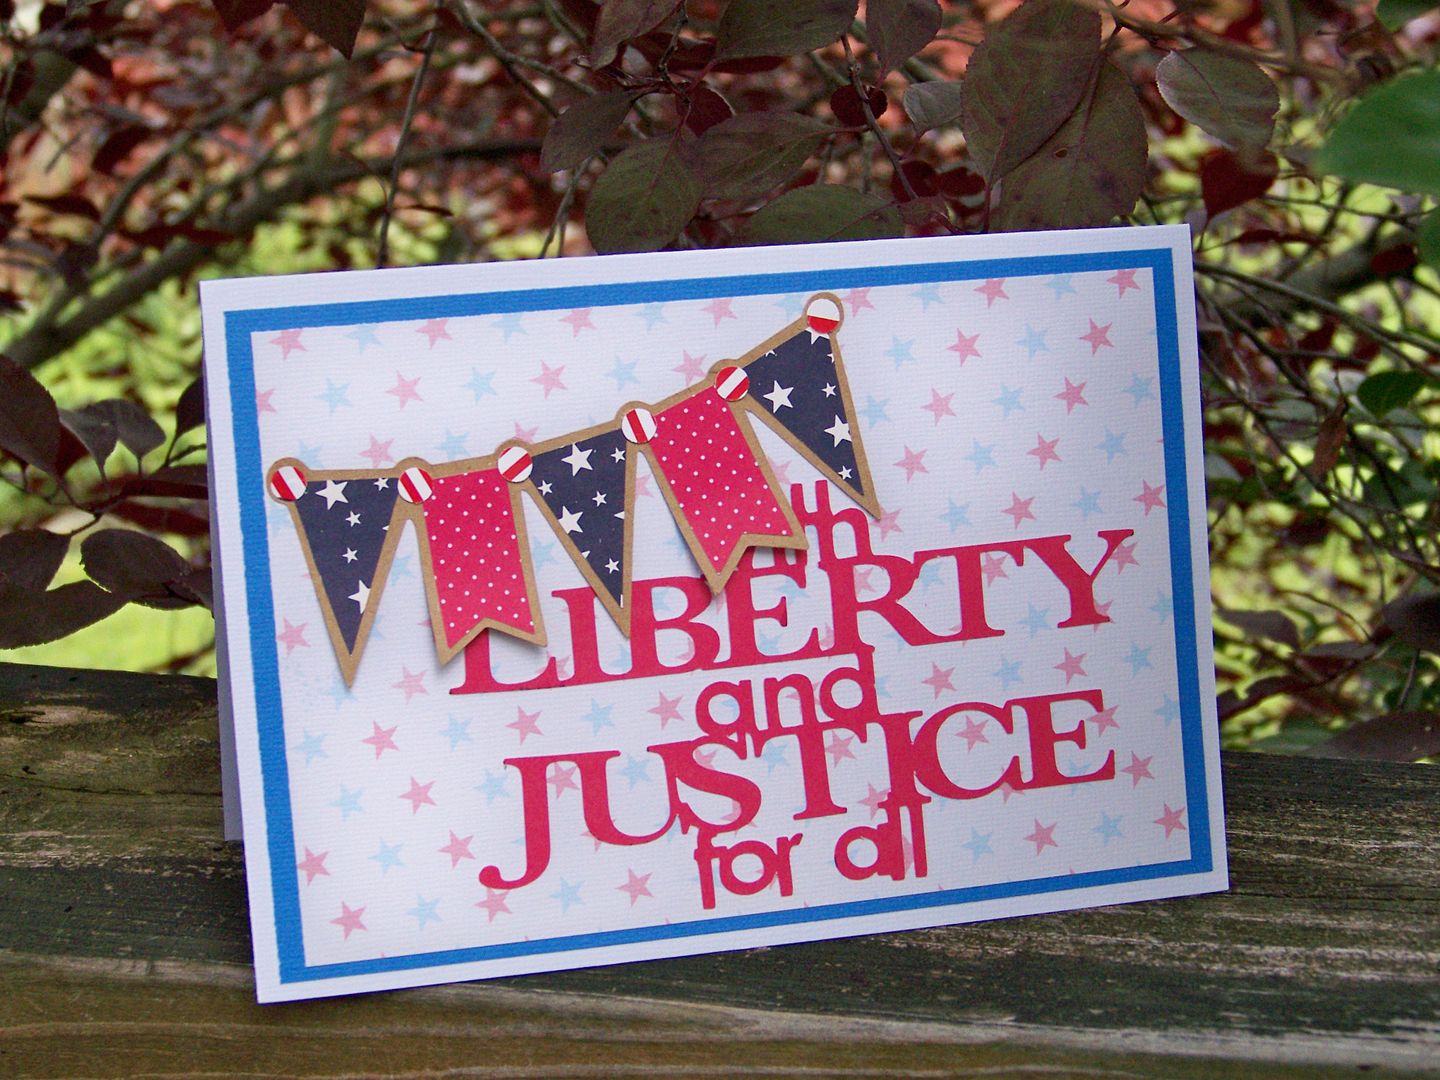
Follow my blog with Bloglovin For fun (and stress relief) I made a quick card to send to someone who has been on my mind.  The starry base was created using FREE digital Pink Paislee files!  This week only, Pink Paislee is offering free downloads of red-white-and-blue paper patterns and elements that are perfect for the 4th of July!  Click here to download yours!  And if you are looking for some ideas for using these, check out their free idea ebooklet, Declarations.  Click here for the ebook!


I printed the starry paper on textured card stock.


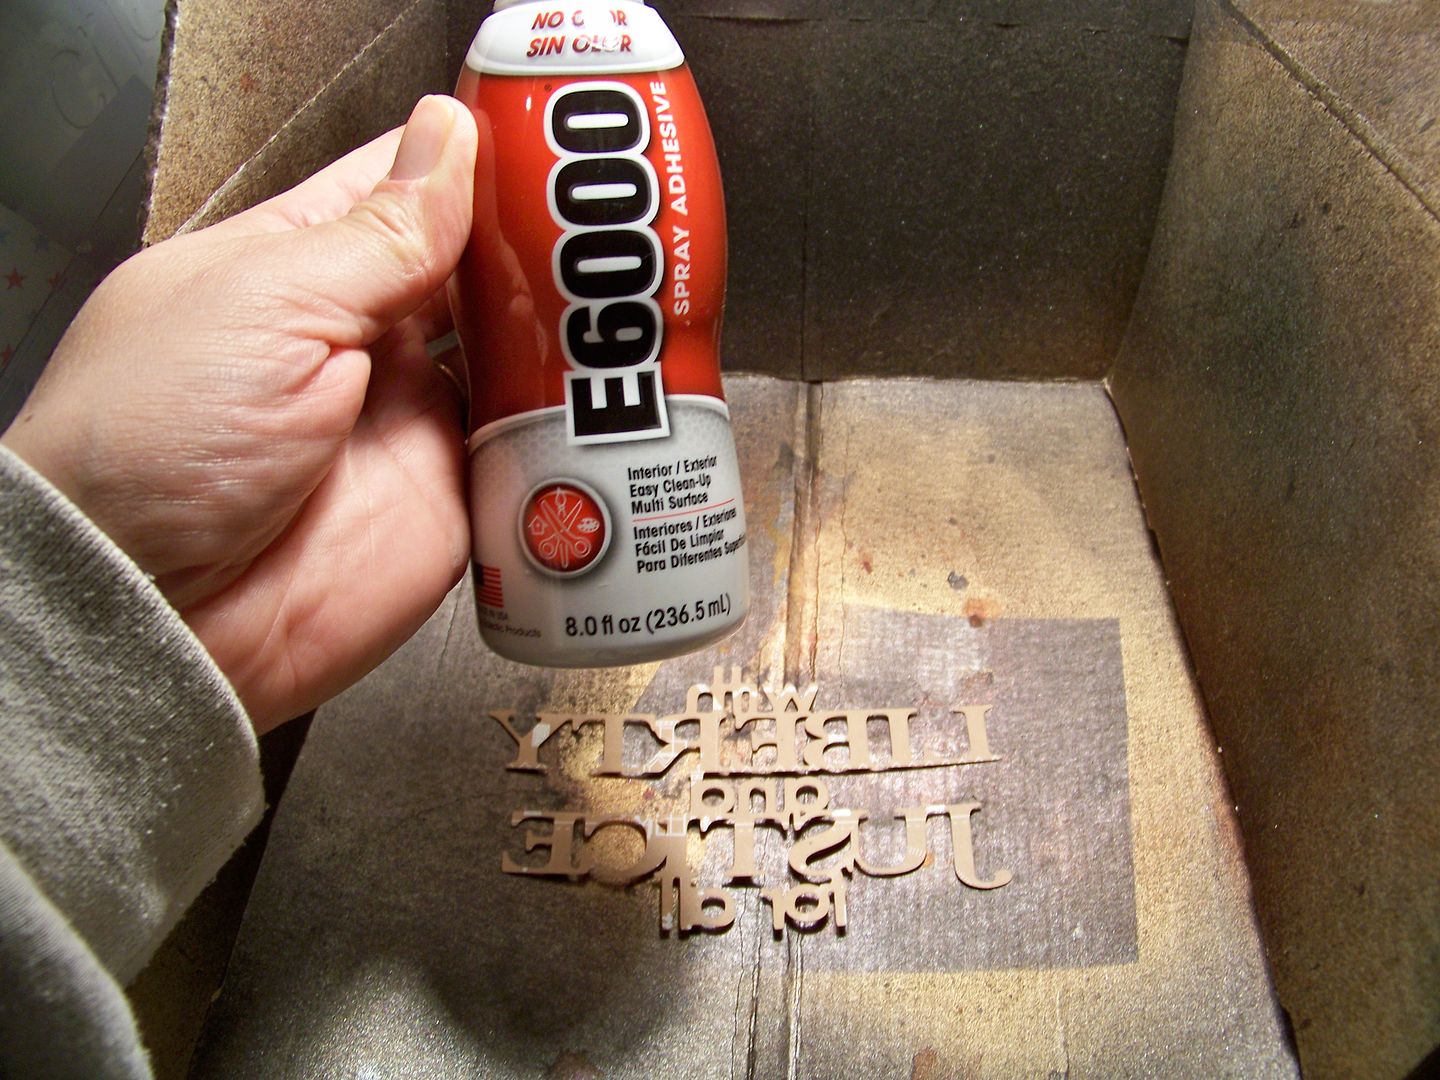
The banner was cut from Cricut Holiday Frames and Tags (page 35) at 2" from kraft paper and scraps in my stash.  The text was cut from Cricut Stand and Salute at 3".  For the first time ever, I used the new E6000 spray.  (For years, I have used the original E6000 tubes of plastic adhesive.  That is the best stuff ever for non-porous stuff.)  I tried the spray on this paper project for the back of the text.


It worked great, didn't buckle the paper, and even with a pump sprayer, delivered an even coating of adhesive.  The best part:  absolutely NO fumes!

I layered it on a blue mat and placed it on a white card base.


Best wishes for a safe and happy July 4th!


Linking this week to...
Photobucket
Fantabulous Cricut
Exploring Cricut

lovetoplayatCIUbutton-1

Tuesday, May 14, 2013

An Old-Fashioned Hello


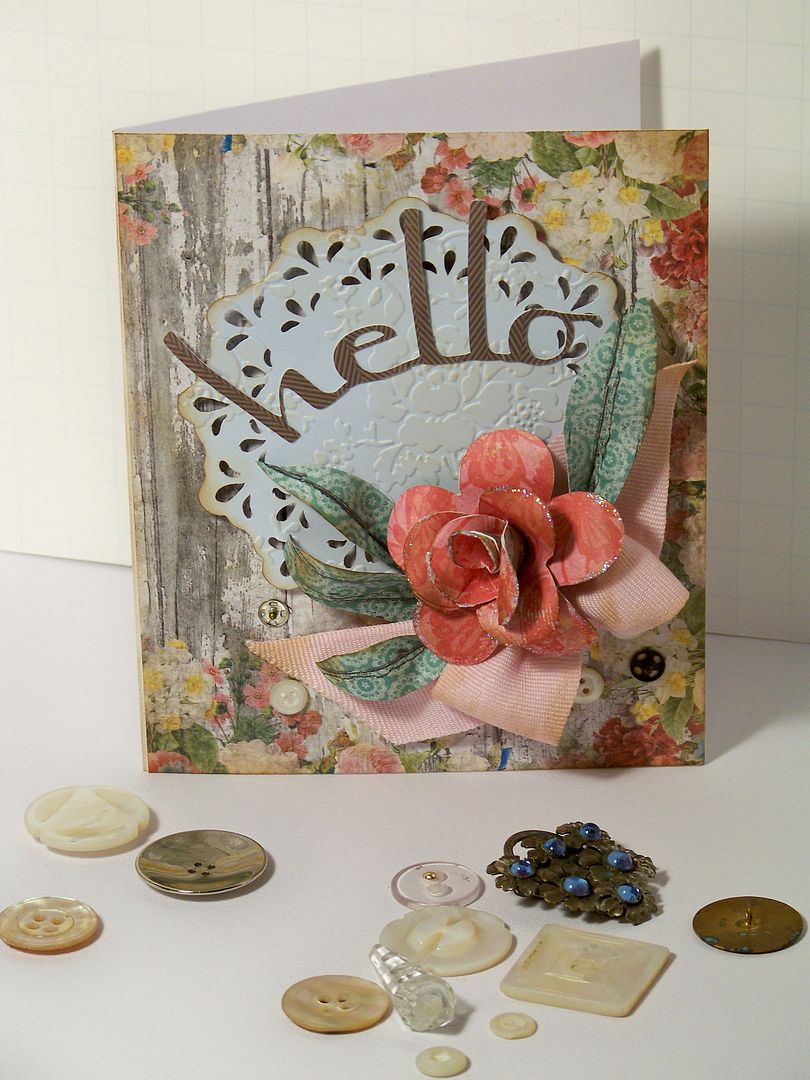
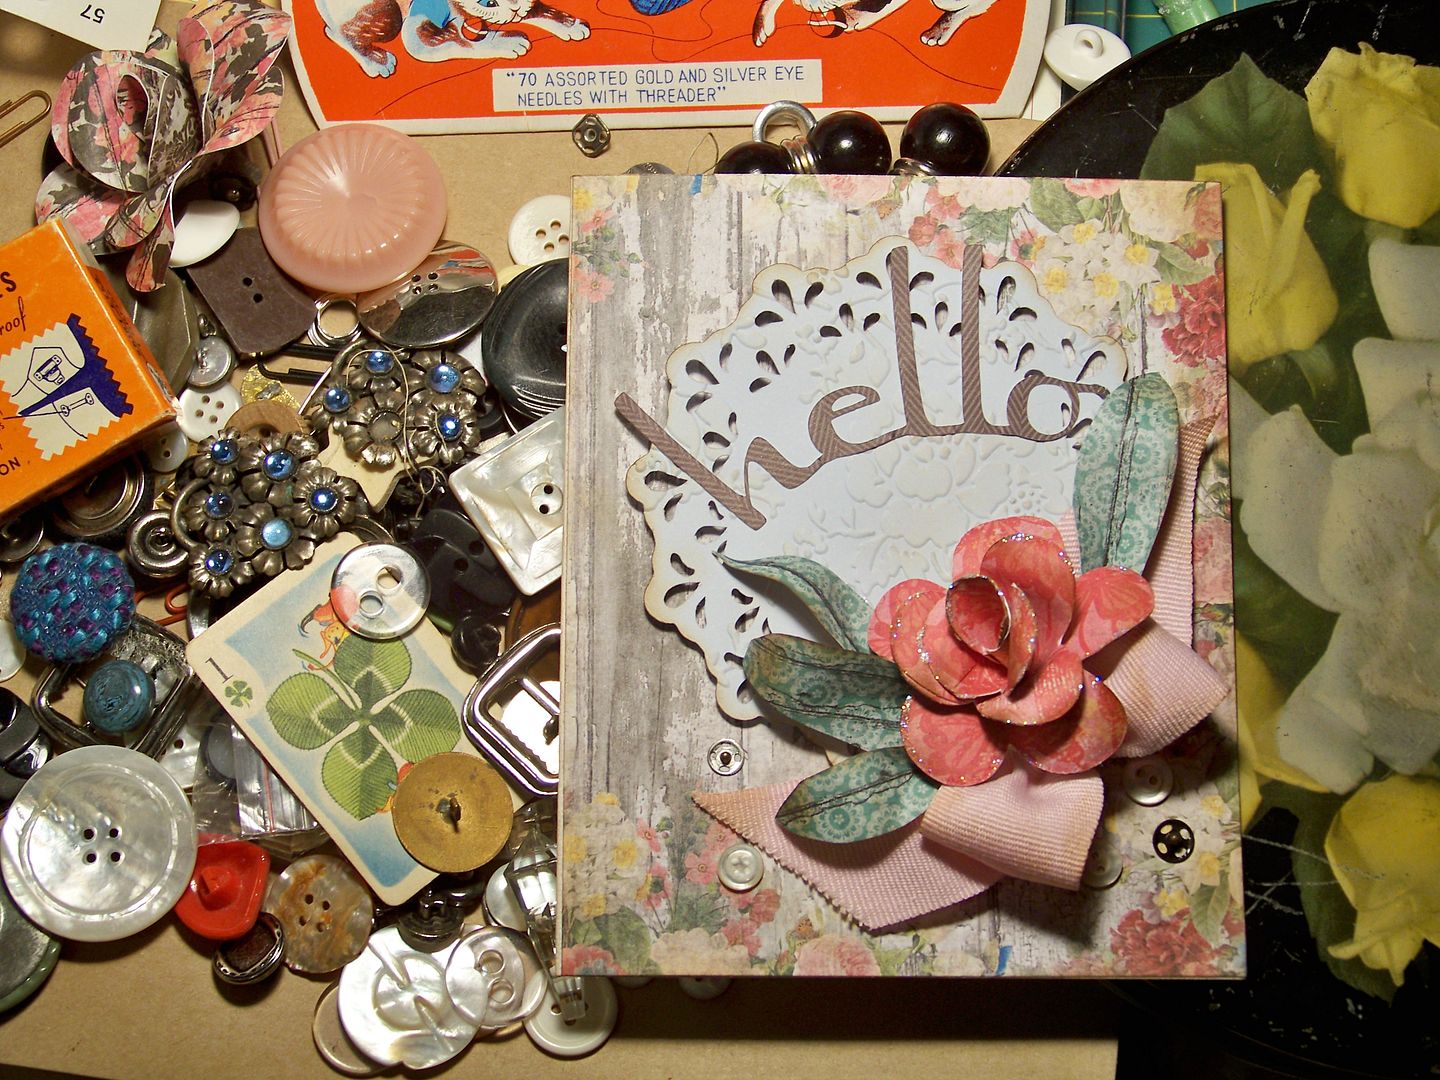
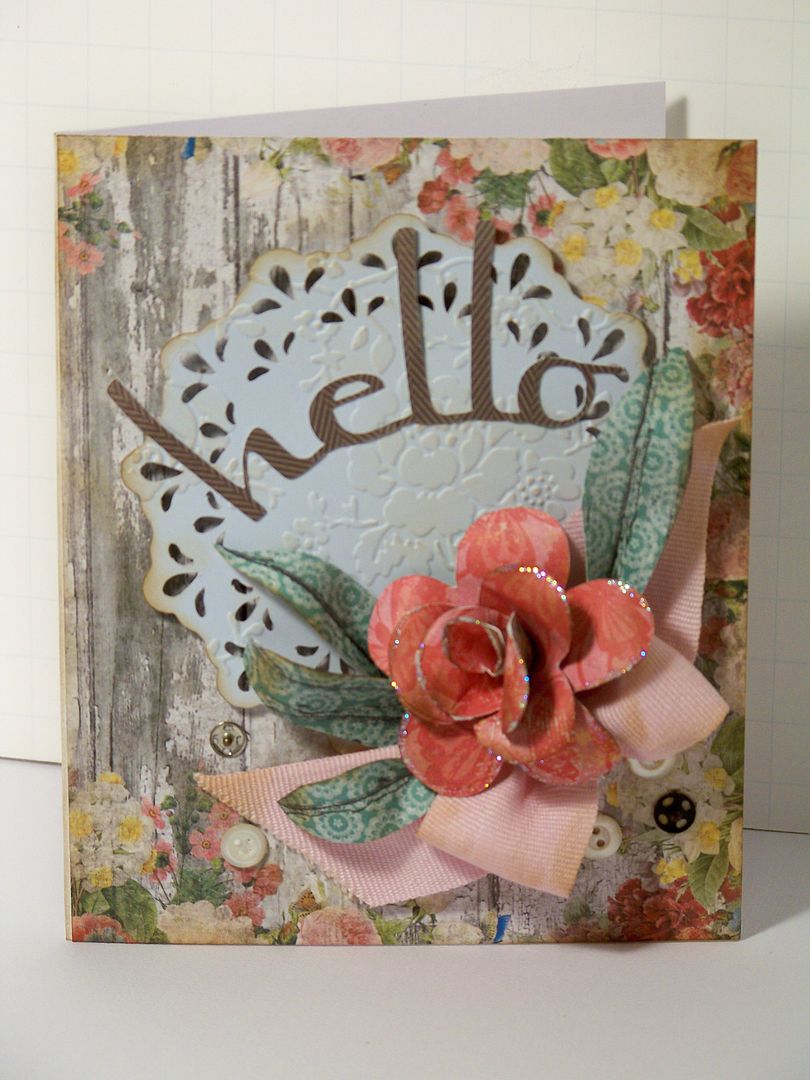
I have been so inspired lately by the beautiful cards created by Michele Kovak on her blog, Thoughts of a Cardmaking Scrapbooker.  I love her style and have learned so much from her since finding her on the old Circle Design Team.  I thought it would be fun to get out my 'Michele sponge' and make a card inspired by some things I have been seeing on her blog.  I love her recent Mother's Day card tutorial,  mini album, and Easter card.  I also wanted to make something that looked vintage.  I thought this would be a fun card for my last project on the Cricut Fanatics blog. (You can find me there today!)

I started with a paper pack from My Mind's Eye with lots of weathered wood and shabby chic florals.

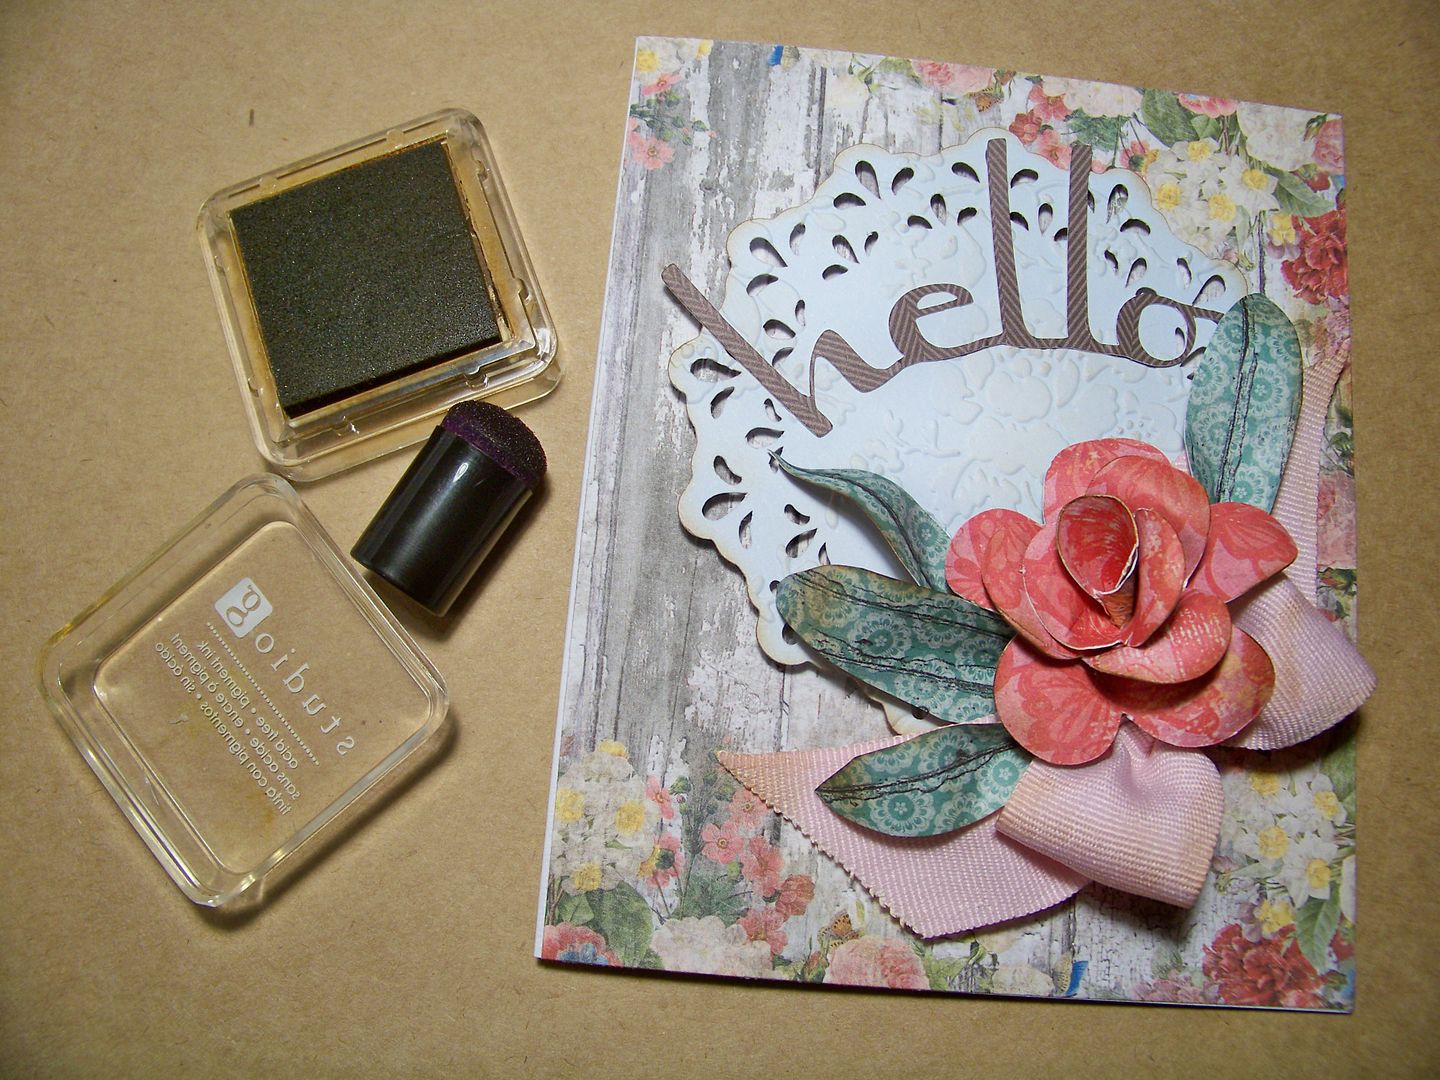
I cut a doily from Artiste (page 31) at 4".  After inking it and embossing it, I popped it up 1/4" so that a natural shadow would separtate it from the card surface.  I added my ribbon.


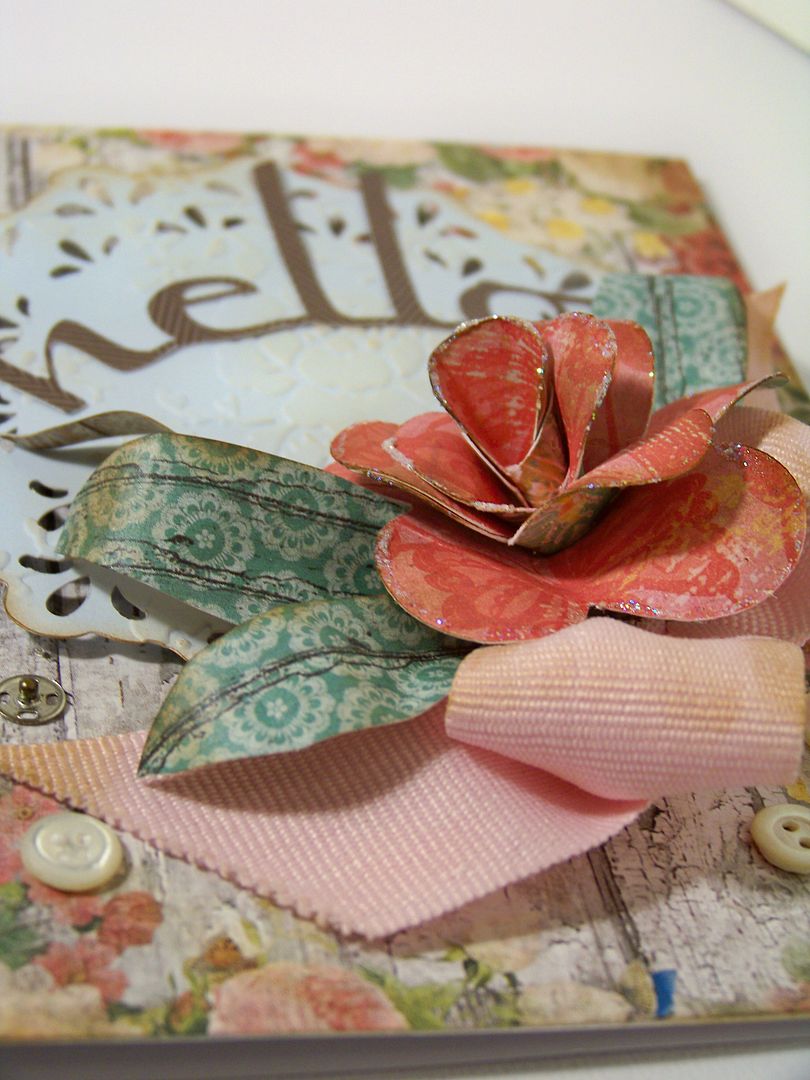
I created a dimensional flower using directions by Kathy Orta, cutting the base pieces per her instructions from Cricut George and Basic Shapes at 2".  This is the same flower I recently used in a larger size inside an explosion box.  To see my box, click here.  To check out Kathy's video tutorial, click here.  I added a thin, fine line of glitter paint along the edges of the flowers. That felt old-fashioned, like some of my grandma's Christmas ornaments.  I hand-cut leaves, bending and folding to create a little dimension.

The text was cut from Cricut Lyrical Letters at 1-1/2" and manipulated by hand to curve.  (I cut away the butterfly that was part of the text).

To make everything look aged, I inked with brown, including the flower and ribbon.


For a little inspiration, I got out some of my Great Aunt Henrietta's buttons and findings...and added a few buttons and snaps.  


I really enjoyed making this card... and making a mess, revisiting some of my treasures.  Thank you for checking my post today!


Friday, May 10, 2013

E-I-E-I-O and Ease On Down the Road Challenges - Mother's Day Card

In a fit of crafty craziness, I got a card done this morning while my husband was in a phone meeting! That may have been the fastest I have ever made a card in my life! But before I get to that, if you are looking for my NSD tutorial on adding dimension to die cuts or for my gift card give-away which ends Sunday, May 12th (Mother's Day), click here!


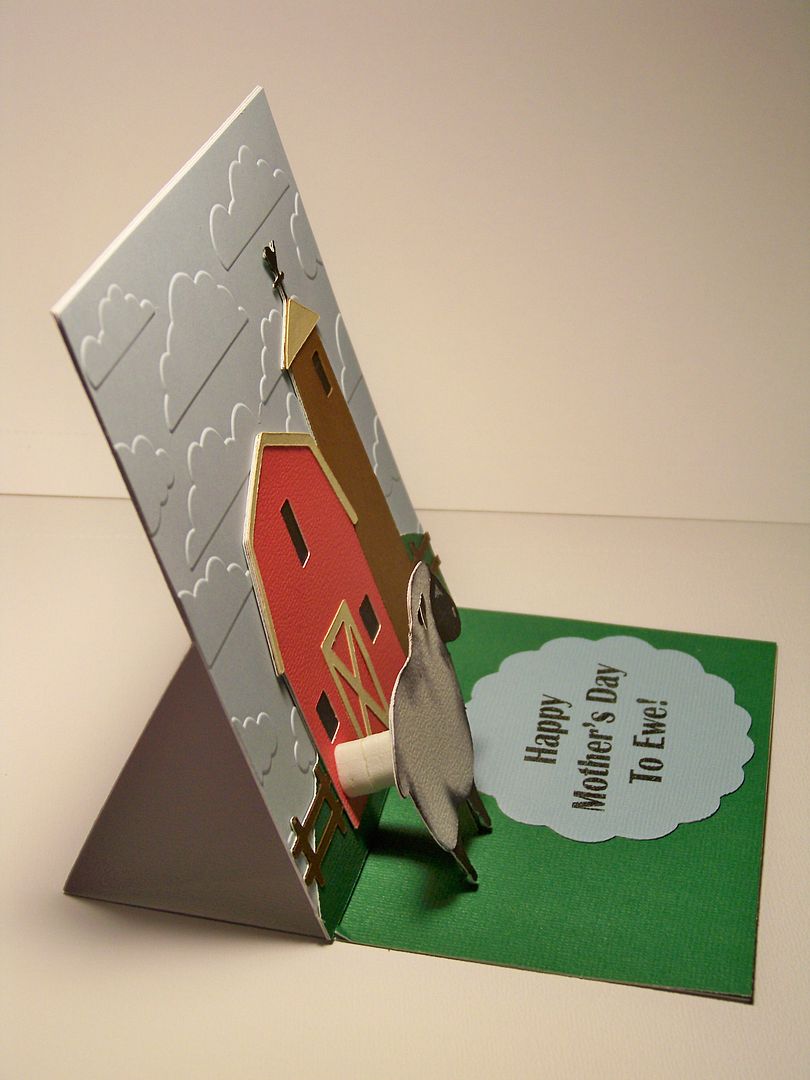
So my husband and I share a space in our home-- he uses it for his office and I use it for my craft and sewing area.  Although I don't mind working with him in there, he hates it when I am there!  A couple of years ago, I moved my office downstairs just so I could get my work done... why didn't I move the craft stuff too?  Not thinking that day, I guess!  Anyway, the fact that I could learn it and do it so fast  illustrates even better how fantastic and easy-to-follow the easel card tutorial is that Colleen (of Col's Creative Corner) created for a challenge for NSD!  Her challenge started last weekend, but it continues through Saturday so there is still a little time to swing by there!  All you have to do to join the fun is to make an easel card!  Click here to check it out-- and find her great tutorial!

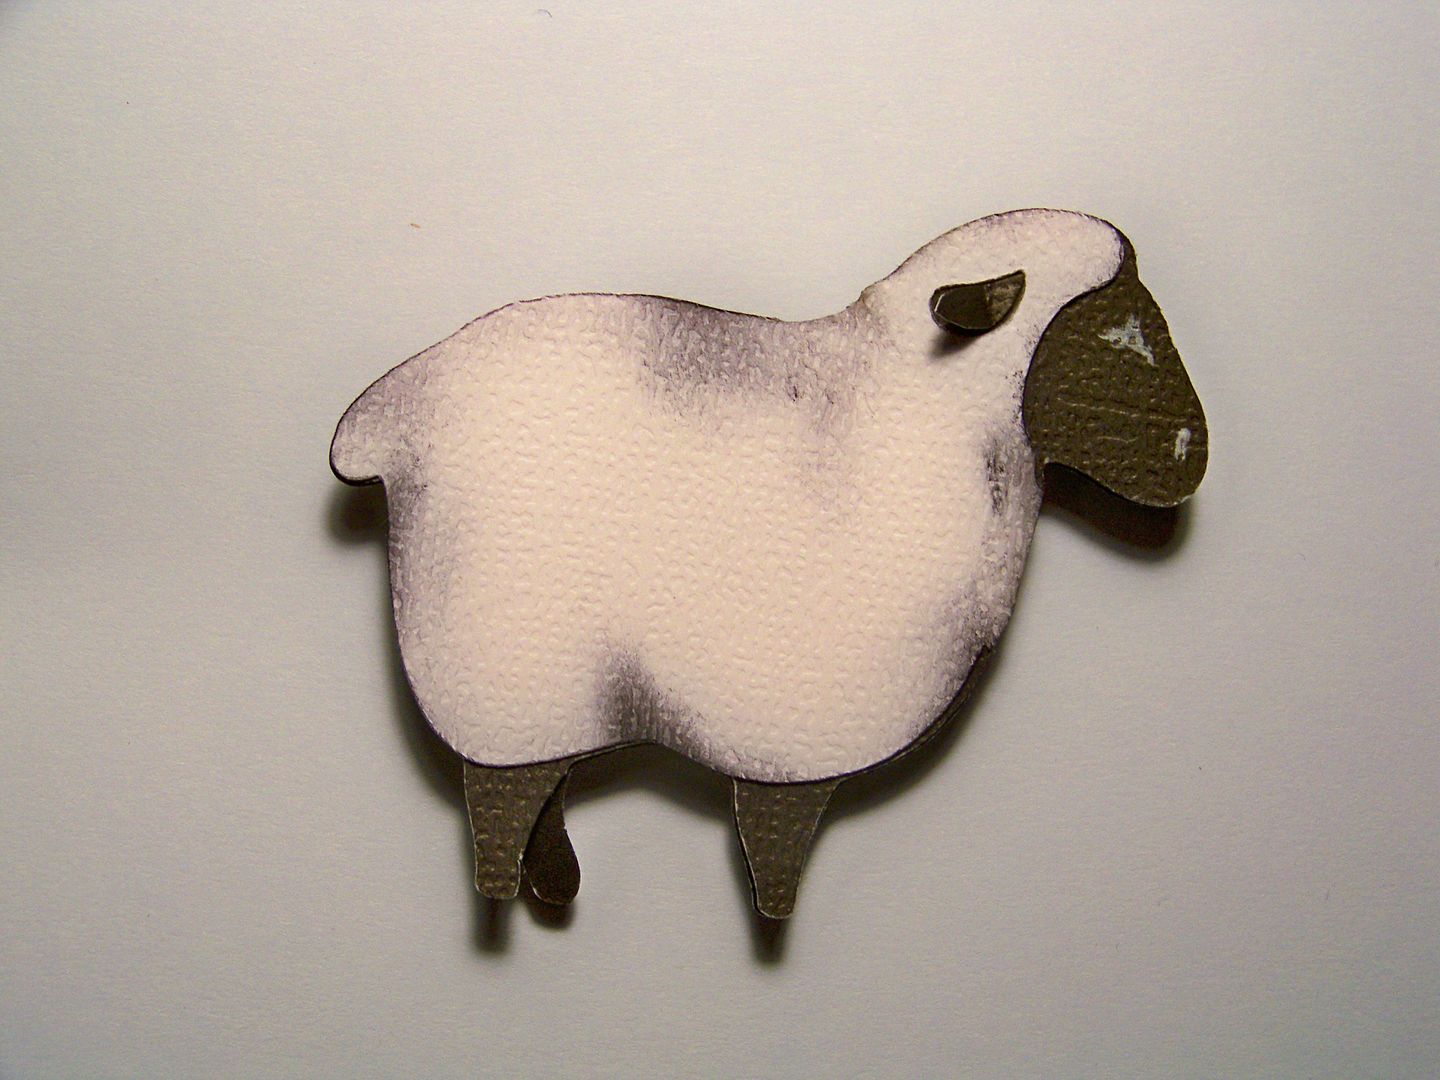
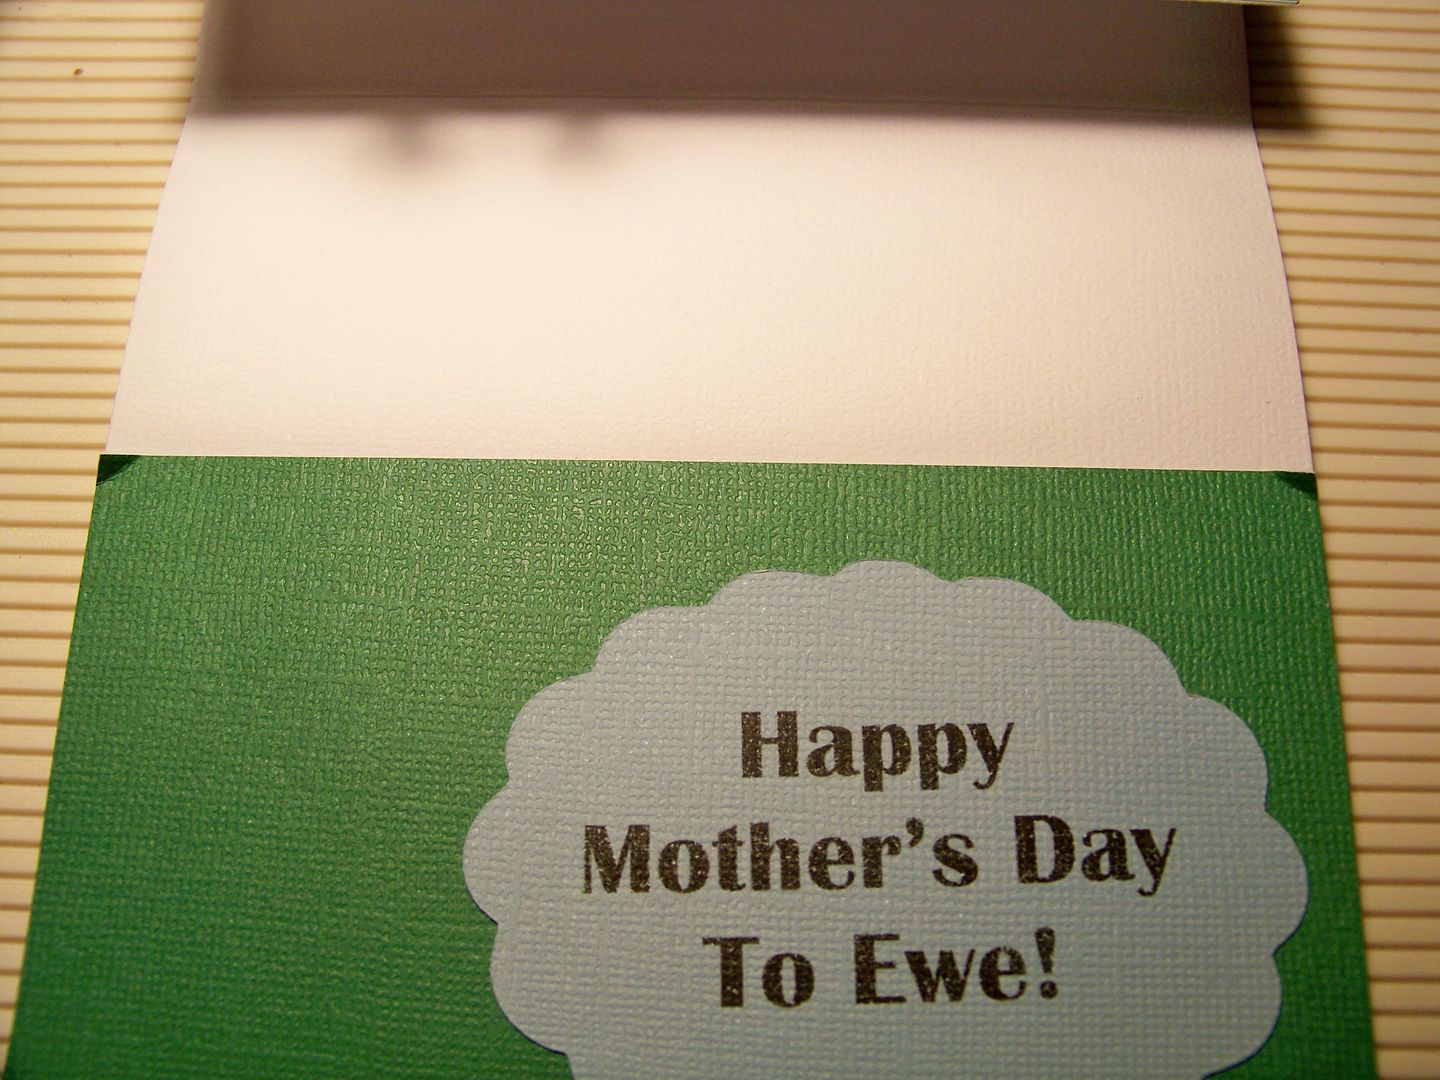
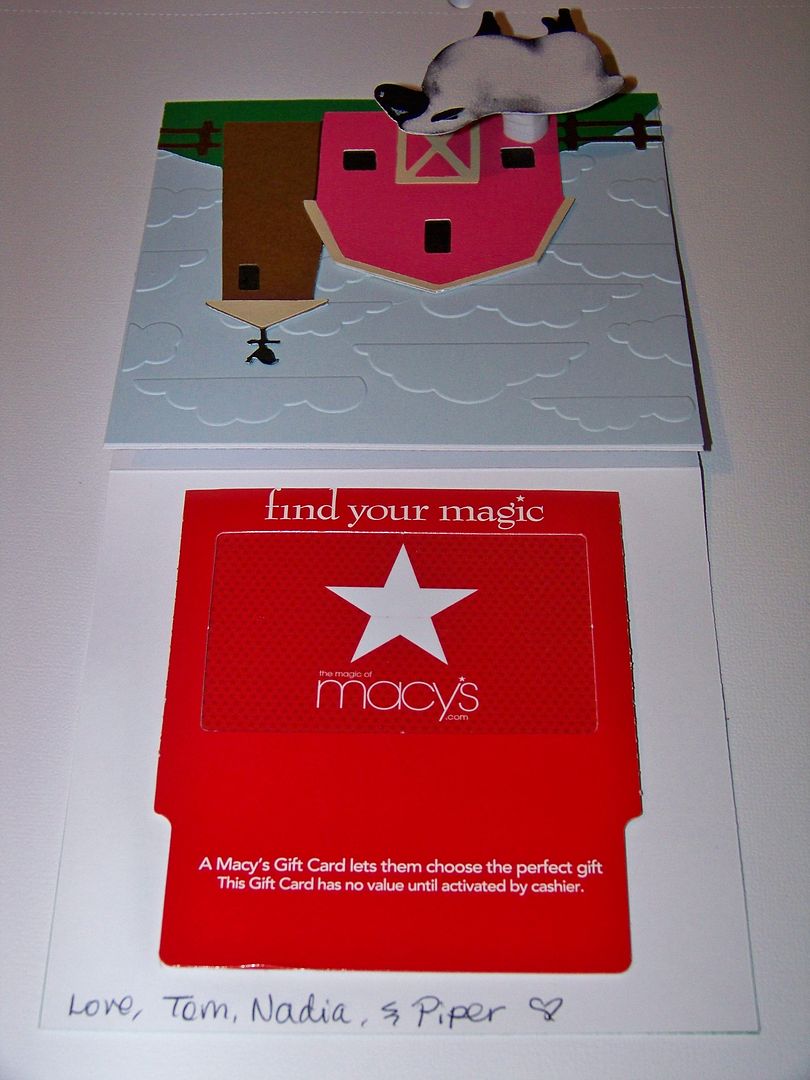
I am combining it with a challenge from Jenny Dennis on the message boards to make a project with a barnyard animal!  Jenny's fun challenge made me think immediately of my mother-in-law who has a farm!  They raise antique tractors on their farm (LOL) but I chose a sheep so that I could get a little punny on her card.  I made it dimensional by cutting two sheep (one flipped) so that the legs were really separated.  I added a separate ear and inked her so that she looked more detailed than the barn and landscape behind her far off in the distance.


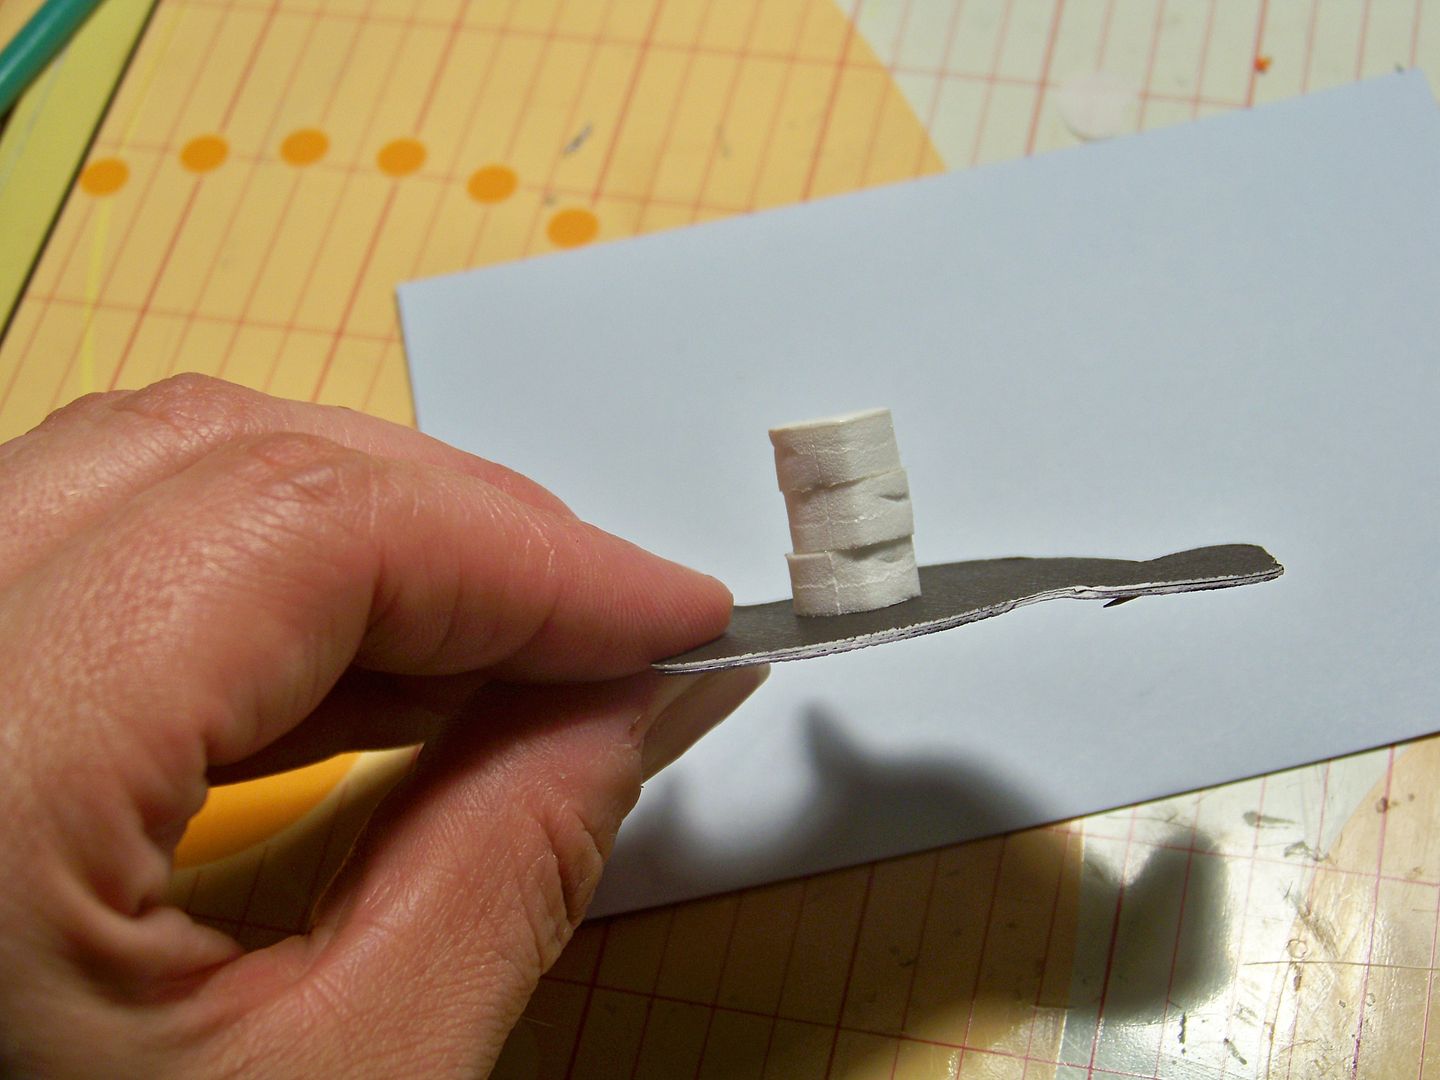
I used layered pop dots to make the sheep pop up about an inch.


The sky was made using a Cuttlebug embossing folder.


I added a mat with my sentiment that I printed using my computer.  I turned up the corners on the bottom to make it easy for the easel to 'catch' in place.


This card was made using Colleen's measurements from her tutorial so it is the perfect size to fit one of those gift cards from the grocery with all that extra packaging.


  • The barn scene was cut at 4" from Cricut Country Life (I cropped off the sides to fit the card).
  • The sheep was cut from Cricut Quilted Christmas (I cut off the bell and holly silhouette) at 2".
  • The text mat was cut from Cricut Elegant Edges at 3".


Thank you for checking out my blog post today!  This is a final reminder to swing by my tutorial and leave a comment over there for a chance at a gift card (don't leave it here-- it won't count!).  You can find it by clicking here.

Check out all the Circleville NSD bloggers' posts-- some have challenges, some have tutorials, all have prizes but you need swing by soon because they end by Mother's Day (May 12) so you need to visit before then!  Here's a list:


  • With Glittering Eyes  (that's me!) - "It's All About Perspective" tutorial and $20 Hobby Lobby Gift Card give away.
  • Around the Block with Scrapalette - "Tic Tac Toe Challenge and Blog Prize!
  • Col's Creative Corner -  "Ease on Down the Road" Blog Prize- $15 Michael's Crafts Gift Card!
  • Paper, Craft and Scissors - "On Pins" theme and Blog Prize - $25 Simon Say Stamp Gift Card!
  • Stamp, Cut, Create! blog - "Tin Is In" theme and Blog Prize!  
  • All Scrapped Out - "What's It Owl About" theme and Blog Prize! 
  • The Non-Crafty Crafter - "Let's Split- CCR Tutorial" (Learn to create a split letter monogram) and Blog Prize!
  • Scrappin With The Bug blog - "The Crazy Bs Challenge"  and Blog Prize!
  • Sara W. Andrews blog - "Go Big or Go Home Challenge" and Blog Prize - $20 Hobby Lobby Gift Card!
  • Scrappin With the Bug blog - "Tropical Sunset Color Challenge" and Blog Prize!
  • I Came, I Saw, I Created blog - "Did-I-MENSION???" Challenge and Blog Prize!


  • Wednesday, May 8, 2013

    On Pins and Did-I-Mension Challenges - Mother's Day Set

    The Circleville NSD challenges go on through the weekend and I am still happily on my crafting marathon doing them!  These are my entries in the 'On Pins'  and 'Did-I-Mension' Challenges, but before I get to that, if you are looking for my tutorial on adding dimension to die cuts or my gift card give-away, click here to find it!


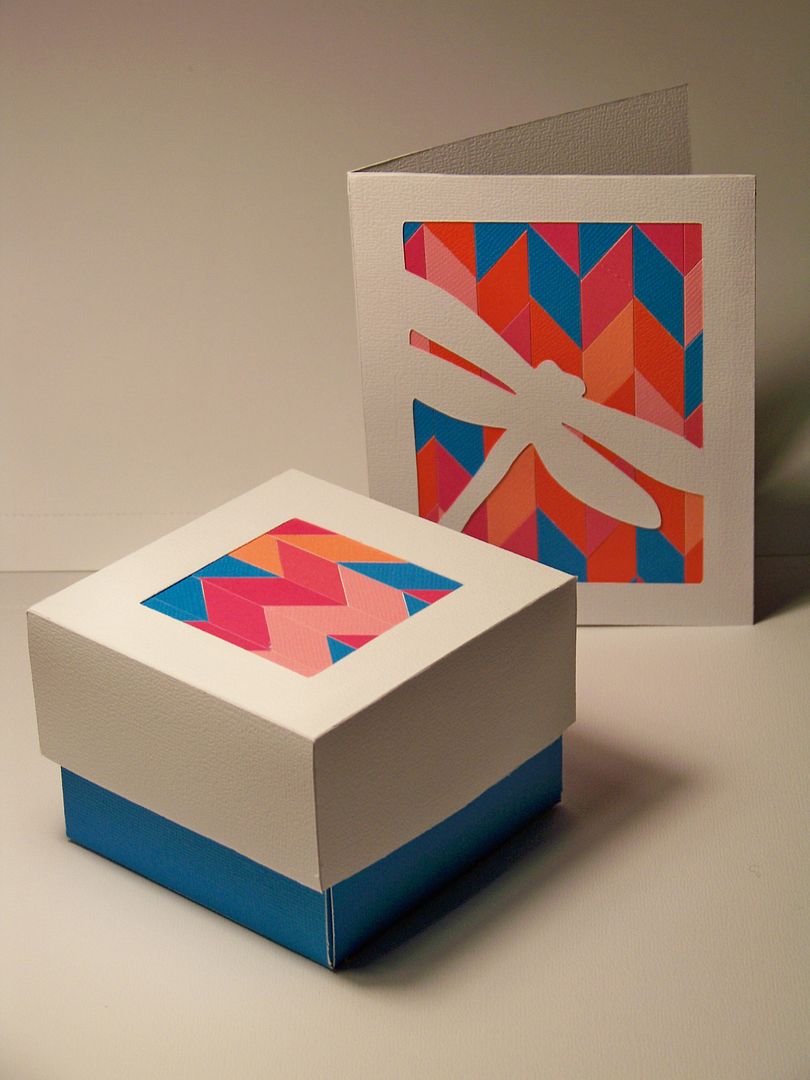
    For the 'On Pins' challenge, Sis (from her blog Paper, Craft, and Scissors) asked us to choose an inspirational pin on Pinterest and create a project from that inspiration.  I chose a project by J.J. Bolton (which you can see by clicking here).  She used a punch to create a chevron, glued them down horizontally, then cut the page into vertical strips.

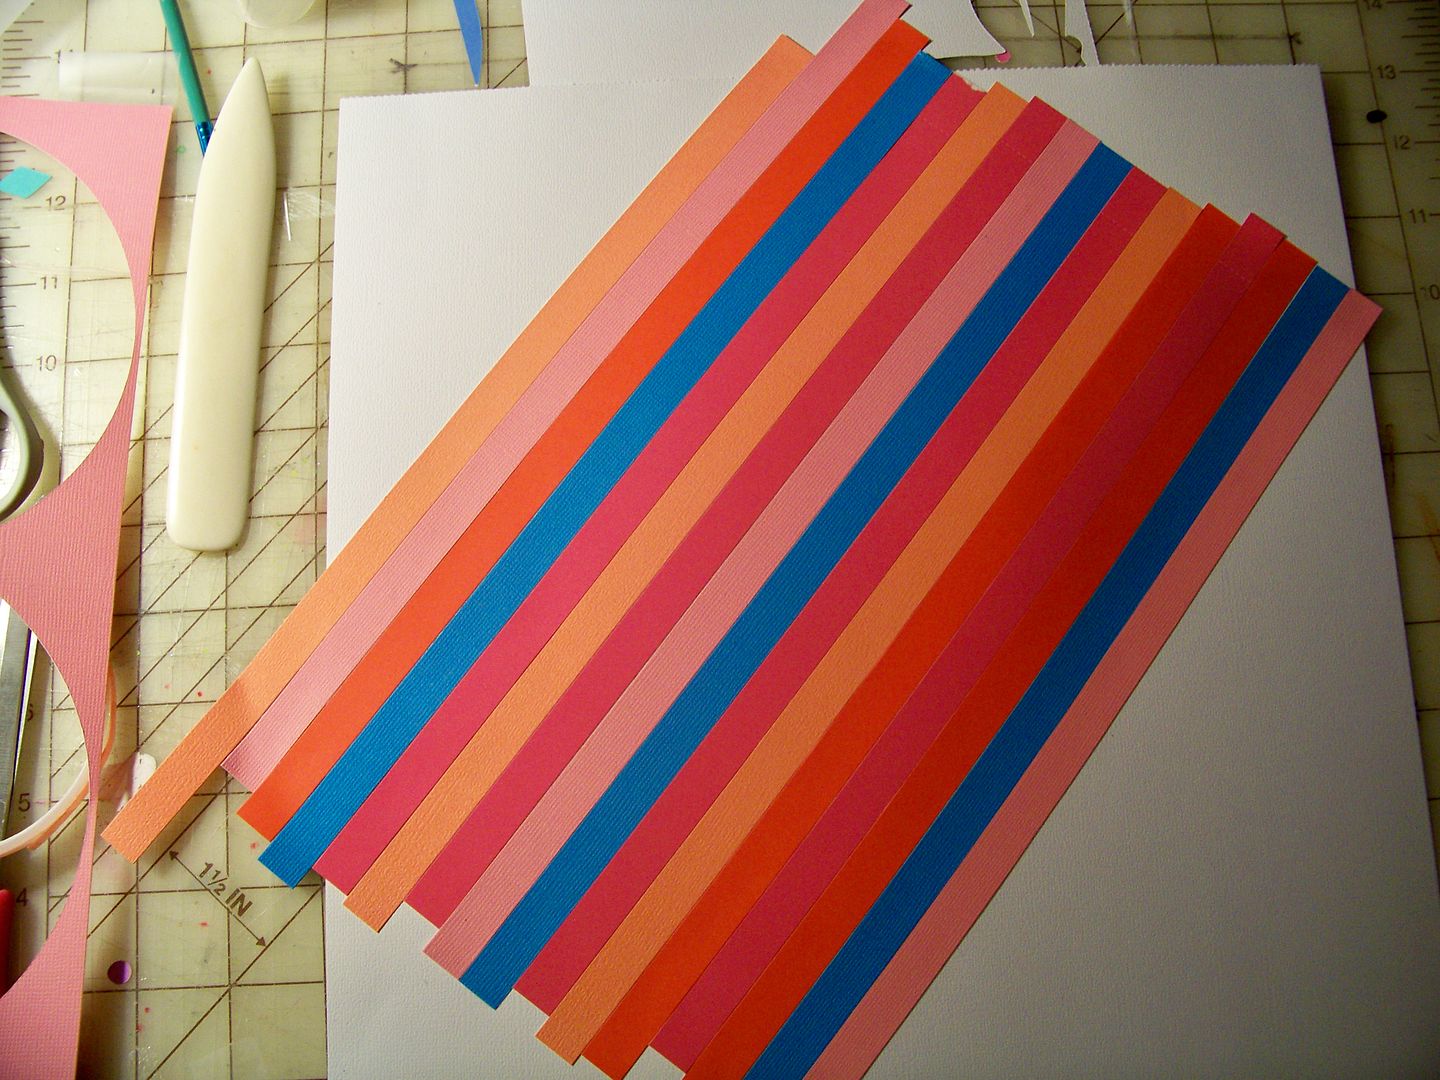
    For mine, I cut colored papers into 1/2" strips, then laid them on a sheet diagonally, glued them down, and cut them into 1/2" strips, forming a diagonal pattern on each little strip.


    I did a second sheet with the strips going the other way diagonally and cut them as above.


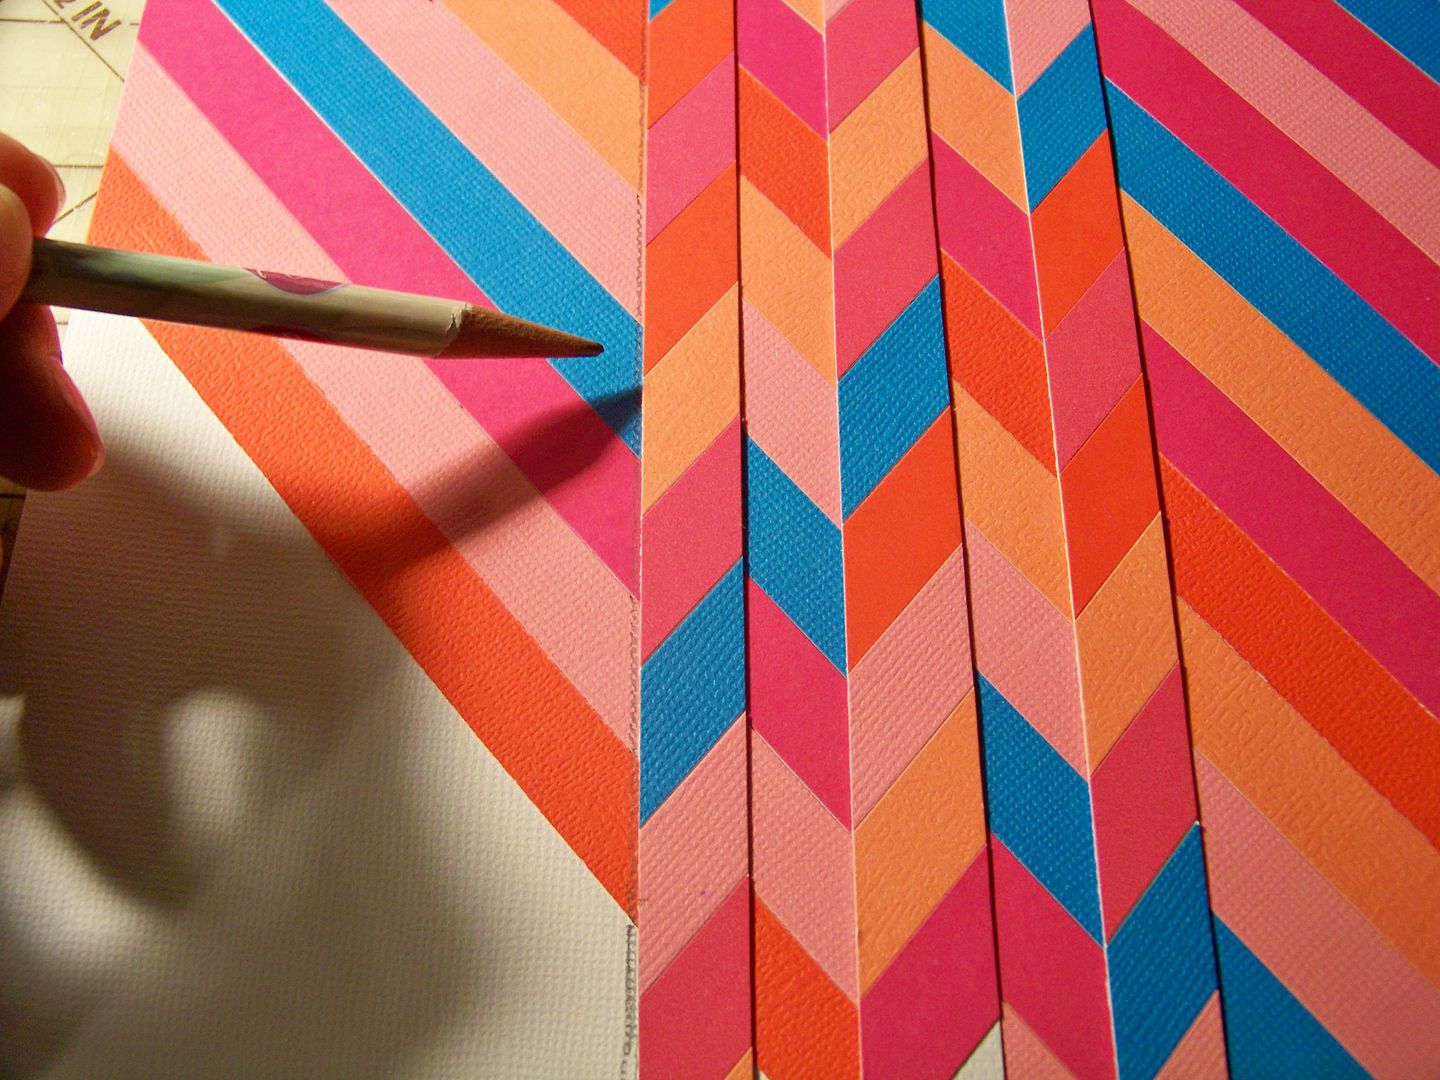
    Because I didn't place my strips in exact 45° angle on the paper, in order to know where to begin cutting strips on the second sheet of diagonals so they would match on the final design, I placed one of the strips from the first pile on top and matched the points.  I drew a line to mark the first cut.


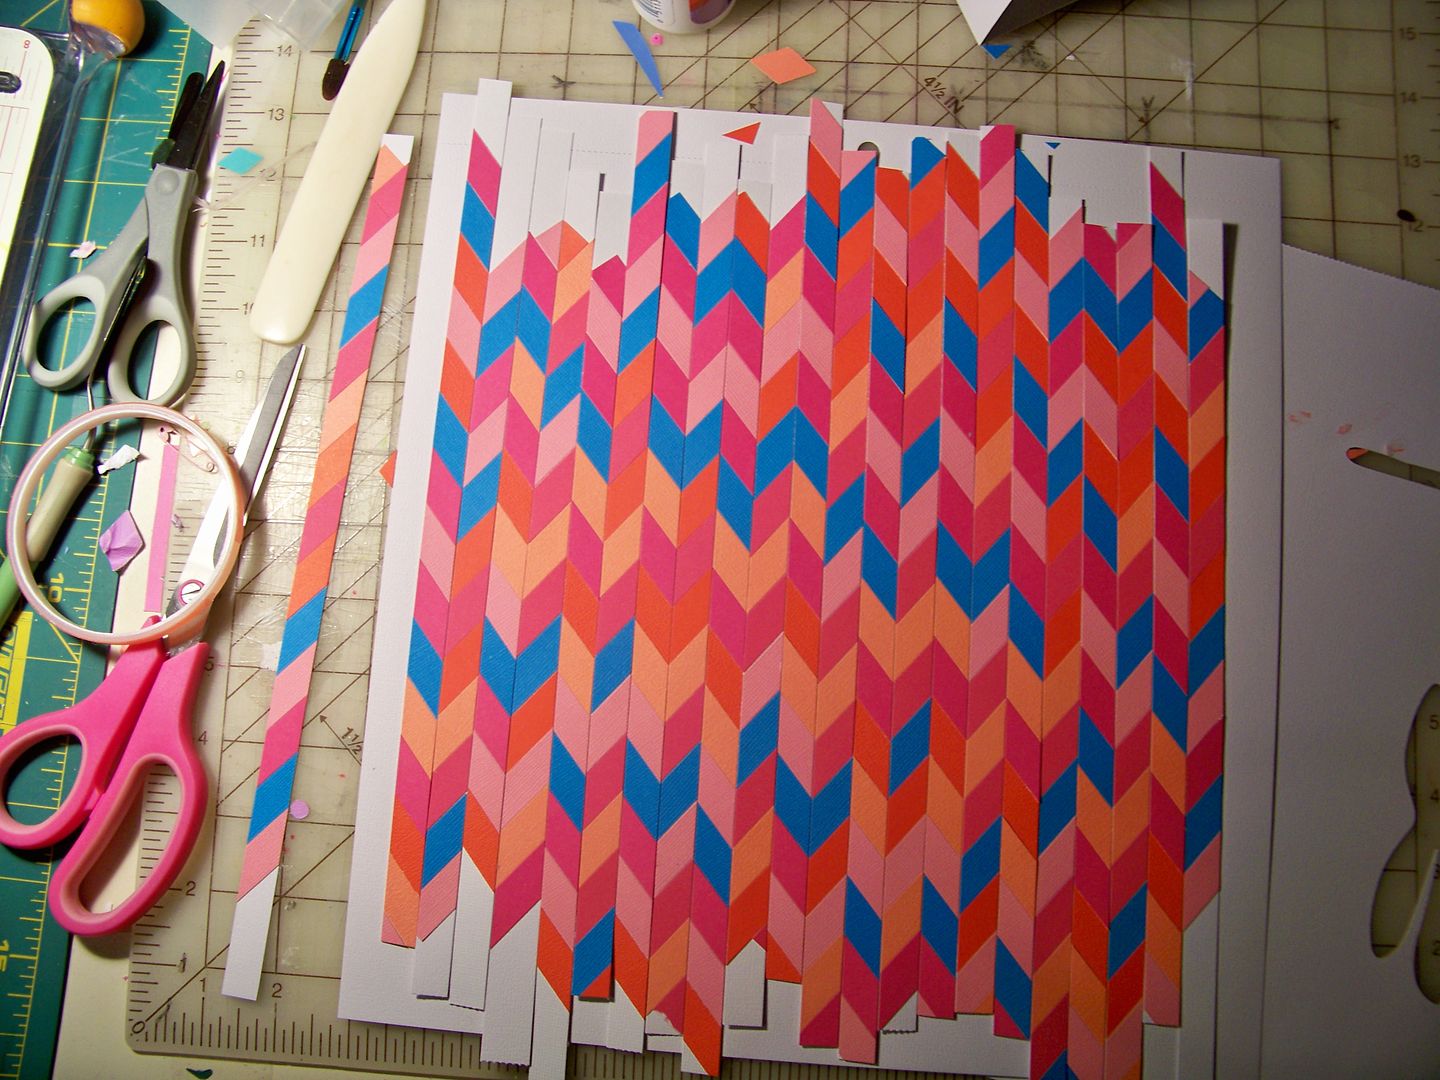
    Then I alternated one strip from each pile to form a new pattern-- kind of like bargello piecing for fabric.  It makes a chevron with random colors.


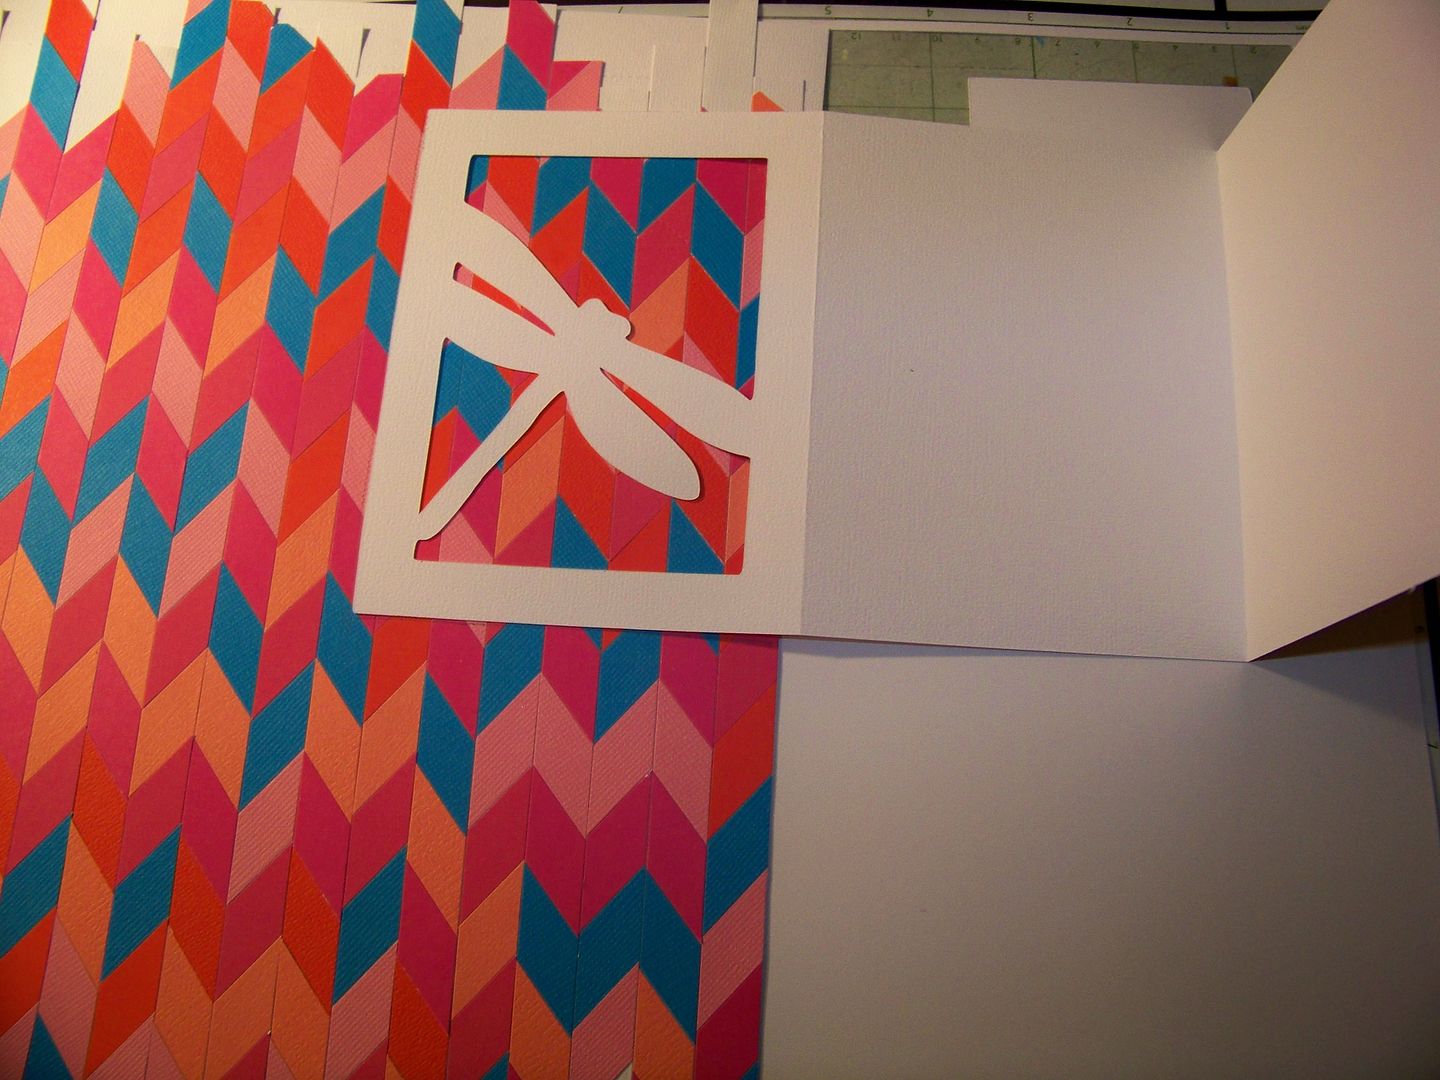
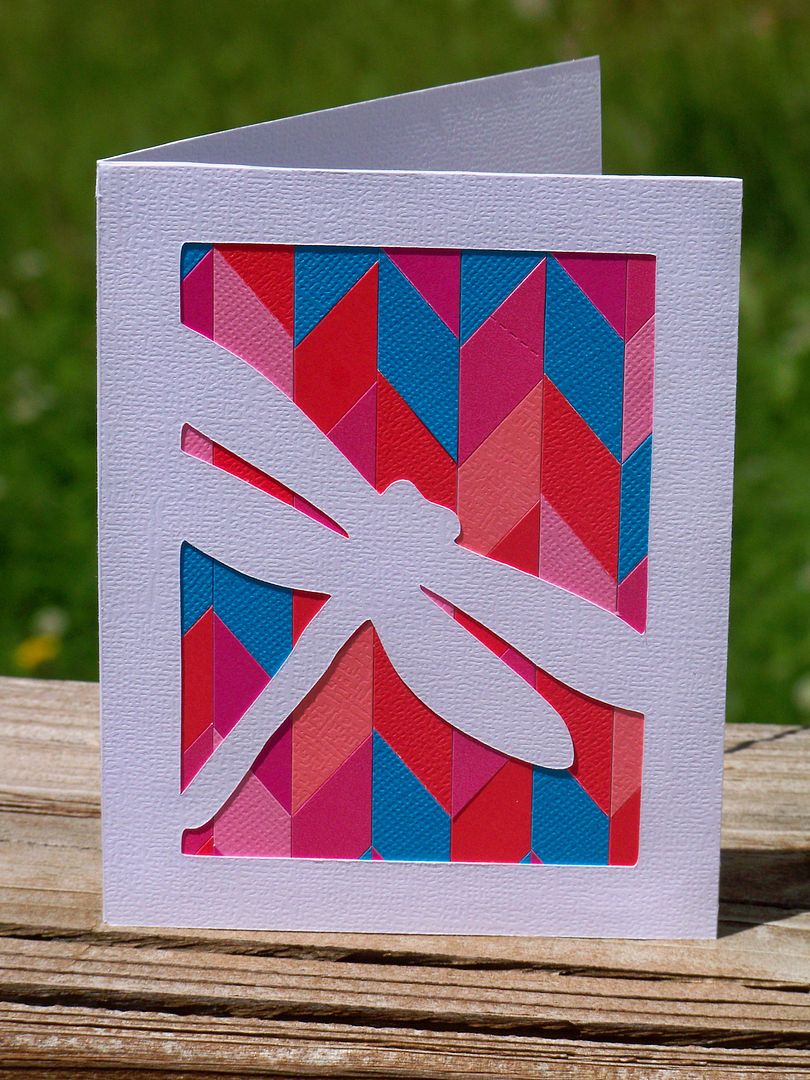
    I chose to make a card for this challenge.  This background was just right for a three-part card on Cricut Picturesque, cut at 4-3/4".  I like that this card has a center section that folds behind the cut-out to hide the wrong side of my chevron pattern!


    I use an Xacto knife to score by cutting lightly to connect the tick marks made by the cutter to avoid those 'pop ups'.

    I placed my mosaic chevron paper behind the window and adhered the frame on top.  I tried to keep the card clean like the pin with no layers or other elements to distract from the pattern.


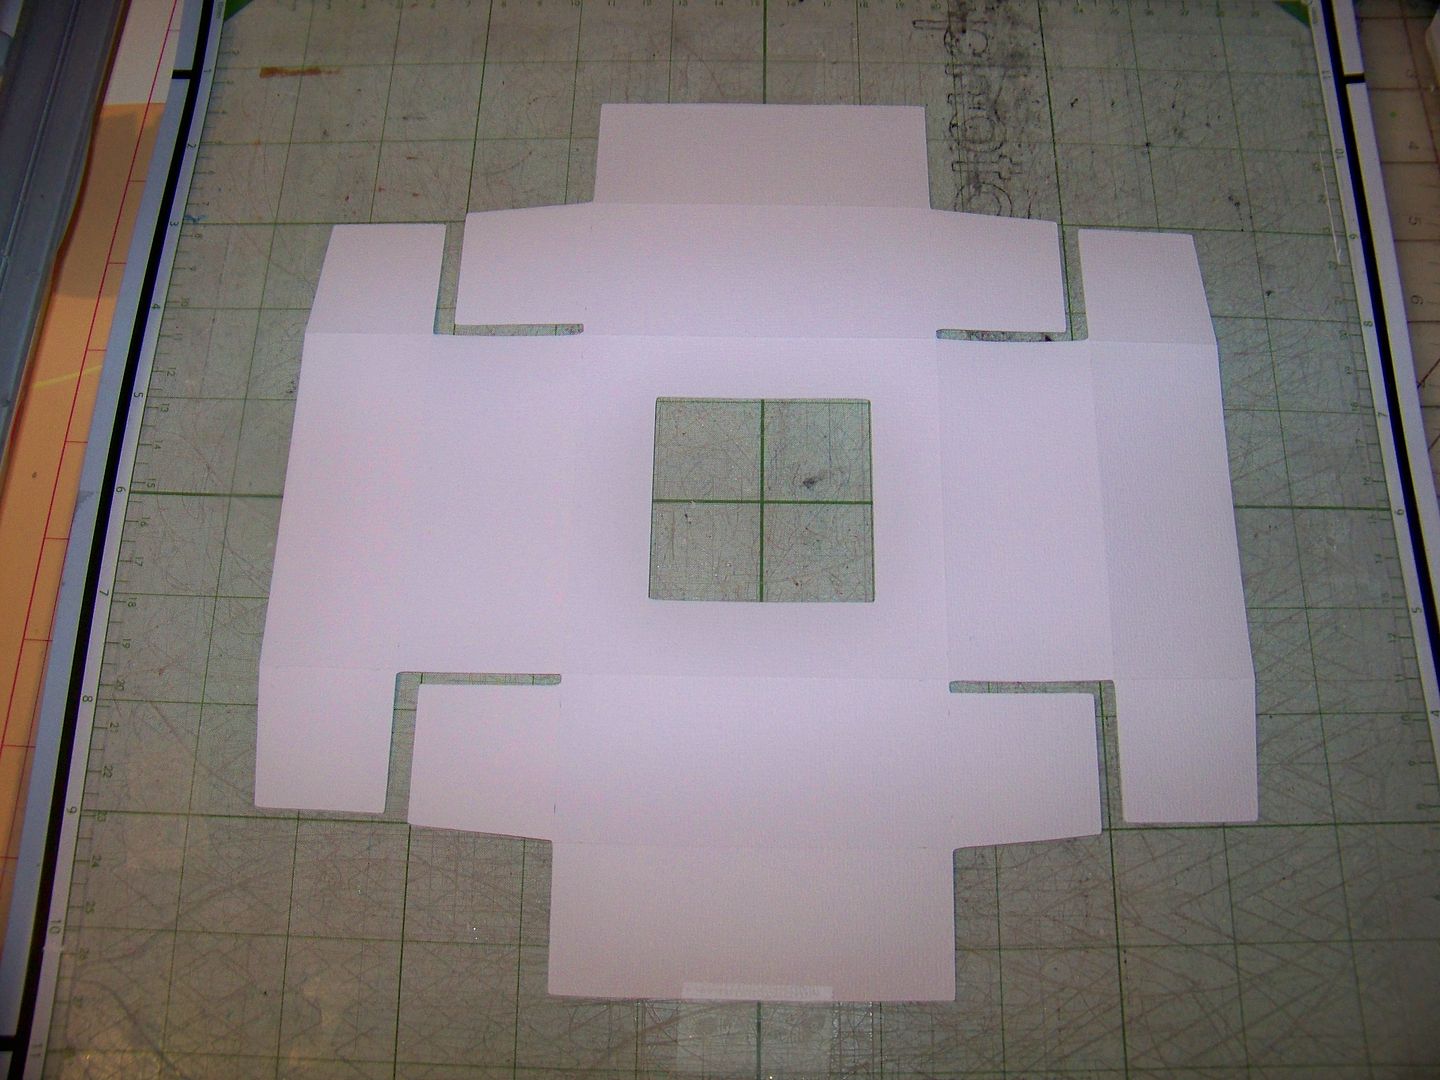
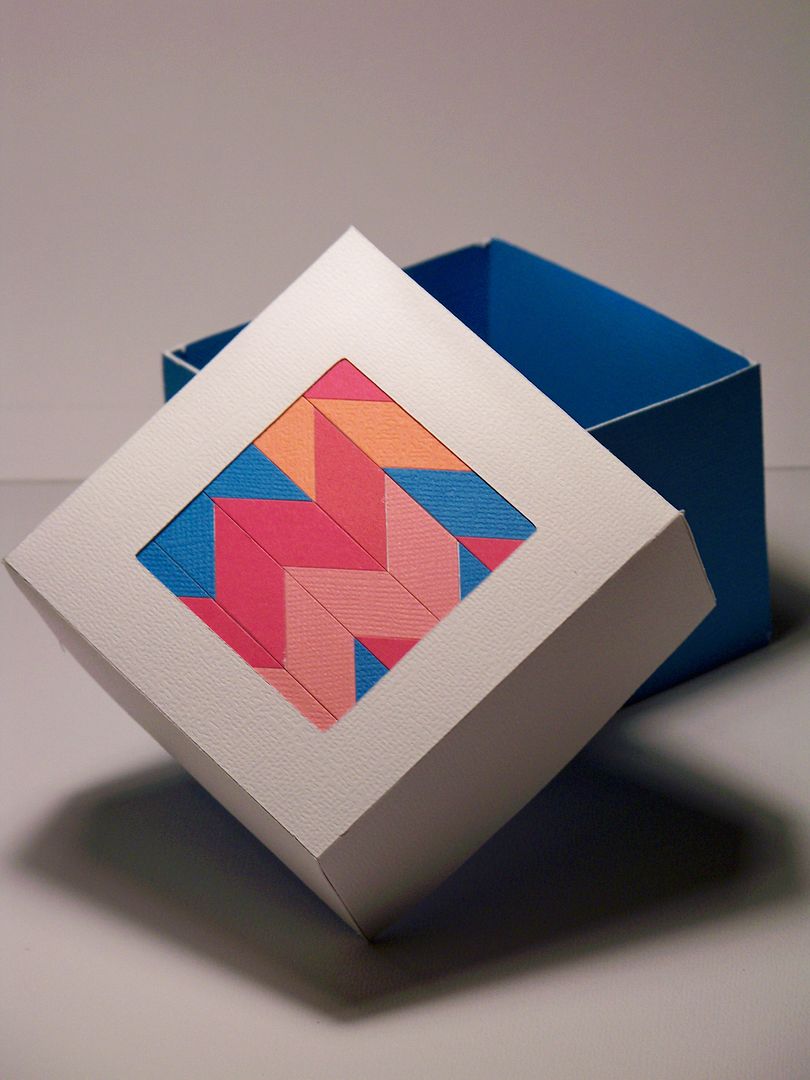
    Next, for the Did-I-Mension challenge, Renee (from the blog I Came, I Saw, I Created) asked us to create a three-dimensional project using a box or bag or other cut.  I chose the box from Cricut Bridal Shower, cut at 11".  I added a window to the lid by cutting a 2" square using the Centerpoint feature.


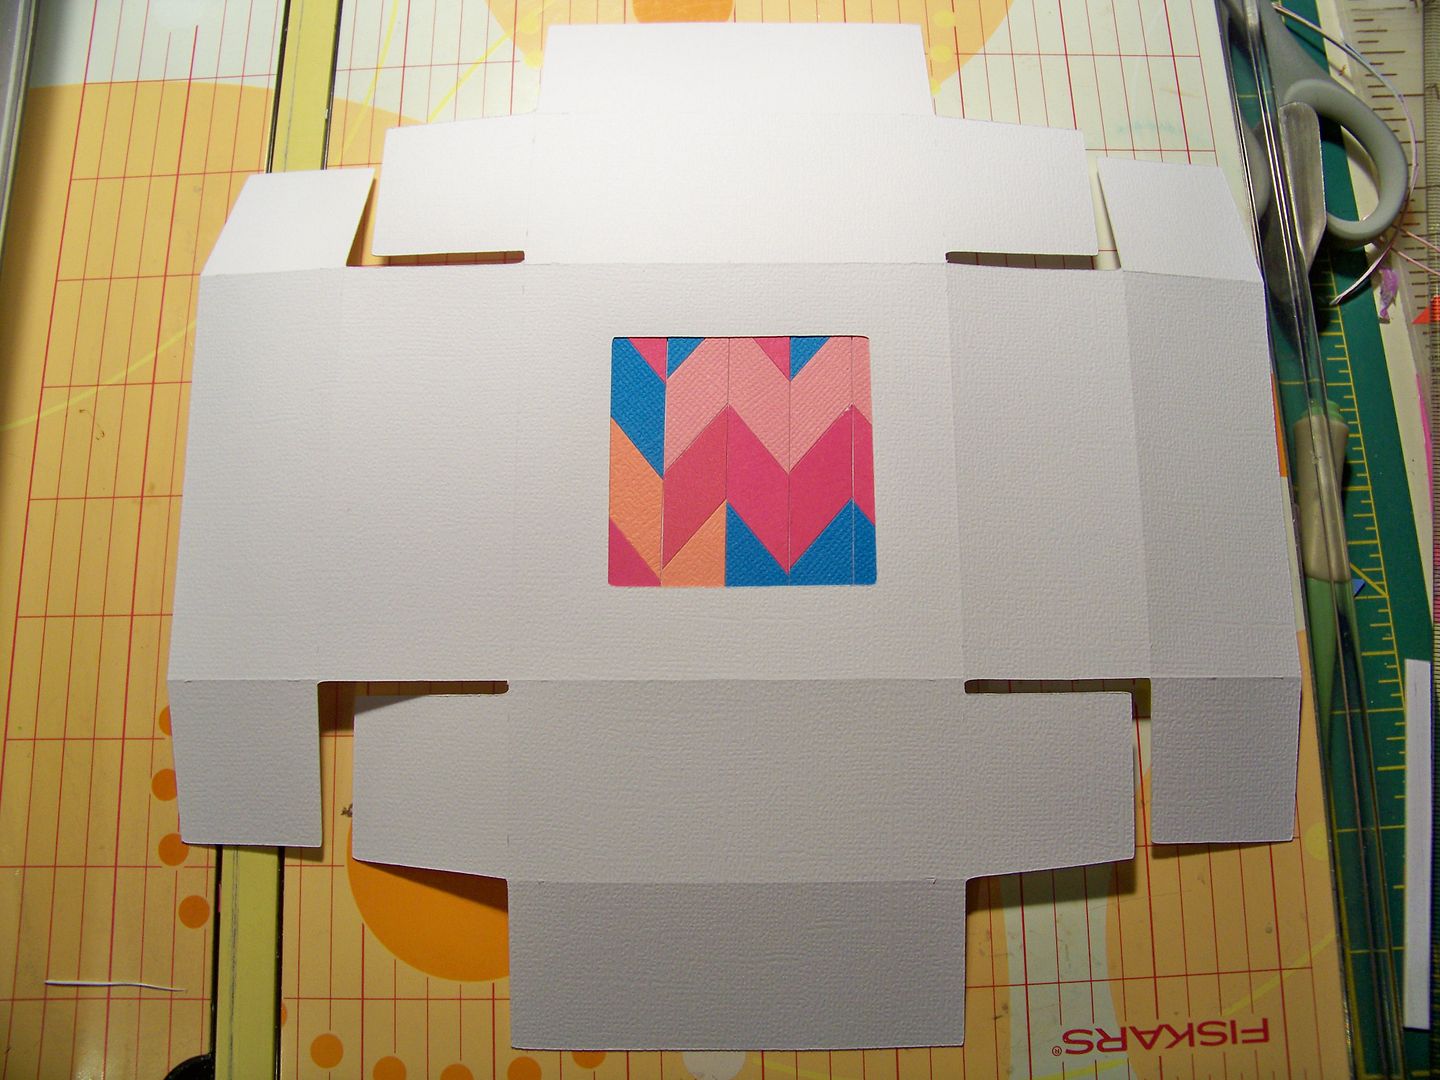
    It was easy to place a piece of my chevron mosaic behind the window before the lid was constructed.


    I love this box with its extra tabs and fold-overs for added stability!


    Both Sis' and Renee's challenges have prizes and go on until Sunday, May 12, 2013!  They are part of the Circleville Bloggers, who have fun stuff on their blogs through Sunday (May 12, 2013)!


    But wait! There's more! Click 'older posts' above!

    But wait!  There's more!  Click 'older posts' above!