Showing posts with label December Daily Mini Book. Show all posts

Sunday, December 29, 2013

Christmas Journal - CHECK!


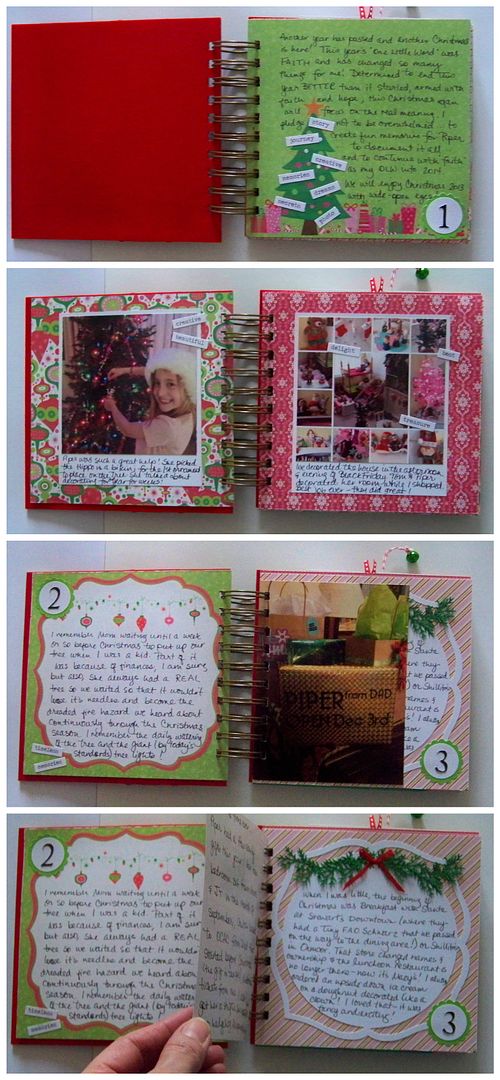
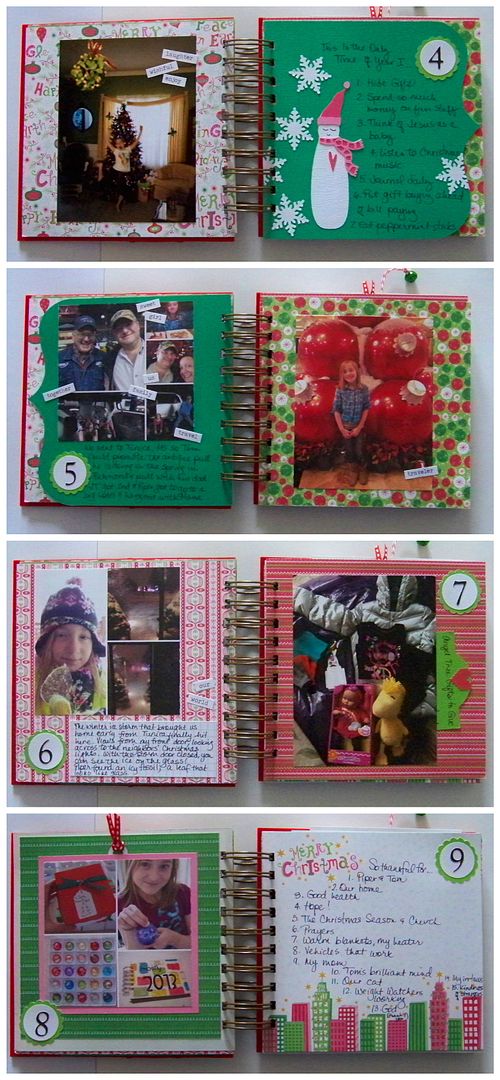
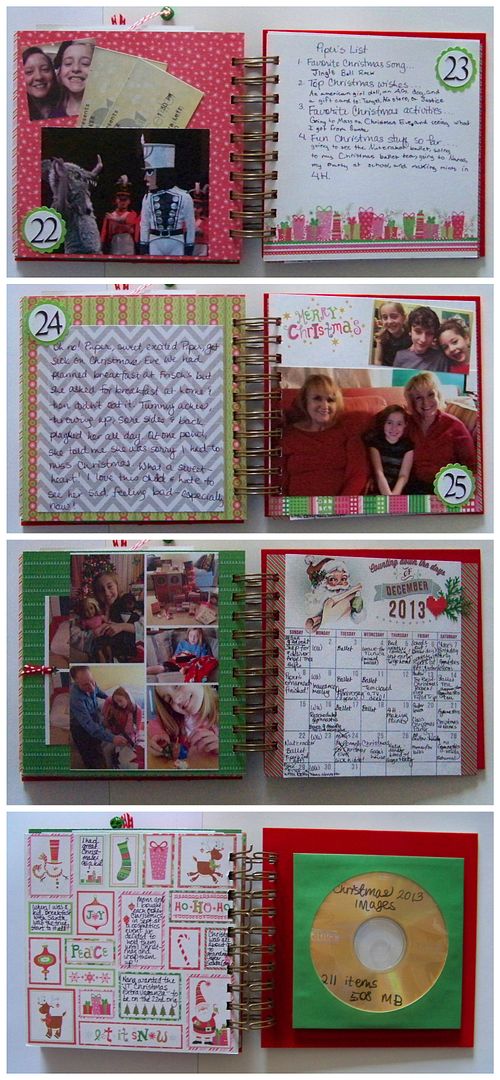
 My gift to myself this year was my completed Christmas Journal.  I finished it today!  I combined Shimelle's Journal Your Christmas with lists (I saw lots of ideas from people I follow on Instagram who were doing 30 Days of Lists), daily diary photos, and whatever struck me each day.  I wasn't as true to Shimelle's process as I was last year, but I still enjoyed reading her prompts and getting the emails (even when I didn't open them)!

Last year, I learned a lot from the first one I made!  (Click here to see it.)  Primarily, I learned to watch the thickness!  I took that lesson to heart this year and was able to use my Bind-It-All with 1-1/4" o-wires to bind my book. 


I accomplished that by using PicMonkey (free collage maker) to combine photos on one 4x6 paper (so I would need fewer photos), using thinner cover boards, and using fewer layers and fewer layered images.  
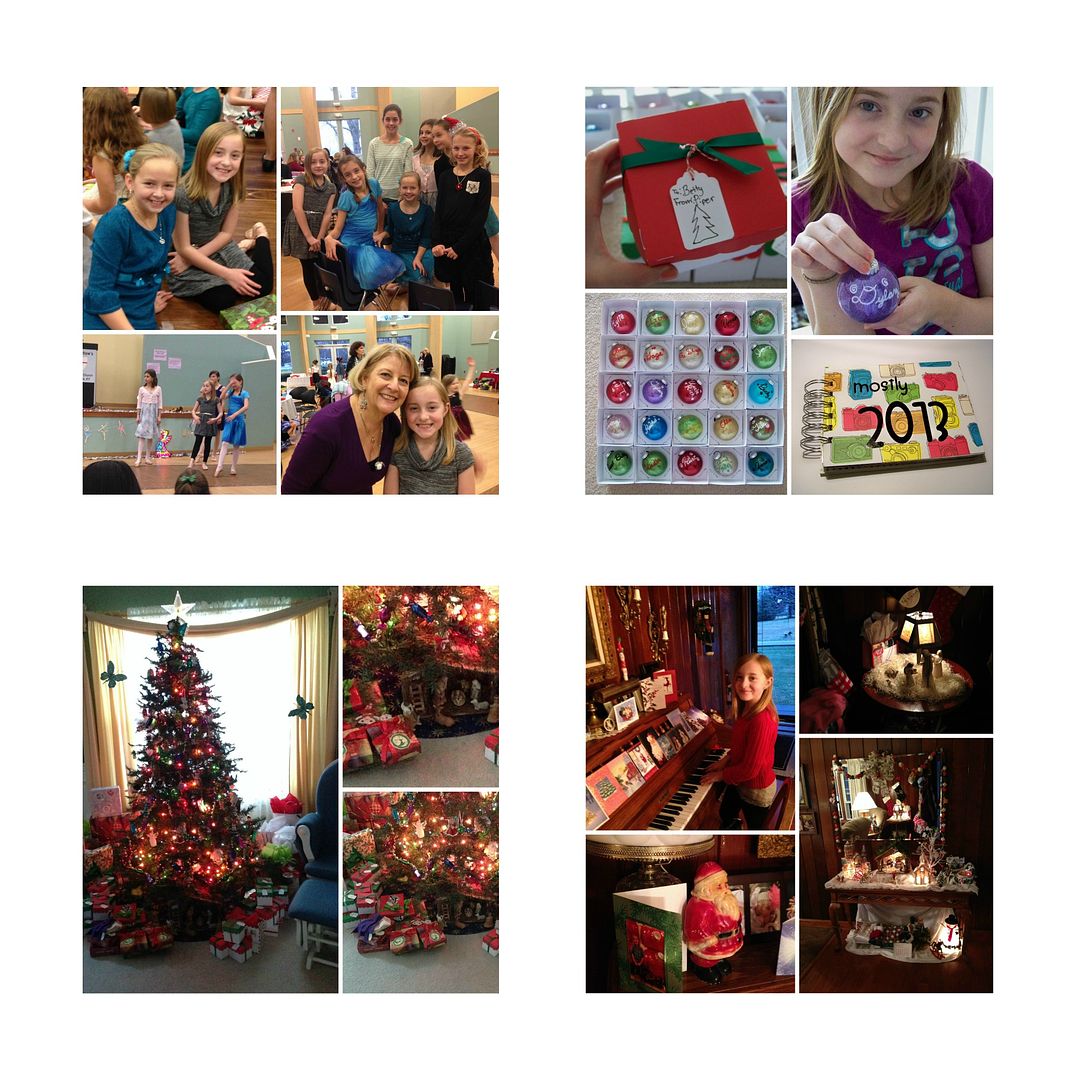
I used these as full pages but also love that collages allowed me to have tiny pics for journaling tags!
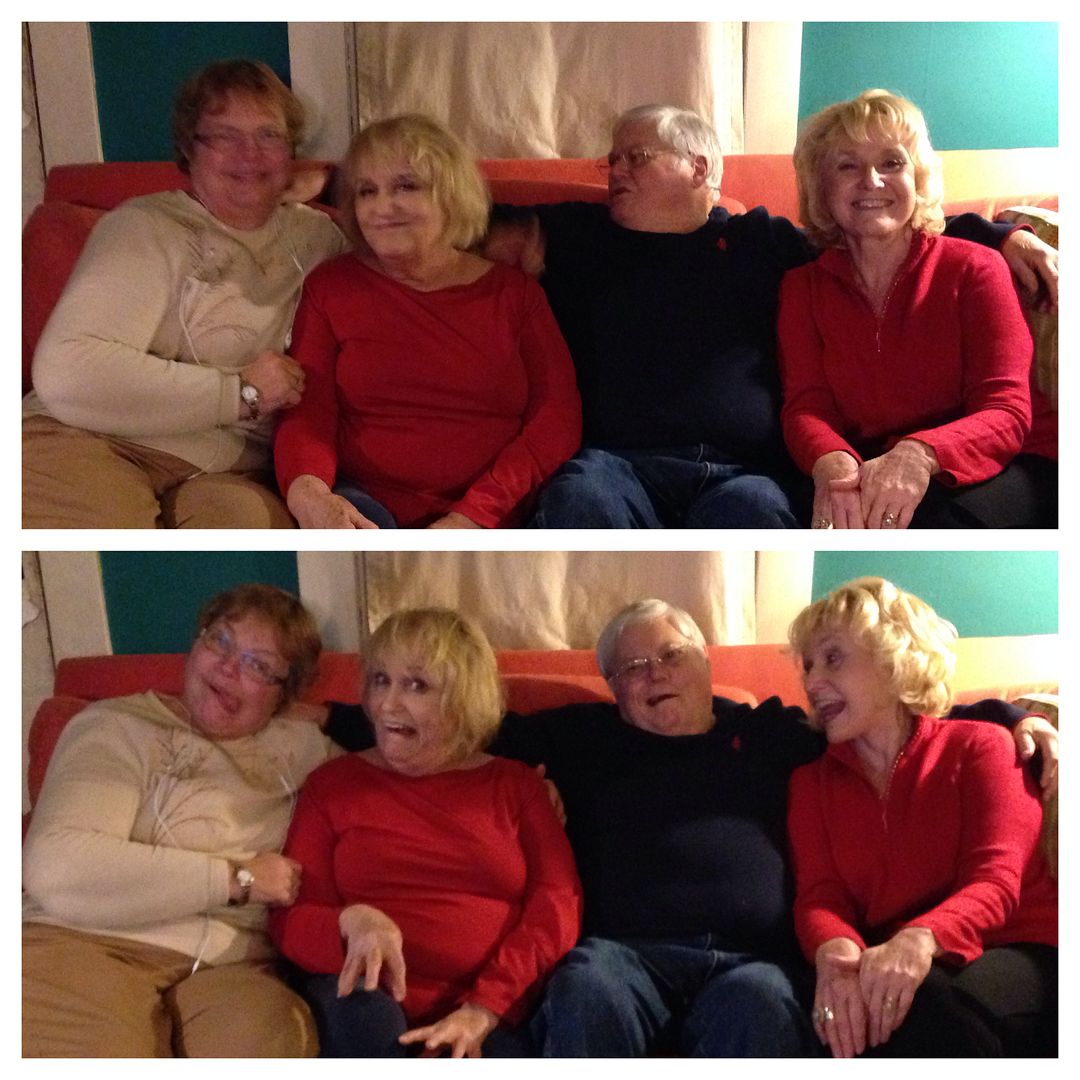
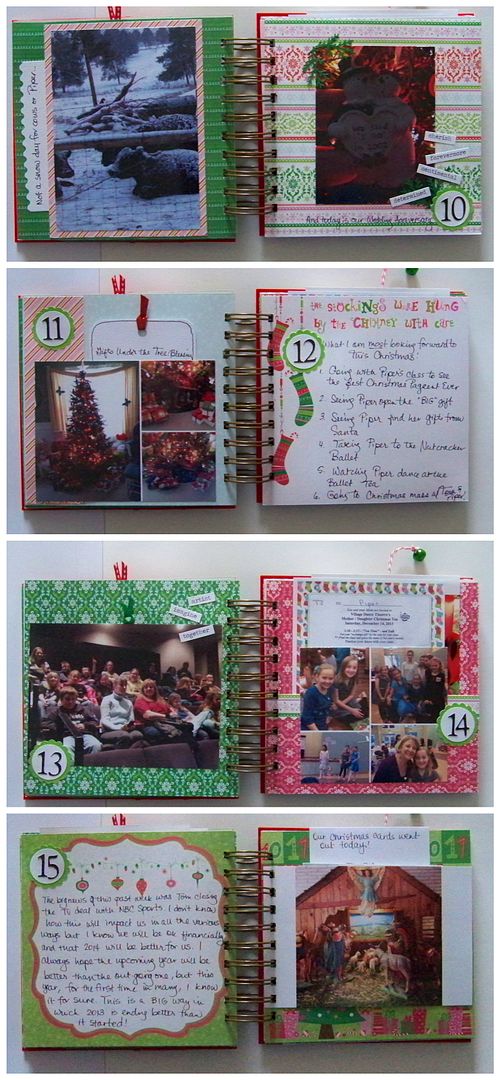
I used this crazy one as a hidden tag, allowing for journaling on one side.

I started by thinking I would send my photos to Walgreen's using my Printicular app (which I love) but remembered how easy and convenient it was to print at home.  I typically took all the photos on my phone, transferred them to my computer (where I store them on a USB drive and online), then edit or collage them before printing.  I had a few where I used phone apps like PicFrame and Fuzel to collage them before saving on my computer then printing.  It just depended on when I thought about it!


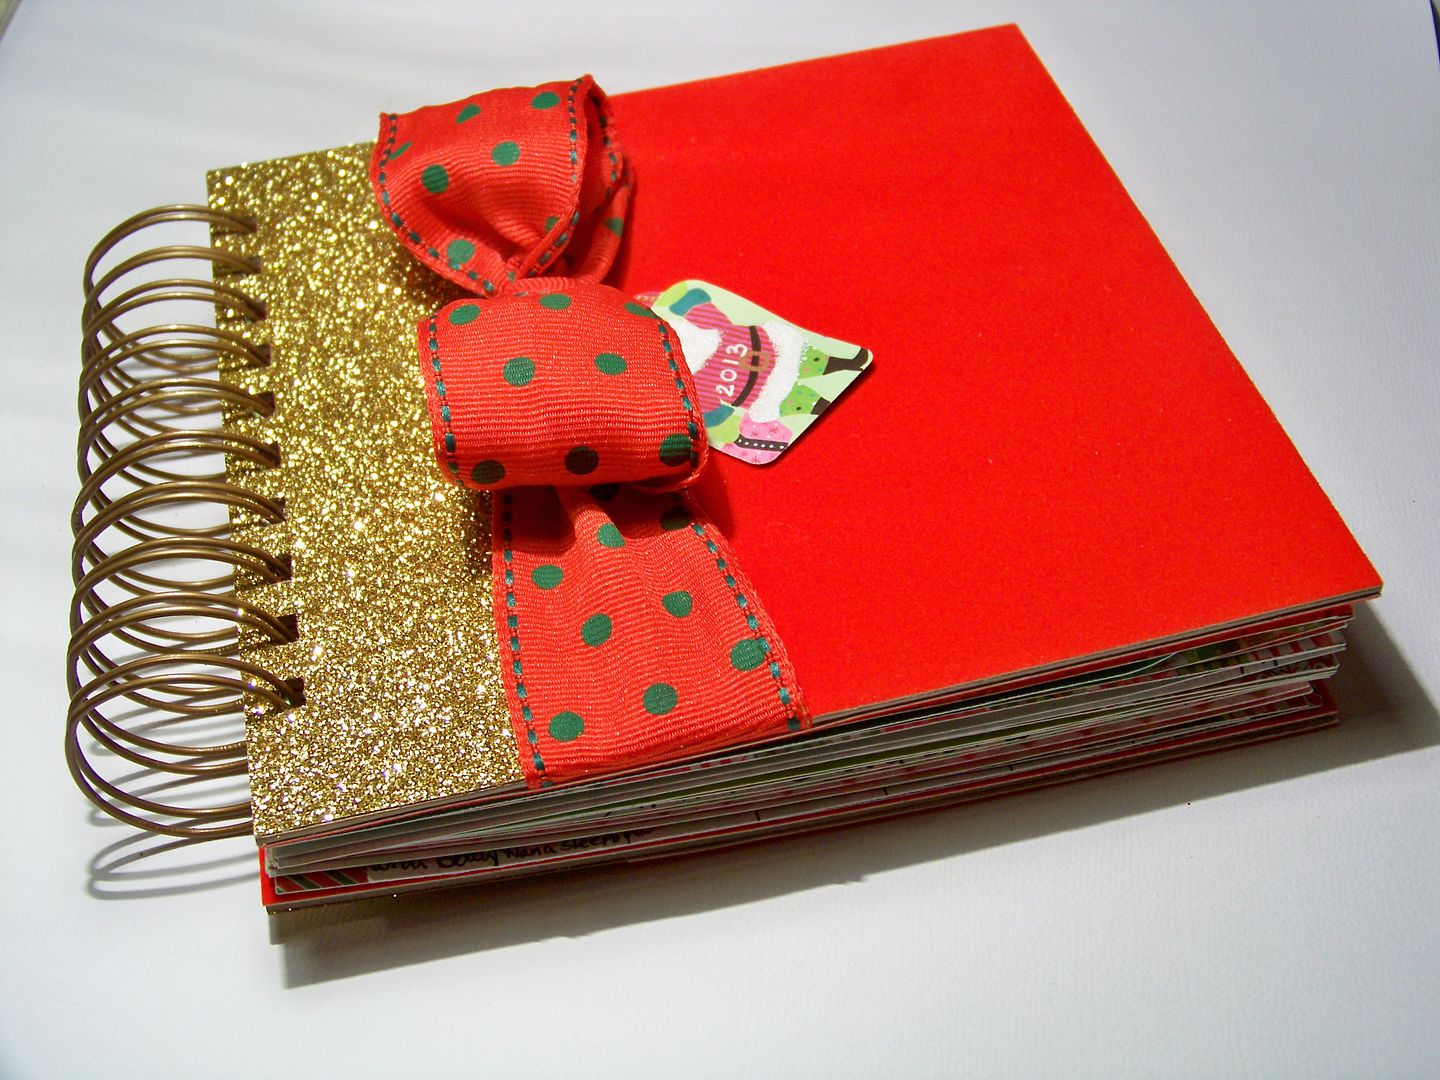
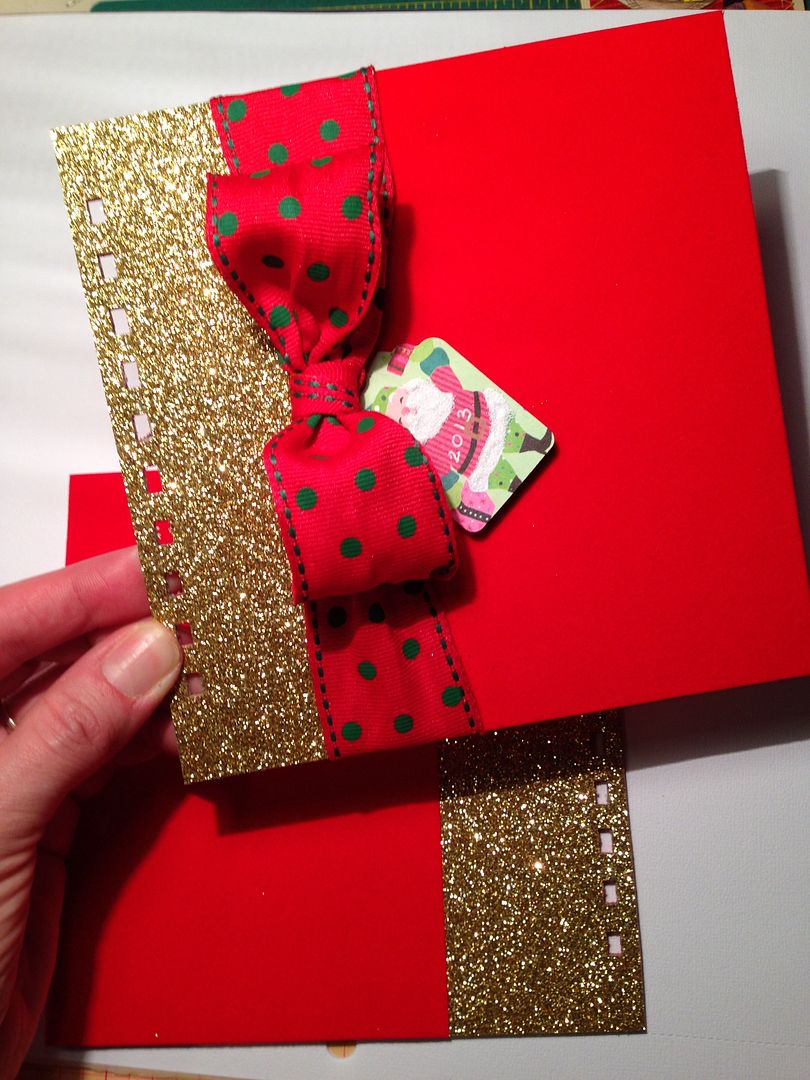
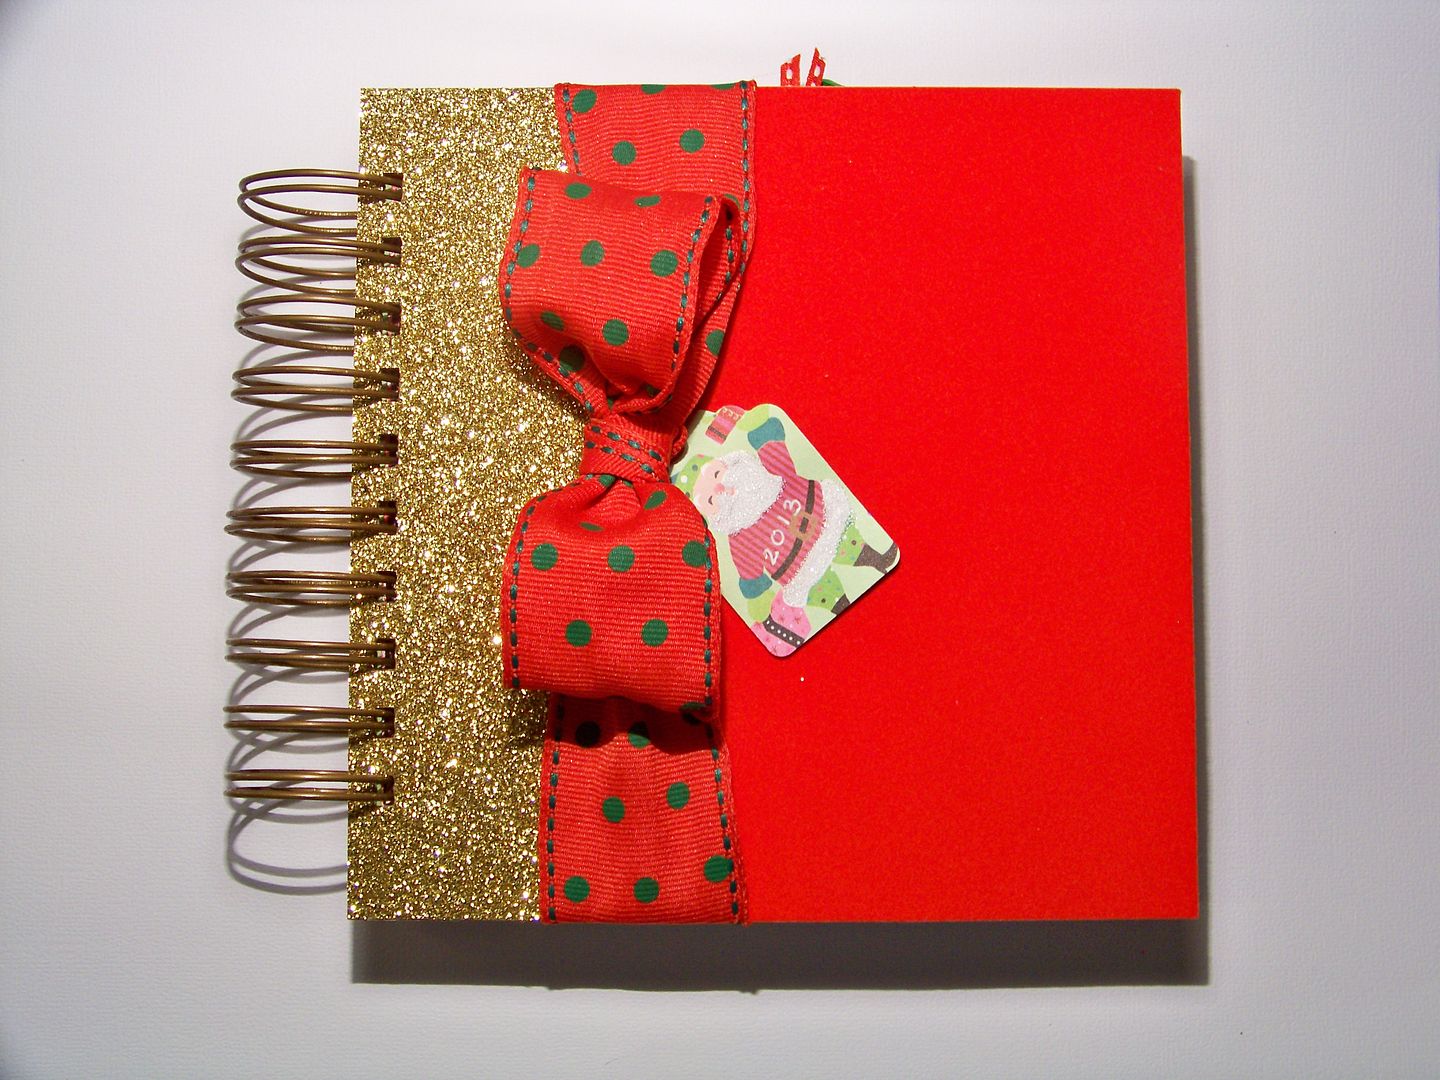
The cover was made using artist board I get at Hobby Lobby and cut with an Xacto Knife to 6-1/4" x 6-1/4".  I covered it with velvet paper and glitter paper that I adhered to the artist board using Provo Craft's orange double-sided tape.  I made sure to get it on the very edges and I like it better than any adhesive or tape I have used so far on covers.  The ribbon is one that was on an early gift I got.  I made the tag for the title.  I used my Zutter Bind-It-All and Antique brass o-wires to put it all together.  I special-ordered those late in the month once I realized the silver o-wires wouldn't work and got them in less than a week from Zutter!  (How I wish they had the 1-1/4" in red!!!)  My papers were cut from the same 6" paper pad (I bought two of the same to make sure I had enough papers)-- how easy to make sure they coordinated-- except for one that I cut using Cricut Cartridge Elegant Edges.


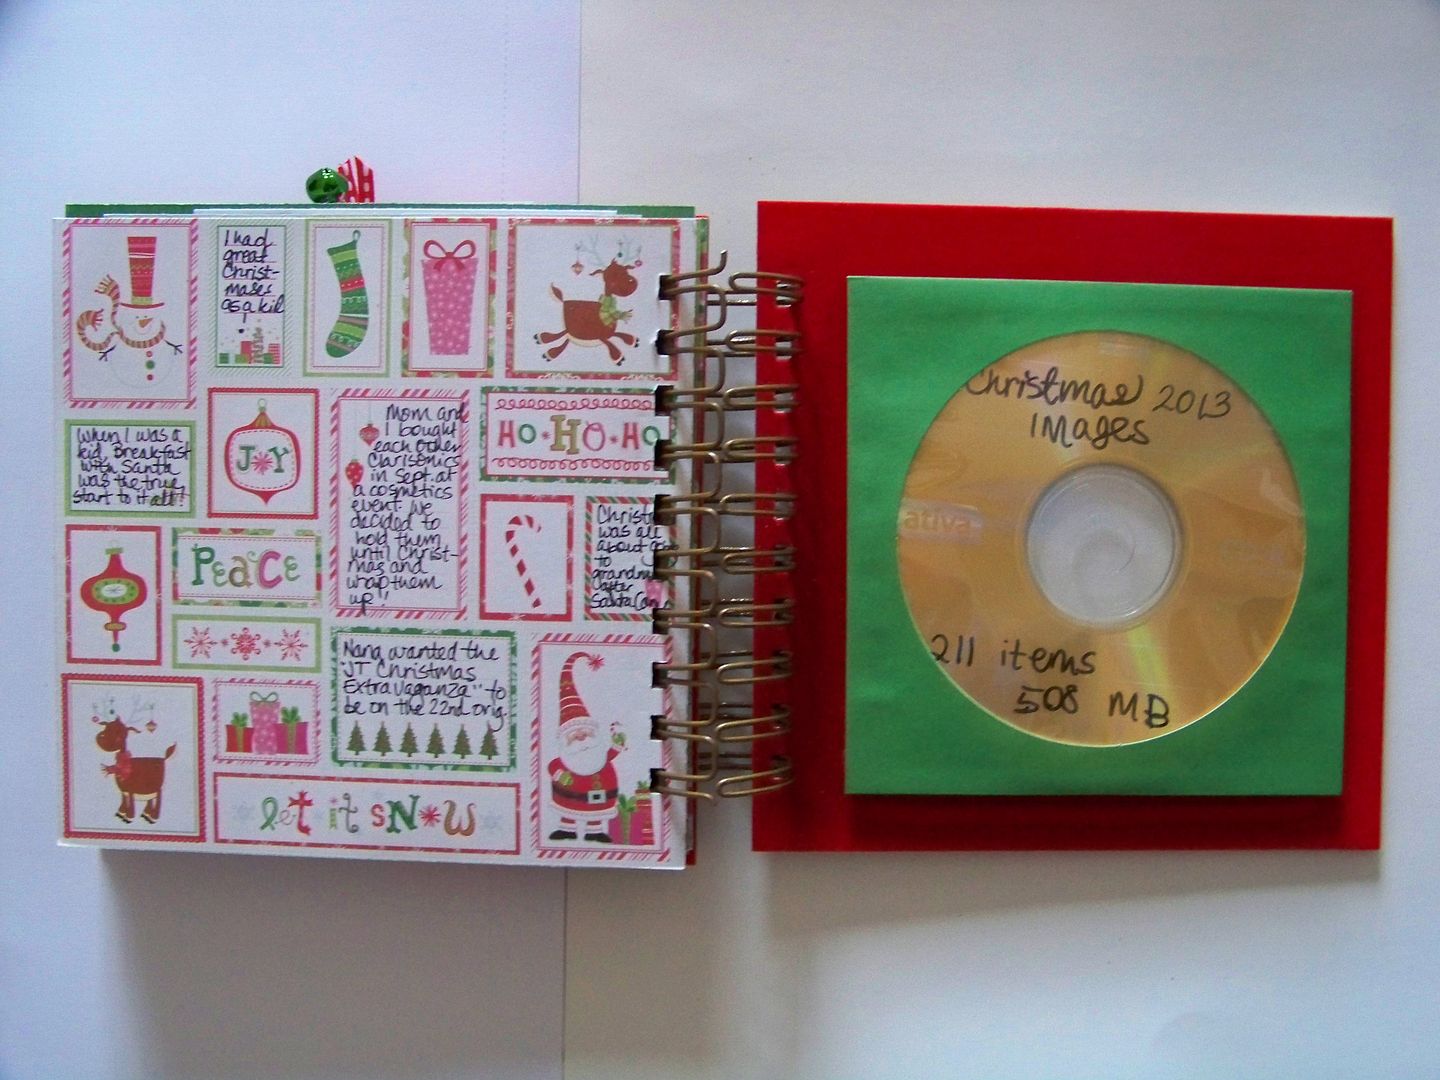
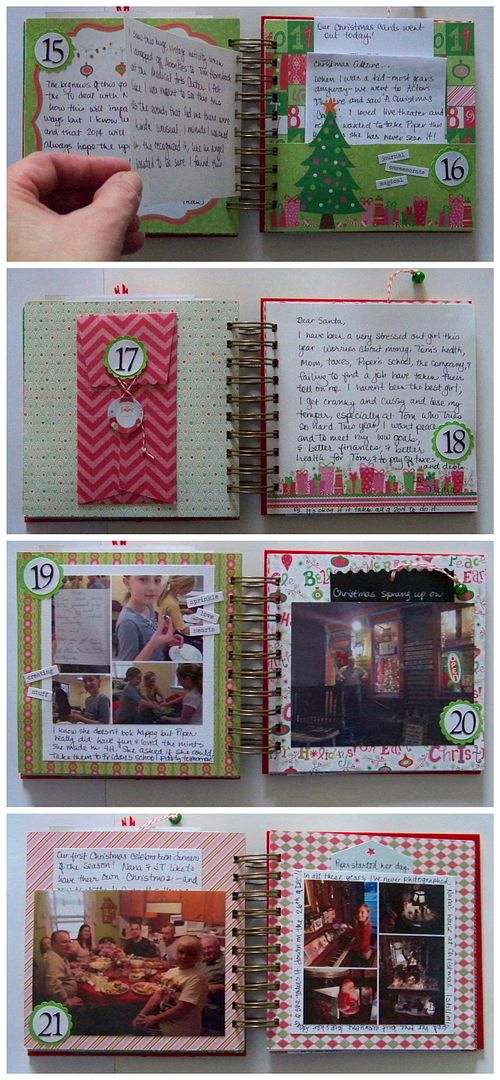
This year, I have started including photo CDs, not just of the images used in the albums I have made, but also all the hundreds of photos I didn't use, in my albums!  I included a photo CD in my Christmas journal too.  I think it will make it much easier to find a photo if someone wants a copy than searching through my laptop, USB drives, and CDs, and I think it's fun to see all the added photos.  In ten years, photos that might seem like nothing now, could be priceless to us.  At least, that is my thinking.  I placed the CD into a CD envelope and attached the envelope using adhesive Velcro dots.  It adds thickness, but makes it easy to remove without hurting the book.  Next year, I will work to incorporate that into the design better!  I couldn't decide if I should make a decorative label, but decided against it since it wasn't a photo slide show or DVD.  It really is just a copy of all the 'raw' images from the whole season-- even the crummy shots.

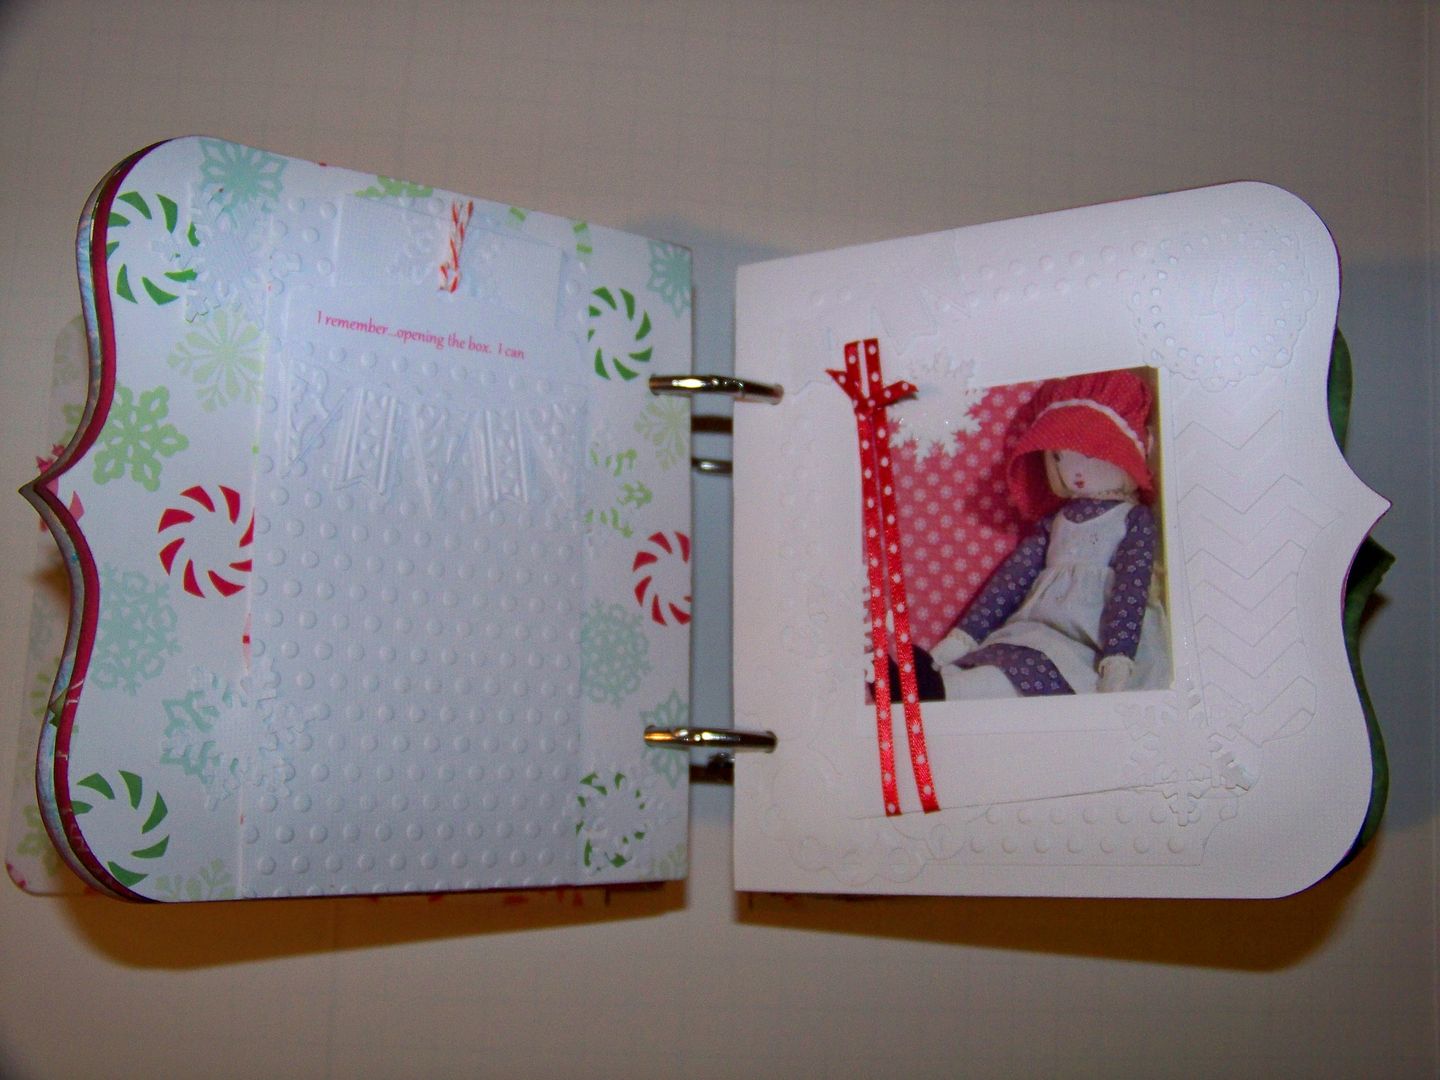
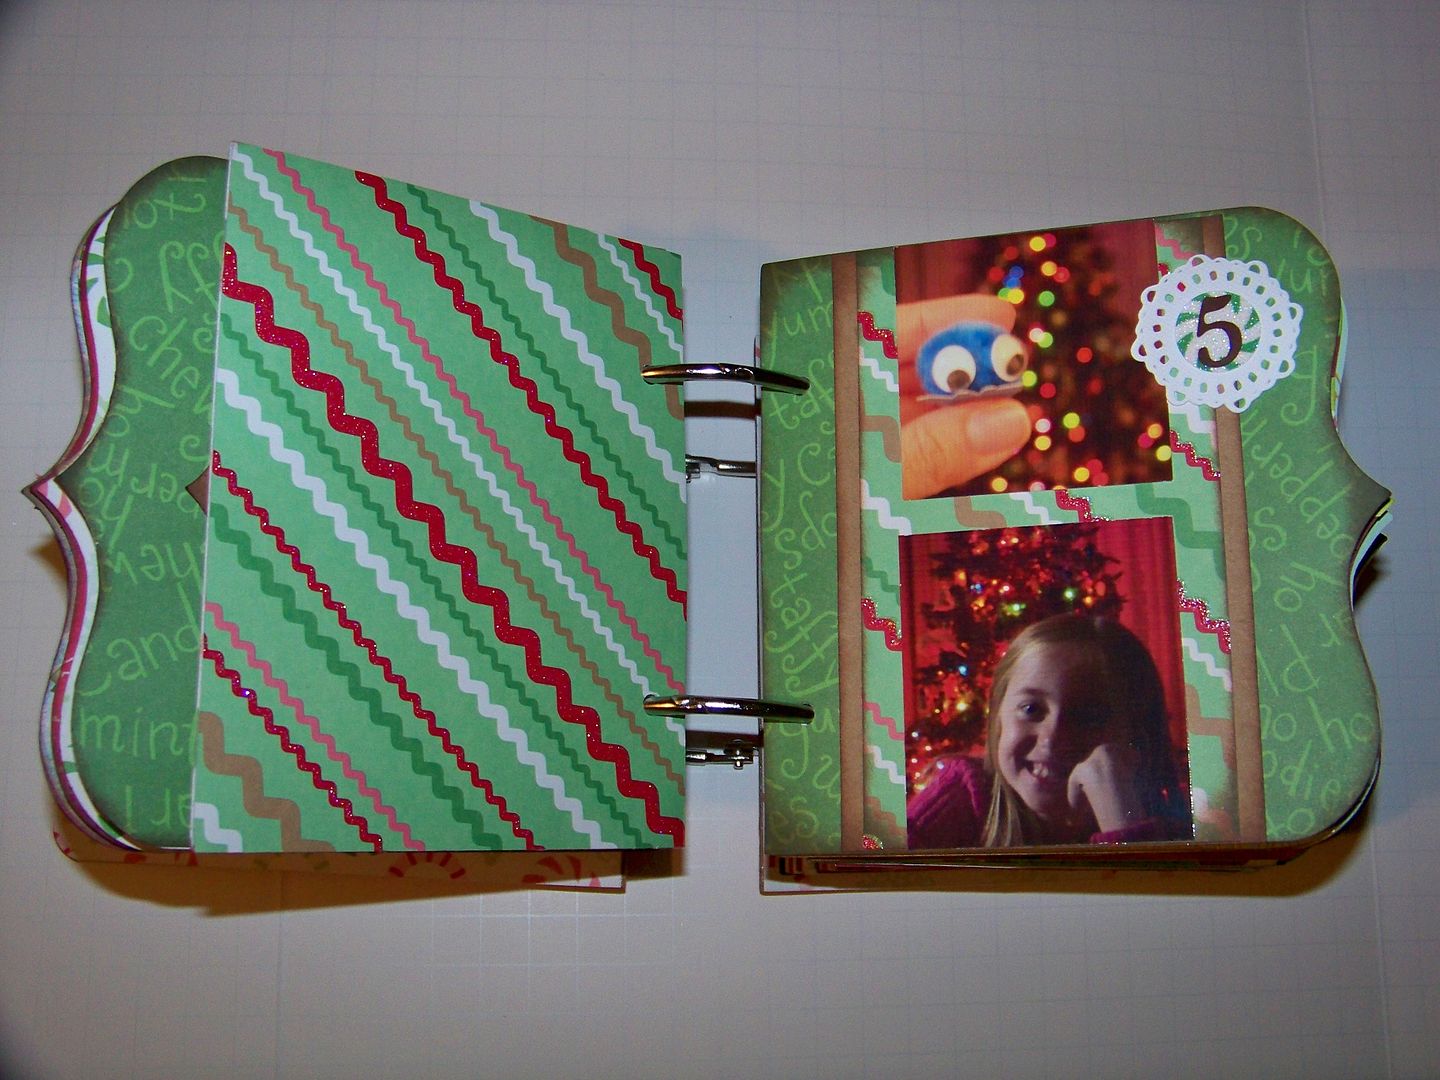
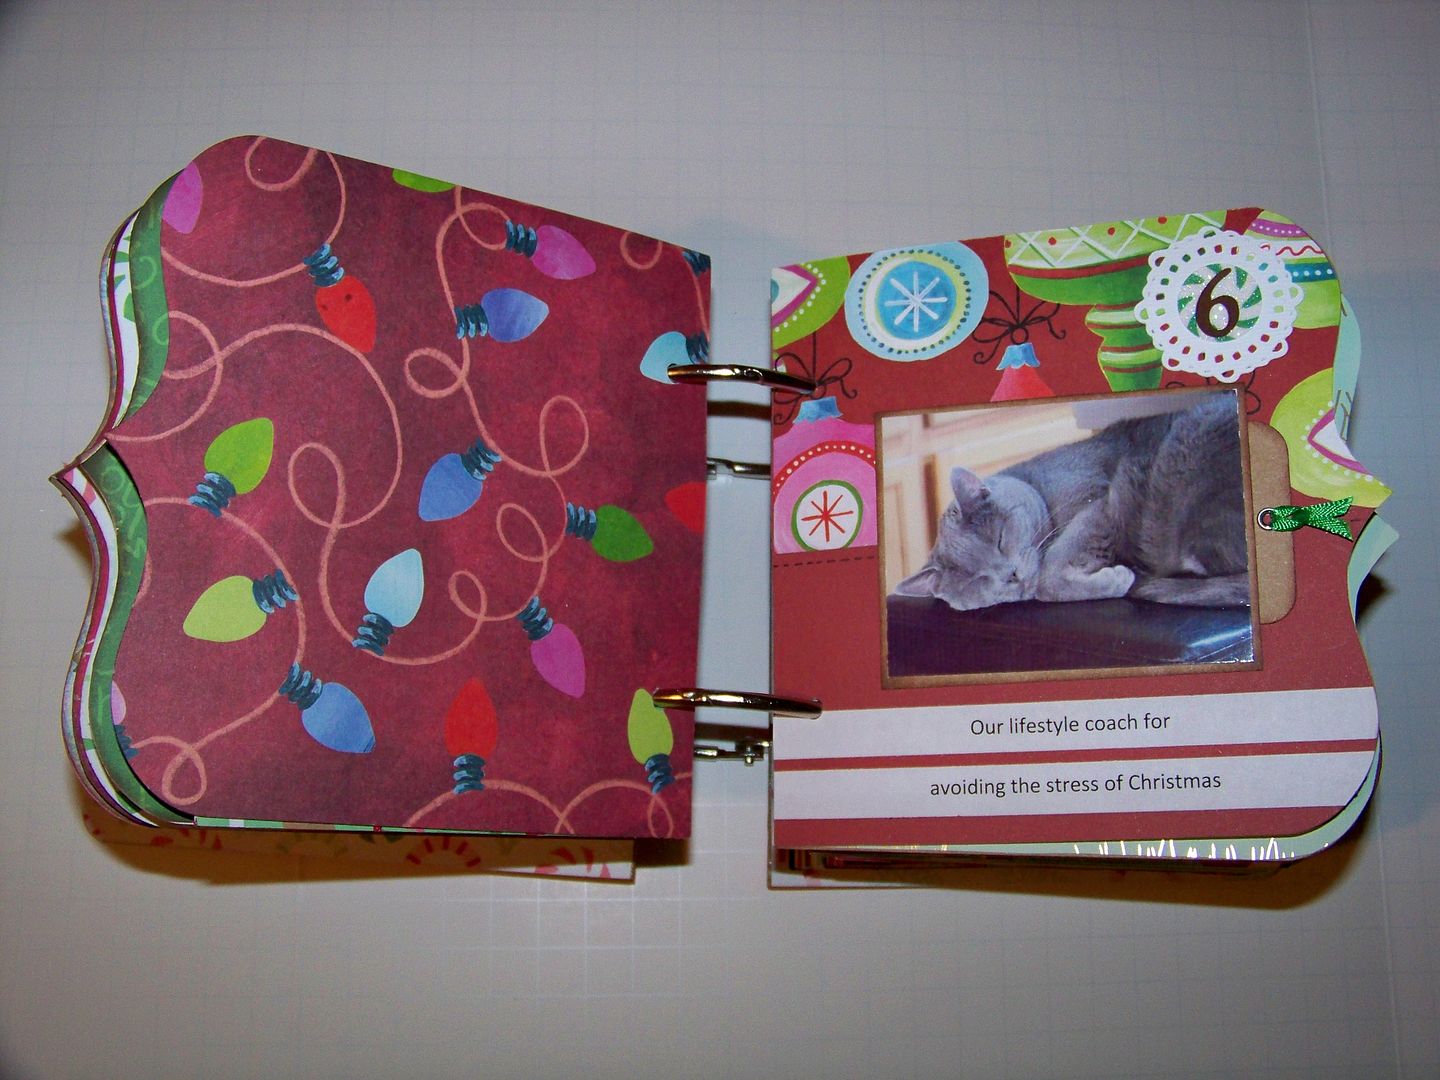
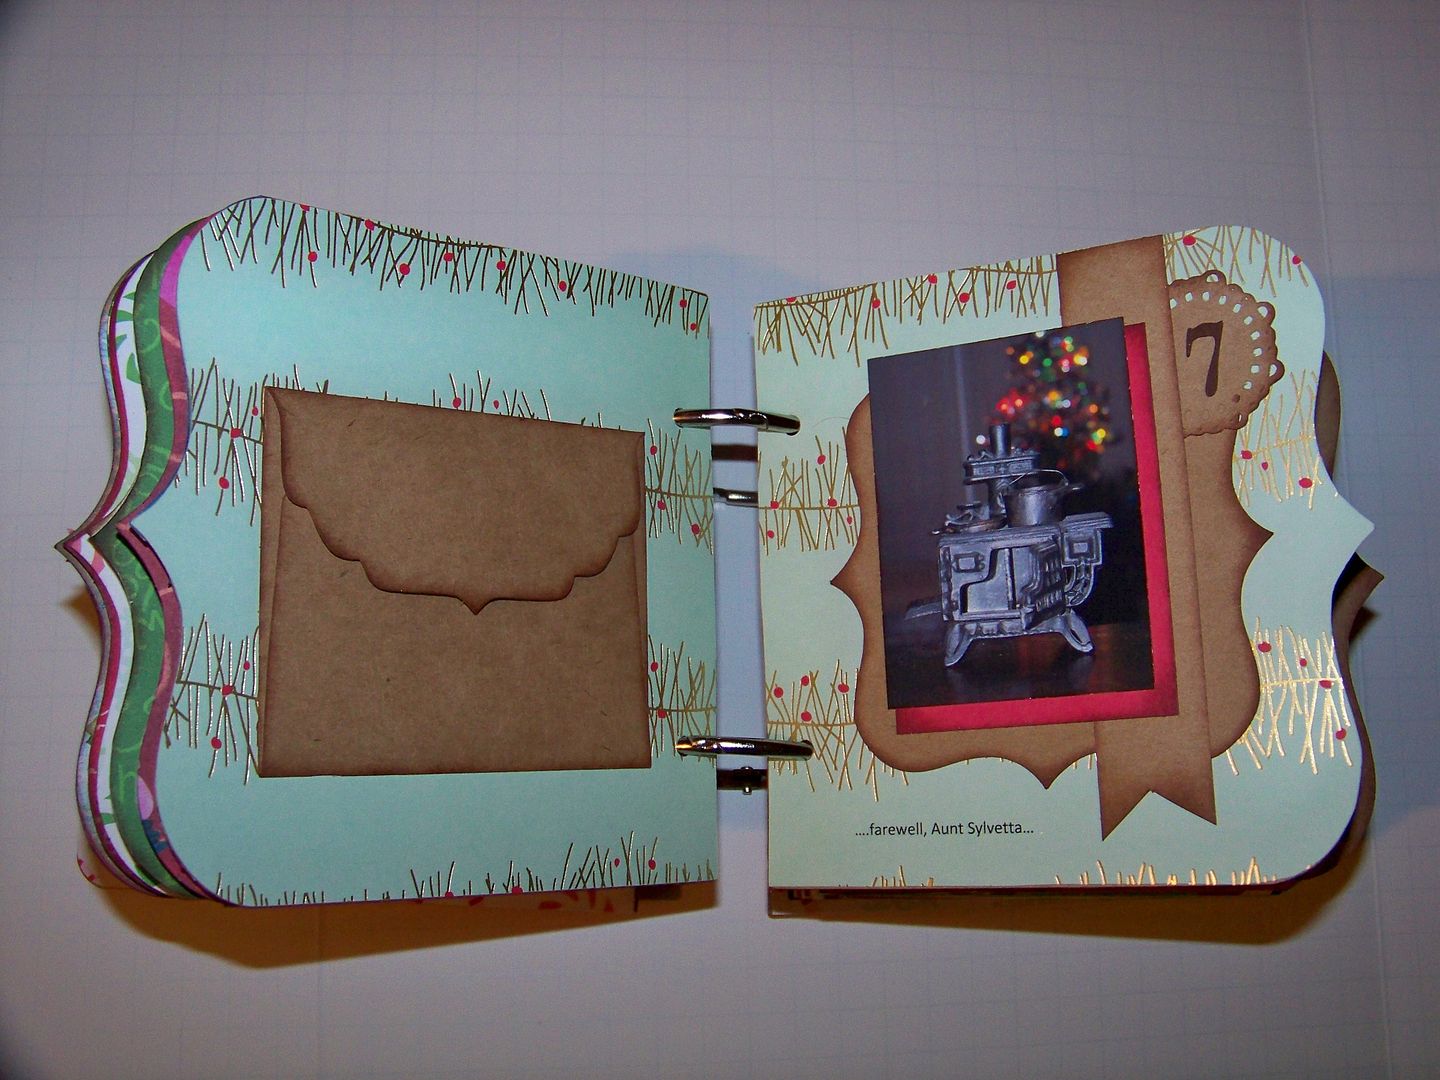
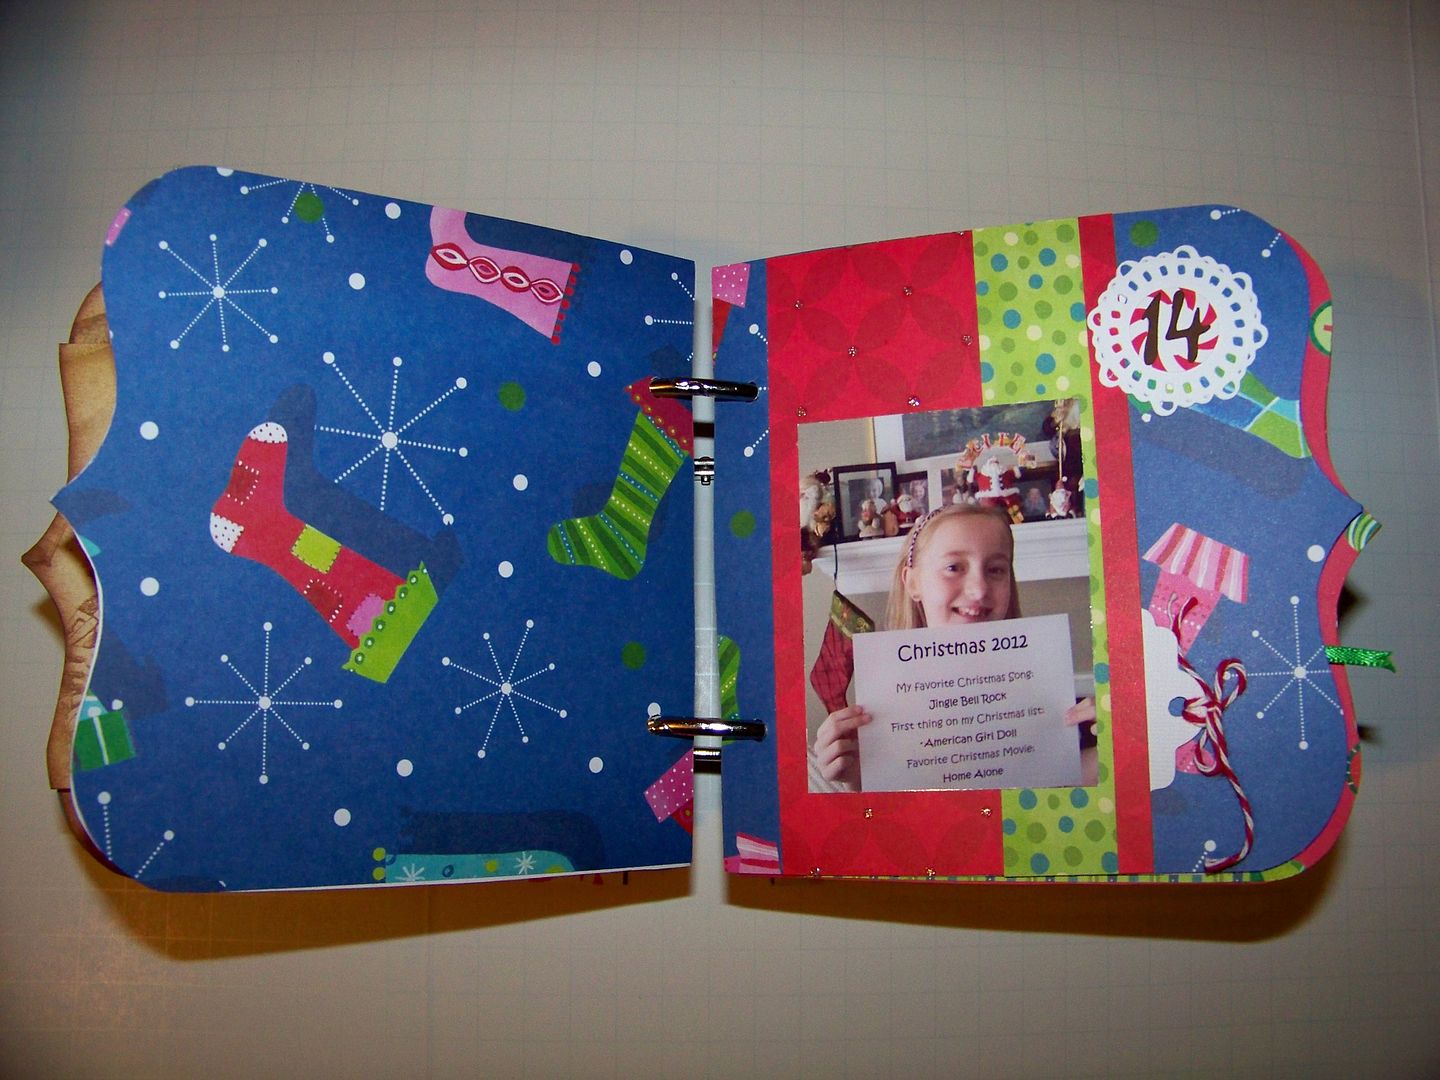
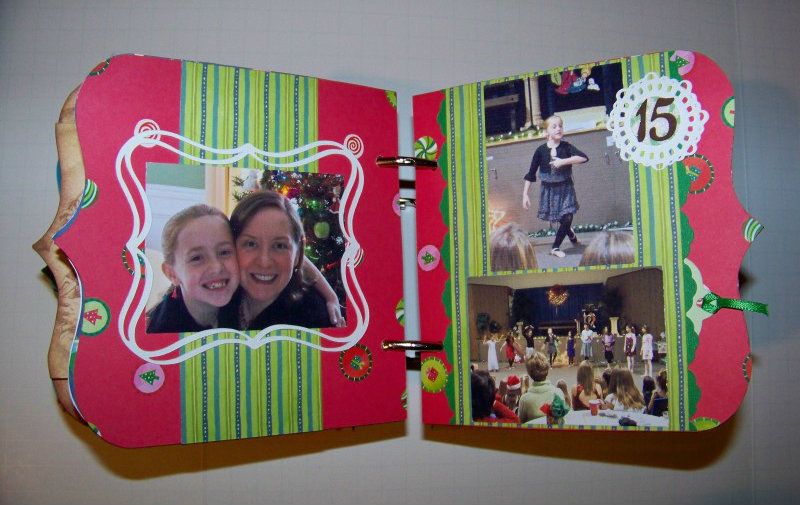
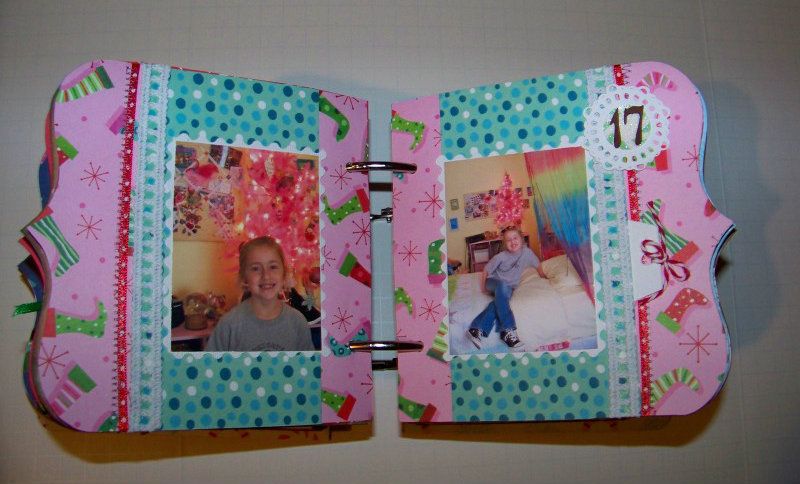
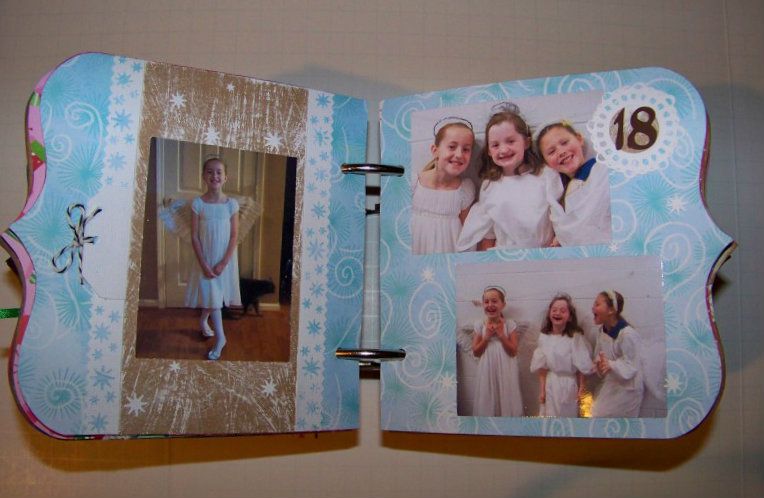
I used tags to journal briefly on each day and an envelope for one day's entry that I had hoped would not be read immediately, but rather discovered later at a future Christmas.  This is a glimpse of the inside pages:


I love the finished book and I love how much less time it took to put into this each day!!  My daughter and I both like it better than last year's book so it really seems like a success.  

We did have a great Christmas, aside from a day of sickness experienced by my little girl on Christmas Eve.  It broke her heart but she was better by Christmas Day!  I will say that this was the least stressful holiday season I have had in years.  I didn't do a lot of crafting and baking projects for Christmas so I had so much more time.  I shopped earlier, I decorated with less 'stuff' than usual, and I spent more time being with my little family!  I learned a lot this year that I plan on using for future Christmases!

I hope that you had a very Merry Christmas, that you find yourself in a better place at the end of 2013 than you found yourself at the beginning of the year, and that you are filled with hope for 2014!  
Tuesday, December 3, 2013

Happy December!


What a crazy year this has been!  Am I alone on that?  For our family, it has been.  And I have been determined to end 2013 better than it began.  I coupled that determination with my OLW:  faith.  So... less time on the computer, more time getting things done and believing that it will all work out!  You might have noticed that my little blog has been neglected!  But it's time again for projects and fun in the craft room....and I love to share what I am up to so here goes!

One thing I started early this year was a little project I saw on Pinterest.  It was a savings program -- an easy one!  Each week, you simply save the amount that the week is.  So, for example, week one, you save $1.  Week 2, you save $2... and so on until week 52 when you save $52.  At the end of the year, you have over $1300 saved.  Our year works out that there's more money coming in during the summer, so I actually saved the higher weeks' amounts then.  Actually, I finished it in November and as of yesterday, finished all my Christmas shopping using my little saving fund!

If you want to see the pin for this, check it out:  click here!  I originally posted this on the Cricut Fanatics site in January.  You can see it by clicking here!  My 2014 resolution will be to continue this as it now is a habit!  I am also extending it to my tithing so that next year I will increase my giving at church by around $1300 by increasing my weekly offerings in the same way.  I think it is very do-able and worthwhile!


Speaking of being finished with Christmas shopping, you know that means Christmas wrapping is the next challenge.  And I finished that too!  Yippee!

Not all of my wrappings were special, but I had fun with quite a few and I wanted to share them here.  I haven't been buying cartridges this year so that I could re-prioritize my spending so these don't use the latest cartridges, but I find that I have plenty of older ones and I can see them with new eyes so that is a blessing!

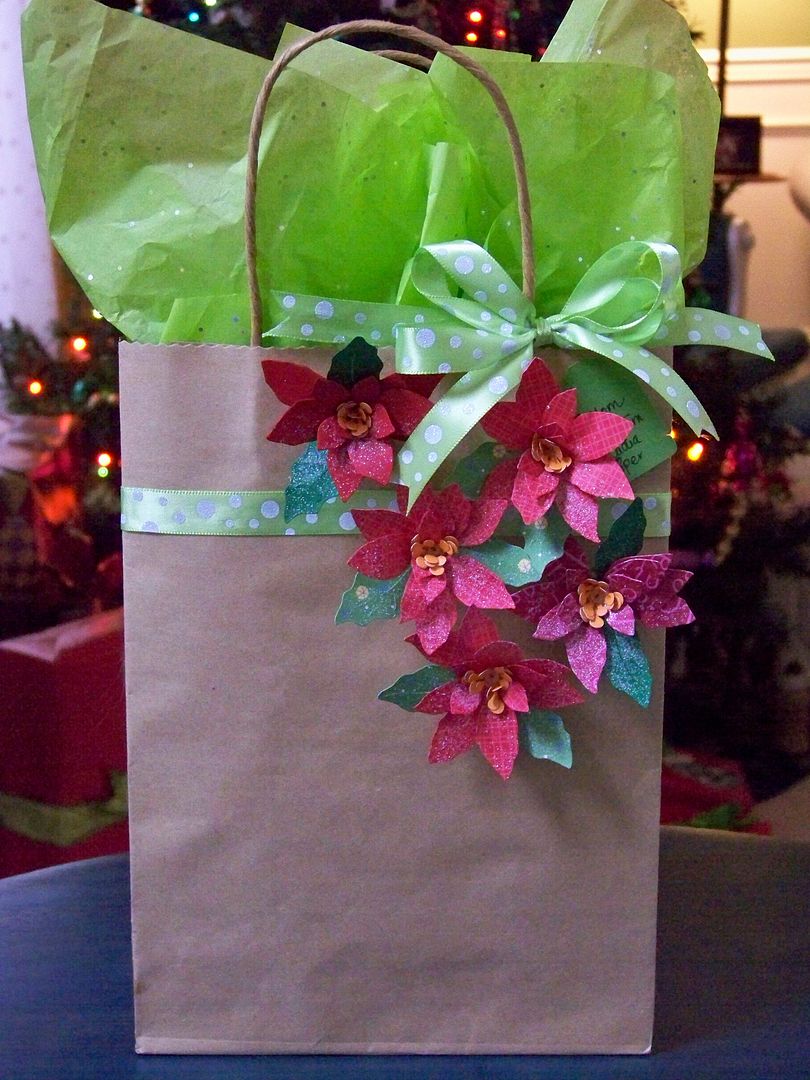
Poinsettias cut with Cuttlebug Poinsettia Die.

Stocking Replacement!  Sweater Weather for all elements.  Boarder 1-3/4".  GAGA'S 2-1/4".  STOCKING 1-1/2".

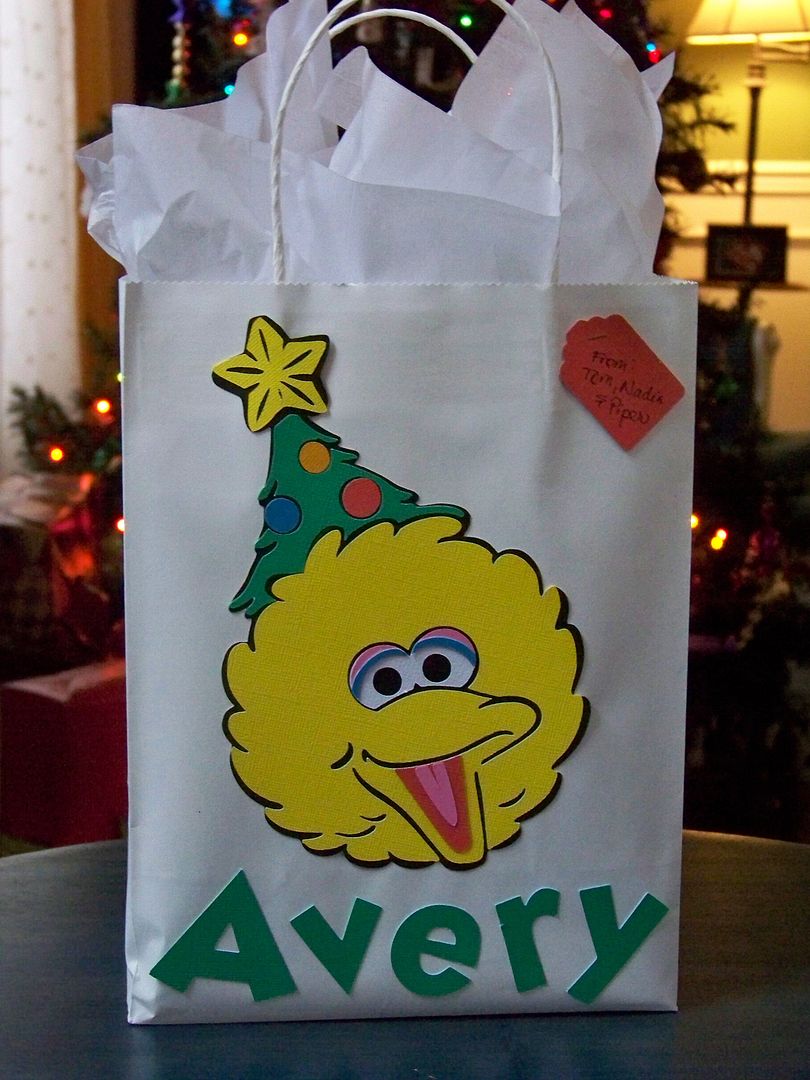
Big Bird Bag: Elmo and Friends Holiday page 57, 7".
Letters are from Mickey Font.

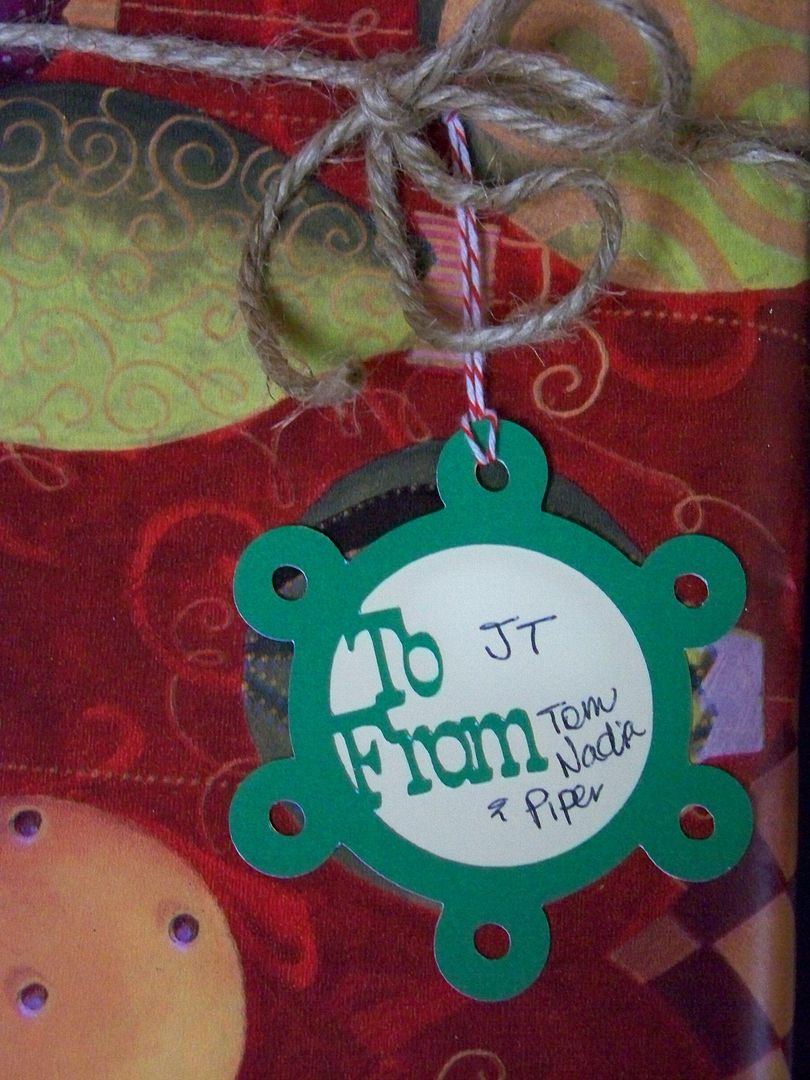
Simple tag:  Very Merry Tags 3".

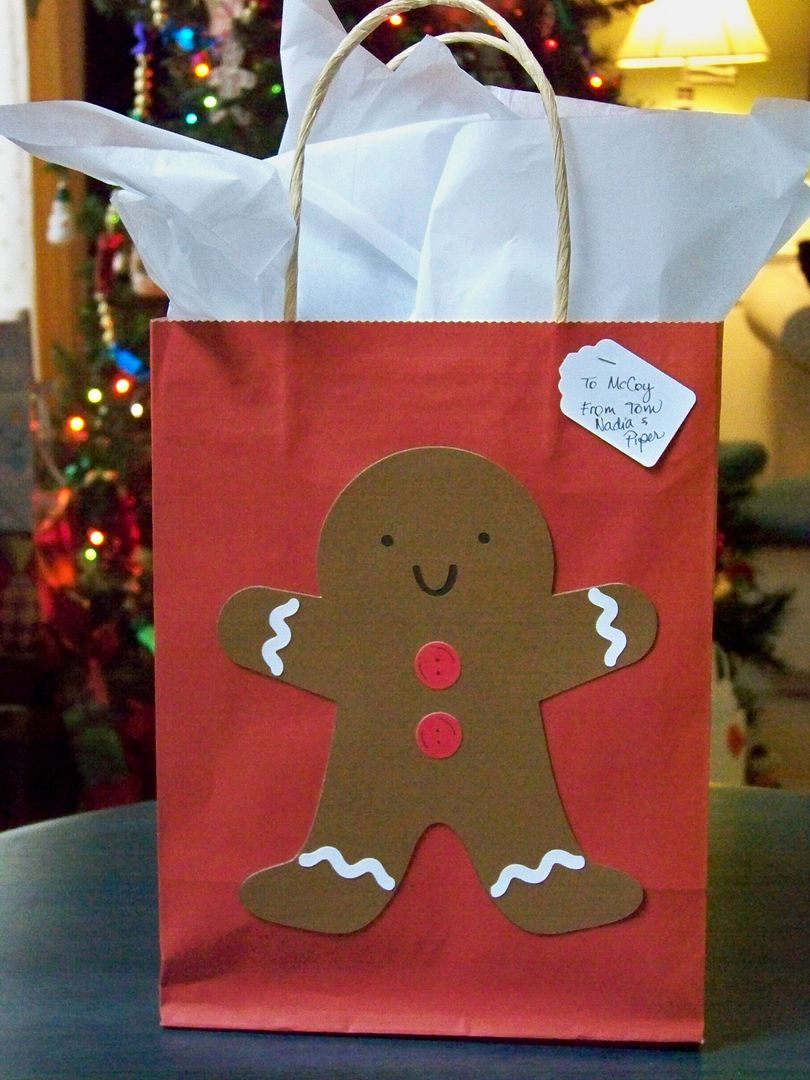
Gingerbread Man:  Jolly Holidays 7".

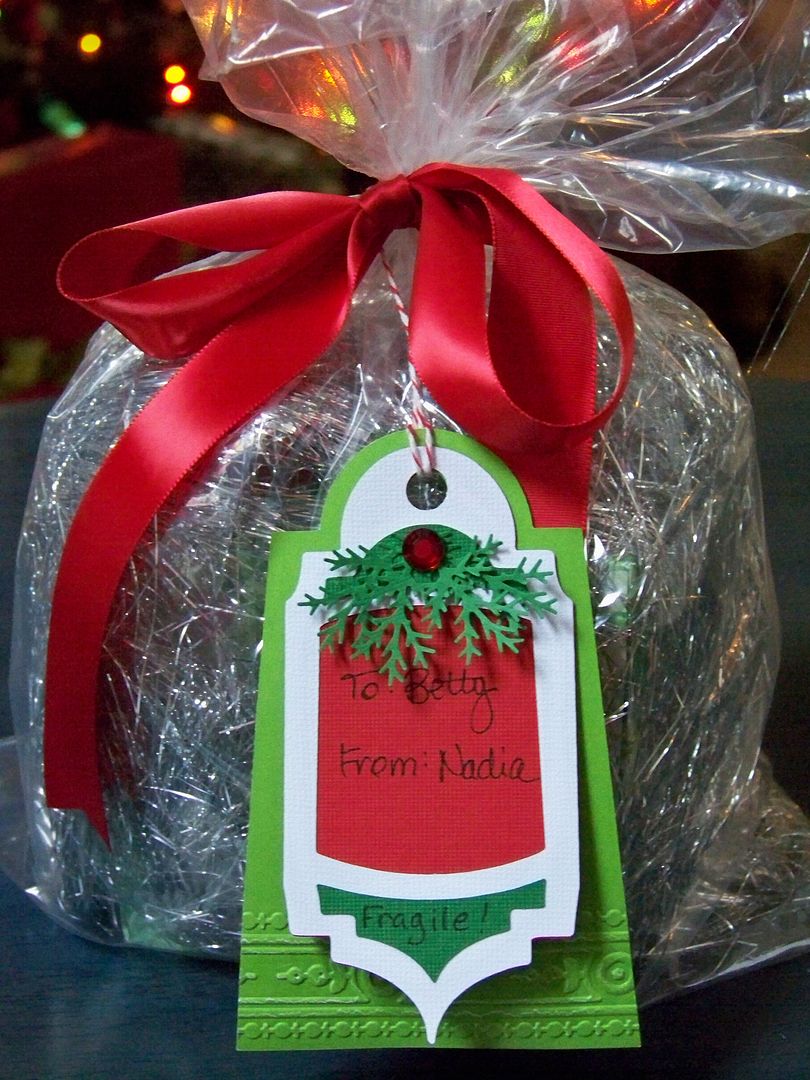
Base tag:  Holiday Frames and Tags page 63, 3"
Smaller tag on top:  Art Philosophy page 50, 2-1/2"
Punch-cut greenery.

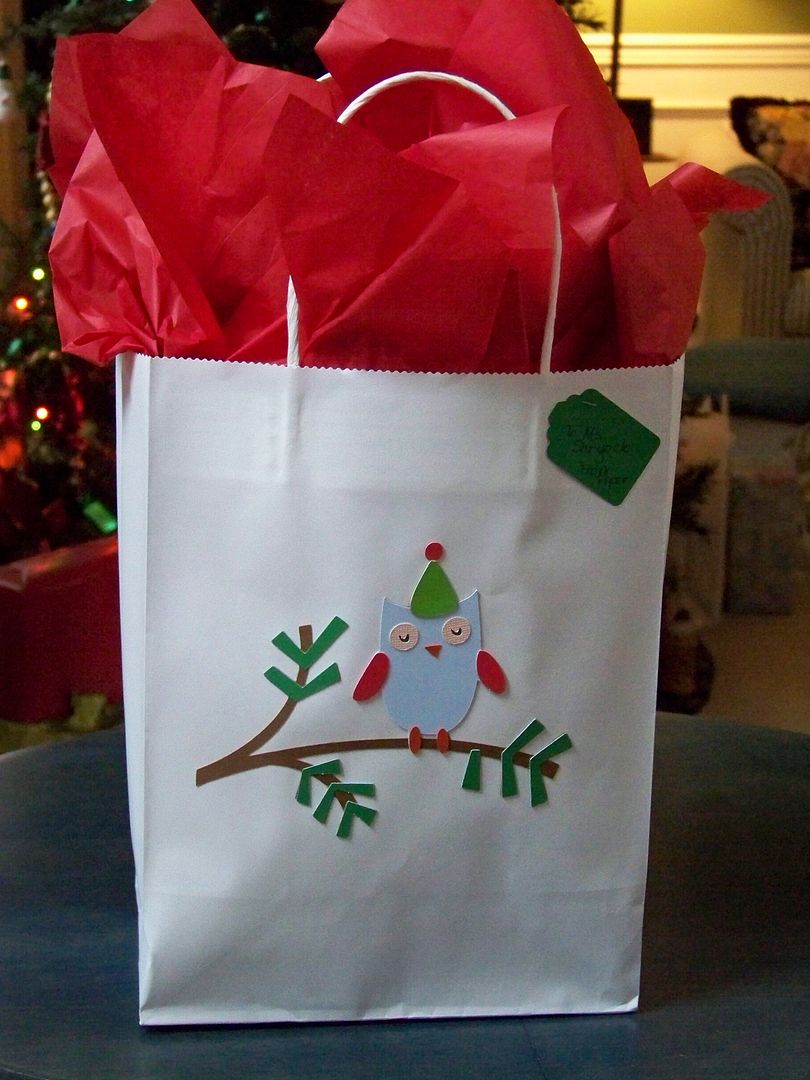
Owl on a Branch Bag:  Winter Frolic page 37, cut at 4-1/2".

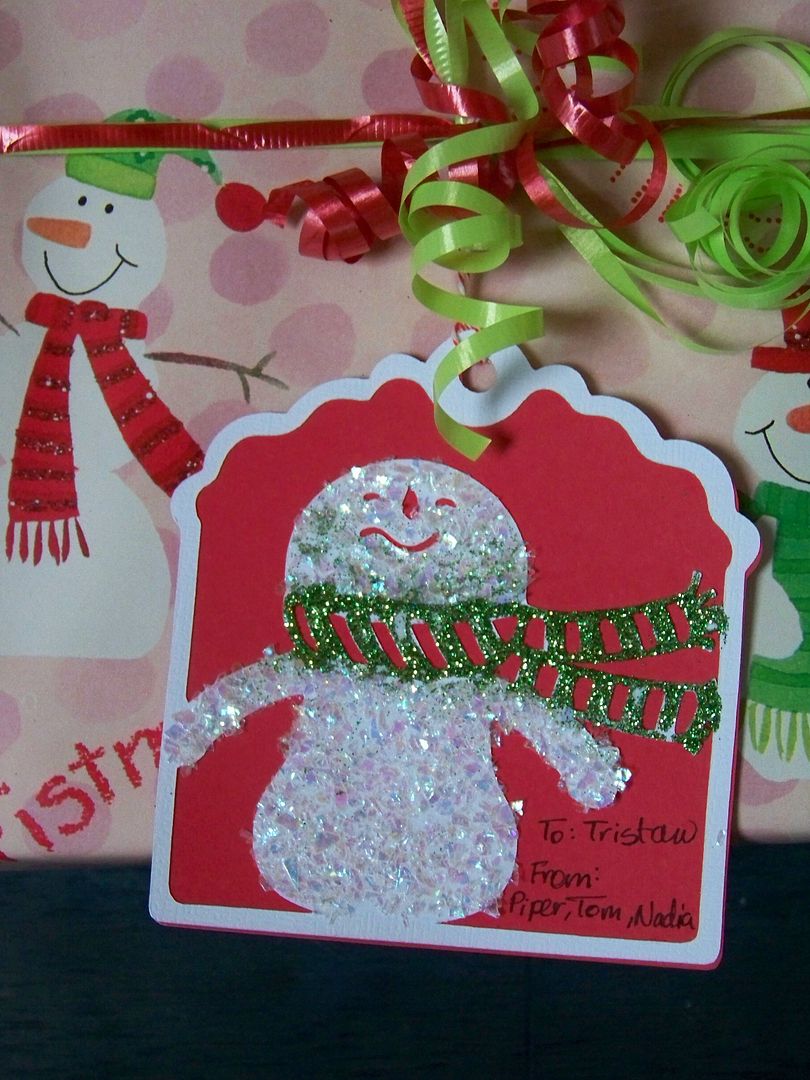
Snowman Tag:  Very Merry Tag 4".

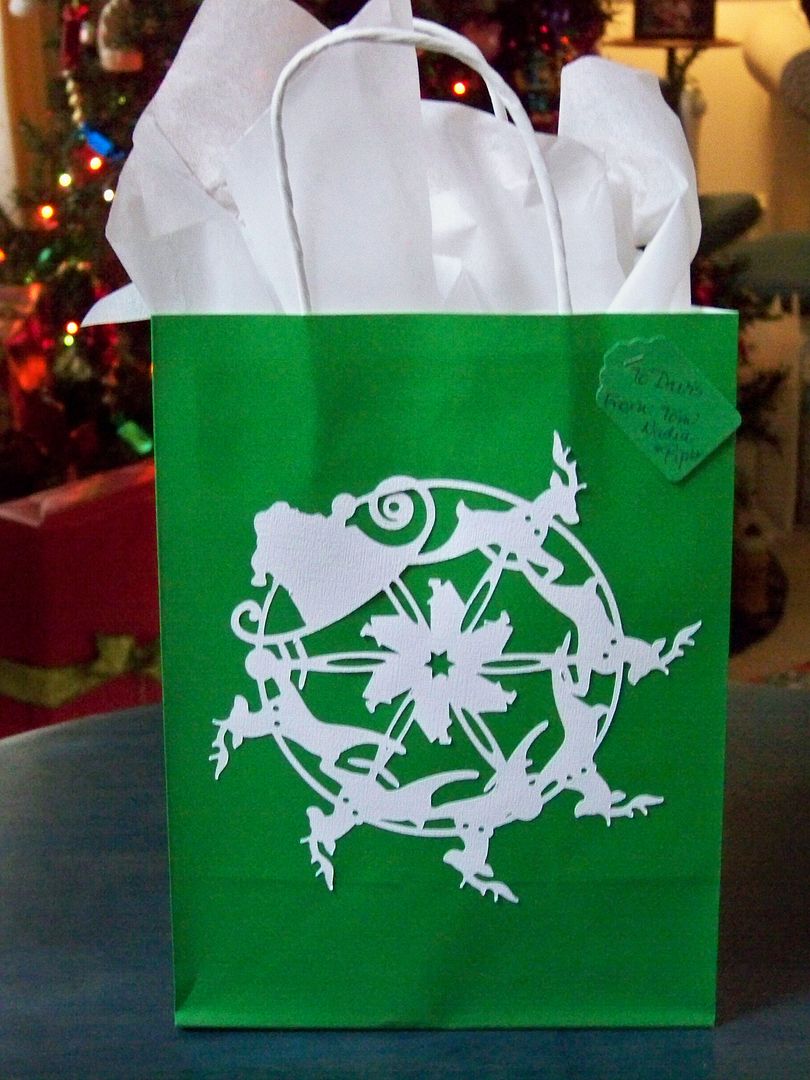
Santa Snowflake Bag:  When It's Cold Outside, cut at 6-1/2".

Raccoon Tag:  Jolly Holidays, cut at 5".

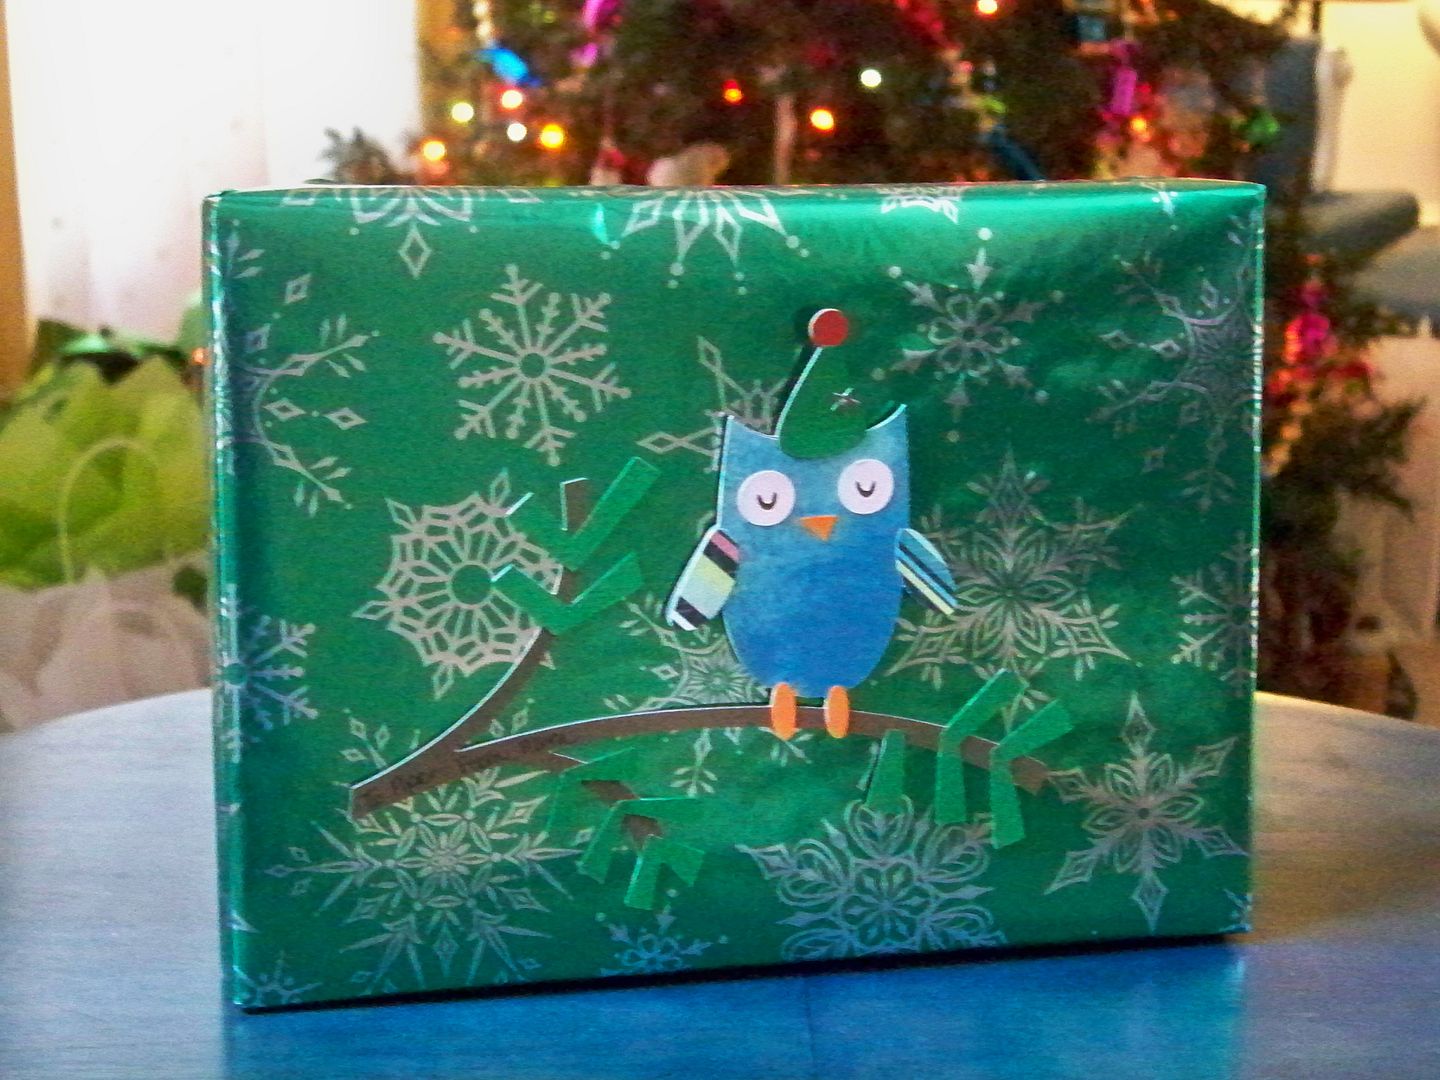
Owl on a Branch Package:  Winter Frolic, page 37, cut at 6".

Owl with Santa Hat Tag:  Straight From the Nest page 30, 4".

Ballet Tea Exchange Gift Tag:  Dancer- Twinkle Toes, cut at 6"
Teapot-Love You a Latte, cut at 1-3/4".

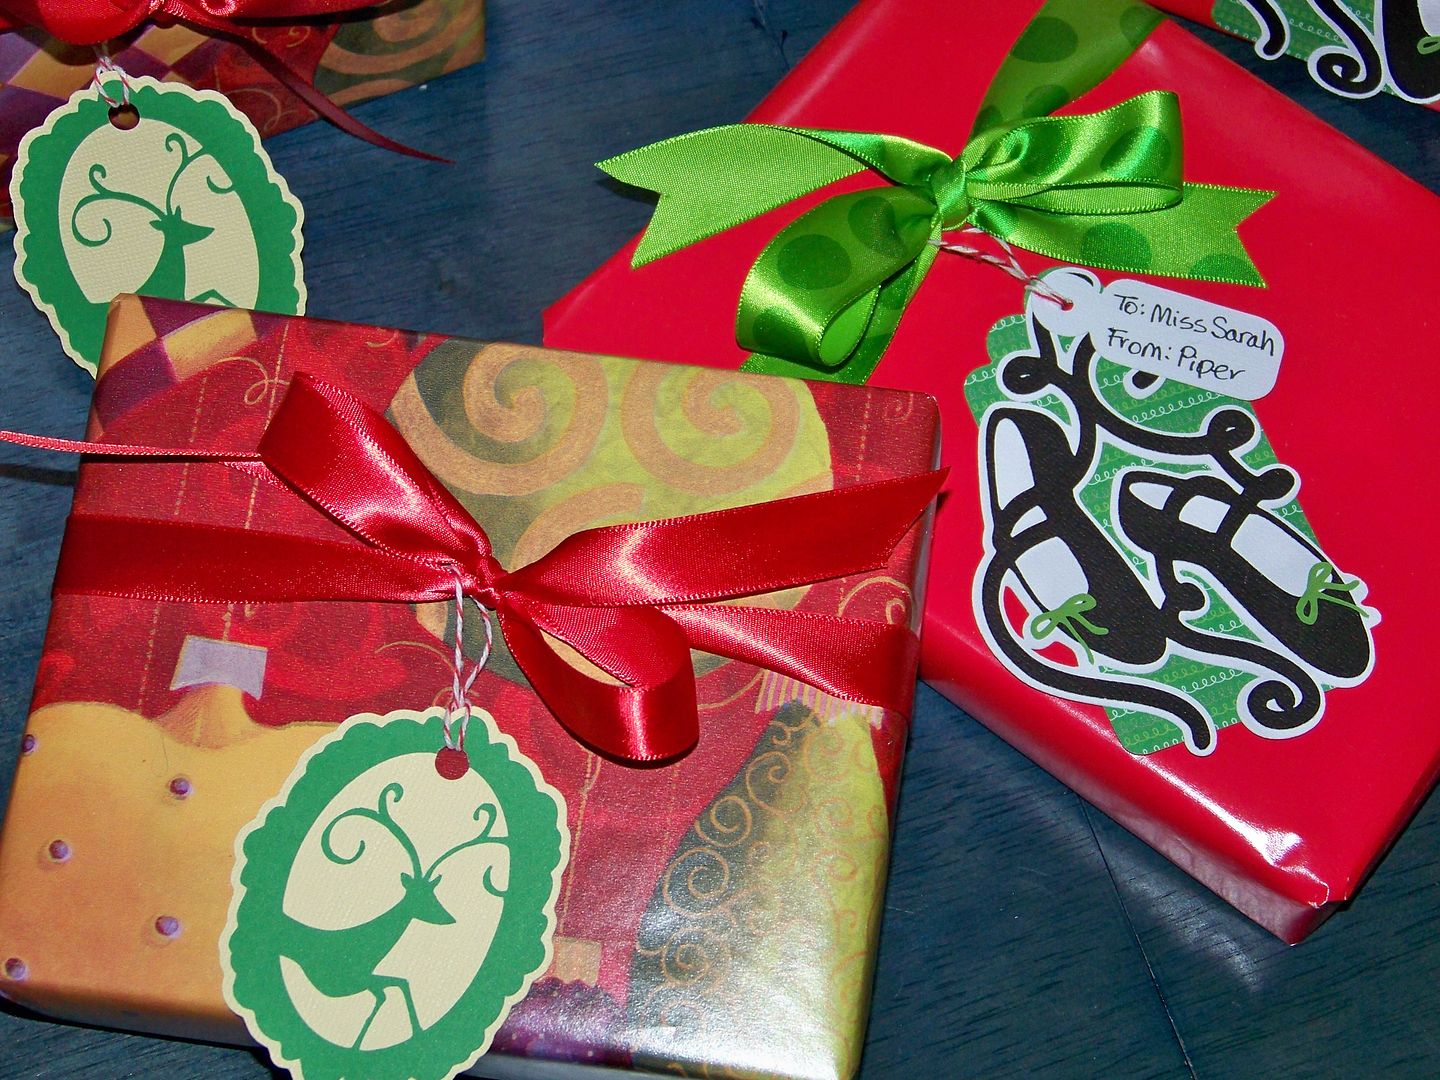
Deer Tags:  Winter Woodland 2-3/4"
Toe Shoe Tags:  Base- Artiste page 37, Accent 3 shift at 4".
Toe shoe design- Twinkle Toes 4"
Tiny name tag: Artiste page 37, Accent4 shift at 2".

Tractor with Christmas Lights:  Beep Beep 4-1/2"
Greenery is punch-cut.

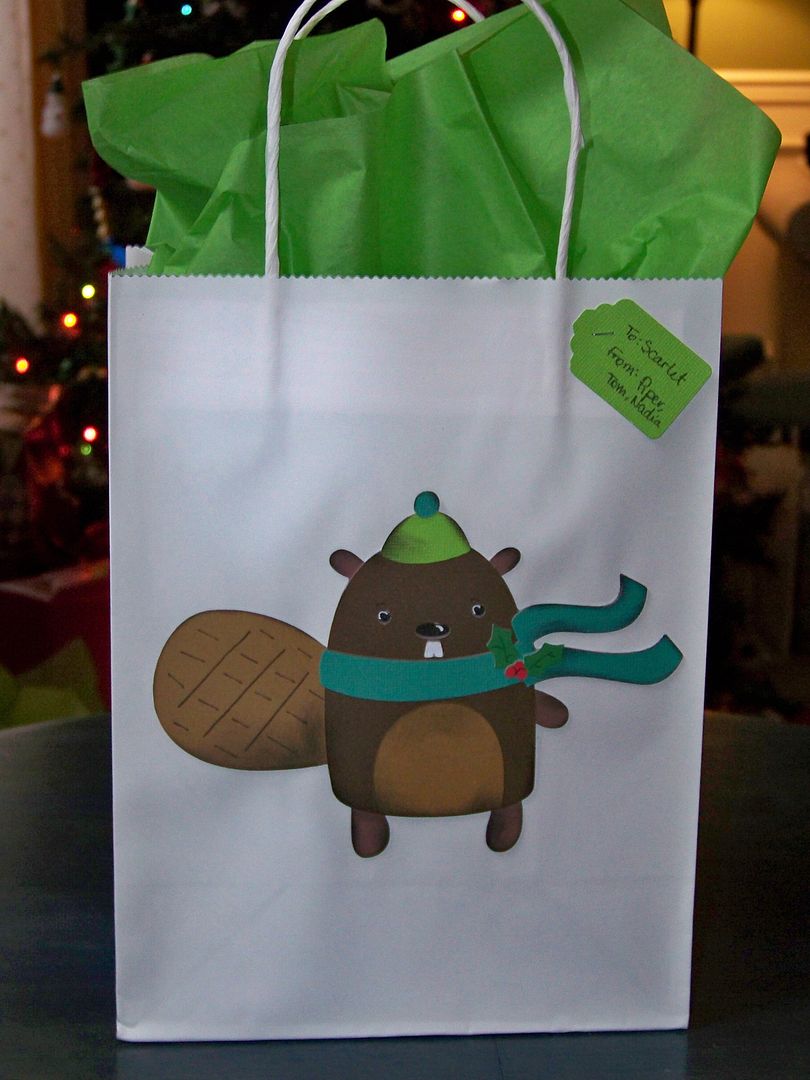
Beaver tag:  Winter Frolic page 35, cut at 5"
Holly on scarf is same cart, page 58, cut at 3-1/2".

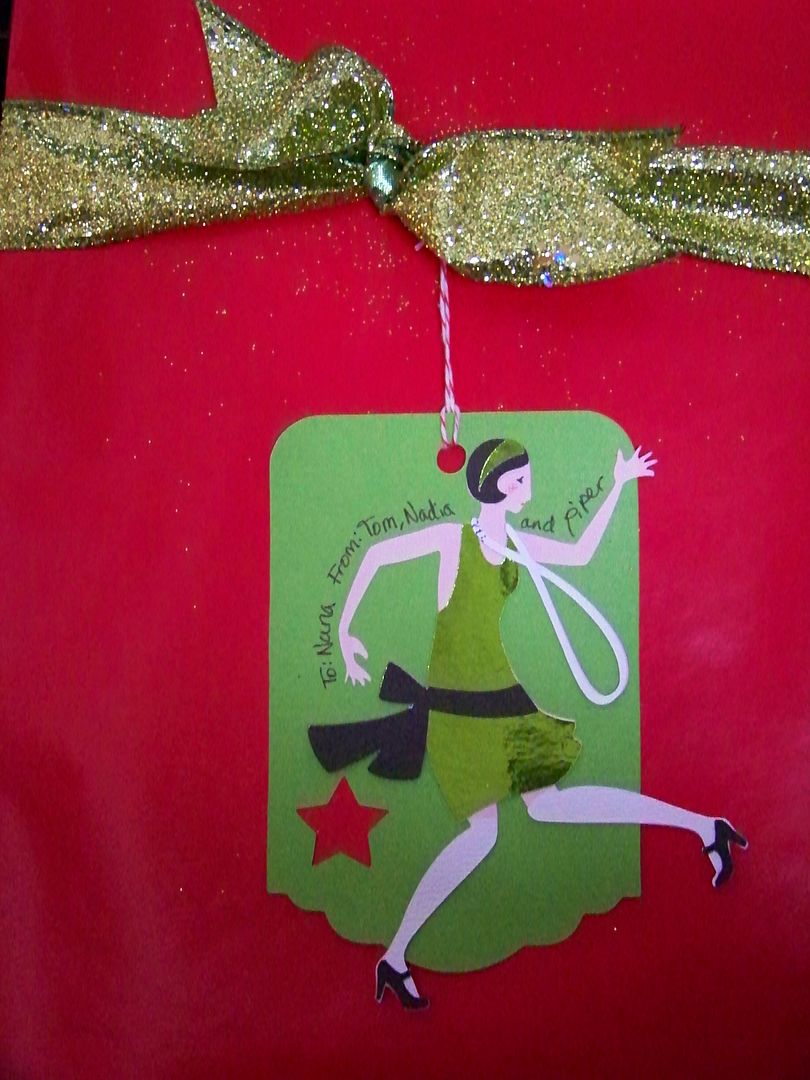
Flapper Girl Tag:  Art Deco page 45, cut at 5"
Base:  Holiday Tags and Frames, page 36, cut at 5" and flipped.

Santa on a Tractor:  Beep Beep 6" (hand-cut hat and Liquid Applique for beard)
Greenery for wreath is punch-cut.

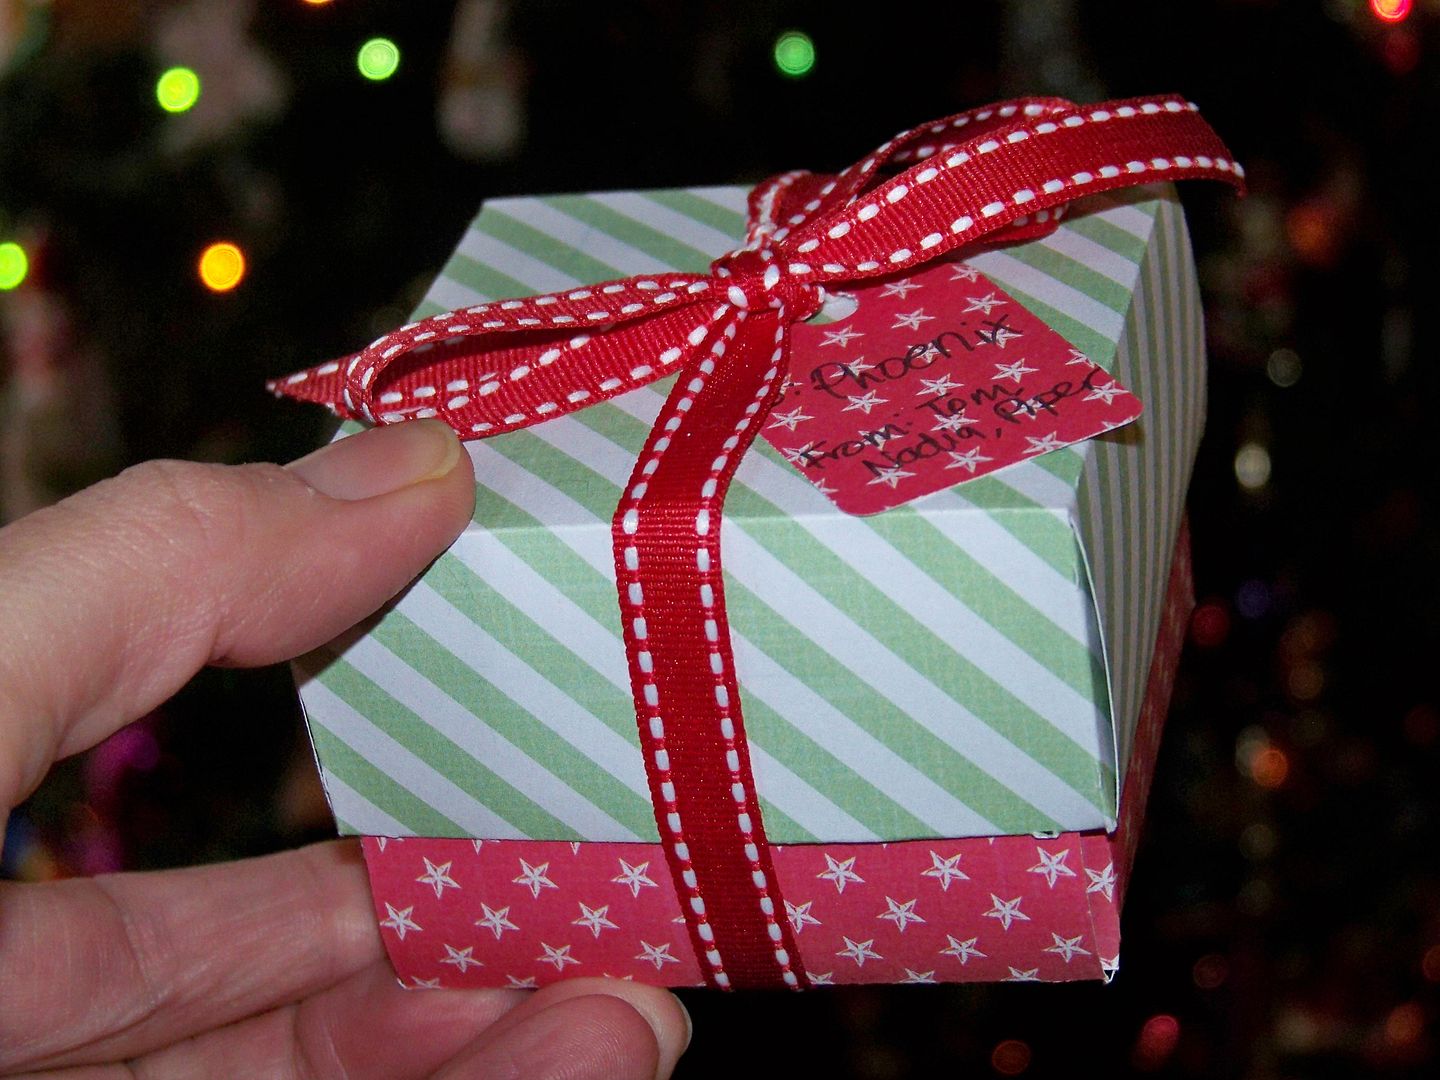
Box for Cash:  Bridal Shower, cut at 9-3/4".

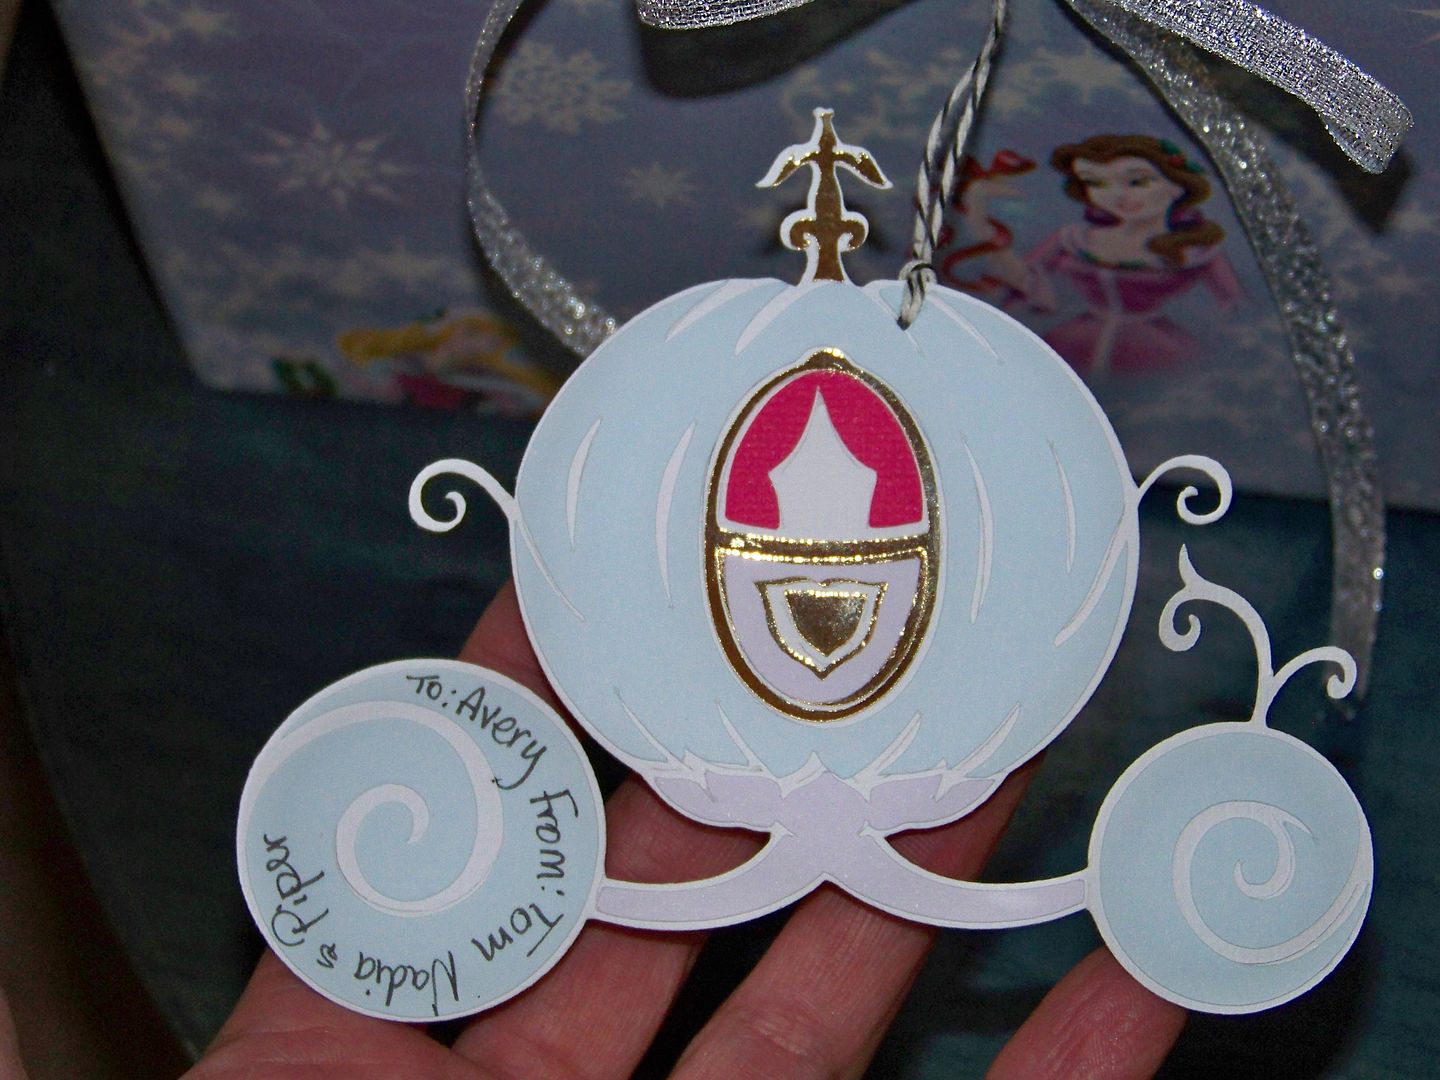
Cinderella's Carriage: Happily Ever After page 37, cut at 4".
Hoping that having my gifts bought and wrapped early will mean that I will have time to make cards, candy-grams, and to work on my Christmas Journal and photo-a-day Instagram projects!  Last year, I paid for Shimelle's Journal Your Christmas.  I loved that class (my finished journal is something I really love) and the fantastic benefit is that you are forever signed up so I got this year's prompts at no additional charge.  It really helped me focus on the things that really matter!  It was such an unexpected blessing and even my daughter treasures it!  If you are interested, it's not too late to sign up! Here's a link:  click here!


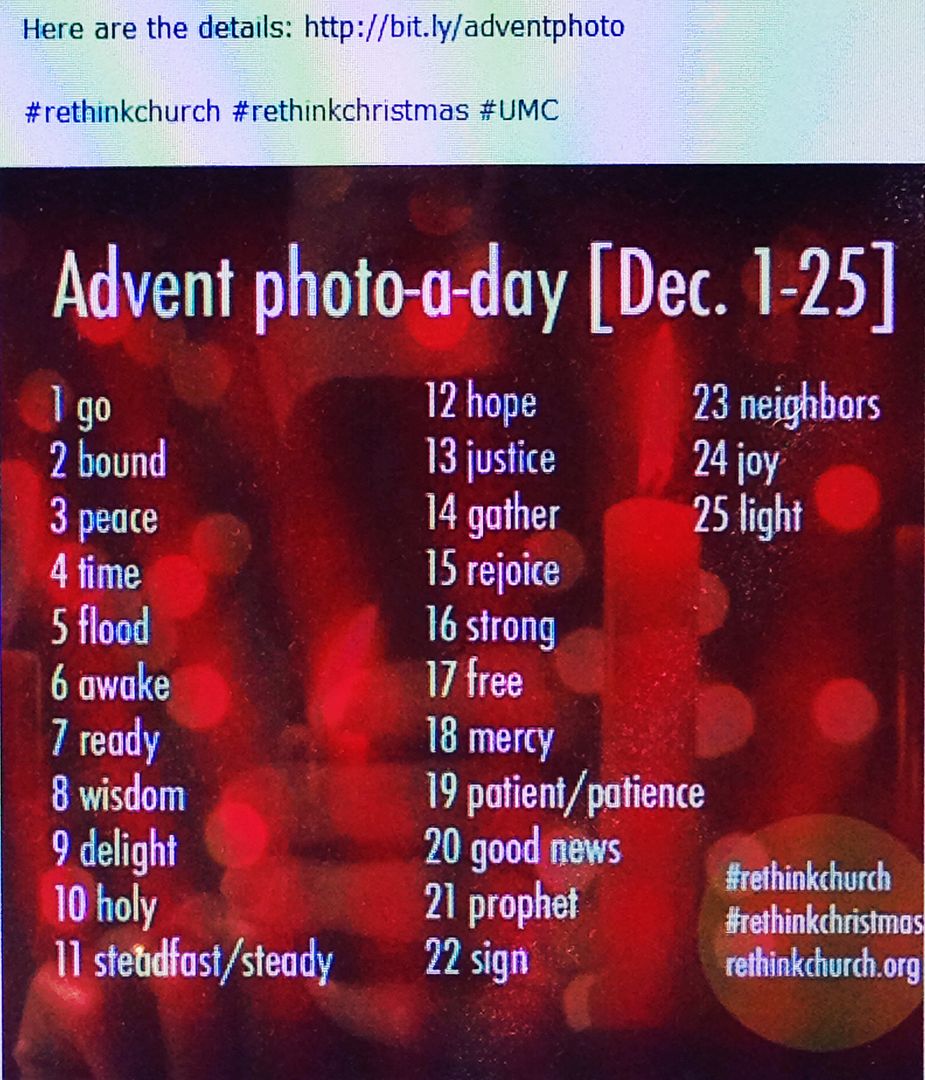
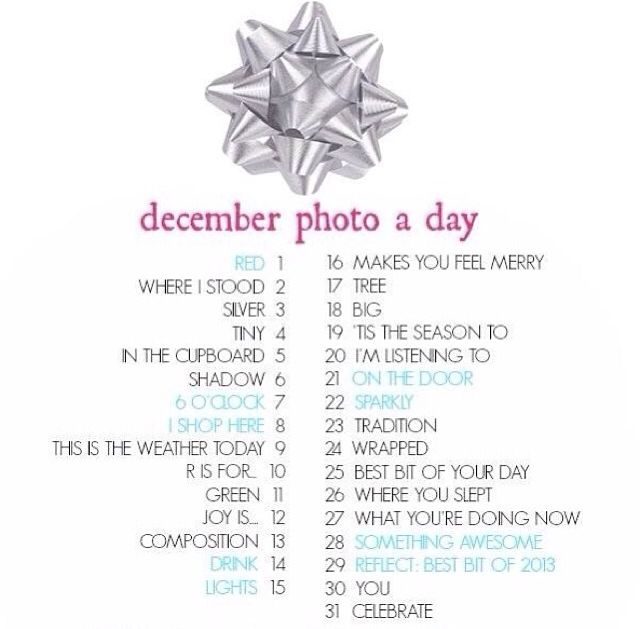
These are the phonephotography projects I am doing.  I just pick whichever daily prompt speaks to me and if not all days get done, well, so be it!  If this is your cup of tea, here are the prompts.  Find me on Instagram -- I'd love to see what you are doing there!

This one is from the United Methodist Church and their rethink church campaign.  Hashtags are below:


This one is from Fat Mum Slim.  Hashtag for this is #FMSphotoaday.  Here's a link:  http://instagram.com/p/hX4CbEzRMx/

In case you are new to this, the hashtags just allow you to see other photos from other people who are also doing these projects!  Not required but unless your Instagram is set to 'private' it allows people to see how you interpret the prompts and it makes it more fun!

So my final 'project' is health-based.  Yep, I got back on program at Weight Watchers.  You are reading the blog of someone who lost 70 pounds!....ten eleven years ago.  I have spent the last eleven years gaining it back (plus some) so.... I am back at the drawing board and 12 pounds lighter than I was at the beginning of November.  Yay for that but much more to go and hoping to meet goal sometime next summer but on-program whenever it actually happens.

Piper is making personalized ornaments for gifts this Christmas.  Hoping to post those in a week or so!  She is taking so much pride in having so many gifts for others this year!  Yay!!
It is a happy December.  Full of challenges but lots of hope and some fun too!  Wishing you a happy December!  What are your December special projects?  Are you doing a December Daily or Journal Your Christmas kind of project?  Best wishes for making great memories!

Wednesday, December 26, 2012

Last of the Journal Your Christmas - Dec 25, Final Page Calendar, and Cover!

I hope you had a beautiful Christmas Day yesterday!  It was magical for us and I have to credit my kiddo for that!  It was also our third day of Christmas dinners, family get-togethers, and gifts to share.

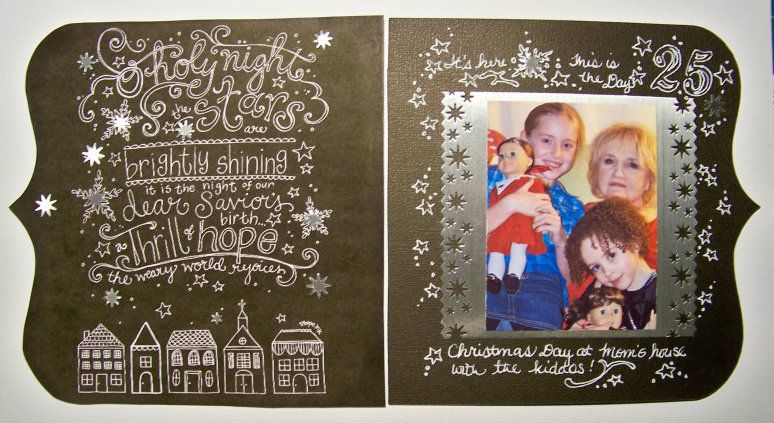
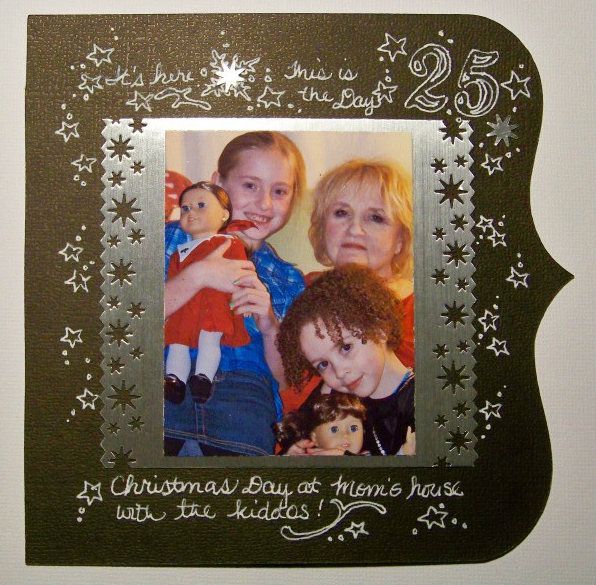
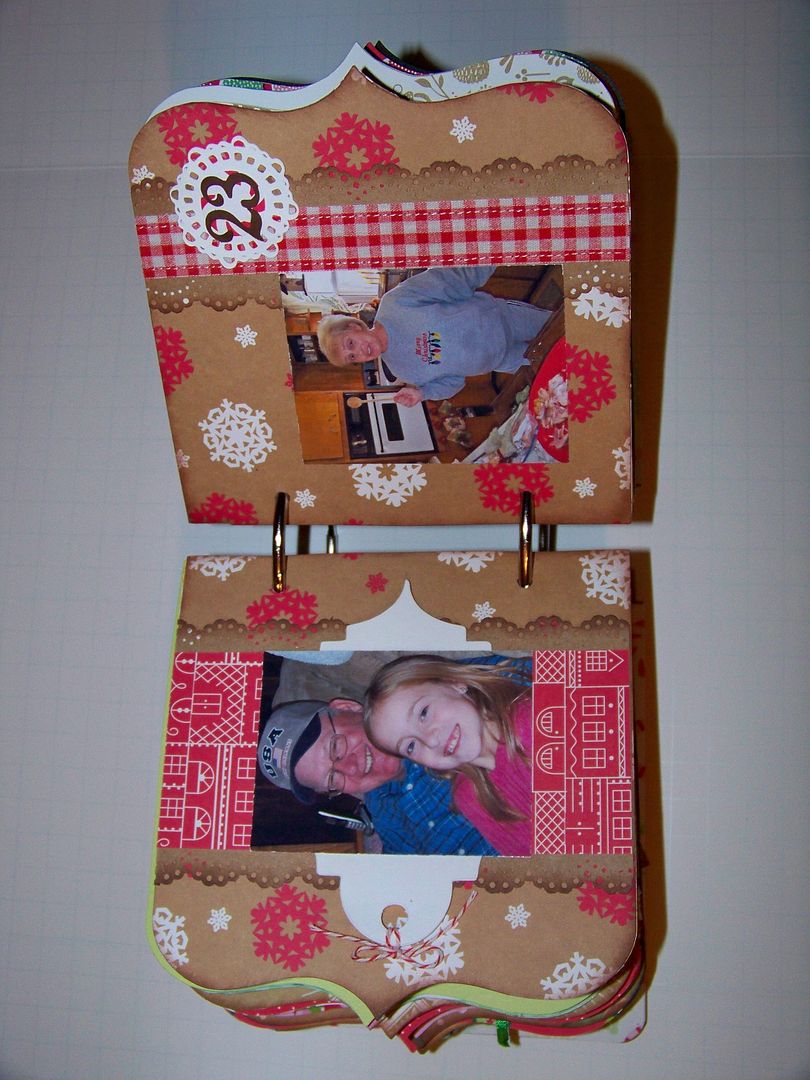
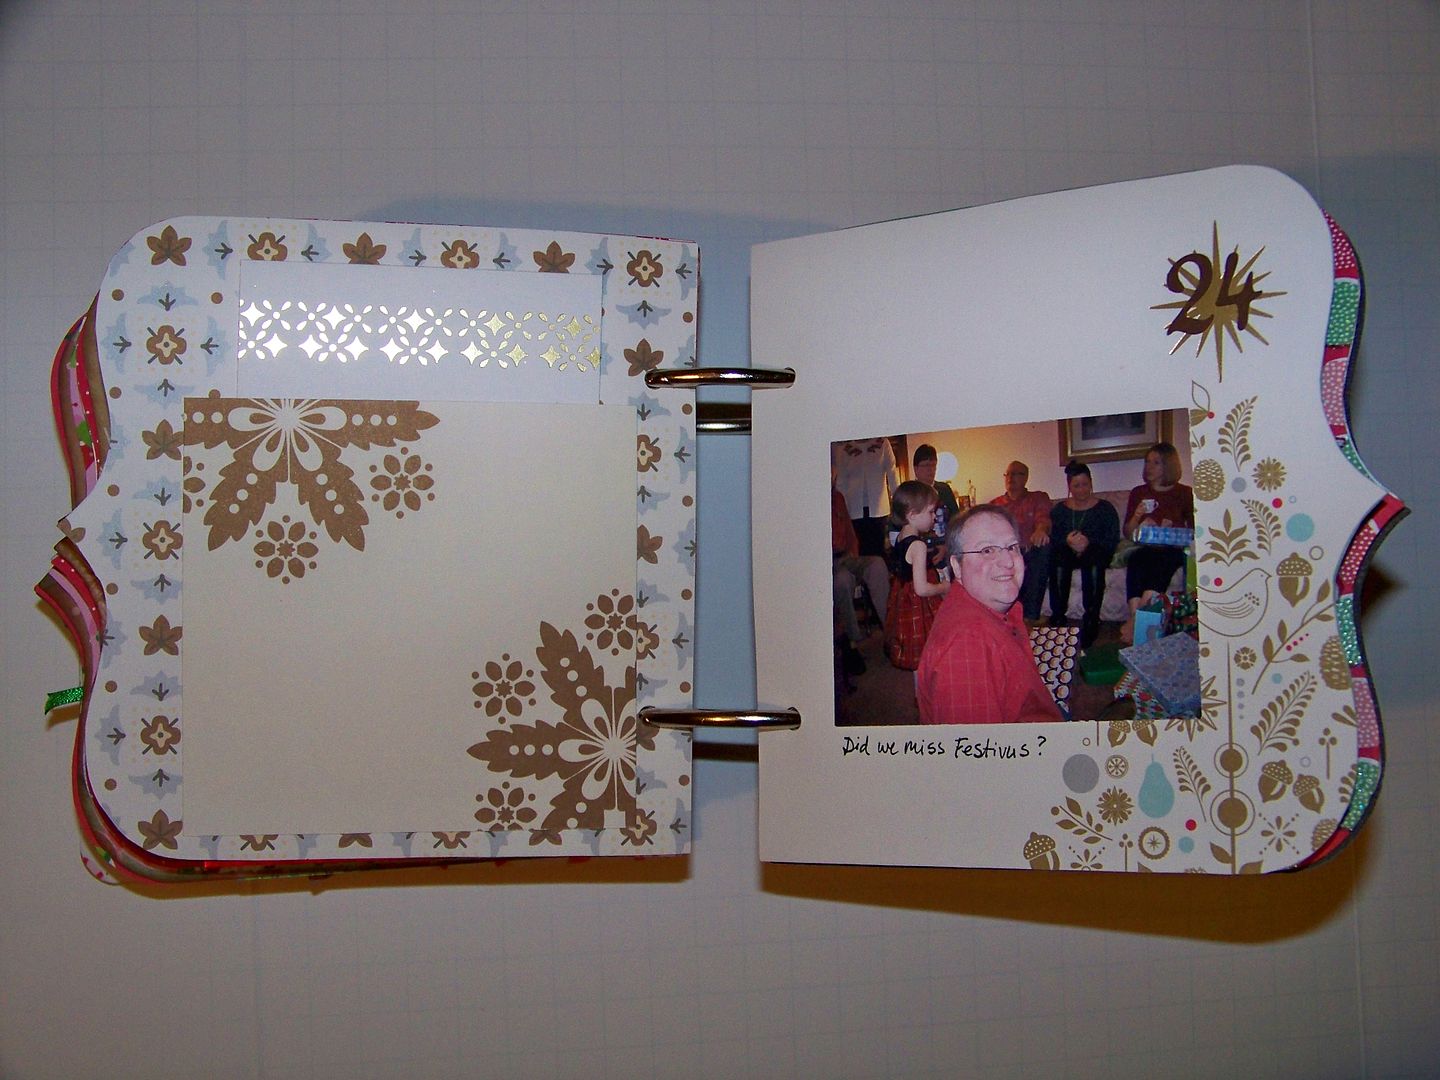
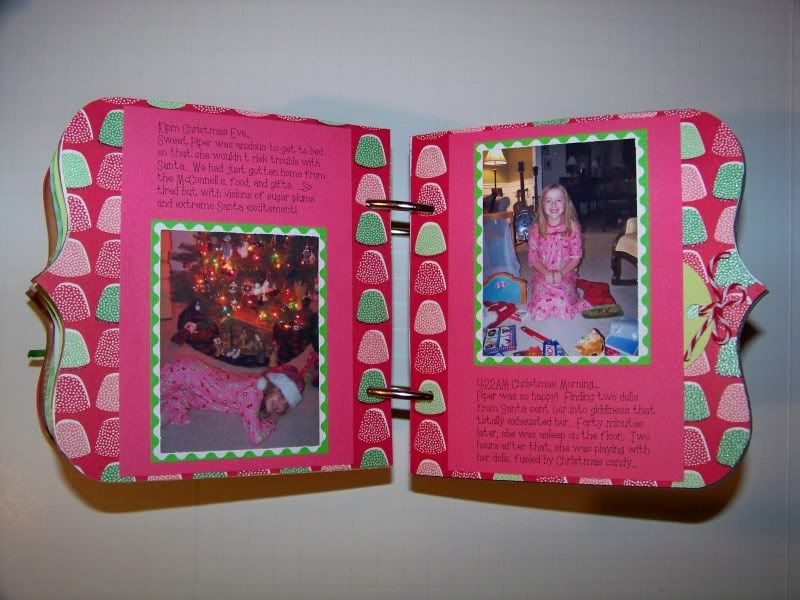
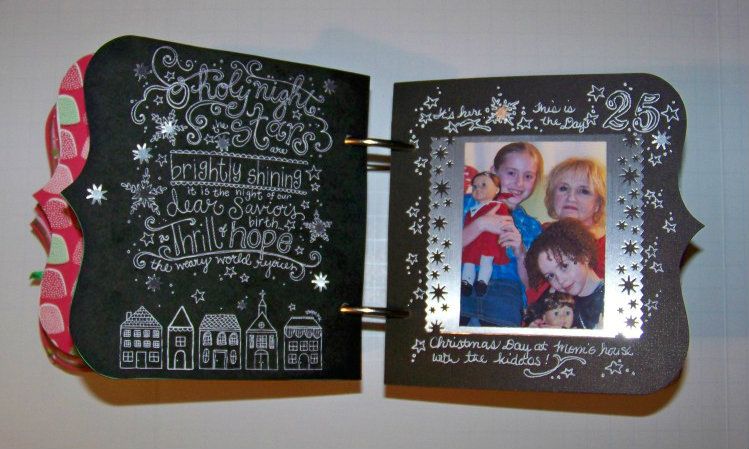
This is my December 25 page for my Christmas journal:


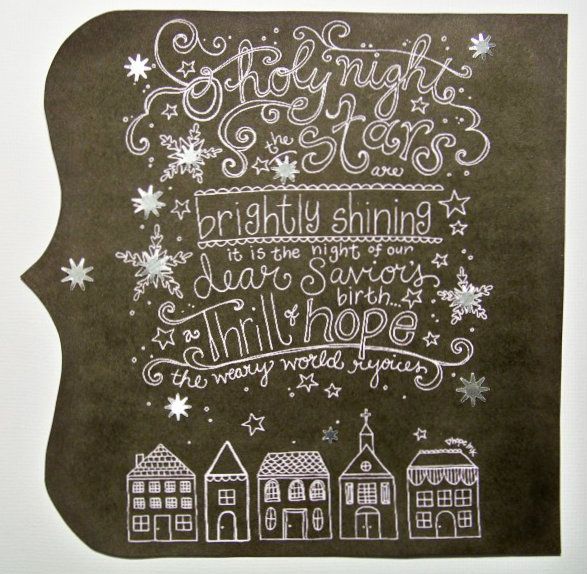
I wasn't sure how I was going to tackle this day.  I had decided to end my journal on the 25th for logistical reasons [read: this book is out-growing the largest book rings I could find], so I needed these pages to be somewhat different but I still wanted to keep my page size, shape, and date location in the upper right corner.  I figured it out when I found a free printable by Hope Ink Art and Design.  You can find it by clicking here.   I used her design, scaled down to my 5-1/2" page size for the left side and used a white pen to do some of my own doodling for the right side.

I found this here:  http://www.hopeink.com/2012/12/23/merry-christmas-new-printables/


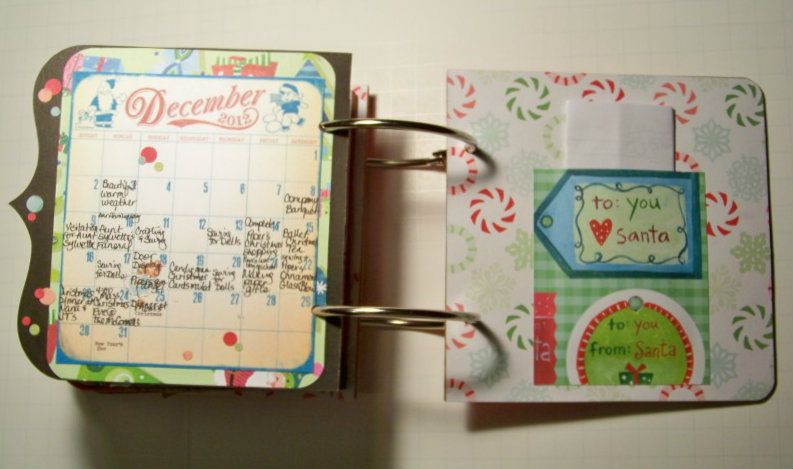
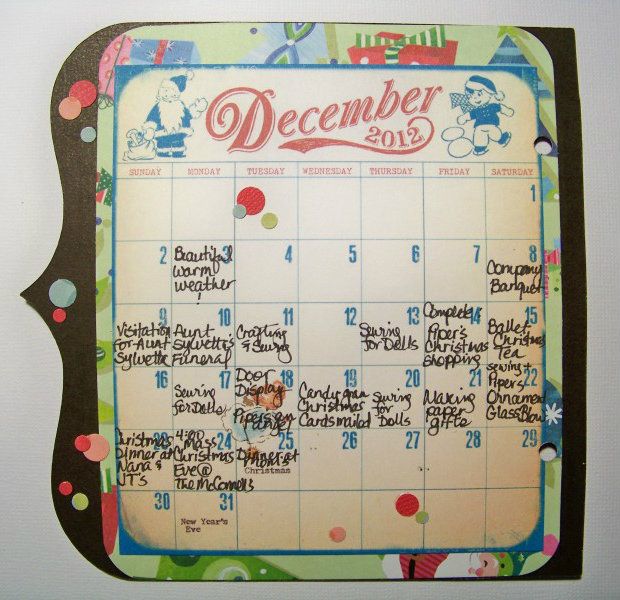
Since this is the end of my journal date pages, I had been wanting a calendar page so I added it to the reverse side, the very, very end!  This is a calendar that was made available by Marie at A Stitch in Time.  I hand-wrote my daily schedule.  Note to self for next year:  fill it in as the days pass.  A fun thing about the calendar is that I will continue to write on it as the month unfolds!

I found this here:  http://stitchintime.typepad.com/stitch_in_time/2012/12/december-daily-day-5.html
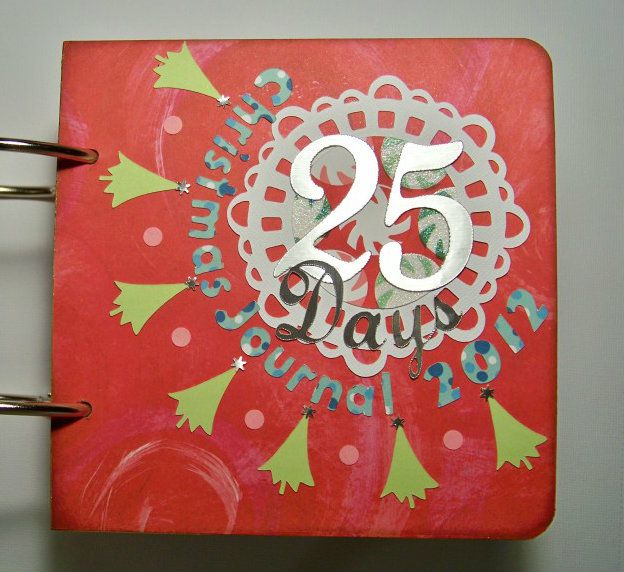
For my cover, I used 6" chipboard covers that I had in my stash.  I covered them with decorative papers using Mod Podge to adhere them and a brayer to ensure that they were smooth.  I used my Crop-A-Dile to punch holes in my pages and covers.  Three-inch book rings bound it all together.  My cover design incorporated a larger size medallion and font, like the one that I had repeated on most of my pages.

My daughter finally wrote a little message about her Christmas (that I had been begging her to write) and I included that along with my own notes in a little pocket I made for the inside back cover.

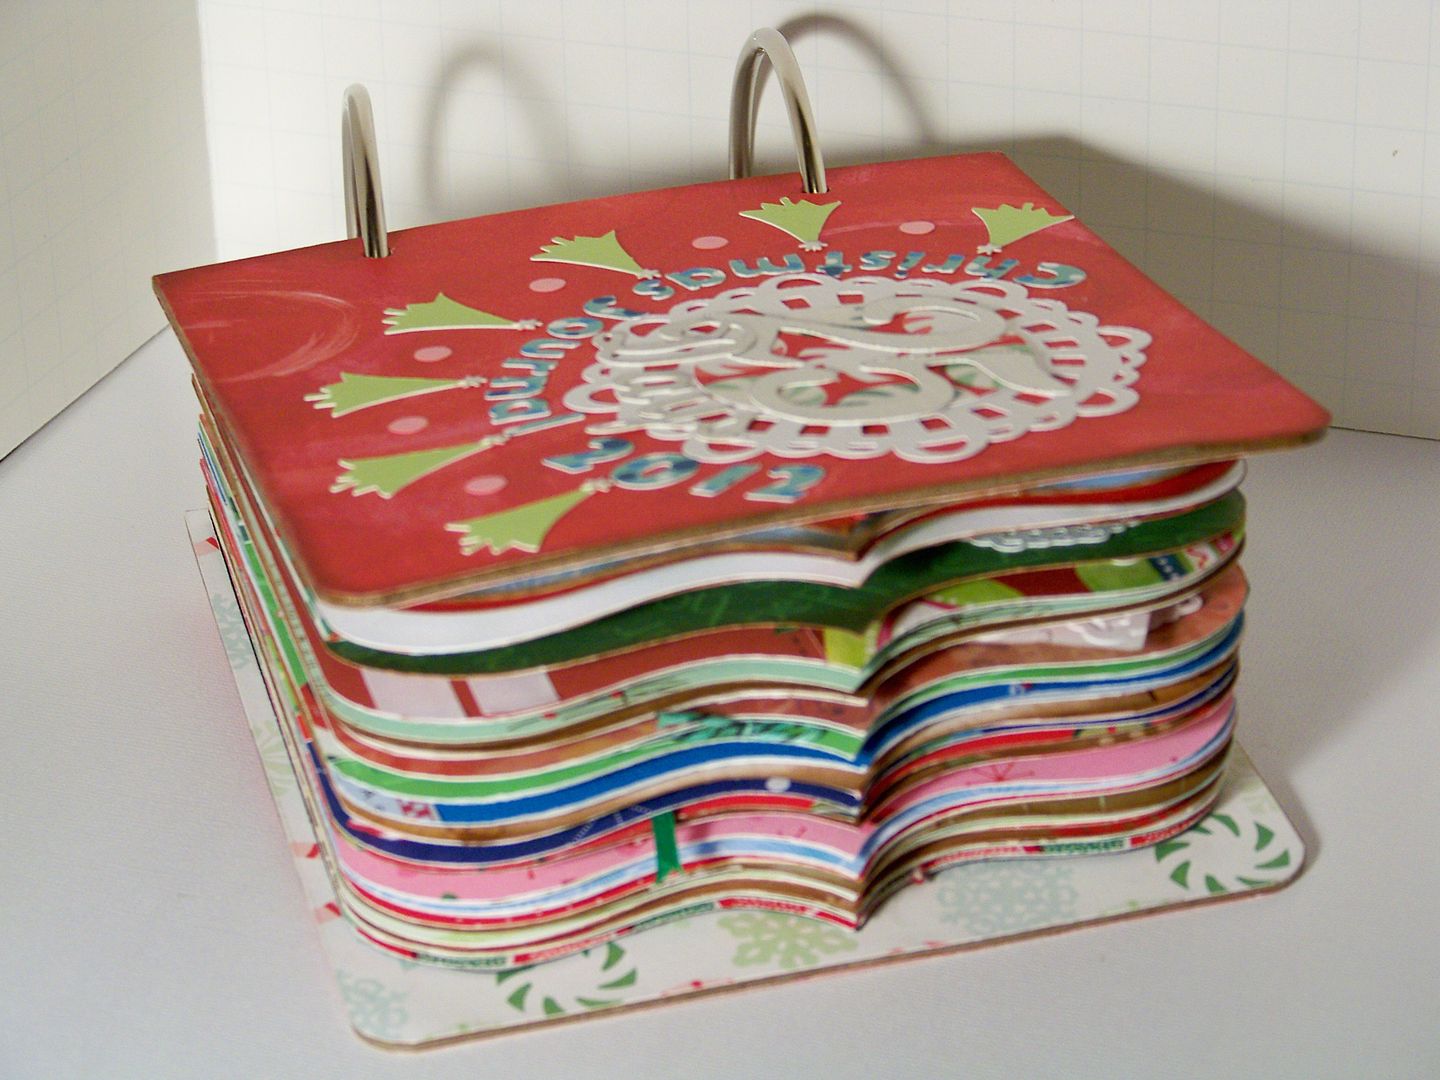
  As you can see, this fella is thick.


So.... I have to say that I loved this project!  It forced me to appreciate each day-- to find something good to share each day.  We didn't do half of the activities that I had hoped we would and yet our lives were full and our season was lovely.  I did write lots of things on my journaling tags and hidden within my little envelopes and pockets that weren't always happy but were always truthful and representational.  I have faith that by including that stuff that this journal will be more meaningful in the years to come and to others aside from me.  As a keepsake, I think it makes it more poignant.

I also loved that I have so many wonderful photos of the season.  Normally, I would have a picture here or there, but for this project, I took tons of pictures daily.  I printed off many for grandparent gifts and have them all in a 2012 digital file.  This was an extra gift to me and my family!

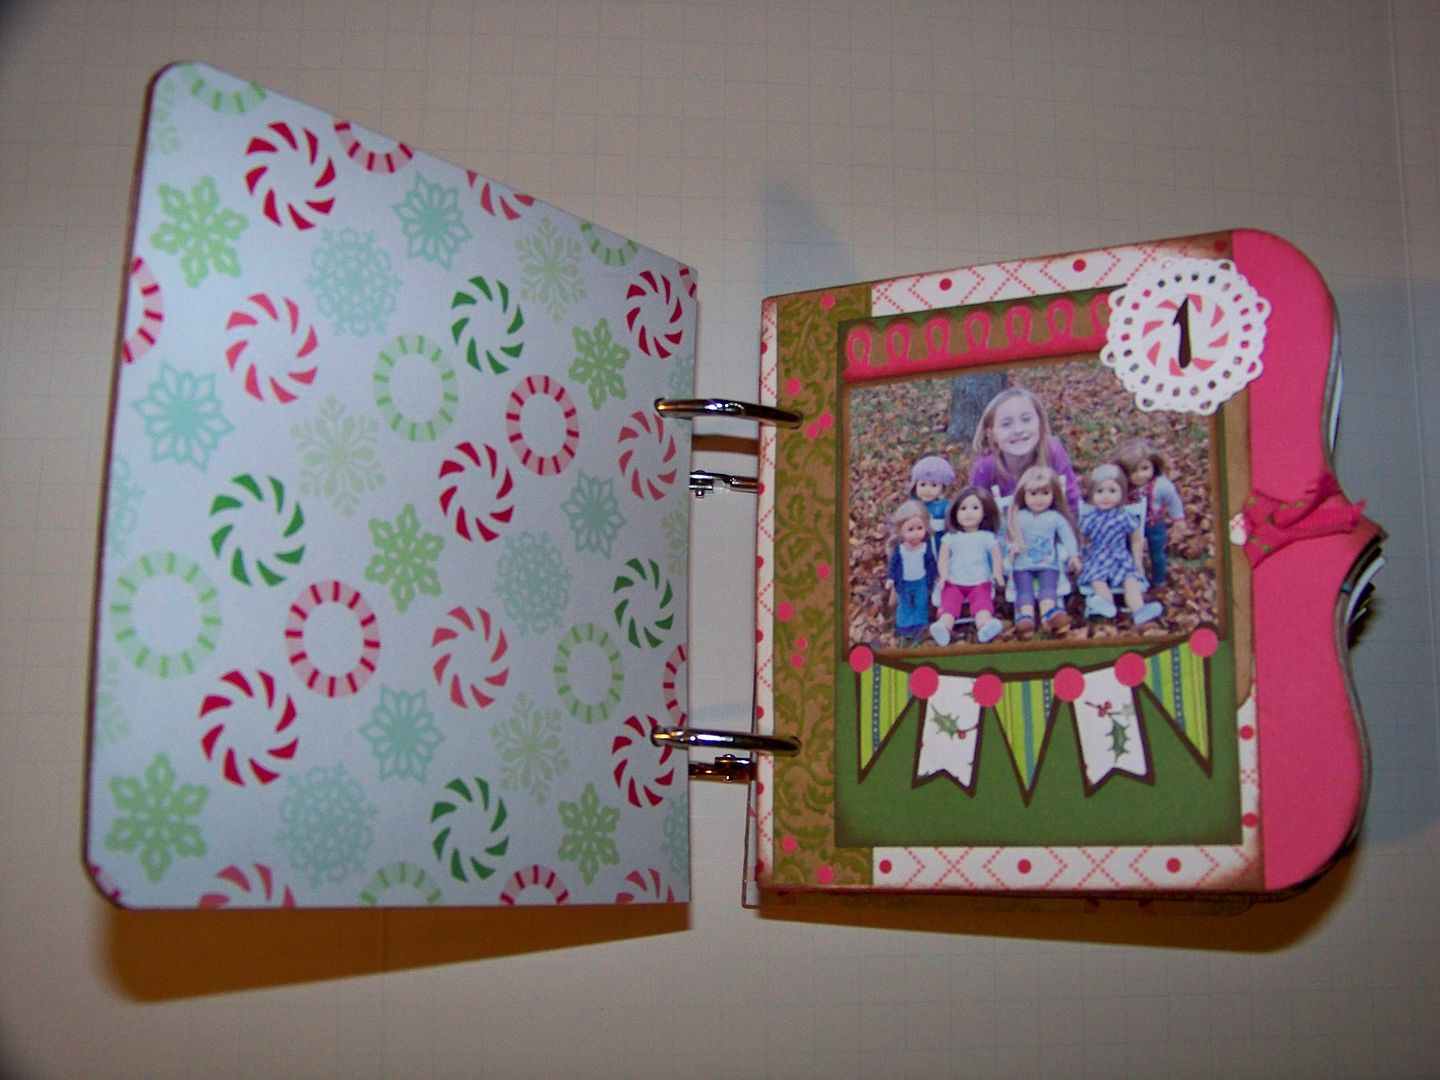
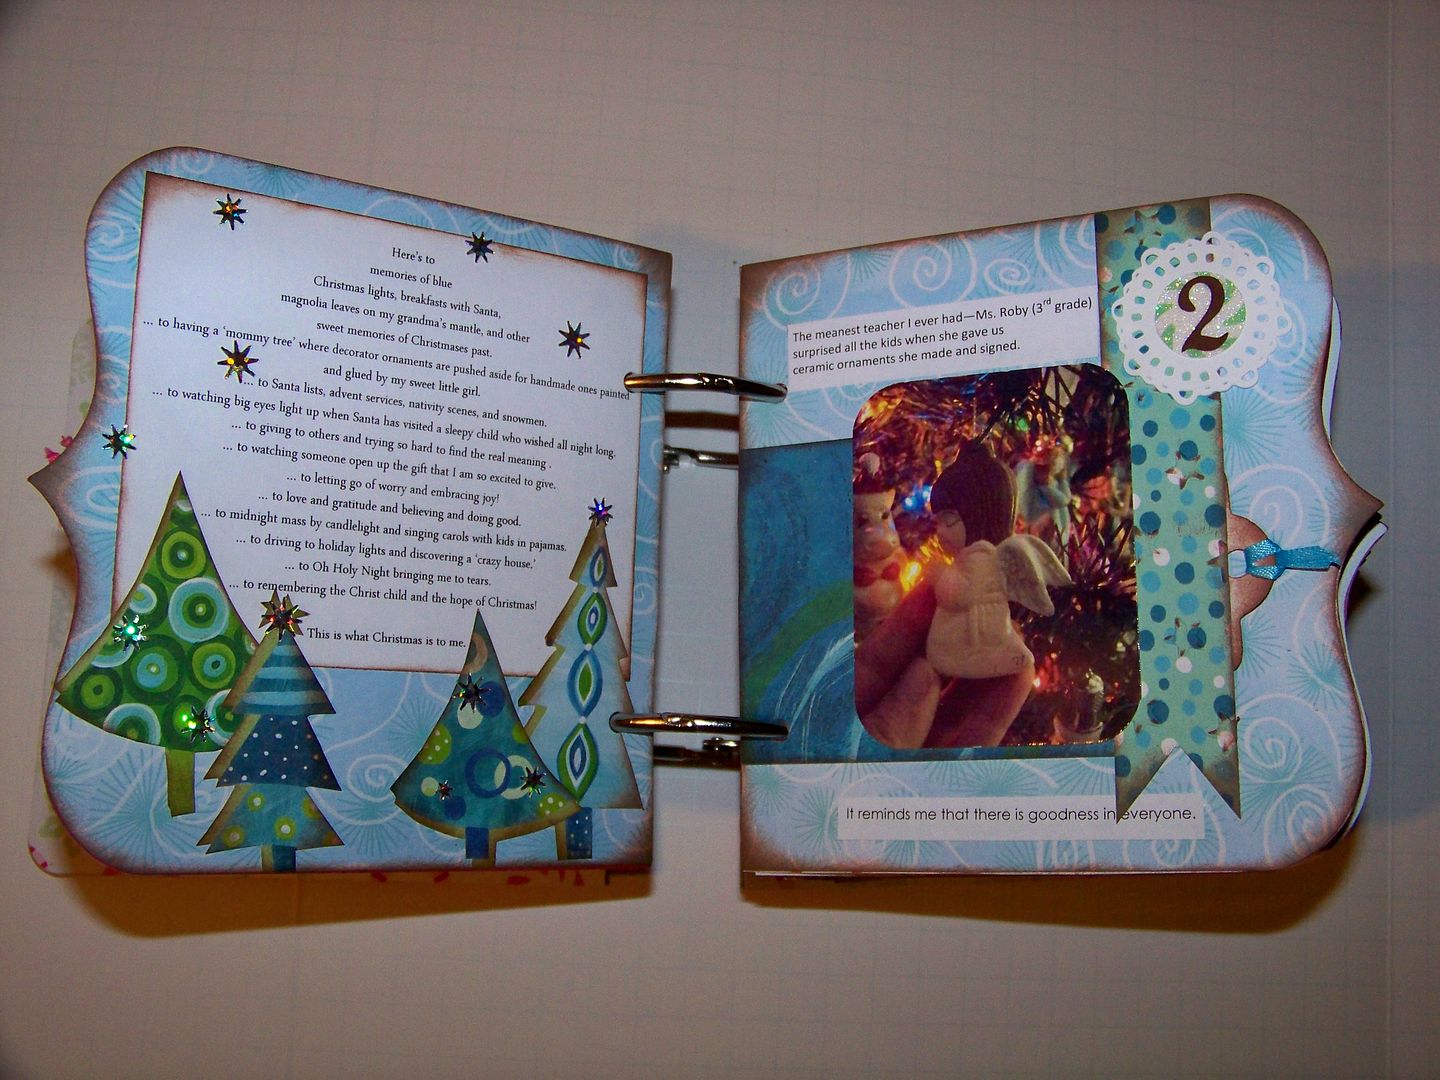
I have previously blogged my pages one, two, and three pages at a time, but I wanted to share them bound and all together.  I intentionally made each day with different papers and different colors to associate best with the photo or theme of that day.  That is something that made the dailies take longer to complete, but made it so much more fun for me!


Links to the posts for the pages shown above:
December 1-2
December 3-4
December 5-7
December 8
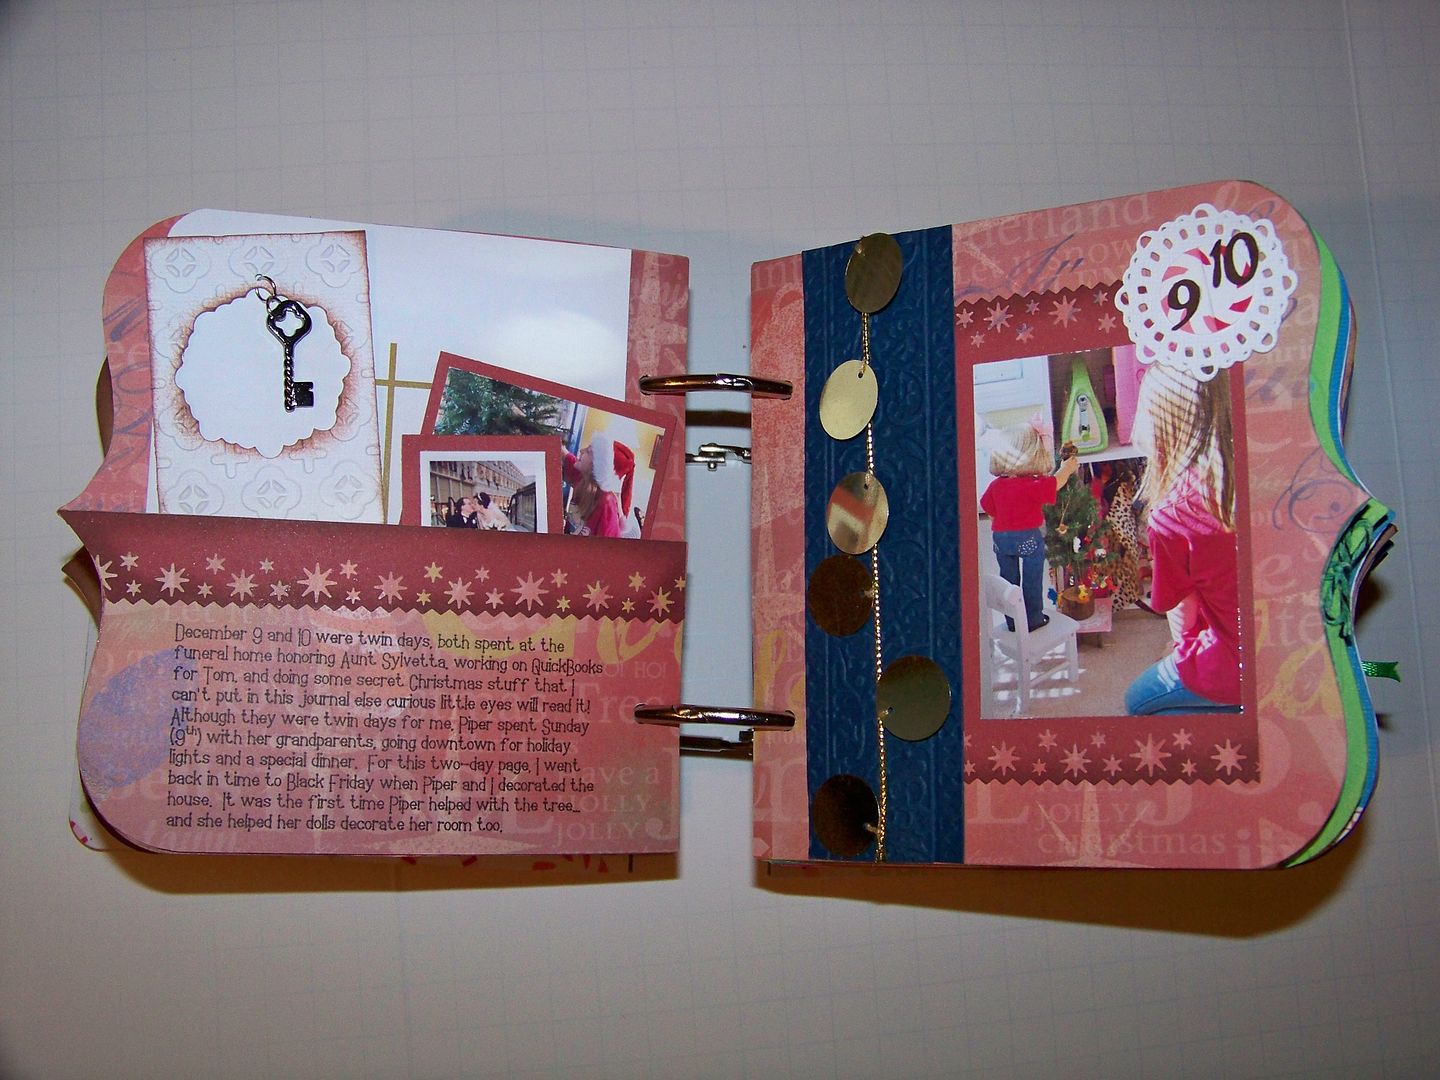
December 9-10
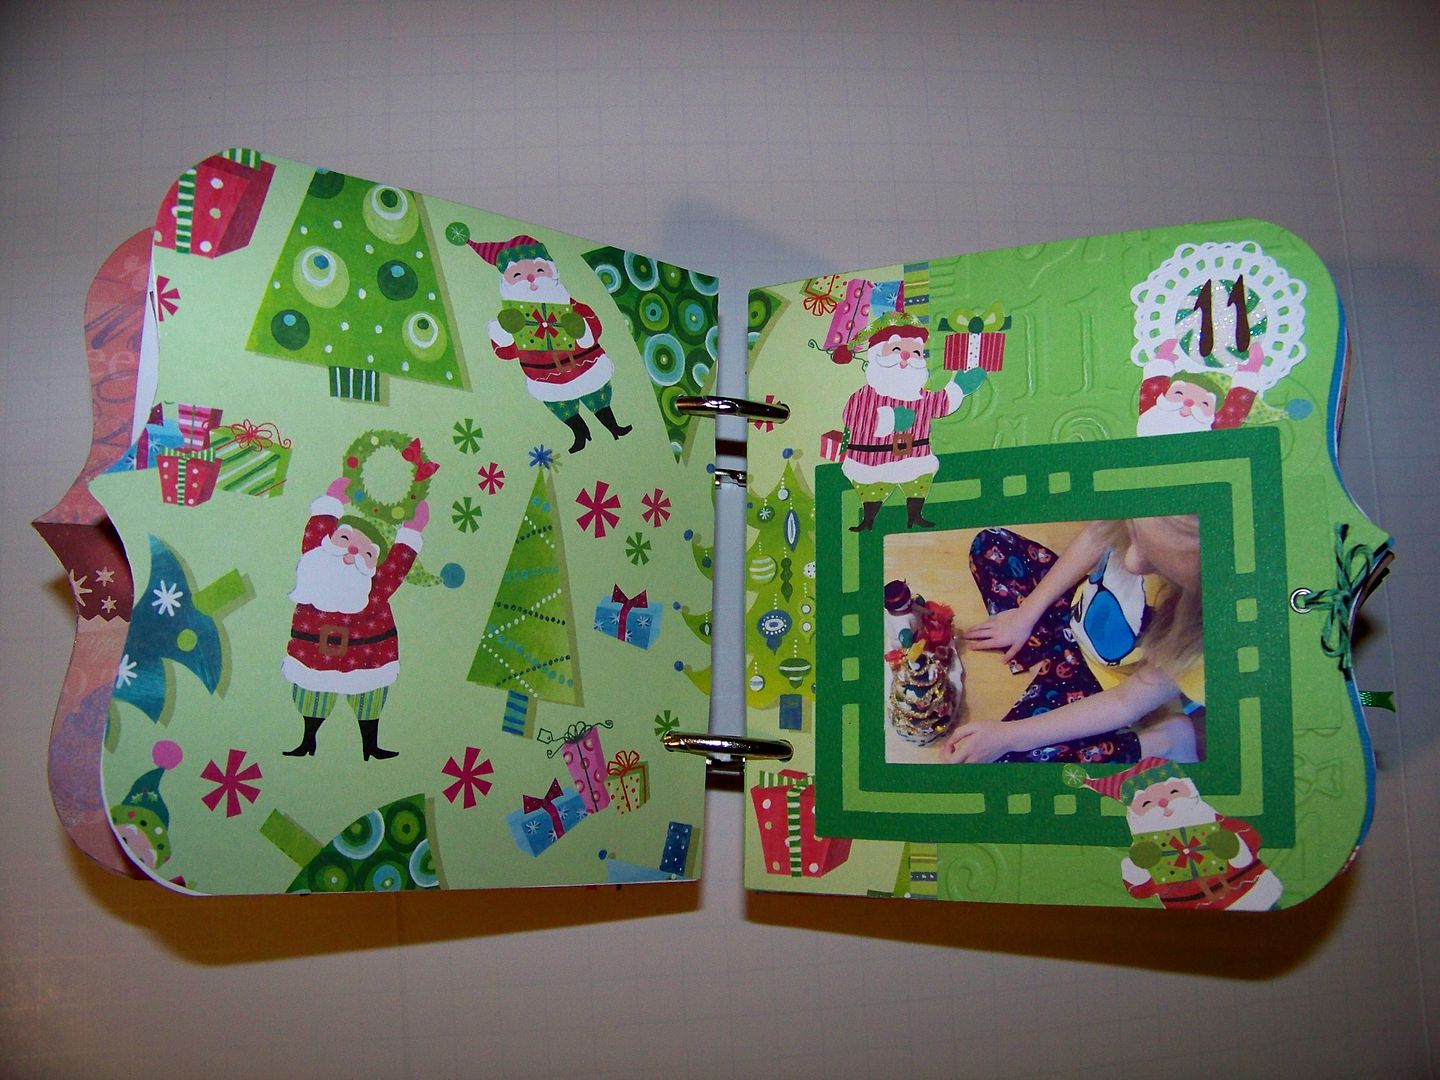
December 11-12
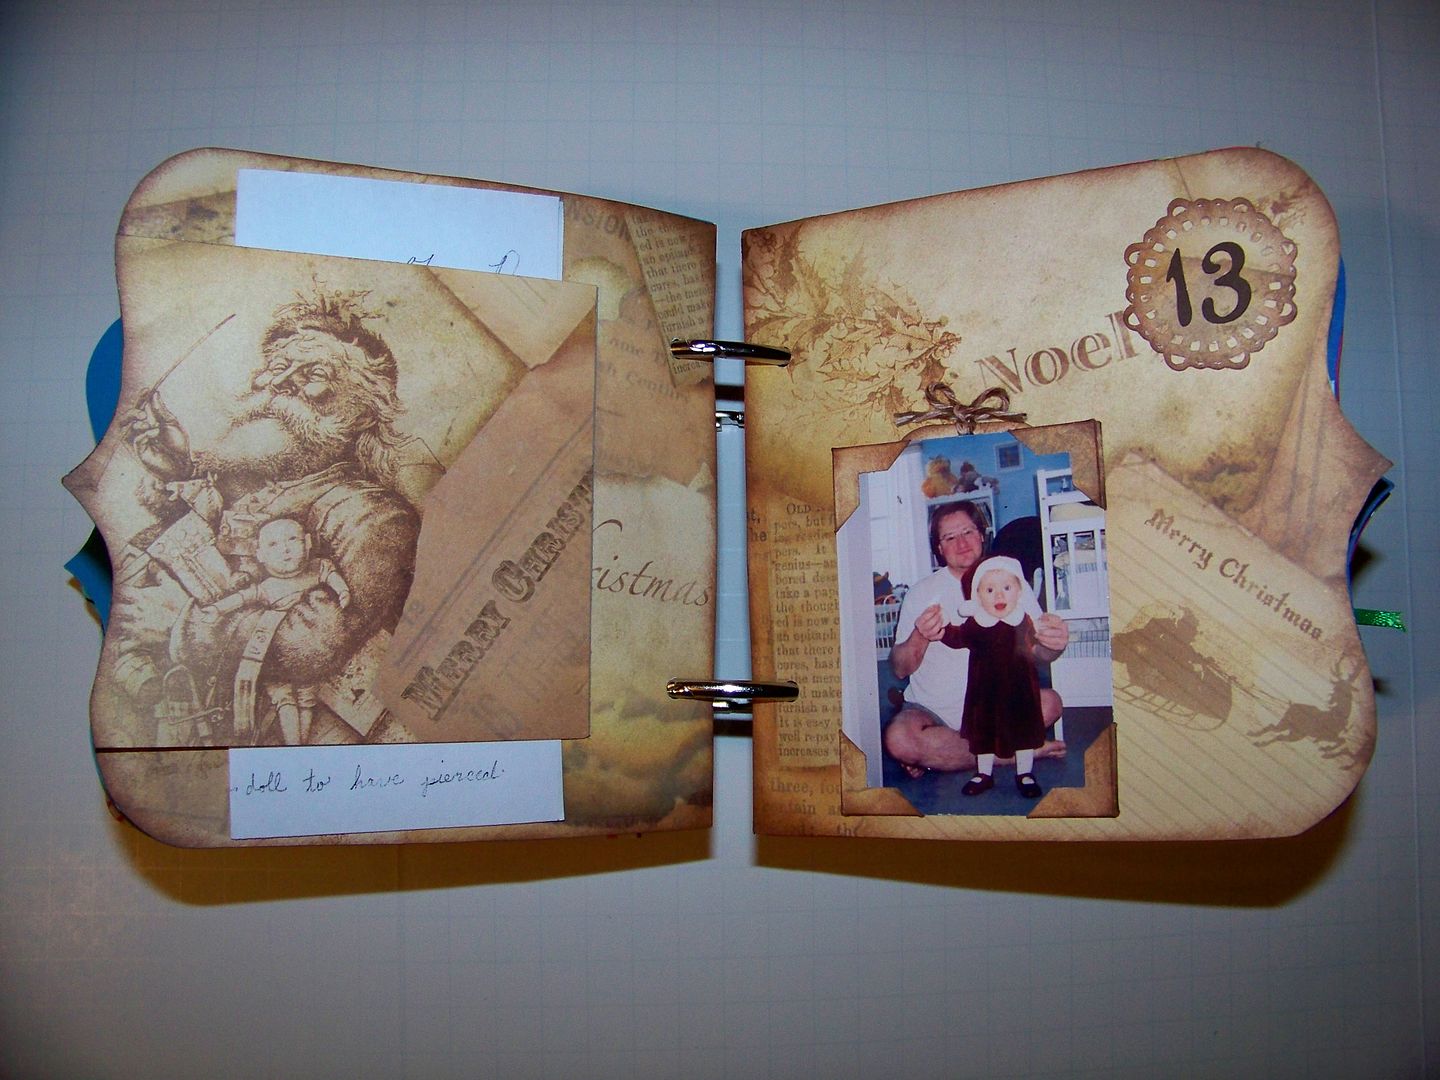
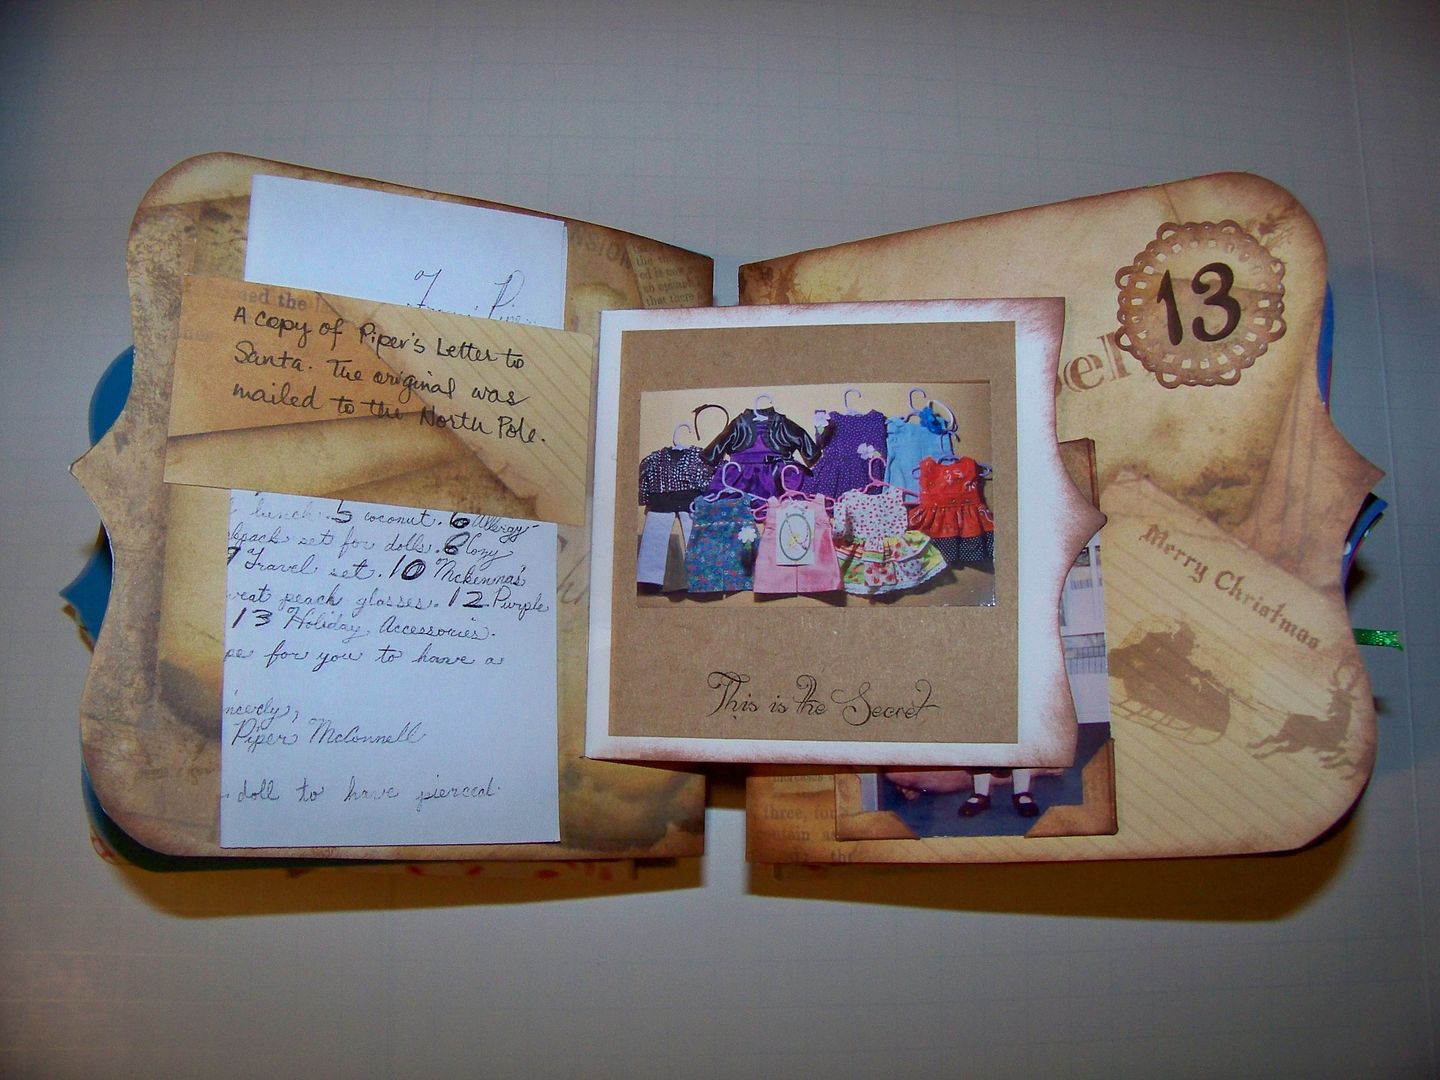
December 13-15
December 16
December 17-18
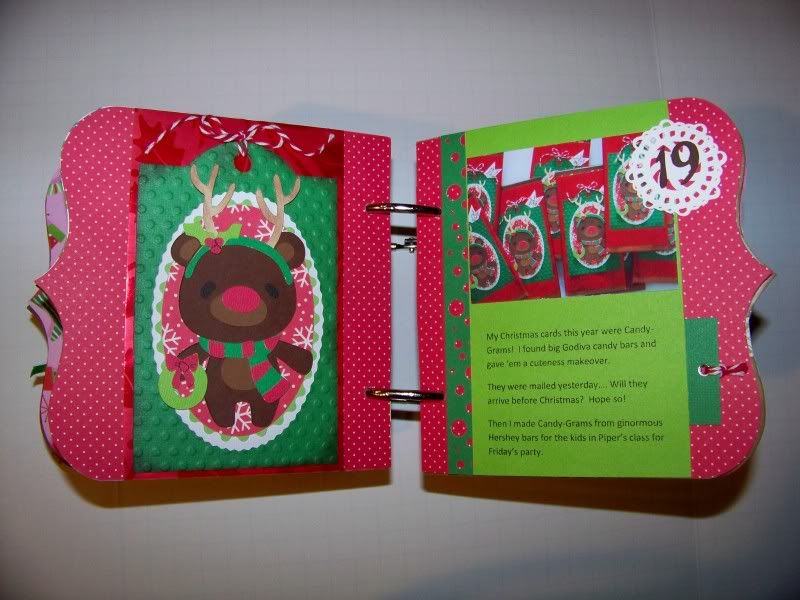
December 19
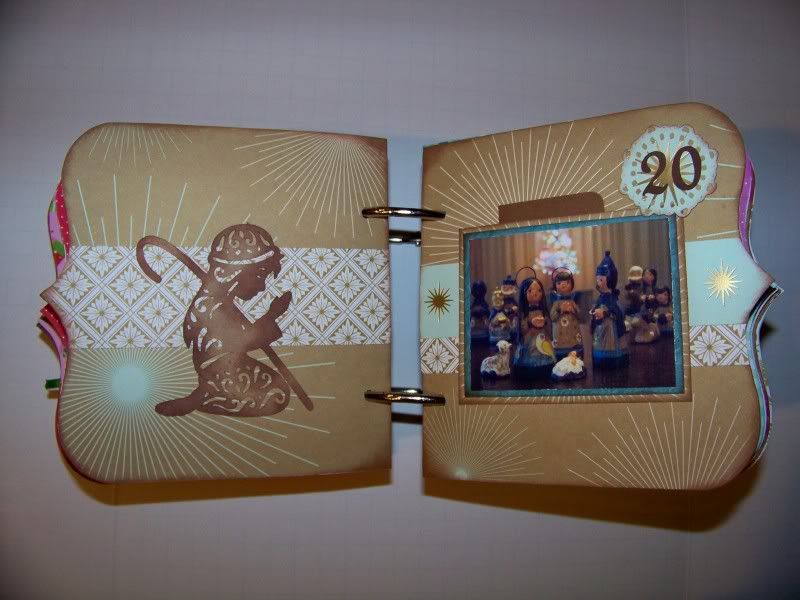
December 20
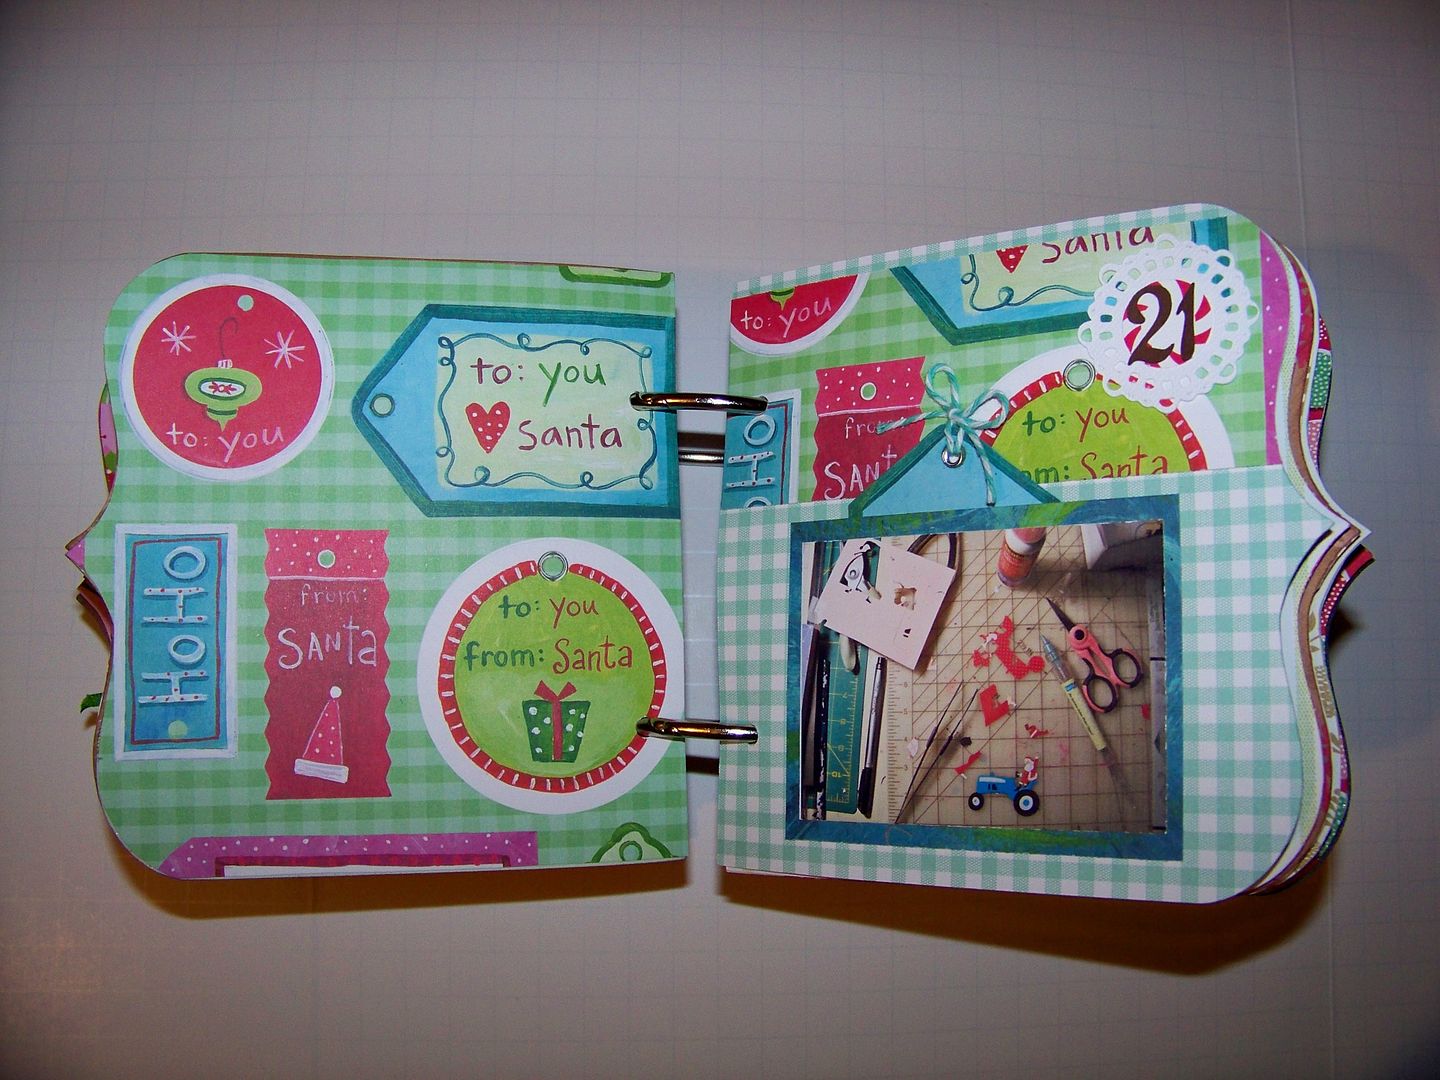
December 21
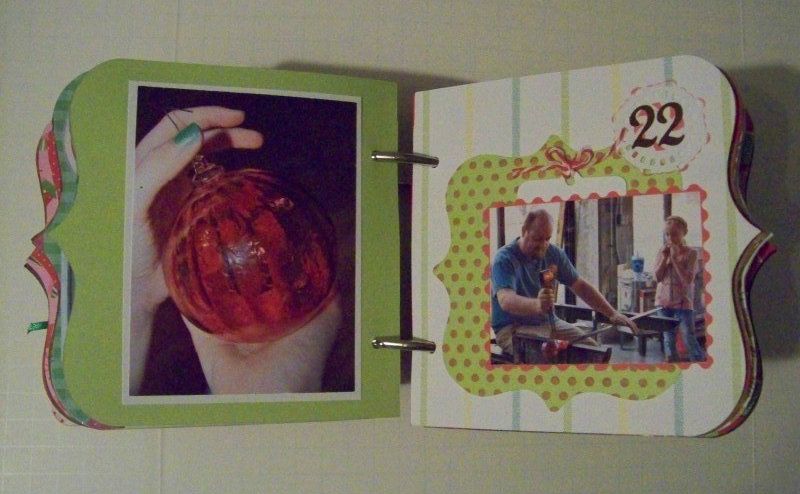
December 22-24
December 25 (here!)

Thank you for checking my blog post today!  I learned a lot from this project and I know lots of things I will do differently next year.  (I hope to make this a holiday tradition!)  I am off to get my house back in shape after the holiday fun.  I hope you are continuing to make many happy holiday memories to warm your heart the rest of the winter.


bloghopbutton200x200

But wait! There's more! Click 'older posts' above!

But wait!  There's more!  Click 'older posts' above!