I love hiding spots... old homes with hidden rooms, desks with secret drawers... and I love the idea of a book with a secret hollow! That is why I fell in love with a tutorial from Tracy of
'I Wanna Build A Memory' blog and her
Tracylovestoscrap YouTube channel! In her video, she said she got the idea from the blog
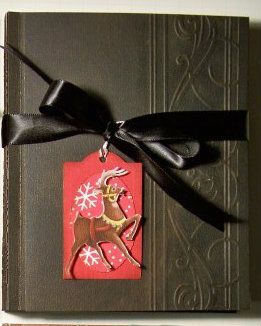
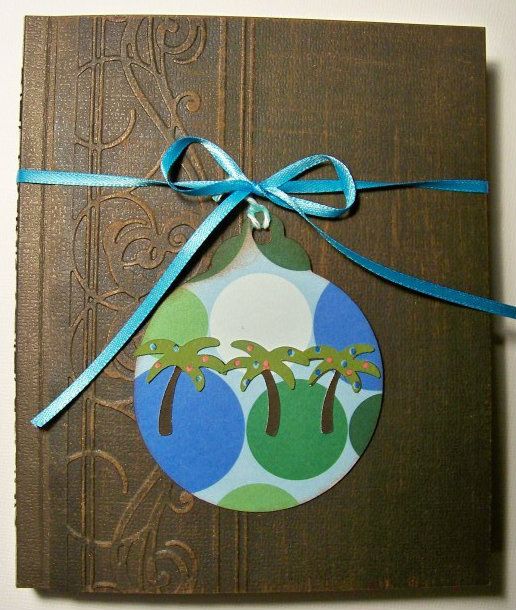
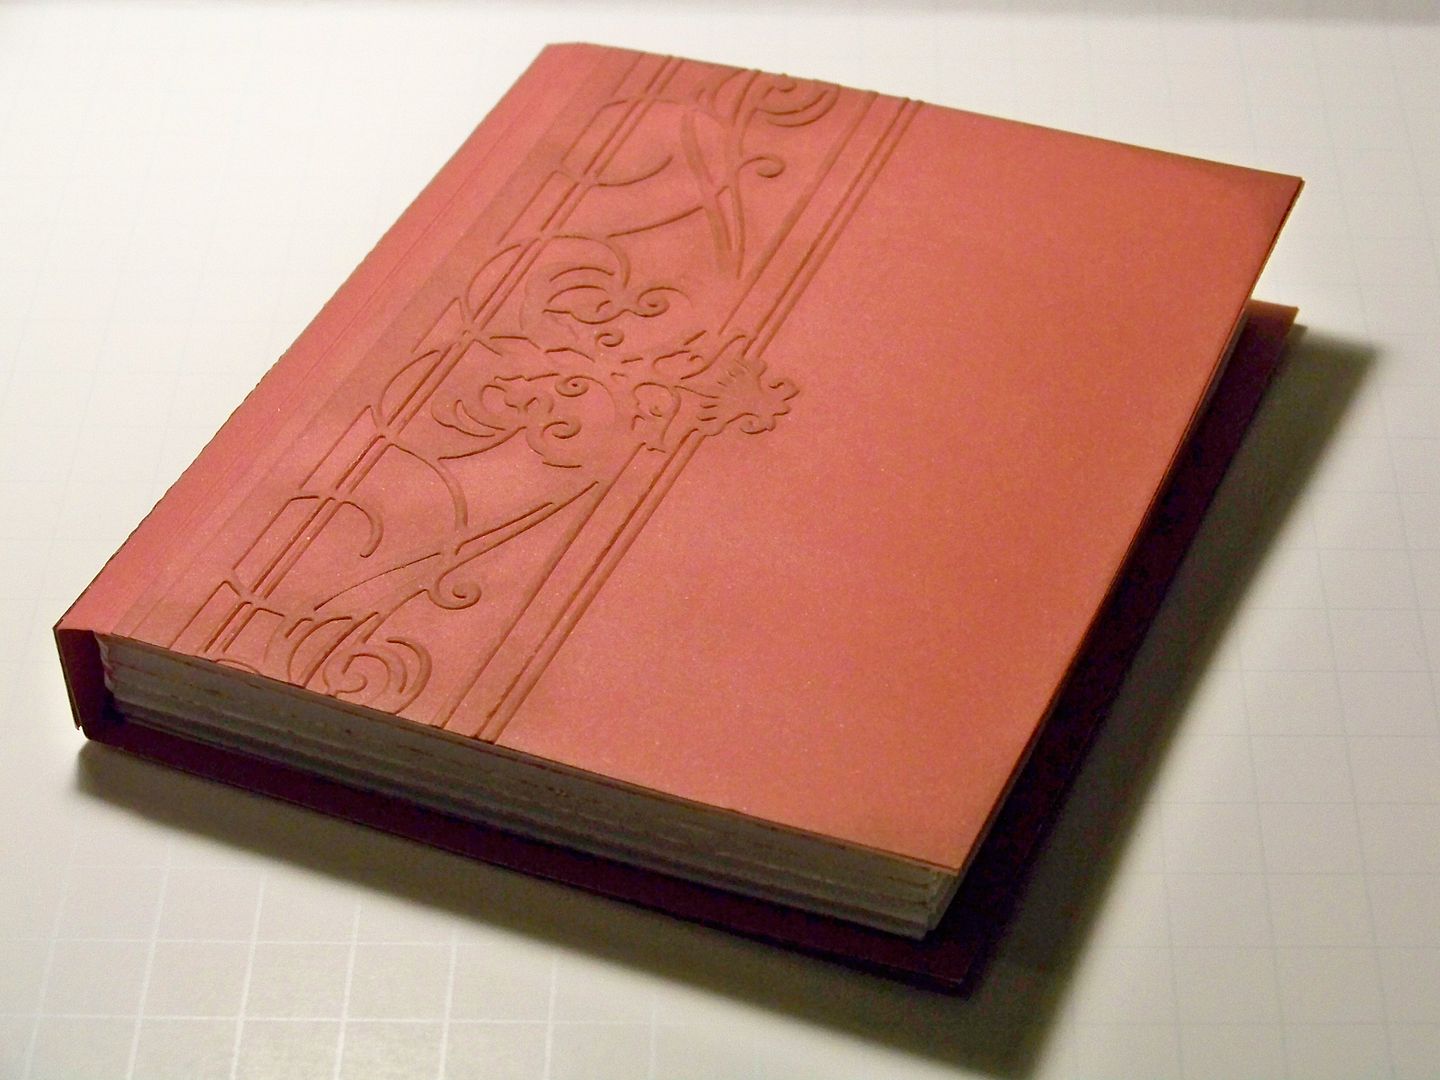
Wenches Kort og Papir. I made one... and then I changed the size, added a couple of extra score lines, and figured out how to make the cover look like embossed leather!
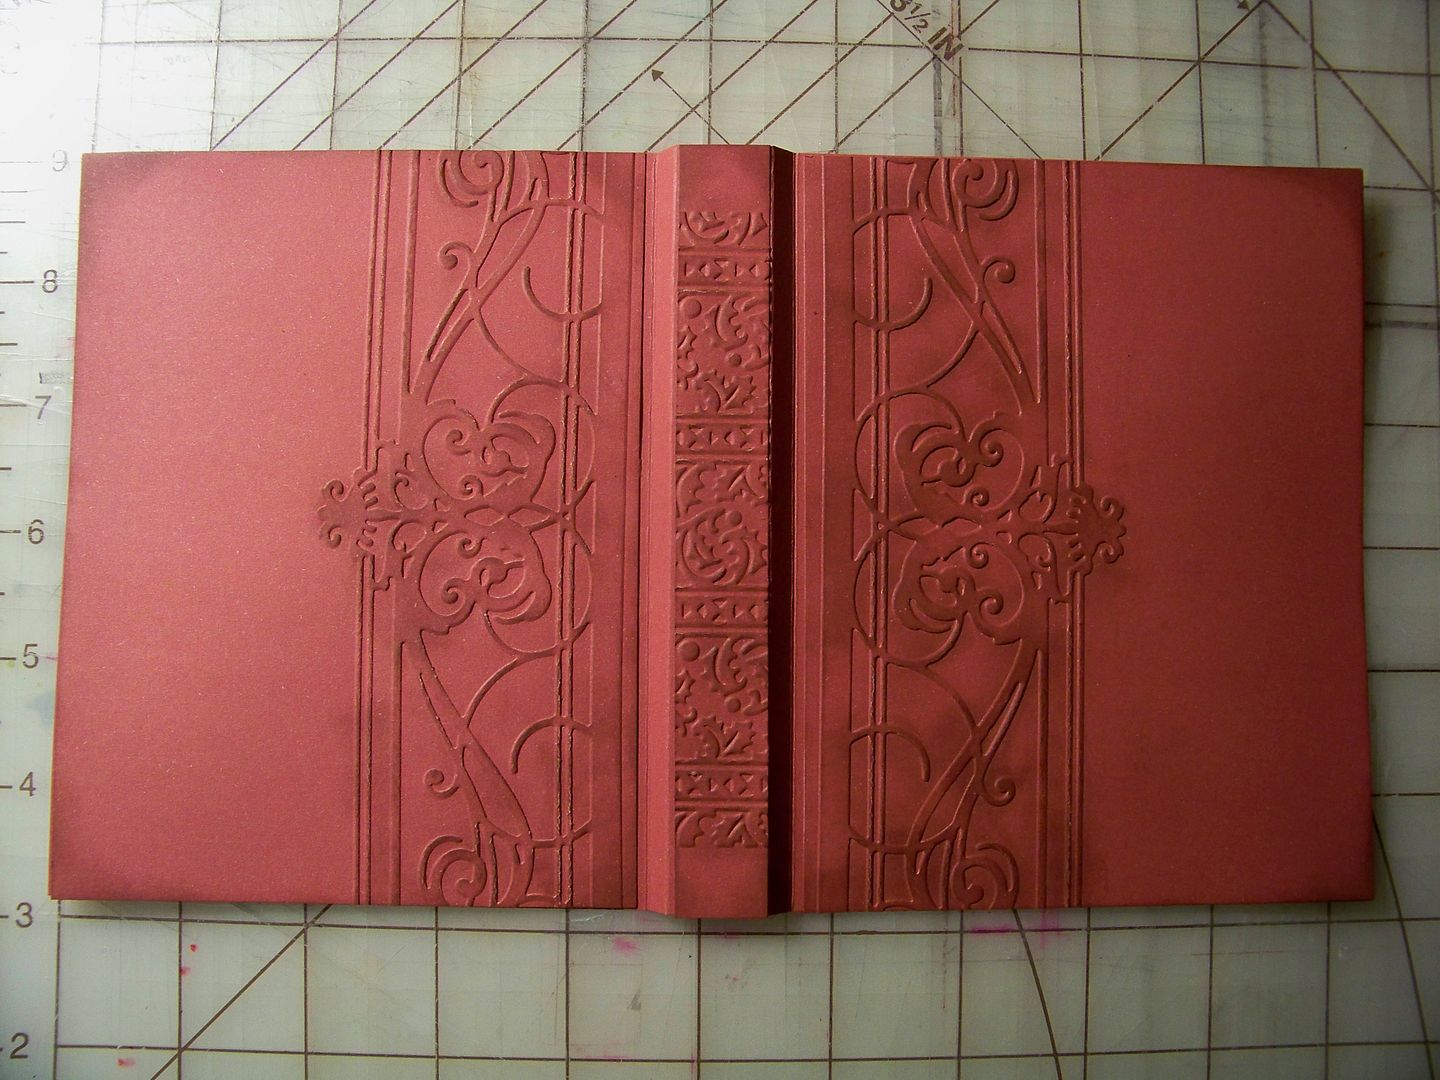
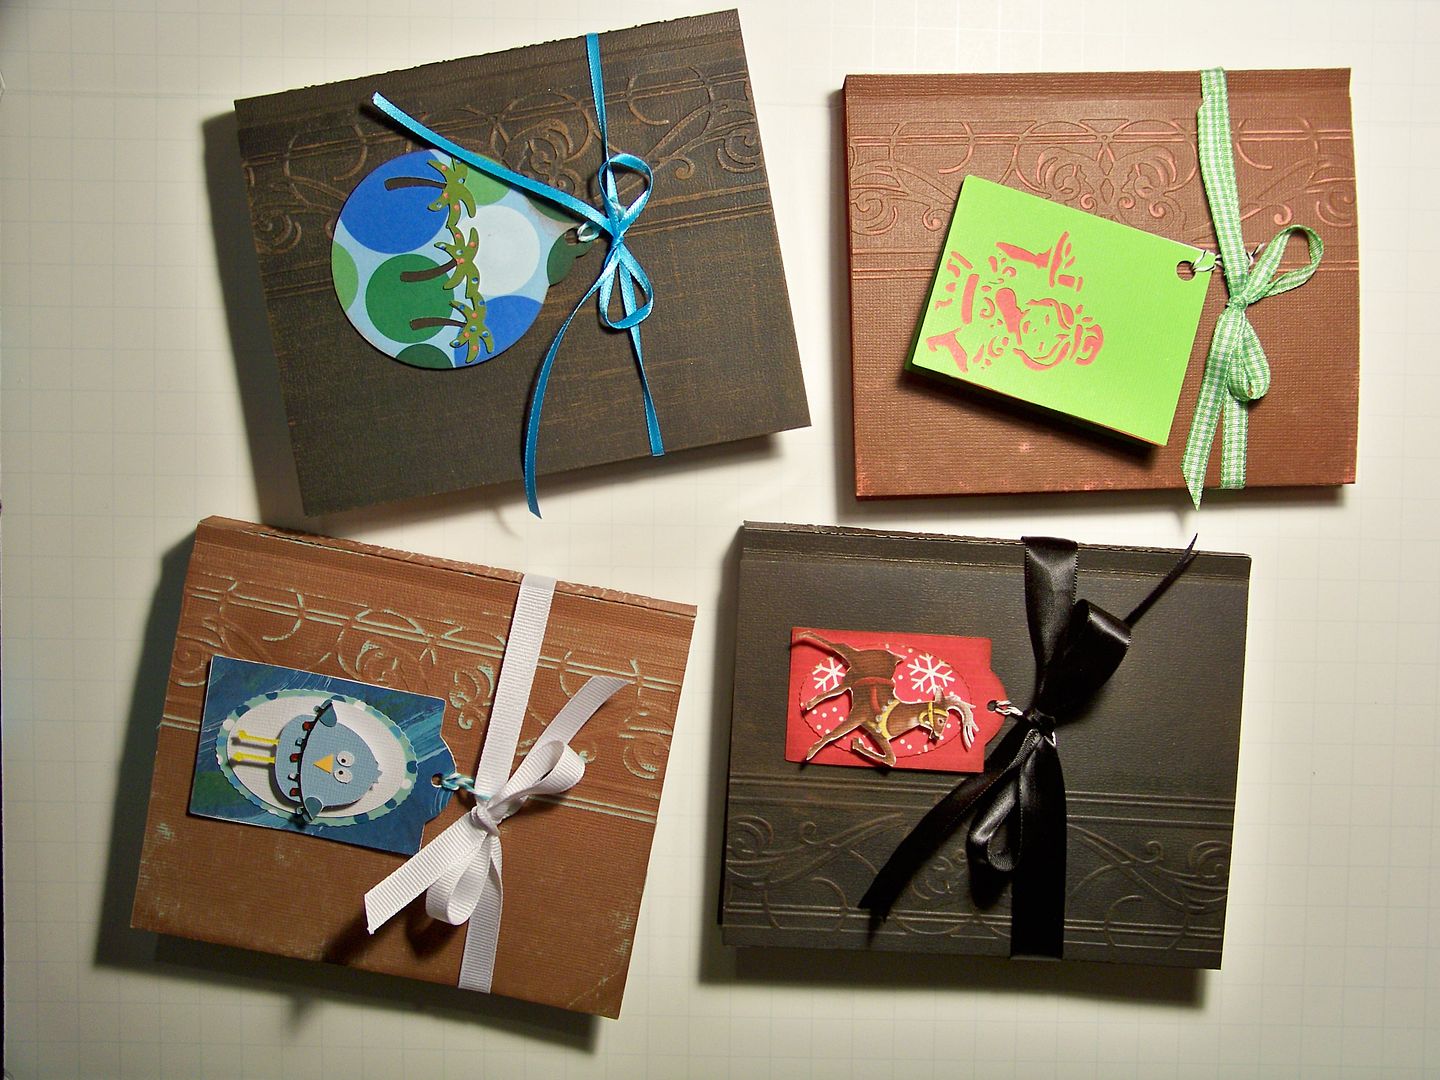
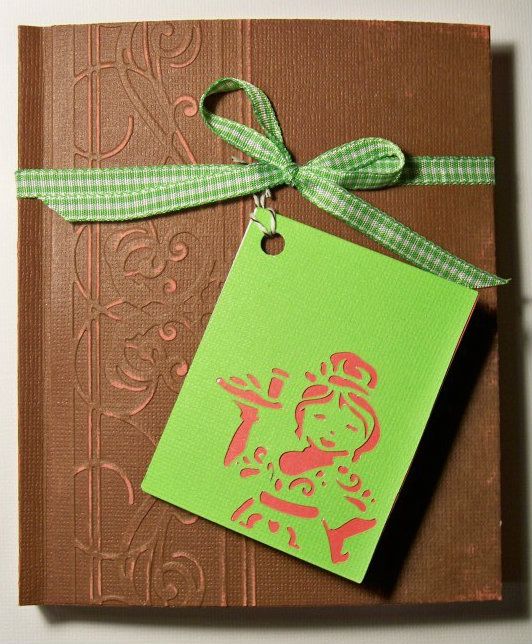
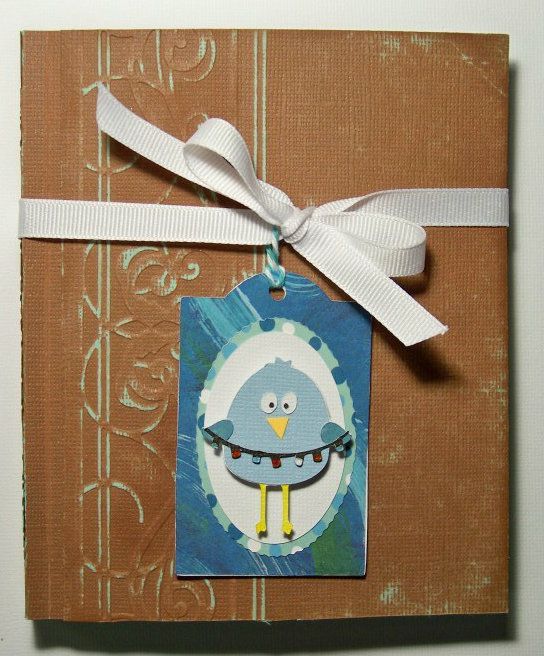
So... on the outside, it looks like this....

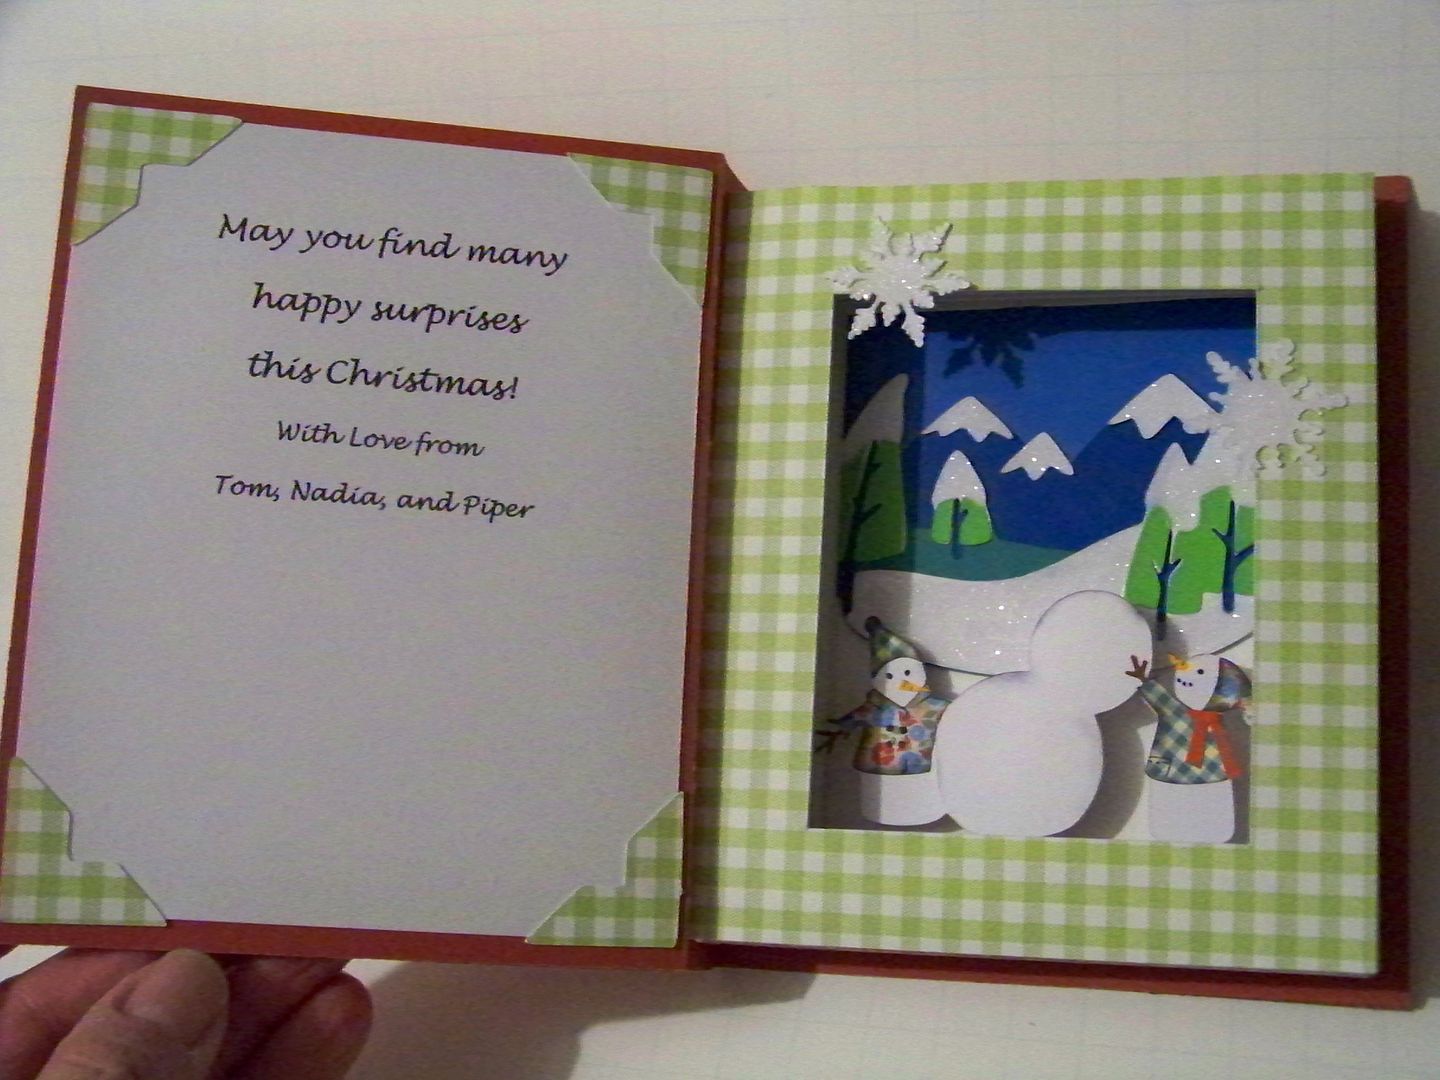
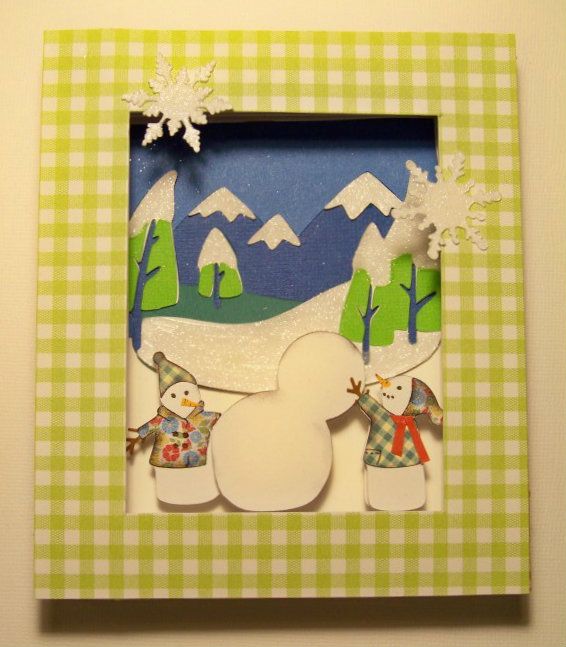
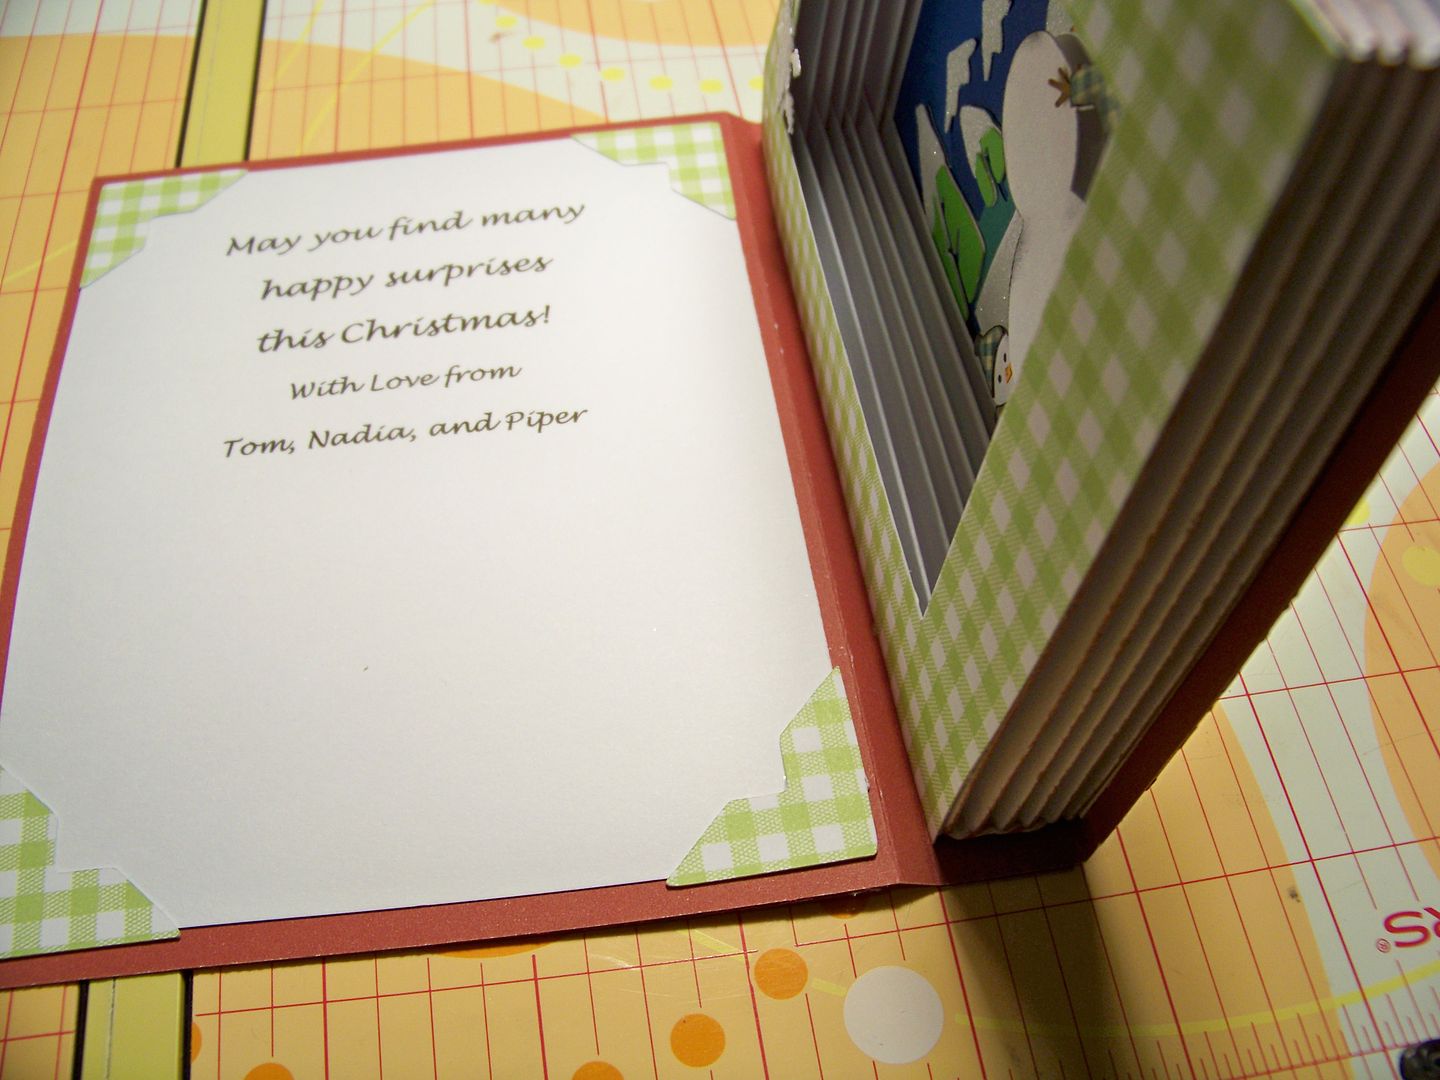
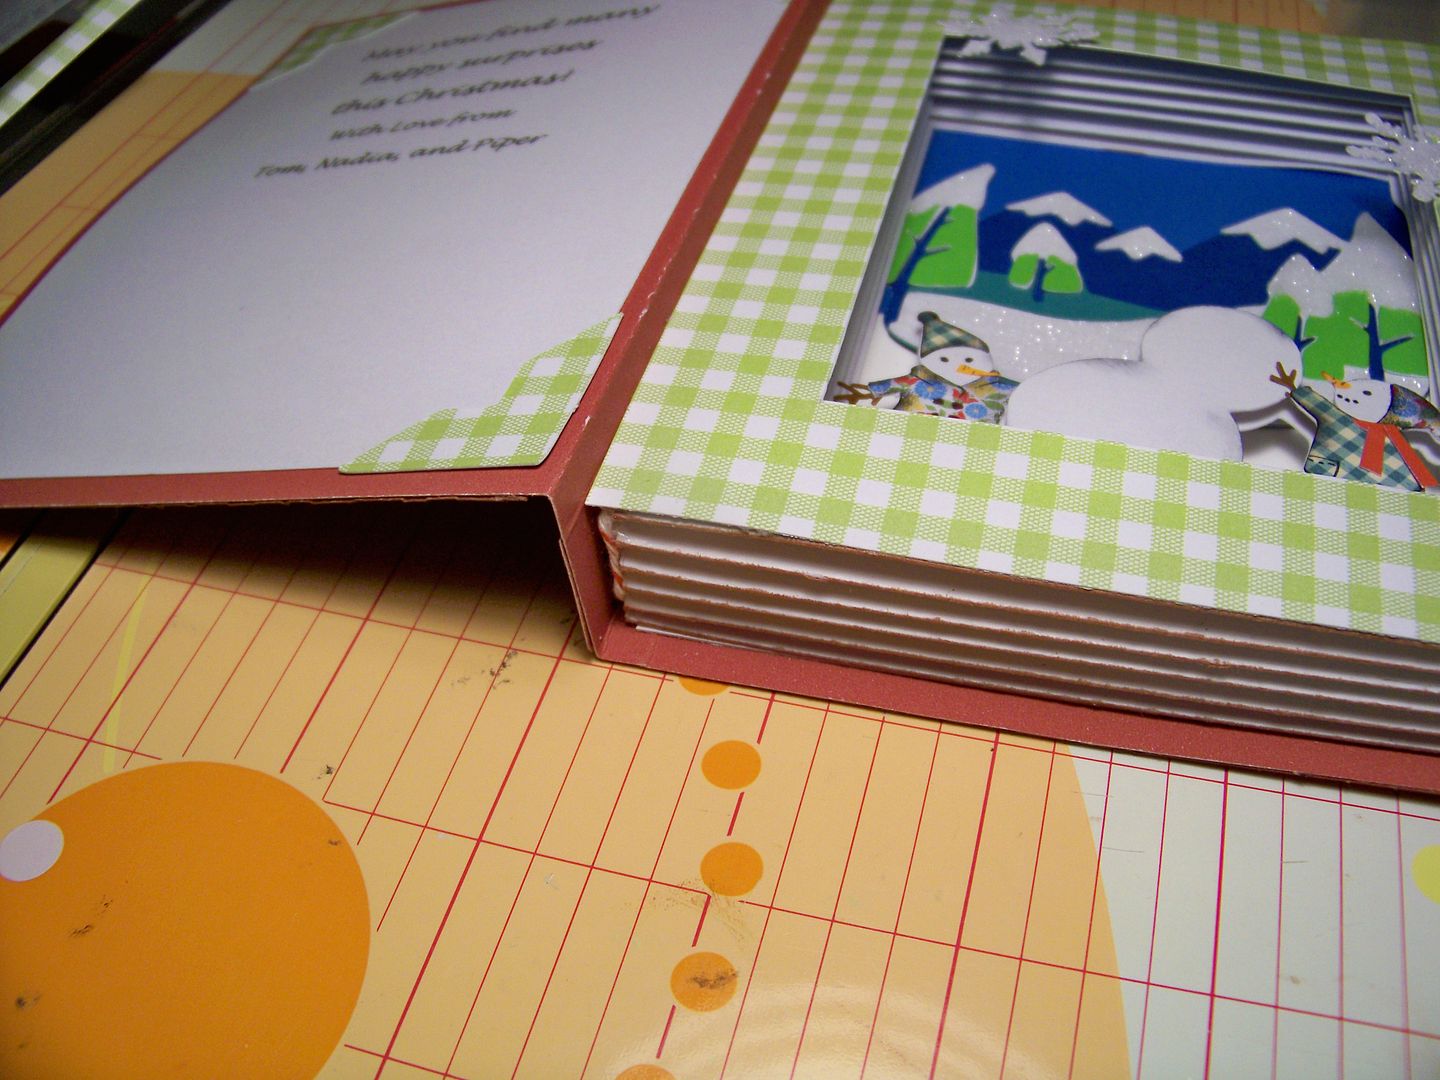
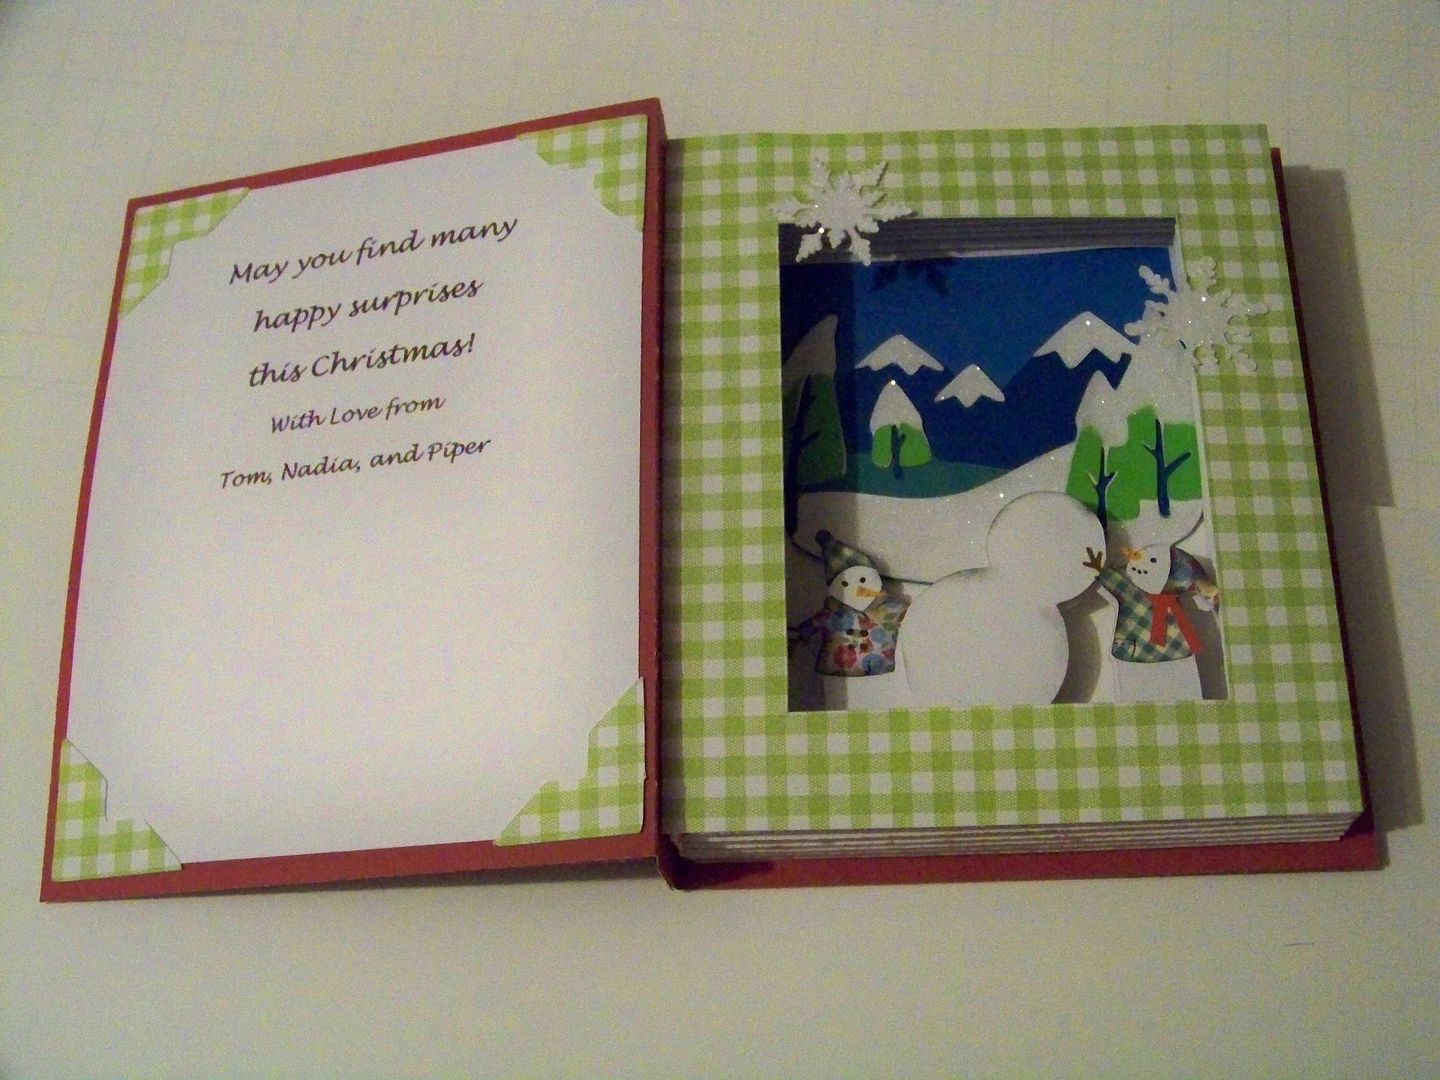
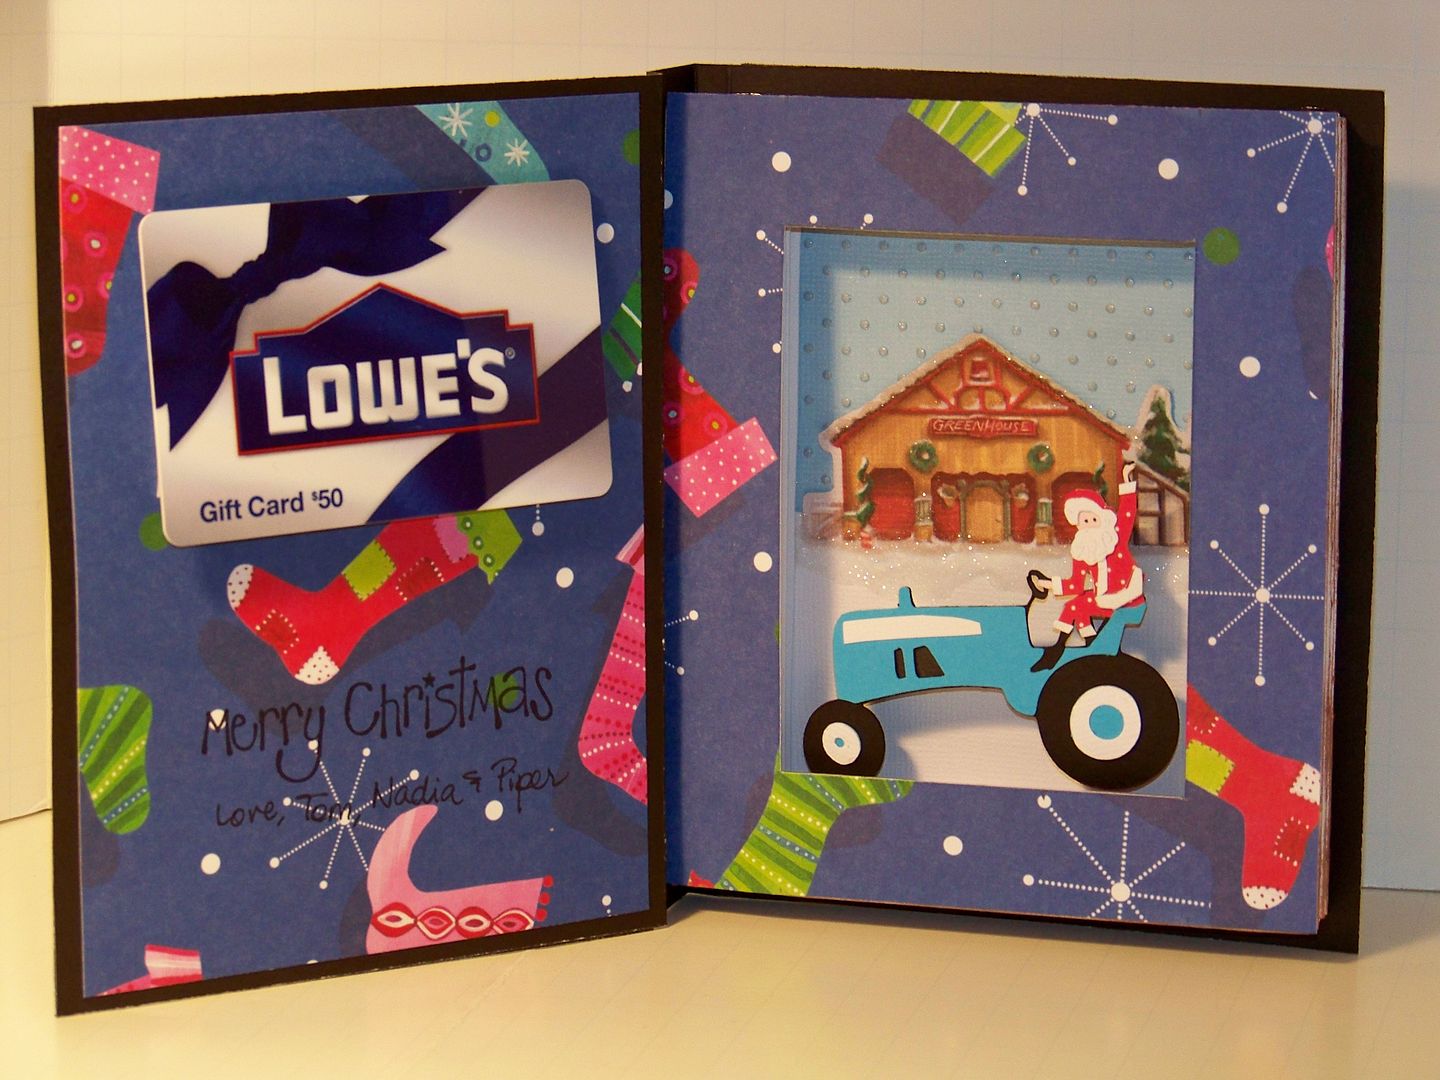
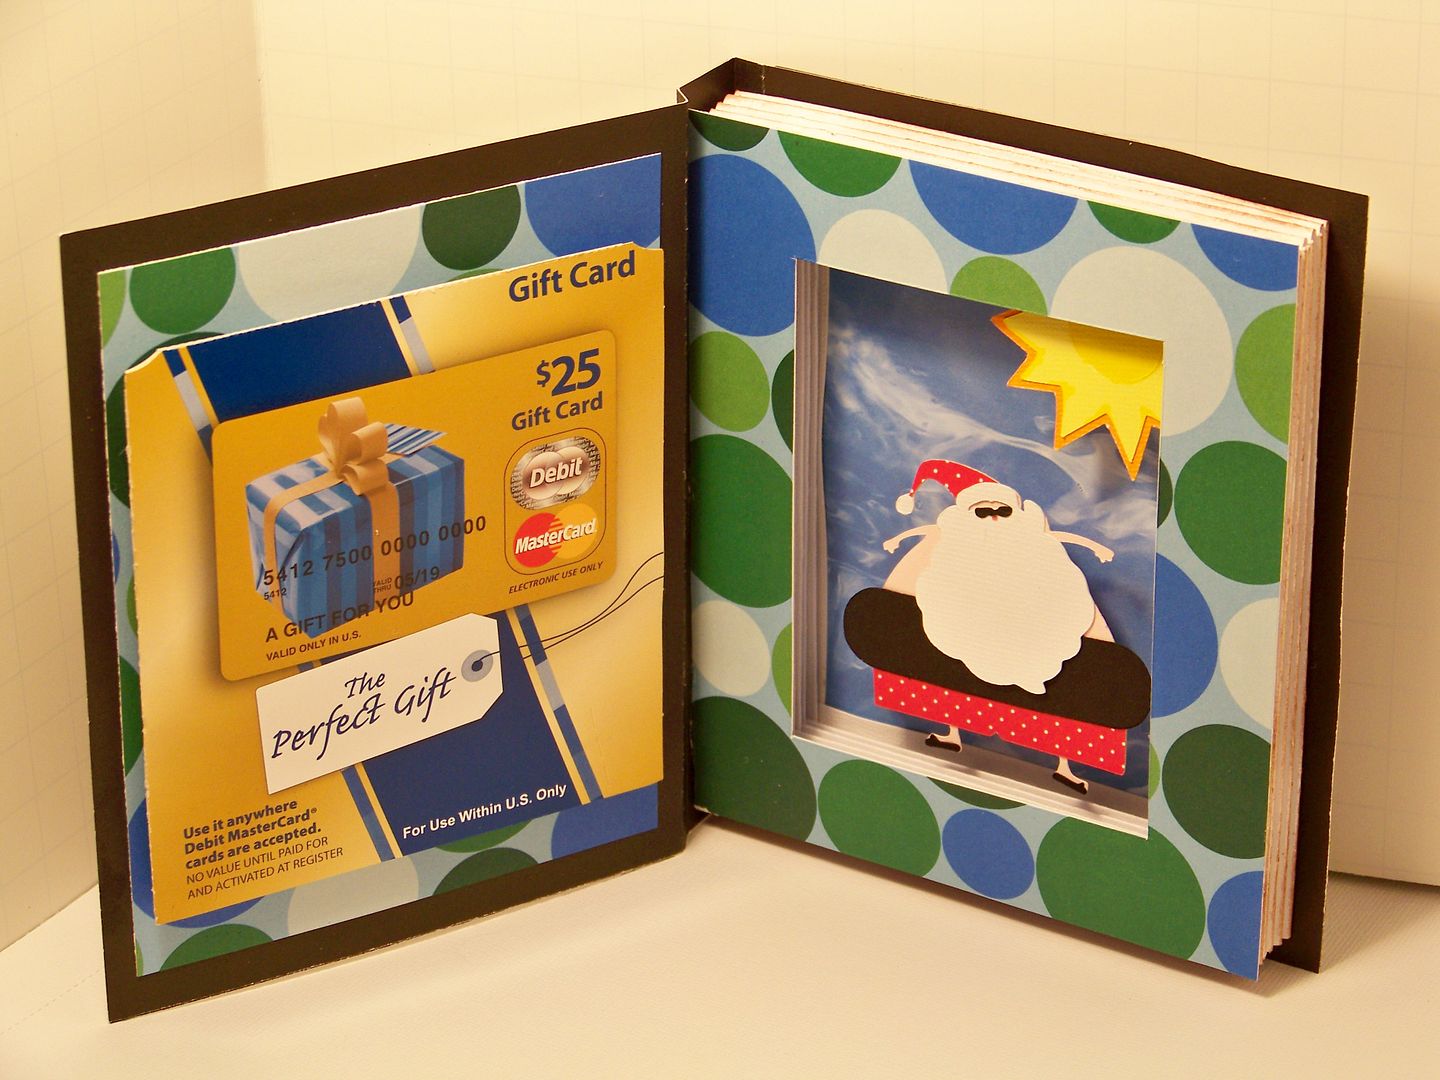
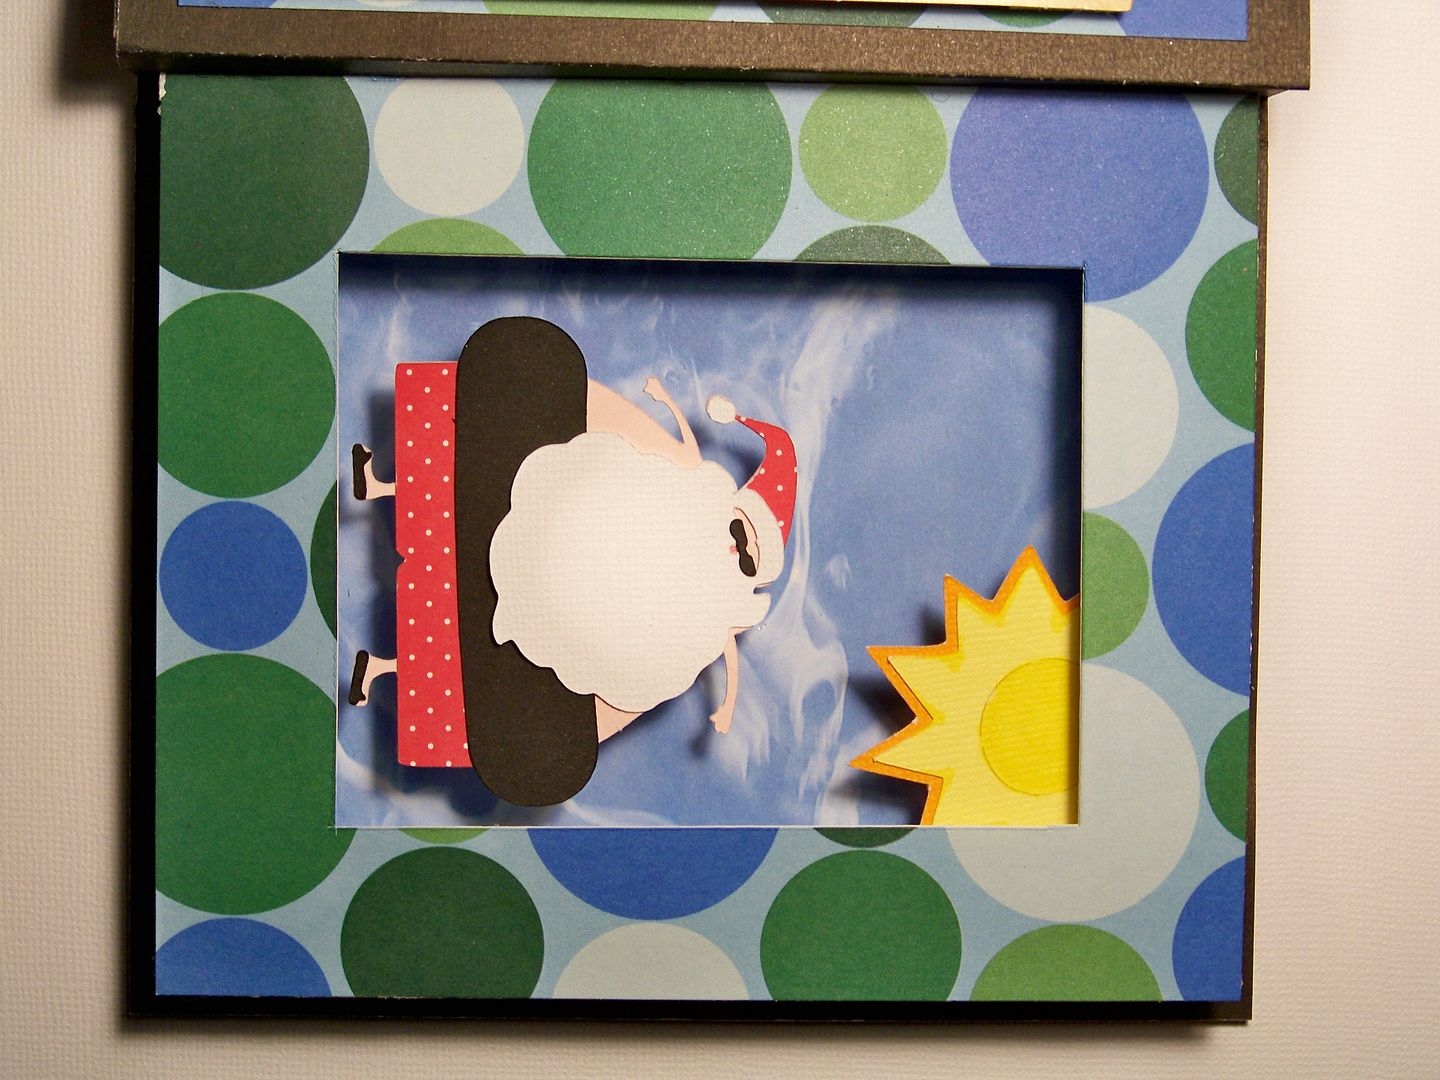
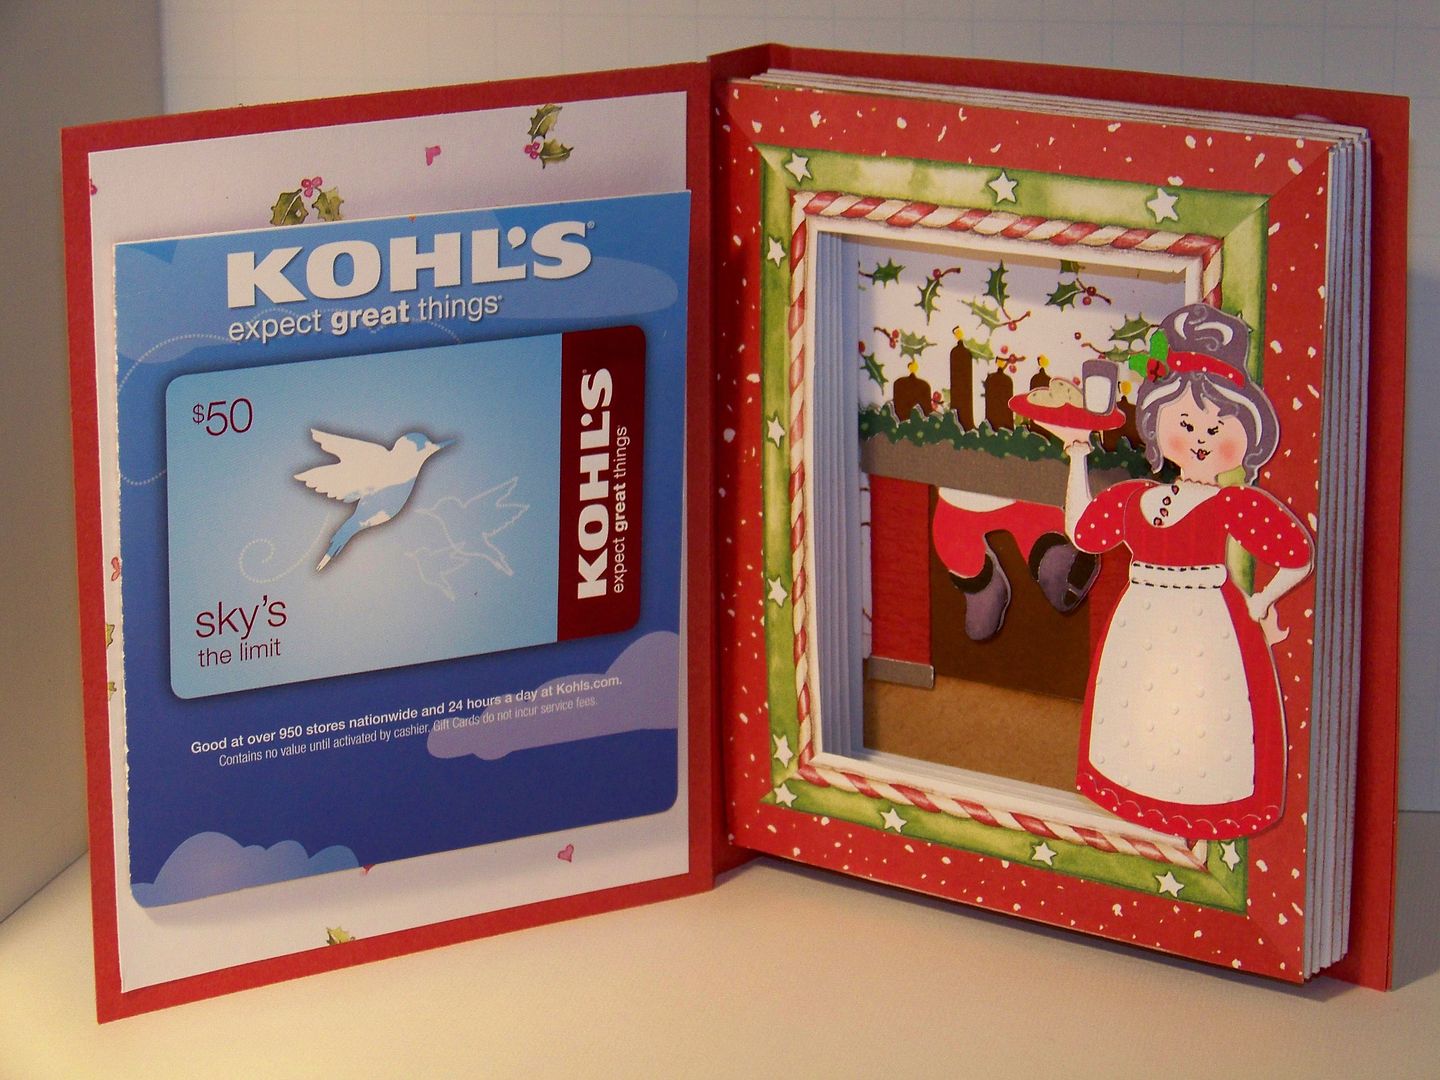
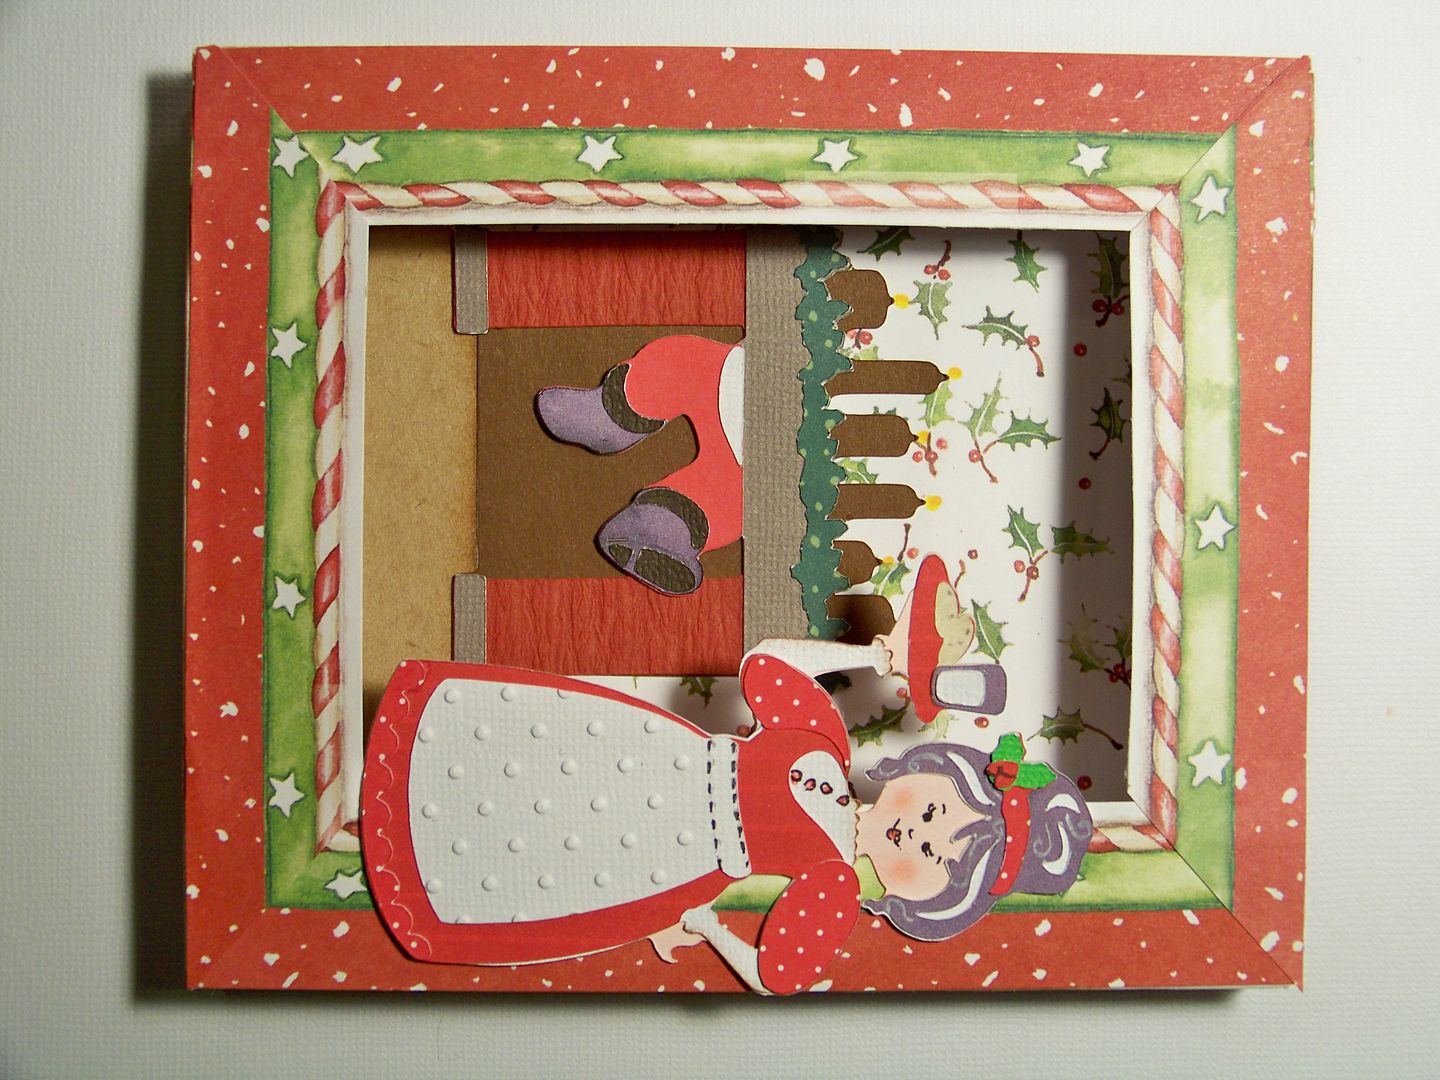
But when you open it up, there's a hollowed out space, perfect for a little paper vignette!
I used my computer to print a sentiment on the end paper. I printed it high enough to allow for space for a gift card!
I will suggest watching Tracy's video (
click here) and following up with a trip over to her blog (
click here). I am also providing you with all of my changes! My finished book card is 5-7/8" x 4-7/8".
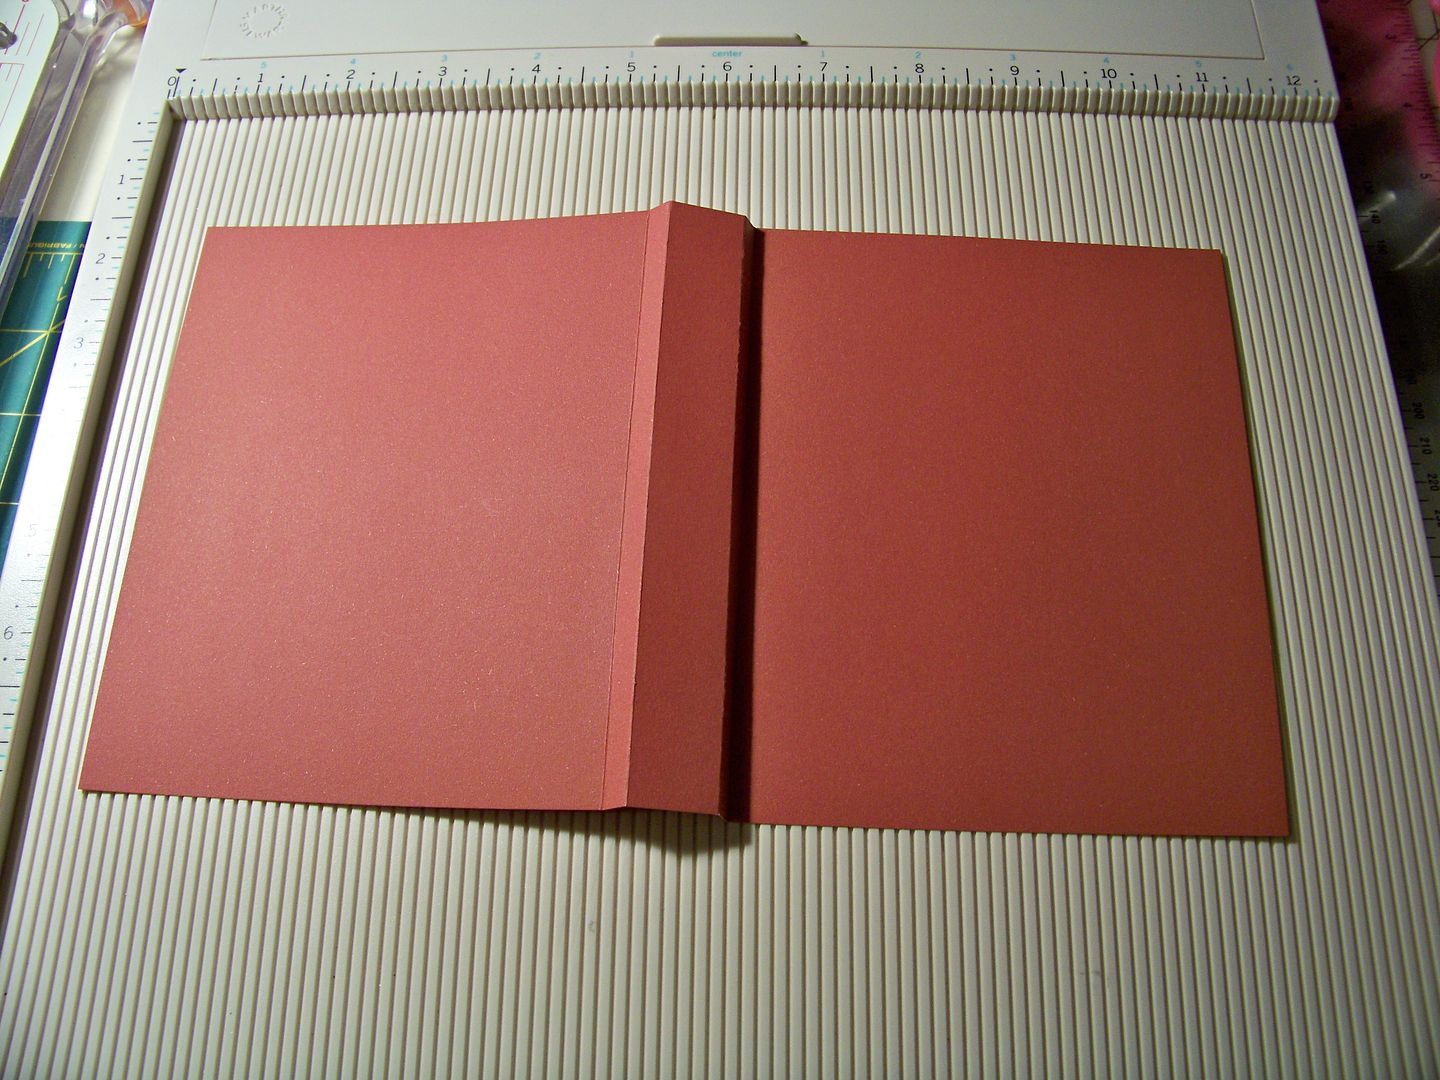
For the cover, I cut a piece of card stock 5-7/8" x 10-1/2". I placed the 10-1/2" side against the top of my scoring board and scored at 4-5/8", 4-7/8", 5-5/8", and 5-7/8". You will notice that this adds two more score lines than Tracy's tutorial. I think the extra lines allow the cover to look more like a book and it allows the card to open easily with the spine of the inside "pages" glued to the center (spine) of the cover! Tracy did not glue her spine to the cover, but I really like mine glued.
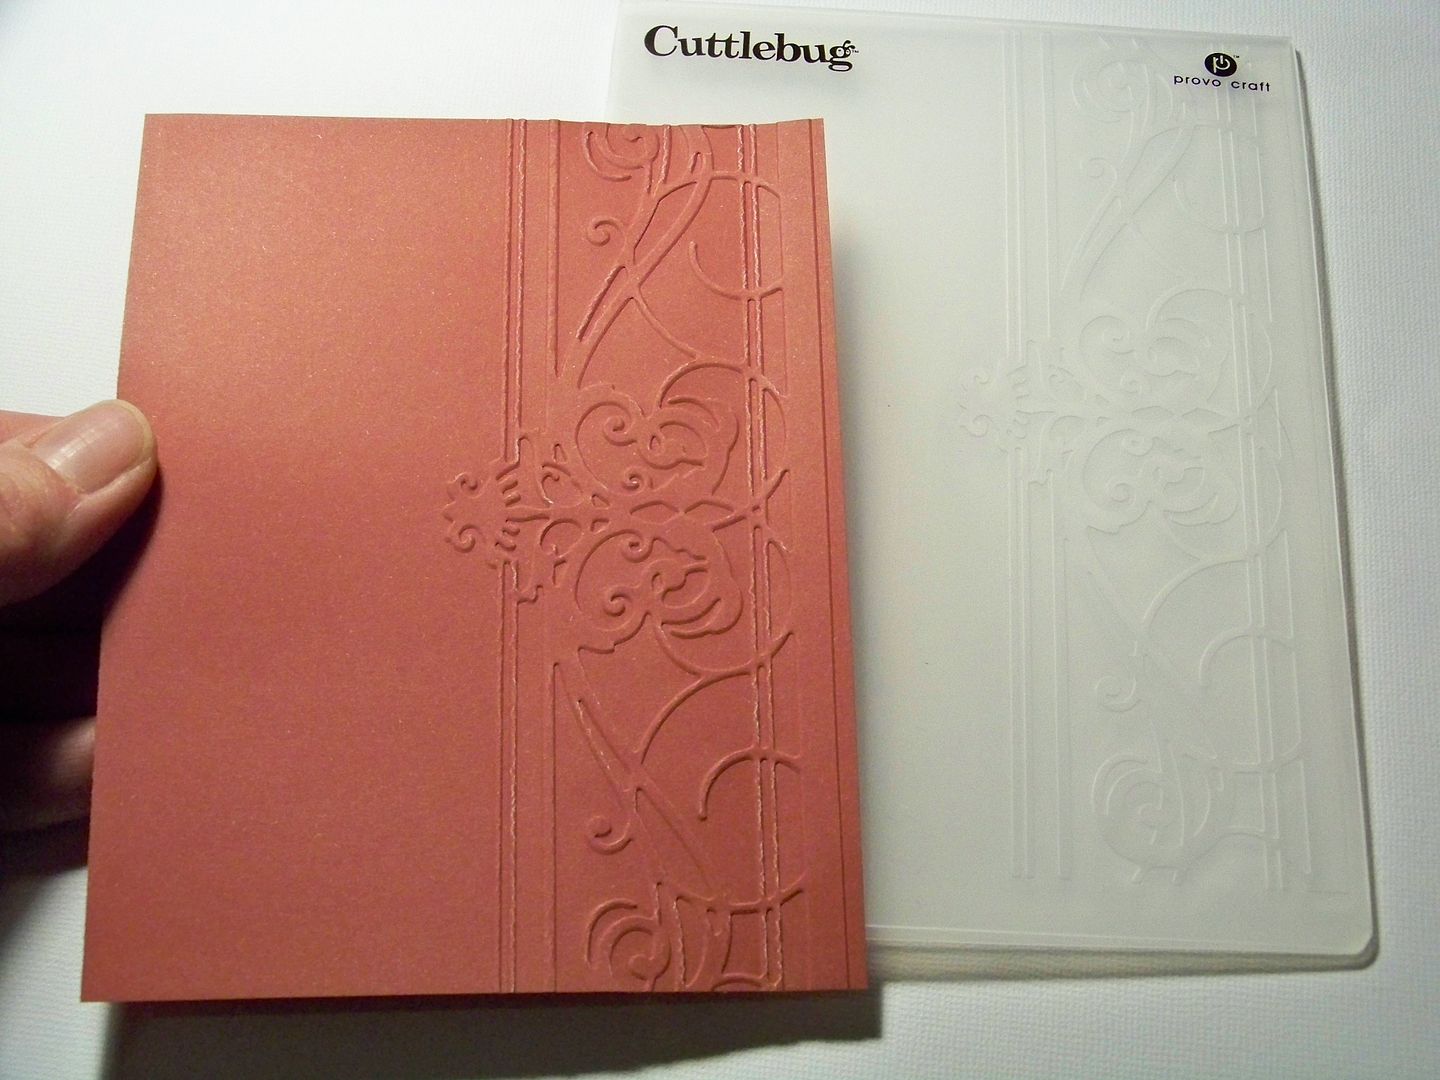
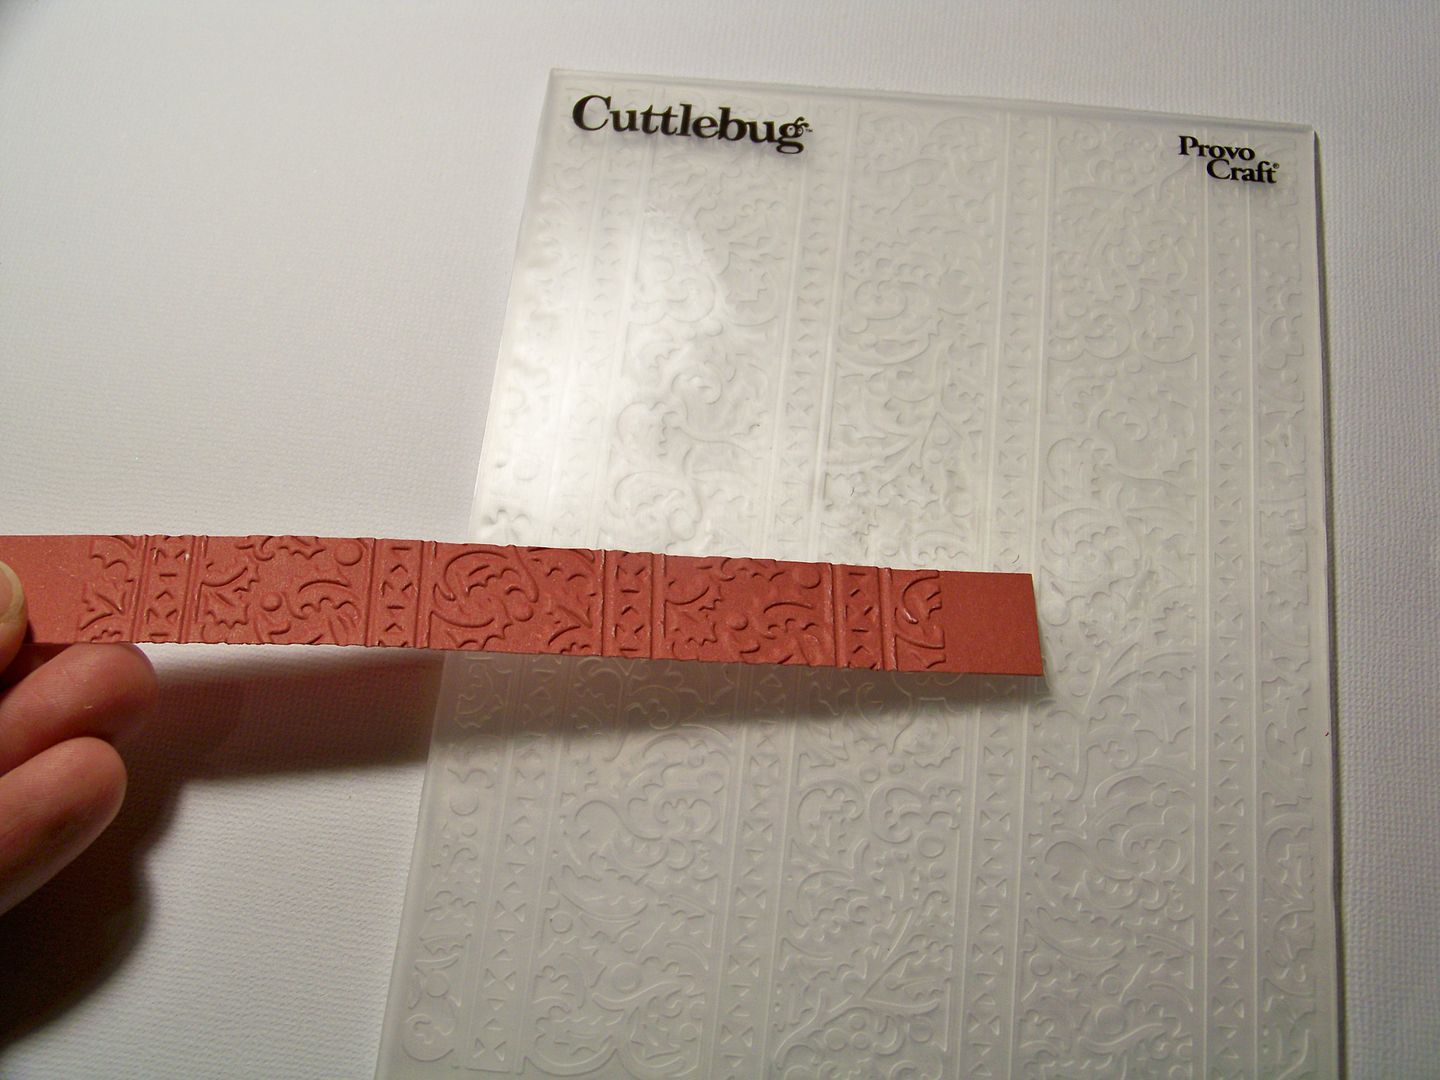
I cut pieces to emboss for the outside of the cover from the same paper. For each side, I cut card stock at 4-1/2" x 5-7/8" and a piece for the spine at 11/16" x 5-7/8". I peeked at some old books we had just to get an idea of what older books really looked like and found a couple of embossing folders in my collection that would be good mimics!
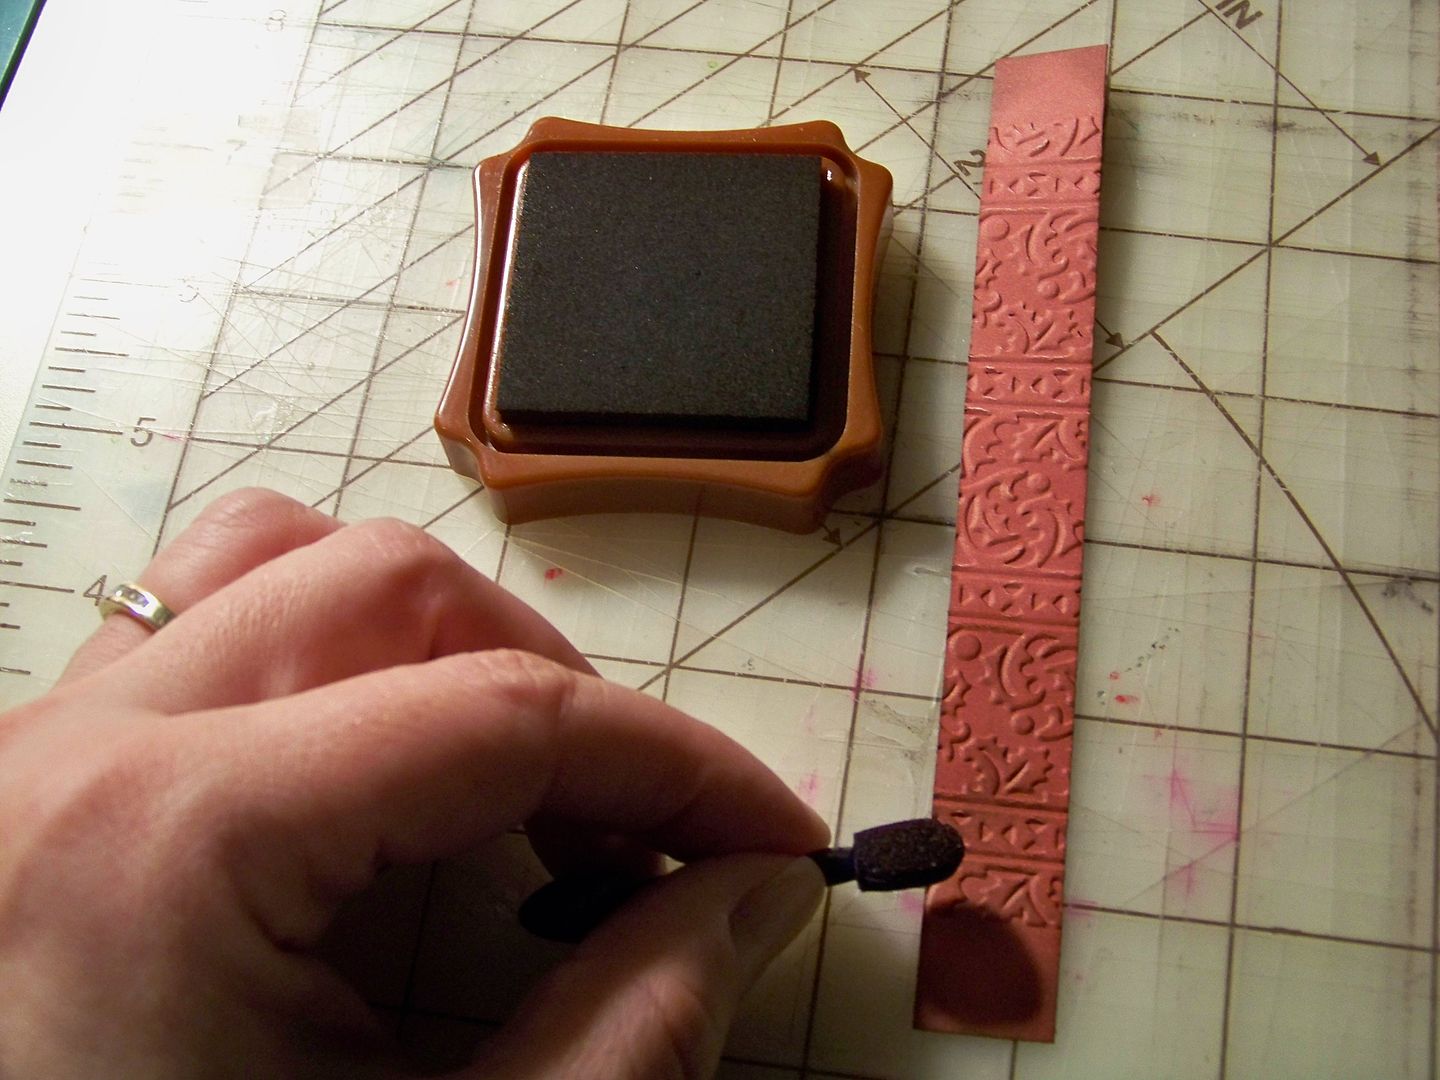
I used a brown ink pad to rub over the embossing and used a sponge applicator to ink the corners and edges.
I glued the embossed pieces onto the cover with ATG tape. The added layers made the cover more substantial too.
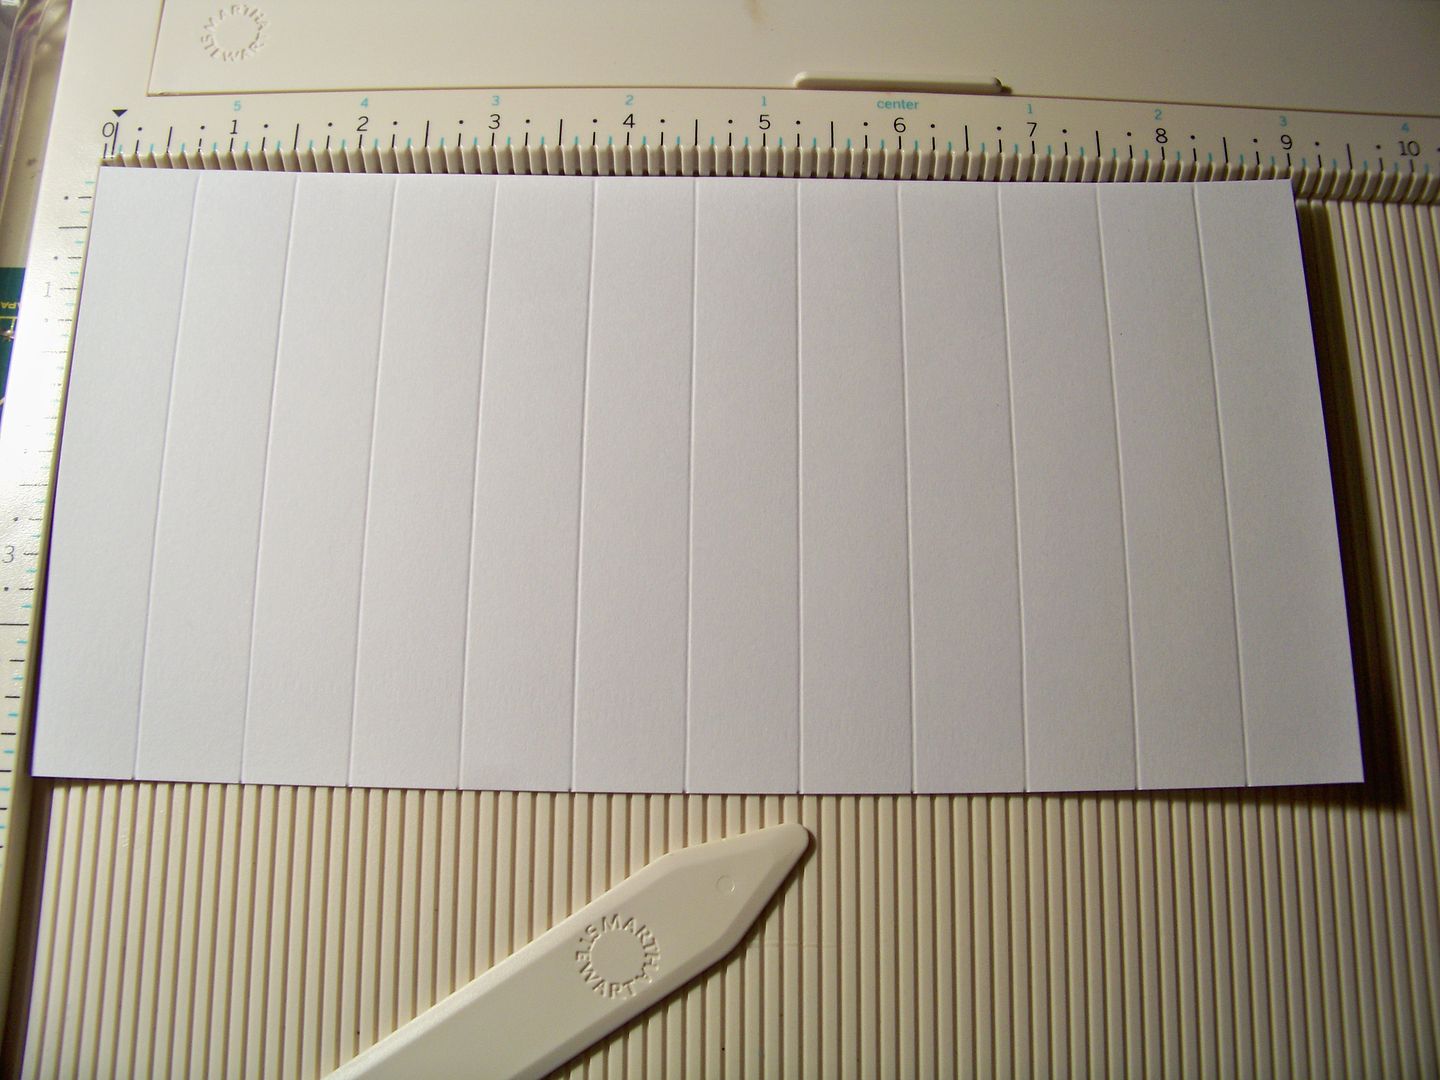
For the inside, I cut two pieces of white card stock at 5-3/8" x 9" and two pieces at 4-1/2" x 9". I placed the 9" sides against the top of my scoring board and scored at 3/4" all the way across. This follows Tracy's directions exactly.
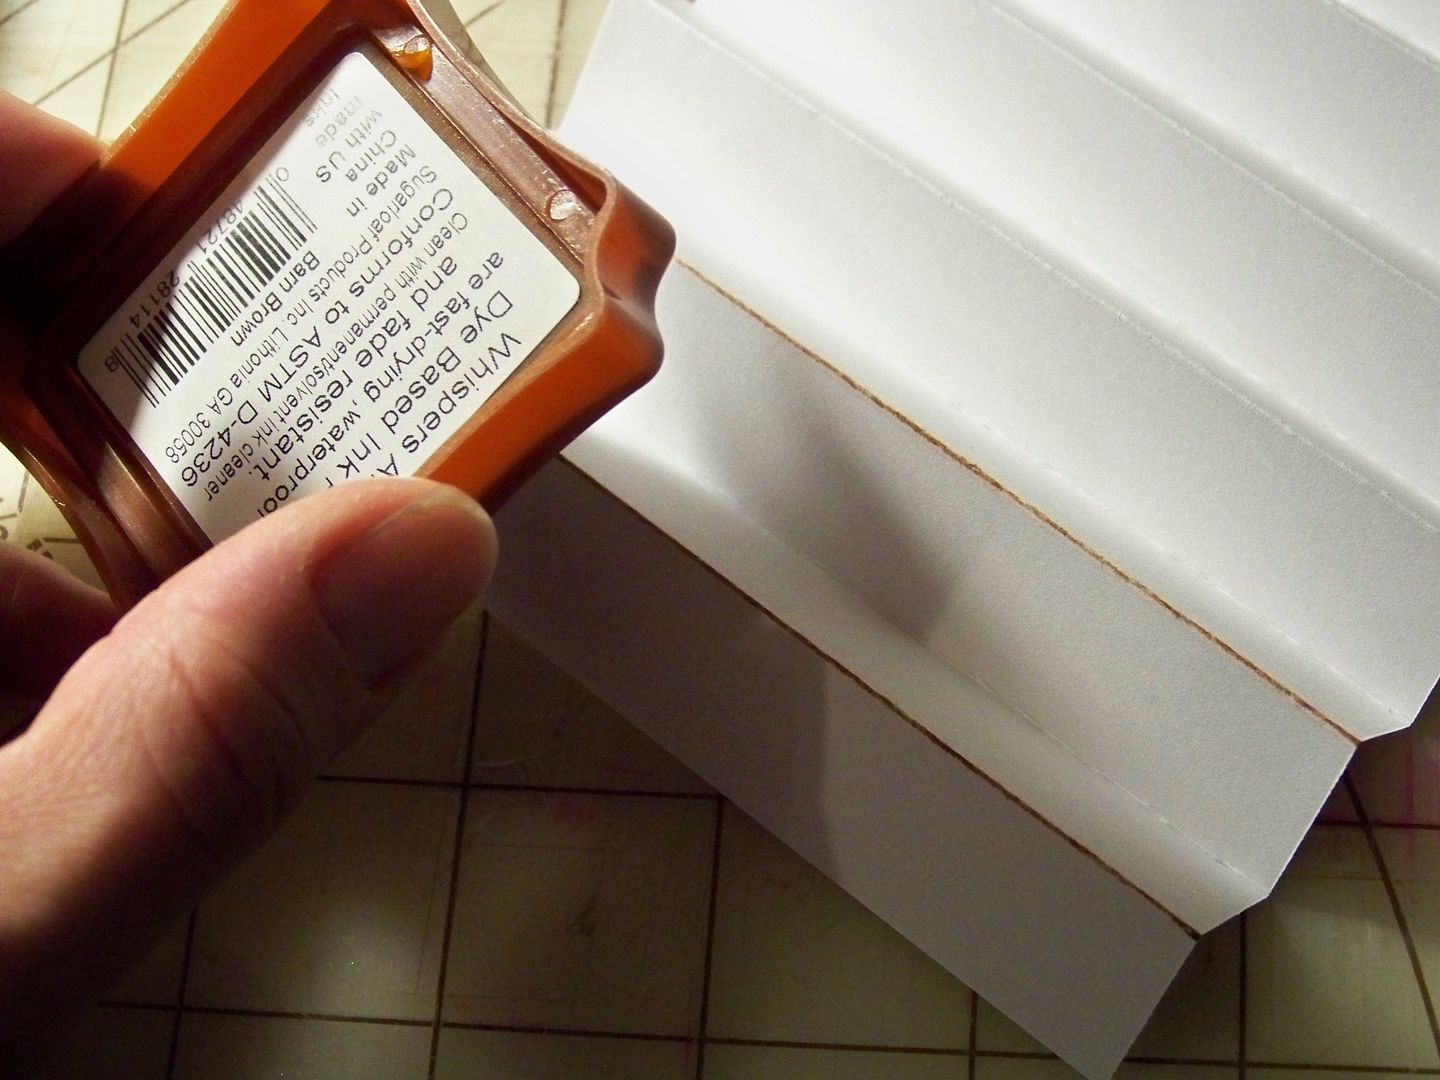
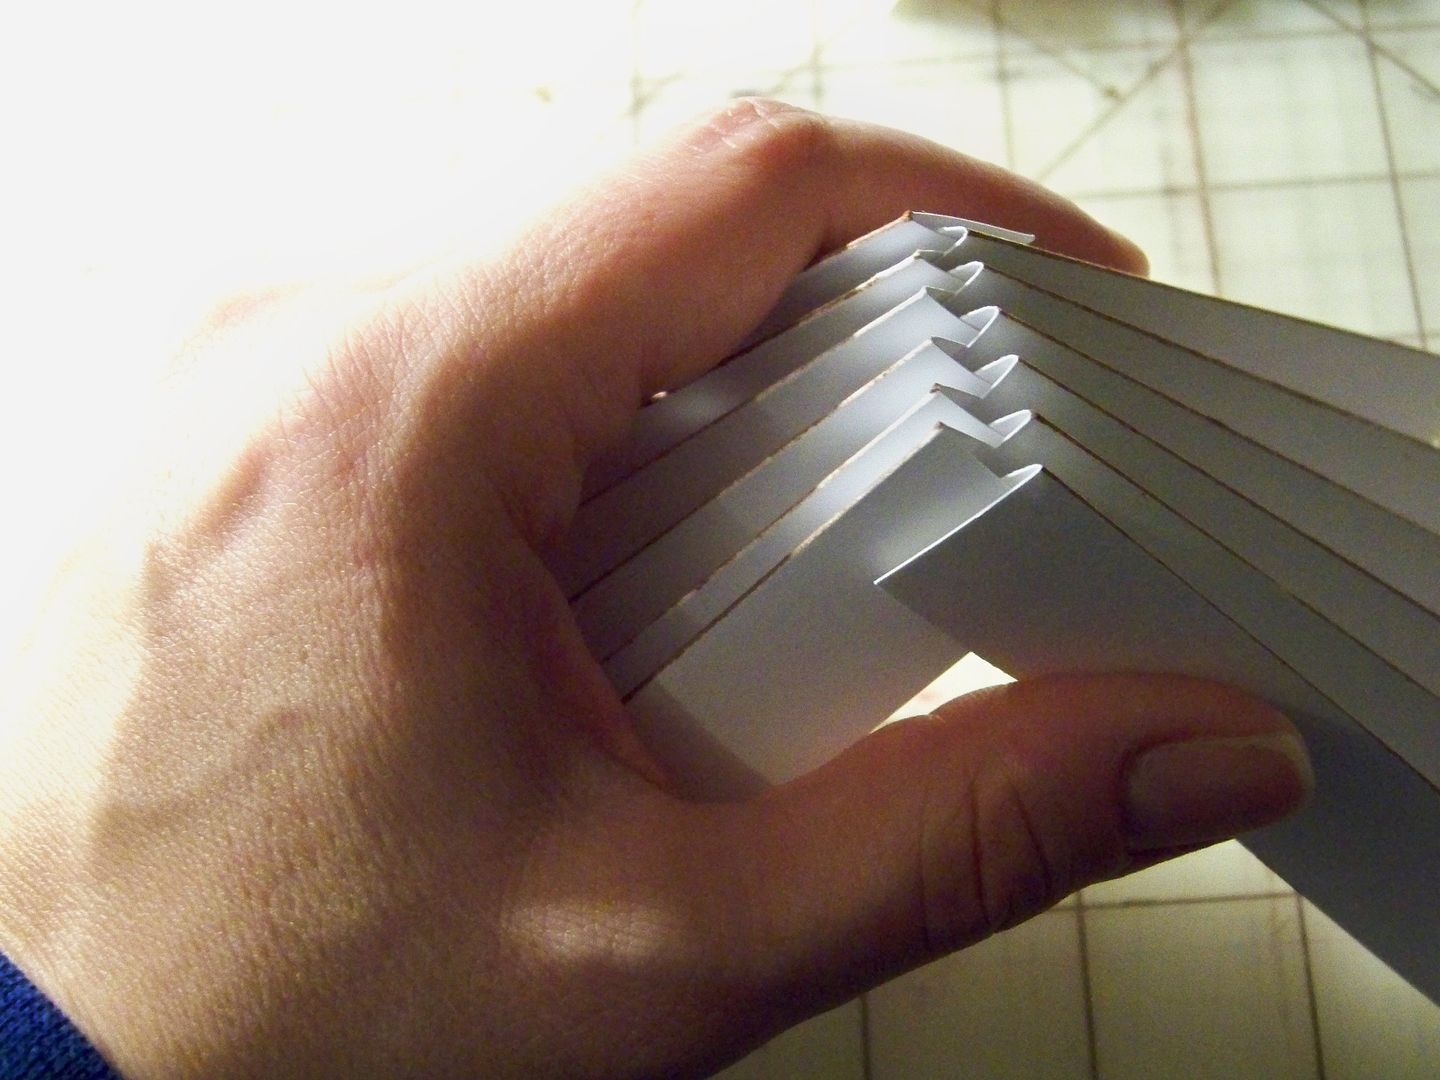
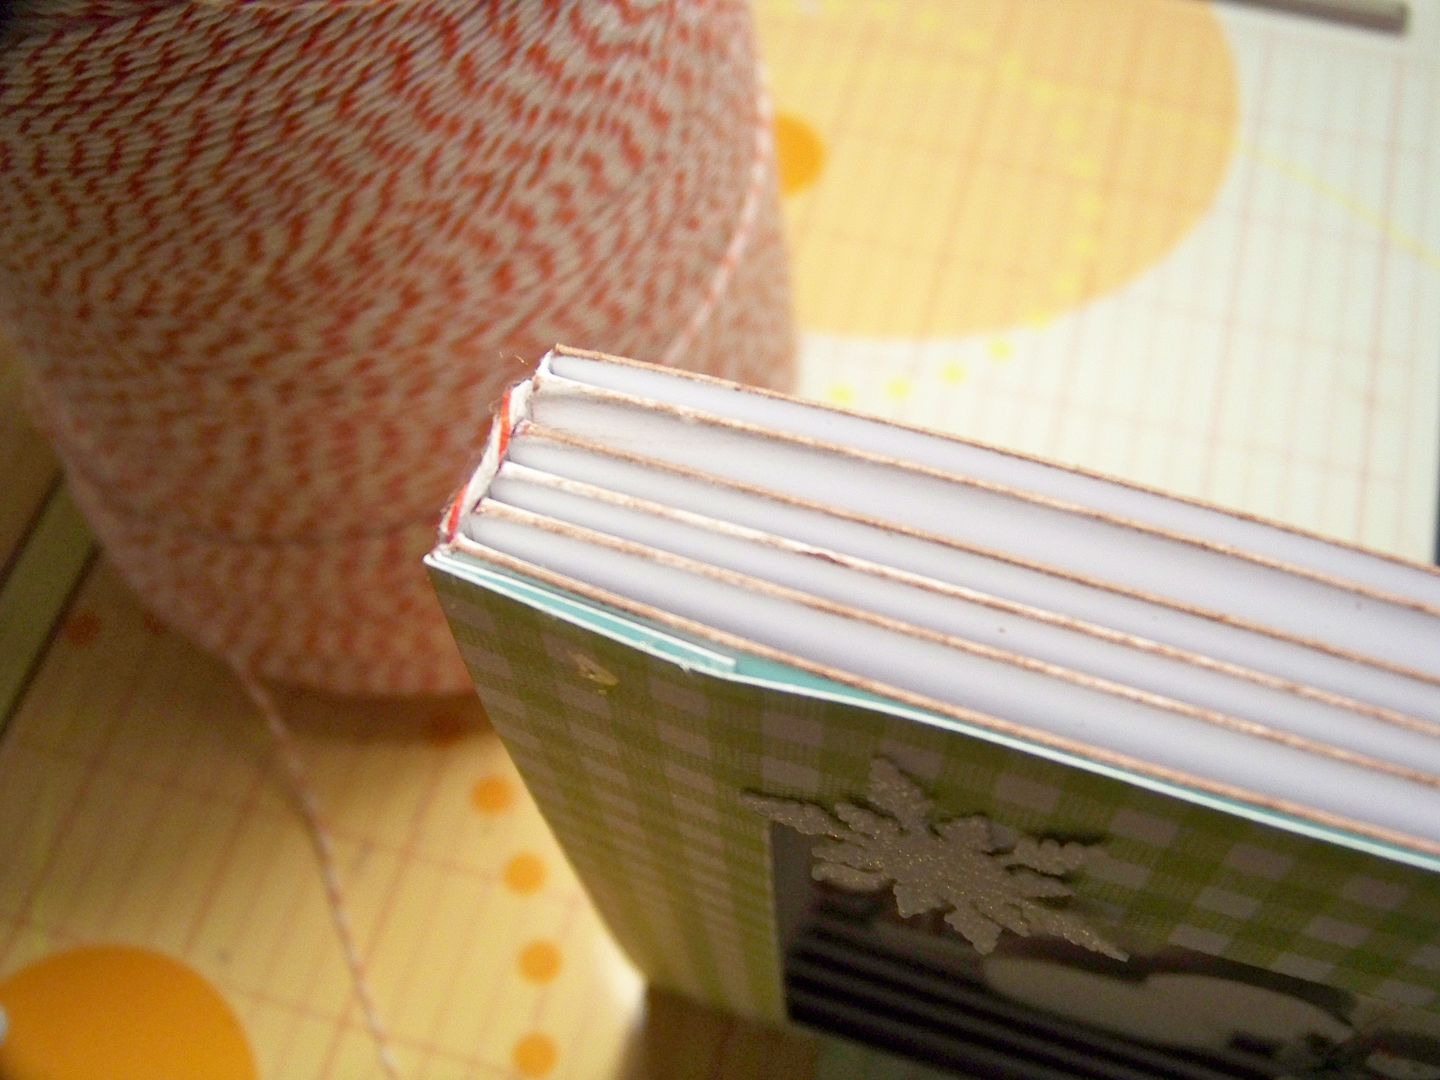
I folded them up, accordion-style and inked the edges by rubbing an ink pad over the folds.
I assembled the folded 'pages' just as Tracy instructed and glued in place with Scotch Quick Dry Glue.
I cut a green gingham mat to place over the 'pages'. This was cut at 4-5/8" x 5-1/2" with the inside cut to allow for a 7/8" border. This created a frame for my vignette.
These were my cuts:
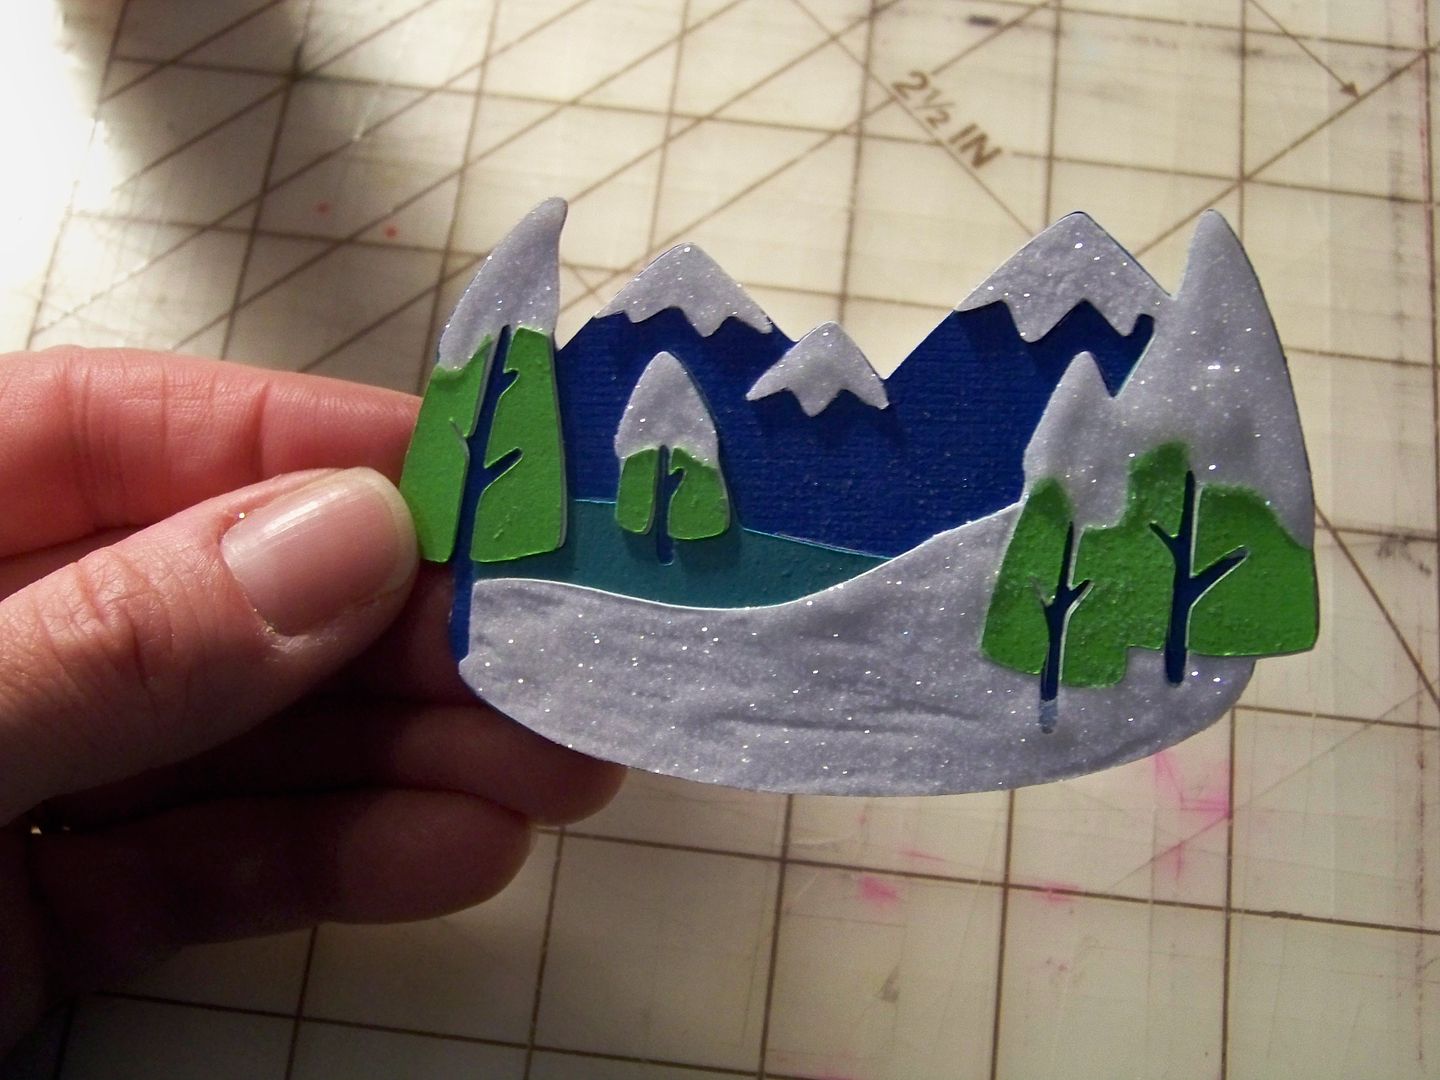
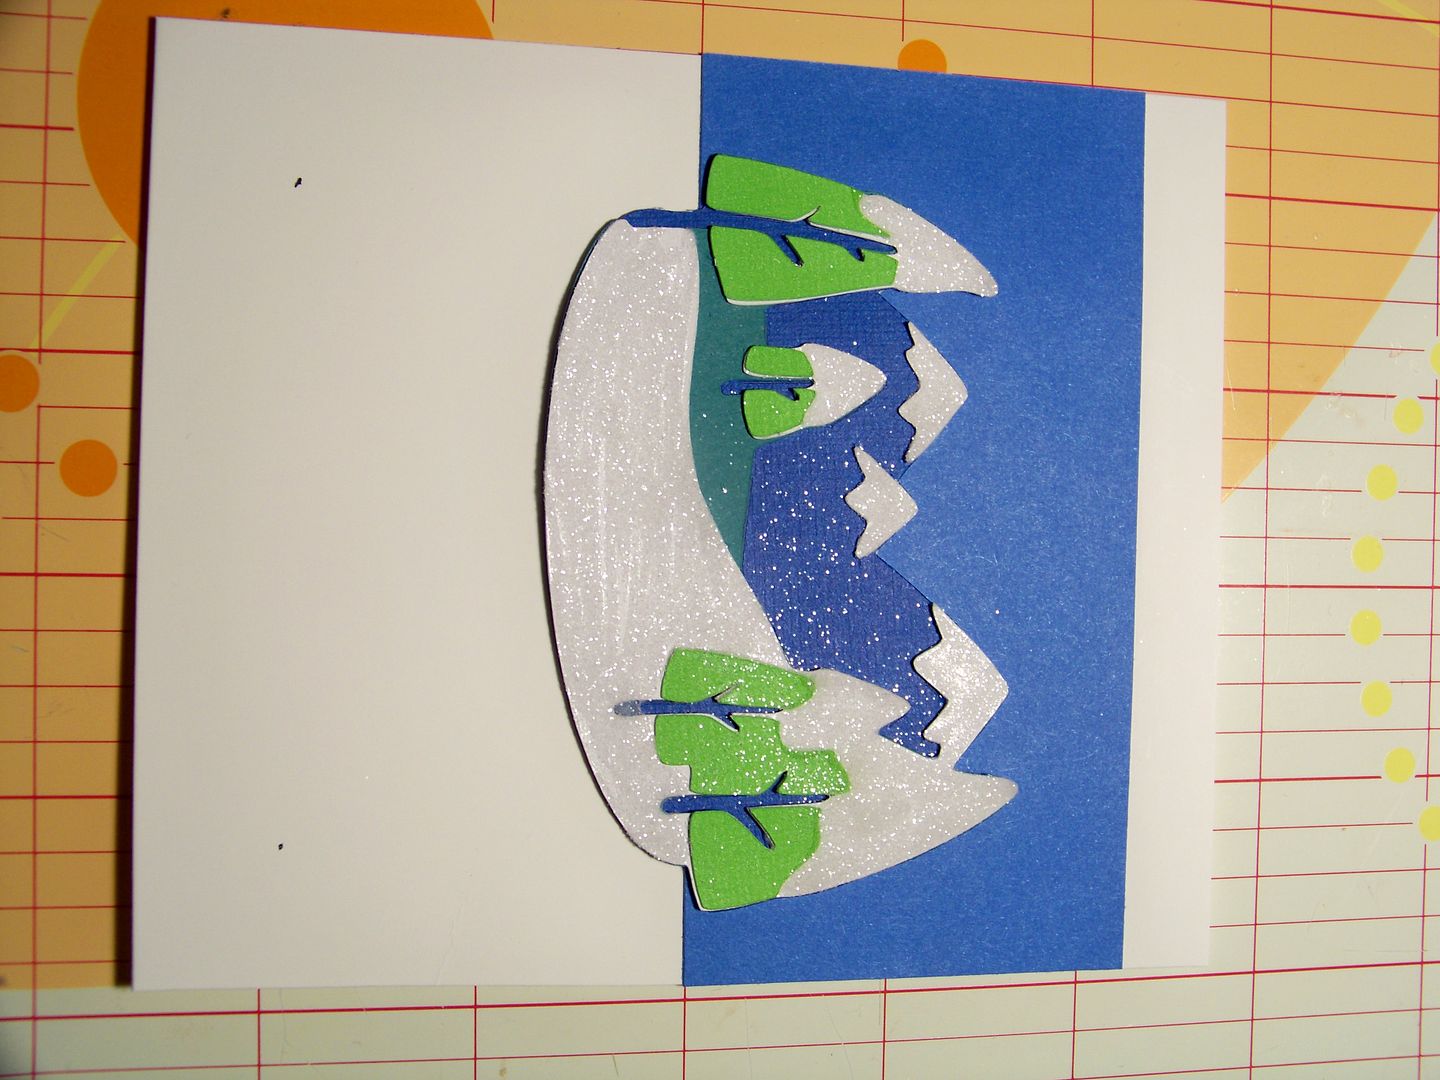
- Snowy background - Campin Critters (page 66), 2-1/4". I used Scotch Quick Dry Glue and Martha Stewart fine glitter.
- Sky - 2-1/4" x 4-1/2" strip. I applied it to a card stock base.
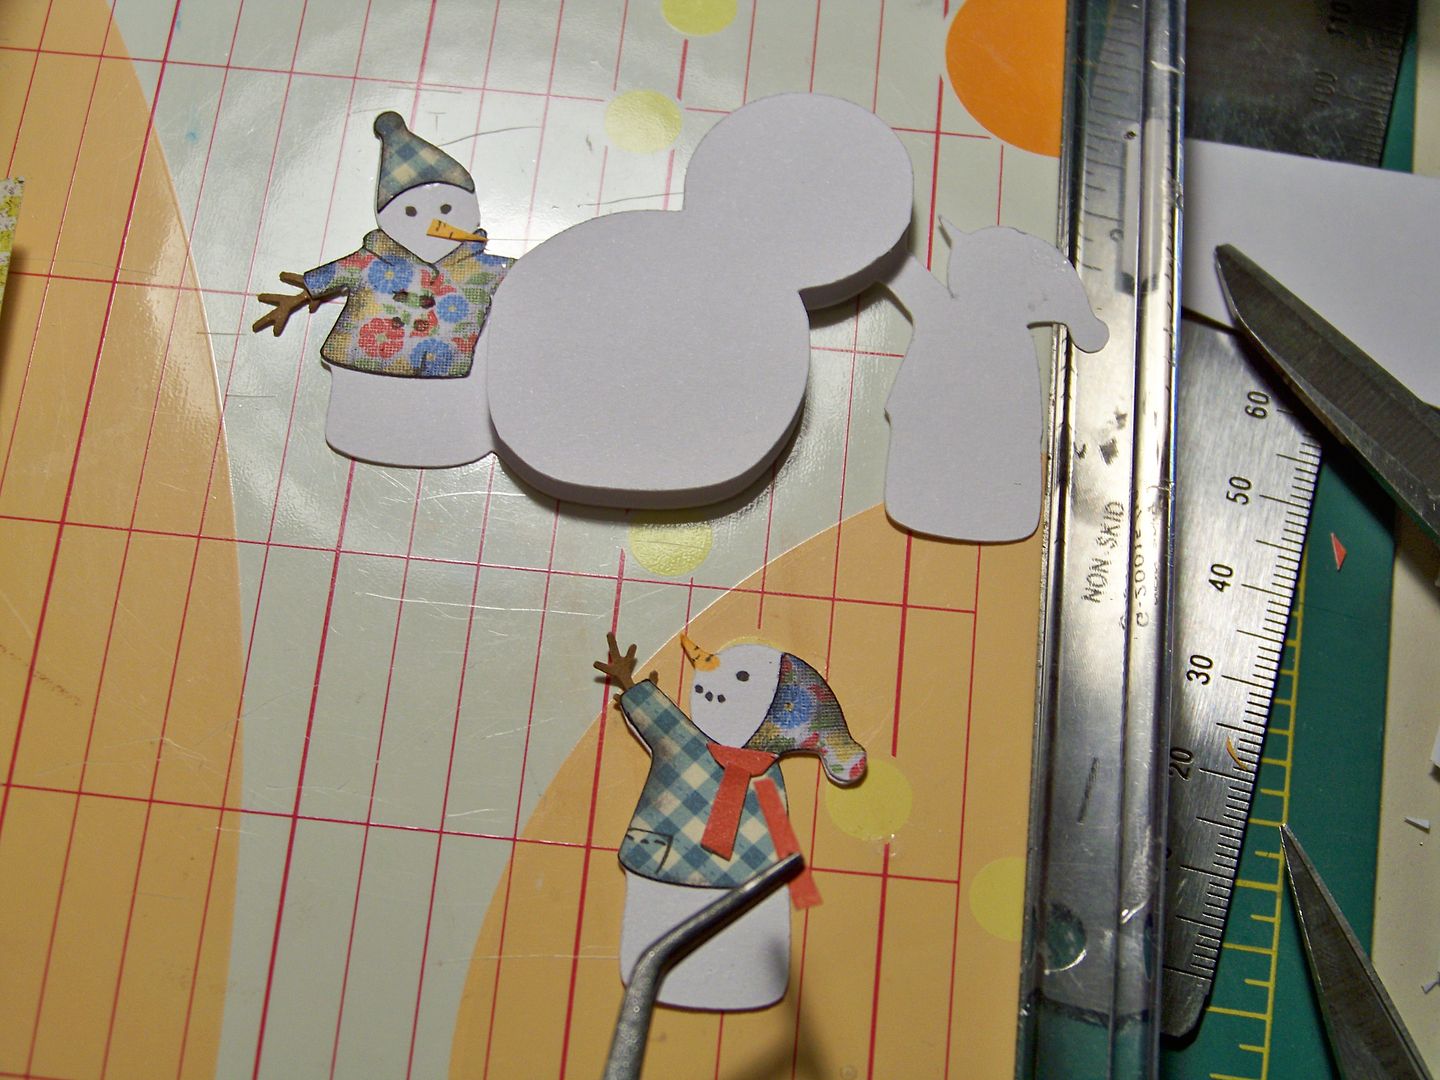
- Snowmen - Snow Folks, 1-3/4". I cut two of the base cut in white and used the Martha Stewart branch punch for their hands. I popped up the snowman they are building and the snowman on the right 1/8" after cutting them free from the duplicate cut. I inked their jackets and hand-cut a scarf for the snowman on the right. I hand cut the carrot nose and drew in the eyes for the guy on the left and colored in the nose and eyes for the guy on the right. I inked them in black. This was popped up 3/8".
- Snowflakes - When It's Cold Outside, 1".
I couldn't find any bookbinding headband on hand (although I know I have some!), so I used bakers twine. This is a crazy little detail that I added.
I printed the sentiment on my computer.
- Photo corners - Holiday Frames and Tags (page 44), 4".
I glued the vignette and 'pages' into the cover on the right and the sentiment sheet on the left, adding photo corners. I glued the cover to the spine. I used Scotch Quick Dry Glue.
So, all that's left is to apply the gift card....
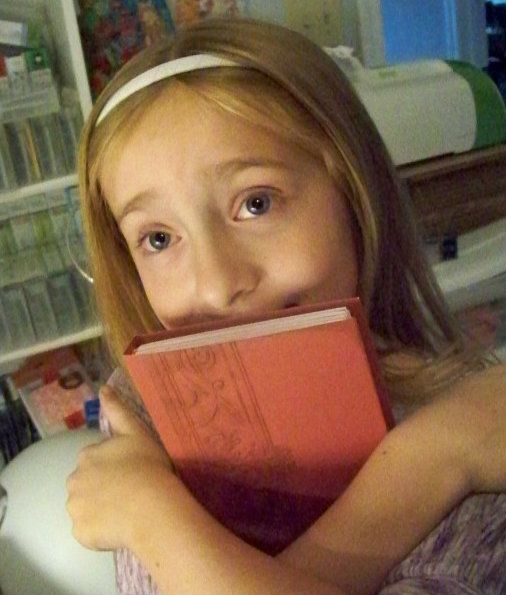
I loved this project. I have some others planned to do as well! There are endless possibilities with this concept. Guess who wanted to keep it for herself.....
Speaking of my little paper crafting buddy, she just finished a project of her own that I wanted to share with you!
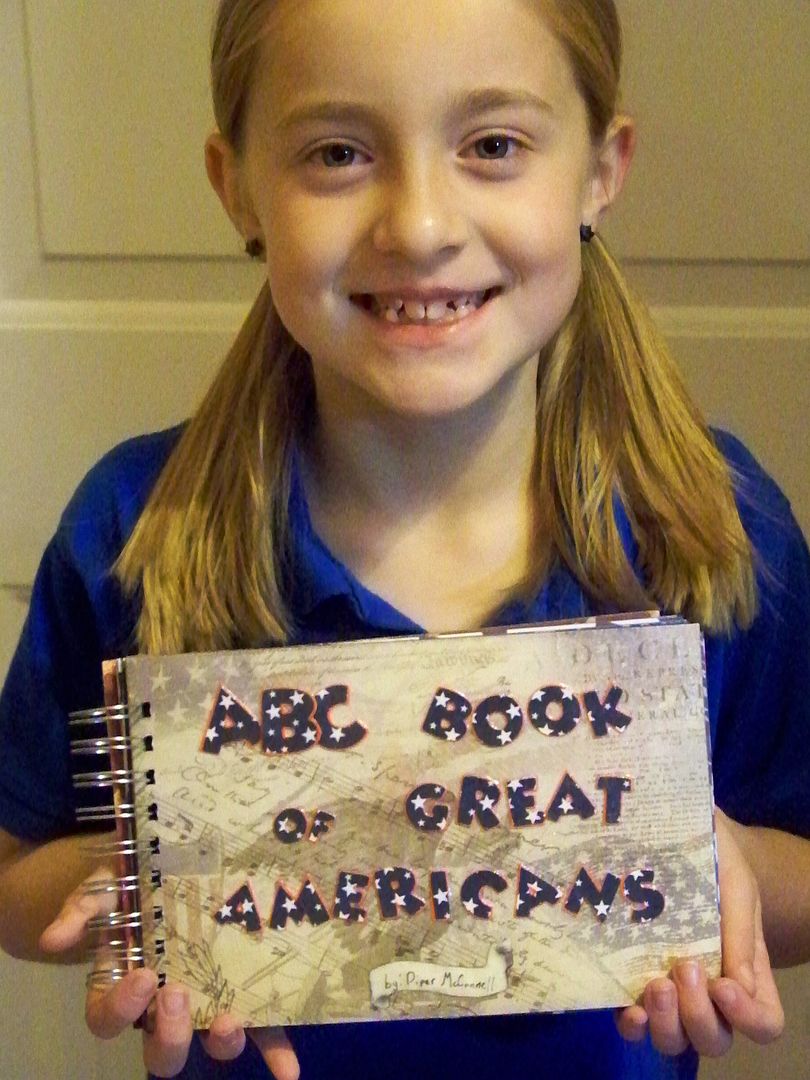
I loved special projects when I was in school... and if I had the internet, a Cricut, and a Bind-It-All at my fingertips, oh, how much more I would have loved those presentations! So, when my daughter was given a history project to make a book of Americans that she considered 'great', I decided that this would also be a great time to start teaching her how to use some more of the crafty tools we have in this house.
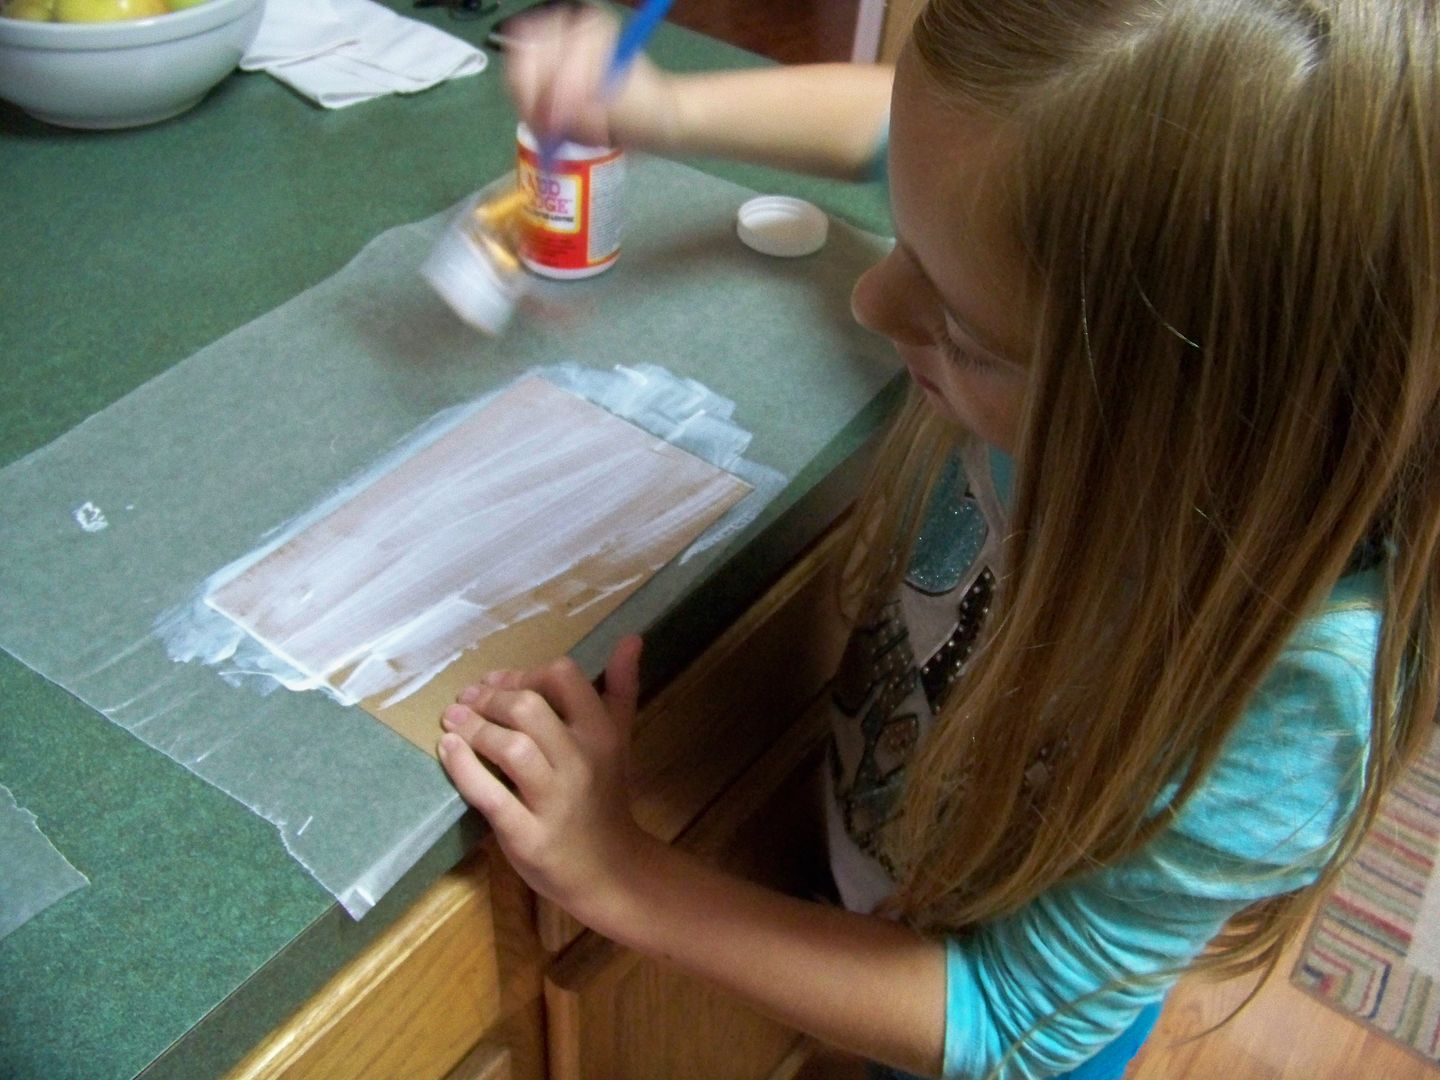
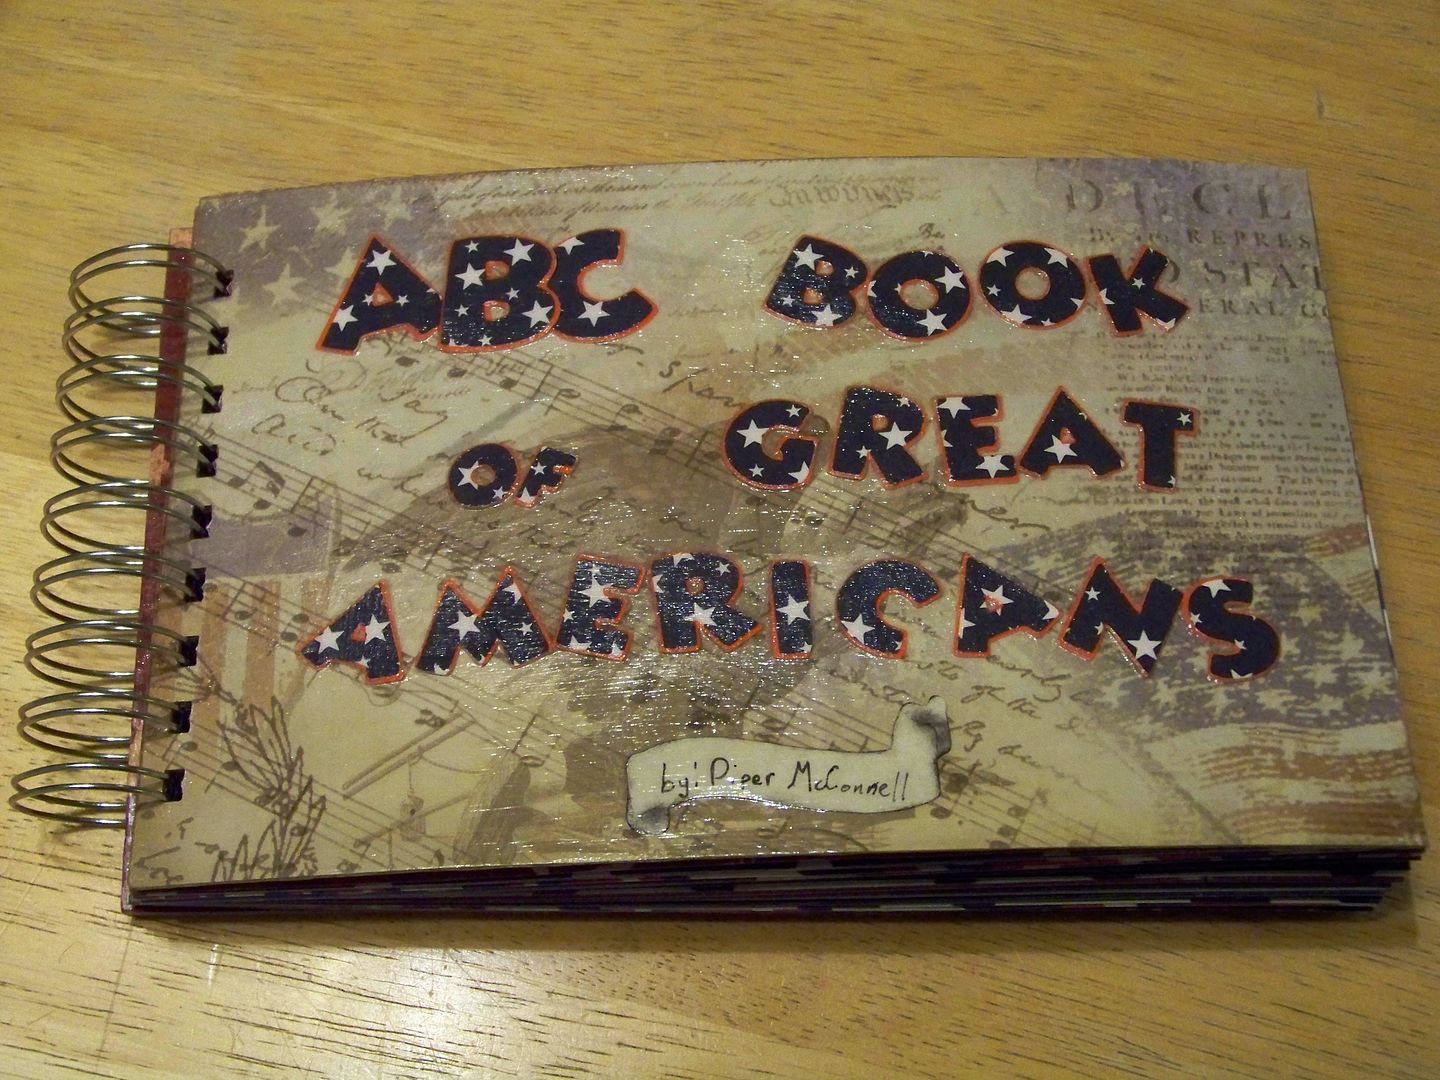
It was the first time that either of us had used Mod Podge, but since it was in the house, and so was some chipboard, I decided that I would teach her to make a cover using those materials with decorative papers.
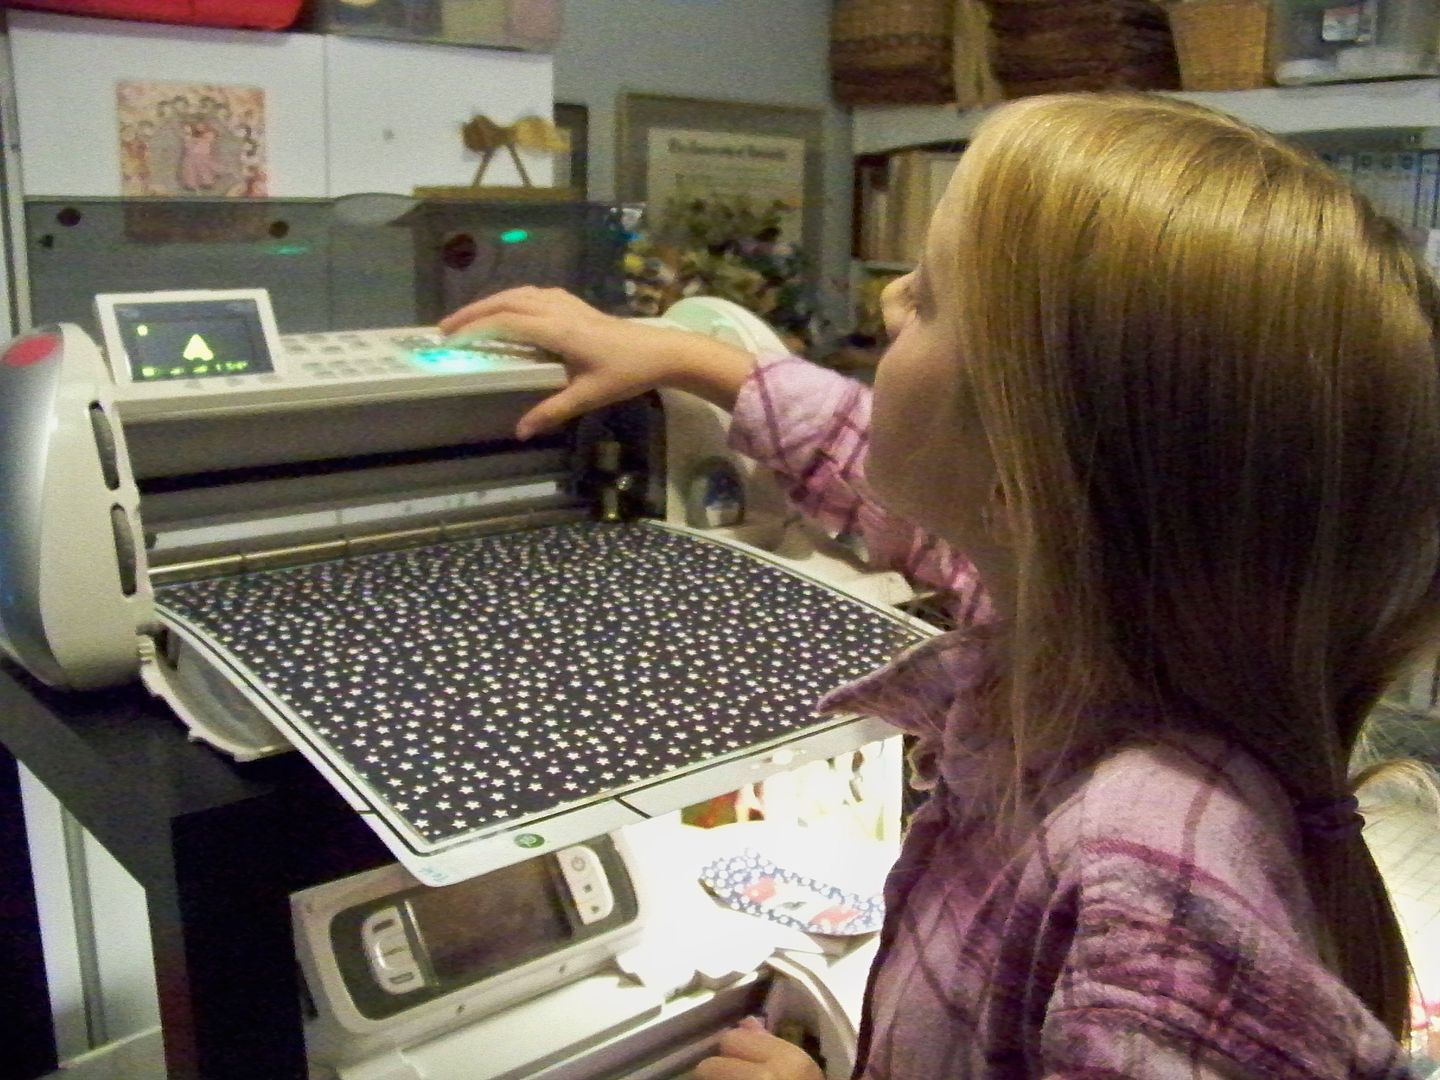
She used a Cricut and Mickey Font to make letters for the front. The papers were some I won from a challenge back in the summer. (Piper has used a Cricut many times before. She actually has a Baby Bug and her own cartridges in her room, but we did this project in my crafty space instead).
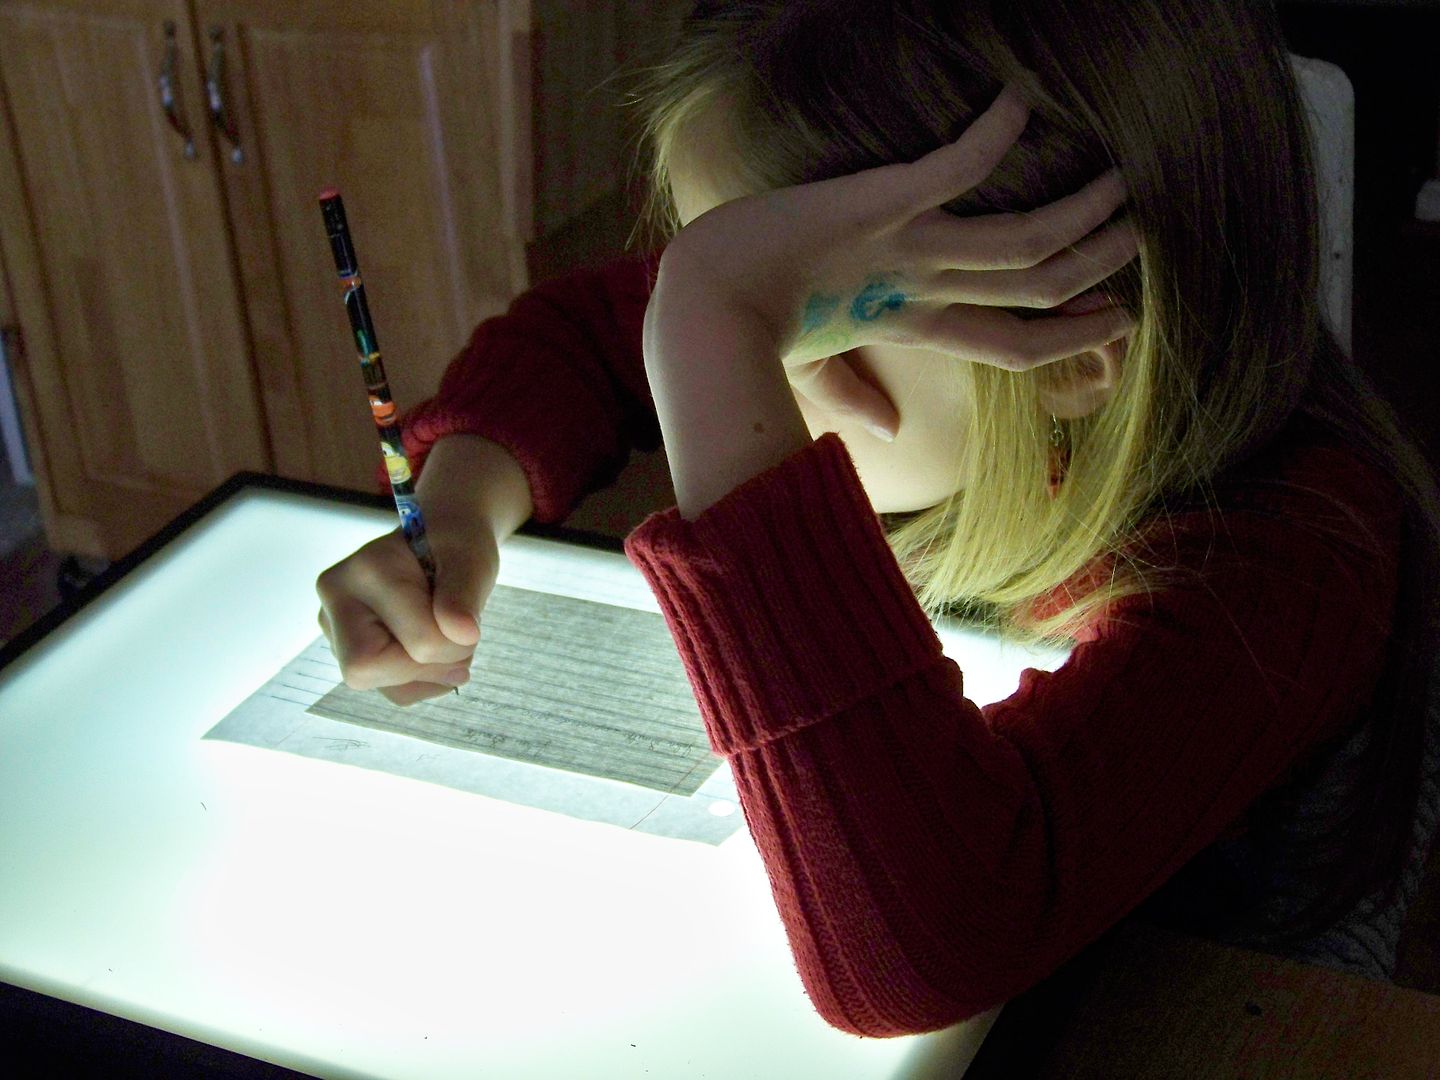
She used my computer, finding facts for her little reports. She took the notes from that and learned how to use a light box to write straight on linen paper placed on top of lined paper. (Yes, there is penmanship grade tied into this.)
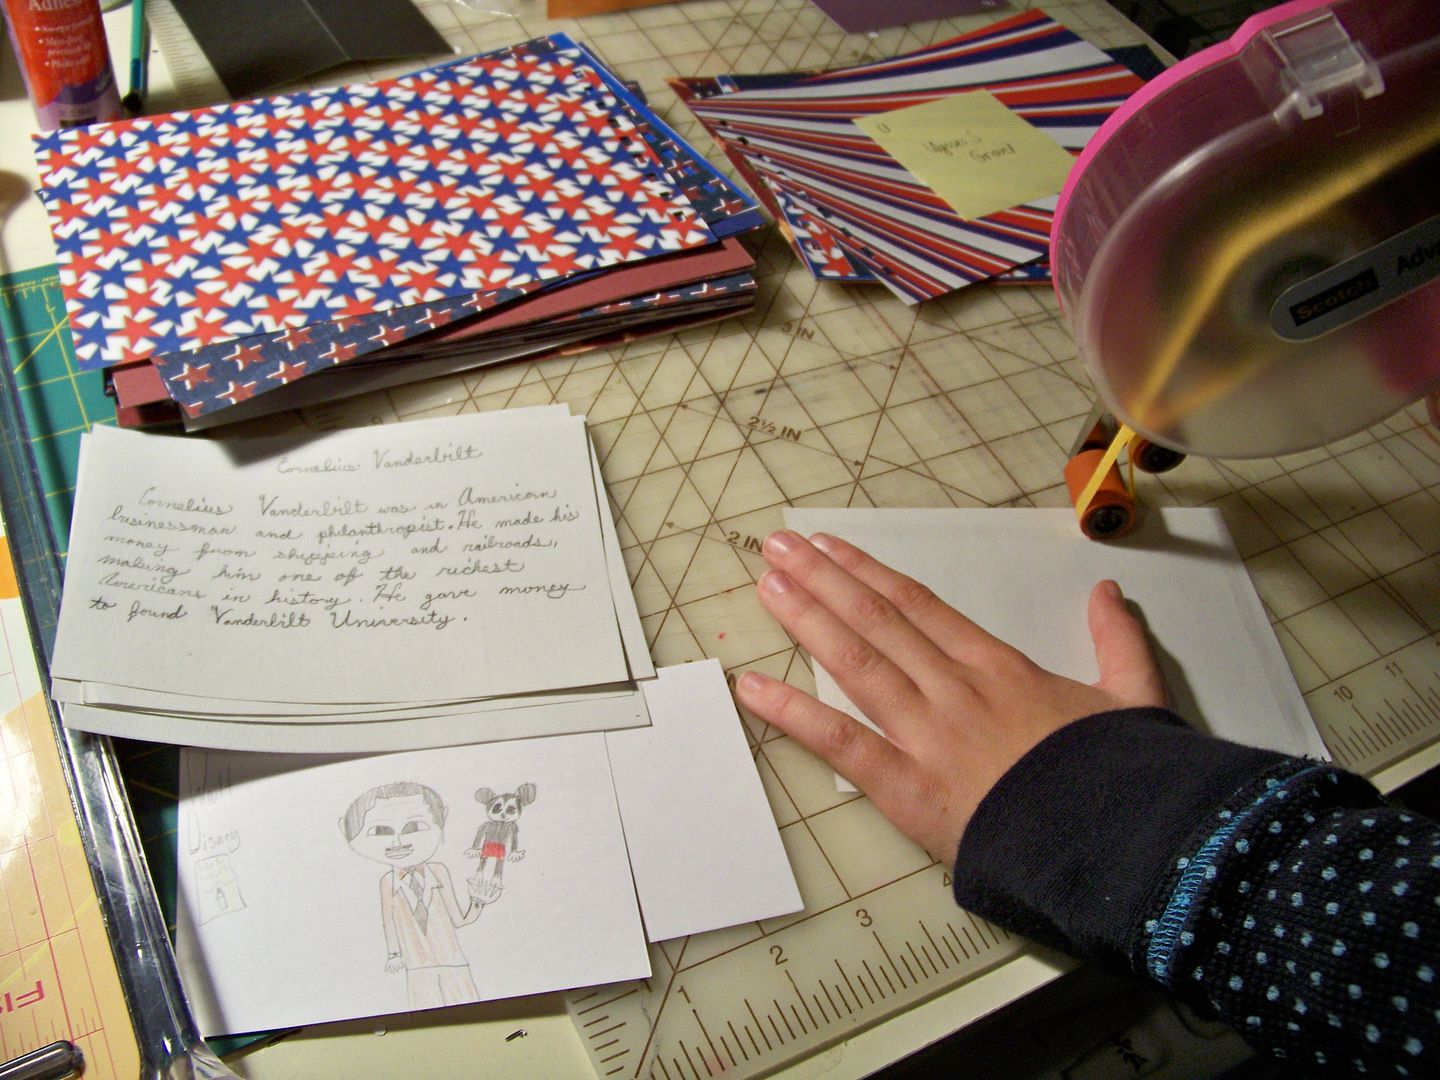
She got really great at using the ATG! She taped her drawings and reports on the decorative papers.
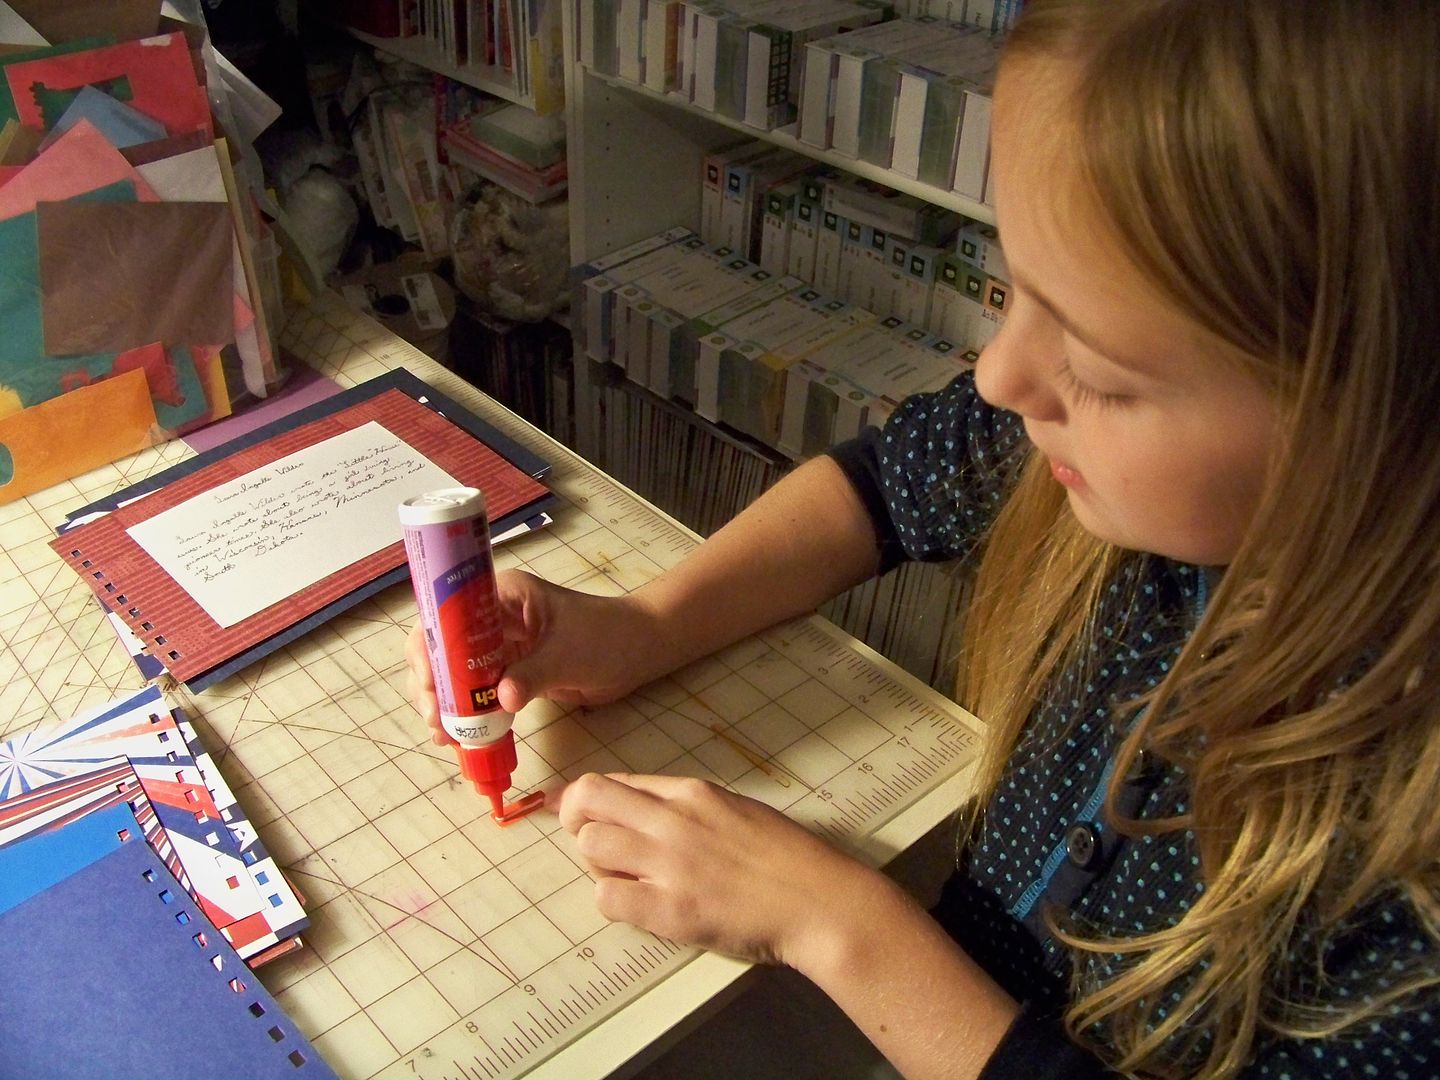
She learned how to make a font with a shadow, something that she had never done on the Cricut before. She is a master with glue, now that she has learned how to blot off excess glue.
She learned how to punch the holes in her pages with the Bind-It-All, but had me close her o-wires for her. I think she loved the project, even though it seemed to go on forever, swallowing weekend after weekend... so she also loved when it was done! (So did I!)
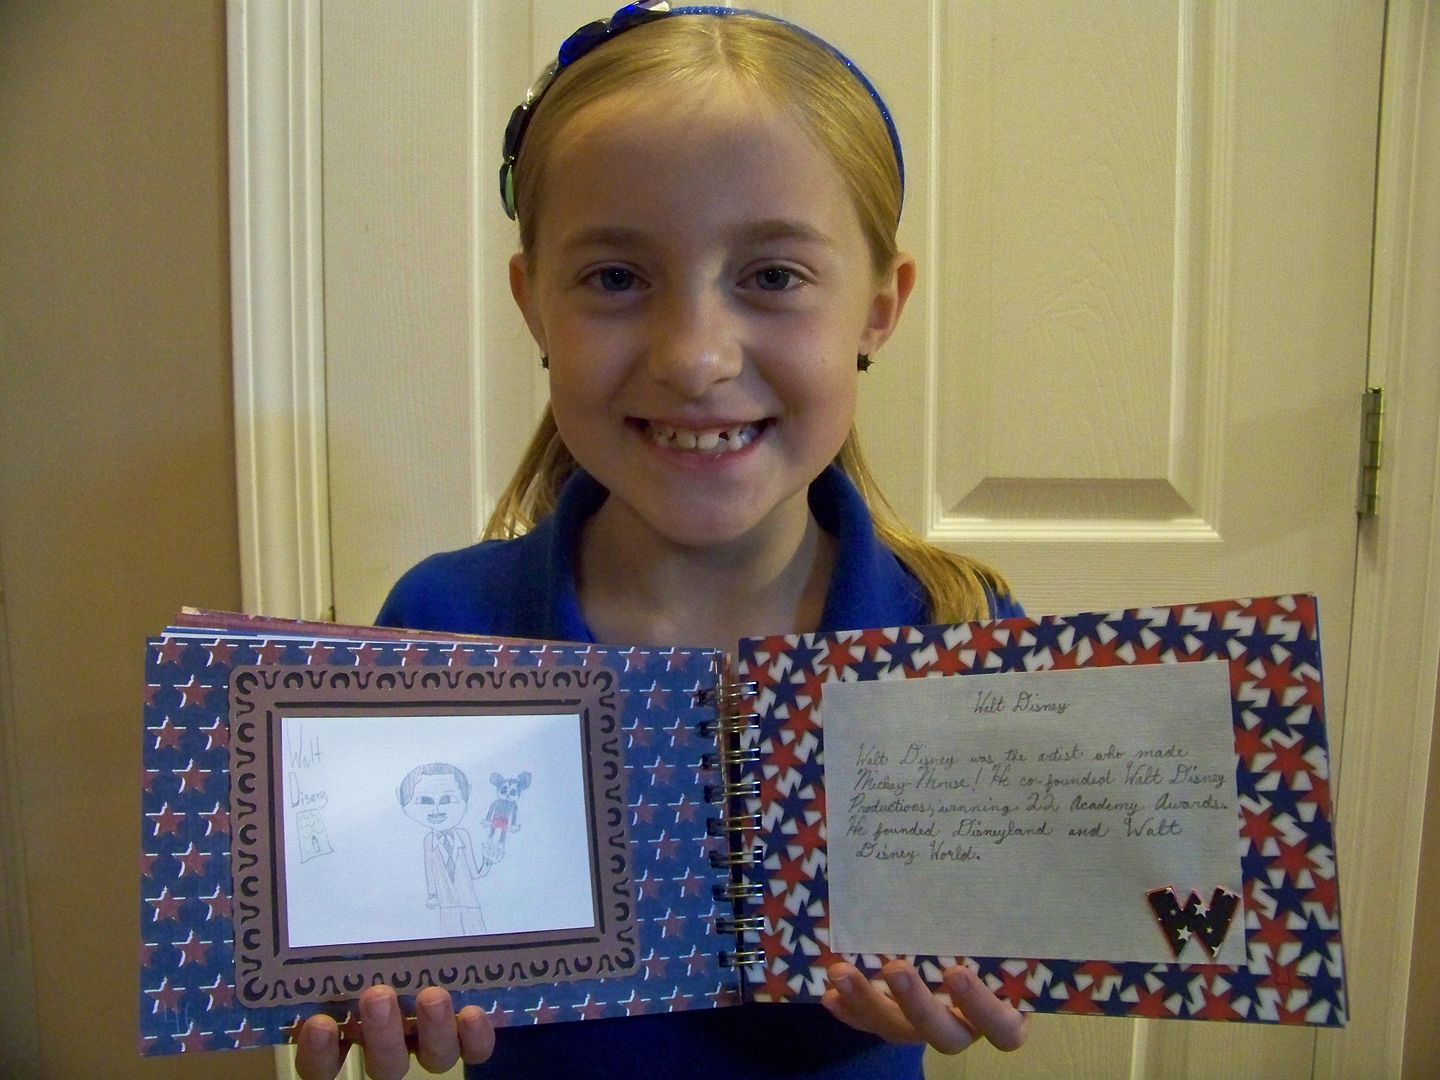
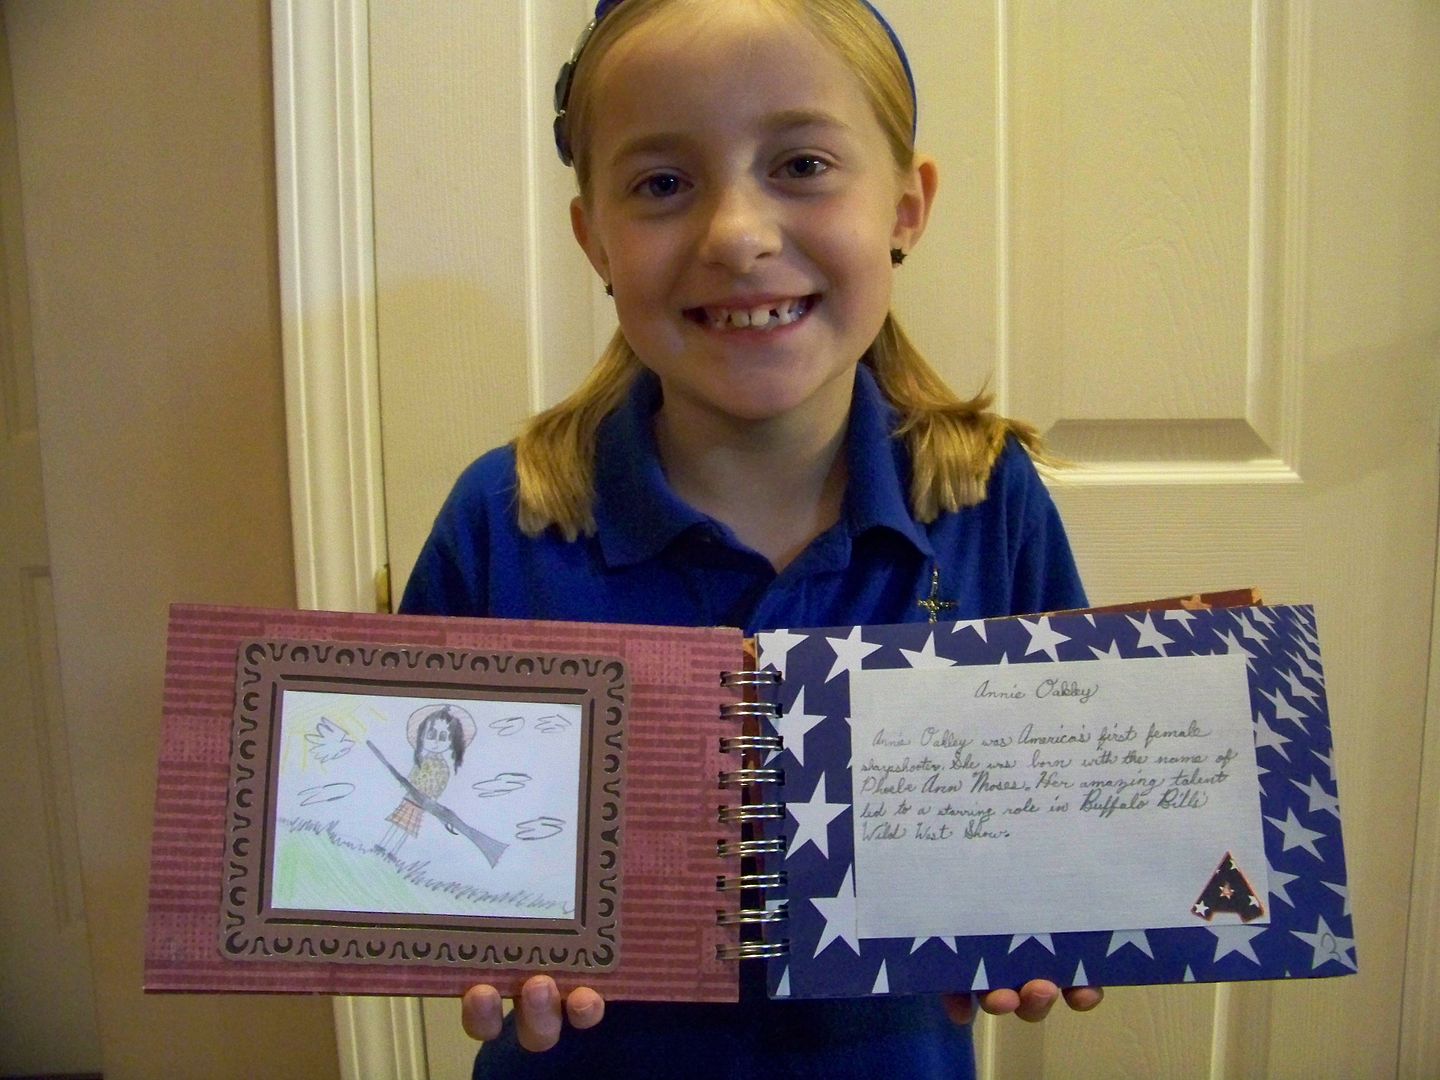
Her great American for "w" was Walt Disney... yep, she's a kid! After dressing up like Annie Oakley for last year's end-of-term history project, she wanted Annie to be her "a" entry. (You can see that Cricut project by clicking
here.)
Along the way on to "z", she learned a lot that they didn't teach this year including facts about the Underground Railroad and Women's Suffrage. She also learned to decoupage, how to put patterned papers together, how to draw creatively from historical photographs without tracing, and how to create elements that are uniform to tie a project together visually. It was an art assignment as well as a history assignment!
Thanks for letting me show off my kiddo and her 3rd grade history project. As much as anything, we got to do it together and she was happy with the end result. It took a lot for me not to take over the assignment and to let her design it and figure it out. She was so excited when I told her I would put it on my blog.
Have a very Happy Thanksgiving!
I already have a few more vignettes in mind for other secret hollow book cards... can't wait to show them to you! For more inspiration on these, definitely visit Wenche's blog -- Google Translator worked great for me! Start with this one:
click here. To see many of my previous projects, check out
My Project Gallery.
Edited 12/29/2012 to add: To see a later post with more Secret Hollow Book Cards, click
here.






.%20%20Tutorial%20with%20cut%20sizes%20and%20link%20to%20sources.%20%20%23WithGlitteringEyes%20%23Cricut "Pin It")