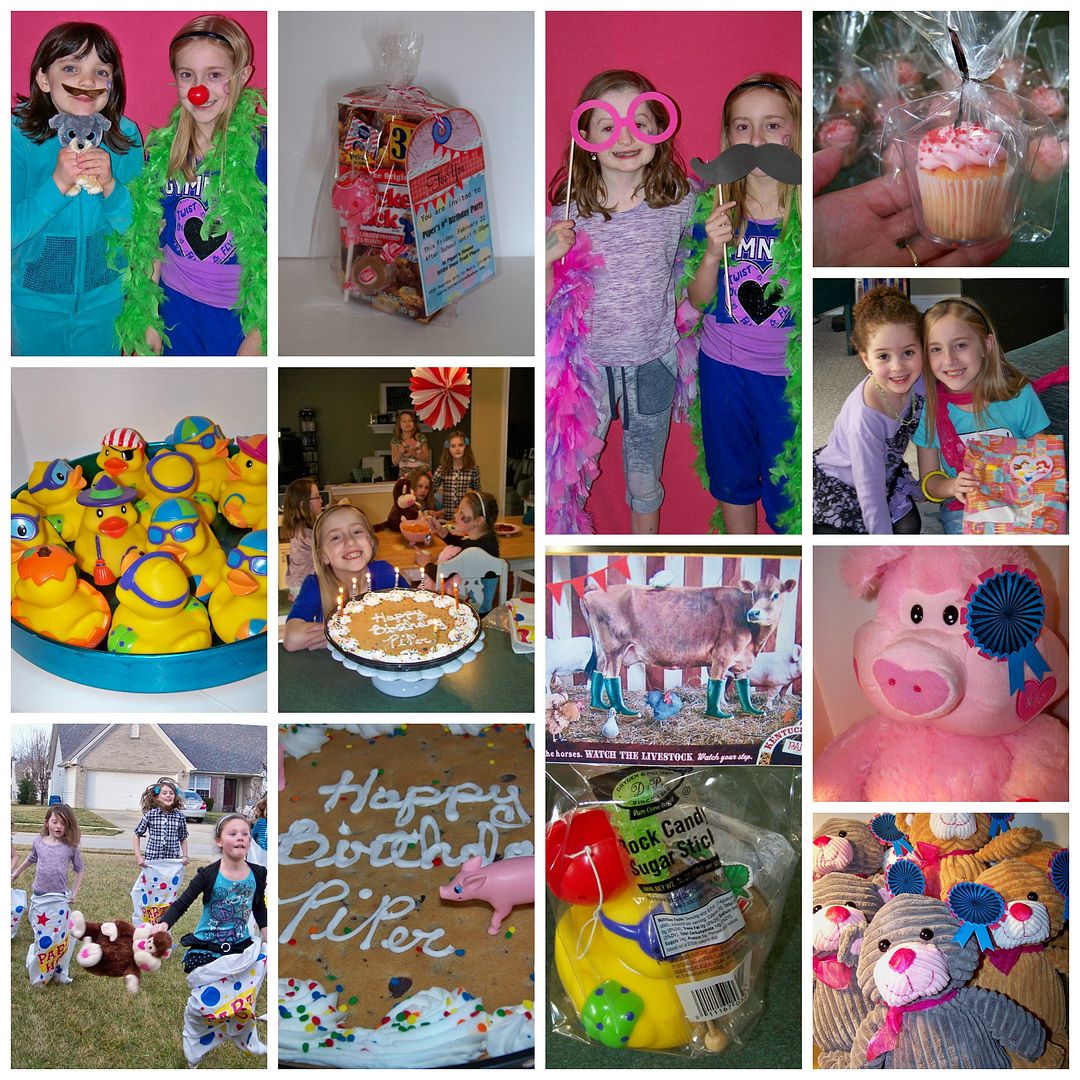

My sweet Piper is 9 this year! After telling me she was too old for theme parties last year, she asked me for a "State Fair" theme for this year's kid party. (Go figure!) This party was on a tight budget so this was all about home-spun fun!
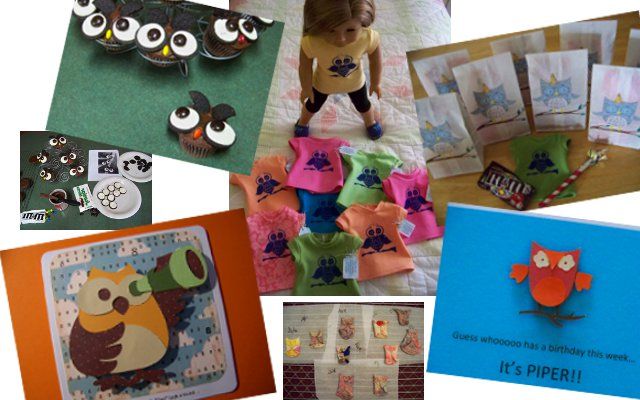
I started with the invitations.
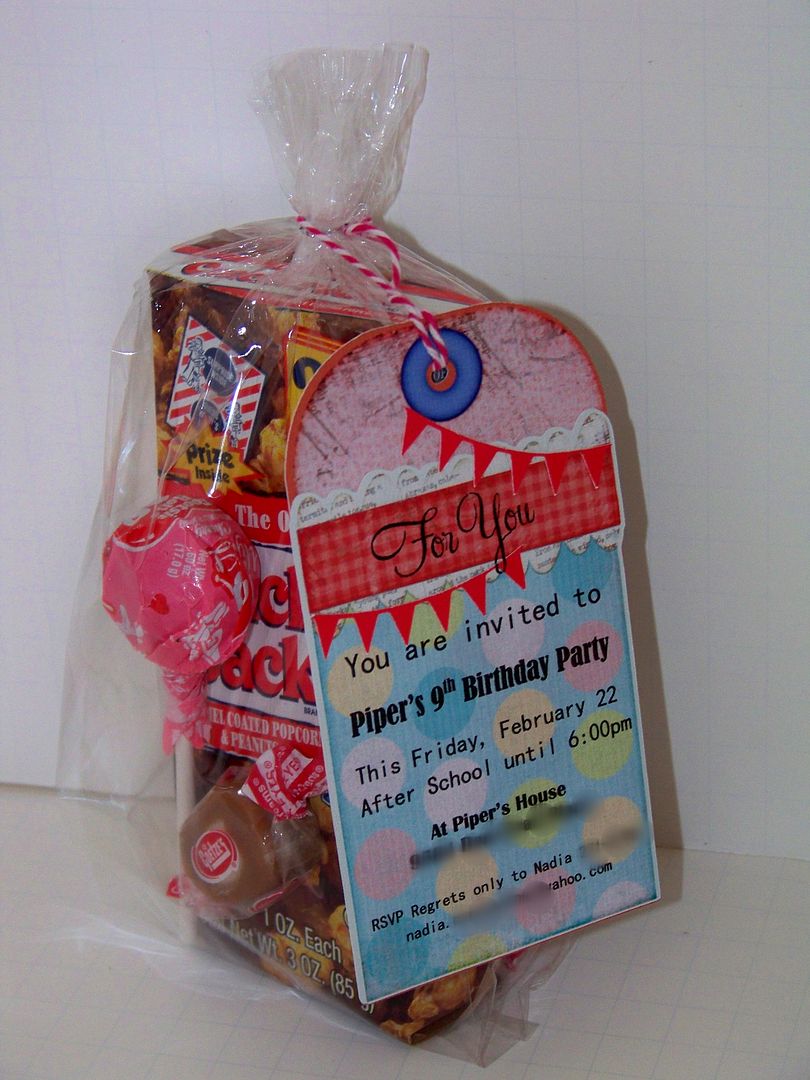
I thought the party would be easier for the kids and their moms to remember if packaged with goodies. OK, I admit it: that was stupid. First of all, these are 8-year-old girls. That means that they have been talking about this for some time daily at school. They had been excited since the play date at our house a couple of weeks before when a few of them were over here. And... they ate all stuff in the treat bag and didn't always show the tag part to a parent! They loved our invitations though and they all showed up so I might do the same thing all over again in the future.
The invitations were from Cricut Imagine cartridge Imagine More Cards (page 15) at 5" using only layers 1 and 2. The banners were cut from Cricut Carousel at 3/4". I printed the text using my computer and printer. "For You" was stamped on.
The party was mostly led by the kids and I stuck in party activities as quickly as I could after cleaning up from the previous activity, including face painting, cotton candy making, sack race, ring toss, duck pond game, fair-themed dinner, gifts, and photos taken in our make-shift 'photo booth'. It seemed to work out perfectly-- mostly because the girls are happy to play together and all get along so beautifully! They are loud, but sweet to one another-- cannot ask for anything better!
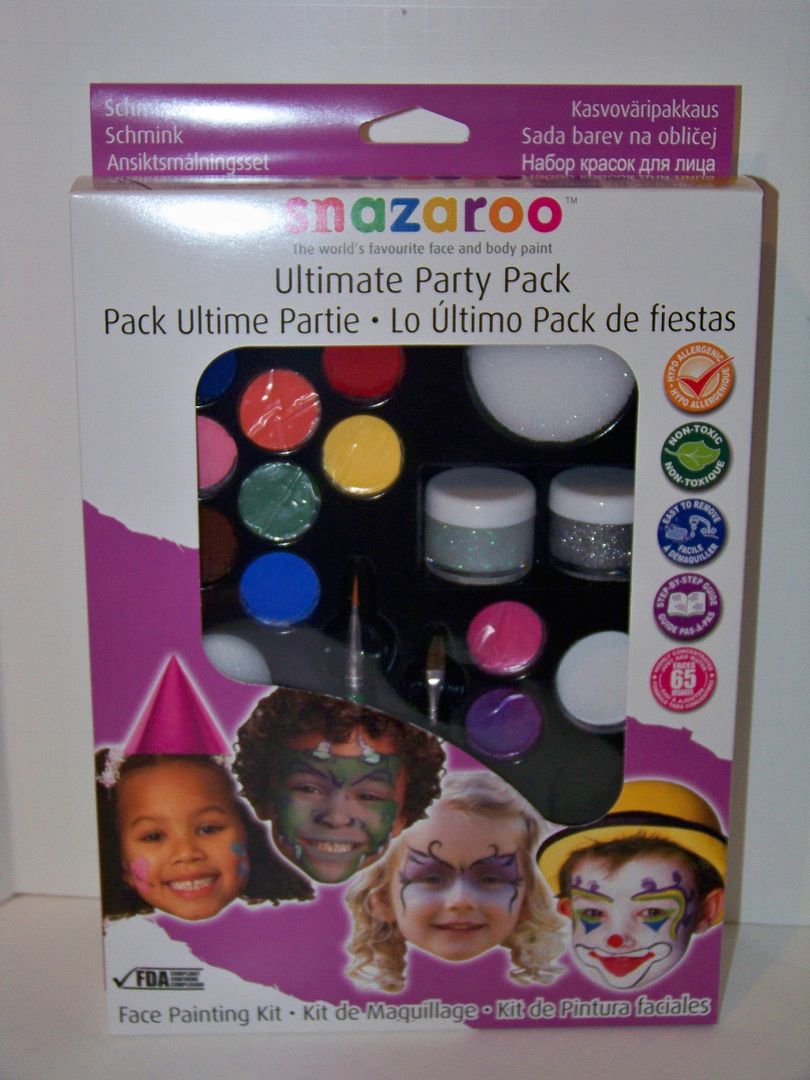
I found face painting supplies at Michael's Crafts.

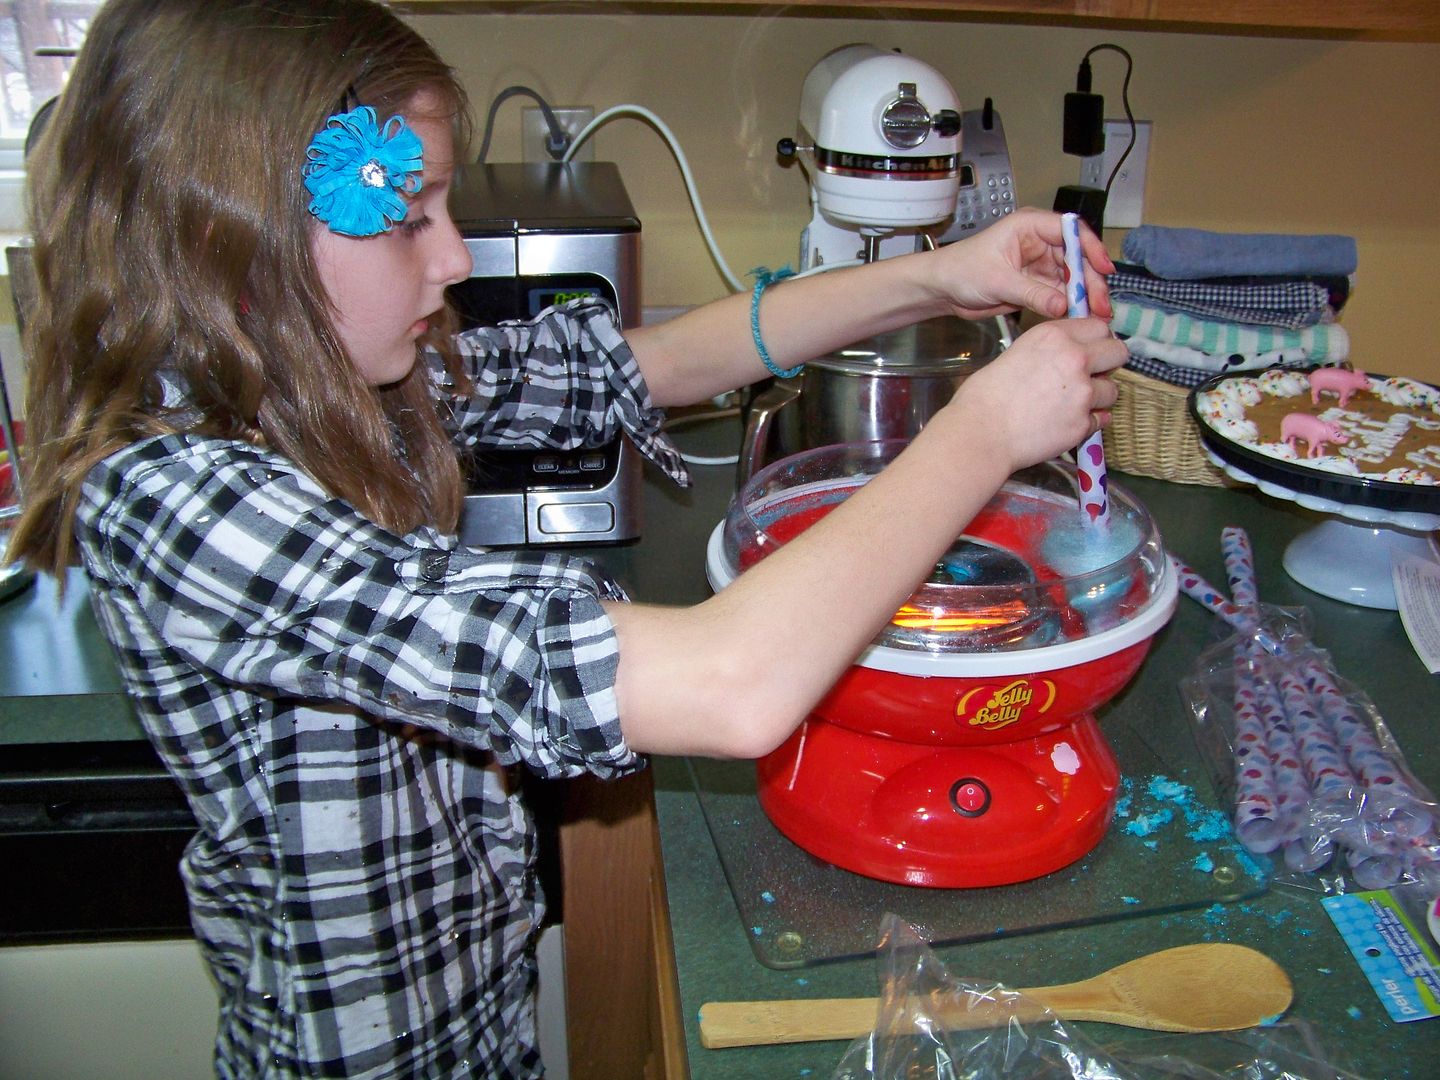
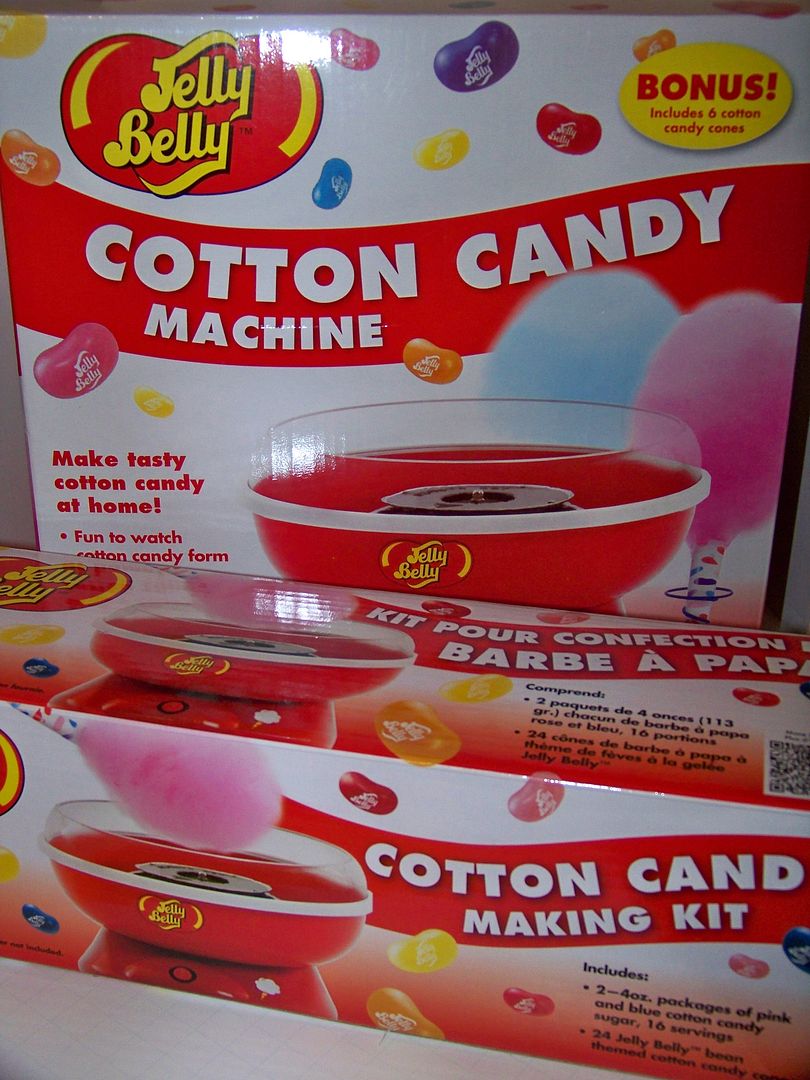
I found the cotton candy machine and kit with extra supplies at Meijers. OK- it took us a while to get the hang of this thing! The key, which we discovered late in the game, although it is illustrated (poorly) in the manual, is to hold the cone parallel to the counter after you have started the process to build a big puff of cotton candy. Here, you can see, we were still getting it wrong... and yet the girls loved this thing and stood in line over and over to keep trying it. Two of the girls told me they wanted to get one for their party this year... so I took that as a thumbs up on this activity.
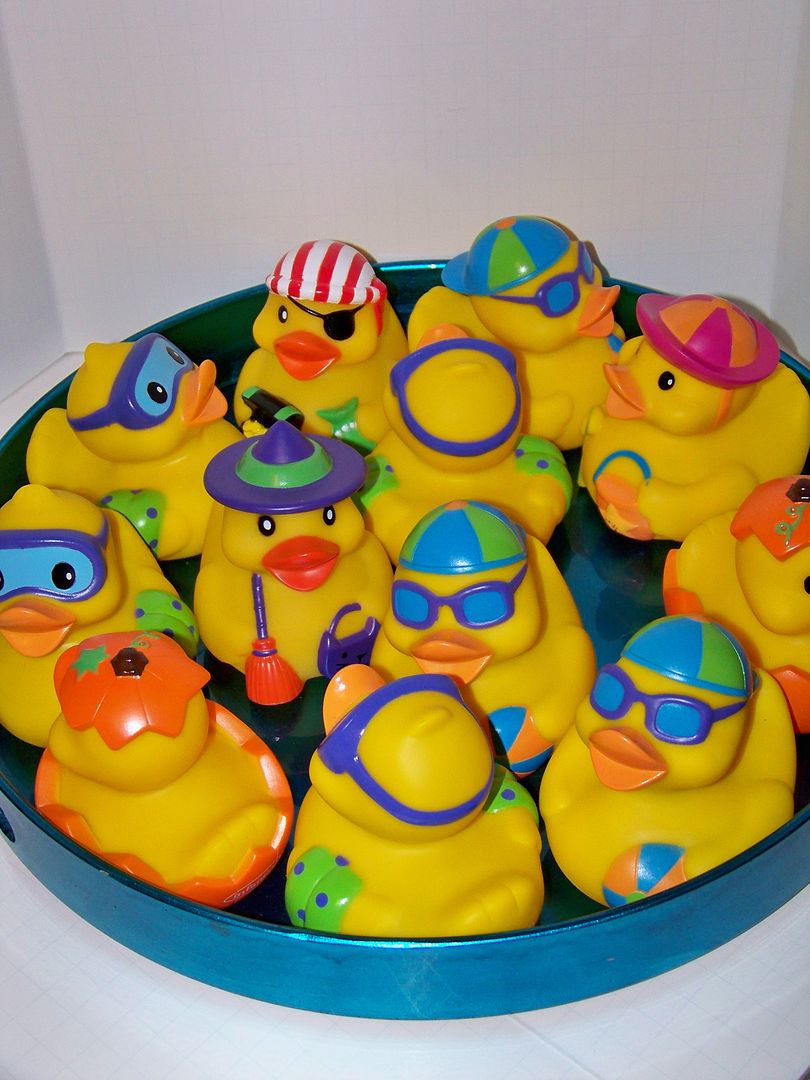
Piper specifically requested a duck pond game so that all of her guests would win a prize. I used duckies I had left over from Halloween (I give out duckies to the babies at Halloween) and a blue tray.
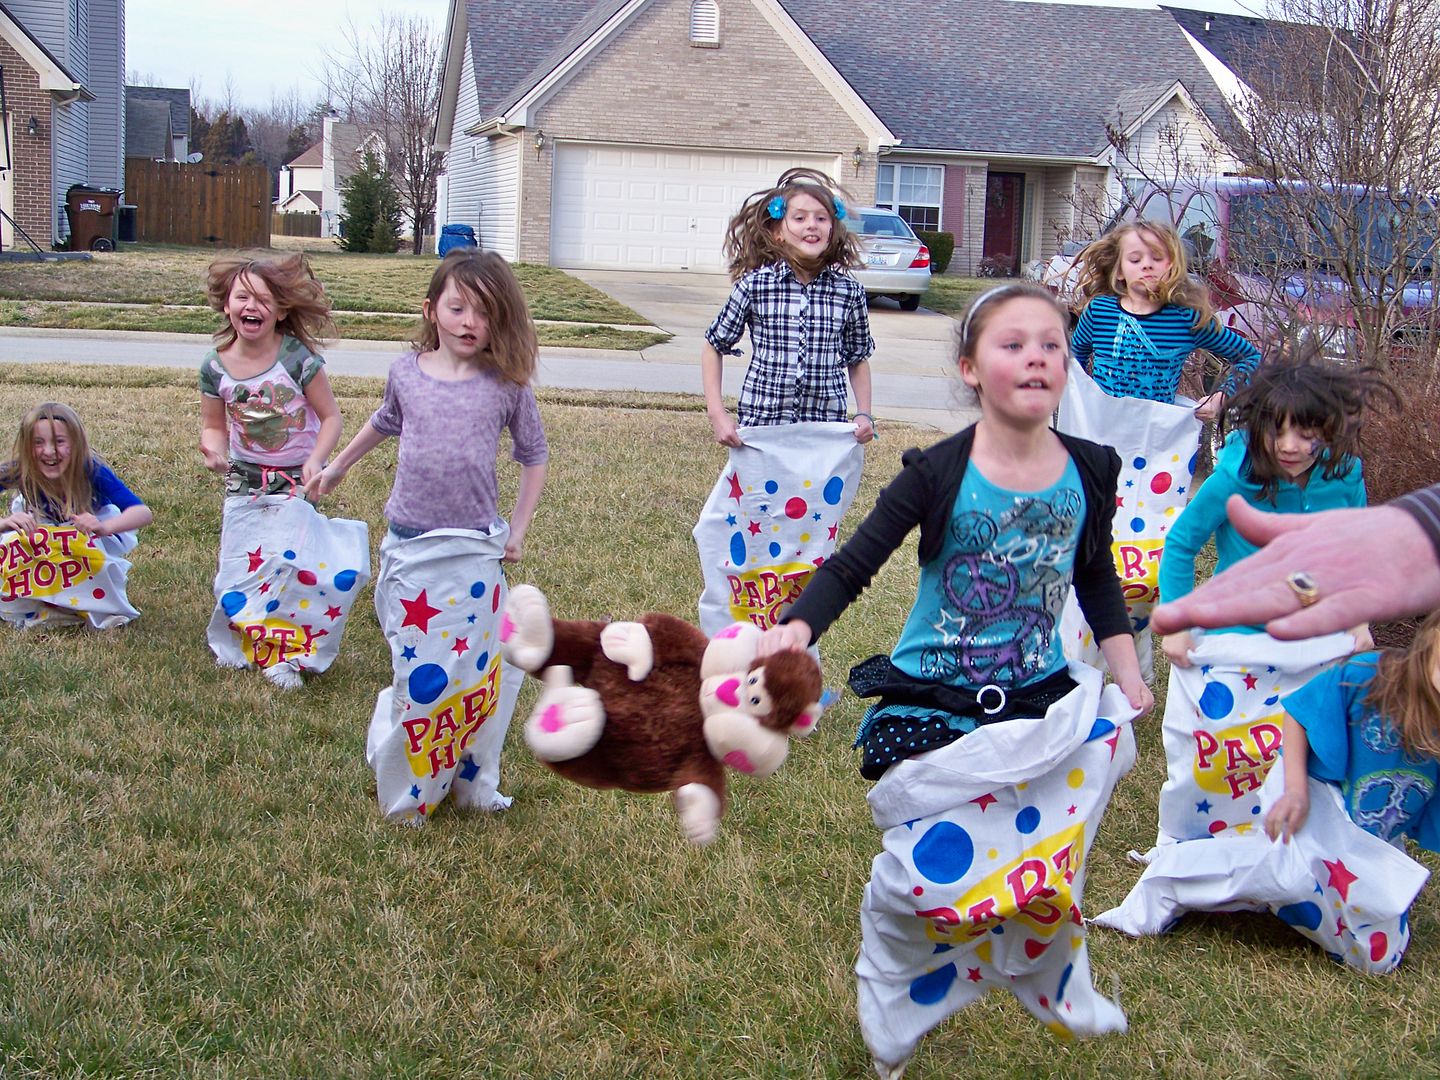
Quick ring toss was played as they waited for kids to arrive who didn't ride home with us at the start of the party. (Getting to ride home with Piper after school is apparently when the party starts-- I know the girly squealing does!) The rings were cut from poster board on the Cricut using Artiste (page 56) at 3-1/2" with multi cut 4.
I found sacks for a sack race at Hobby Lobby.
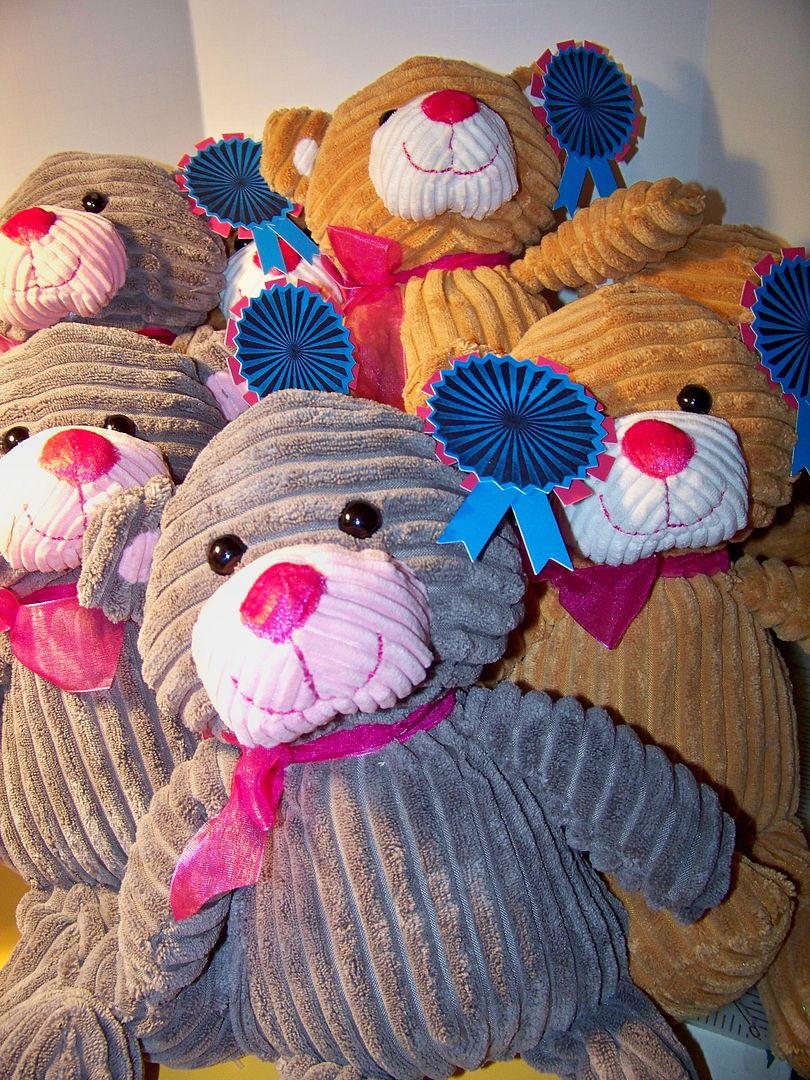
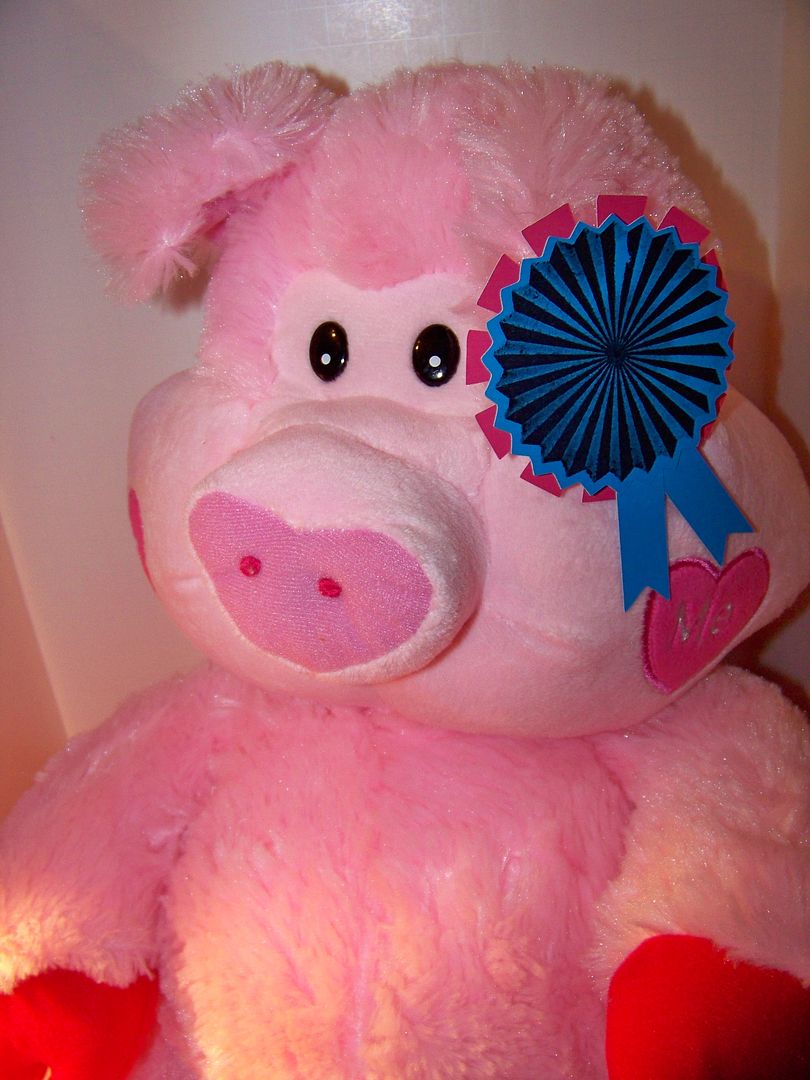
I found 'midway prizes' the day or so after Valentine's Day for 75% off at Walmart and Meijer. I removed the tags and added winner ribbons I made on my Cricut using Artiste and a coordinating CTMH stamp that came with the Artiste bundle.

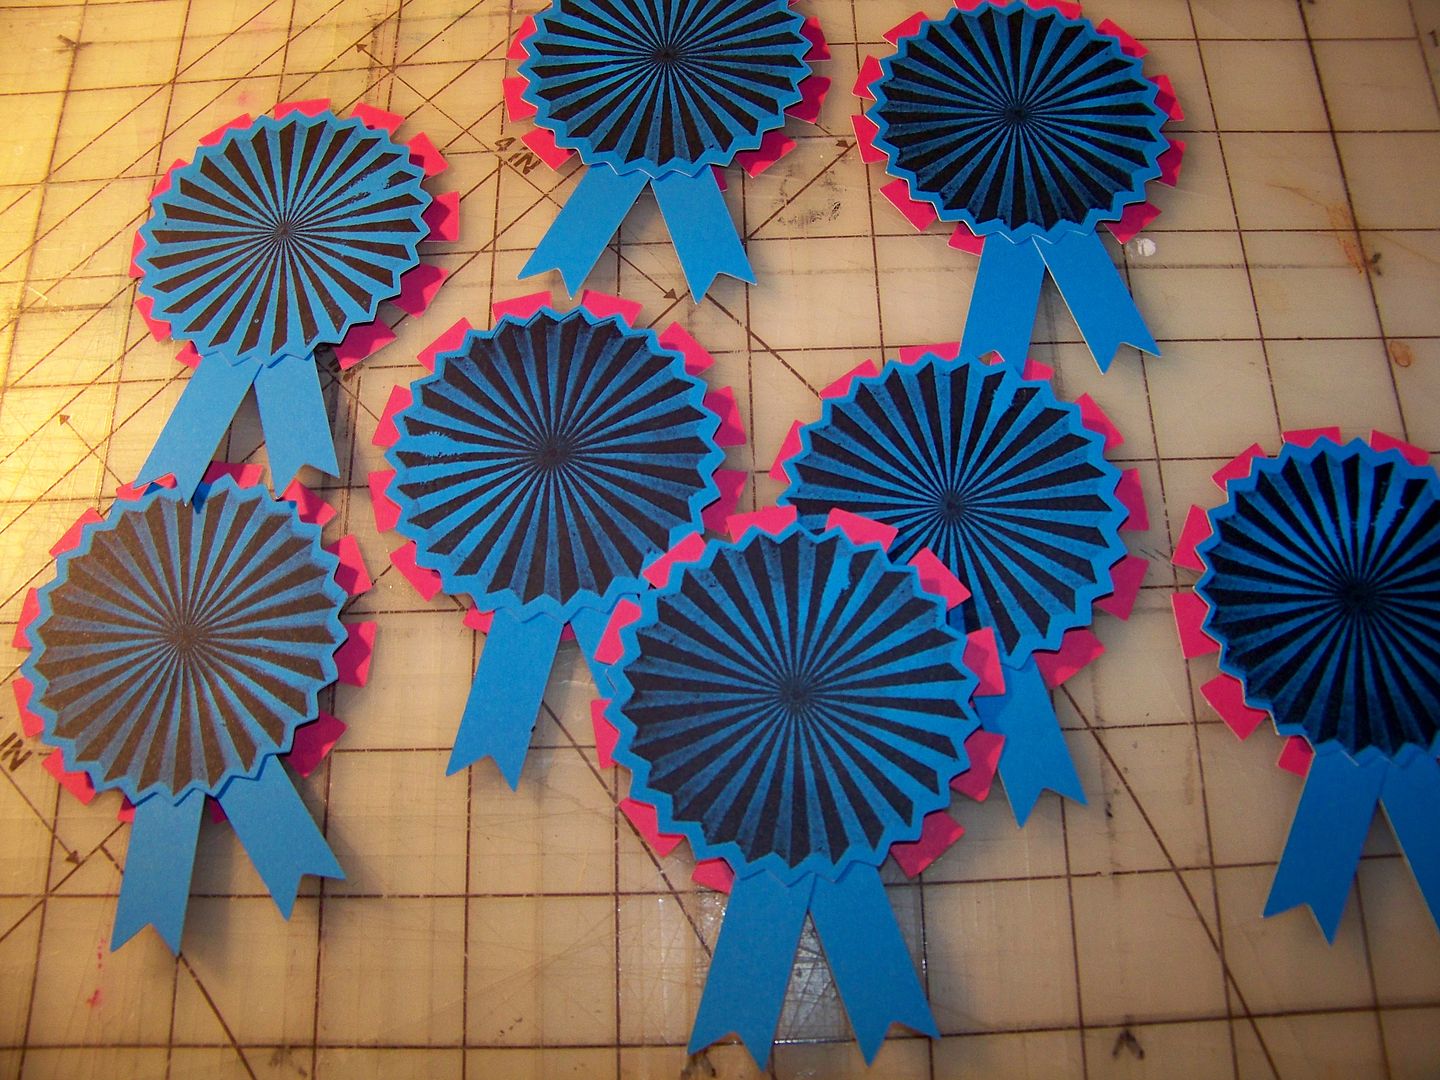
The blue center was cut from Artiste (page 35) at 2-1/2". The pink layer behind it was cut from the same cartridge at 2-3/4" (accent 3-shift). The tails were also cut from the same cart (accent4- shift) at 1/2".
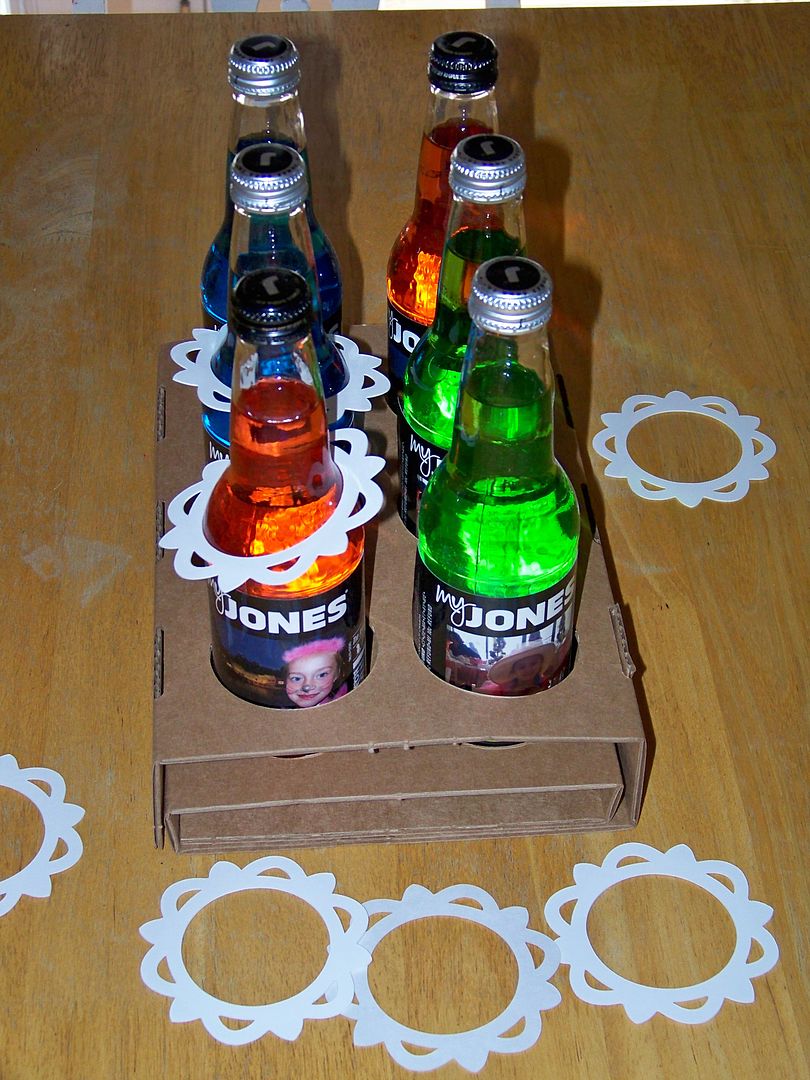
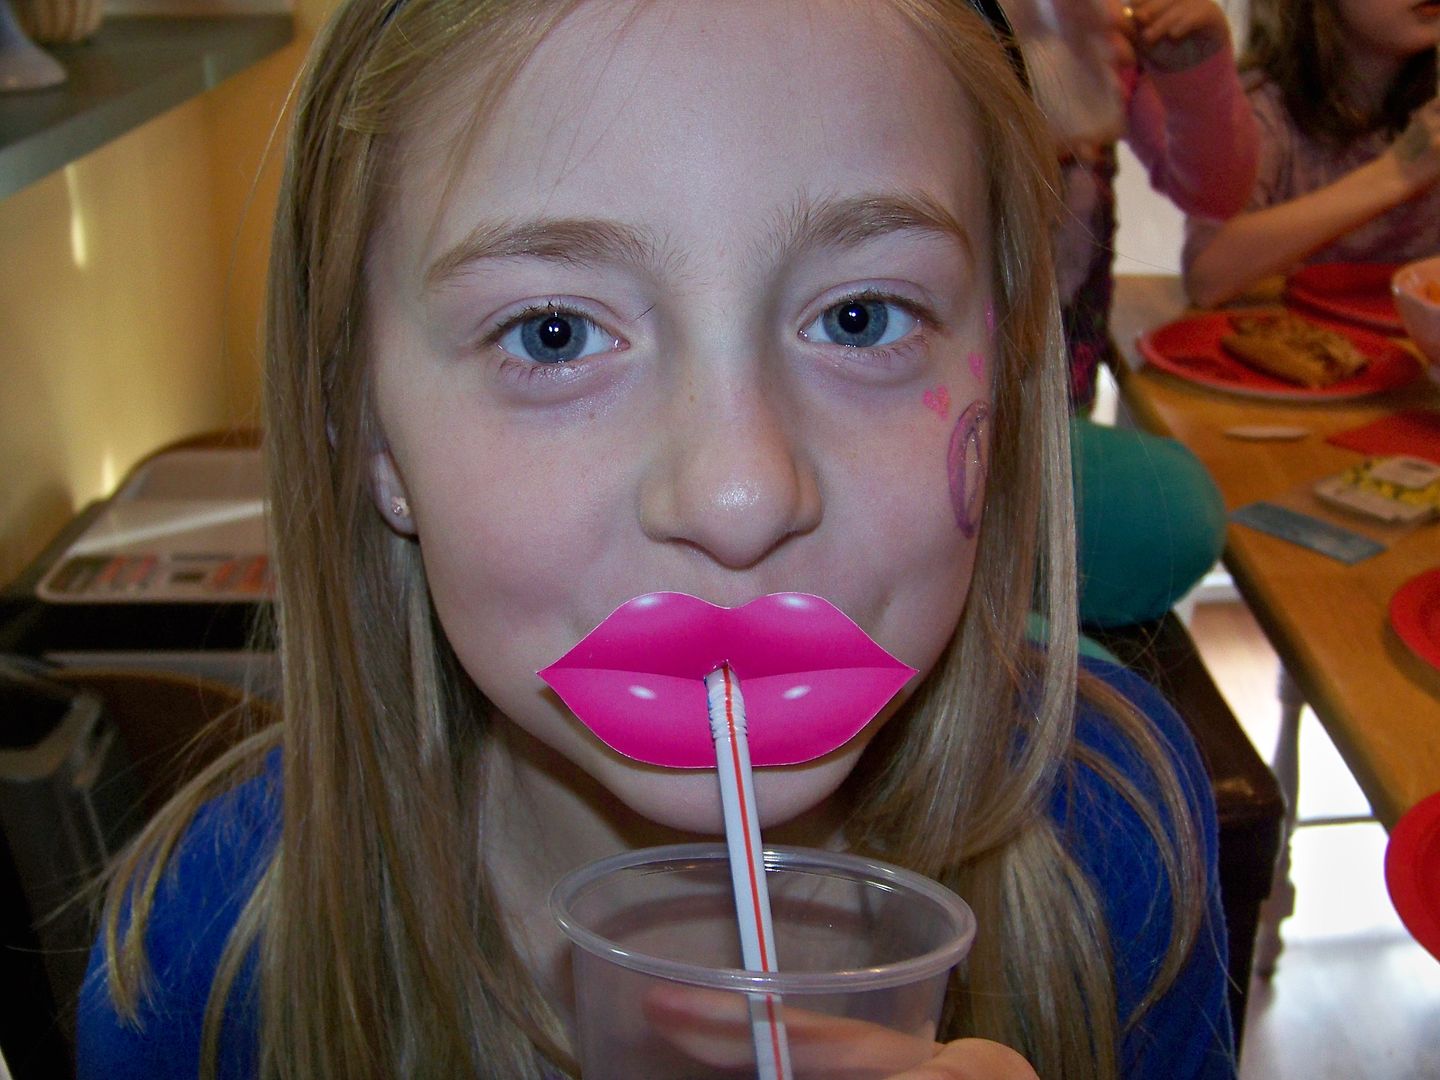
Because I knew part of what I wanted to give my daughter was a photo album of the party, I bought things that I thought would make fun pictures... like the lips that fit over straws that I found in the party section of Hobby Lobby.
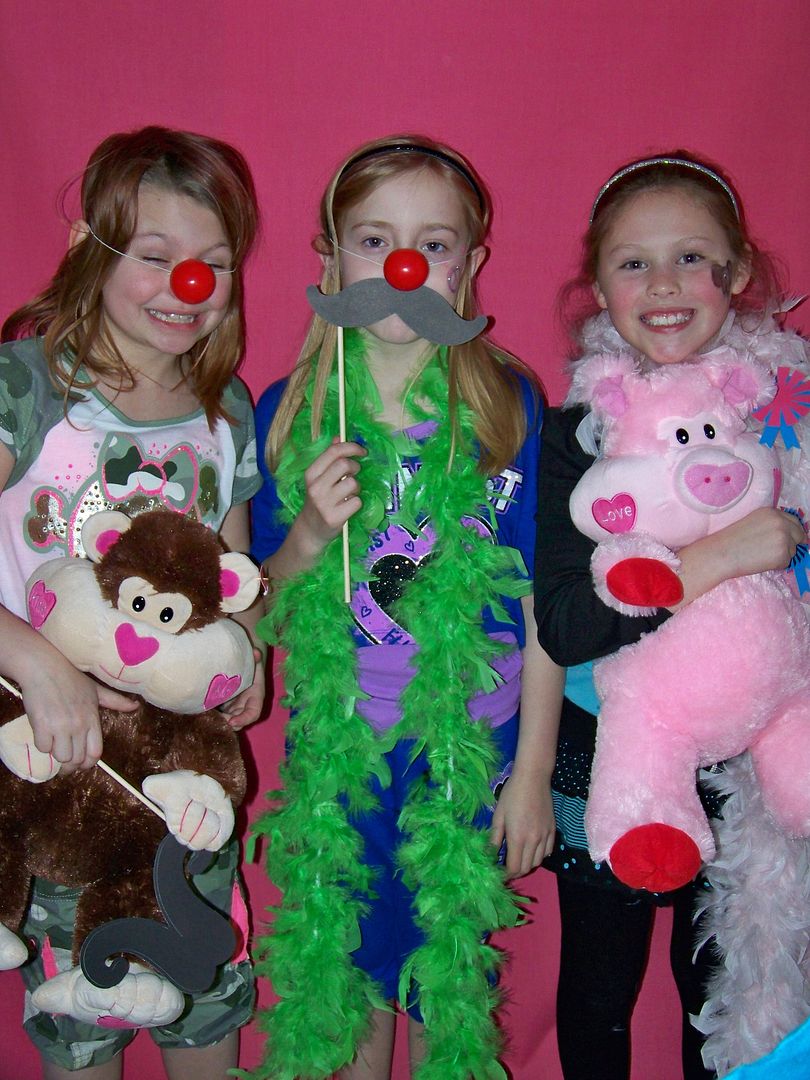
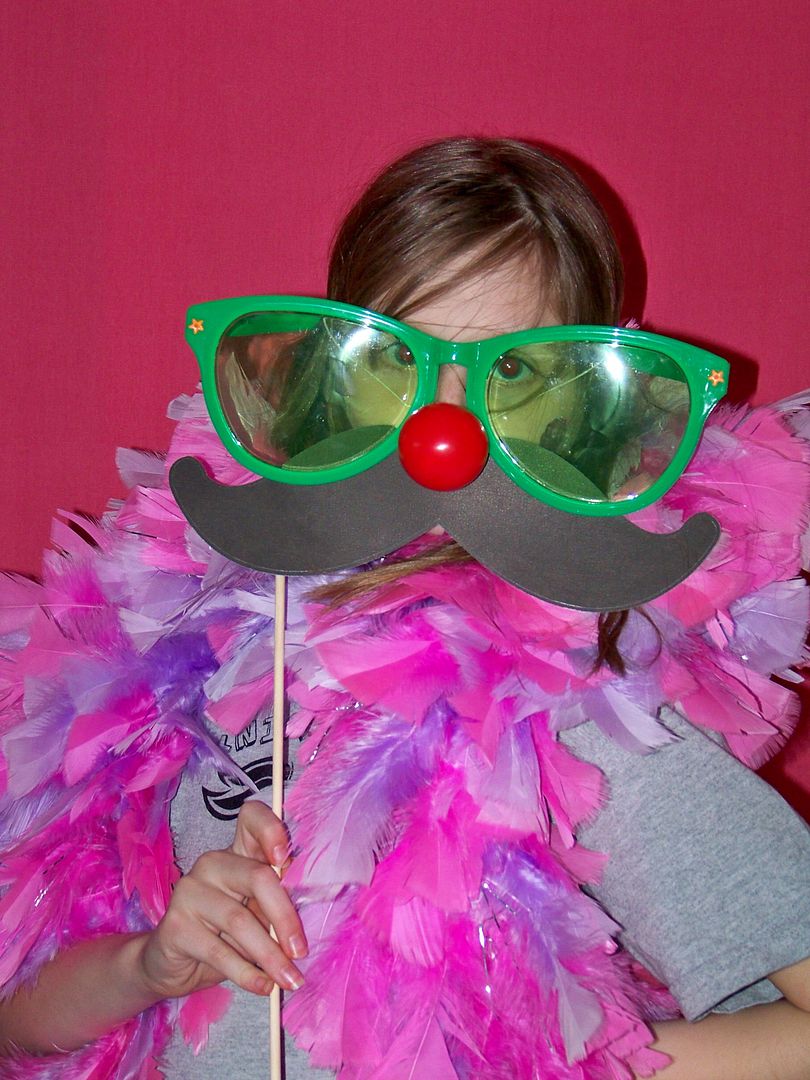
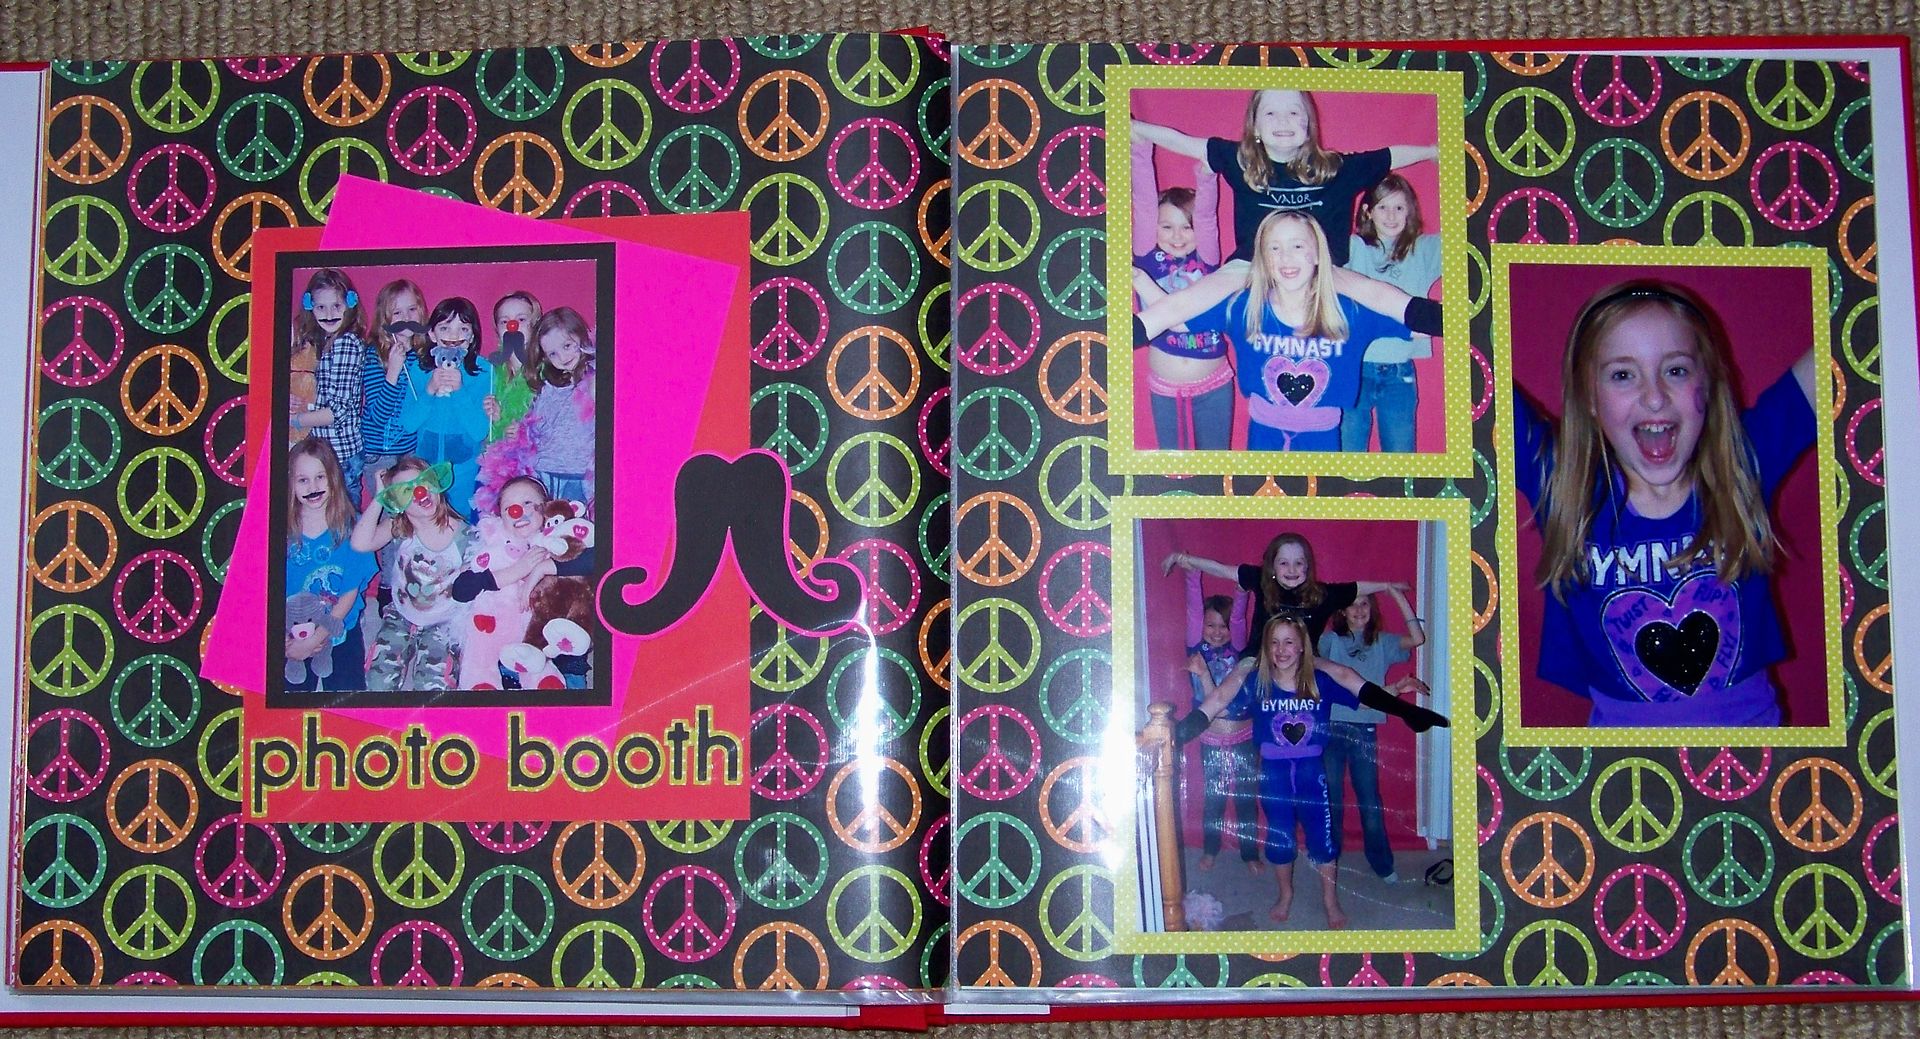
The photo booth was definitely the biggest hit. It was the last thing we did and was the perfect send-off as parents arrived to pick up kids. I simply tacked up a piece of cloth I had been storing on a tube (wrinkle free) and offered a table full of clown noses, mustaches and glasses on sticks, stick-on 'staches, giant clown glasses, and boas. I snapped pictures of the girls as they grouped themselves with pals. The girls loved this-- I had no idea how well this would go over!
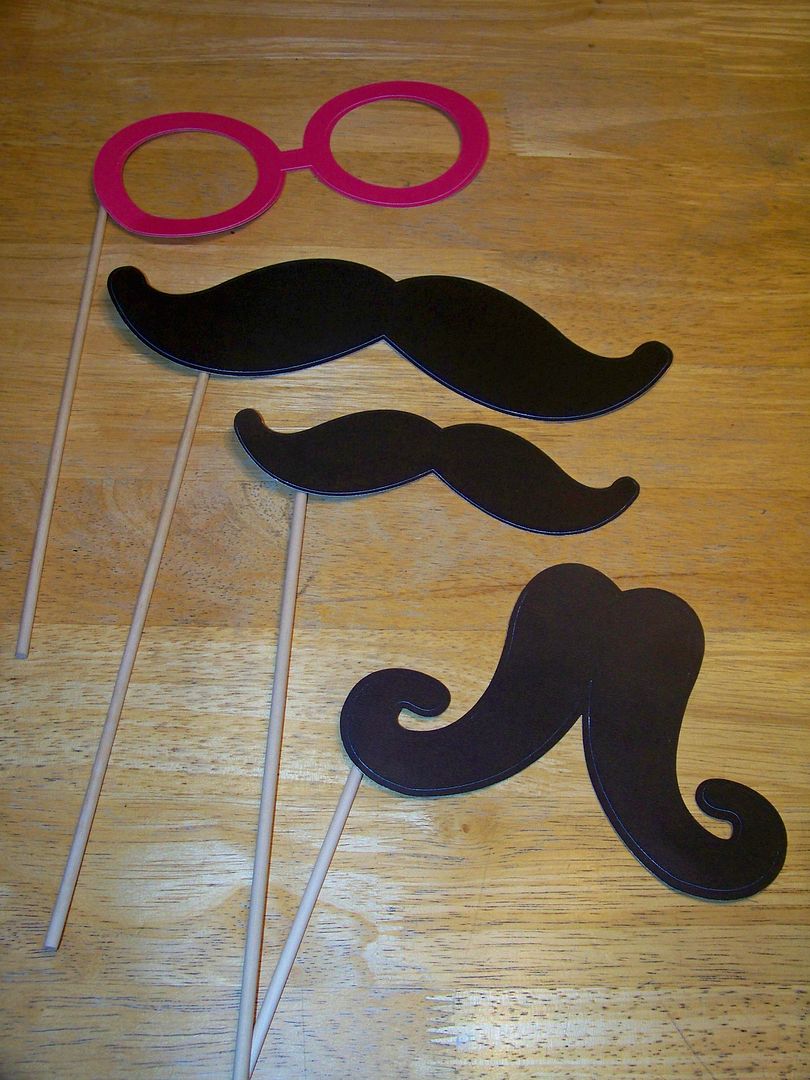
I made several of the props using the Cricut Billionaire cartridge, cutting mustache #1 at 3" and 2" and mustache #2 at 4-1/2". The glasses were cut from the same cart at 3-3/4". The cartridge offers a base cut and a shadow and I used them both in the same color to make the card stock props heavy enough. I attached dowels I had on hand with duct tape to the backs and they held up perfectly.

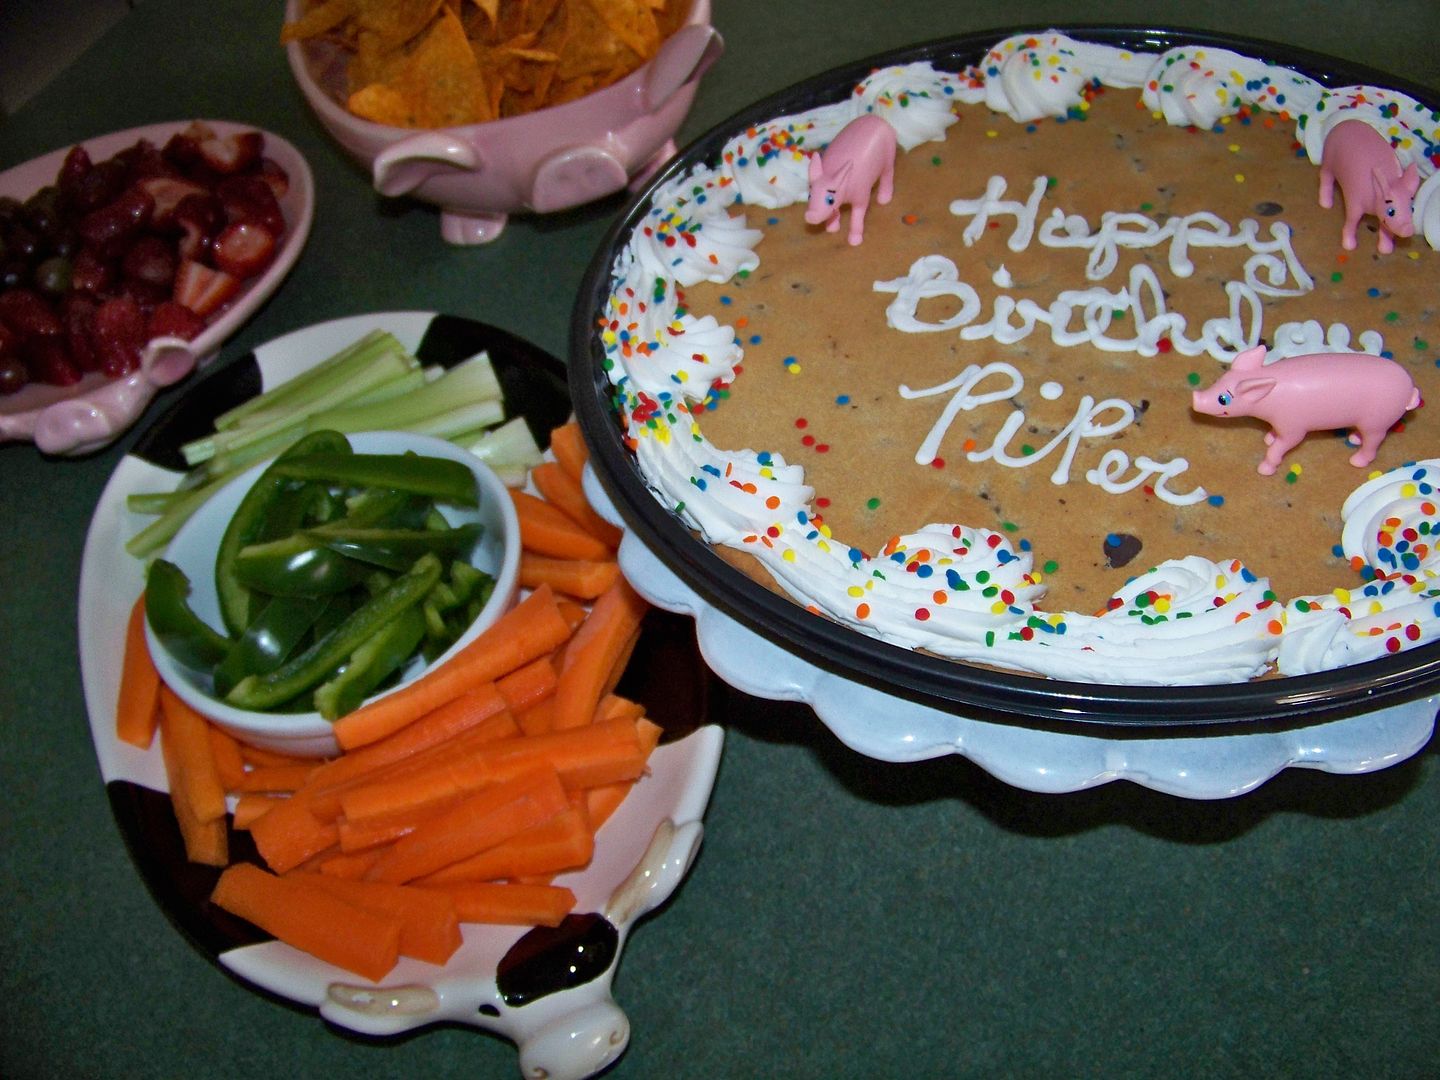
The menu included pizza and mini corn dogs, fresh strawberries and veggies, pink lemonade, chips, a cookie cake and ice cream. Years ago, I hosted a farm-theme baby shower and went BIG, purchasing cow and pig serving pieces. I was so excited for this party when I made the fair animal connection so I could use my pig and cow serving pieces again. (They are hard to work in to most dinner parties-- haha.)
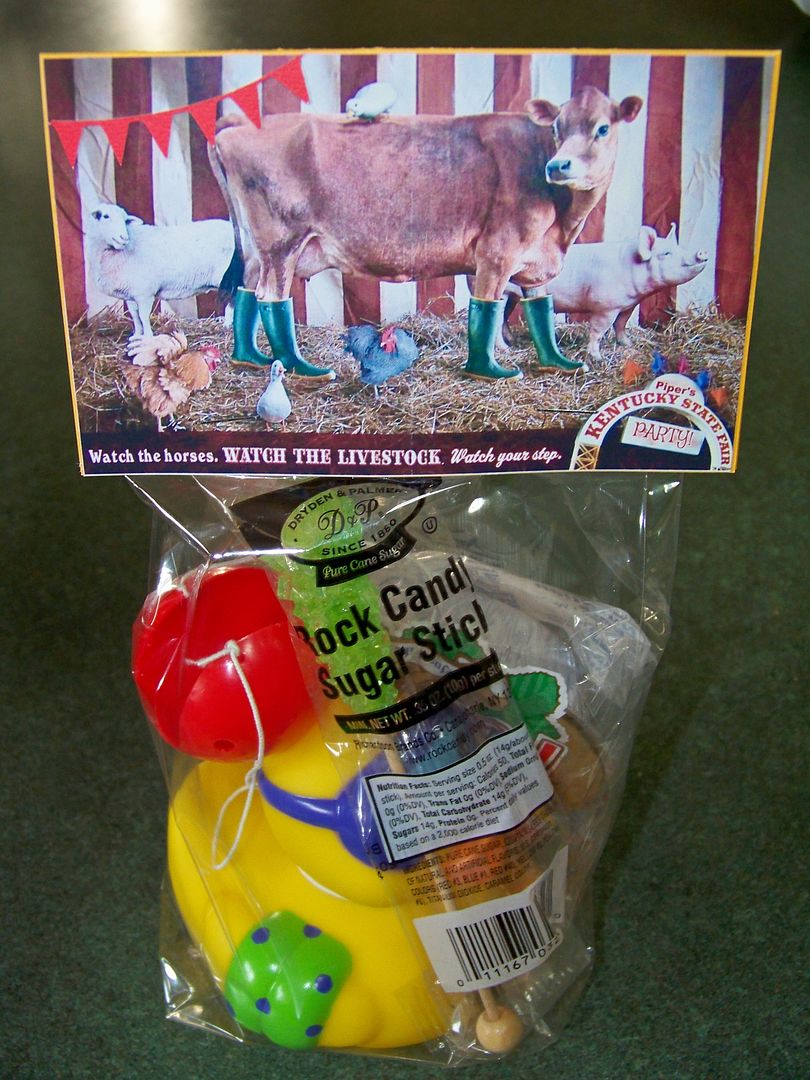
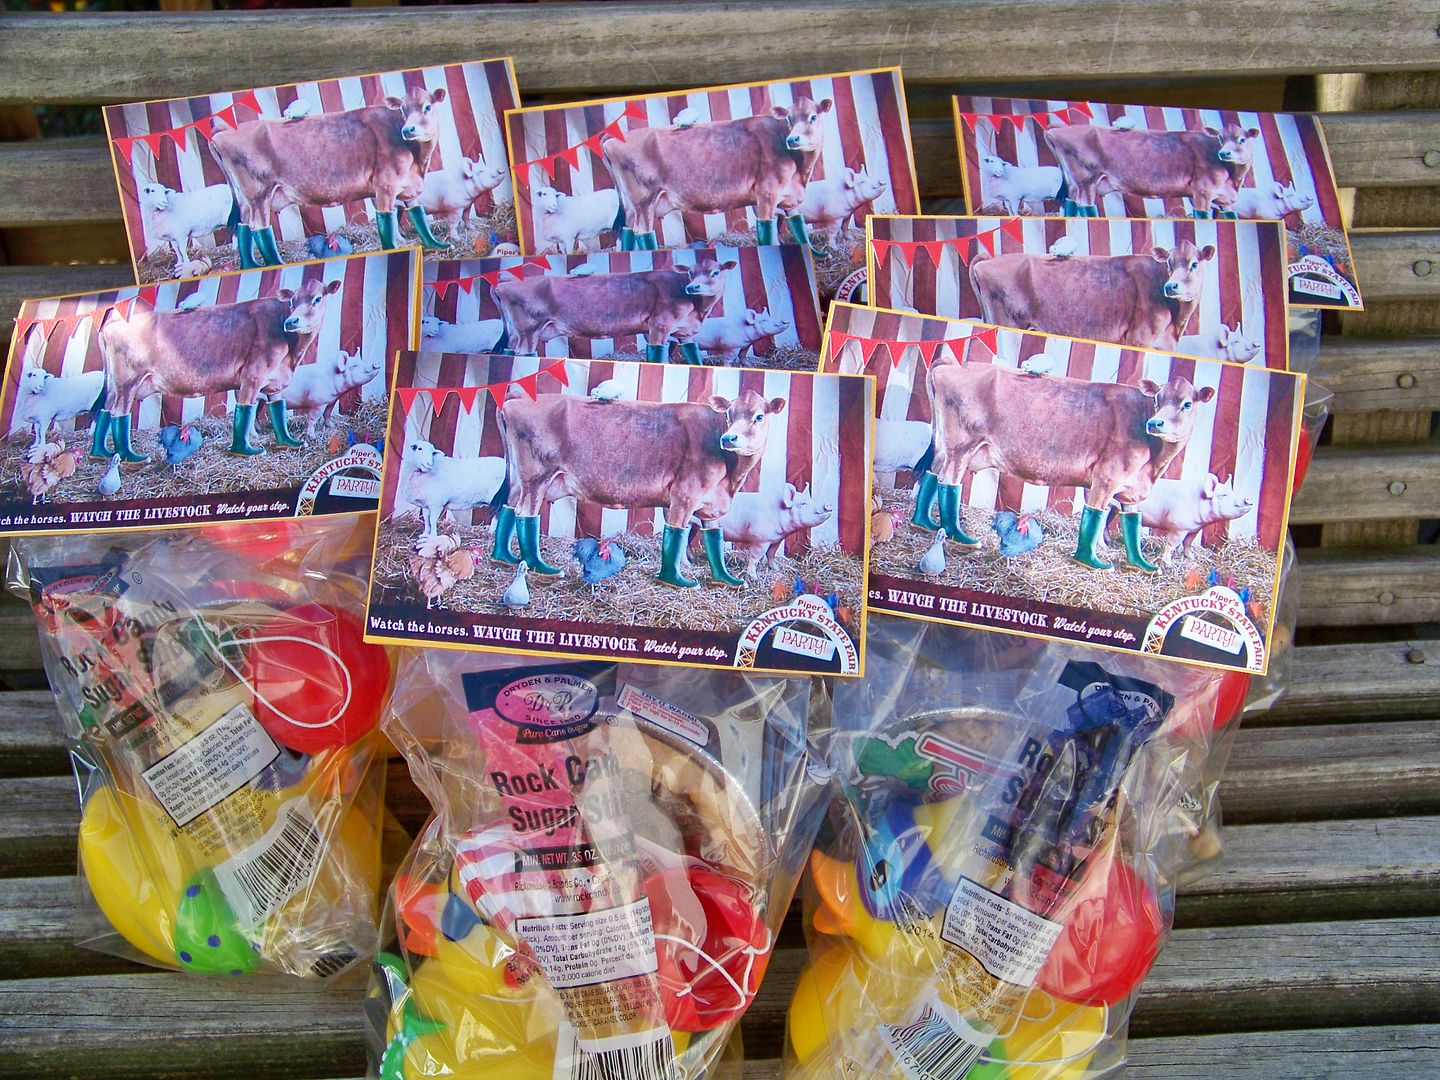
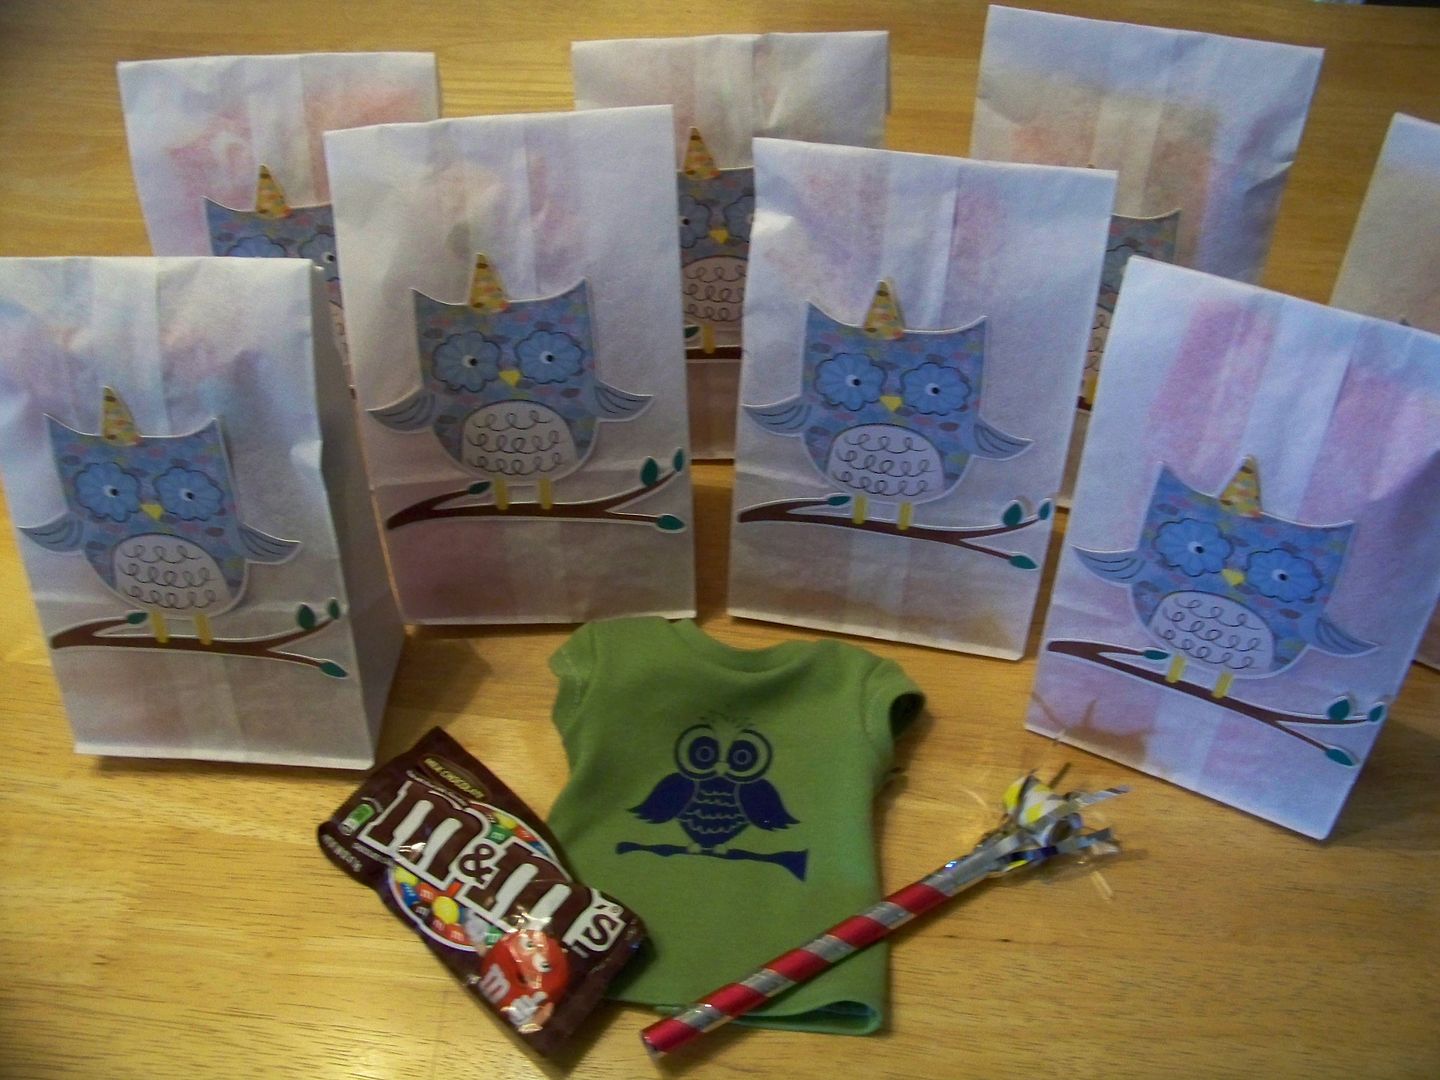
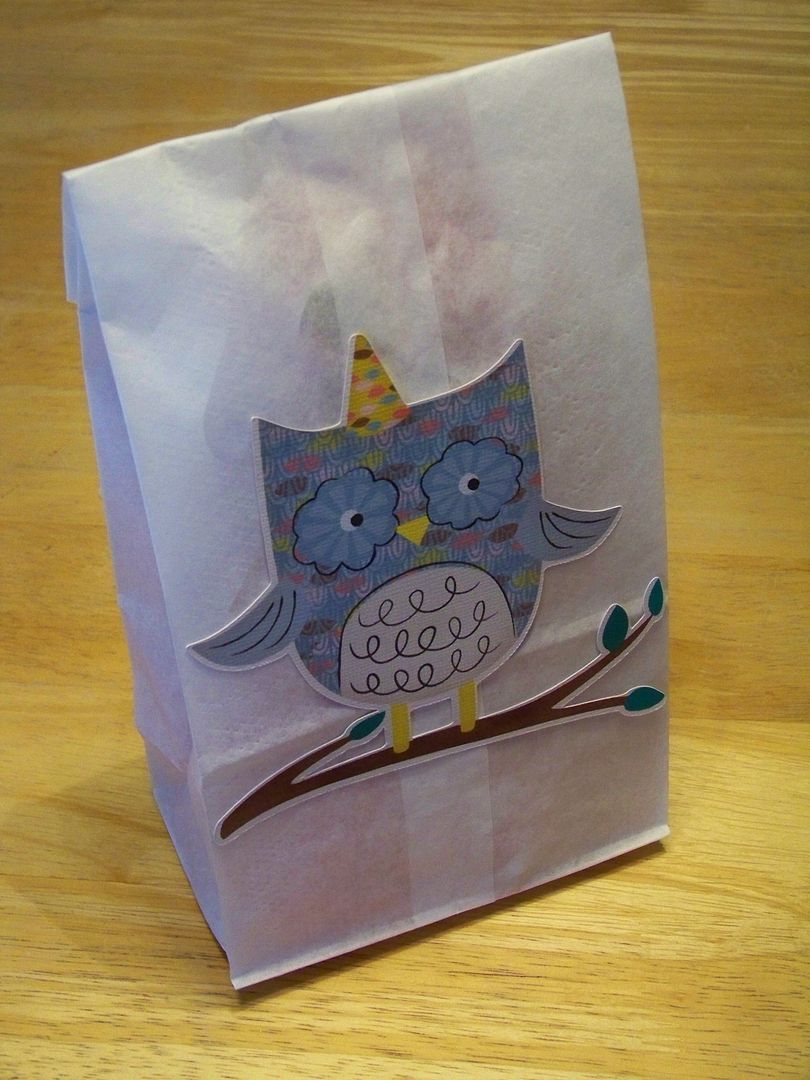
In addition to all their prizes, all the girls left with a favor bag that included a ducky, mini pie, rock candy, and a clown nose. I made the toppers using a shrunken-down version of one of the 2010 Kentucky State Fair posters with the text amended to personalize it to my kiddo's party. I also added a mini banner just like the ones on the invitations, cut from Carousel at 3/4".
According to my kiddo and the other parents, our guests were talking about this party all the next week, so I felt like my home-spun, budget-friendly party was a success.
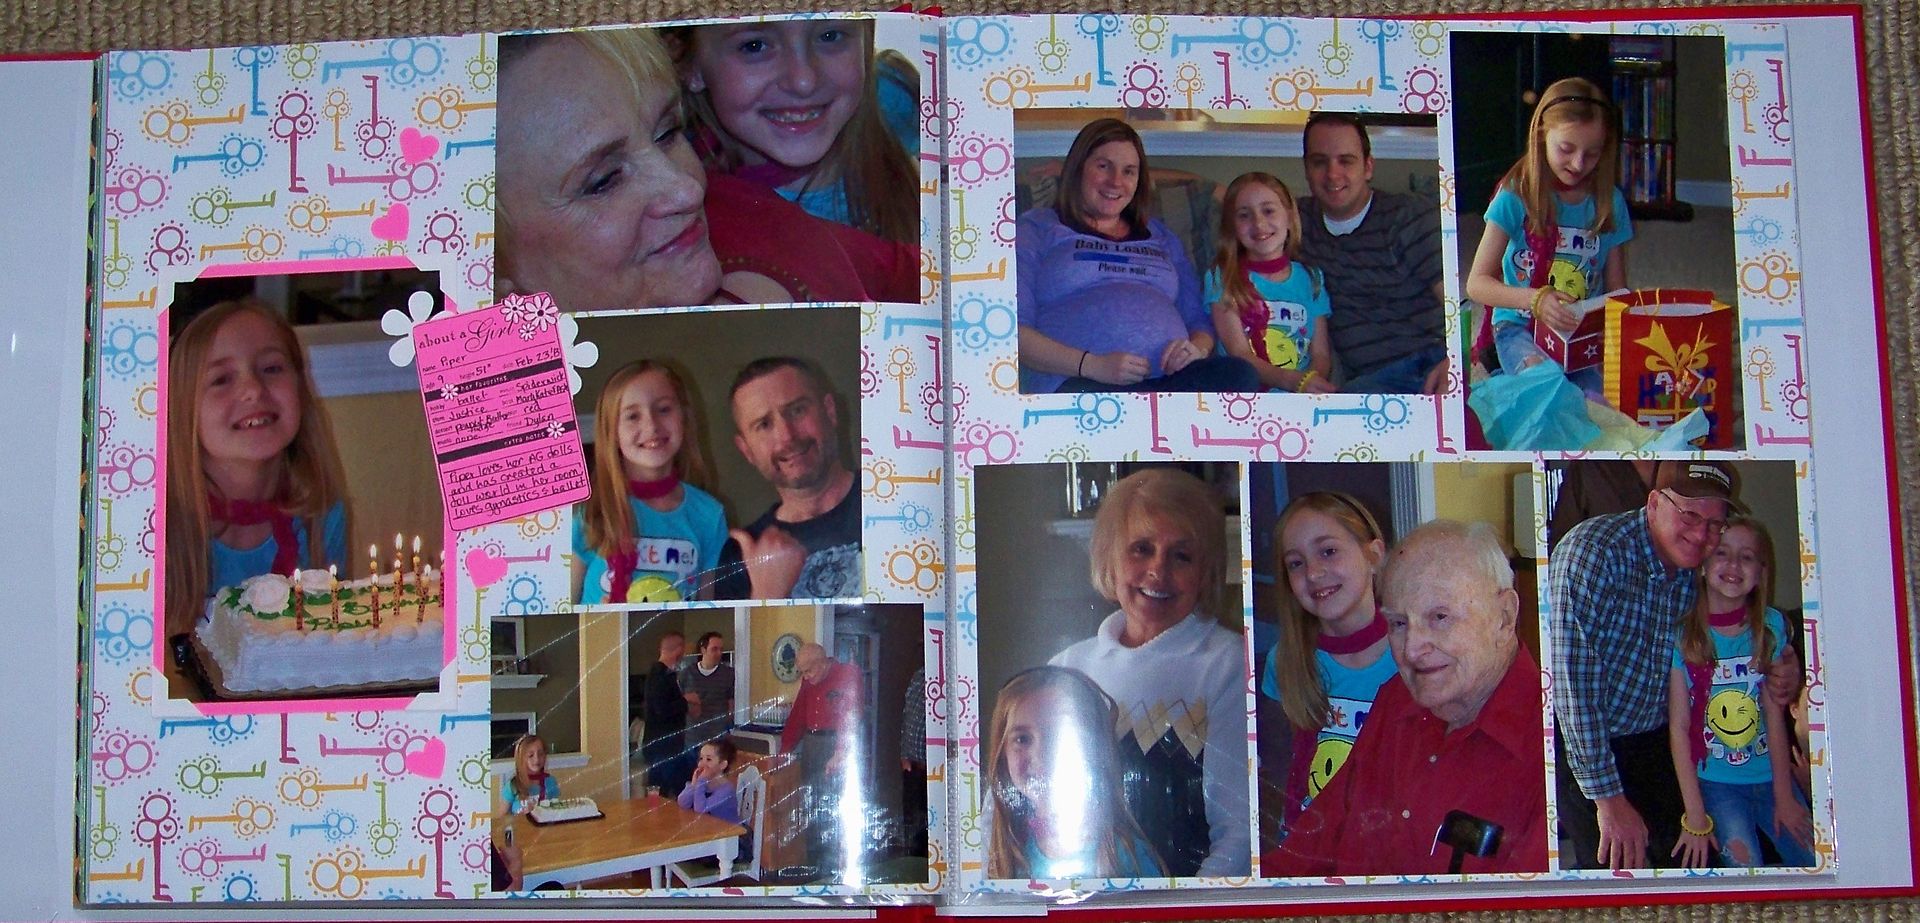
As all moms know, a kid's birthday isn't just about the kid party. There's also a family dinner-- we like to invite as many extended family members as can come-- and serve a big meal, not just cake and ice cream.

There's also cupcakes sent to school. We also send treats to ballet class.
I wanted to show a fun trick I learned when sending cupcakes. This makes it easy for kids to go home with their treats instead of expecting to eat them in places like ballet class where there's no real place for a food mess.

I sent mini-cupcakes, but any size will work. You just trim down a clear drinking cup to just taller than the height of the cupcake and place it in a clear bag. That's it! They stay pretty and protected and are easy to hand out.
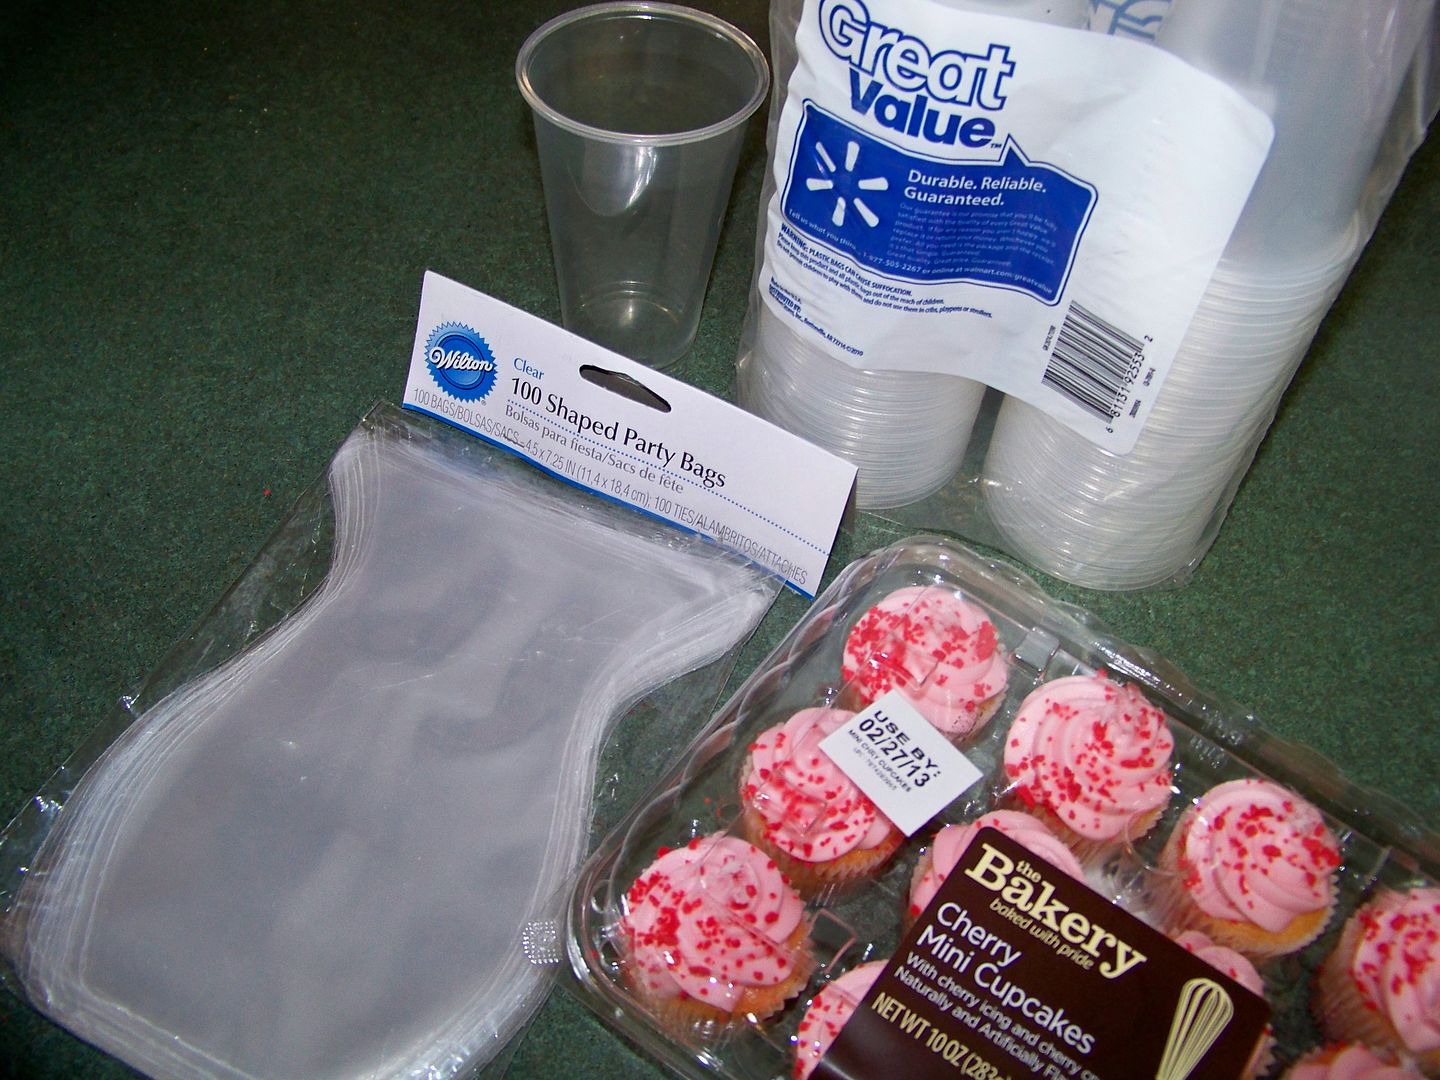
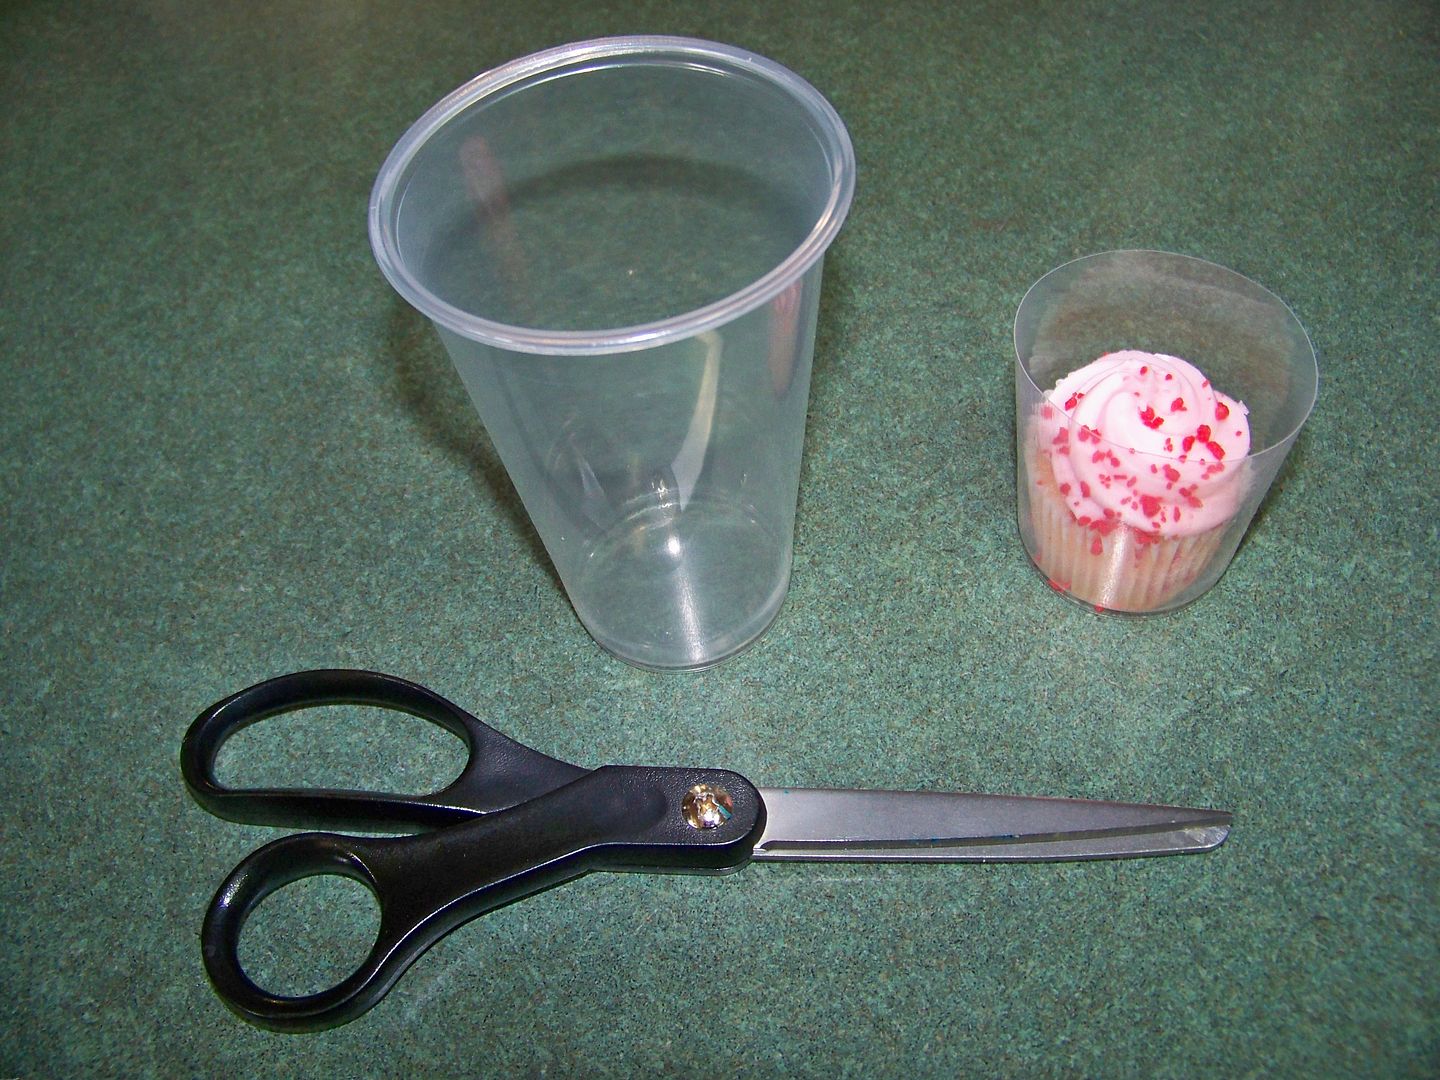
For mini cupcakes, I used 8oz cups and shaped party bags. This is even how I send cupcakes in my daughter's lunch box on special days. (Just remember to look at the bottoms of the cups to be sure they are a bit bigger than your cupcake bottoms!)

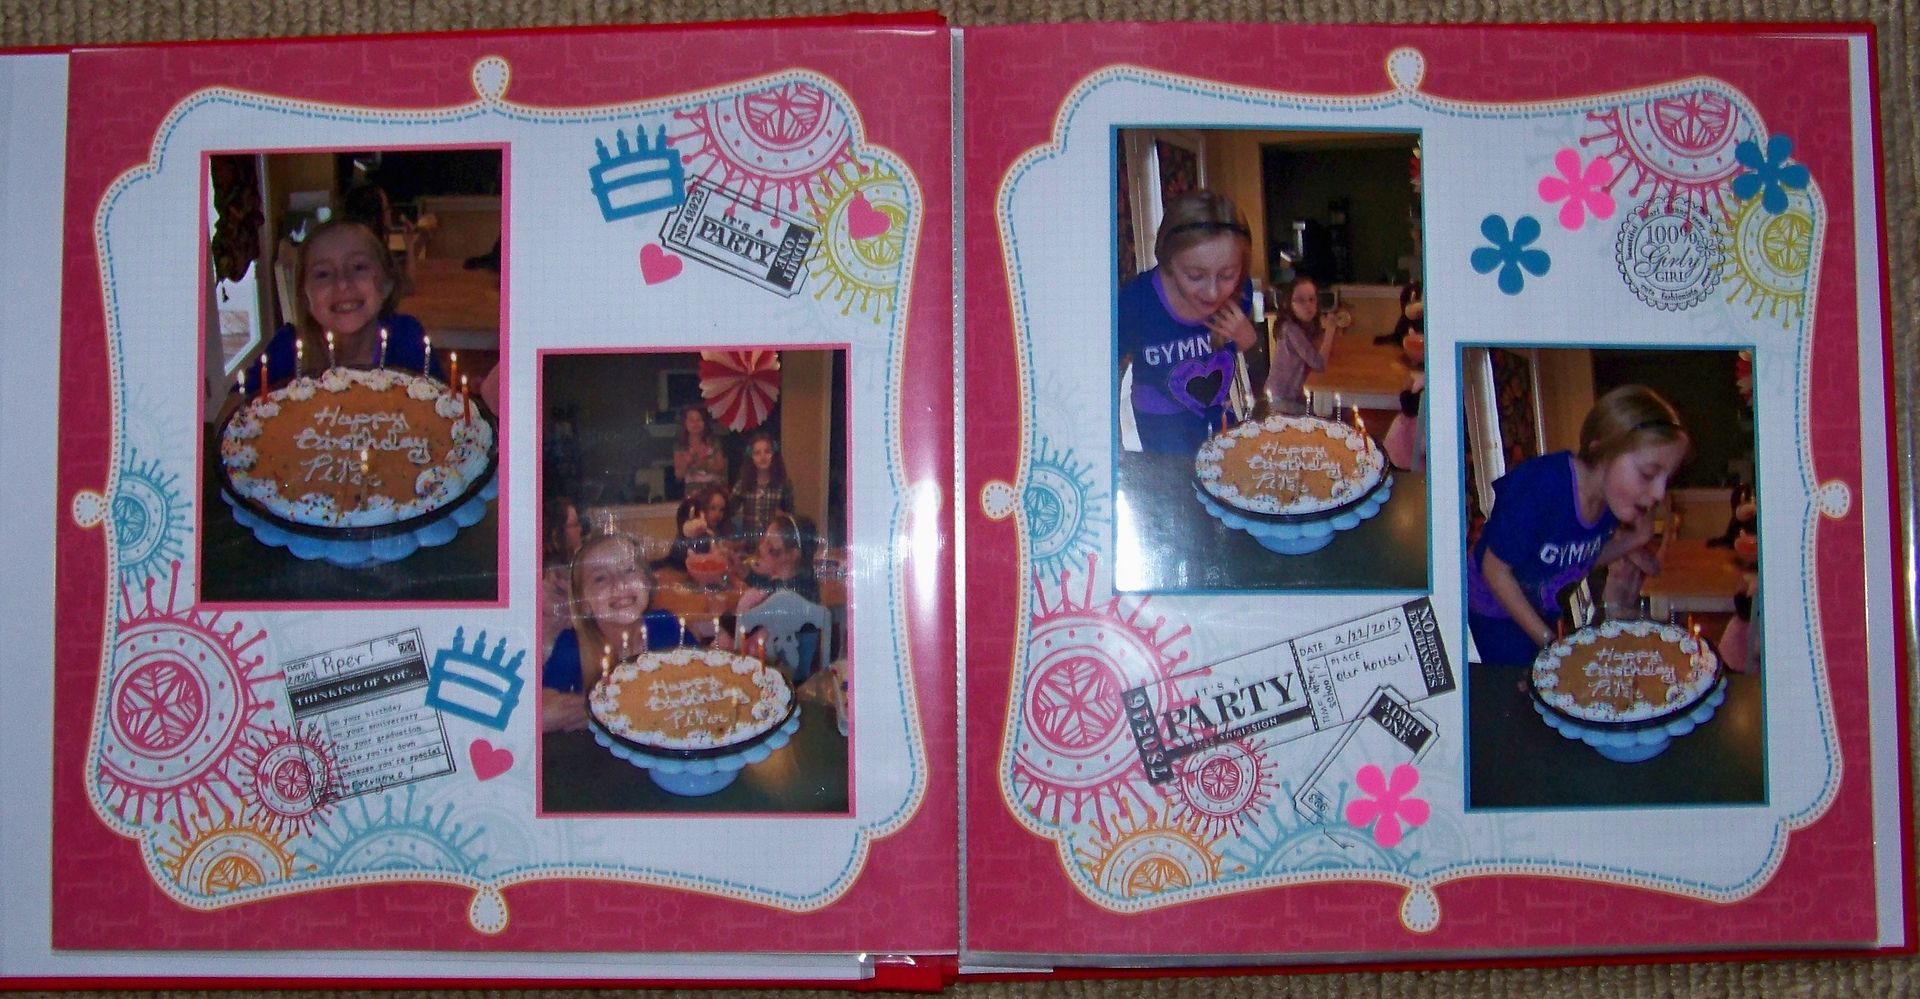
So we survived the week of birthday preparations and celebrations-- on budget, on time, and my kiddo and her friends were happy! My last chore was a photo album for my daughter with pictures from her parties with all of her friends and family. This was made so easy by picking up a youthful paper pack and a bright album (and extra pages to be sure I could use all those photos I snapped). I had in my mind a masterpiece of scrapbooking pages, but let's face it, I wanted her to get this thing before she was too old to remember it! I opted for simple pages, many are just photos ATG-ed onto fun papers. It ended up being 28 pages and I made a place in the back for her to keep her birthday cards. I gave it to her the week after her birthday.
Thank you for checking my blog post today. To see my previous crafted birthday parties:
To see many of my previous paper projects, check out My Project Gallery (or click here).


