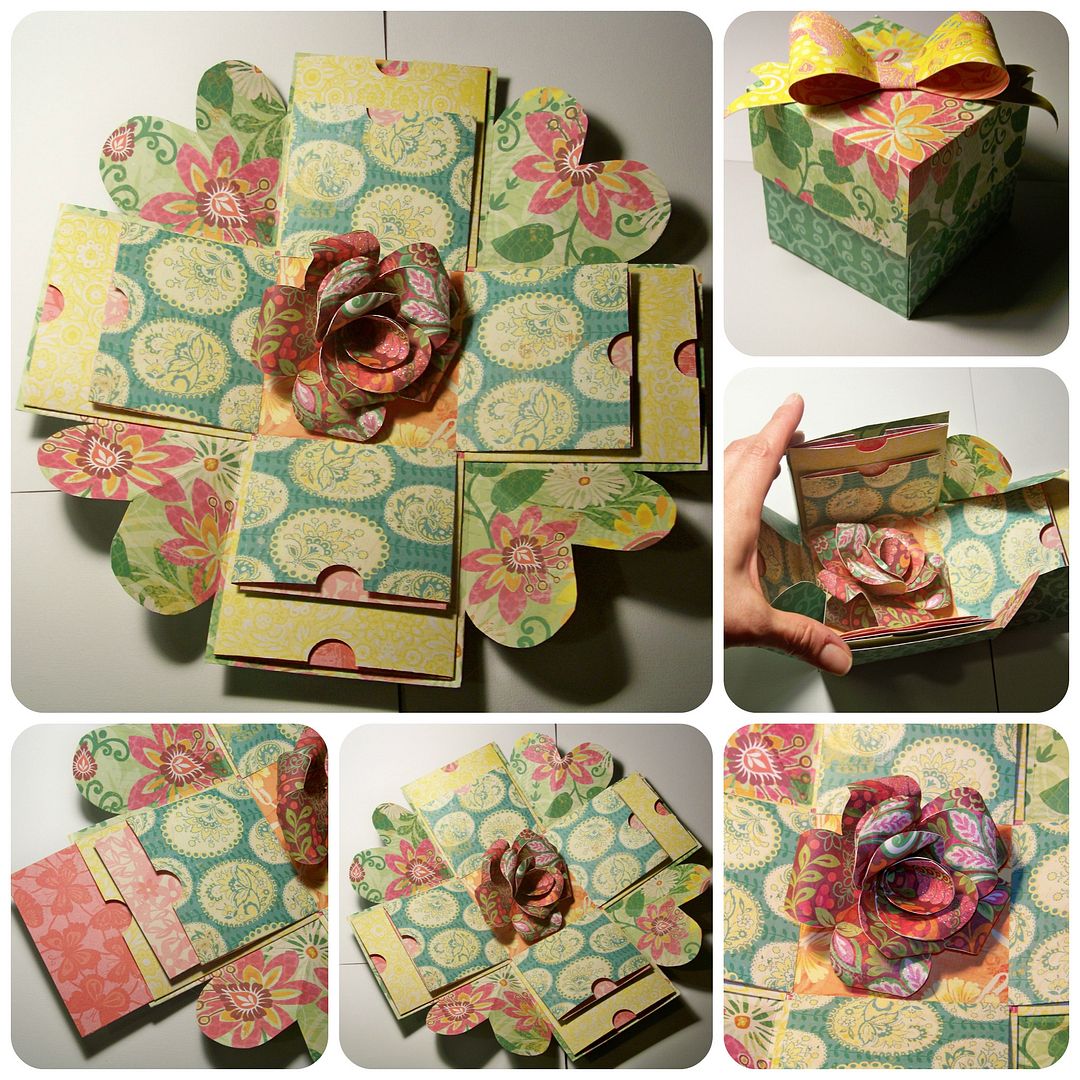
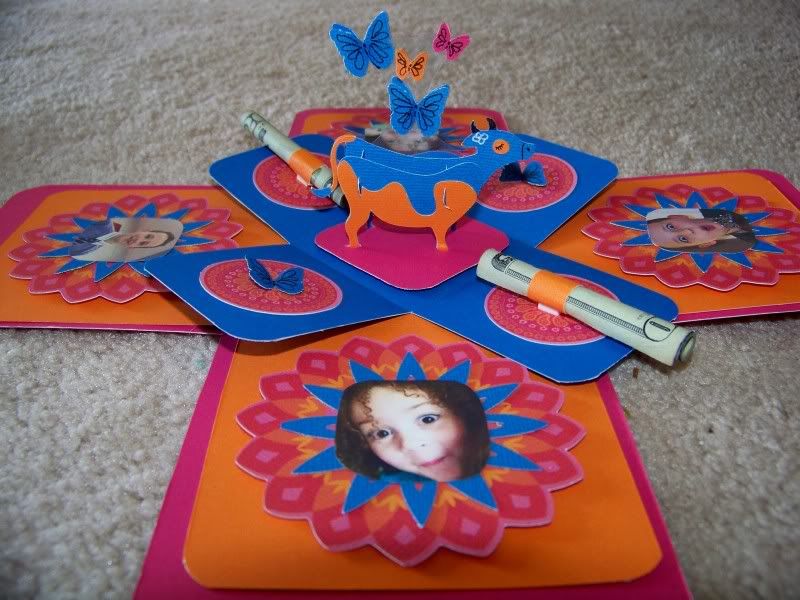
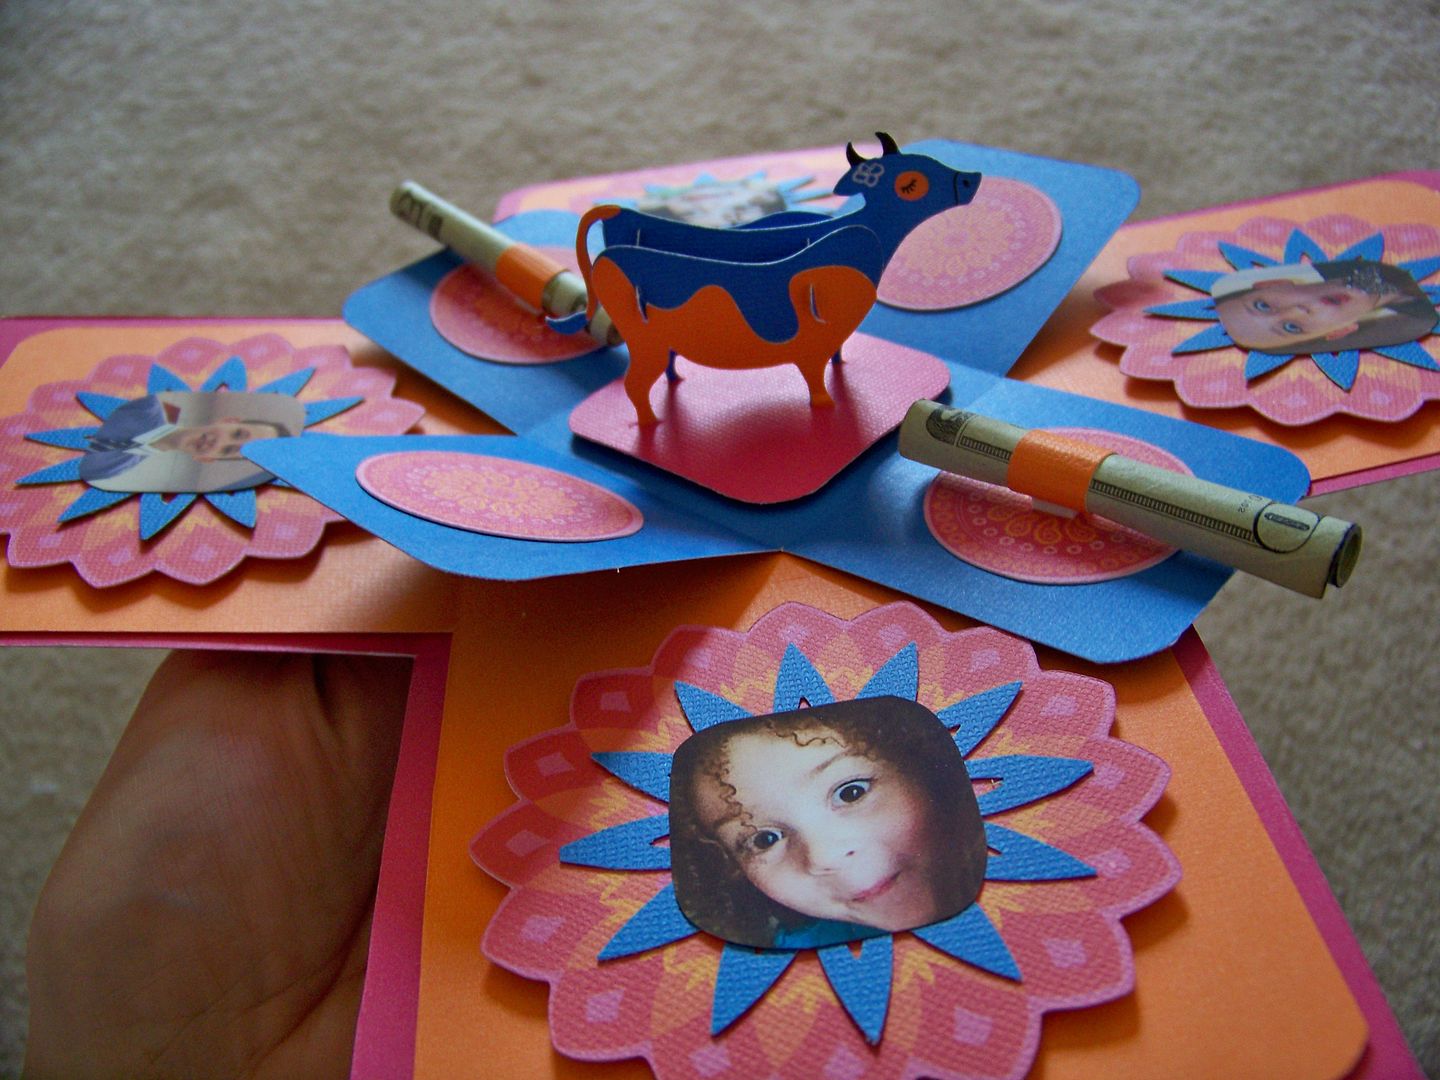
My sister, Tila, has asked for cash in lieu of gifts or even a birthday luncheon this year. I wanted a fun way to present it. I decided on an exploding box!

I let the crafty Renee choose my colors for me. She is hostessing a color challenge this week on her blog, I Came, I Saw, I Created. You can see it by clicking
here! (I cheated ever-so-slightly by also using some prints with it from All Wrapped up that added a bit of red and yellow, but the majority of colors on my project used her blue-pink-orange combo!)
I have never made an exploding box before, but I had the idea of a tiny 'cash cow' inside with the money. I set out to learn how to make this kind of box and found a great little tutorial on Enfy's blog, Going Buggy. You can see it by clicking
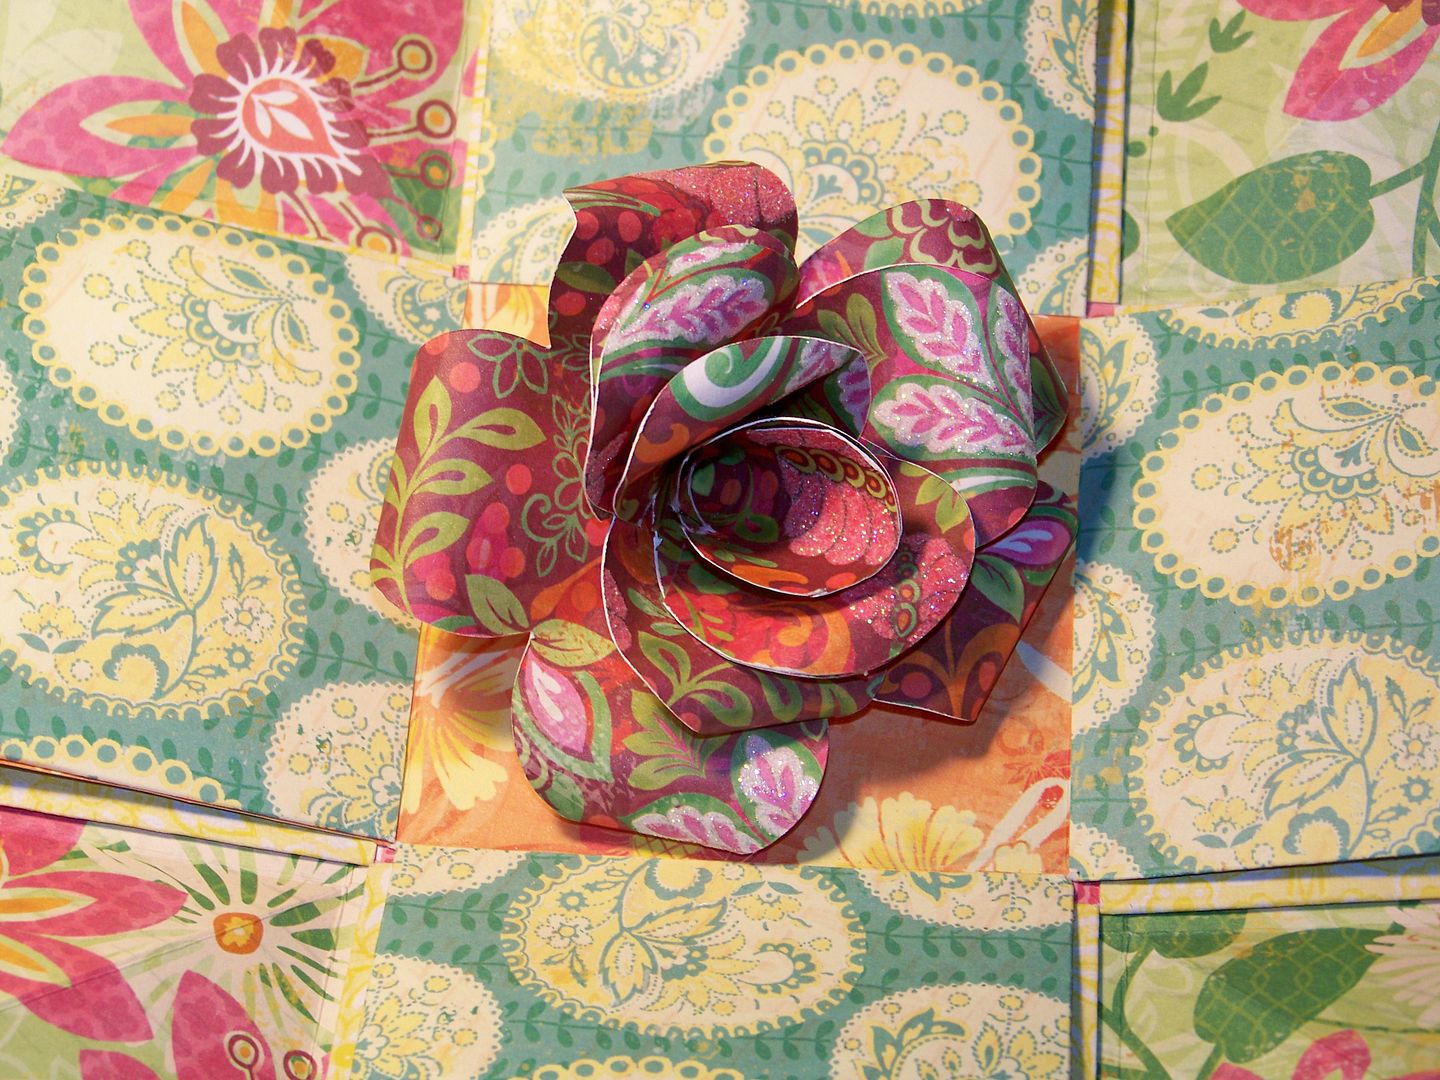
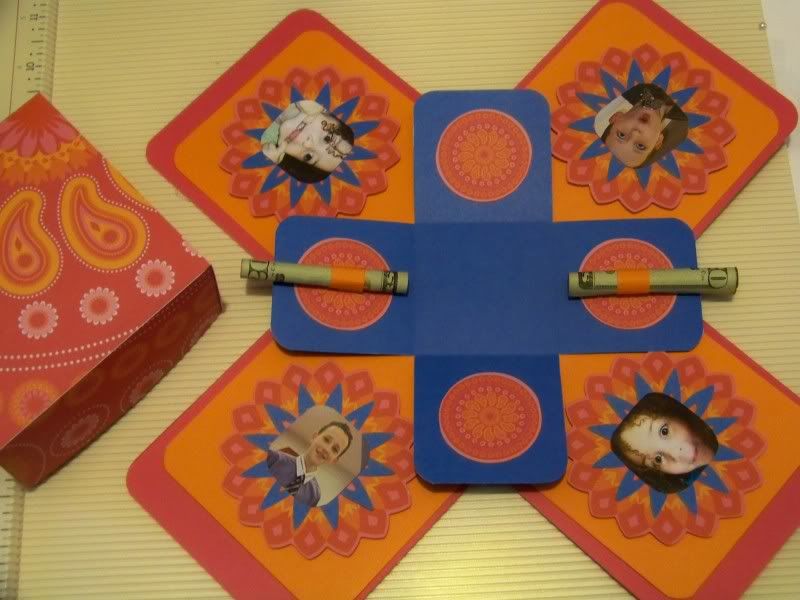
here! I followed Enfy's instructions on the box except for inner-most layer. I wanted that layer to be diagonal so I sized it to be a 2-1/4" diamond base that would be adhered to the square bases. For that layer, I started with a 6-3/4" square, scoring at 2-1/4" increments and cutting out the corner squares like the others. For the lid, I cut an 8" square from All Wrapped Up and followed the directions from her tutorial to put it together.
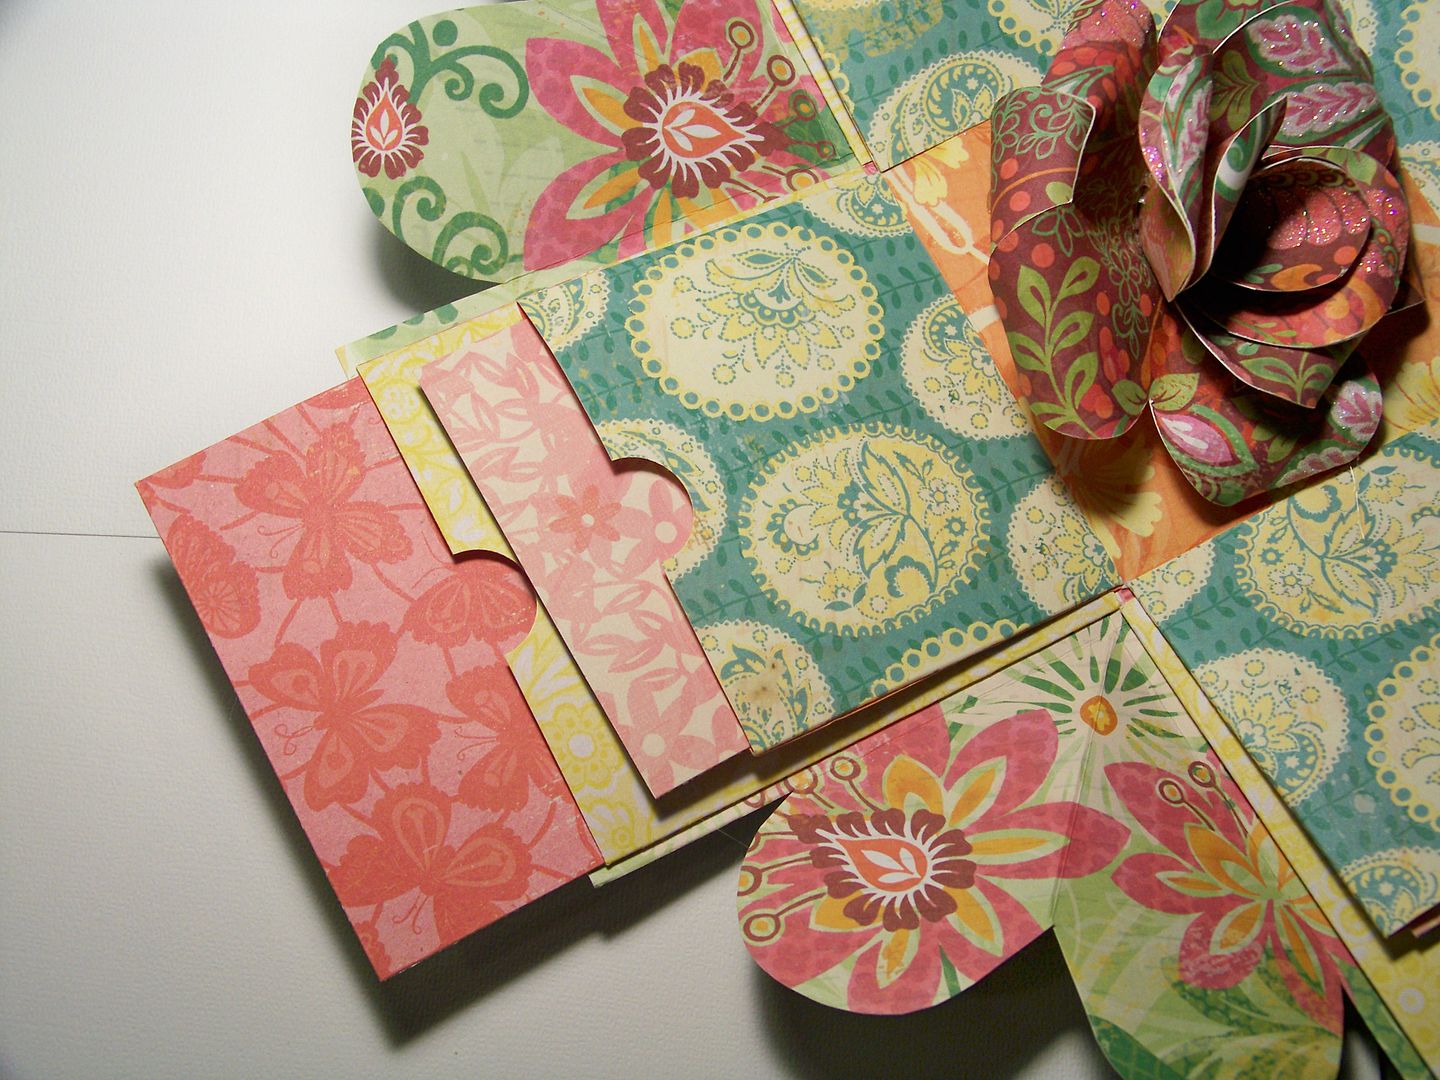
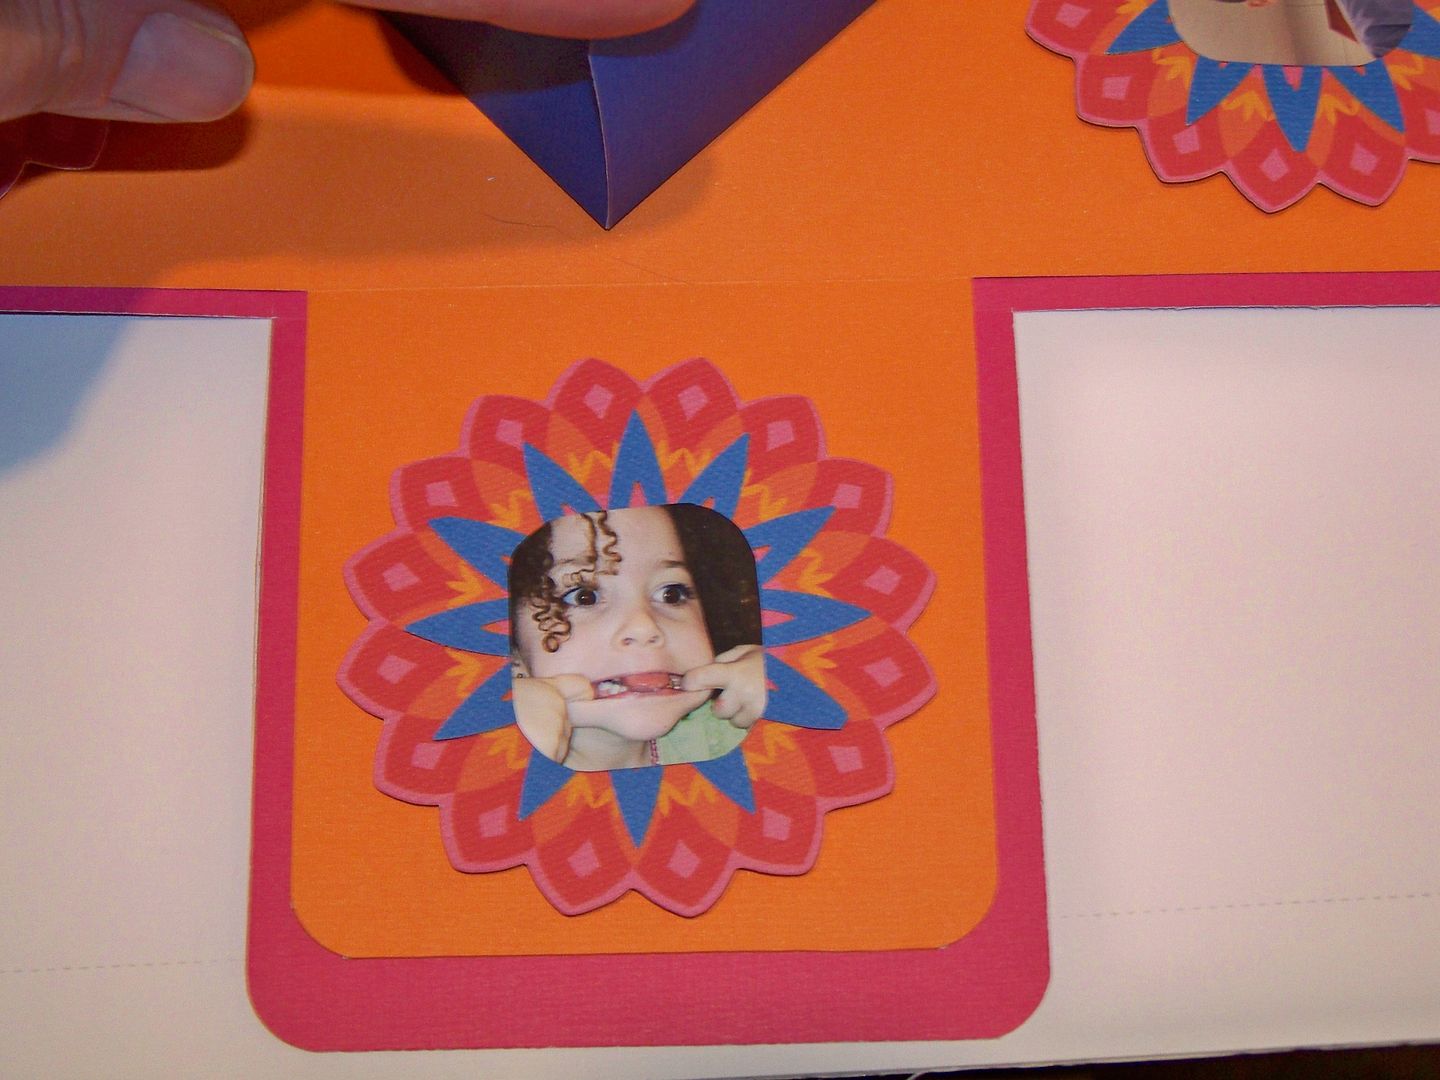
For the shapes on the inside orange flaps, I cut medallions from All Wrapped Up at 3" and topped them with blue punch cuts from the large Martha Stewart sunburst deep border punch. (I cut on each side of a 2-1/2" strip of paper to create the sunburst). I cut silly pictures of her kids and added them to the tops of each.
For the blue flaps, I cut medallions from All Wrapped Up at 1-1/2". I glued rolled up money on two of them. I wanted it to be easy to take off the money without ruining the box, so I wrapped the money in a strip of paper and attached it by putting a pop dot under the paper only. (She can either pull off the rolled up money or scoot it out, leaving the paper strip.) I later added butterflies to the plain medallions.
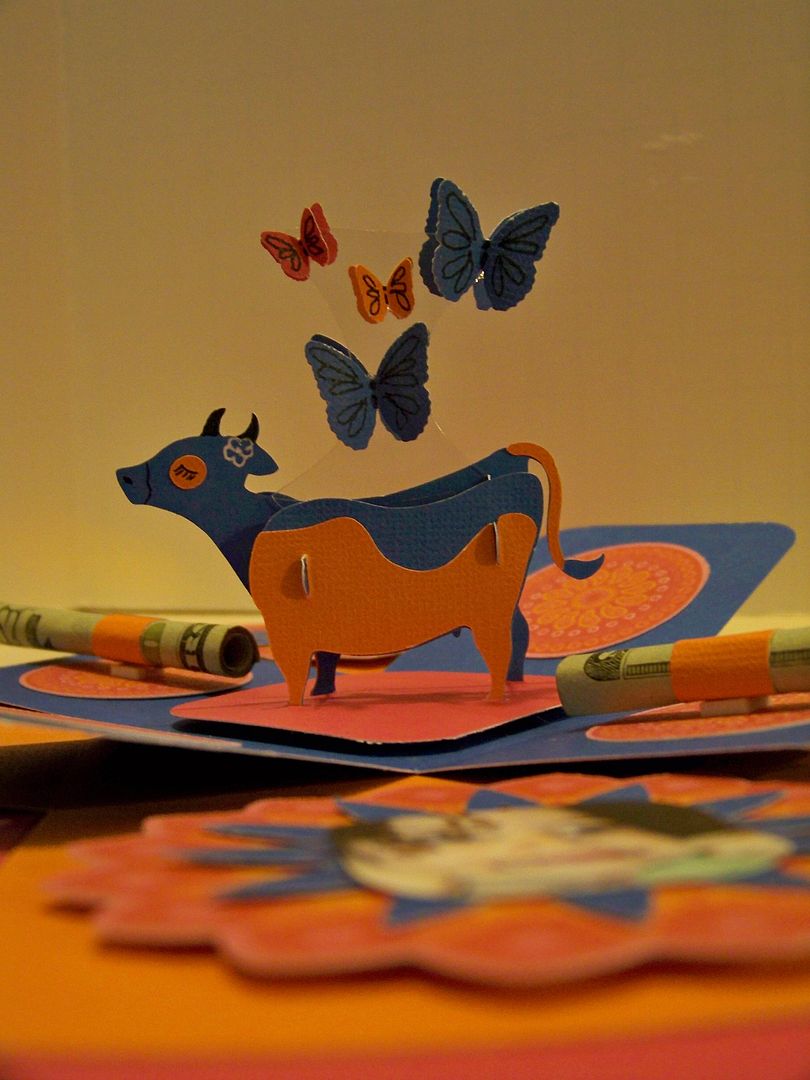
My cow is from Noah's ABC Animals, cut at 1-3/4" on the Expression.
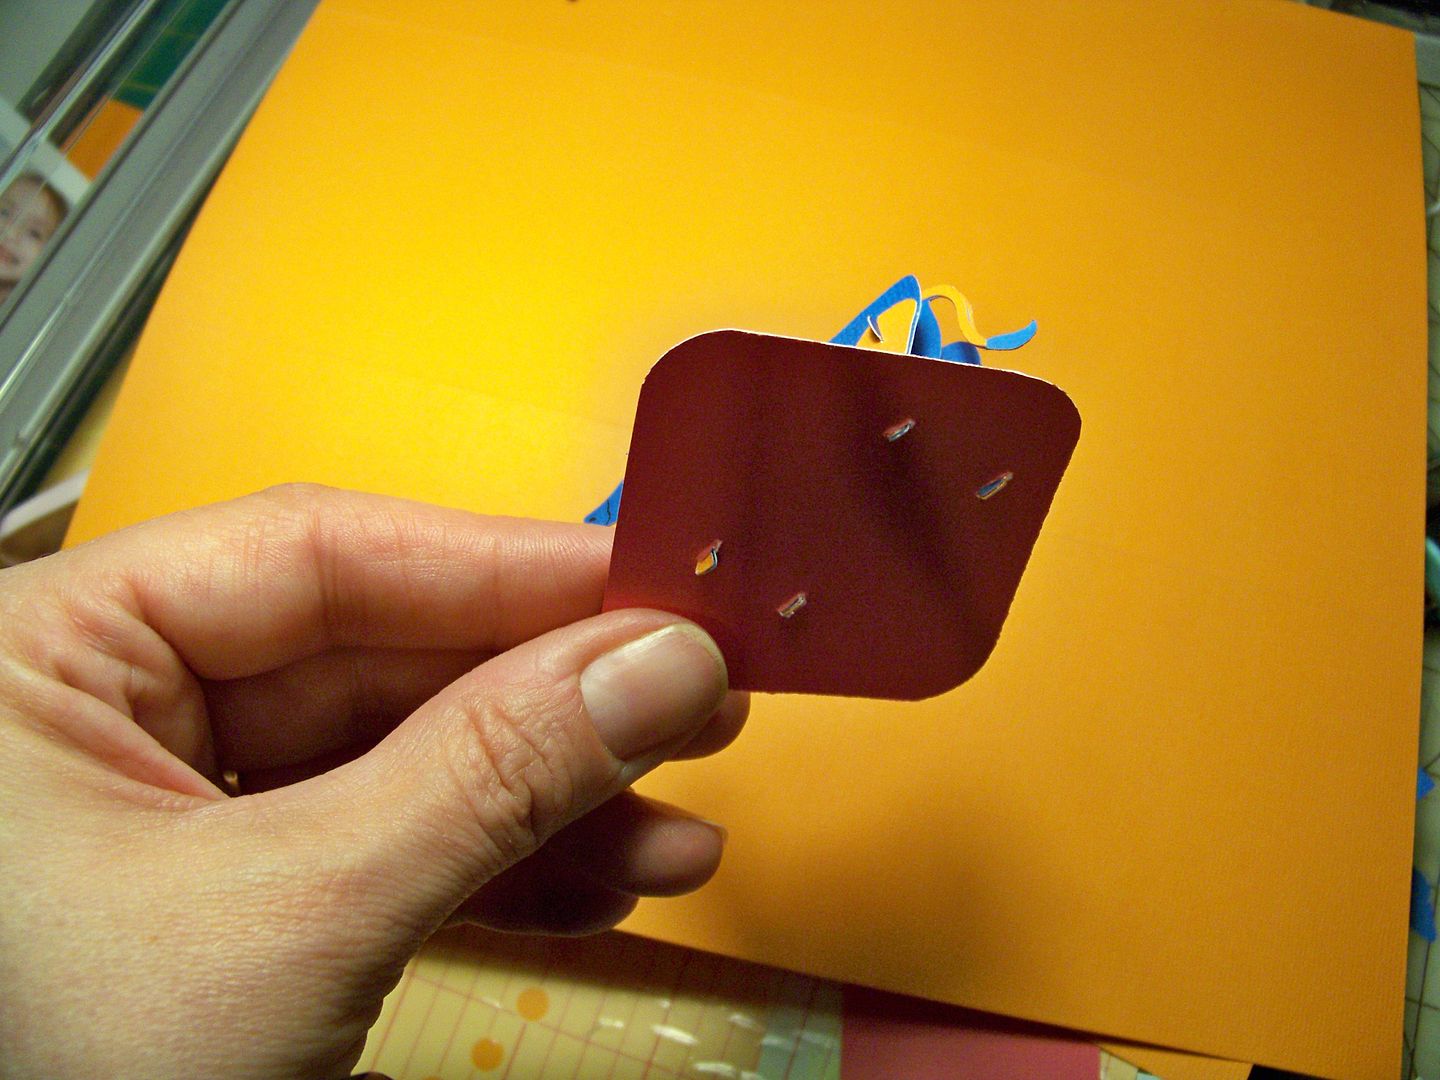
To attach it to the box, I cut a little square of paper and cut in slits under each leg. I slipped in her little feet and glued them in place on the back. I attached the square to the box using 1/16" pop dots since the feet poking through would prevent the square from adhering flush.
I cut a tag using a punch from a piece of Cricut clam shell acetate that I recycled. I trimmed it down to remove any extra acetate.
To that, I adhered butterflies, cut using a Martha Stewart punch. I used E6000 glue to attach the butterflies to each side of the acetate. I attached the butterfly-covered acetate to the middle layer of the 3D cow using a strip of Terrifically Tacky Tape, scooting it down inside the cow to hide the tape.
For the outside of the box, I cut 1" strips of cardstock for ribbon. I attached the "ribbon" to the lid separately so the lid would still easily pull off of the box.
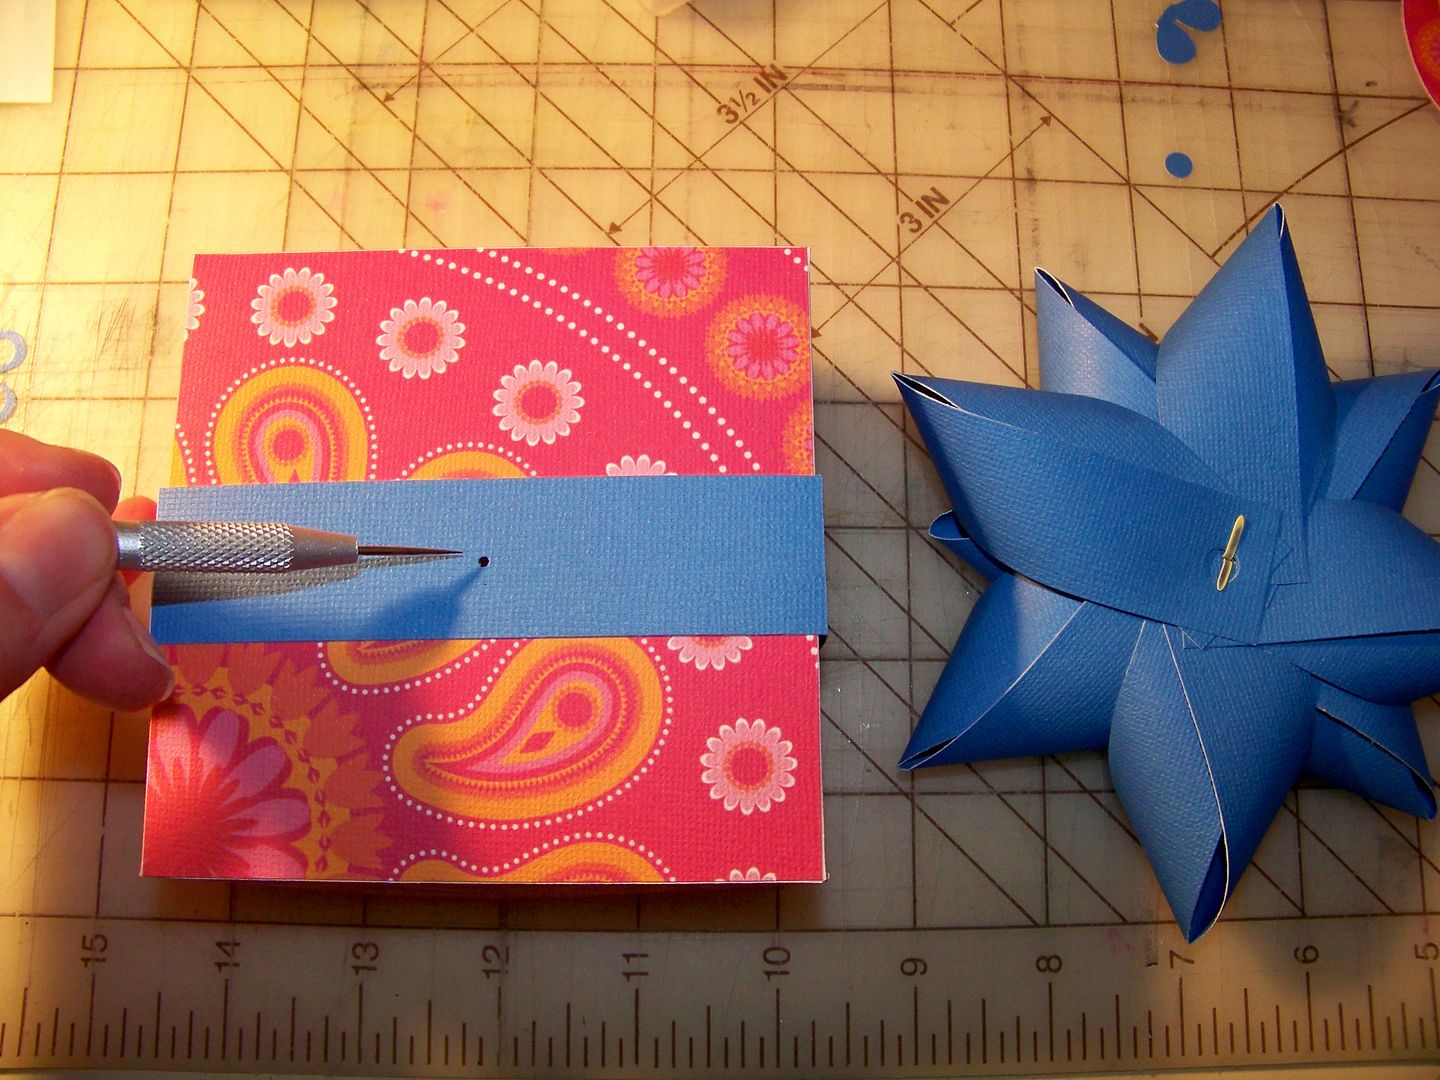
For the bow, I used the tutorial by Linda at the Paper Boutique. You can see it by clicking
here.
For the tag, I used the butterfly tag on All Wrapped Up, cut at 2". I printed my sentiment on the reverse side so that it would make sense to her when she found a cow inside: "For your birthday, we thought you would like a cash cow."
I attached the bow and tag to the box lid using the bow's construction brad.
This was fun, and for my first one, I liked it. If you want to ever feel inadequate as an exploding box maker, I suggest checking out Elaine's Magic Boxes (
click here). Wow-- she is a magician with these! So much fun to see and the main reason I had to have floating butterflies in mine.
Thank you for checking my blog today! To see many of my previous projects, please check
My Project Gallery.