This morning when I tore open my cartridge, I knew just what I would be making first: a dragonfly necklace!
I cut a 4" dragonfly (the first layer only) out of shrink film, on my Expression, from the Art Nouveau cartridge, using these settings:
Blade: 6
Speed: 3
Pressure: 5
Multicut: 3
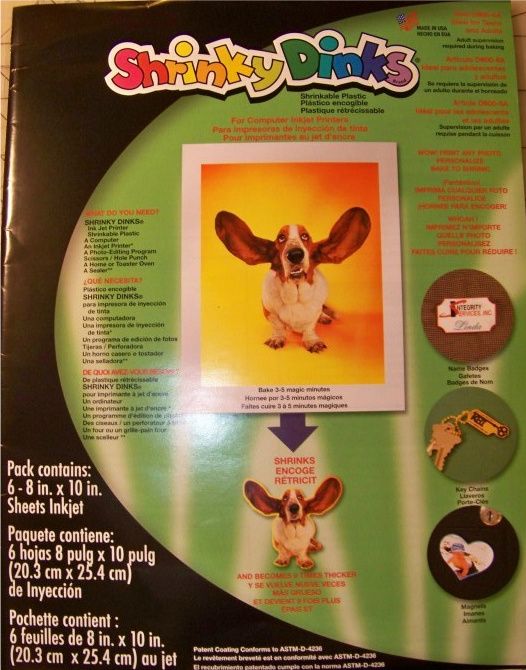
I used this brand and kind of shrink film:
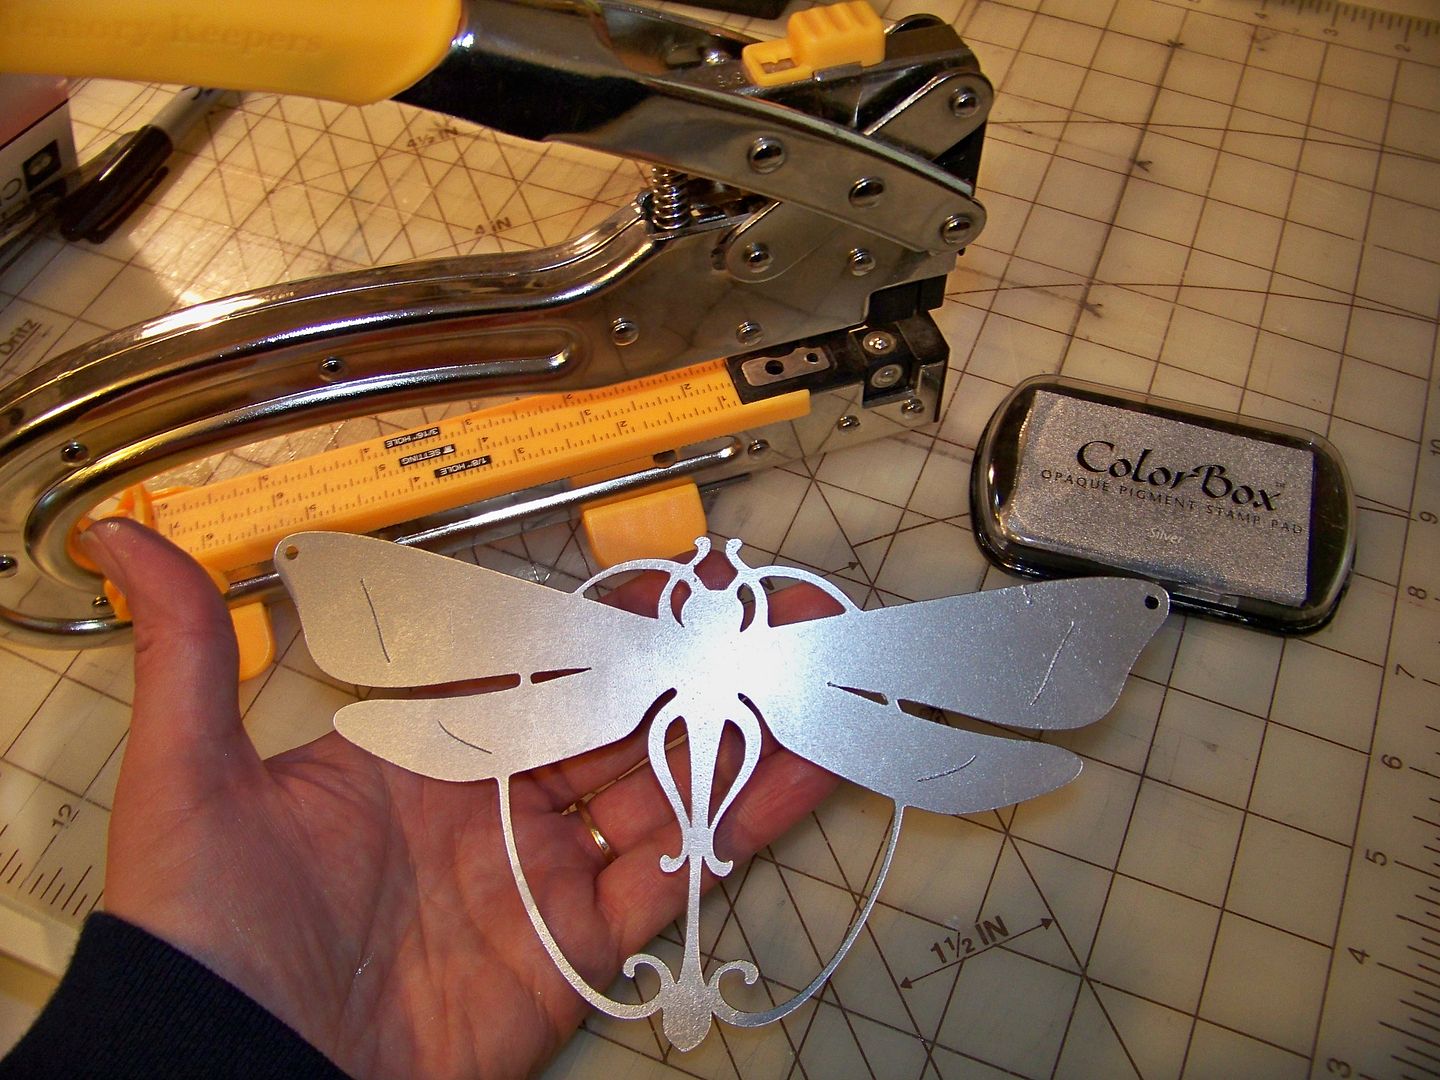
I used an old silver Color Box stamp pad. When I say "old", I mean old! I have had this since college (is that possible??) -- the label on the back isn't white any more! I just pressed onto the die cut until it was covered completely. Then I used the 1/8" hole on my Crop-A-Dile Big Bite to make small holes on each wing.
I placed it on a parchment paper-covered baking sheet and something weird happened while it baked: it just shrunk. It didn't buckle or twist like the other projects I have done with this product. I guess it was the ink from the stamp pad. It baked for 6 minutes at 300 degrees. Honestly, it might have been done when I checked it at 3 minutes, but I was just so surprised that it was flat that I kept baking it!
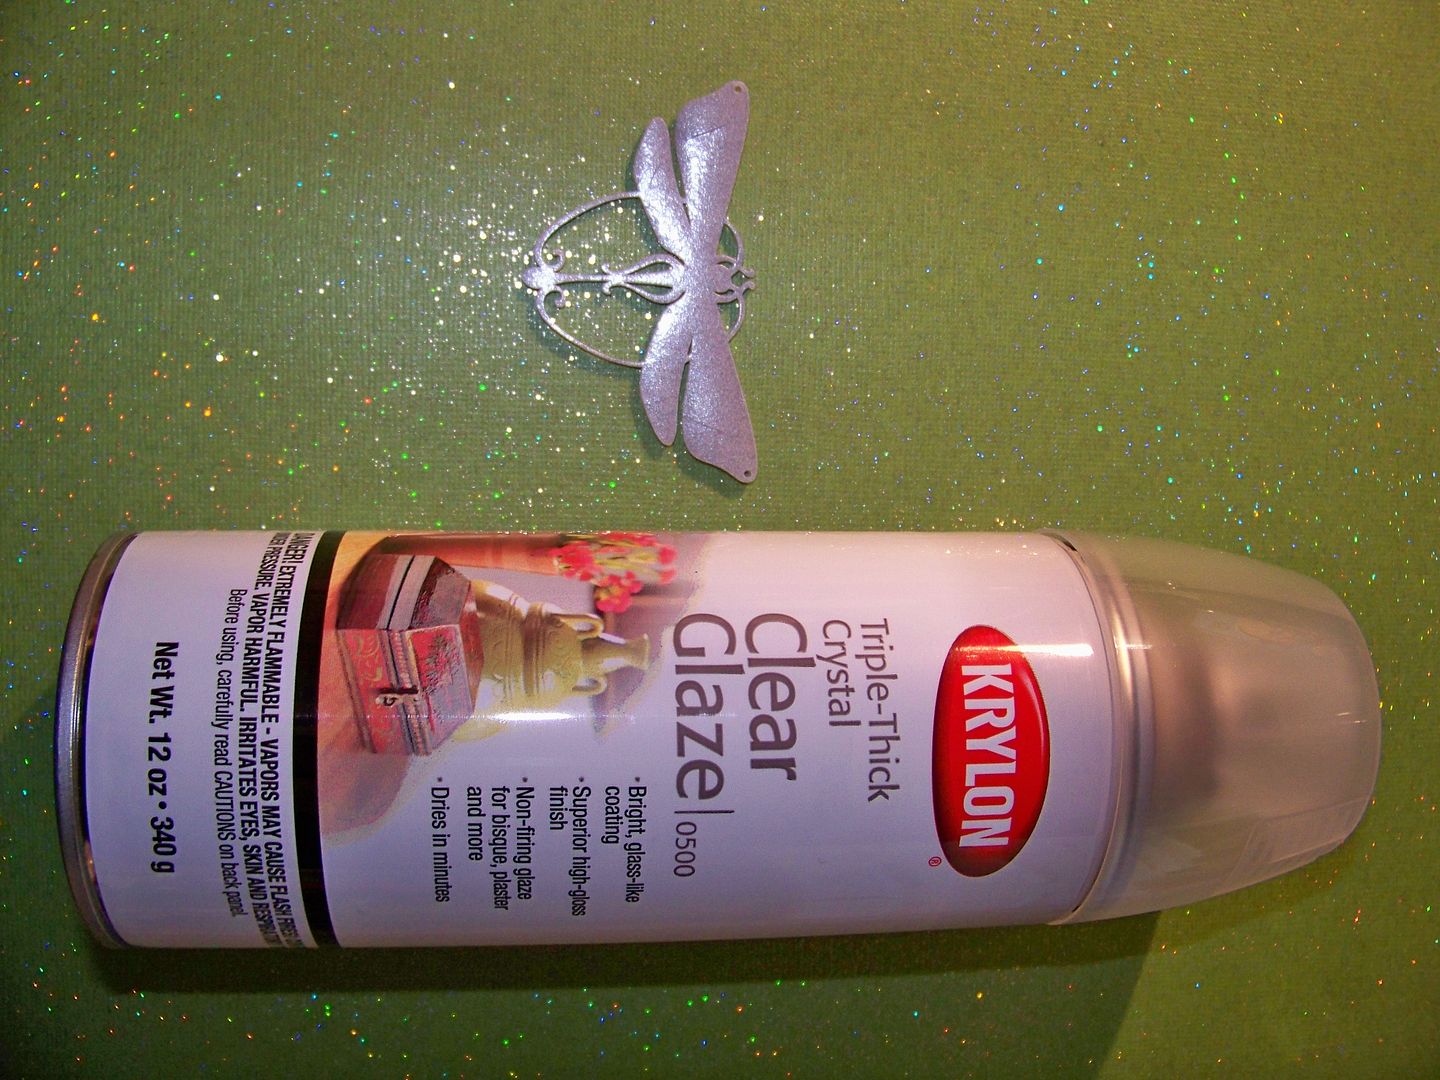
The ink was wet when it came out. I pressed it with a paper towel to remove the excess. Once it was completely cool, I sprayed it out-of-doors with Krylon Triple Thick Crystal Clear Glaze (thank you Marcjo for posting about this product).
After it dried (about 20 minutes), I went over the back and edges with a wet paper towel to be sure all the ink that wasn't on the top surface (and glazed over) was removed so that it wouldn't rub off onto skin or clothing.
I placed it on my bead board and worked on the necklace strand.

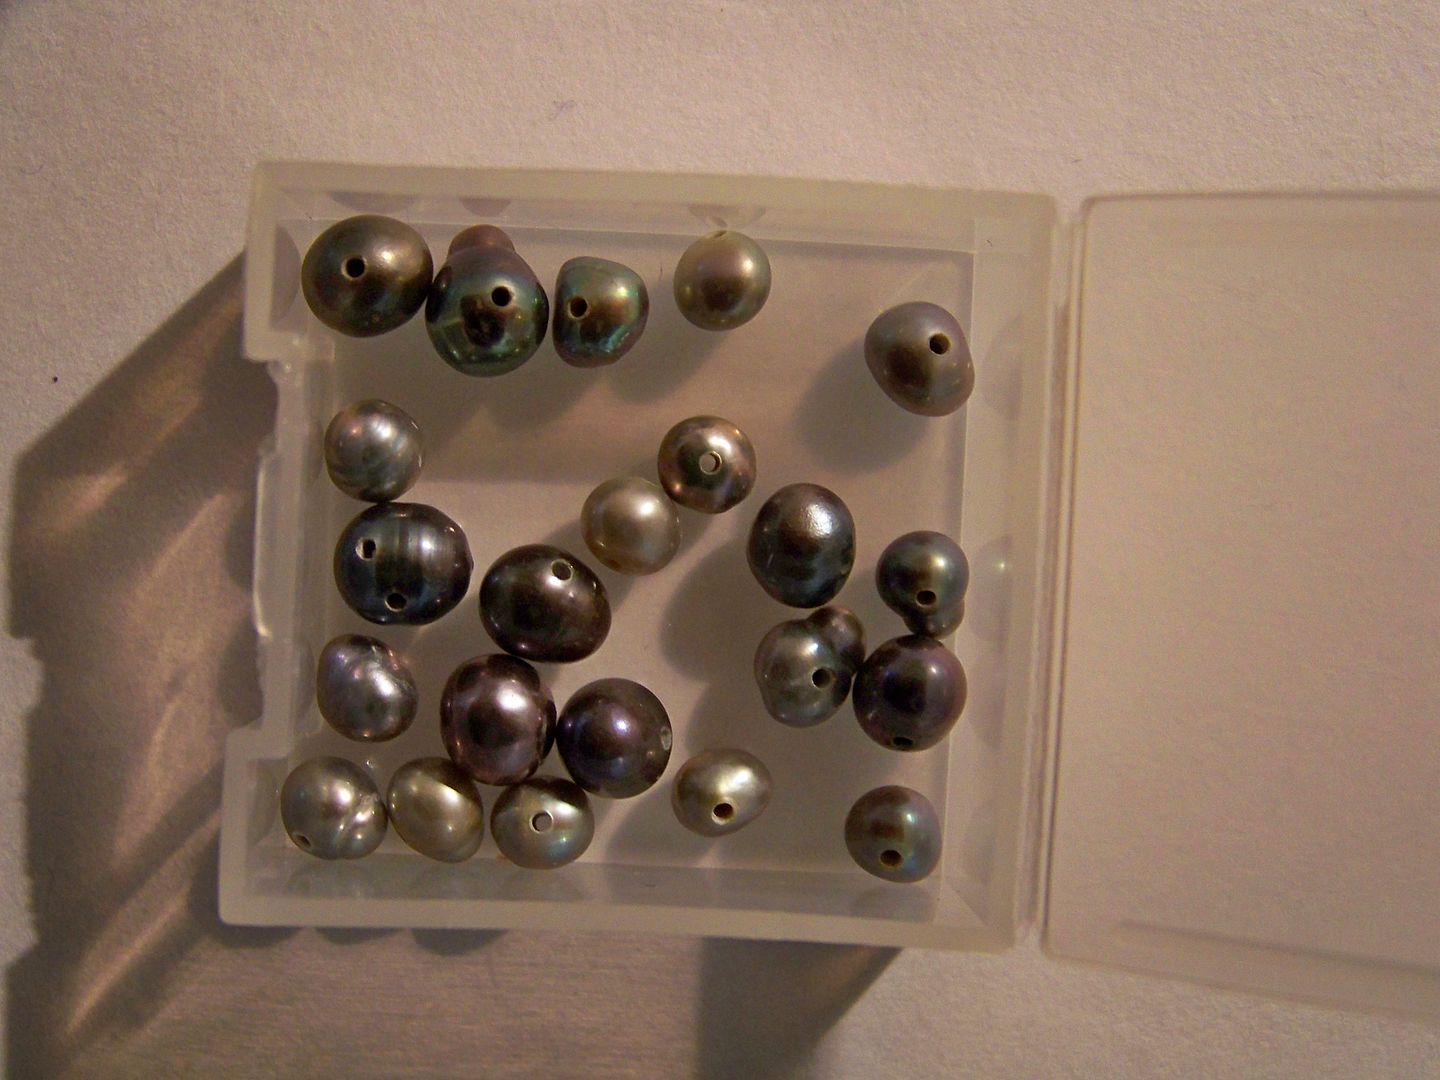
I used sterling silver beads, silver-colored beads, and fresh water pearls. My natural pearls ranged in color from gunmetal to yellow-silver. Just like mother-of-pearl buttons, you will know they are real and not plastic because they are cold to the touch. They are irregularly shaped and colored, which is why I loved them for this project!
I used jump rings and crimp beads to join the beaded strands to the pendant. To see how to make jewelry with coated wire and crimp beads, click here to see a previous post on this blog.

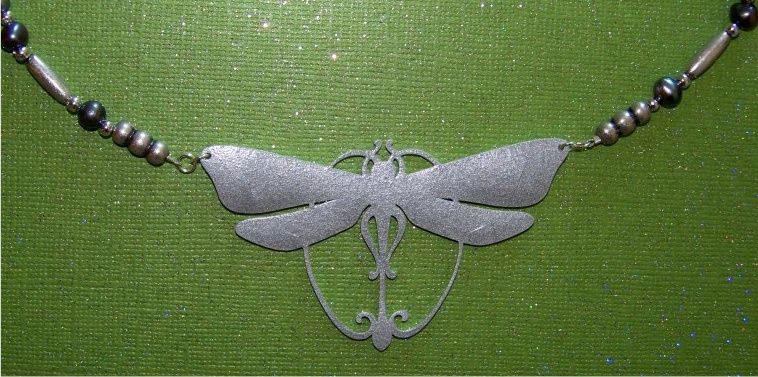
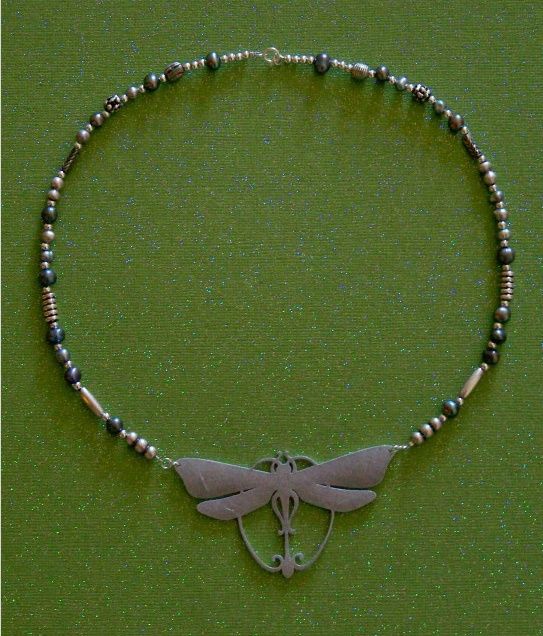
My finished necklace:
Thank you for visiting my blog! To see my Shrinky Dink charms made on the Imagine and sealed with UTEE, click here. To see my princess charms colored with markers, click here. You can find all of my projects by clicking the the tab for "My Project Gallery" at the top of the blog or by clicking here.