Showing posts with label Vinyl. Show all posts

Thursday, October 11, 2012

A Gift from Barbara Stewart...plus Gift Tags from a Recent Crop!

I wanted to share a gorgeous piece of artwork that Barbara Stewart gave to me at the Circle Mania crop.  It is one of her multi-media canvases.


I love the hanging hearts and dimensional flowers!  The blue sky and stylized sun have a folk art feeling that juxtaposes with the painterly surfaces perfectly.  I love the letter tiles... and the message!  It makes my heart sing!


Barbara uses Decou-page and magic to make these.  I love the lacy ruffle on the sun!  The layers of paint and pattern mystify me.  I love it and it is a beautiful piece of art that I love having in my home!  Thank you so much, Barbara, for this beautiful canvas!  (And I loved that you signed the back!)

Barbara made tags for everyone!  They were all different and perfect.  This is the one I received:


I know at least one crafter who was there who was so inspired that she worked on her own tags after getting one from Barbara.  They are truly inspiring.  I LOVE this look and it is a mystery to me how she does this!

Circle Mania was so much fun!  I thought I would share with you a few silly tags and gift wraps for Circle Mania gifties that I took....with cut info.


For the mini lunch boxes, I cut the text from vinyl using Cricut Everyday at 2-1/2".  Under the text is a Circle logo, also from Cricut Everyday, cut at 3-1/2" from vinyl.  The pink tags were cut from Artiste at 1-3/4".  I backed them in black.


This is a tag I made to go on a gift for the hostess with the mostest that weekend.  The base was cut from Wrap It Up (page 56) at 6" (tag blackout).  I cut part of a cloud from Serenade so I could use the negative space of the cloud.  Then I cut the tag again in white and backed the blue tag with it and popped it up.  The bird on the branch was cut from Live Simply at 2-1/2" and inked.  I added details by hand.  The white cloud on top was cut from Serenade at 1-3/4".  The hearts were cut from a punch.  The letters were cut from Hannah Montana at 1/2".


This tag was made for a traveler from far away who I knew would not be headed through Kentucky so I brought a bit of Kentucky to her and wanted a tag to match.  The base is from Mickey Font (page 134) cut at 5".  I cut the center from a map that I misted with Glimmer Mist and embossed with a chevron embossing folder.  Kentucky was cut cut from 50 States (page 29) at 7".  (I cut one from red and one from blue and attached them with pop dots after using a heart punch on the blue layer).  I hand-cut the banner after running the paper through my printer to add text.  The scattered hearts were cut with a punch.


The base of this tag is from Artiste (page 32), cut at 4".  The bug head was cut from Cricut Everyday at 3.5".  The body and outfit were cut from Teddy Bear Parade at 4".  The sign was something I printed from my computer.


The base of this tag is from Artiste (page 32), cut at 4".  The bug head was cut from Cricut Everyday at 3.5".  The body and outfit were cut from Teddy Bear Parade at 4". Because I think the Bug Guy is a guy, I didn't cut the shell bra, rather, I made the shell something to hold.  The base and fish body were embossed on the Cuttlebug.


These tags were cut from Everyday Cricut at 3".


These were simple picture frames that I packaged to look 'Cricut-y'.  I used Greeting Cards Inside and Out, printing and cutting on the Imagine at 9.7".  I added a little message on the back that I printed from my computer.


It was a really fun event!  So thankful that I was able to go and meet, in-person, so many of my friends that I talk to daily on the message boards.  I think this was the fourth Circle event I have traveled to.  These friendships that I have made are a blessing to me-- such an unexpected joy!  What a  fantastic group of ladies!

Thank you for visiting my blog today!  You can see many of my previous projects by visiting My Project Gallery.  My next blog post will be Sunday and I will be showcasing a Boxed Card with a tutorial.


Tuesday, June 7, 2011

YUDU ... now I do too!

The surprise for me at the Cricut Circle Kentucky Crop Friday was that I left with a lot of confidence with using my YUDU.  Mine was a Christmas gift to me from my husband last year.  (I have trained my daughter to work like a walking Mommy Wish List.  She took him to the store that carried it and to the shelf where it was stocked.)  In the category of 'be careful what you wish for', I got the YUDU!  I opened the box, read the instructions and then put it under my bed, sure that it was too messy, complicated, and expensive to be something I would be doing any time soon...

When Shannon Lerner of Provocraft sent an email to all Circle members who had registered for the Kentucky Crop, she mentioned that instead of Make-and-Takes, she would be doing a YUDU demo.  As a person who is not big on Make-and-Takes, I was thrilled.  I decided that I would pump her for every tip and get answered all of my questions from the real, live YUDU expert!
She was so patient, answering everything I threw at her and letting me snap pictures all along the way.

Armed with a notebook and camera, I took notes and asked tons of questions.  You can see all of Shannon's tips and techniques that she shared with us on my YUDU page (click the tab at the top on the blog, or click here). You will notice a link to a printer-friendly version there.  I highly recommend printing it to have handy for your first project!

I took my YUDU and since it was used to successfully screen lots of projects, I felt like my YUDU knew what to do.  The next day, I traipsed all over Louisville, looking for Provocraft branded items.

Between three stores, I still didn't find the 70 mesh screen needed to do flocking or the foil or flocking materials.   After looking on the YUDU forum, I discovered a source for liquid emulsion!  $153 later, I had placed an order for chemicals, screens, and lots of options.  I also found all the specialty YUDU products at cricut.com.

I decided that the only way to keep my YUDU confidence was to keep screen printing with what I had.

I asked my daughter to draw a picture on white cardstock with a Sharpie.
Next, I used the transparencies that Joann's is clearancing and copied her drawing using my office copier.
Following Shannon's steps to YUDUing from my notes (and keeping the manual close by)...
...and despite using the capillary emulsion sheets that came with my YUDU that I had opened months ago and placed back in the black package without taping up, thus exposing the edges to light....
The blue areas were exposed in storage.
...I was able to successfully burn my daughter's image on the emulsion.  Since her artwork was much smaller than the emulsion sheet, I was able to fit it on the good area.  I used lots of painters tape to tape off the problem areas (and areas I was not using just in case)  and it worked beautifully.
Back side of the mesh frame.
Top side of the mesh frame.
I had to place the shirt on the platen off-center since my design was not in the center of the screen.  Shannon told us she never opened the shirt anymore to place the platen inside; she just lays the shirt on top of it - so much quicker to take off!  She says the ink will not bleed through any t-shirt except for a tissue tee.
Look how perfect this came out!!!!

I heat-set it, using a piece of paper as a press cloth. 
The minute it came out, my daughter told me she wanted to give it to her friend Dylan.  She tried it on for my picture...
...and the beauty of silk screening is that we had printed another off in no time... well, that is a lie.  My daughter wanted hers printed in a different color so I had to rinse and dry the screen.  Since this was another YUDU lesson for me, I accommodated her. 
 I love how they turned out and so did she!

Applying the emulsion sheet was the hardest part.  Making sure it adhered and then the waiting!  Letting it dry, rinsing it, and letting it dry again takes hours!!!  That is why I stopped everything when I watched Cricut Circle's CraftySanSan's awesome YUDU videos online.  My jaw dropped when she demonstrated using her Cricut to cut Oracal 651 vinyl to use instead of emulsion on her mesh screen.  Not only was it quick and as easy to apply as any vinyl project, but-- AND THIS IS BIG -- there is NO DRYING TIME!!!!!  No waiting for the emulsion to dry (no emulsion), no rinsing, no waiting for the screen to dry.  We are talking instant printing!!!!

Luckily, I had some 651 on hand.  I used Twinkle Toes, flipping the image and using a kiss cut (blade 3, pressure 3, speed 3) to cut the vinyl.  I weeded the lettering, leaving the negative space to use on the screen.  I applied it with transfer tape.
I used the squeegee to apply the transfer-taped vinyl to the back of the screen...
...and then carefully peeled off the transfer tape.  I used painters tape to tape off all areas around it.  On the video, she used scraps of more Oracal 651, which would have been easier when removing it for clean up.

I centered the shirt and pulled the ink through as usual.  I was pleasantly surprised that it worked!!!!
Why did I have it plugged in?????  I didn't need to expose anything or dry anything!
I let it dry and heat set it with an iron.  Then I broke out the iRock stencil and gems and my Jolee's Hotfix Crystal tool, changing ends as needed for the different size stones. 
A little note for next time:  place a piece of paper inside the shirt before applying heat.  Although it wasn't damaging or noticeable, some of the gem glue went through to the back of the shirt!  A tug on the shirt solved it, but that was a bit scary!
This shirt took 1 hour start-to-finish, including deciding on a design, cutting the vinyl, screen printing, cleaning the screens, letting the ink dry, heat setting the ink, and applying the gems.  That was AWESOME!  Compared to the hours it took to do the first shirt (almost all drying time so at least I wasn't tied up), I definitely see an advantage to using the vinyl.  The only drawback: the edges are not as crisp.  I am not sure if that was due to me on technique as a newbie or if it was the vinyl and its limitations.  A few more attempts should answer that! 

I cannot wait to try the liquid emulsion! I have been promised that it is easier to apply than the capillary emulsion film (and it definitely is cheaper).  I will still have drying times with this product, unlike the vinyl, however, I won't be limited to Cricut cuts for my design... although with over 200 cartridges, I am not all that limited!  Even so, Shannon suggested going to the Library of Congress website for black and white images to YUDU and that cannot be done with the vinyl.

I am so excited that I saw Shannon's YUDU demo!  It allowed me to have the confidence to start playing with this amazing machine!  I can see that YUDU projects will be on the plan for the rest of the summer... now to find the best prices on t-shirts!

Thank you for visiting my blog!

Friday, June 3, 2011

The Cricut Circle is coming to Louisville!

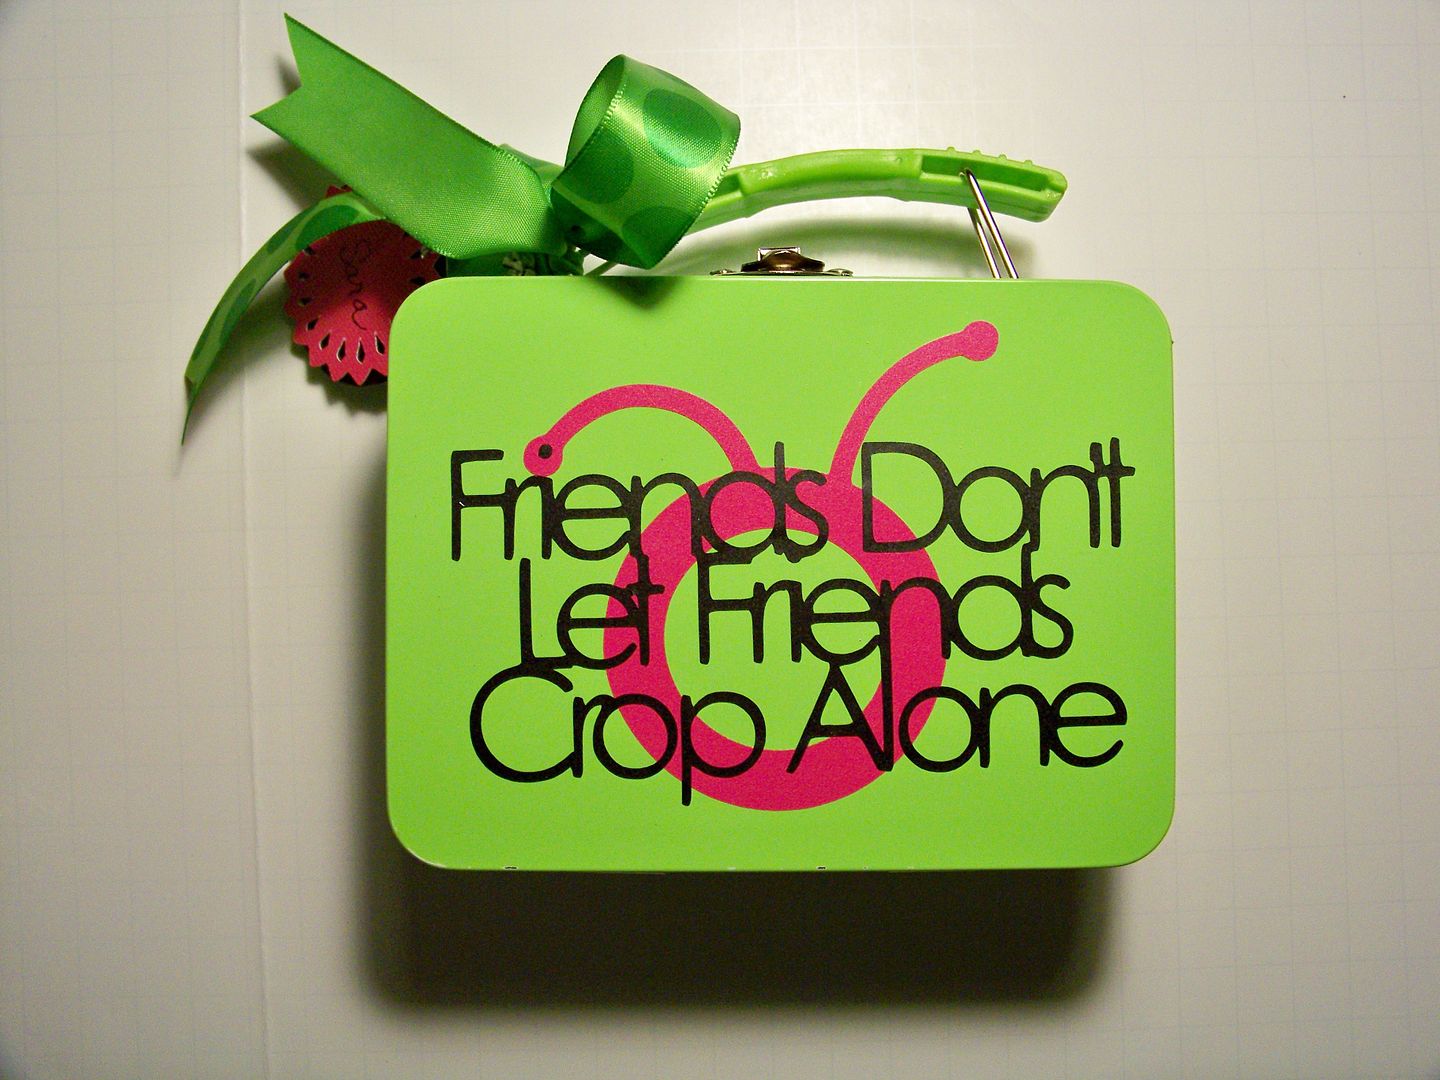
I am getting ready for the Crop that is coming soon!  The whole event has been geared around the Circle's first birthday so there are lots of birthday-related fun things.  You know I love a challenge so the first thing I ran to work on was the birthday hat challenge! 

I made this on Derby Day.  If you are not familiar with the Kentucky Derby, that is one day and one place where all ladies wear decorated hats.  That might have been the problem because I had those hats on my mind (and on my television) all day when I was working on this.

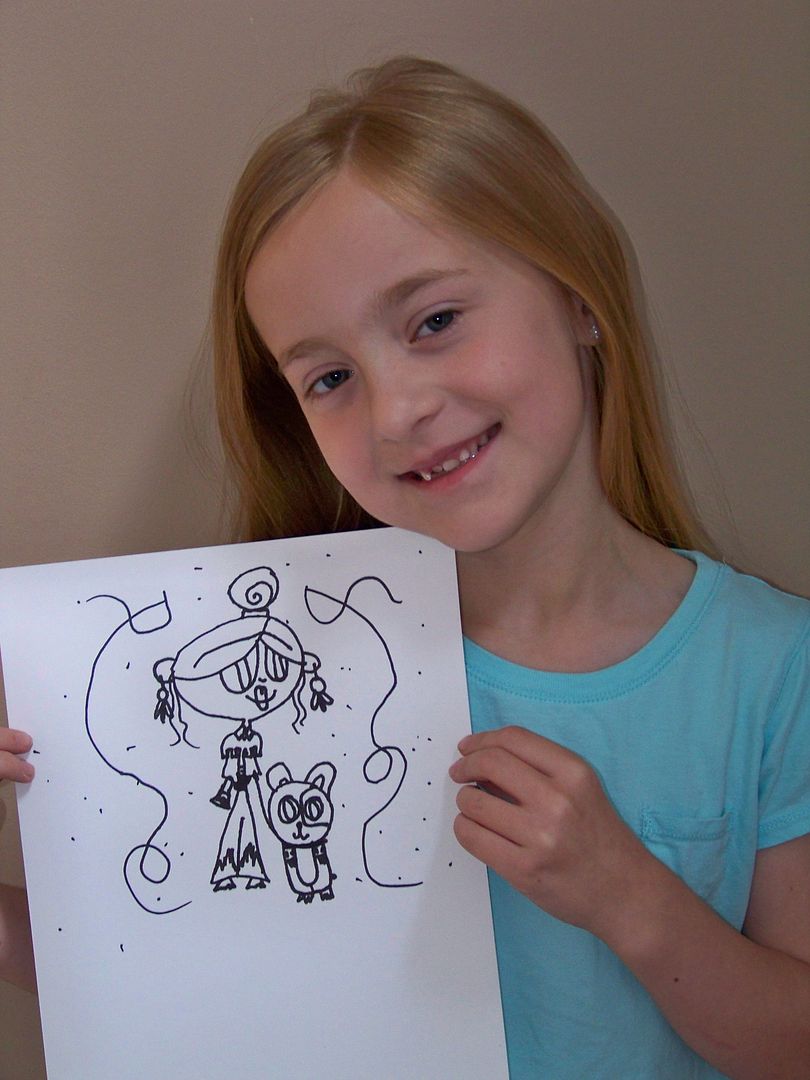
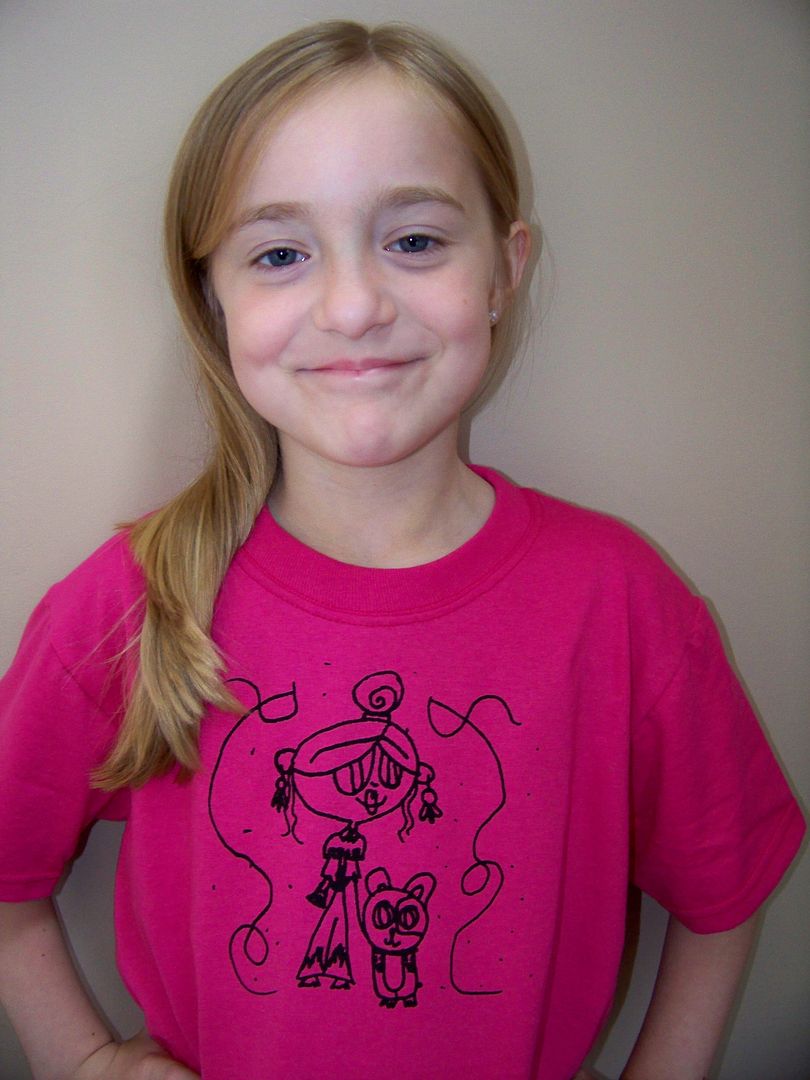
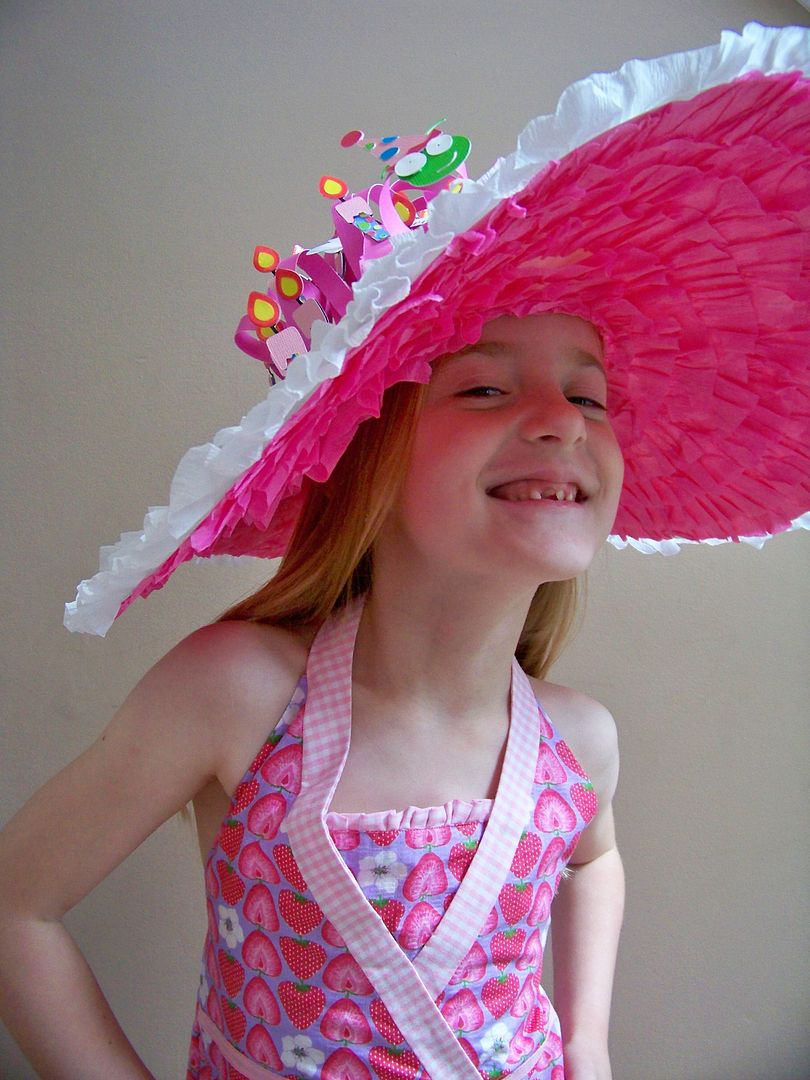
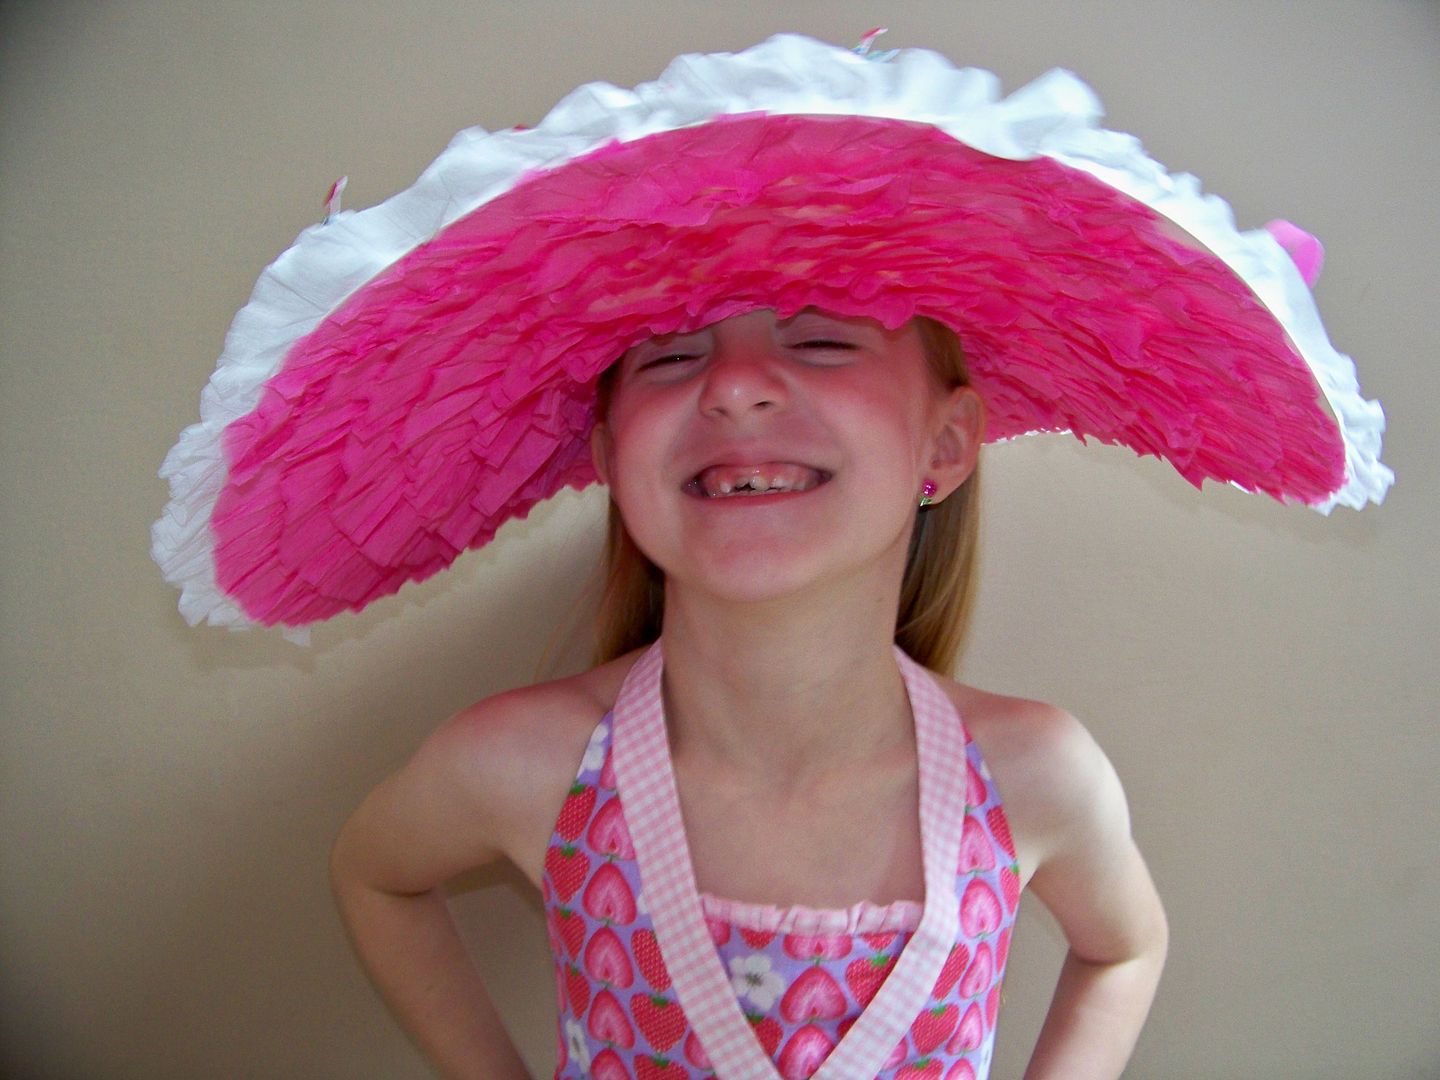
For the most part, I used a block to work on the hat, but luckily, I had a willing model once it was done.  My sweet daughter makes even a silly paper hat look cute.  She put on a dress I made her last year.  Surprisingly, it coordinated with the hat (and still fits)!  She has a great sense of fashion...


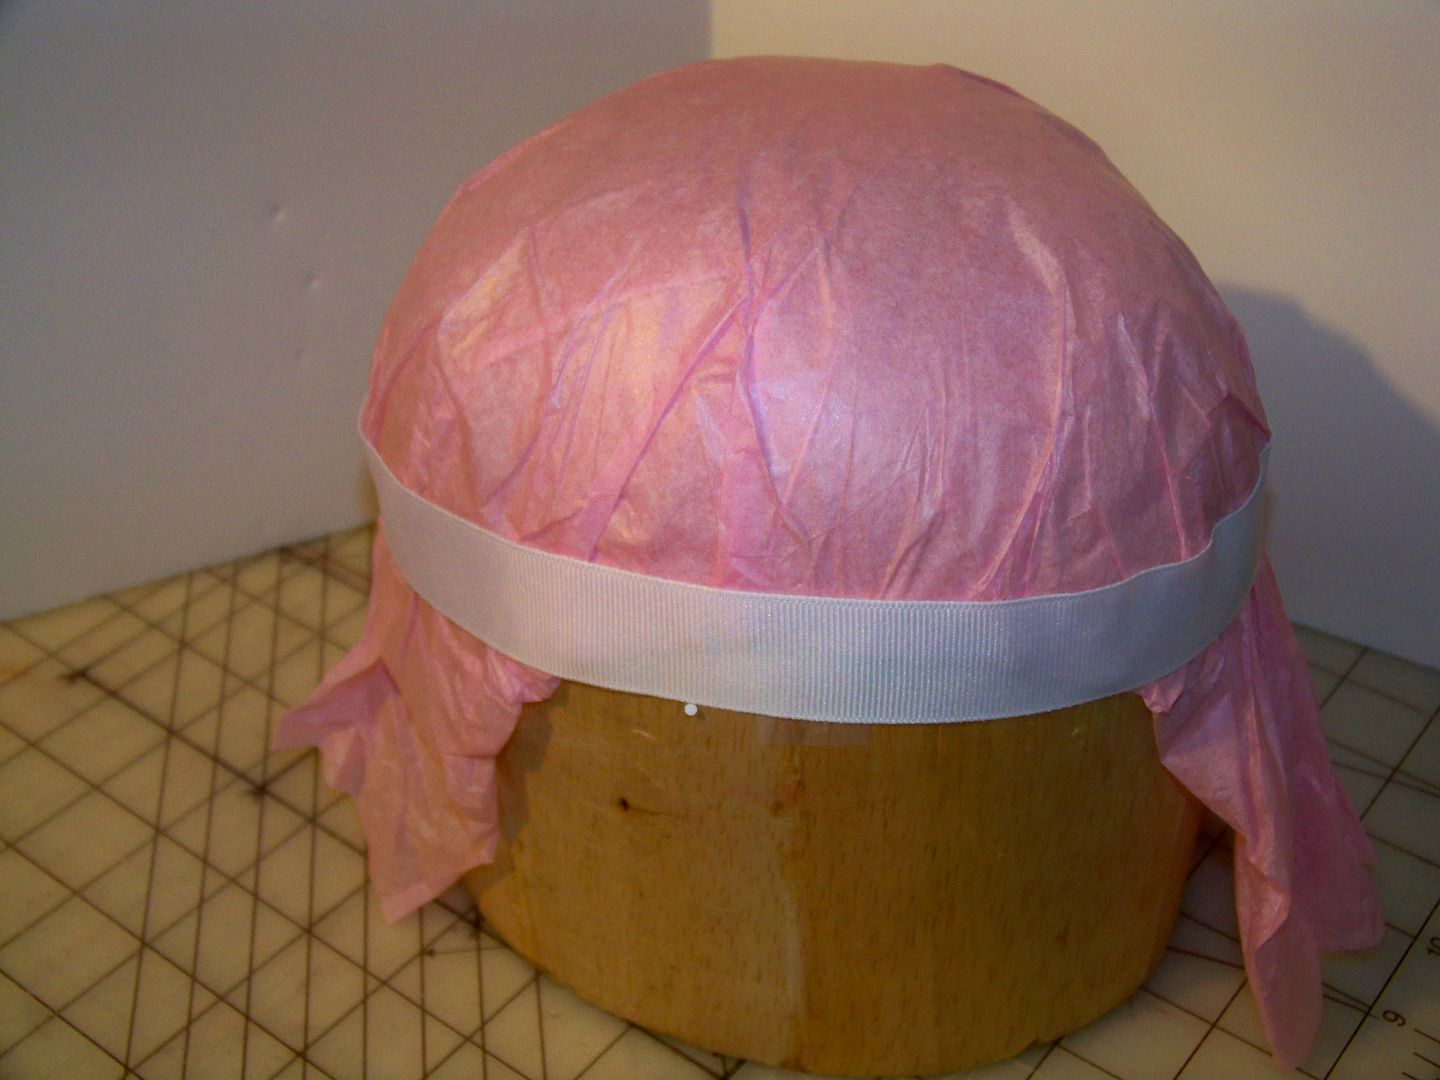
To make this, I started with a couple of sheets of tissue paper for the crown and grosgrain ribbon for the headband.


I cut a brim from posterboard.  This was so trial-and-error.  Let's just say I am glad I bought the 10-pack!  I wanted something large and floppy.

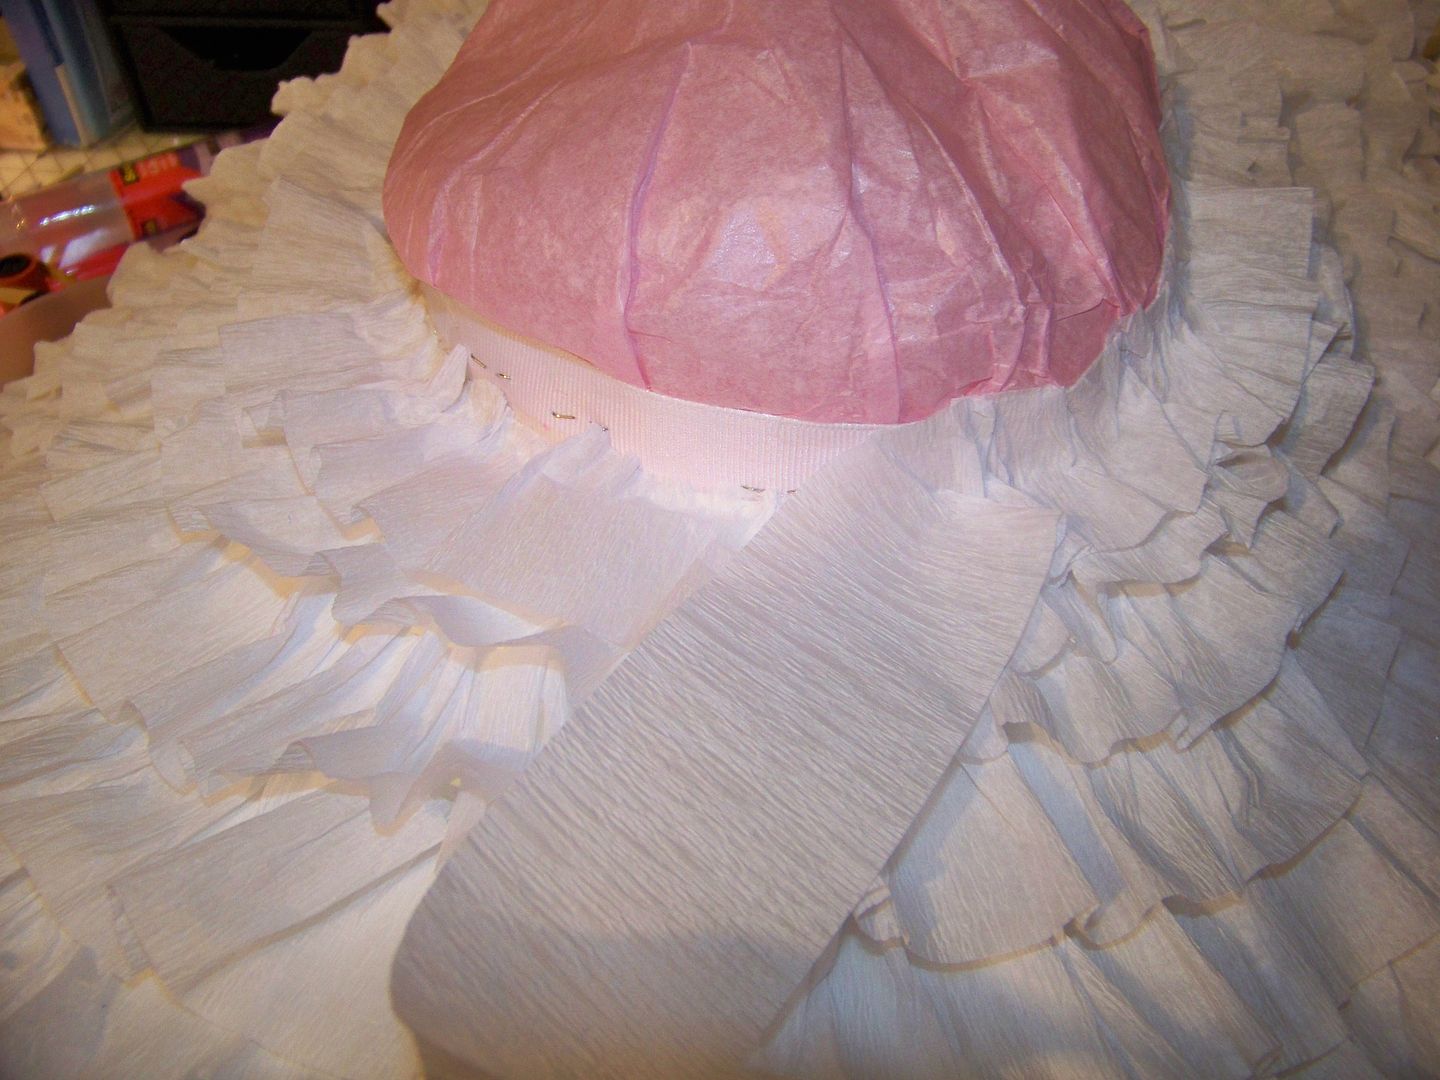
I used rolls of crepe paper to add ruffles.  This was so forgiving and easy.  ATG tape was perfect to adhere the crepe paper to the posterboard.

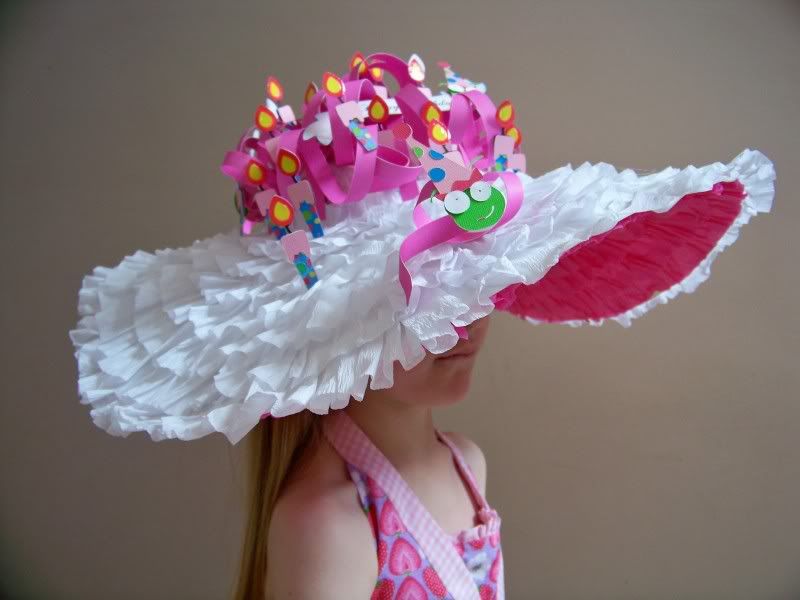
I covered the top of the brim with white ruffled crepe paper and the bottom with hot pink crepe paper ruffles.  The crepe paper worked perfectly to finish the "seam" joining the crown and brim.

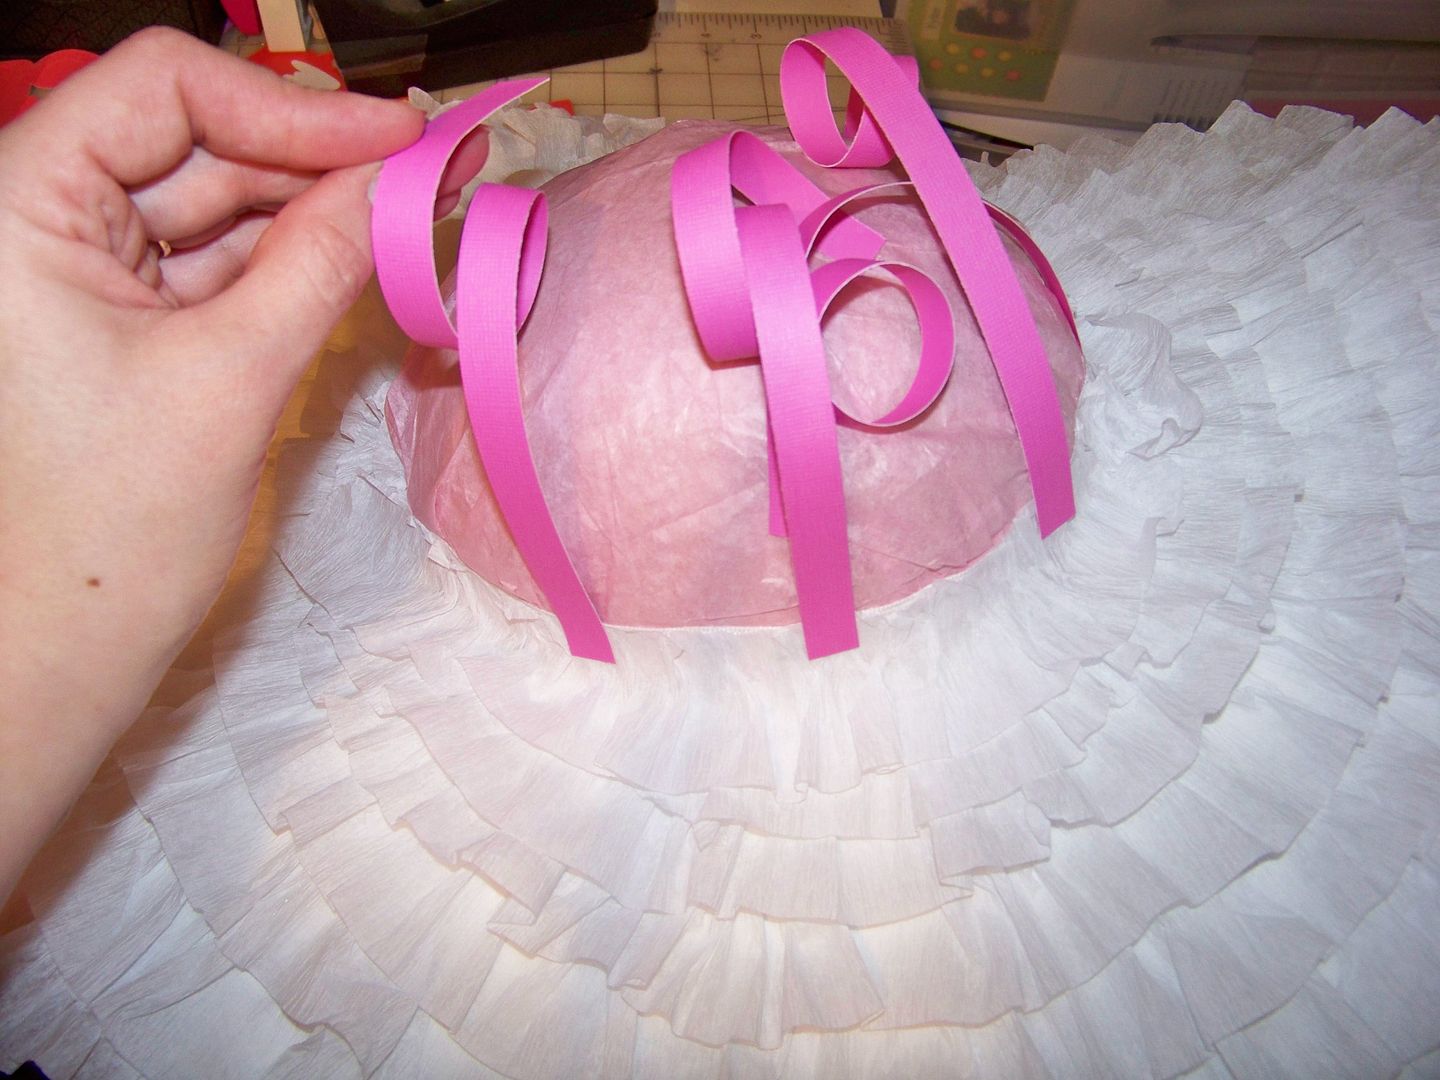
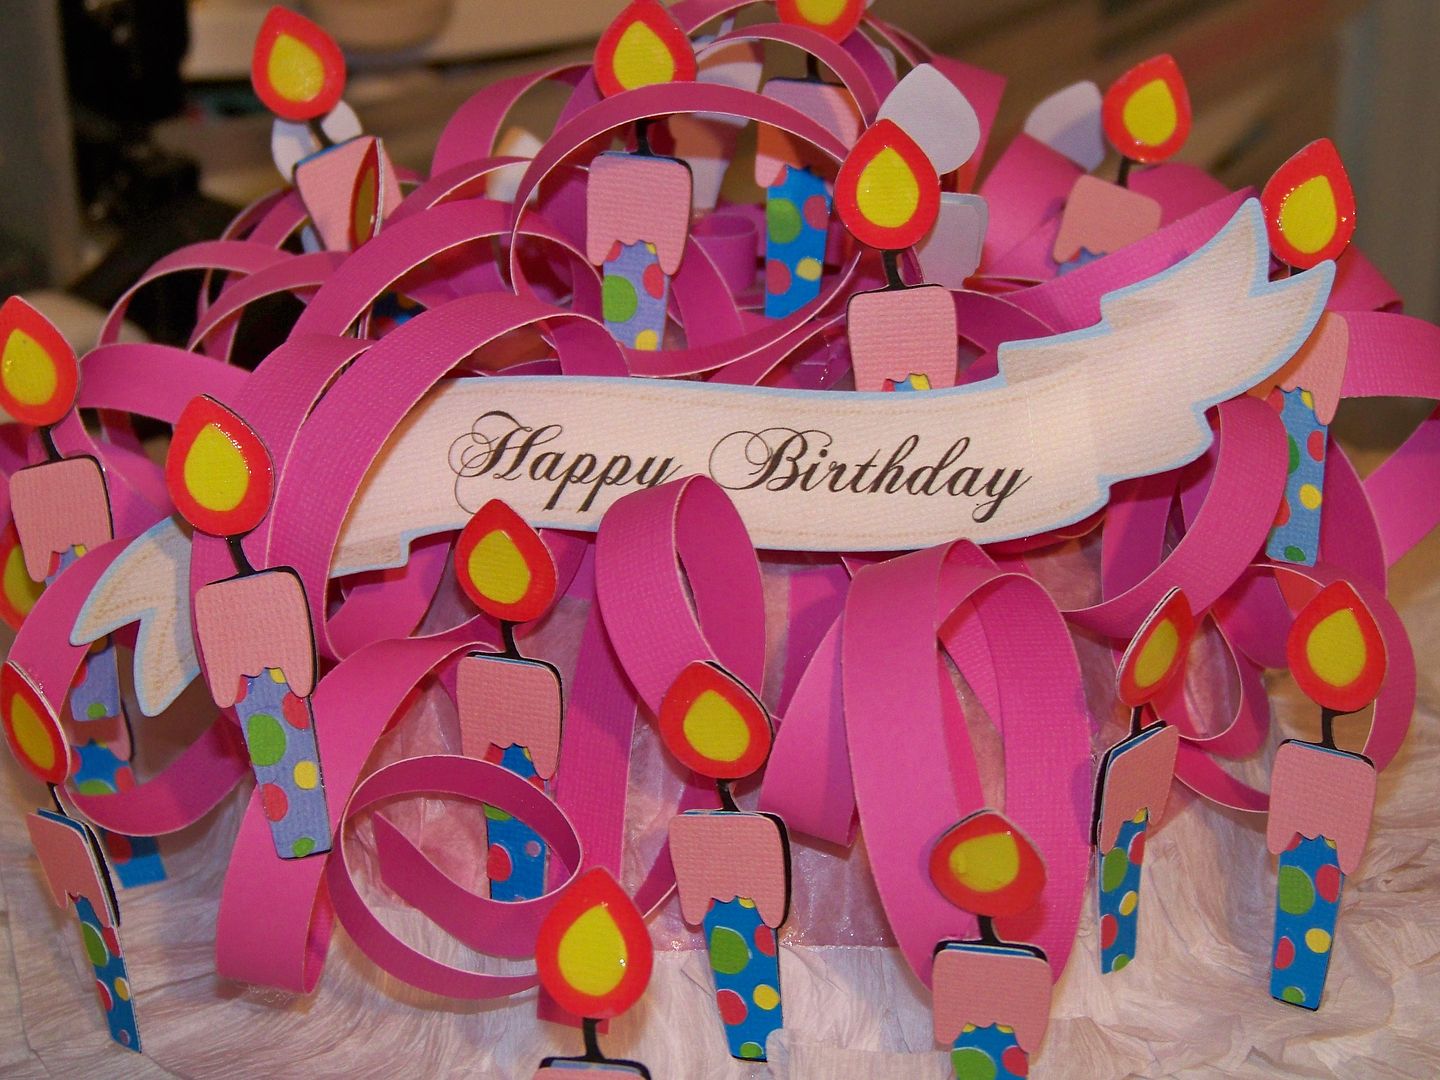
I cut a 12x12 sheet of cardstock into 1/2" strips.  I used hot glue to join them to the crown.  I wanted to give height to the crown and give the idea of paper streamers.  I also wanted this to stop looking like a bridesmaid hat from 1981. 
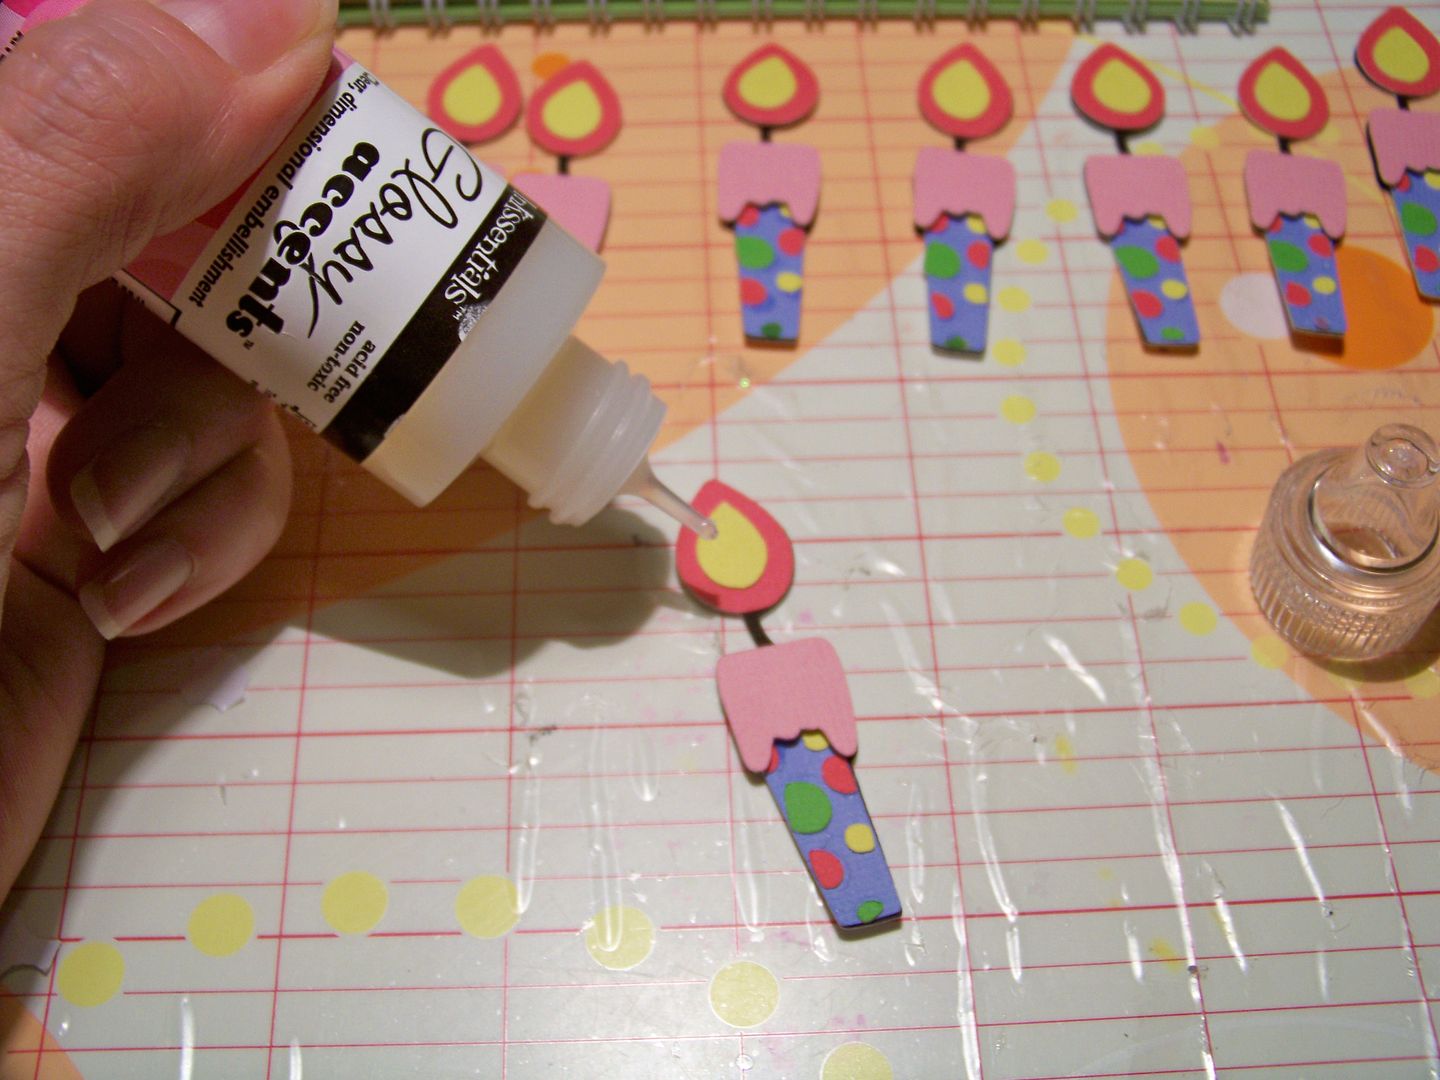
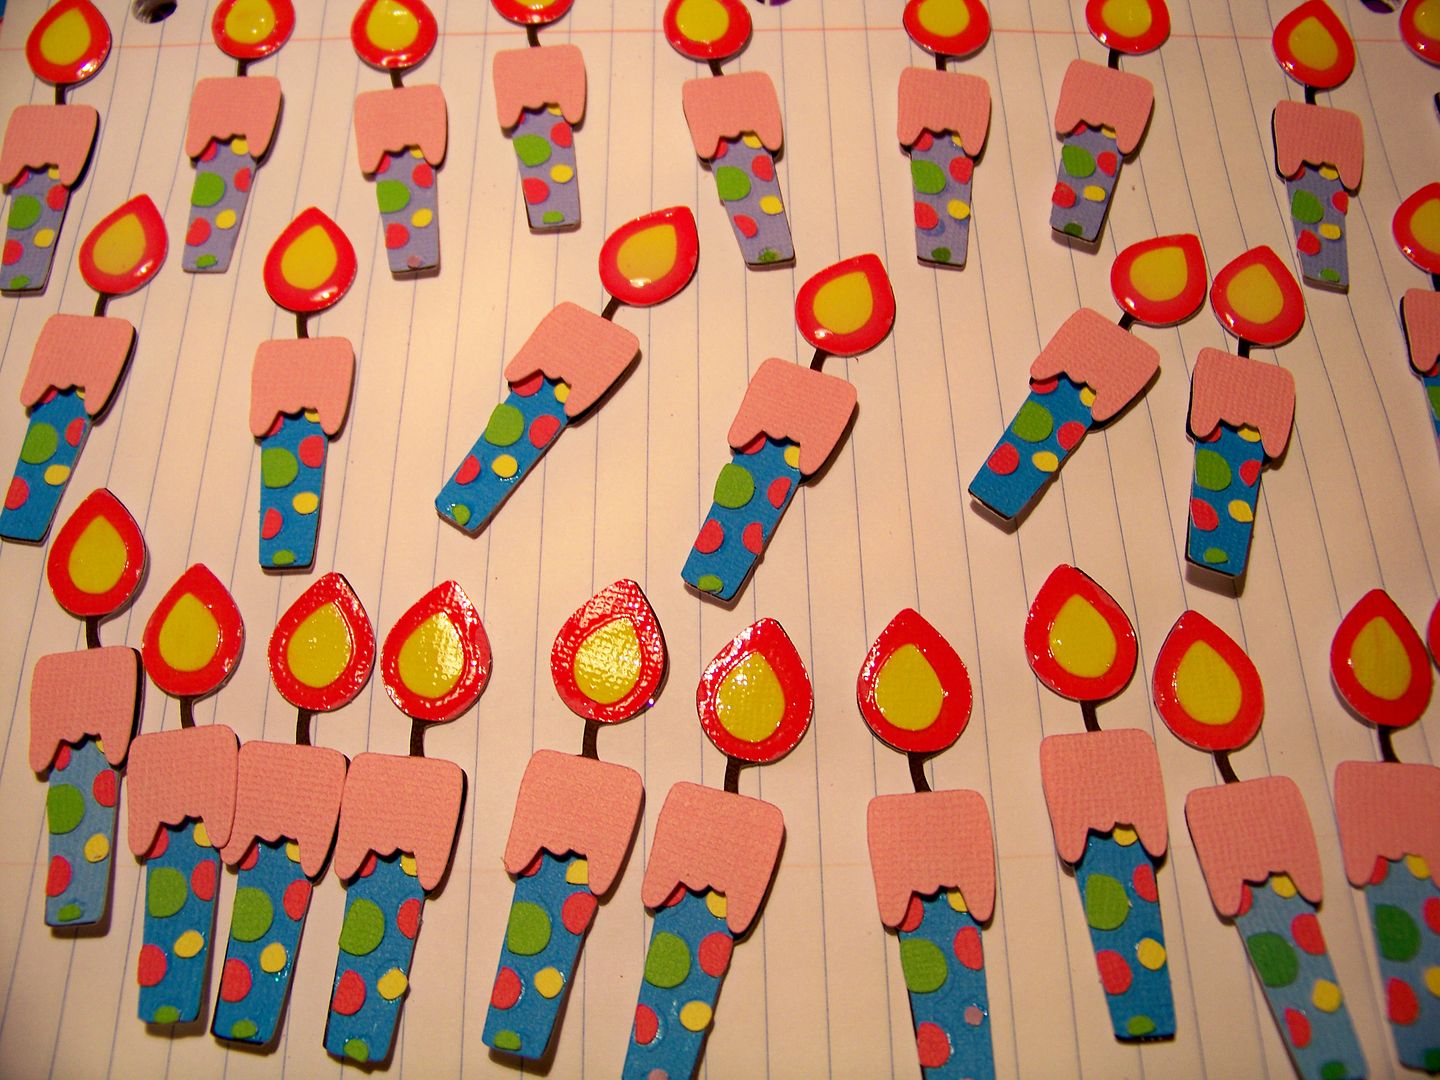
I made over 40 little paper candles.  These were cut from Birthday Bash at 2.5".  I used the built-in colors for the base, dots, and flame.  The light pink 'melted wax' tops were RGB 255,157,162.  I popped up that layer with 1/8" pop dots.  I used Glossy Accents on the flame.  The Glossy Accents changed the color of the flames from hot pink to orange-red.  I love a happy accident!

I cut three Cricut heads from Cricut Everyday at 2.5".  I cut three party hats from Birthday Bash at 2.1".  The light pink was the same RGB used on the candles (RGB 255,157,162).  The hot pink was RGB 255,13,107. 
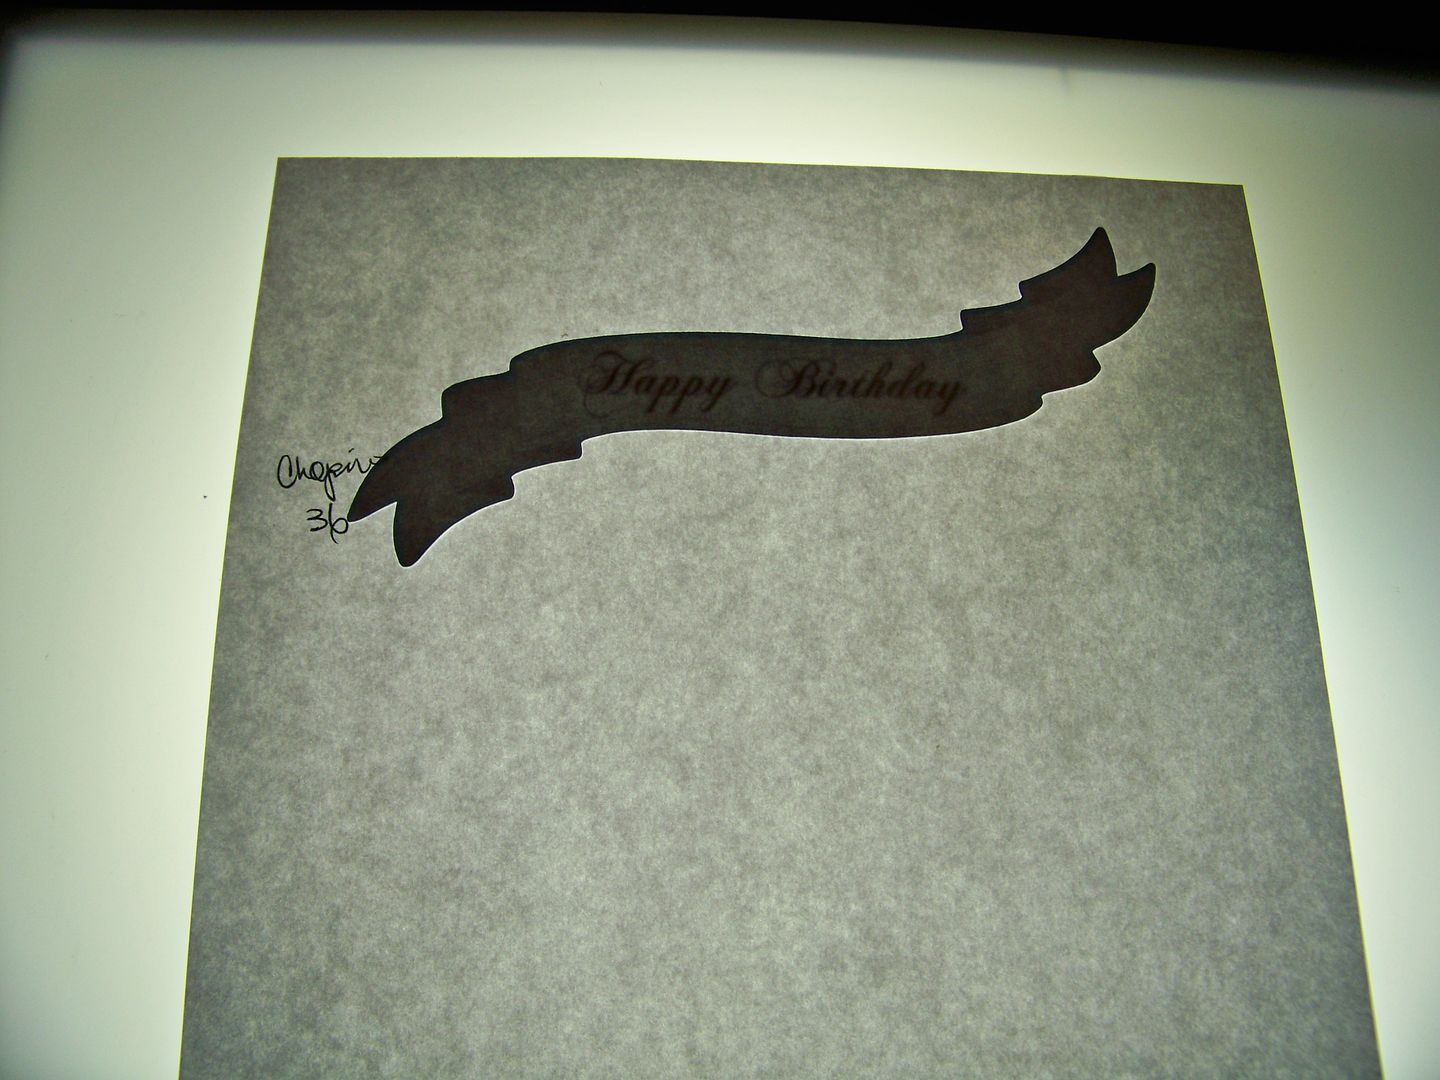
I cut a banner from Enjoy the Seasons at 10.5 (rel size).  I used my light box to allign sample text, taped the banner shape to the test paper and ran it back through the printer to get the text onto the banner.  This font is Microsoft's Chopin at 36 point size.

I used hot glue to attach the banner, candles and Cricut heads.  This part was fun!


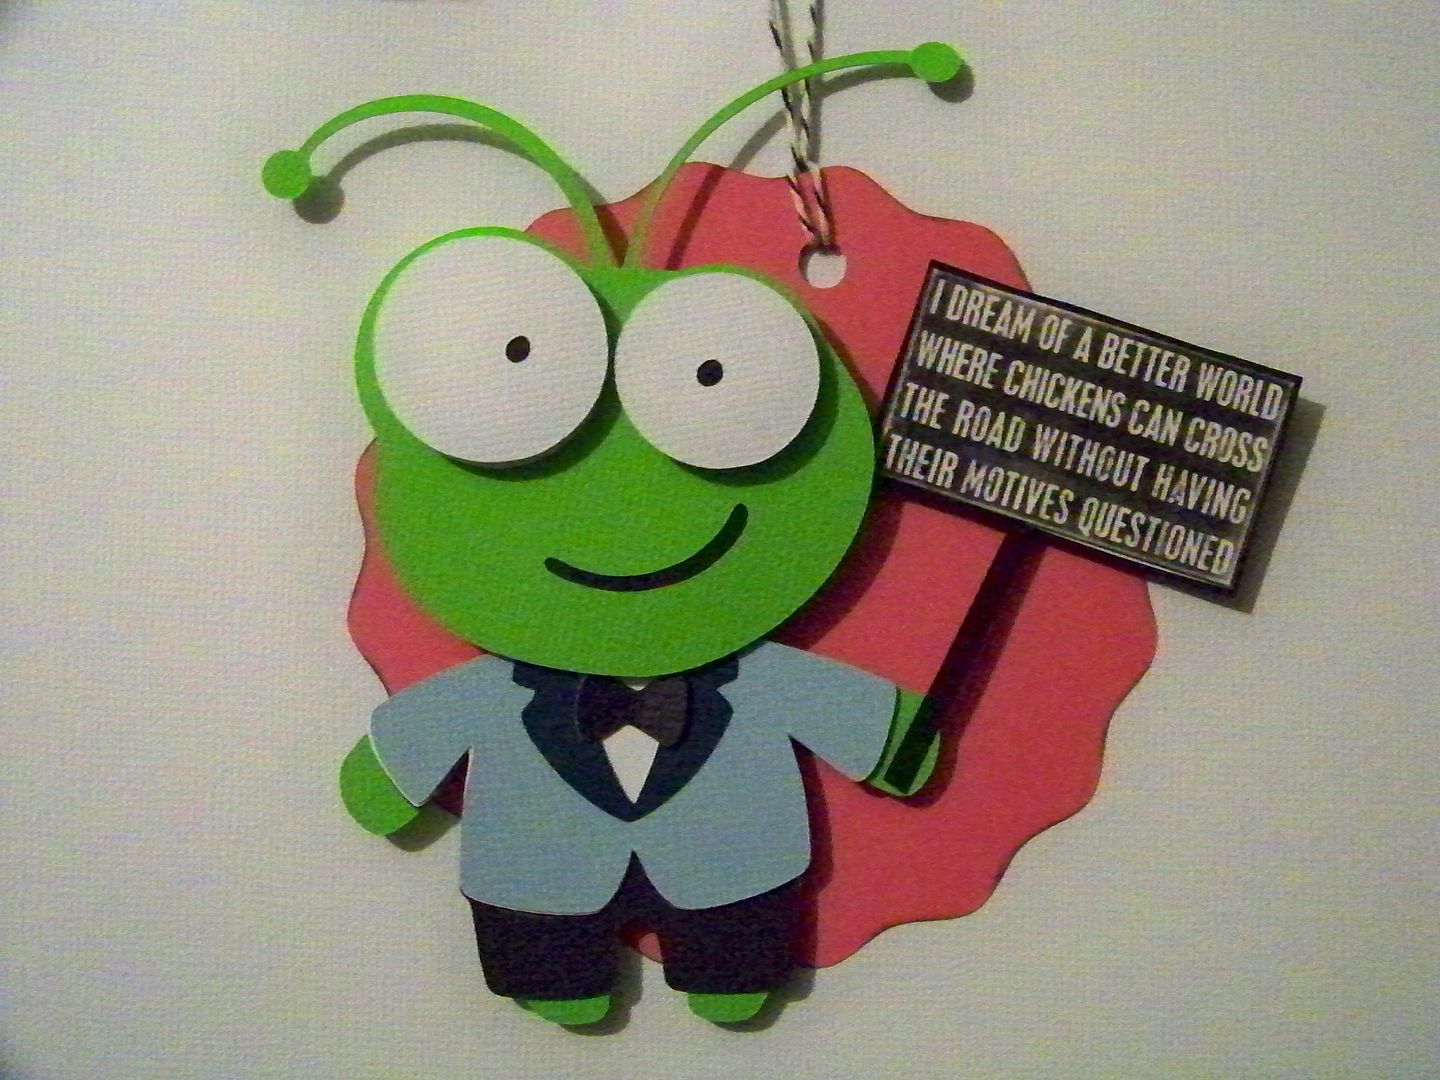
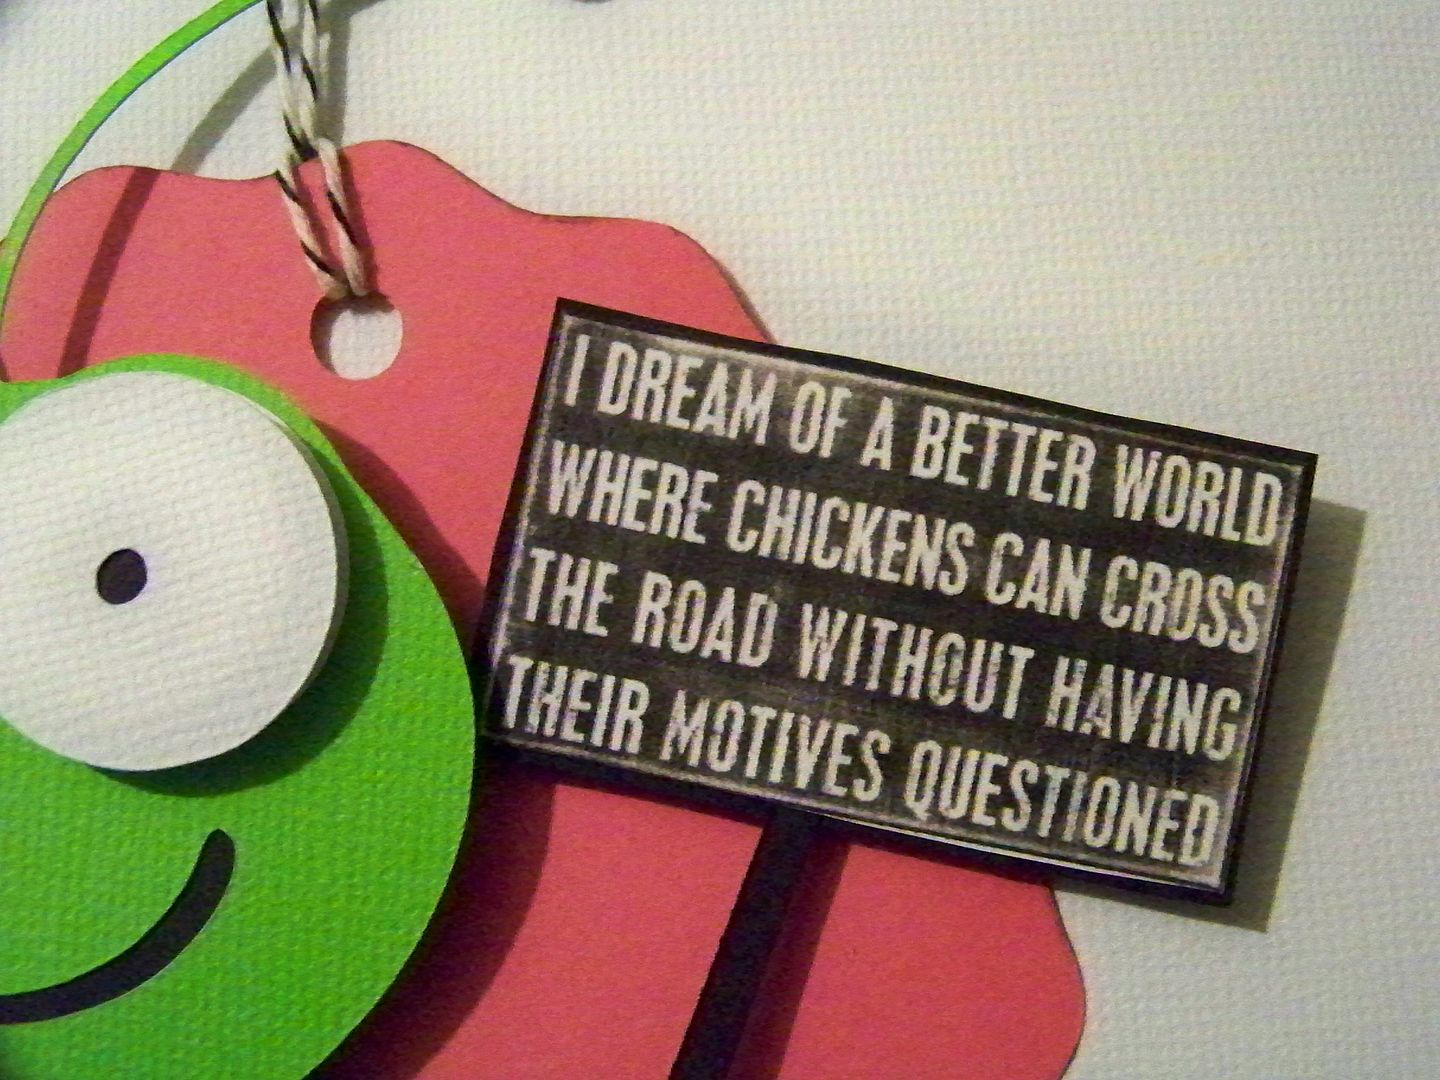
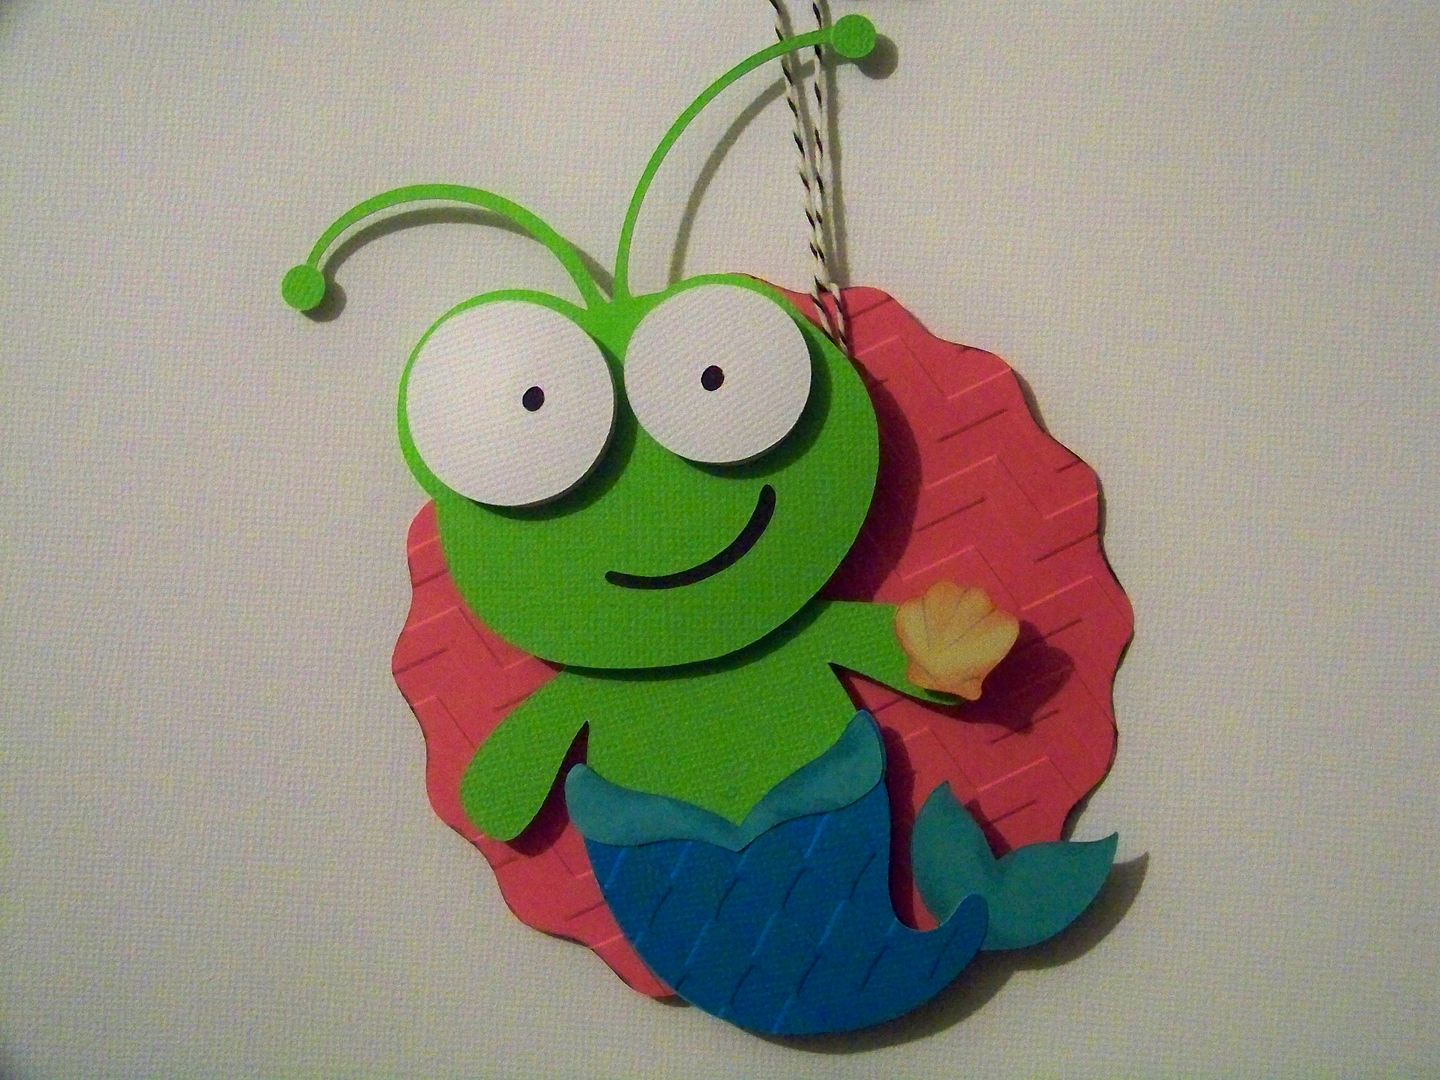
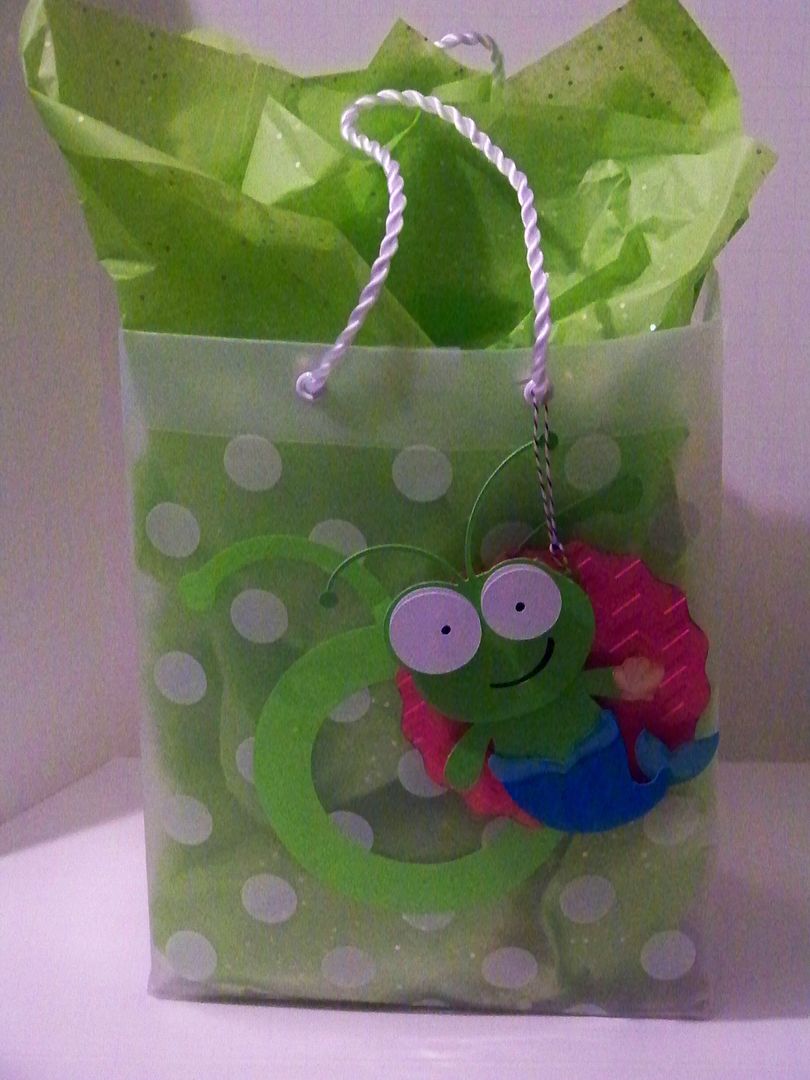
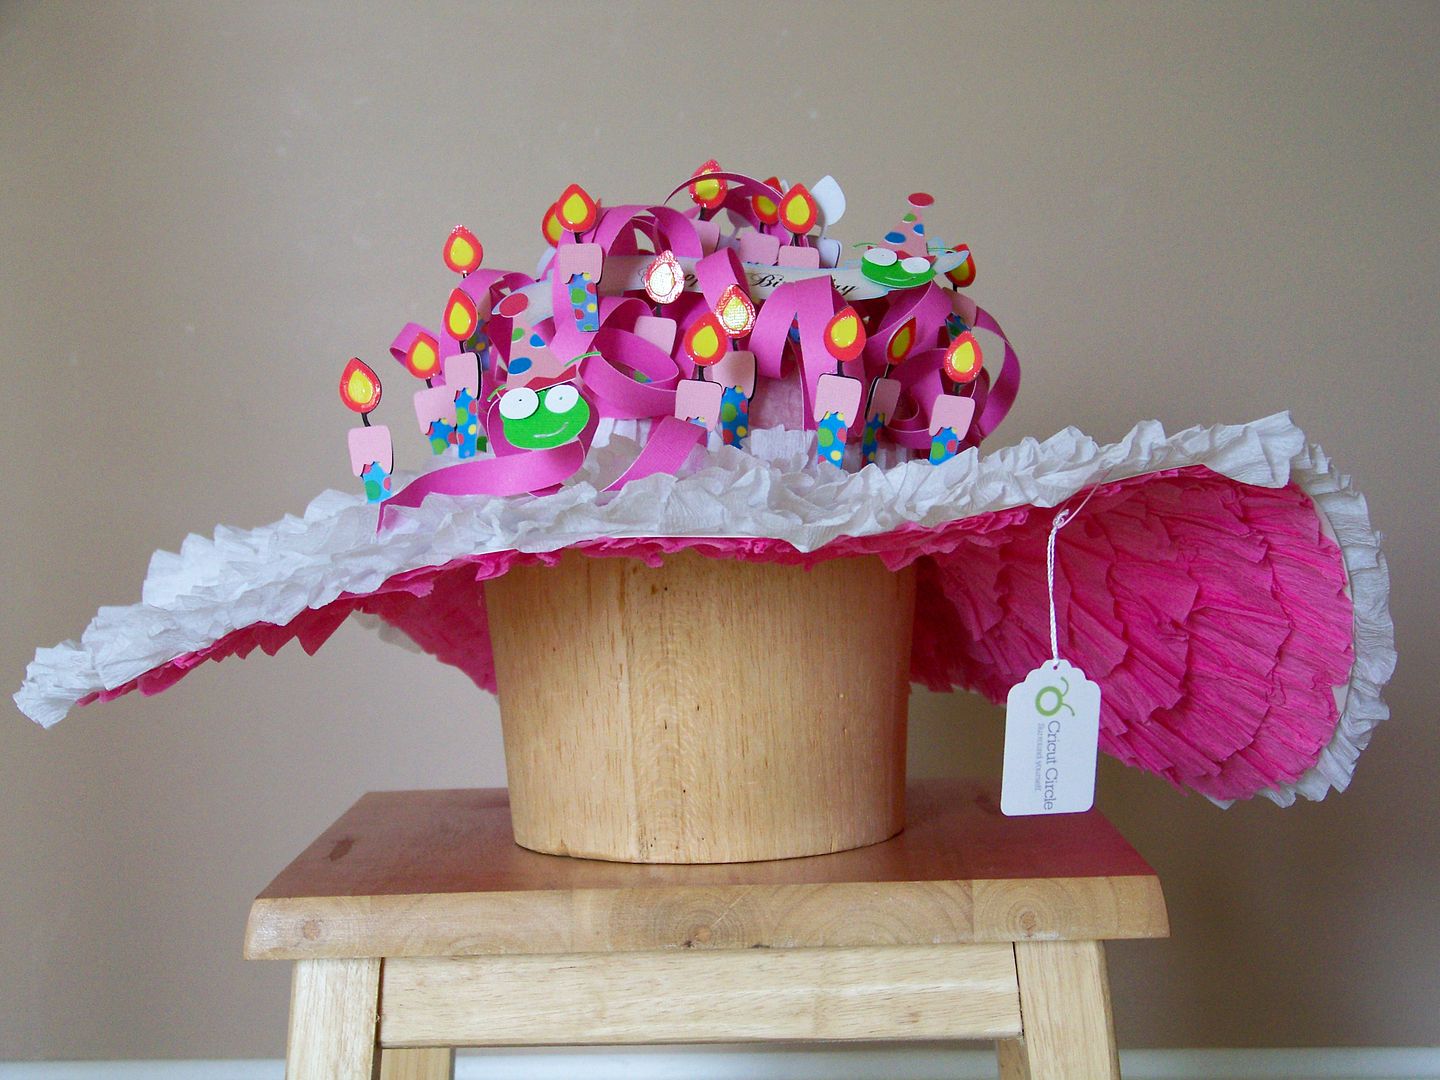
The hat was so silly... I felt a call from Minnie Pearl and added a little tag to it.

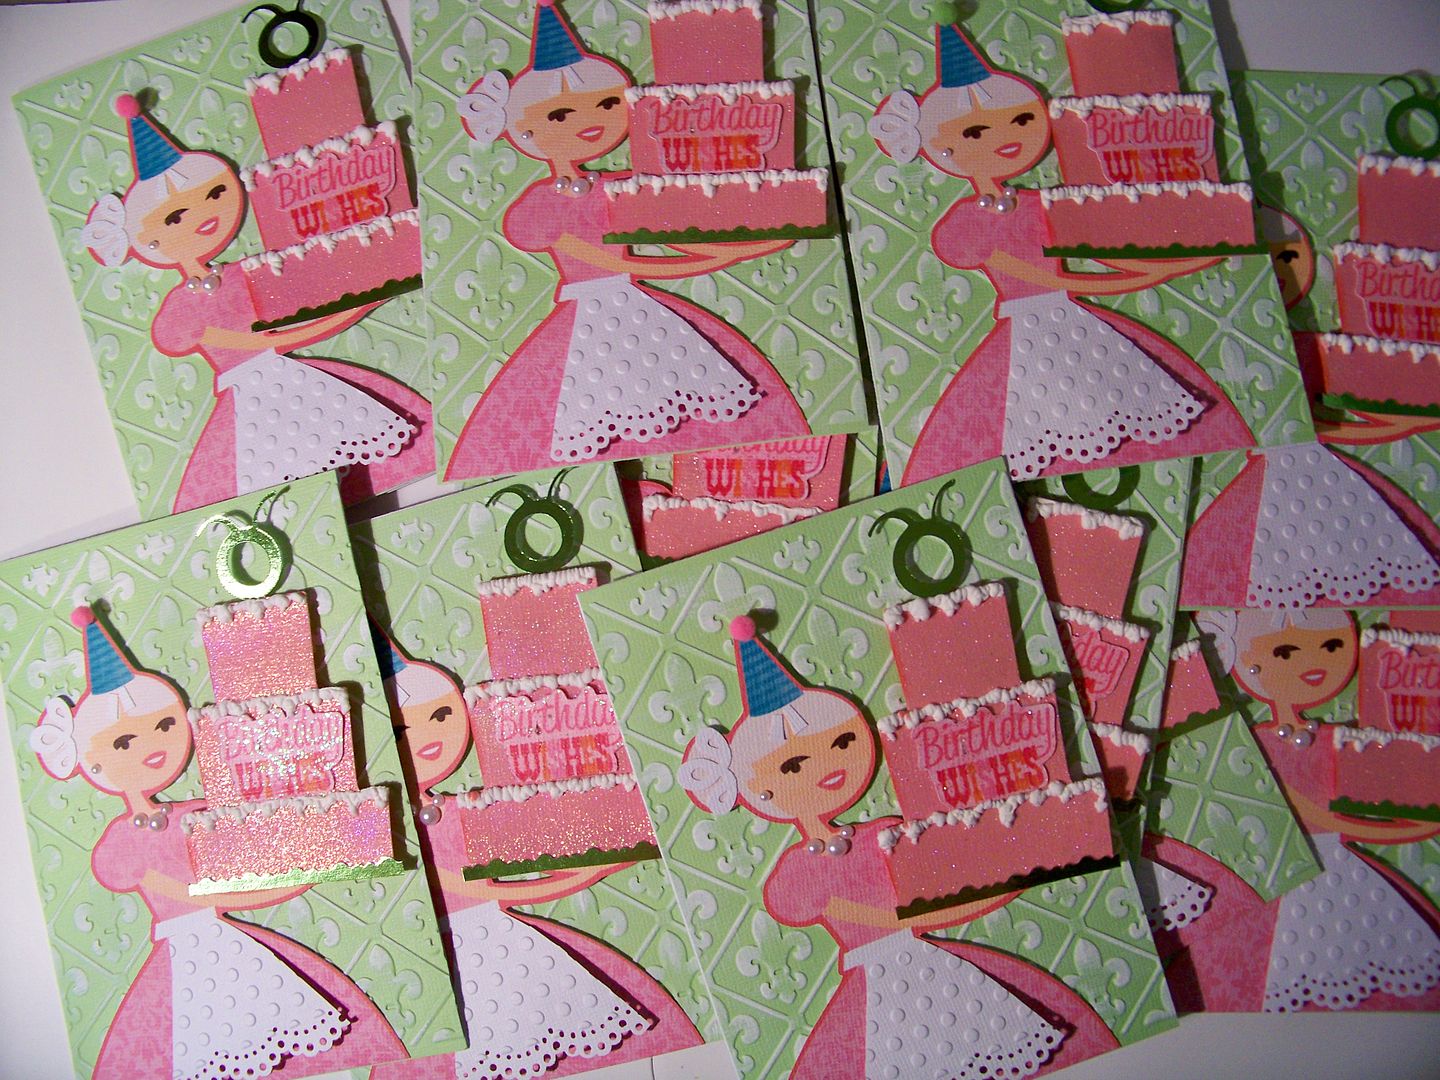
Next, I worked on cards for the Birthday Card Swap!  I know I will keep any cards I receive in this swap because I could never give one away!   I don't know that everyone will have that sentiment, but I made mine kinda circle-y so if someone did actually use it as a birthday card, they could send it to a Circle member.

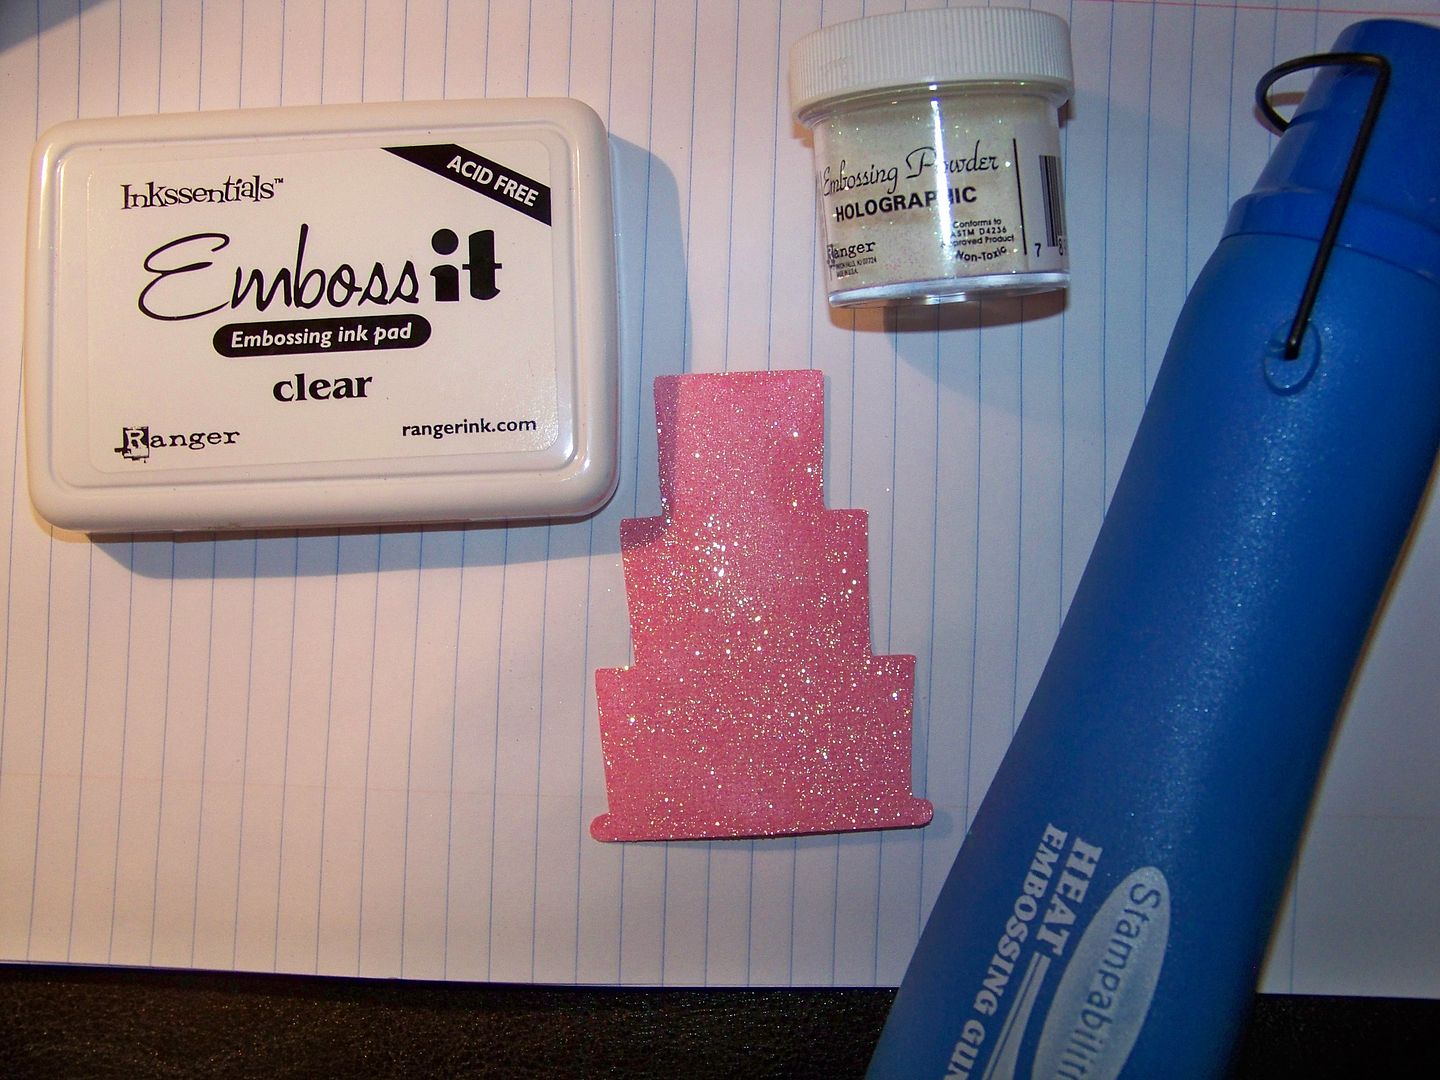
I started with the cake.  The cake was cut from Sweet Treats at 3" (blackout).  Autofill cuts 12 of these on 12x12 paper.  I used embossing powder to make the cakes sparkly pink and frosted the tops with Liquid Applique. 

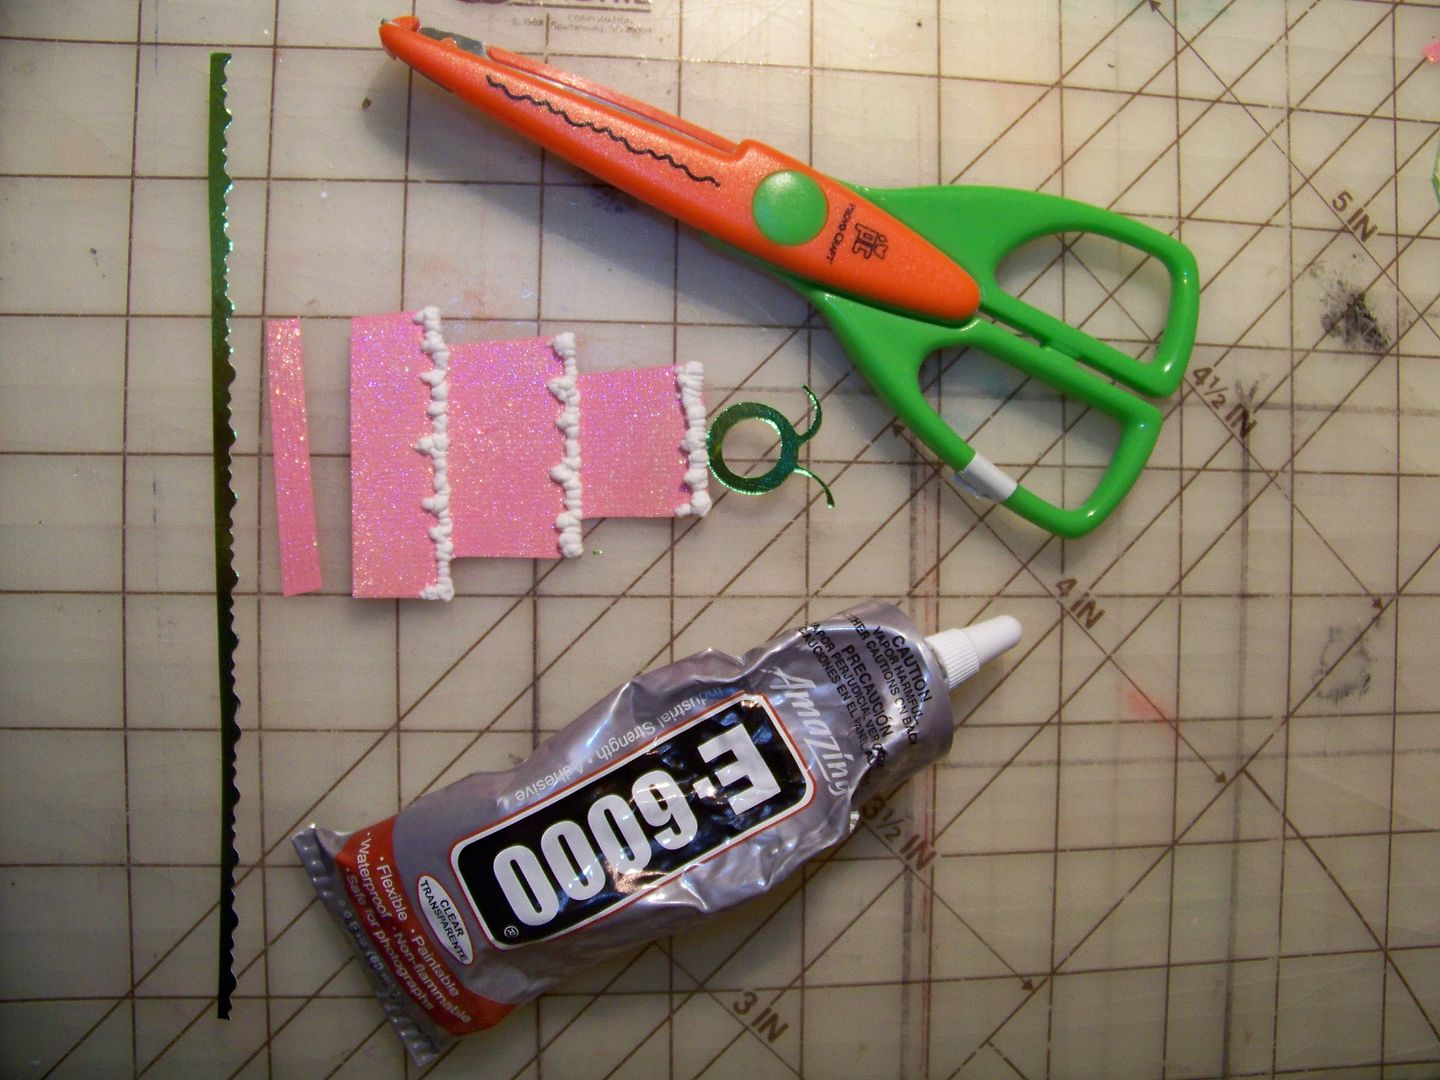
I manually cut off the bottom and added a hand-cut tray.  The Circle logo was cut at 1" from Cricut Everyday.  I glued the logo to a paper strip and then glued the strip to the back of the cake.

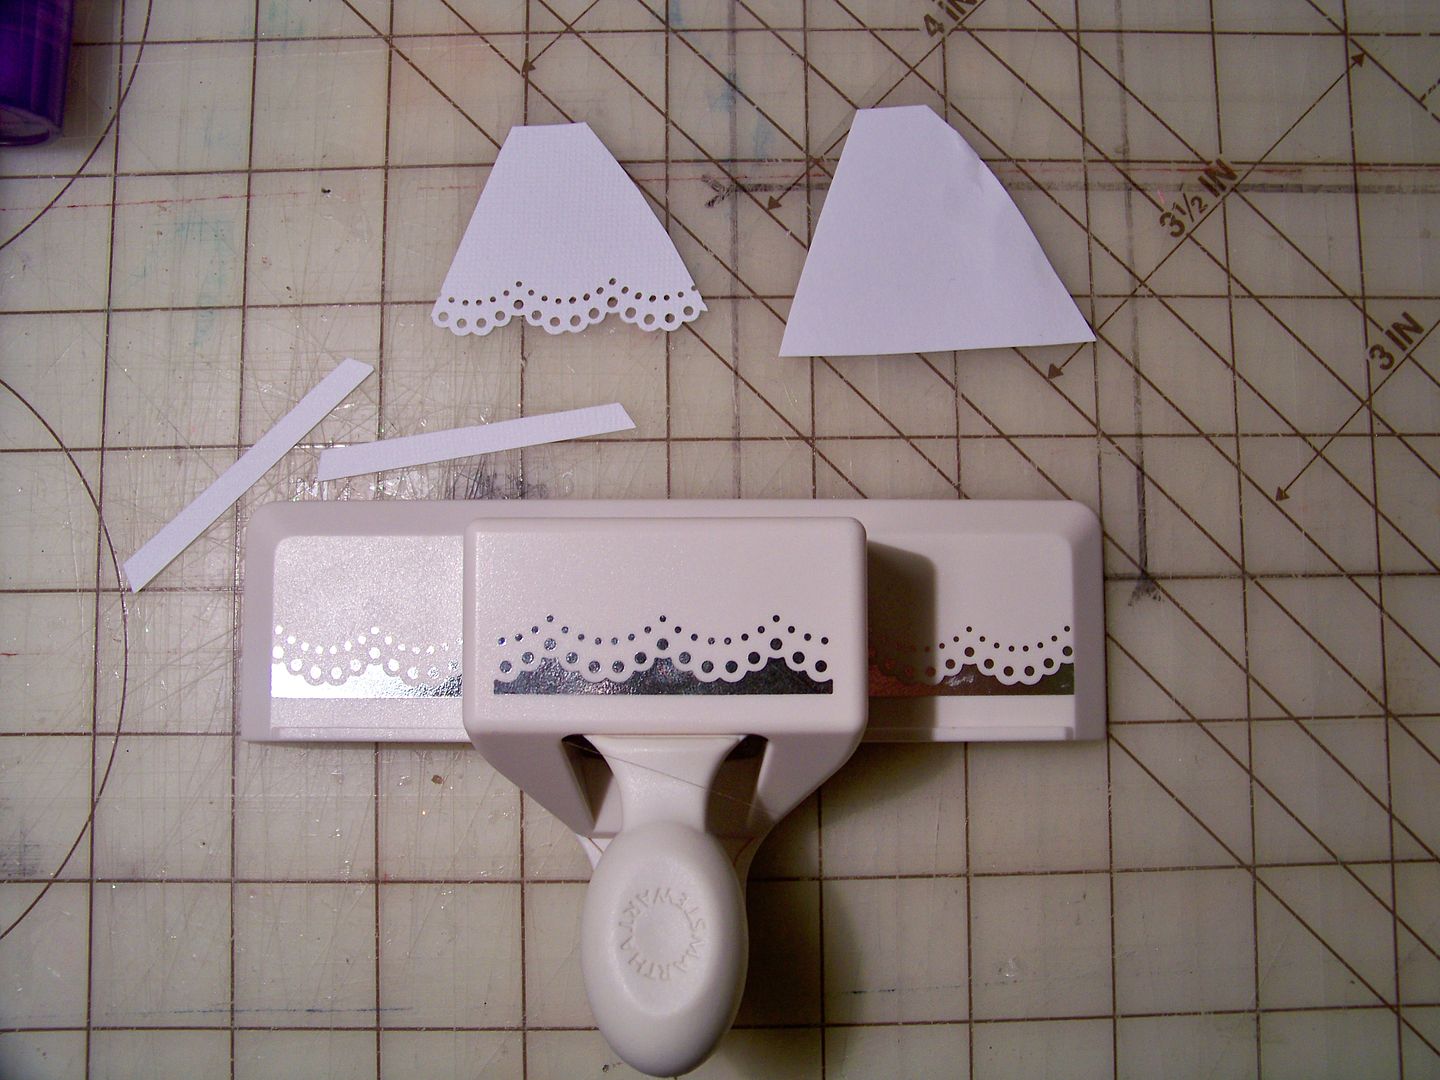
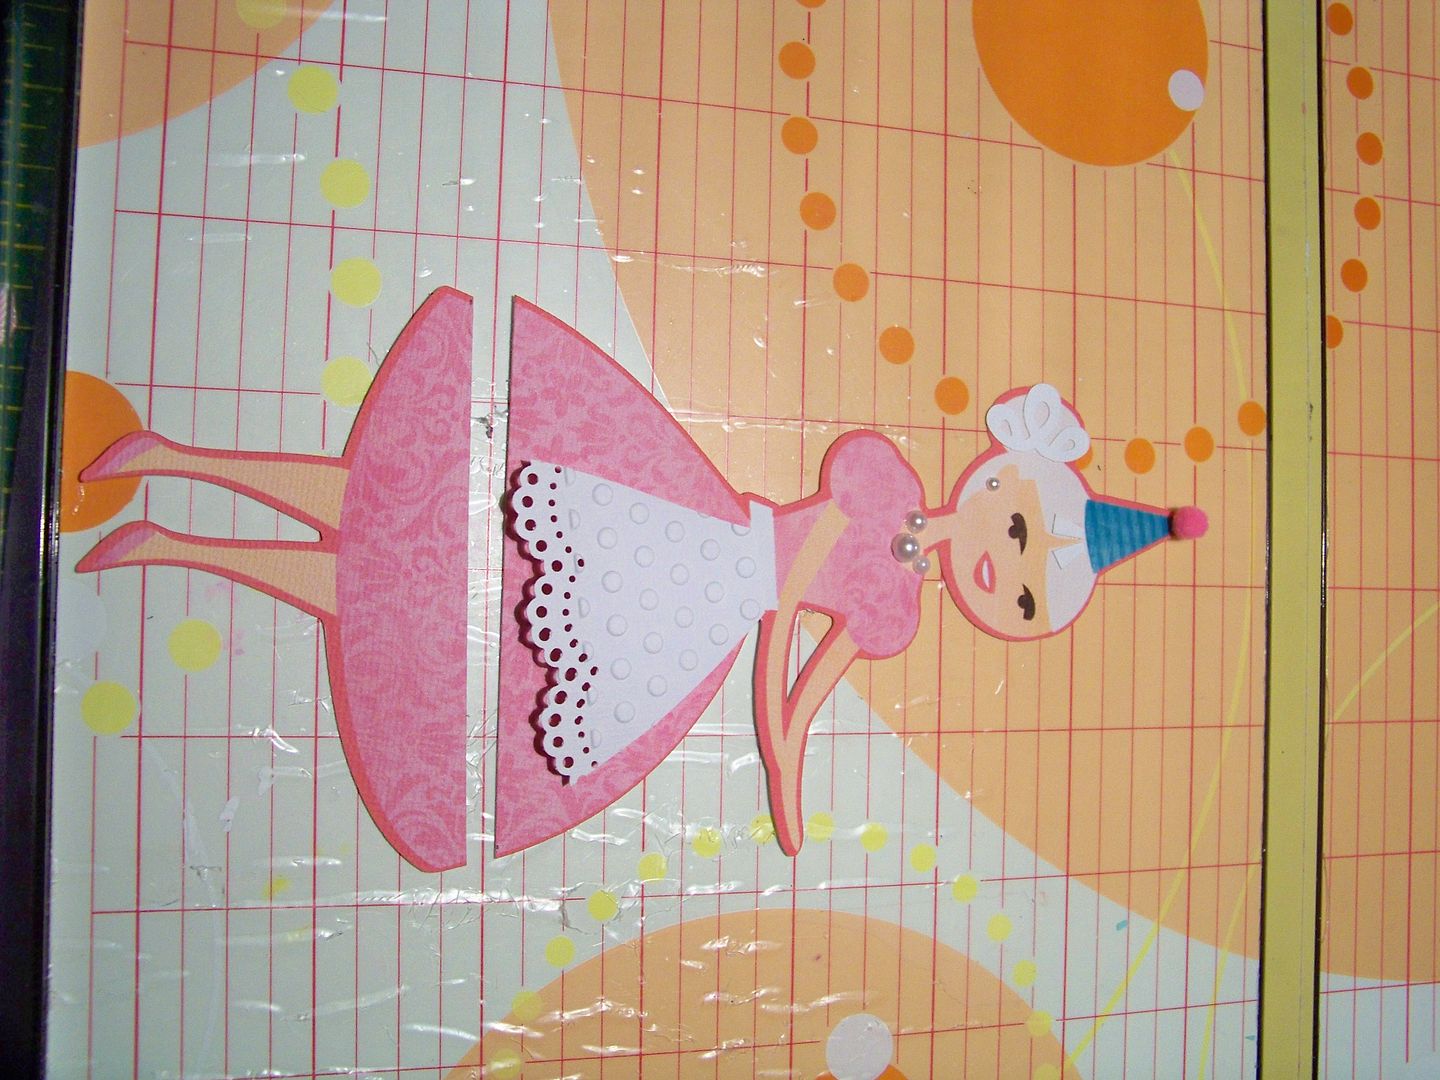
So then I had a cake.. but what to do with it?  I found the lady on the Yummy Imagine cart and separated her layers to cut her without the cake she is holding.  She was cut at 7".  I hand-cut an apron and then used a Martha Stewart edge punch to create an eyelet border.  I used the polka dot Cuttlebug embossing folder to give the apron a little texture, placing the apron so that the dots started just above the decorative edge.  I glued the apron direcly under the apron tie that was part of the printed-on apron, and then used a pop dot at the bottom to make it flair out.

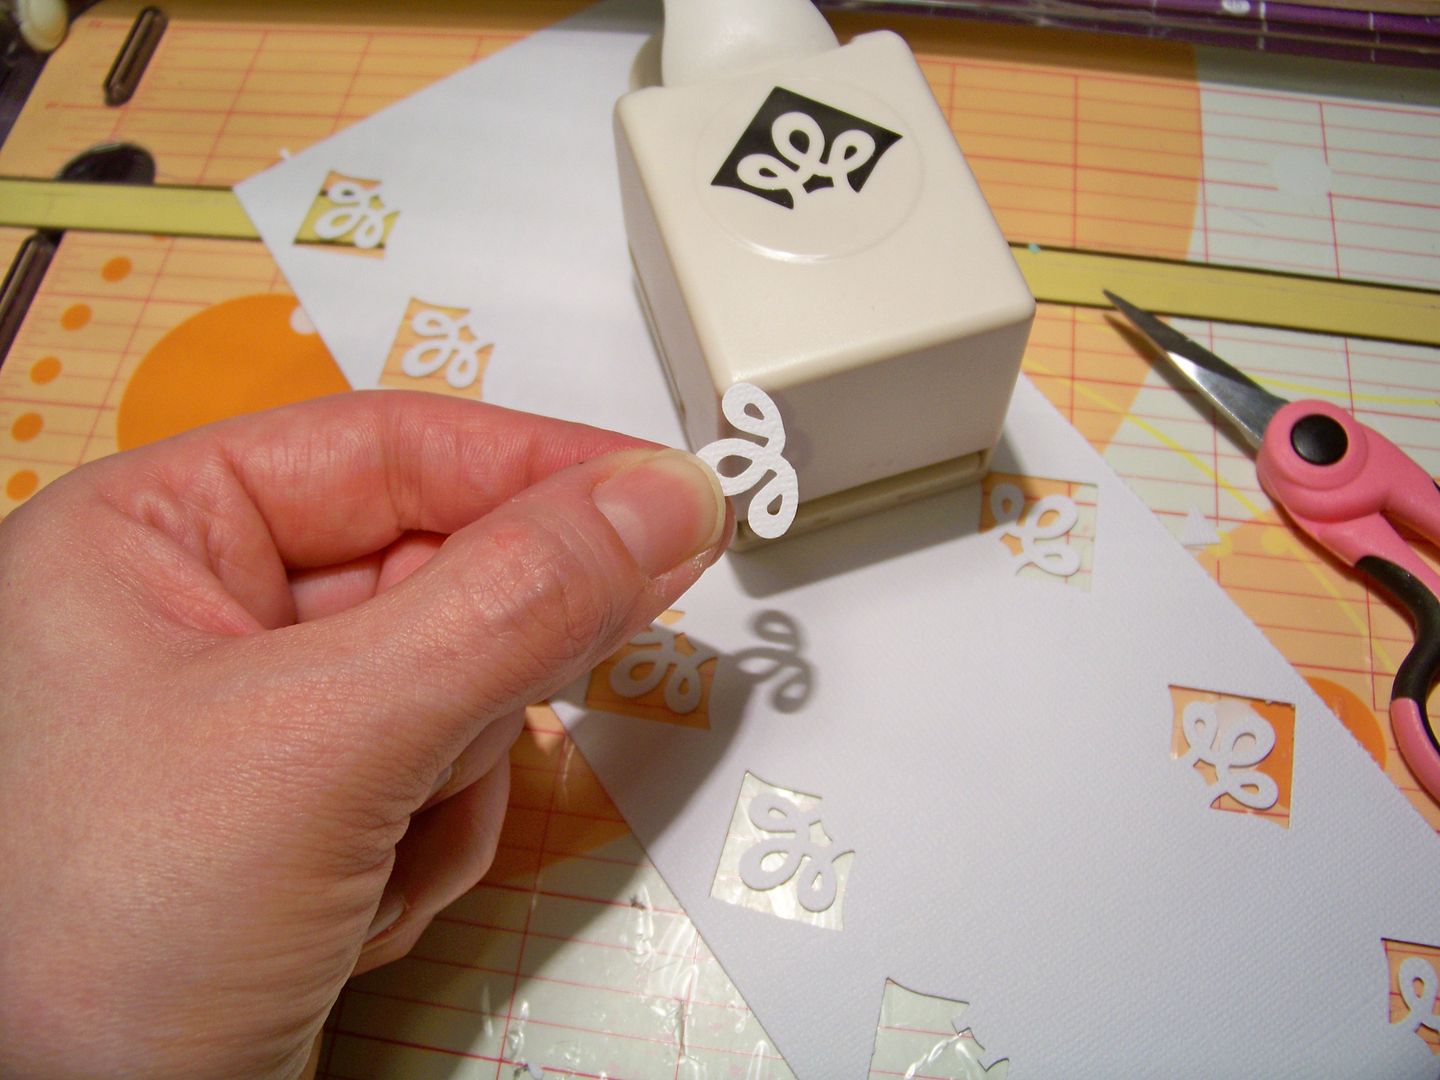
I embellished the lady with curls for her hair bun that I cut from a Martha Stewart punch and little rectangles for extra bangs.  I added pearls for a neclace and earrings.  I added a mini pom at the top of her party hat.

This is when I started asking myself 'how big is this card gonna be?'  Do you see how my never-have-a-plan way of crafting doesn't always serve me well?  (This is especially true when you just start making 12 of everything without a prototype!)  Well, I decided I wanted to make a card that finished at 4" wide and 5-1/2" tall.  This is a standard size, not too big or little, and would give me the opportunity to try something I have been wanting to do again -- crop a figure!  I cut off the lady's legs just under her apron!  It offered a 'close up' figure and I was really happy with it! 

The cake was a bit too big, but juxtaposing it made it work. I think it was yet another happy accident! (Do you see a trend here?)

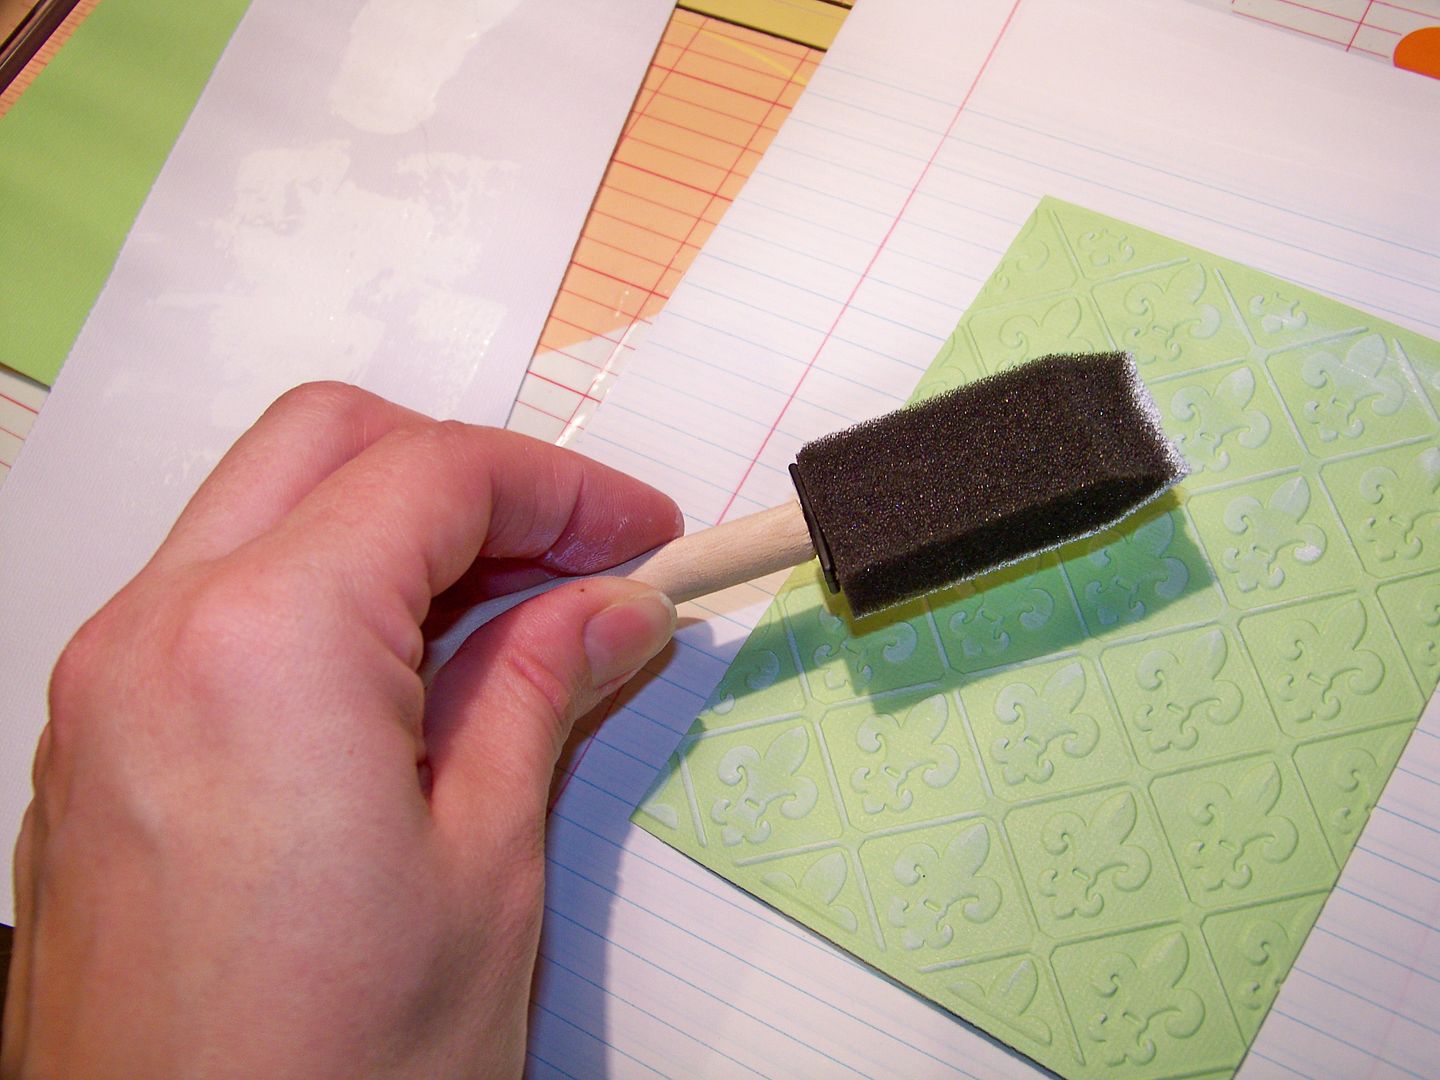
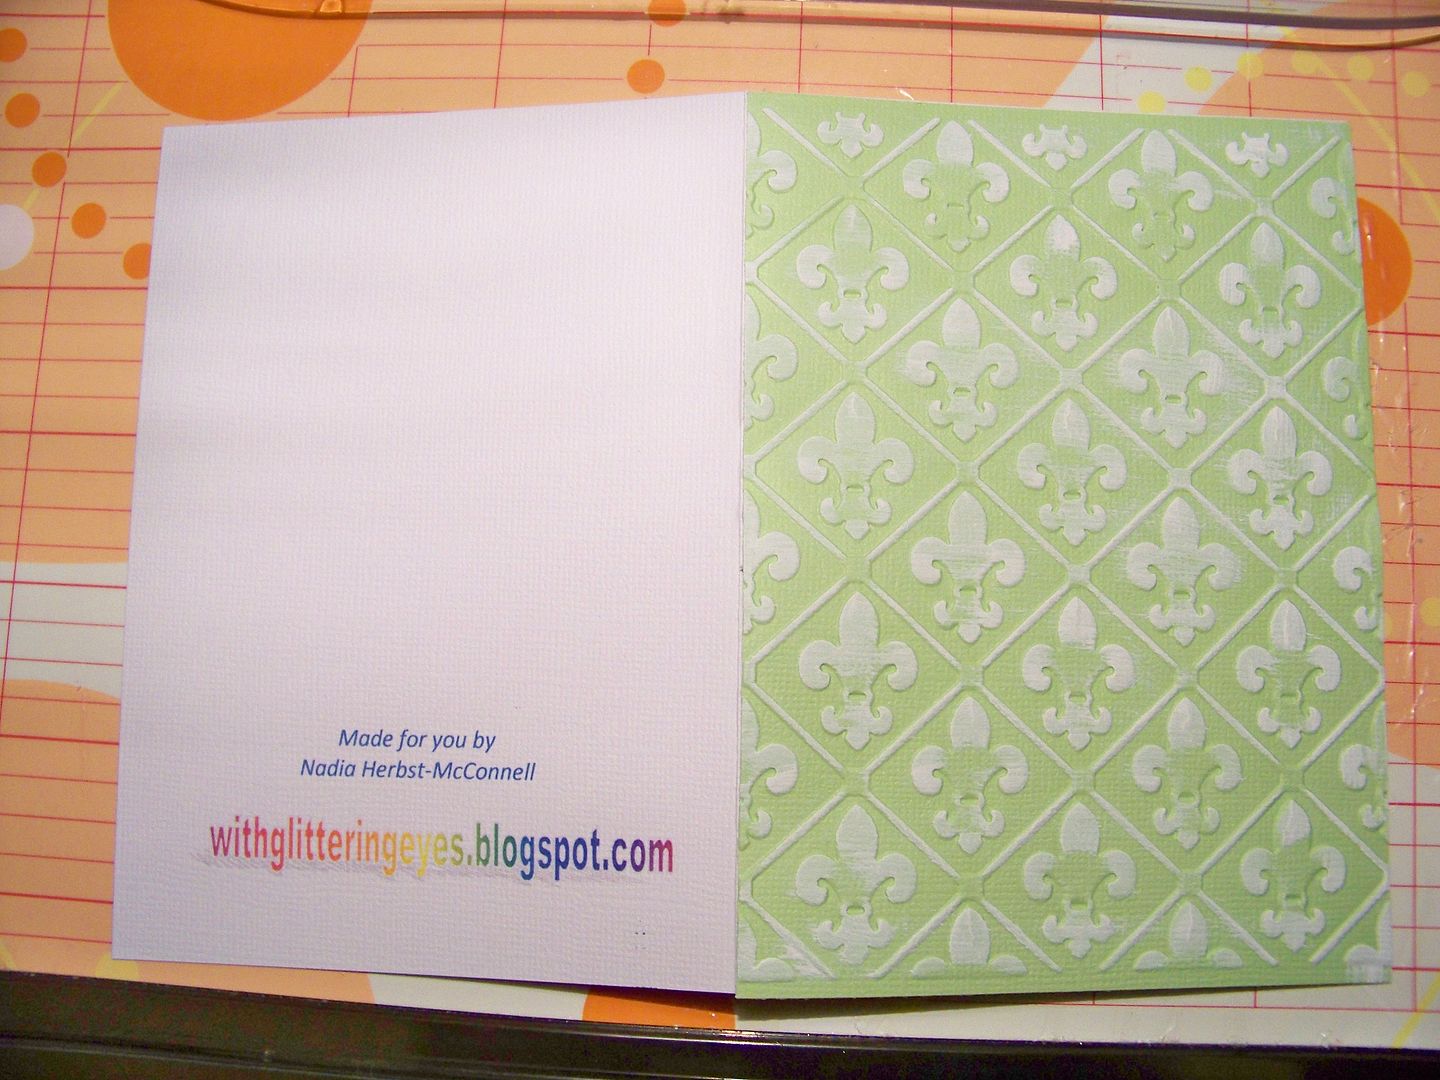
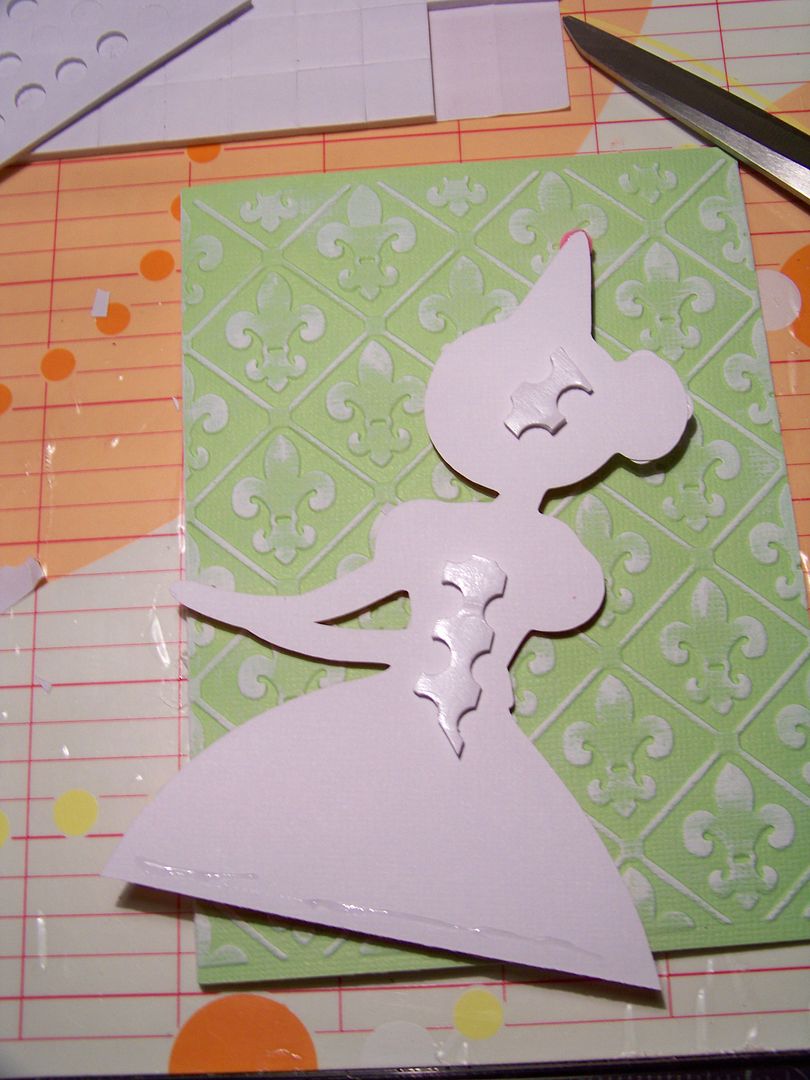
I needed something behind the lady.  I had just bought a new Cuttlebug embossing folder with a fleur de lis design.  Since this symbol is one that Louisville uses due to its French heritage, I thought that would be a fun background, though I doubt many who aren't from Louisville would catch that.  After I embossed the green cardstock, I used a dry sponge brush to apply white paint to the raised areas.  I loved how it worked out. 

I cut the card base from white textured cardstock.  I ran it through my office printer to print my name and blog address on the back.  Then, I used my ATG tape to attach the green fleur de lis paper to the base. 

I added the elements that I cut previously.  The lady was adhered with 1/16" popdots on her upper body.  Her skirt was glued flush to the paper.  This helped to emphasize the apron that I popped up.  I used 1/8" pop dots to adhere the cake.

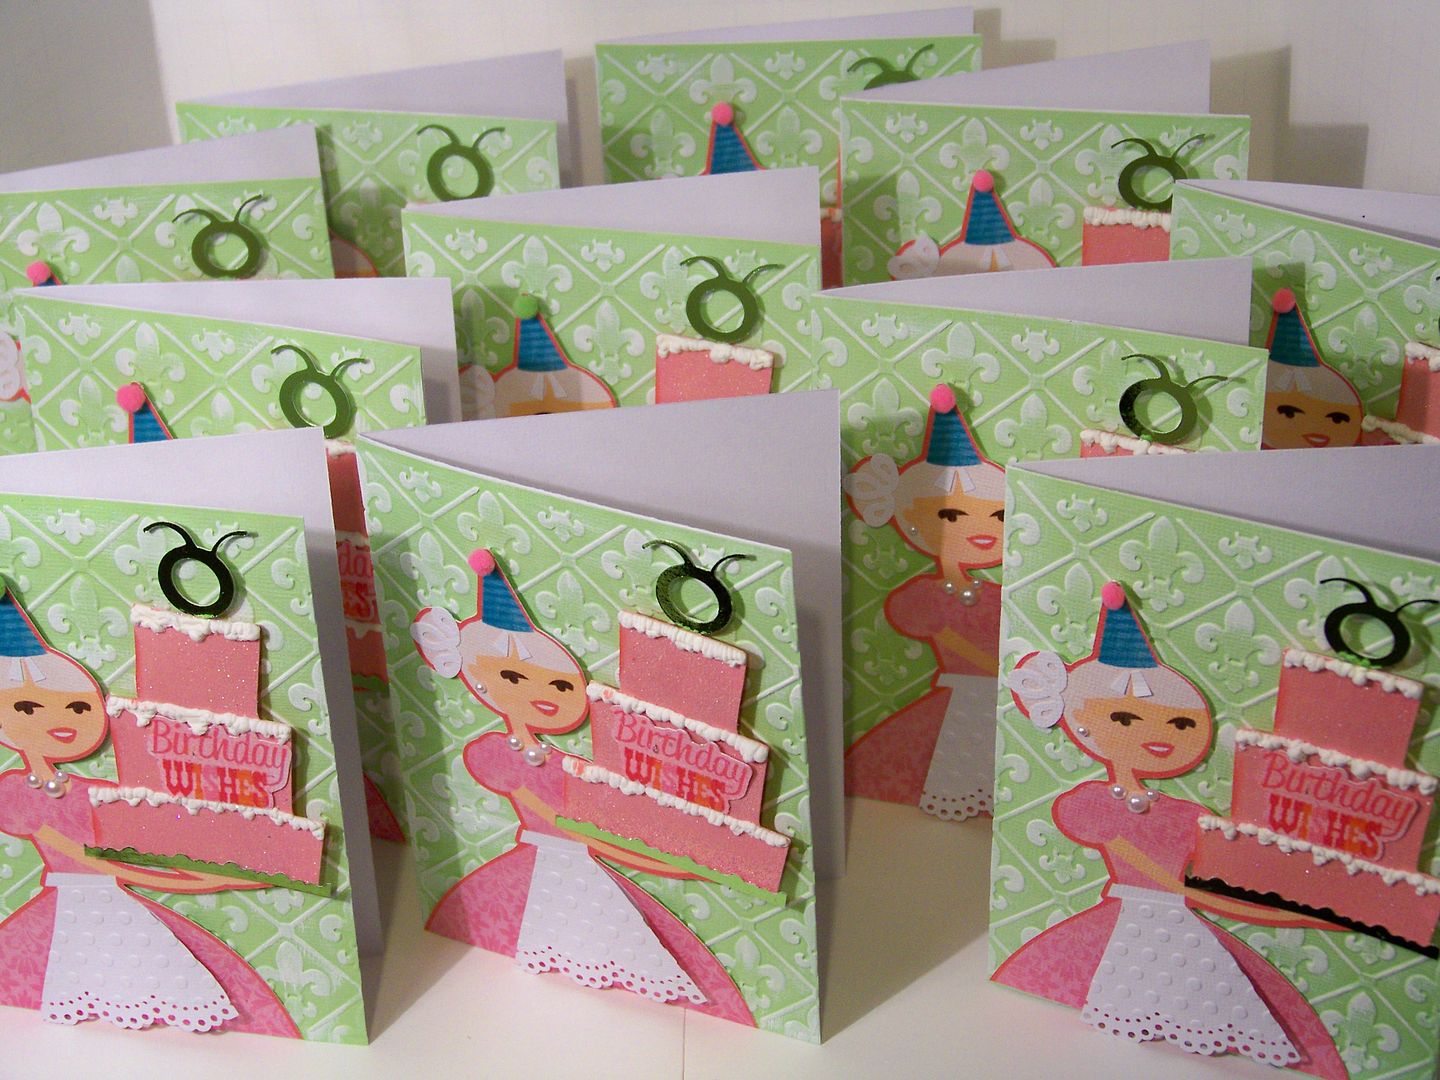
So then, the problem... text.  I finally decided to leave the inside blank and to add text to the front only.  I found "Birthday Wishes" on the All Wrapped Up Imagine cart and cut it at .8".  I manually trimmed the bottom edge a bit to allow it to fit under the puffed up Liquid Applique.  I added a little glitter glue to the surface via finger painting to make it a bit darker and glittery like the cake. 

I glued it onto the cakes with E600 since I had used used embossing powder on the surface and did not know how it would adhere. 

I liked how they finished up. 

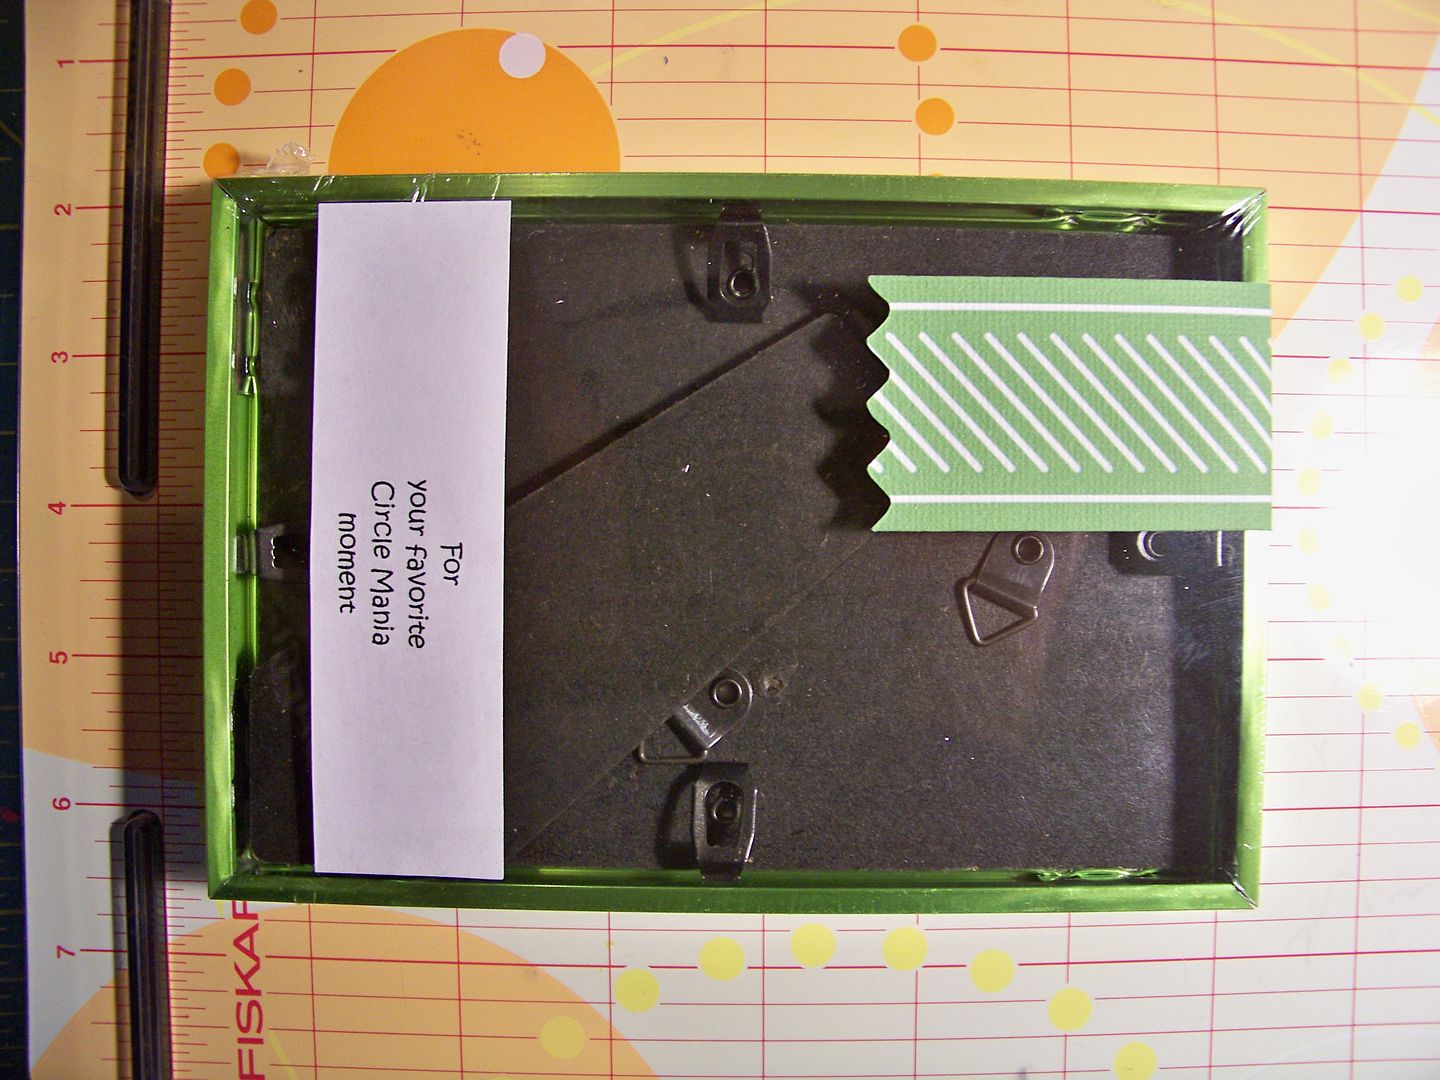
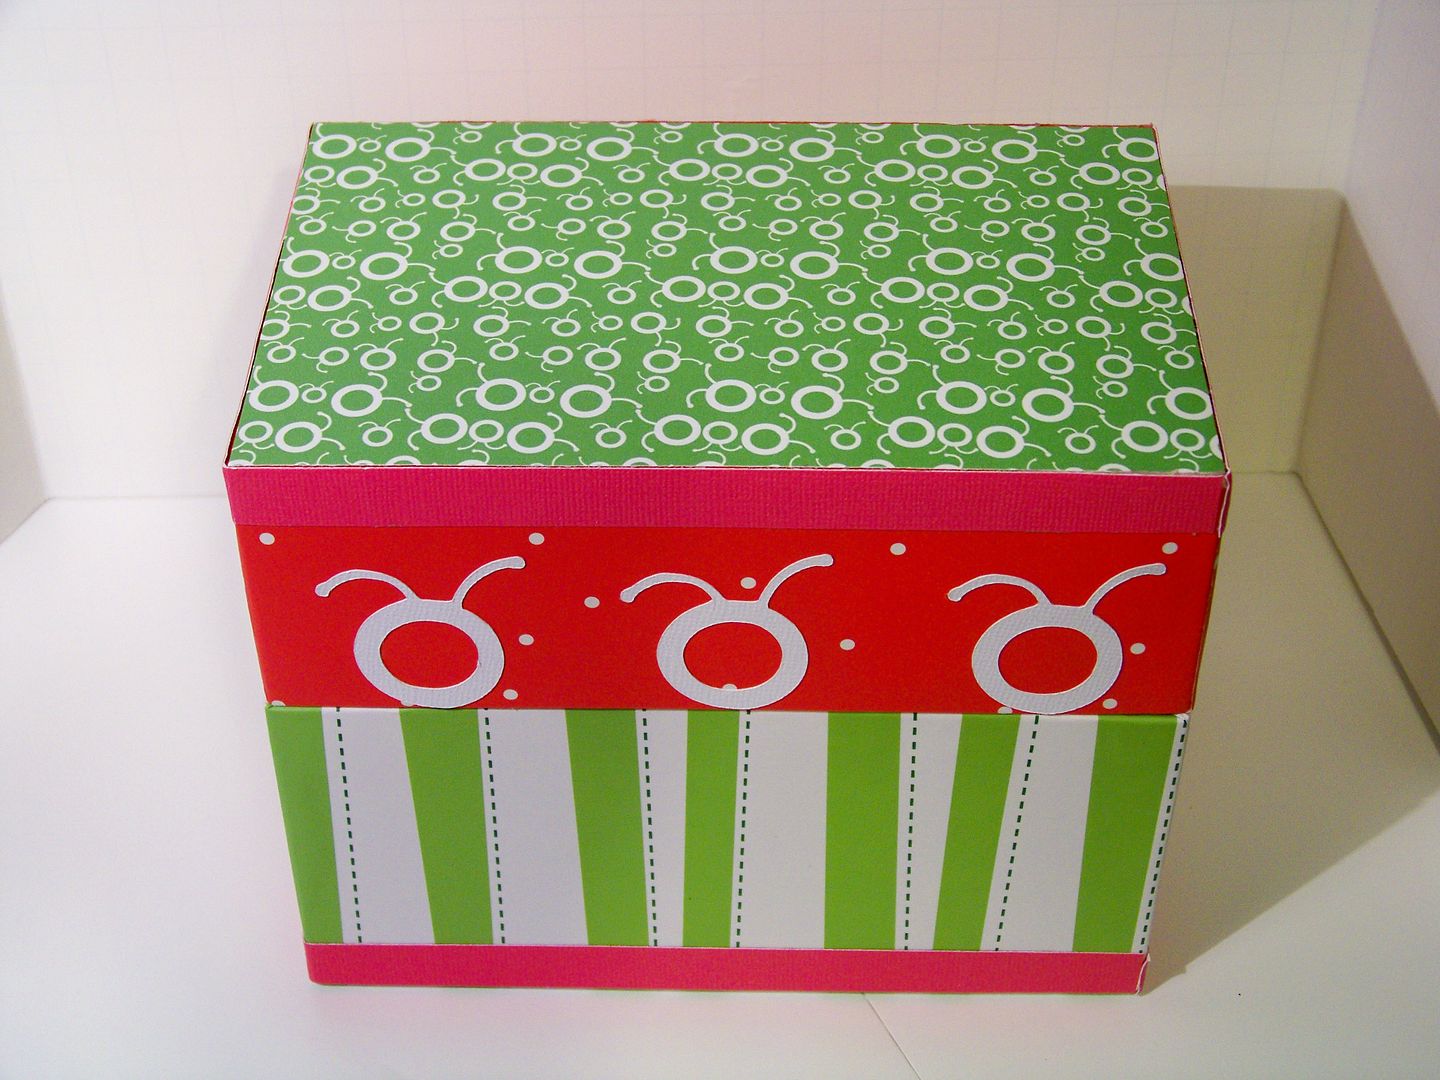
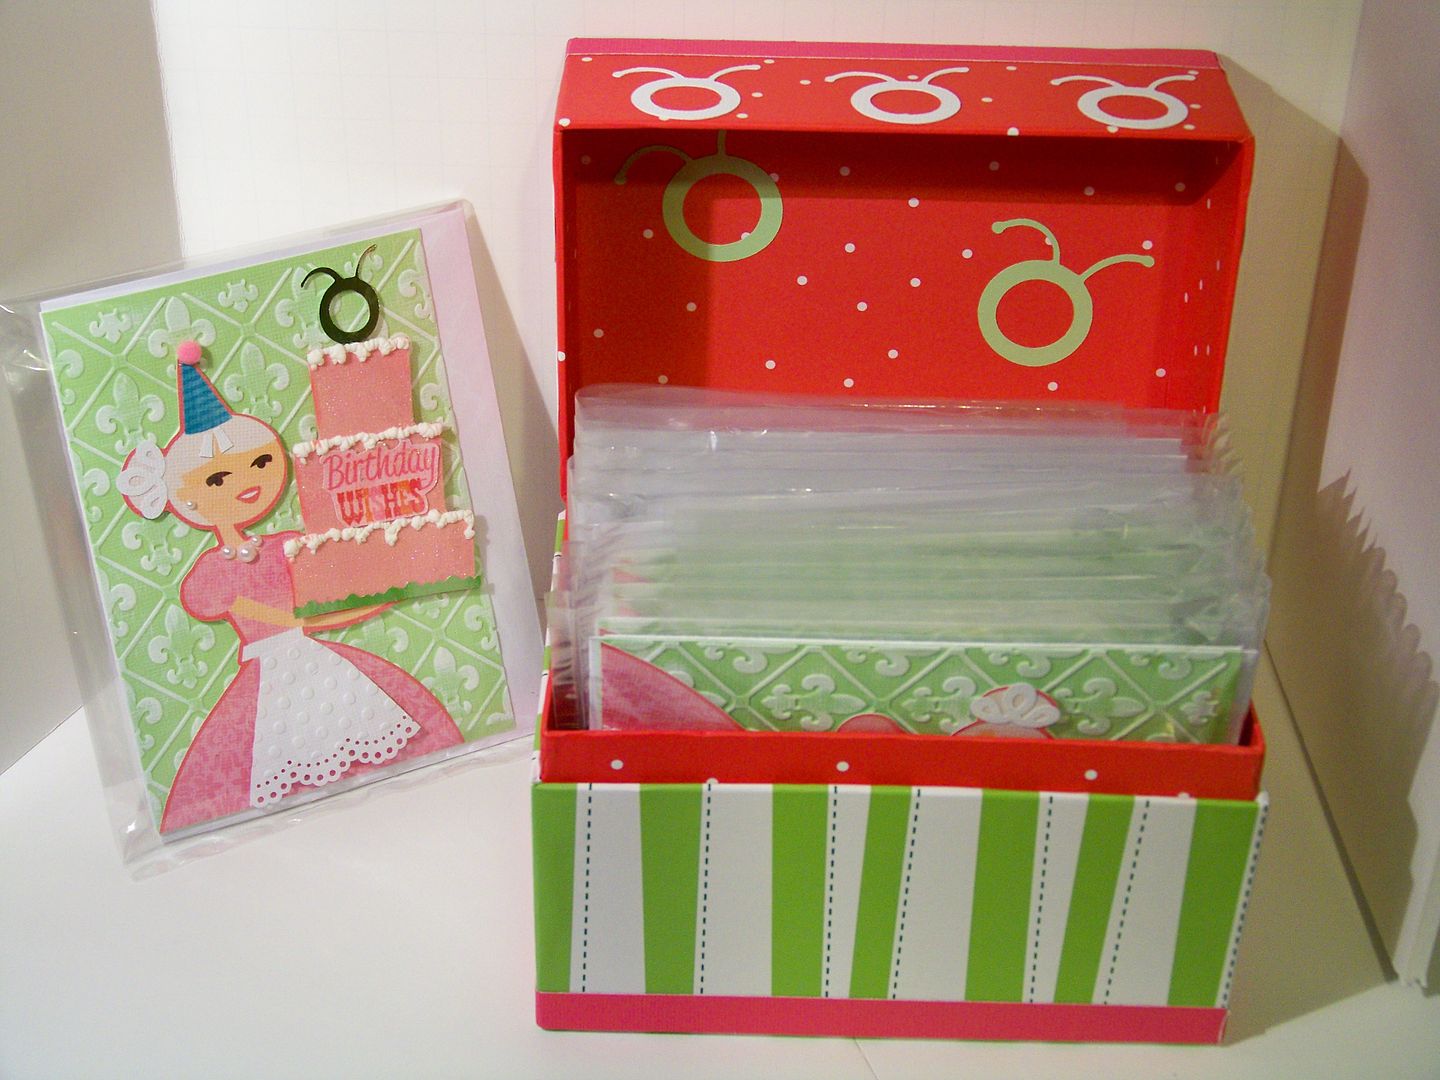
I provided manufactured envelopes since these are a standard size card.  I wanted to package them somehow to protect them and keep the envelopes together with the cards.  I found the perfect size Cello Bags!  Then I decided I needed to come up with a cute way to carry them since the Cello bags made them slide everywhere!  I found a recipe box I bought on clearance and had stored with my gift wrap supplies.  It was the perfect size. 

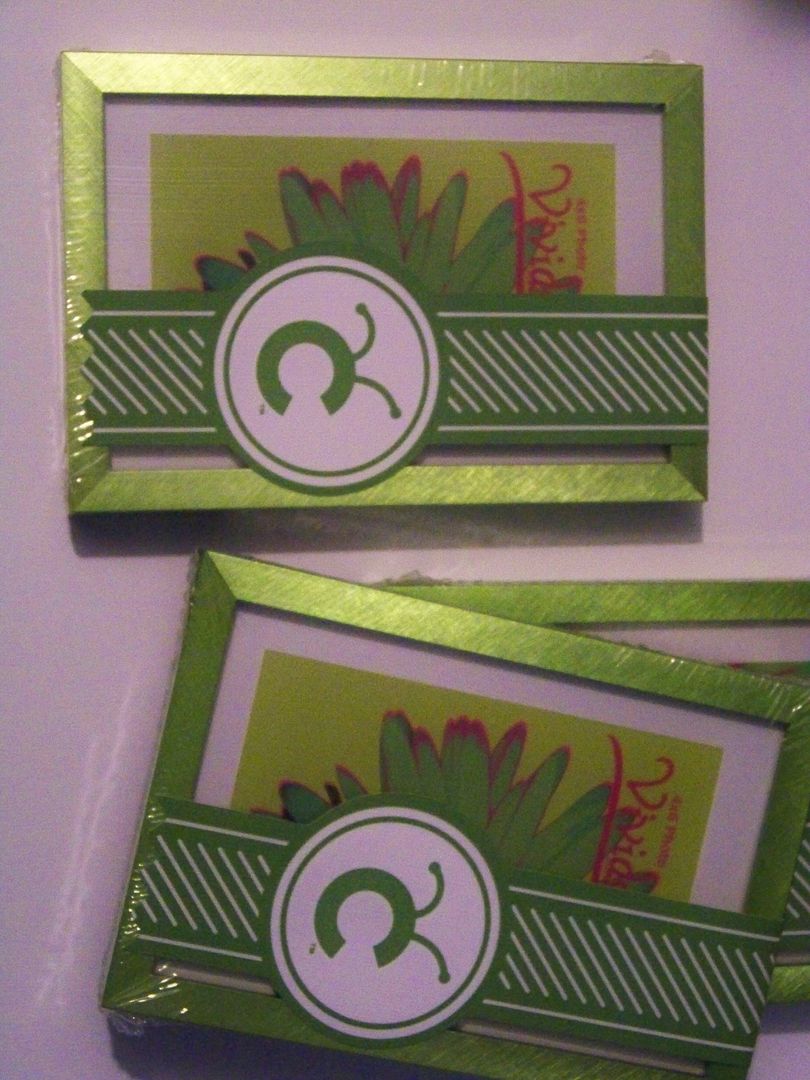
I covered up the Christmas motif on the top using fun paper that I got from a link on the Circle MB and Circle logos cut from Cricut Everyday at 2-1/2":


Next, I wanted a create a few gifts for some folks who were going to be at the crop, starting with Shannon of Provocraft.  I am just so pleased that the company was willing to come to town!  I decorated some reusable cups like those I had seen Joy and Shantaie post on the Circle Message Board.  I thought they would be fun souvenirs.  Even if the recipients had similar cups, I was pretty sure they didn't have Kentucky ones!!

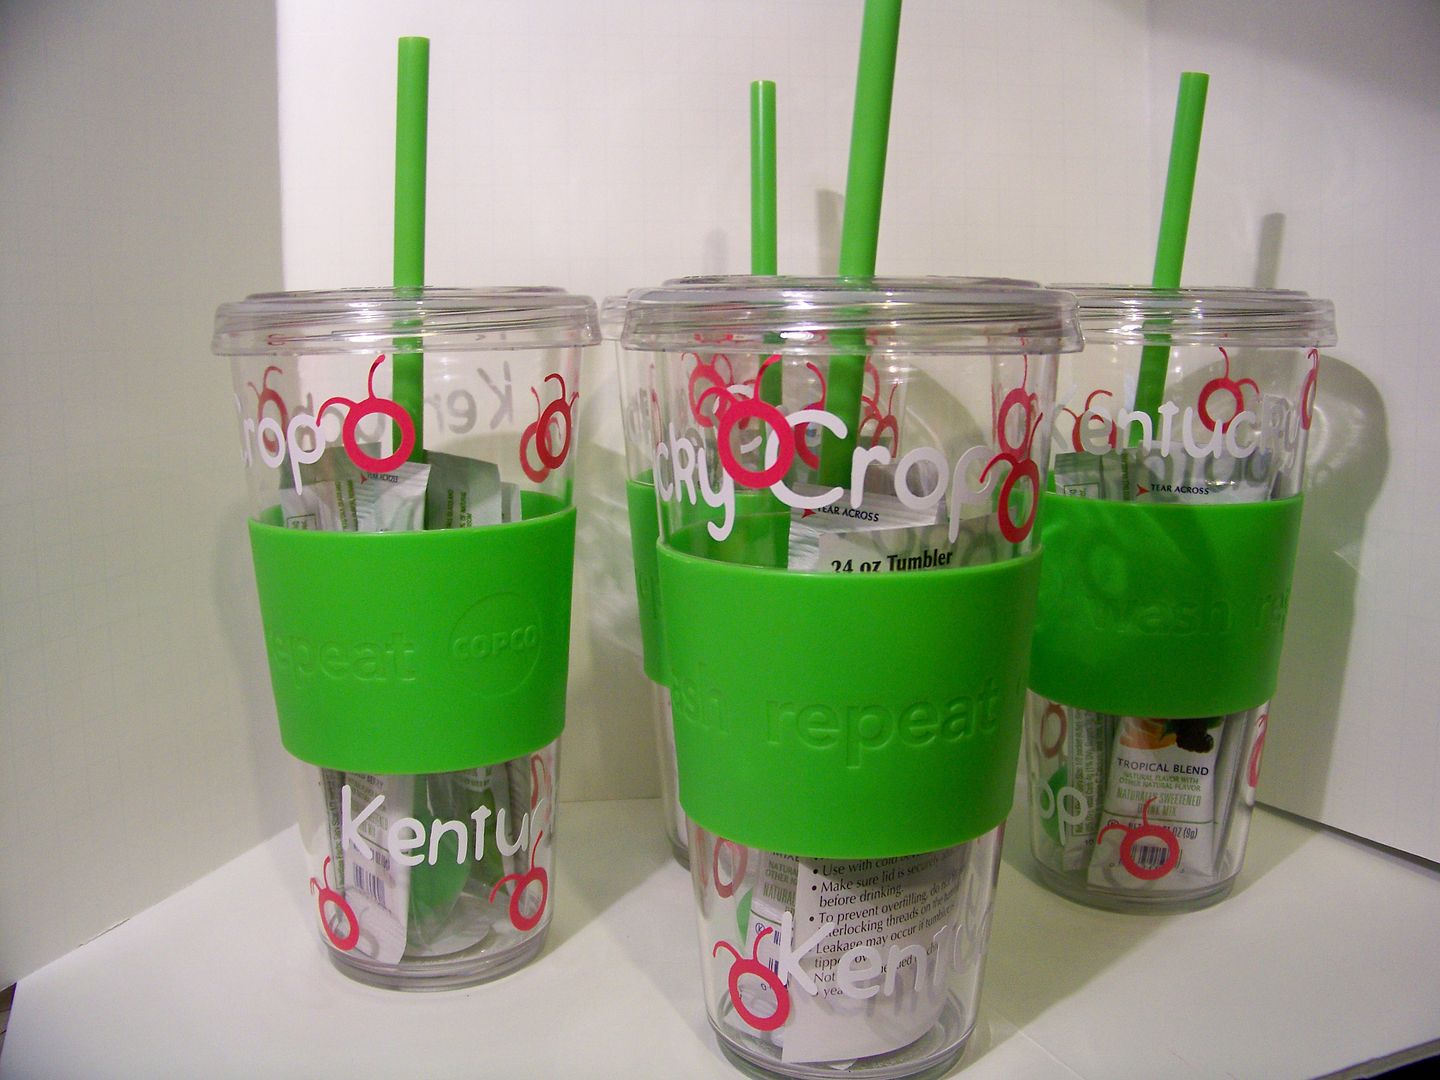
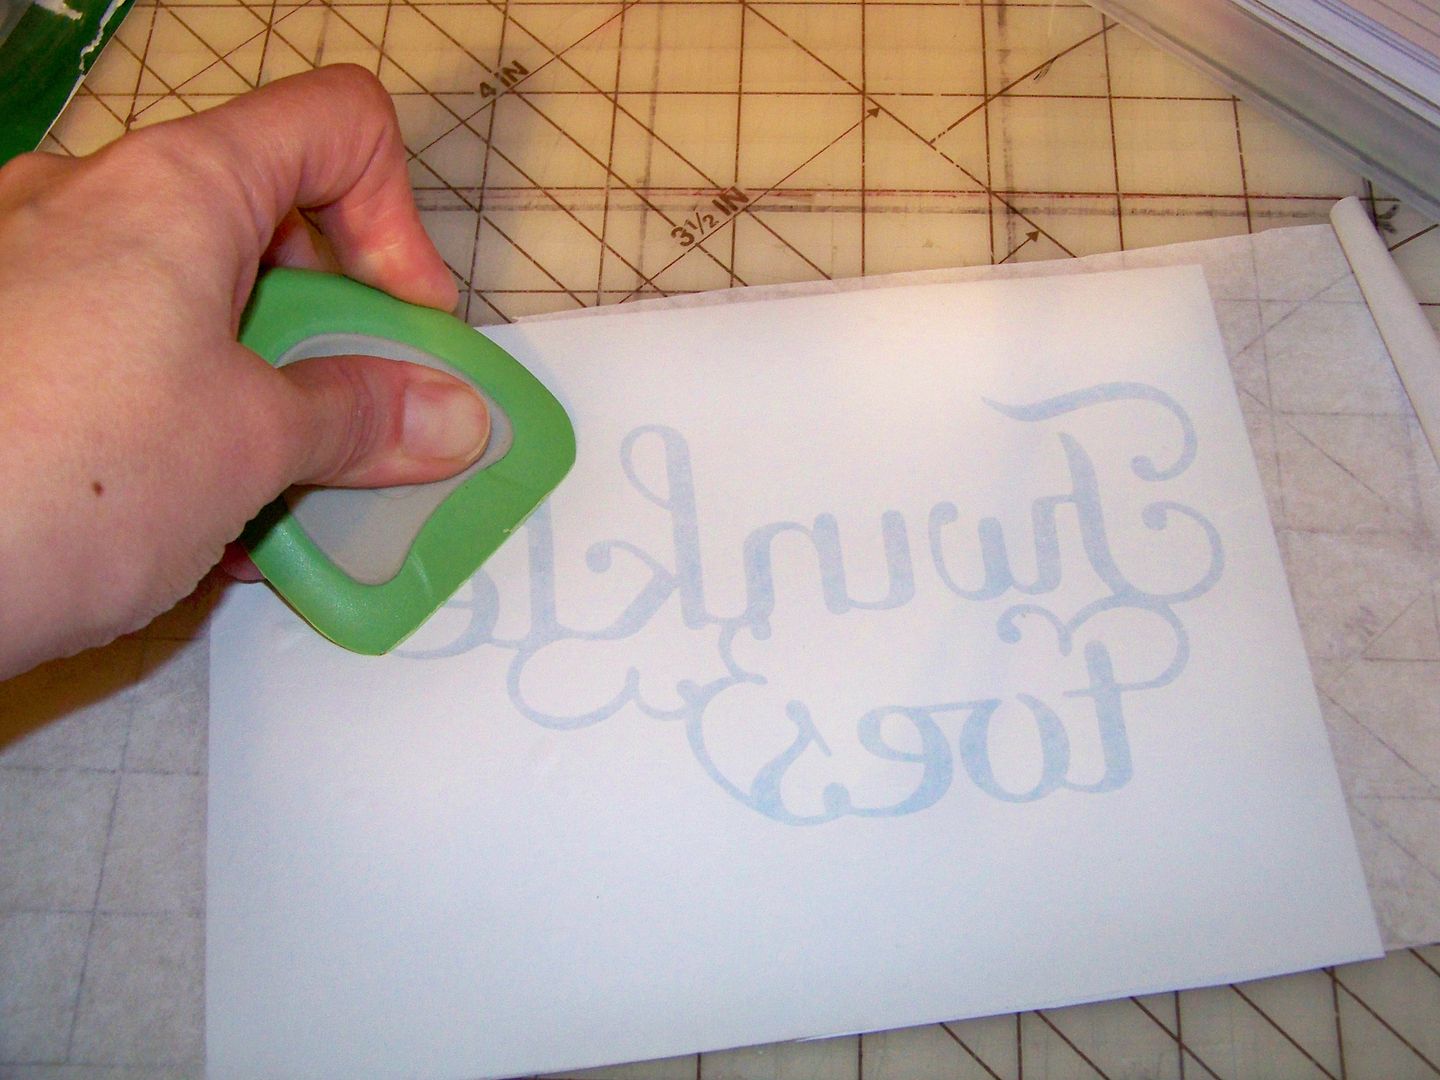
To make these, I used Oracal 651 for the text.  I didn't have it in hot pink, so I used Oracal 631 for the logos.  I hand-washed them after applying the vinyl to be sure it would hold up and shockingly, it did!  I added a few drink mixes in the cups for fun.  The vinyl was kiss cut (blade 3, pressure 3, speed 3) and applied with transfer tape.
The text was cut from Making the Grade at 3/4".  The Circle logo was cut from Cricut Everyday at 1". 

I made up some decorated candy bars to go with the cups. 

You can find my tutorial on these here:  http://withglitteringeyes.blogspot.com/2011/06/keep-calm-and-pretend-you-are-at-crop.html
I put the candy bars and cups together in specially decorated bags.  You can see my tutorial on the Bravissimo-inspired ribbon decorations  here:  http://withglitteringeyes.blogspot.com/2011/05/bravissimo-i-figured-out-how-to-make.html  I had specific folks in mind when I made the ribbons!
I added some special Kentucky items to Provocraft Shannon's bag!   I decorated some extra candy bars for some MB ladies who have been keeping up the thread about the crop.

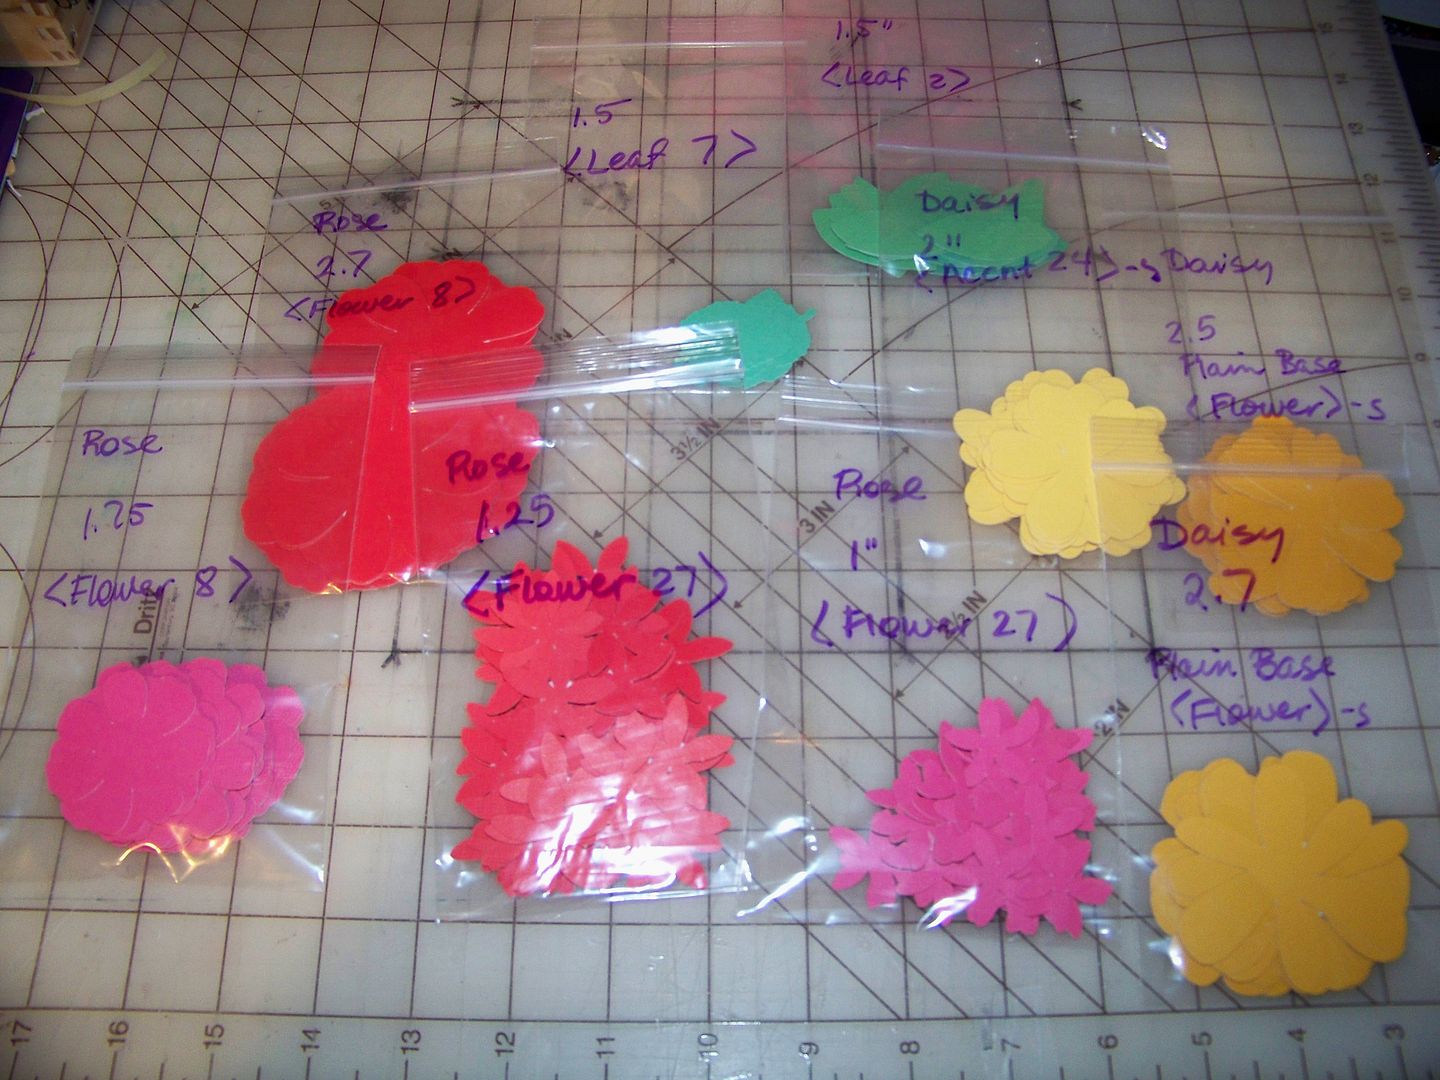
I have decided that I will be making flowers at the crop.  I am using Juliana's tutorial from the Circle blog to make daisies and roses.  I want to avoid taking my machine and carts!  I finally have cut all of my petals and leaves!

I picked up some McGill flower-making tools and a mat to take.  I may receive my Cuttlebug Quilling Kit in time to take that too (hope so!).

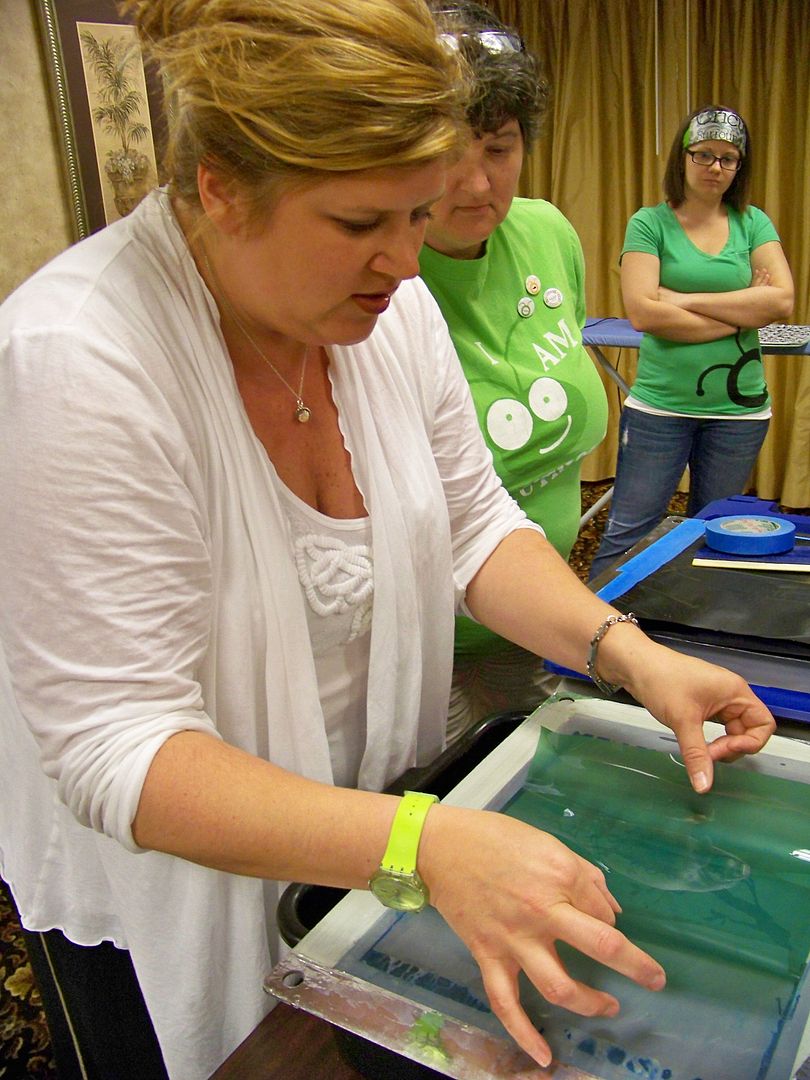
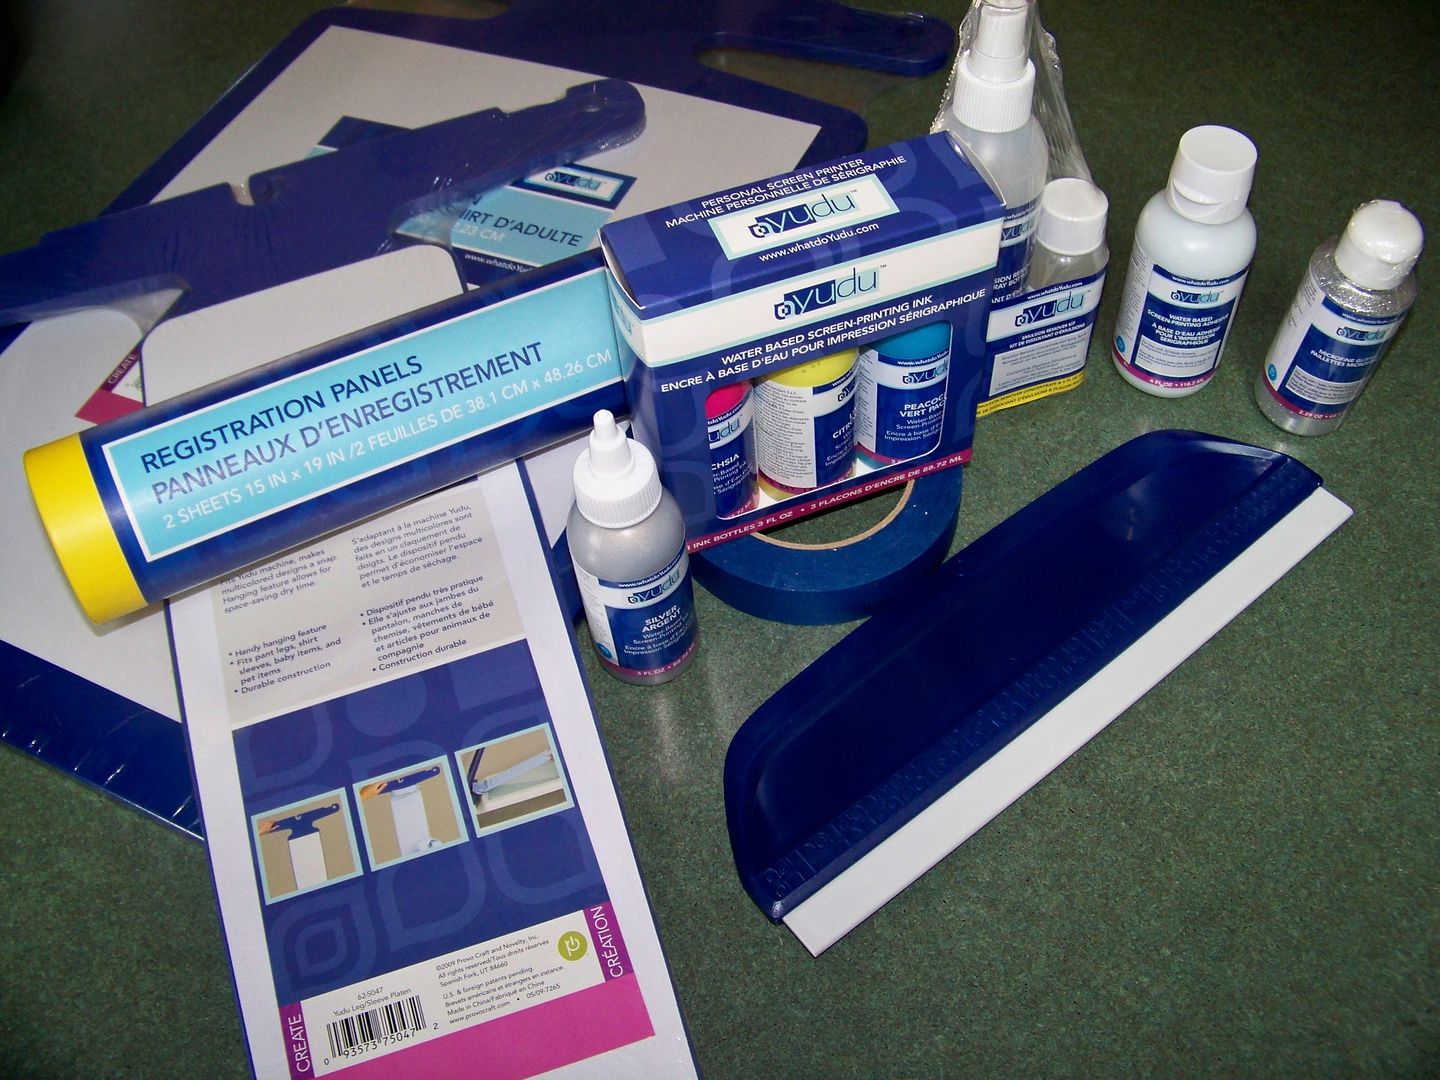
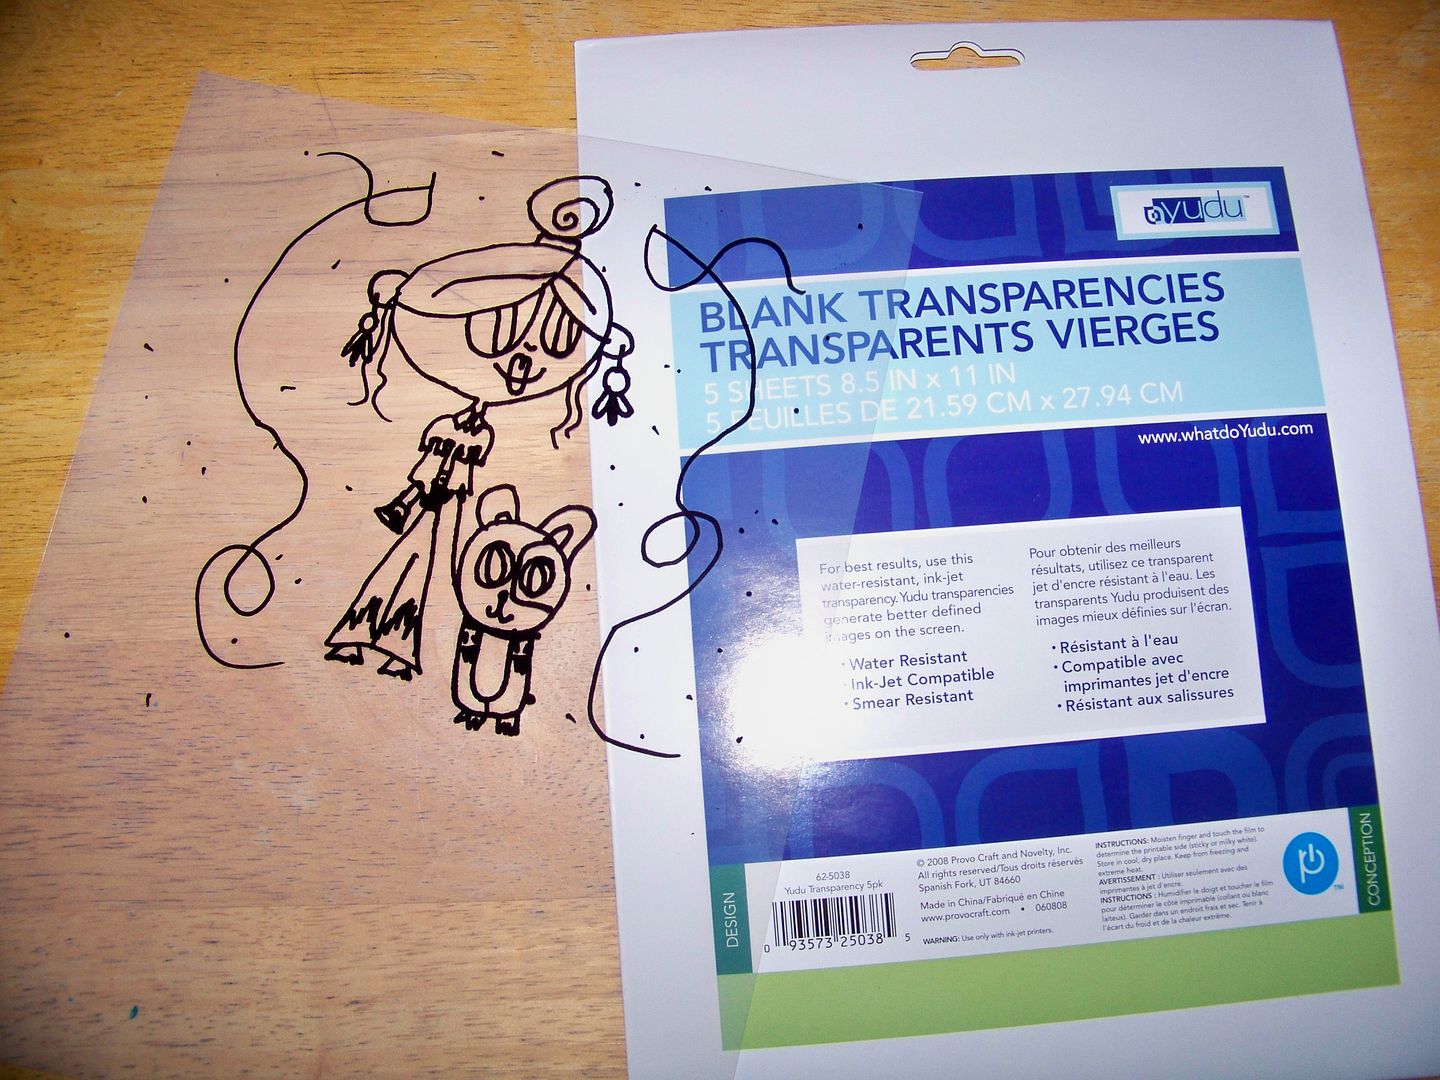
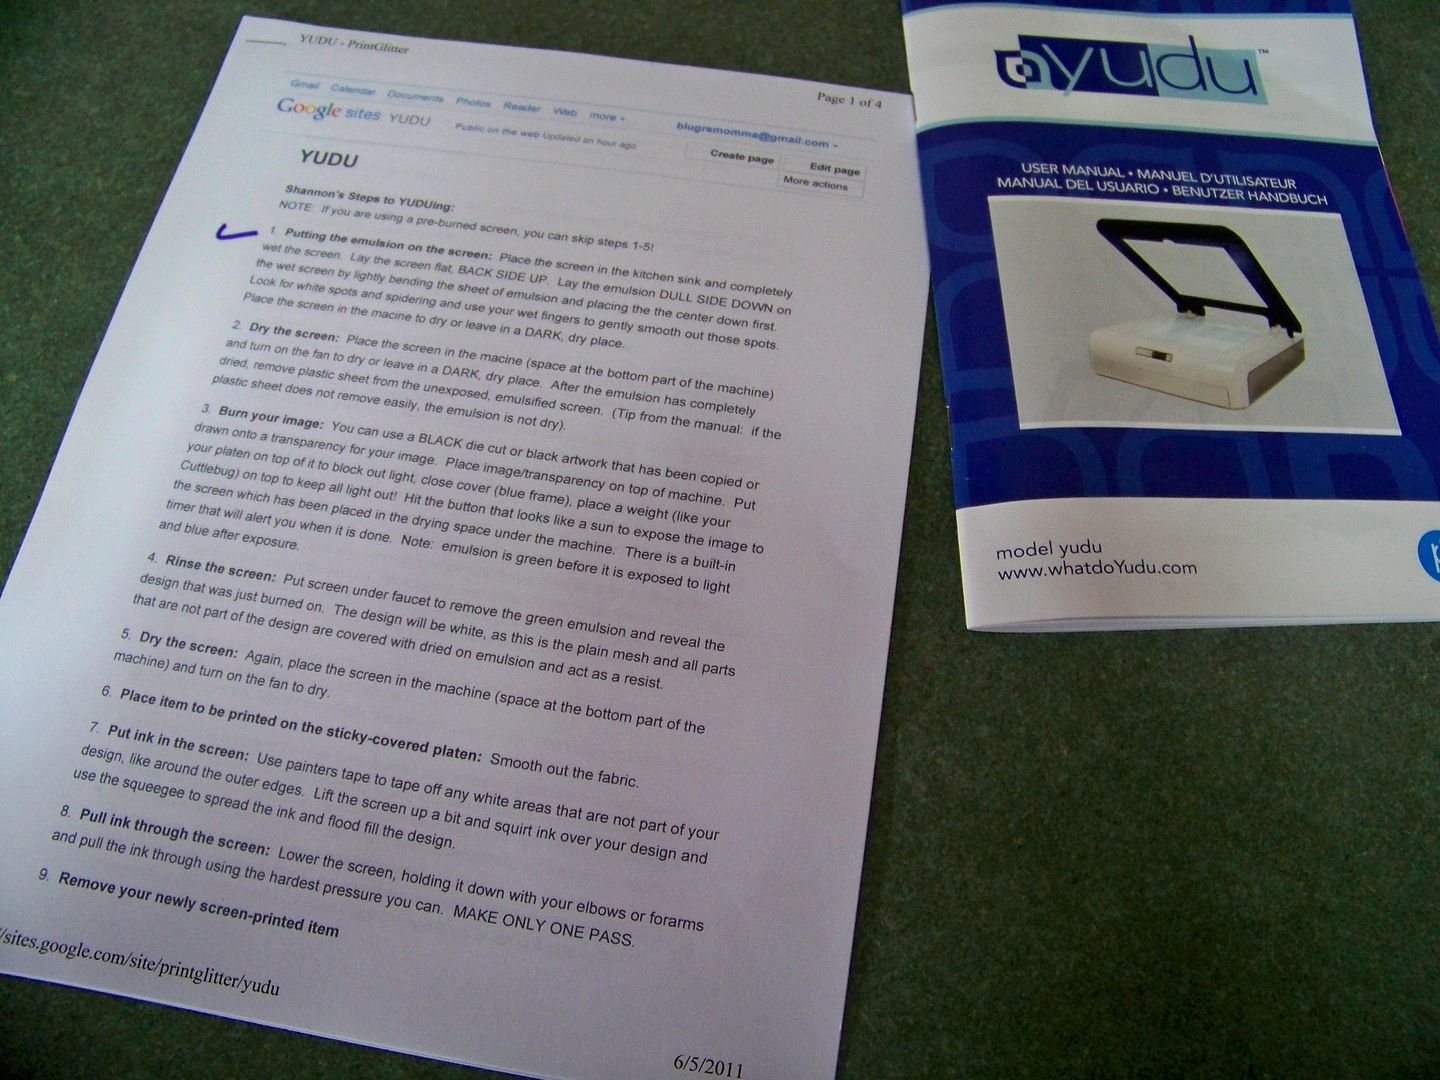
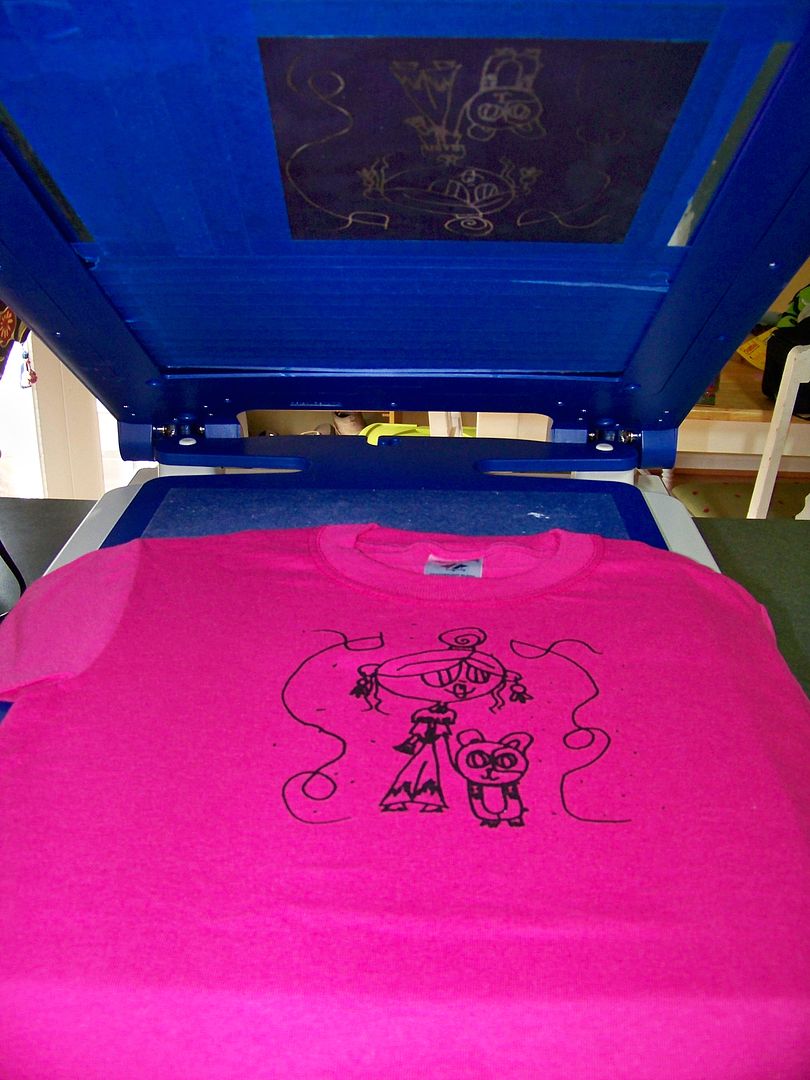
The chocolate chip cookies have been baked and the Chex mix has been made and packaged.  I think I have everything I need packed and ready to go.  We found out that Shannon will be doing some Yudu demos so I will be taking mine too.  Maybe this will help me to stop being afraid of it!!


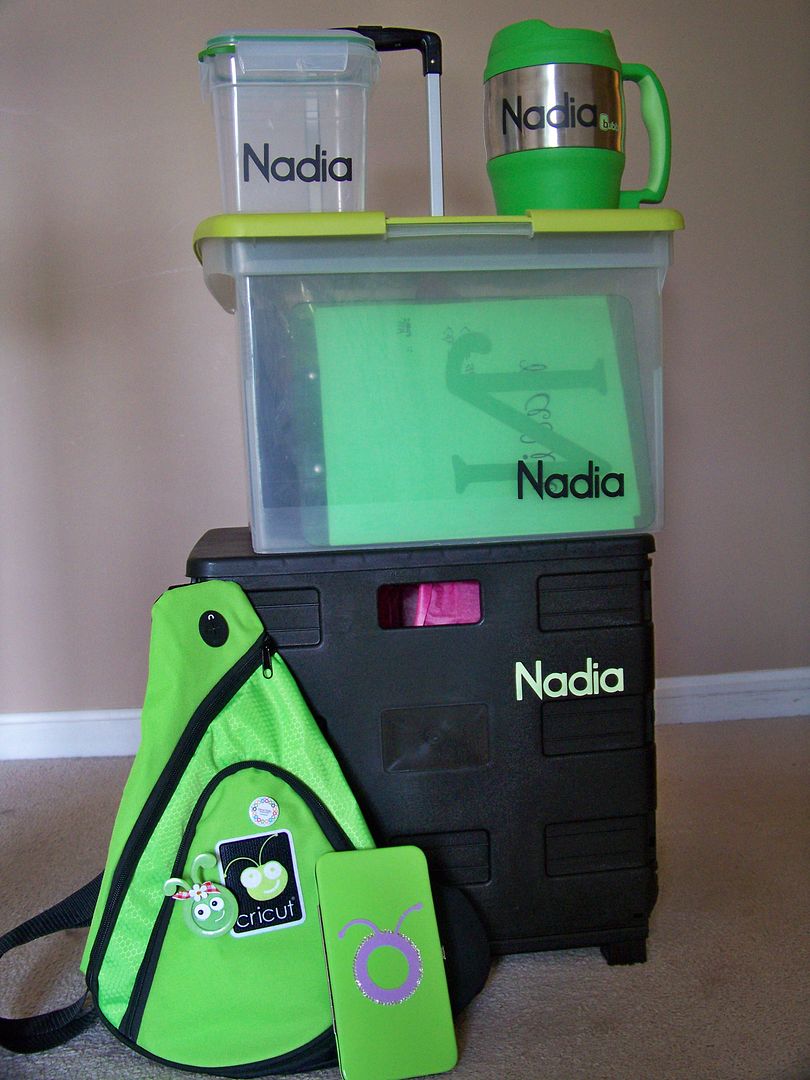
I have my CricutFarmer pin, Cricut rewards sling back, and Gina Piazza wallet...all the necessities!  If you are taking notes, the "Nadia" is cut with Hannah Montana's Daddy's Girl font at 1-1/2" on Oracal 631. 

I think the meetups are one of the most fun parts of the Cricut Circle.  Can't wait to see everyone!  I am so pleased that Provocraft has decided to visit us and that Sandie Oxley has worked so hard to make it happen locally!  I am off to polish my nails Cricut green...well, maybe just my toes.

Thank you for visiting my blog! 


But wait! There's more! Click 'older posts' above!

But wait!  There's more!  Click 'older posts' above!