 |
| Inside: Your gift was a hoot! Thank you so much! |

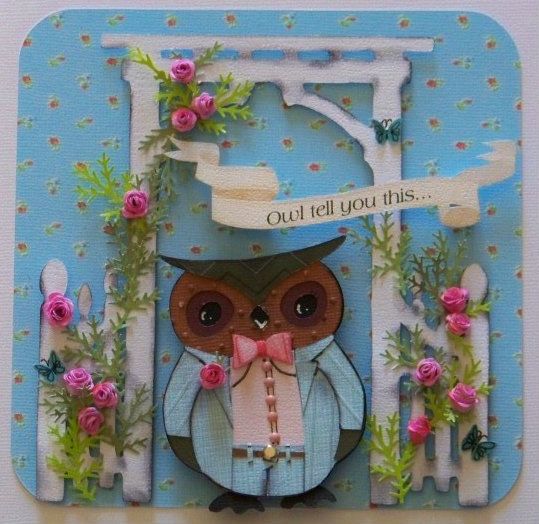
For this challenge, we were given a print from which to take inspiration to make any kind of project as long as we used a minimum of three Cricut cuts.

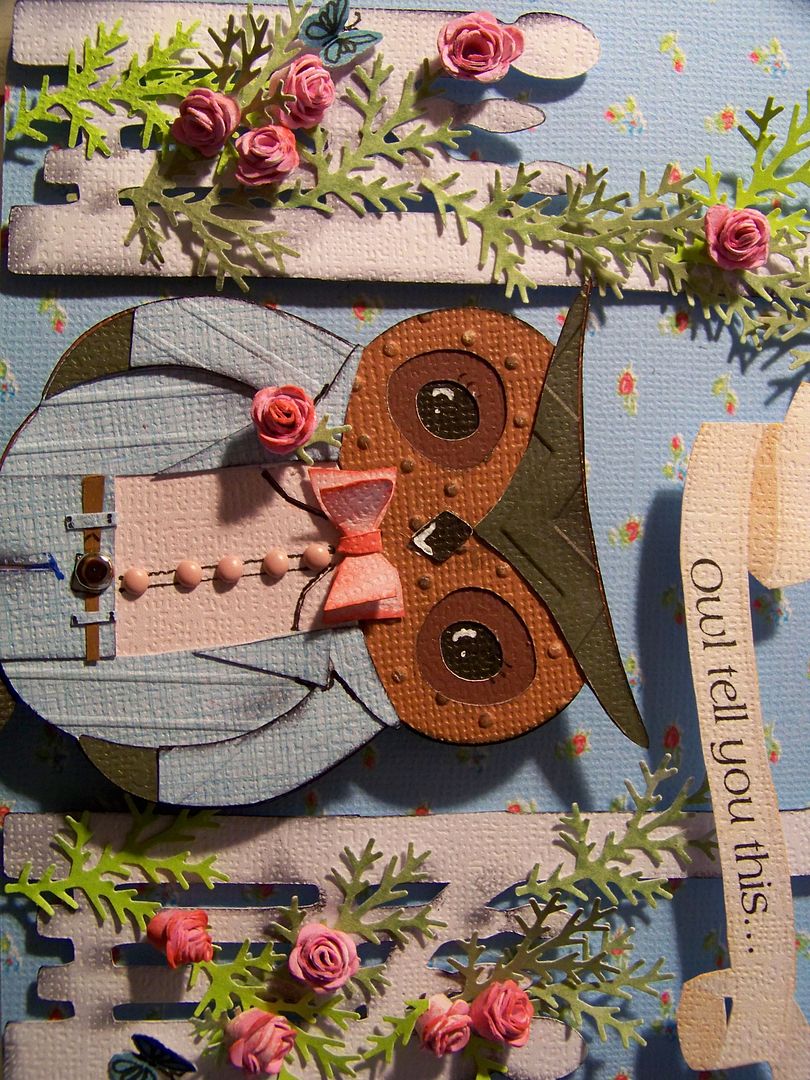
I used the rose image, the three blue butterflies, the blue background, and the color palette for my card.
For the crafty details:
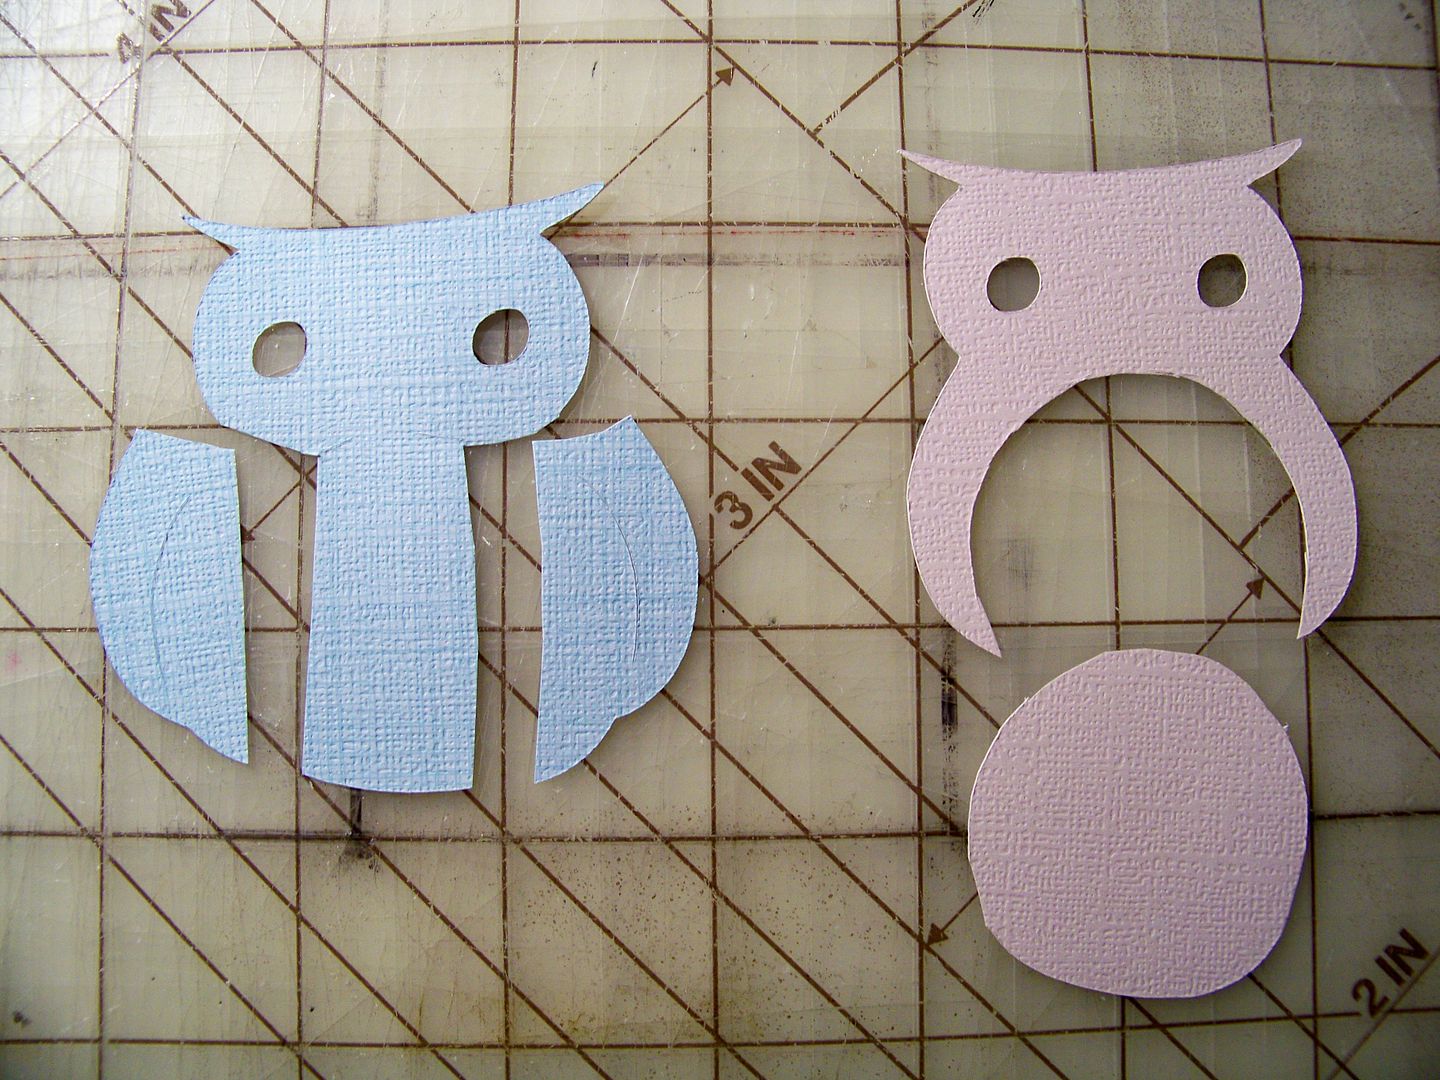
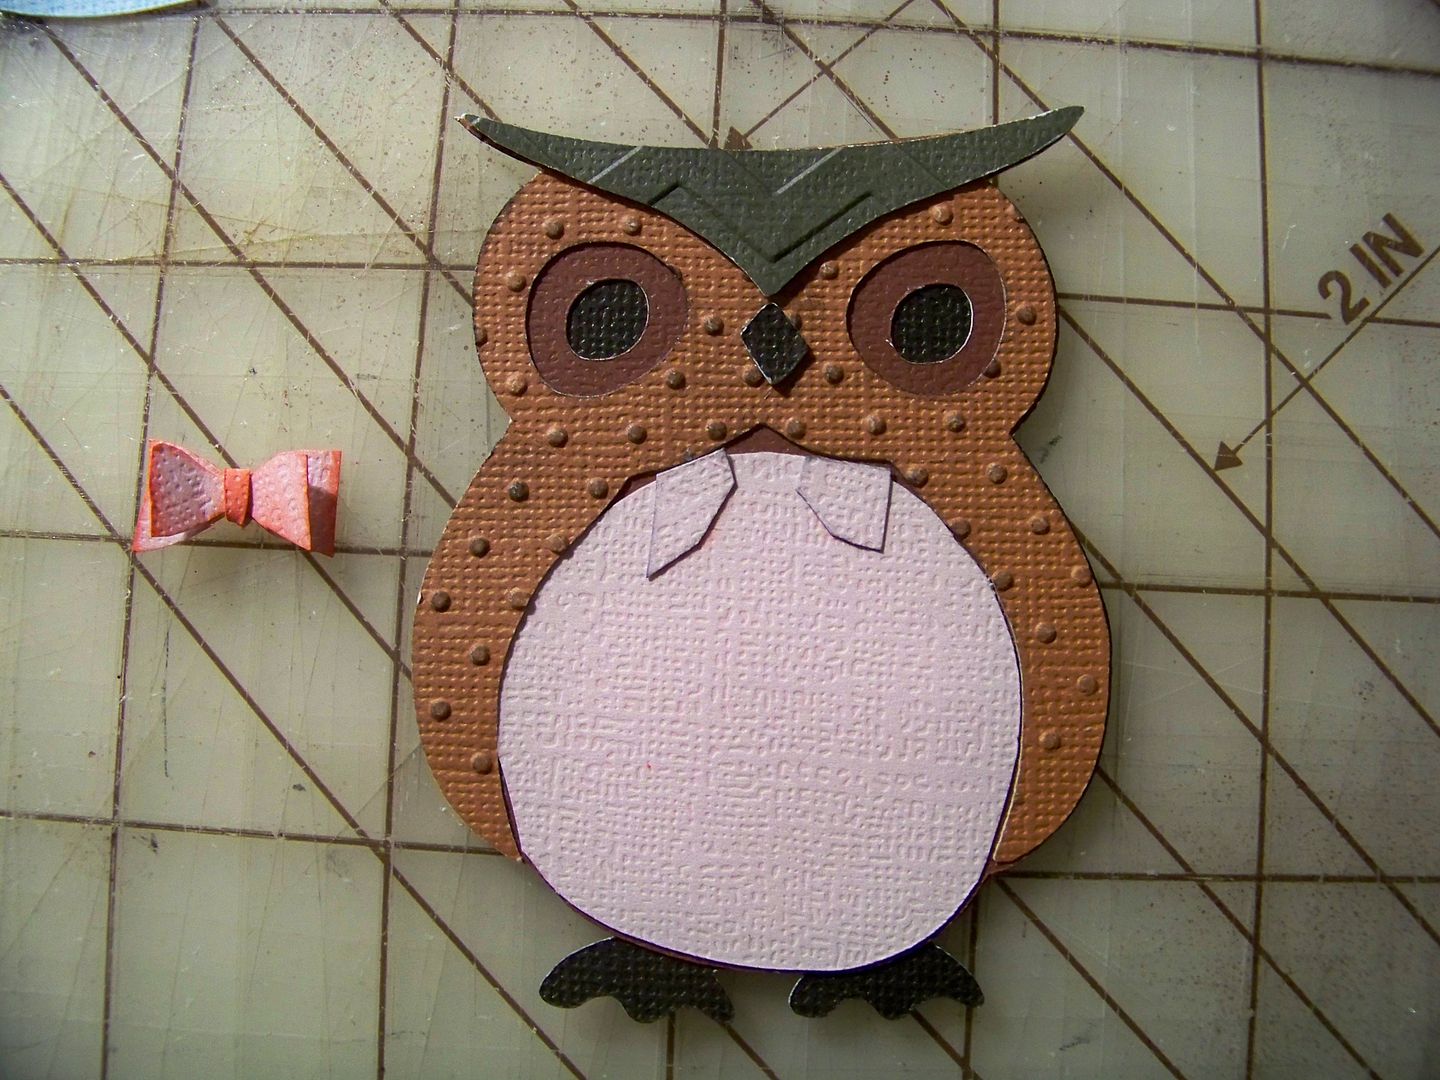
- I started with the owl from Noah's ABC Animals, cutting at 3.2" on the Imagine. I put the top layer and face layer through the Cuttlebug for a little texture (using Swiss Dots and Chevron). I cut an extra layer for his suit and shirt "fabrics." I put the blue cuts through the Cuttlebug to give it some stripes. The paper for the suit is a pattern from Hey Diddle Diddle; the shirt is a solid from that cart as well. I inked him in black and added details with a Micron pen and white gel ink pen. I hand-cut the bow tie, lapels, and little pants. Brads made the shirt buttons and belt buckle. The owl is popped up 1/4".
- I cut the garden arch and fence from Spring Cottage on the Expression at 8-3/4". I manually cut off the inside gate pieces. I inked this in black and popped it up 1/16".

- I used the Martha Stewart branch punch for the greenery in three different papers.
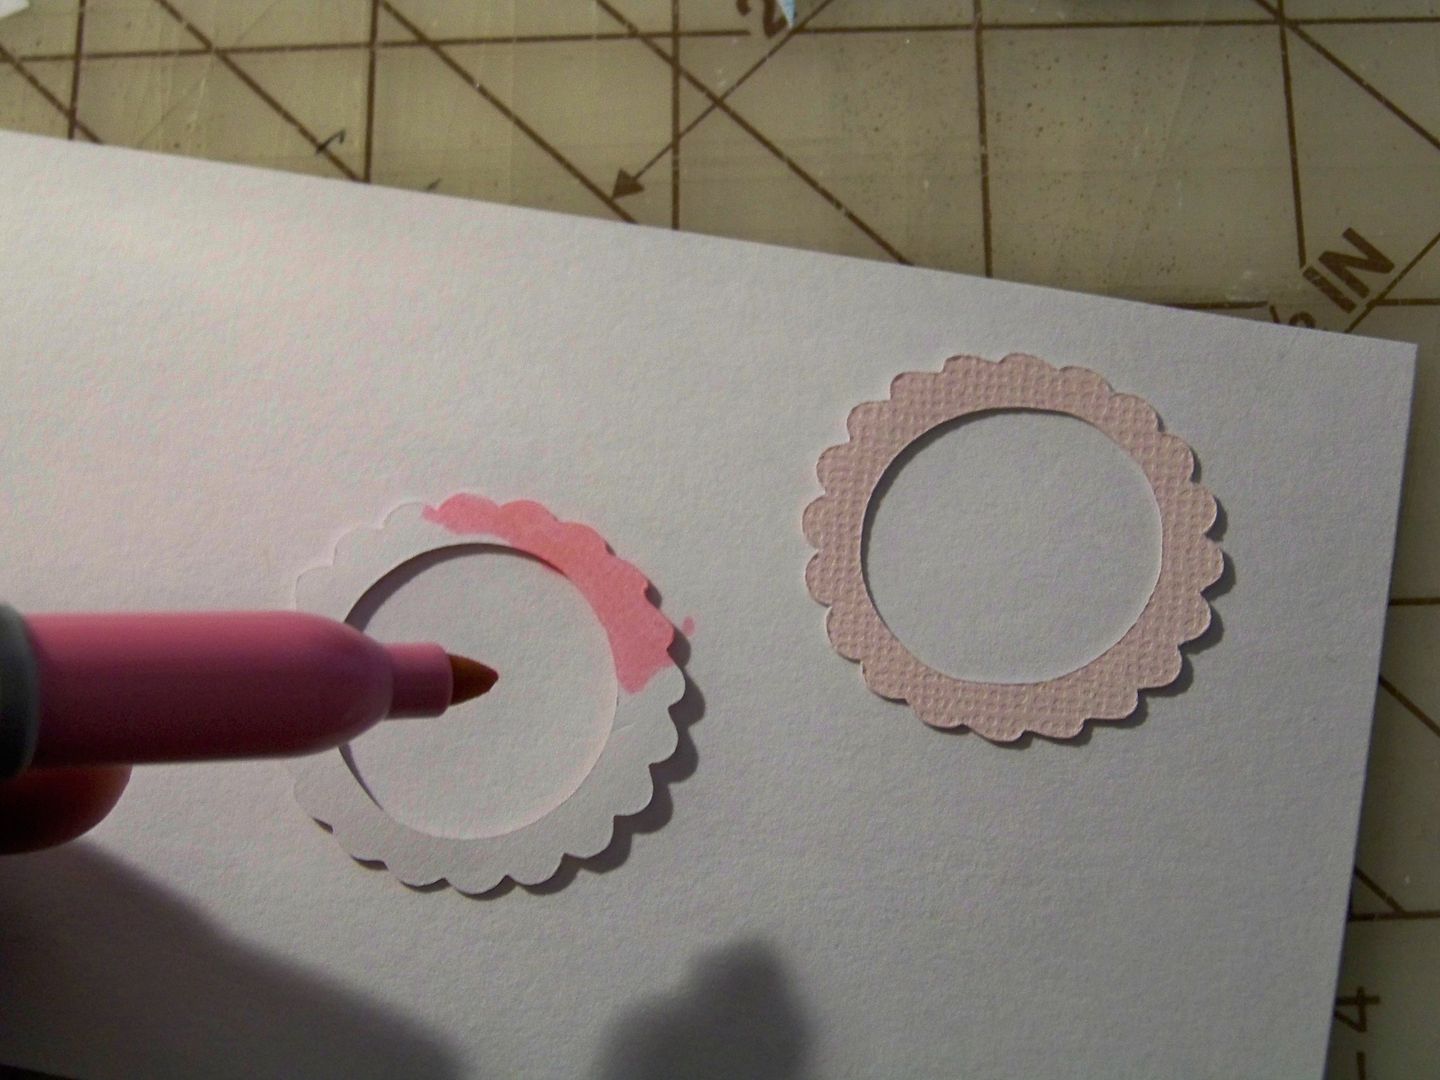
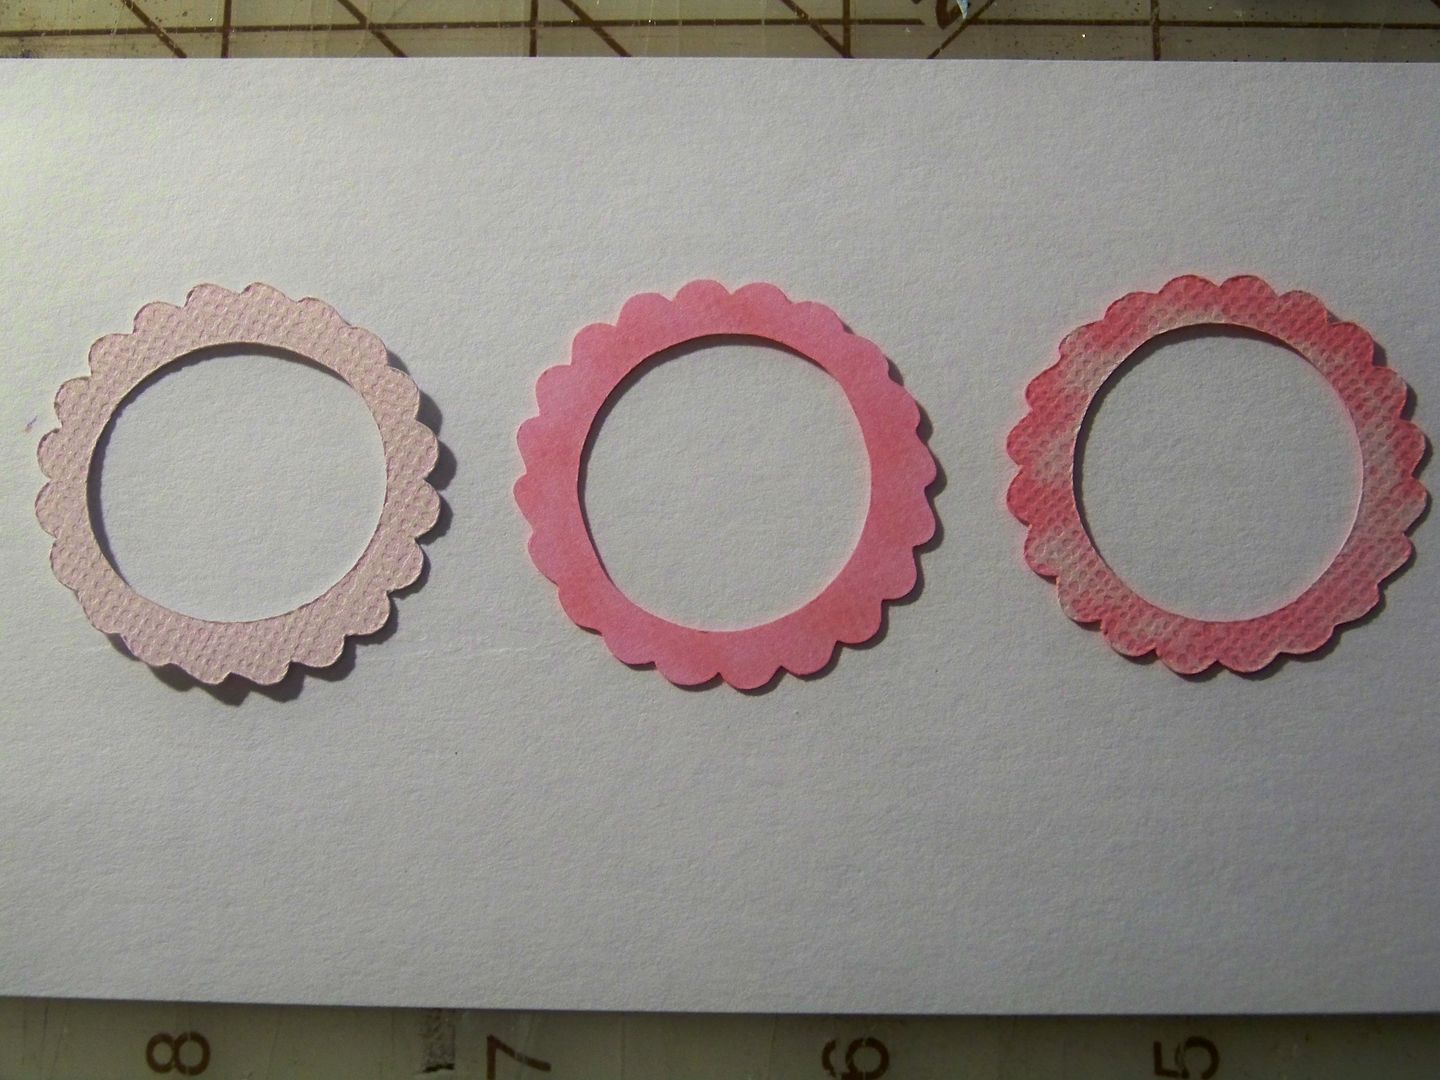
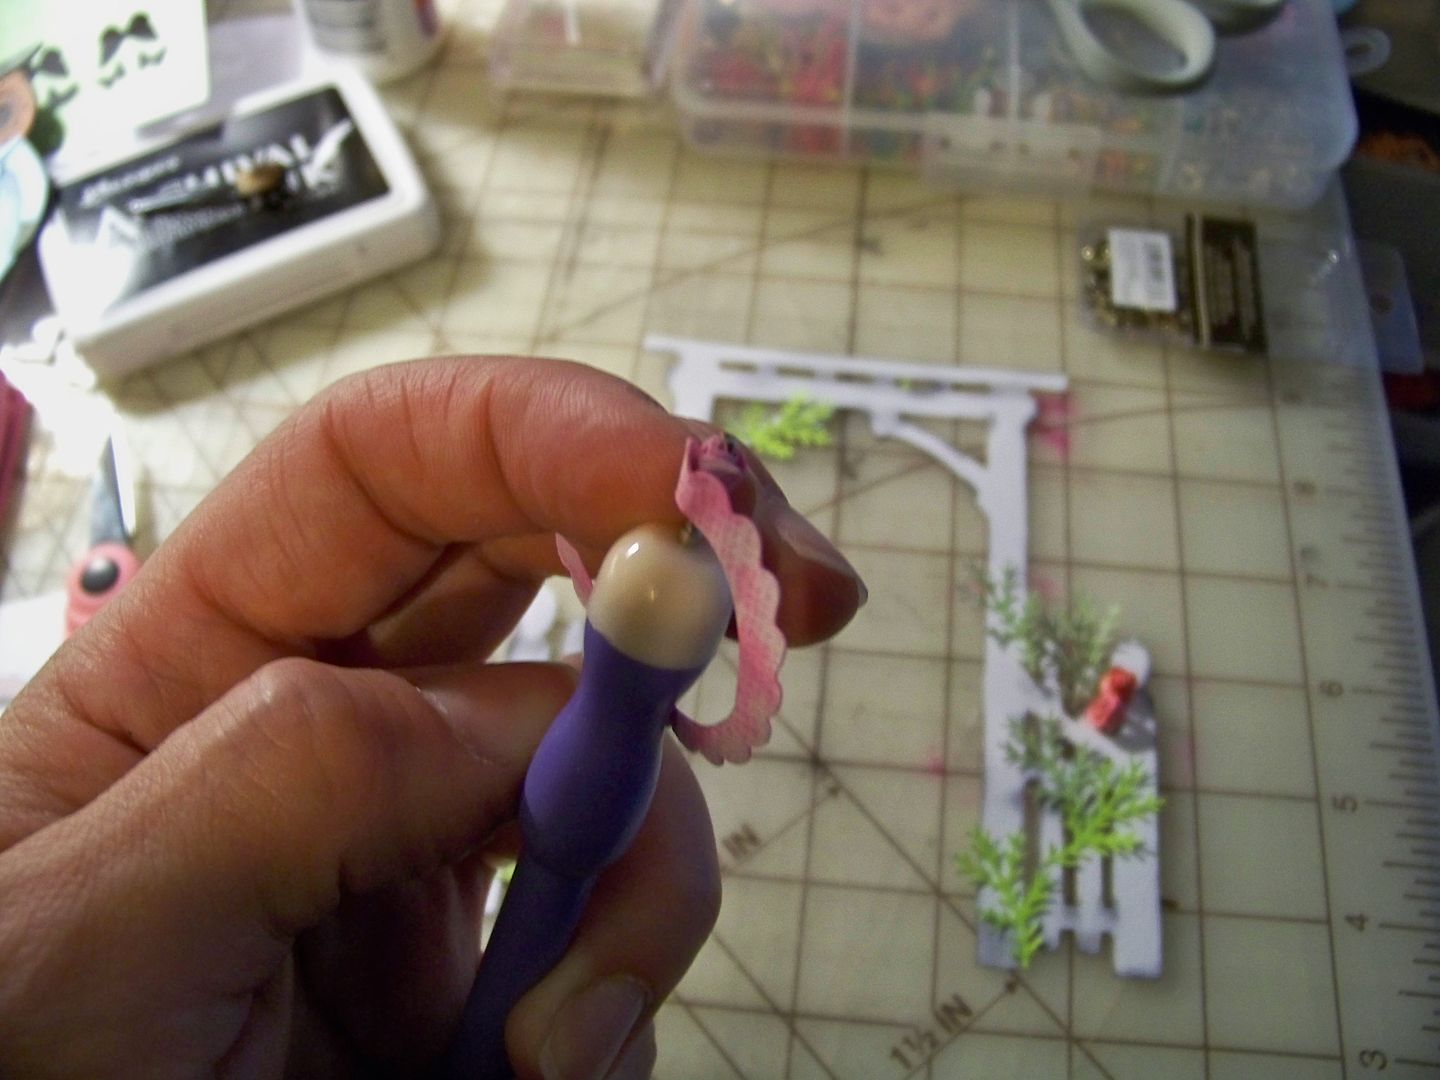
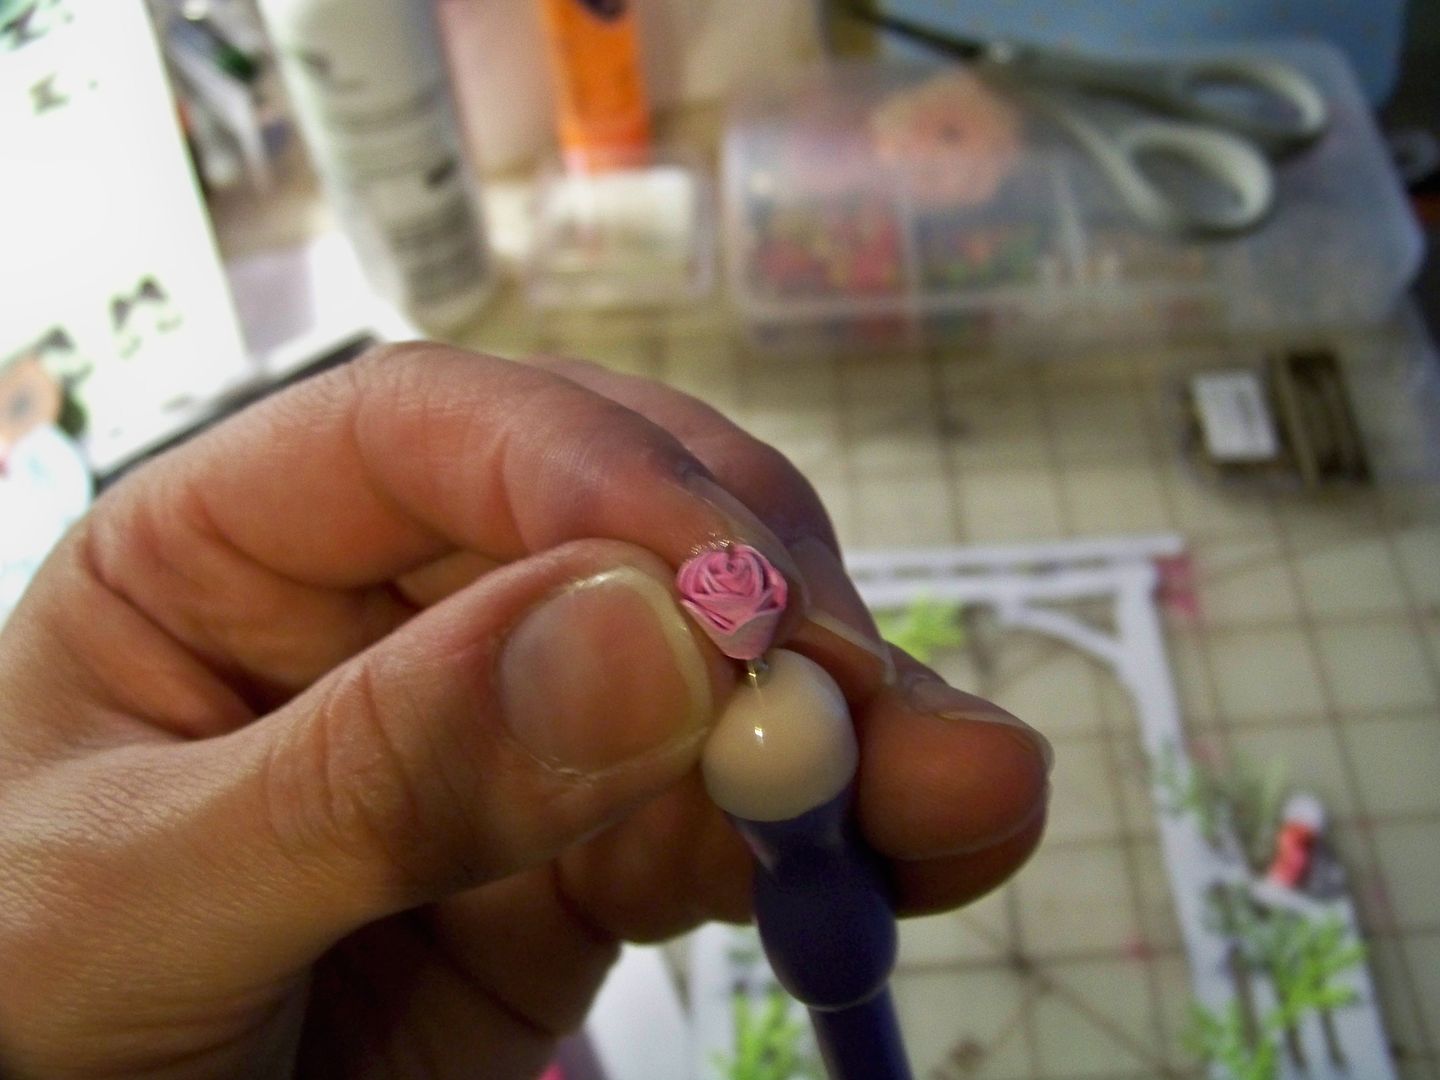
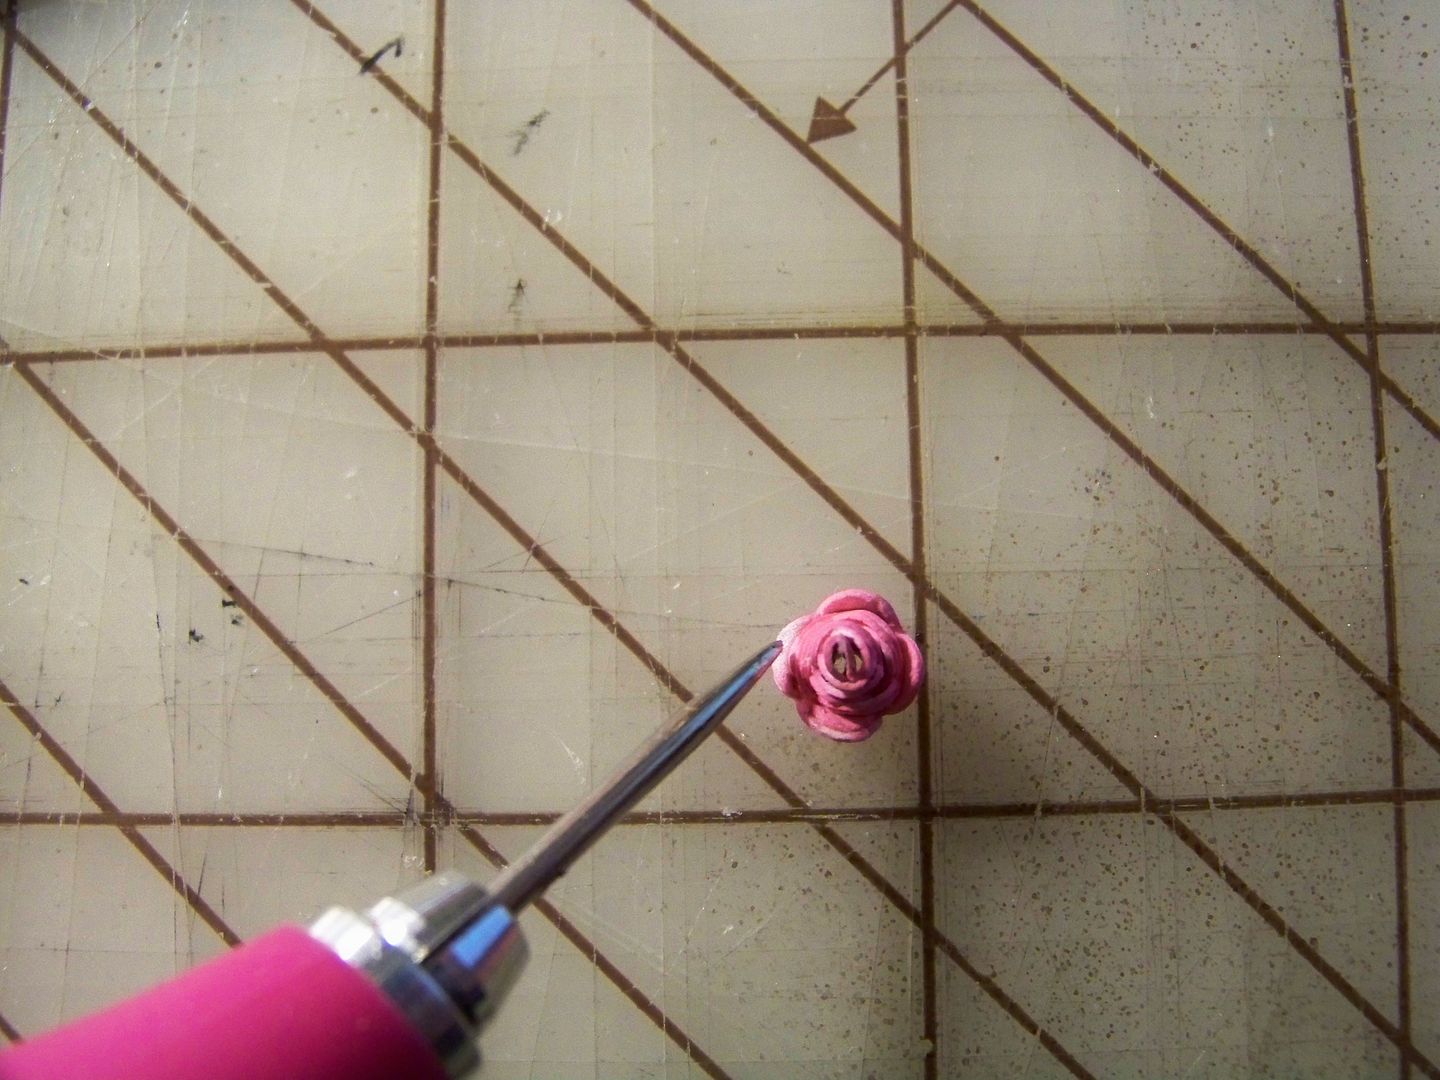
- I created the micro roses using a fantastic tutorial on Scrapalette's blog! Click here to see her tutorial! (You can also find this link on my sidebar under "Inspirations".) Per her instructions, I cut the scalloped rings from Elegant Edges (page 23) at 1.3" on my Imagine. I flood-filled them with the peach from Hey Diddle Diddle that I used on the owl's shirt and hand-colored the back of them with a pink Sharpie marker. I liked way the ink bled through, creating a muddled surface! Some of the blooms have been touched with a stamp pad for extra color. I glued them on so that some would be facing straight up and others would be on their sides. I added one for a boutonniere.
- The background is a 6-1/2" rounded square (built-in on the Imagine) and flood-filled with a print from Floral Emporium.
- The ribbon banner was cut from Enjoy the Seasons at 5.2". I added text from my computer (Americana BT at 16 point). The banner is popped up 1/4".

- The butterflies were cut using a Martha Stewart punch and detailed with a Micron pen.
- I cut a smaller card and attached it to the back of the owl scene. The inside of the card has more text with the same font at 26 point: Your gift was a hoot. Thank you so much!
Thank you for checking my blog today. I think I have finally finished all of the Circle Blog NSD challenges that I can do. They have been so much fun! As always, you can see most of my previous projects by going to My Project Gallery.
Edited May 11, 2012 to add: This project was featured on the Cricut Circle Blog Project of the Day!

Edited May 11, 2012 to add: This project was featured on the Cricut Circle Blog Project of the Day!