Showing posts with label Food Gifts. Show all posts

Thursday, February 14, 2013

Happy Valentine's Day!


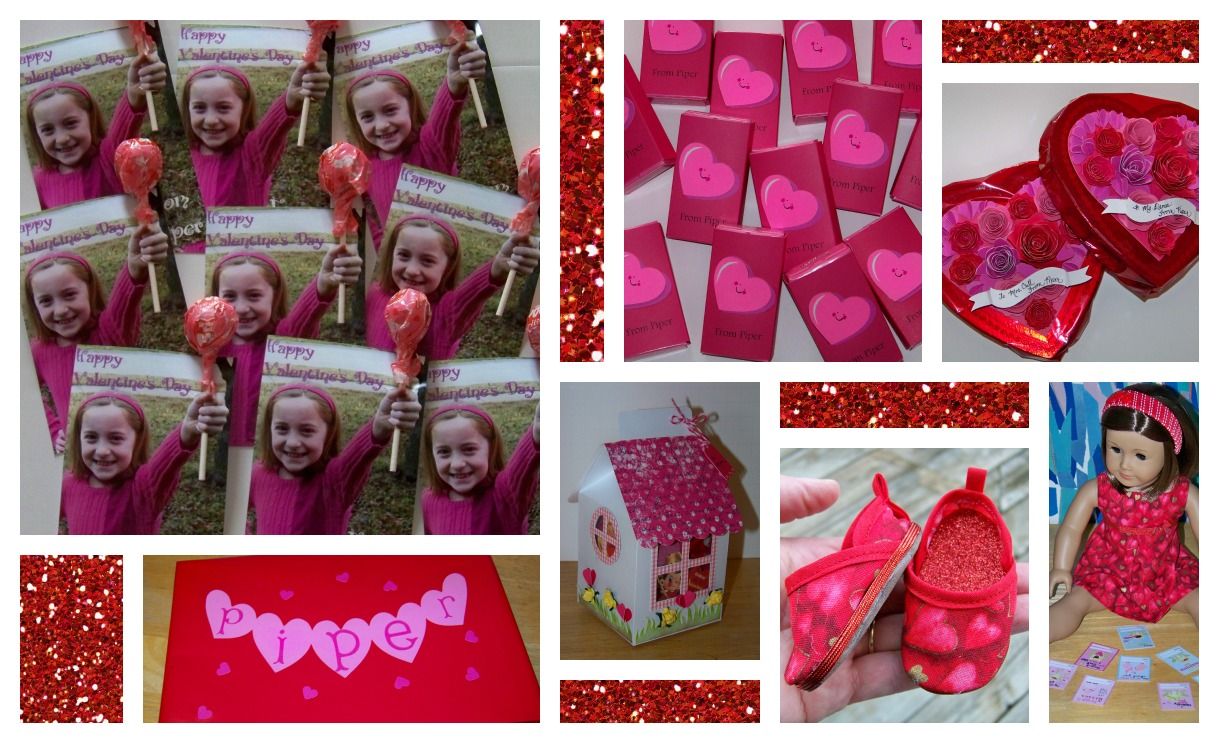
Don't you just love Valentine's Day?  It's such a fun way to overcome the winter blahs!  These are my silly, little Valentine projects.

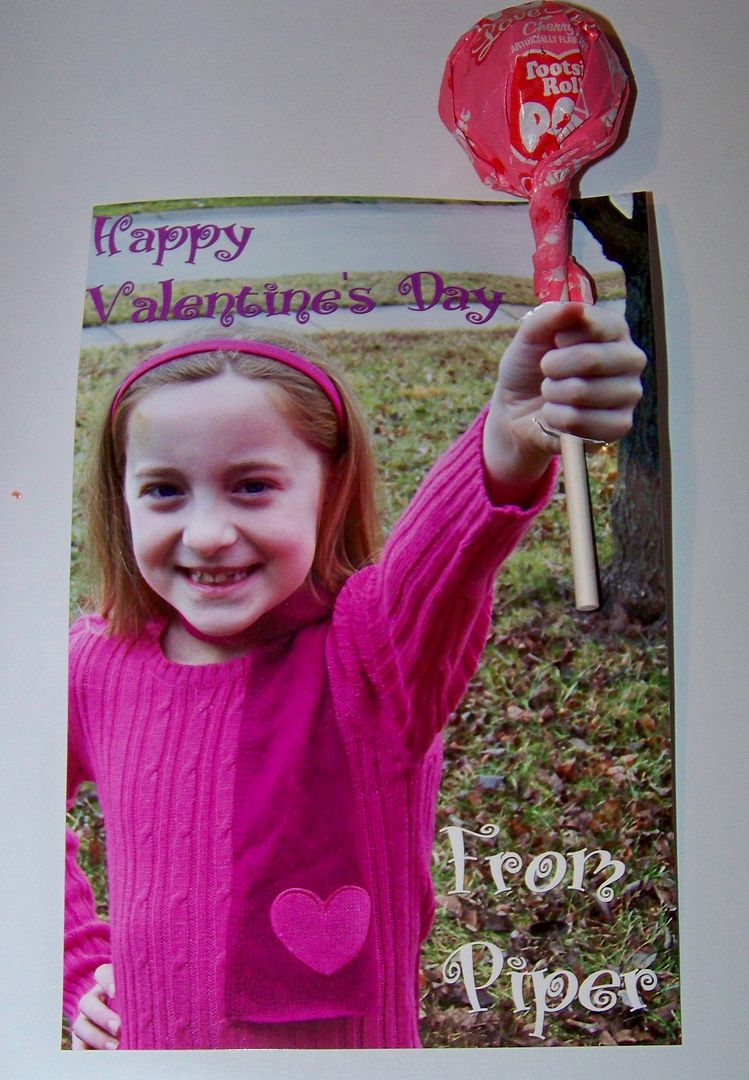
Valentines for Ballet Class


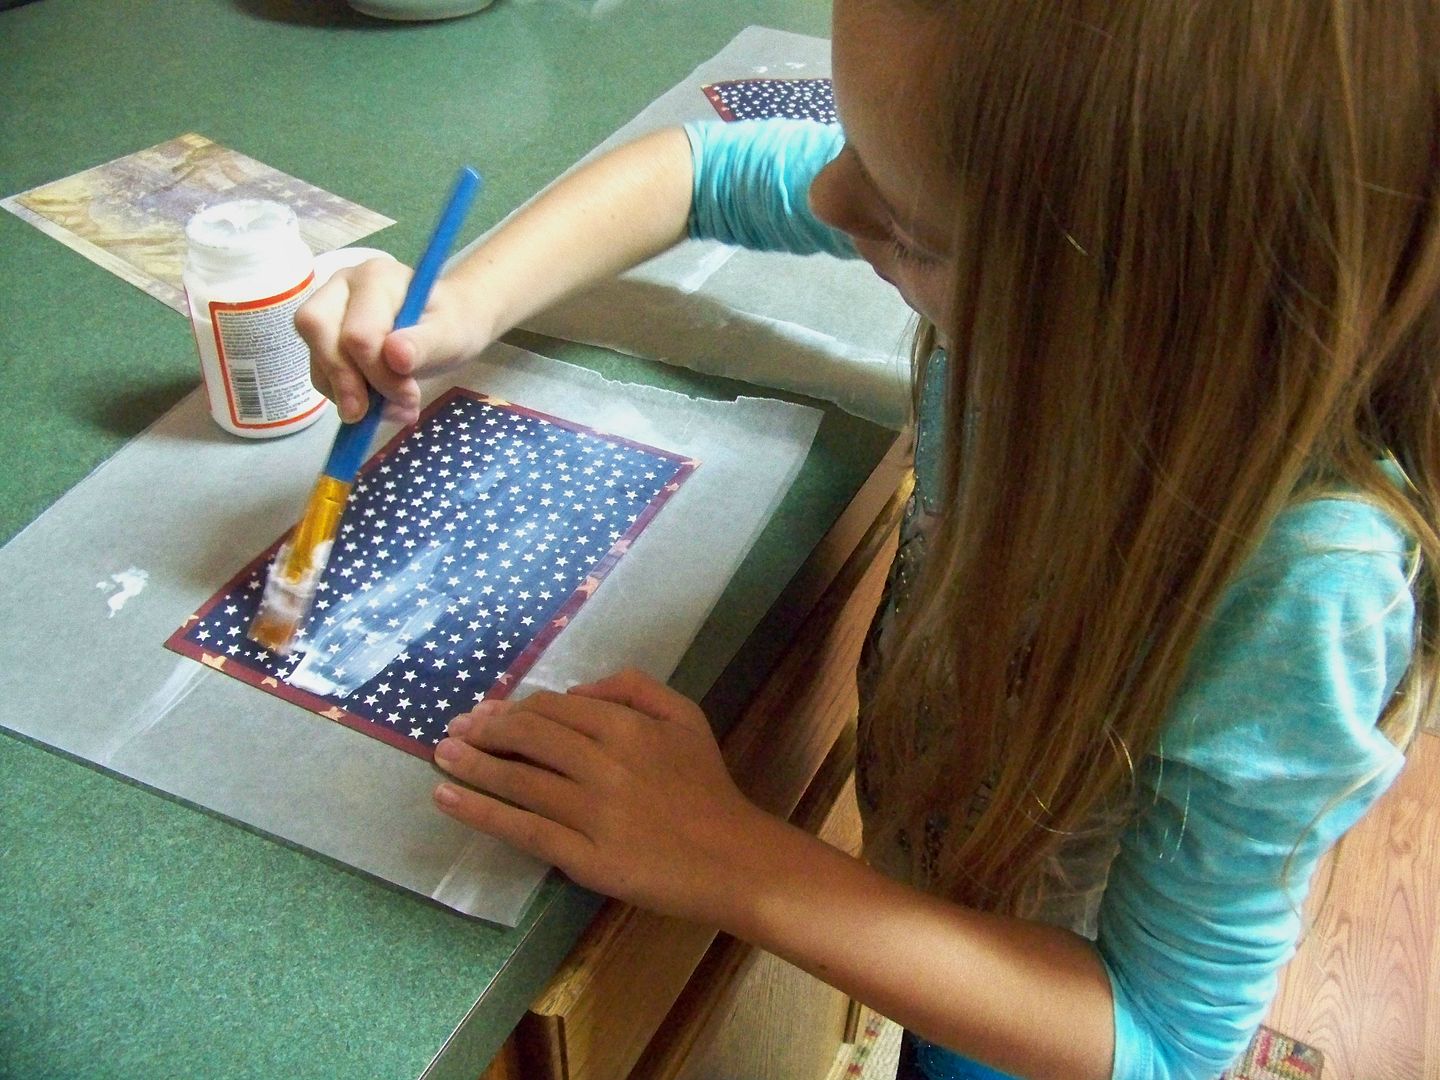
This idea is all over Pinterest.  I have pinned about five different Valentines with this idea; my favorite is on TheFrugalGirls.com.  Click here to see!  These are simply 4"x6" photos with text added.  I used an Xacto knife to cut slits in the photo, on the top and bottom of the hand, for the sucker to fit into.  I love how they really look 3-D.  


Dressed Up Candy Boxes  


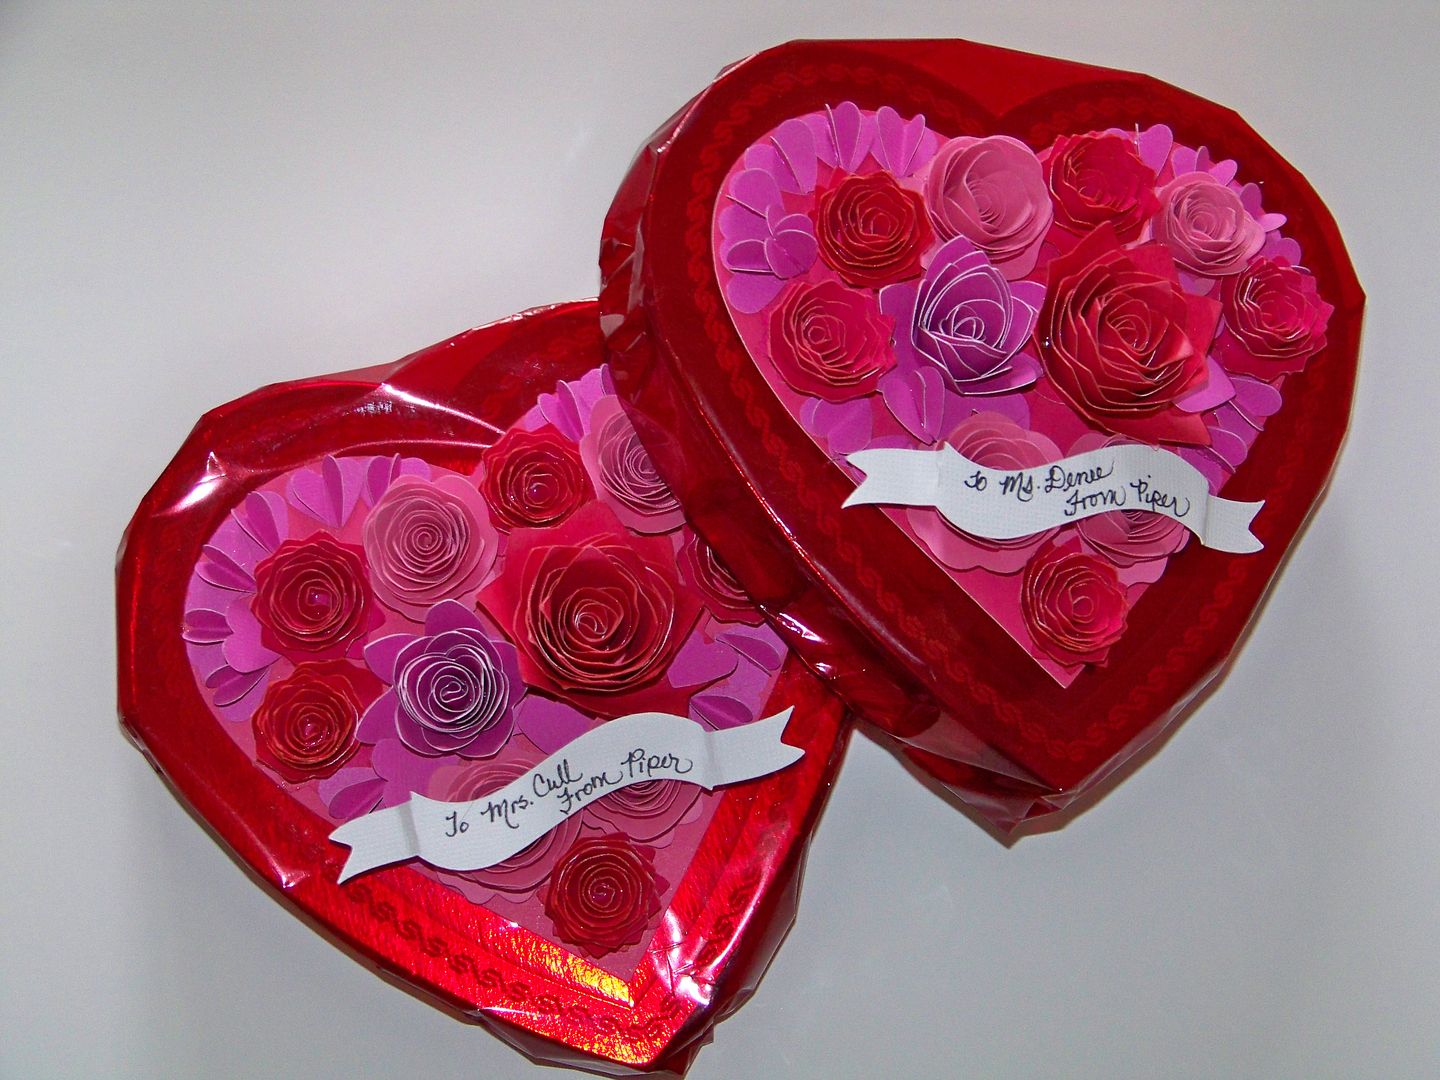
These heart-shaped chocolate-filled boxes are teacher gifts.  The boxes are modest so we needed to dress them up.  
  • The base was cut from Artiste, page 51, at 4-3/4".  
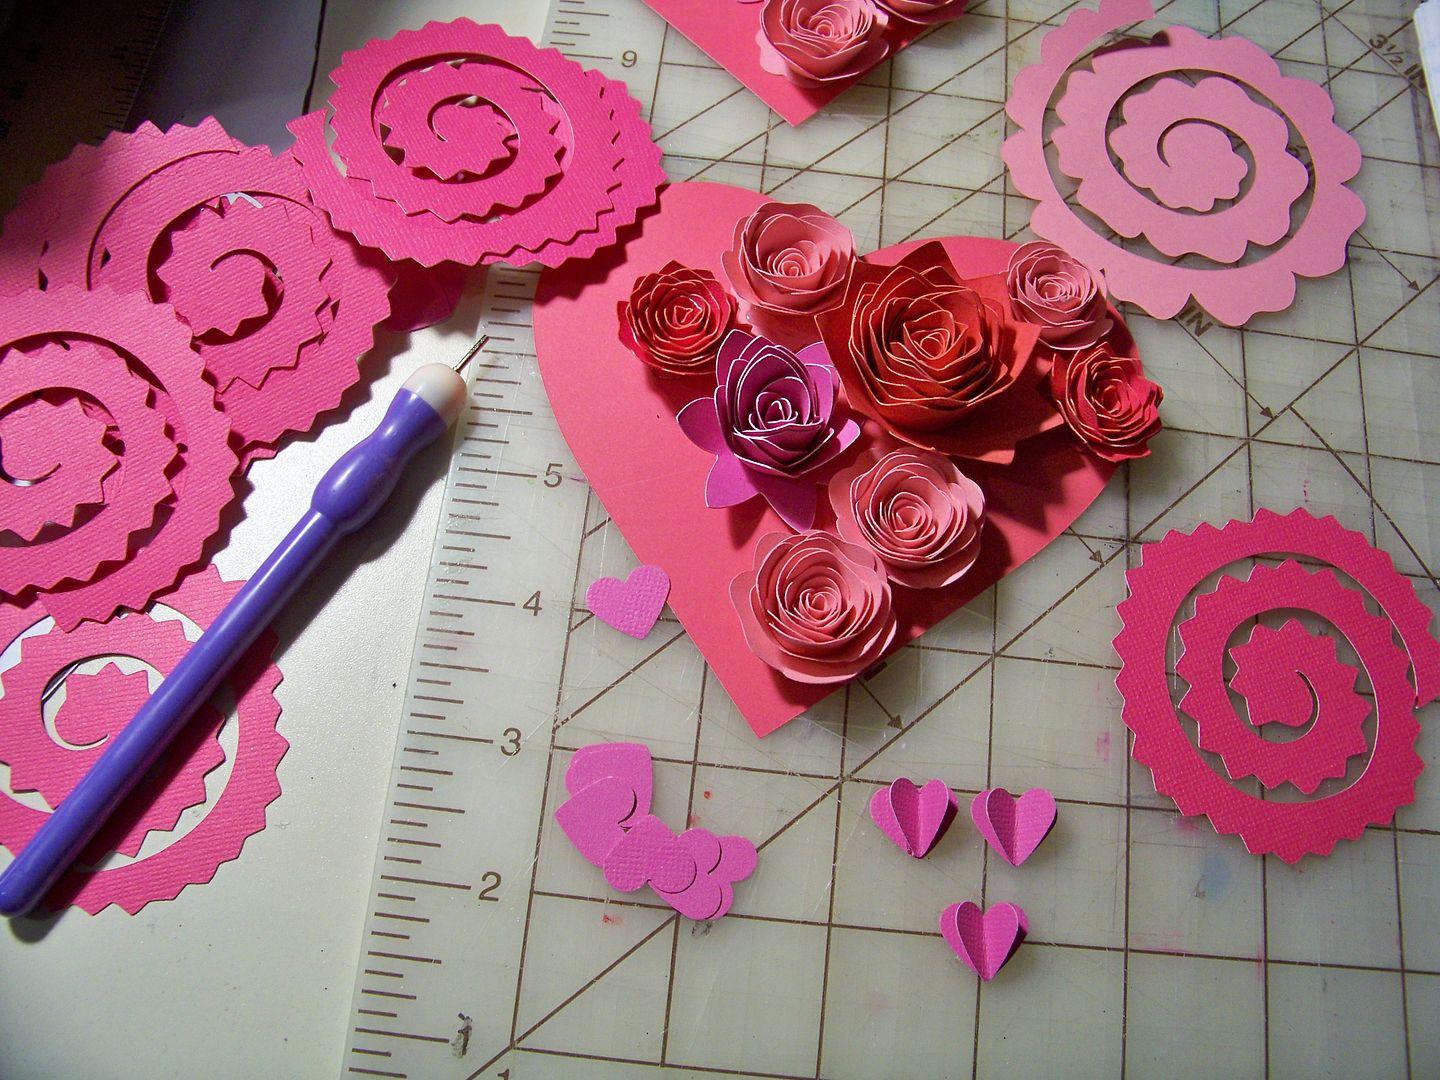
  • The flowers were cut from Artiste, page 54, at 2-3/4" (Accent1-shift), 3-1/4" (Accent2), 4" (Accent 2-shift), and 5-3/4" (Accent1-shift).  
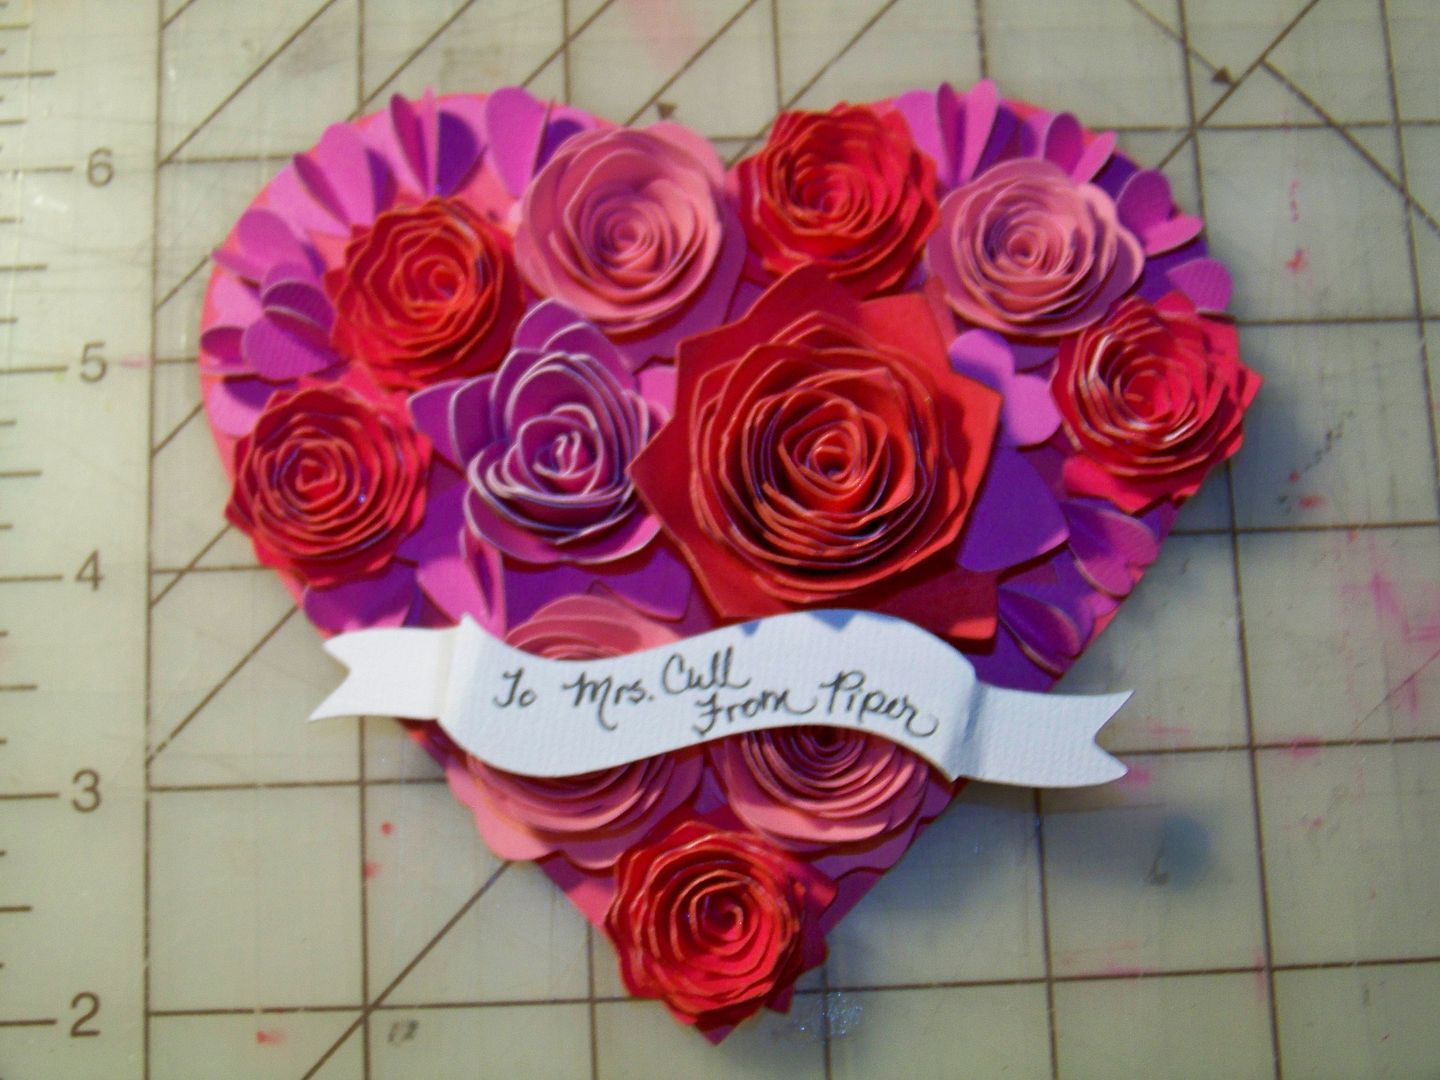
  • The hearts were cut with a punch.  Some were combined to make dimensional by folding one in half and gluing to a flat one.
  • The banner was cut from Holiday Frames and Tags, page 48, at 1".  I folded it at the perforation marks to fake furrowing.
  • All the flowers were hot glued to form and hot glued to the heart base.  The base was attached with Terrifically Tacky double-sided tape.


Religious Valentines for School


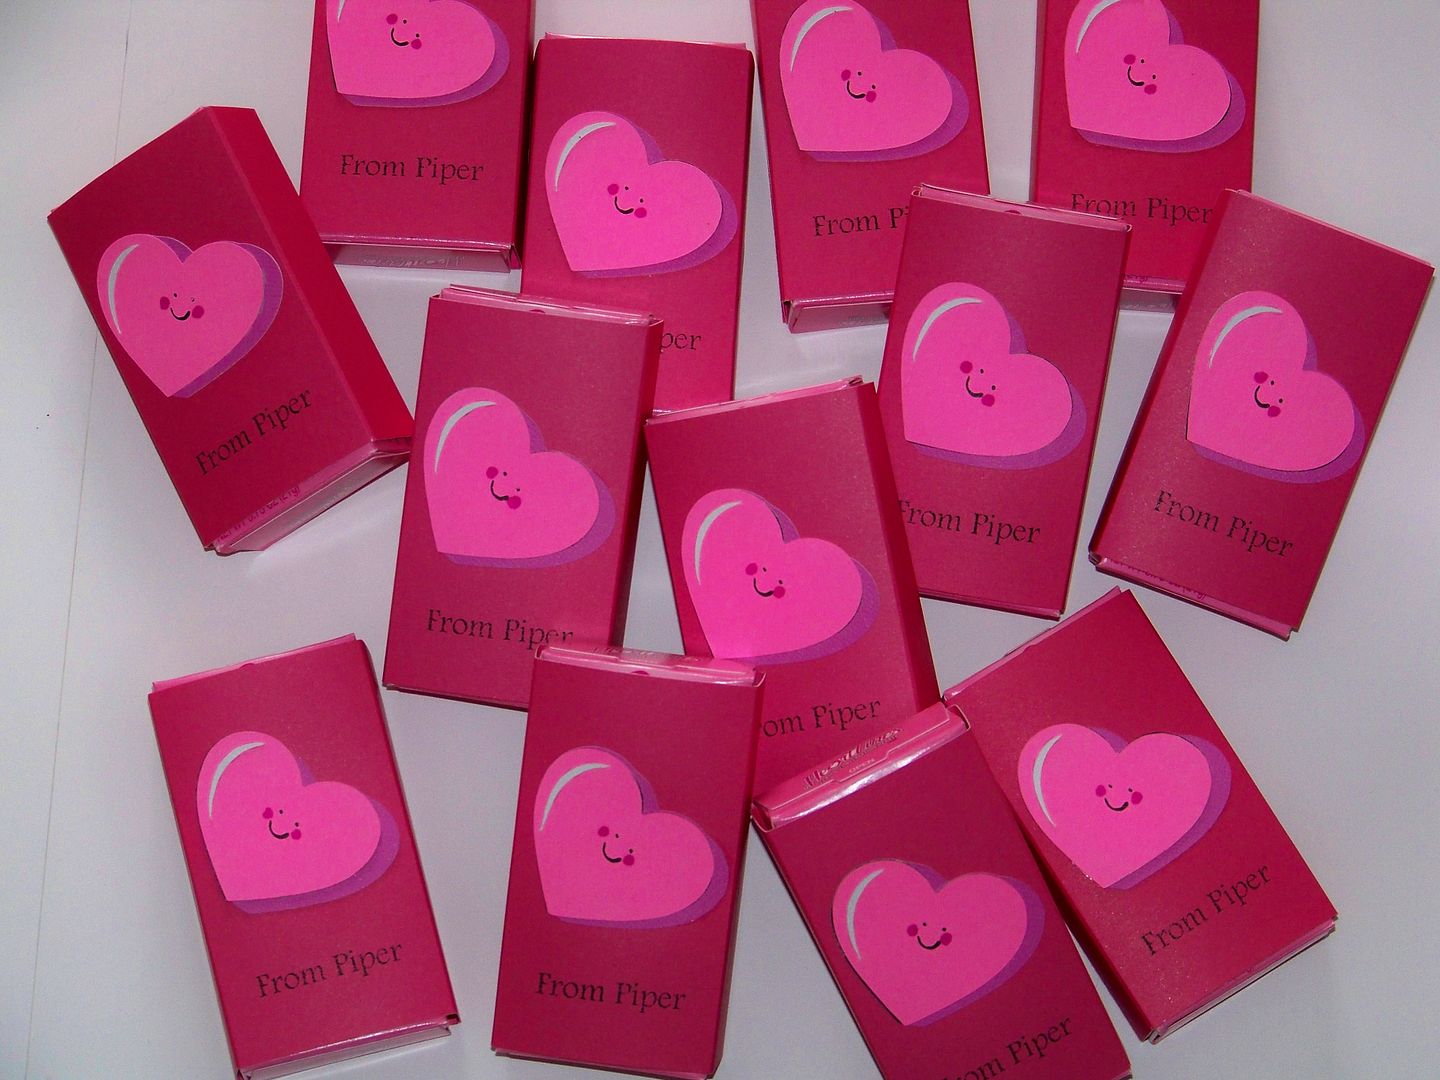
I created a sleeve to dress up inexpensive boxes of Conversation Hearts.  


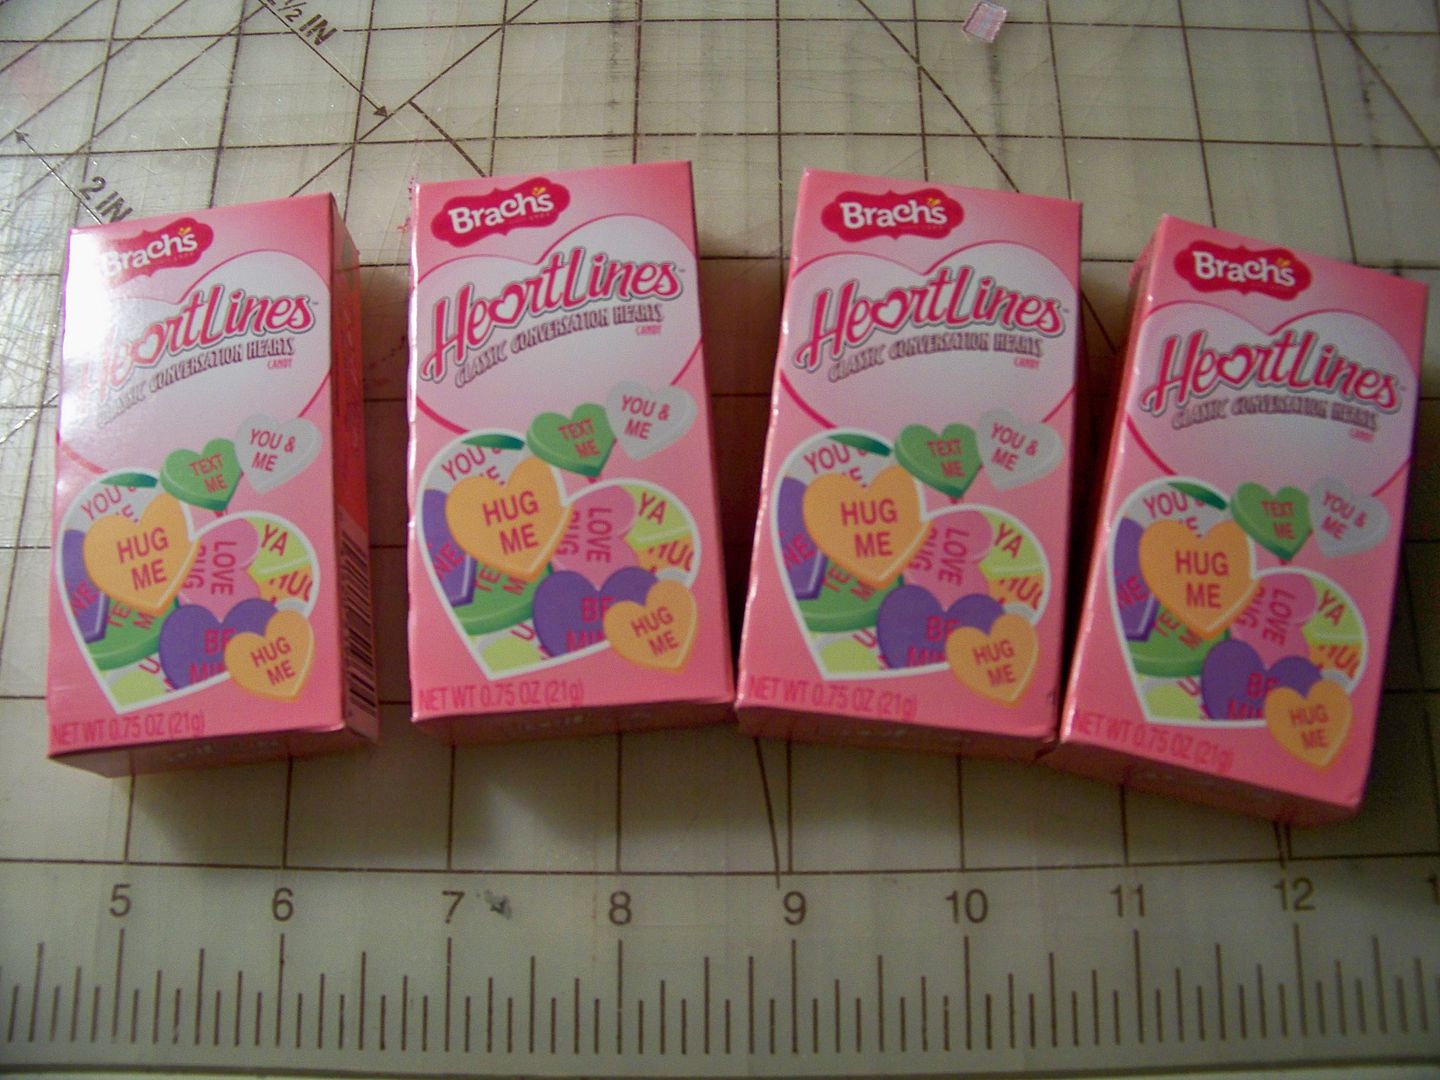
My kiddo goes to a Christian school so I added Bible verse references to the packaging. 


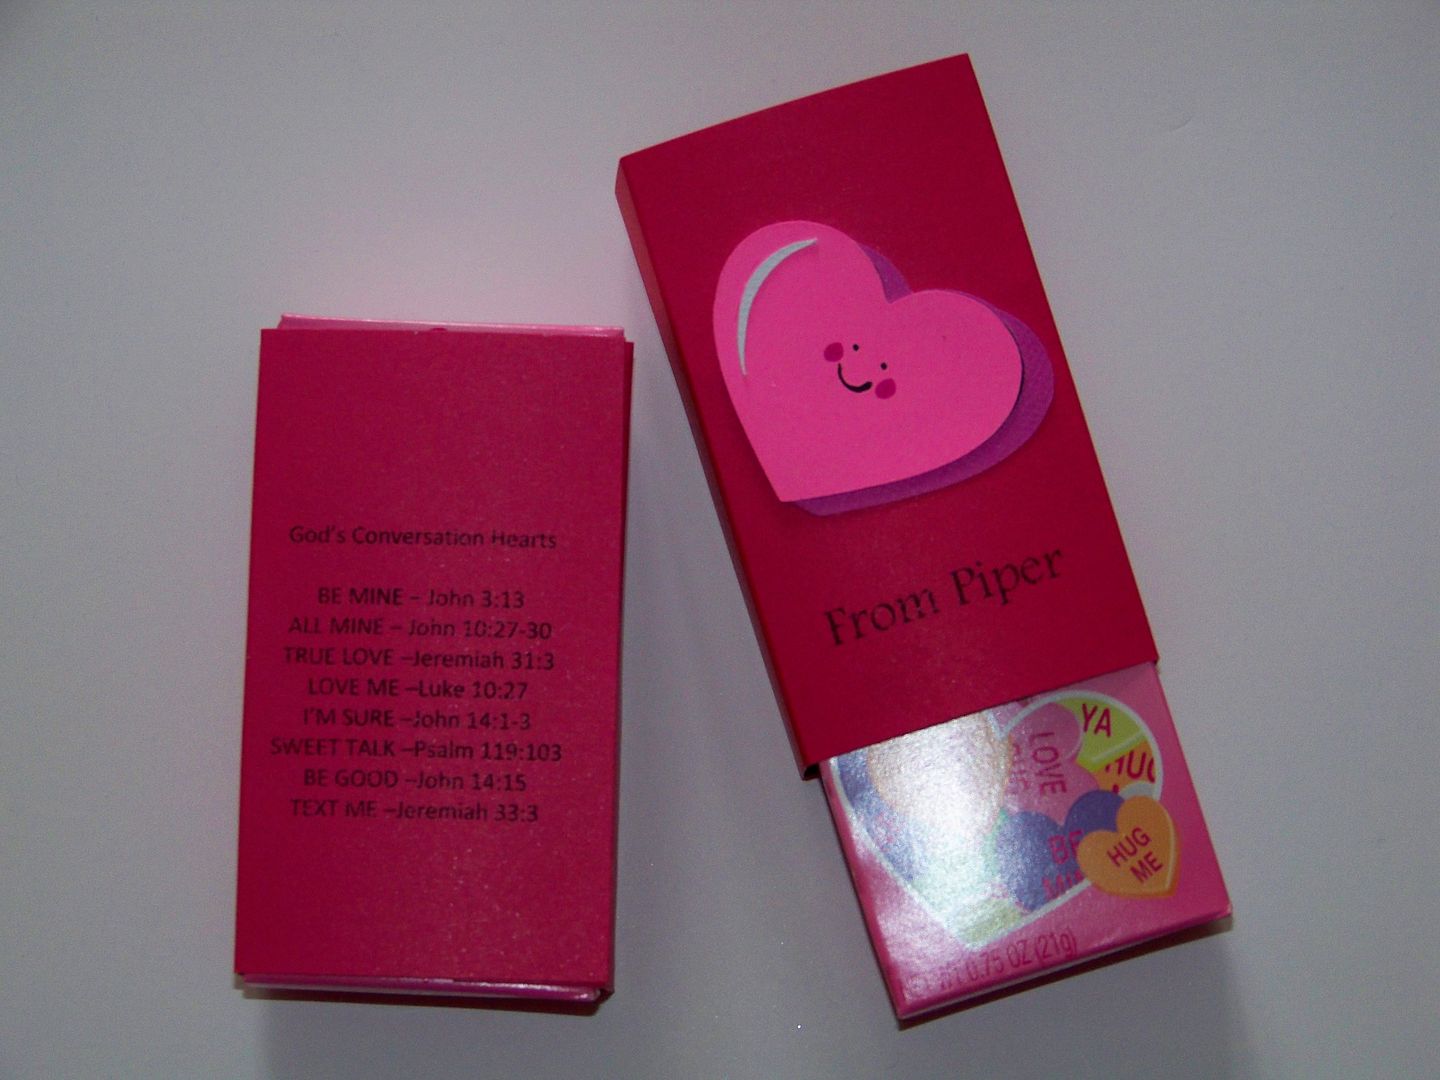
  • The base was trimmer-cut to 6" x 3-1/4".  
  • I scored the base at 3/4", 1-1/2", 3-3/8", and 4-1/8".
  • The smiling heart was cut from Simply Charmed.
  • I printed the Bible references directly onto the base from my computer.  I got the idea from a blog post by Julia Bettencourt that I saw on Pinterest .  You can find her blog post by clicking here.  I changed her "Fax Me" to "Text Me" but otherwise, I used her text.  I thought this was so sweet and clever.  In case you are interested in Juilia's take on how the phrases match up to verses:
BE MINE - John 3:13
ALL MINE - John 10:27-30
TRUE LOVE - Jeremiah 31:3
LOVE ME - Luke 10:27
I'M SURE - John 14:1-3
SWEET TALK - Psalm 119:103
BE GOOD - John 14:15
TEXT ME - Jeremiah 33:3

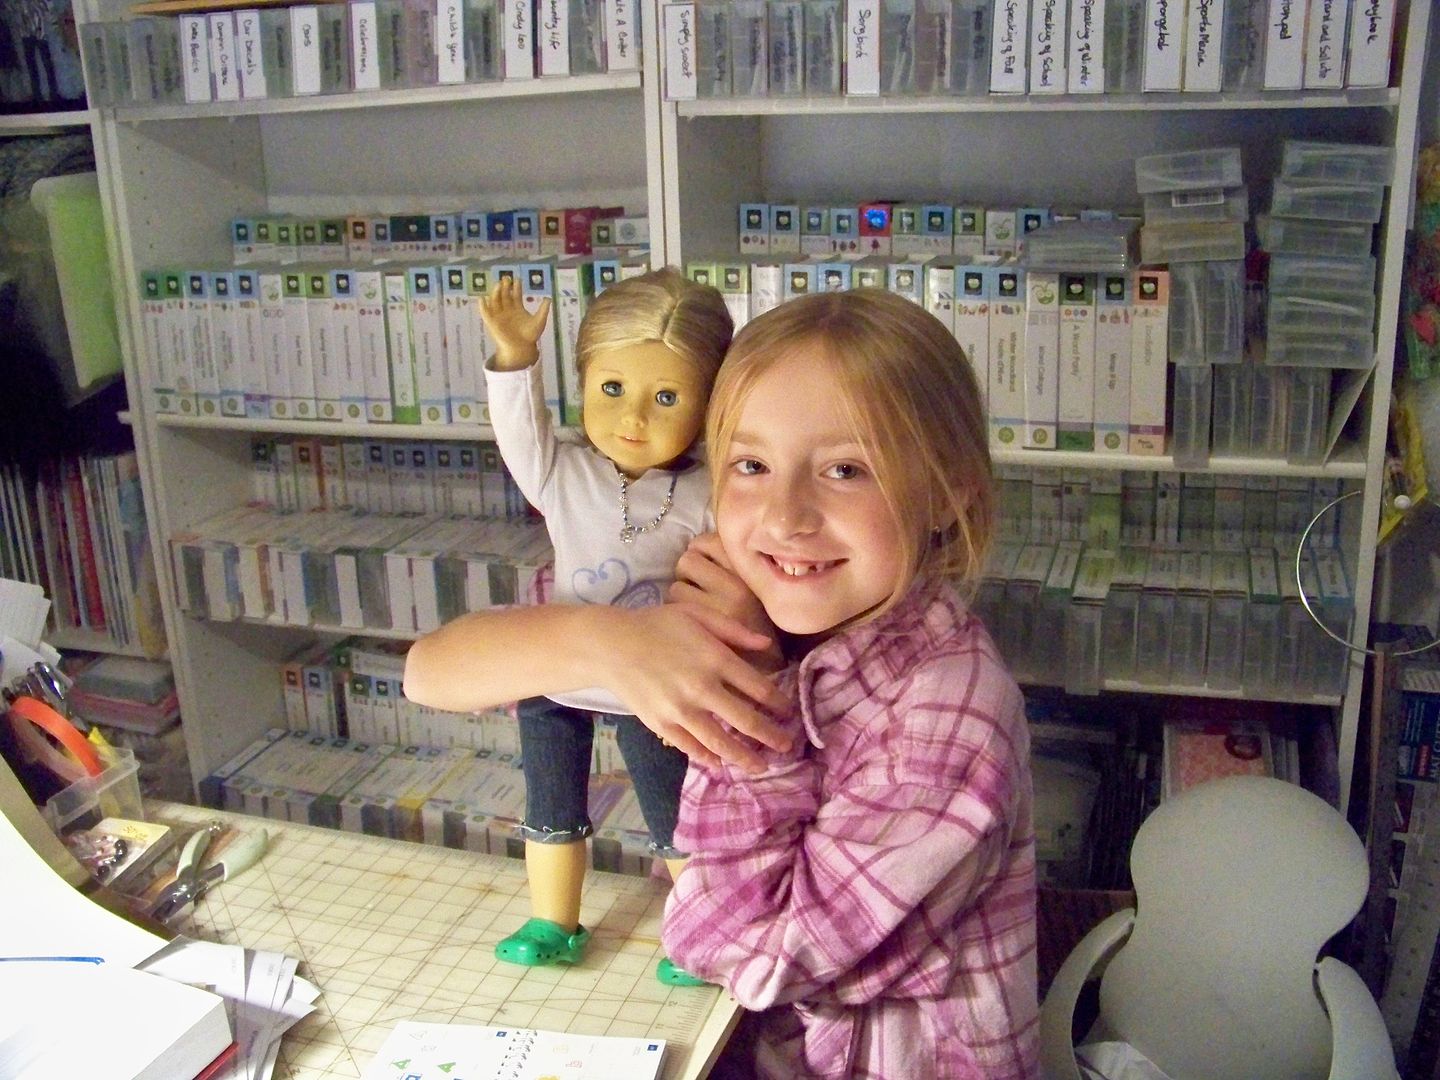
Dolly Gifts for My Daughter


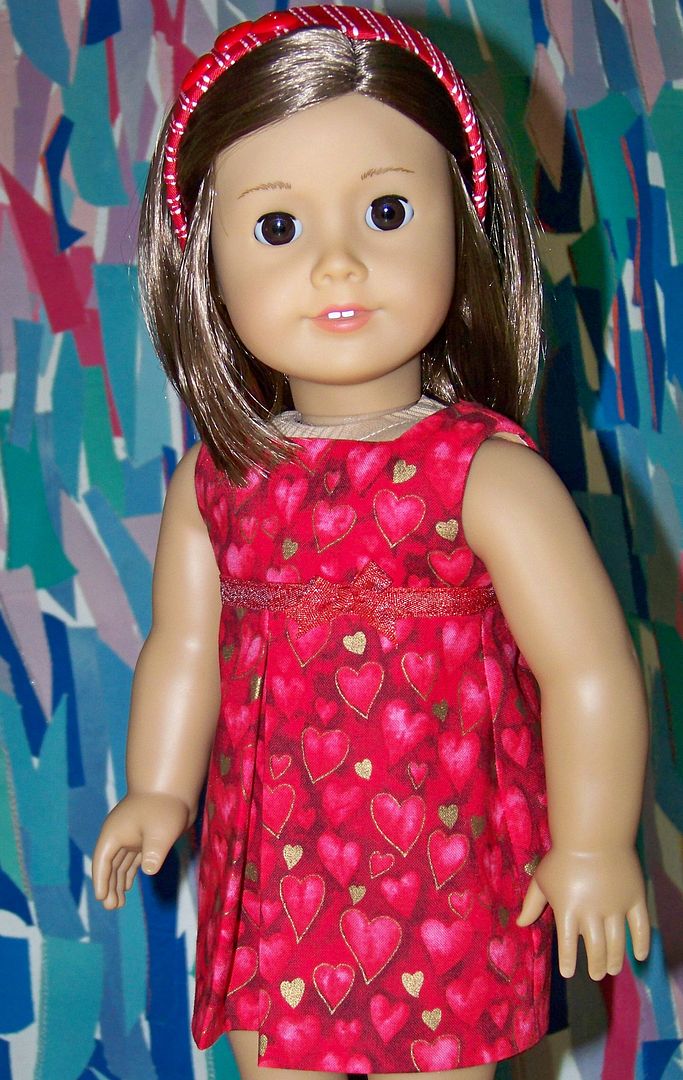
I made a little Valentine dress for my daughter's doll from a pattern purchased from Kotton Candy Doll Fashions.  This is the pleated sundress.  I have made this pattern lots of times.  It has a perfect fit on American Girl dolls and I have gotten it to the point where I can complete it in an hour.  Click here for the pattern on Etsy.  To see more dresses I made previously with this pattern, click here.


For fun, I purchased some cute "easy peasy" Valentines from Lettering Delights.  I love that I can change the size and print these off in "doll size" for my daughter.  I imagine that she will have her dolls exchange Valentine cards with these.


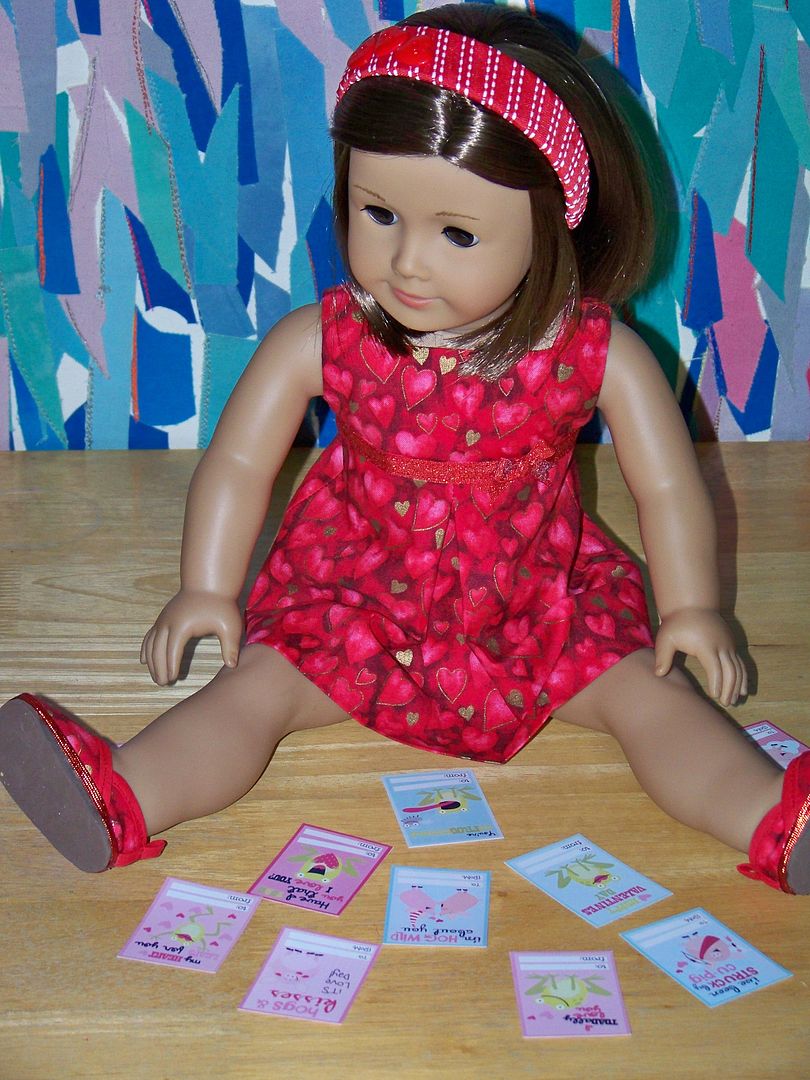
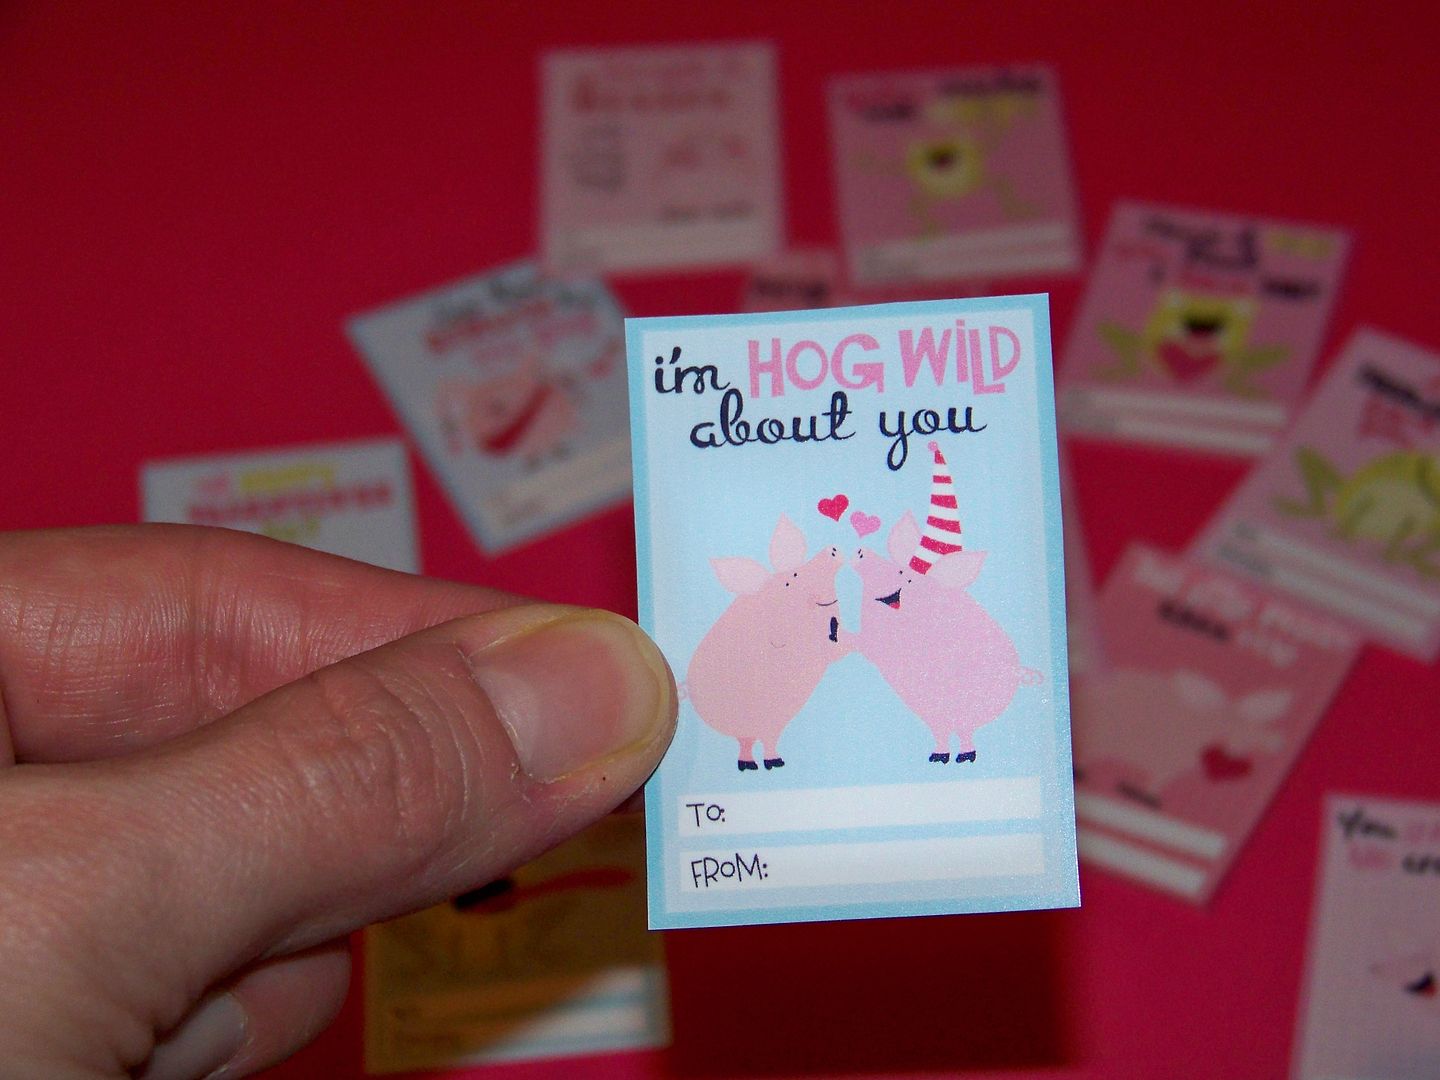
To get to this mini size, I used the jpeg file and printed each group to fit a 5x7 format.  This allowed both styles to fit on one 8-1/2" x 11" glossy photo paper.  These are the 'Hogs and Kisses' and 'Frogs and Kisses' Valentines.  Click here to see all the styles available.

I have been so afraid to make doll shoes.. but a doll clothes sew-along Yahoo Group that I am a part of recently shared a flip flop doll pattern for this month's sew along and I forced myself to try it.  Well, they created a monster because I have made tons of flip flops and gained enough courage to try espadrilles!  I didn't follow the pattern, using what I learned from the flip flops, to make them so much easier!


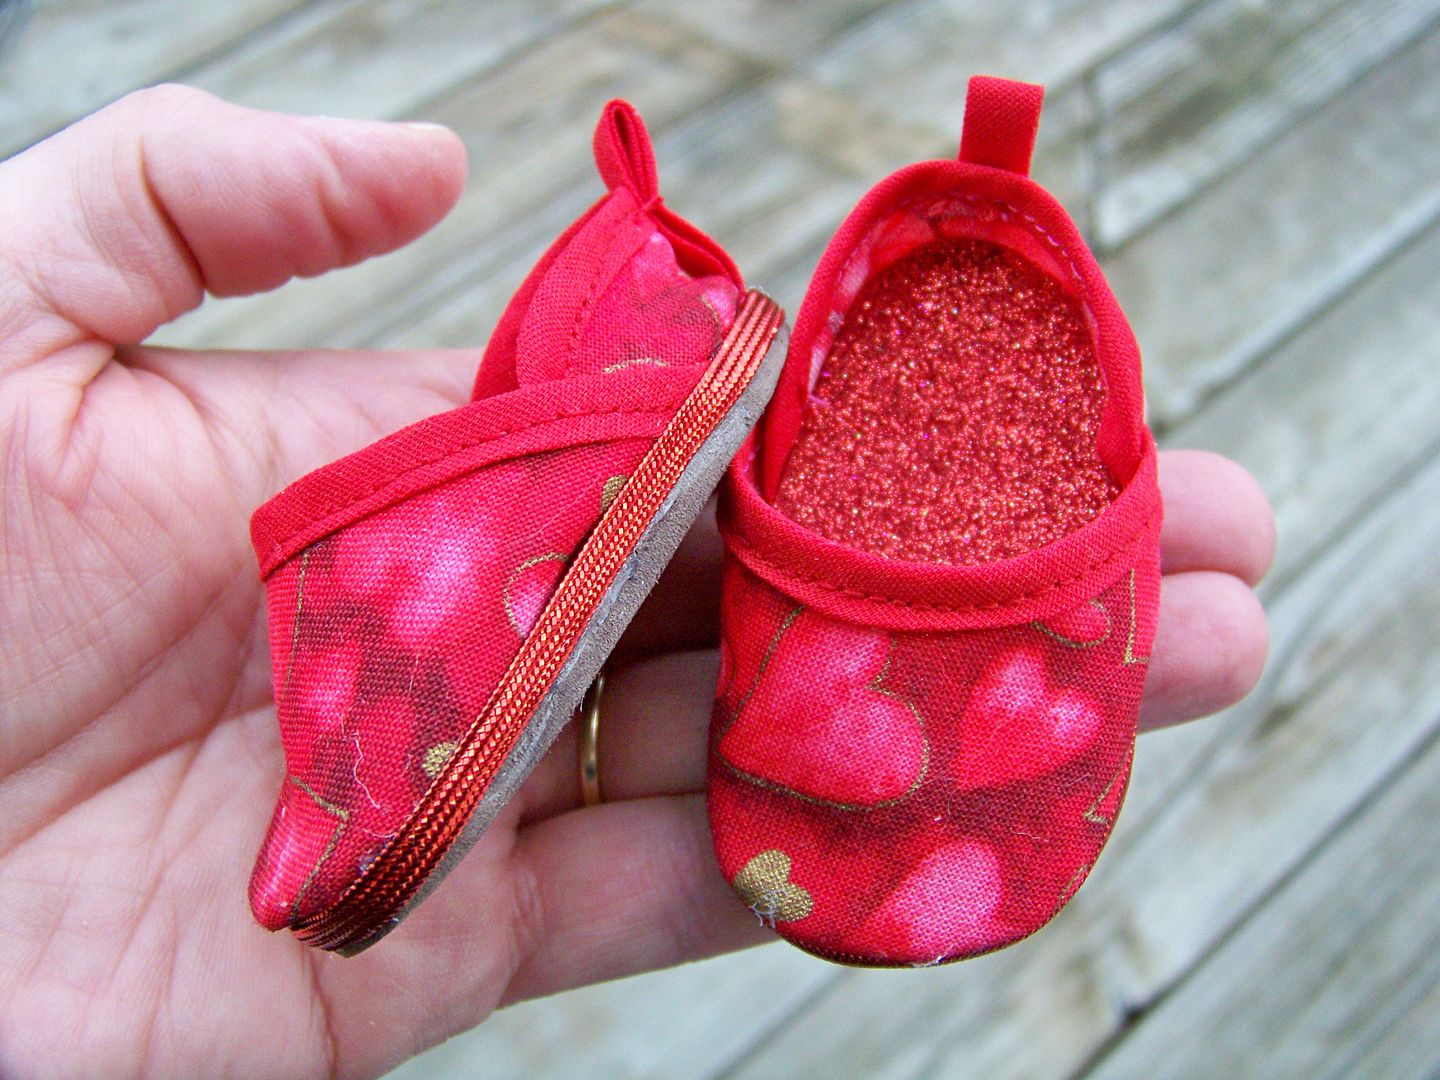
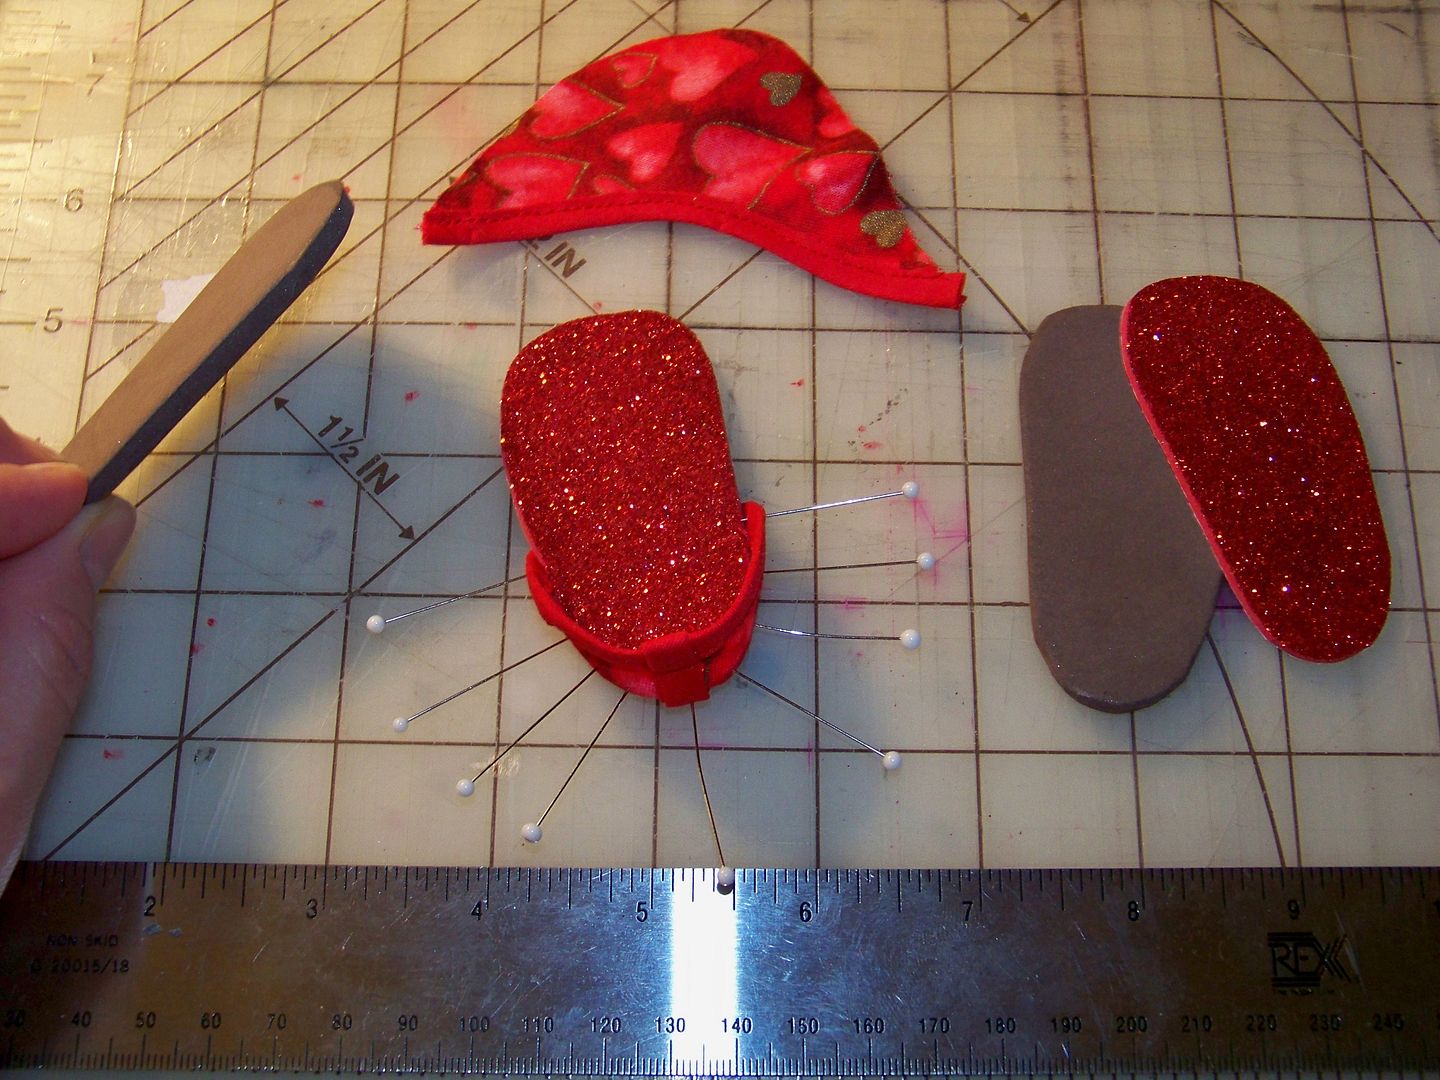
Instead of covering a board in fabric, attaching that to a secondary layer, and adding cork to the bottoms, I simply used one piece of thin 'fun foam' to attach the fabric upper and heel.  (I found glitter foam!)  I hot glued that to 5mm 'fun foam'.  I attached metallic middy braid to the edges instead of jute trim.  These go together in minutes!!


I used this pattern that you can find on the Liberty Jane site!  Click here to see it.


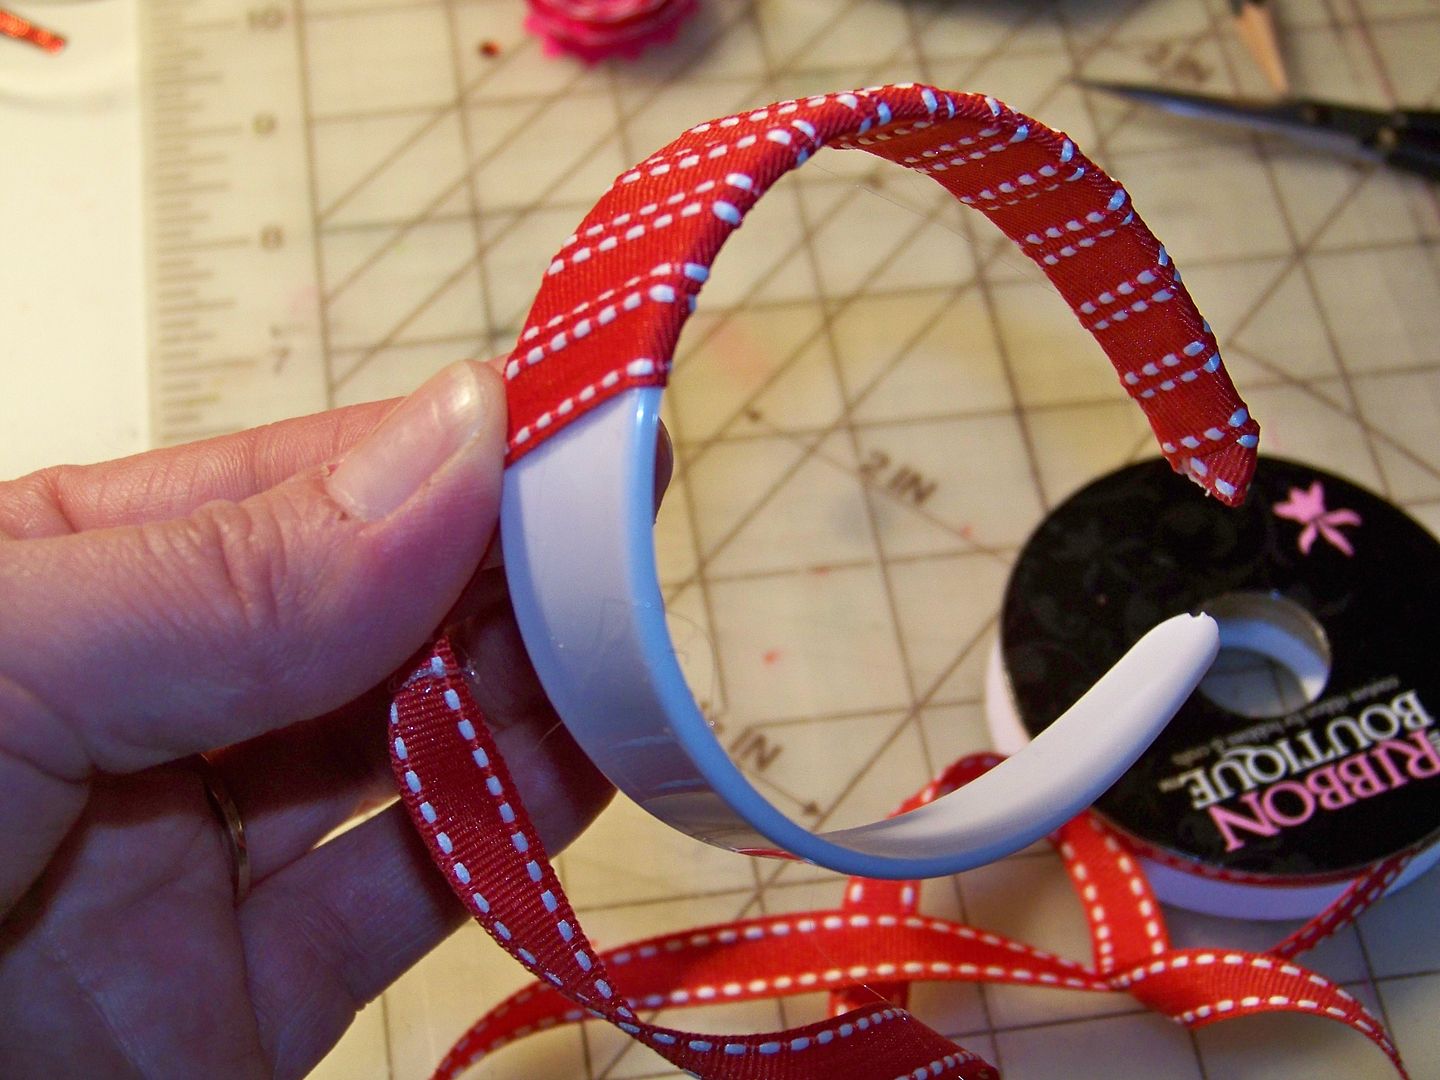
I covered a doll-sized headband blank with 5/32" ribbon, hot gluing to keep in place.  I hot glued a few heart-shaped buttons to the top.  To see the source for the headband blanks, click here.


Super simple, super fast gift wrap for this gift used Victorian Romance for the heart banner, cut at 4-3/4" and letters from Holiday Frames and Tags, Nordic Font, cut at 1-3/4" and 2-1/4".


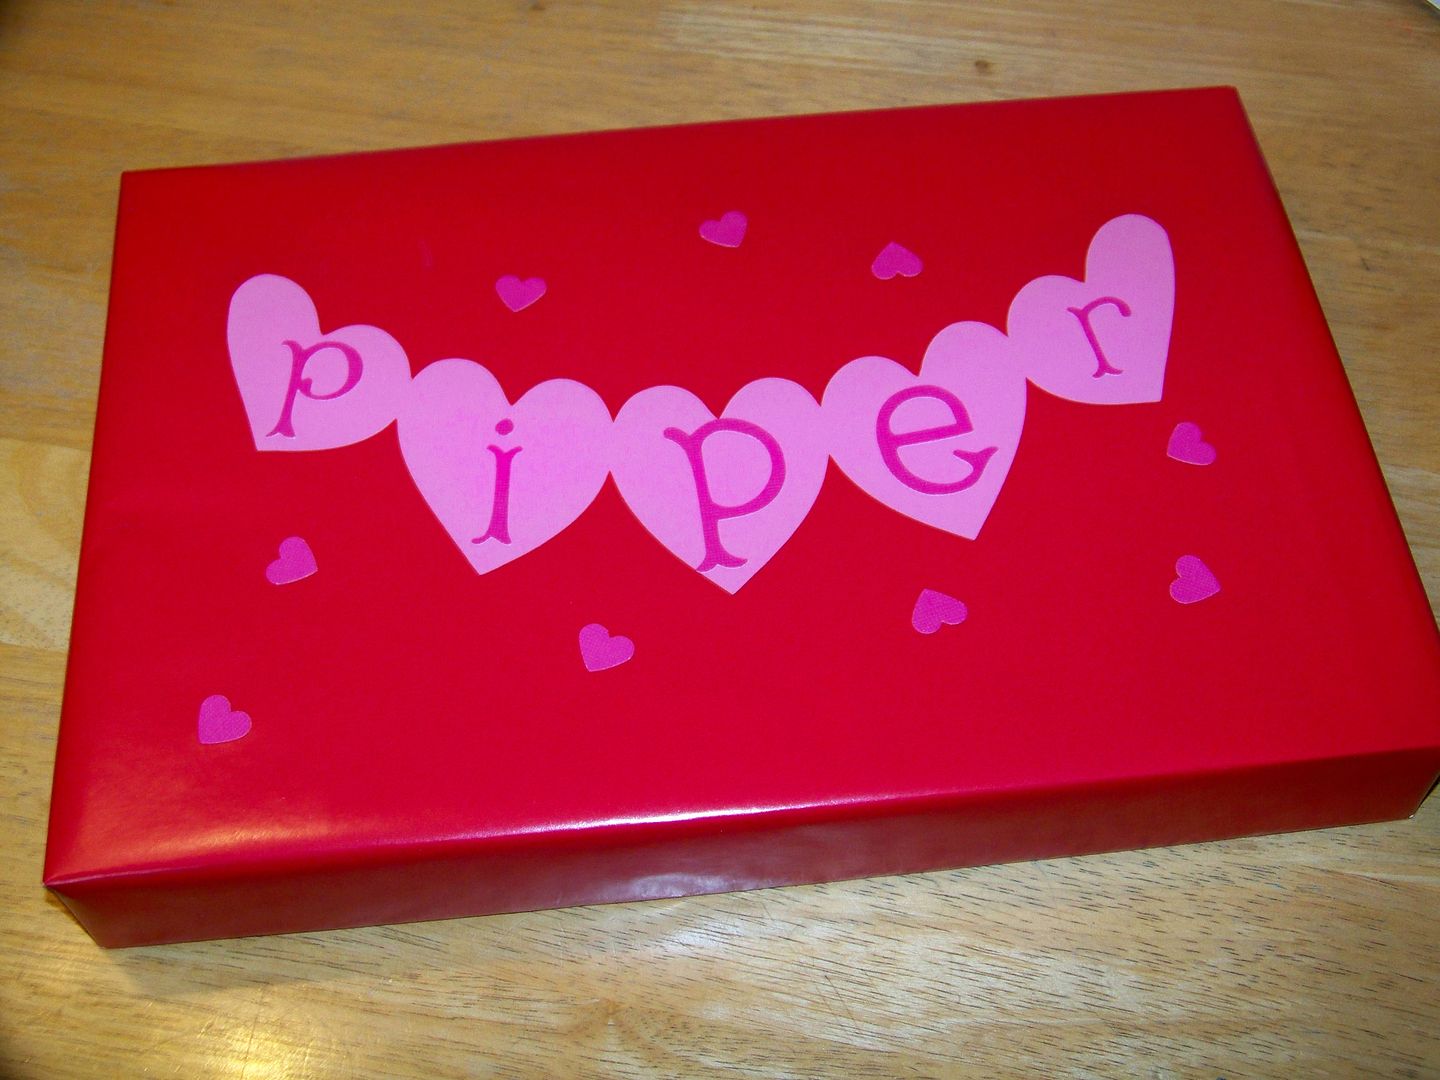
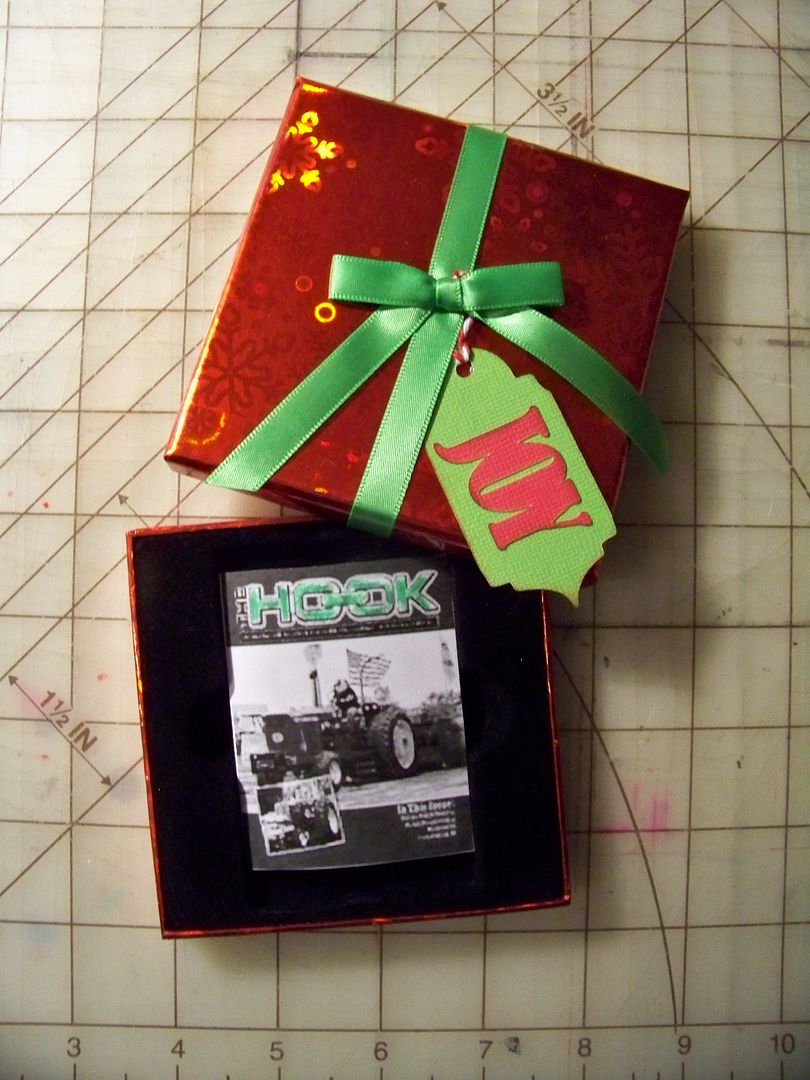
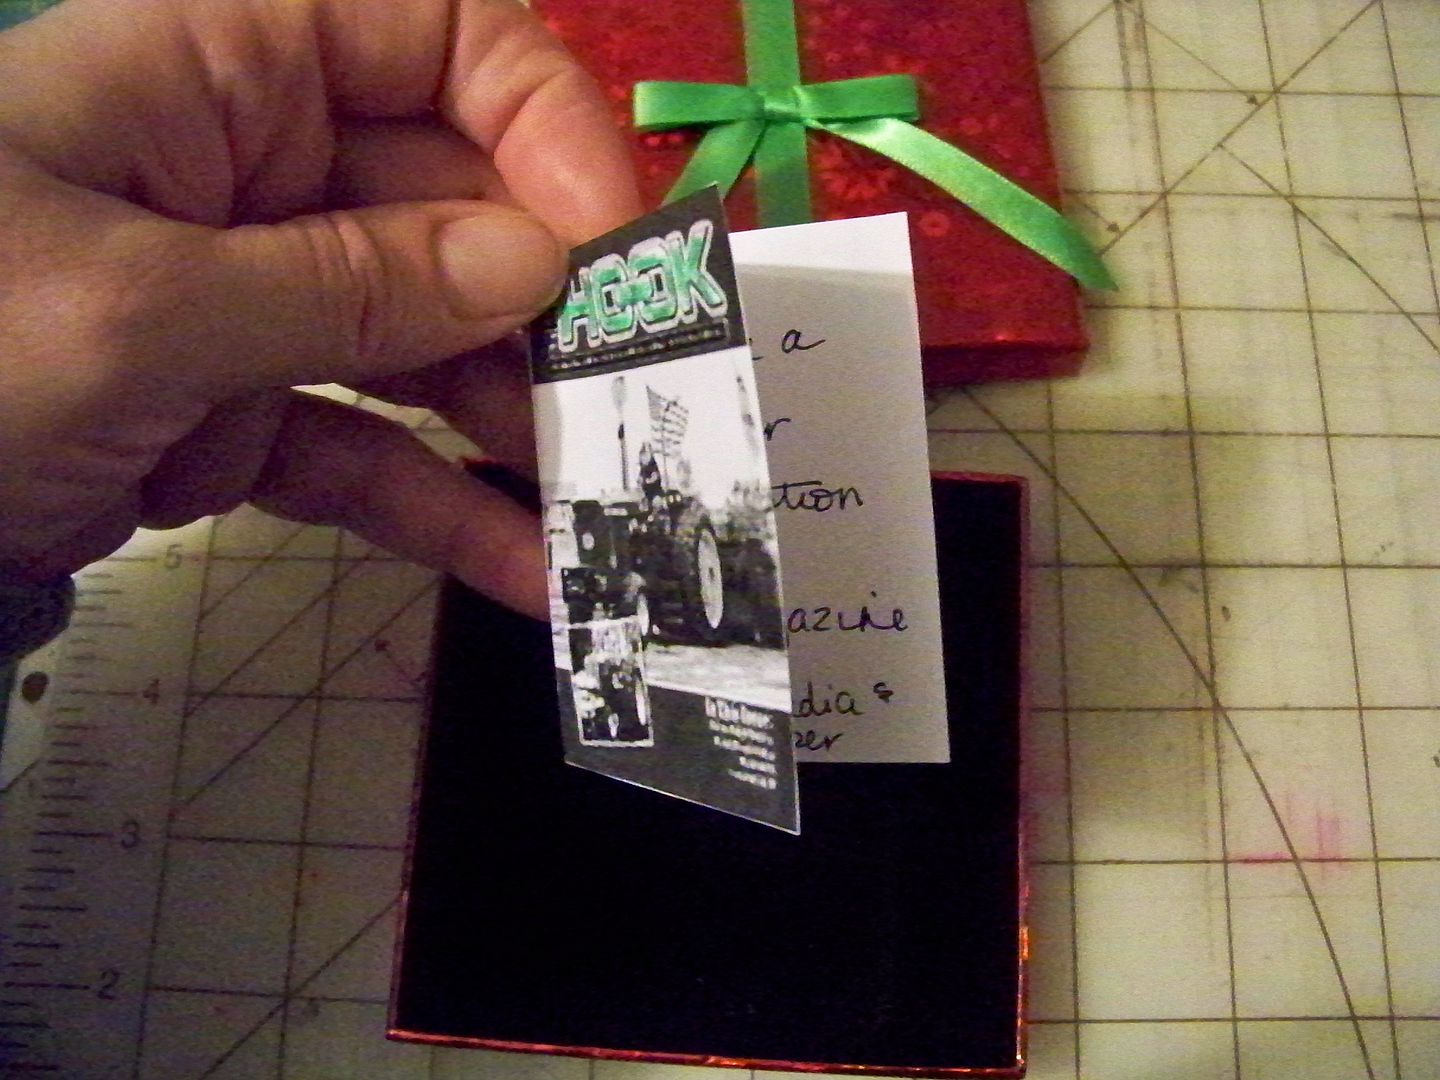
Valentine Birthday Gift Box


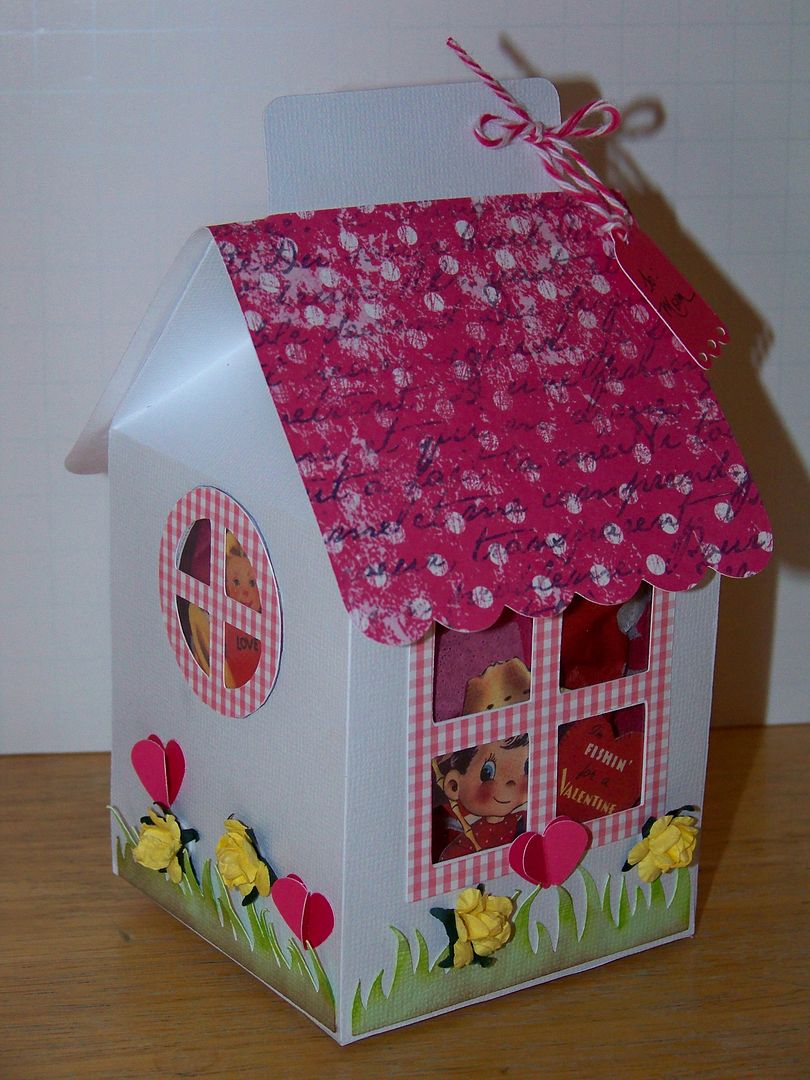
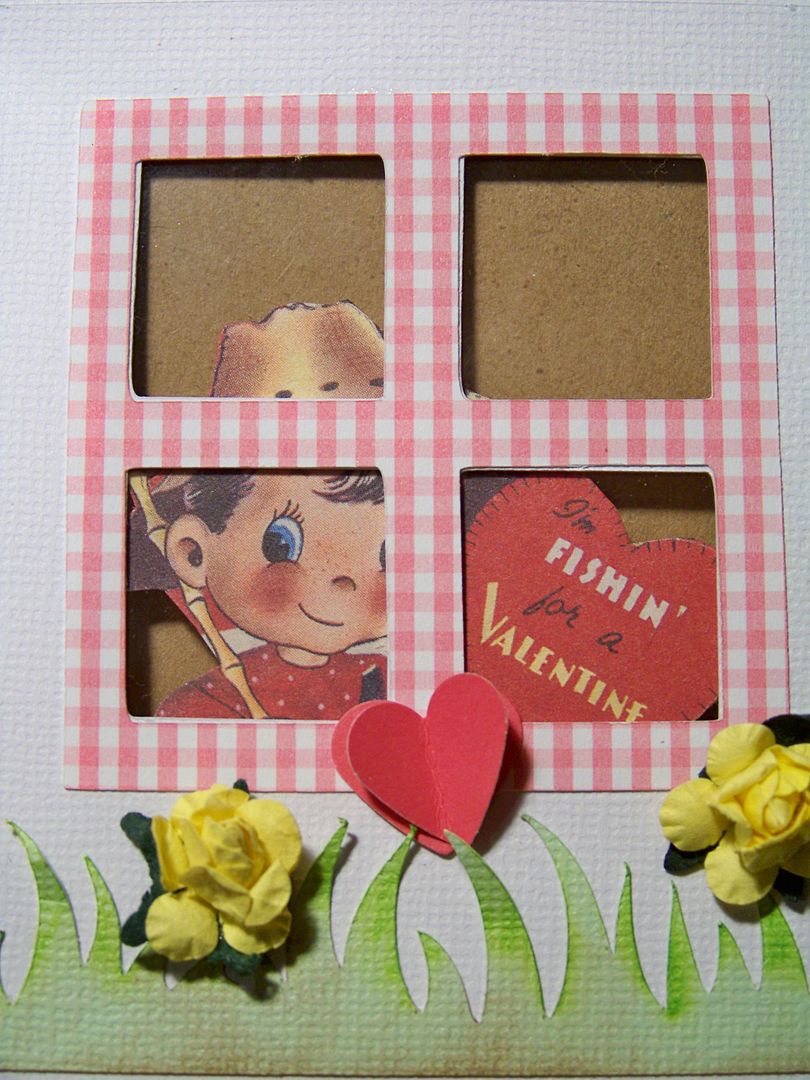
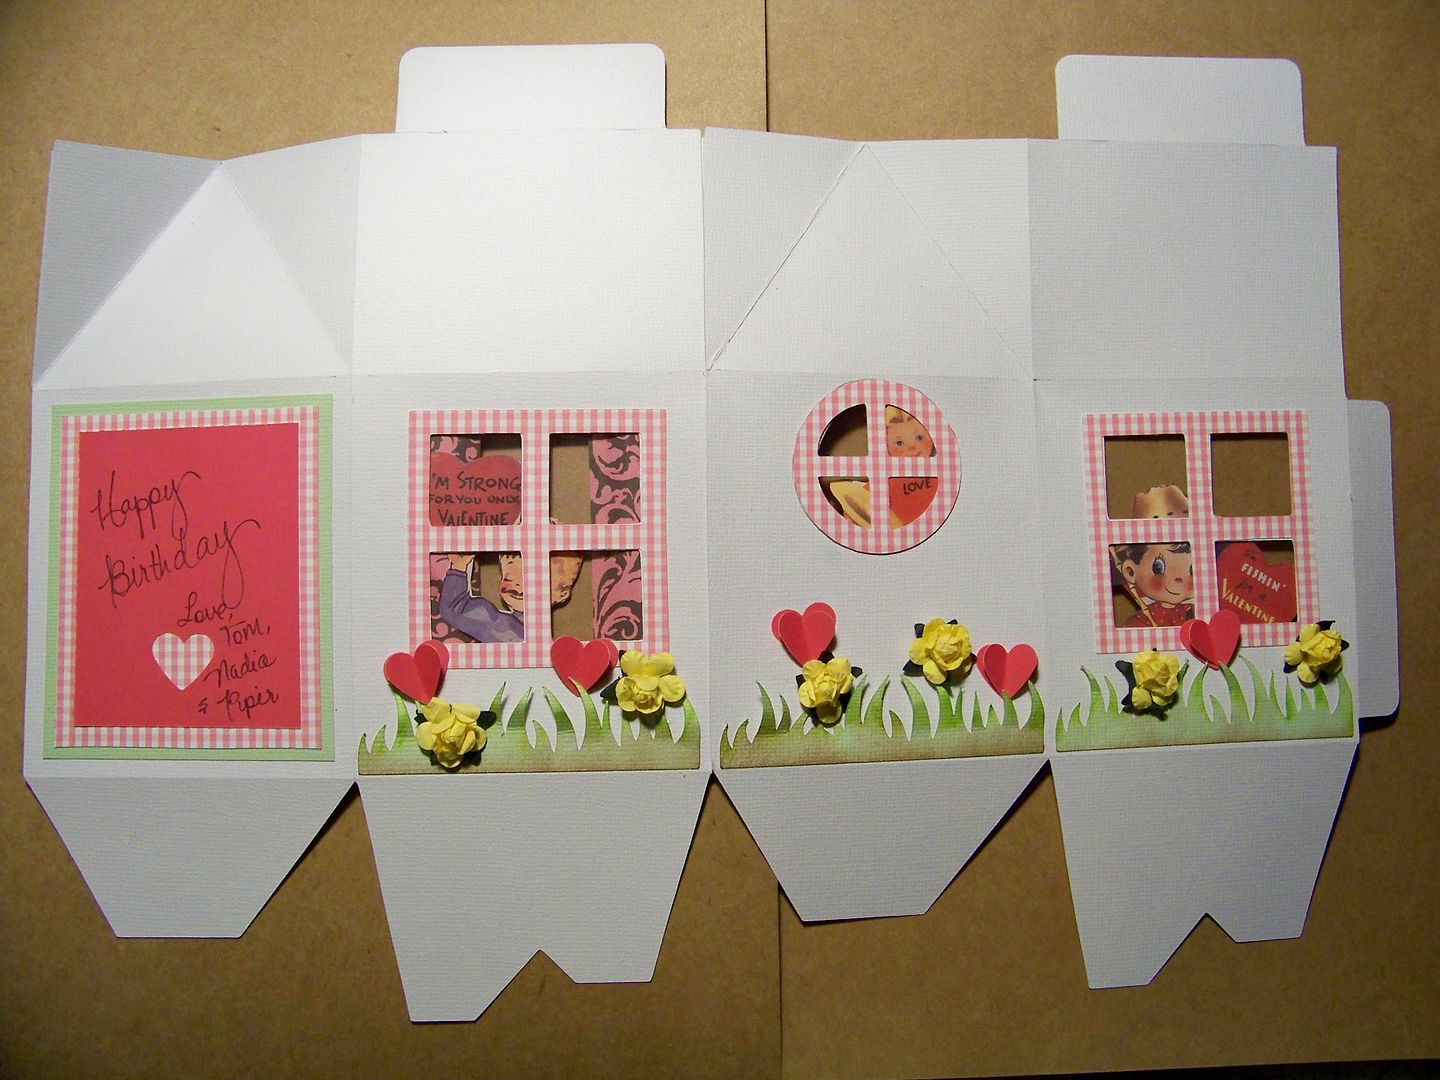
One reason that Valentine's Day is celebrated BIG here is that we have a family member with a Valentine Birthday!  I made this box from Sweet Treat Boxes, page 26, cut at 9".  The tiny tag is from Artiste, page 56, cut at 1-1/4".  I used recycled cartridge clamshell packaging for the window glass.  The flowers were straight out of the package and the hearts were cut from a punch.  I used paper that was printed to look like old fashioned Valentine cards and cut characters out from them to peer out from the windows.


Thank you for checking my blog post today!  I hope you are having a fun, happy Valentine's Day with the people you love the most!

To see many of my previous paper projects, click here to go to My Project Gallery.
To see many of my previous doll projects, click here to go to my Doll Clothing & Accessories page.

Thursday, December 20, 2012

Journal Your Christmas - Dec 19 Candy-Grams! and How to Wrap a Subscription

Earlier in the month, one of Shimelle's Journal Your Christmas prompts suggested showing this year's Christmas cards.  Well, I only just yesterday finished mine so......


This year's cards are actually Candy-Grams.  I found giant Godiva candy bars (salted caramel milk chocolate ones at that) and mailed those.  I gave them a cuteness makeover with Rudolph Bear.

I had an extra tag and used that on my left side.


I got them in the mail only yesterday.  I really should have made New Year's Candy-Grams instead I think. 

In the evening, I made more for my daughter's class for Friday's party using XL Hershey bars.  Her school doesn't allow the use of reindeer or Santa images so I used a simple snowflake.  Since the kids tend to tear into my packaging, I thought that was a smarter solution than to use an intricate, multi-piece cut.


The other silly thing I wanted to share was my solution for how to wrap a magazine subscription.  Tops on my father-in-law's wish list was a subscription to a tractor pull magazine.  I know the owner and they just don't offer any kind of card or 'wrappable' announcement so I made a mini magazine and placed it in a gift card box.  The note inside the mini-mag told the news of the gift.


Back to sewing today before work.  Yikes -- only five more days until Christmas!  So much more to do!  Thanks for checking my blog post today.  I hope you are on schedule with your Christmas gift crafting!

bloghopbutton200x200

Wednesday, October 31, 2012

Nothing Like Waiting Until the Last Minute


 This past weekend, I was teaching my kiddo how to make a book for a history project and planning for today's Halloween hooha, keeping me from making Halloween goodie-bags for the ballerinas in Piper's dance class.  I was thrilled when I saw the Halloween Treat Holders posted by HappyScrapper64 on Facebook and on the Circle Message Board.  You can find her project on her blog, Random Thoughts of a Scrapbooker.  I didn't just see them and use her idea, I also asked her on Facebook if they would work with candy bars.  Honestly, she did everything but actually make them for me, so thank you, Brenda, for saving me today by sharing your brilliant use of a card as a treat wrapper!


I cut mine for 1.55 ounce Hershey bars.  I used Artiste (page 76), cutting at 4-3/4" on the Expression.  I stamped "Boo" using a glue pad and glittered the image.  These went together so incredibly fast and with only one cut and no layers, I was loving Brenda during this entire process.... Please check out Brenda's fun blog filled with her other great ideas!

Sooo....  My daughter and I have been working hard on a book she is creating for a history project.  It is a 3rd grade school project, but most (ok all) of this project has been done at home, not at school.  I have had to teach her several new things, including how to decoupage chipboard to make a cover, how to make letters with a shadow on her Cricut (she has never used the shadow feature even though she has her own Cricut and uses it), how to use a Bind-It-All to punch holes (we haven't bound the book yet but I will probably close the wires for her), how to use a light-box and lined  paper behind unlined paper to make text straight.  Needless to say, I am glad we have until December to finish this!


She has been getting on my laptop and finding facts about each of her 26 historical Americans and drawing her own portraits of them, but the actual 'putting together a book' part of this project has been a big art lesson between Piper and me!  It has been fun, but I remember making books in middle school where we learned a crude binding process using cardboard covered in contact paper and embroidery floss to sew the pages into the cover.  I also remember getting the technical how-to info at school!

So, today, I am grateful that I have the time, skills, and tools to teach my kiddo and to help her.  And... I am grateful for crafters who share their projects with cut sizes and other info as Brenda did!

Speaking of grateful, I was reminded to thank God for all we have in a text I received last night from my friend, Gina Piazza, who is enduring the aftermath of hurricane Sandy while she waits on an upper floor for 6 feet of water to recede from her home and for power to be restored to her neighborhood in New York.  My thoughts are with Gina as I pray for speedy solutions, safety, and full recovery for our friends who have come in harm's way and who have lost so much due to the storm!
Thank you for checking my blog post today.

Thursday, October 25, 2012

Apple Butter!!

My Apple Butter

A month or so ago was the Heritage Festival Weekend in Lanesville, Indiana.  The festival showcases antique tractors and rural farming culture.  You know, I am a city girl, but my husband is a real country guy at heart. My husband's company did the tractor pull there.  ...But the reason I always enjoyed going all these years was for the apple butter.  They make and sell apple butter that they cook outside, in a big cauldron, over an open fire.  It is the best apple butter I have ever tasted; the two jars I bought are already gone.  The ingredients listed on their jars are:  apples, sugar, cinnamon oil.

I actually found a similar-sounding recipe on-line (click here) but I really don't want to stand over a hot fire all day (or even for a short time and where would I even do this???)  The more realistic idea for me, outside of just stocking up on cases of the magical stuff from Lanesville, is to make my own in a Crockpot.  I decided to really do it once I found a very easy-sounding recipe from Buttercream Couture.  Find it on their Facebook Page (click here) from October 19.

I made a few simple changes and took lots of notes... and I canned mine for gifts.  This is my recipe and it differs a bit from the original.  I will say that it is not the same as Lanesville's, but it is really good.


Slow Cooker Apple Butter Recipe
Click here for a printer-friendly version.

7-1/4 pounds apples (weighed before preparing), peeled, cored, and chopped.  I used Fujis sold by the bag. This is the most that will fit in my 5 quart Crockpot and still allow the lid to close!
3 cups white sugar
4 teaspoons ground cinnamon
1/2 teaspoon ground cloves


First, prepare apples and place them in a slow cooker. 

Mix sugar and spices.  Pour on top of apples.  No need to stir yet.

Cook on HIGH for 2 hours.  

Now is the time to stir the pot!  Then, cook on LOW for 10 hours.  (I did this overnight.) 

Then, use an immersion blender to smooth the consistency, using the masher foot for this first blending.


 At this point, it tasted perfect.  I wanted to thicken it.  The original  recipe said "You will know when it is done when you get a spoonful from the slow cooker and there is no water separation around the outside edge and it holds to the spoon if you invert it."  I had a way to go before getting to that point.  What I scraped from the sides was perfect so I knew I just needed to cook off more of the water.  The original recipe suggested keeping the lid off but this method would work best if on the stovetop.  Without the lid, the Crockpot just cannot keep the food hot enough.  I wanted it to boil a bit (at least on the edges) and I could only achieve that by keeping the lid on.

This is what my apple butter looked like at this point:

Actually, I like this texture and don't mind the separation, but I was trying to learn from this recipe.  If I were making this for myself, I would be happy at this point!  In many ways, this was like the Lanesville apple butter because theirs separates and has a texture like this.

Next, cook on high for five hours, stir, and check consistency.  (I did allow it to cook for 1 hour with lid off, but I could tell we weren't getting anywhere so I put it back on).

Then, set on low and cook for 3 hours.  (The reason I set it on low was that I had an appointment and just felt safer setting it back to low.  This is a pretty forgiving recipe!)   

Next, take off the lid and use the immersion blender again, this time with the regular blending foot.  


It was ready and looked like this:

With the lid off and the Crockpot still on high to keep the apple butter hot, I got stuff ready for canning.  I kept it that way until the process was complete.  

This recipe filled five 8-oz jelly jars plus a bit to enjoy now!  ...plus whatever I comsumed while sampling!!


I processed these in a boiling water bath for 10 minutes.  (1/4" headspace)

I used my computer and the labels that came with the Ball Jelly Jars.  (You know, why re-invent the wheel?)  They were printed with Microsoft French Script at 16 point.

I wanted to give one away to my daughter's teacher.   I found some apple paper in my stash for the topper and some scraps for a scarecrow embellishment.


The scarecrow was cut from Simply Scarecrows at 2-3/4" on my Expression.  The jar topper was cut from paper at 7" from George (the circle) using Real Dial Size.  


My jar lids were 2-3/4" in diameter so a 7" circle for the topper worked out great!

I cut that jar topper from card stock, so I did take some time to carefully smooth it down and make it lay neatly against the jar, using twine to secure it in place.  I cut a couple of tiny holes in the scarecrow  and used a tool to lace the twine through.  (This tool is one I bought on-line when my daughter was into having feathers in her hair.  It is called a needle tool and used for hair extensions.  I have used it way more for threading twine than I ever did to thread her hair into those silicone-lined crimping beads!)


I love the way that paper and die cuts dress up food gifts!


I also tried a new bread recipe when I was in the middle of the apple-butter-making.  This has a biscuit-like consistency without much work and uses only four ingredients.  There are several of these running around Pinterest, but I ended up sort of winging it based on notes from several of them.


7UP Pan Biscuits
Click here for a printer-friendly version.

4 cups Bisquick
1 cup sour cream (regular, not reduced fat)
1 cup generic Lemon-Lime soft drink (like 7UP)
1/2 cup melted butter

Preheat oven to 425°.  Melt butter in the microwave.  Pour into a 9x11 pan.  Spread out evenly.

Mix remaining ingredients in a bowl.  It will be a very wet dough.  Pour in the pan on top of butter.  Spread the batter to the edges.

Bake 425° for 20-25 min.  Cut into rectangles.  Brush tops with additional melted butter to serve like a dinner roll or cut in halves to put apple butter inside!


Do I even have to tell you how fabulous this was with the apple butter????  My mom and the grandkiddos came by while it was baking.  Needless to say, it was gobbled up in no time!  Total hit and perfect for fall!

Thank you for checking my blog post today.  You can find many of my past projects by checking My Project Gallery.


But wait! There's more! Click 'older posts' above!

But wait!  There's more!  Click 'older posts' above!