Showing posts with label Paper Flowers. Show all posts

Friday, March 29, 2013

My Easter Lilies


A year ago, my friend who is the RCIA director at my church (and who was also my sponsor when I became Catholic), asked me to decorate the Fellowship Hall for the Easter Vigil.  I begrudgingly agreed.  Here are the truths I knew when I agreed, and if you attend a church of any denomination you already know this:  You will use the previous years' decorations, they will be sight-unseen until you get there and horrible, and you will have this job forever.

All I can say is that after I decorated last year, I felt I would never be asked to do it again.  It looked terrible.  I had a vast array of mismatched candles, chalices, floral pieces, statuary, and table cloths to work with from storage... and I didn't have the talent to hide that fact!

Much to my surprise, I was asked to do it again (clearly they were desperate), but I was asked two weeks in advance so I had time to make stuff!  And... my friend in charge told me she wanted a mostly white palette!  I had in my mind from the year before that I would make life-size lilies, but I knew that I hadn't seen them on any Cricut cartridge and so I went to the most logical source, the master paper gardener, Michelle Nun.  Michelle has a blog called Scrap N Grow and makes perfectly life-like paper versions of real flowers!  I contacted her to see if she had any ideas... not only did she respond, but she created a tutorial for me, complete with photos.  What she didn't know is that I have a black thumb when it comes to both real and paper flowers.  I could never make flowers as perfect as hers, but she had given me so many incredible ideas and tips that I knew I was close!  Michelle created a trumpet shape-- just what I wanted and just what I couldn't seem to do.  Part of my problem is that I didn't want to use CCR to form the whirl that I needed.  I am just stubborn I guess.... Gluing the petals together to form the three-petal whirl wasn't working out.

I found a post by Lia Griffith where she provided a PDF of her own water-color lily petals, leaves, stamens, and stigmas to make beautiful lilies.  I realized that I could use the petals that Michelle found on the Giant Flowers cartridge (so I wouldn't have to hand-cut) and use Michelle's idea of adding color to each petal... and use Lia's idea of using individual petals so I wouldn't have to use software!  I was in love with the combinations of these two artists' ideas!

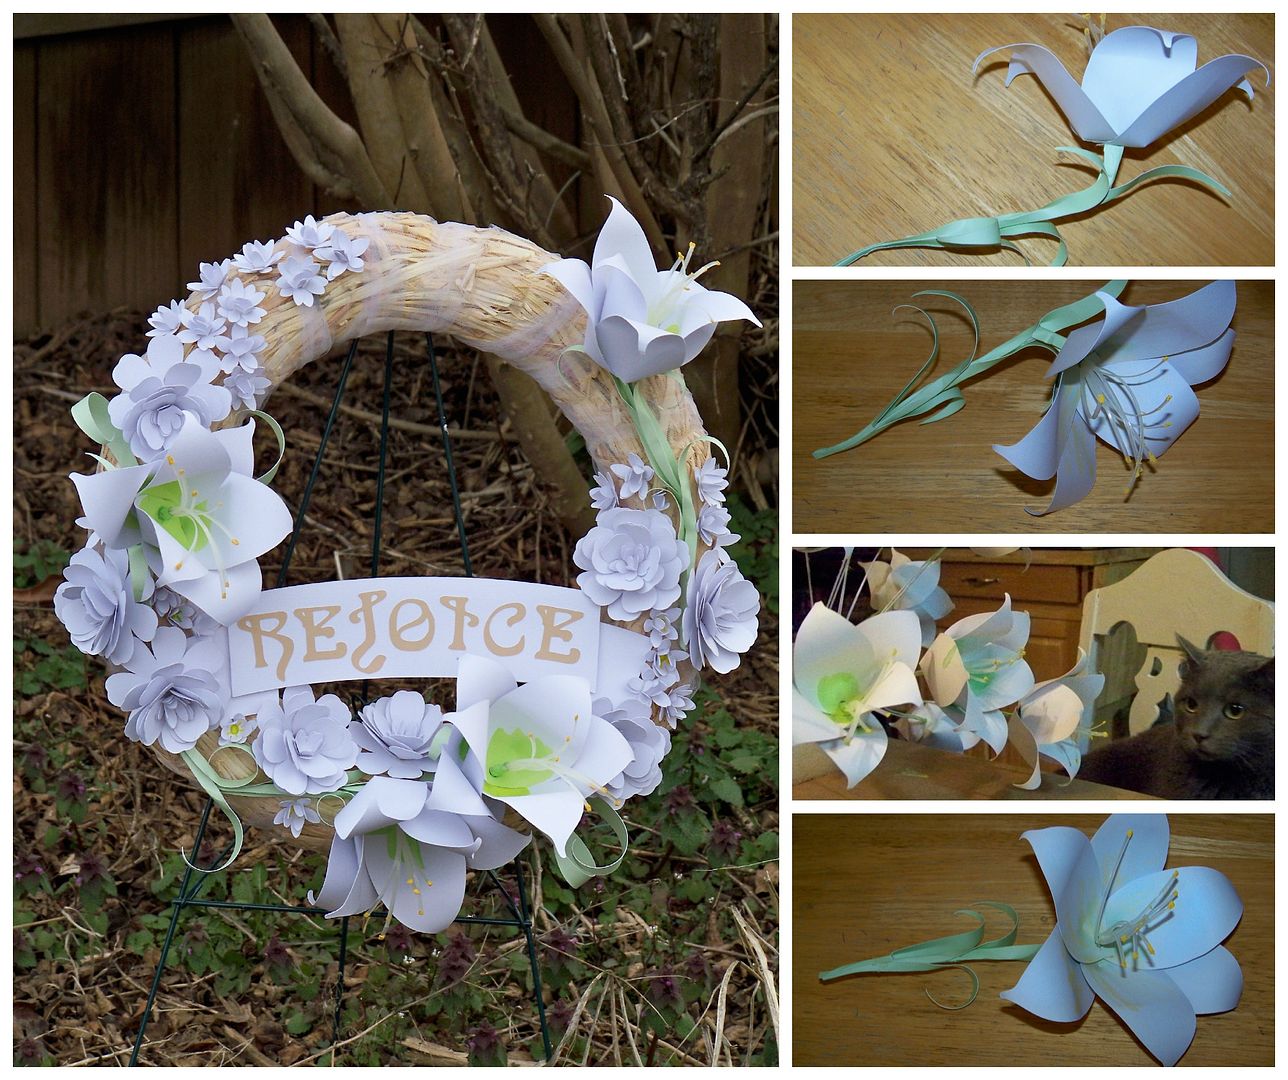
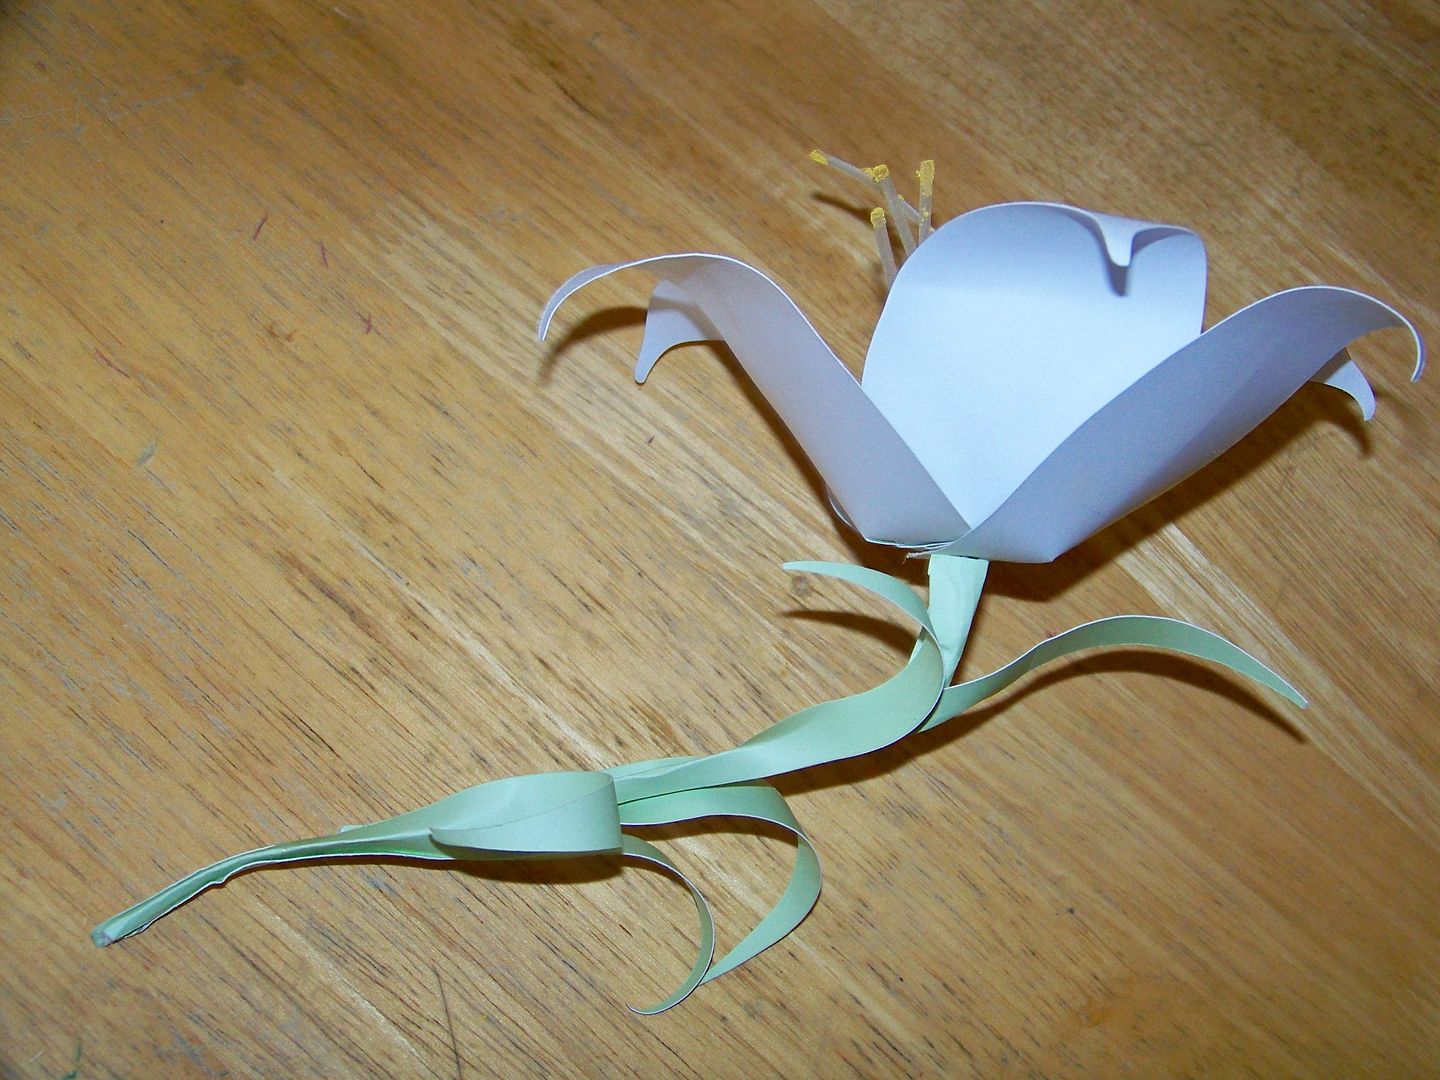
So, what I ended up with is not a true Easter lily. (I hope Michelle will forgive me for my inability with the software and for having to make changes to her absolutely perfect flower).  Unlike Michelle's botany-perfect lily, mine is sort of a lily-tulip with a carnation stem... but it worked!  And it was approved! Because it was such a process, I thought I would share my tutorial, in case you find yourself in need of a lily-tulip-with-a-carnation-stem.  Ha!

I cut petals from Giant Flowers at 6".  Each flower requires 6 petals.  This is key #20 on the keypad.  I used watered-down acrylic paints to add color to the centers.
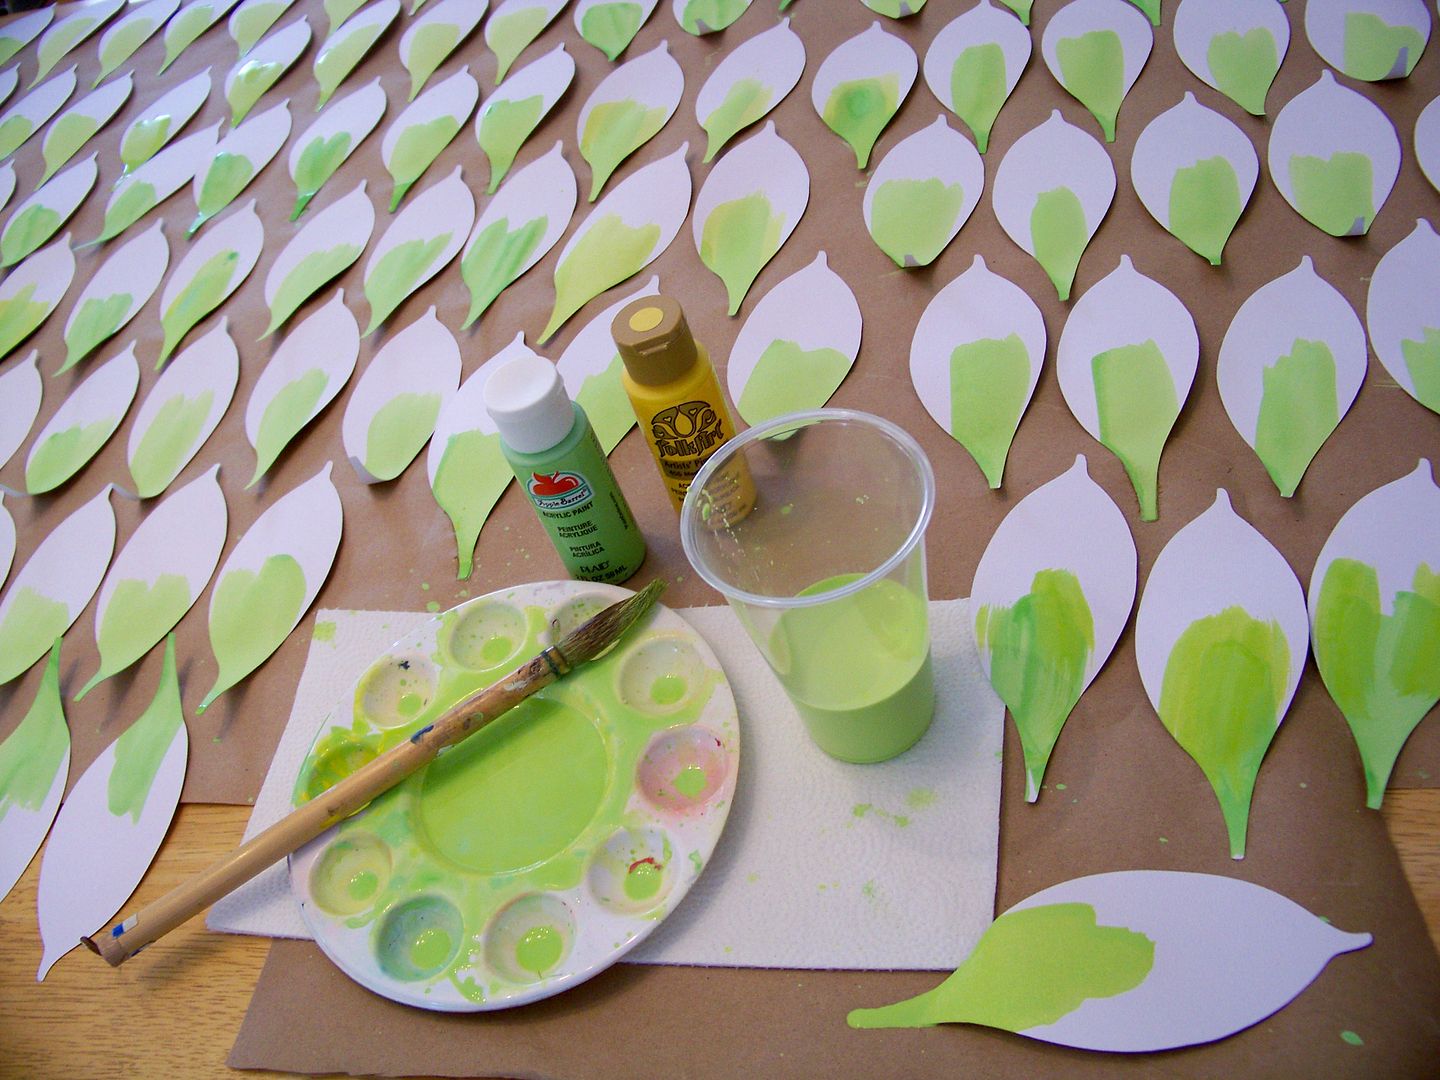

While the petals dried, I made the stems.
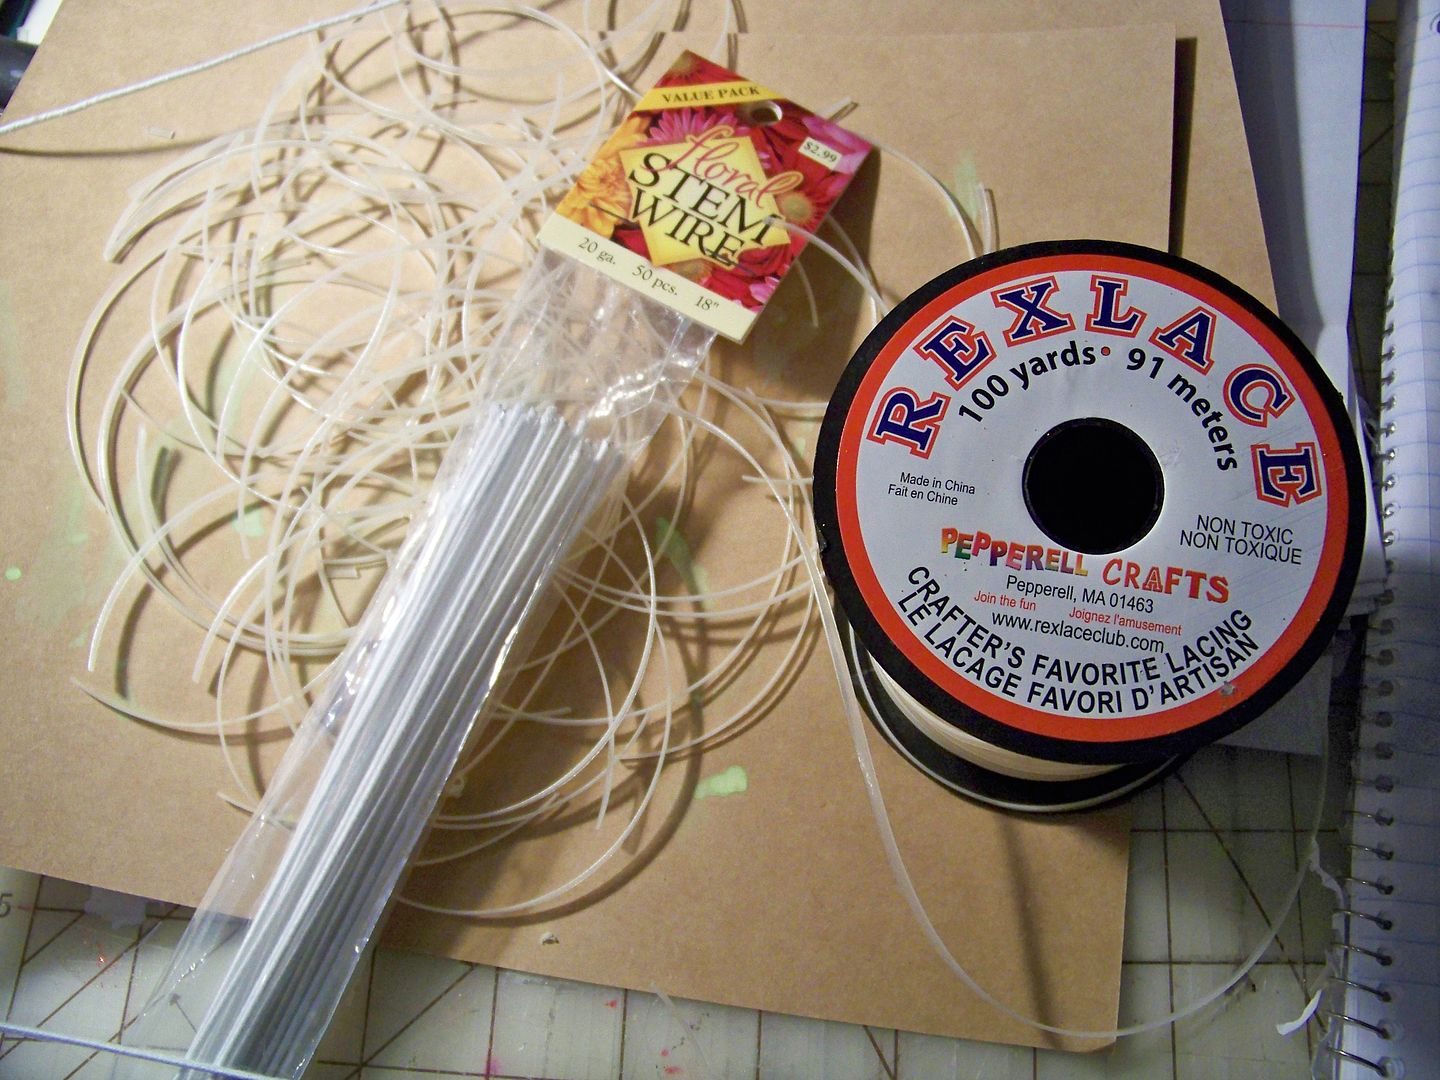


I found white, covered, 20 gauge floral wire at Hobby Lobby in value pack sizes.  I bent those in half.  I cut 4 pieces of lacing 4" each and placed them in the bent wire so that I would have 8 stamens.  I wrapped them with white floral tape to keep them together.  (The lacing is glow in the dark-- perfect color in the light, but I wonder what the custodian will think when he walks into the Fellowship Hall and sees the glow at the tables before the lights get flipped on.  Hopefully, he will keep my secret!)
The lacing was also from Hobby Lobby and a 100 yard roll is only around $2.
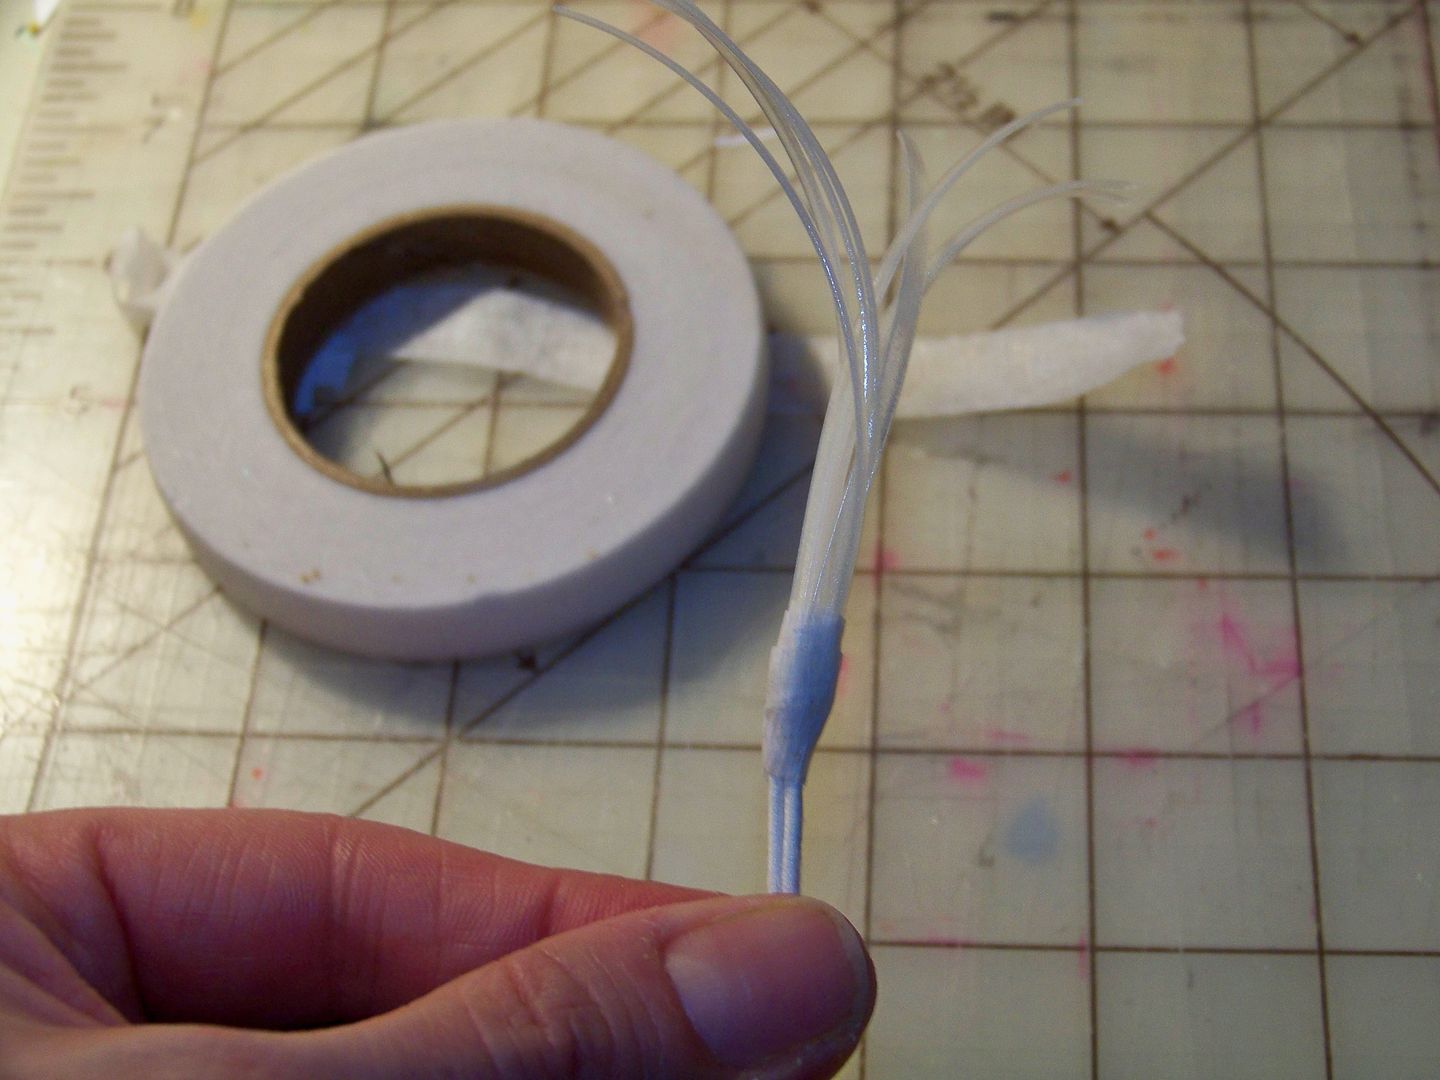

I found that I could dip the tips of the lacing in Scotch Quick Dry Glue and then into Zing embossing powder (color 'mustard') to color the tips.
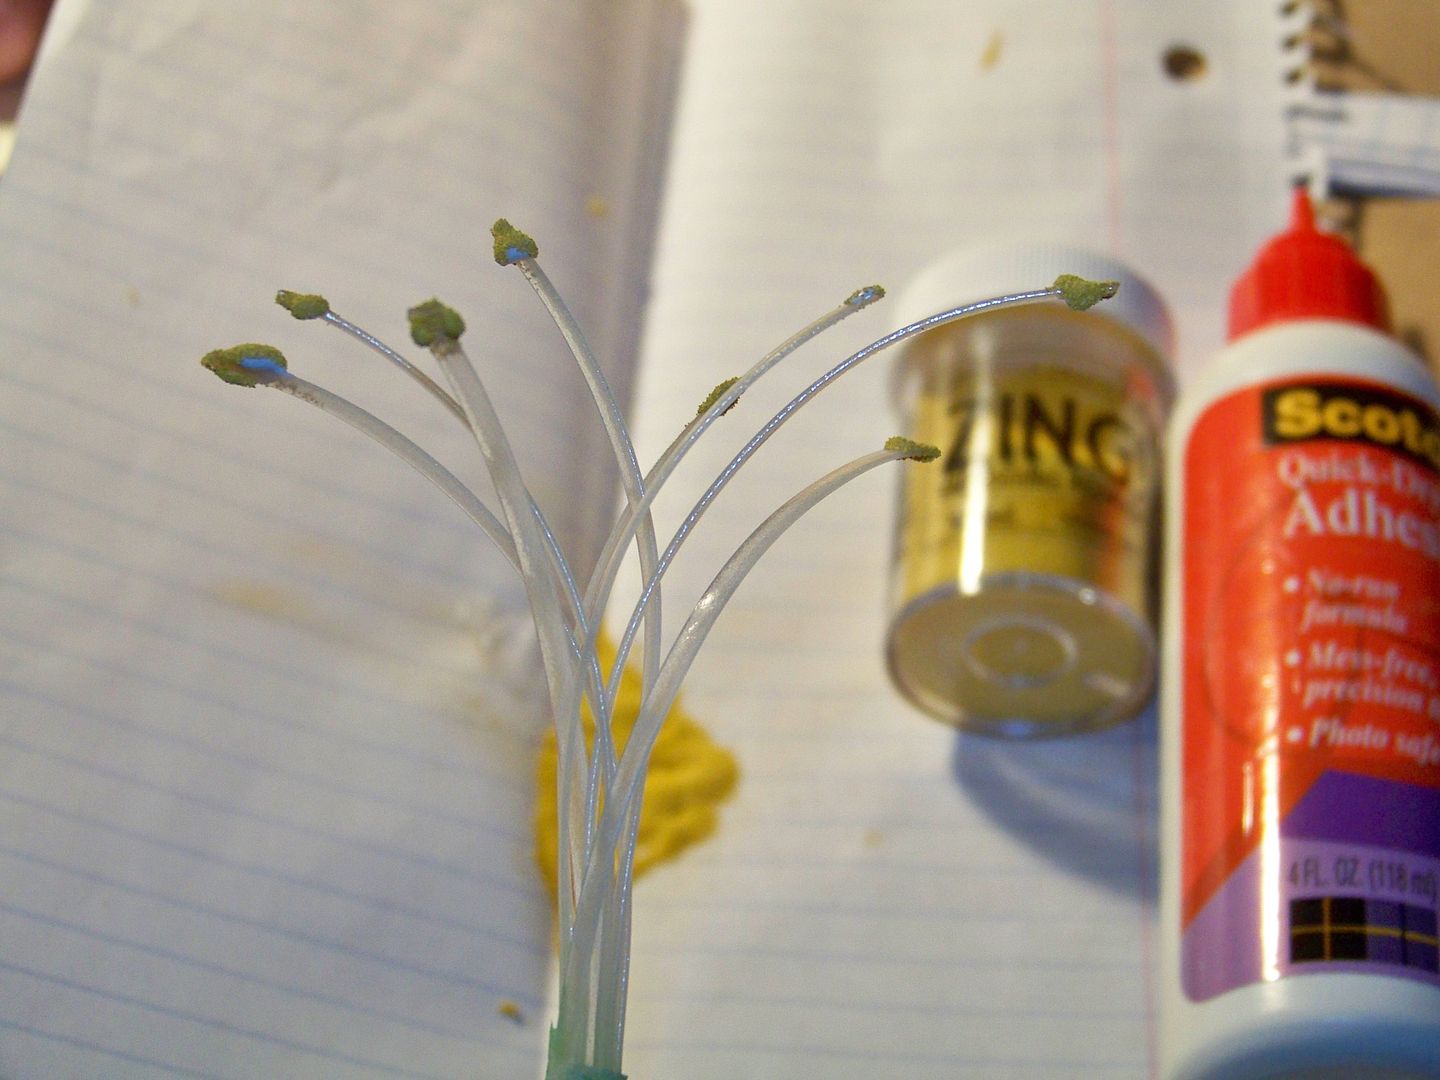

I used a bit of the watered-down acrylic paint I used for the petals to paint over the floral tape and upper couple of inches of stem.  Watercolors will not work to color the floral tape, by the way, but the acrylics do.  I used a Styrofoam block to stick the stems in while they dried.  


Meanwhile, I collected my petals and cut a snip in the bottom about half-way up the petal.  


Then, I hot-glued the bottom edges, overlapping to make the petals 'cup'.  This is an idea I saw on Lia's tutorial and had noticed on other flowers from the Giant Flowers cartridge.  I used a scissor blade to scrape the back of the petal to make it curl back.  I trimmed the bottom after the glue cooled.  I used a standard hole punch (the office kind) to punch a little hole in the bottoms of each petal.
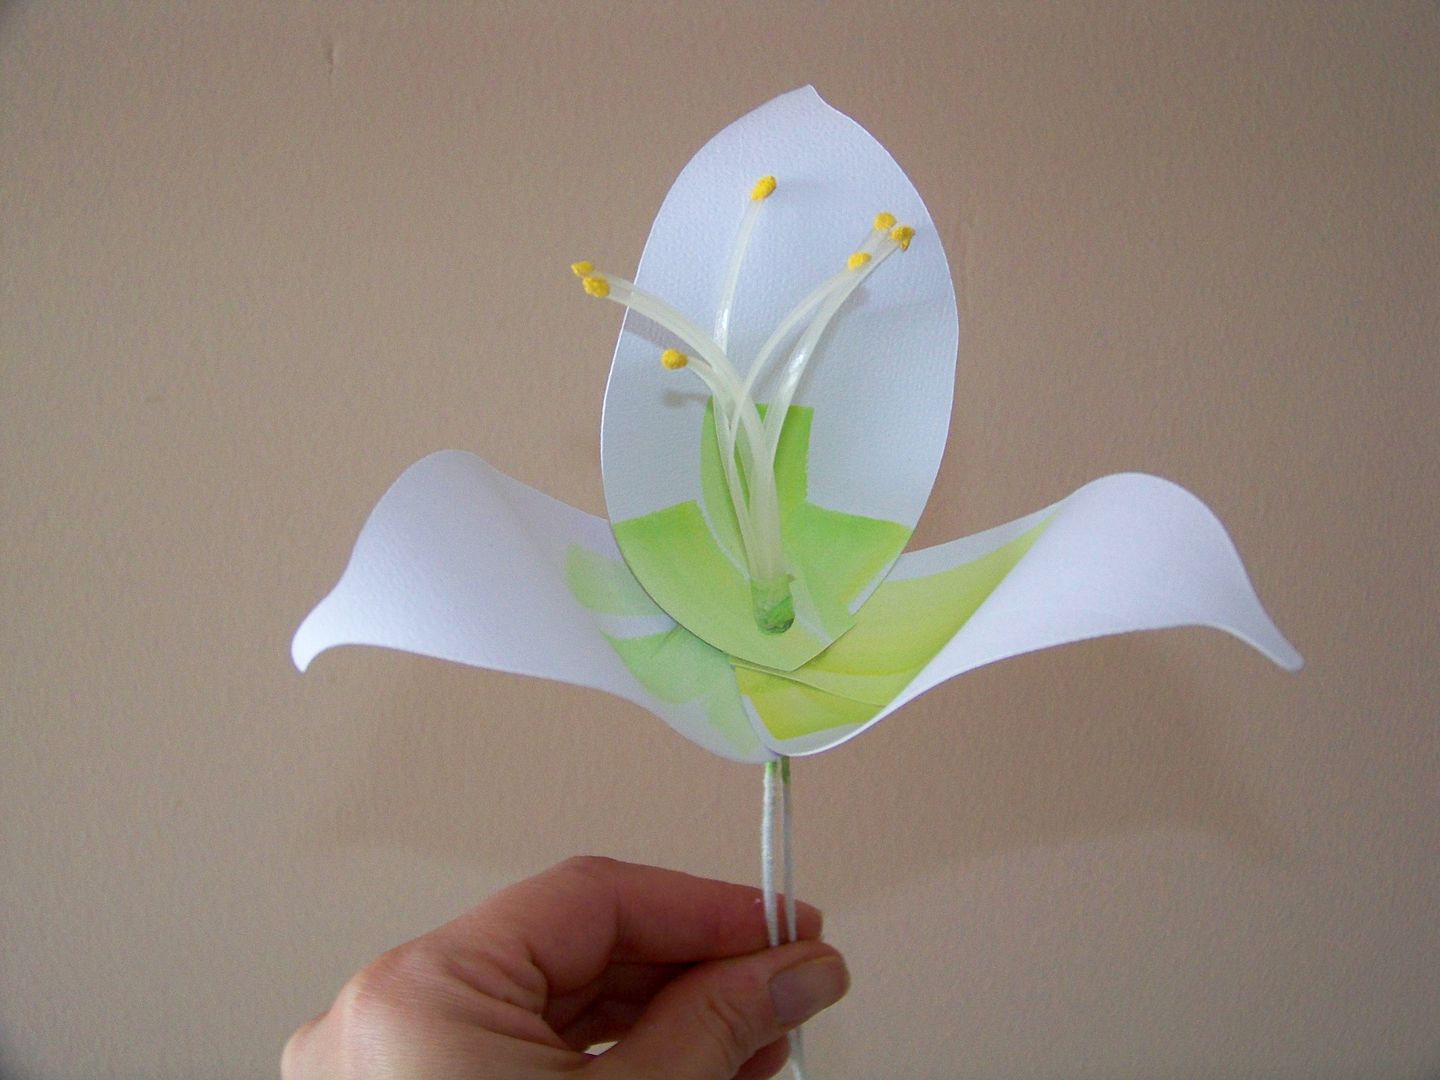

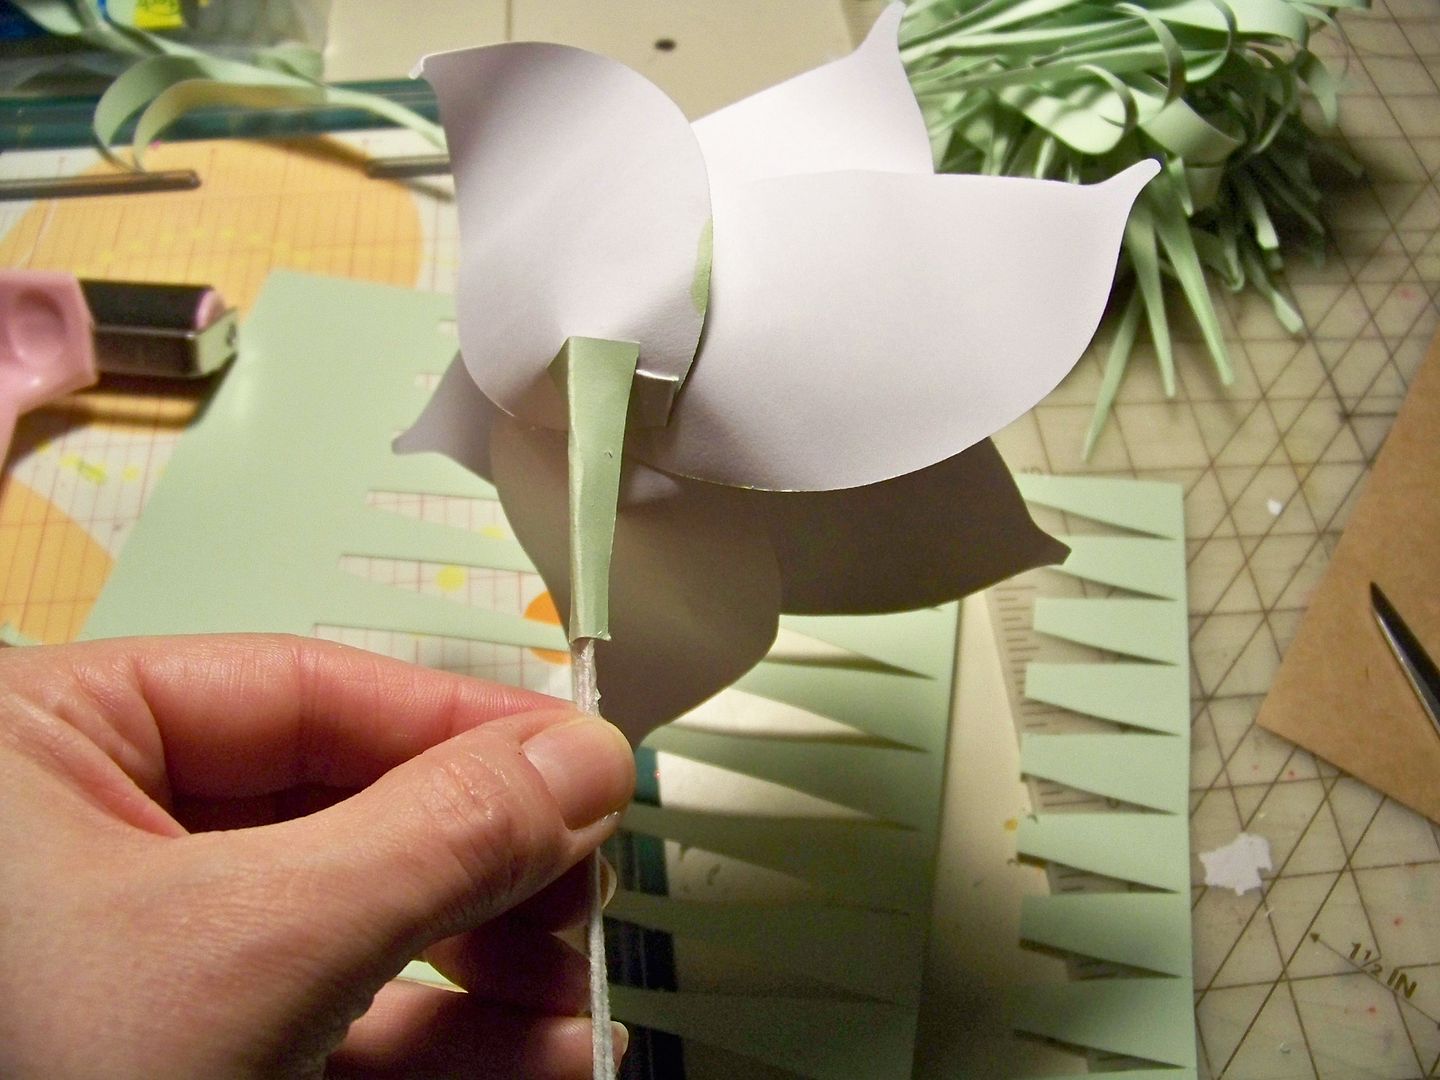
I fitted the first petal in place over the floral tape area.  Hot glue won't stick to the tape, so the mere thickness of that tape-covered stem is what holds up that first petal.  I hot glued the next three petals to form a triad.  The last three petals slip on and get hot glued to fill in the spaces between.
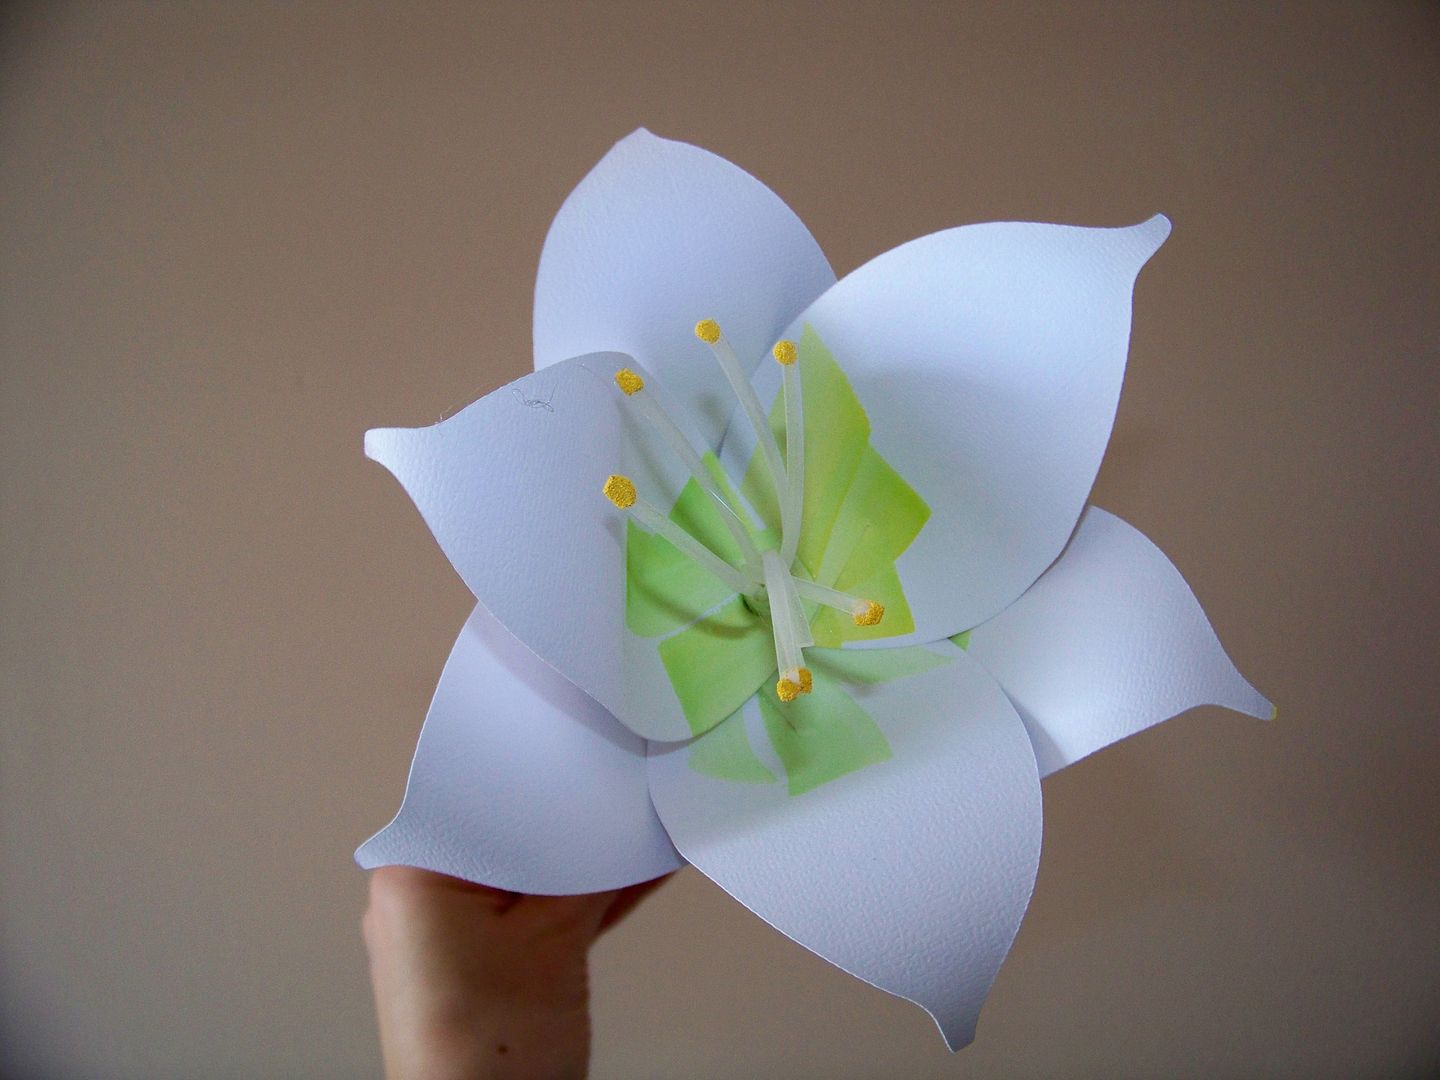

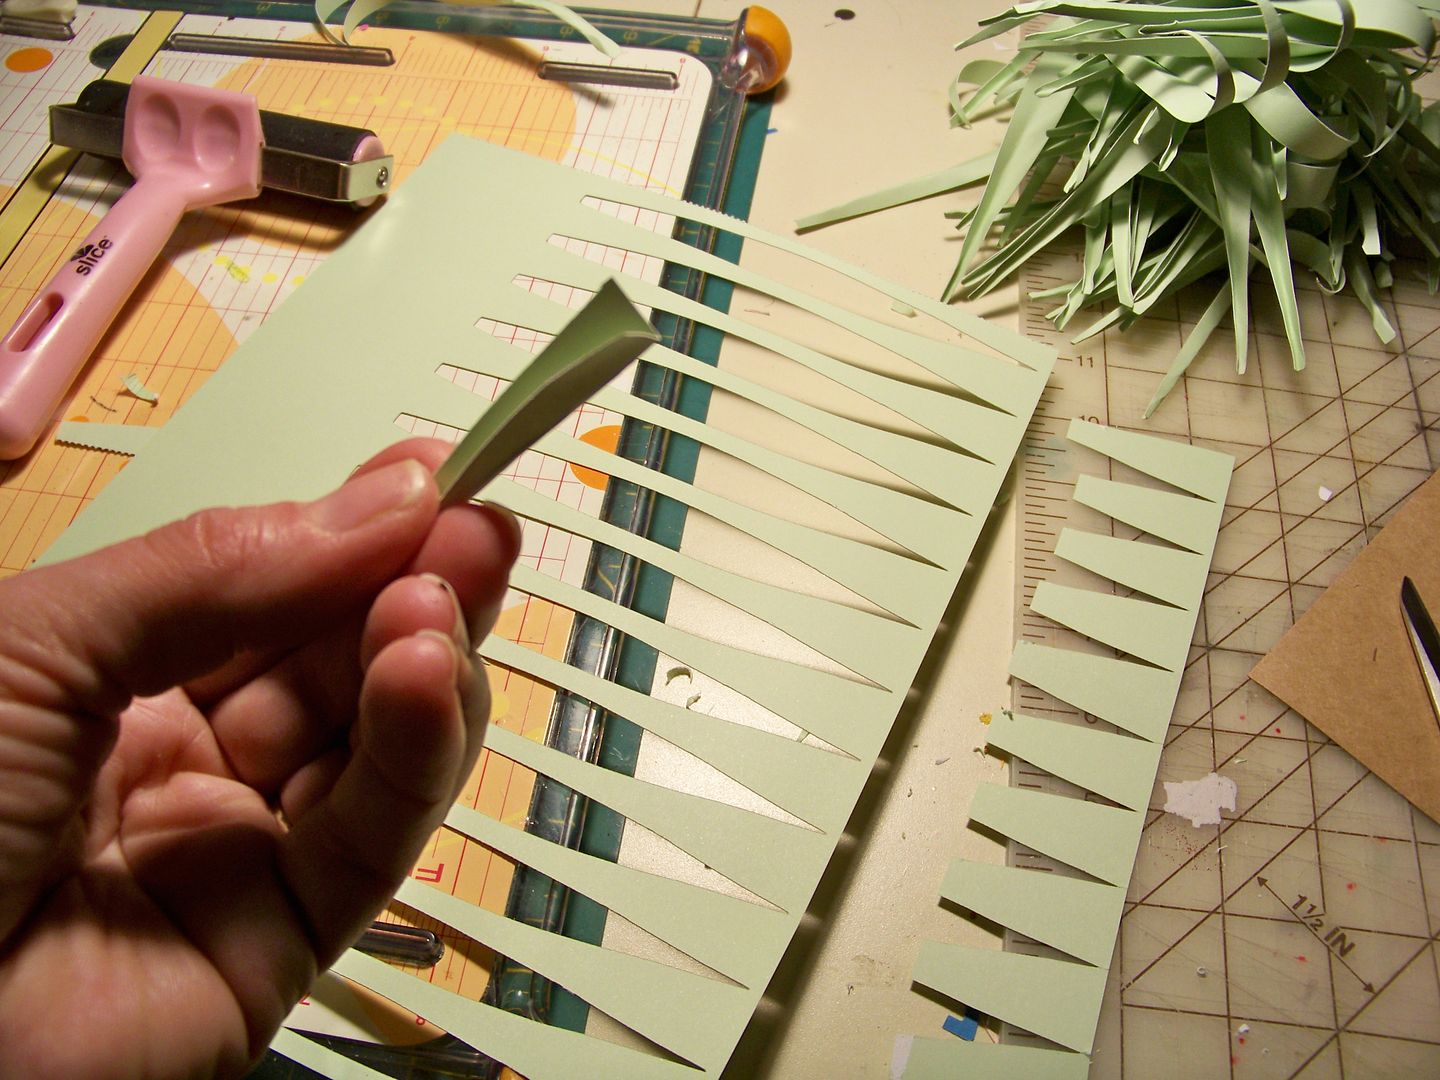
Next, I cut leaves for the stem.  I used the same Giant Flowers cartridge, key #10 and also cut at 6".  You need 5 leaves for each stem.  I used a bit of the scraps from the leaves to cut a 1" (or so) piece of paper to cover over the top of the stem. I bent the bloom over by bending the stem.  The scrap covers that.  I fold it in half and hot glue it in place.


Next, I use one of the leaves, fold it lengthwise and lay it over the scrap.
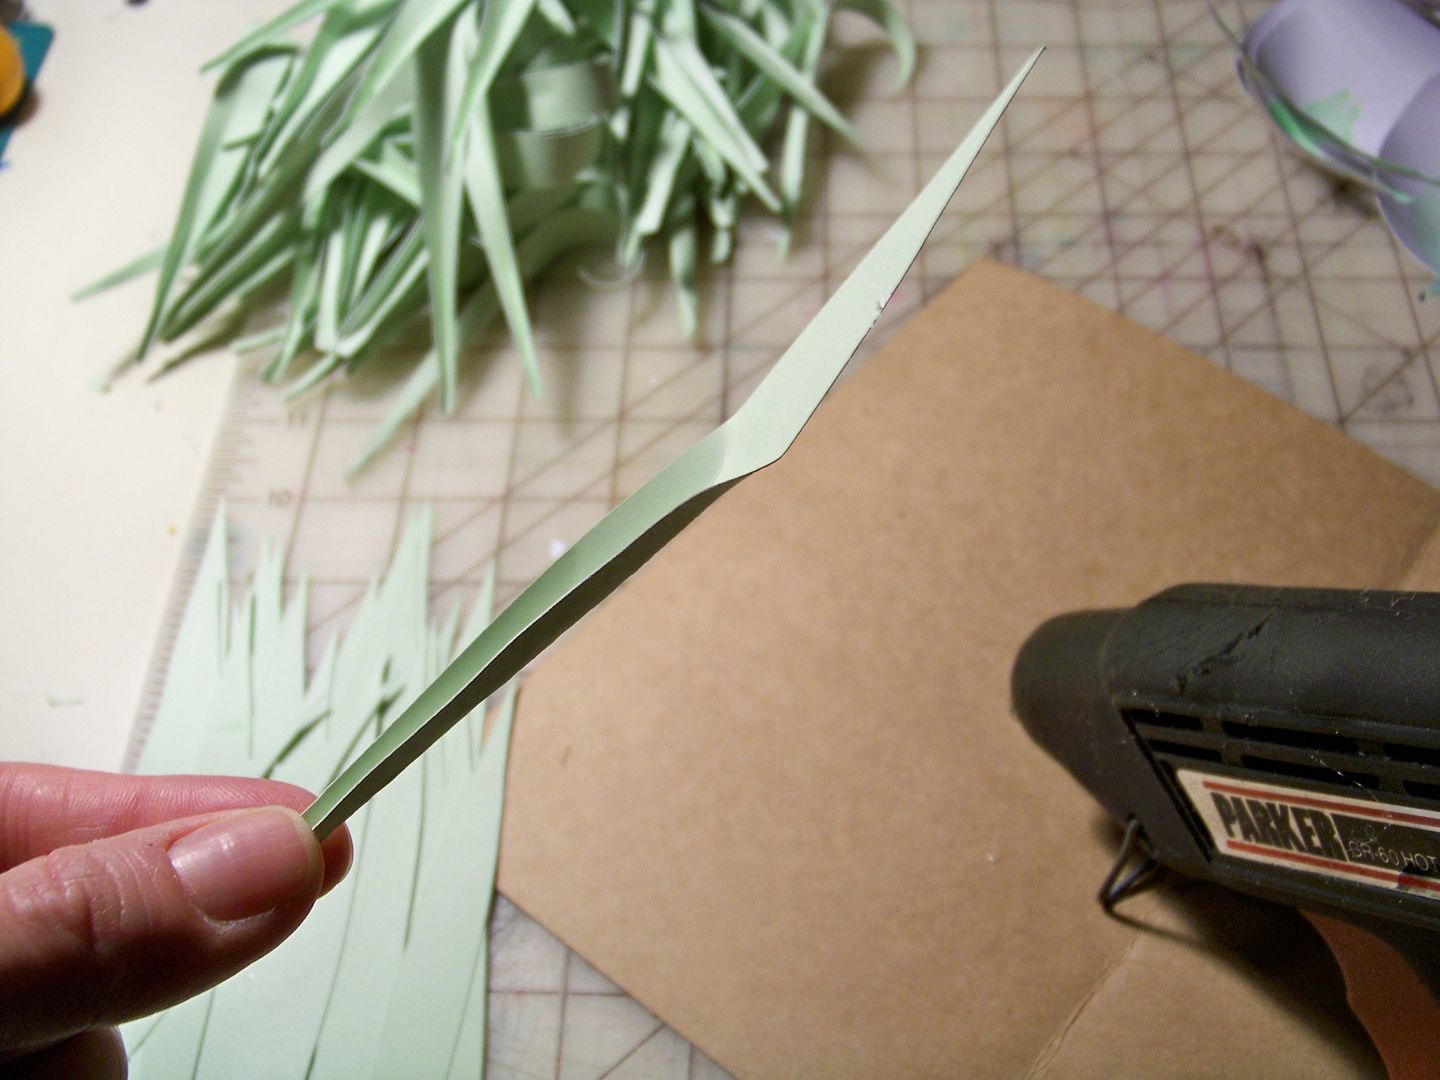

The remaining 4 leaves get curled by scraping over a scissor blade.  I fold them and lay them on the stem alternating front and back to cover the wire, hot gluing each one over the previous end.
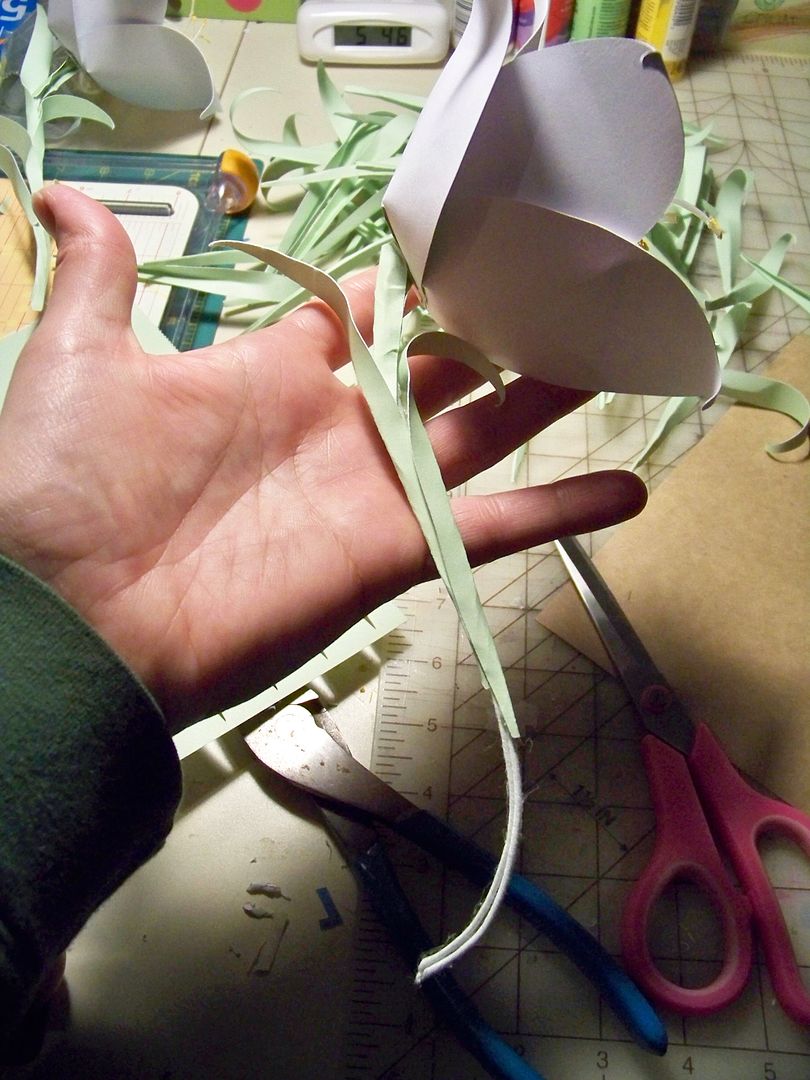
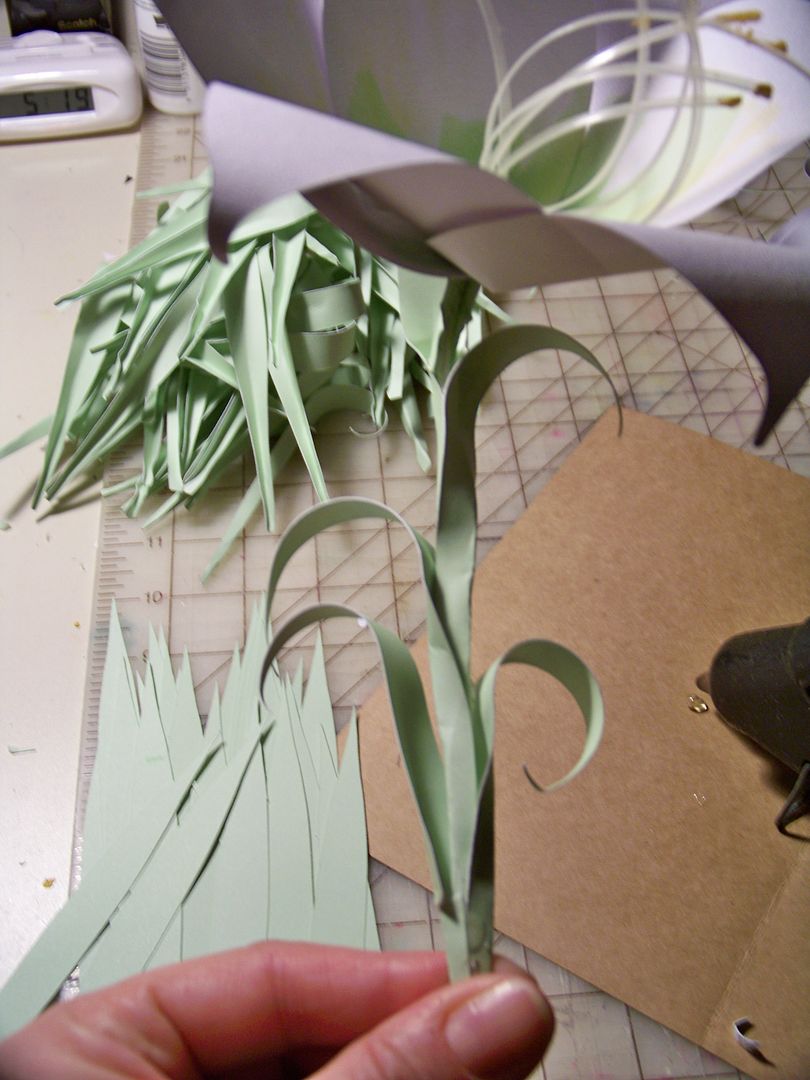

I made them in batches and eventually moved down to my kitchen table, that I covered in brown paper.
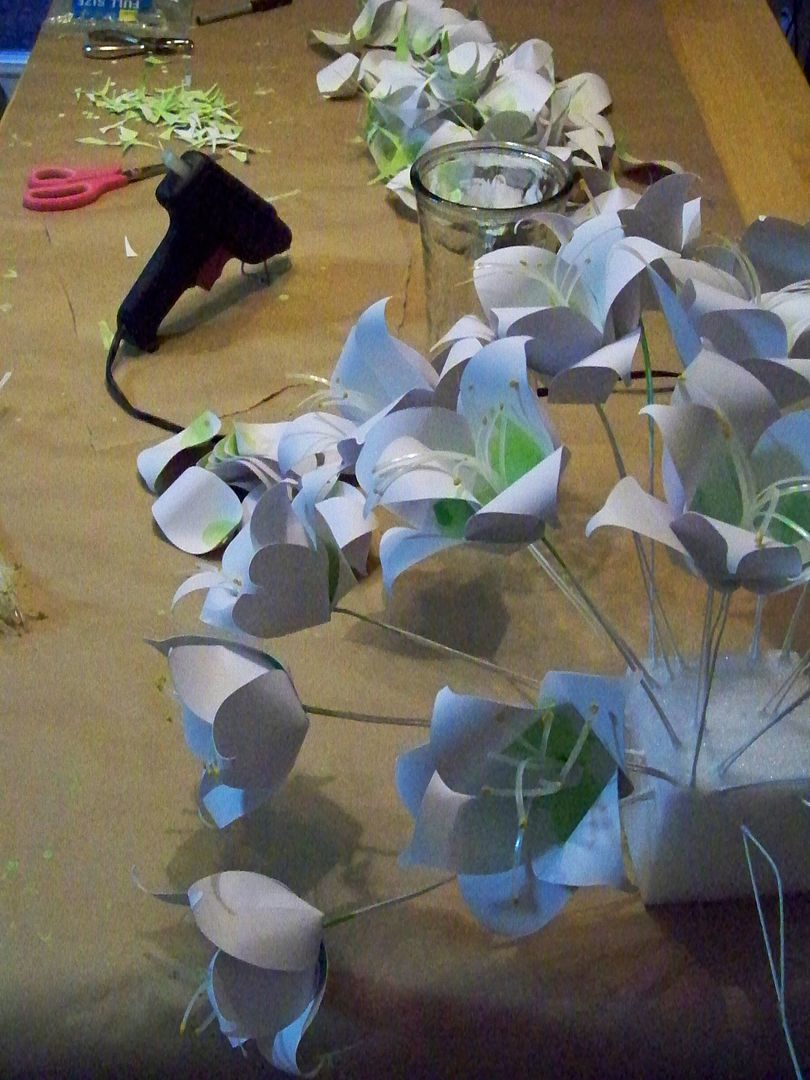

I curved the stems to make them a little more interesting and to stabilize them on the tables.

In the end, I made just over 50 and laid them on the tables in lines of 2, 3, and 4 flowers (depending on the lengths of the tables) arranged bloom-to-bloom and stem-to-stem with candles in between.  The wire stems allowed me to tilt the blooms to the left and right and I alternated them.
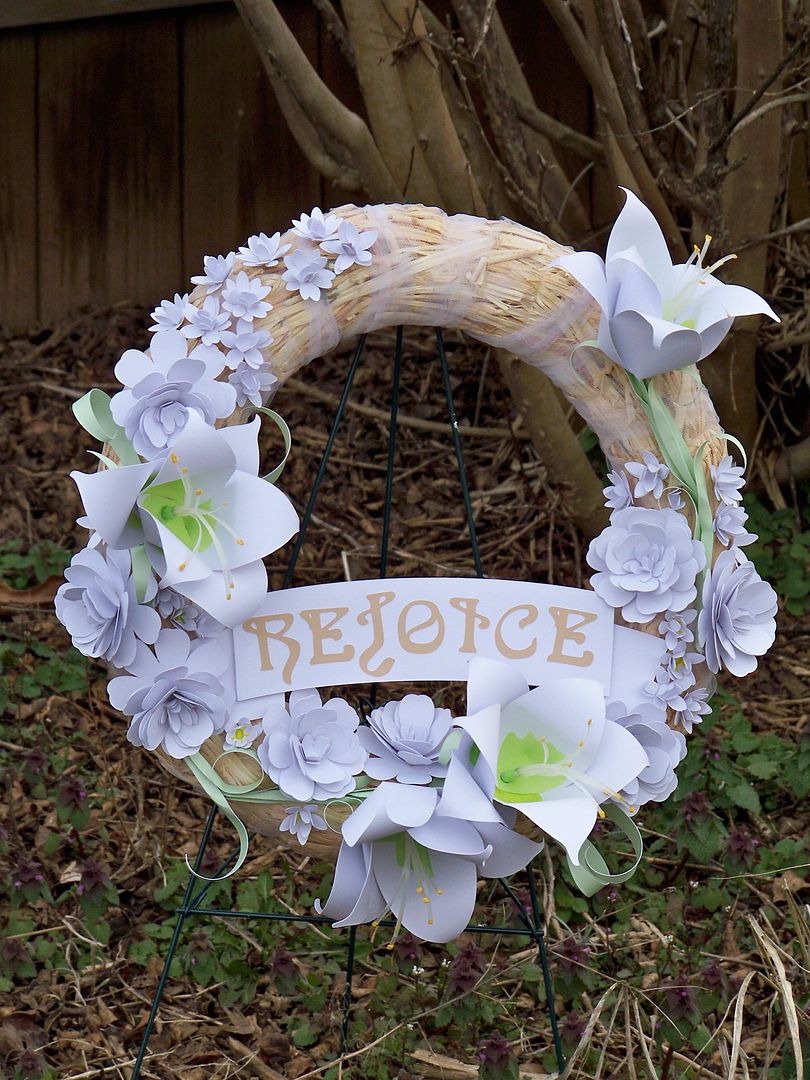

For the buffet table, I made a wreath using four of my lilies.  For other flowers, I used Juliana Michael's flower tutorial from the old Cricut Circle when we had the wonderful, inspiring Design Team (the good ole days).  She used the Mother's Day Bouquet cartridge.  The larger flowers were cut at 2-1/4" with key #8.  The centers were cut at 1-1/4" with key #27.  I used the centers only for the small flowers on my wreath, making just as Juliana instructed, but by themselves.  You can find her tutorial on YouTube since the Circle Blog is dead now (click here).

The text "REJOICE" was cut from Art Nouveau at 1-1/4".  (OK, I admit it, the J is backwards in this photo.  If you didn't notice, I just love you.  If you did notice, I love you for not mentioning it!  I am hoping to sneak back to the room to fix it before anyone notices...)  The banner was cut from the Holiday Frames and Tags cartridge at 'fit to page' (I think that was around 3-1/2".)  I found an inexpensive straw wreath from Walmart, removed the plastic wrapper and wrapped it in 6" wide tulle (to enclose that straw and to dress the surface up a bit).  I hot glued the flowers and banner in place.  Two of my lilies were attached with stems.  The other two were snipped so that the stem was not visible or only 3" or so was visible.  I added a few extra leaves that I curled.

Next time, I am covering my fingers in band-aids before I even start... I might have prevented the burns I got from the hot glue... and they ended up bandaged any way.  Yikes!

Quick links:

Thank you for checking my blog post today!  I hope that you are having a meaningful Holy Week!  

Wednesday, July 11, 2012

Hello, Sunshine!
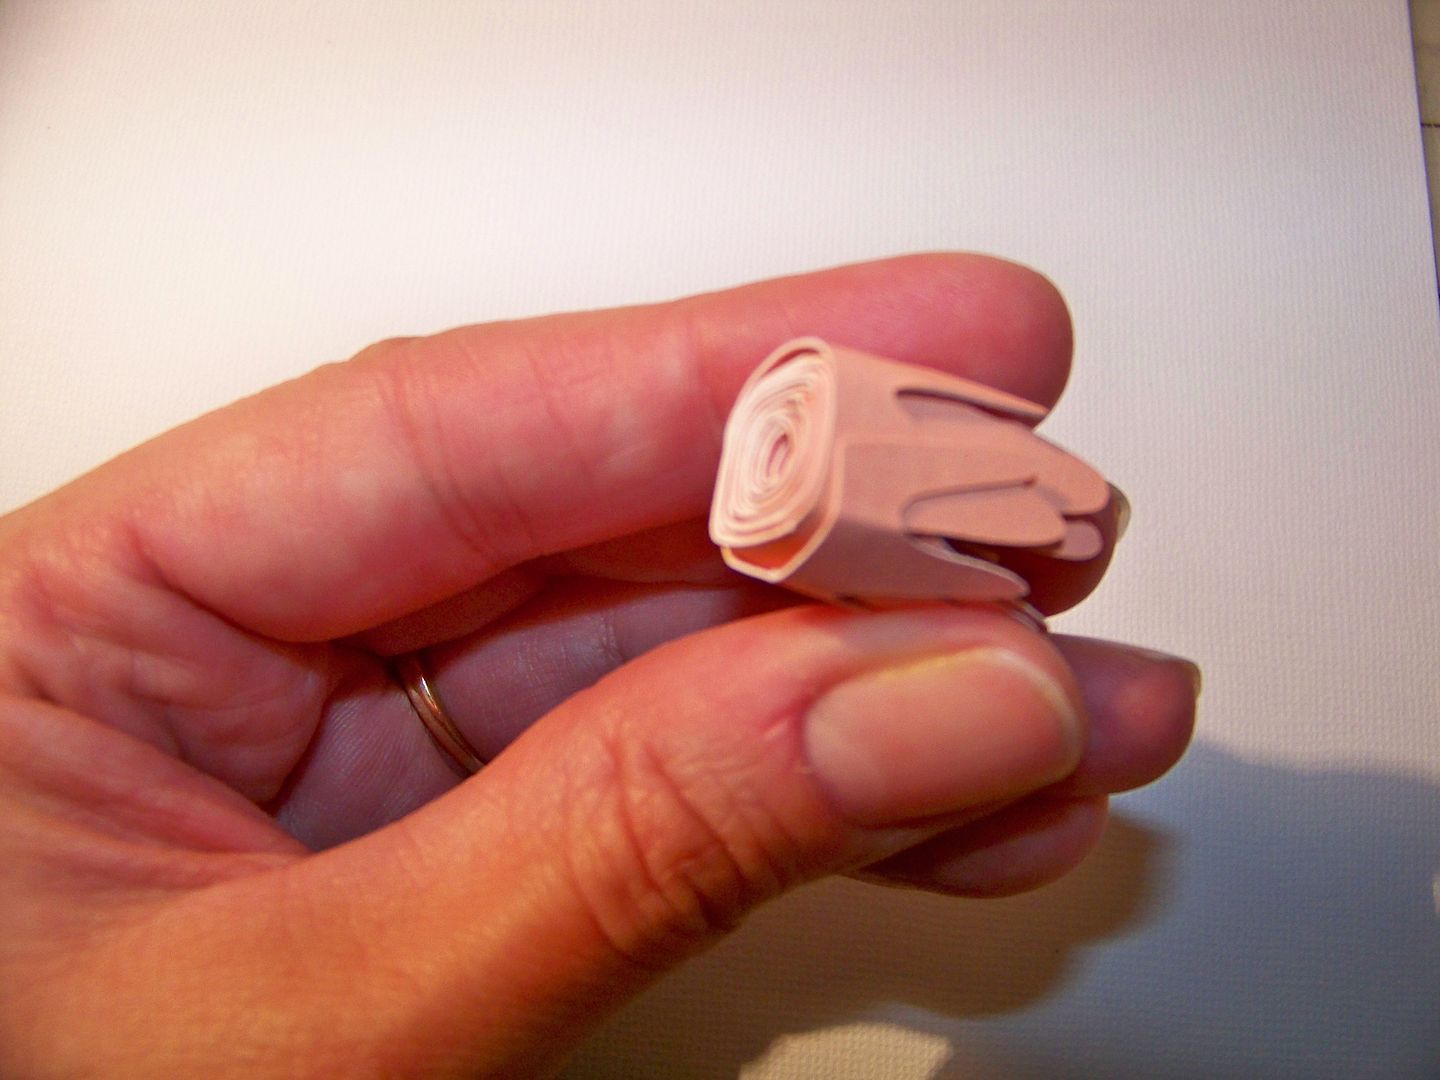
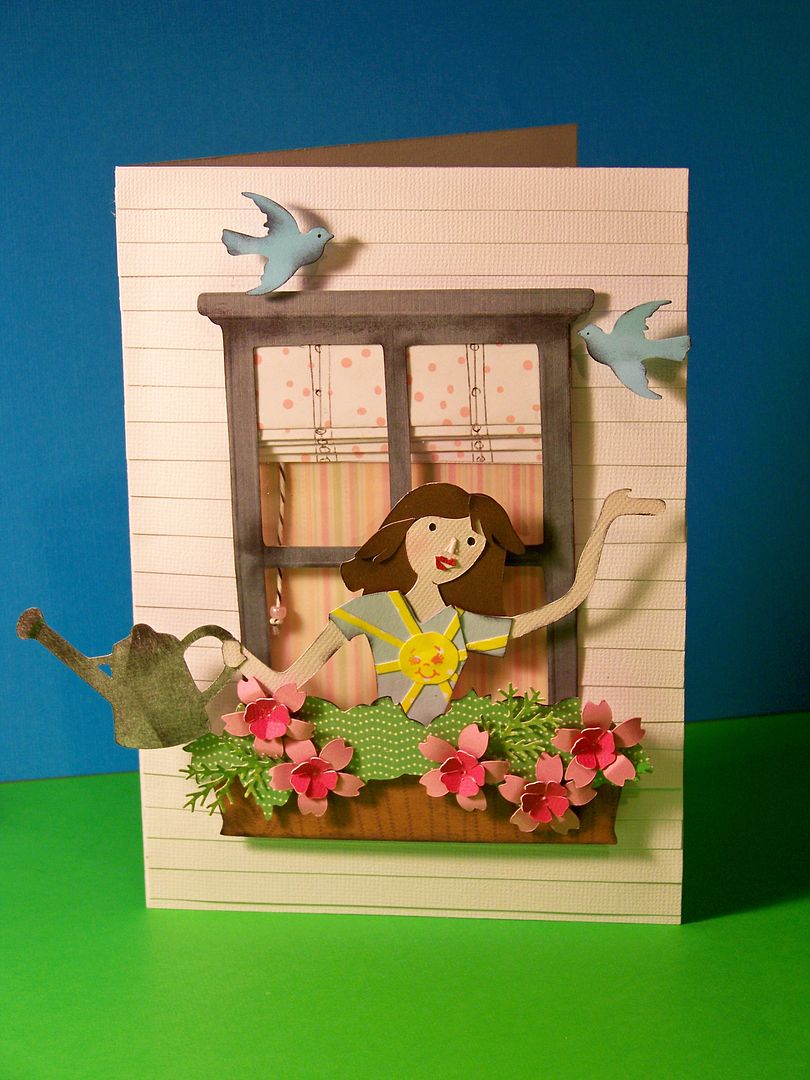
I recently saw two challenges and thought they would be fun to combine into a card!  I have been looking at all the window-style cards on Pinterest so the current challenge on Bitten By the Bug 2 intrigued me!  I have also had a set of Peachy Keen stamps in my collection for a bit, as well as chalks, and wanted to find a reason to use them so the current Peachy Keen Stamps Blog challenge was just perfect.  I created this card...


  • The figure was cut from Cricut Country Life at 9" (page 32 - layer 2), altered somewhat with hand-cuts.
  • The hair was cut from Paper Doll Dress Up (page 47) at 2-1/2".  I inked and chalked her.  I hand-cut her facial features.  I popped up her head 1/2" but adhered her lower body flush.
  • The t-shirt was hand-cut.  I used PK-560 face stamp for the t-shirt graphic.
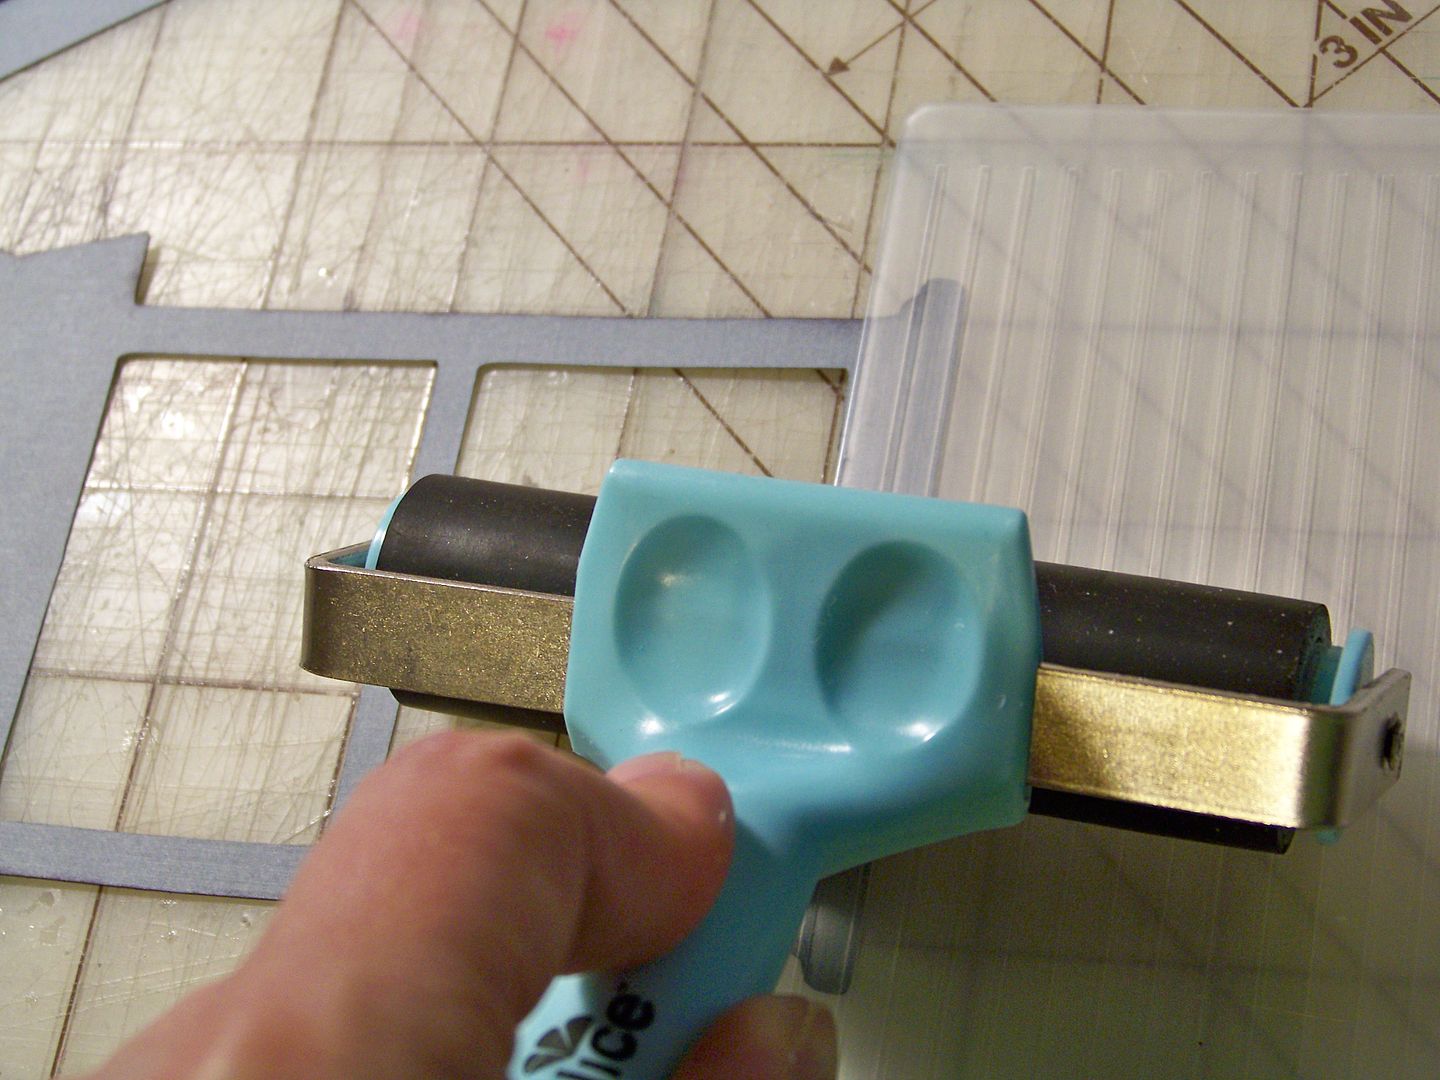
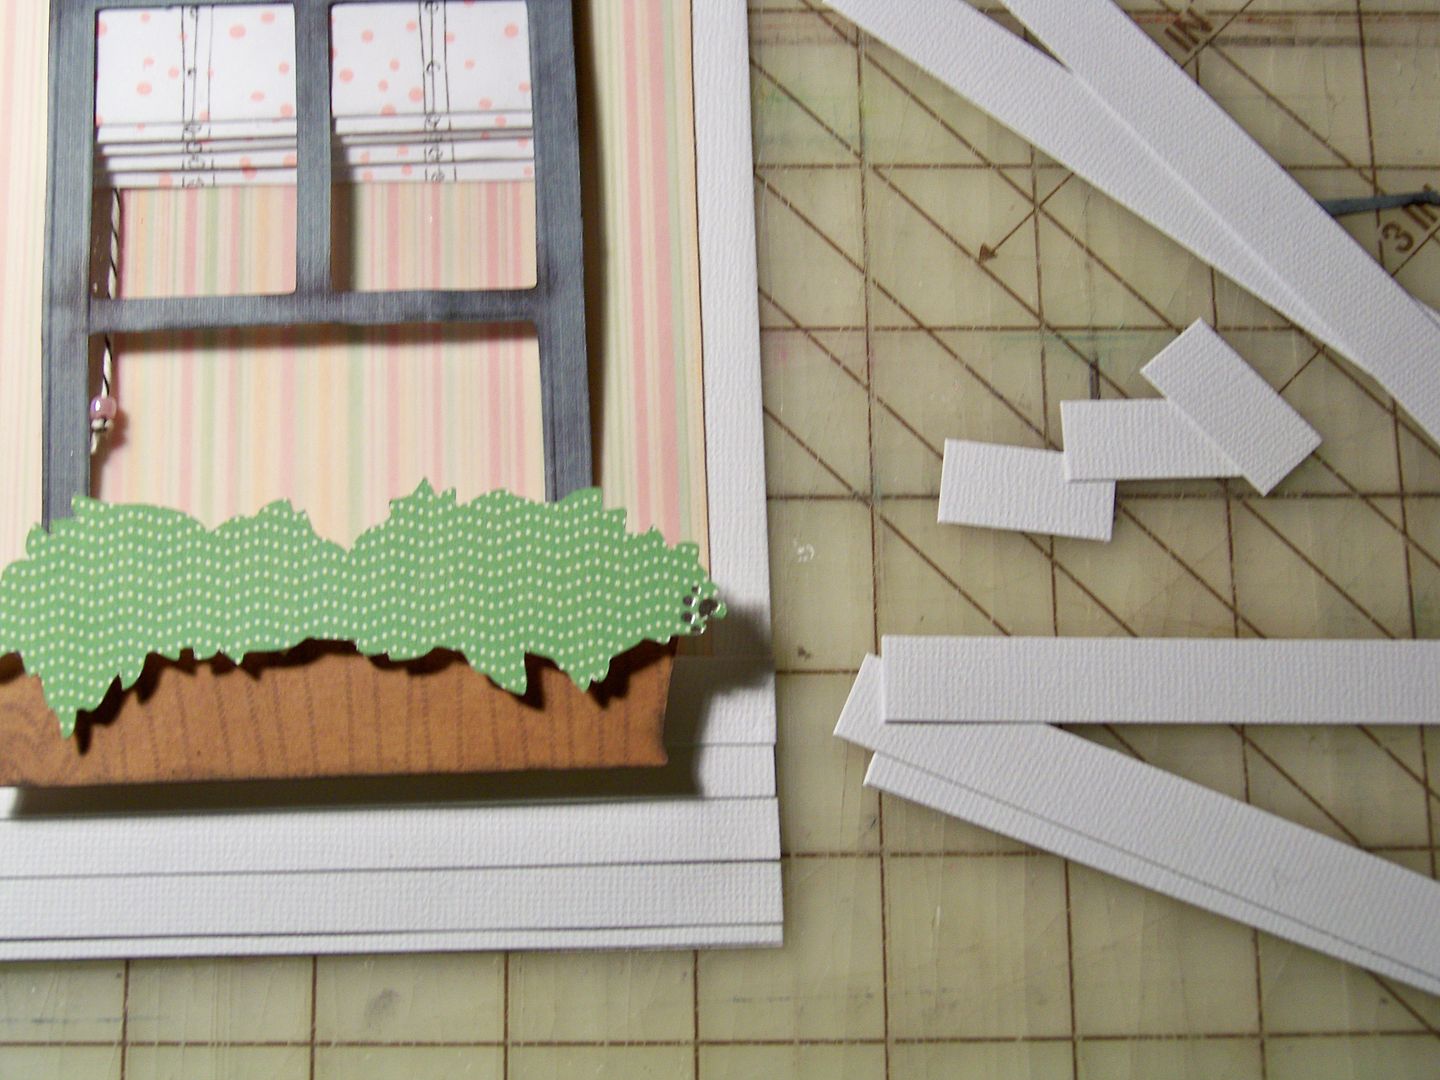
  • The window and window-box were cut from Spring Cottage at 5".  I hand-cut the bottom bit of woodwork out so that the window would be 'open' so the figure could stick out of the open window.  I placed recycled Cricut clamshell acetate in the upper window for panes of glass.  I used a Cuttlebug folder and a roller to hand-press grooves into the woodwork.  I used a combination of ink and chalk to give the woodwork depth.  I popped up the top layer of the window box 1/4".


  • I wanted it to look like the back of a Roman shade, so I hand cut that and drew in details with rings, cords, and tapes.  (I know, I know, this should be a white lining fabric!  I really debated using the polka dots -- now you know the silly things I worry about!)  I created a braided cord and pull via bakers twine and a bead.  I placed vellum over the print used behind the window to mute the colors a bit.
  • I hand-cut 1/2" strips to create wood siding.

  • The watering can was cut from Garden Soup (page 52) at 1-1/2".
  • The flowers were cut from Pagoda (page 56 -1" and page 57 - 1/2").
  • The birds and branches were cut with a Martha Stewart punch.  The birds were popped up 1/2".  
  • The card finished at 5"x7".  The inside sentiment was printed on the computer:  Hello Sunshine!


Thank you for checking my blog post!  You can see many of my previous projects in My Project Gallery.

Thursday, May 10, 2012

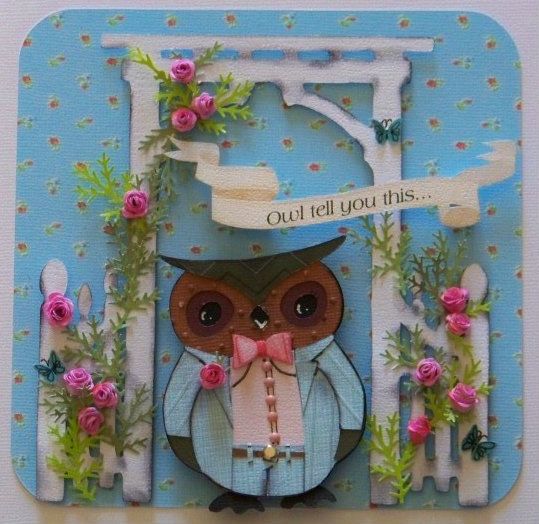
Owl tell you this...Art Inspiration Challenge Card

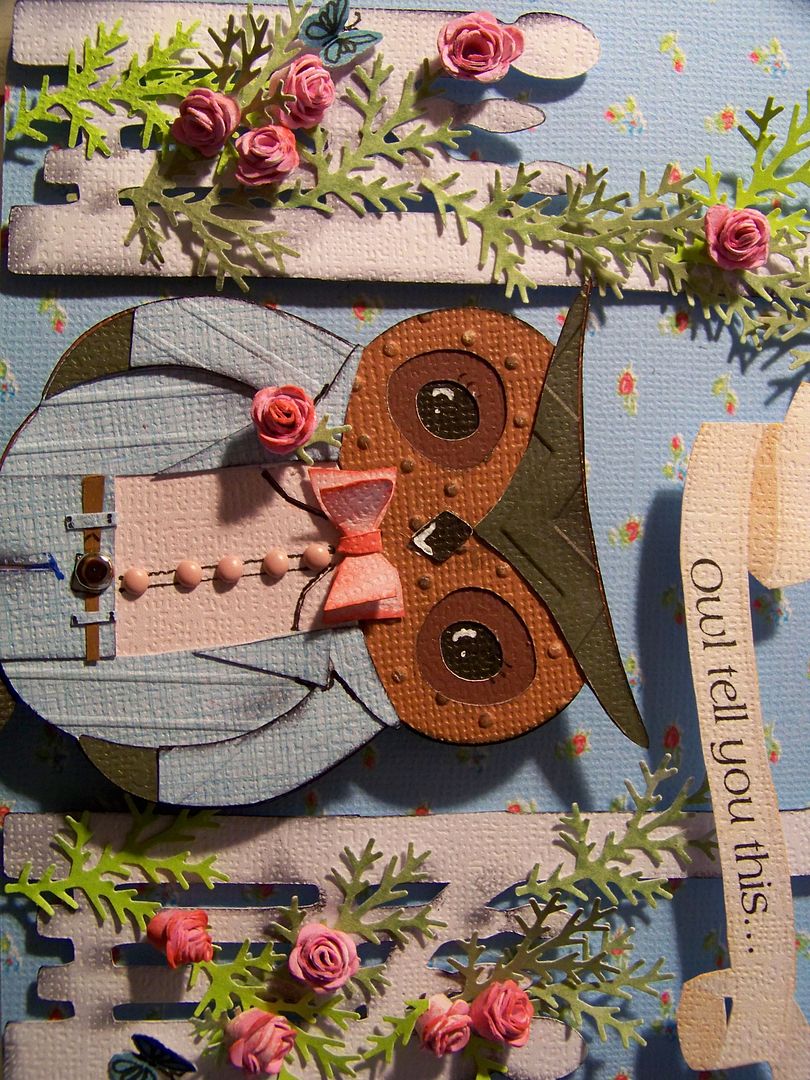
You may have noticed that I am having a little obsession with critter couture...   This card is my entry for the Cricut Circle NSD Crop Art Inspiration Challenge!

Inside:  Your gift was a hoot!  Thank you so much!


 For this challenge, we were given a print from which to take inspiration to make any kind of project as long as we used a minimum of three Cricut cuts.  


I used the rose image, the three blue butterflies, the blue background, and the color palette for my card.  

For the crafty details:
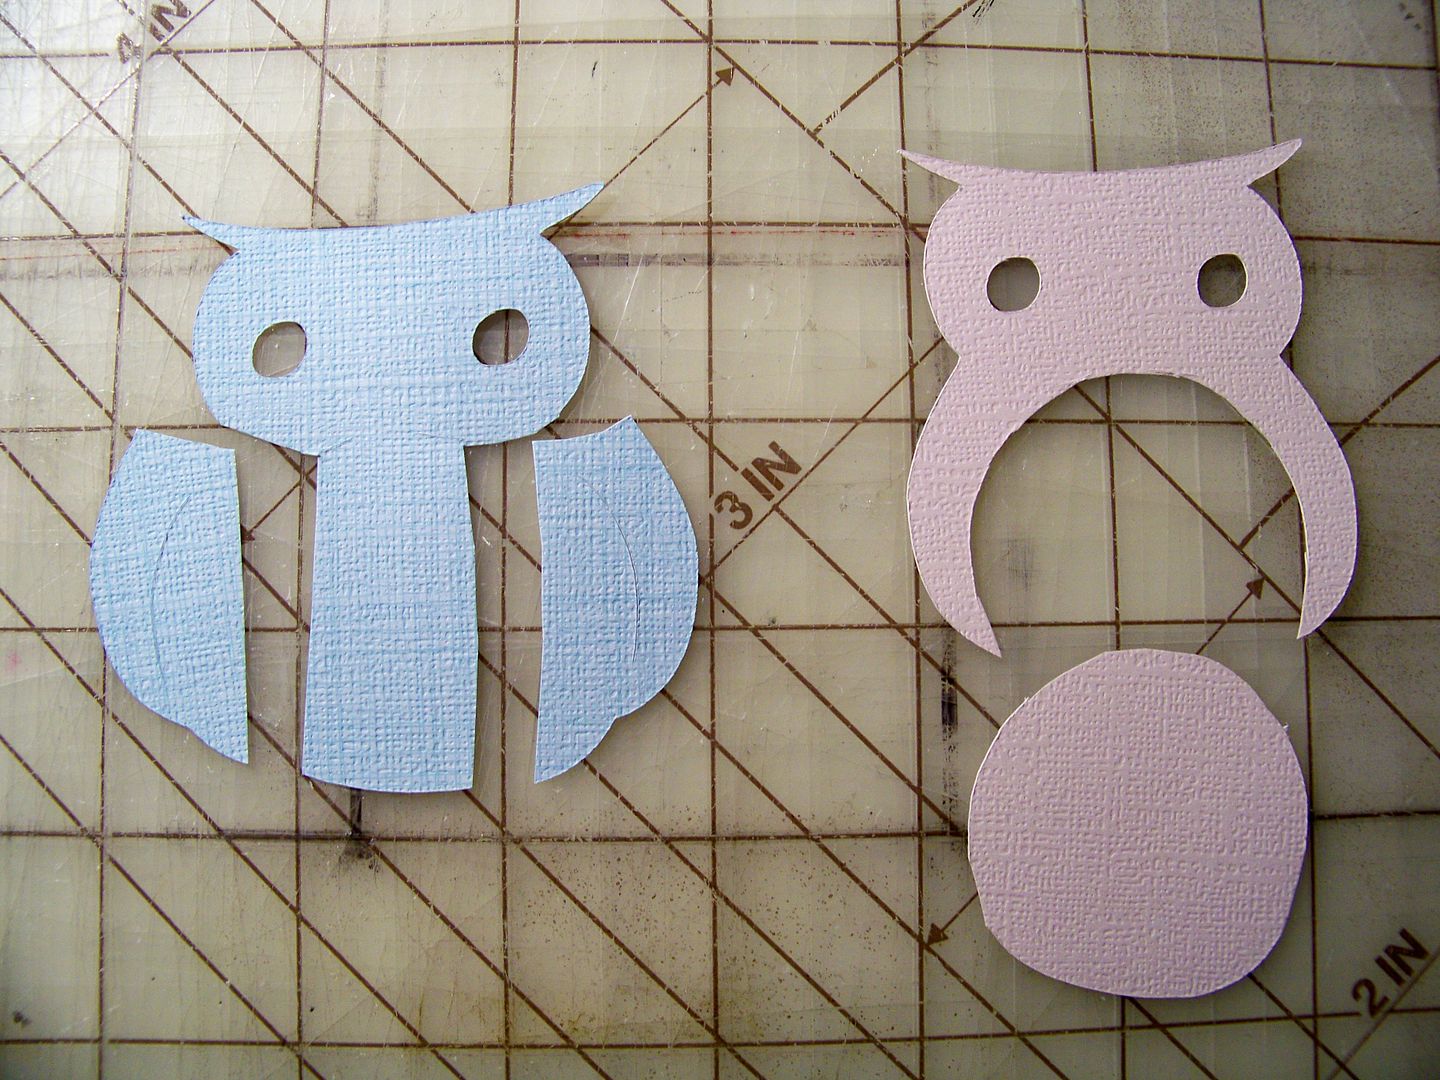
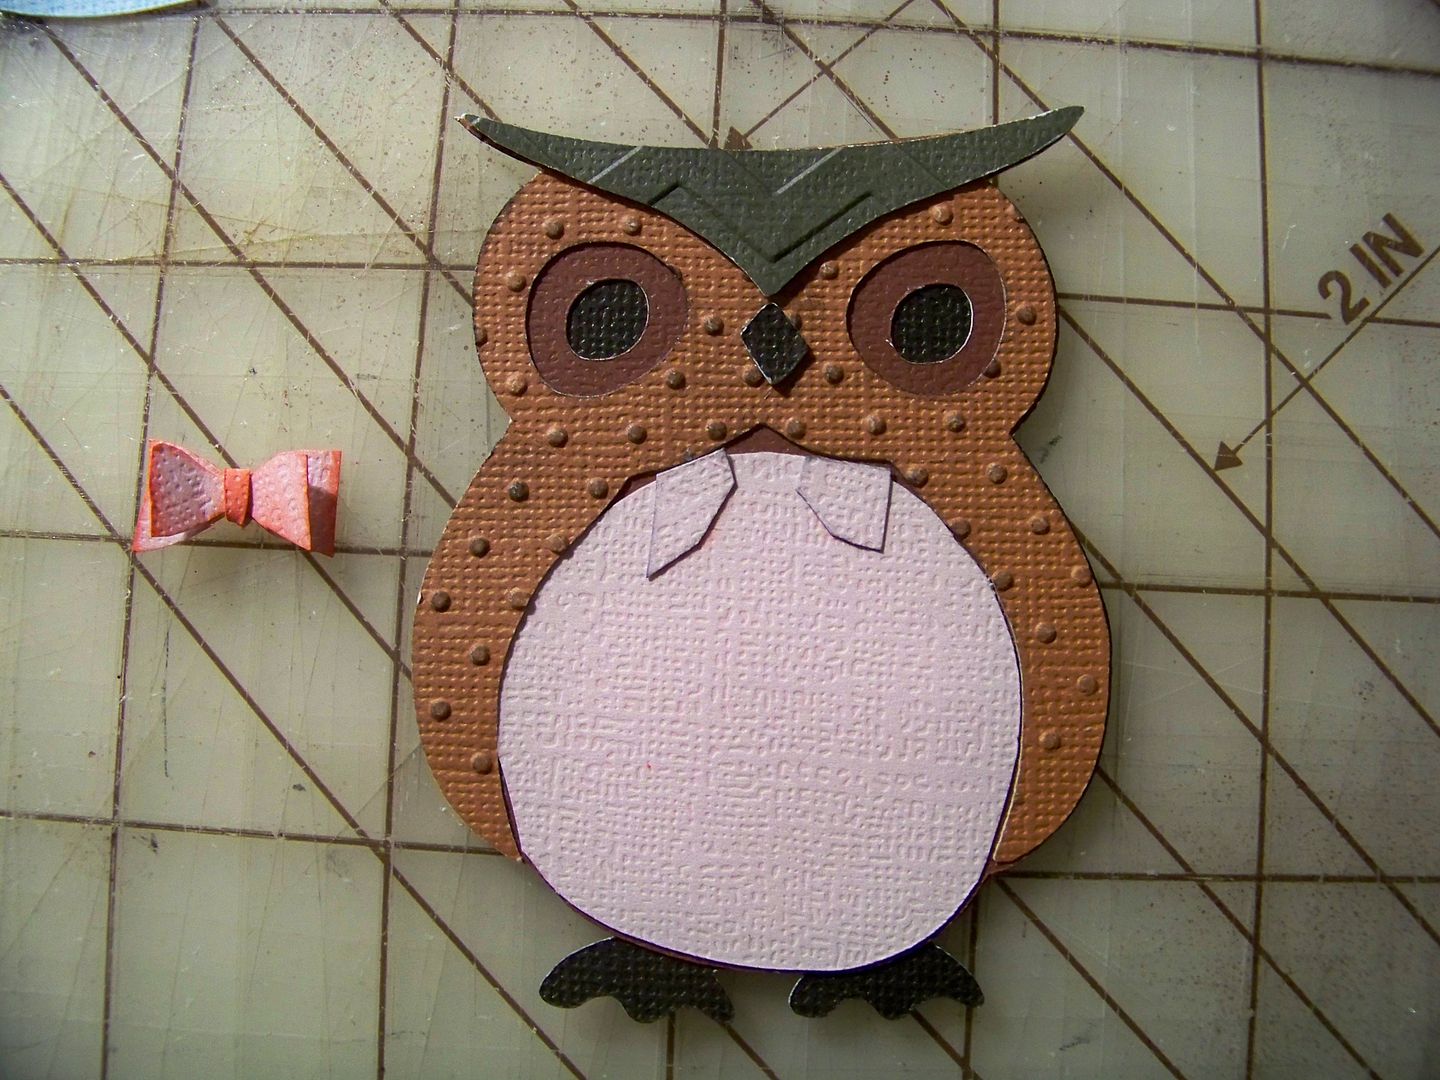
  • I started with the owl from Noah's ABC Animals, cutting at 3.2" on the Imagine.  I put the top layer and face layer through the Cuttlebug for a little texture (using Swiss Dots and Chevron).   I cut an extra layer for his suit and shirt "fabrics." I put the blue cuts through the Cuttlebug to give it some stripes.  The paper for the suit is a pattern from Hey Diddle Diddle; the shirt is a solid from that cart as well.  I inked him in black and added details with a Micron pen and white gel ink pen. I hand-cut the bow tie, lapels, and little pants.  Brads made the shirt buttons and belt buckle.  The owl is popped up 1/4".


  • I cut the garden arch and fence from Spring Cottage on the Expression at 8-3/4".  I manually cut off the inside gate pieces.  I inked this in black and popped it up 1/16".  

  • I used the Martha Stewart branch punch for the greenery in three different papers.
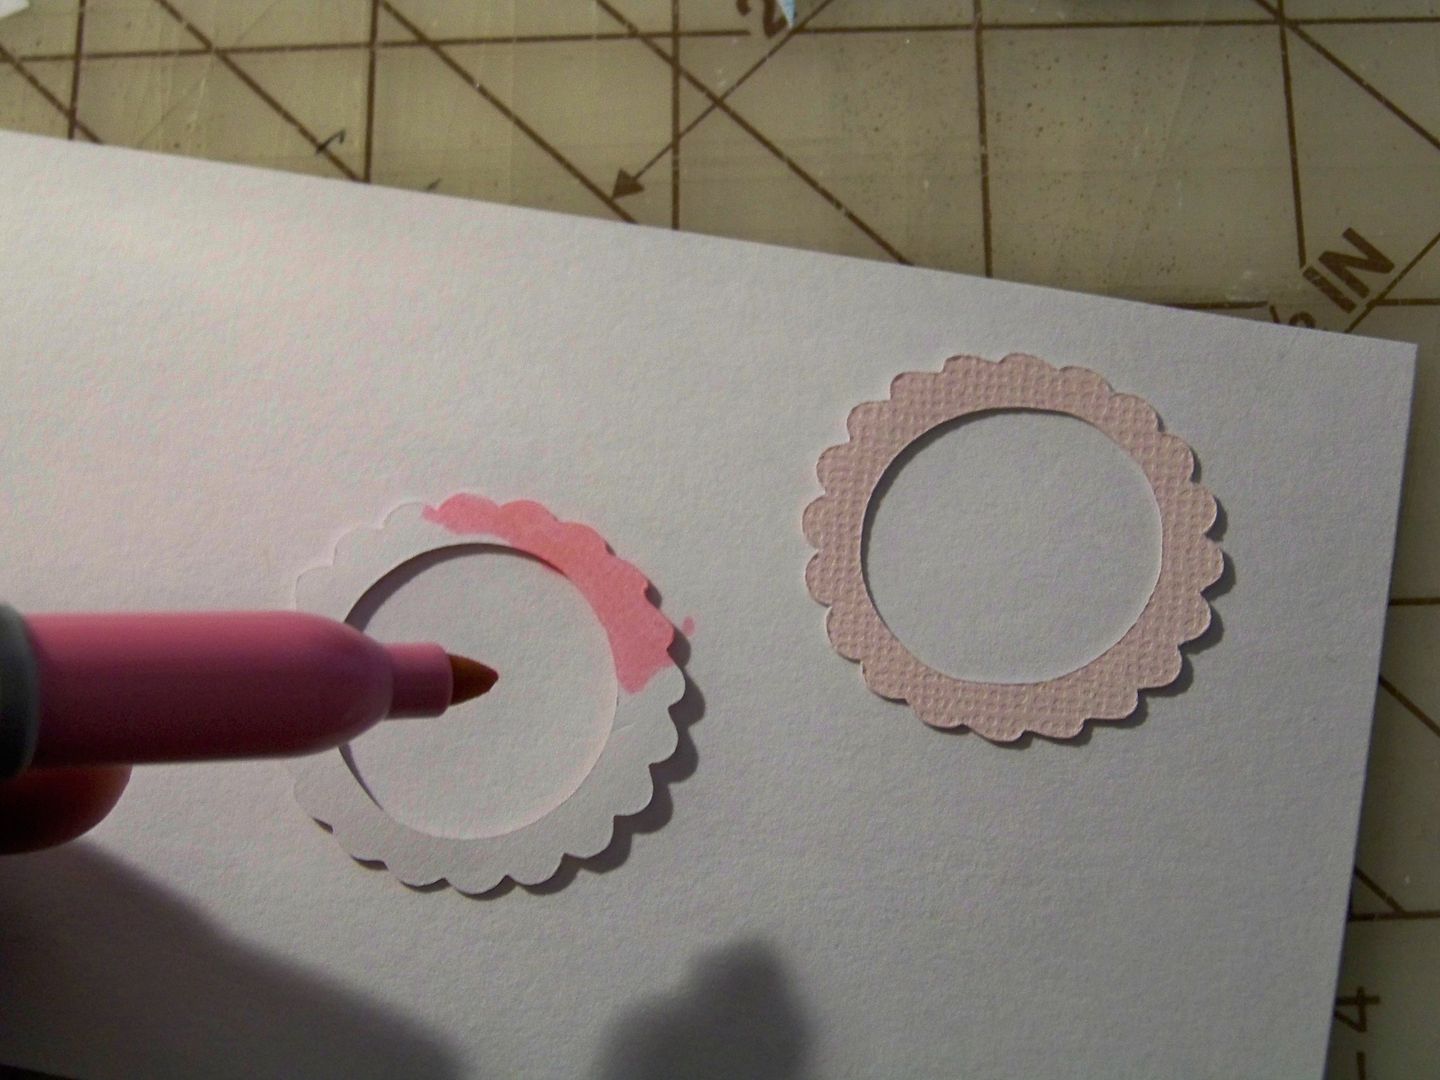
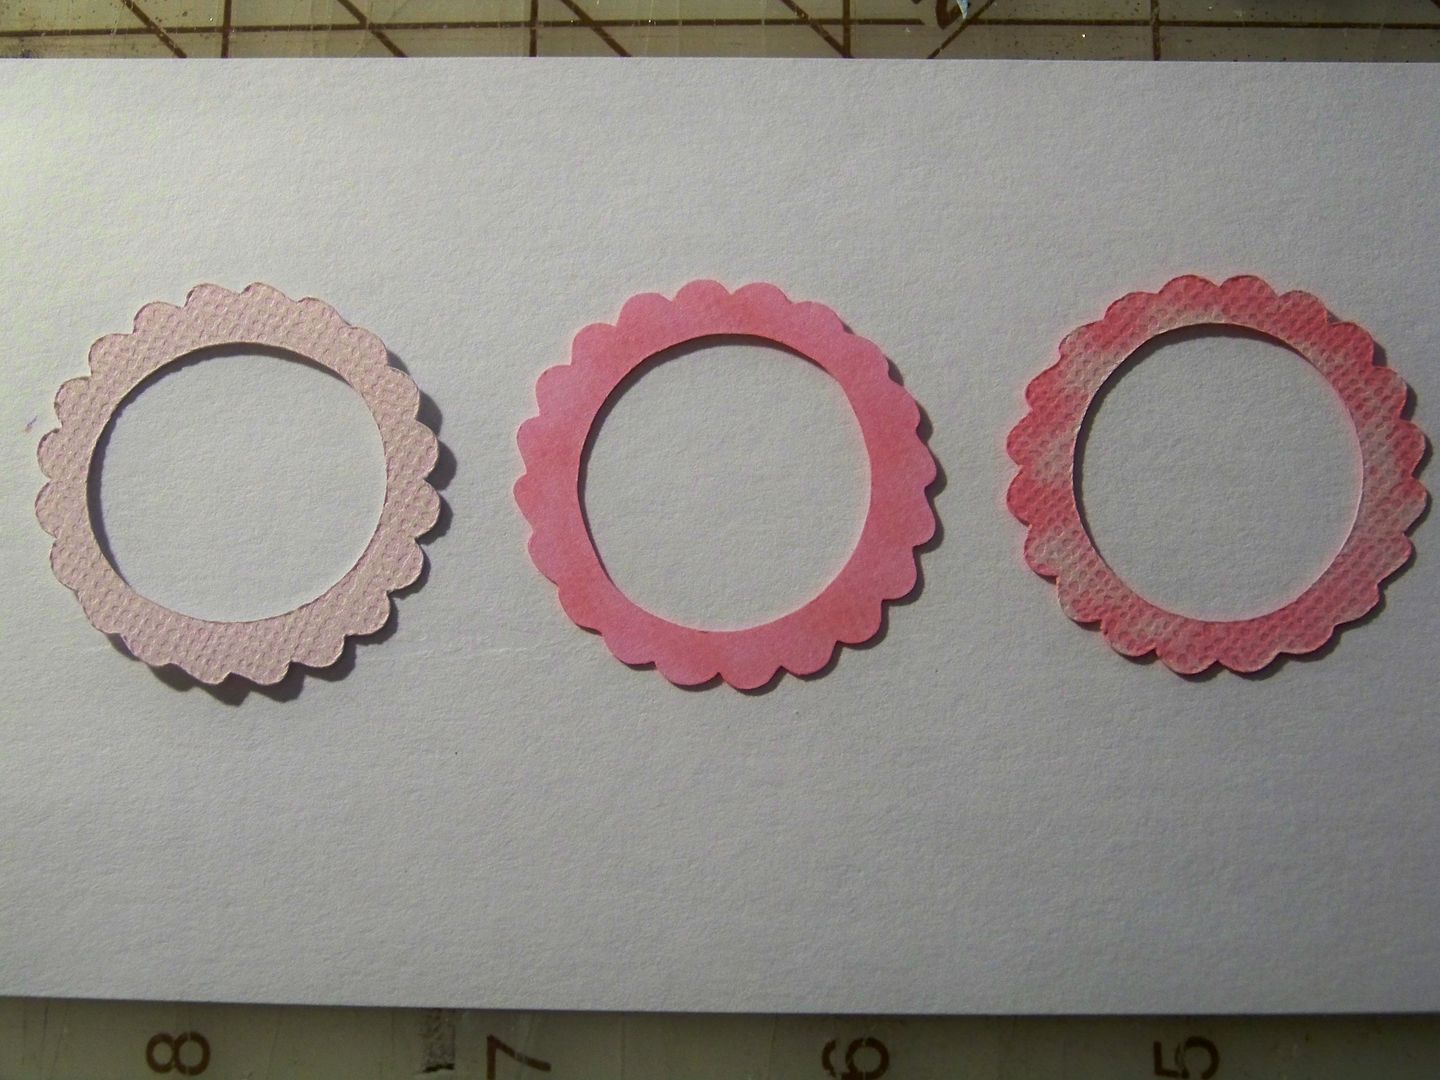
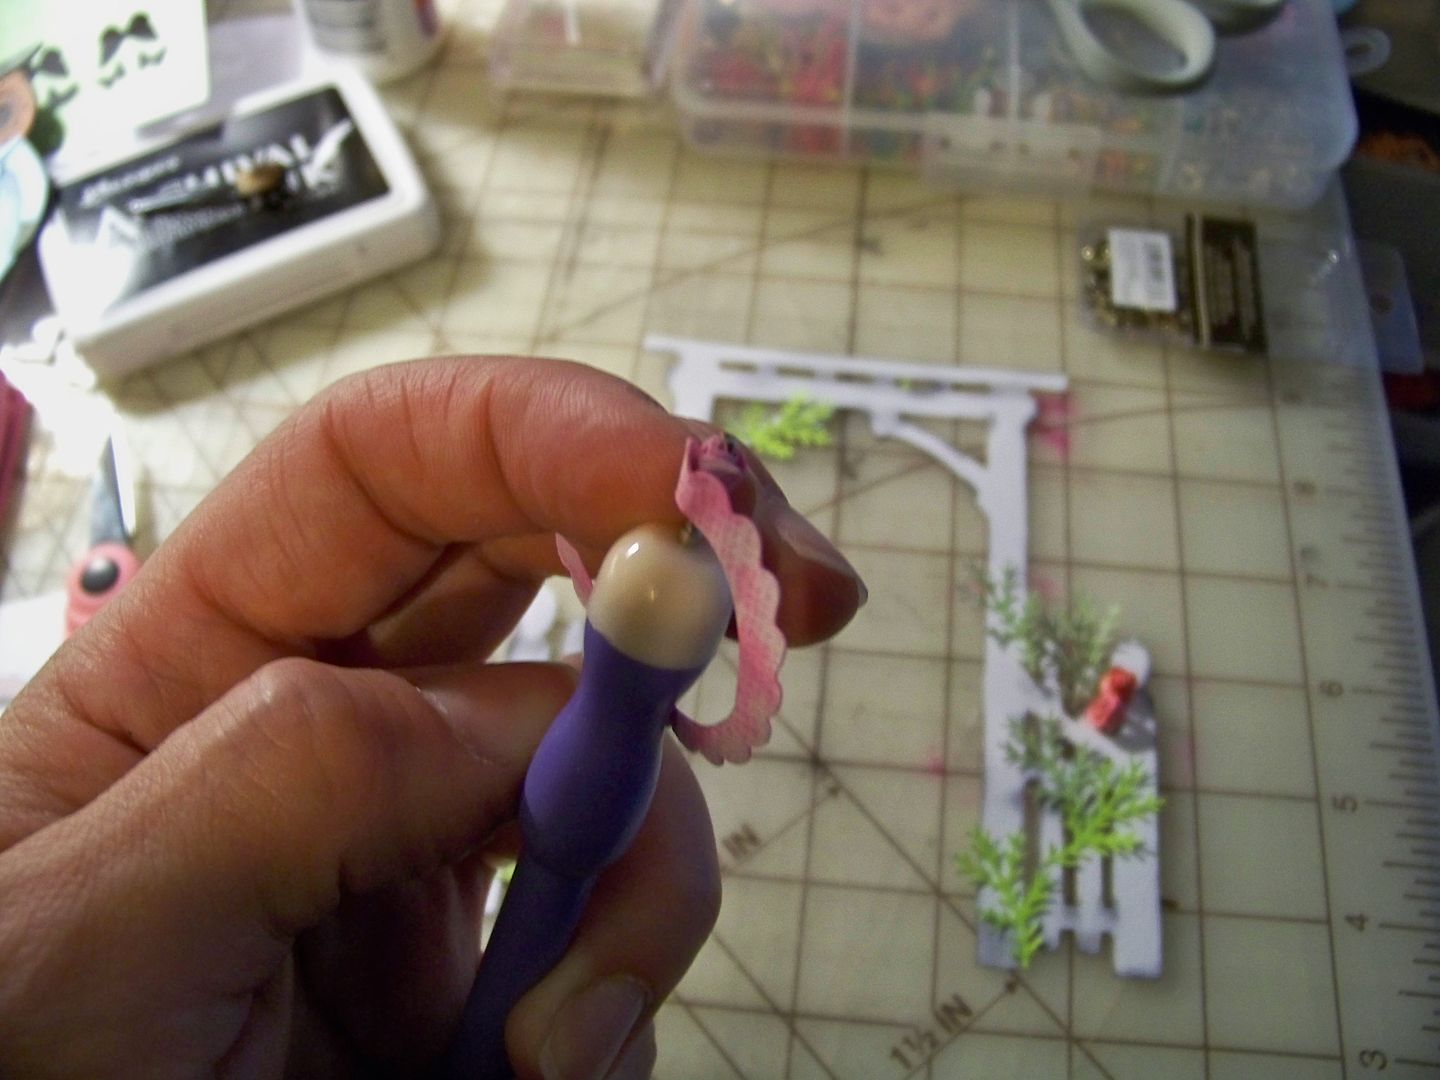
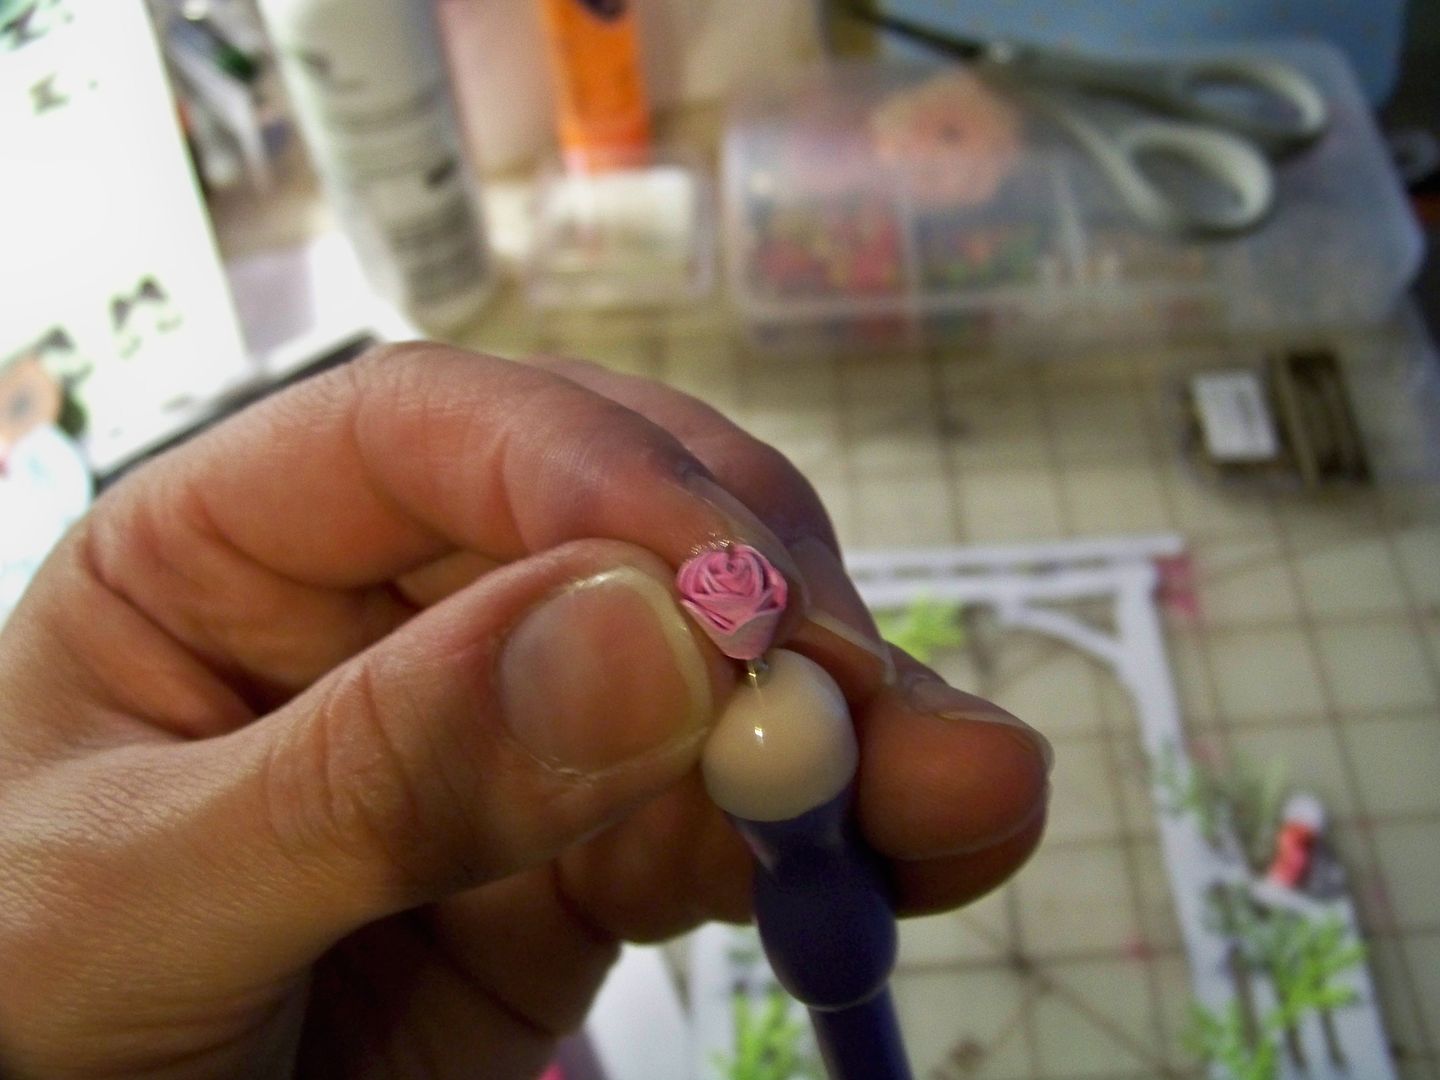
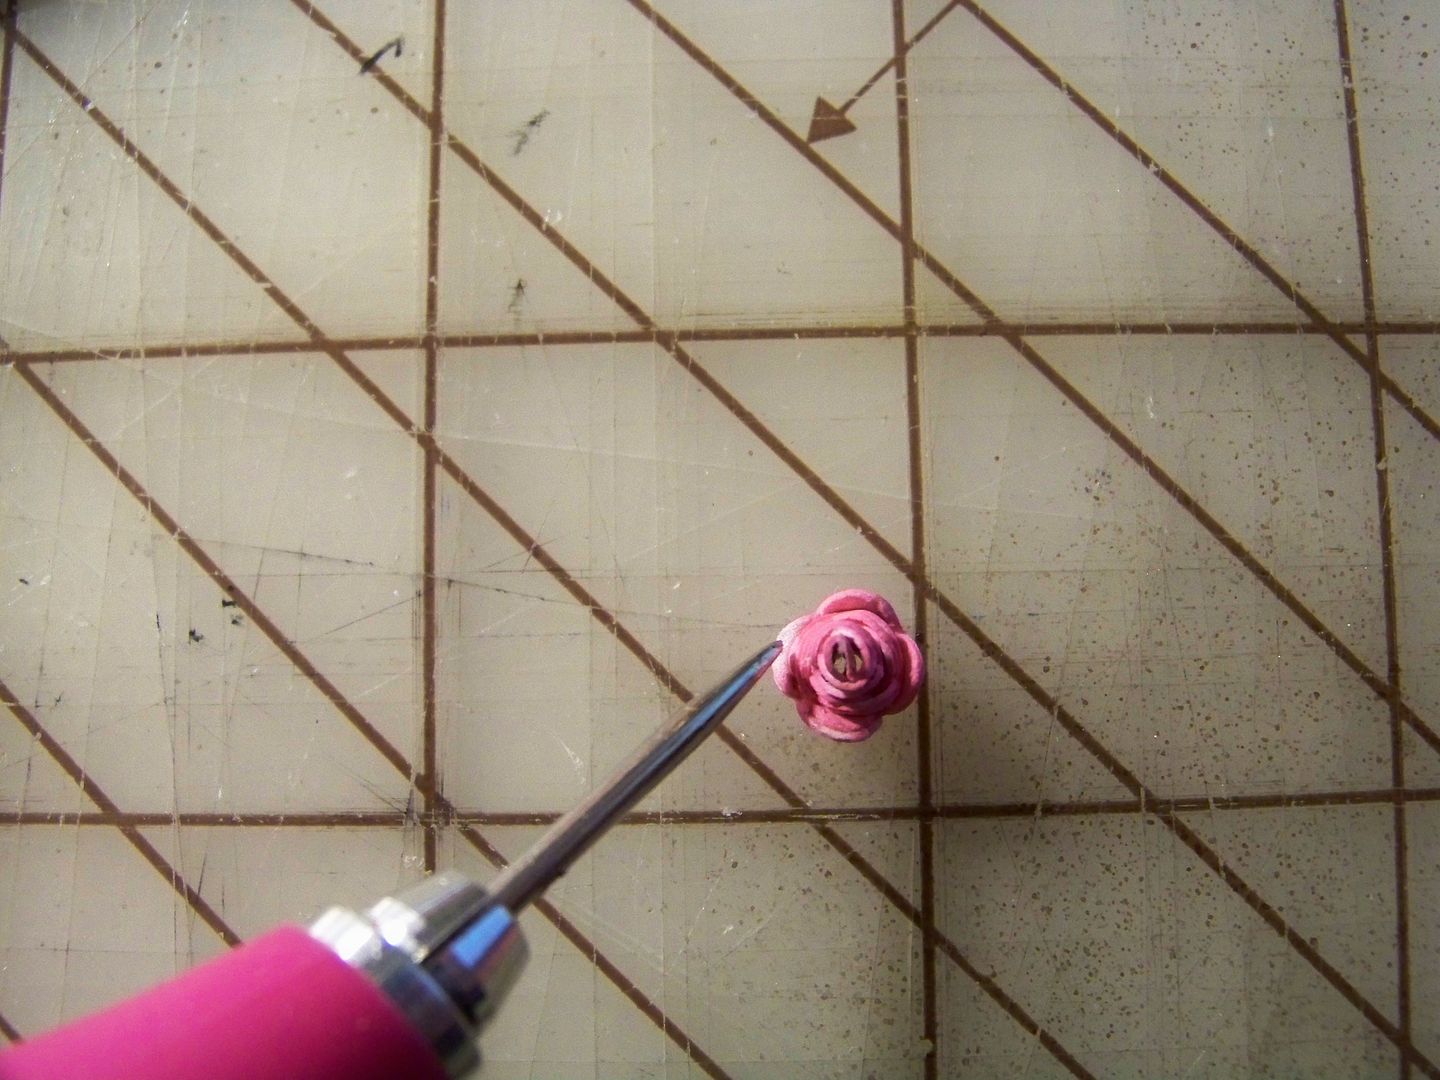
  • I created the micro roses using a fantastic tutorial on Scrapalette's blog!  Click here to see her tutorial!  (You can also find this link on my sidebar under "Inspirations".)  Per her instructions, I cut the scalloped rings from Elegant Edges (page 23) at 1.3" on my Imagine.  I flood-filled them with the peach from Hey Diddle Diddle that I used on the owl's shirt and hand-colored the back of them with a pink Sharpie marker.  I liked way the ink bled through, creating a muddled surface!  Some of the blooms have been touched with a stamp pad for extra color.  I glued them on so that some would be facing straight up and others would be on their sides.  I added one for a boutonniere.


  • The background is a 6-1/2" rounded square (built-in on the Imagine) and flood-filled with a print from Floral Emporium.
  • The ribbon banner was cut from Enjoy the Seasons at 5.2".  I added text from my computer (Americana BT at 16 point).  The banner is popped up 1/4".

  • The butterflies were cut using a Martha Stewart punch and detailed with a Micron pen.
  • I cut a smaller card and attached it to the back of the owl scene.  The inside of the card has more text with the same font at 26 point:  Your gift was a hoot.  Thank you so much!

Thank you for checking my blog today.  I think I have finally finished all of the Circle Blog NSD challenges that I can do.  They have been so much fun!    As always, you can see most of my previous projects by going to My Project Gallery.


Edited May 11, 2012 to add:  This project was featured on the Cricut Circle Blog Project of the Day!

Wednesday, April 18, 2012

WOYWW 150: Giant Rose

After seeing so many WOYWW posts on OhhhSnap, I finally am doing one of my own.  Let me just apologize right now for the honesty in clutter!  This morning before my family woke up was all about making paper roses -- cutting, inking, spritzing, and hot-gluing them.


If you don't know what WOYWW is, then you are obviously not a truly nosy person (like me).  It stands for What's On Your Work-desk Wednesday and is a little snapshot of just that-- mess and all-- showing a ghost of what was just created or what is getting ready to be made... or nothing much.  You can link your own on the Stamping Ground blog and see lots of other crafters' desks (that's where the nosy part comes in) and get acquainted with different blogs.


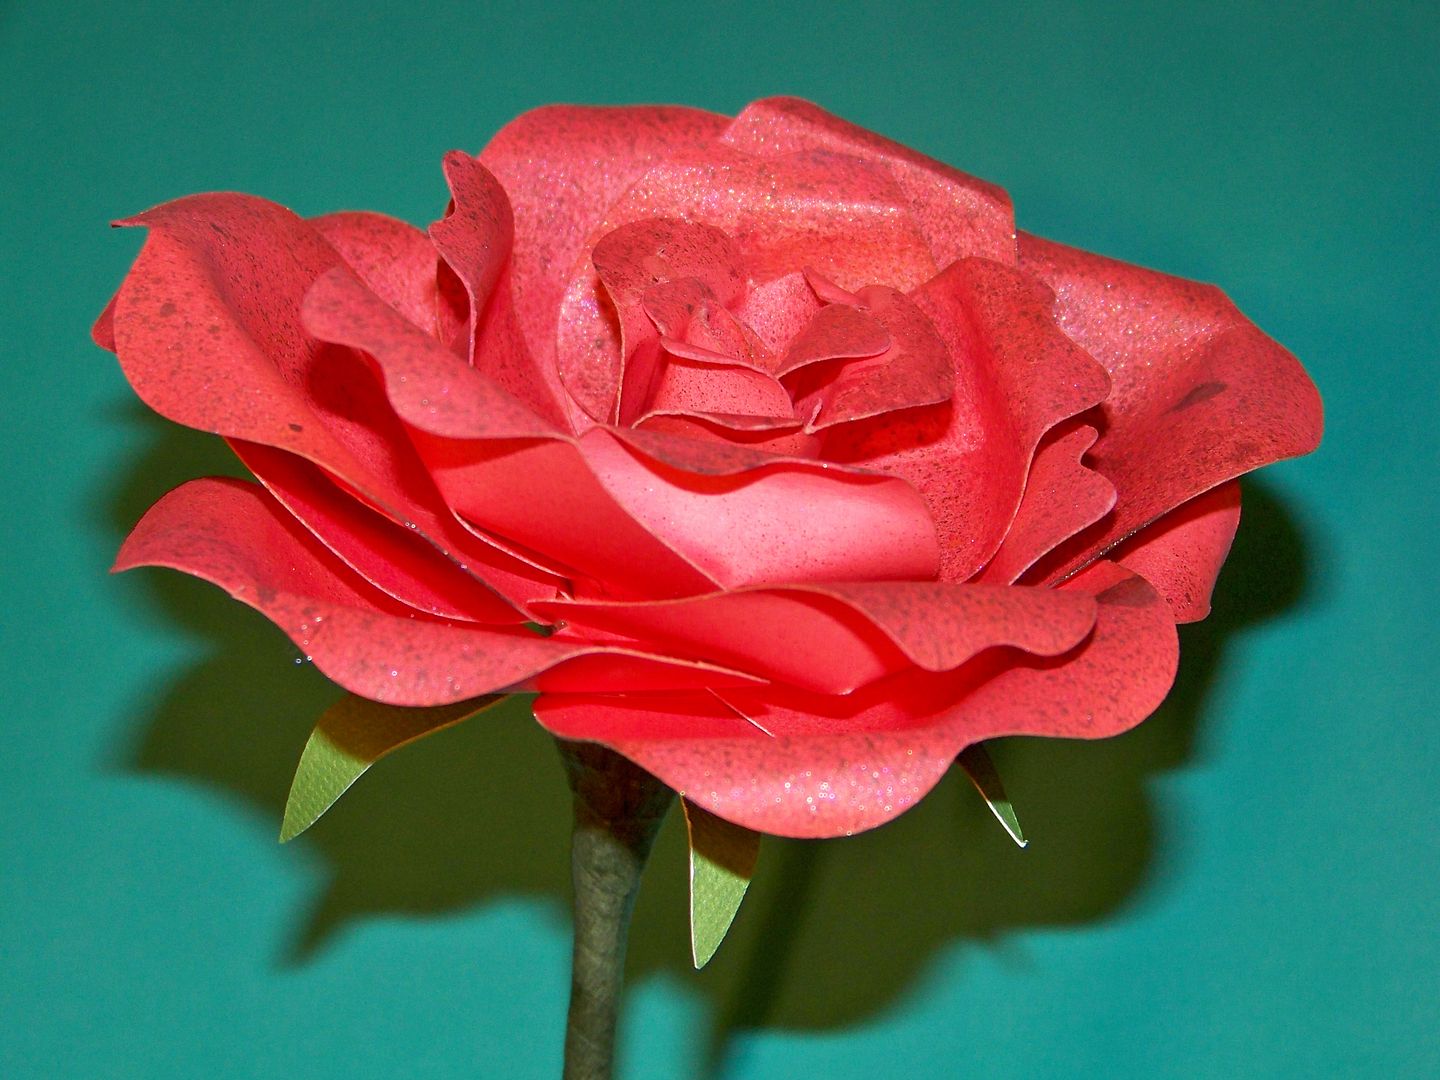
I was working on the rose from the Cricut cartridge Giant Flowers.  I found that cutting at 4" yields a 5" diameter rose.  I need lots more practice before I can make these in red for my Kentucky Derby centerpiece, but it was fun trying this out!  If the directions look a little confusing, check out this video by Janice "The Cricutologist":  Giant Flower Cricut cartridge-4 inch rose part 1.  I will warn you that it is unedited so you will see the whole process in real time (yikes) and her kids can be heard during most of it (but I kind of liked it because I felt like I was right there in her craft room at her home).  

So... here's my finished practice rose.  After watching the video, it was incredibly easy to do.


(I know I promised my next post would be next Monday and it would be my contest card... but I changed my mind!)

Happy Wednesday!   Soooo... what's going on in your craft space?


Monday, April 16, 2012

Cheery Projects

It has seemed like spring through most of the winter here in Kentucky with crazy high temps and mild weather--- with a few tornadoes thrown in!  But now we are deep into spring.  The lilacs and tulips have just gone and the irises are starting to bloom.  Dogwood trees have been gorgeous this year!  And... we have been mowing the grass for a month and a half now!  My battle with the dandelions has been a tough one, but I am clearly the victor in the front yard (thank goodness for the privacy fence in the backyard because that's a different story!)

The flowers have cheered me out of my gloominess this year and I started crafting again.  Yay!  Today, I wanted to share a couple of cheery projects I made, hoping to bring smiles to someone else.

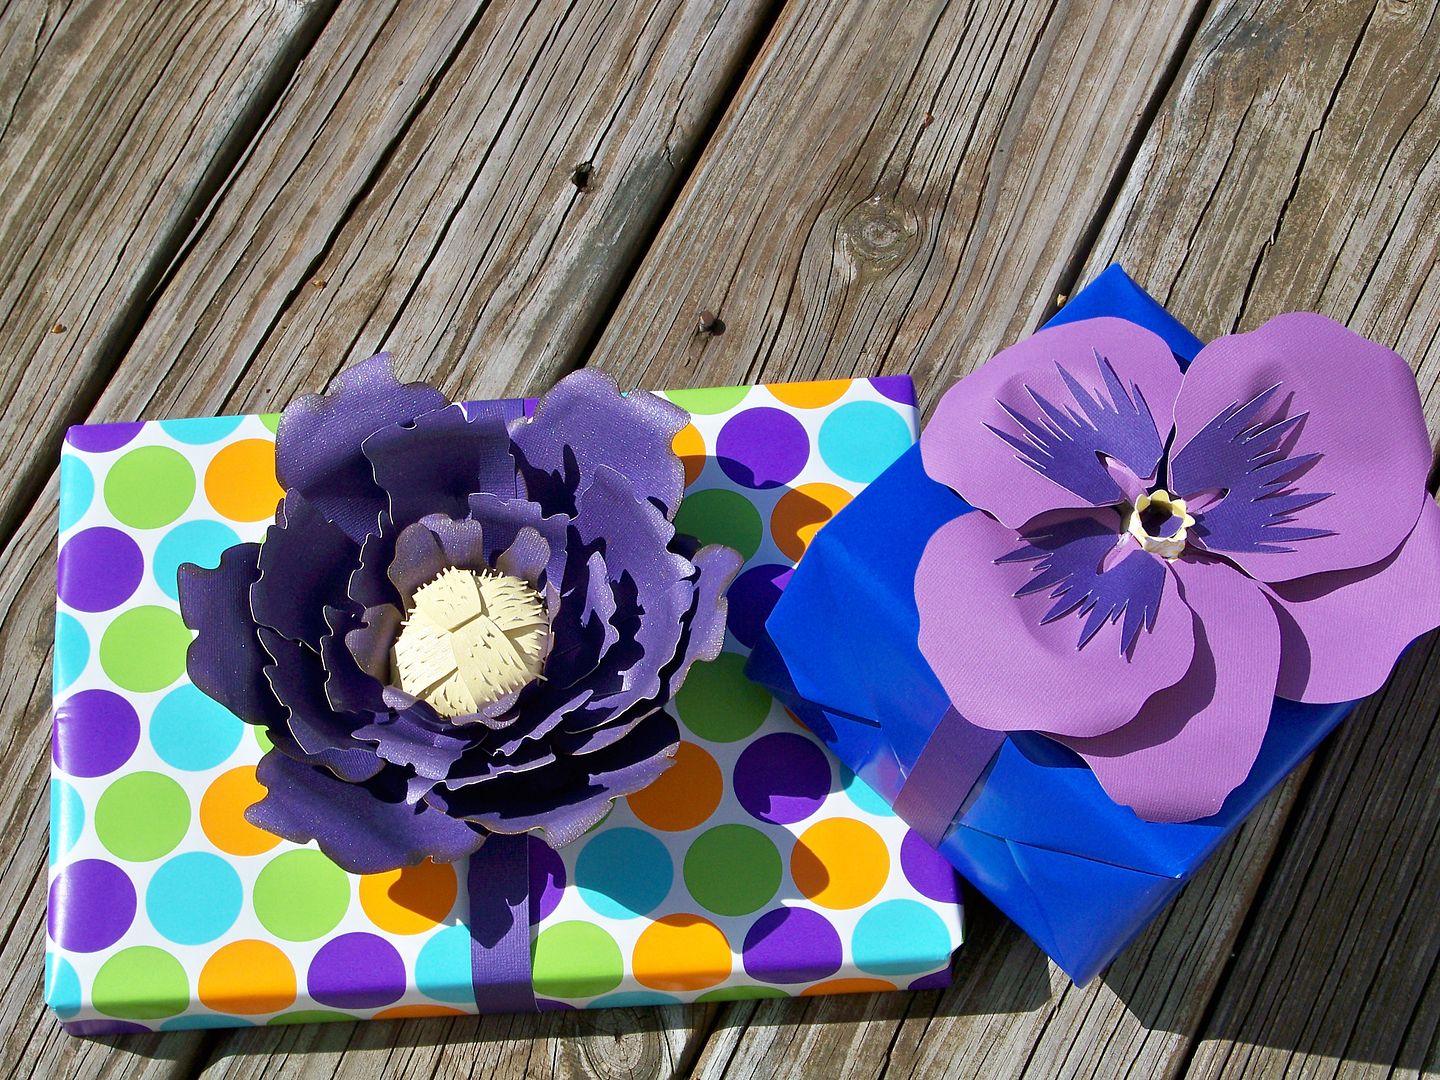
I tried out the Giant Flowers cartridge for package decorations.  Wow!  Love this cartridge.  My humble request to Provocraft:  Please come out with Giant Flowers II:  Holiday Blooms!  I would have loved Easter lilies as I decorated the Parish Hall for the Easter Vigil and I know giant poinsettas will be a must-have this winter!


I used hot glue to create mine.  Both of these were cut at 4" on the Expression using colored paper.  I hot-glued them directly to the boxes to attach them to the presents and used strips of card stock instead of ribbon for color match.

I had fun with a bit of brown inking and Sun Sister Glimmer Mist too.


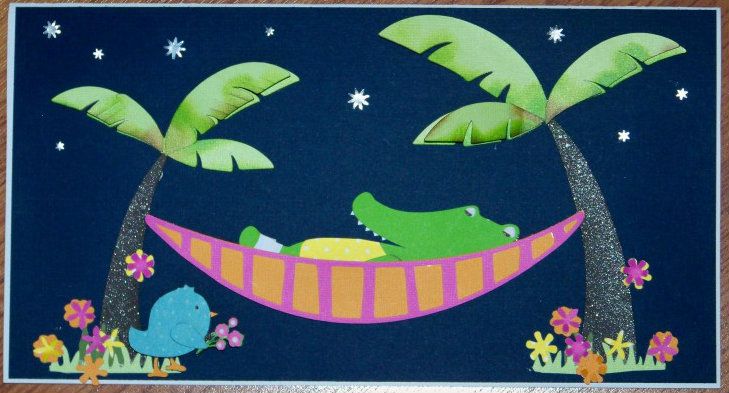
Next is a card I made for a crafter in the Cricut Circle who has managed to break her ankle in three places.  Wow!  That is thorough!  


I wanted something fun and colorful for this card.  I used the flowers to bring in extra color and interest.  I worried that the design was too juvenile but I learned that she will be recovering from this injury for quite some time and hoped that the silliness of the card would make her smile.


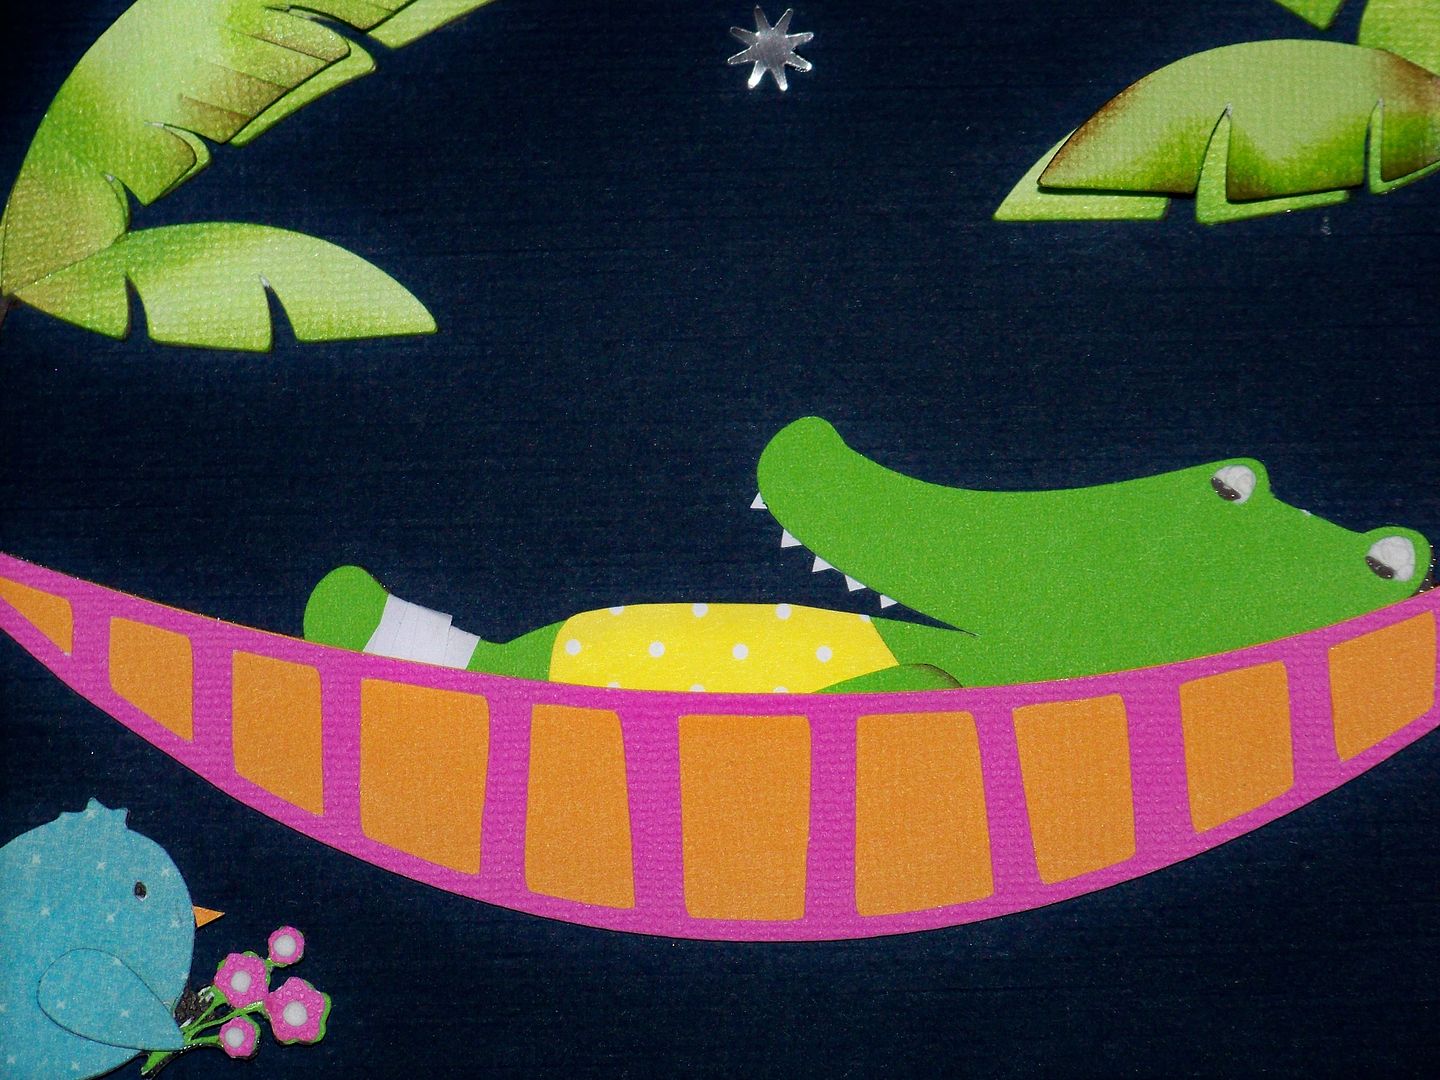
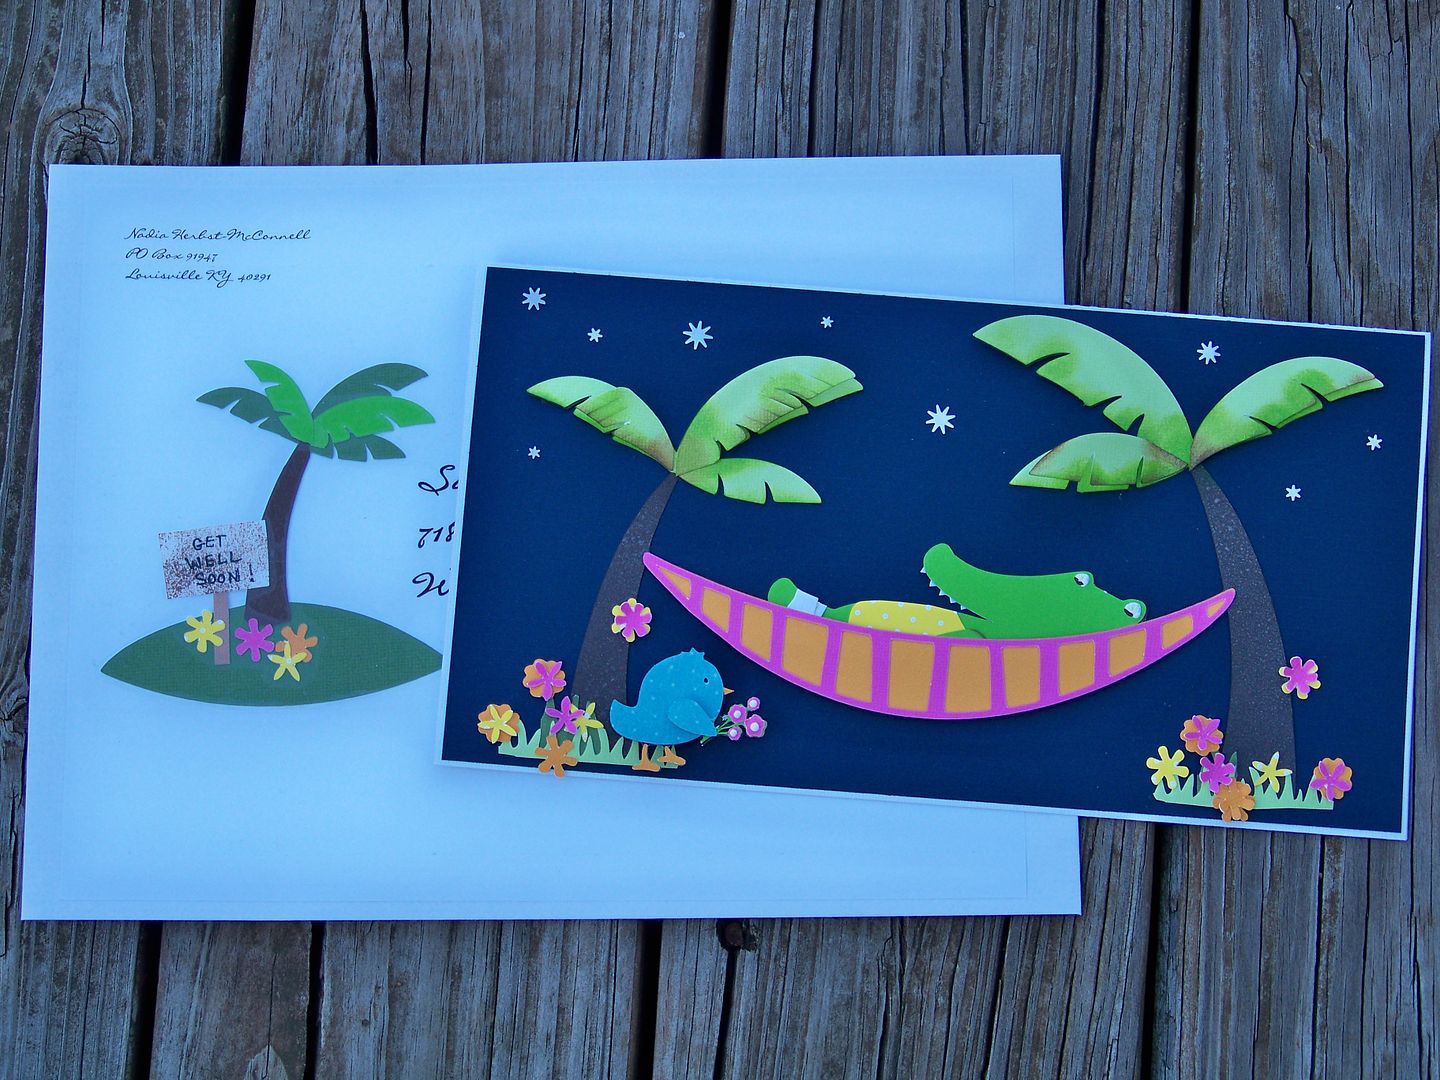
The crocodile and palm trees are from Crocs Rule, cut on the Expression at 5-1/2".  I double-cut the palm leaves so that I could pop some up after inking them.  The tree trunks were spritzed with Glimmer Mist.   I added a little yellow dress, a shoulder, a leg cast, and pointy teeth that I hand-cut.  I popped the bottom of the hammock with 1/4" pop dots, but adhered the top flat in order to make it looked filled with something.  The bird with bouquet is from 3 Birds on Parade, cut at 1-1/2" and is popped up 3/8" (the wing is popped up and additional 1/8").  The flowers are from Mother's Day Bouquet, various shapes cut at 1/2" and combined.  The stars in the sky were cut with a Martha Stewart edge punch from metallic paper (this was the negative space from the cut).  The grass was cut from a Fiskars edge punch.  I used Liquid Applique for the crocodile's eyes and bouquet centers.

I like to decorate my envelopes because I use manufactured ones and I want to make them relate to my cards.  (Plus, I just think it is more fun for the recipient!)  I used the single palm tree image from Crocs Rule, cut at 4-1/4", cutting extra palm leaves in a lighter color for interest.  The "Get Well Soon" sign was inked and hand cut and the flowers were ones left over from the card.  Text in the card and on the envelope was printed using Microsoft's Liorah BT font.


To see all of my previous projects, including my other flower projects, click here to visit My Project Gallery.  My next post will be April 23 where I will share my just-completed "Welcome to Provo Craft Card" contest card featuring the new Paper Dolls Teen Scene.    Thank you for checking out my post today!  I hope you are finding ways to enjoy spring wherever you live!


Sunday, November 13, 2011

Border Challenge: Thank You Card


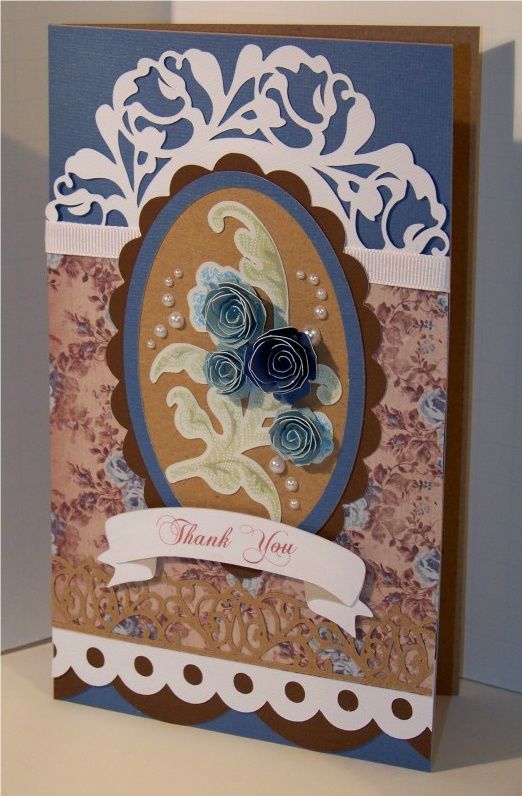
I have a friend who has been so generous and so I wanted to create a card for her.  I have been wanting to try a different style of card design and found just the push I needed when I found the current Circle challenges; this is my entry for Weekly Challenge #45. 

For the details:
  • Doily:  5" cut on Expression using Sophie (page 23)
  • Oval with border:  3" cut on Expression using Art Philosophy (page 42)
  • Scallop behind oval:  3-1/2" cut on Expression using Art Philosophy (page 52)
  • Floral square: hand-cut 5" x 5"
  • 1/2" grosgrain ribbon applied
  • Blue background solid:  hand-cut 8-1/4" x 5"
  • Kraft paper lace border:  1" cut on Expression using Art Philosophy (font layer page 66)
  • Brown scallop border:  1-1/4" cut on Expression using Art Philosophy (font shift page 66)
  • White circle scallop border:  1" cut on Expression using Art Philosophy (page 64)
  • Base flower for center of oval:  3" cut on Imagine using Lori's Garden, trimmed to fit (page 15)
  • Dimensional roses: 2" and 1-1/2"  cut on Expression using Art Philosophy (font shift page 69)
  • Banner:  1-1/4" cut on Expression using Formal Occasion (page 34).  Adhered with 1/8" pop dots.
  • Text printed directly on banner using Microsoft Chopin Script at 28 point in brown.
  • Self-adhesive pearls were applied in an improvised pattern.
  • Card base is Kraft paper hand-cut 8-1/4" x 10"; folded to finish at 8-1/4" x 5". 

Wednesday, September 7, 2011

Autumn Served with a Side of Penance

Well, a little bit of rain has changed everything here in Kentucky!  Gone is the 100 degree heat index, chased away with a little taste of autumn.  We had our coolest Labor Day in 76 years... and most people were thrilled.  ...Me?  Not so much. 


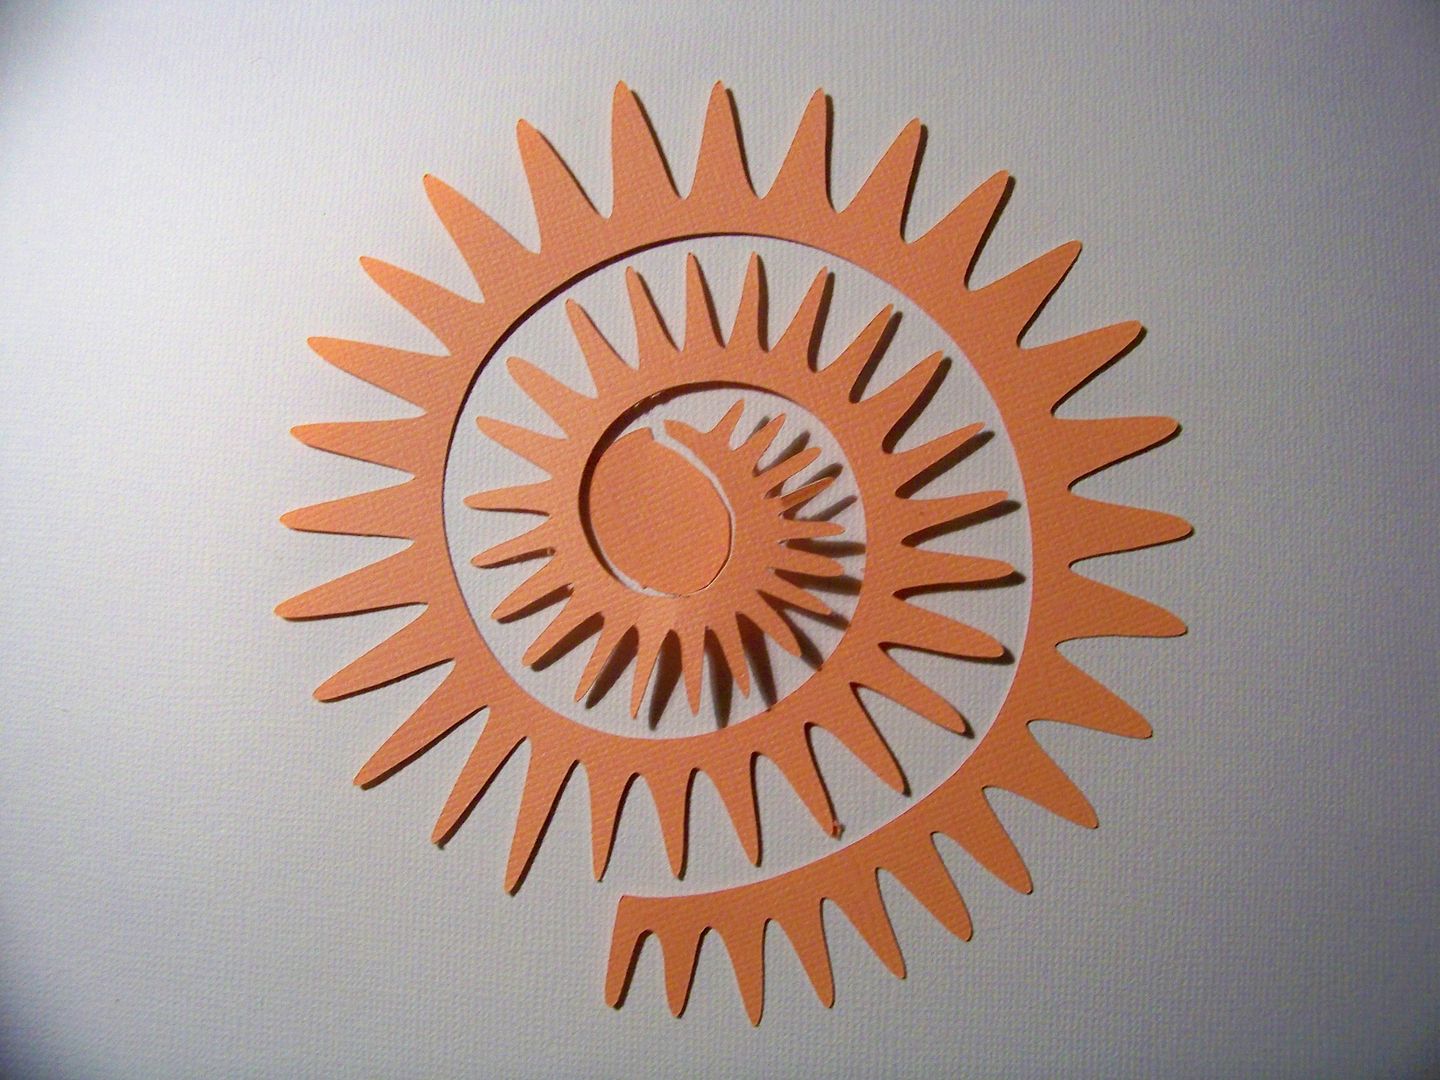
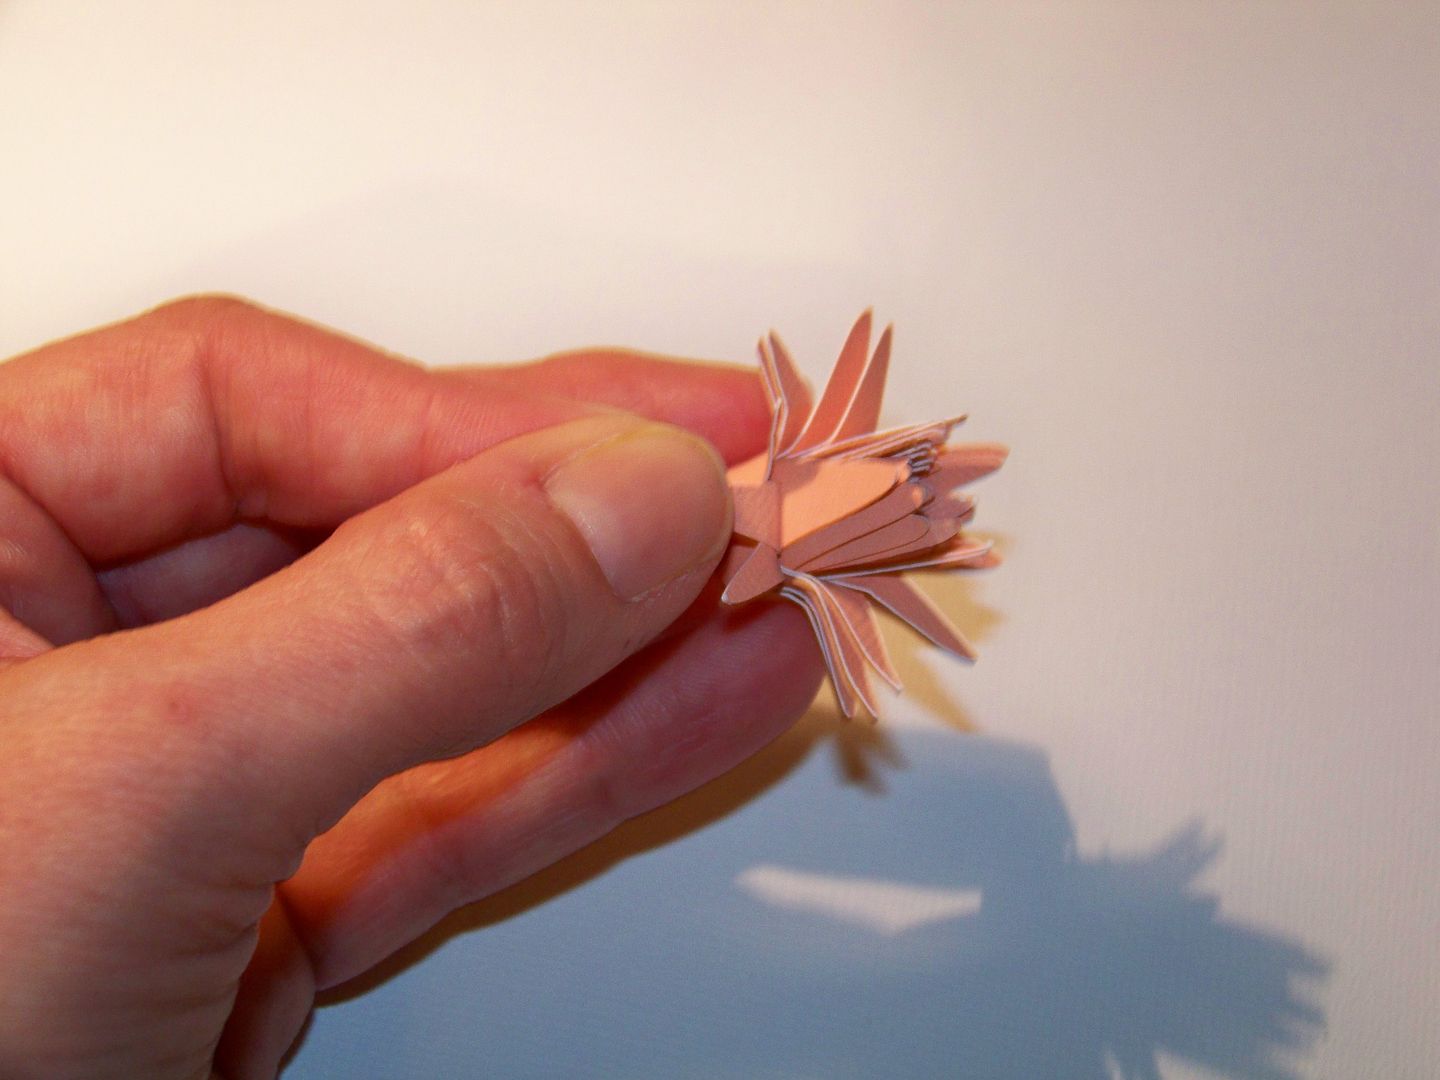
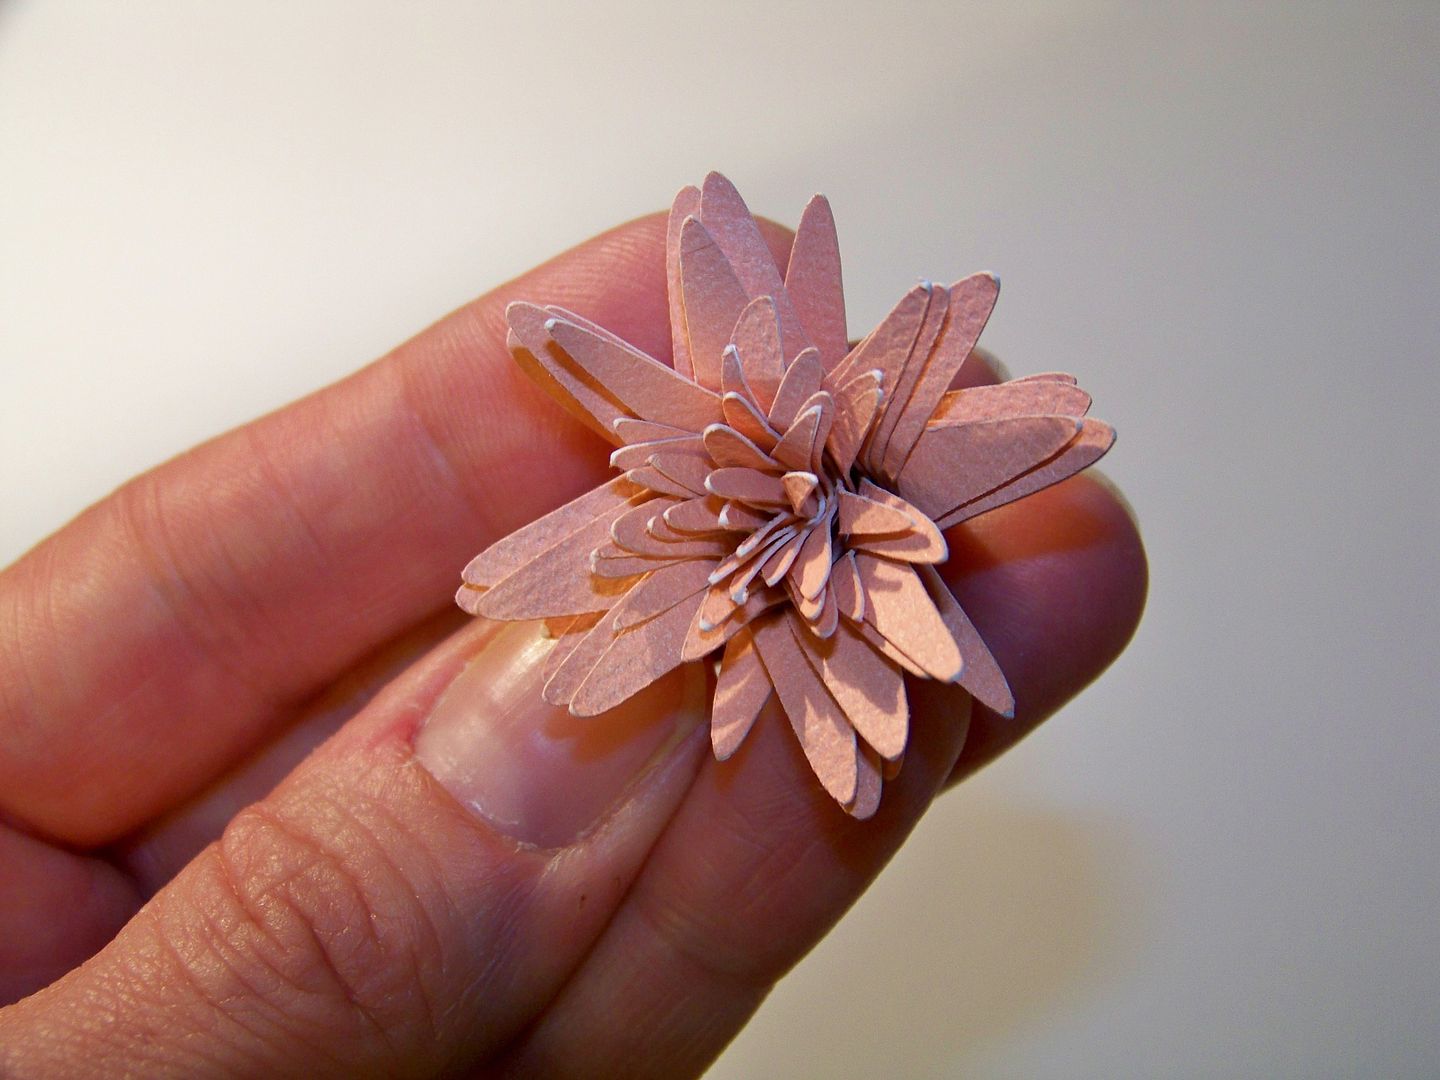
I love summer and I still had warm weather and flowers on my mind as I made a little card for my mother-in-law.  I bought the Art Philosophy cartridge from my message board friend, Jami Larson (CricutFarmer), just to have that spiral-cut pointy flower.  So the first thing I did was make it incorrectly.  But I liked it!  I wanted a tight flower after seeing some wonderful flowers in this book I just found, Paper Bouquet.


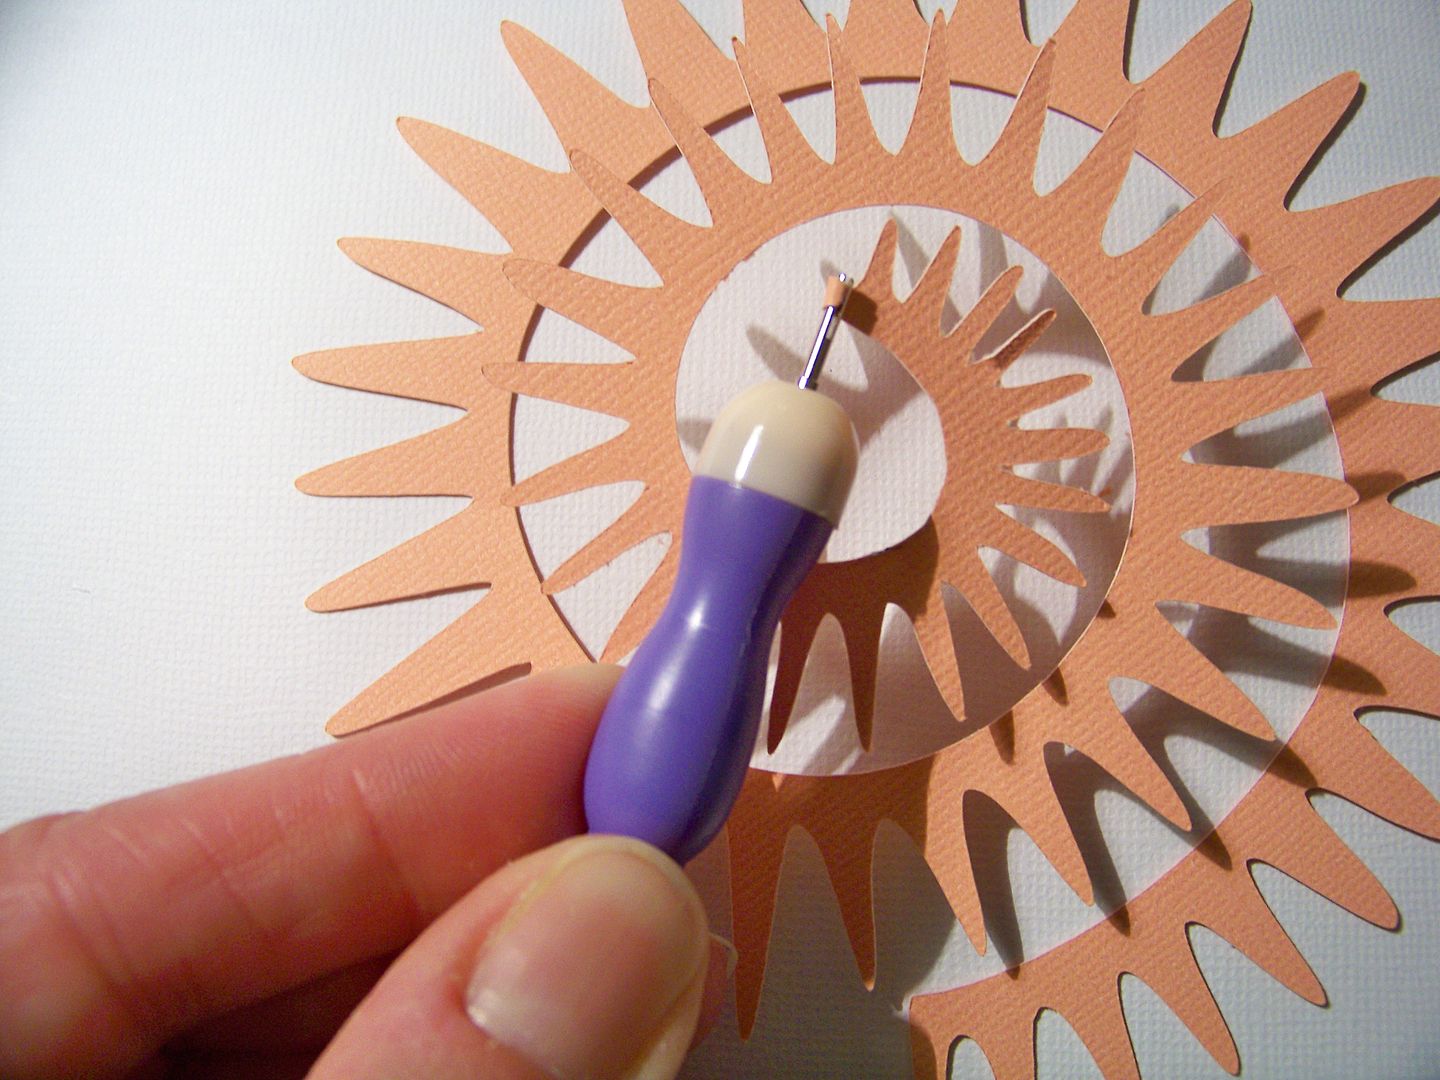
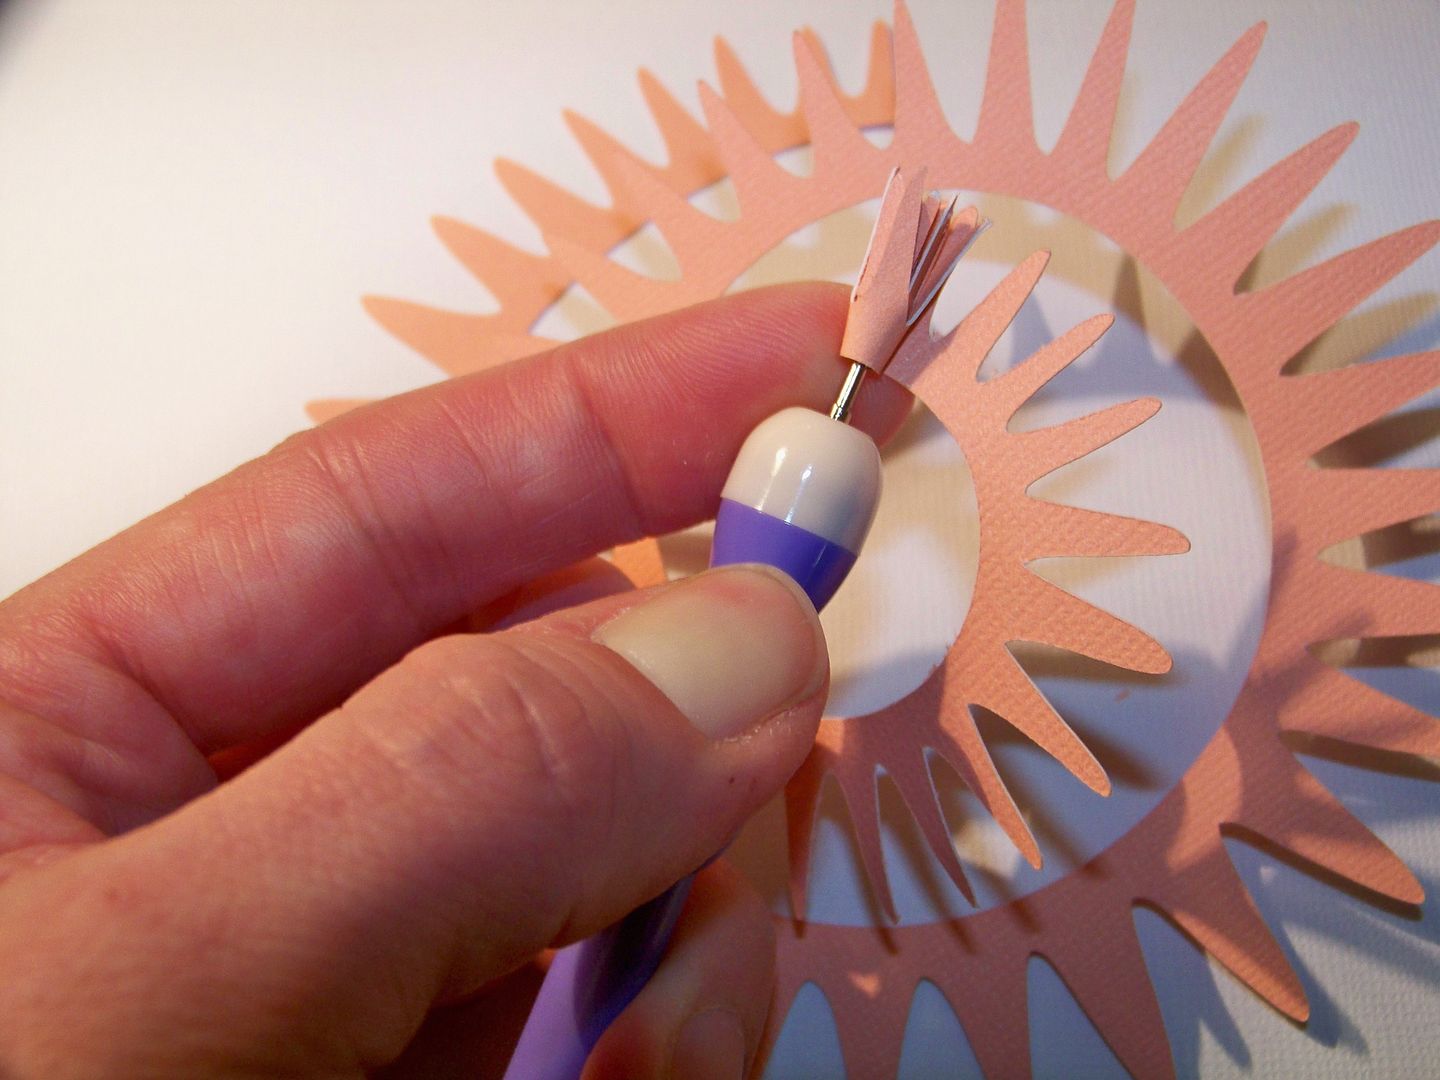
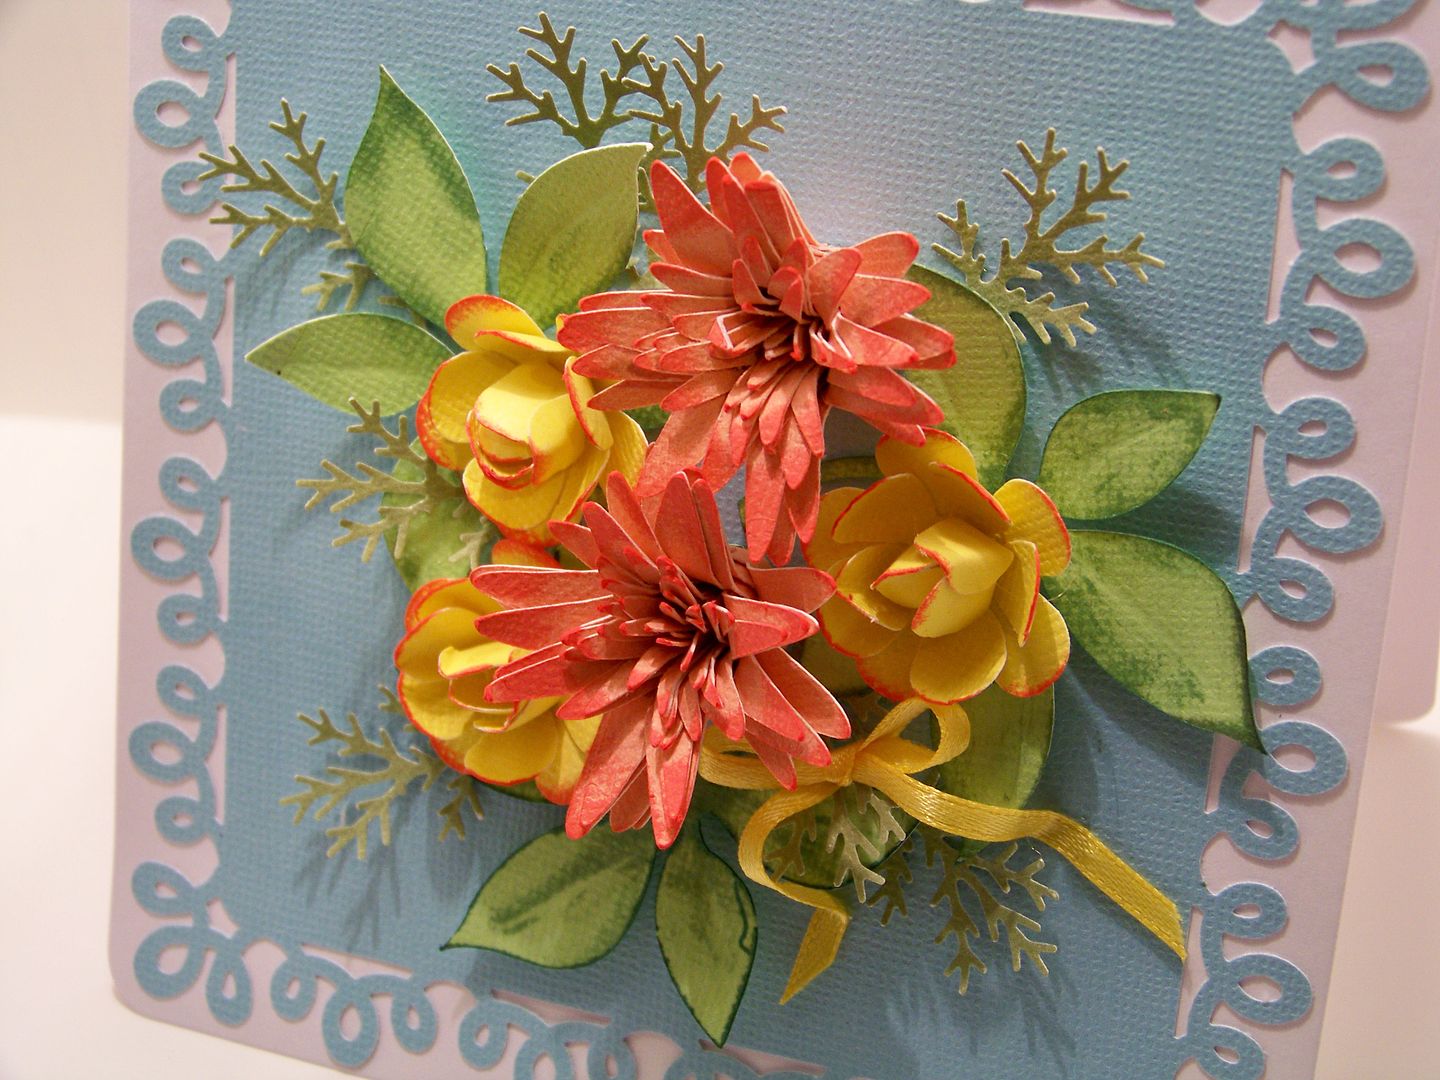
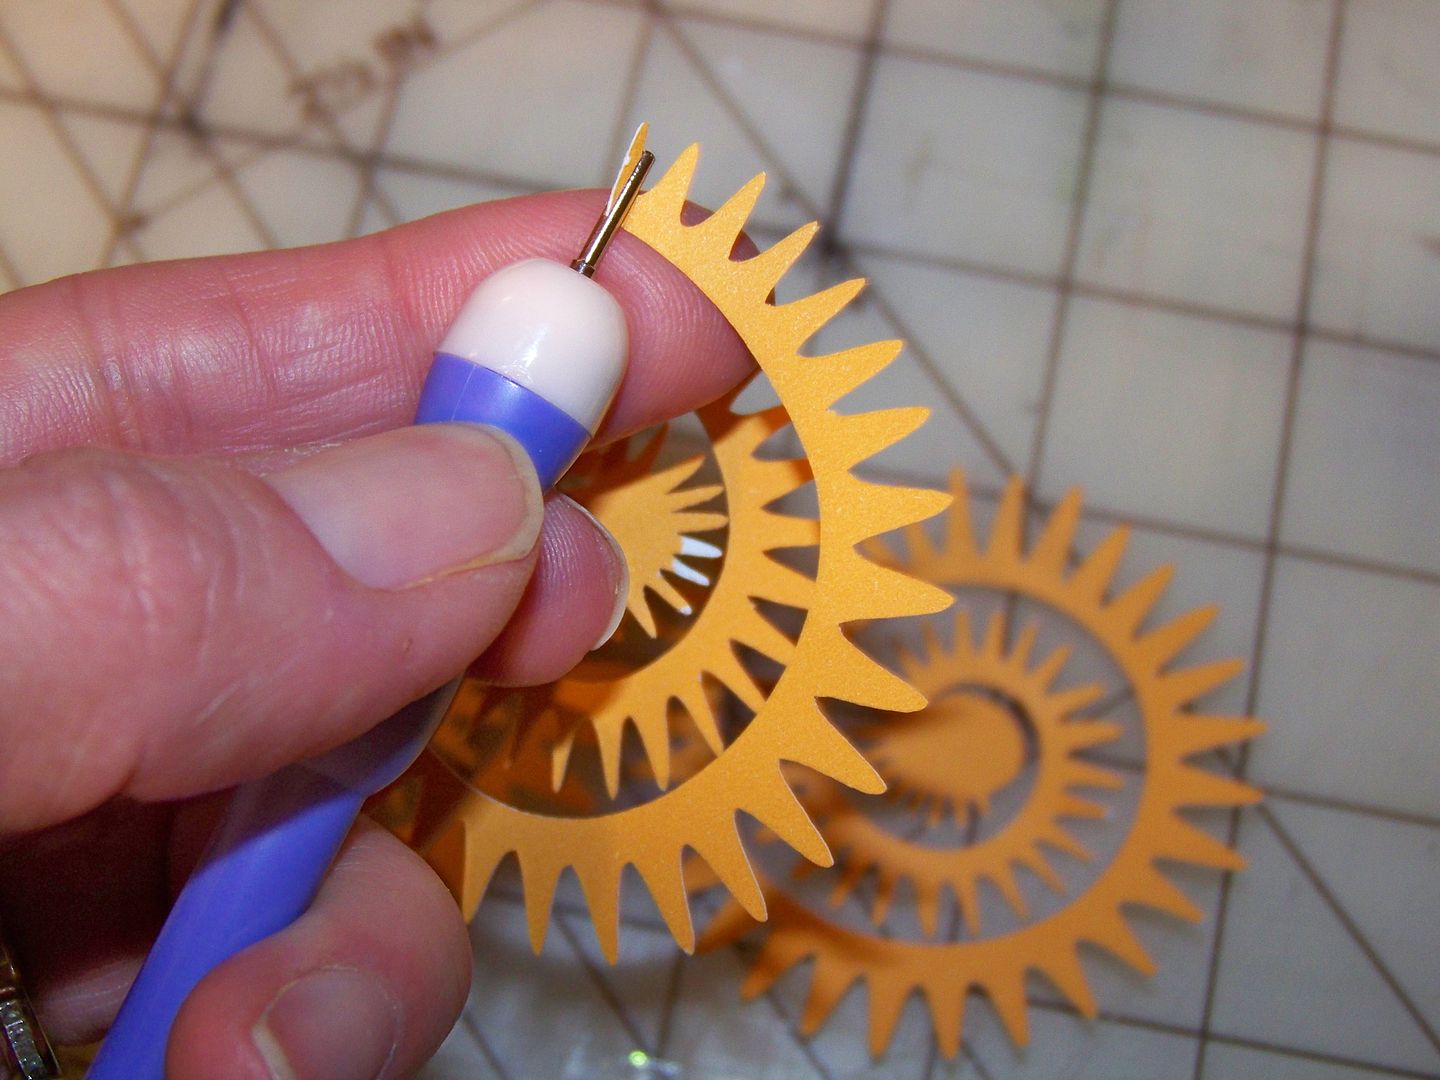
For this card, I cut the blue cardstock as a 5" square and used Martha Stewart punch-around-the-page loop punch for the base.  I created two pink flowers by cutting the pointy spiral flower on Art Philosophy at 5" (page 69) on my Expression.  Because I was going to roll it backwards, I trimmed off the inner circle, which normally would be a base.


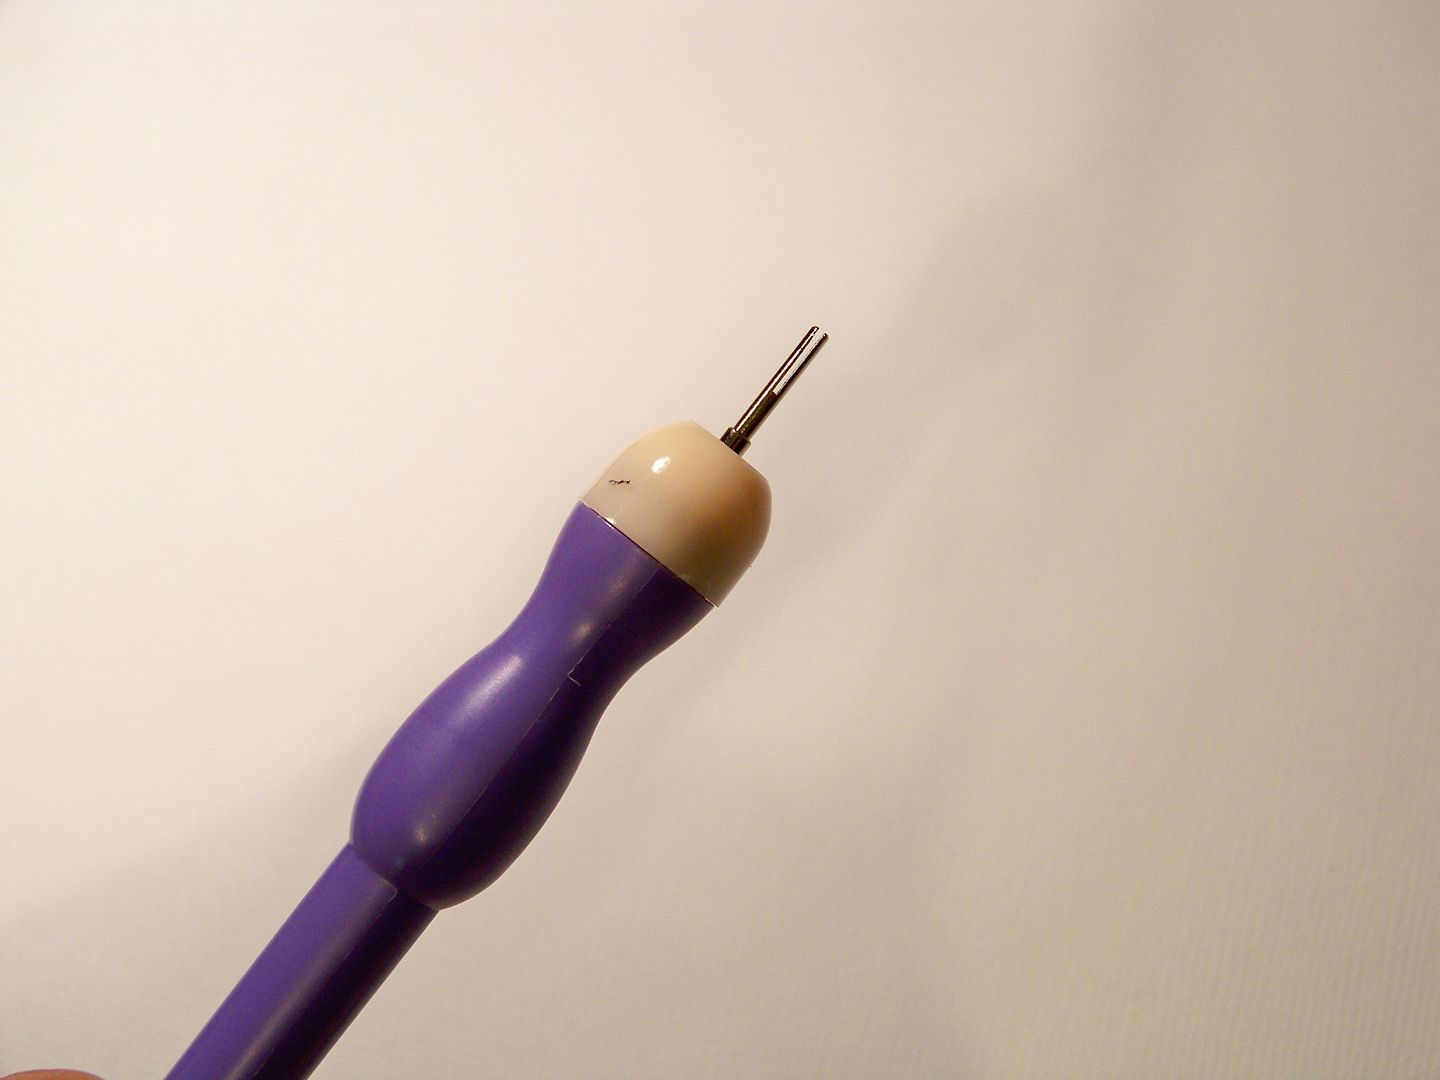
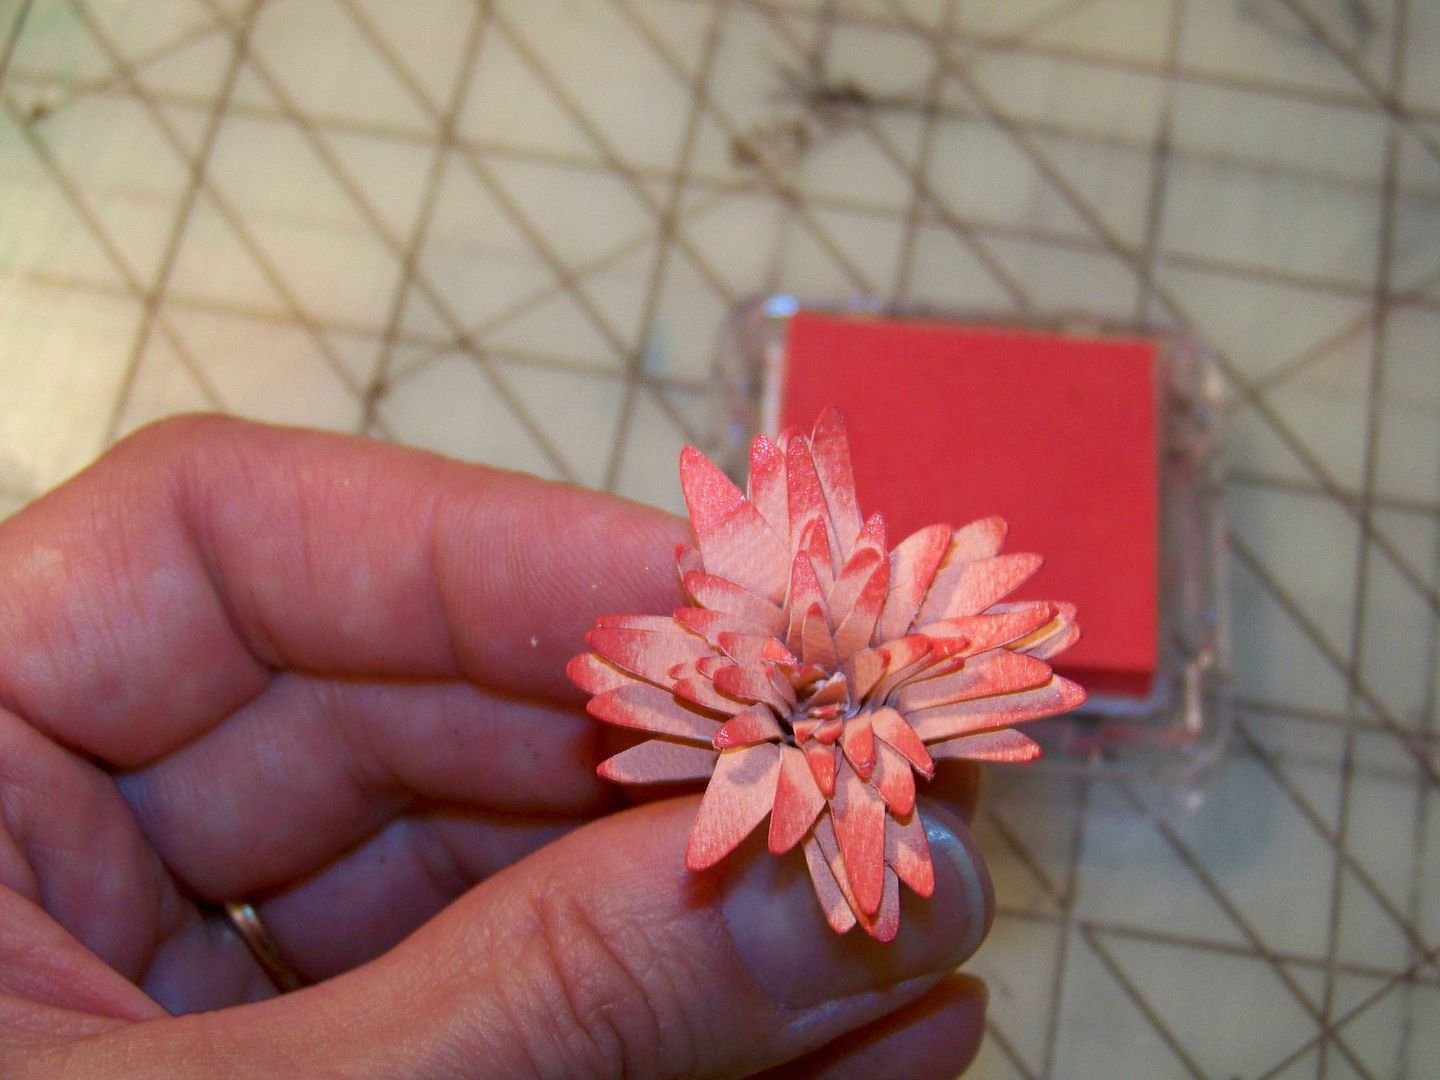
I used my quilling tool to roll the shape, starting from the inside, the backward way from what is usually done with this flower cut!  I peeled back the petals and inked it.


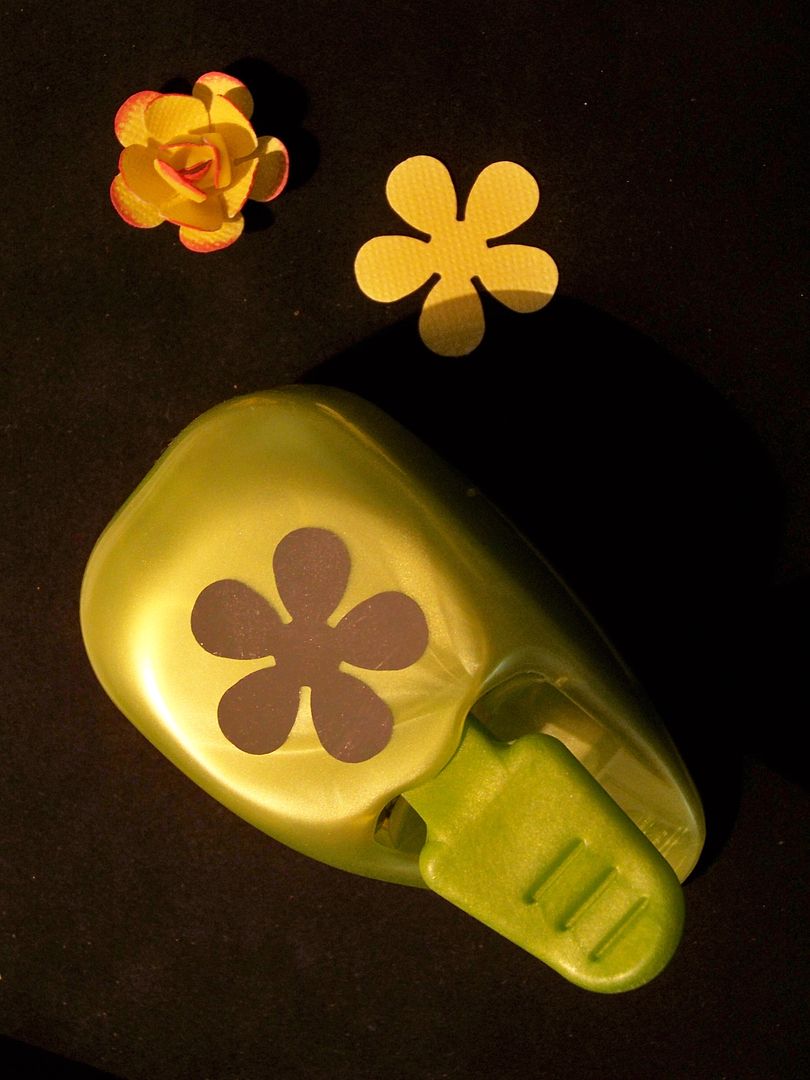
I made the yellow flowers with a punch. 


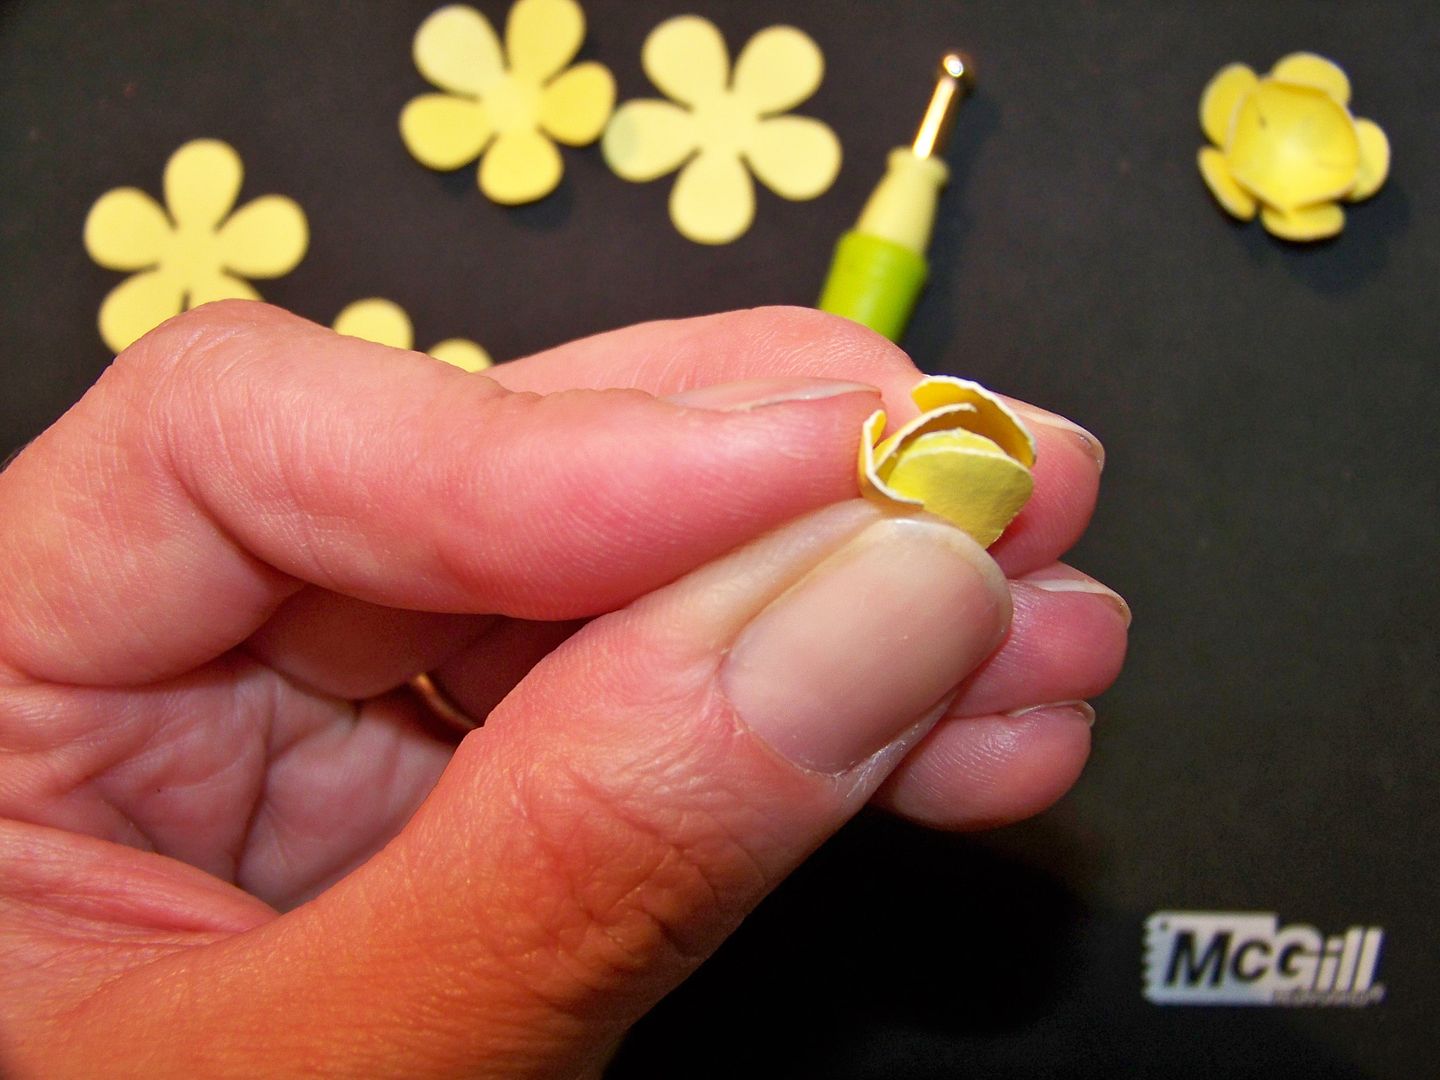
I used some McGill tools to help curl in the petals. I used three of these shapes for each flower.


The centers are pulled in tight and glued in place.  All the layers are just glued together.  Then the edges were inked.


The leaves were cut from Flower Shoppe (Exotic5), cut at 5".  I used a Q-tip and ink from my ink pad to add a little color and texture.  The leaves were added with pop dots.  I hot glued the dimensional flowers on and used a little Scotch Scrapbookers glue to add in little extra greenery that I got from a Martha Stewart branch punch.  I hot glued on a little ribbon.  The inside of this card had enough room for a gift card and a little message.


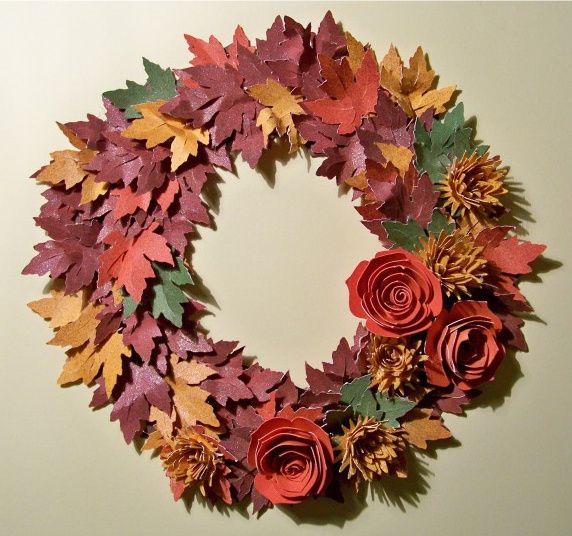
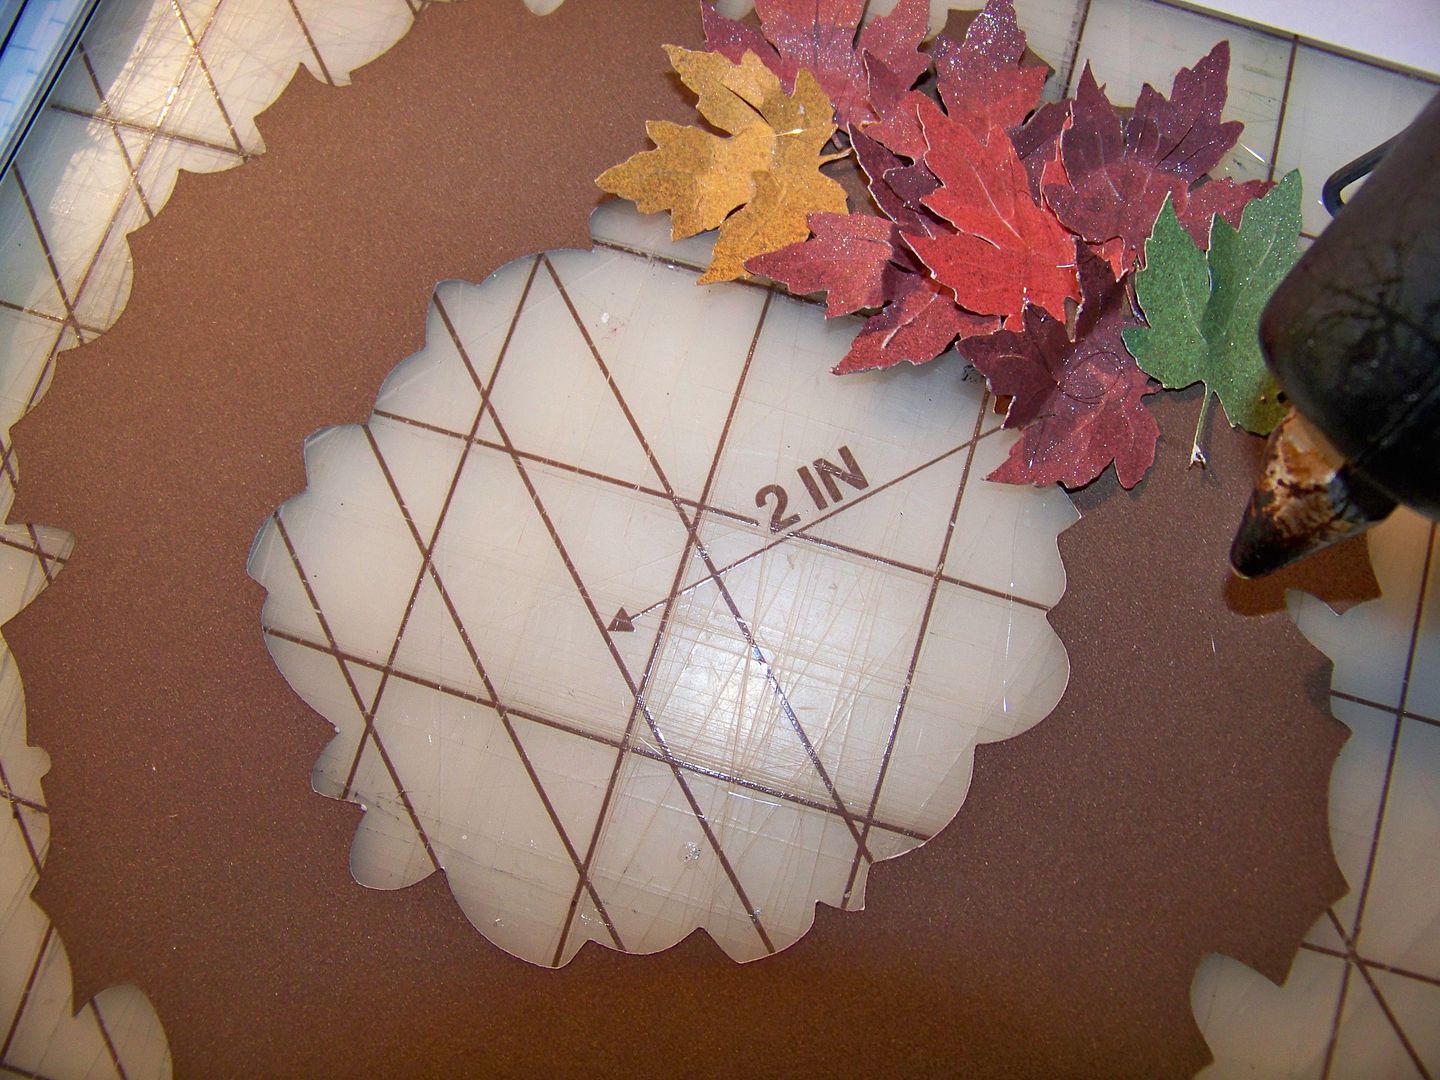
I wanted to make the Art Philosophy flower the correct way too.  I have seen so many beautiful wreaths and projects with those flowers.  I was also inspired by the autumn wreath that was just featured on the Circle Blog and I wanted to make a little version of my own:  a doorknob wreath. 


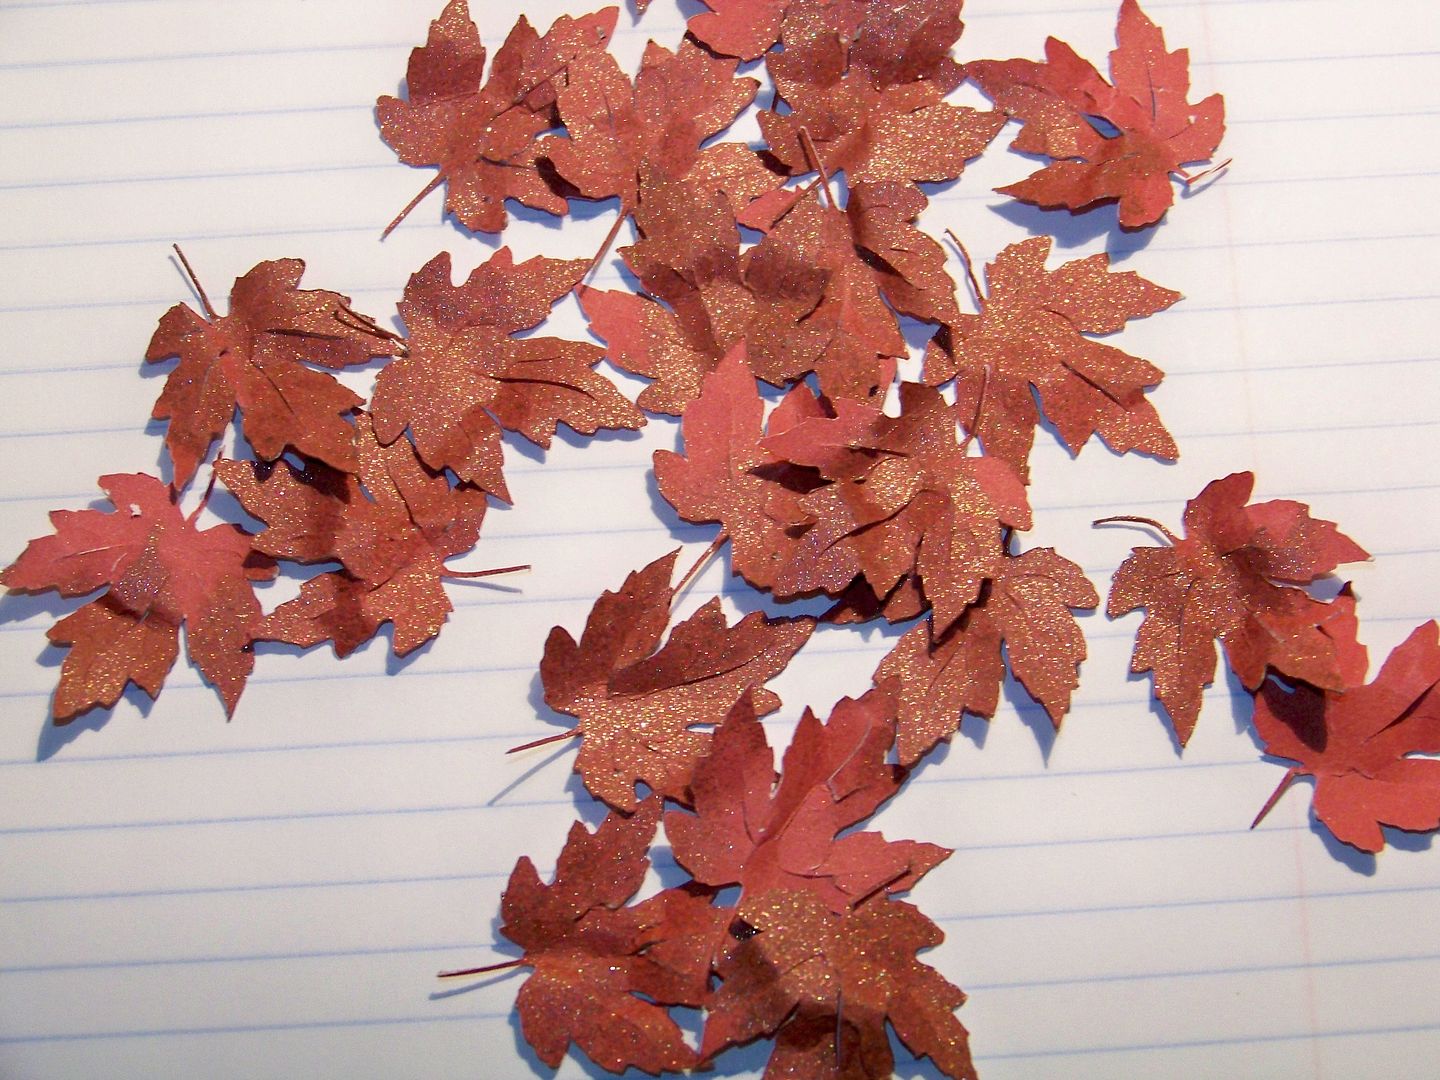
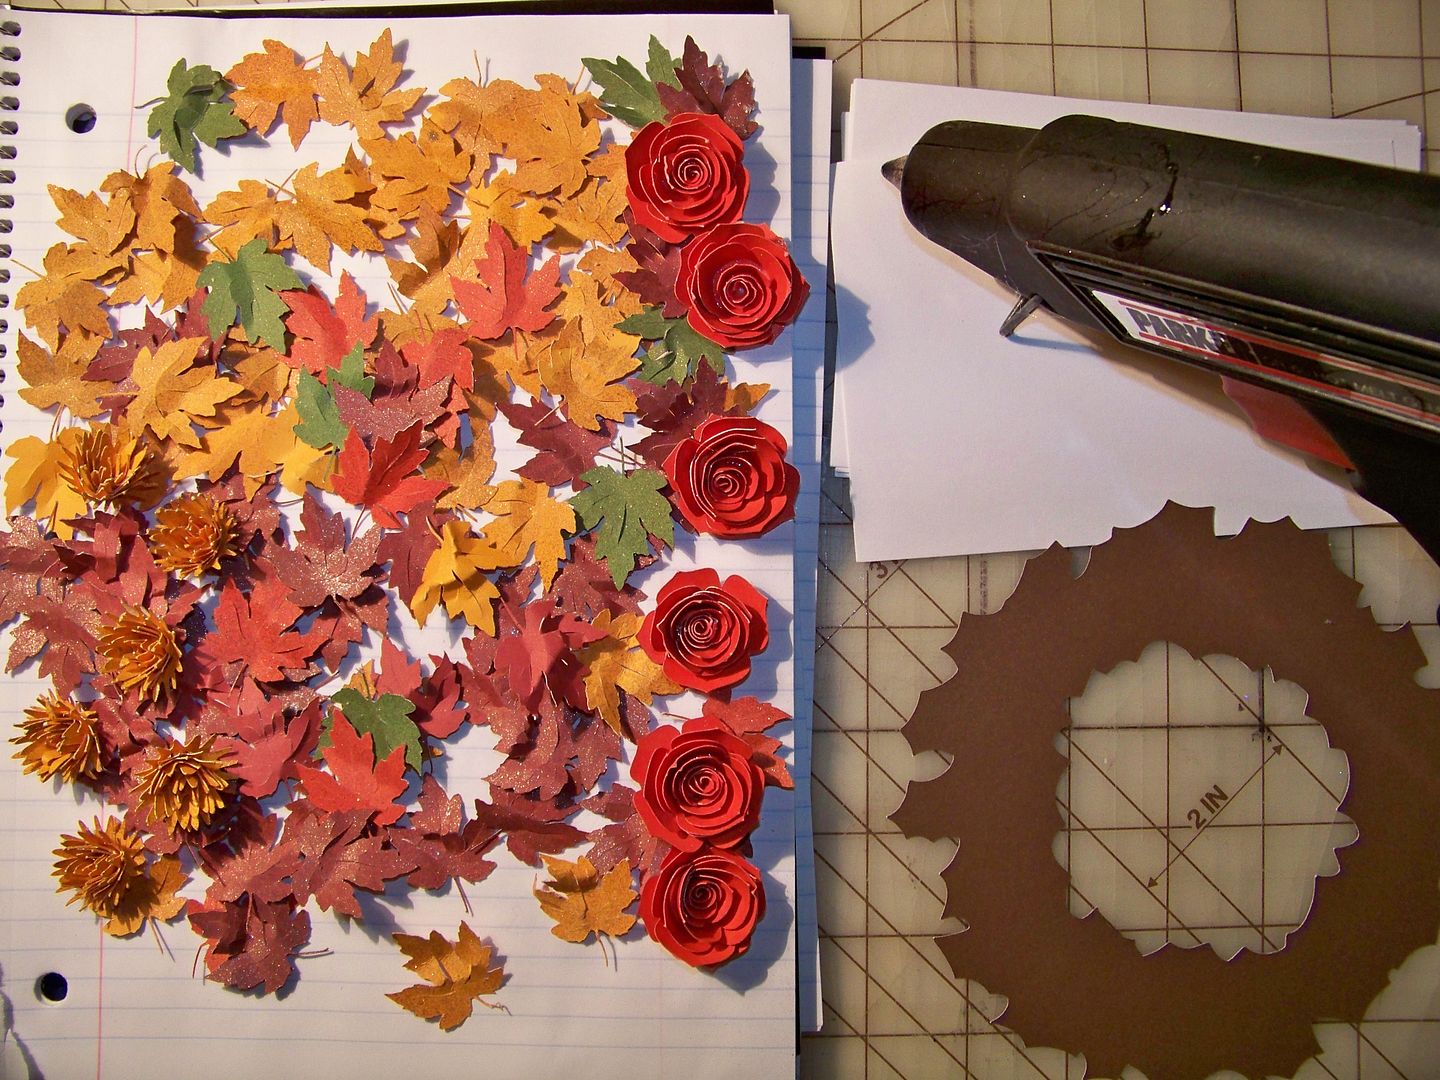
I started by cutting sheets of oak leaves from A Child's Year at 1-1/2" on my Expression.  Autofill cut 40 of these on 8-1/2 x 11 paper.  All of the cuts for this project were cut from solid papers in this $5 Walmart Colorbok pack called "Earth Tones". 


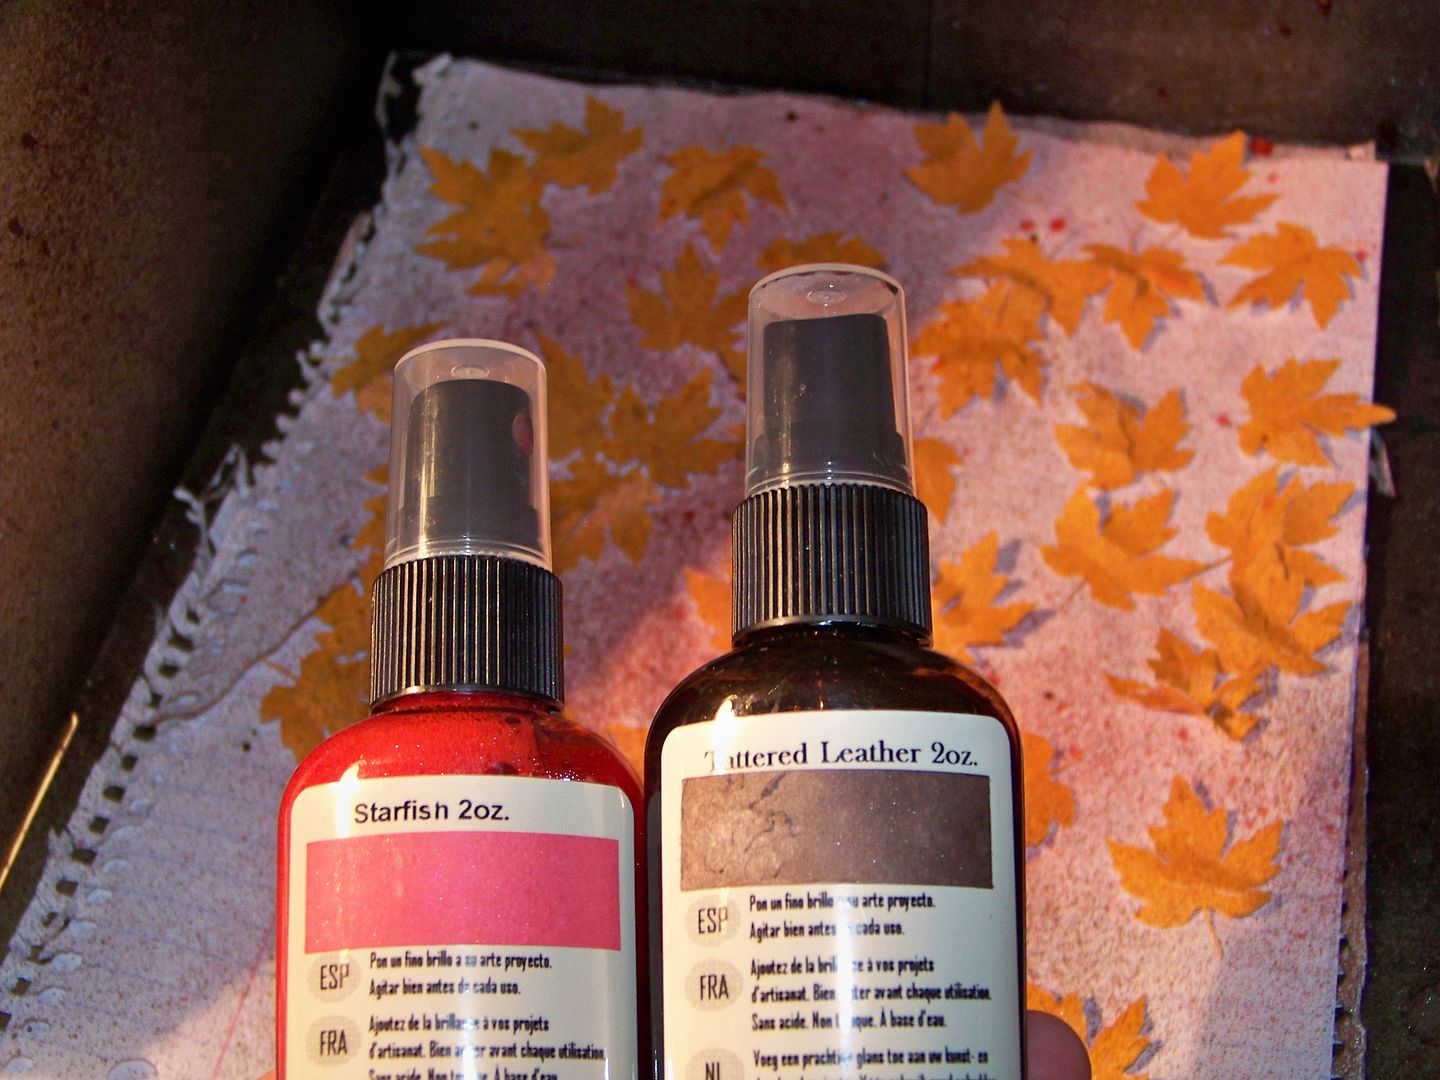
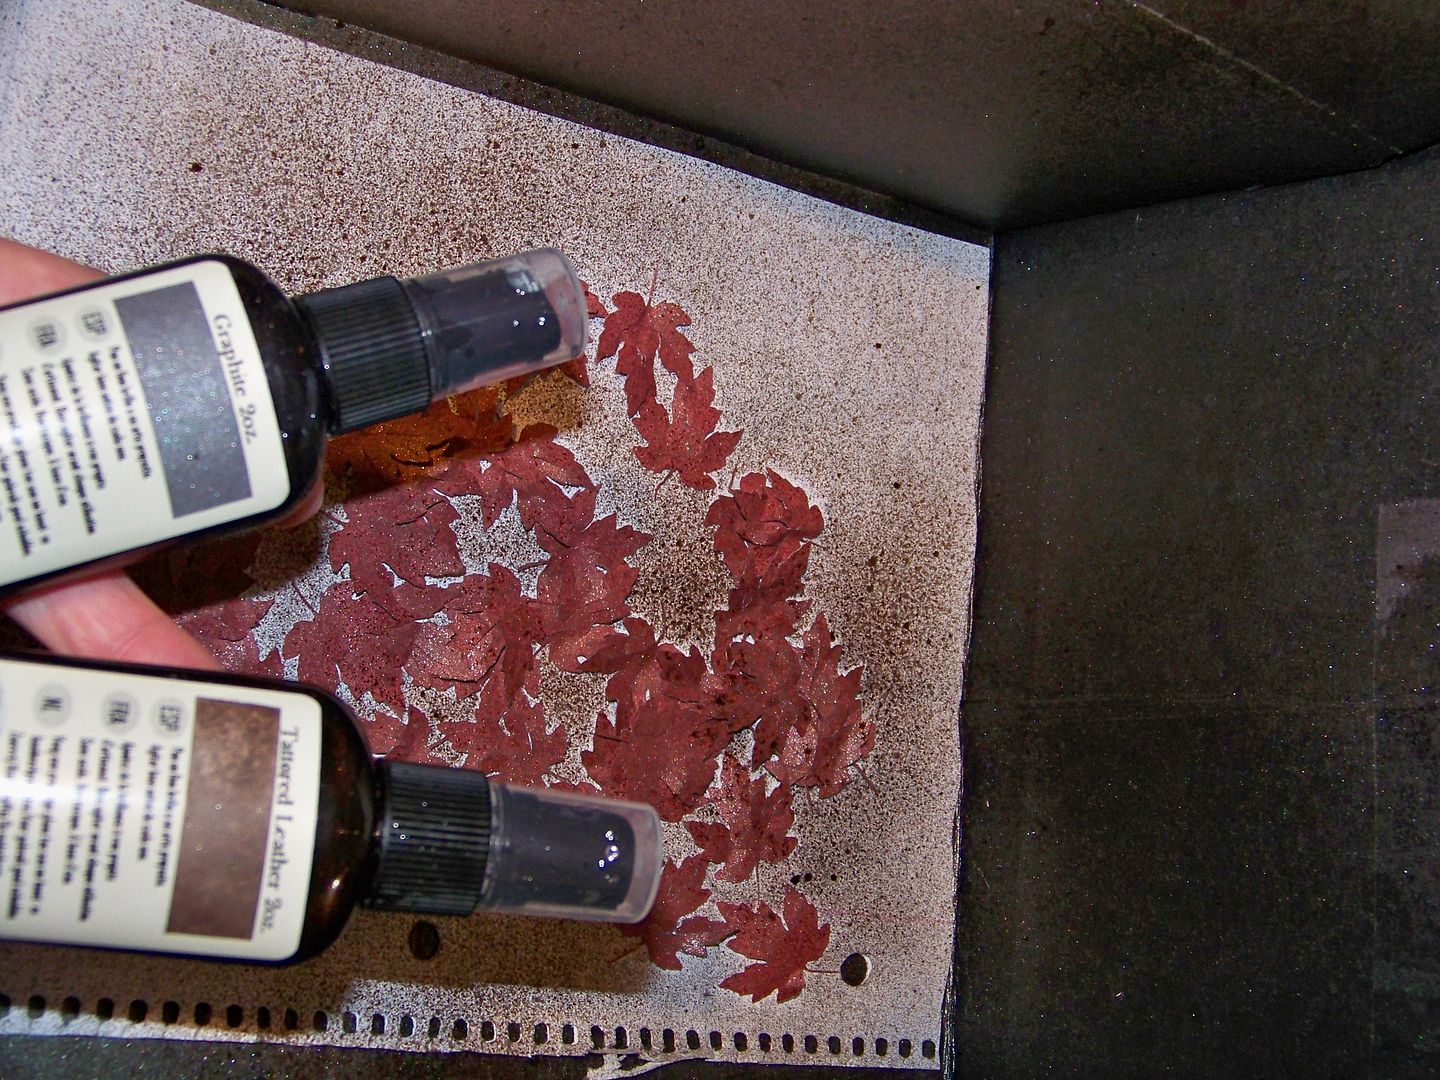
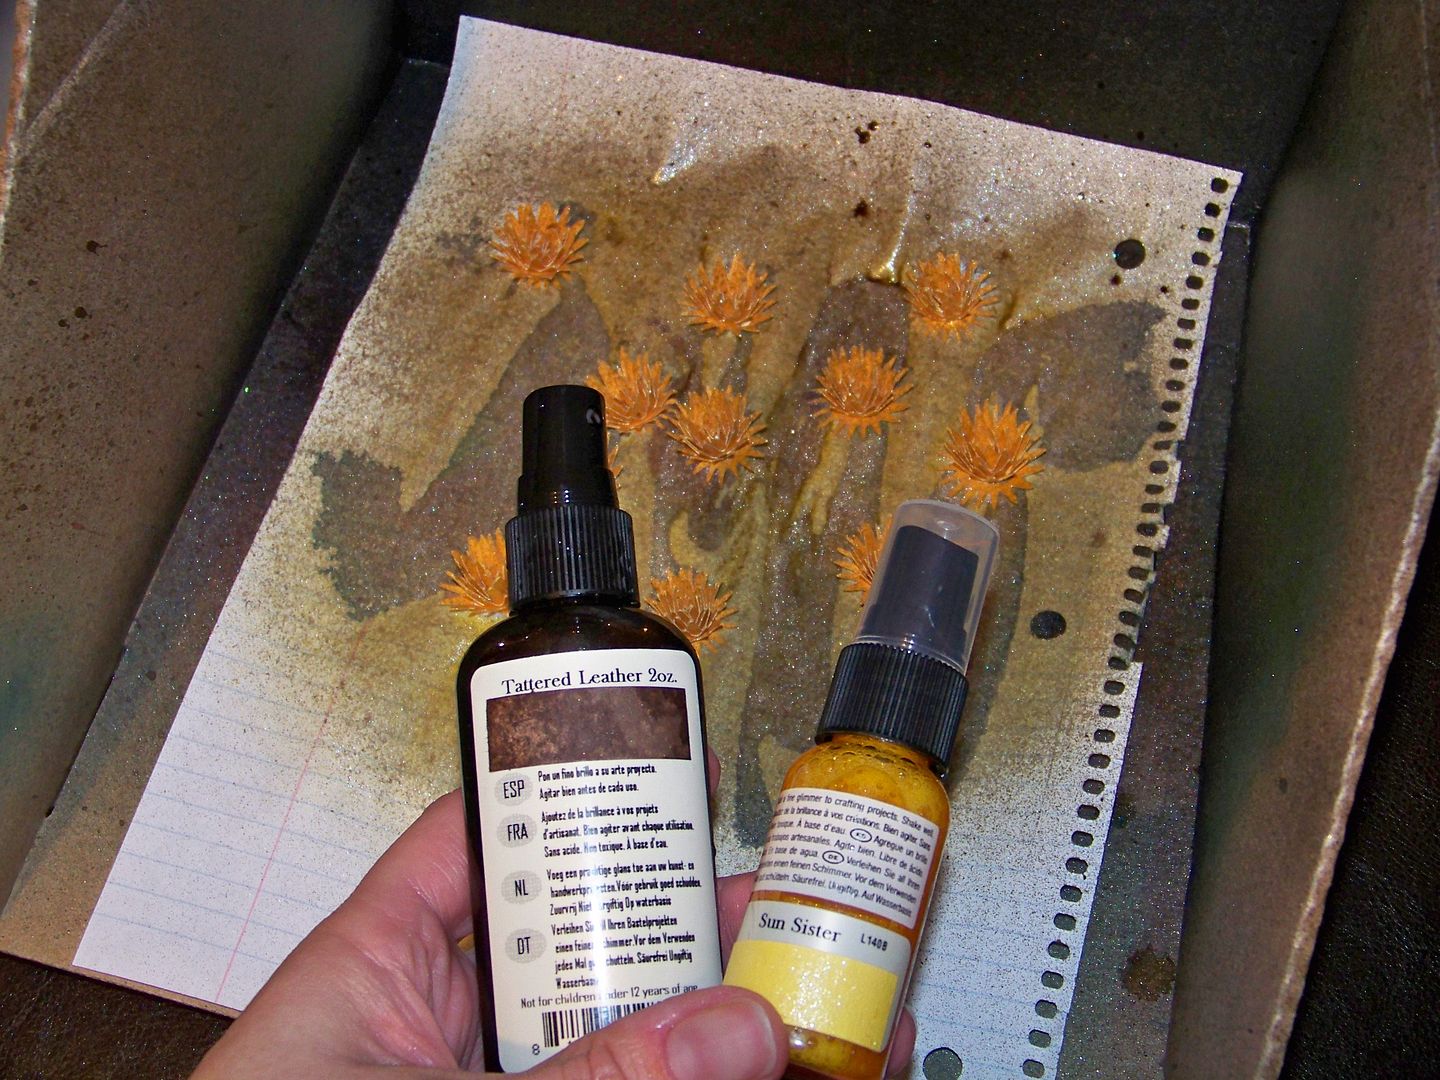
I cut full sheets of the yellow and reddish brown and 8 each of the green and orange.  I sprayed them with water, scrunched them up, and allowed them to dry.  Then I heavily spritzed them with Glimmer Mist.


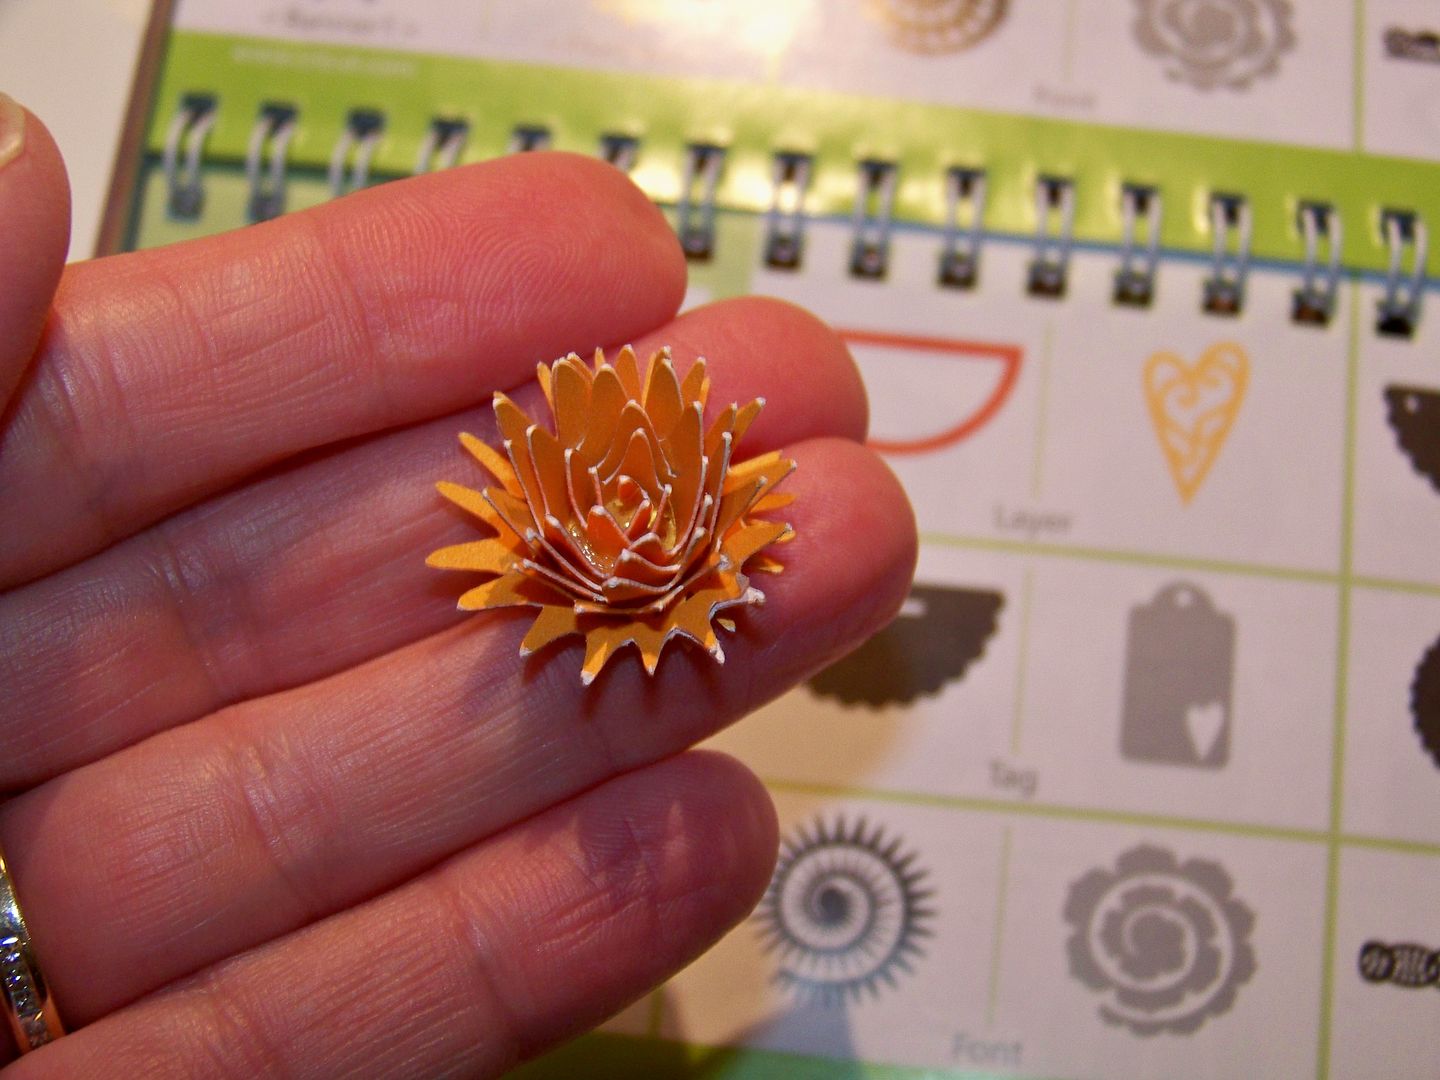
I cut the pointy, spiral-cut flowers from Art Philosophy at 2-1/2" (fit to page will cut 12 on 8-1/2 x 11 paper).  This time,  I made them correctly, rolling from the outside in, and gluing in place on the center circle base with hot glue.  Then I sprayed them with a little Glimmer Mist.


I cut the rose spiral-cut flower (same page as the pointy ones!) at 3".  Fit-to-page at this size will cut 6 on 8-1/2 x 11 paper.  I also sprayed it with Glimmer Mist to hide the white core.


I cut a wreath base from Christmas (Solutions) at 6" in blackout feature.  I hot glued the dried leaves onto the base, finishing with the flowers.


Autumn is the time for me for reflection.  I had Samantha, The Scrapmaster, on my mind lately, after giving her my flippant response to her question about 5-minute cards.  Who would want a 5-minute card I asked recently on the cricut.com messageboard, isn't that why we have Hallmark?!  Now, a little preface:  I do go to Hallmark for cards as I am not necessarily a cardmaker per se!  When I do make a card, it is to make something very special... but, come to think of it, I also make quick things!  I don't tout those 'quickie' cards, and never put them here on my blog, but I have made them I had to admit once I thought about it.  So, I sent Samantha a little apology and she sent me back the most kind and gracious reply.  It really made an impression on me that she would be so nice after I poo-pooed her concept.  So, to pay a little penance, I offer my quick cards.  (You may never see them again!) 

The Imagine and the Cuttlebug are the greatest tools ever created for FAST cards.  These are a few I have done recently.  

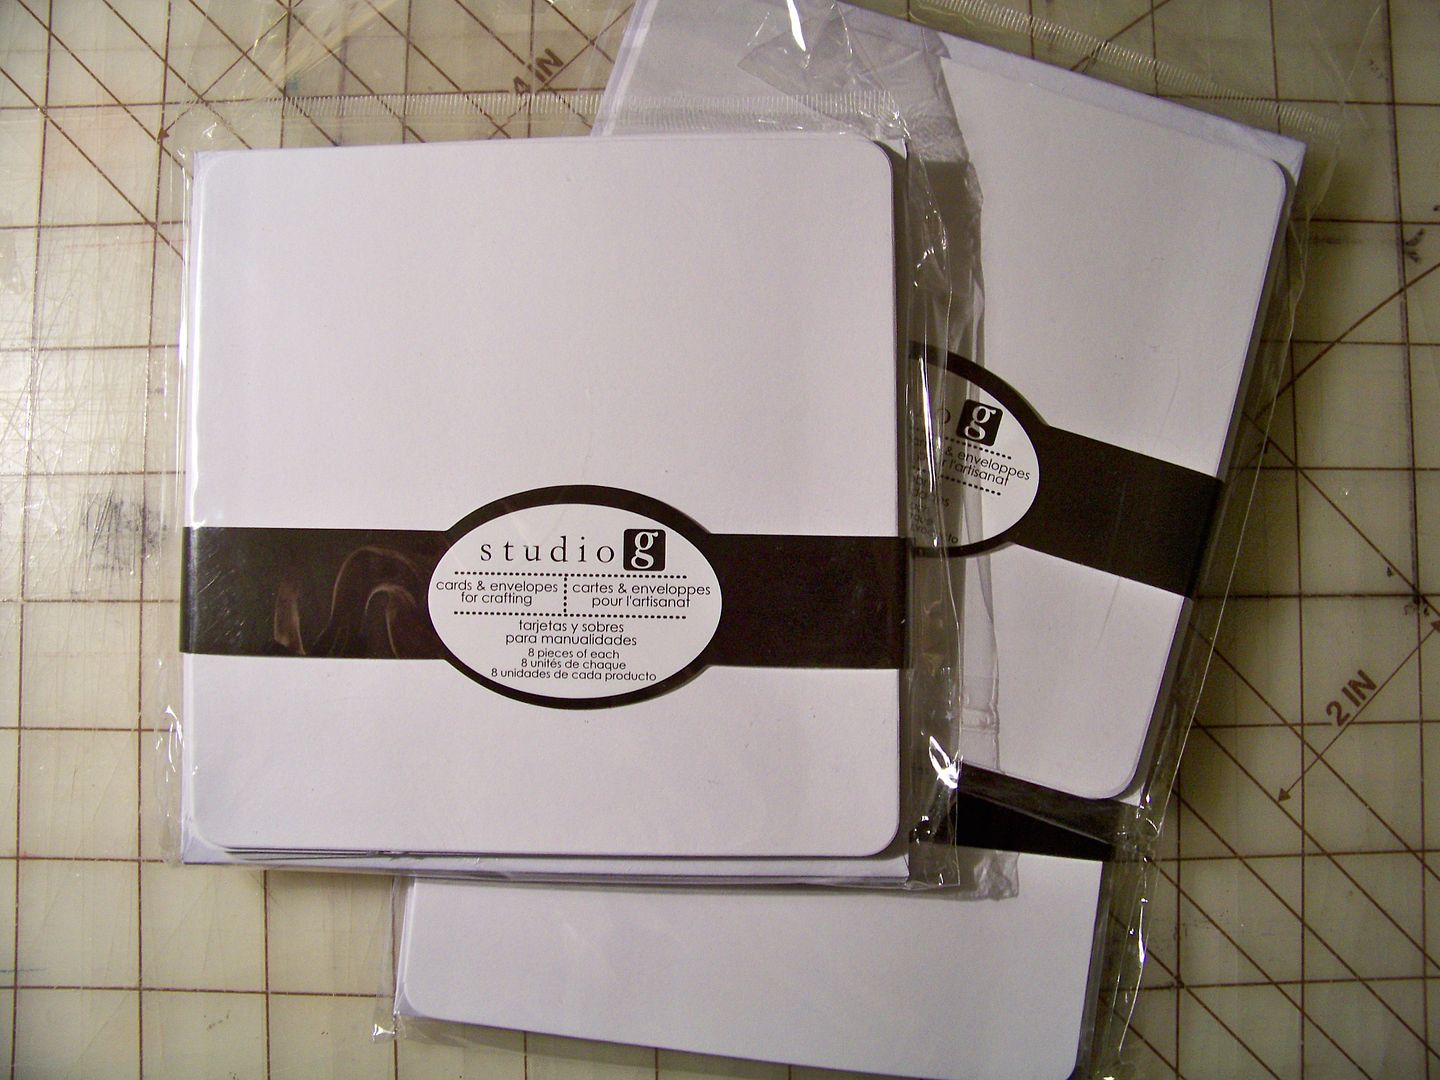
I also use white cardstock blank cards and envelopes.  I buy the A2 size from Michael's and just discovered the Studio G squares from Walmart, priced at just under a dollar for 8!


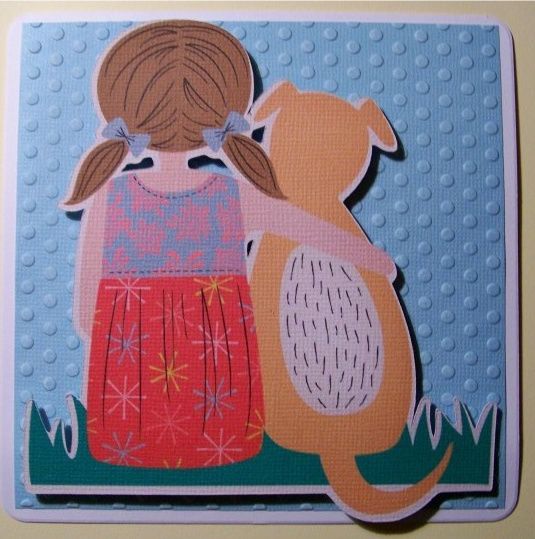
This is one I did to put with silk screened shirt I made for my daughter's friend.  (She designed the shirt and I screened it.)  In her design, she wrote "I like dogs" so I thought this was fun to put with it.

Imagine Better Togehter image cut at 4.8".  It is attached to cardstock that has been embossed with the 5x7 Cuttlebug Polka Dots folder with pop dots. 
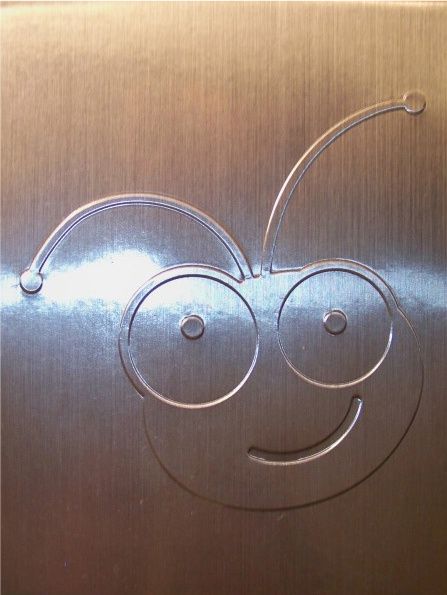
This is one I did by simply embossing a metallic cardstock.  This is something I have done lots of times when I need to include a little note in with a RAK I send to my Circle friends.  I like embossing with the Circle logo embossing folder too.


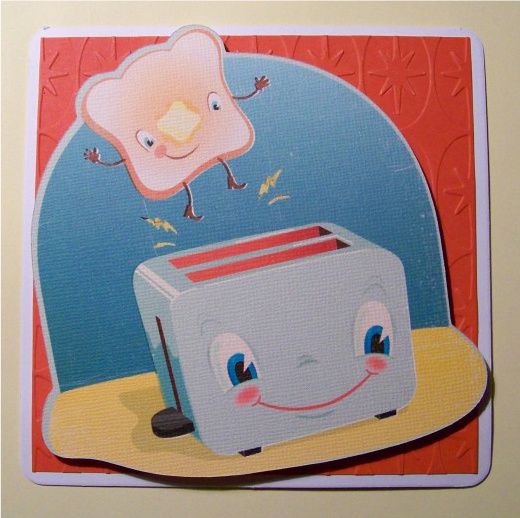
This is another quick Imagine card with an embossed base.  I like making little cards for my daughter's lunchbox-- most of those are quickie ones - and just to make her smile!

Kate's Kitchen image cut at 4.8" on the Imagine.  It is attached to cardstock that has been embossed with a 5x7 Cuttlebug folder with pop dots. 

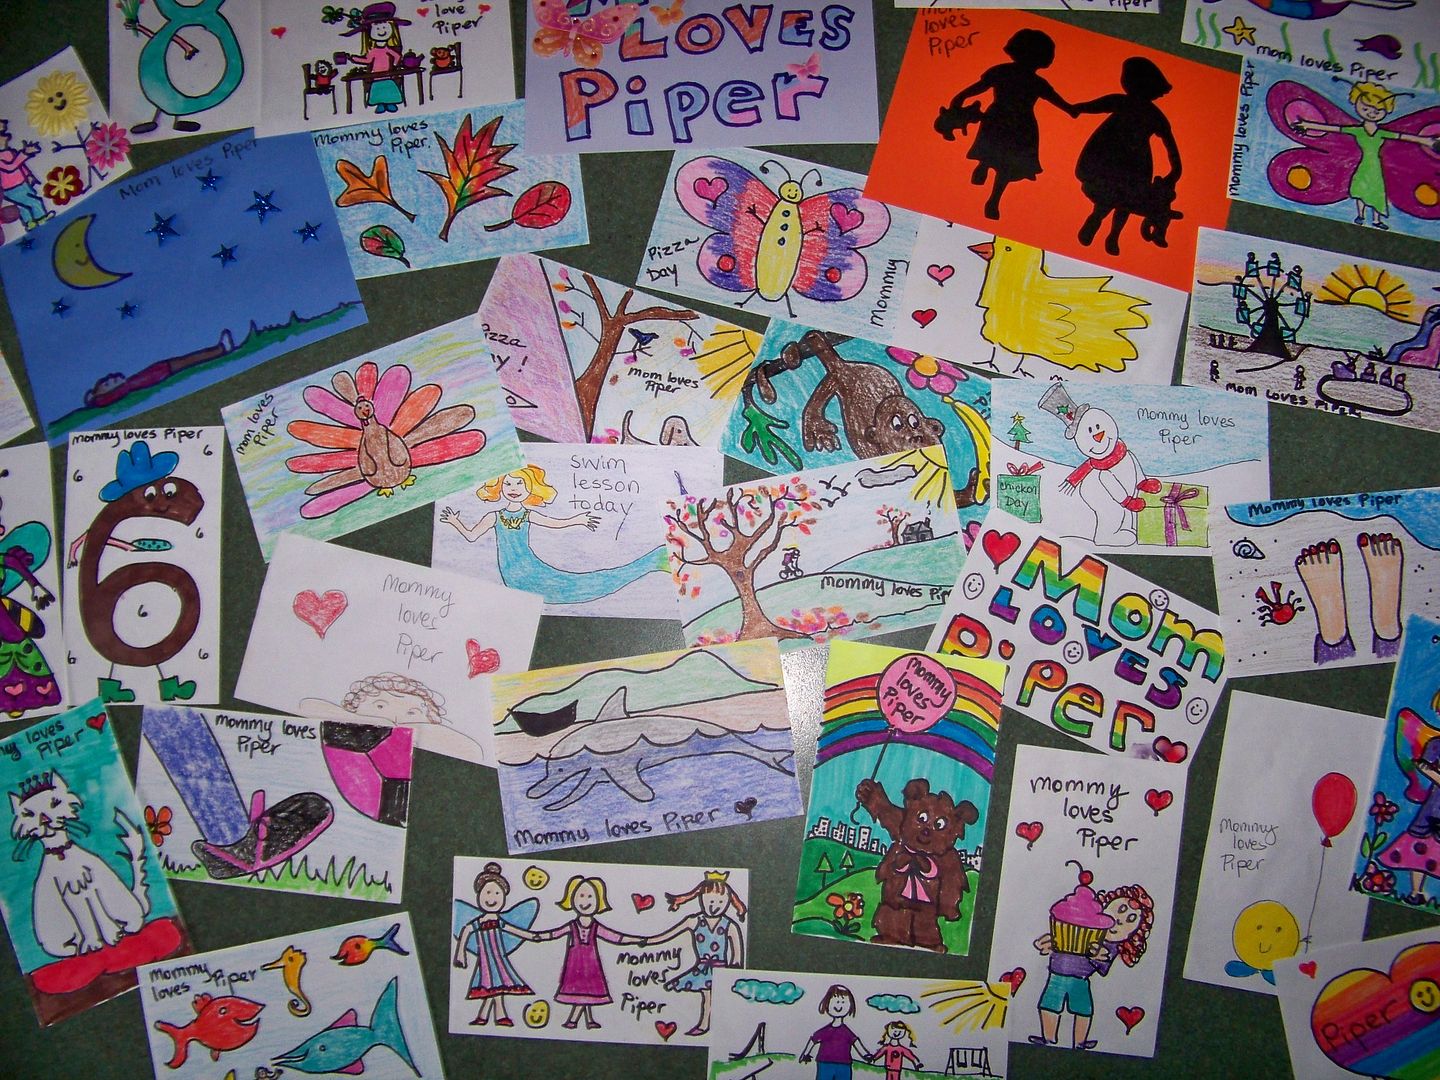
When my daughter was in preschool and kindergarten, I always simply used to scribble a little picture and color it in with her crayons or markers (or whatever was nearby)  on little index cards I would put in her lunchbox.  They took a minute or less to make, were so goofy and simple... and she has kept them all-- I guess there are hundreds of them.  So... to answer my question of who would want a quickie card, I guess the answer is 'someone who loves you and finds something special in your efforts'!


Lastly today, I want to thank everyone for your kindness in response to my project that was on the Cricut Blog.  That was a lot of fun for me!  I have received responses from a few folks who have taken the project in a new direction and made it their own.  I just love that and LOVE to see your projects!  The kindness, crafty support, and sweet comments really made my weekend -- even with those cooler temperatures!

Thank you for visiting my blog today!

But wait! There's more! Click 'older posts' above!

But wait!  There's more!  Click 'older posts' above!